.jpg.b9265433dc8c3b550370b1d0e4e4d2fc.jpg)
MarkJ
-
Posts
4,702 -
Joined
-
Last visited
Content Type
Profiles
Forums
Events
Gallery
Everything posted by MarkJ
-
.jpg.b9265433dc8c3b550370b1d0e4e4d2fc.thumb.jpg.915f5b46e3c9402eeaa6972073121c87.jpg)
Ferraris that won 24 Hours of Le Mans
MarkJ replied to Gramps46's topic in Other Racing: Road Racing, Salt Flat Racers
So, you made them based on the amt cobra kit tires and wheels? That is amazing. Thanks for the info. -
Thank you so much, Brian. I really appreciate the kind words about the build. That's what's good about building something that is unusual. Nobody hardly can tell you that you messed up.
-
I made the spark plug wire too thick and had to redo them at .5 mm. I made a battery box and need to make a differential cooler but have no good ref photos. At least I will have one and nobody knows what it actually looks like but Ray Evernham. The seat is in the way of seeing the battery box so I will just have to guess.

-
Here is the correct ref photo.
-
I made the spark plug wire too thick, so I had to find one half as thick which luckily, I had. I'm working on a battery box and then a differential cooler. there are no good ref pictures of either one because the seat is in the way.
-
It's great that you get to see such wonderful things in person. I'm very jealous. Nothing like that around here to look at except livestock at the rodeo in the spring which I avoid like the plague. They built our NFL stadium with the rodeo in mind more than actual NFL football. The retractable roof is so small and high it's not really worth opening. You don't need a retractable roof for the rodeo. I too live in a nutty state.
-
Andrew, I don't know how I missed this for so long. Been waiting with bated breath to look at the finals. Very awesome build and a great tribute to the guy that made the kit so many years ago. You should definitely be proud of this one. Let me also say that I enjoy the history you provide about these cars. I love motor racing history no matter what the subject matter is.
-
Had to paint some jewelry twine for hoses on the engine and to plumb from the fuel filter in the trunk to the engine and some jewelry bead cord for spark plug wires. I used Revell chrome to paint the twine and roughed up the bead cord with some 3200 polishing pad and then primed and painted it with a mix of Vallejo acrylic paint. I need light blue wires. Also finished and installed the fan to the engine.
-
Looking good MM. I hope you're not going to try dealing with those vents in the hood. That would take a steady hand and no room for error. Might not be possible to deal with.
-
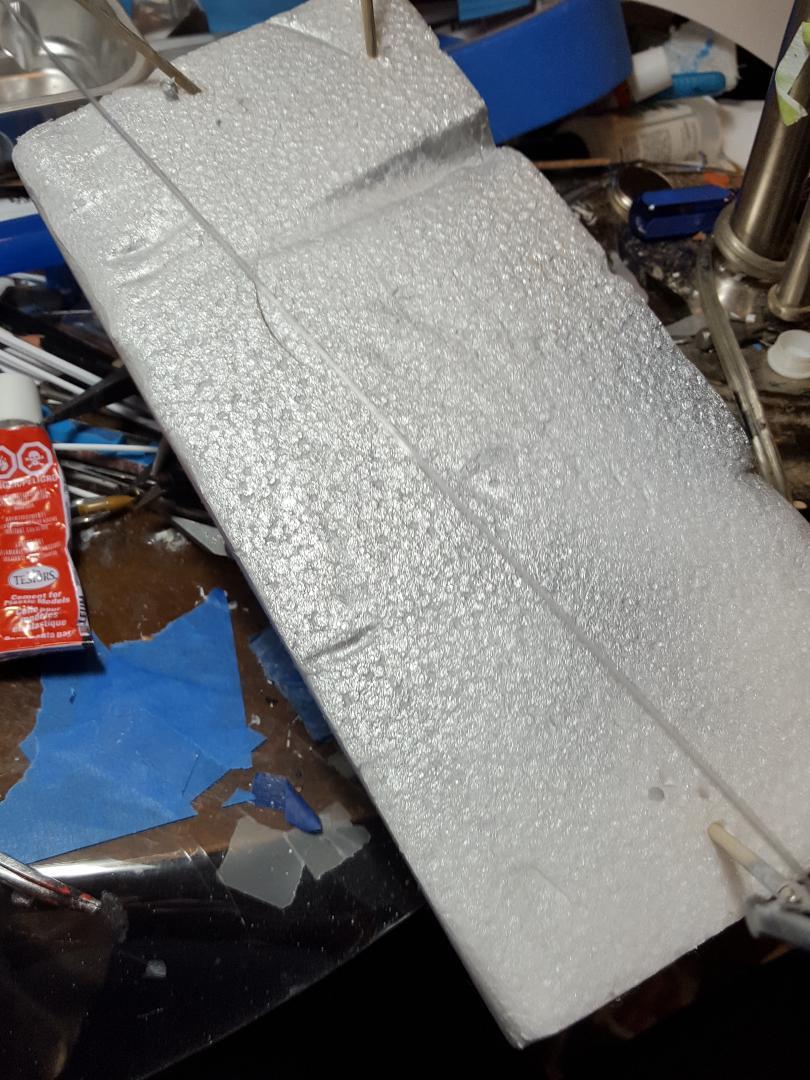
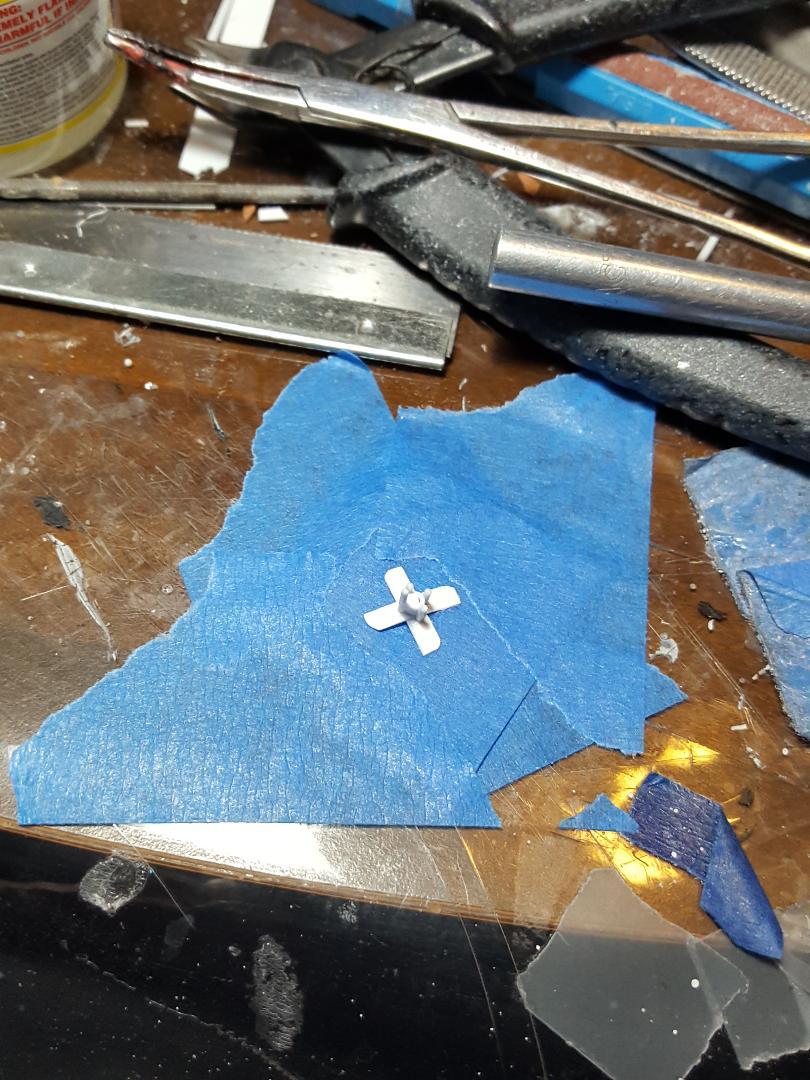
Had to make a cooling fan powered by the engine. I had made an electric fan to use but the ref picture I used was from Dodge Avenger that was used in IROC in 1994. The Camaro in 1989 still used the engine 4 blade fan like was used in the cup series that year. I recently found a ref picture showing that. The rest of the cars are basically the same except for the body and engine. It was the same banjo chassis for both makes.
-
Batmobile
MarkJ replied to Pierre Rivard's topic in WIP: Other Racing: Road Racing, Land Speed Racers
Wow, Pierre. The exhaust looks like you made it from metal tubing. Great use of the paint mix you came up with. -
Added two bars to the chassis from the truck arm support rail to the outside frame rails. No good ref photos so I had to guess again.
-
Thank you, Helmut, for sharing this beautiful rendition of a car that never was as successful as it looked. Your build is truly magnificent and a joy to look at, at any angle. You checked all the boxes on this one. Attention to detail, paint, decals, stance and overall cleanliness of build. Thanks again. It is an awesome piece of modeling for sure.
-
Make sure you post a link. I don't want to miss out on this fine wine served under glass instead of in it. Really looks fabulous right here, Andrew. But go ahead and put it in the final forum so folks who haven't been following along can enjoy it as well.
-
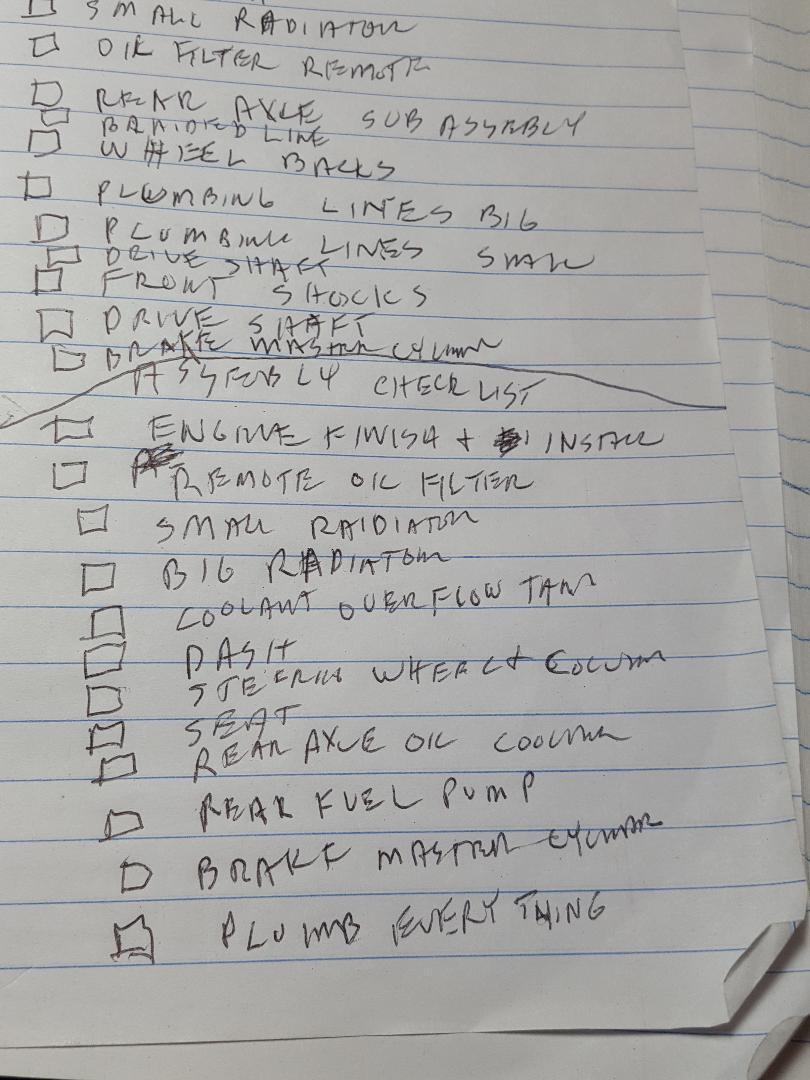
When I get semi close to the end of a build, I make check lists, so I don't forget anything. First one is for things that still need to be made. Second one is for priming and painting everything and the third is to assemble everything hopefully in the right order. Plus, with every check of the list you get some reassurance that your almost there. I started this build in September of 2023 and really looking forward to finally finishing it. Please pardon the poor penmanship.
-
Thanks, Anton and Pierre. This part of the build has been more fun than other parts of it.
-
Batmobile
MarkJ replied to Pierre Rivard's topic in WIP: Other Racing: Road Racing, Land Speed Racers
Oh yeah. That flame thrower looks just perfect, and those ducts look very real. -
Citroen Xsara WRC 2001 - Airfix
MarkJ replied to Technics's topic in WIP: Other Racing: Road Racing, Land Speed Racers
Thank you, MM that is good, to know. -
AAR Castrol Reynard CART
MarkJ replied to bbowser's topic in Other Racing: Road Racing, Salt Flat Racers
Wow, Bruce. Somehow, I missed this one 8 months ago. Thank you, German, for resurrecting it. Excellent build in every way possible. Paint, decal work, cleanliness of build, and stance. You've got it all here. Sorry for the late kudos. This one surely deserves it. -
Uppdatera: JUN Supra tribute build
MarkJ replied to Mattilacken's topic in Other Racing: Road Racing, Salt Flat Racers
Another most Excellent build, Anton. you have a knack for making scale builds look exactly like the real car they are representing. And isn't that what it's all about anyway. you have figured it out for sure. Again, Awesome build. -
Jordan 197 R.Schumacher 1997
MarkJ replied to Mattilacken's topic in Other Racing: Road Racing, Salt Flat Racers
Wow, Anton. I can hardly tell the difference between the real car and your build except for a few spots of different colors here and there and the number of course. Very excellent and clean build. You should definitely be proud about this one for sure. -
Wow, Excellent build, Dale. Super clean and everything looks exactly right about it. Thanks for sharing it.
-
Ferraris that won 24 Hours of Le Mans
MarkJ replied to Gramps46's topic in Other Racing: Road Racing, Salt Flat Racers
Wow, Gary. Carved from wood. This is truly amazing work. Nobody would know if you did not tell them. I must ask one question though, what about those amazing wheels and tires? How did you create them? -
Carrera Panamericana Olds 1950
MarkJ replied to 1959's topic in Other Racing: Road Racing, Salt Flat Racers
Great weathering on this build. Looks exactly the way it should after that long journey. Thats one thing I have never been good at, so I have stopped trying. -
Citroen Xsara WRC 2001 - Airfix
MarkJ replied to Technics's topic in WIP: Other Racing: Road Racing, Land Speed Racers
Be watching with great anticipation. That Vallejo air brush paint looks like it goes on very smoothly. Did you have to thin it at all or was it premixed just right for use?