Steve H
-
Posts
2,535 -
Joined
-
Last visited
Content Type
Profiles
Forums
Events
Gallery
Everything posted by Steve H
-
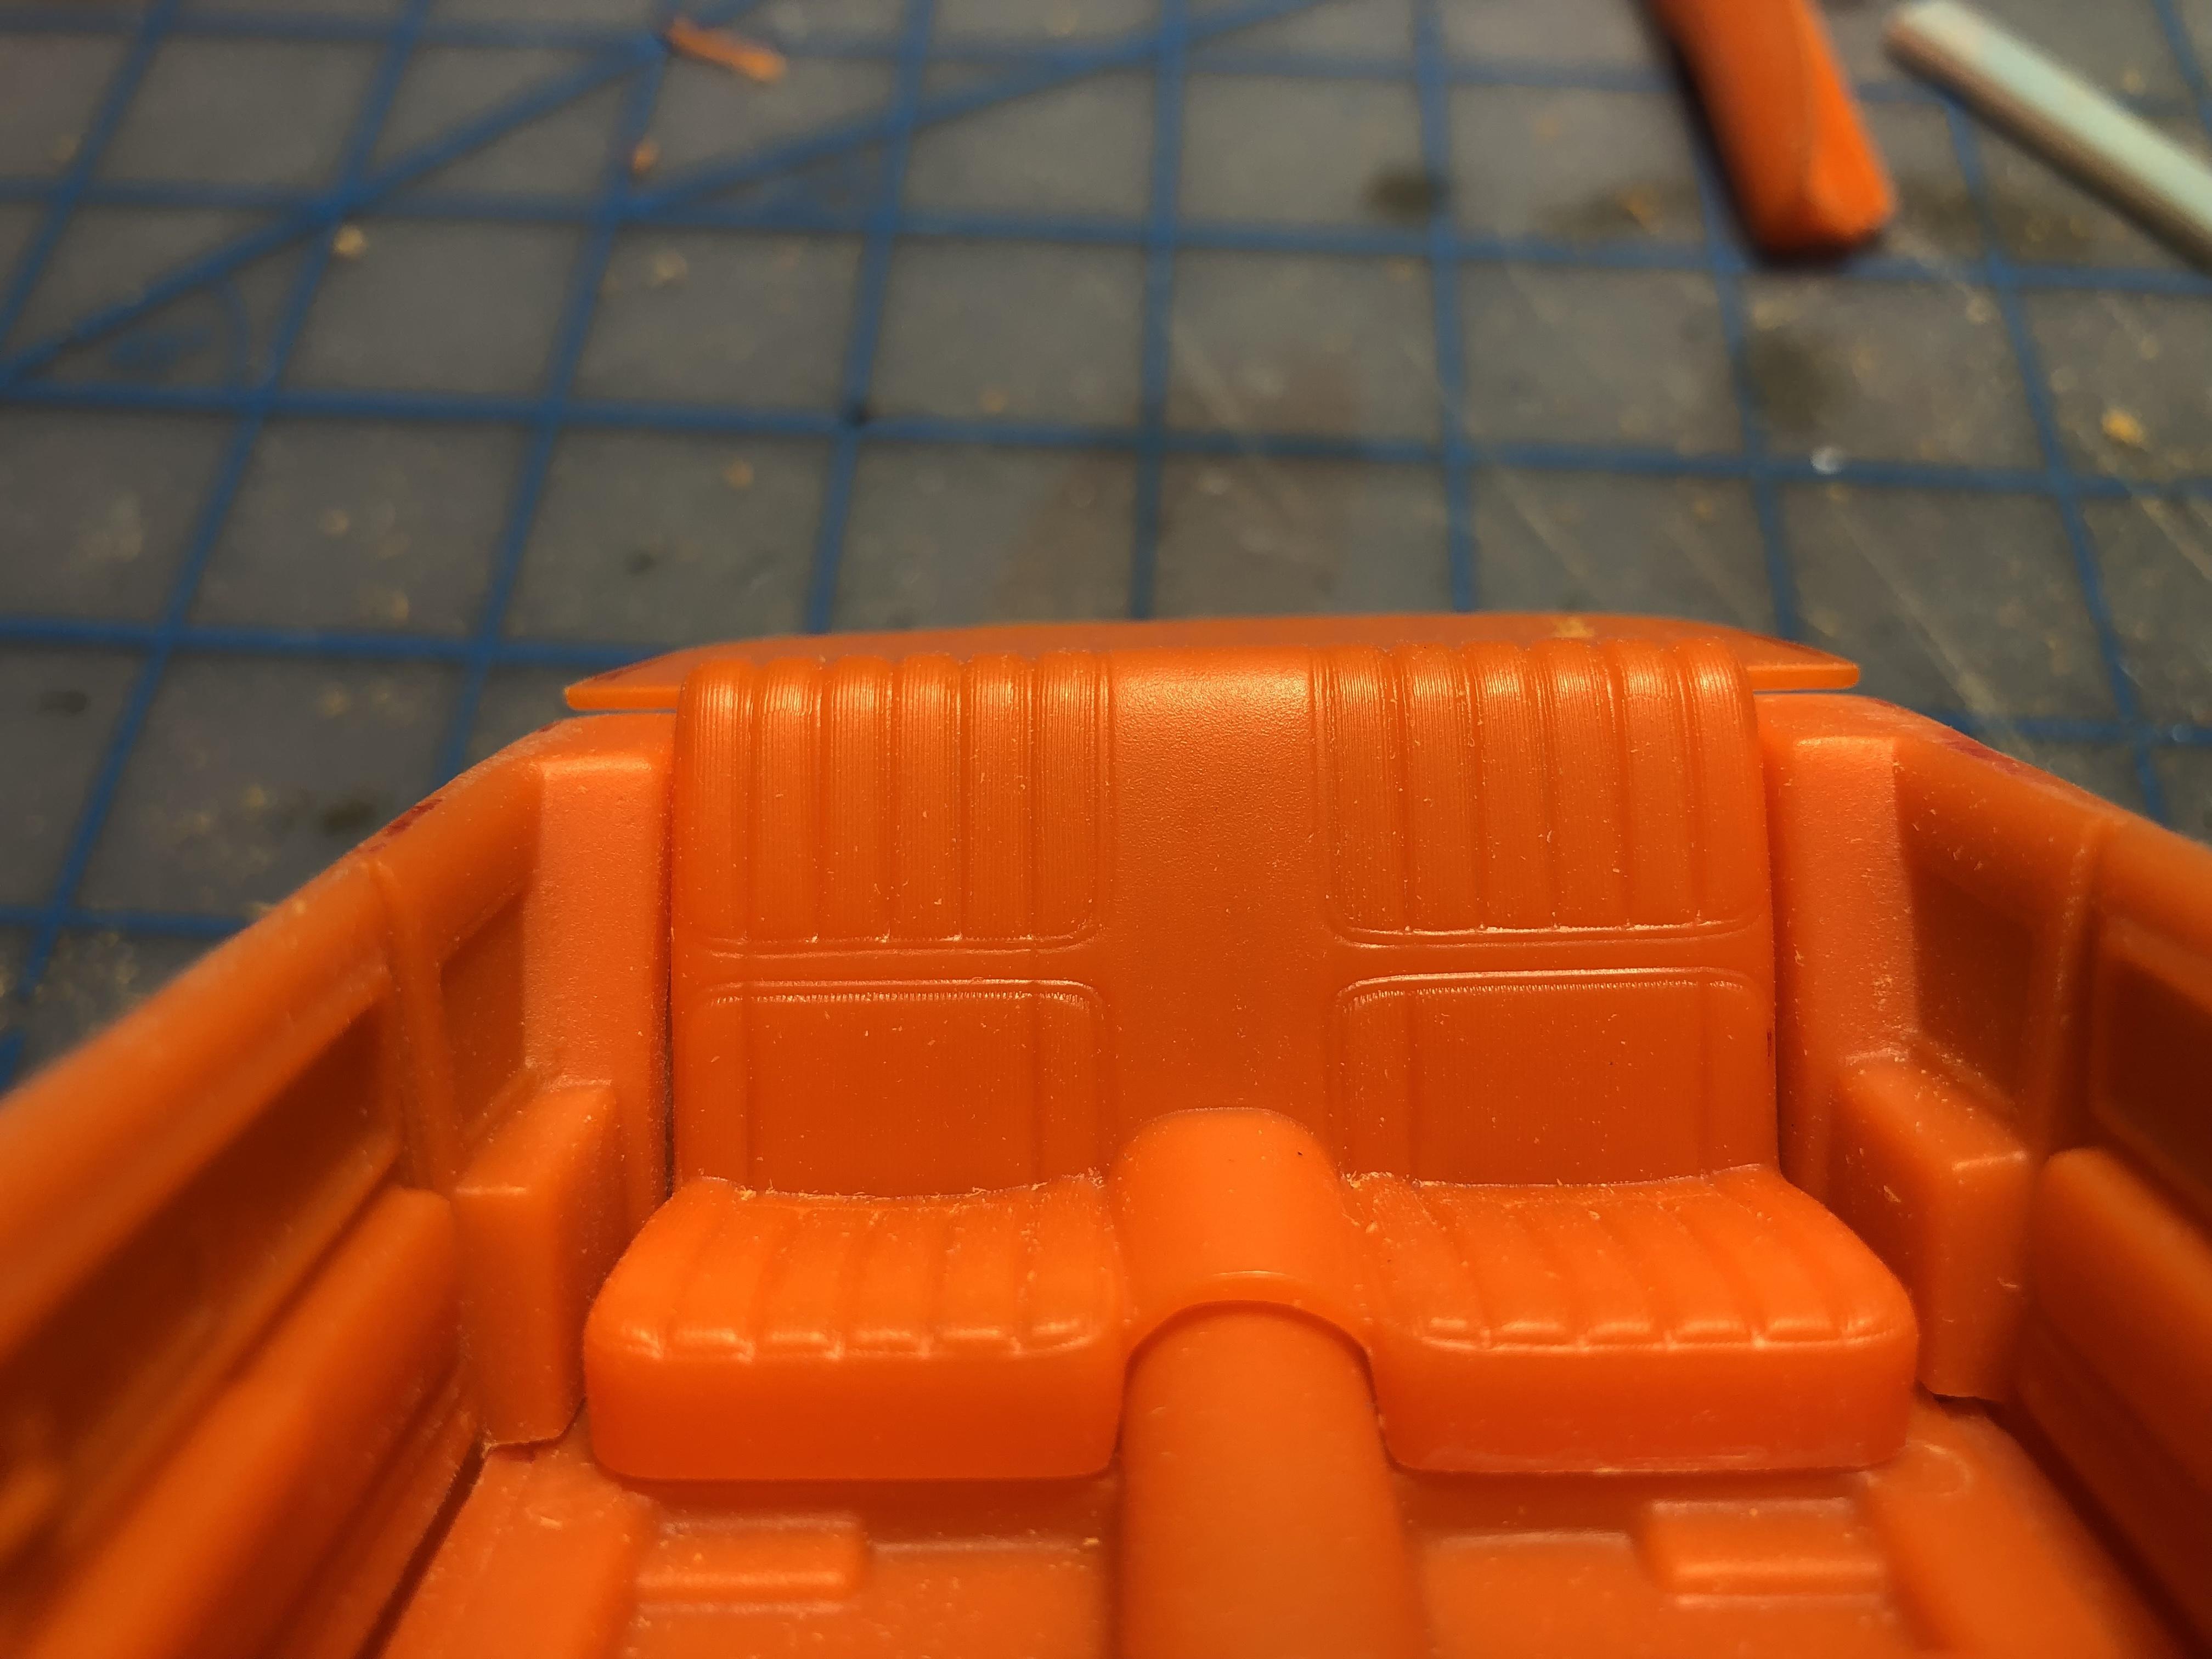
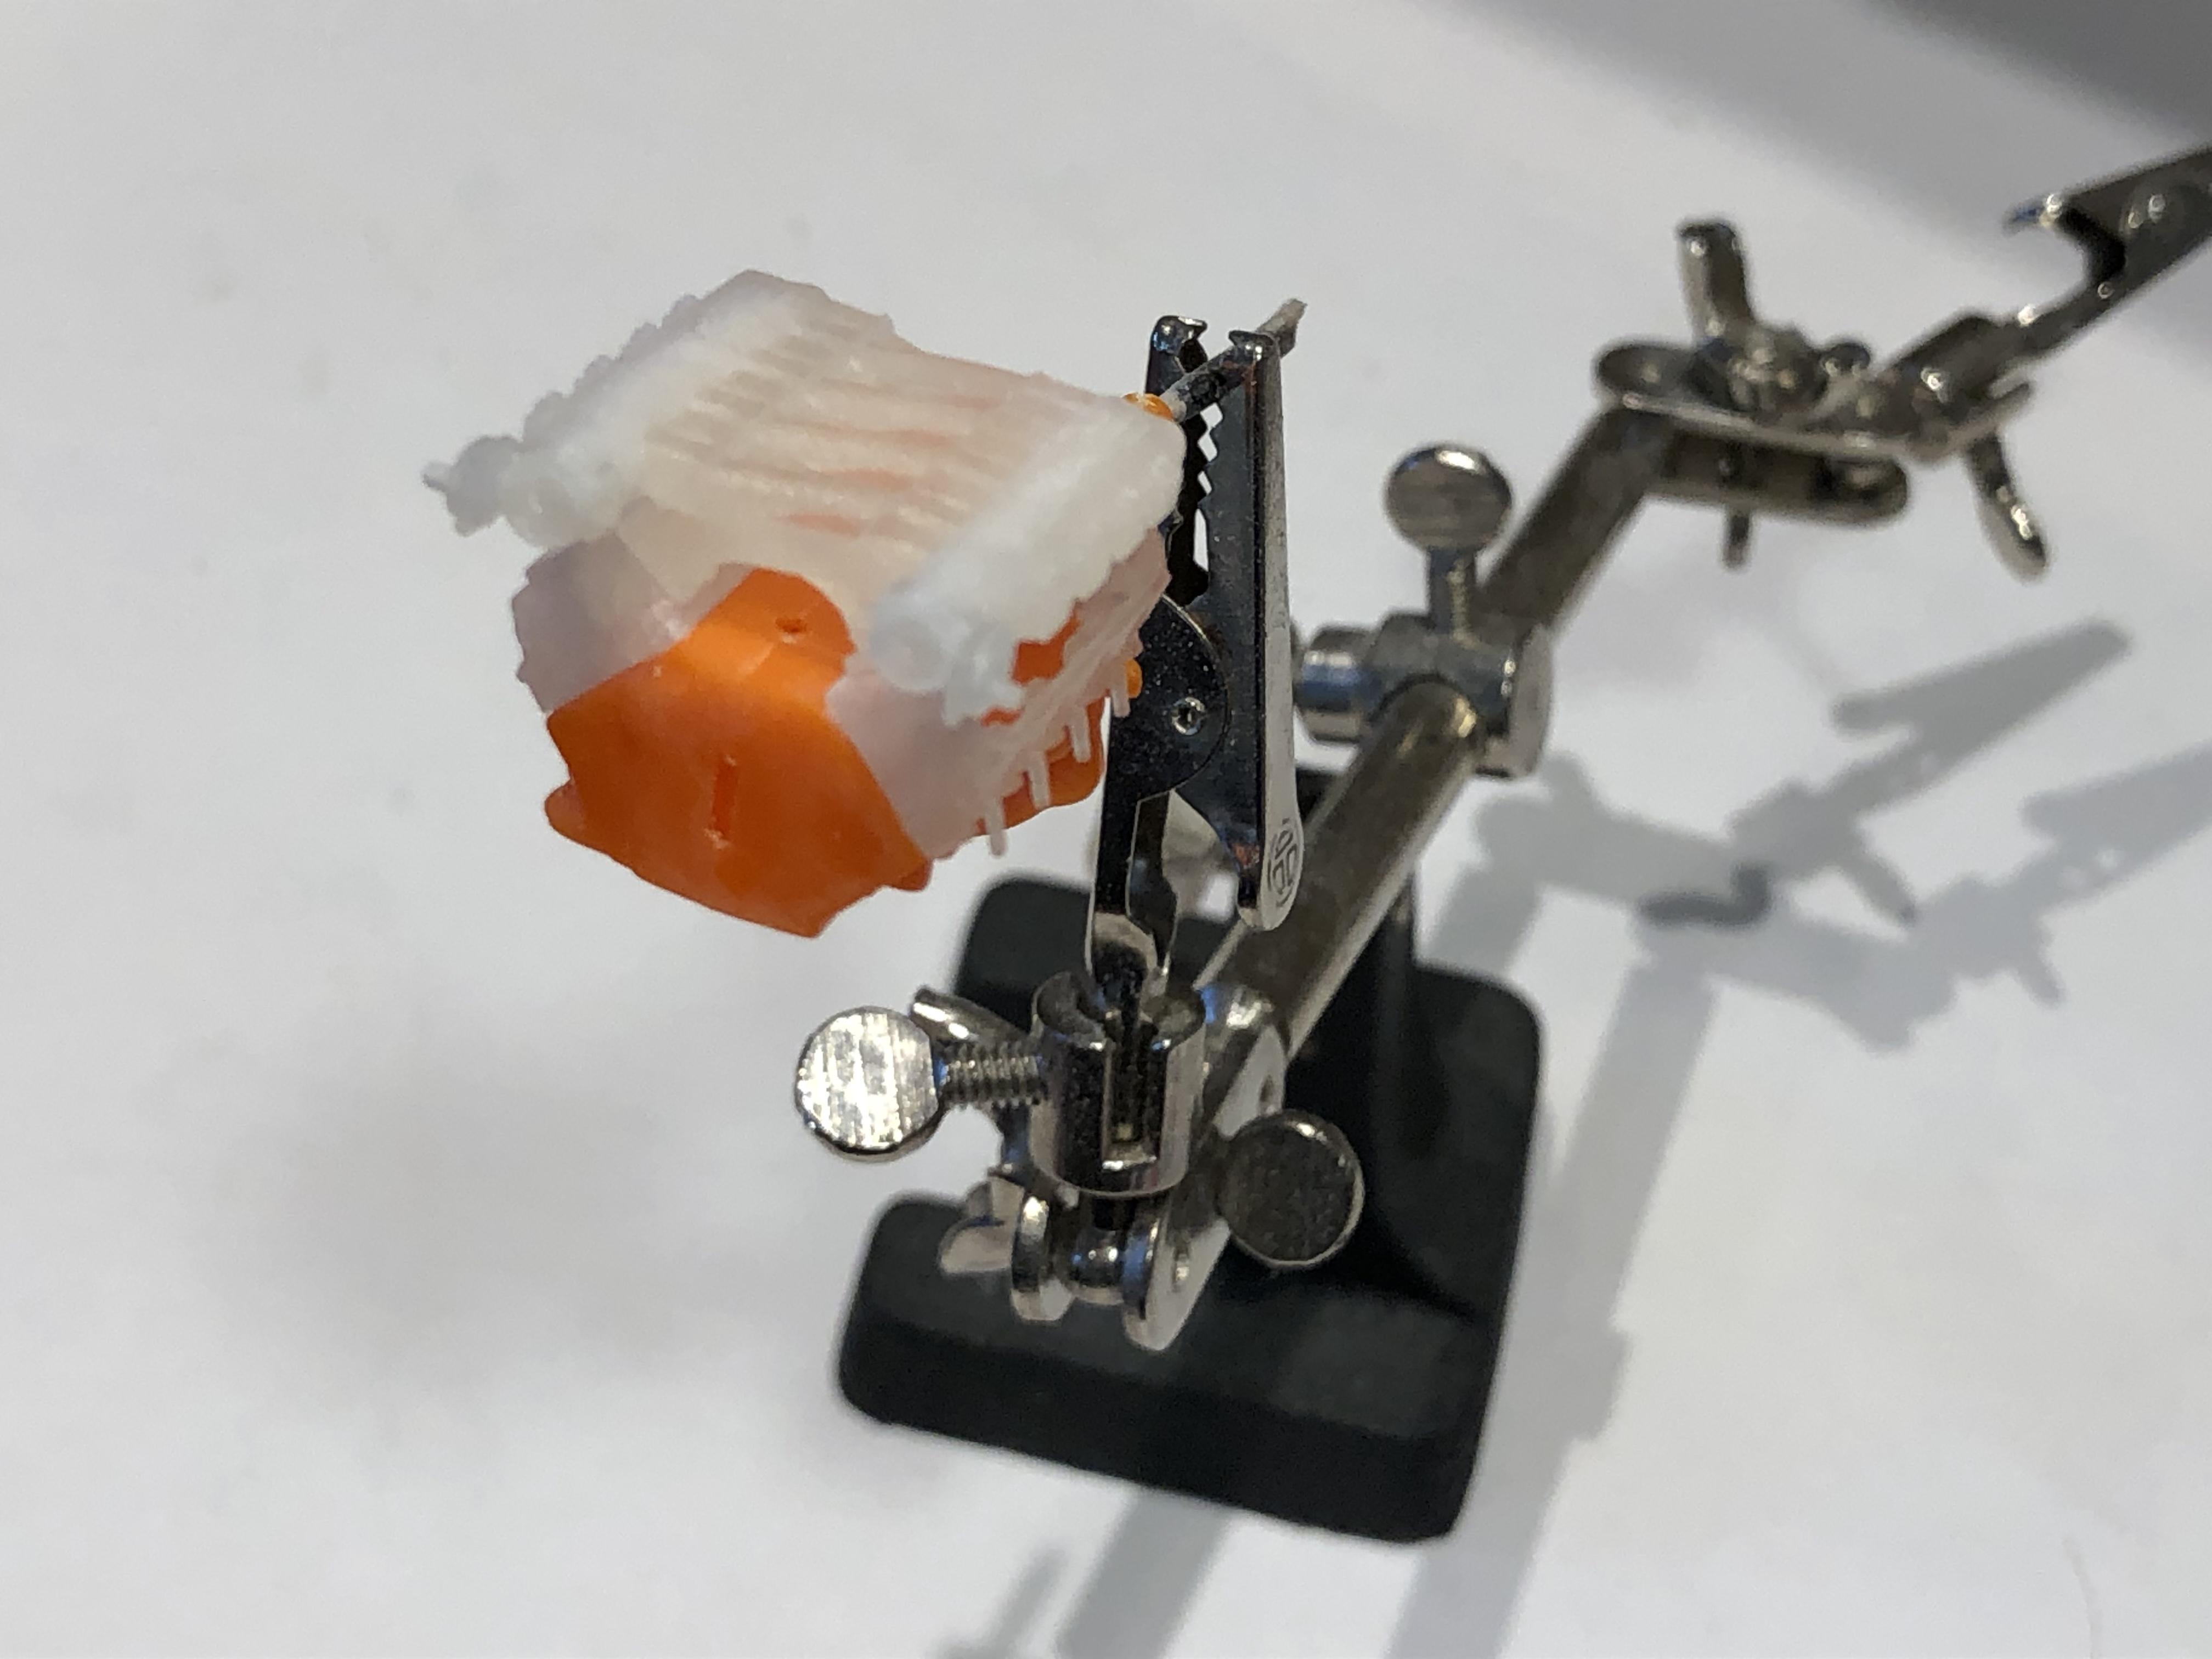
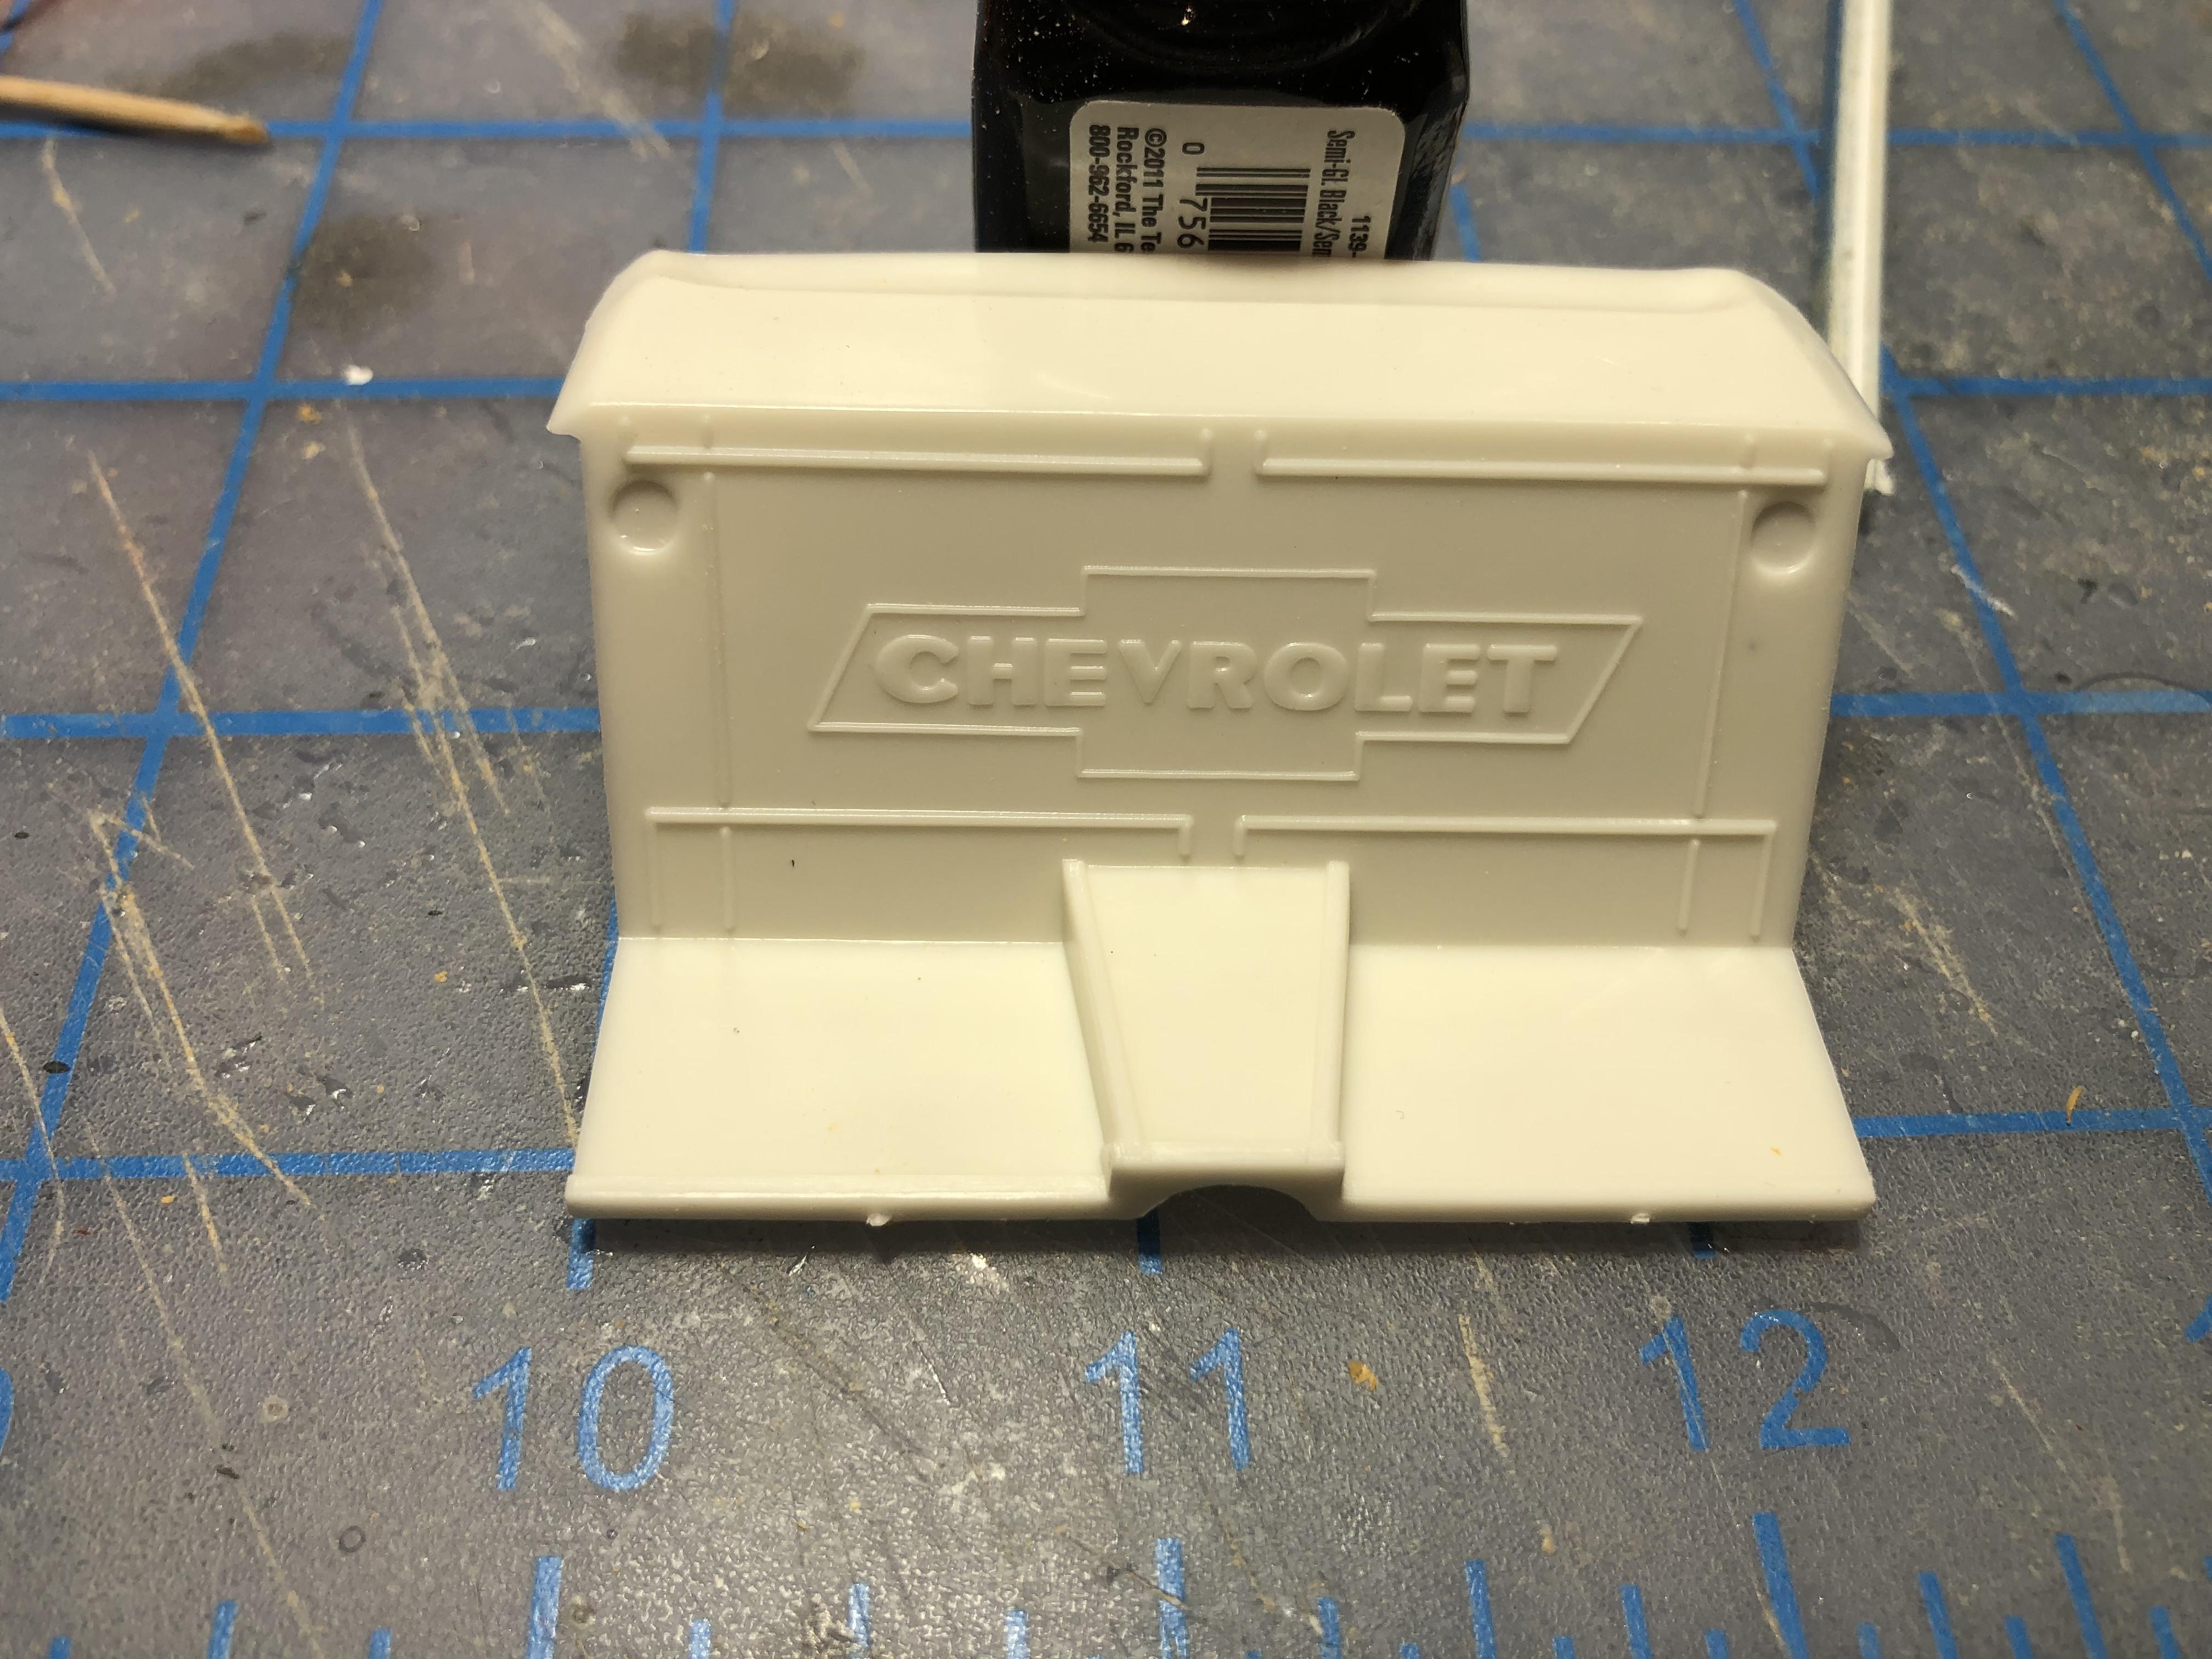
On to the rear of the interior, here’s the rabbit hole I went down… Here’s how I got there. First I cut apart the New replacement piece, and made a raised “bench” to replace the seat bottom. Next up, a hole for a subwoofer, add the back and re-attach the kit package tray. The sub is from a diecast car, it will get stripped and painted. Next photo shows that package shelf is now at the correct height. Seats that I will use mocked up. Thats it for now

-

The 2022 Cannonball Run Year of Birth Build Thread
Steve H replied to disconovaman's topic in Community Builds
Hmmmmm. I don’t think so Anton. Although, I could find several ‘68’s that tickle my fancy… I am considering it, but probably not. -
The 2022 Cannonball Run Year of Birth Build Thread
Steve H replied to disconovaman's topic in Community Builds
Oh man, that will be cool. I’ll be watching that one come together Rob. -
David, that literally looks like a rabbit hole… Seriously though, this is really cool, loving all the fabrication you are doing. Keep up the great work. Cheers, Steve
-
Hello Misha, I wish I could scratch build that well. The panel is from the AMT ‘67 Chevelle pro street kit. I’ve already robbed a bunch of parts from it so I figured one more wouldn’t hurt?. As Greg mentioned above, if you are building this kit OOB I think there would be challenges. One thing I noticed while re-working the inner door panels, they were not the same size! Didn’t matter much to me because I modified them anyway, but it’s something that could be missed if you were building it stock. I haven’t got to the firewall yet, but based on Greg’s comments, I will be giving that area a close look when I get there too. Thanks for checking in Misha.
-
The 2022 Cannonball Run Year of Birth Build Thread
Steve H replied to disconovaman's topic in Community Builds
Hi Nigel, it should fit. I put a Viper engine in one several years ago and don’t recall any major surgery. -
Haha. I usually start with a stance mock up, I’m trying to be a tease. It should sit almost exactly as the 1:1 when I’m done, if I can sneak it down a bit lower I will. I’m starting to get into the meat and potatoes of this thing now. Thanks for checking in Luke Cheers, Steve
-
1973 Ford F100
Steve H replied to Gerald Haney's topic in Model Trucks: Pickups, Vans, SUVs, Light Commercial
Oh yaaaaaa…. Another beauty Gerald! Very nice fab work everywhere, the chassis is killer, seat belts are very well done, ya, the whole thing is awesome. And lowwwwwwwwwww. -
*56 Ford Truck Pro Street*
Steve H replied to Zippi's topic in WIP: Model Trucks: Pickups, Vans, SUVs, Light Commercial
Haha! Kinda like eating just one chip… -
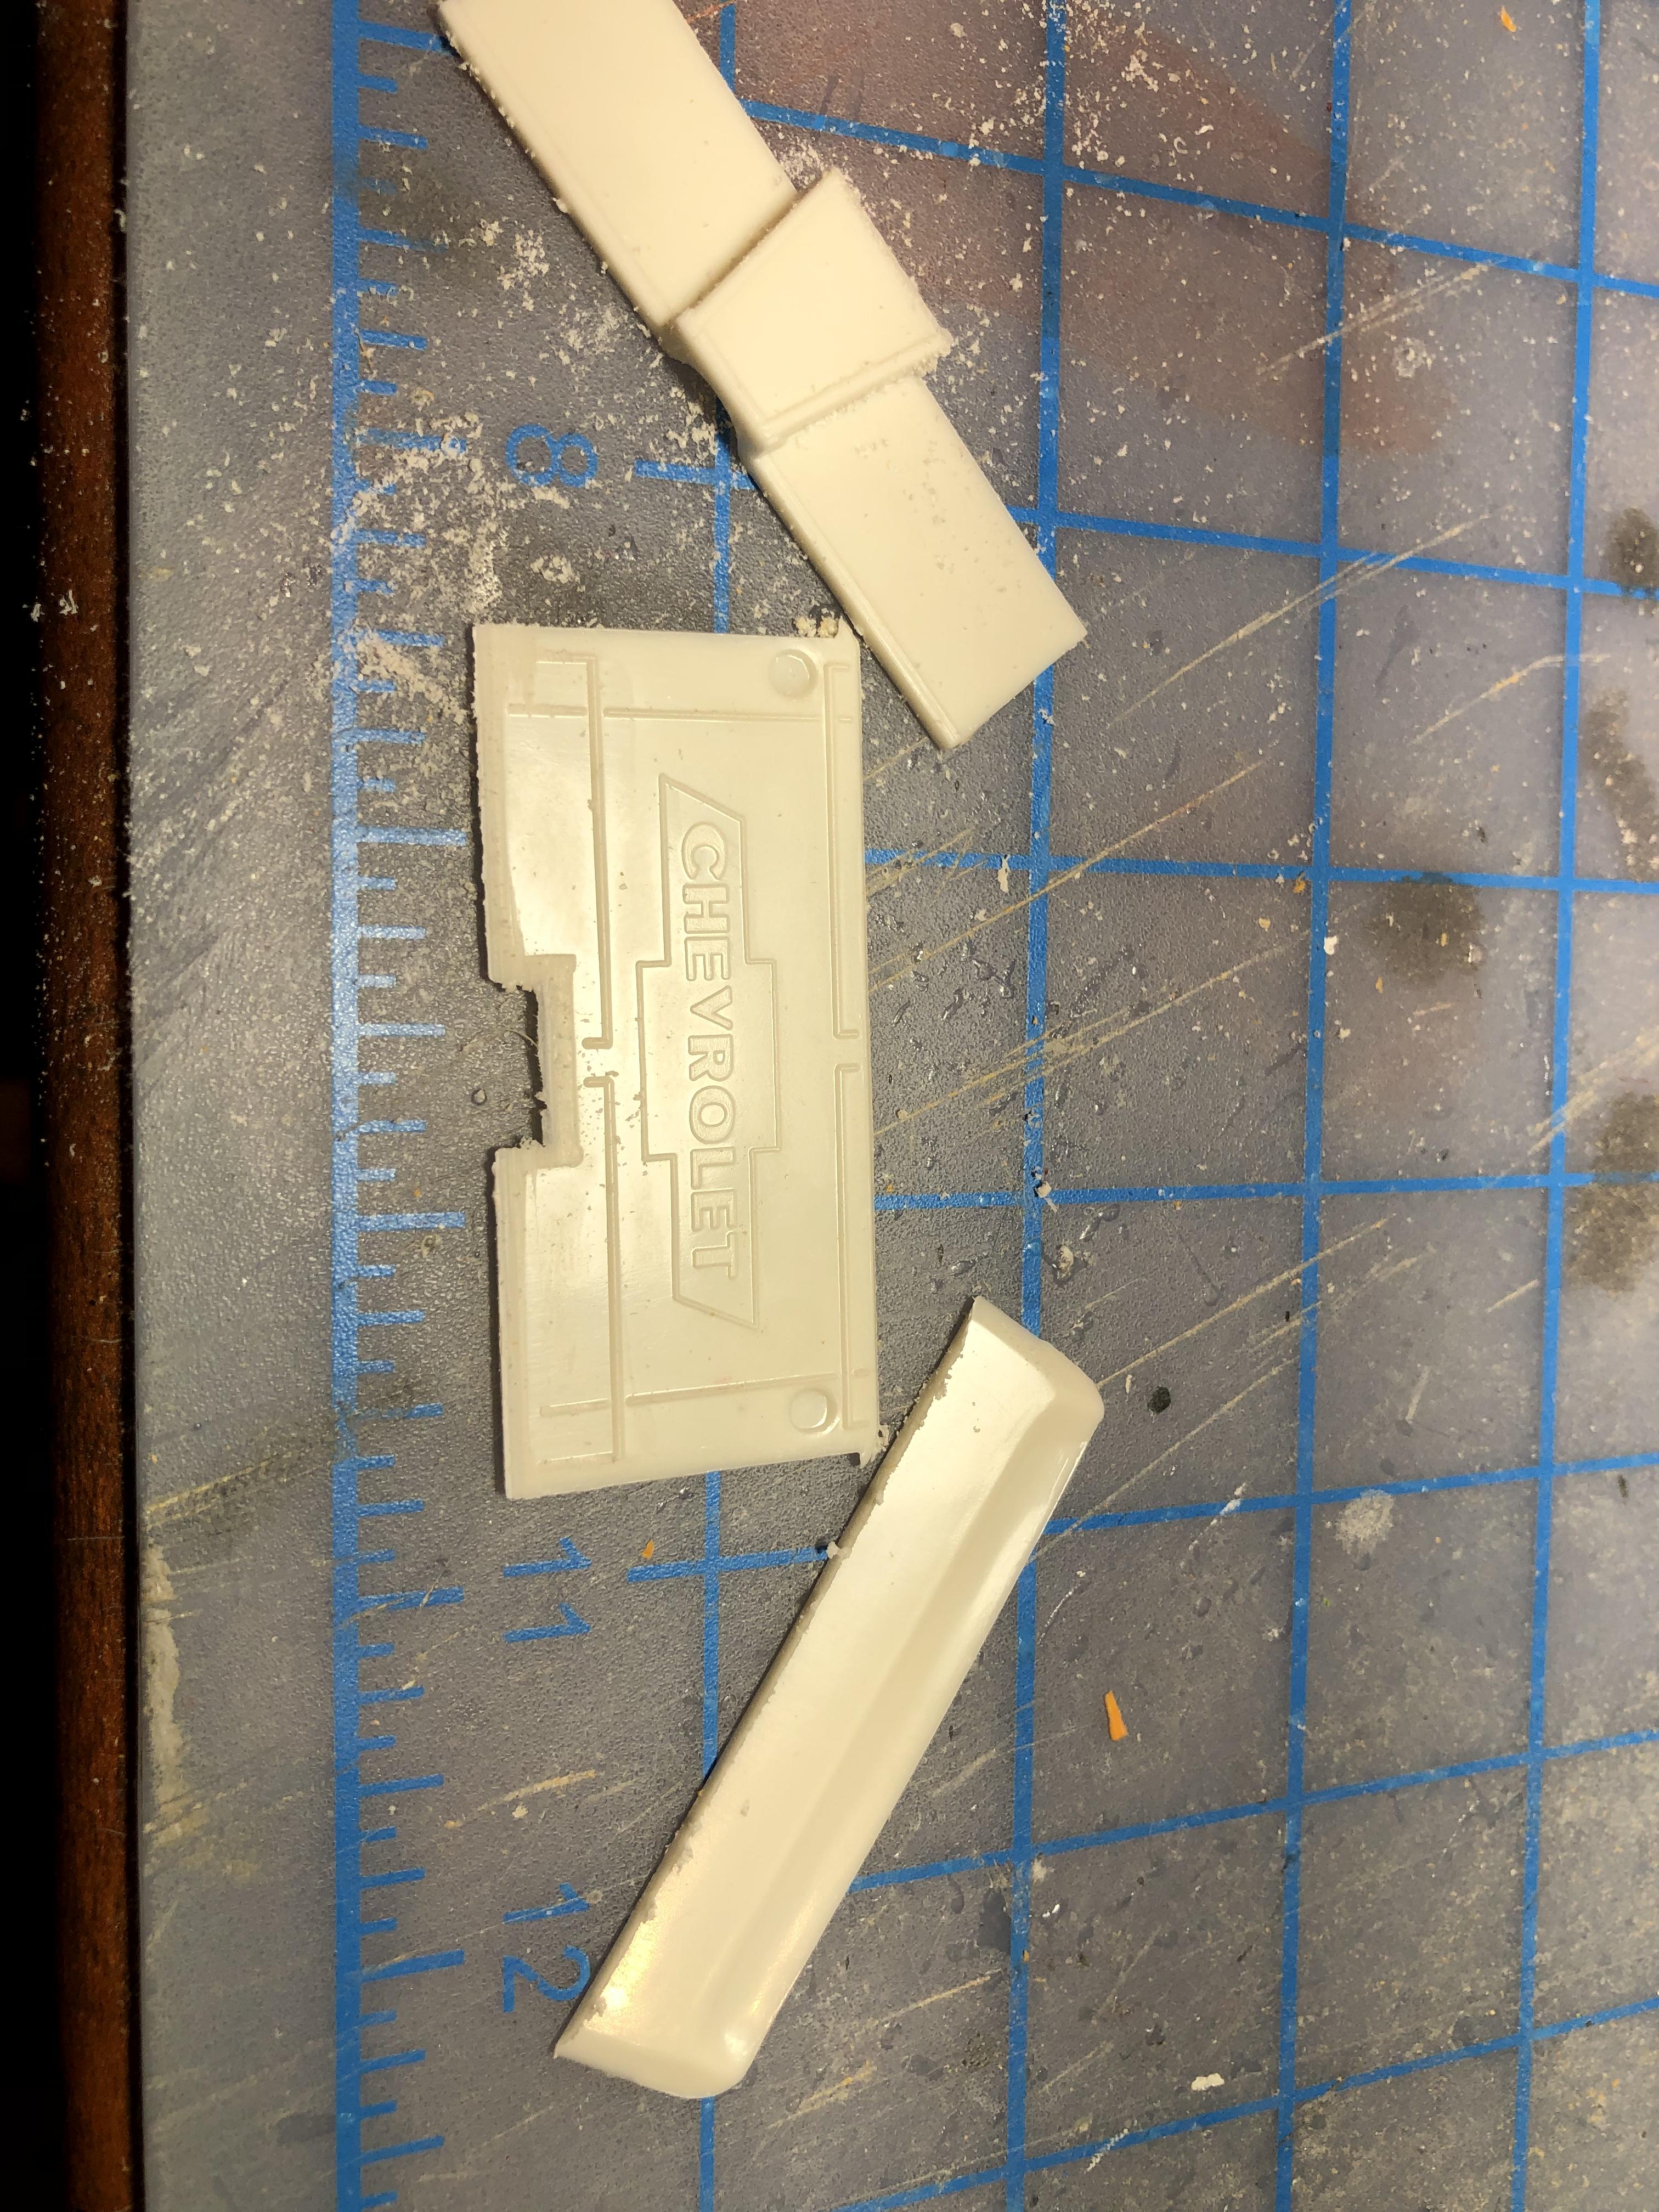
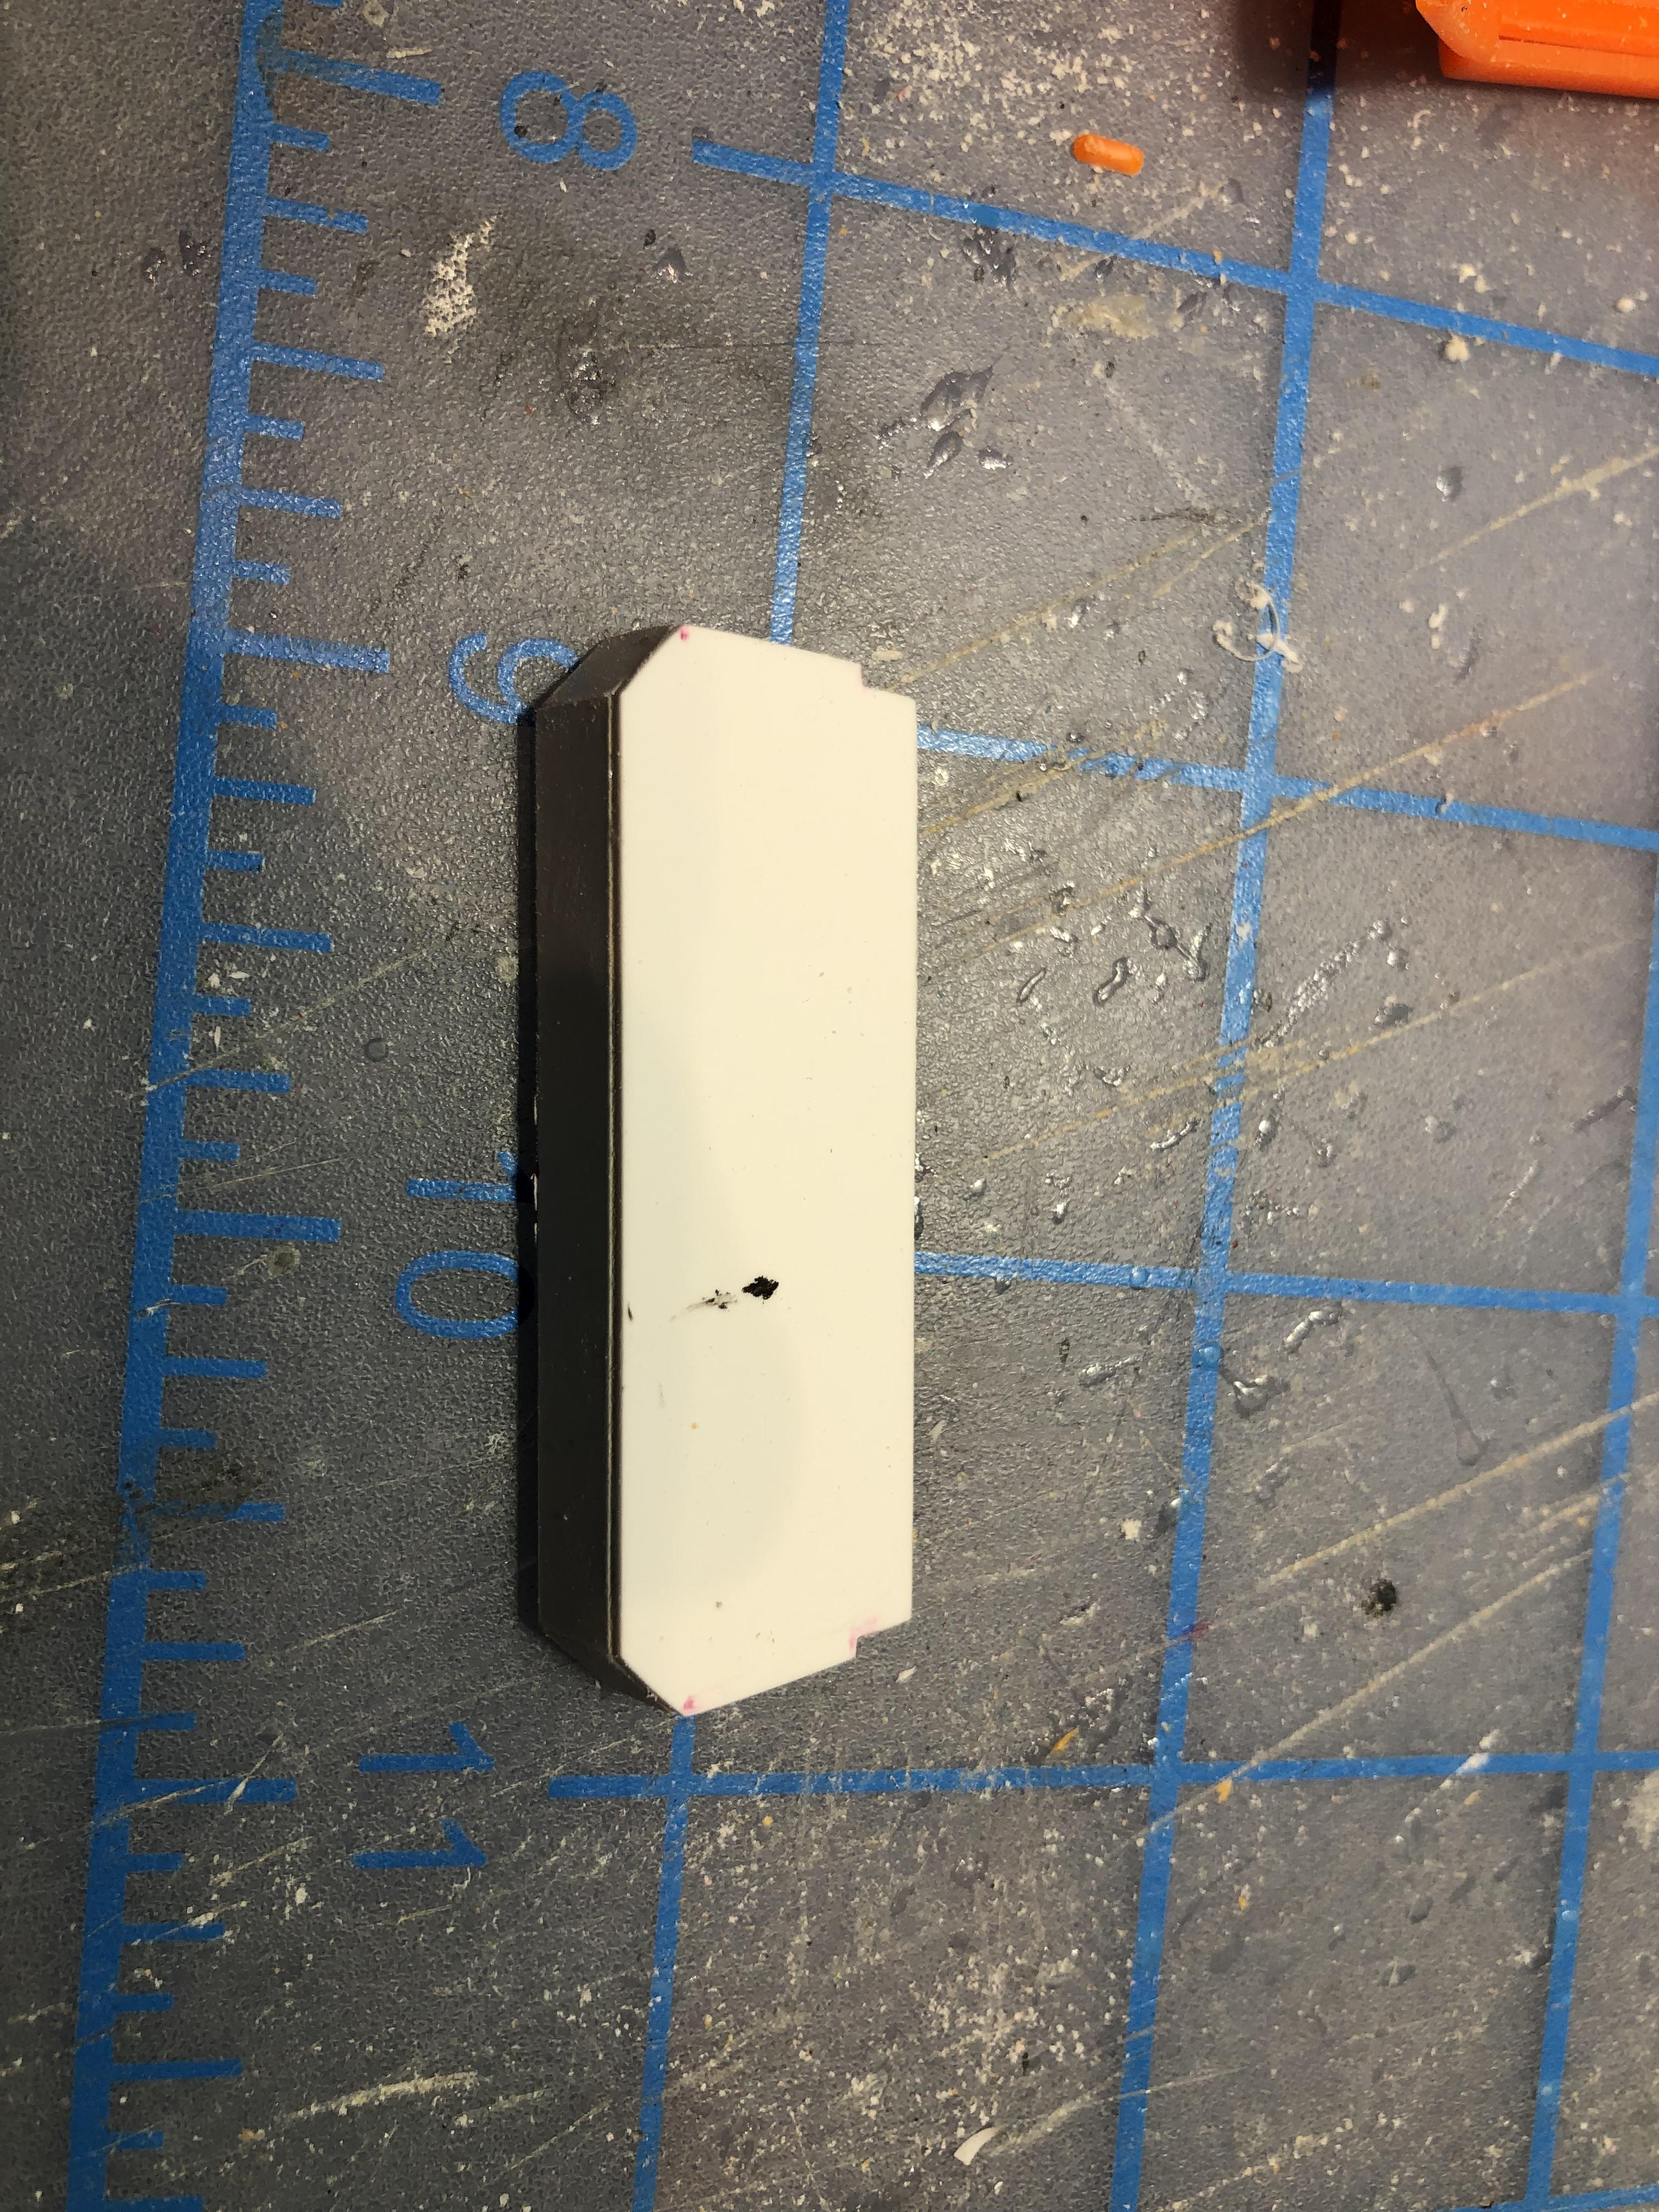
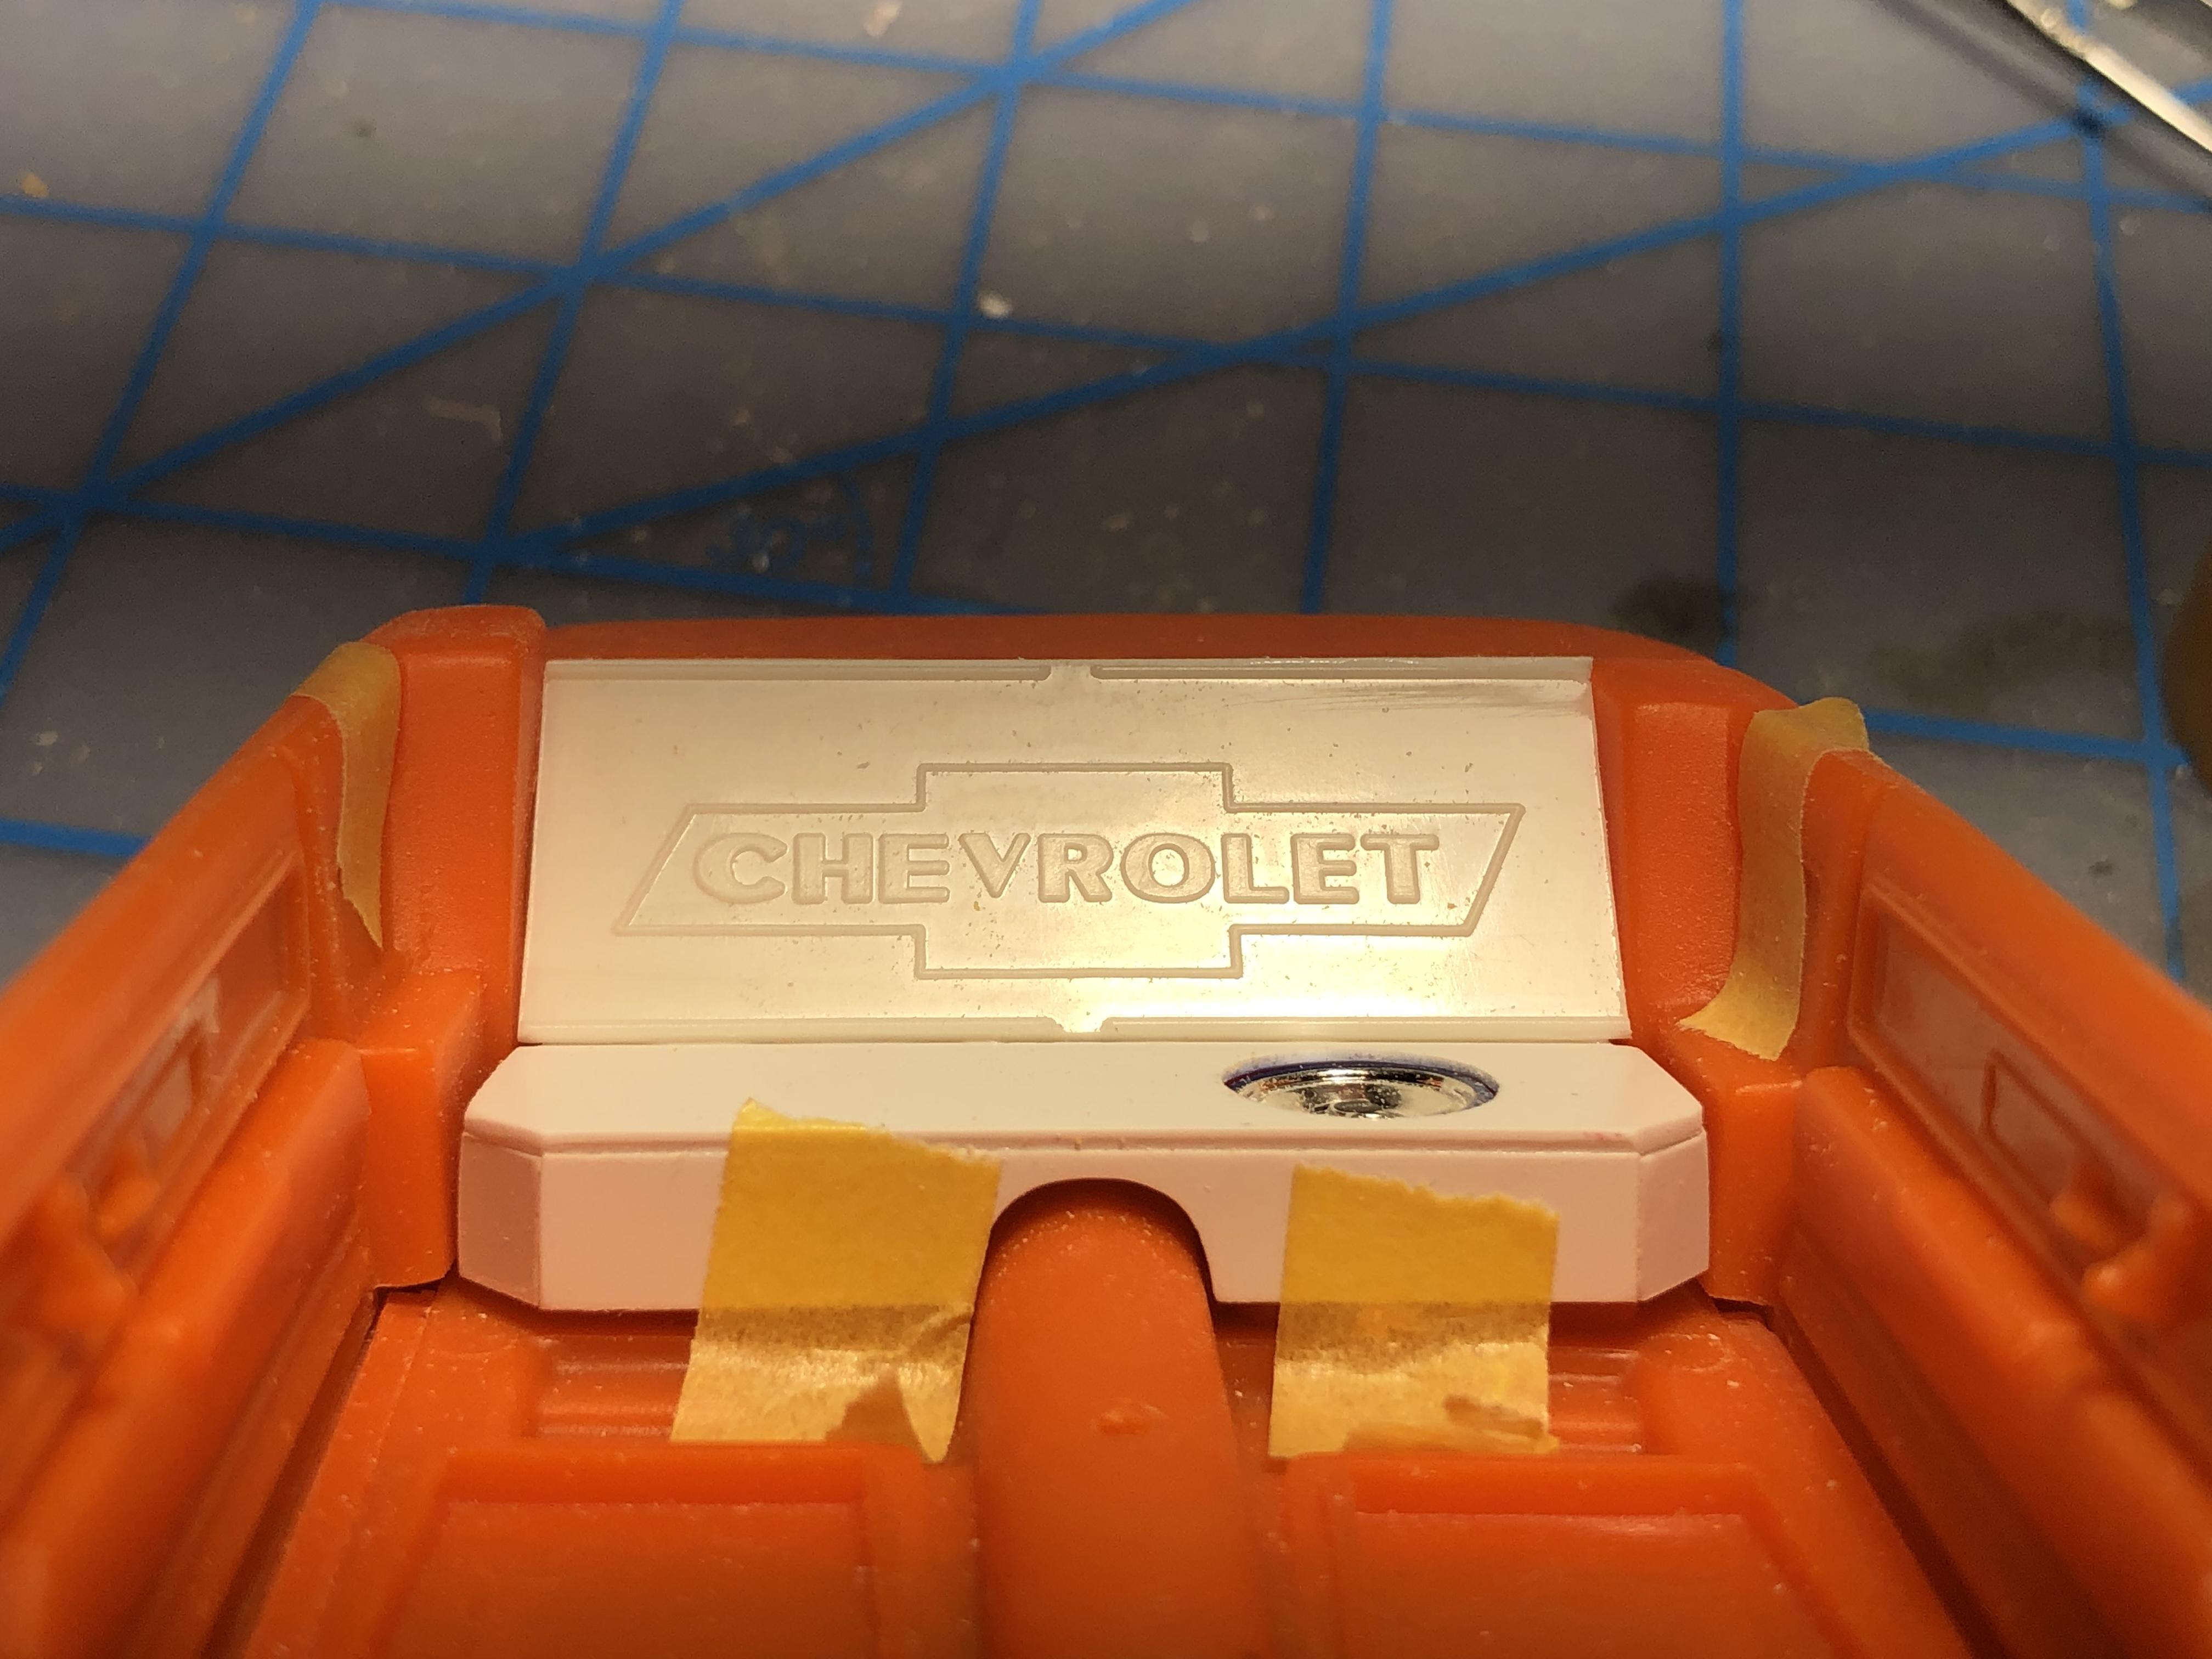
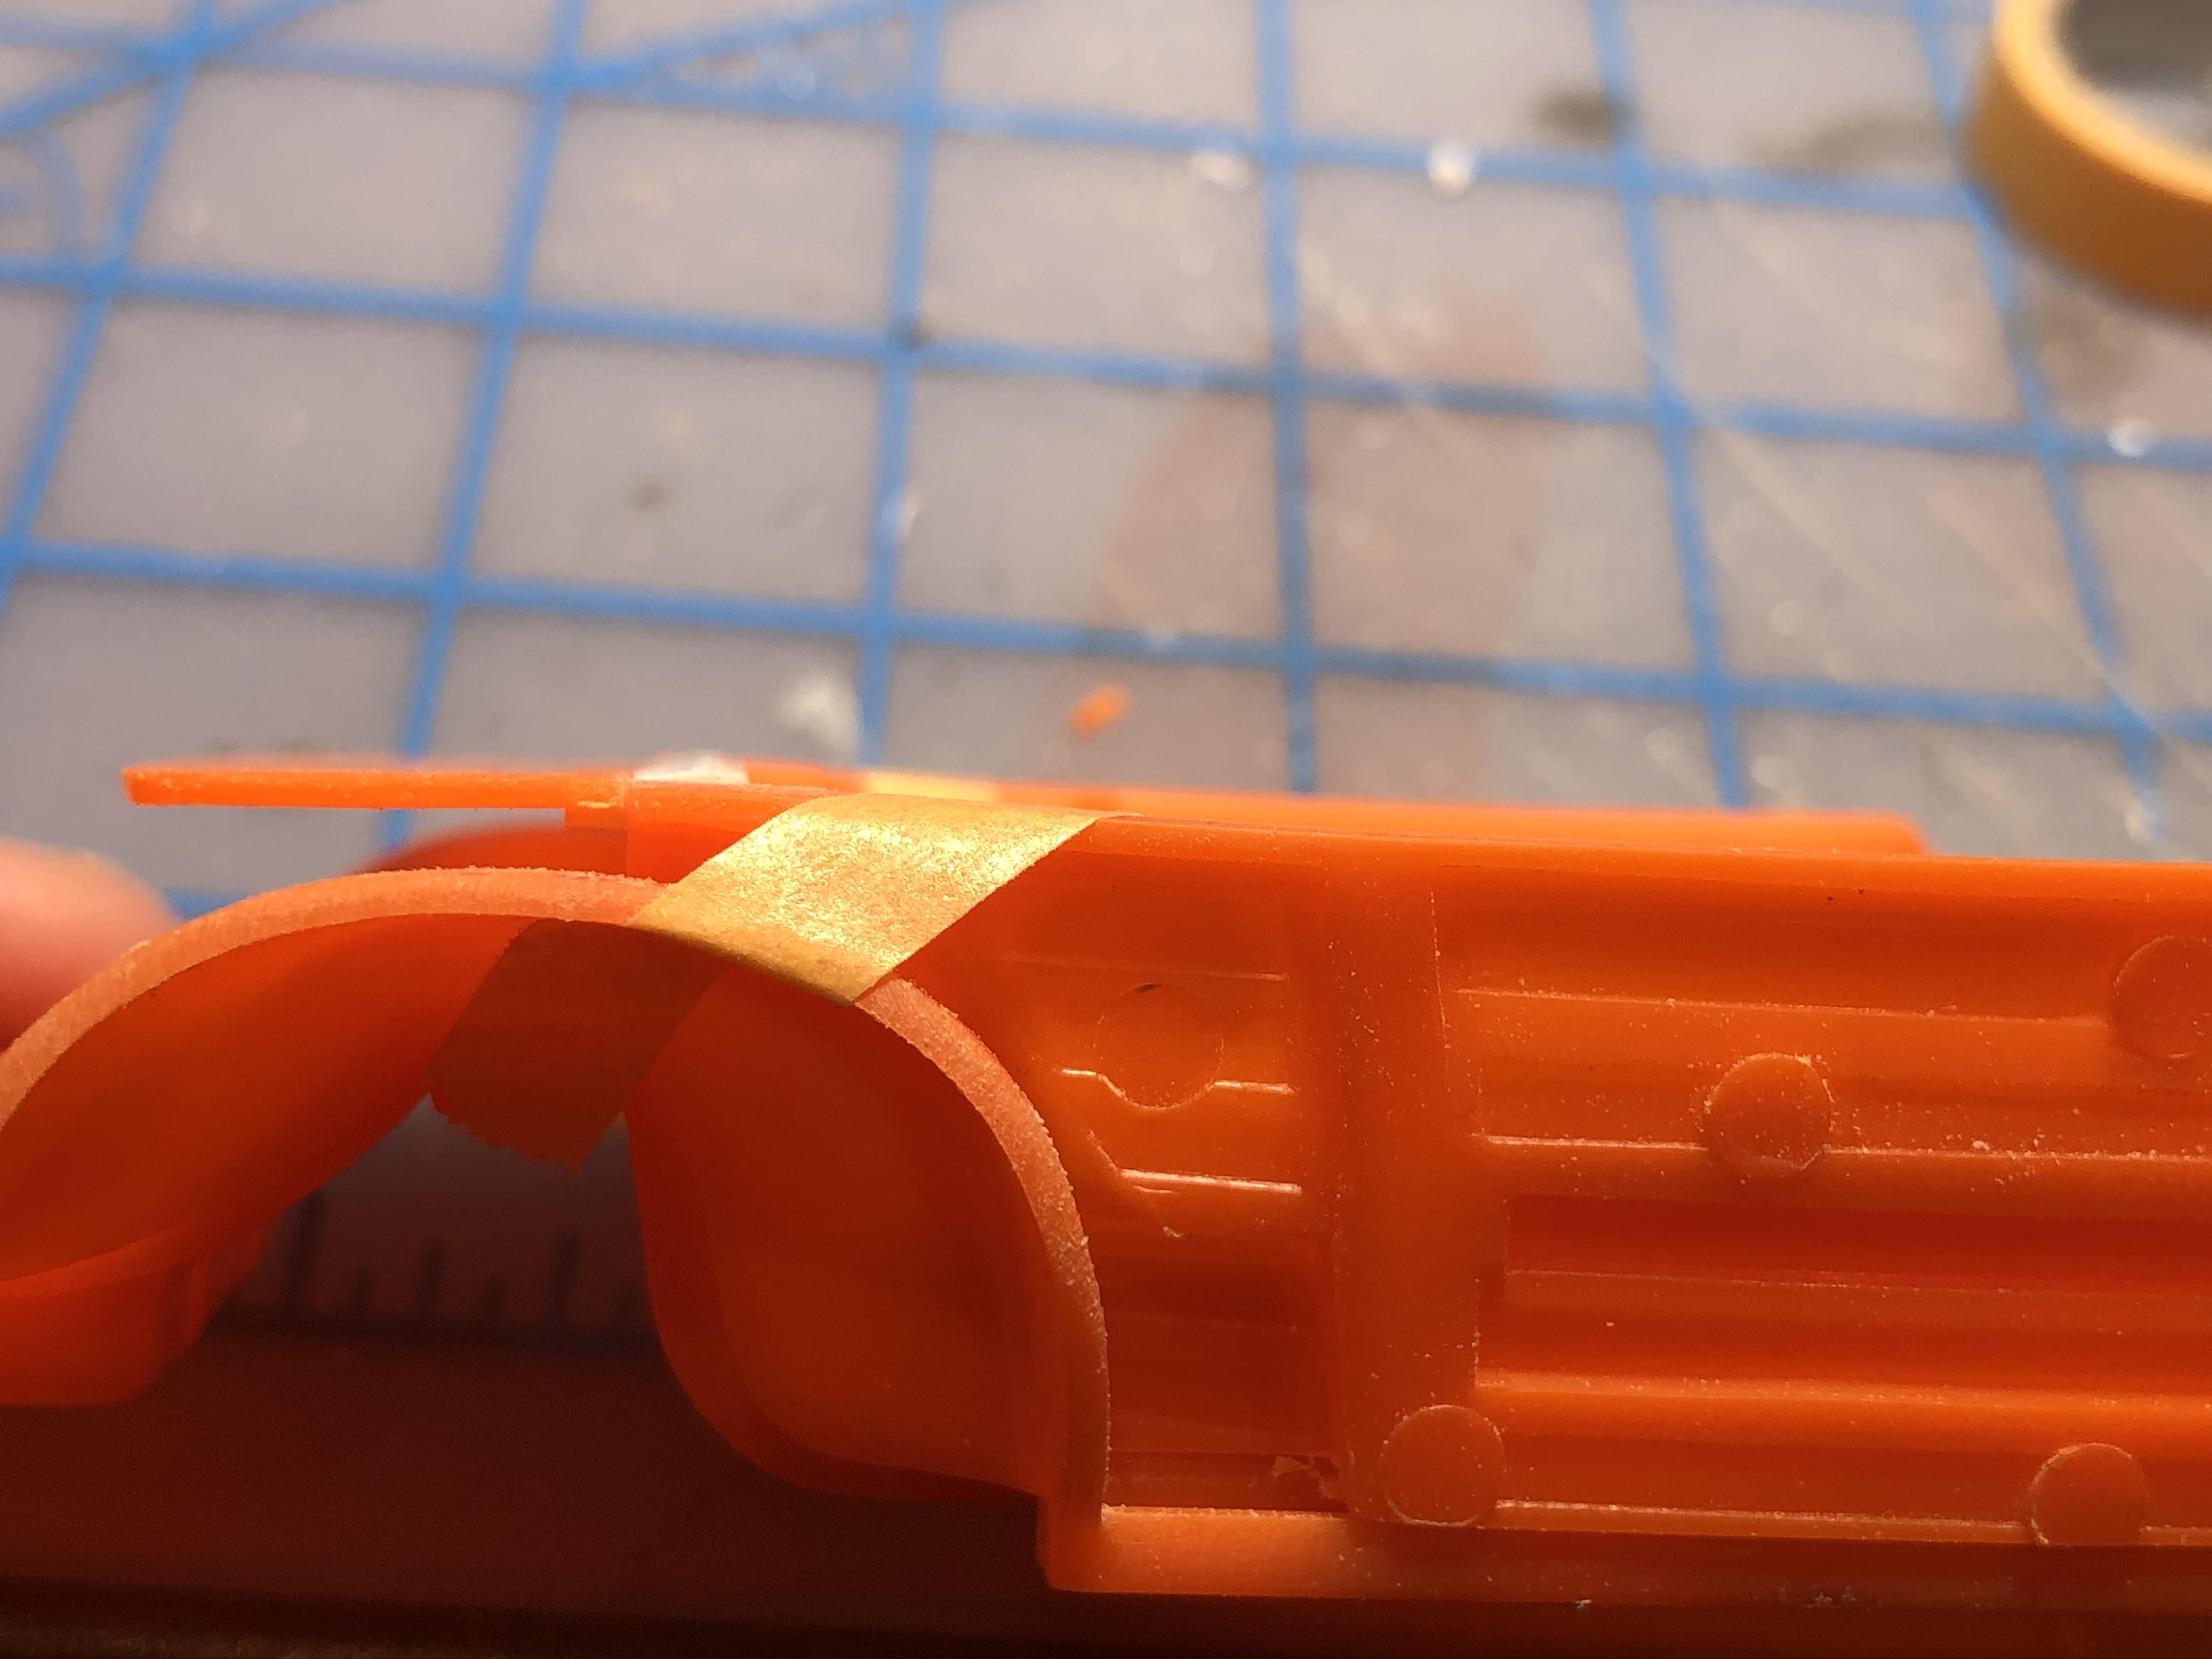
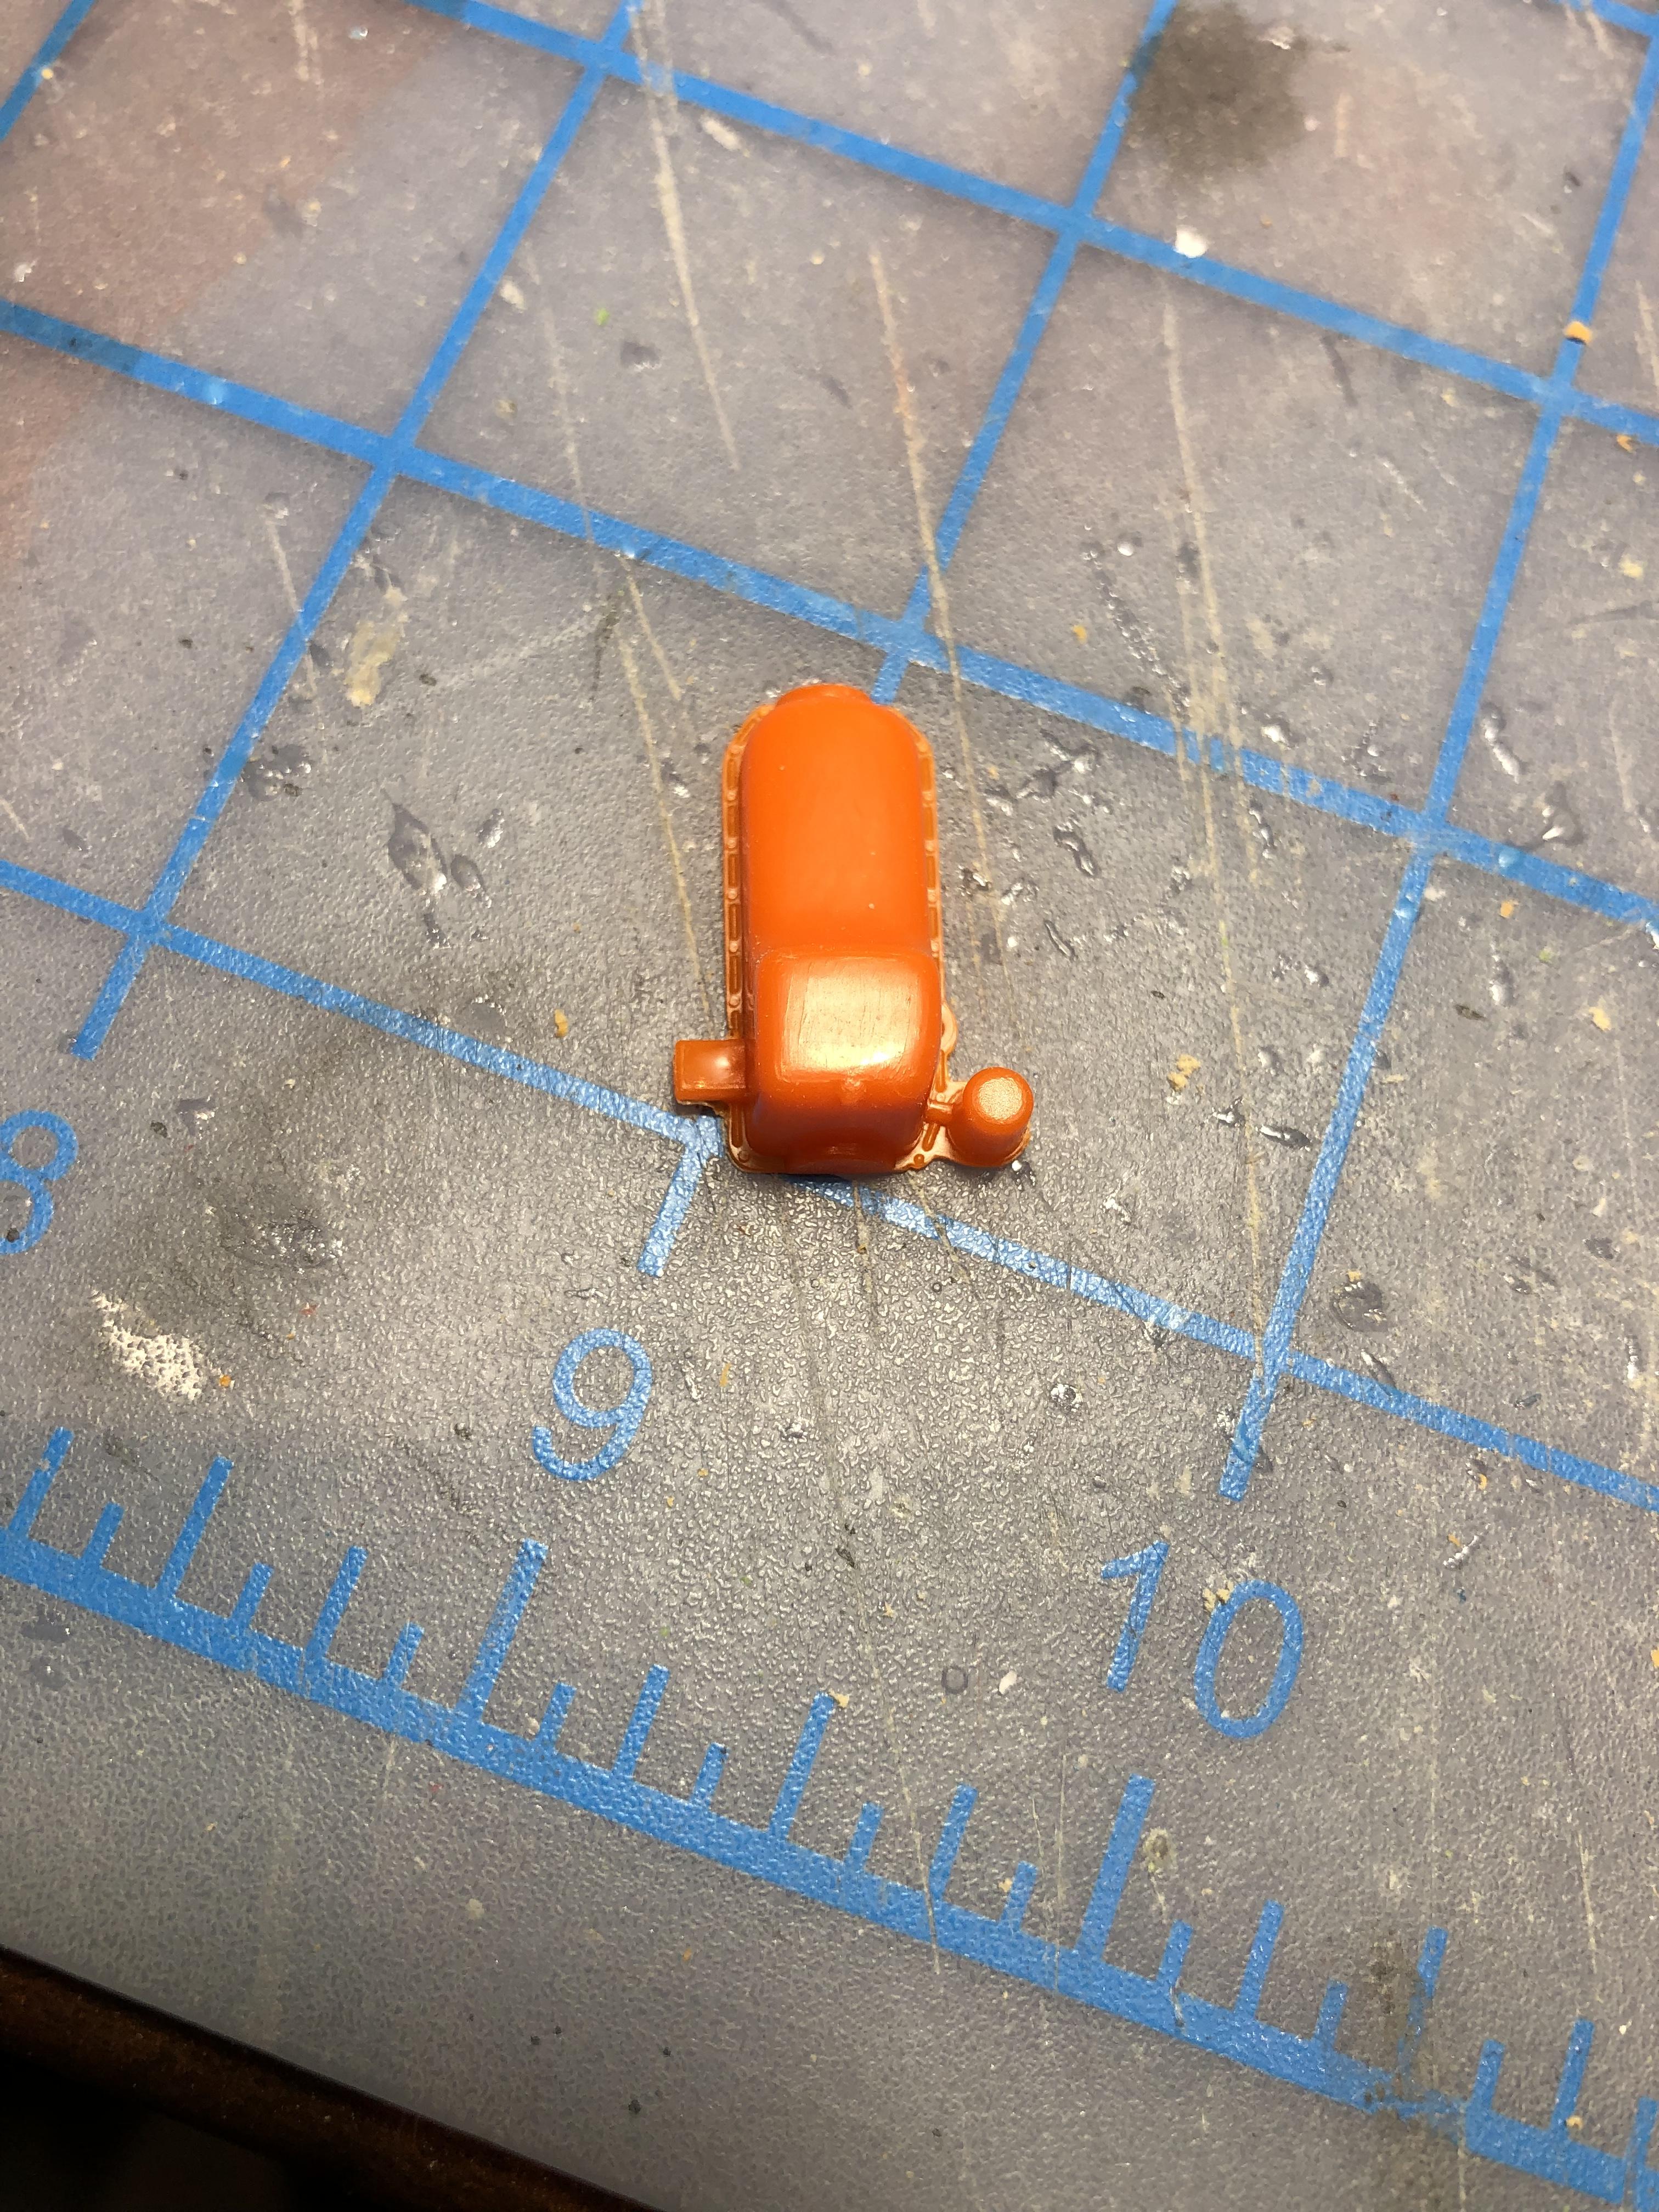
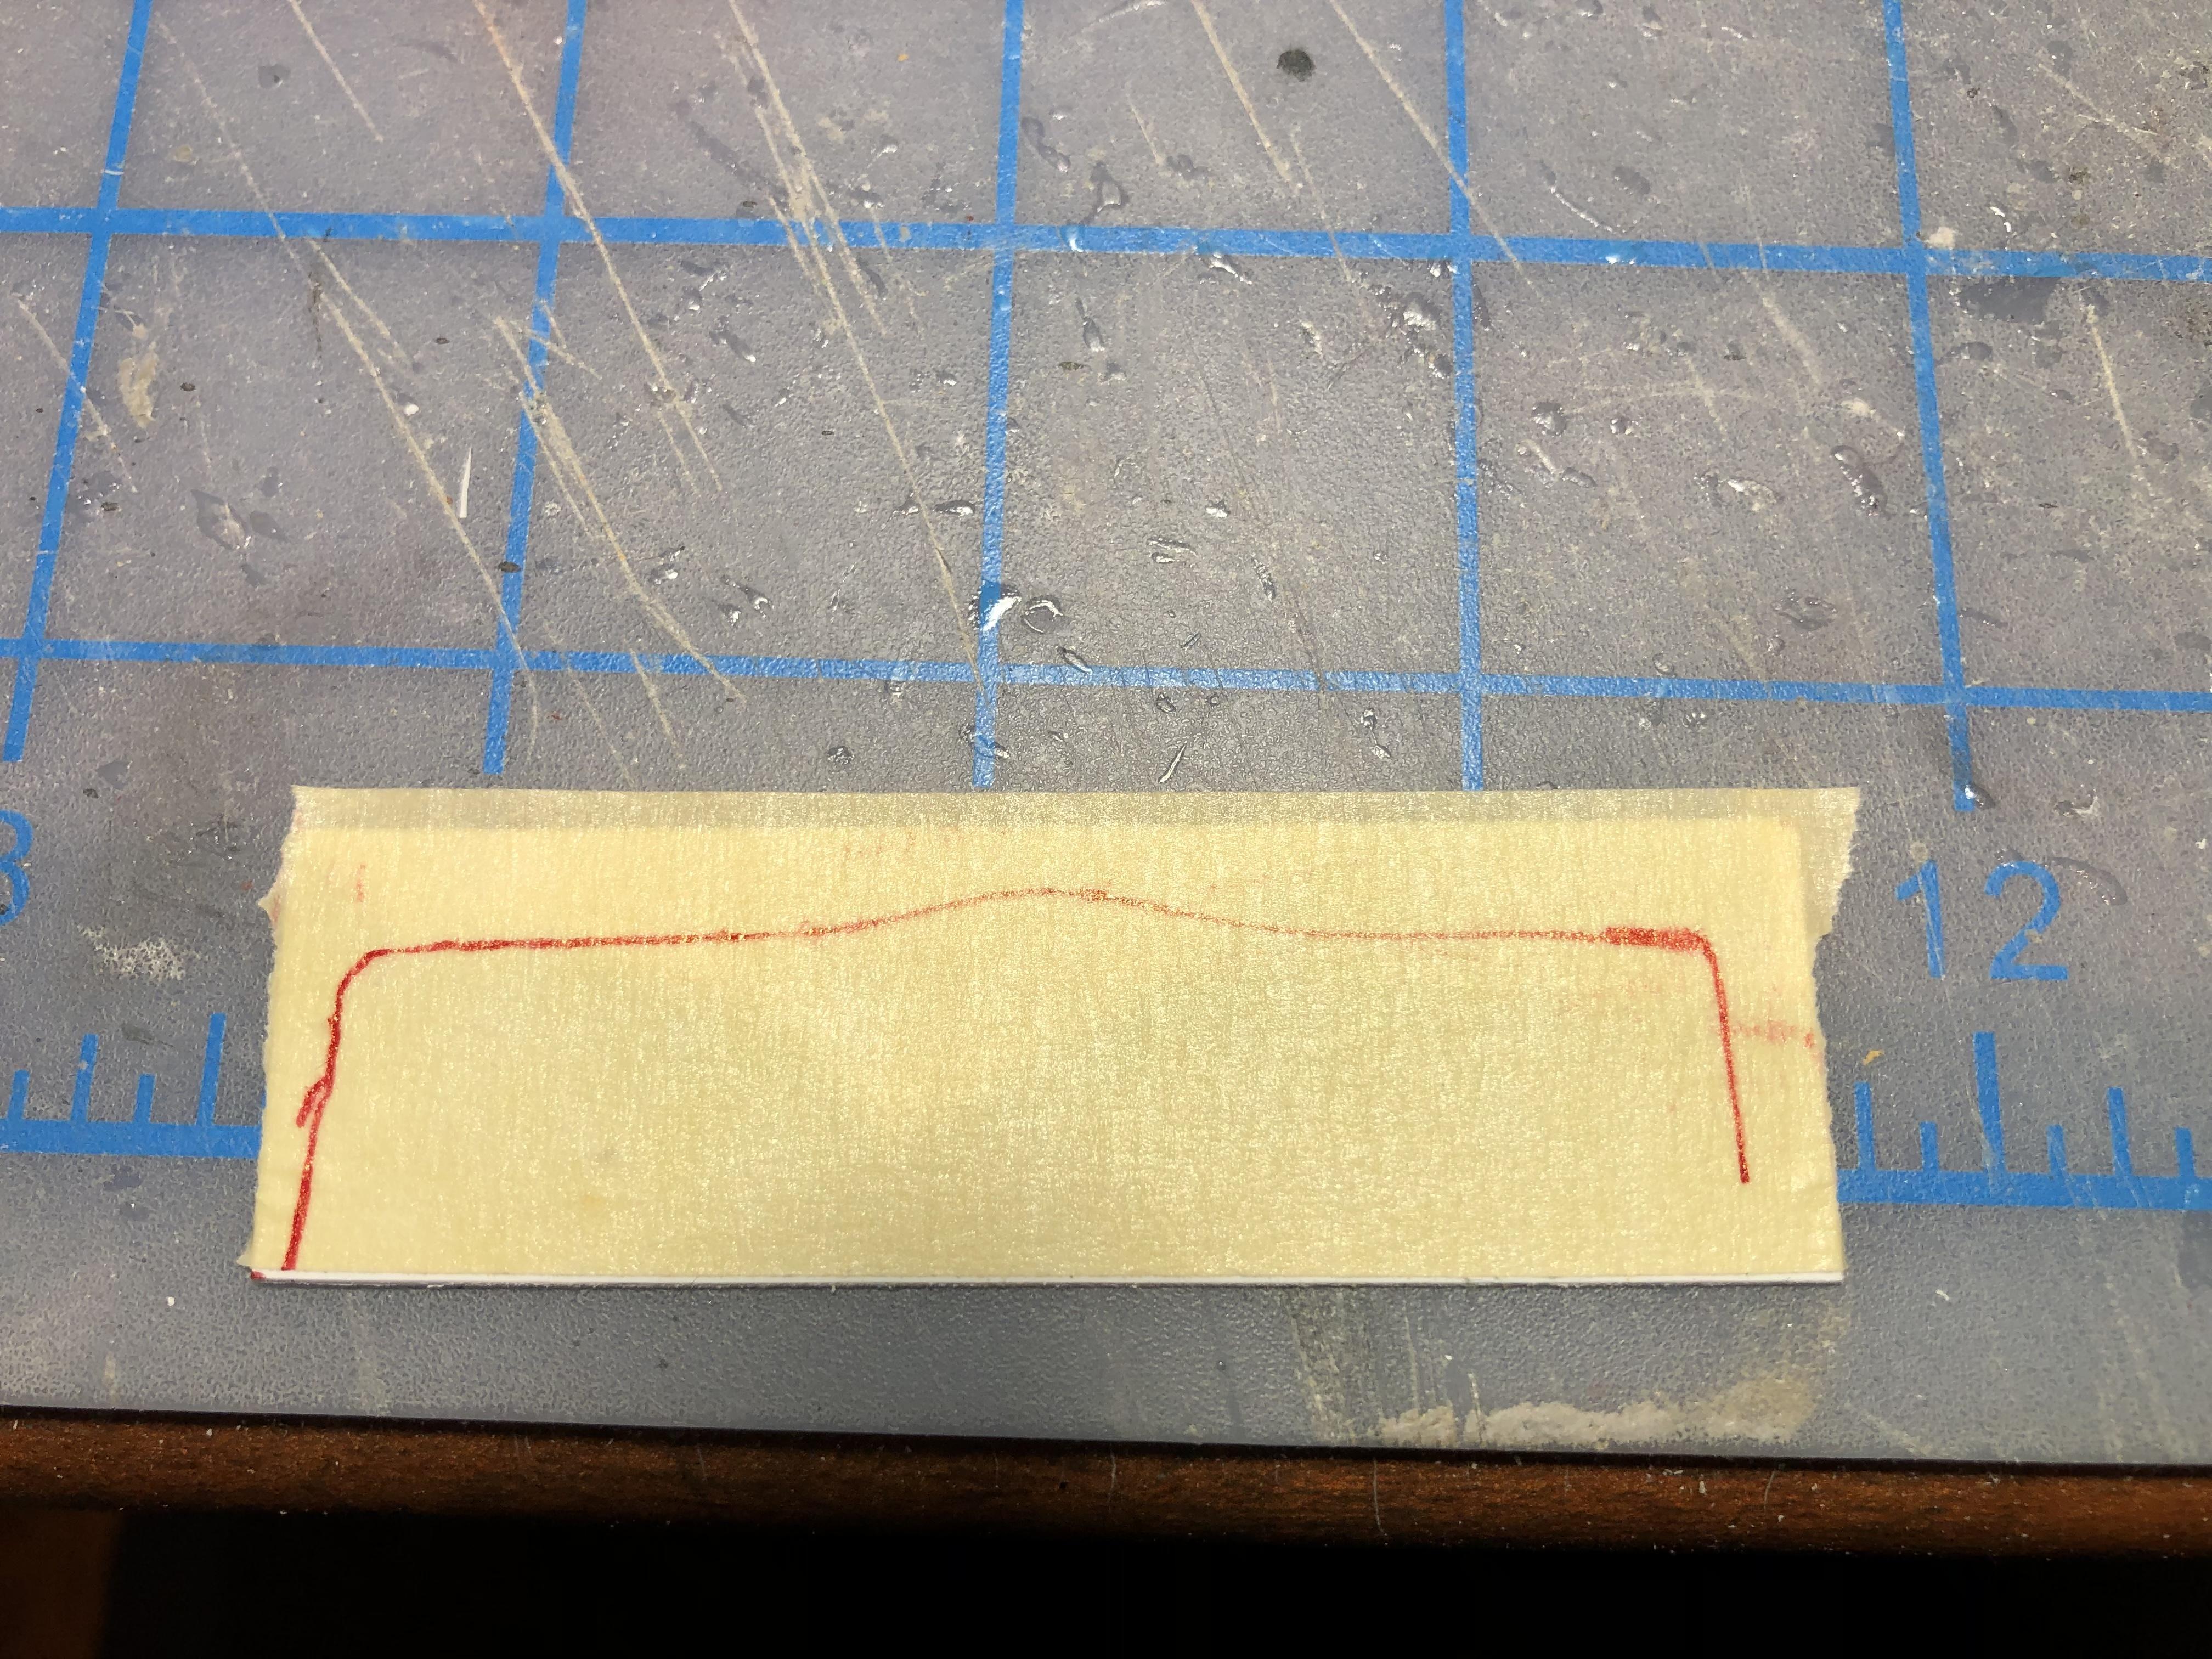
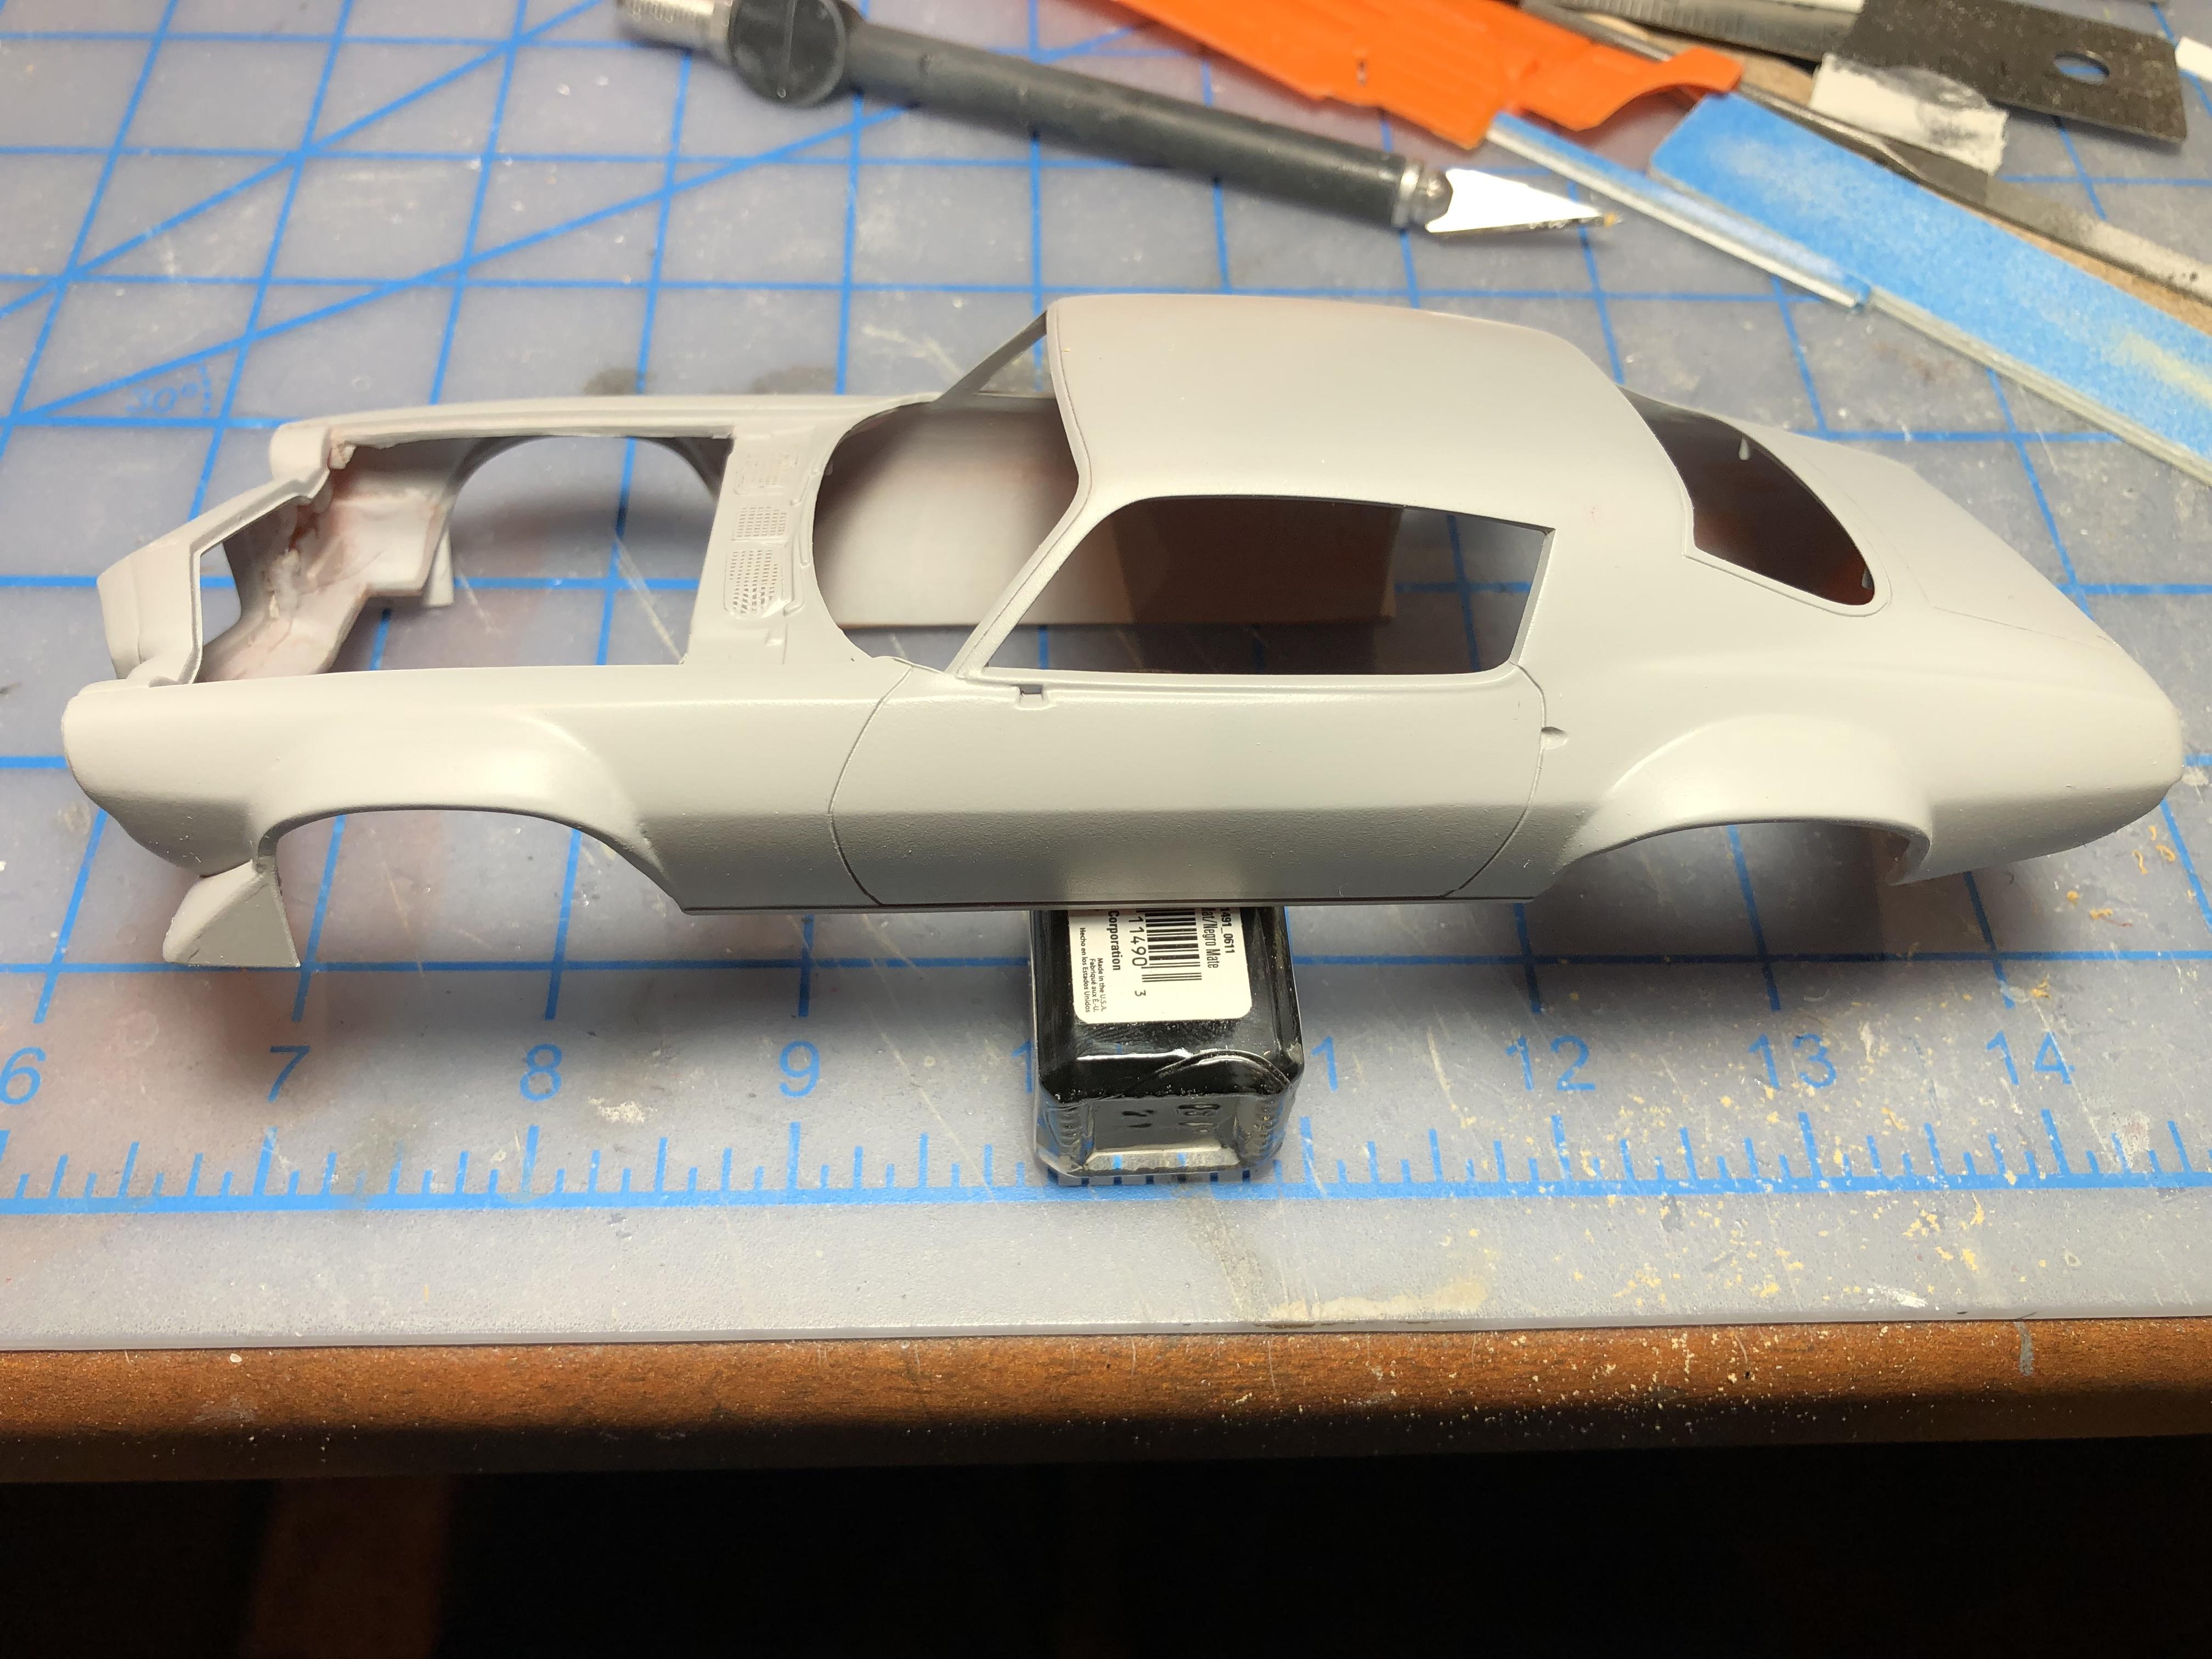
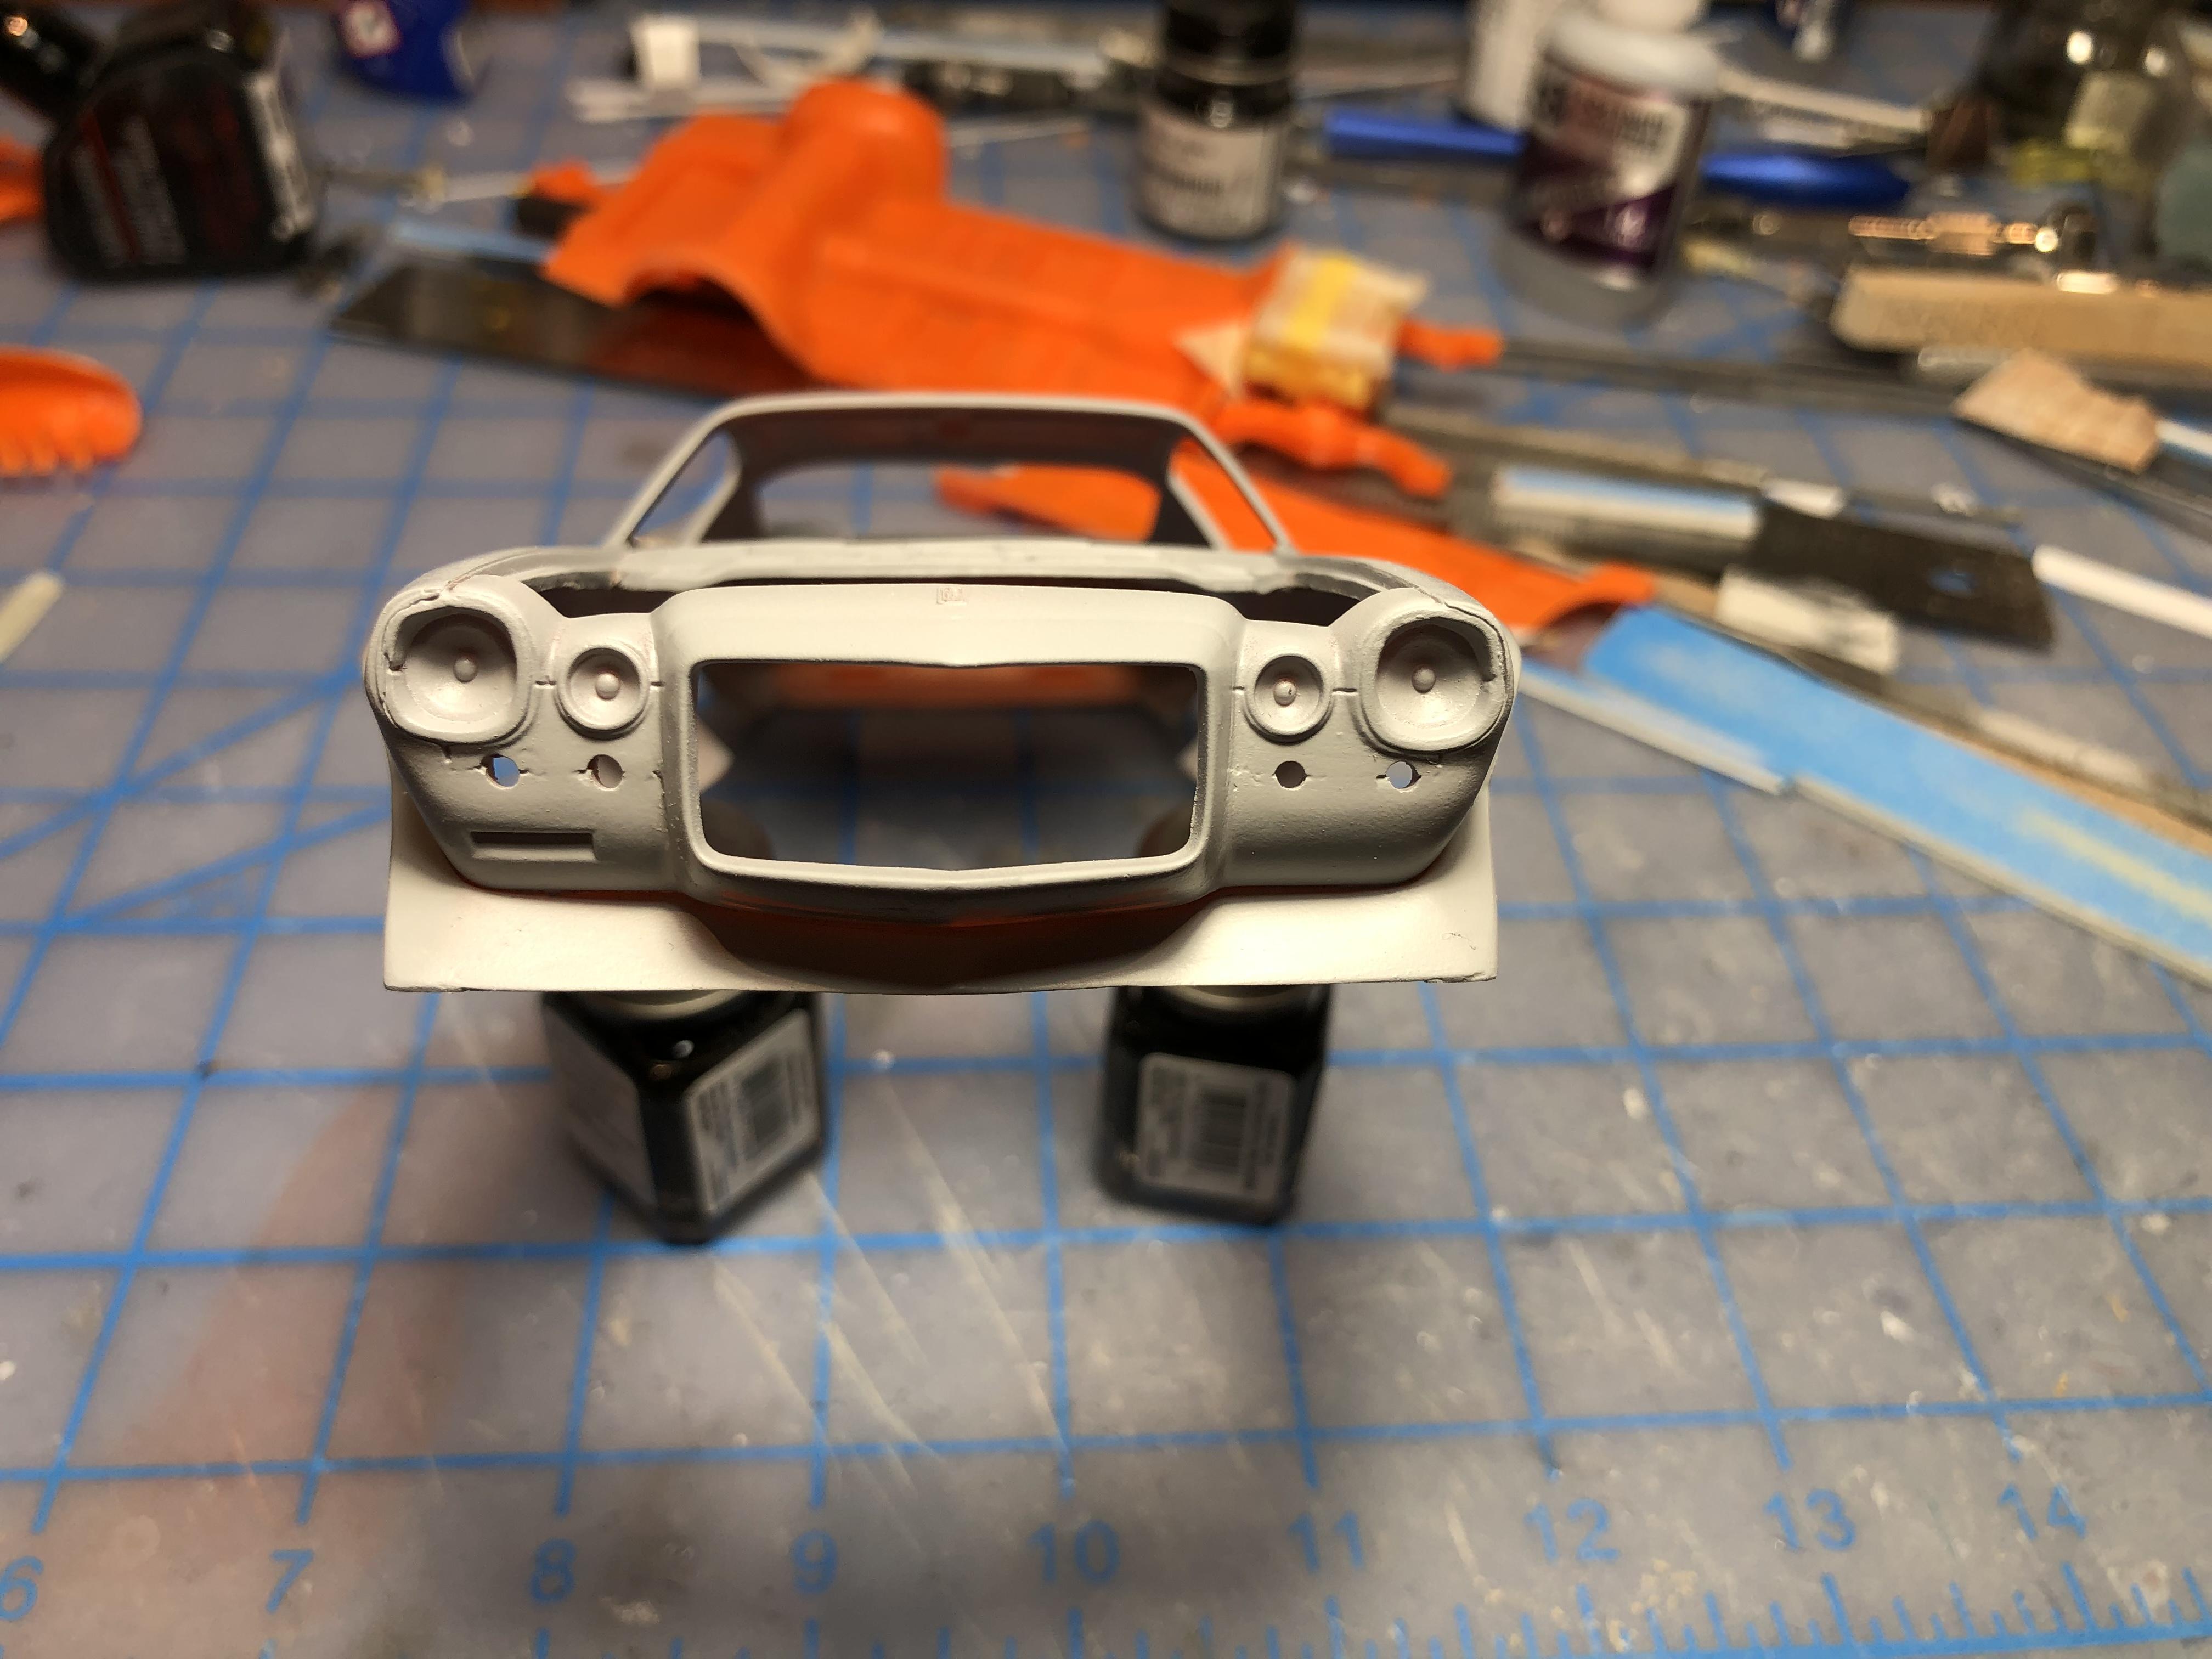
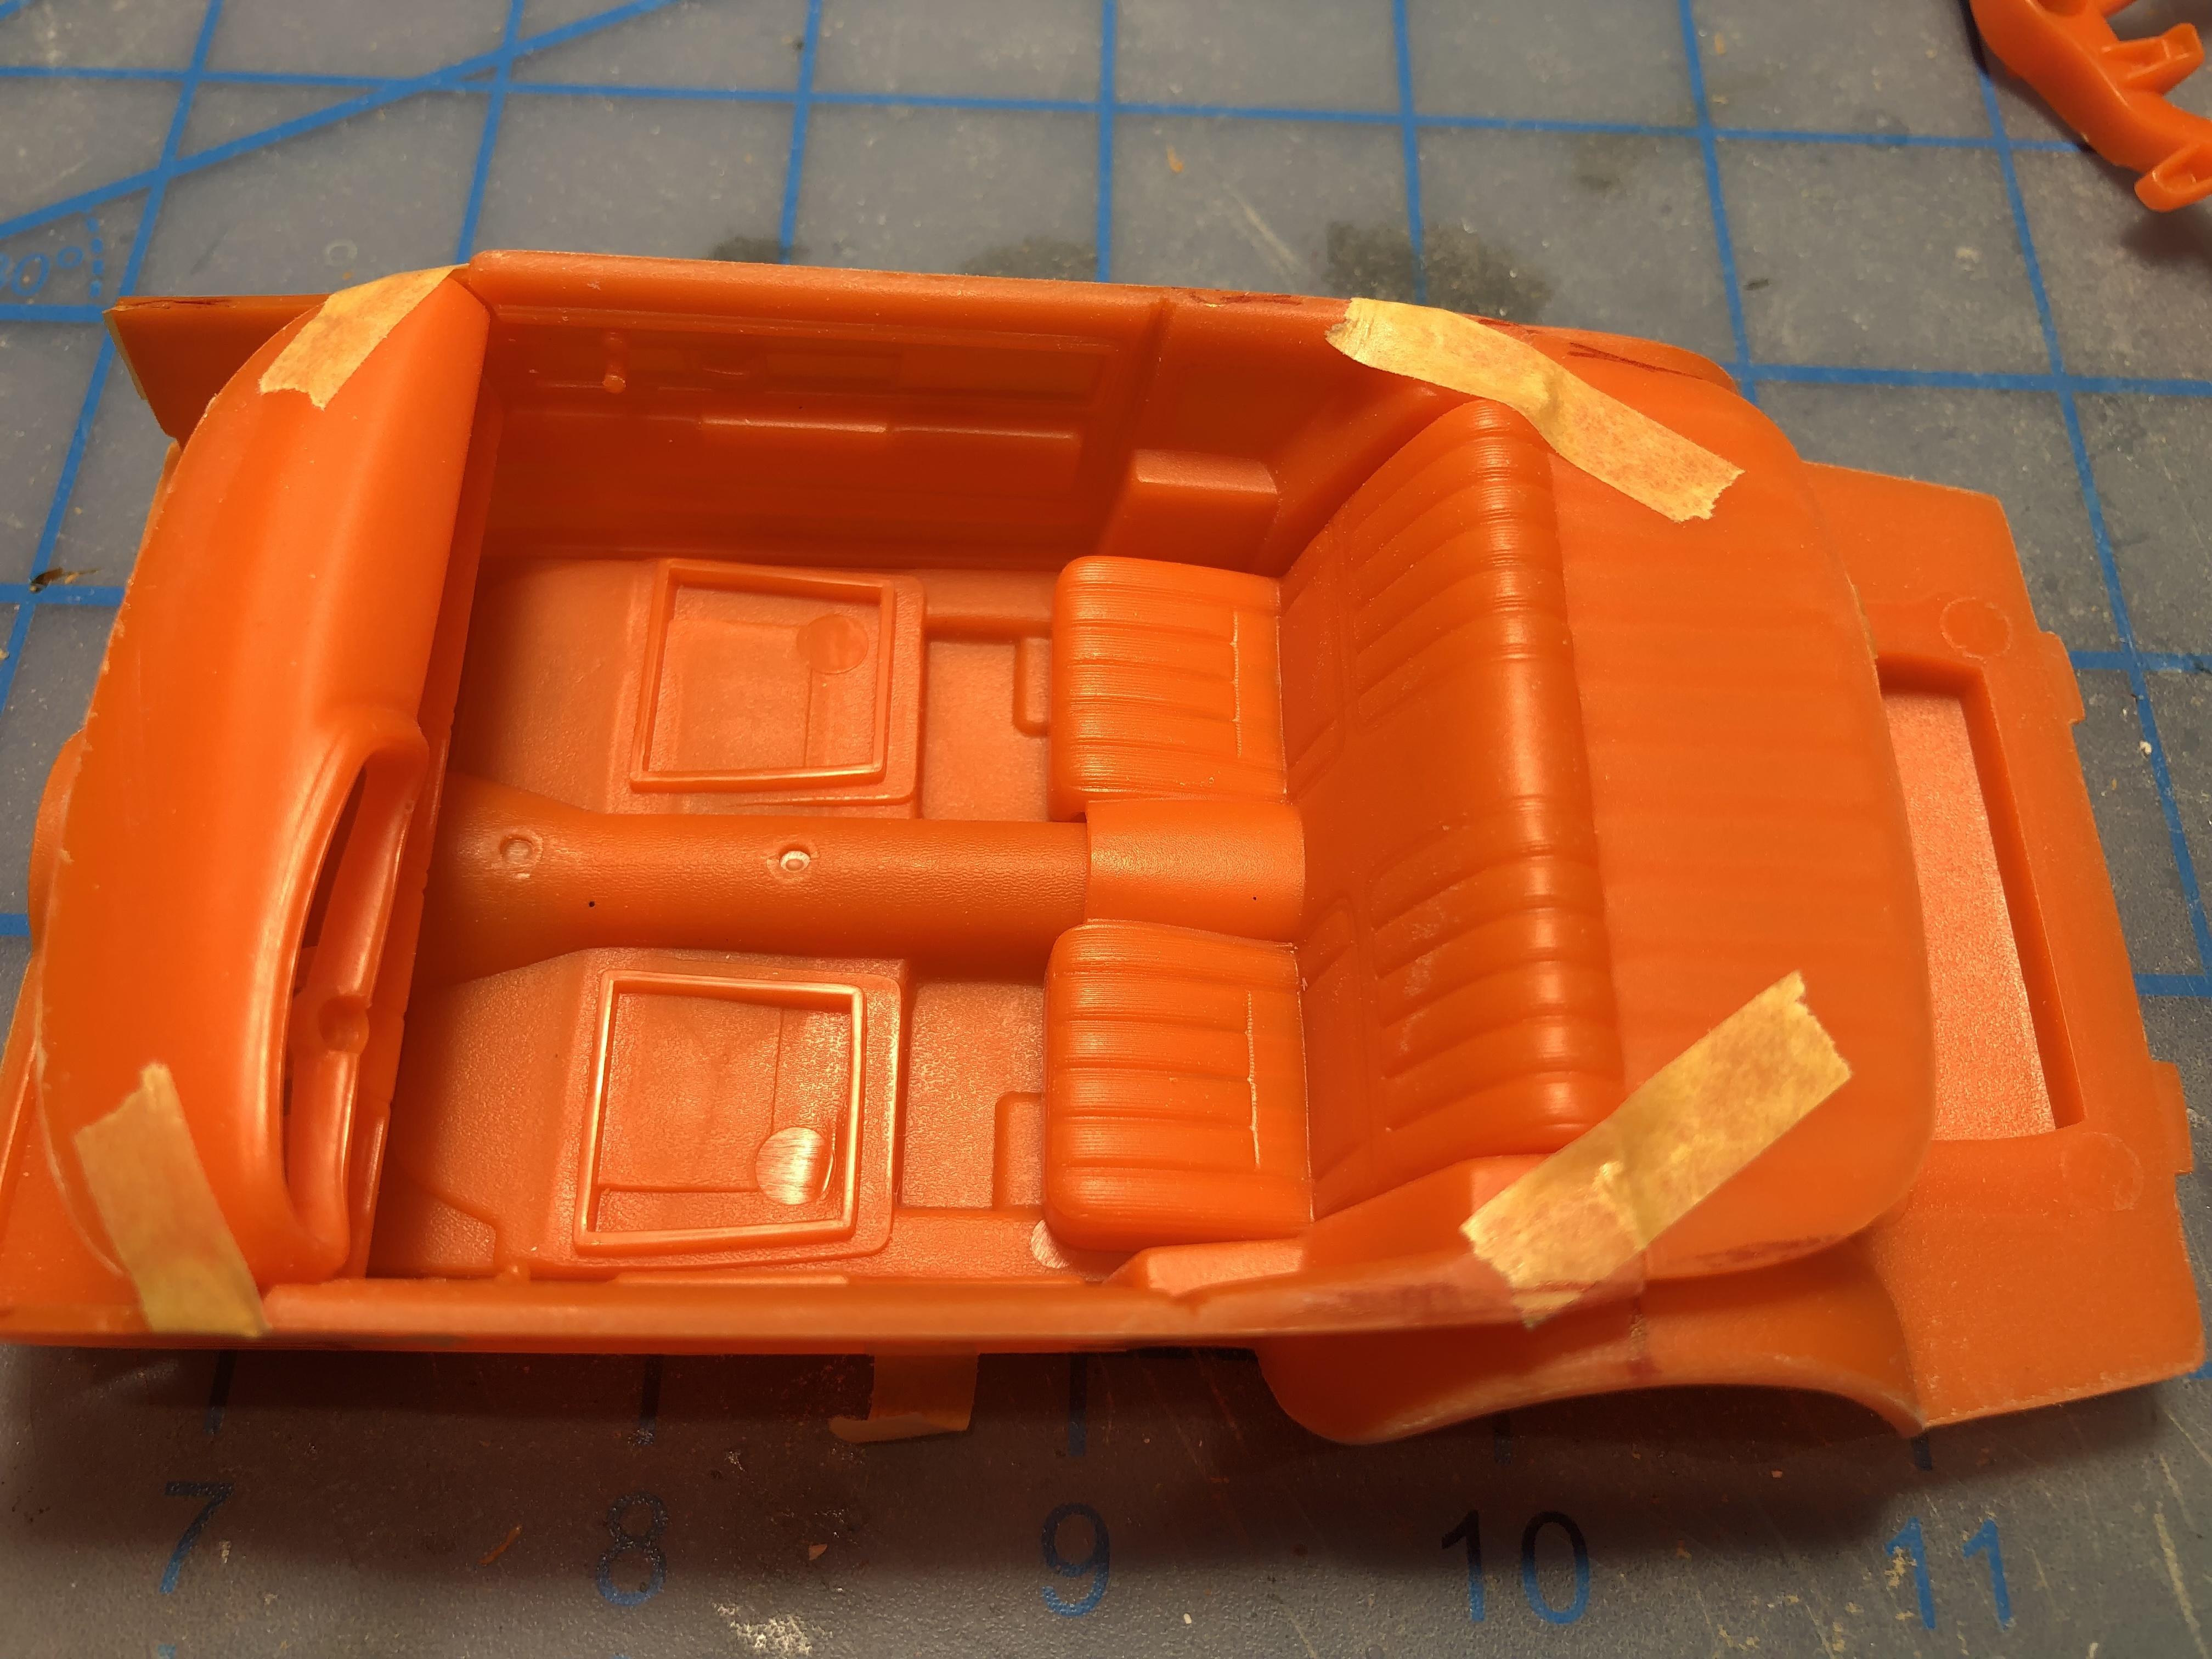
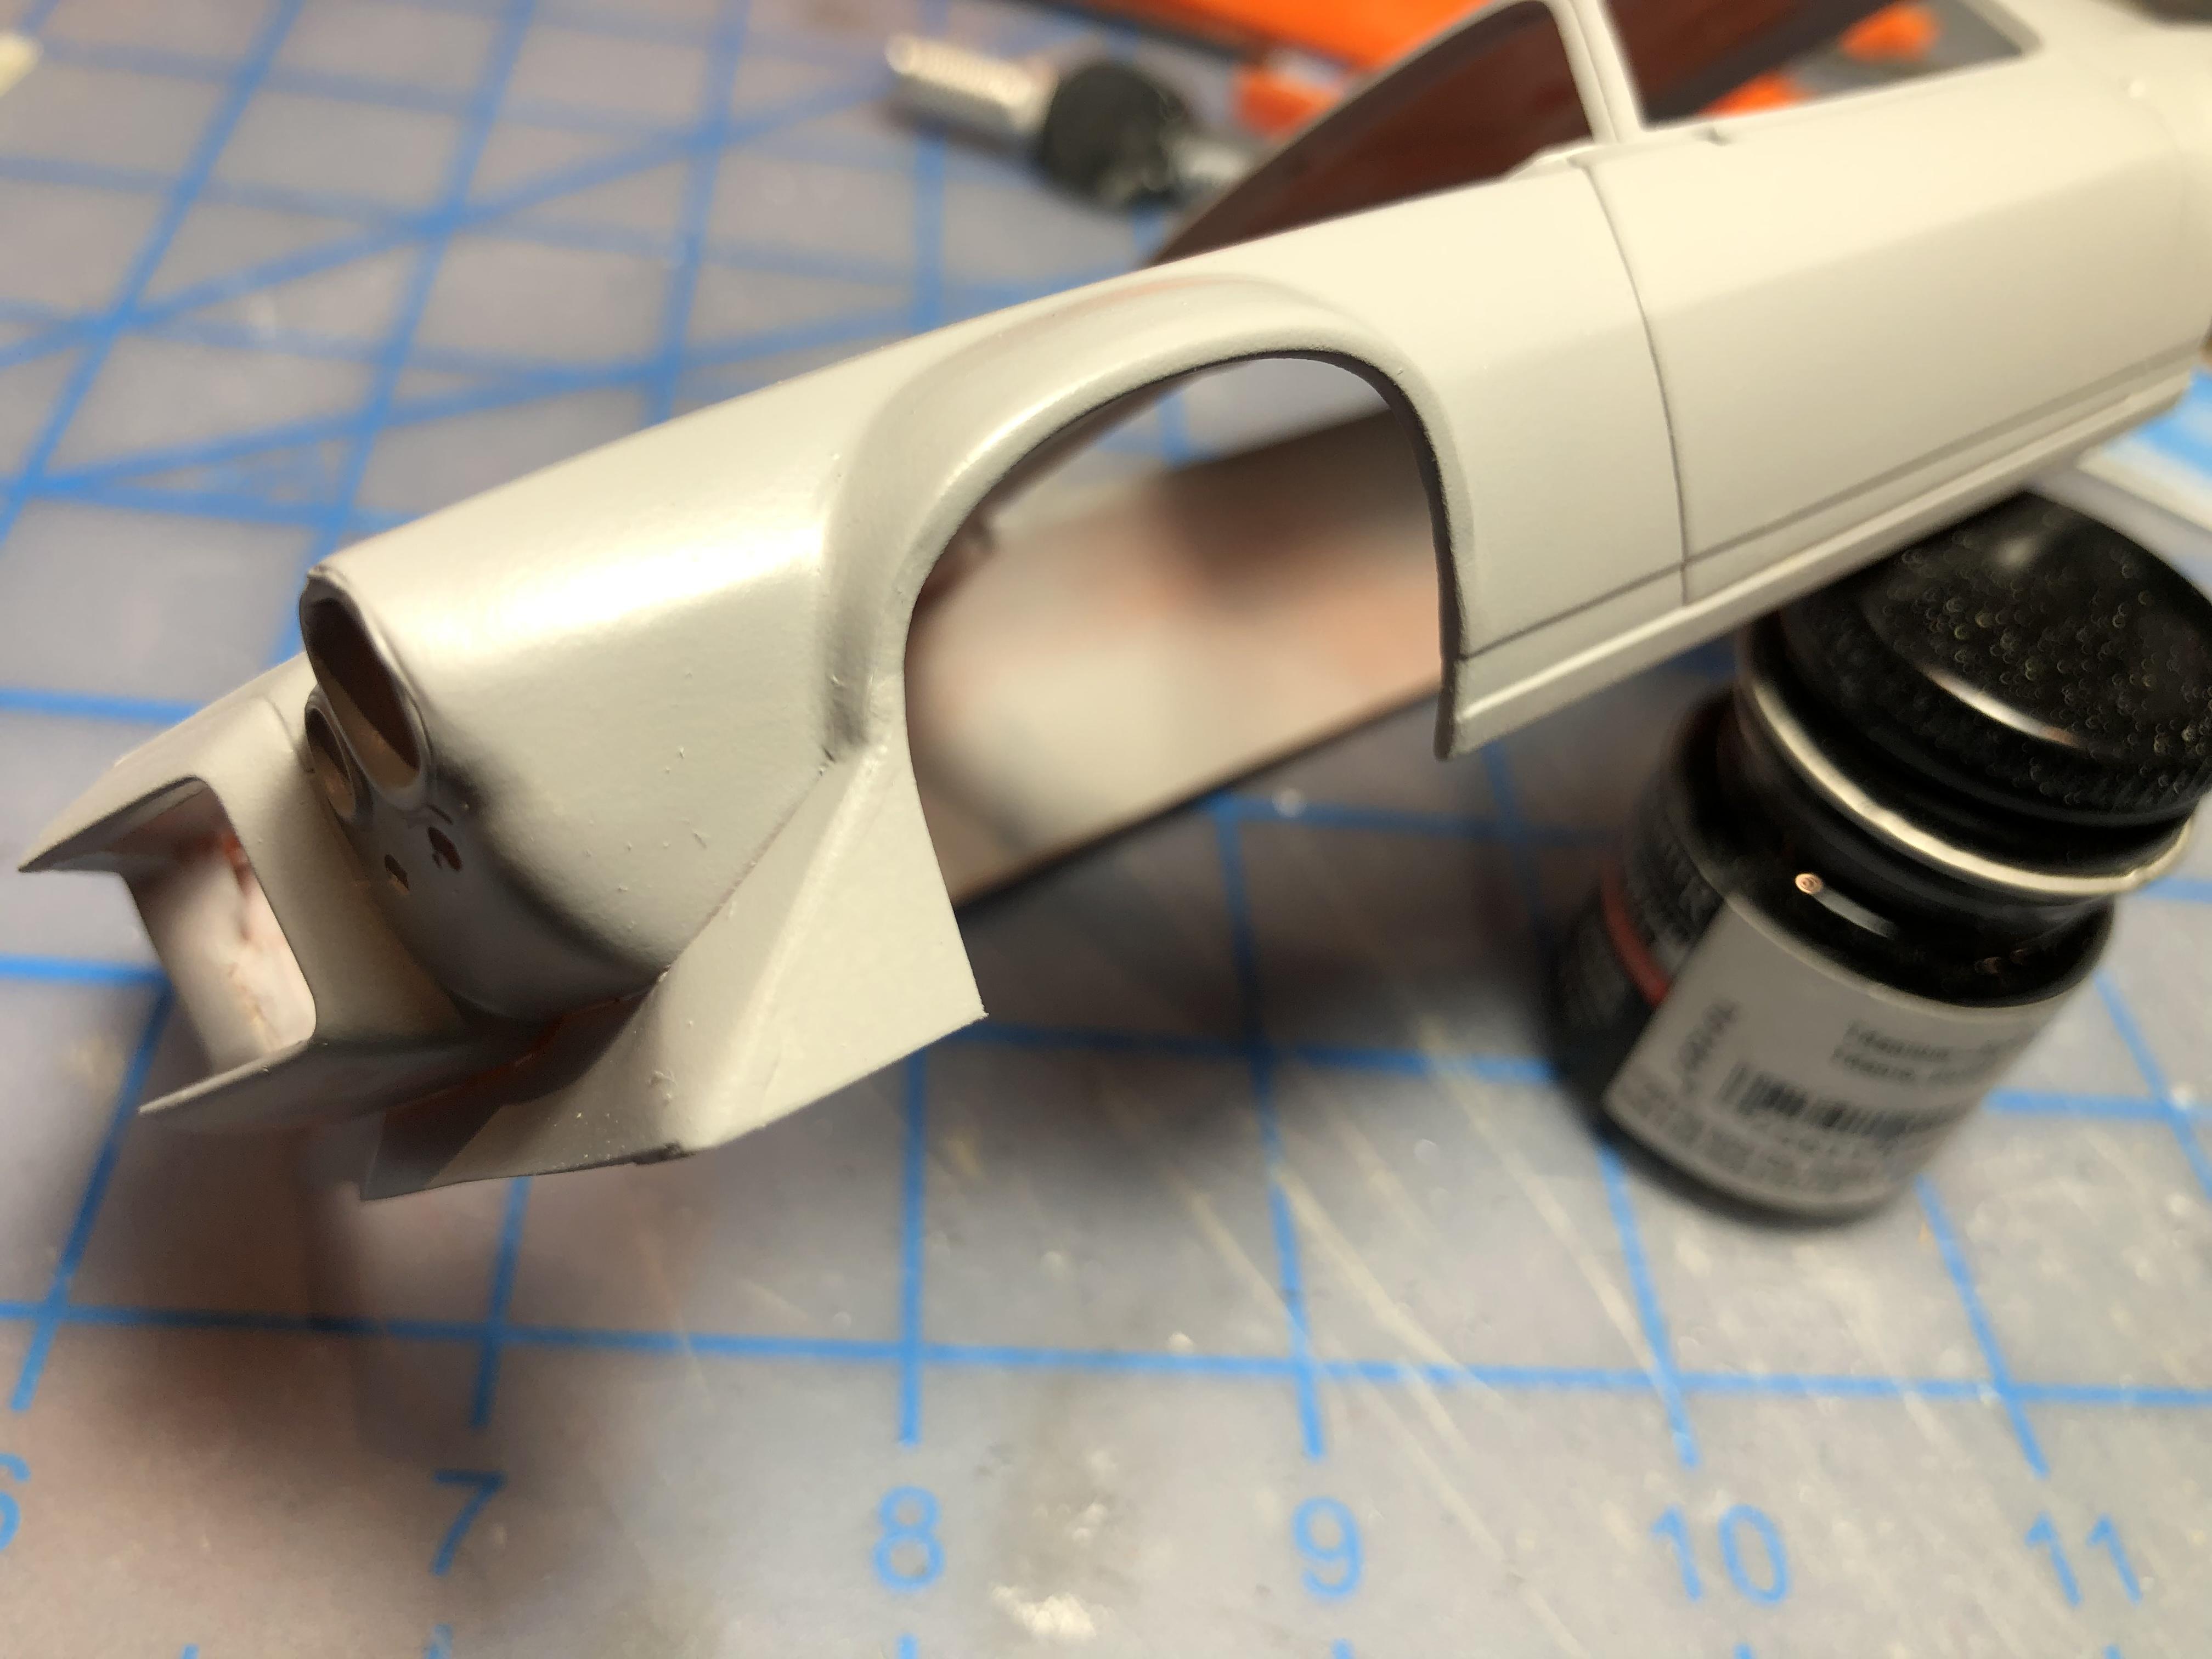
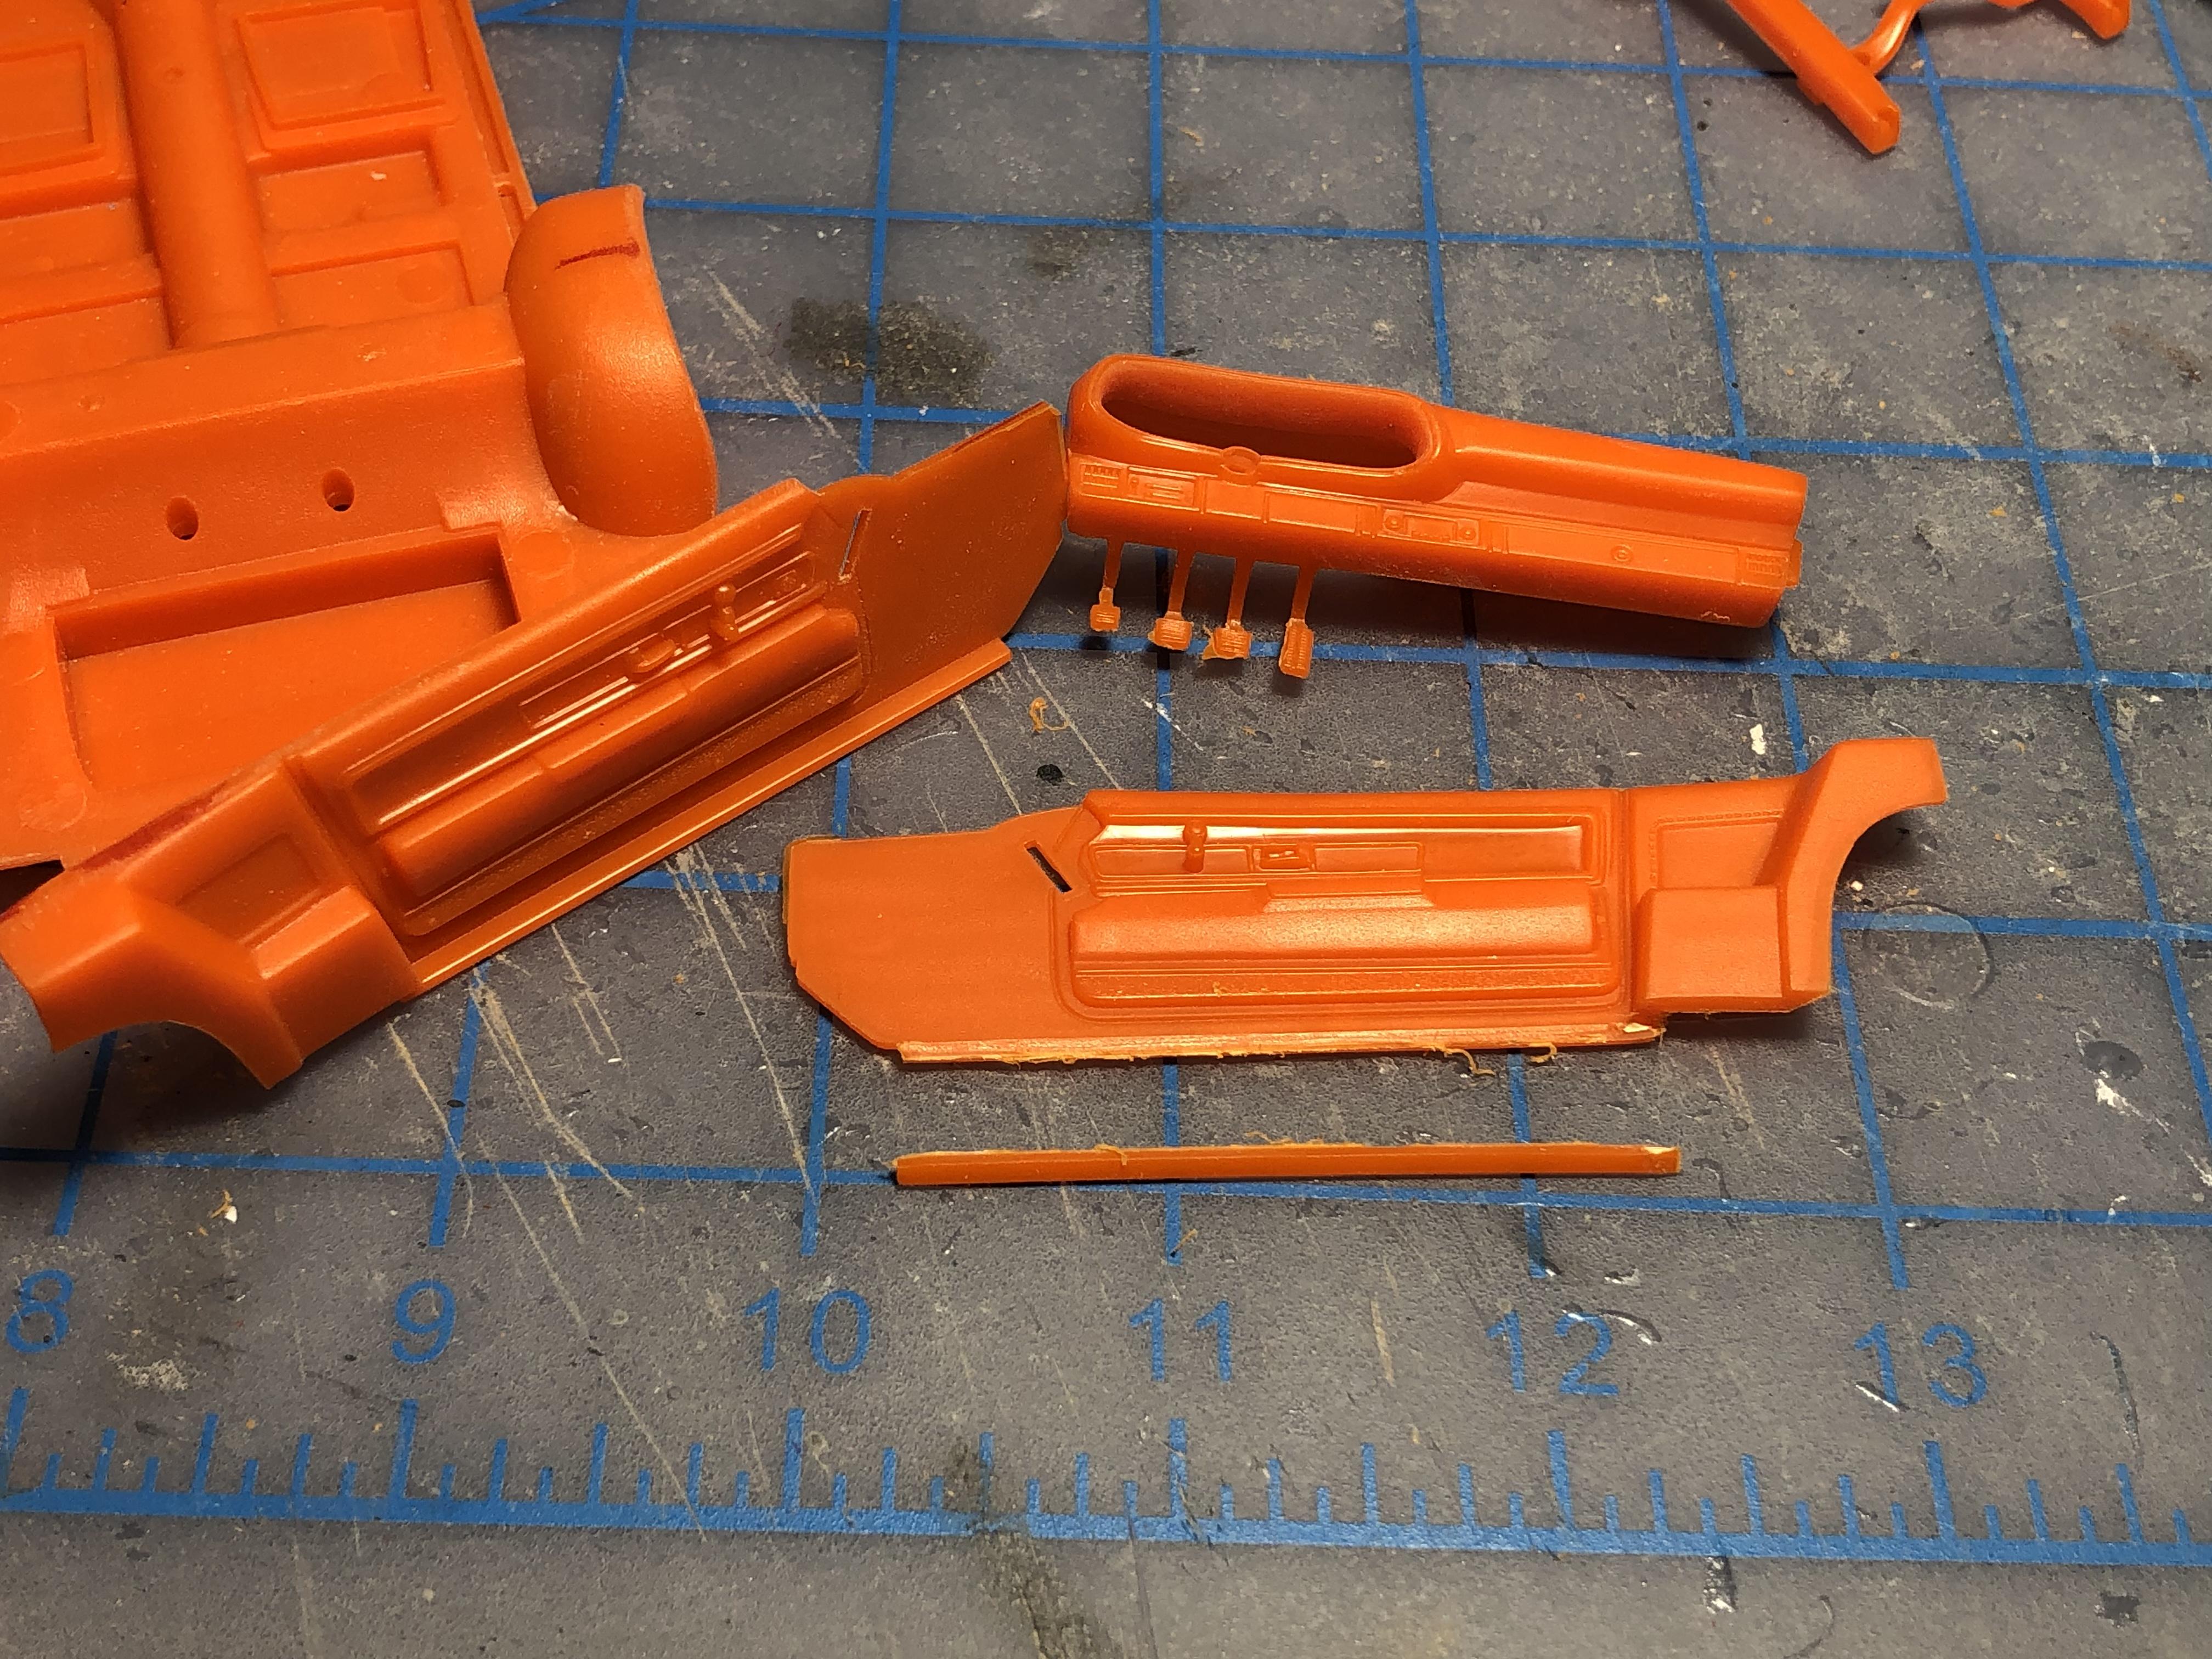
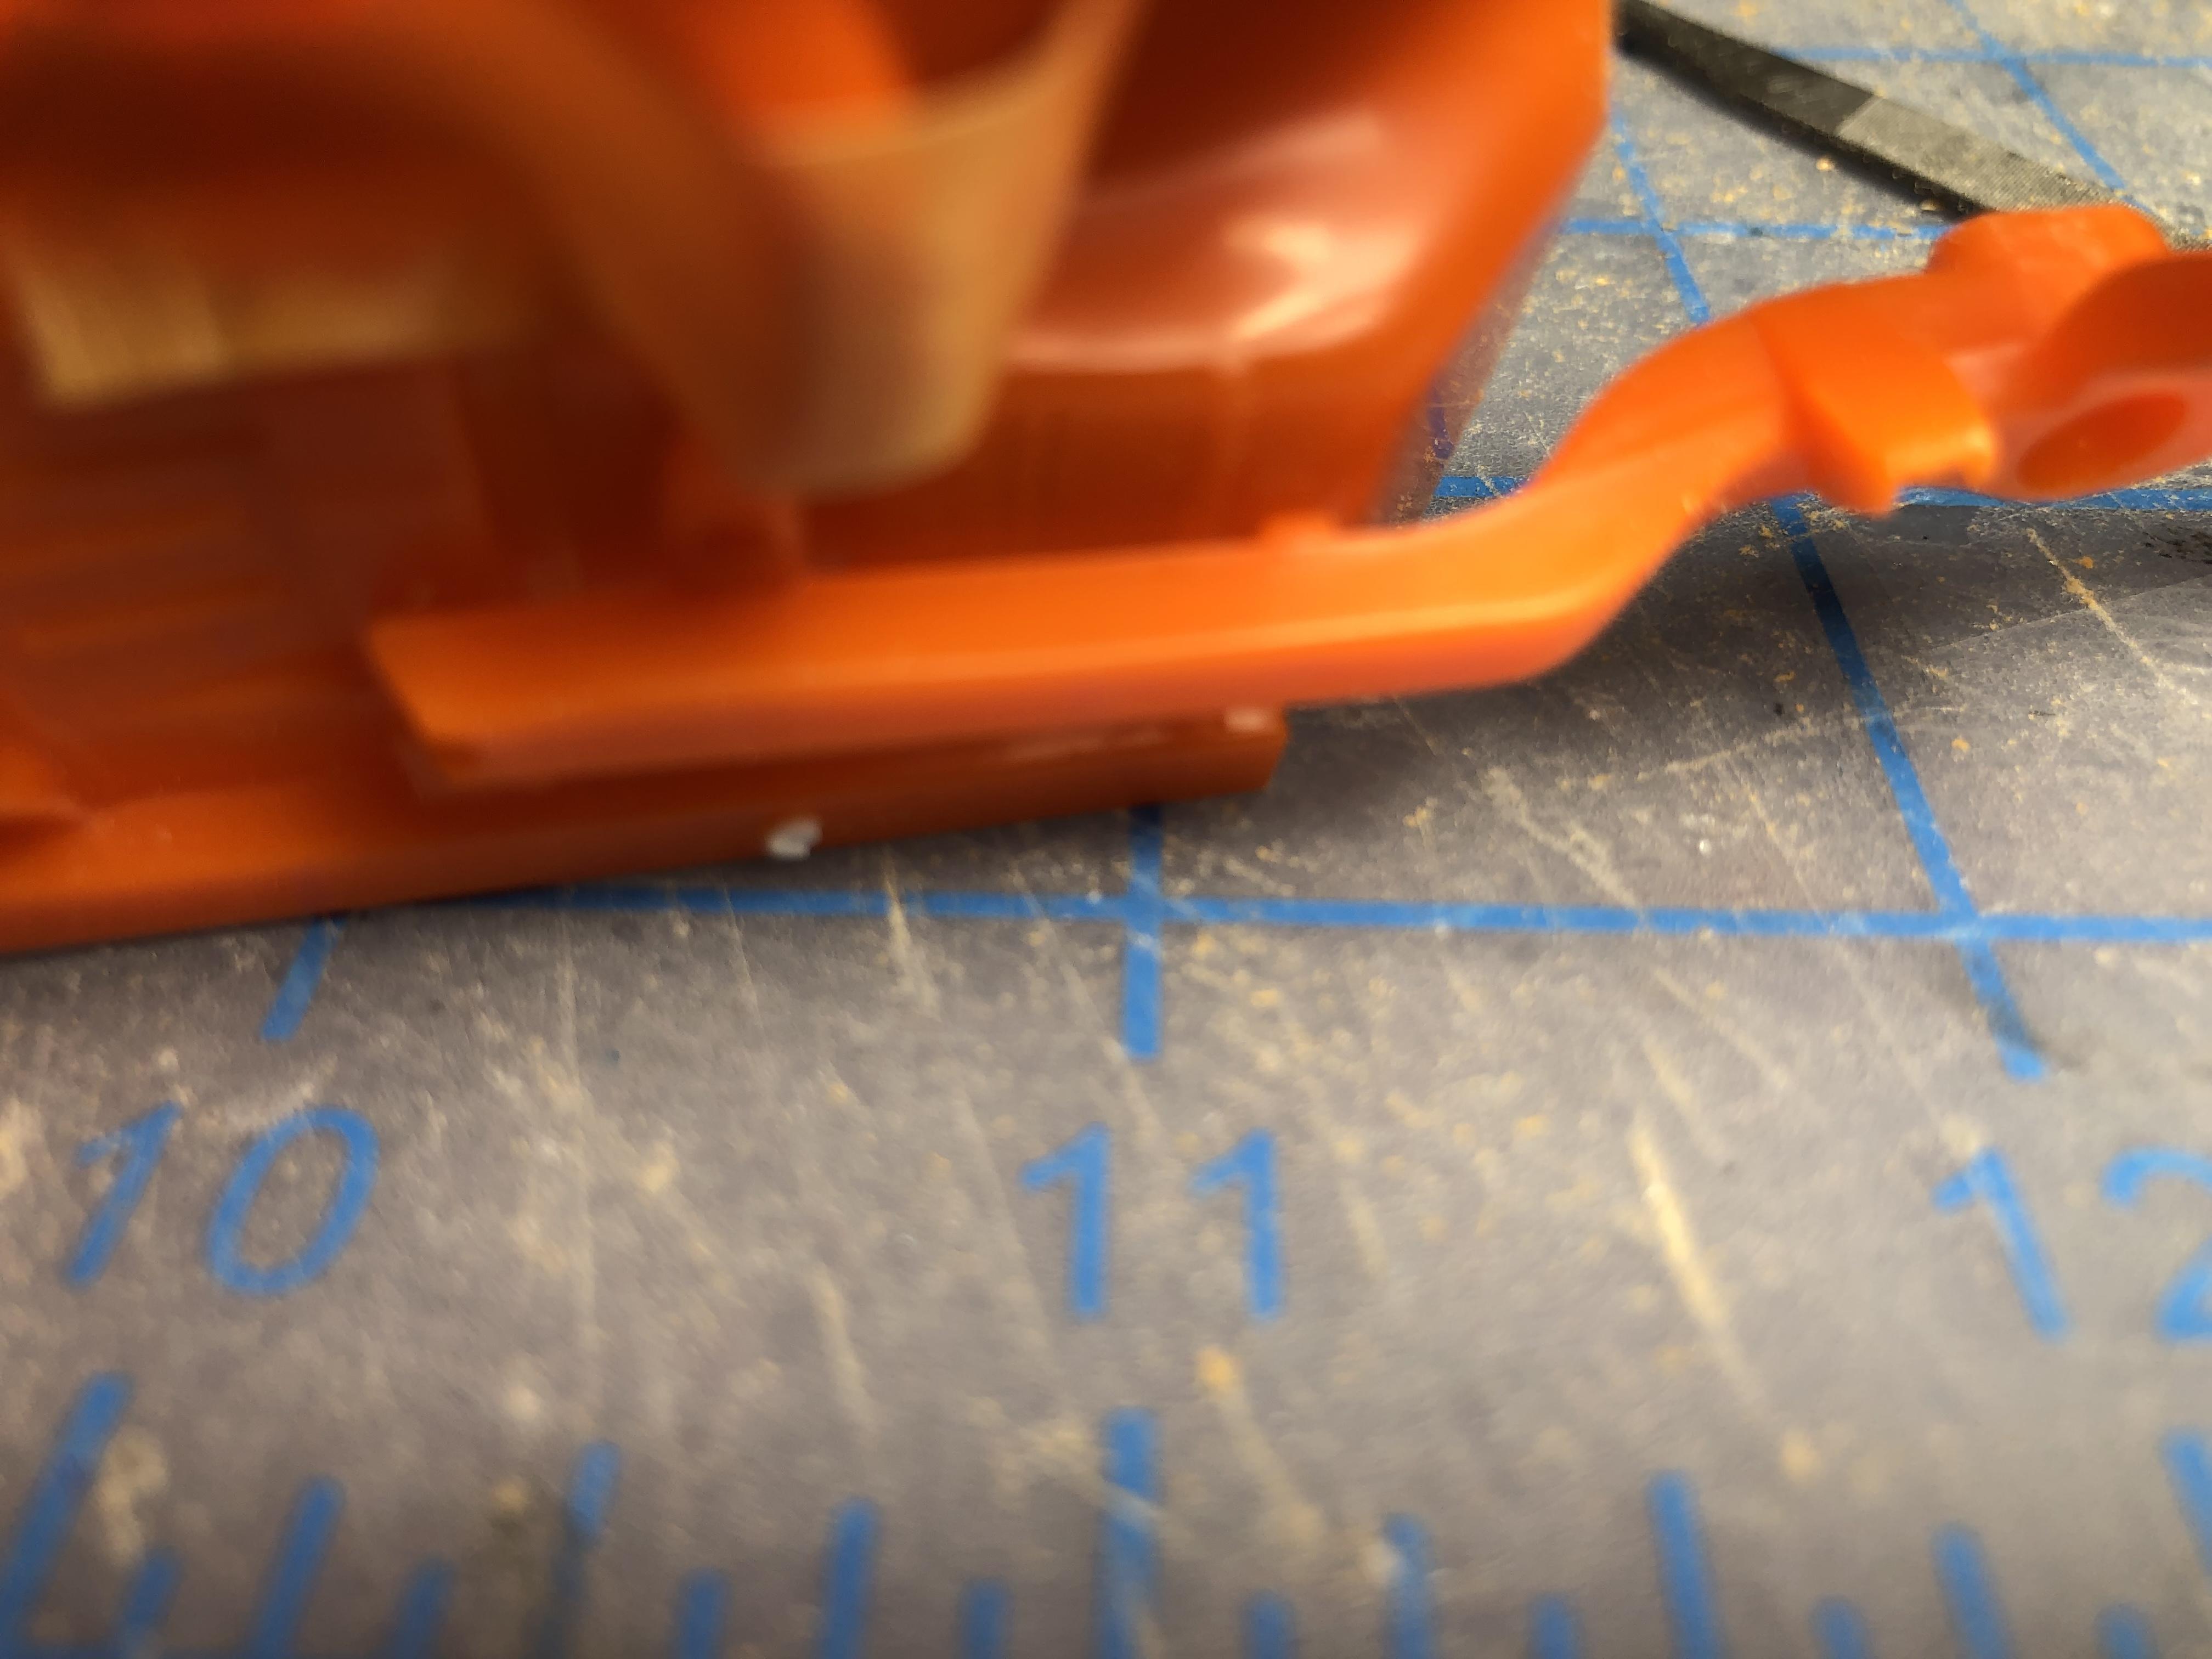
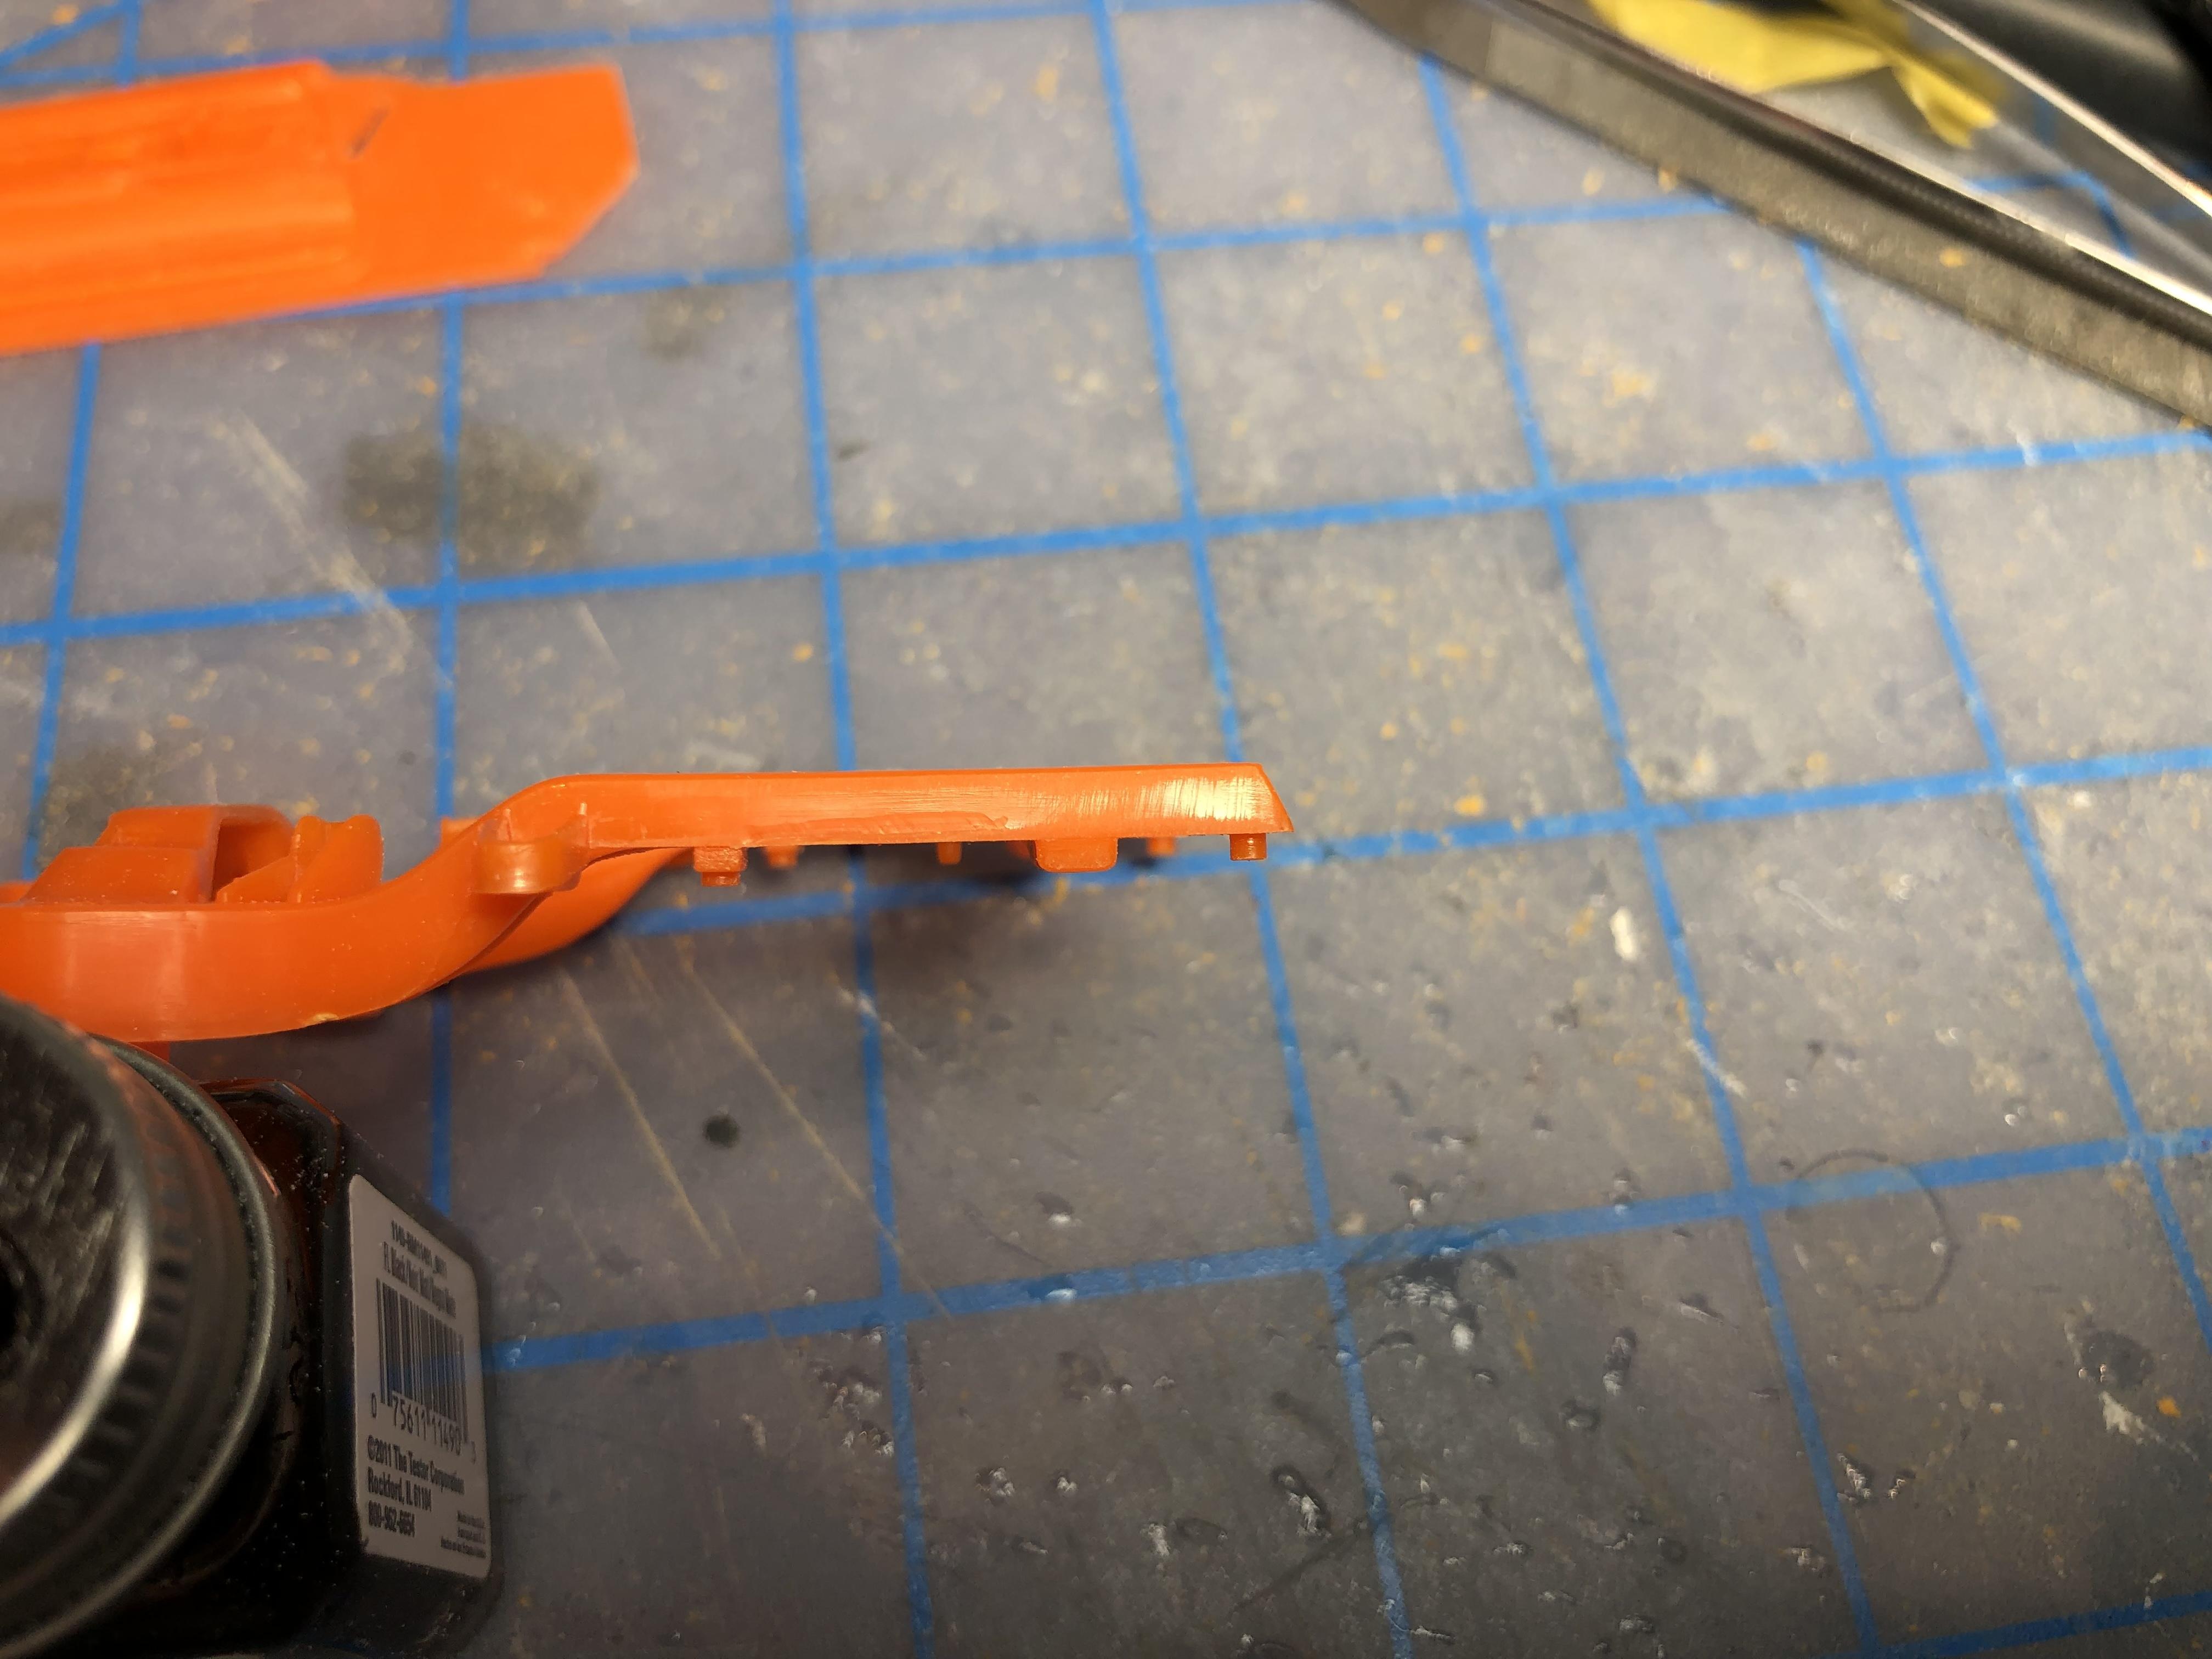
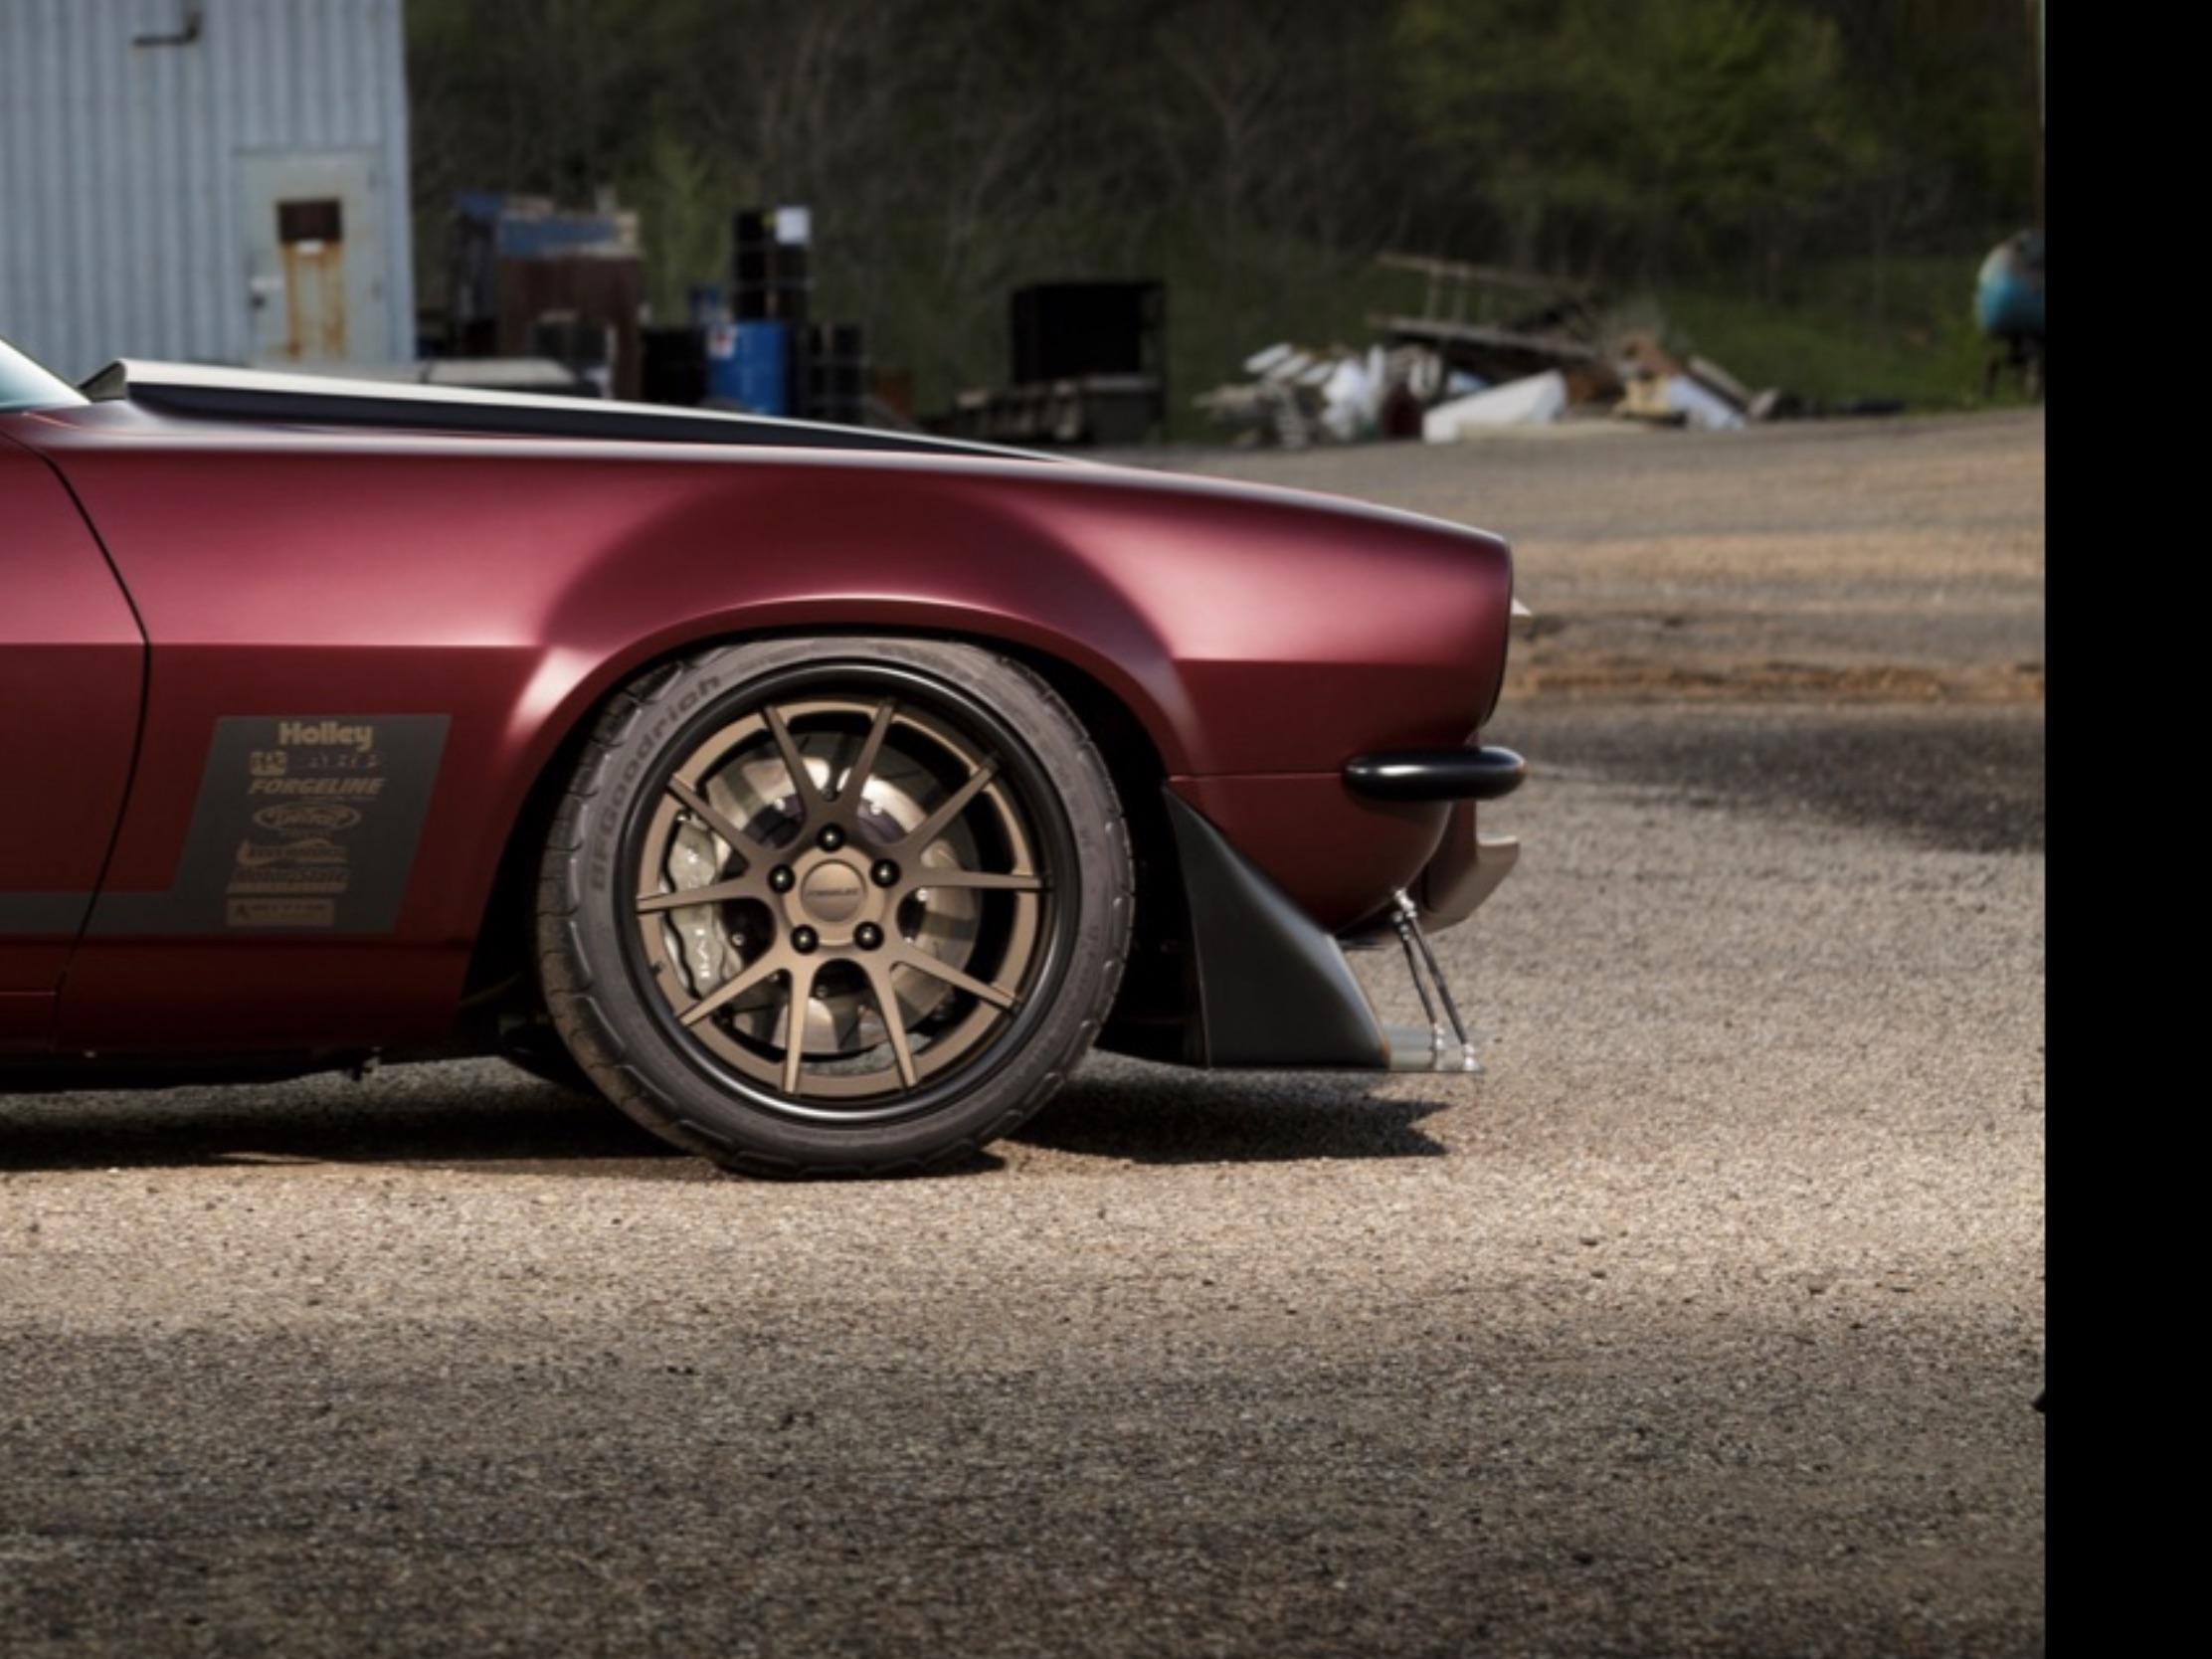
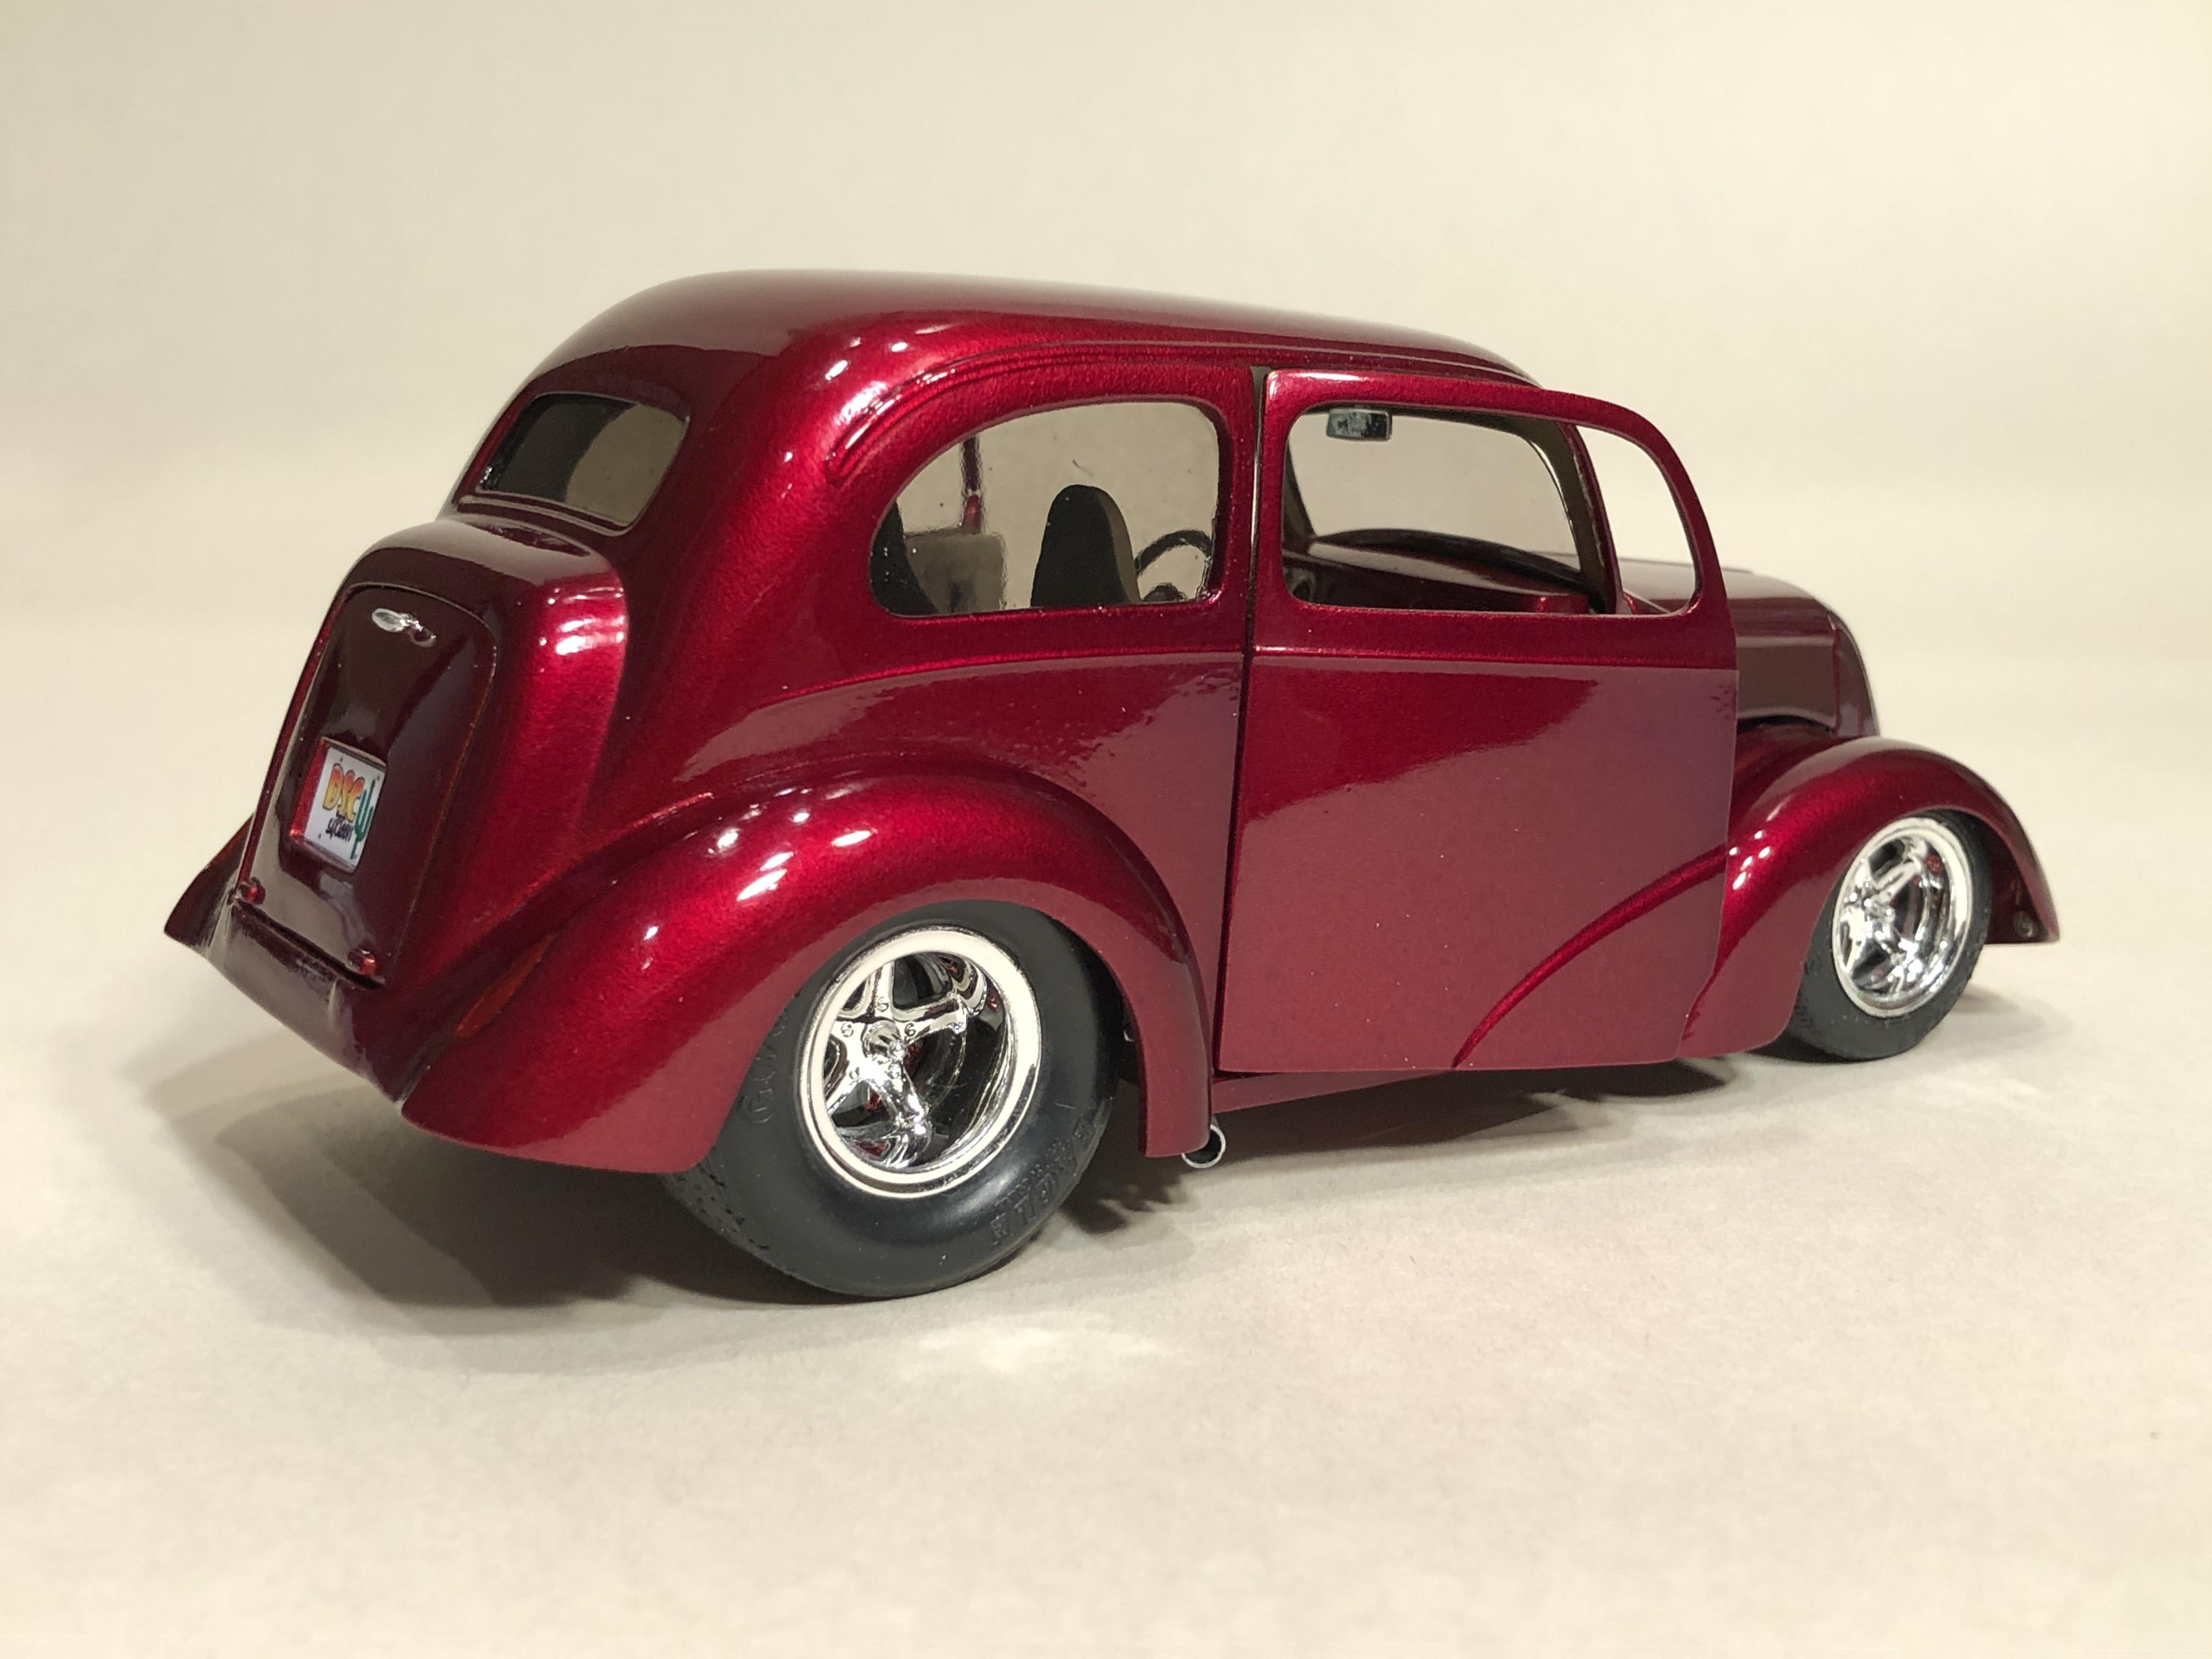
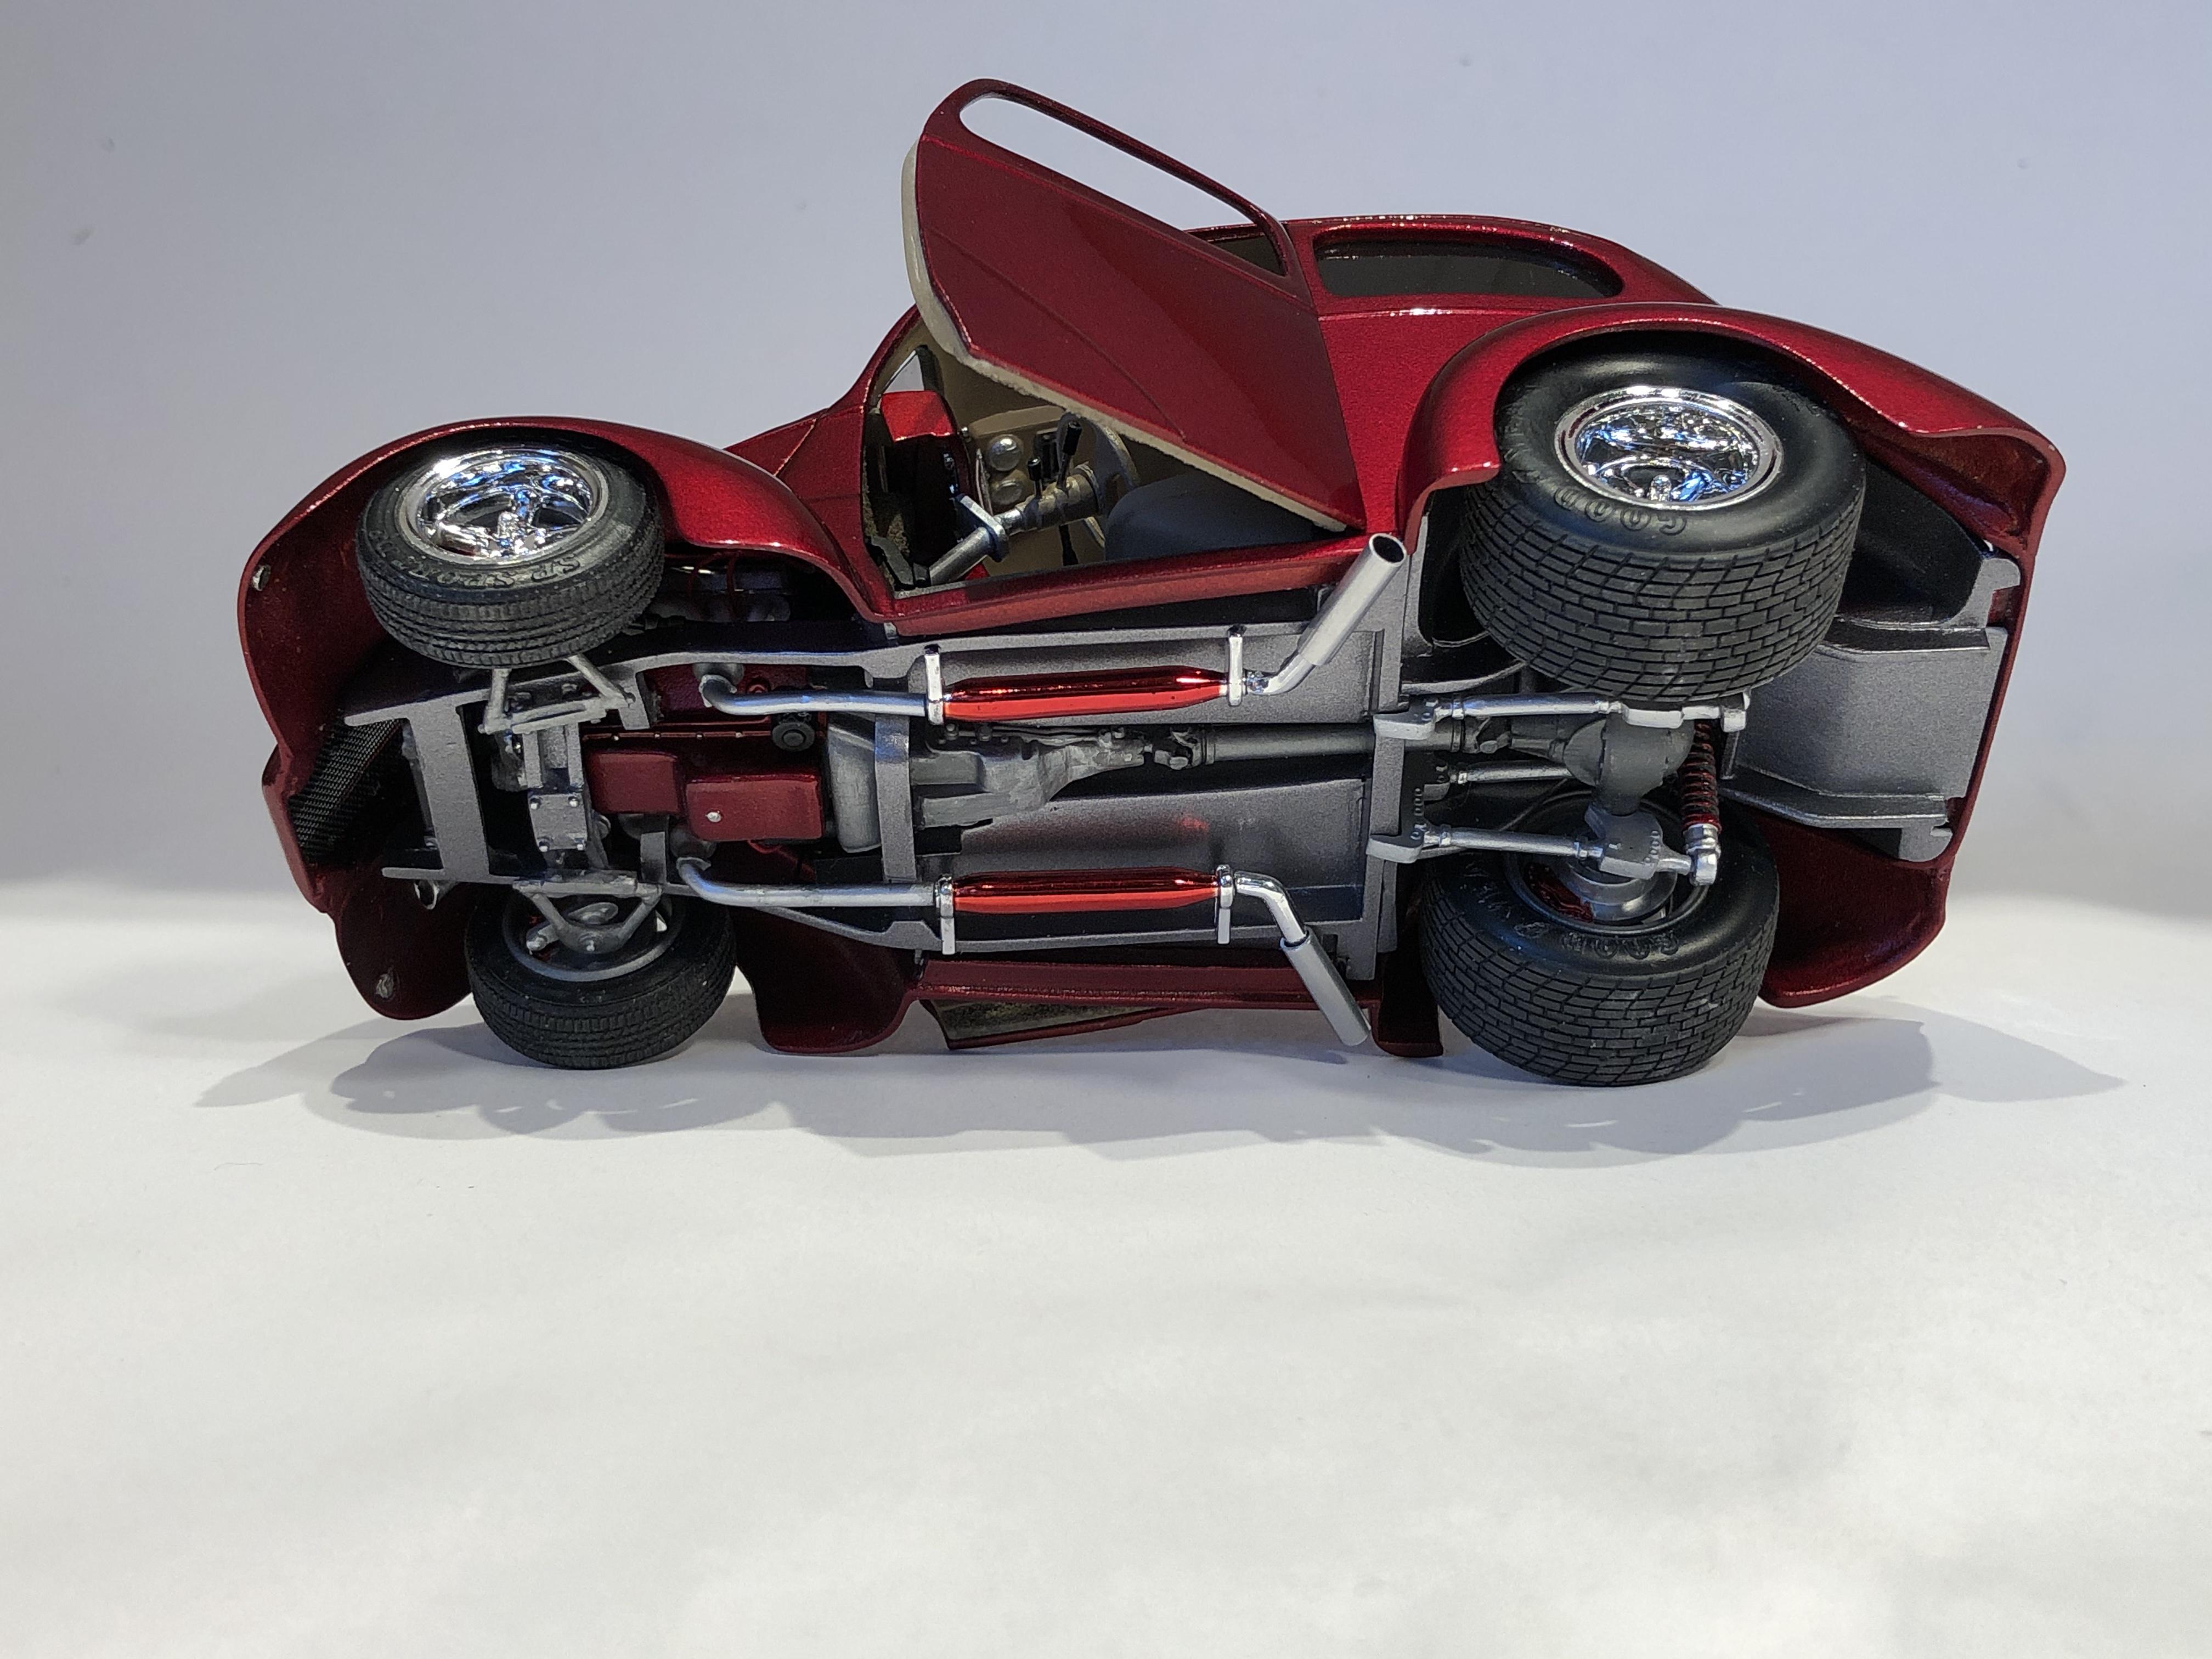
So, with the bodywork getting “close”, I’m bouncing around a bit with various other parts. One of the last pieces of bodywork is the splitter. I haven’t built the splitter yet, but here’s where I’m at. Traced the spoiler outline on tape and transferred that to styrene. I have since cut and shaped the leading edge. On the real car, they added returns the the corners of the spoiler First I added material to flatten the bottom of the spoiler, then added similar returns at the corners. I will still round the corners a bit, and do a bit more fine tuning on the shape at wheel wells, then add the splitter. As you can see, I managed to put off the work on the headlights, not looking forward to that. Started tinkering with the engine… I’m not a fan of molded in oil filters, so that has been cut free. I have a complete 3d printed LS3 with Edelbrock cross ram intake. However, to simplify one part of the build, I am going to use the block/trans from the kit, and the printed heads and intake. I’m sure it won’t be “technically” correct, but it saves some messing around. Besides, they fit like a glove! If you have seen my builds, you already know I like LOW. So… started planning the ride height. To achieve 1” of drop at the front I modified the front sub frame. Cut off the two blocks at the mounting point, thinned the trans crossmember, and notched the rear part of the frame. To keep things lined up, I added mounting pins in the existing locations. I pre-drilled small pilot holes in the old pins before removing so I had an accurate location for new ones. I will also lower it more at the spindles, haven’t got there yet. Sorry for the blurry photos before… after… The interior will get some reworking. To channel the body over the frame the inner door panels need about 2” removed from the bottom. First I cut off the “L” shape where they mount. Then cut off and reshaped the lower edge of the door card. Quite a bit of grinding and sanding needed to be done where the panel meets the rear inner fender. The end result, you can see the amount removed compared to the rear package shelf. The next job will be fitting this where the rear seats are/were. No back seat drivers in this one! You may have noticed that I removed the factory dash face. I have some aftermarket items to use there. That will be down the road a bit… Thats it for now fellas, more soon.
-
Hi Joe, the hardest part right now is deciding which details NEED to be done to capture the look of the car, and the look I want, and what can left alone. Thanks for following sir! Thanks Jeremy, thankfully the bumper already had a flat back, so this was a pretty simple mod. Oh, I hope to have some info on the shop truck for you tomorrow. Hi Greg, thanks for the info! Funny, in the back of my mind I was remembering a build from a while back on this forum where someone had an issue with fitting the chassis and body… it was you! I’m changing things a fair bit, but will definitely do some test fitting, thanks. The issue I had when trying to do my first test fit of interior shell/body was how much the body had to be stretched to get the interior in, yikes. With how much time I have in the flares, there was NO WAY I was stretching it that much, something was gonna “pop”. So now I need to plan how final assembly is going to go. I have a plan, hoping I can execute…. Hey Roger, thank you sir! My list of stuff to do on this keeps growing, it might be more voodoo than magic… Cheers guys, and thanks for taking the time to have a look.
-
*56 Ford Truck Pro Street*
Steve H replied to Zippi's topic in WIP: Model Trucks: Pickups, Vans, SUVs, Light Commercial
Bob !!! That second mock up photo is killer. Love that you diving in to this. You’re on the right track with pill bottles for inner tubs. Plastic lids from other household, (or your wife’s makeup?) products could be a source too. One of the tips I learned somewhere on this forum that I would recommend… For gluing the tubs, use a mixture of CA glue, and styrene cement. This gives you some working time to get things lined up, then creates an extremely strong bond. I use this often in my builds. I am definitely watching this one. Have fun with it. You’ve got me fired up!! Cheers, Steve -
Hi Adam, thanks for having a look. I have spent a fair bit of time in “planning” the last couple of days. With the bodywork well underway, I’ve started playing with interior, chassis, and engine. Hope to have an update soon. Hi Jonathan, nice to hear from you. Trying to replicate some of the actual cars details, but I will be using some creative license in few areas. I appreciate you taking the time to comment. Cheers, Steve
-
56 International pickup
Steve H replied to mchook's topic in Model Trucks: Pickups, Vans, SUVs, Light Commercial
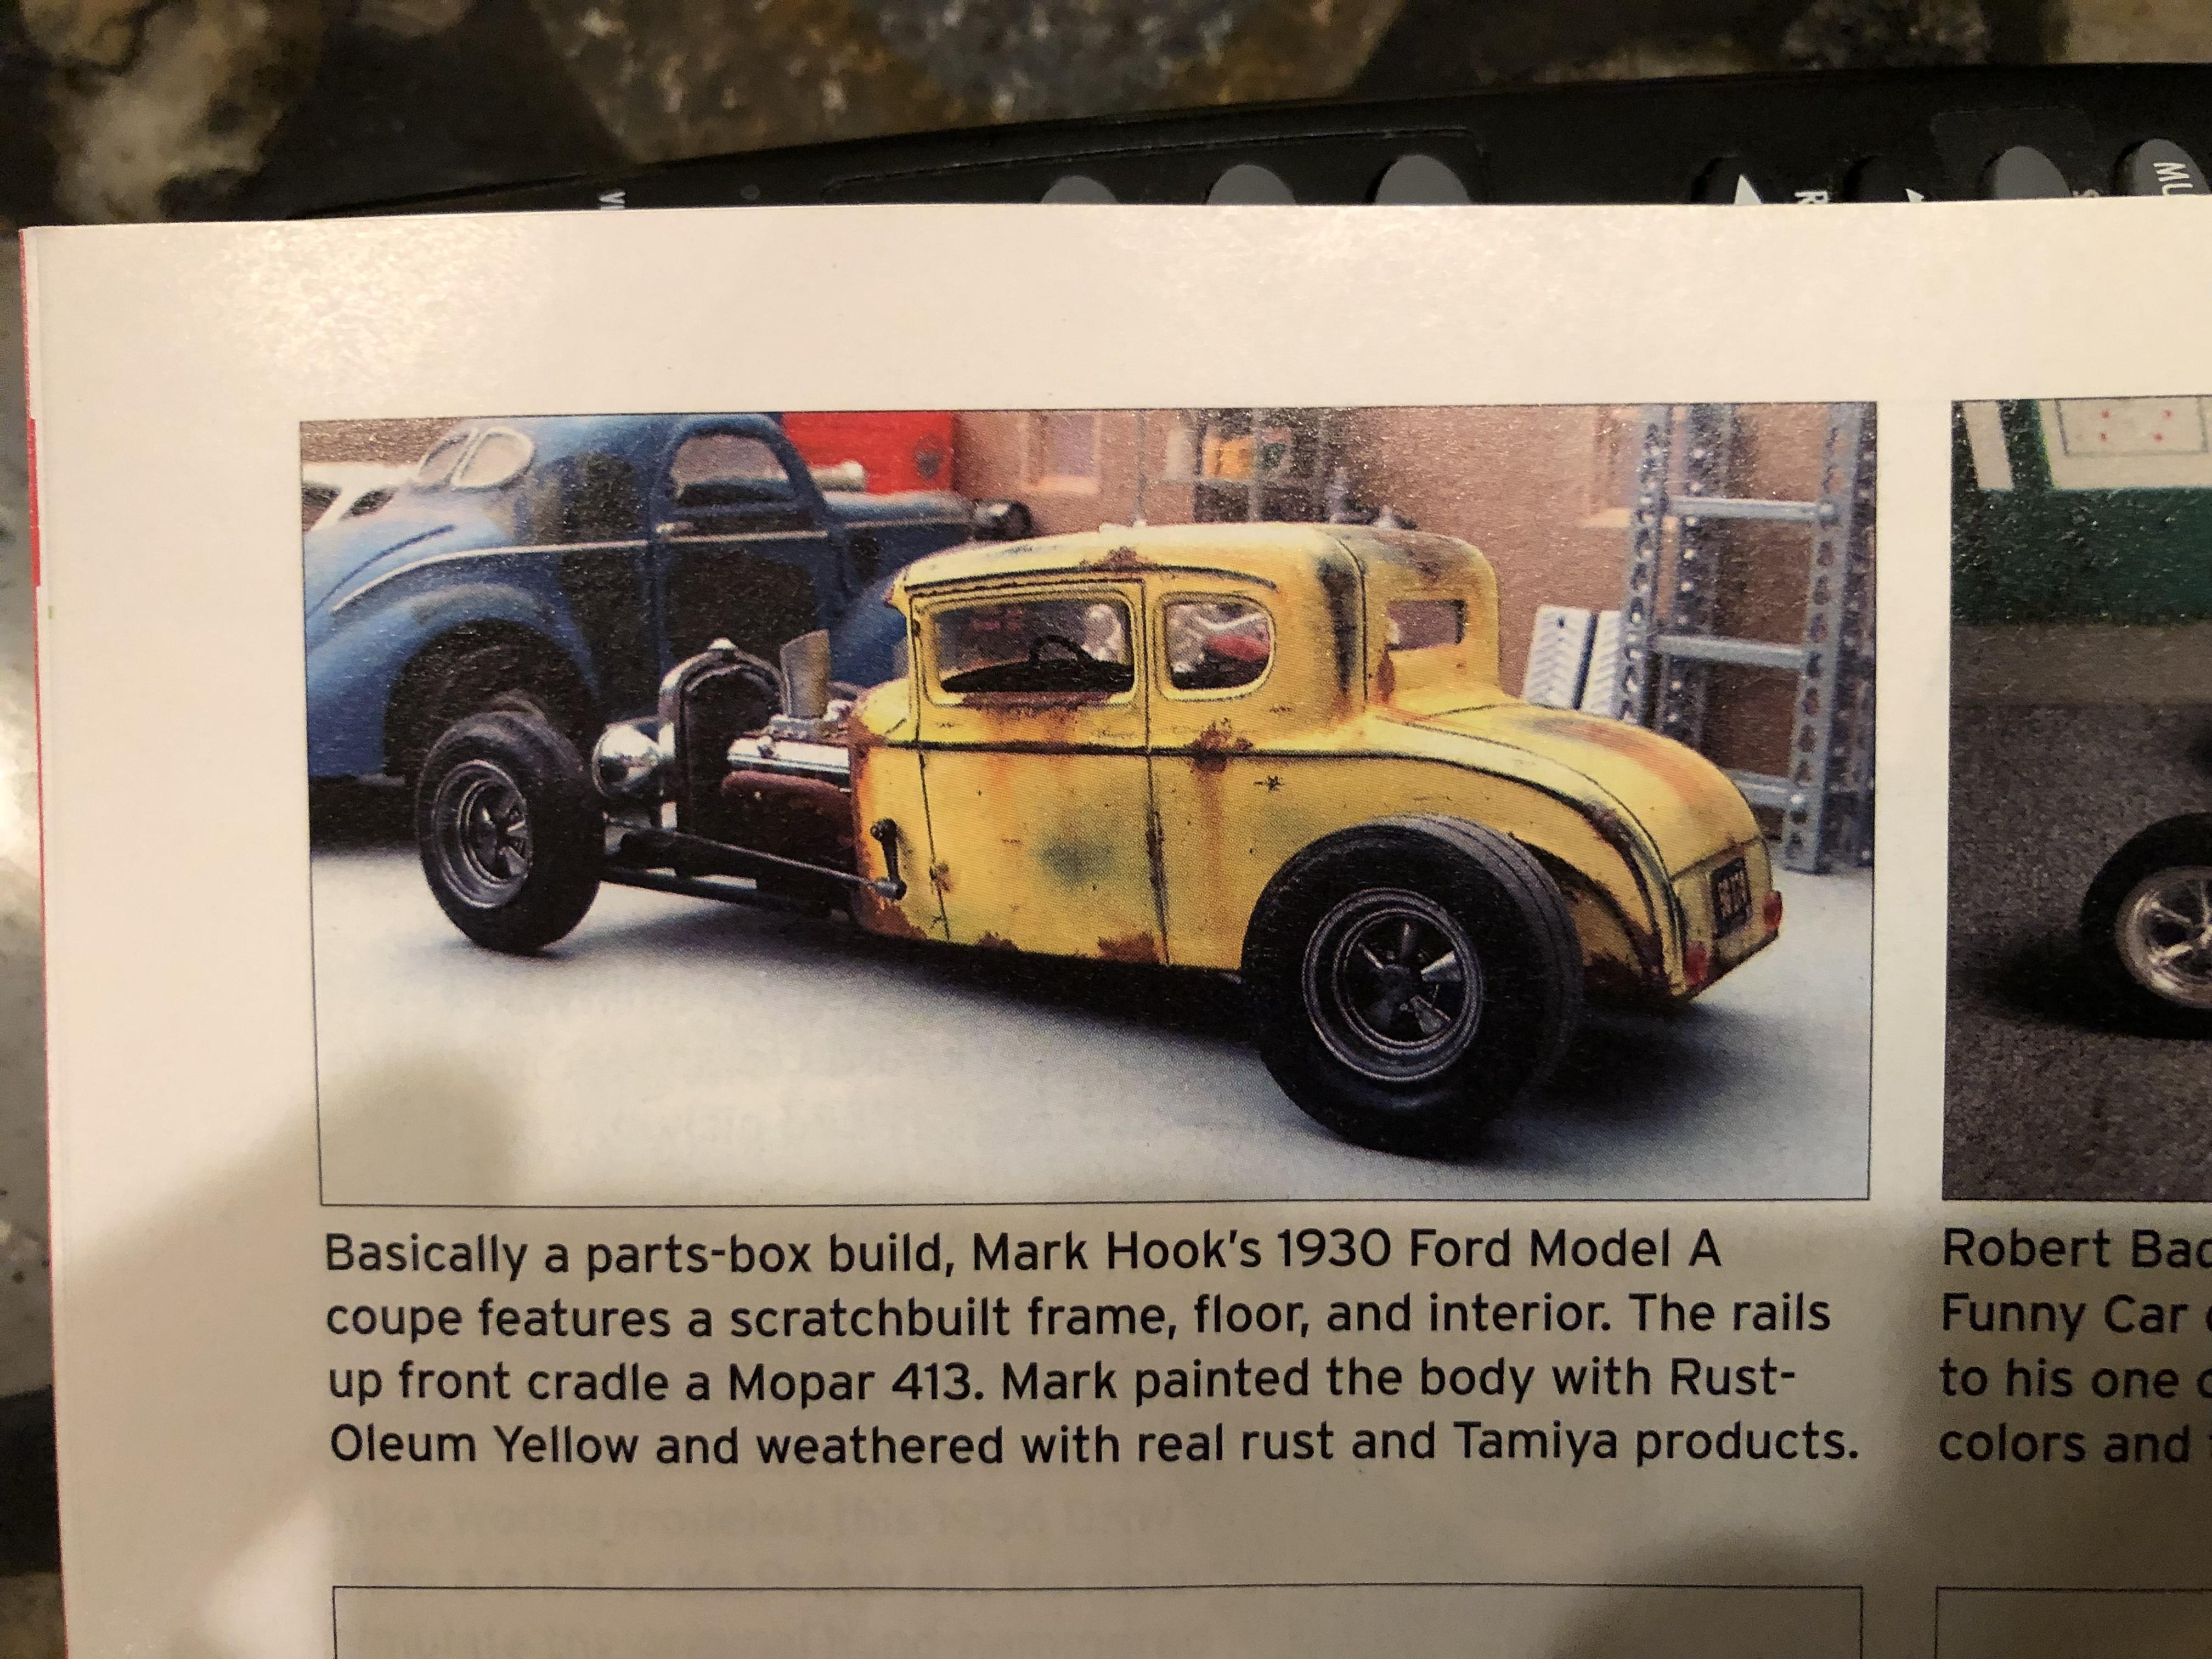
Rust never looked so good!! You knocked this one out of the park Mark. Hands down the best “Foose” truck I’ve seen, although I realize you changed a thing or 2 ?. Great photos too, I need a diorama! Could you build me a shop?! Cheers, Steve -
Beautiful work Greg. As others have said, all the colour coordinated bits really set it off. The valve caps… nice touch.?? I will check it out under glass. Cheers, Steve
-
Tamiya TS65 Pearl Clear questions
Steve H replied to bh1701's topic in Model Building Questions and Answers
I agree with Roger. Also I think it gives a bit more depth if TS 13 is applied over it. Just my opinion though. -
Hi Nigel, I checked in once in a while on the CBR thread. This turned out great. Awesome work marrying the two, err….. 5 kits together. The “old man tan” ish colour definitely fits the sleeper/ruse theme. It’s a nice colour, just doesn’t have that “arrest me red” look, well played! Cheers, Steve
-
70 ford
Steve H replied to tbill's topic in WIP: Model Trucks: Pickups, Vans, SUVs, Light Commercial
Hi Tom, would be great to see you finish this one up. Great stance, wheels, colours, stop teasing…. -
Foose 56 International?
Steve H replied to mchook's topic in WIP: Model Trucks: Pickups, Vans, SUVs, Light Commercial
It won’t be the last, I’m certain of that!!
-
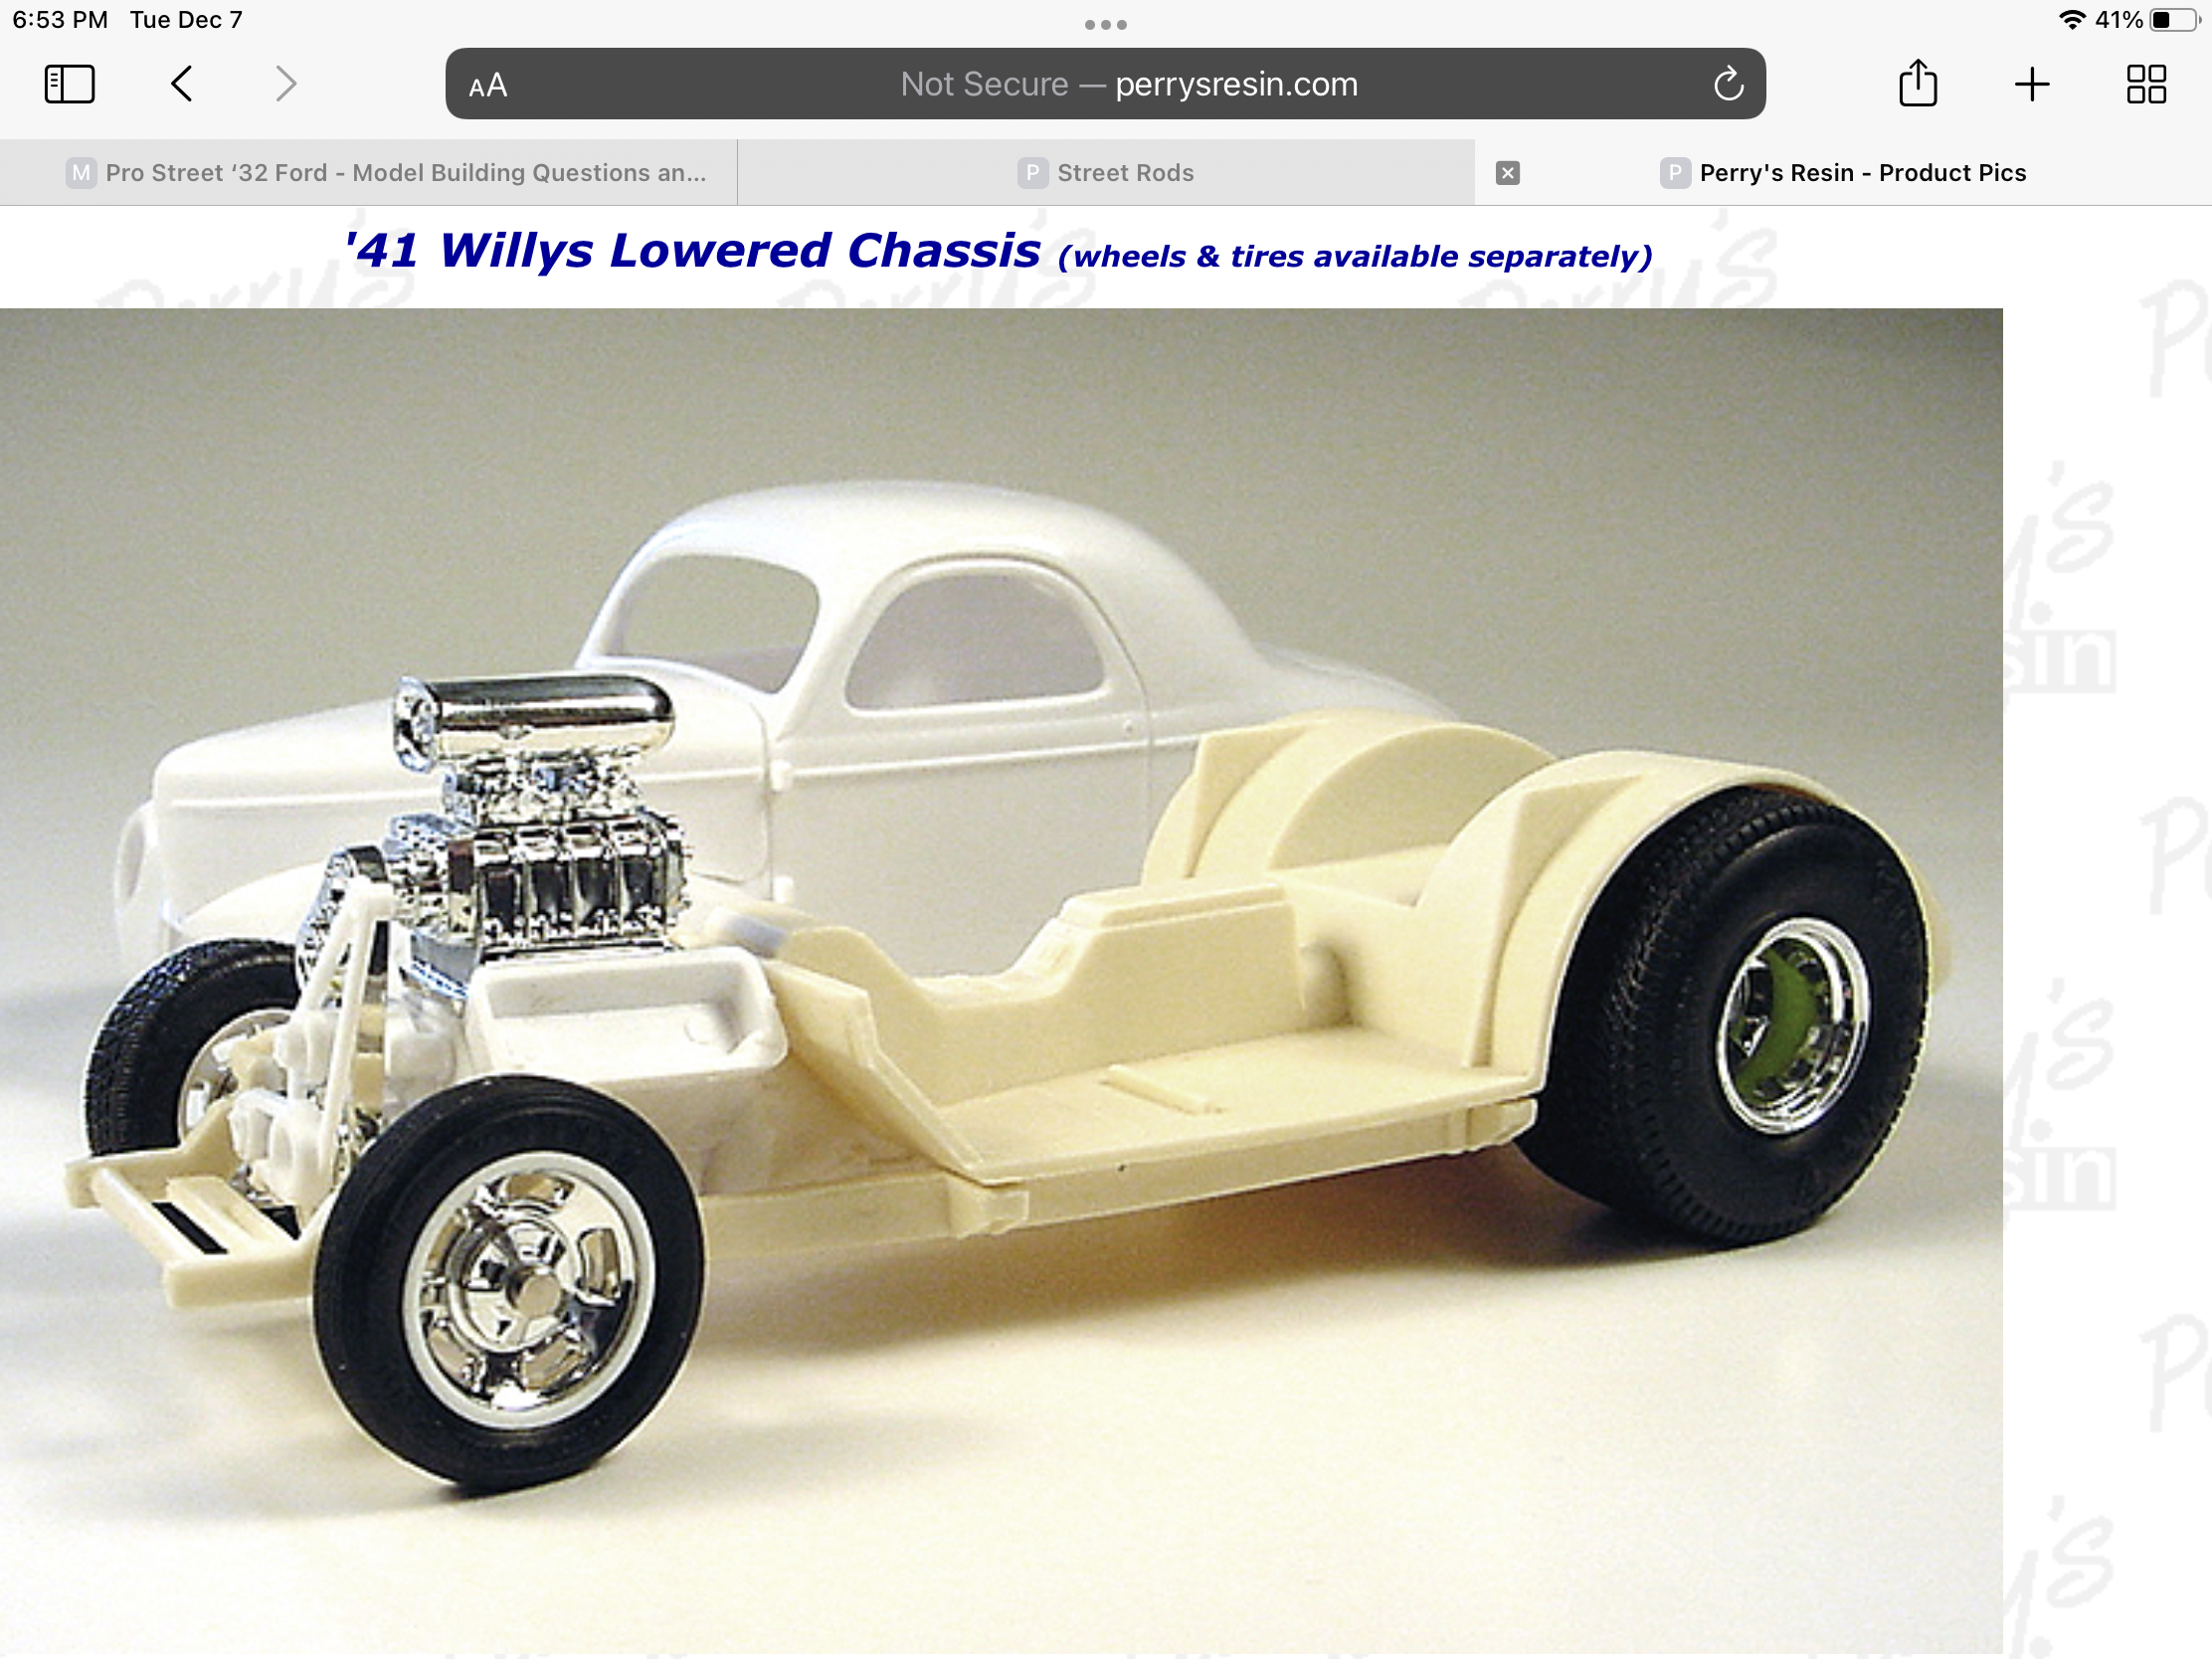
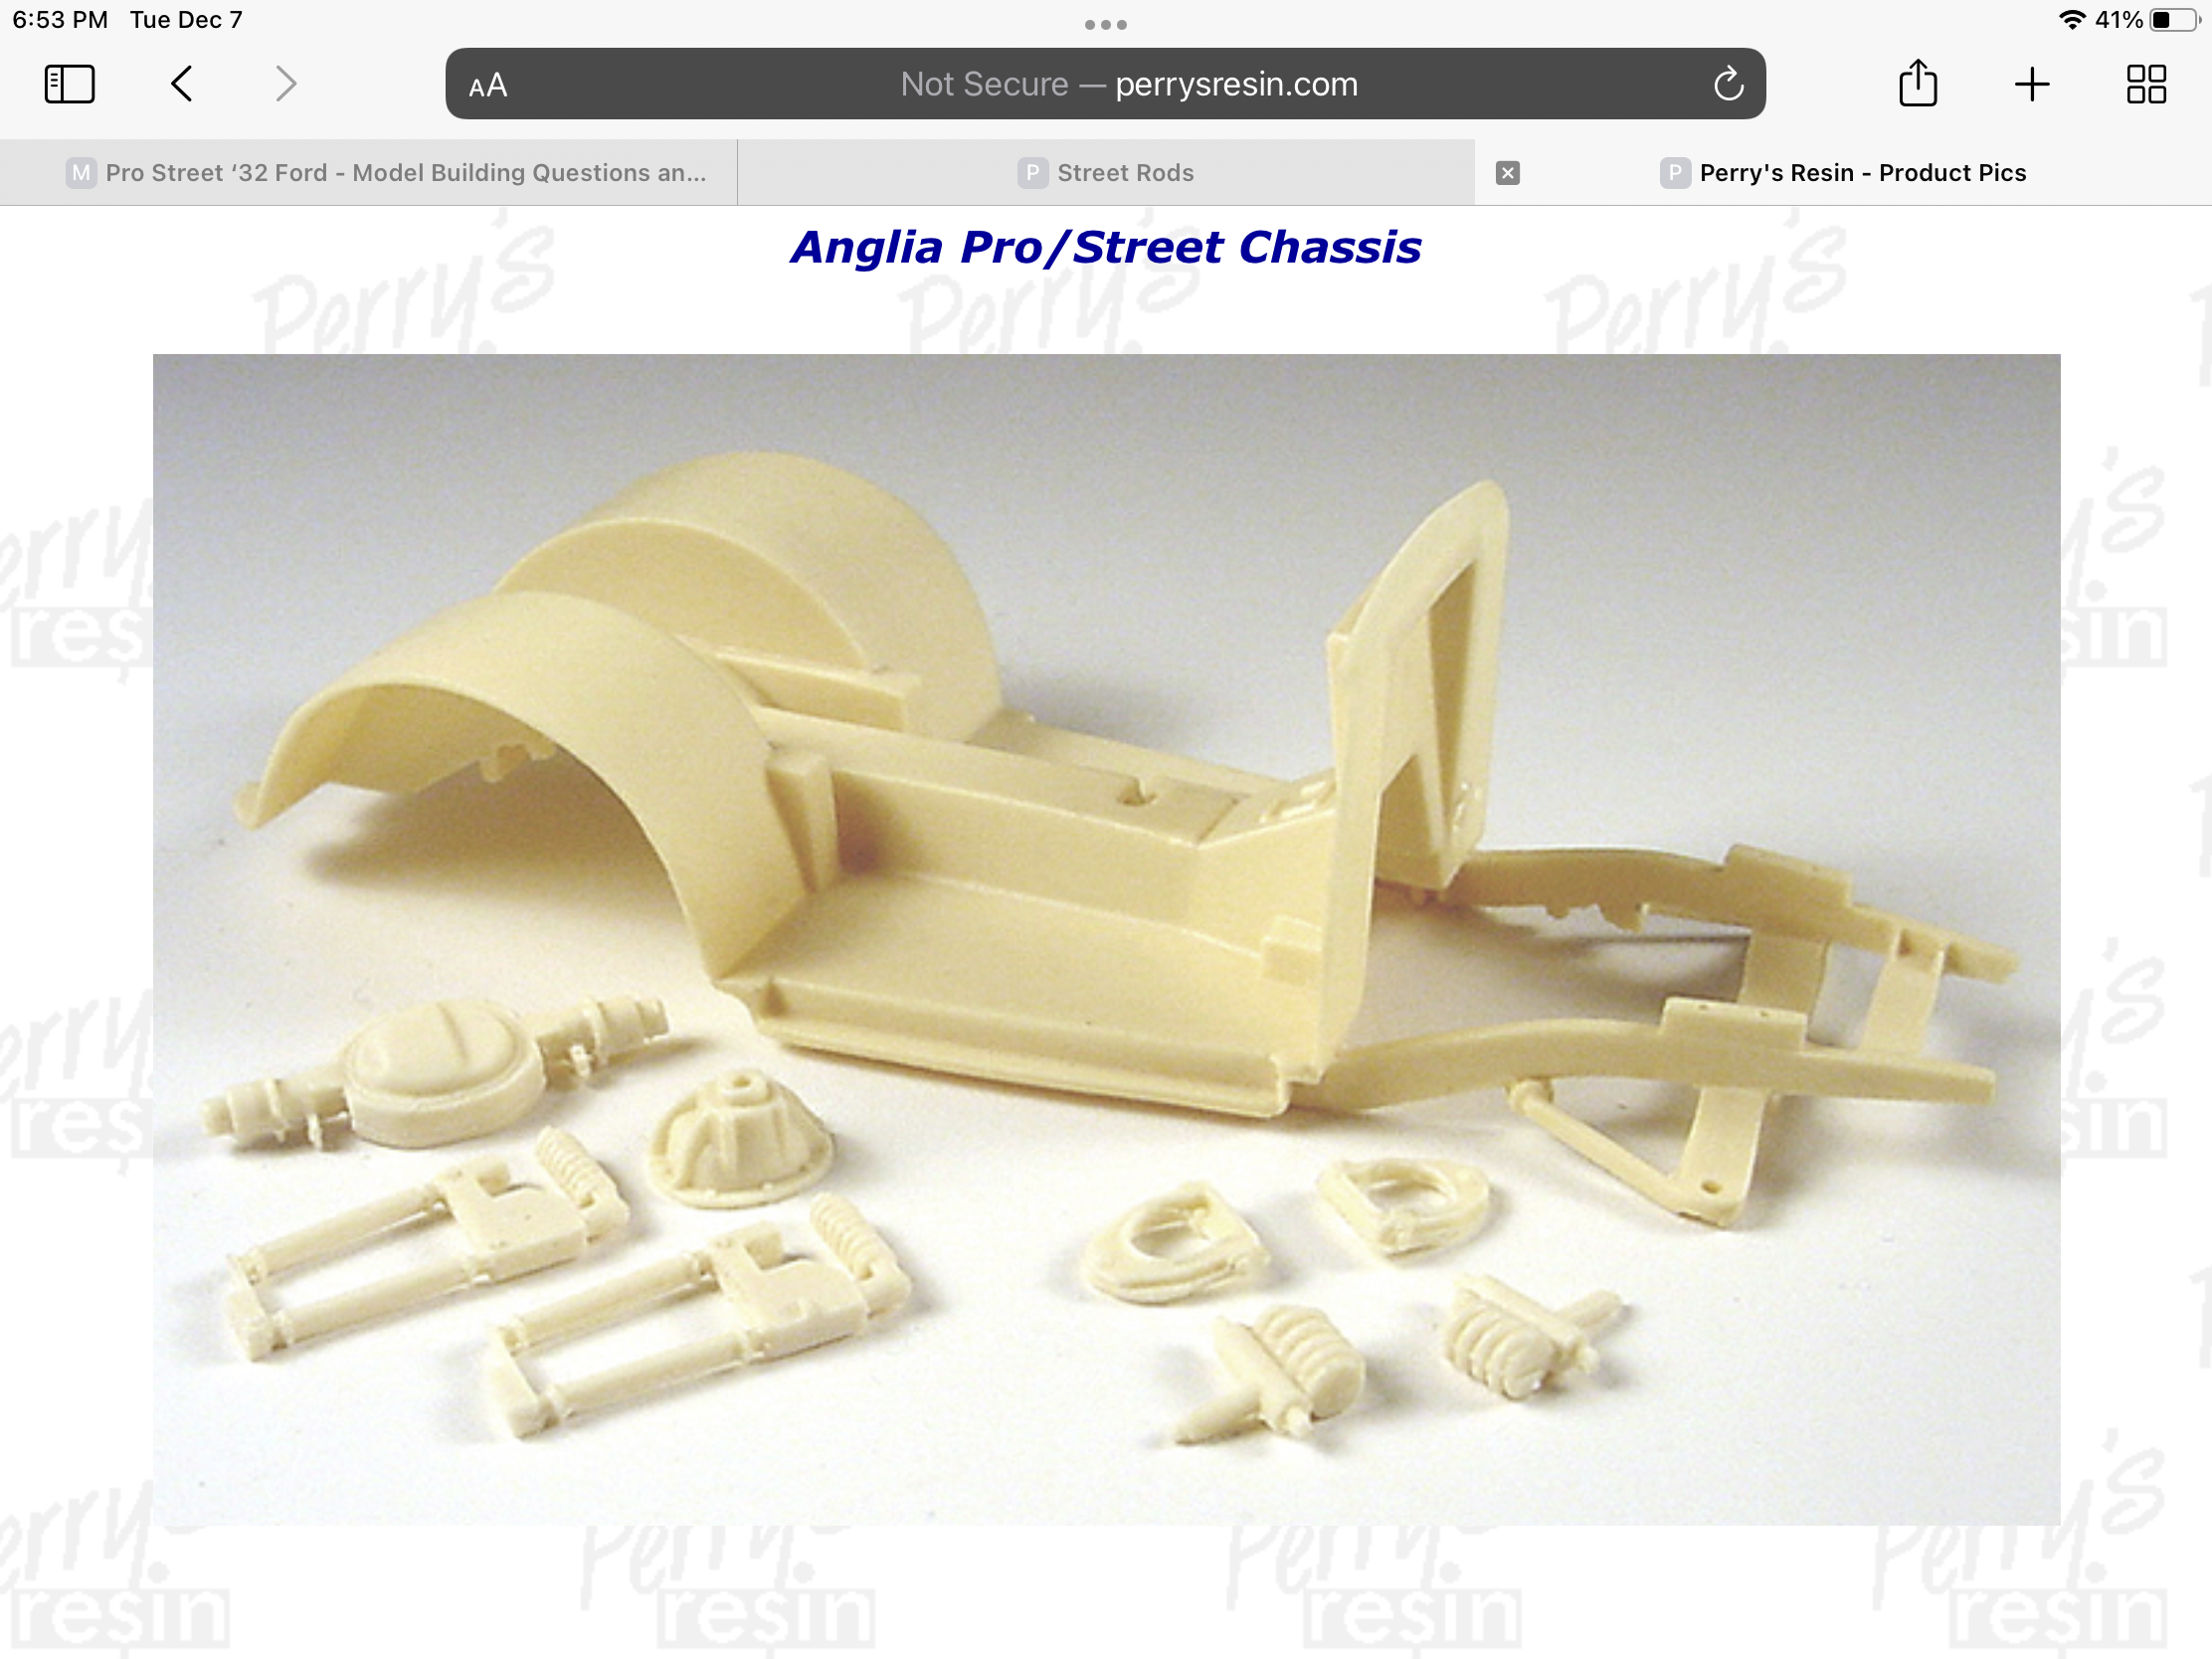
Hi Greg, “pro street” always gets my attention. Perry’s resin has a couple of chassis’s that might help.I have never dealt with them, so I can’t speak to quality of their product. One is for the 41 Willy’s, the other for an Anglia. These may not work for your build, but maybe will give you some ideas. For tires, you may want to look at the smaller rear tires from the old Monogram sprint car kits. Unfortunately, that would require two kits… fairly sure someone would make aftermarket items. I used them on my Anglia. Hope that helps, and you can bet I will be watching for this one in the WIP section!!!
-
'95 Ranger XLT
Steve H replied to Plowboy's topic in WIP: Model Trucks: Pickups, Vans, SUVs, Light Commercial
This will be good. I’ll be following Roger as I have 3 mini trucks waiting on the sidelines. There’s sure to be some good ideas here. -
Foose 56 International?
Steve H replied to mchook's topic in WIP: Model Trucks: Pickups, Vans, SUVs, Light Commercial
Hi Mark, this build turned out absolutely awesome!! What a beauty, and don’t sell yourself short on the weathering. There are very few that can pull it off. Your weathering is spot on. I will have a look under glass. Also congratulations on having one of your builds in the new contest cars, well done. Cheers, Steve -
*1934 Slammer Modified*
Steve H replied to Zippi's topic in WIP: Stock Cars (NASCAR, Super Stock, Late Model, etc.)
Really nice Bob! The extra details look great. I’ll check it out under glass. Thanks for sharing sir. -
Maybe have the exhaust exit right behind the rear wheels? Polished aluminum for tips… Just my 2 cents. Cheers, Steve
-
Hi Russ!! Thanks for having a look sir. I was thinking about the colour. I might bust out some spoons this weekend. I won’t be painting it for a while, but it would be good to narrow down my options. The sanding gets a bit monotonous at times, hopefully the end result will be worth it.