Steve H
-
Posts
2,535 -
Joined
-
Last visited
Content Type
Profiles
Forums
Events
Gallery
Everything posted by Steve H
-
 Thanks Brian. Better look at the engine in the next post. I remember your T Bird well, fantastic build. I always aim for colours that work well together, and try to carry them throughout a build, while TRYING to stay away from looking too busy. In this case, of course I’m cheating, and copying Roger, who in my opinion had an outstanding eye for colour. Thank you Sean! I sometimes apologize in advance on my builds knowing that the purists will likely be upset. At the end of the day, this is styrene, and represents a custom vehicle, so it’s not a stretch to think it would be painted a non factory correct colour. I certainly would not be one to get my knickers in a knot over a paint that isn’t “factory correct” on a custom vehicle, be it in scale or 1:1. Thanks Phil, I’m not sure how this engine remained unused for this long. Looks good in this truck though. Thanks Francis, I was surprised how well it filled the engine bay. I thought there would still be lots of room, but it will be quite full. That is nice to hear David, thank you! I think when it’s done it will be a respectable tribute to our friend. Thank you all for following along and taking the time to comment.
 -
1968 Mercury M350 Wrecker
Steve H replied to Chuck Most's topic in Model Trucks: Pickups, Vans, SUVs, Light Commercial
Another great build Chuck. Love your patinas…. wait, that’s not weird is it?…😂 -
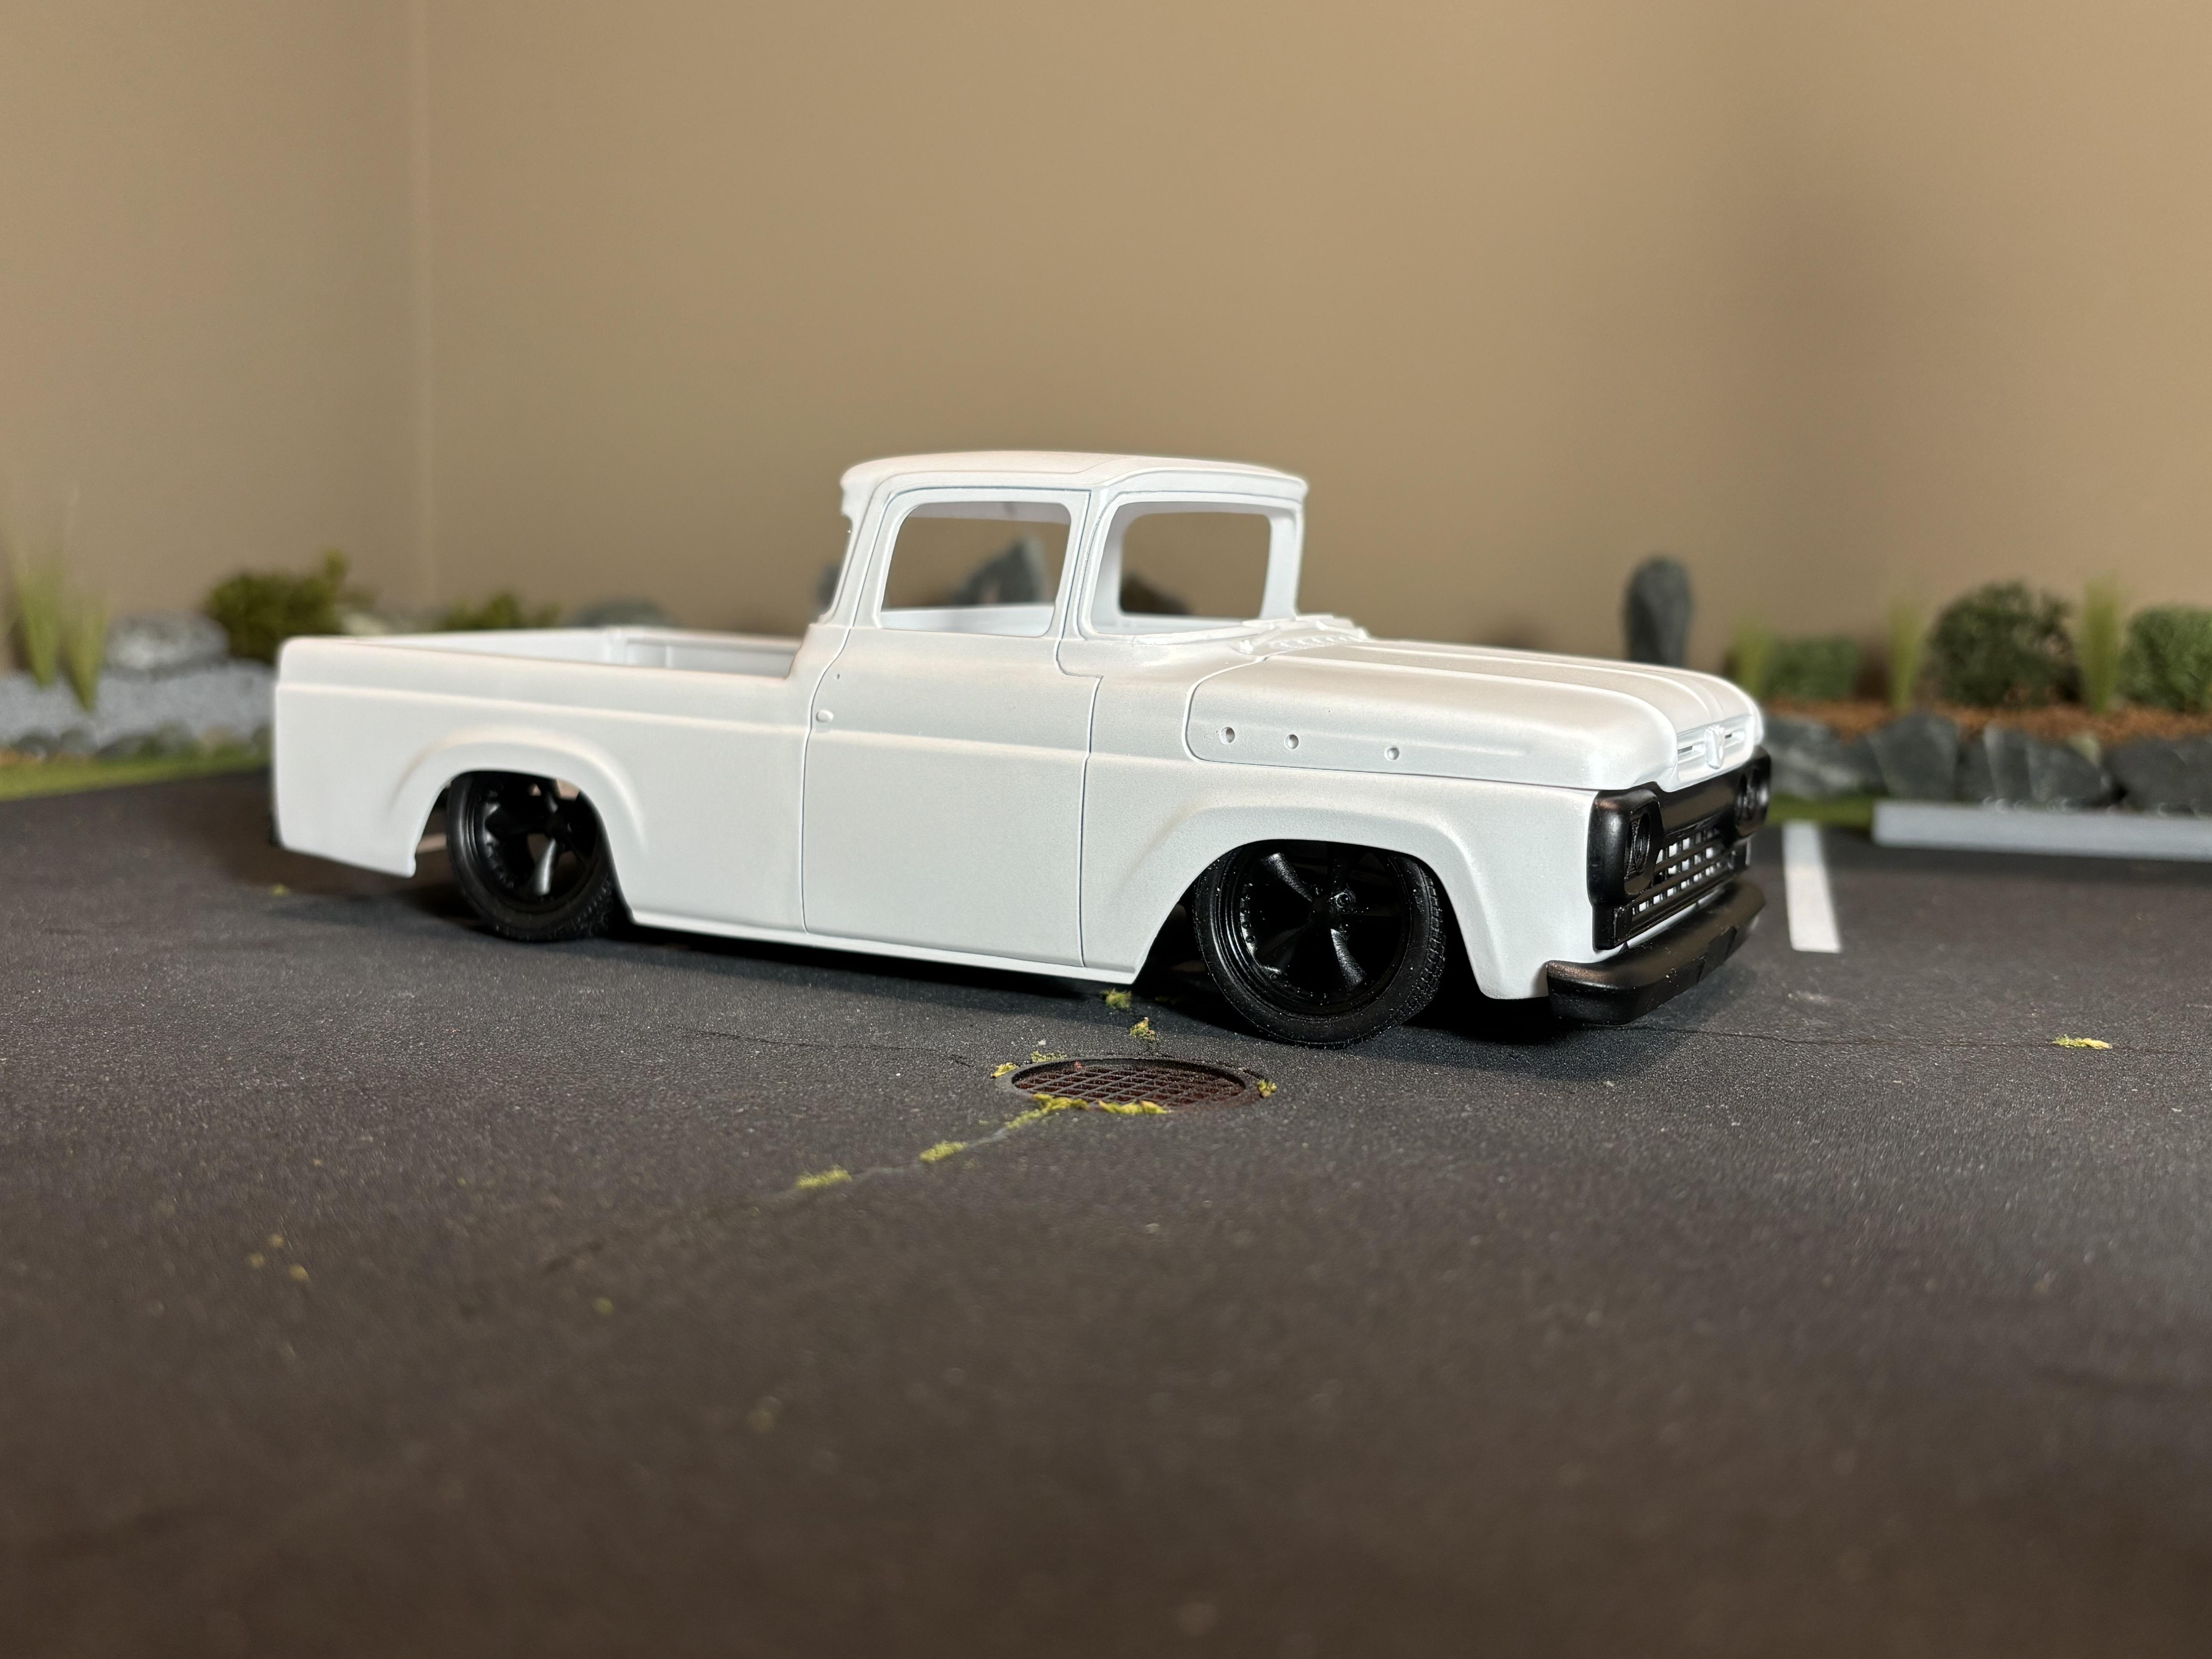
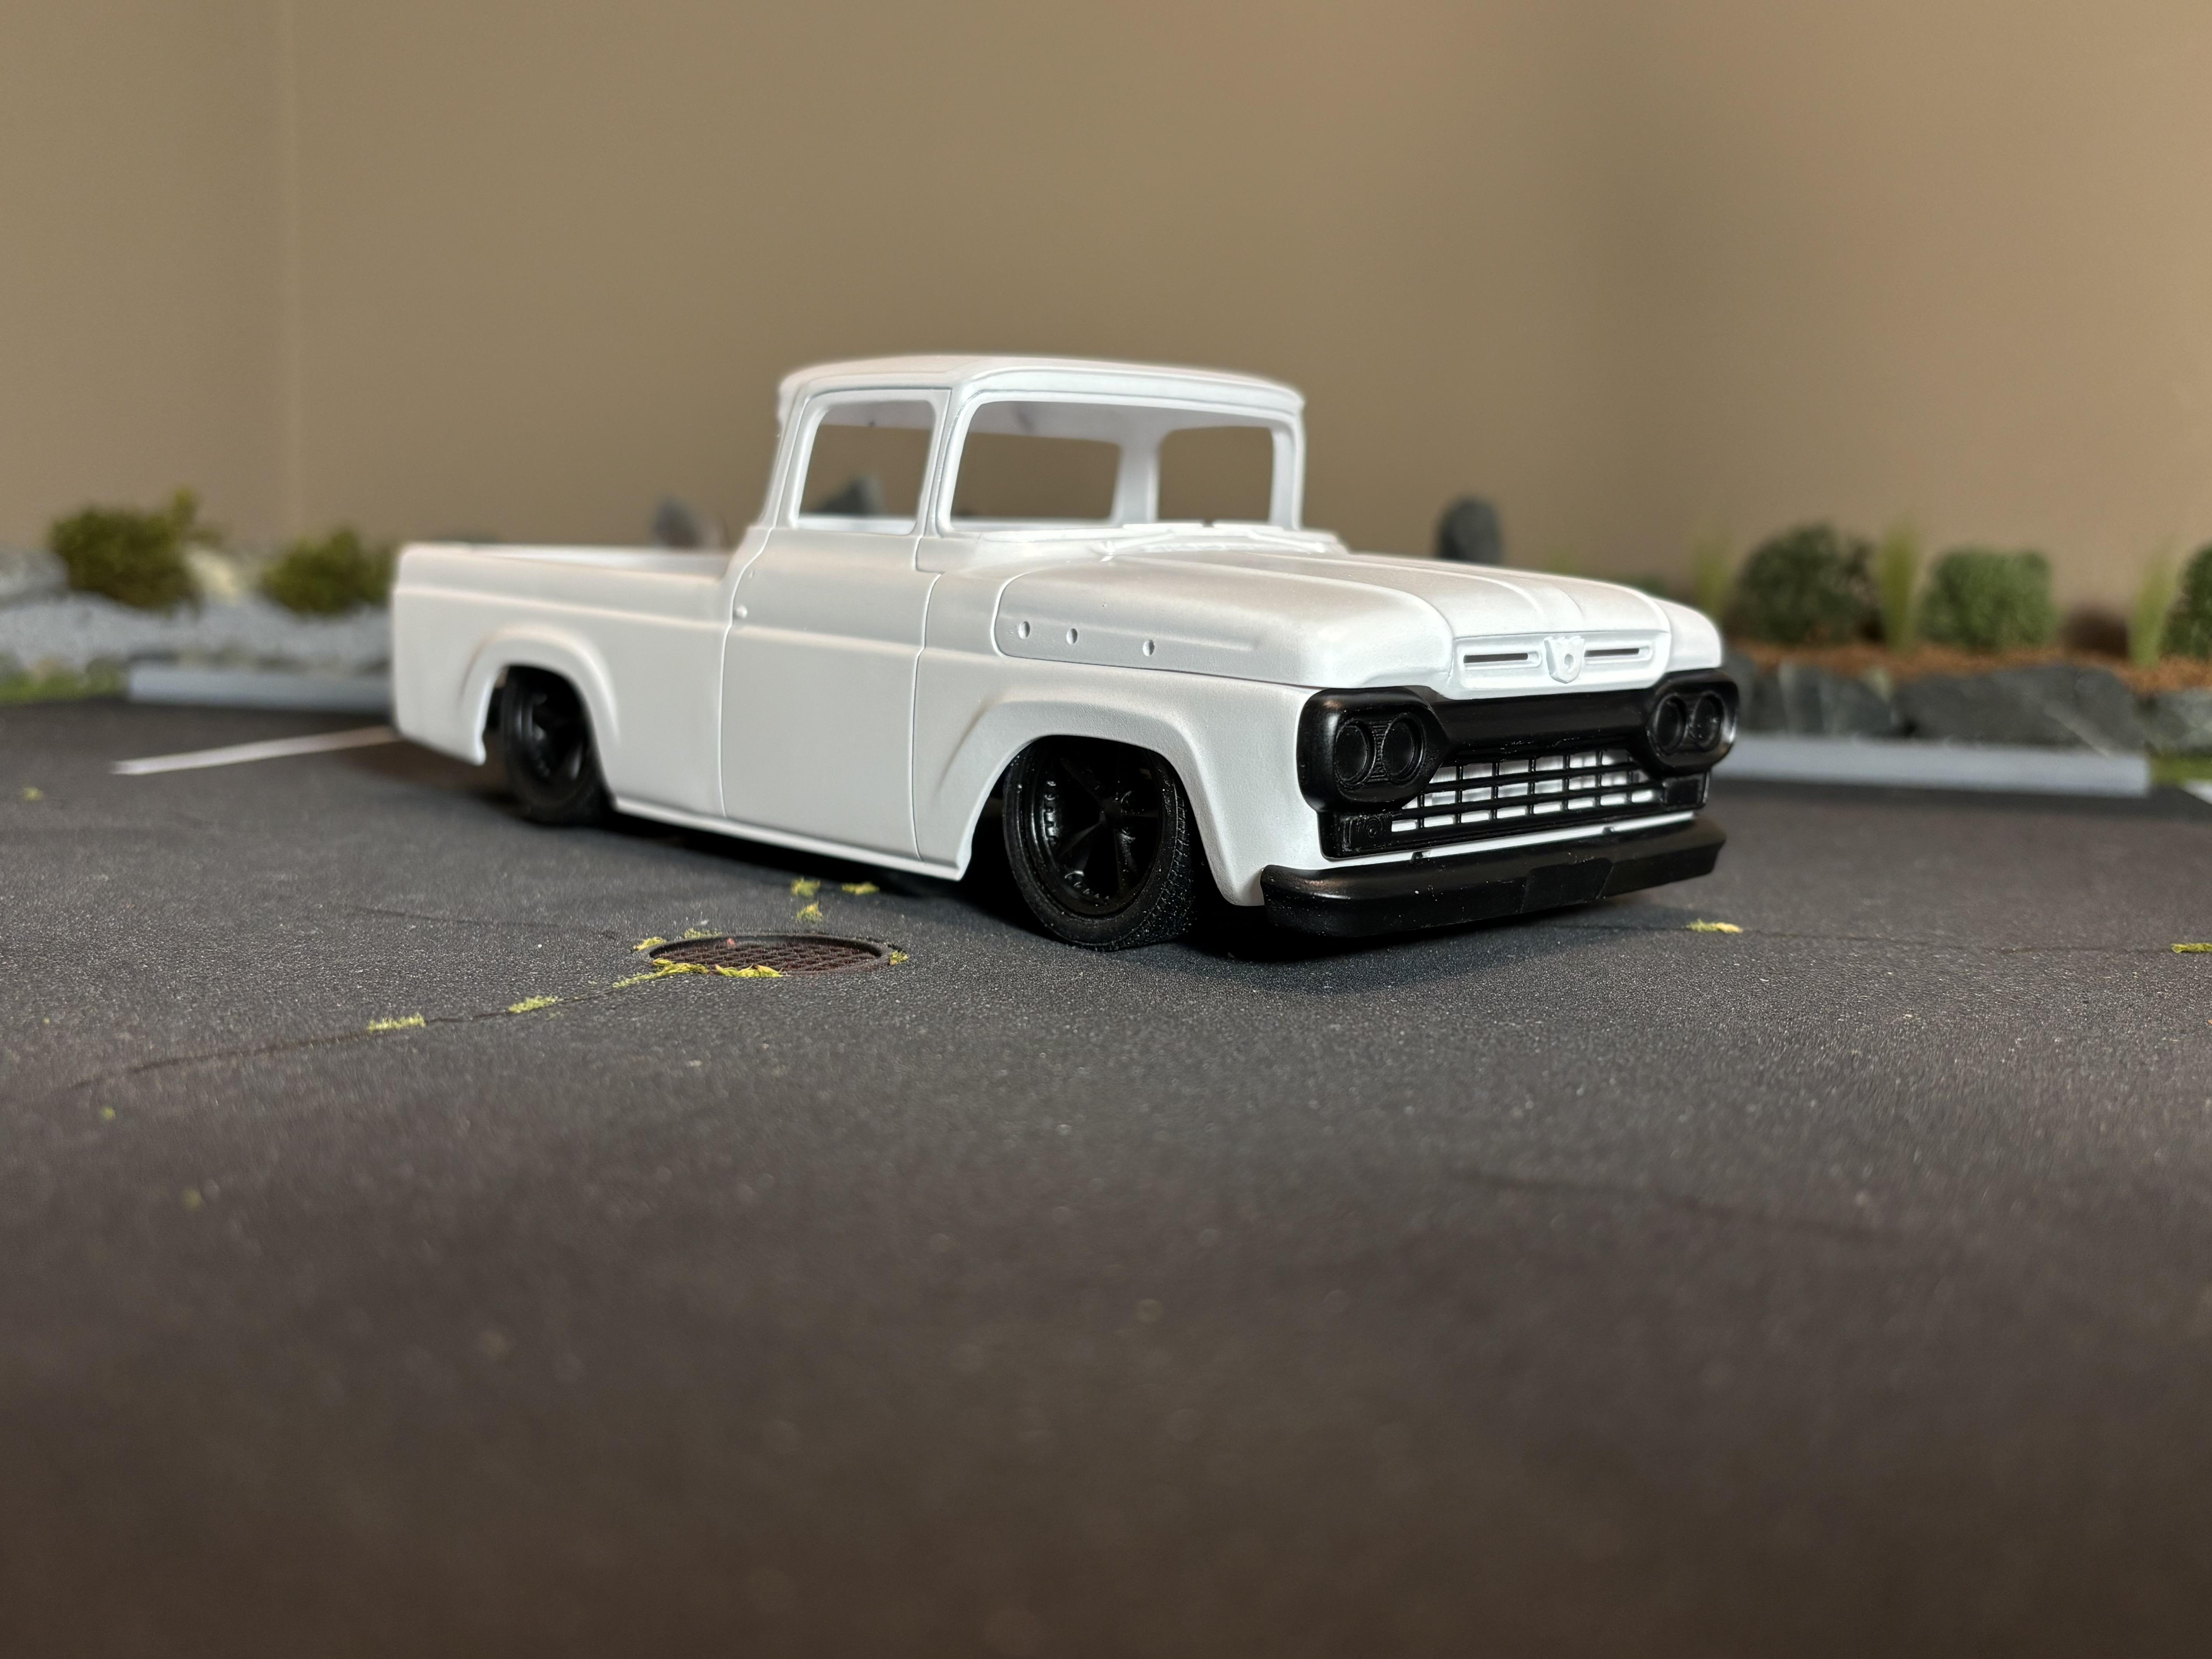
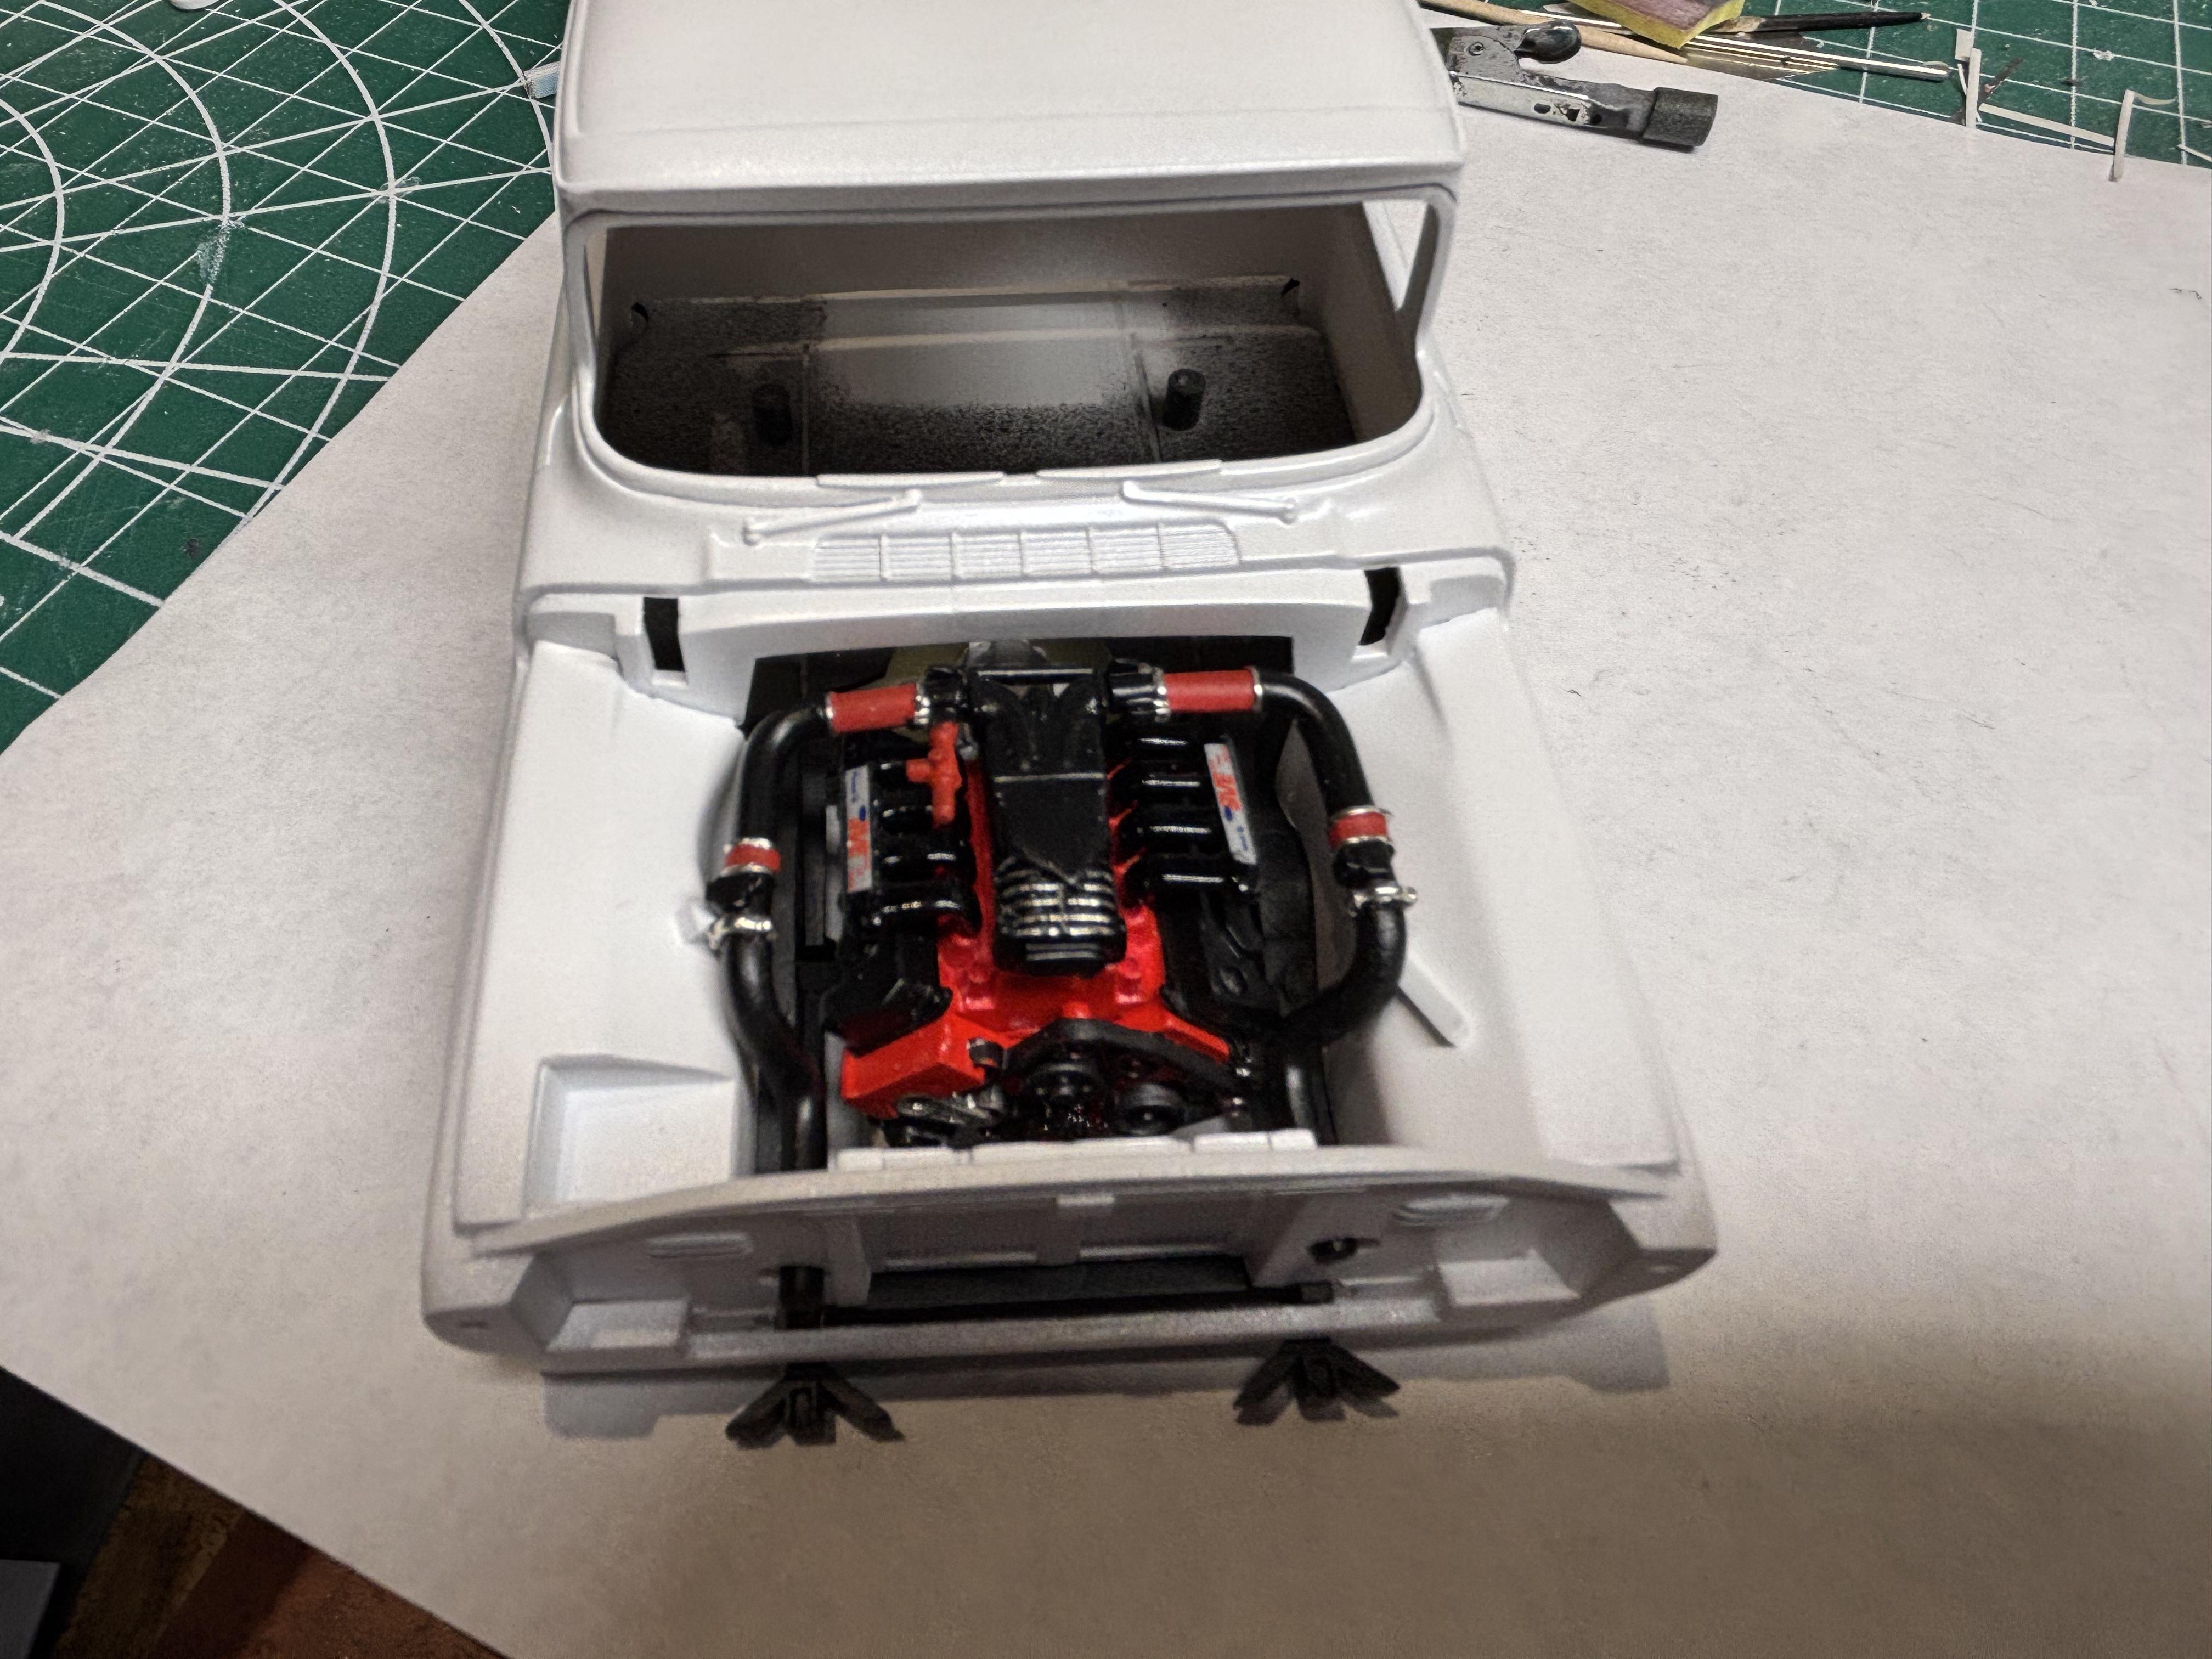
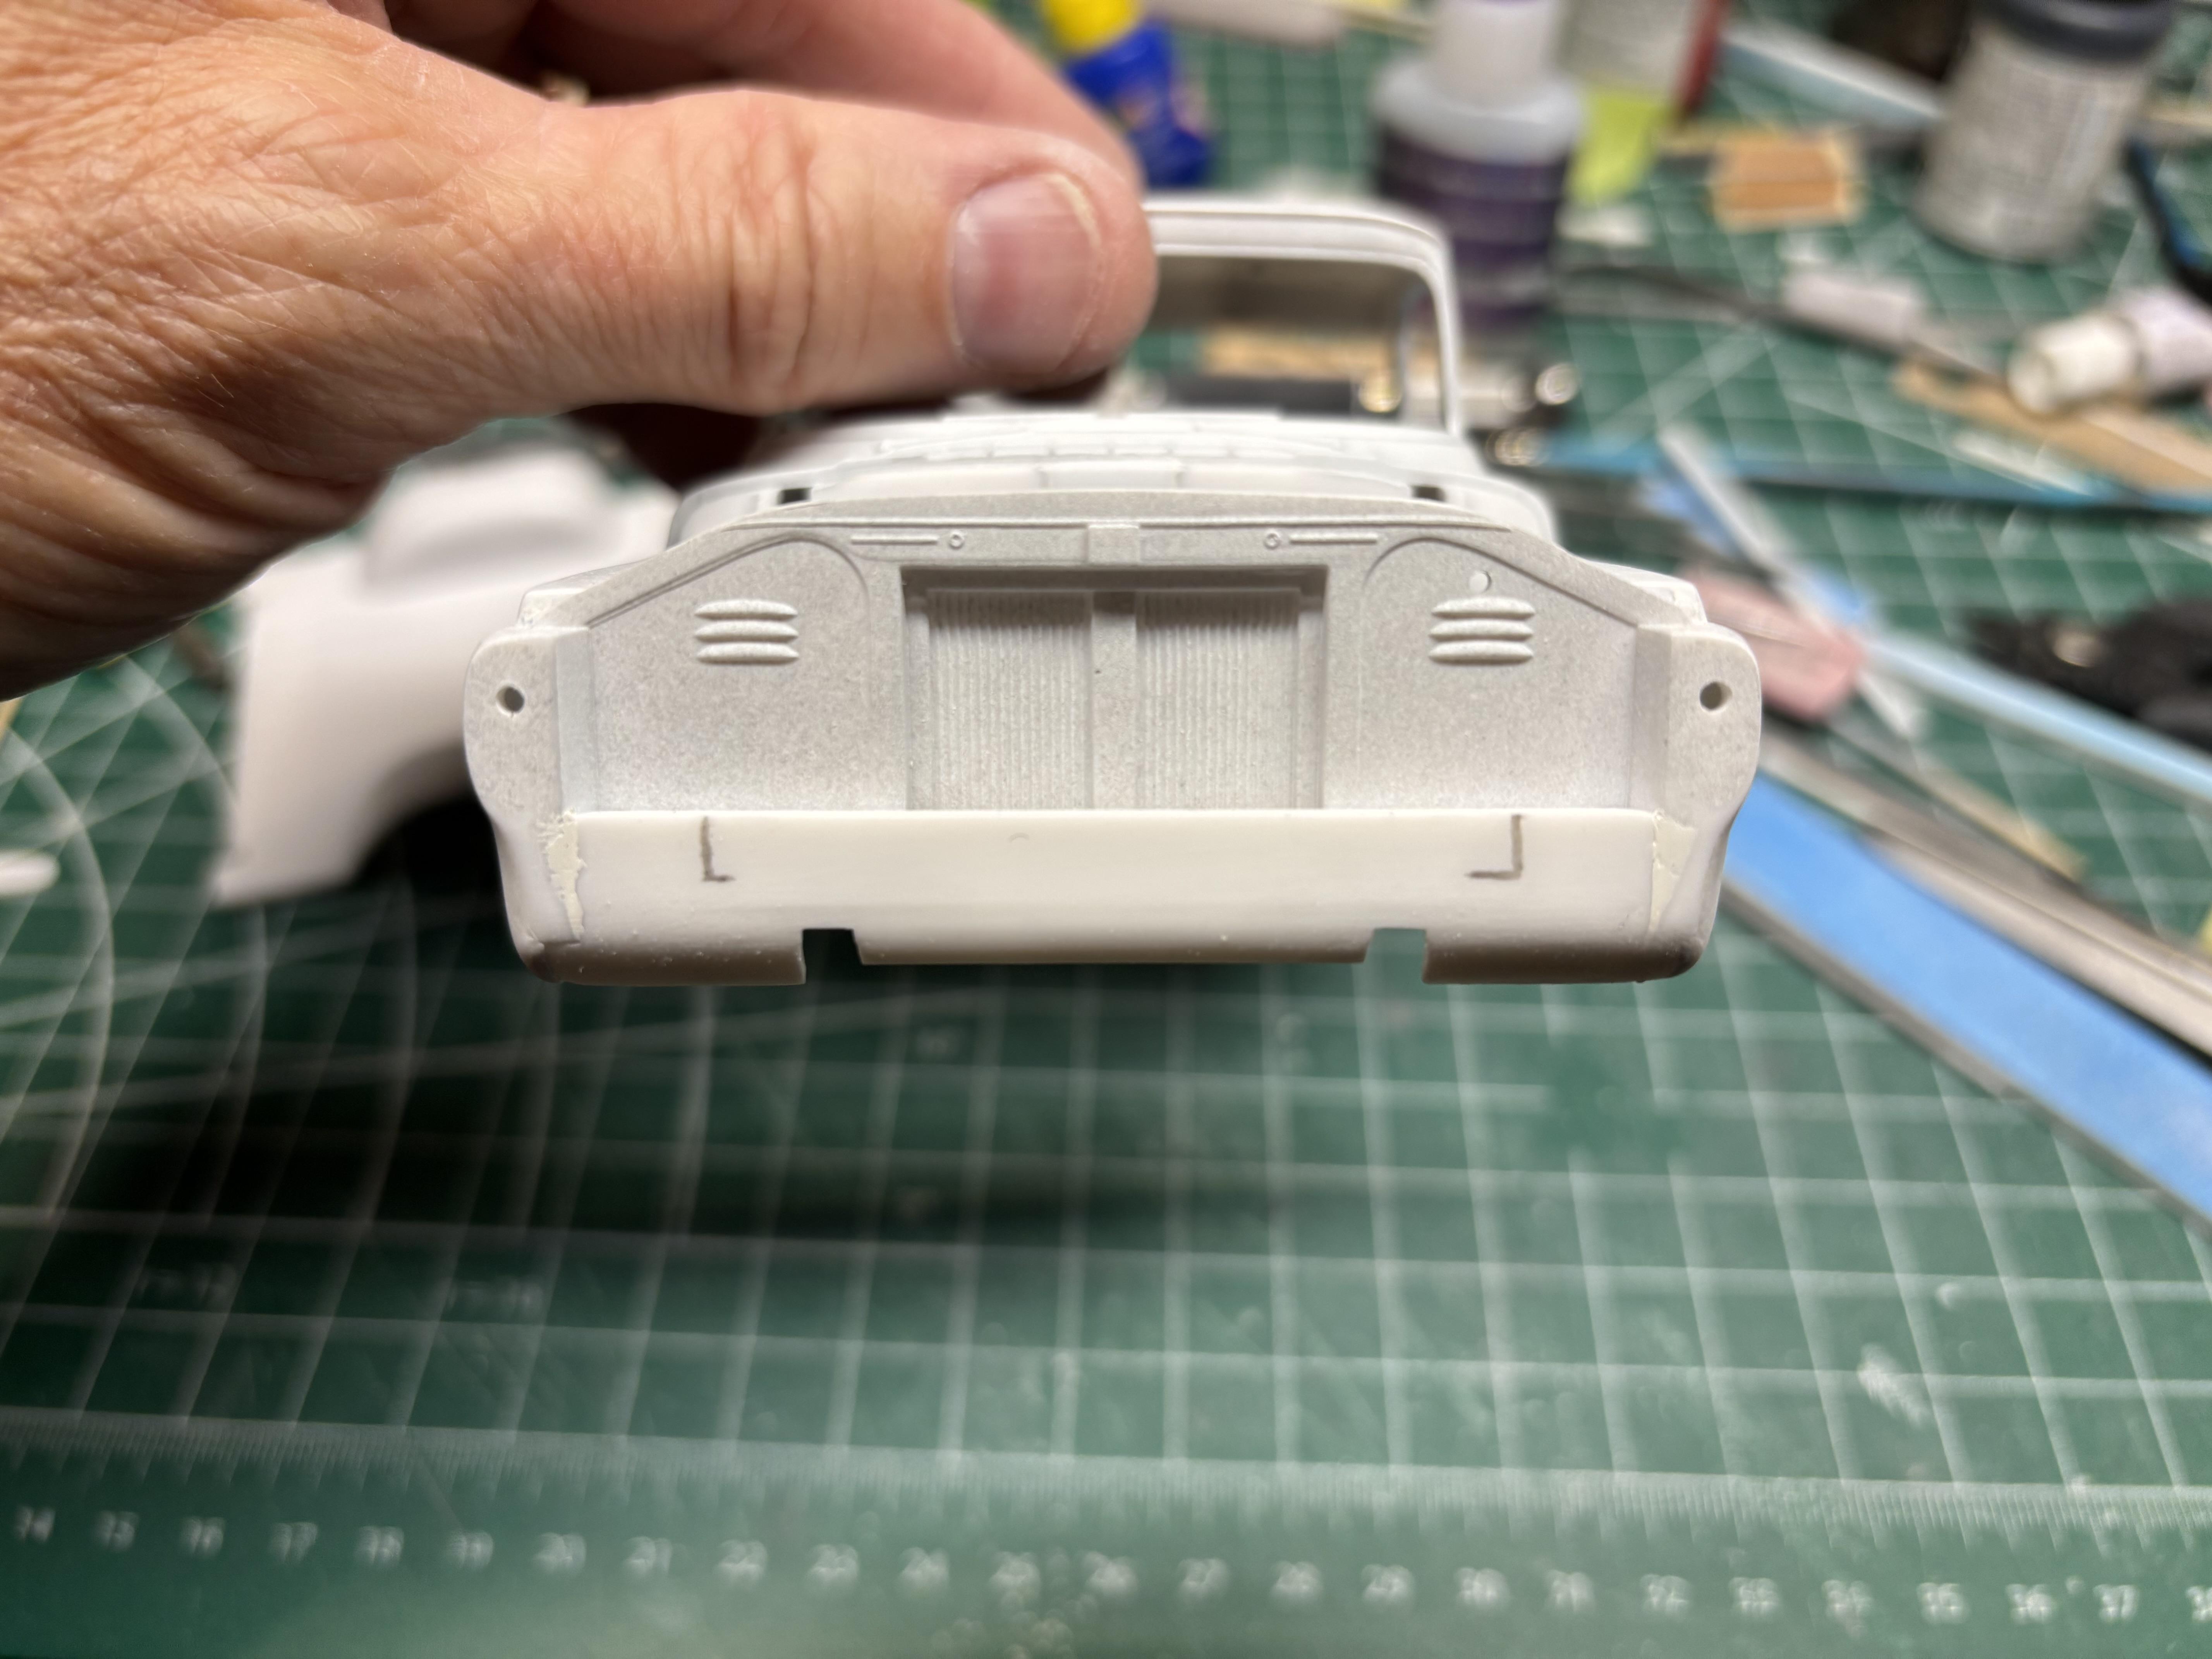
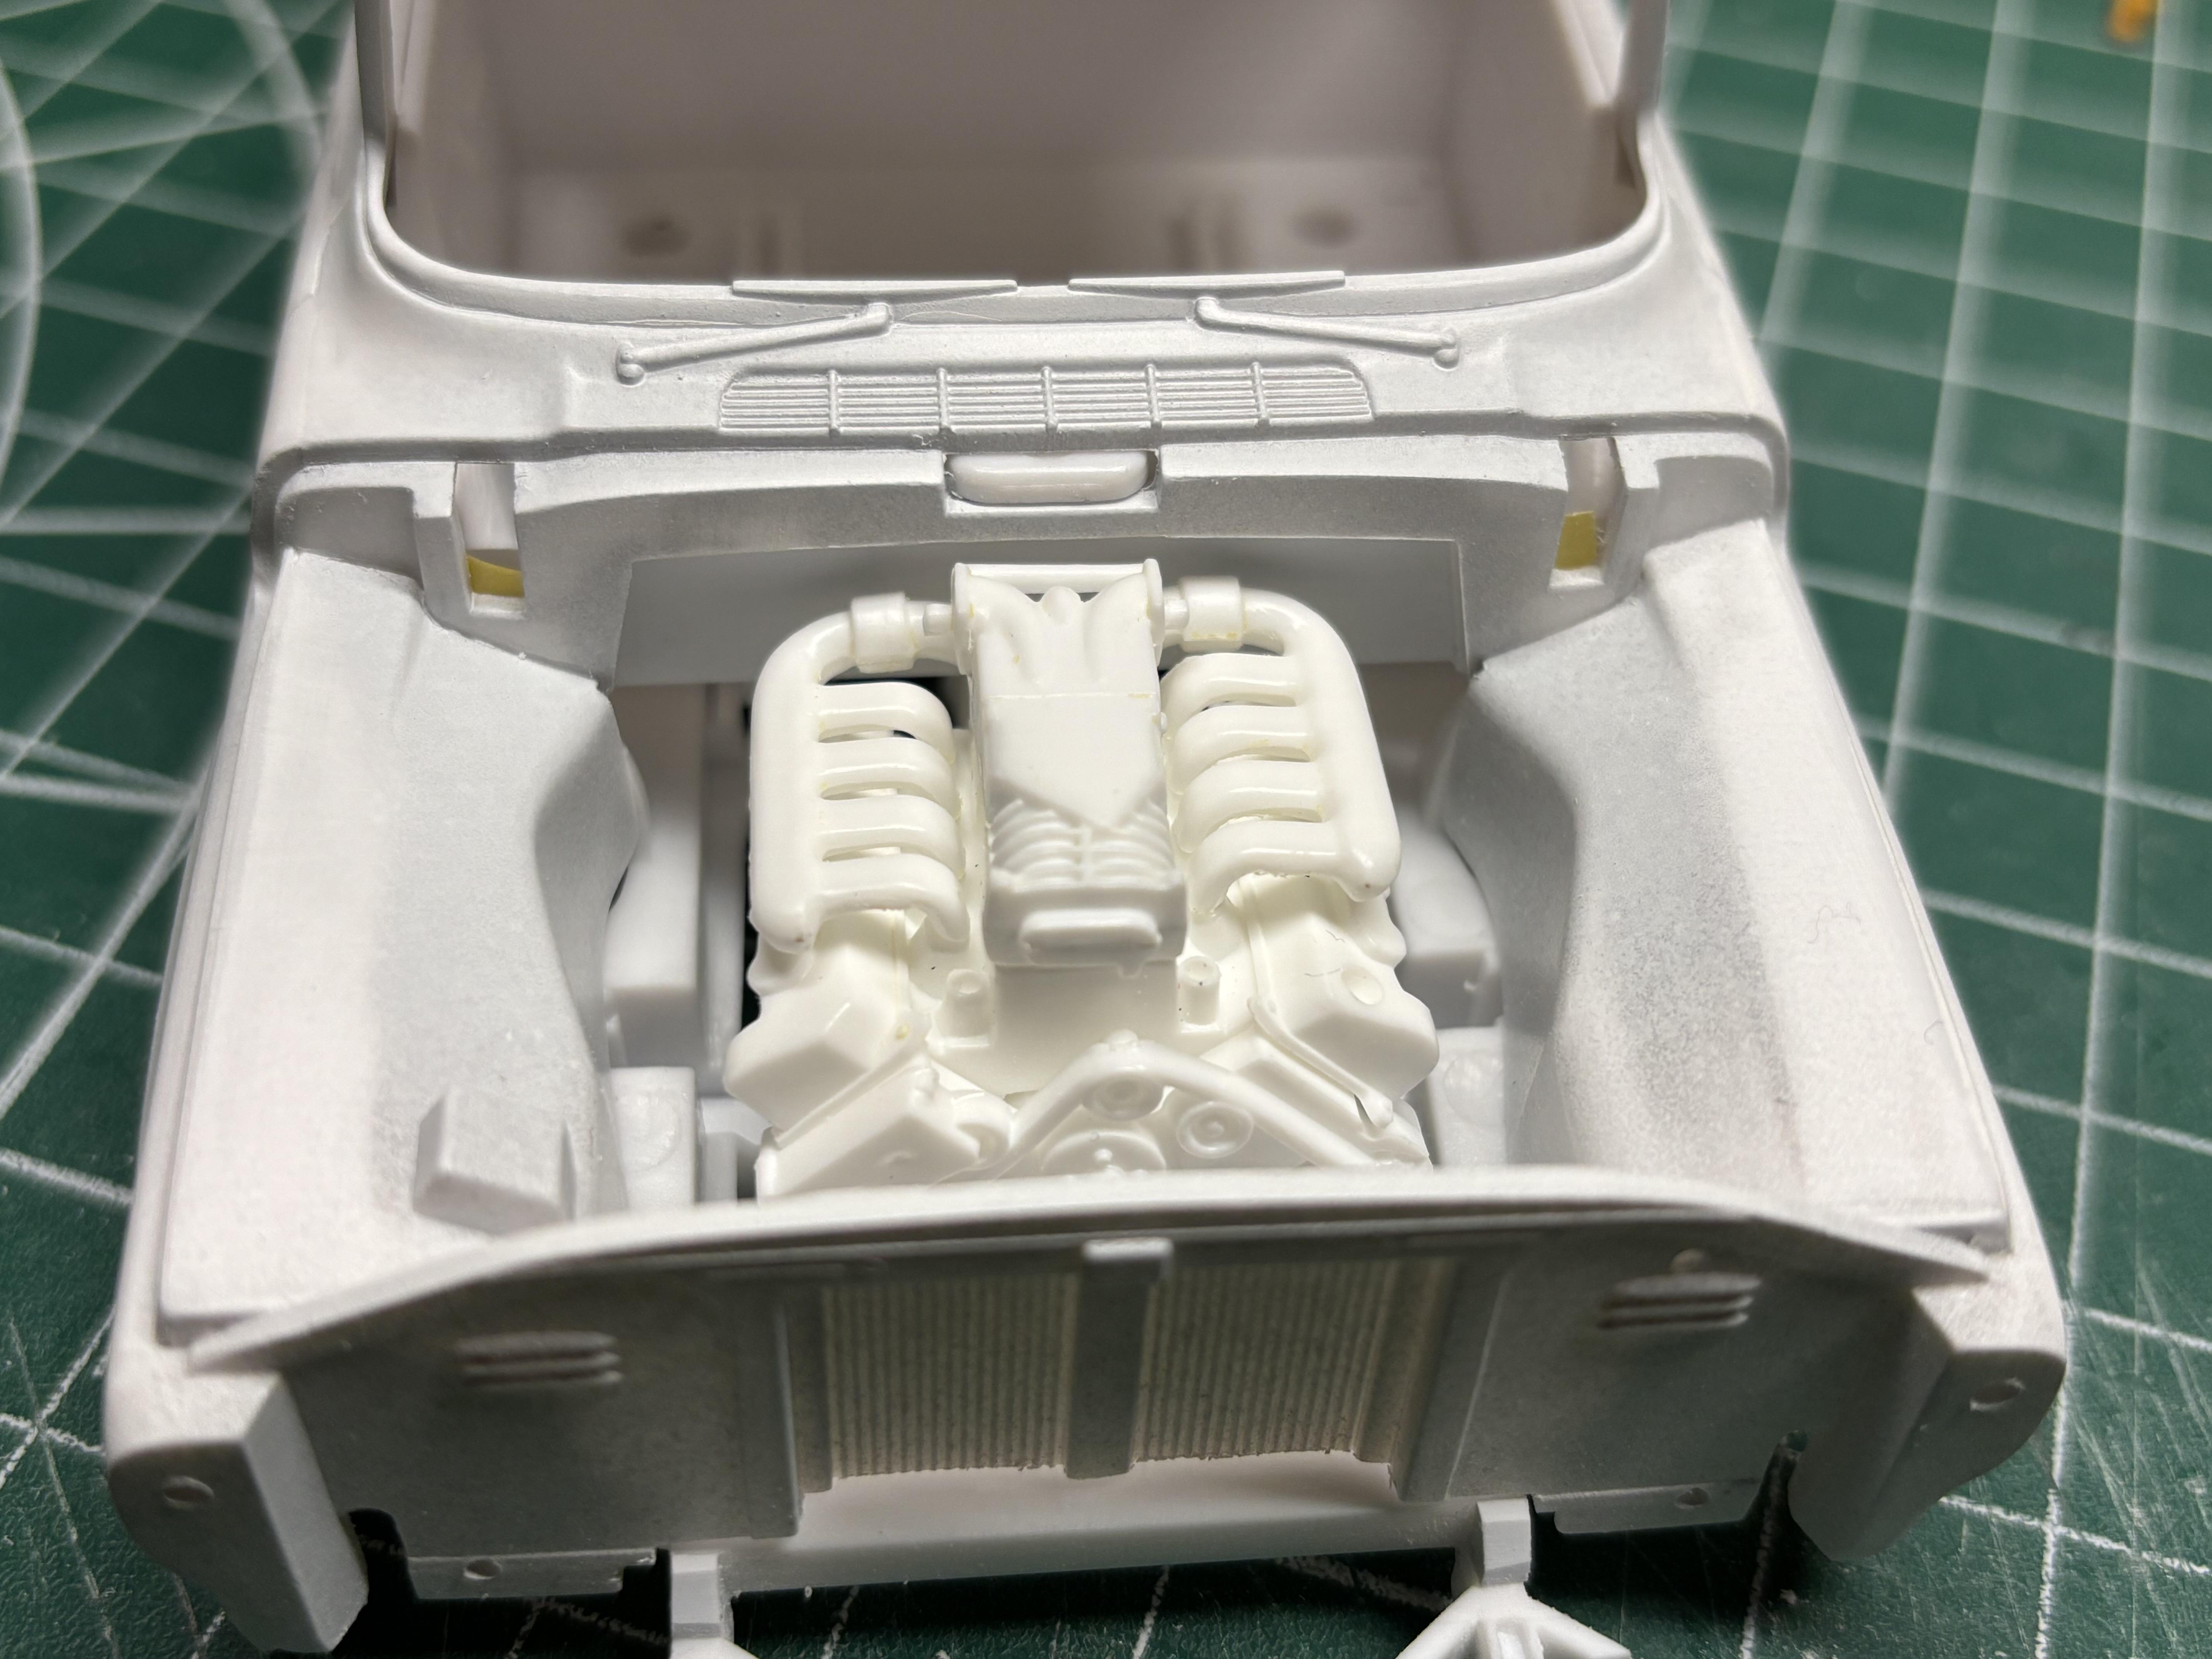
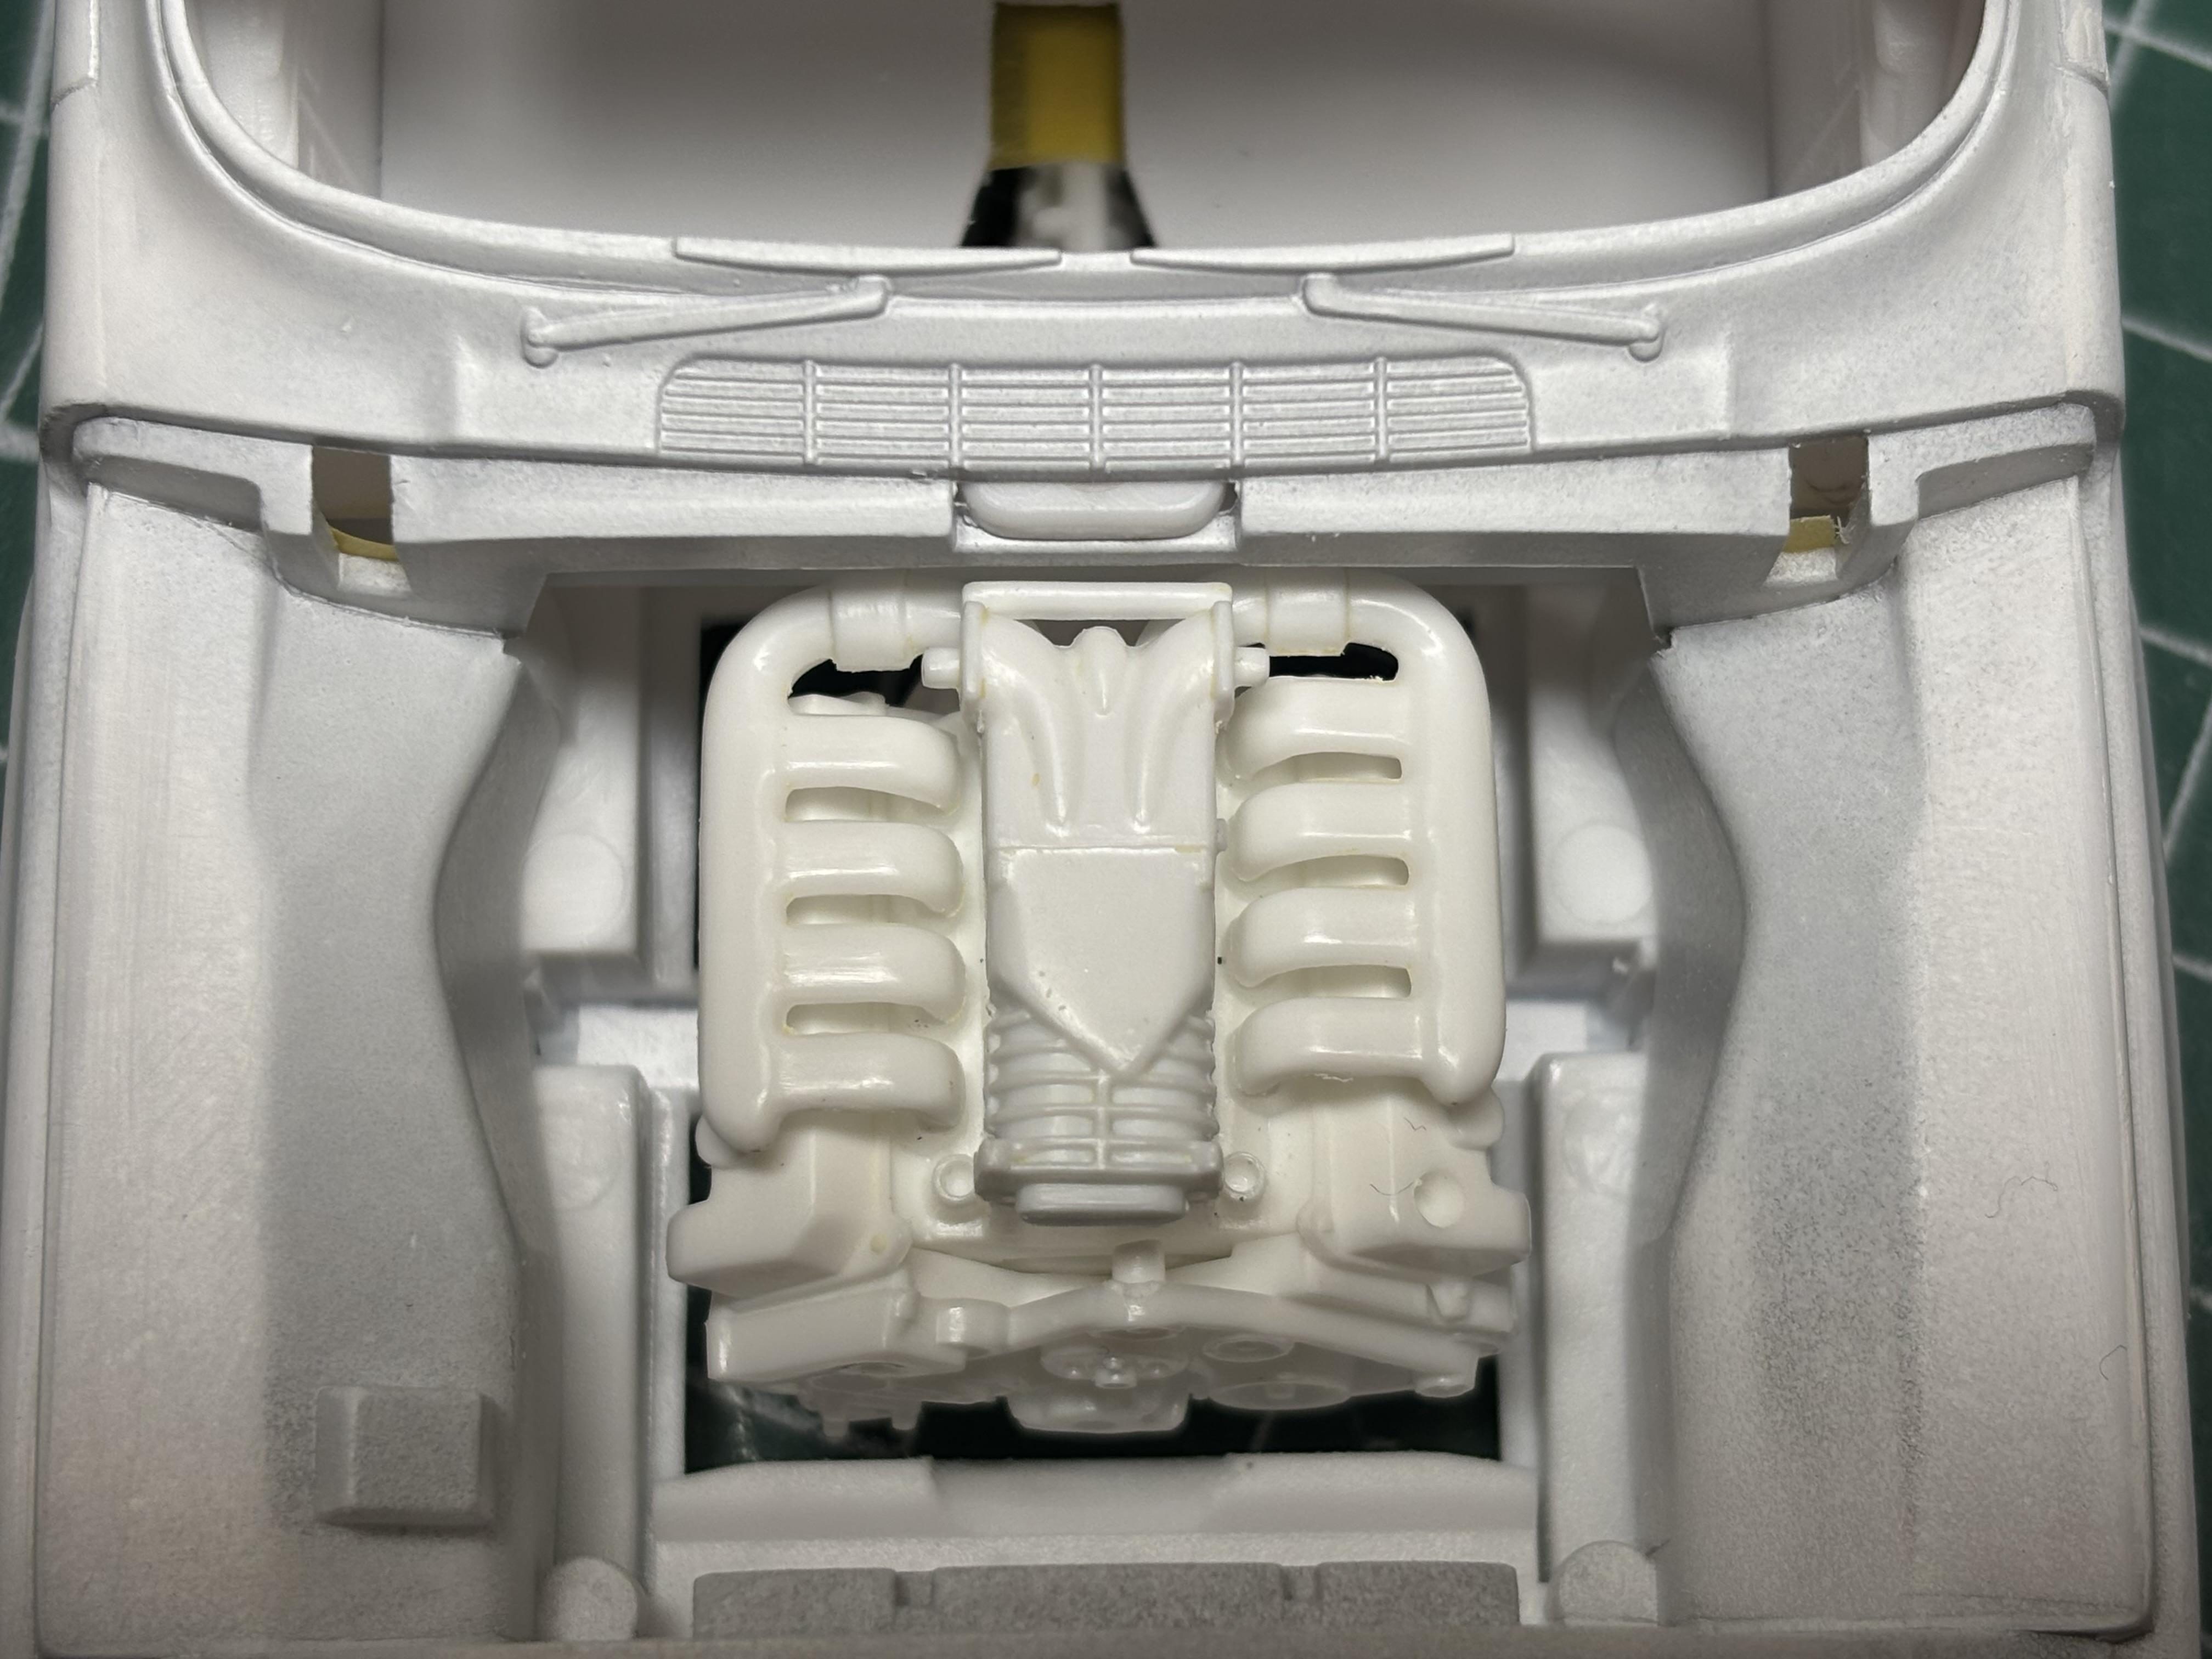
Hi all. MOST…of the “heavy lifting” with this build is done now. Chassis is pretty much sorted out, just need to add shocks, and a few details. Body is about done too, it is primed and has one light coat of pearl white. So obviously….its time for another mock up. Not much different than the last, but it always feels good to do a mock. The engine is getting close too. Most components are painted, although still a fair bit of detail painting to do. So time to see how it’s going to look in the engine bay. Nothing is glued yet, just temporarily tacked together so I could see where I’m at. Once the details are done, a bit of wiring, and some other under hood goodies, I think it’s going to look quite good. At a minimum, it’s looking like what I had envisioned. Ignore the chunks of plastic on the inner fenders, they are just there to hold the intake pipes…🙄 For anyone wondering why the block is red, I almost always try to have a colour scheme. In this case, the interior will be red, there will be a couple “hits” of red on the chassis, and the engine block is red. I will DEFINITELY get better shots of the engine soon, sheesh, those are terrible. Anyway, you get the idea. Now that I know the engine fits, I will start assembling and detail painting it. No progress on the interior yet. The only “big” hurdle there is scratch building a console, and tinkering with the dash. More soon.

- 187 replies
-
- 11
-

-
- plowboy
- roger hayes
- (and 1 more)
-
I believe our dogs get to know us, and our “secret” language extremely well. Thanks for sharing that, I love dogs, and enjoy other’s stories about their dogs.
- 187 replies
-
- 1
-
-
- plowboy
- roger hayes
- (and 1 more)
-
Very nice progress Dave! That is both a BOLD, and BEAUTIFUL colour combination. The black looks really nice. Your attention to detail is fantastic. My next project will be a Beaumont, your builds have been very inspiring. Thanks for sharing sir.
-
Western Star 4900 FA plow truck
Steve H replied to BK9300's topic in WIP: Model Trucks: Big Rigs and Heavy Equipment
The vacuum… So my wife has always been super supportive of my hobby. We built our house with a hobby room/craft room for me and my daughter. That said, my wife is not a fan of the styrene “bits” that seem to follow me out of the room. I have a mat inside the room at the door to wipe my feet, always dust myself off, but still the styrene follows… Having a small vacuum on the bench, within reach, has been a game changer for me. Also, no fear of sucking up a small scratch built part, easy to find in the small canister. I regularly give the desk a quick vacuum now, LOVE IT. Highly recommend for those that want to keep a cleaner desk. -
Western Star 4900 FA plow truck
Steve H replied to BK9300's topic in WIP: Model Trucks: Big Rigs and Heavy Equipment
Fantastic work Brian! I bet it feels really good to have that hood sorted out. I know I’d be ecstatic…. -
’72 Dodge Demon Drag Racer 1/25 scale
Steve H replied to AmericanMuscleFan's topic in WIP: Drag Racing Models
You never cease to amaze Francis. Incredible work. Everything about the rad is fantastic, but the rad cap with a recess … sheesh. -
Hello Francis my friend. The kit dash face was not much to work with. Haven’t played with gauges yet, but I will come up with something better than what the kit offered. The taillight bezels were a necessity as I want all the black trim to be the same colour. Trying to brush paint the molded bezels would not have been an option for me. Thanks for checking in sir!
-
Ohhhhh… a 63 Vette…. All good candidates, but I like the Vette idea. Keep me posted.
-
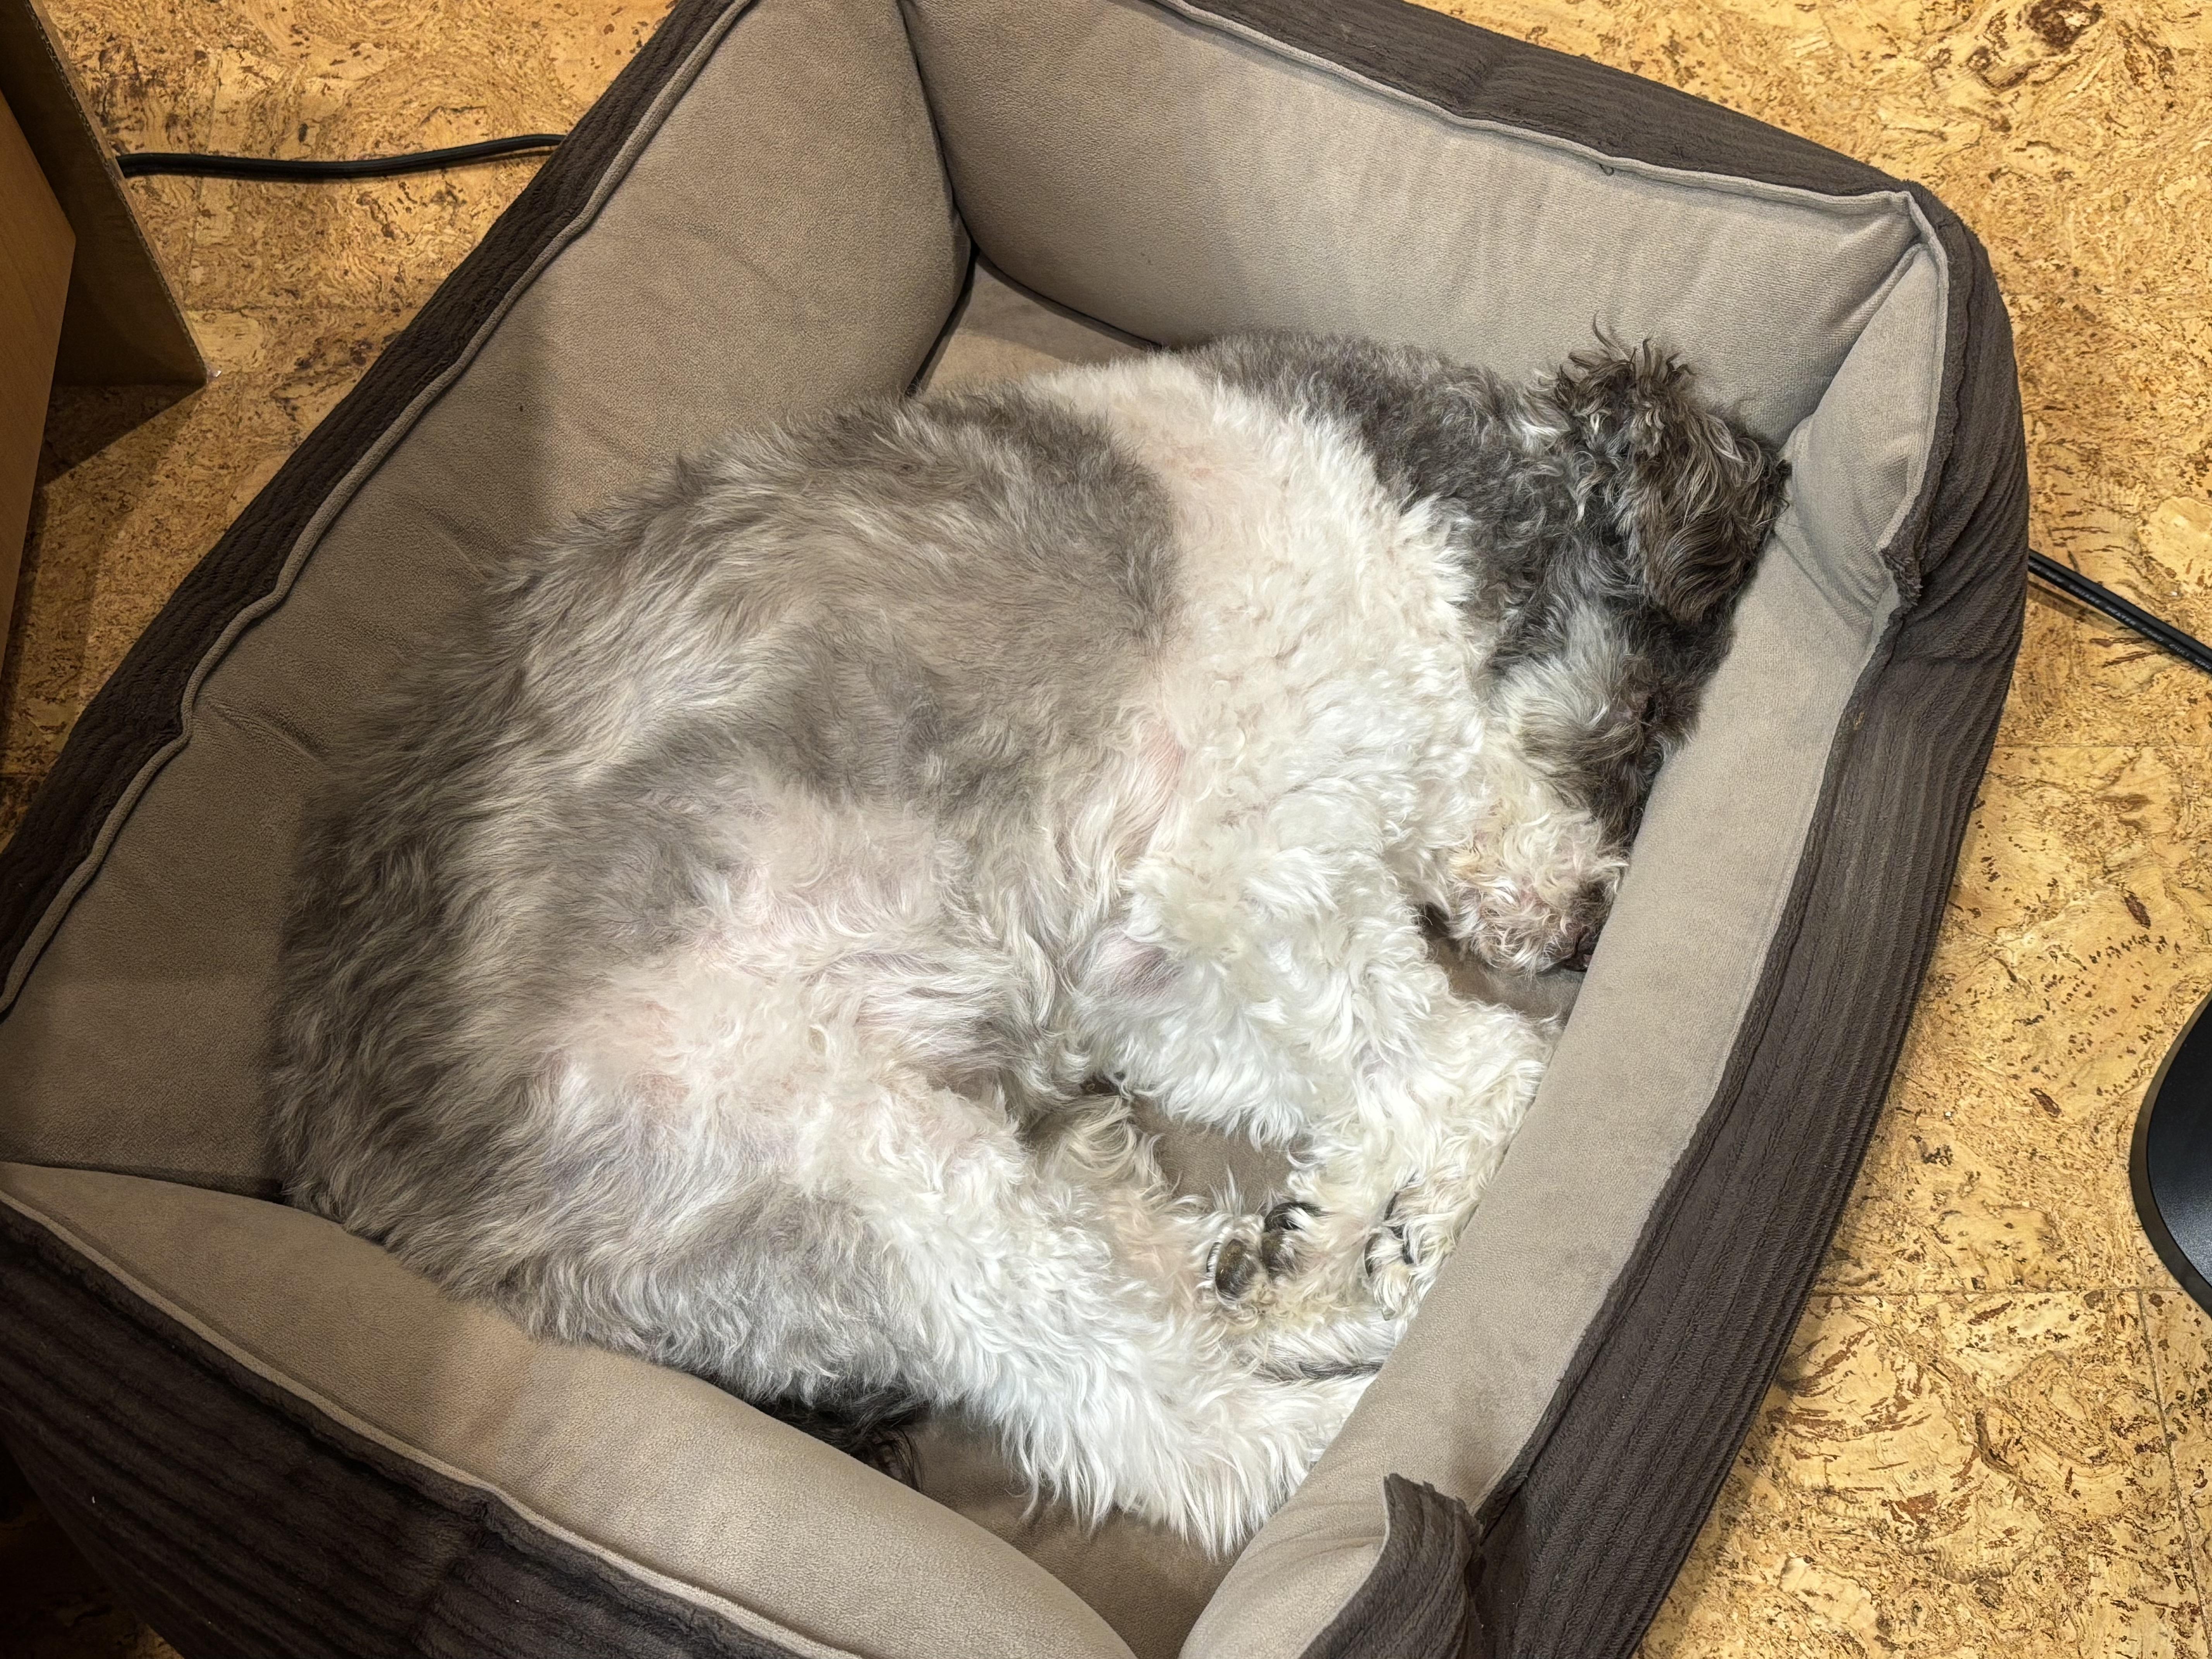
Thanks Greg, all small stuff, but it’s starting to come together. Pets definitely make travel more challenging. Otis had his 14th (98th) birthday last week. He has been an amazing dog, he is starting to show his age, and I’m just enjoying every moment while he’s still with us. Hi David! Always great to hear from you. The body work is now VERY close. Hoping to get a final coat of primer on it soon, maybe tomorrow… Yes, Otis loves his people, and snuggles up at any chance. Obviously I’m biased, but he’s awesome. Love my hobby days with him. He has learned, when I get up and leave the room and lights are still on, I’ll be right back, (usually a quick trip to my shop for some painting), if the lights go out, hobby session over, and he comes with me. I sometimes come in the house after being out and find him snuggled in his bed in my hobby room, how could I NOT go in and start a build session!
-
Haha!! I’ll definitely take the blame! I’ve already said it, but I sure do like thinking that I give others inspiration. So many builders on this forum have inspired me, and answered questions that have made me better. If I can give a tiny fraction of that back, it’s very satisfying. Bruce, I look forward to seeing what you create from those light bulbs going off. Please PM me if you get rolling on a WIP… What bodies are you thinking? Ohhh… thanks for the 2 thumbs!
-
Wow! That makes a huge difference to the look of the car. Love it. Very nice work keeping all the body lines intact during the filling and sanding. Cool project Greg.
-
Thank you Tim. Yes, this was a fun build indeed. I do enjoy projects that are a little off the beaten path.
-
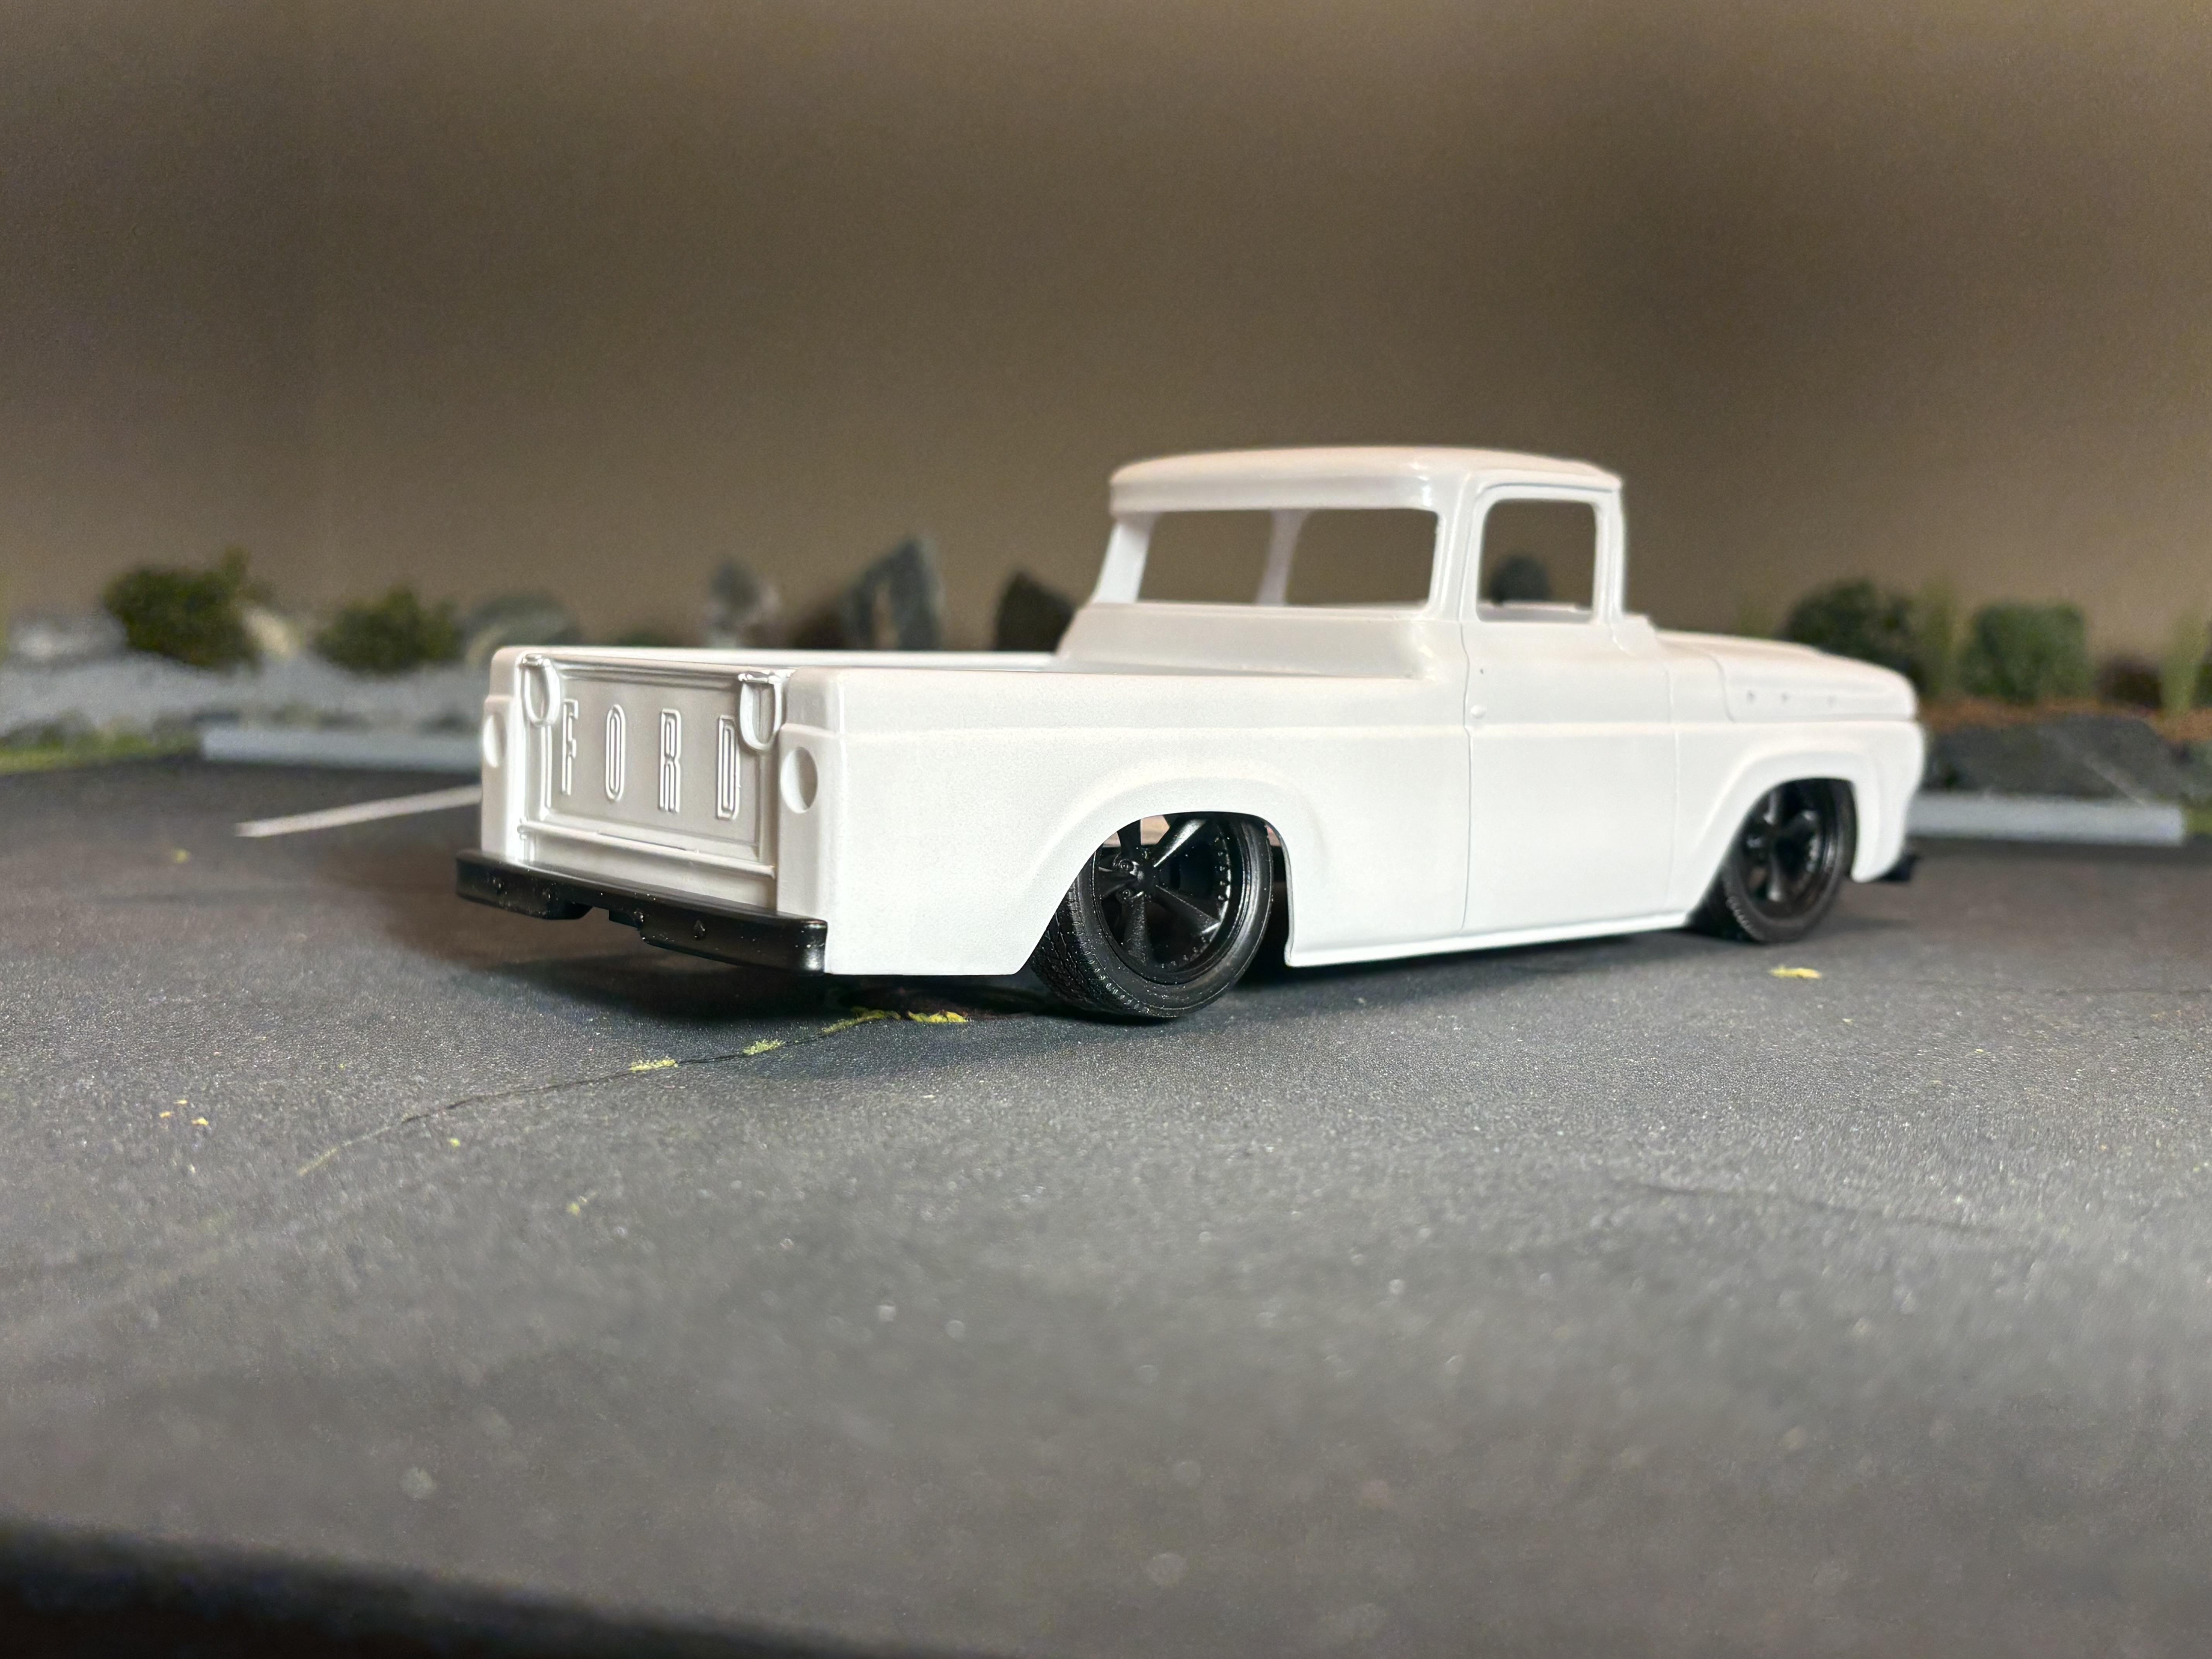
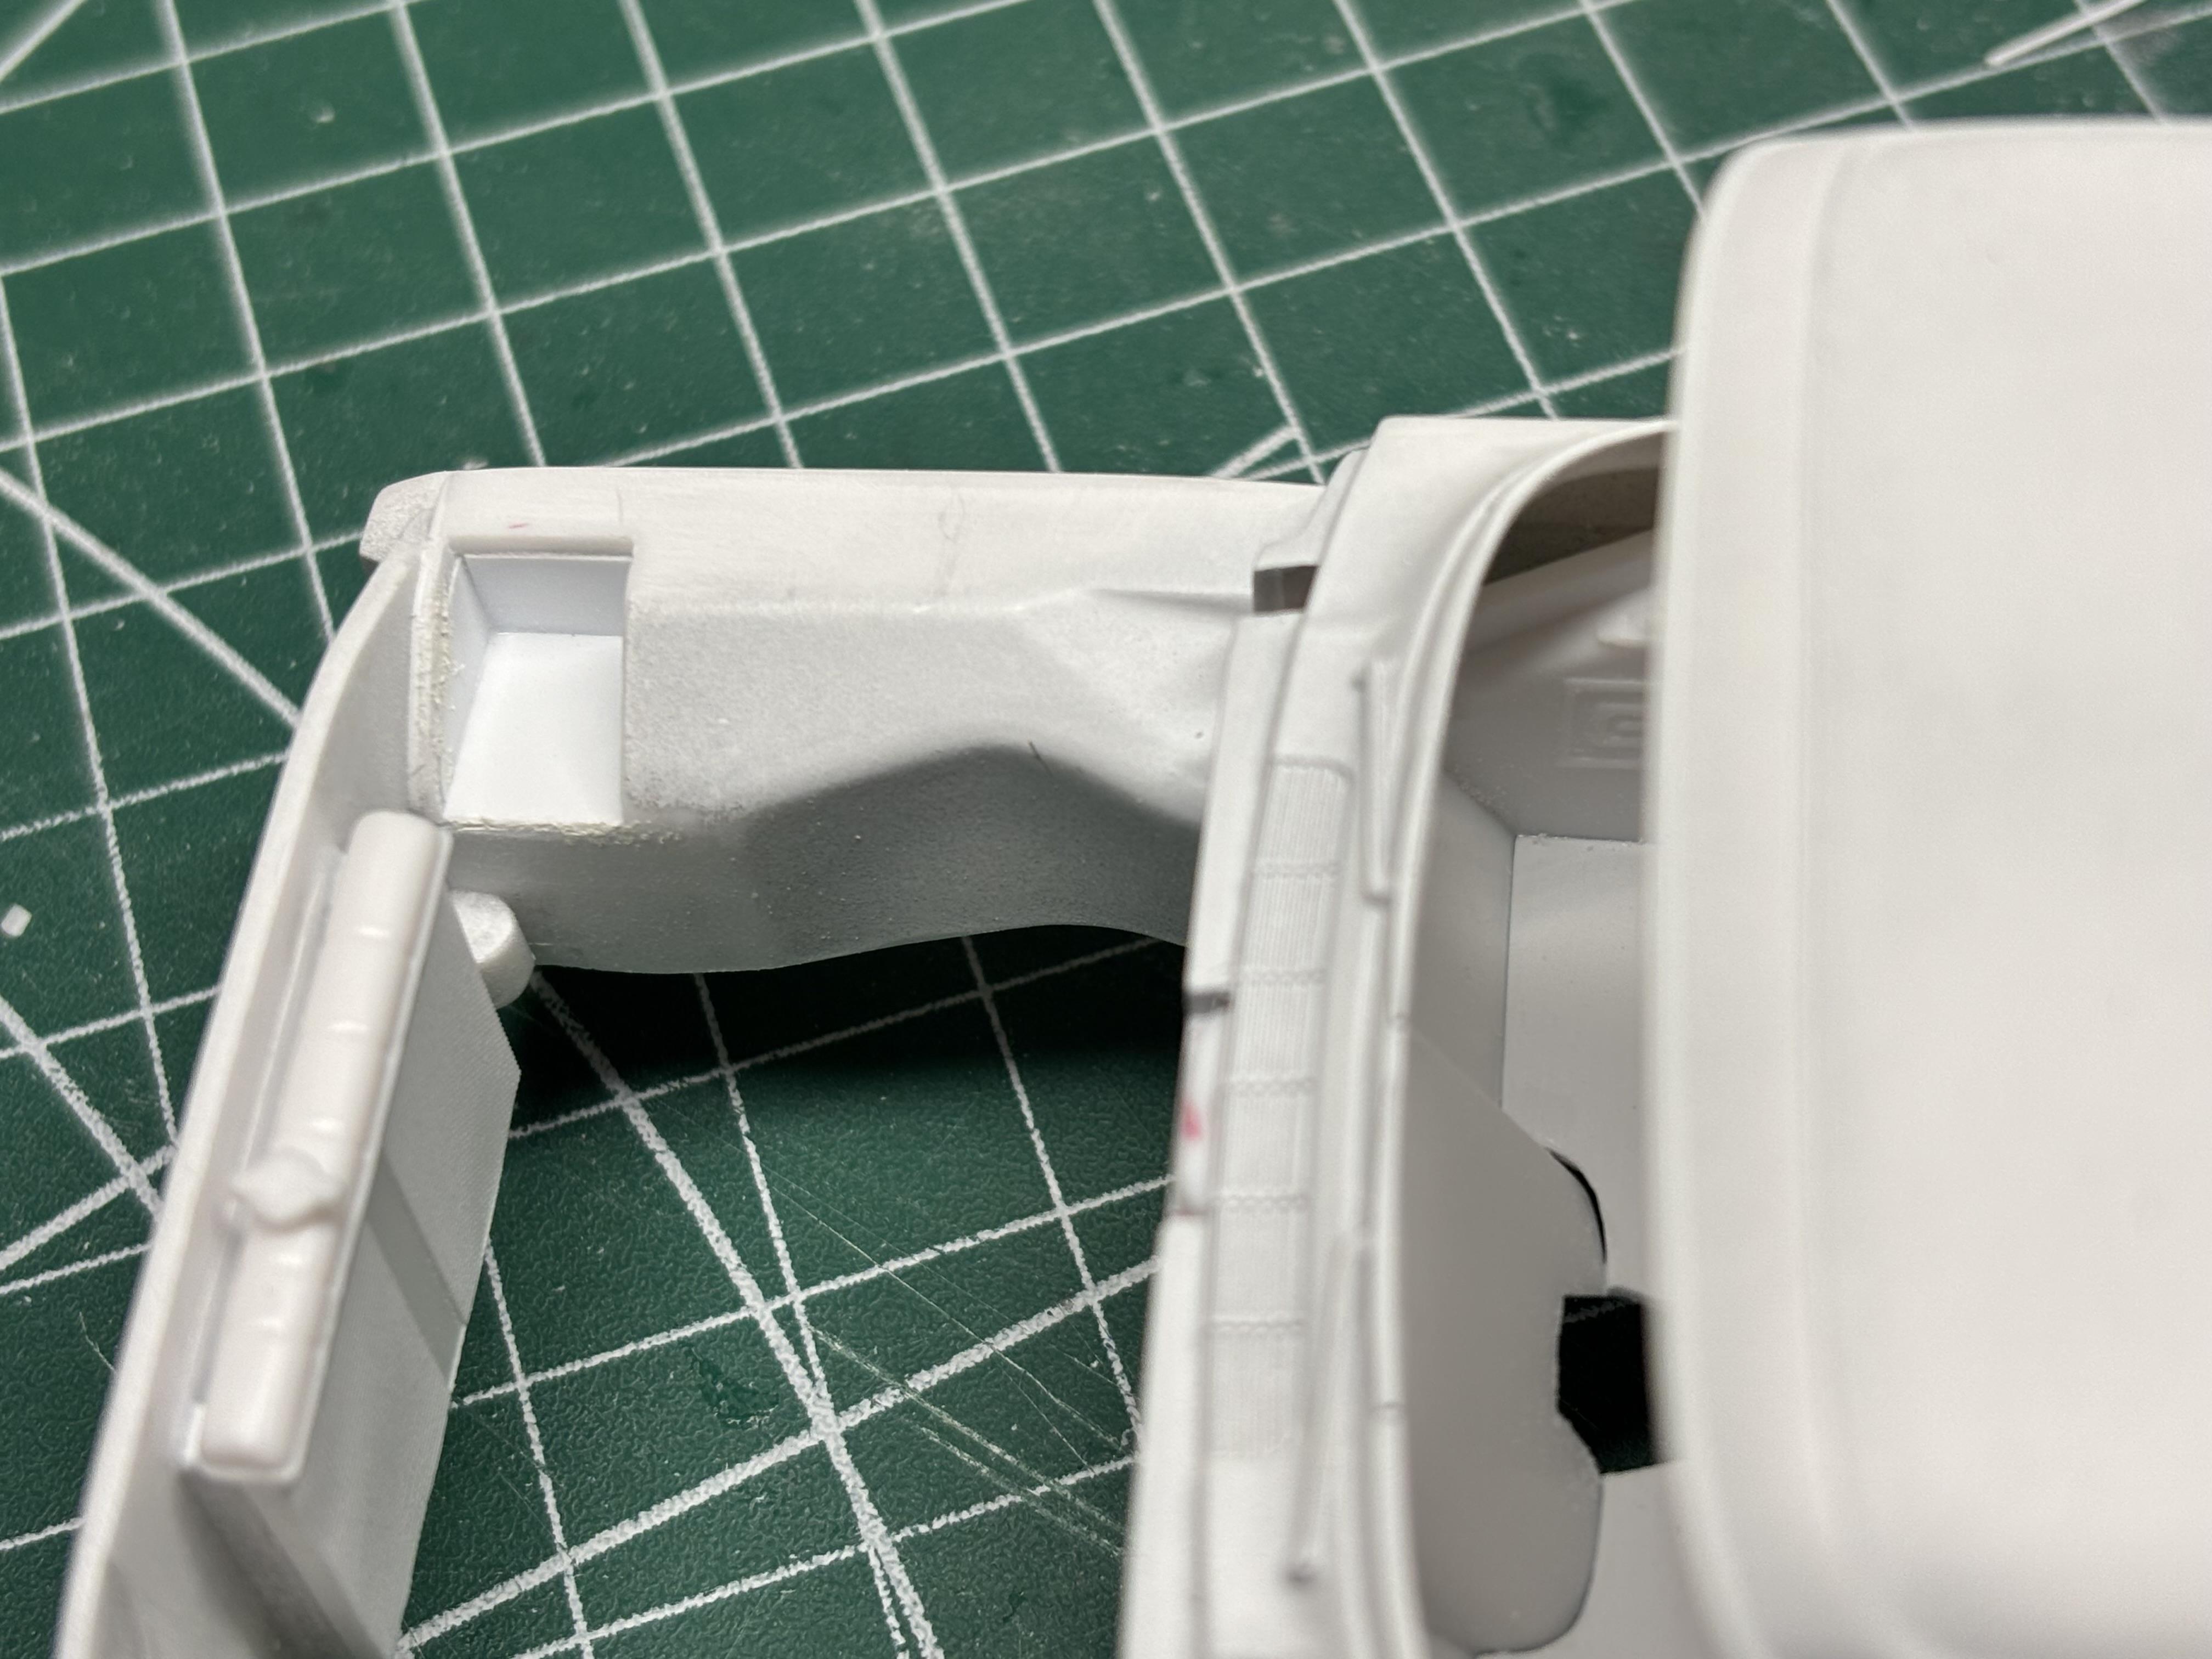
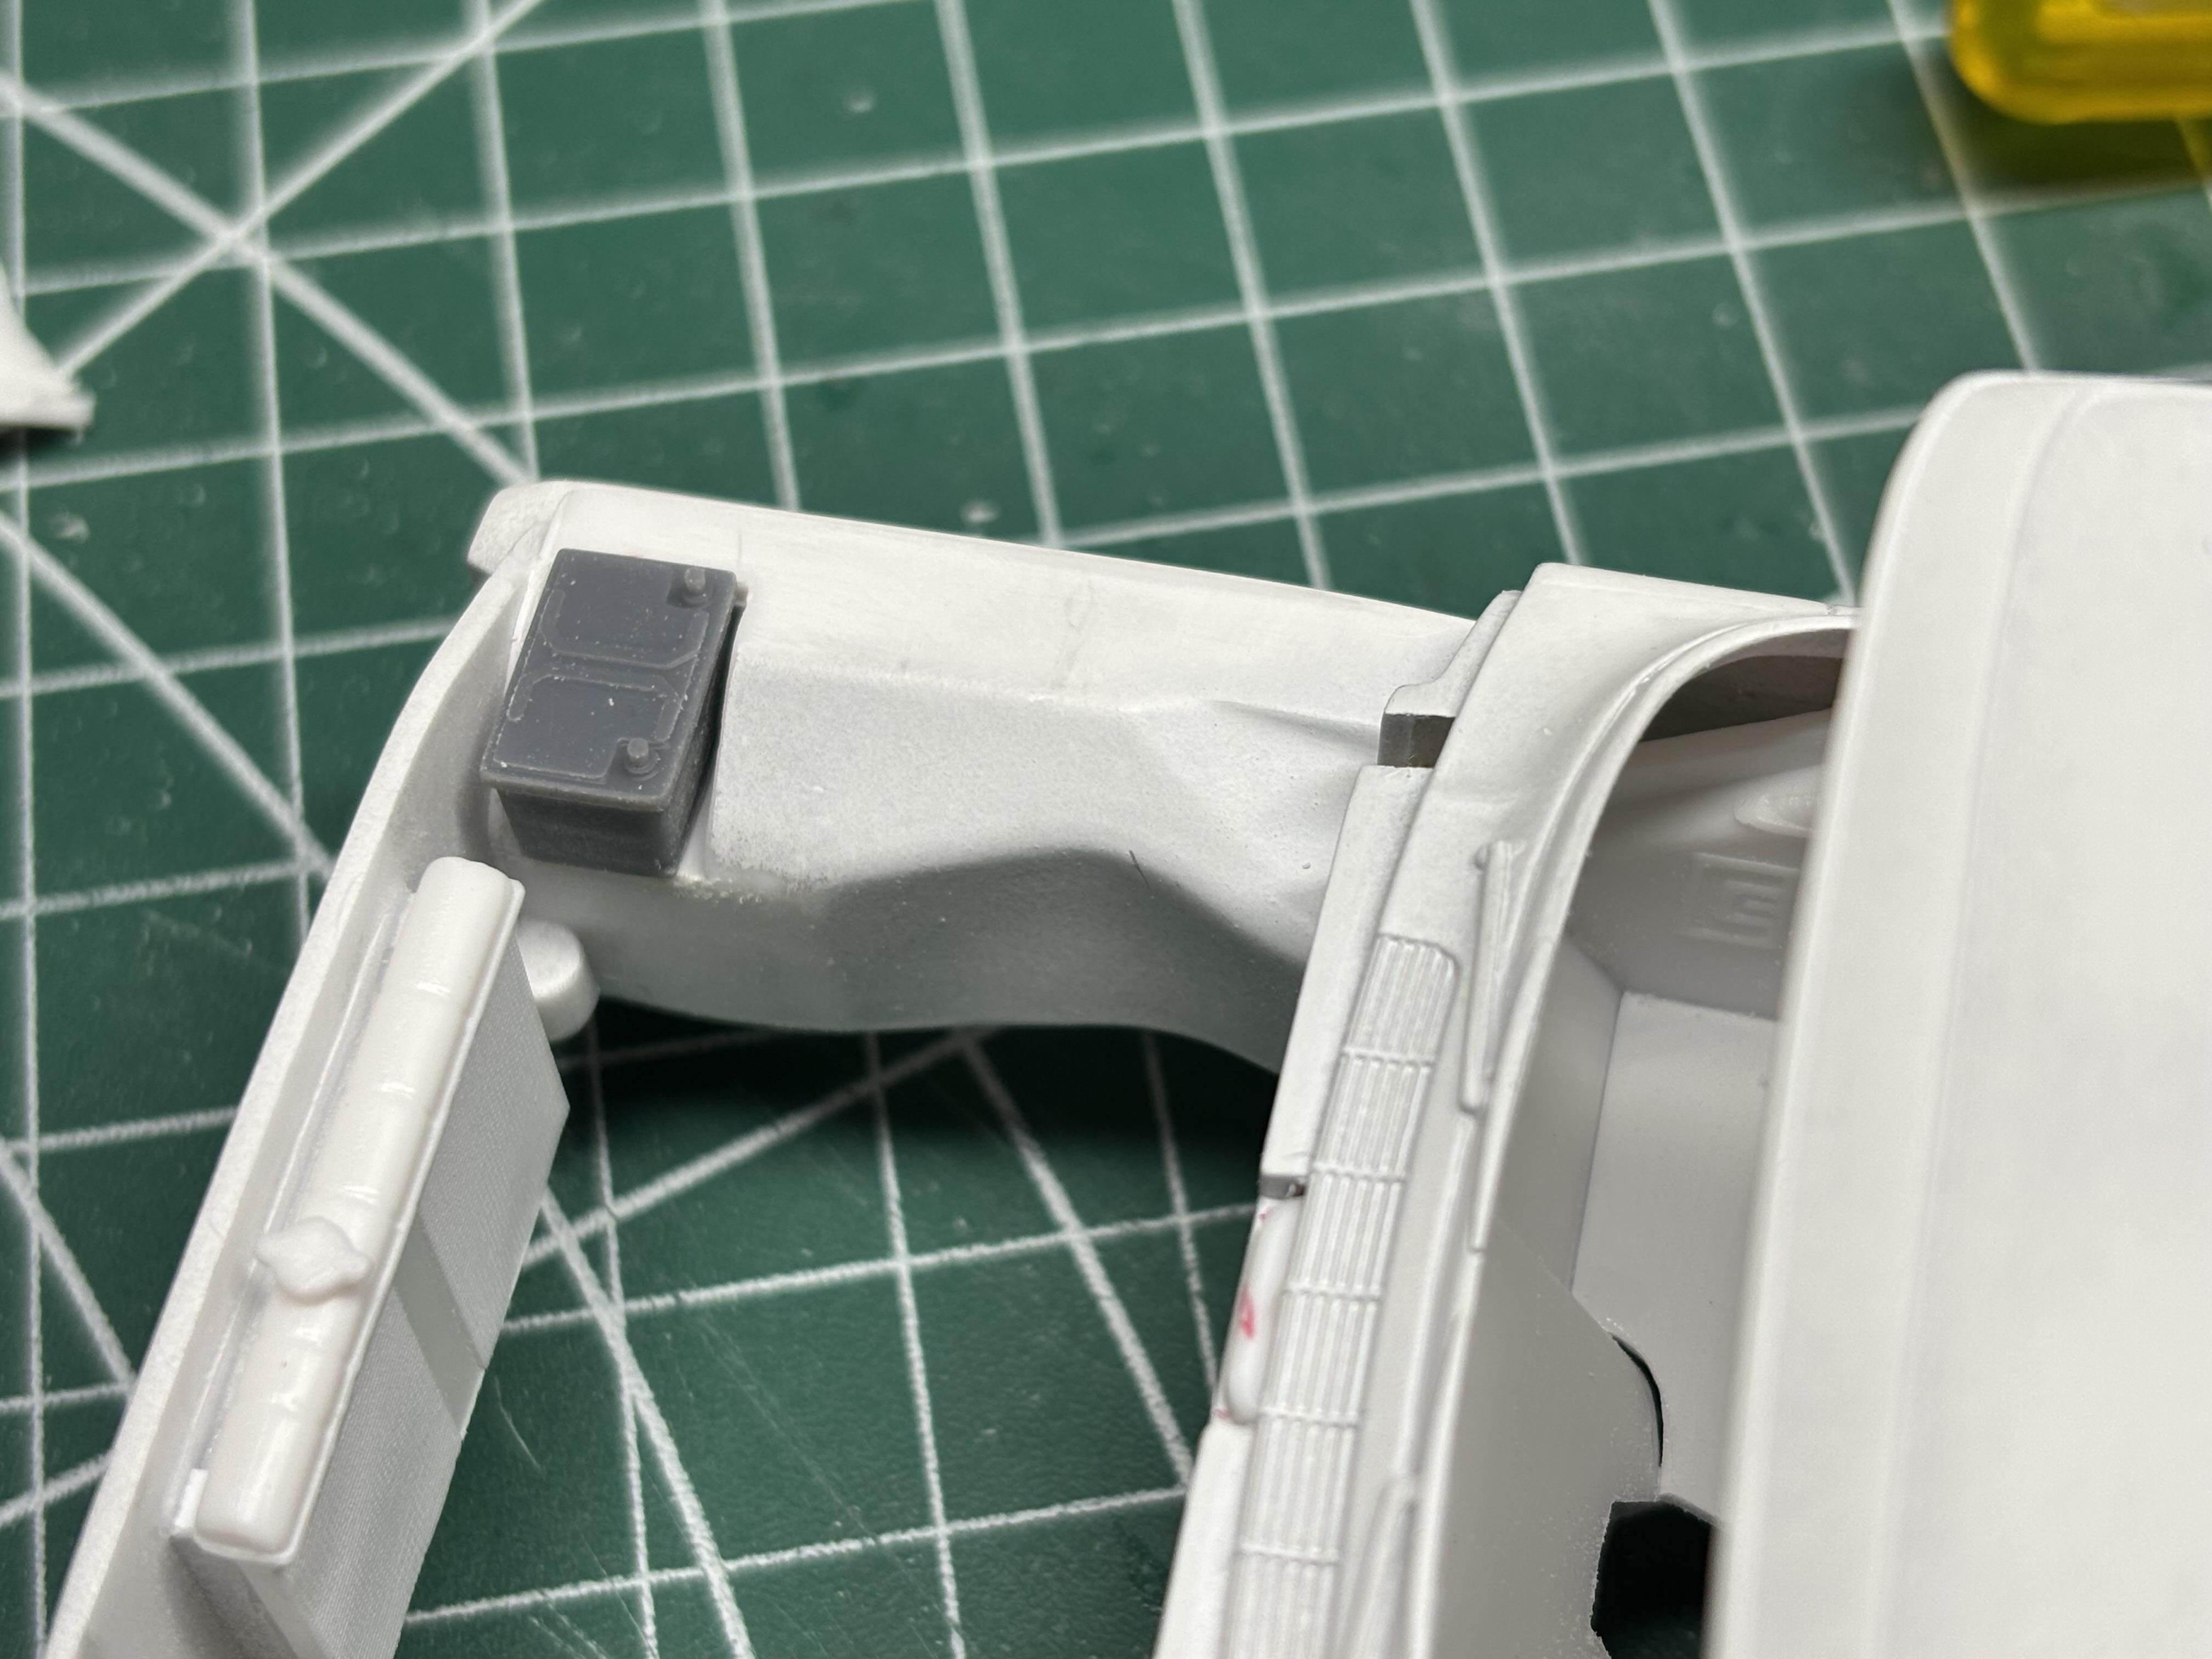
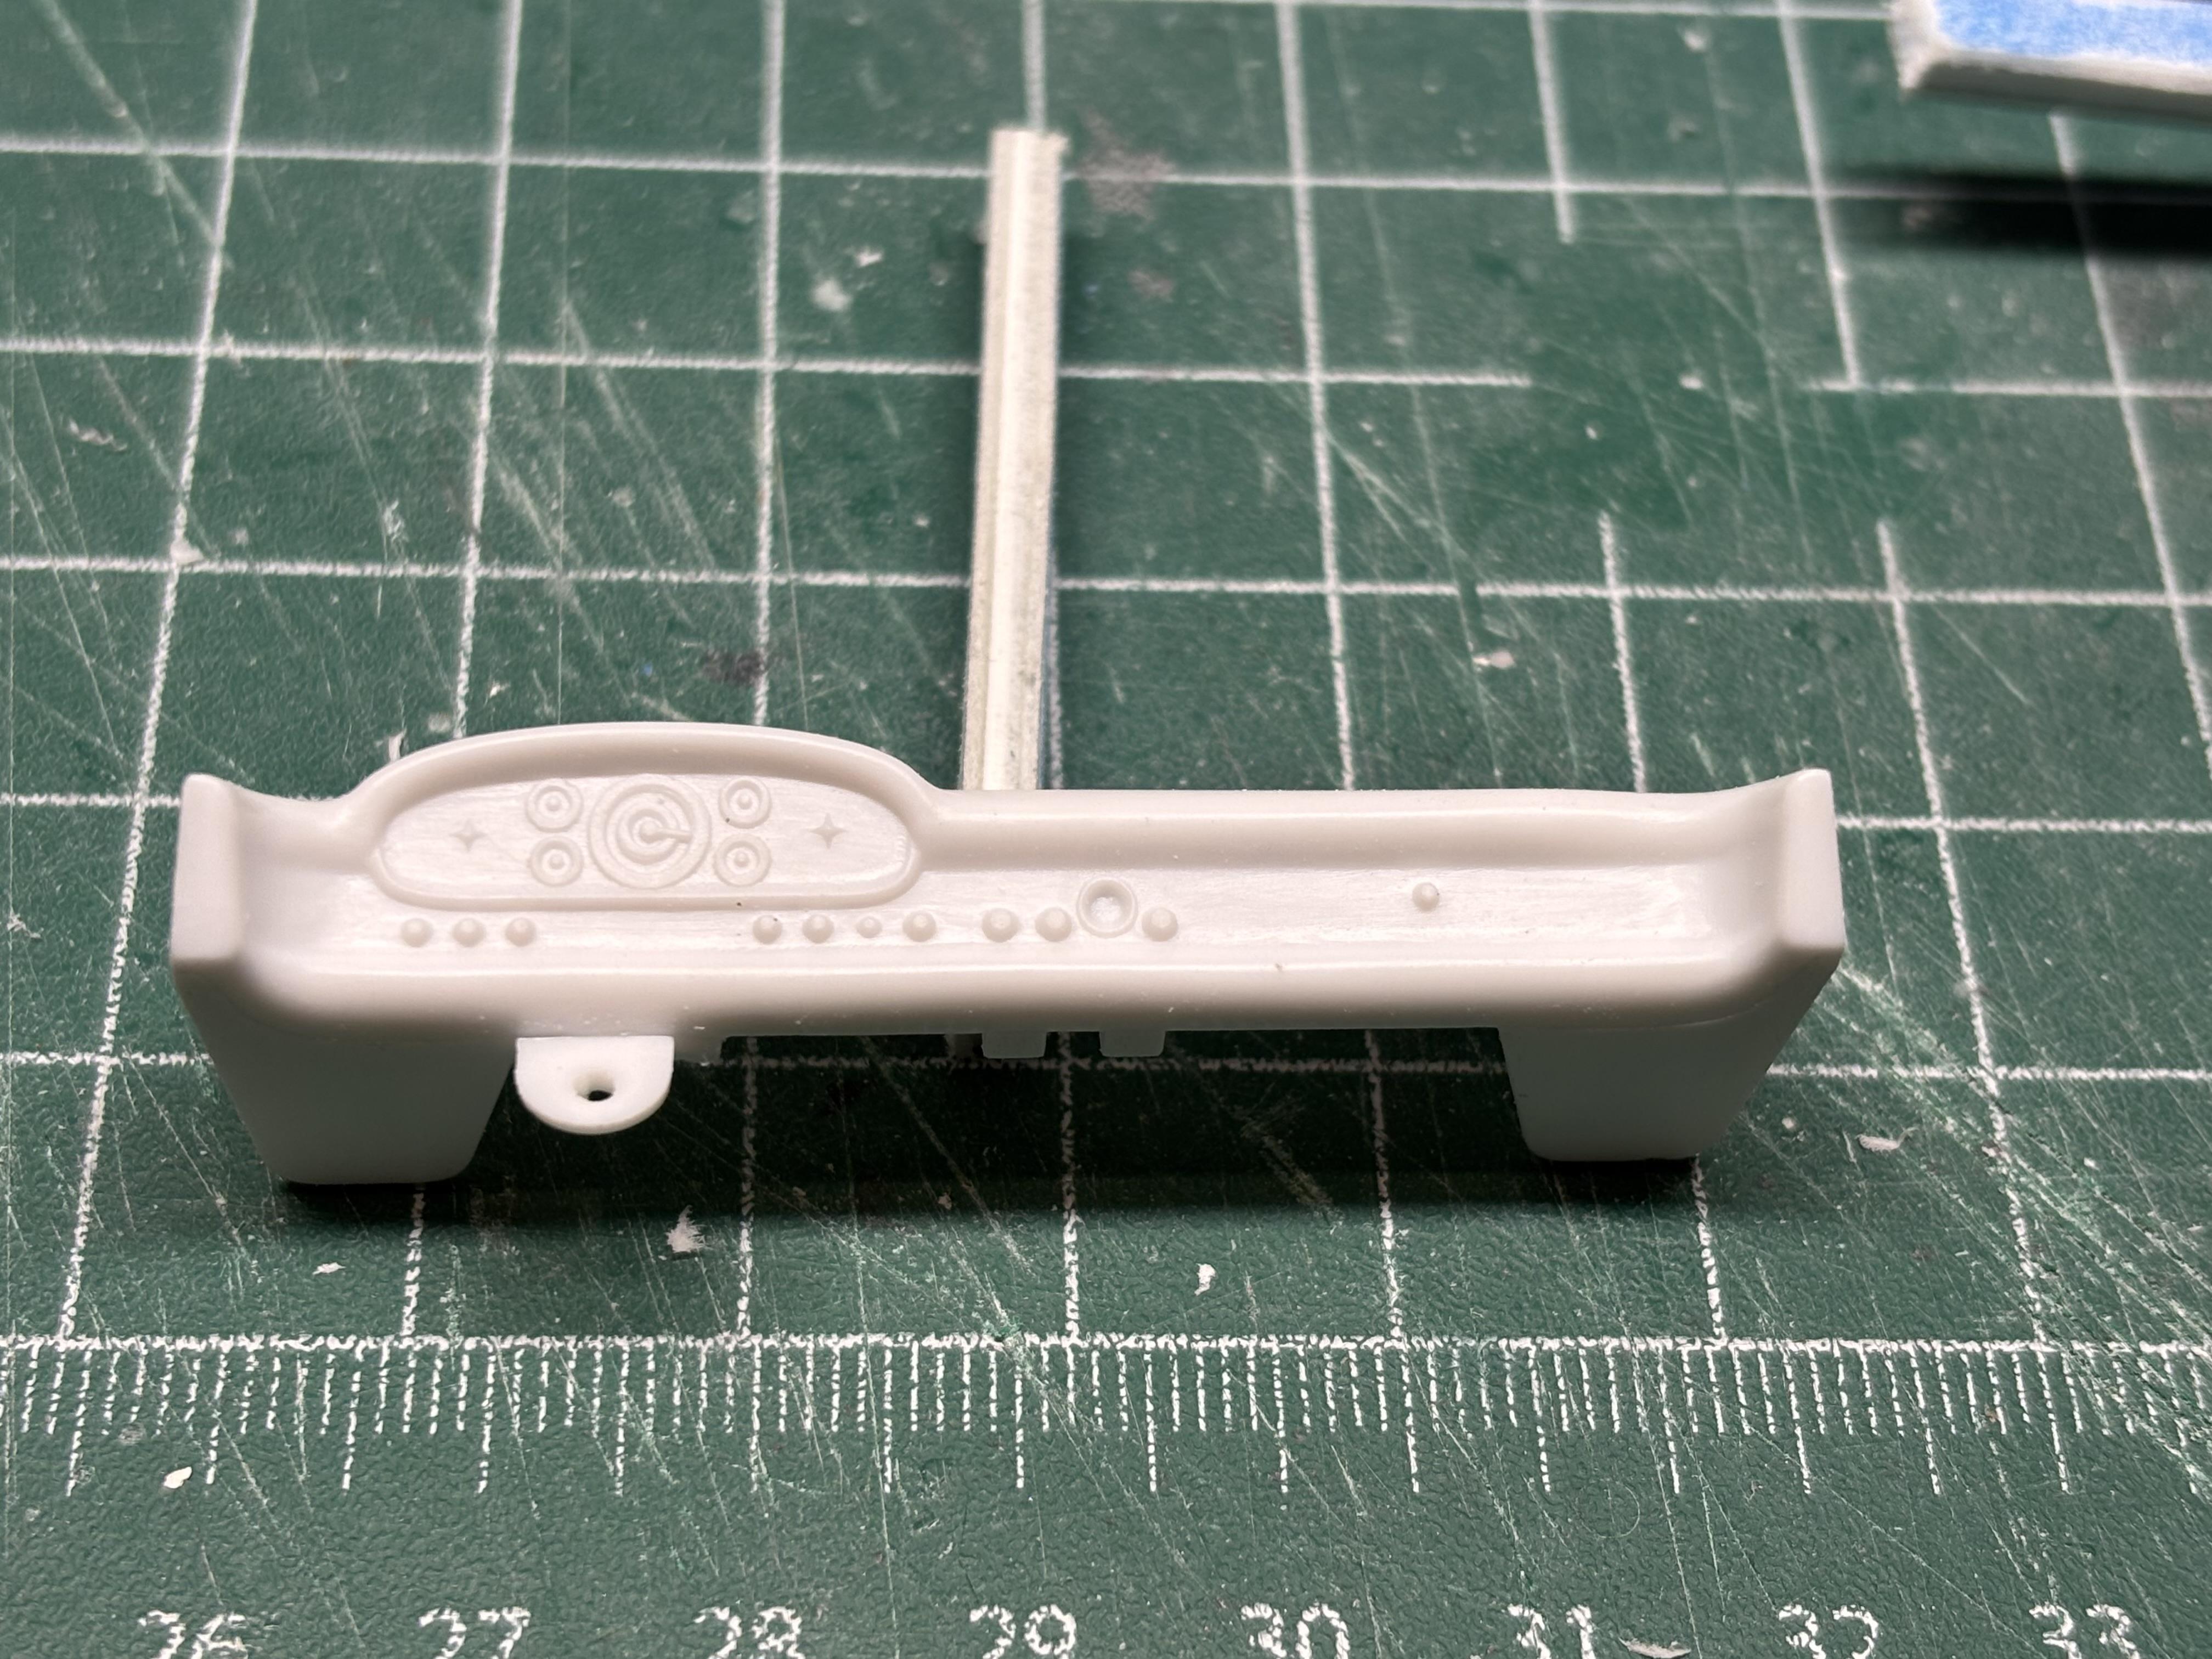
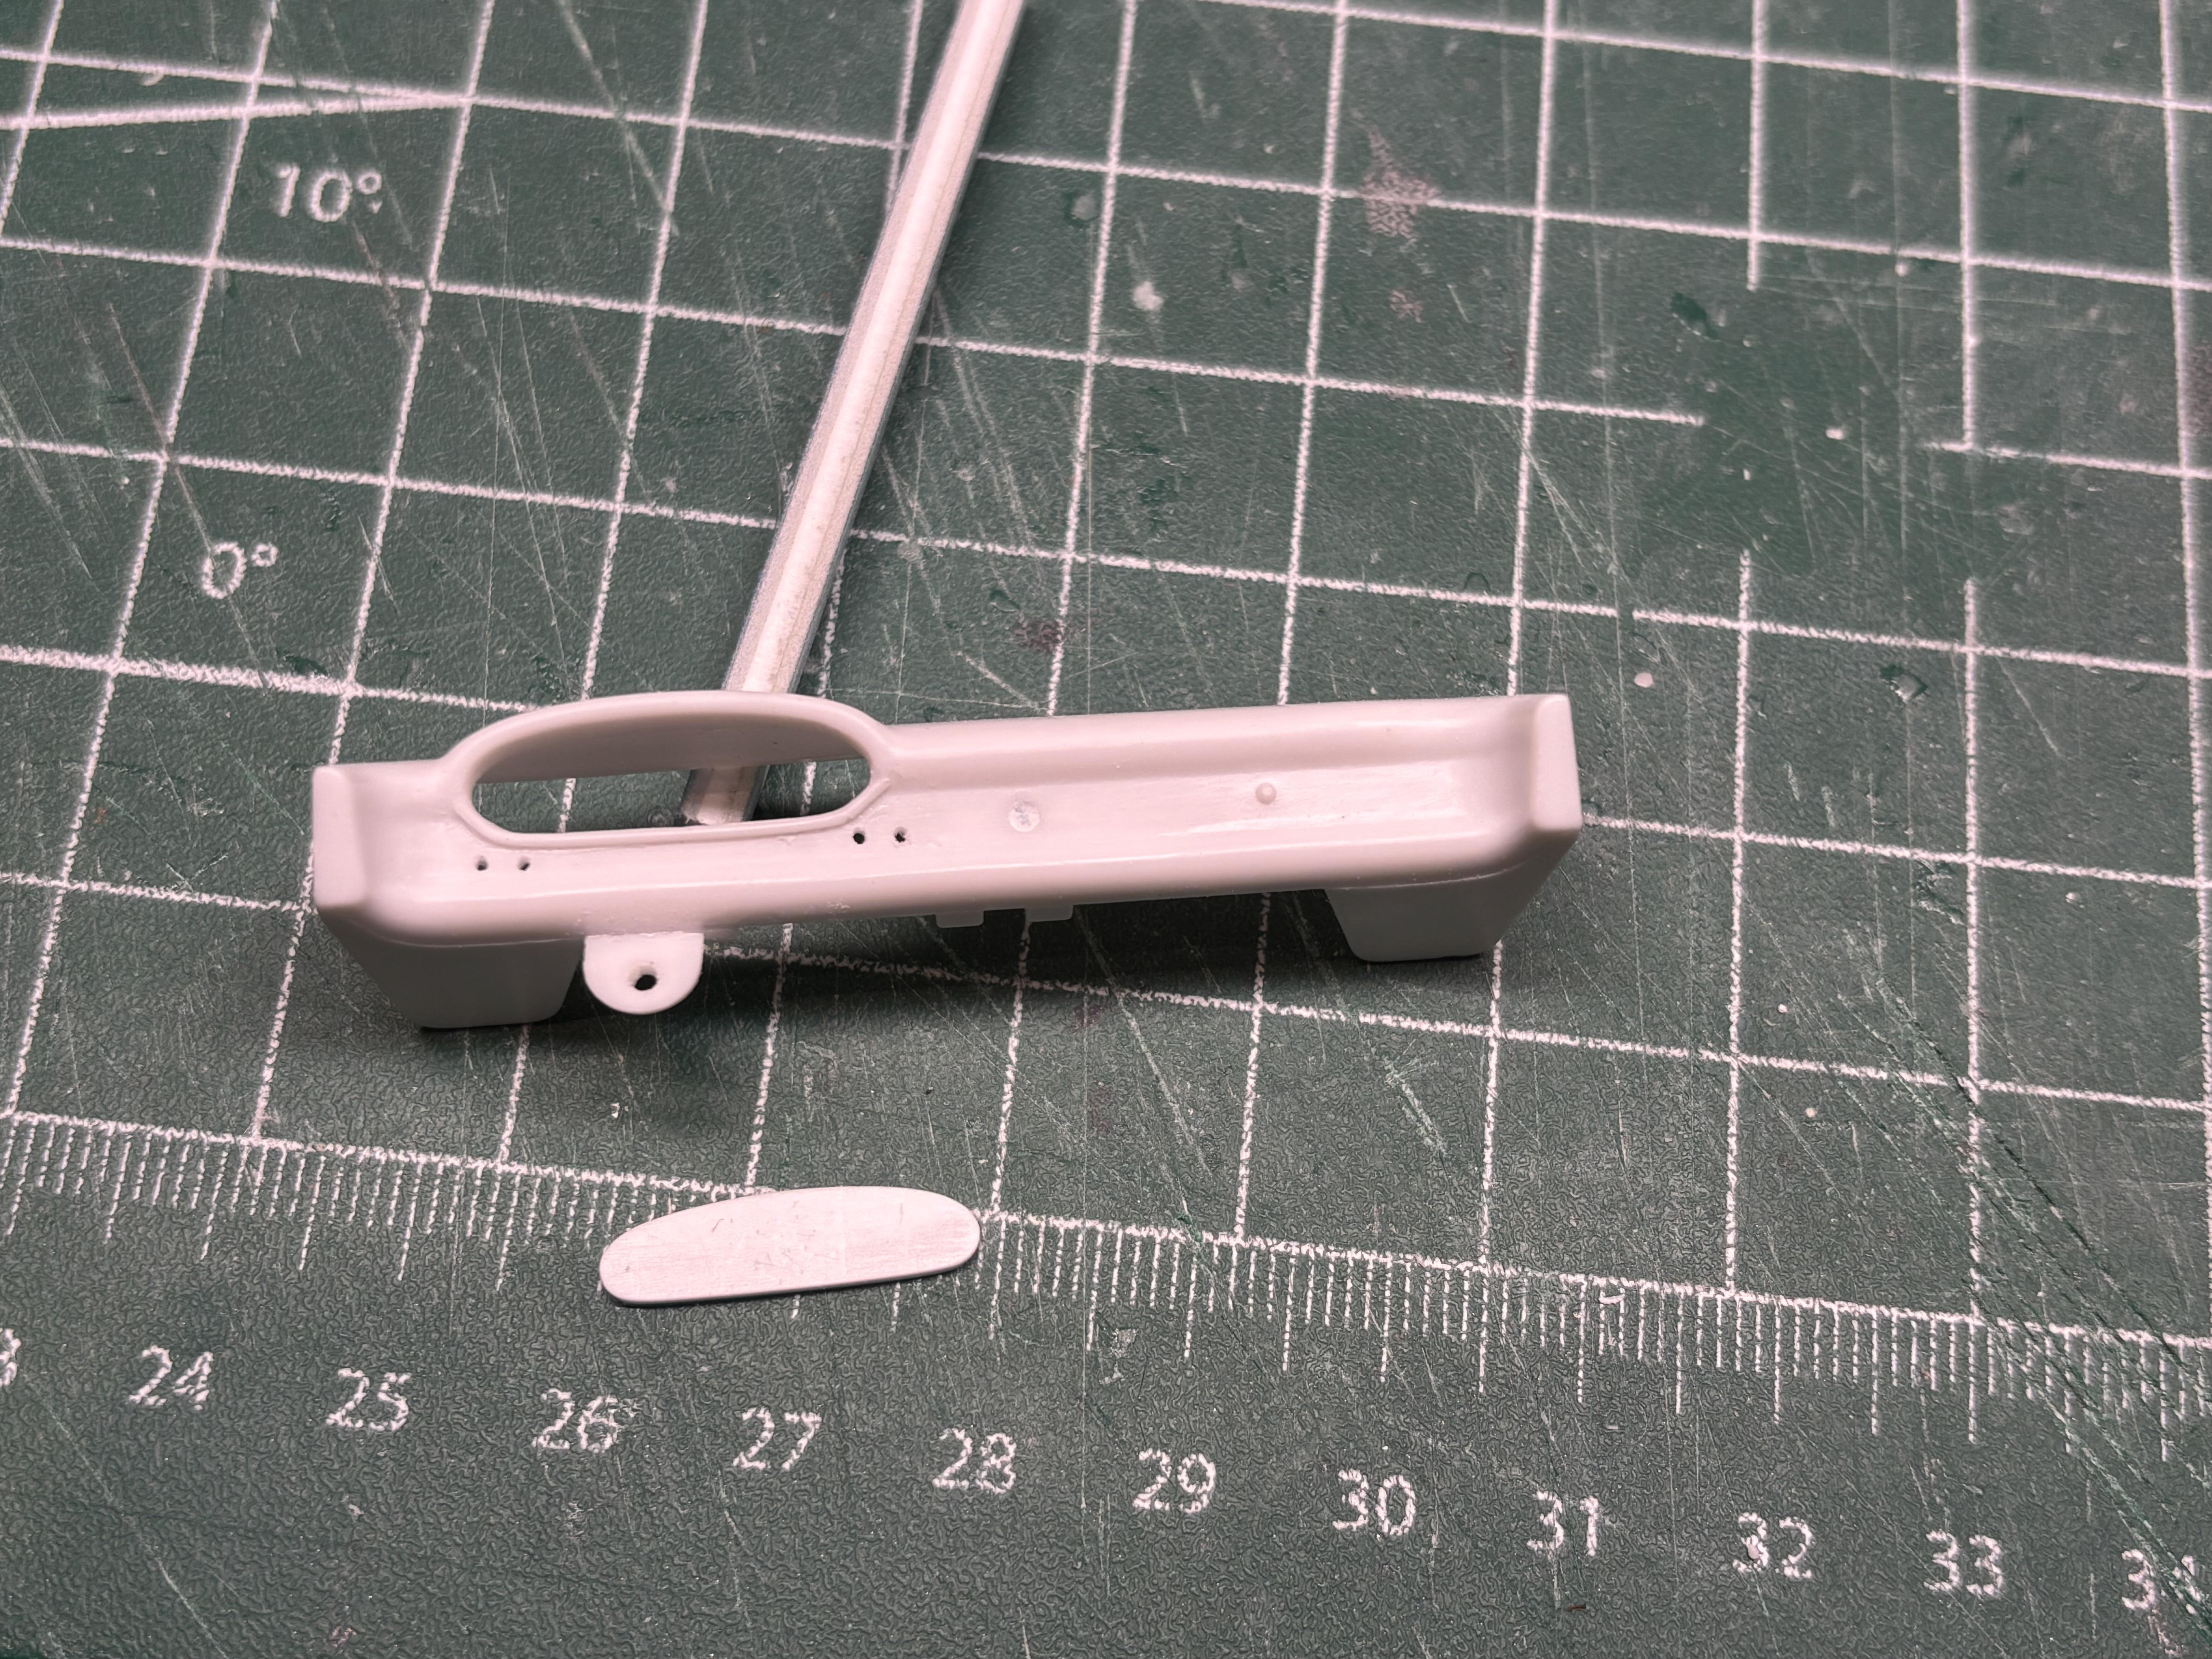
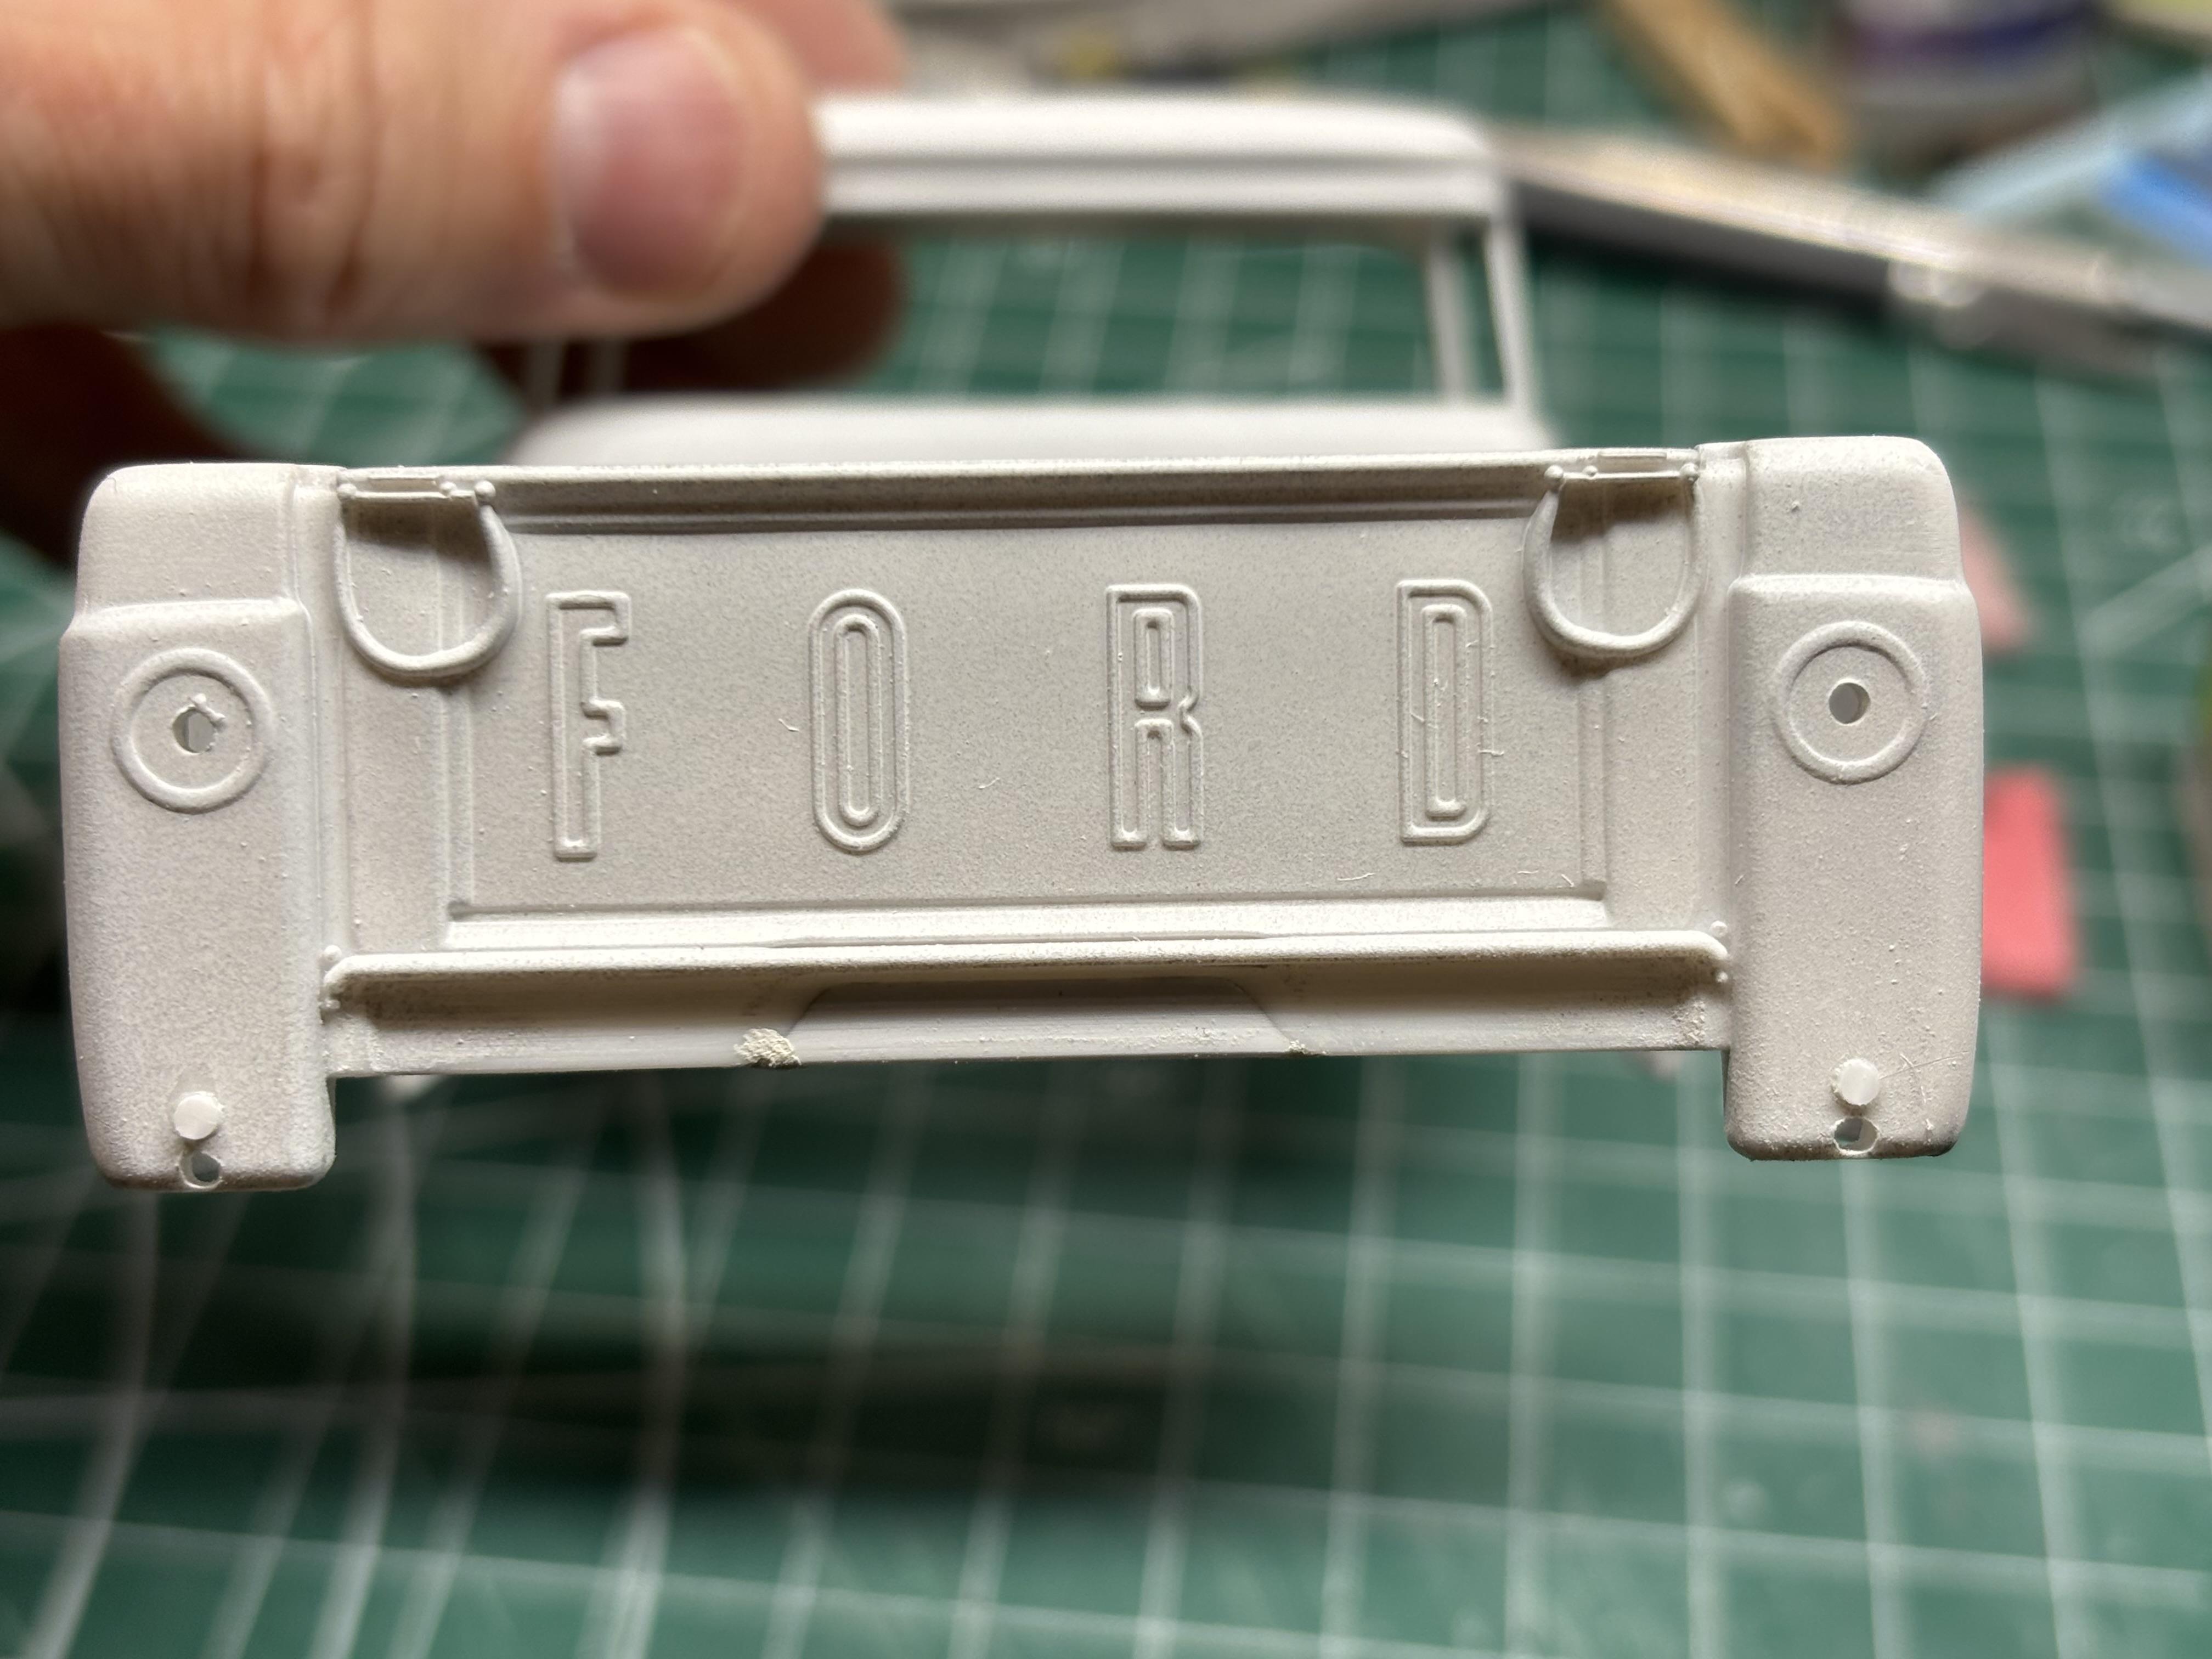
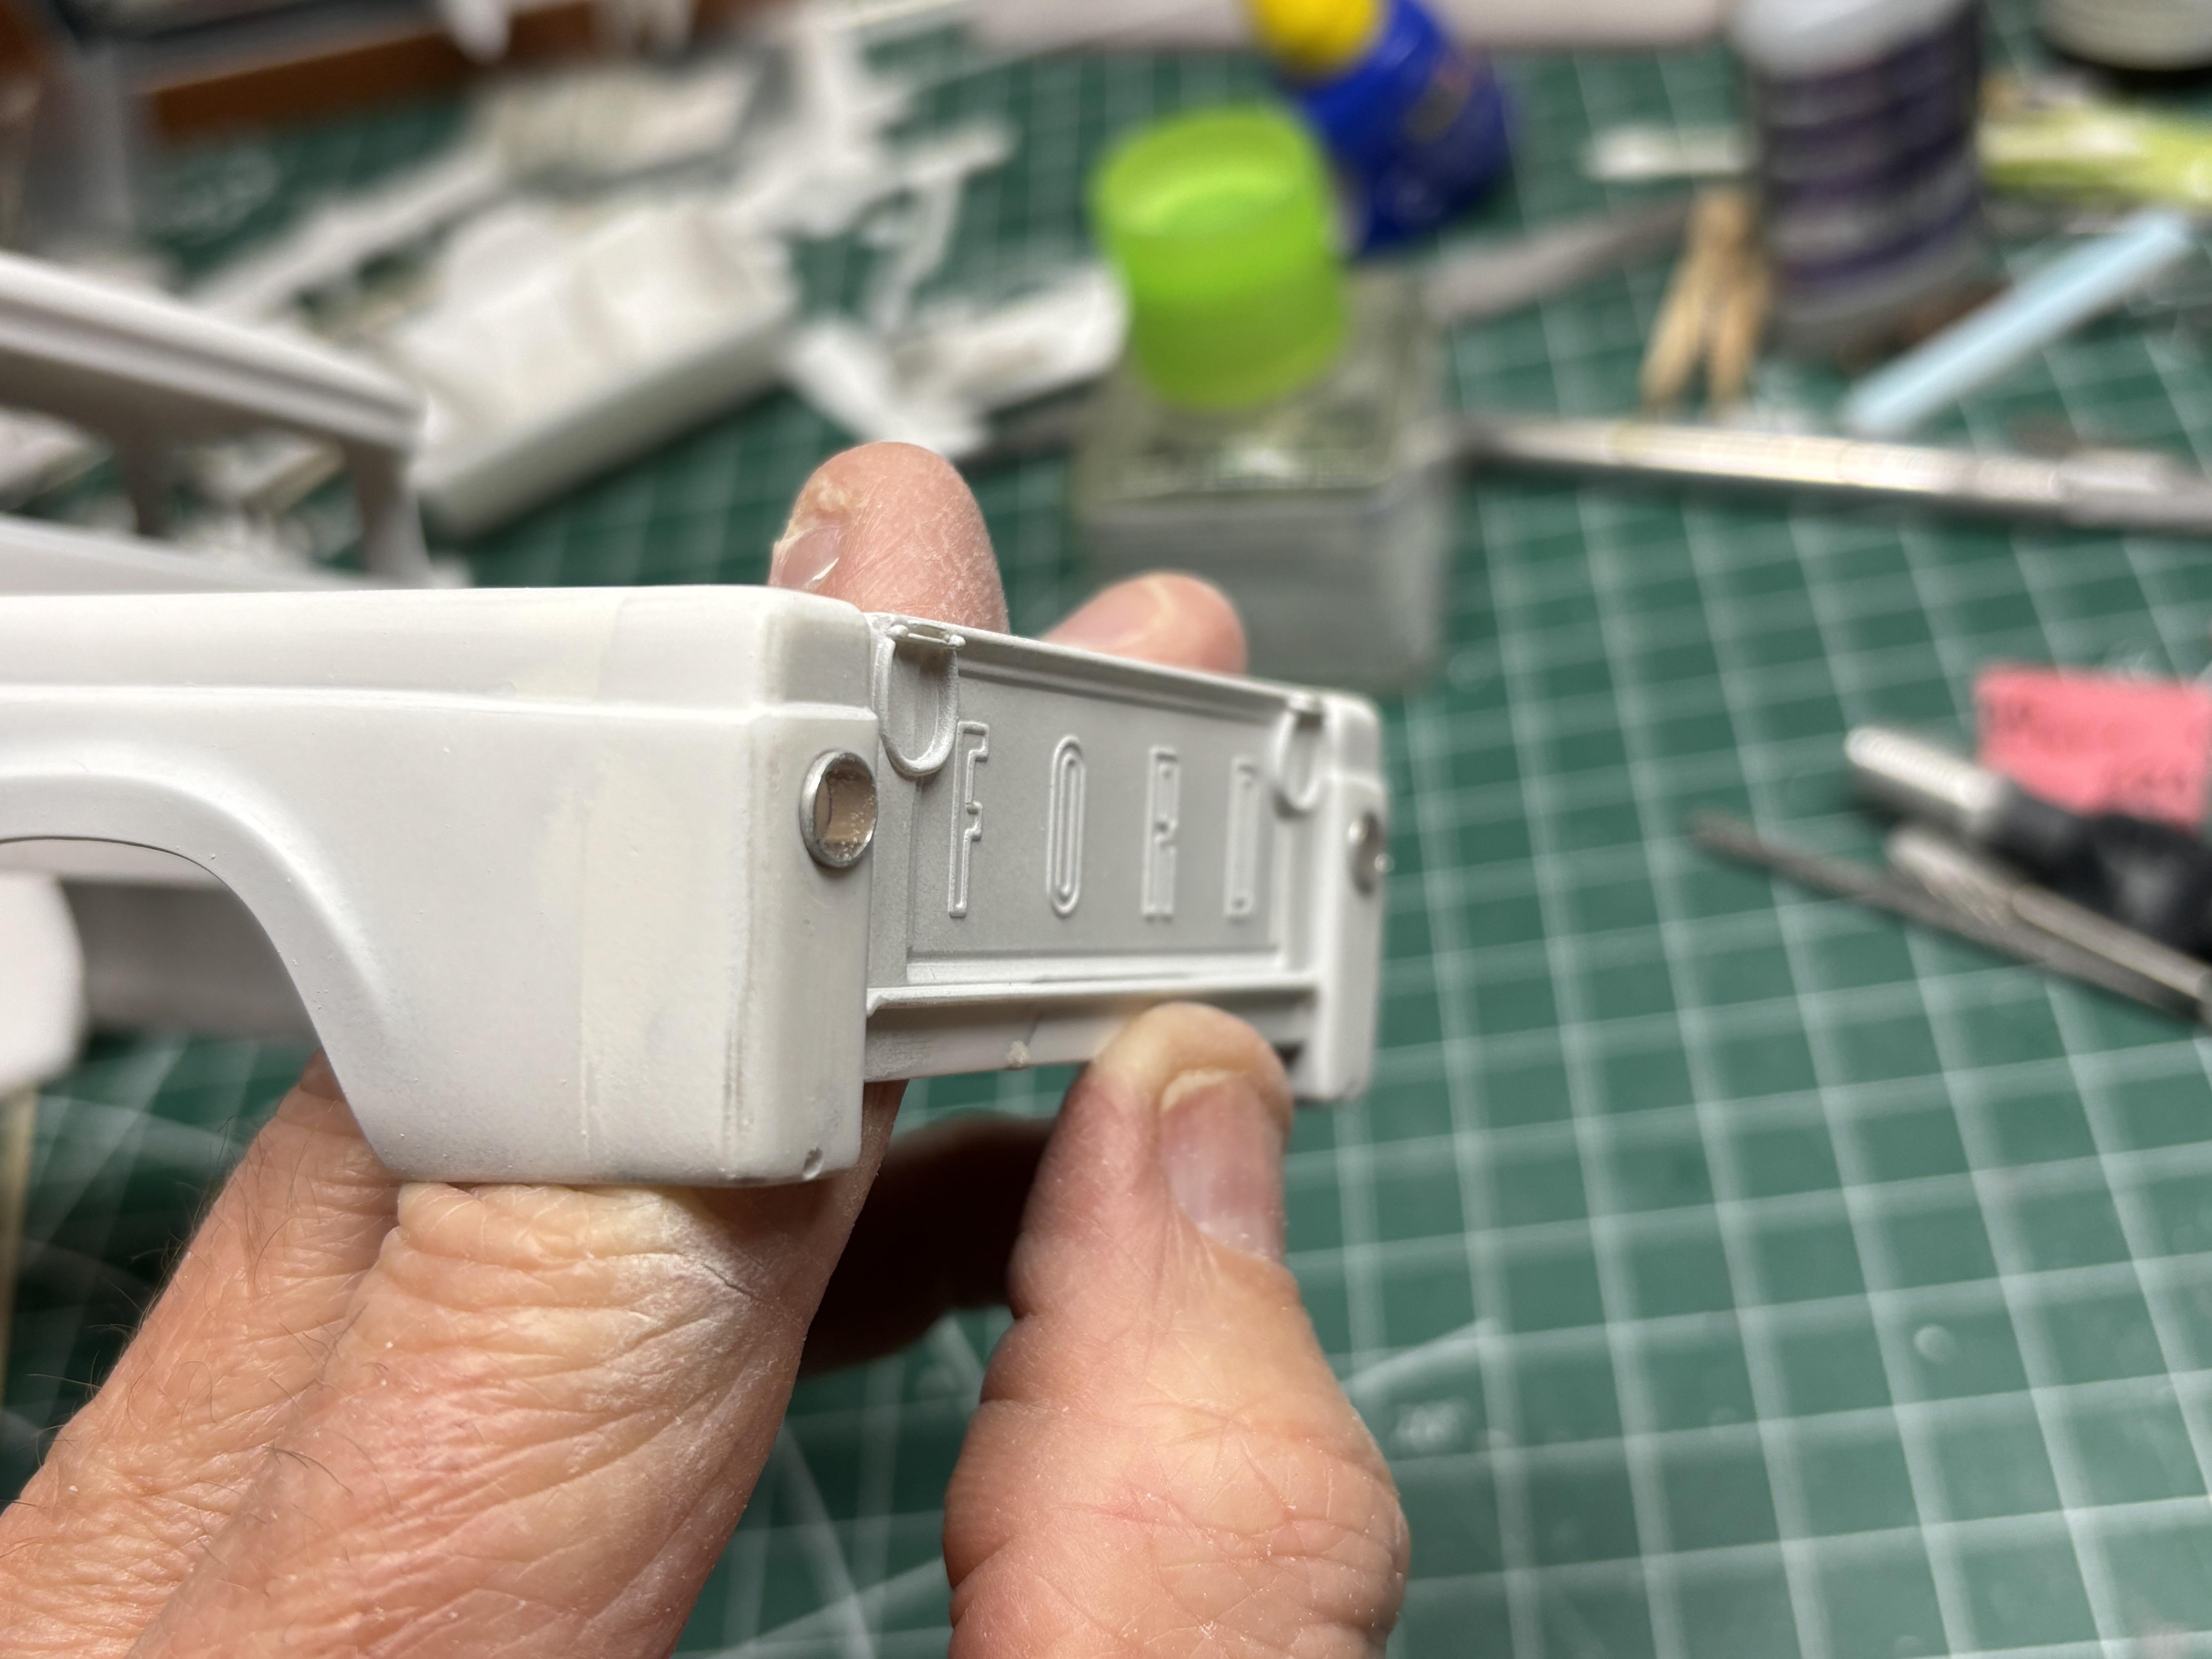
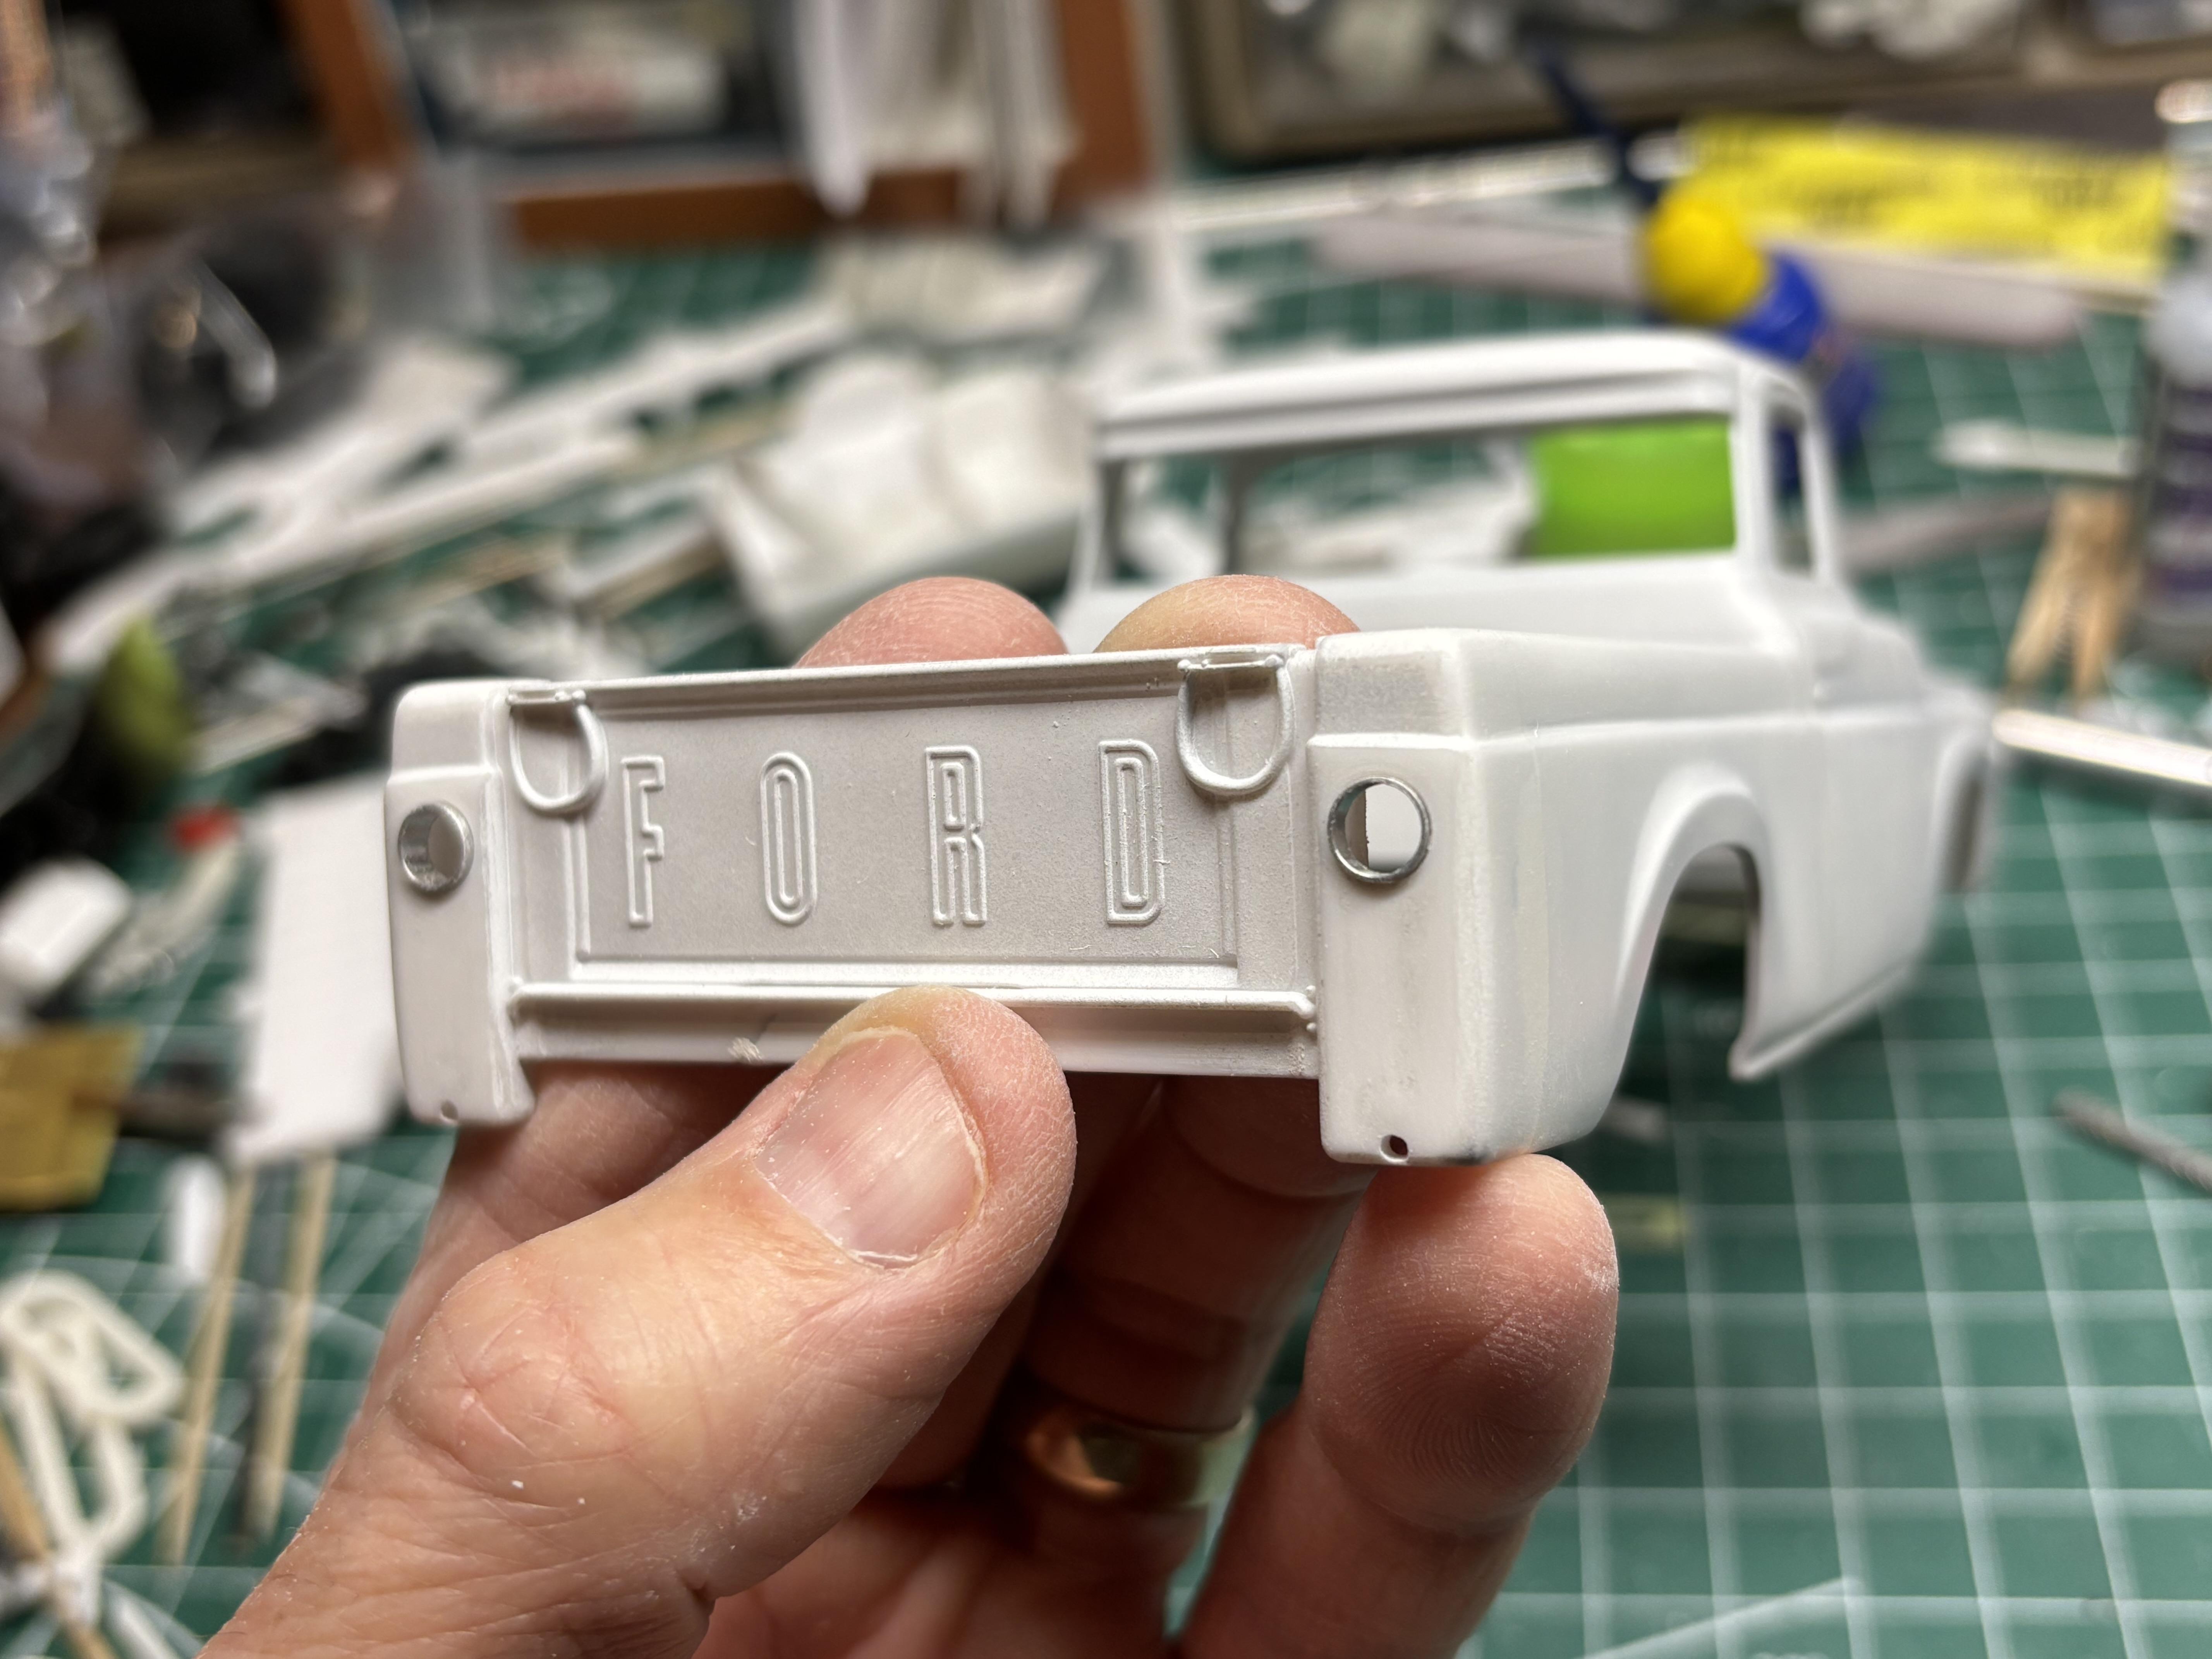
Time to share some of the little things I’ve been picking away at. First up, I needed a new home for the battery. The front roll pan comes up too high, and was blocking more than half the grill opening. This of course would not have mattered if I hadn’t opened the grill, as it wouldn’t be visible. So just a simple notch out to expose more of the rad, and not block the grill opening. Also, I think I might put the electric fan on the grill side of rad, rather than inside the engine bay. This allows the fan to sit lower. Rounding out the body work, I did what Roger did, and drilled out the taillights. New bezels made from aluminum tubing, just resting in place for the photo. I wanted to do this so that I could paint the bezels black, and install them after the body is painted. Should look much cleaner this way. You can also see I have added a filler piece below the tailgate, and drilled new holes for the rear bumper. I will be doing a custom dash face, so I removed the face, and added a new molding below the gauge area. A new panel has been cut to fit. I will add gauges and detail it, then install it to the dash. There will likely be a nav screen between the dash, and the console. Haven’t started on those yet… I had my faithful friend, and super helpful companion at my side. Otis loves hobby days. There has been other progress, but nothing worthy of photos yet. Most of the engine is in paint, and I think the chosen colours will look decent. That’s it for this time.
- 187 replies
-
- 8
-
-
- plowboy
- roger hayes
- (and 1 more)
-
As for an update now….. sanding…. lots of sanding….. then, some more sanding. 🤪🤓 I should have a meaningful update by the end of the weekend. Started playing with the interior, and as mentioned above, the engine. The body is VERY close to being ready for paint. Just need to sort out the taillights and a couple small details. Thanks again to all that are following along here.
- 187 replies
-
- 1
-
-
- plowboy
- roger hayes
- (and 1 more)
-
Thanks for the generous words John. Speaking of the rear bumper, I drilled new mounting holes for that today. Lots of other stuff too! Thanks Carl. I spent quite a bit of time on the engine today. Nothing much to show yet, but hopefully by the end of the weekend…
- 187 replies
-
- 1
-
-
- plowboy
- roger hayes
- (and 1 more)
-
34 ford
Steve H replied to johnyrotten's topic in WIP: Model Trucks: Pickups, Vans, SUVs, Light Commercial
Fabulous work throughout here John. The rusty frame is extremely well done, love the fish plates detail. The wood bed is really nice too, I’m considering a wood bed for my current shop truck, but might chicken out. Interior and body are also weathered just the right amount. Very nice work sir! -
LONGA`LOWA`NOVA: a stretched and chopped 66 Nova Pro-Street beast
Steve H replied to Claude Thibodeau's topic in Model Cars
Another beauty Claude! I like the idea of a “street legal” funny car. Very radical idea, well proportioned, and as always, perfectly executed. Cheers, Steve -
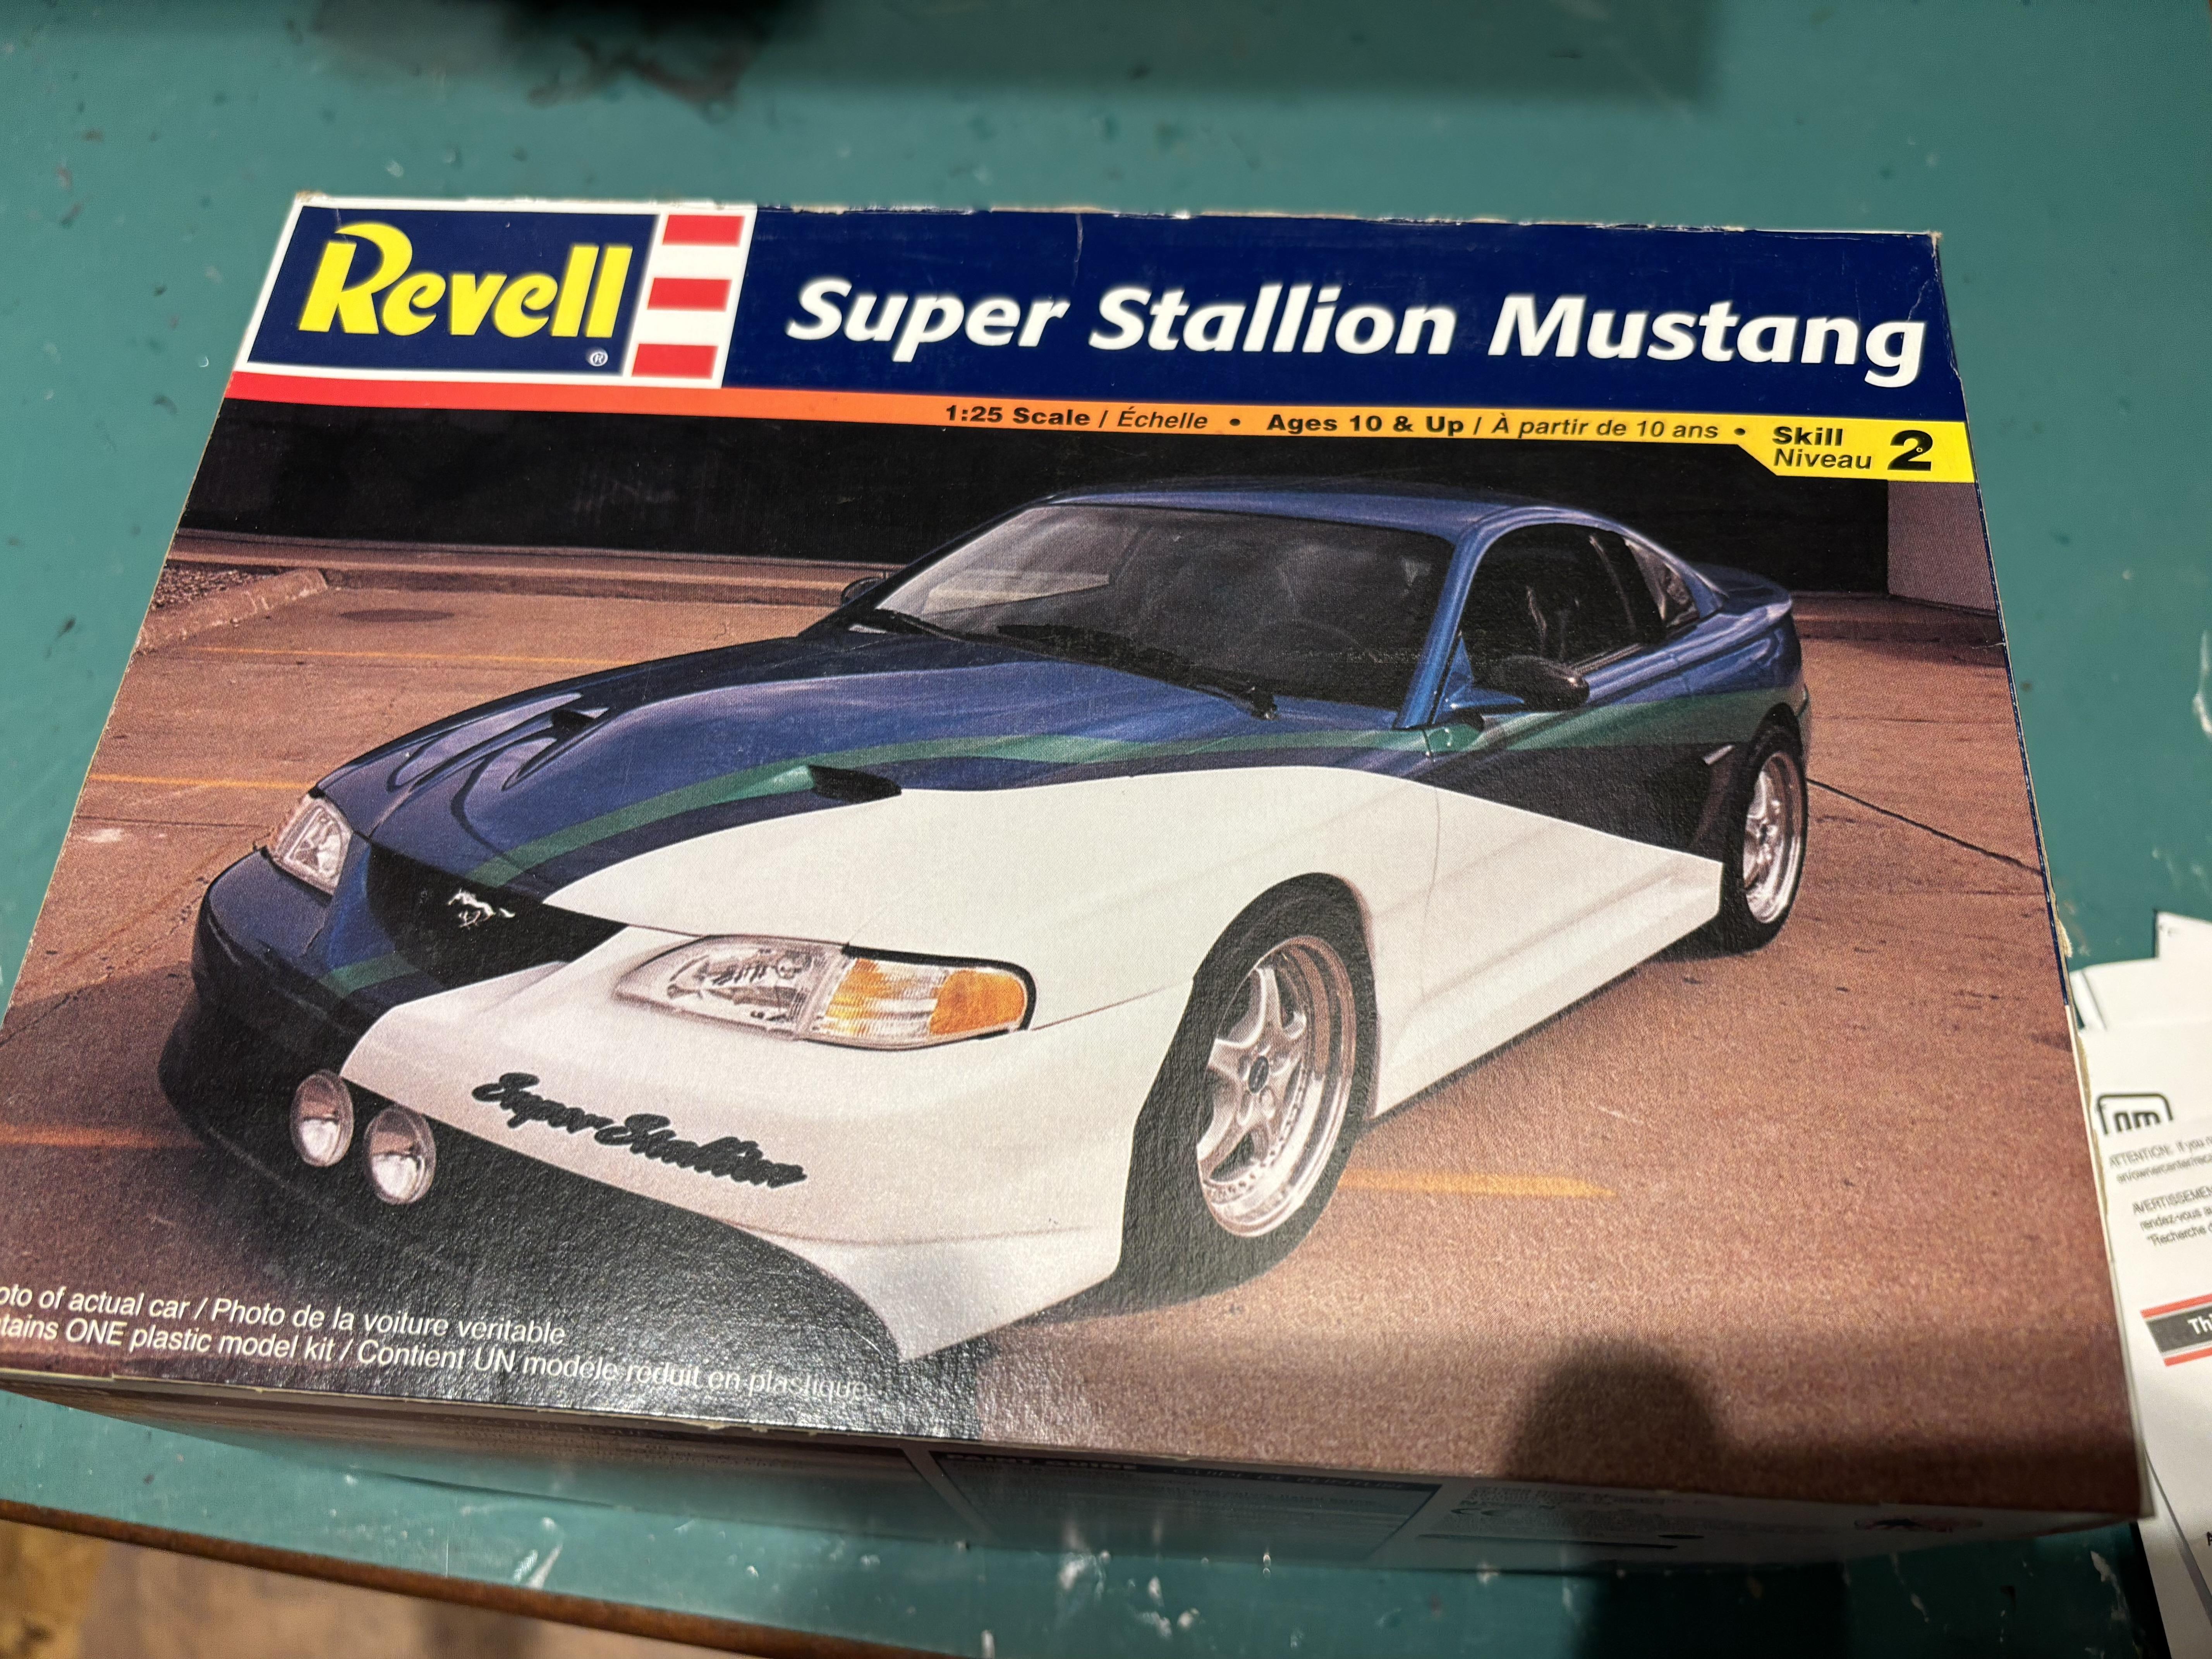
Hi John, my plans change all the time too. I think we all have to “pivot” when plan A doesn’t quite work, annnnnndddd plan B might be a bit off too… I was shocked when Roger passed too, I had sent him a PM that day, and after a couple of days with no reply, I knew something was up. Thanks for checking in John. Thanks Samuel Hi Topher, it is from the Revell Super Stallion Mustang kit. Beautiful engine… Factory 545hp Thanks Sean. I did consider a full chassis swap, but for this build I’m trying to keep it somewhat simple. I can live with the curbside style chassis, but those shocks were daring me to remove them, they had to go… Yes! The engine bay is going to be fairly full. I was playing around under the hood today. By the time I get the intake piping, battery, master cylinder, ignition box, and washer fluid jug, it will be full. Thanks for the comments.
- 187 replies
-
- 5
-
-

-
- plowboy
- roger hayes
- (and 1 more)
-
I really enjoy this forum, it’s such a good place to share, and learn. Hopefully I’ll get the chance to see you guys in person at a model show sometime. Maybe dinner and an adult beverage after…
- 58 replies
-
- 2
-
-
- kit bash
- dodge daytona
- (and 1 more)
-
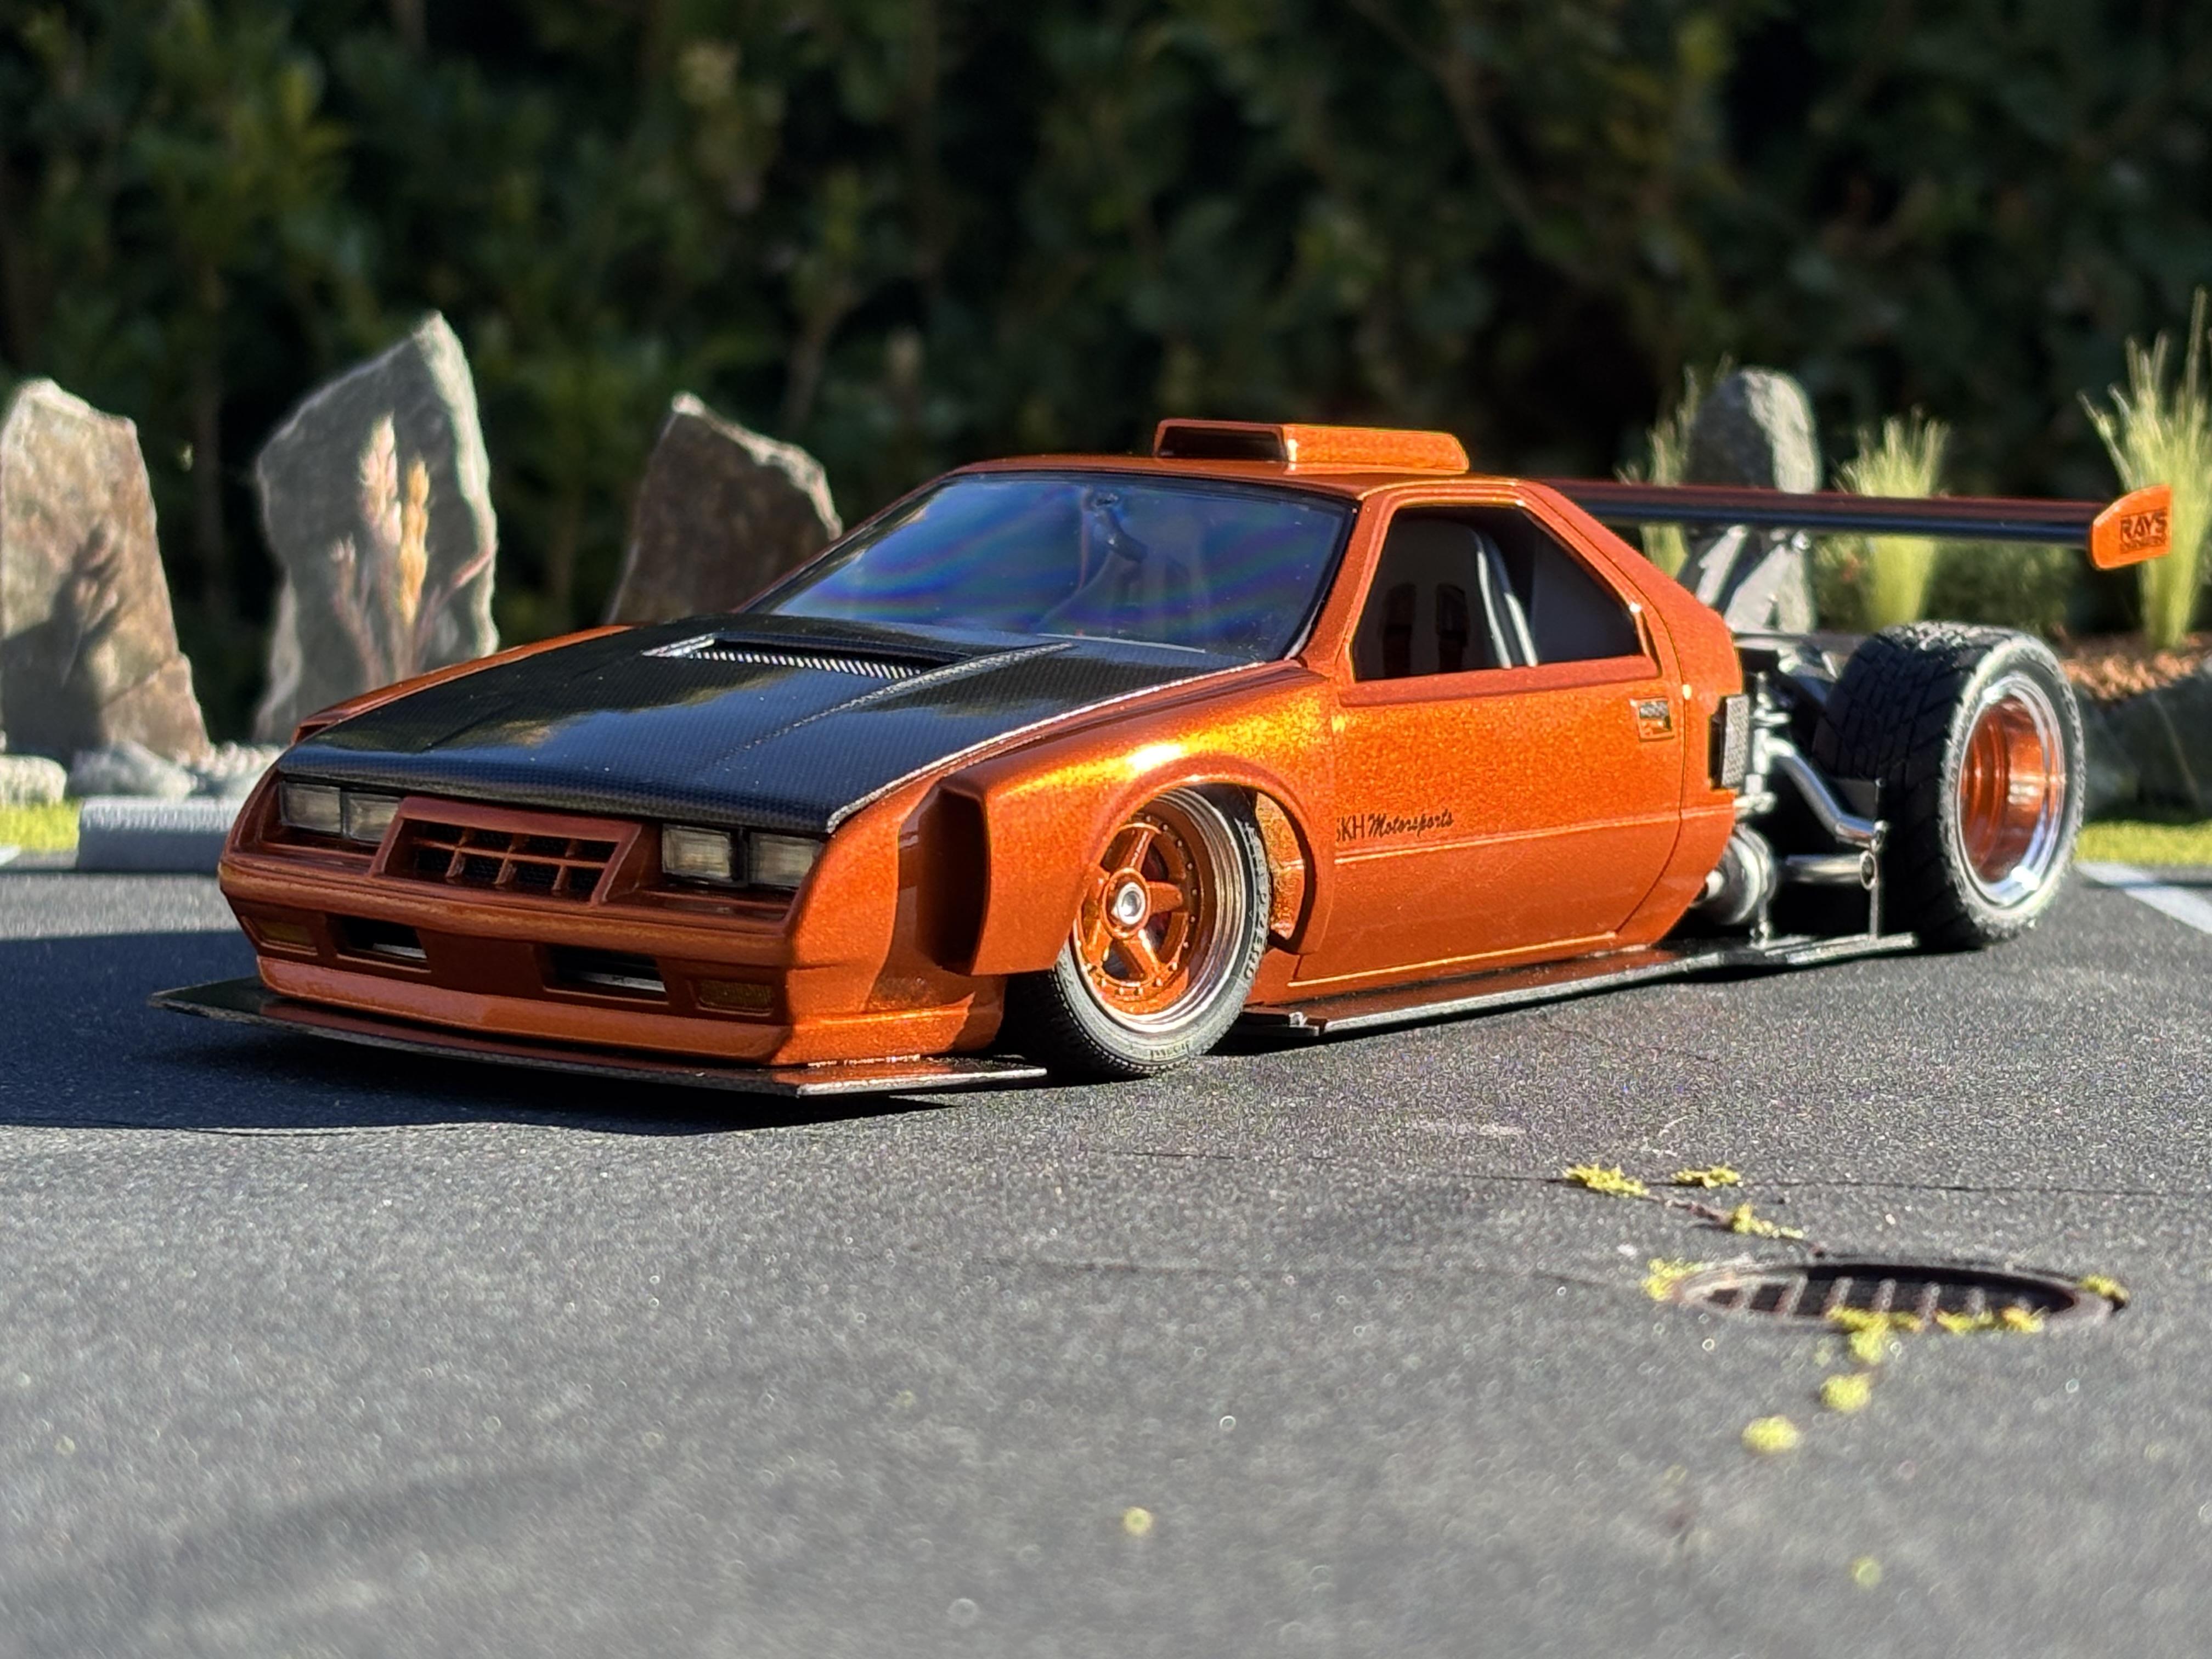
I was pretty happy with how this one turned out…
-
Thanks David. Making slow steady progress… Thank you Carl! Yep, it was going to take way longer to try and clean up the original chassis. I’m happy enough with how it is now. This is still going to be “curbside plus” build, not getting too carried away with the underside. I’m a bird lover too, (except the Flickers that seem to think my house is tasty) but I use that old saying once in a while as well. I know, right?… Can’t believe I haven’t used this engine somewhere already. I suppose it’s been waiting for just the right project, and here we are. Thanks for the comments guys!
-
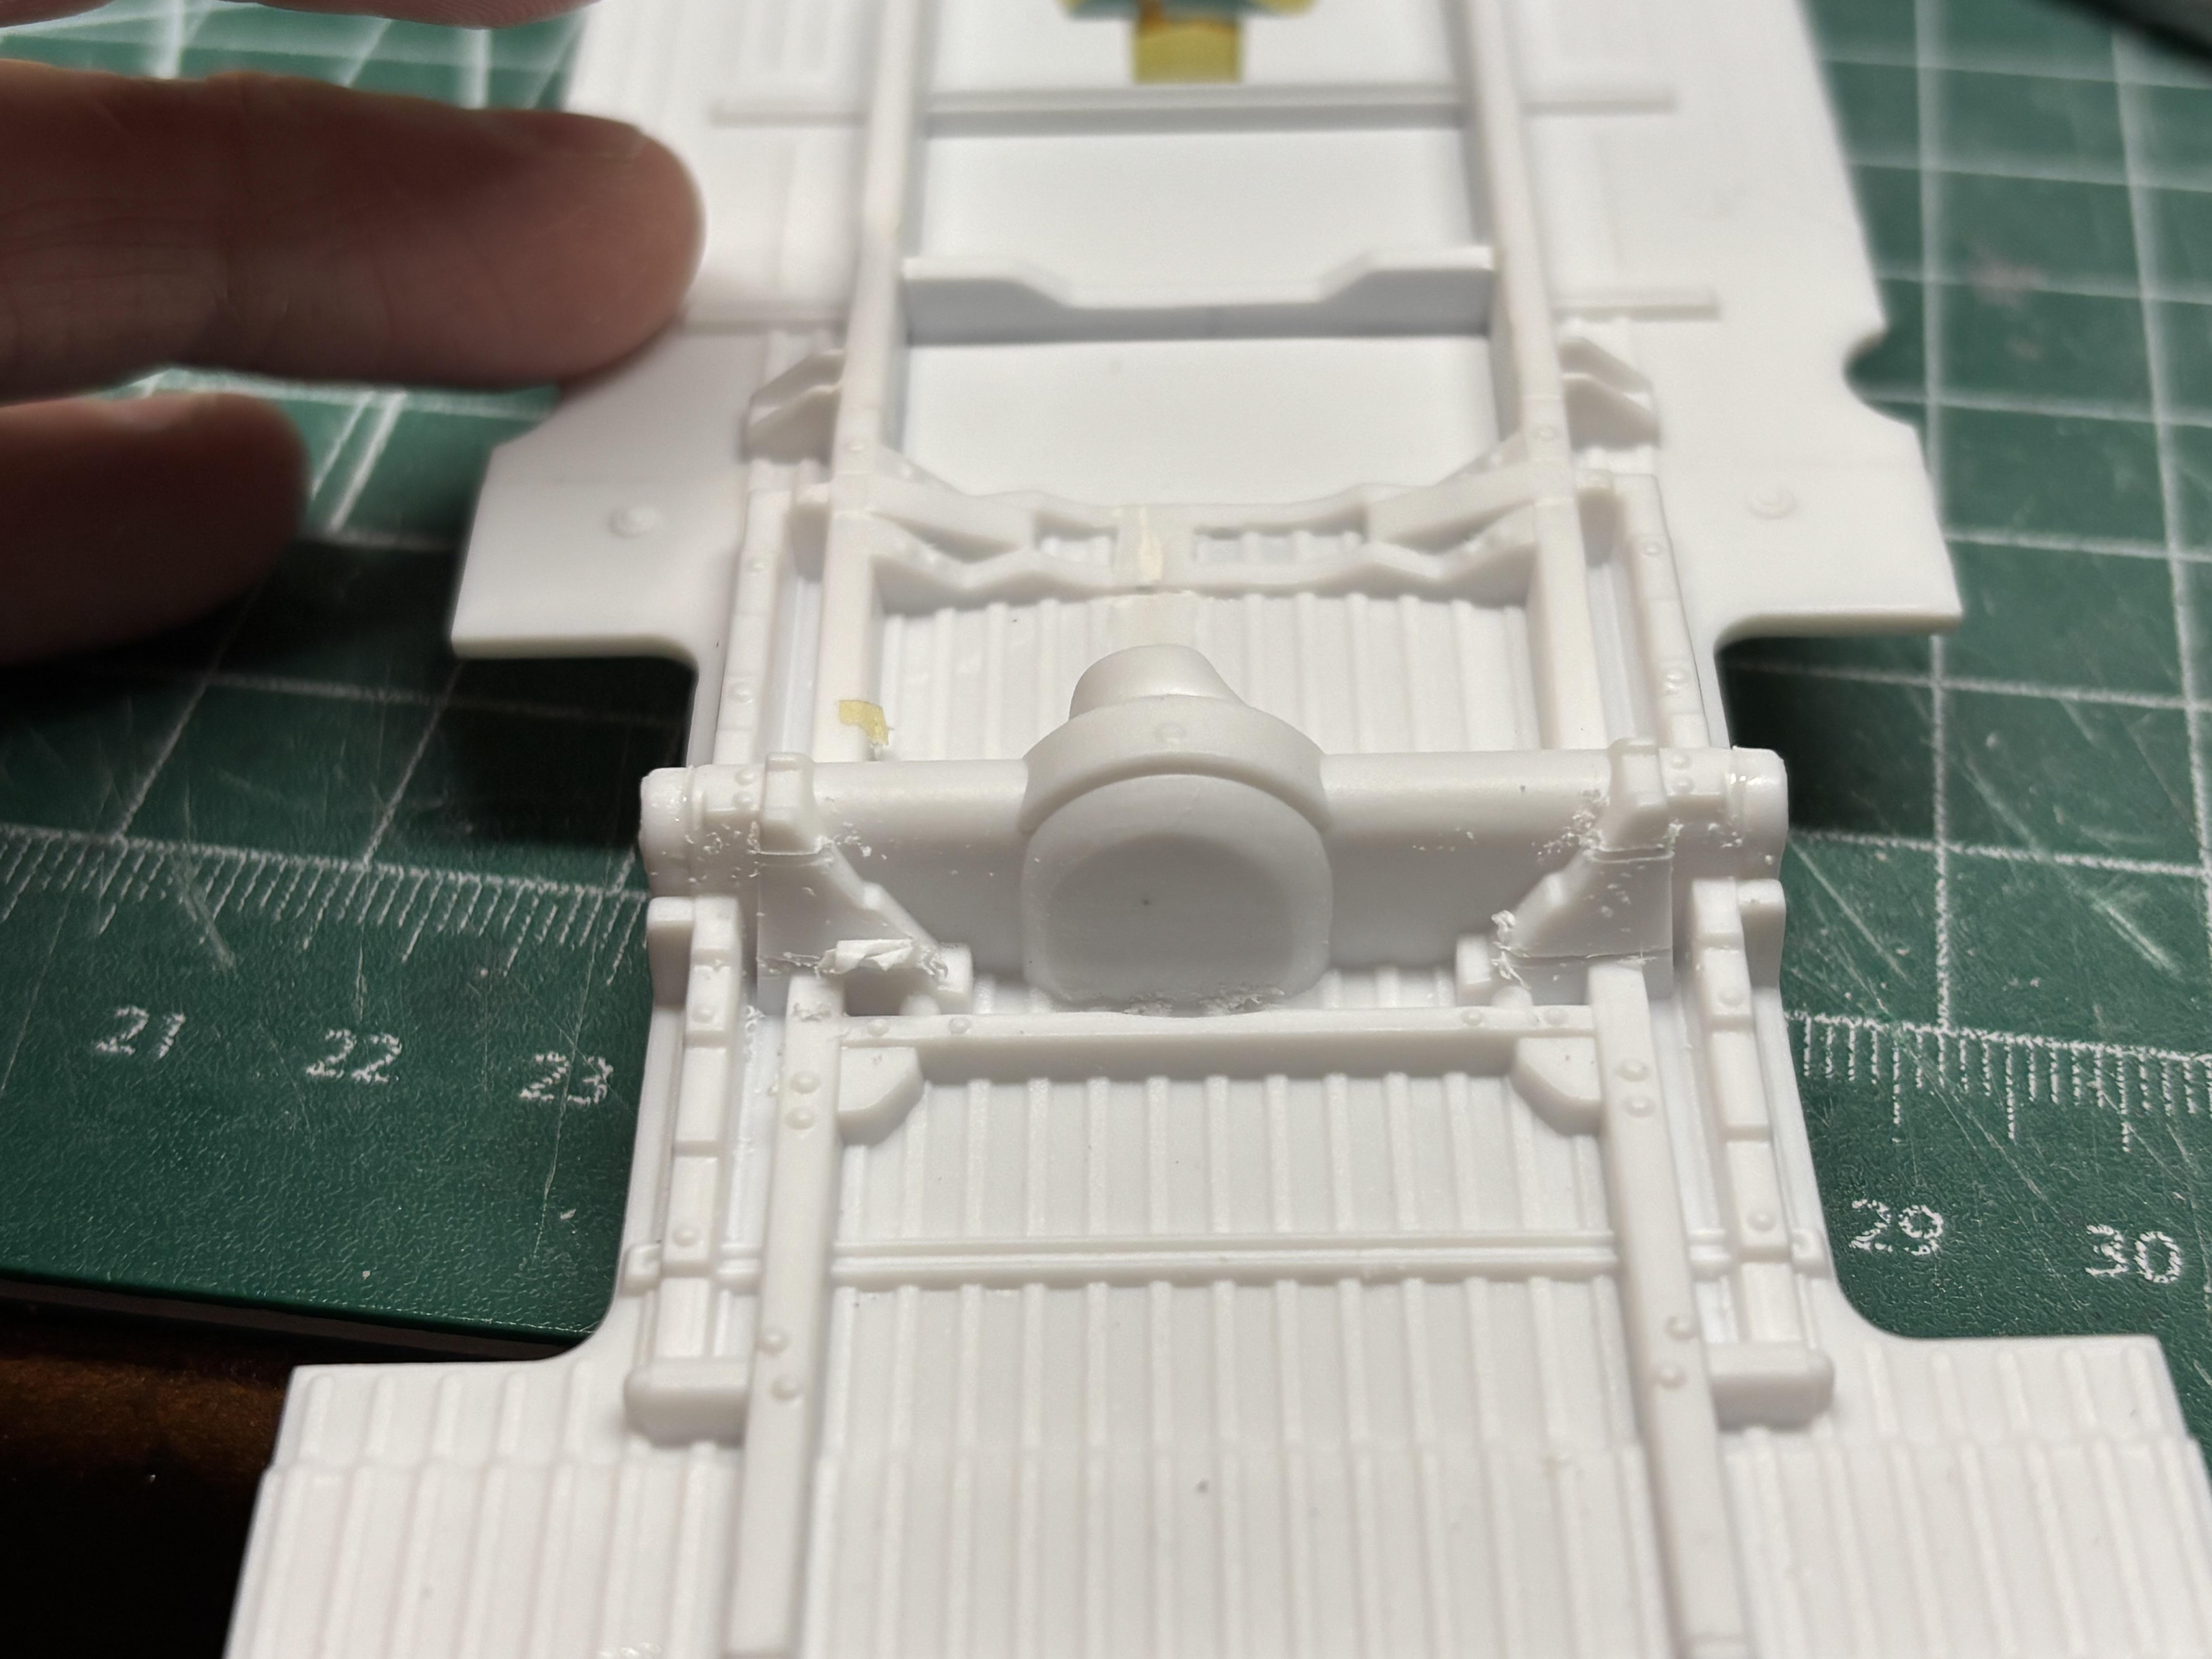
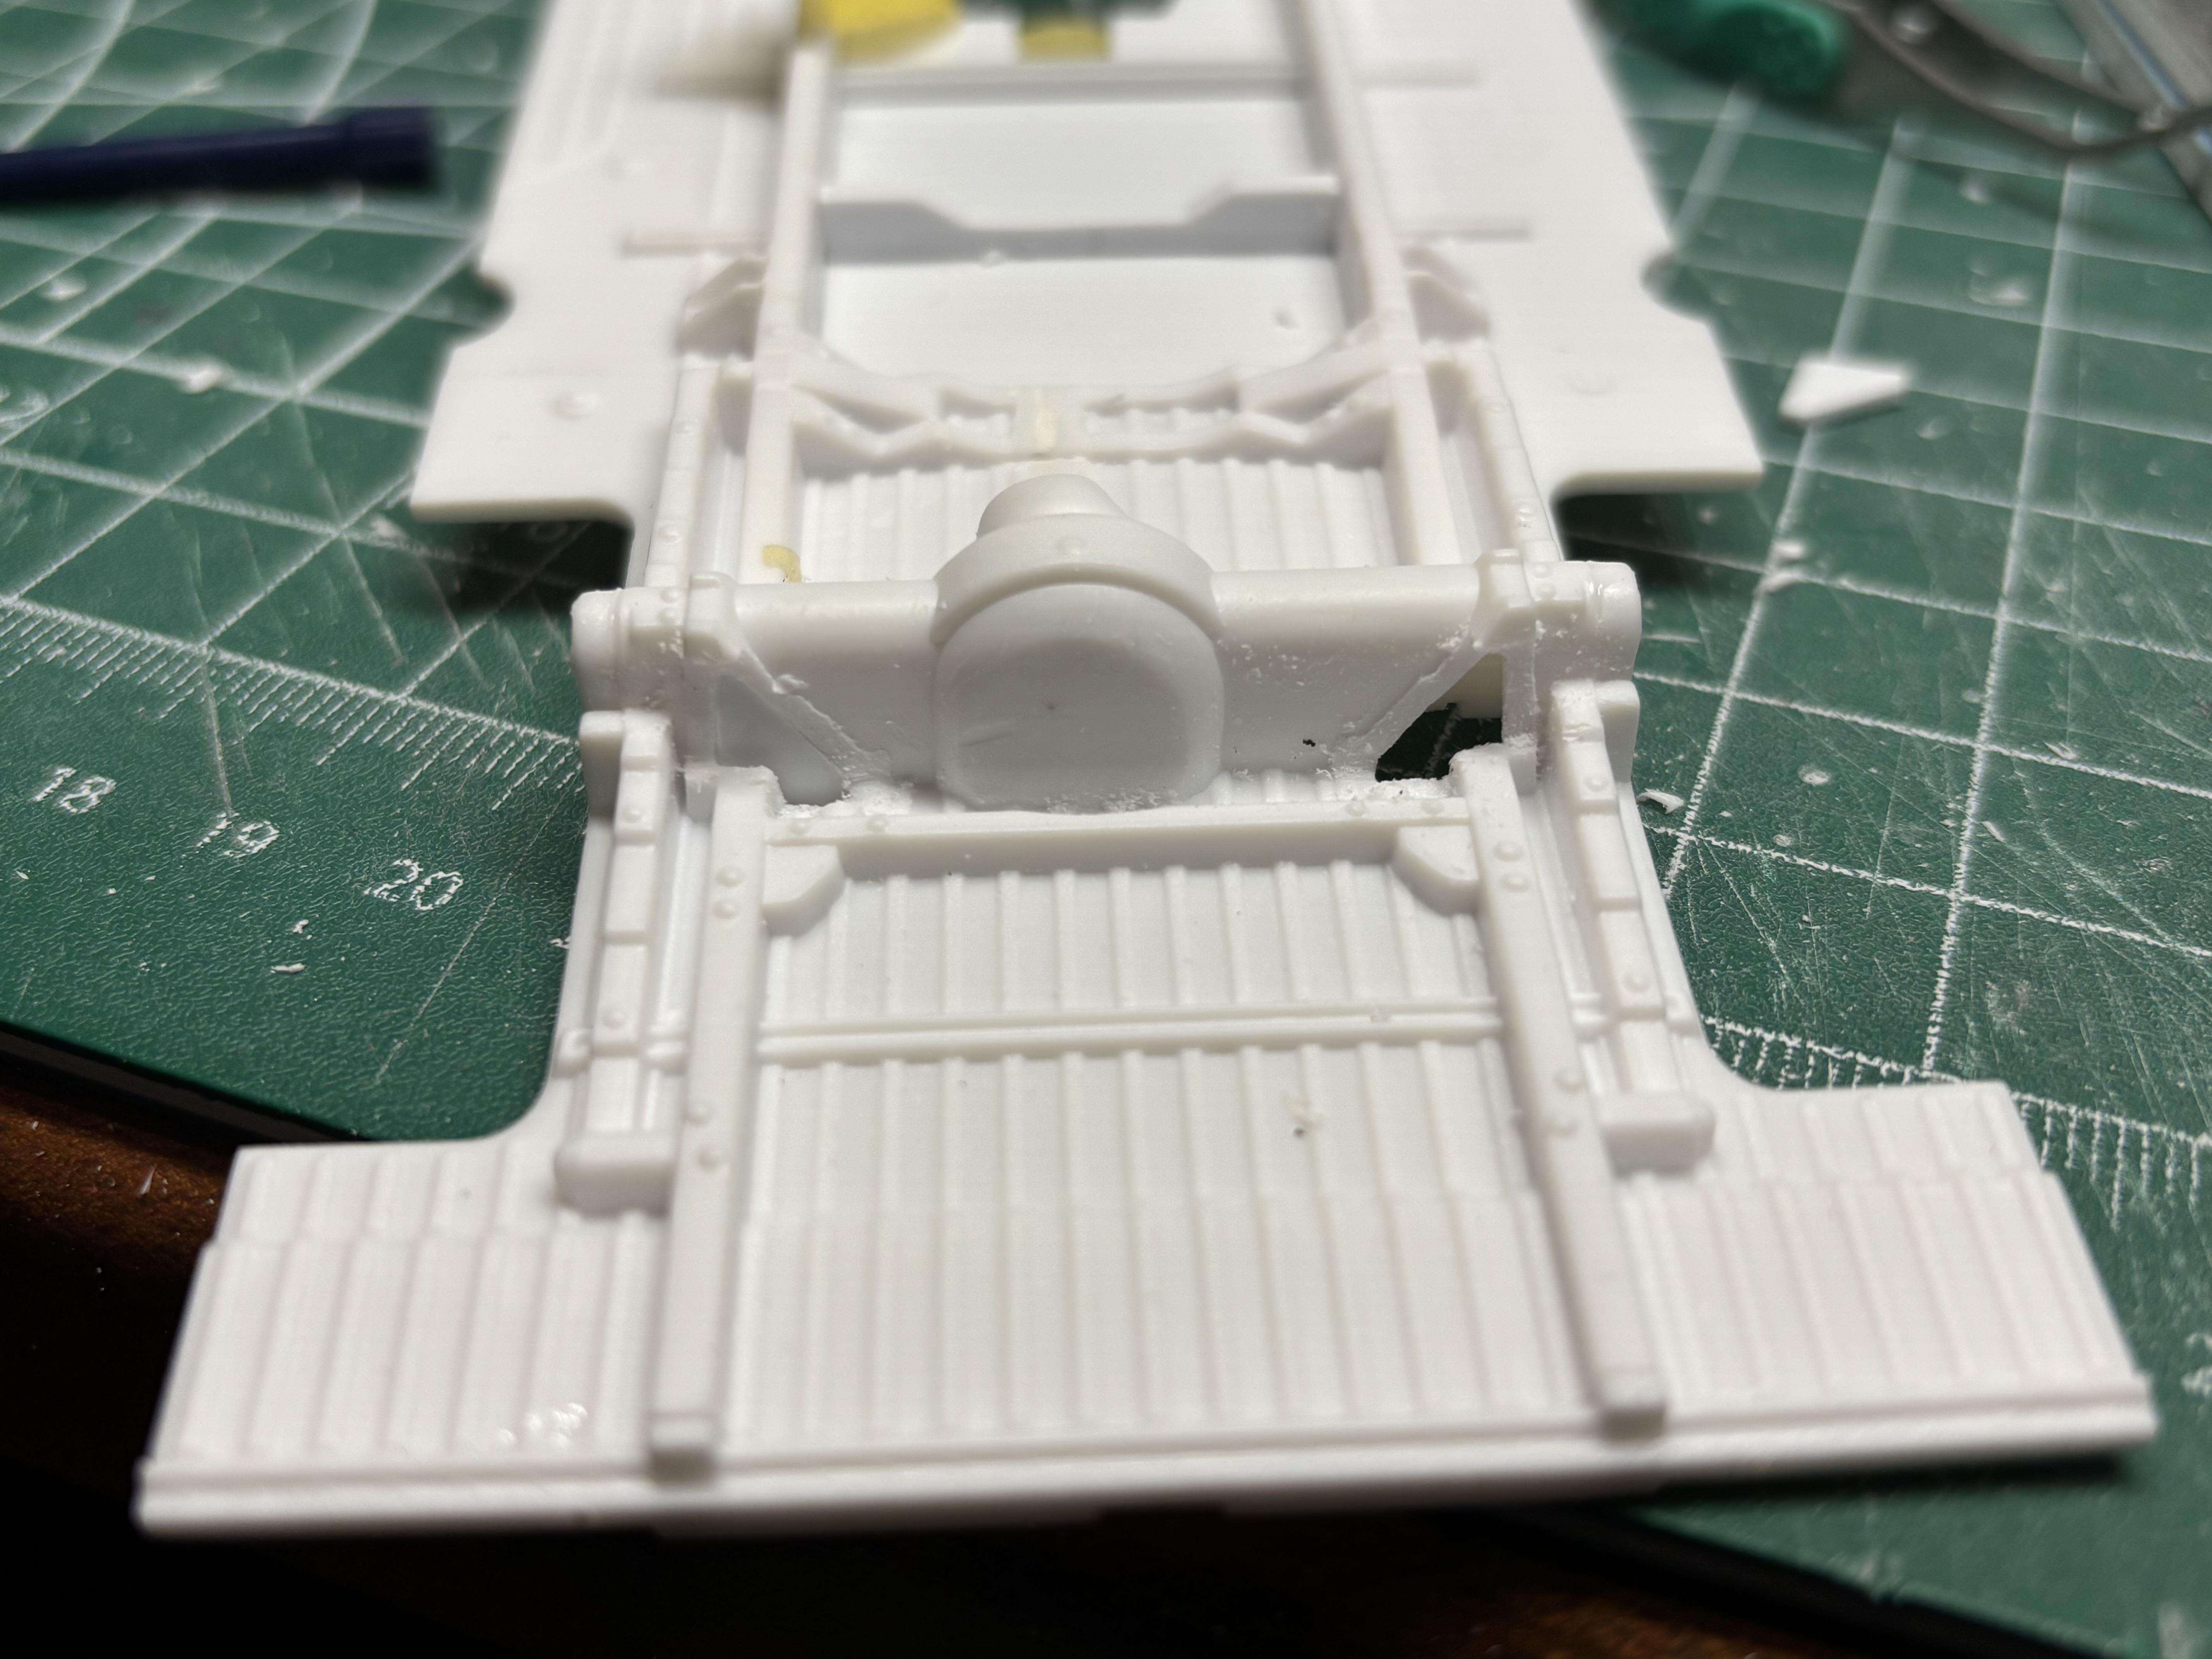
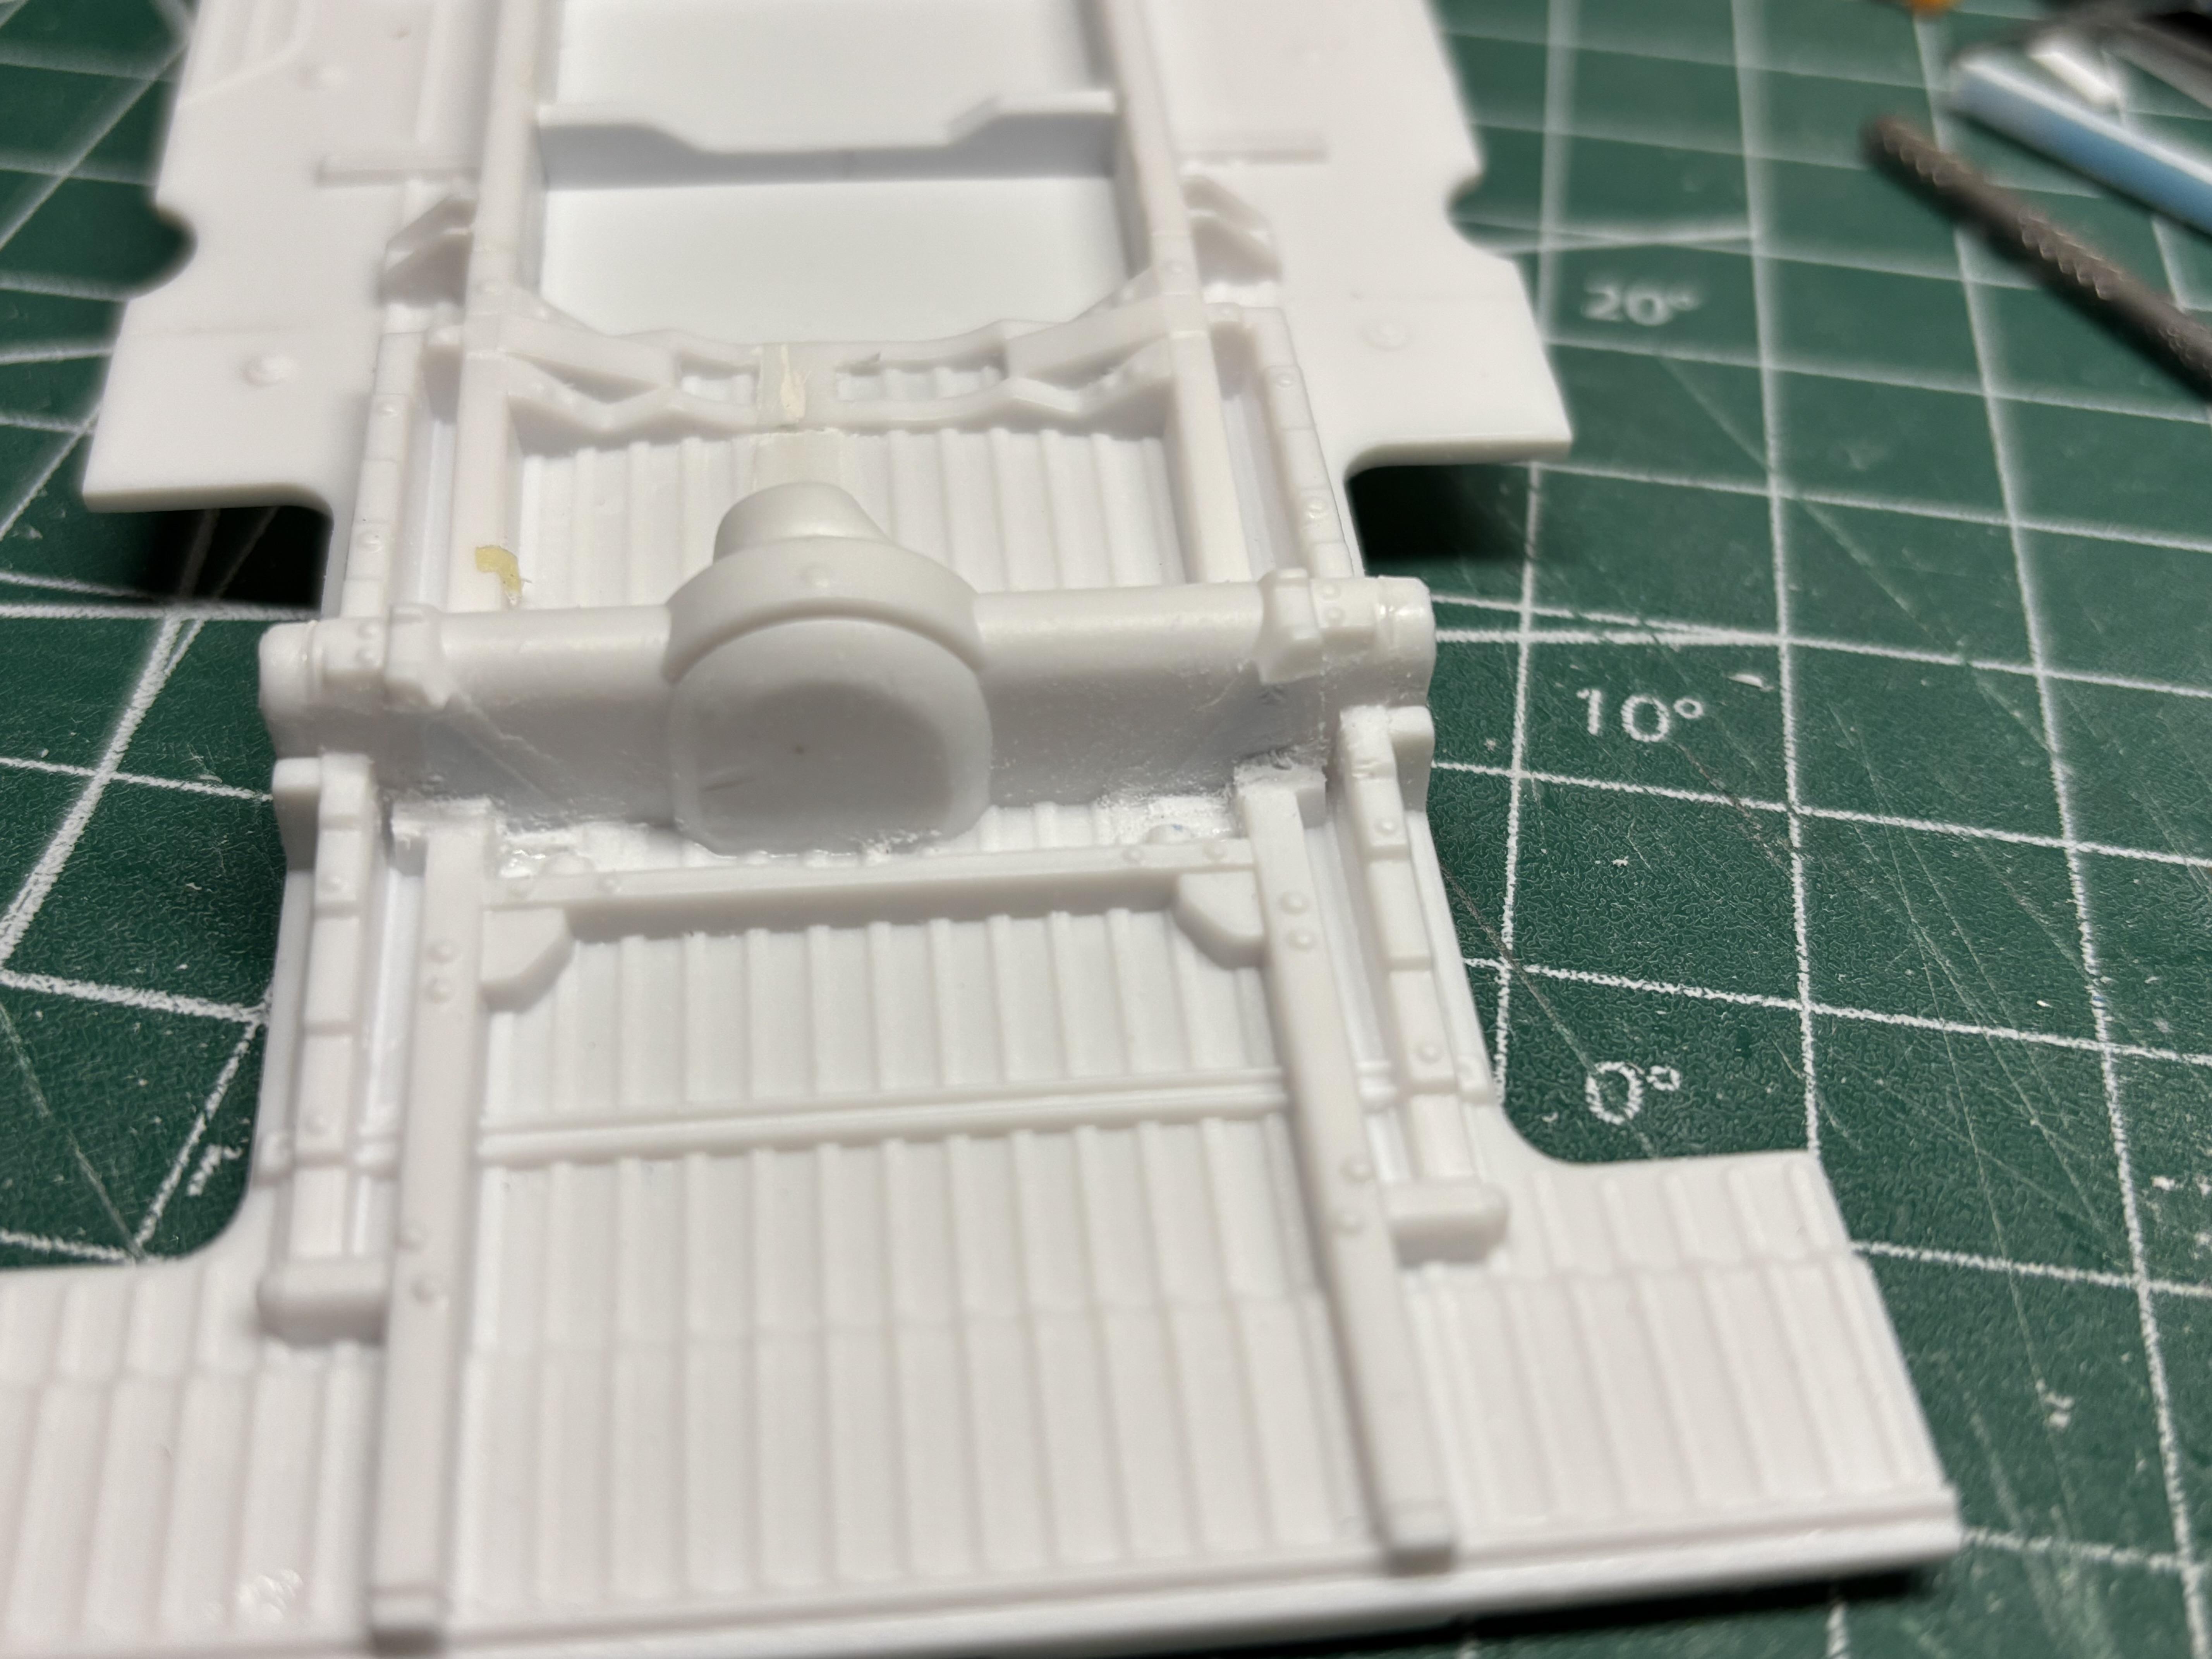
Reasonably productive day at the bench. The “Lego” shocks have been removed… I will make a couple of simple rear shocks to replace them. I will prime the chassis soon, do the final clean up, then it will be paint time. The firewall, has been made, and it is recessed about 1.5 mm from the kit piece. With that accomplished, time to see if the motor fits. The engine has been stripped of chrome. Got the main pieces tacked together so I could see how it fits, and looks. Forgot what a beautiful engine this is, its going to look wicked under the hood! I will modify the intake pipes to fit later. You can see the tab for the interior bucket at the cowl, right behind the blower. I will put a filler piece there to clean that up.
- 187 replies
-
- 10
-
-
- plowboy
- roger hayes
- (and 1 more)
-
Luke! That Camaro is off the hook! I have a question… is there some sort of gravitational pull in Australia that makes paint smoother?🤷🏻♂️🤓😂. Your paint jobs are extraordinary sir. That Camaro….😍
- 766 replies
-
- 1
-
-
- stalled builds
- quick builds
- (and 2 more)