OldNYJim
-
Posts
252 -
Joined
-
Last visited
Content Type
Profiles
Forums
Events
Gallery
Everything posted by OldNYJim
-

Fujimi 1981 Ayrton Senna Kart
OldNYJim replied to IanH's topic in WIP: Other Racing: Road Racing, Land Speed Racers
Interesting! I just couldn't picture how big one of these would be - thank you for the response and photo! -
Really enjoyed reading this Tim - I like your ‘Fotki-articles’! I never knew that the back of the driver’s seat should be metal - storing that away for future reference! I actually purchased another of these kits to build something inspired by the brown-primered T that you built that was in Scale Auto a few years back - looks like I need another one to build my take on this version too!
-
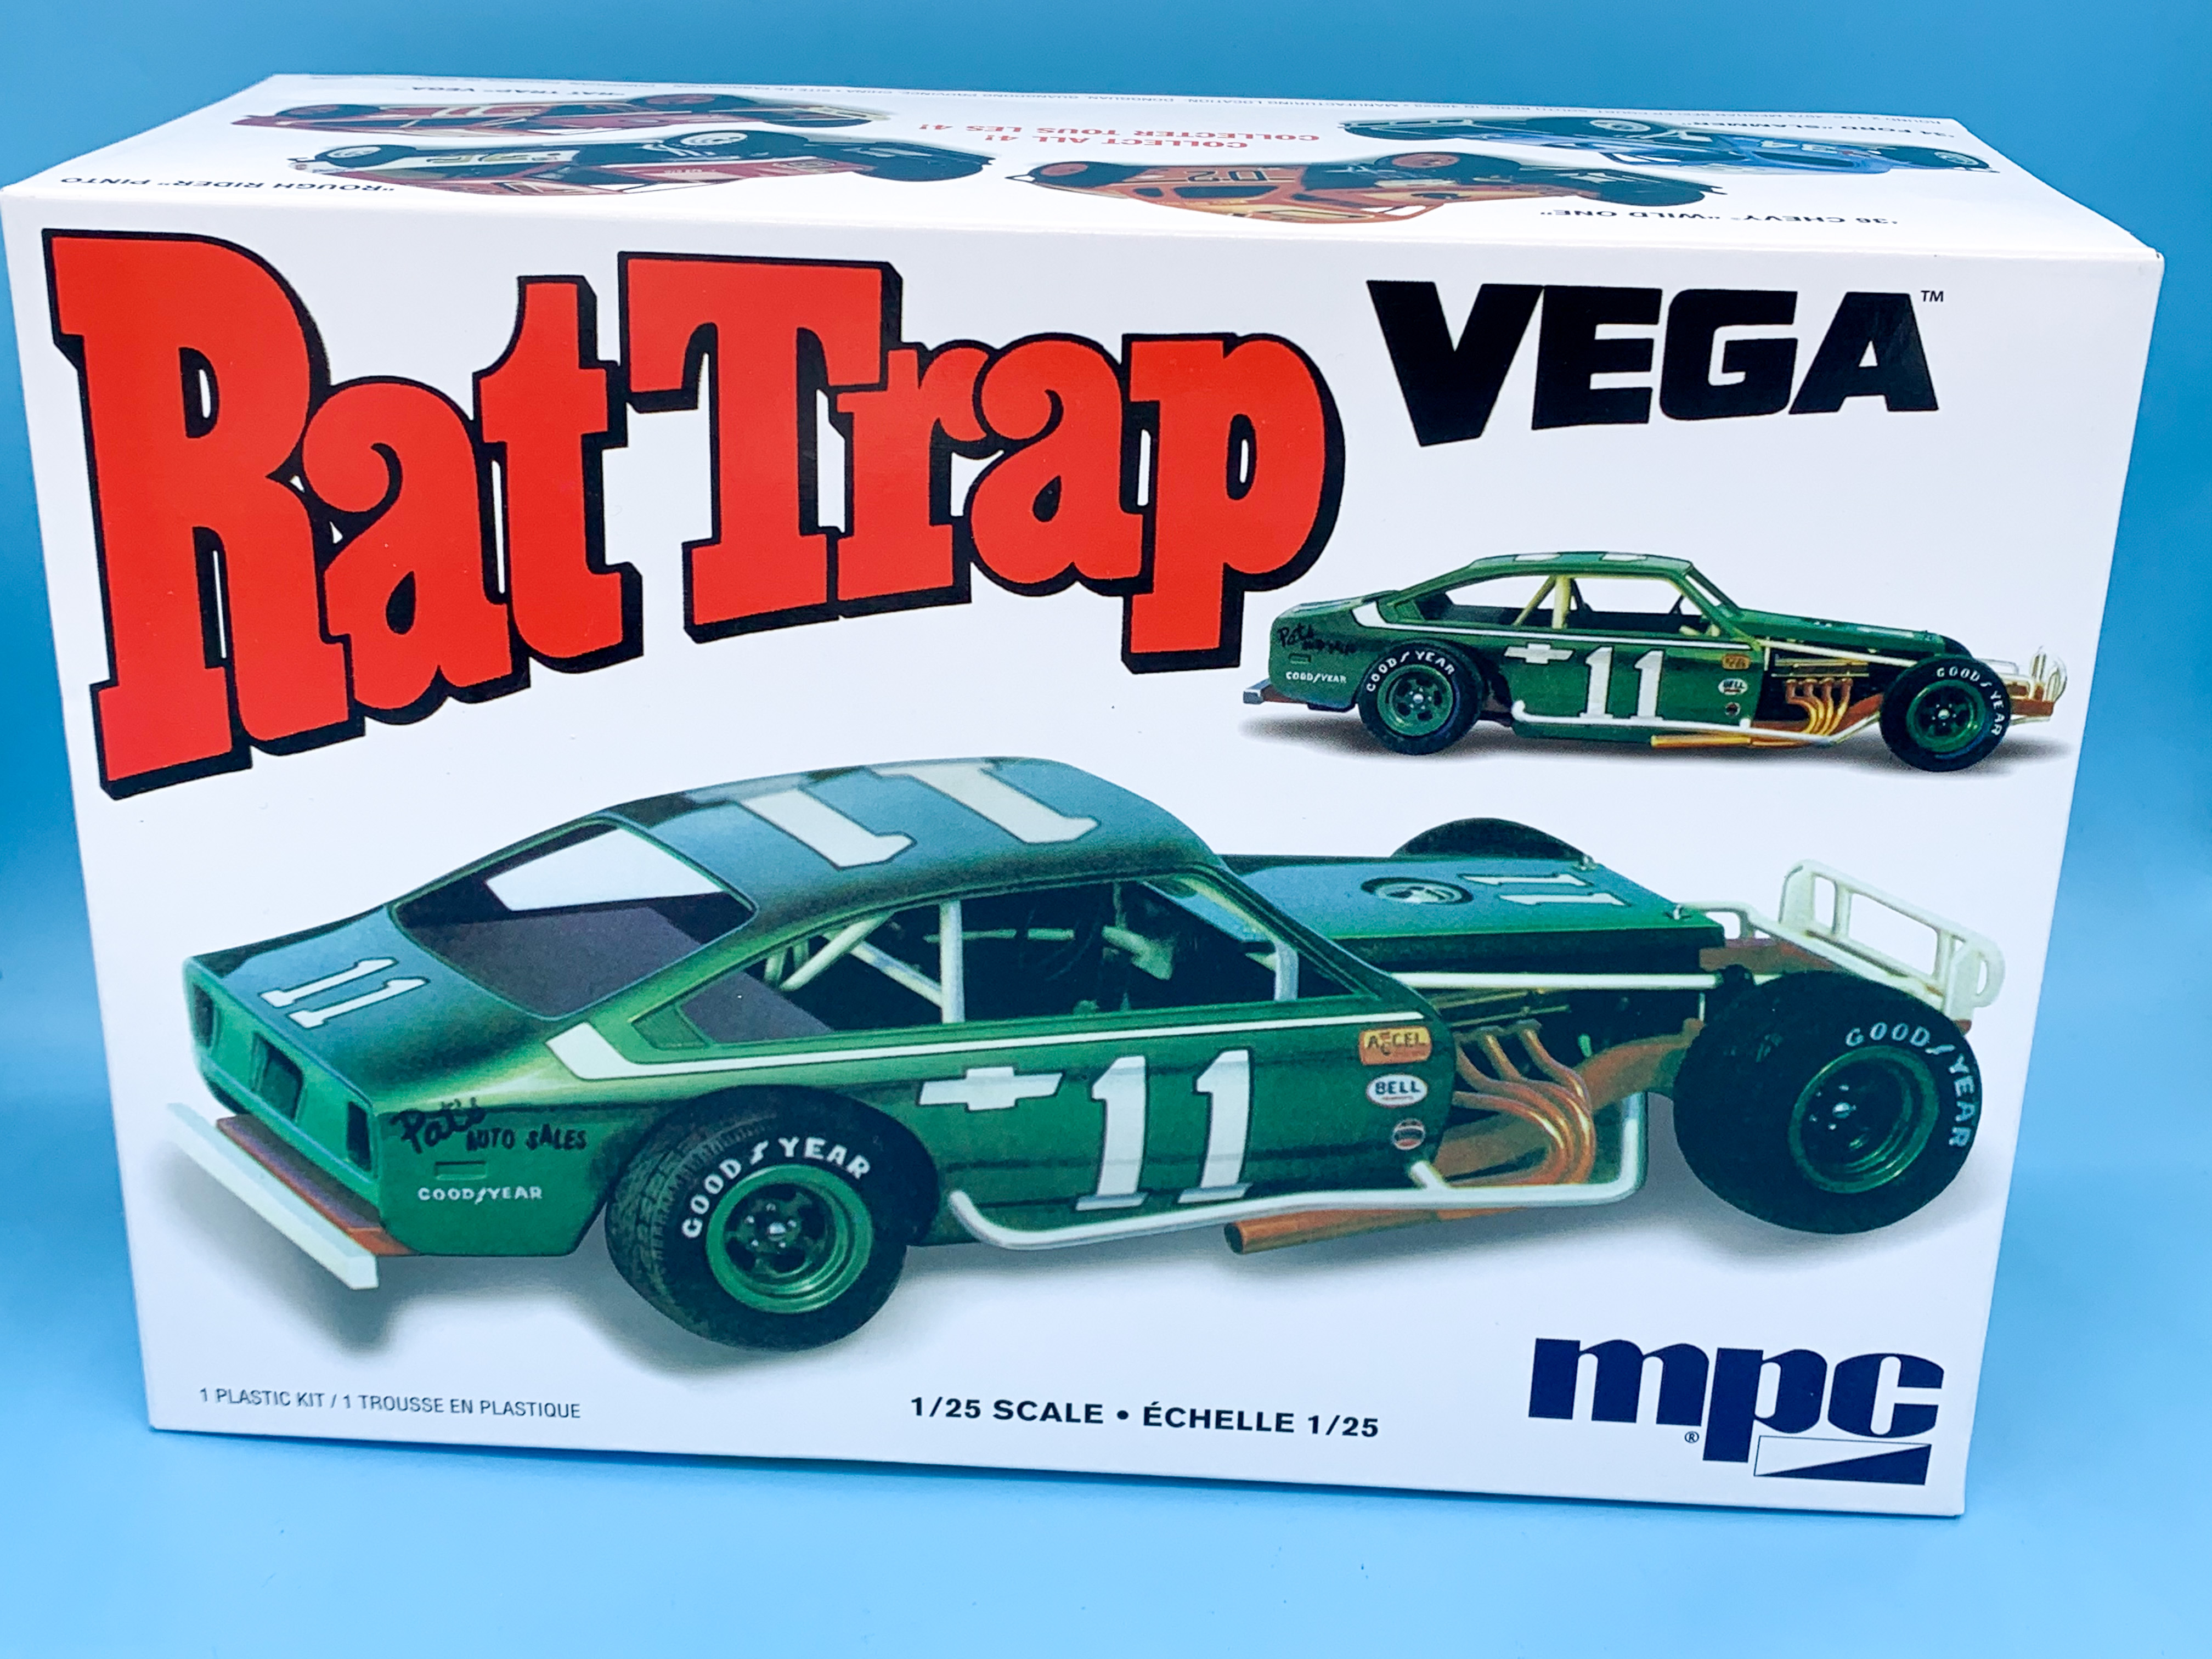
Amazon had these for $20 (still does, in fact) and I figured it would be a decent basis for a more detailed oval build I think it’s the same frame and running gear as the other MPC oval trackers?

-
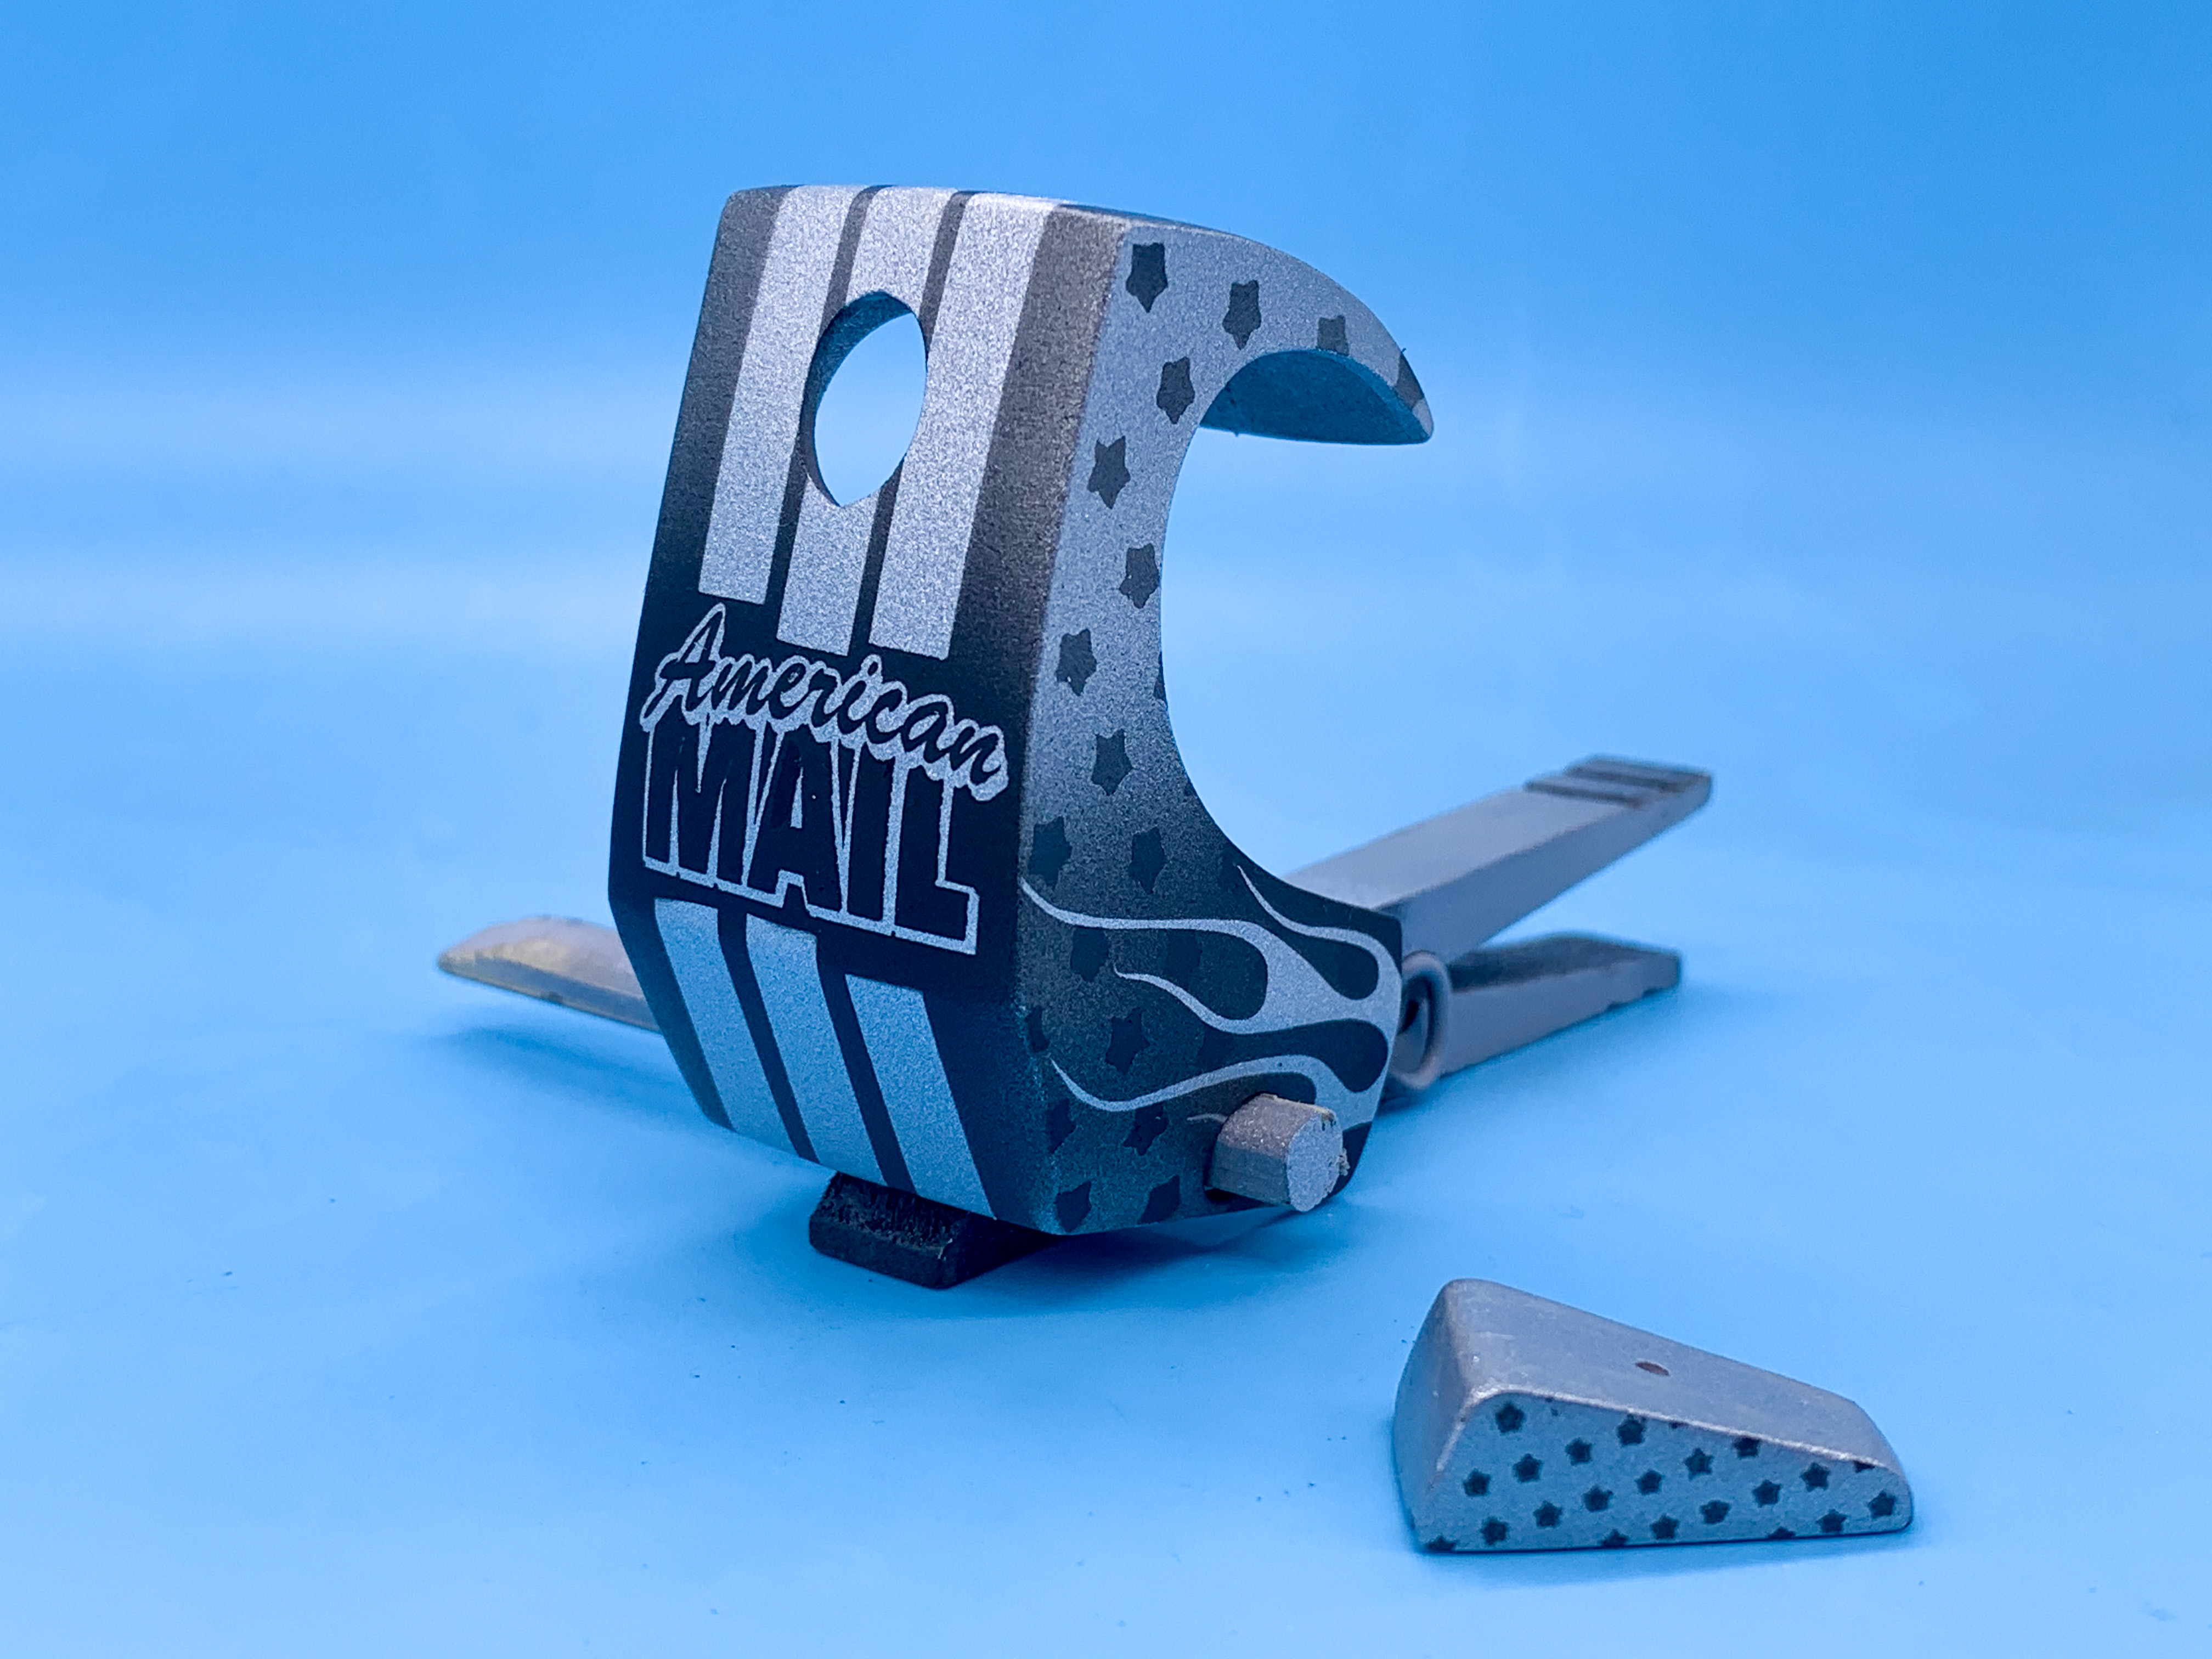
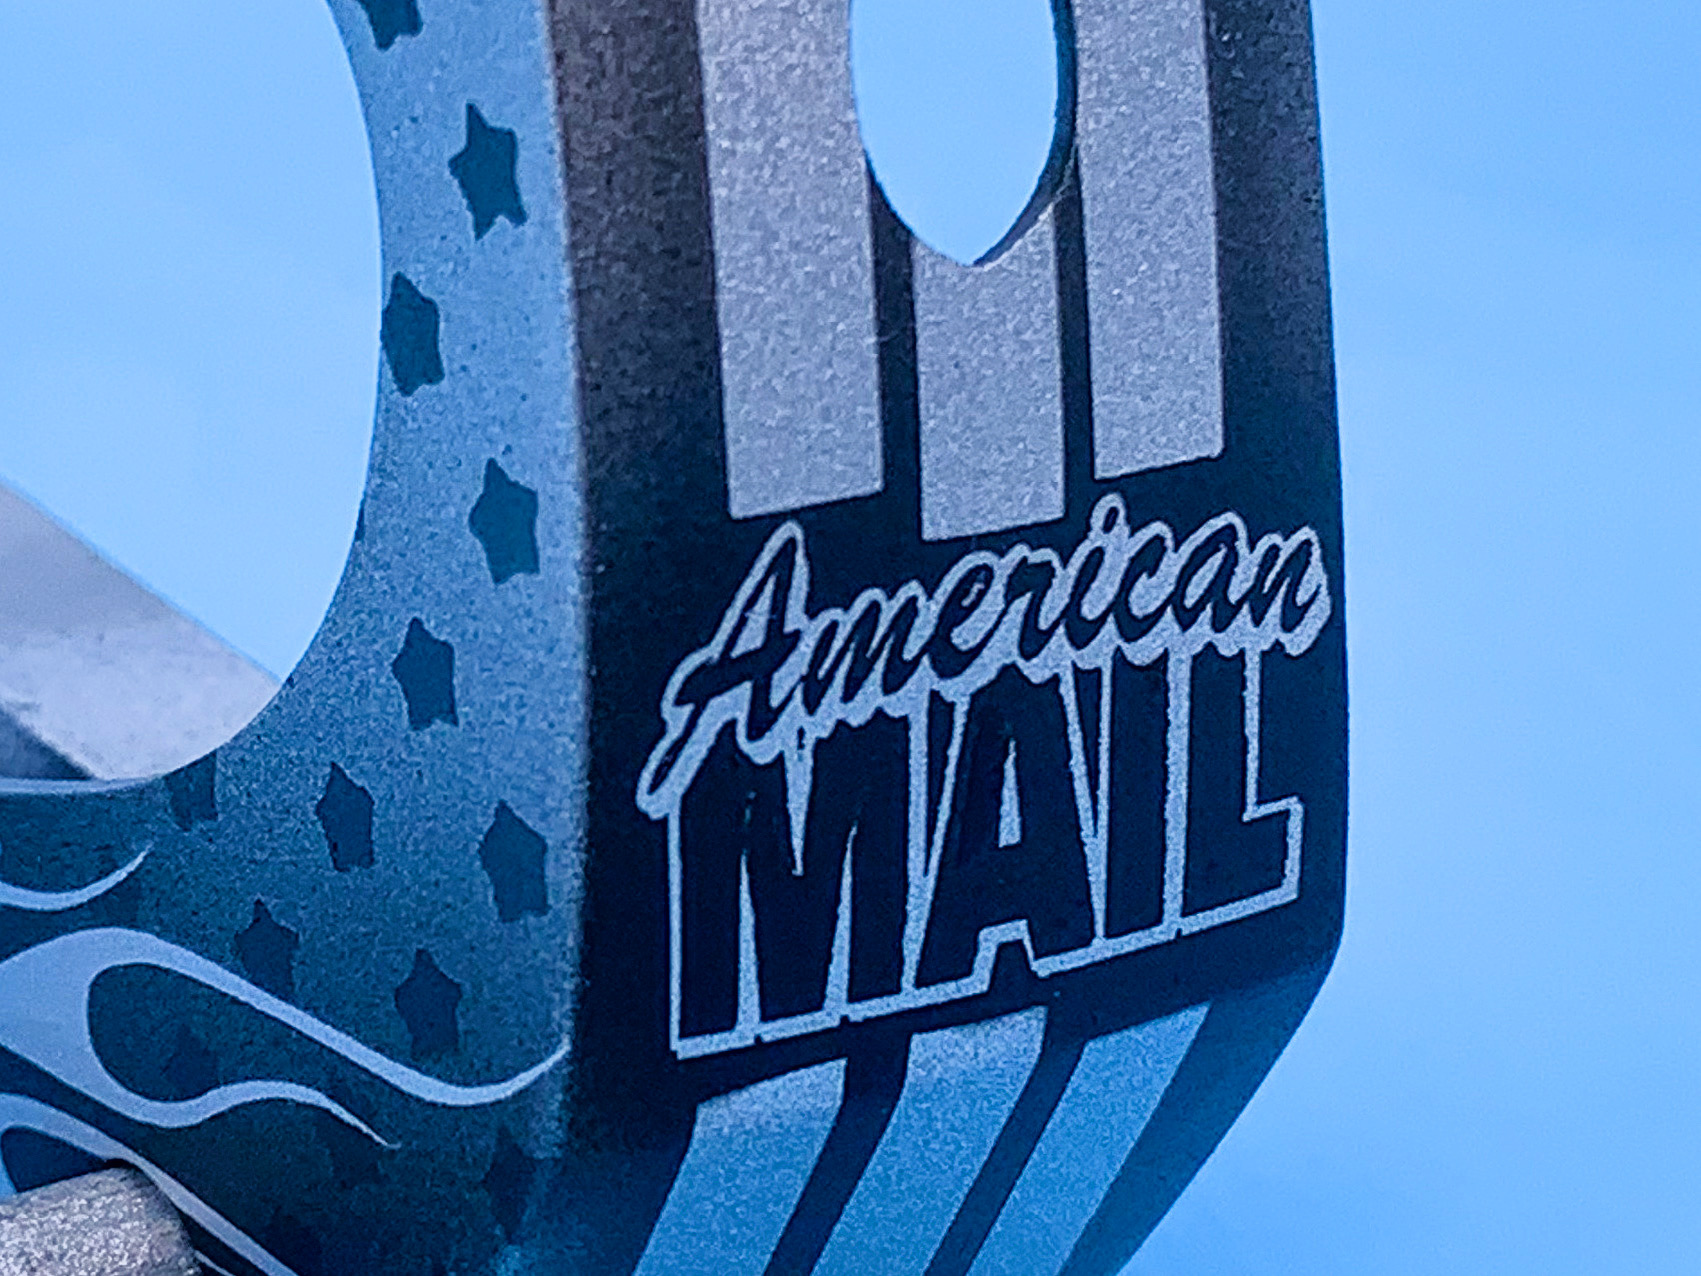
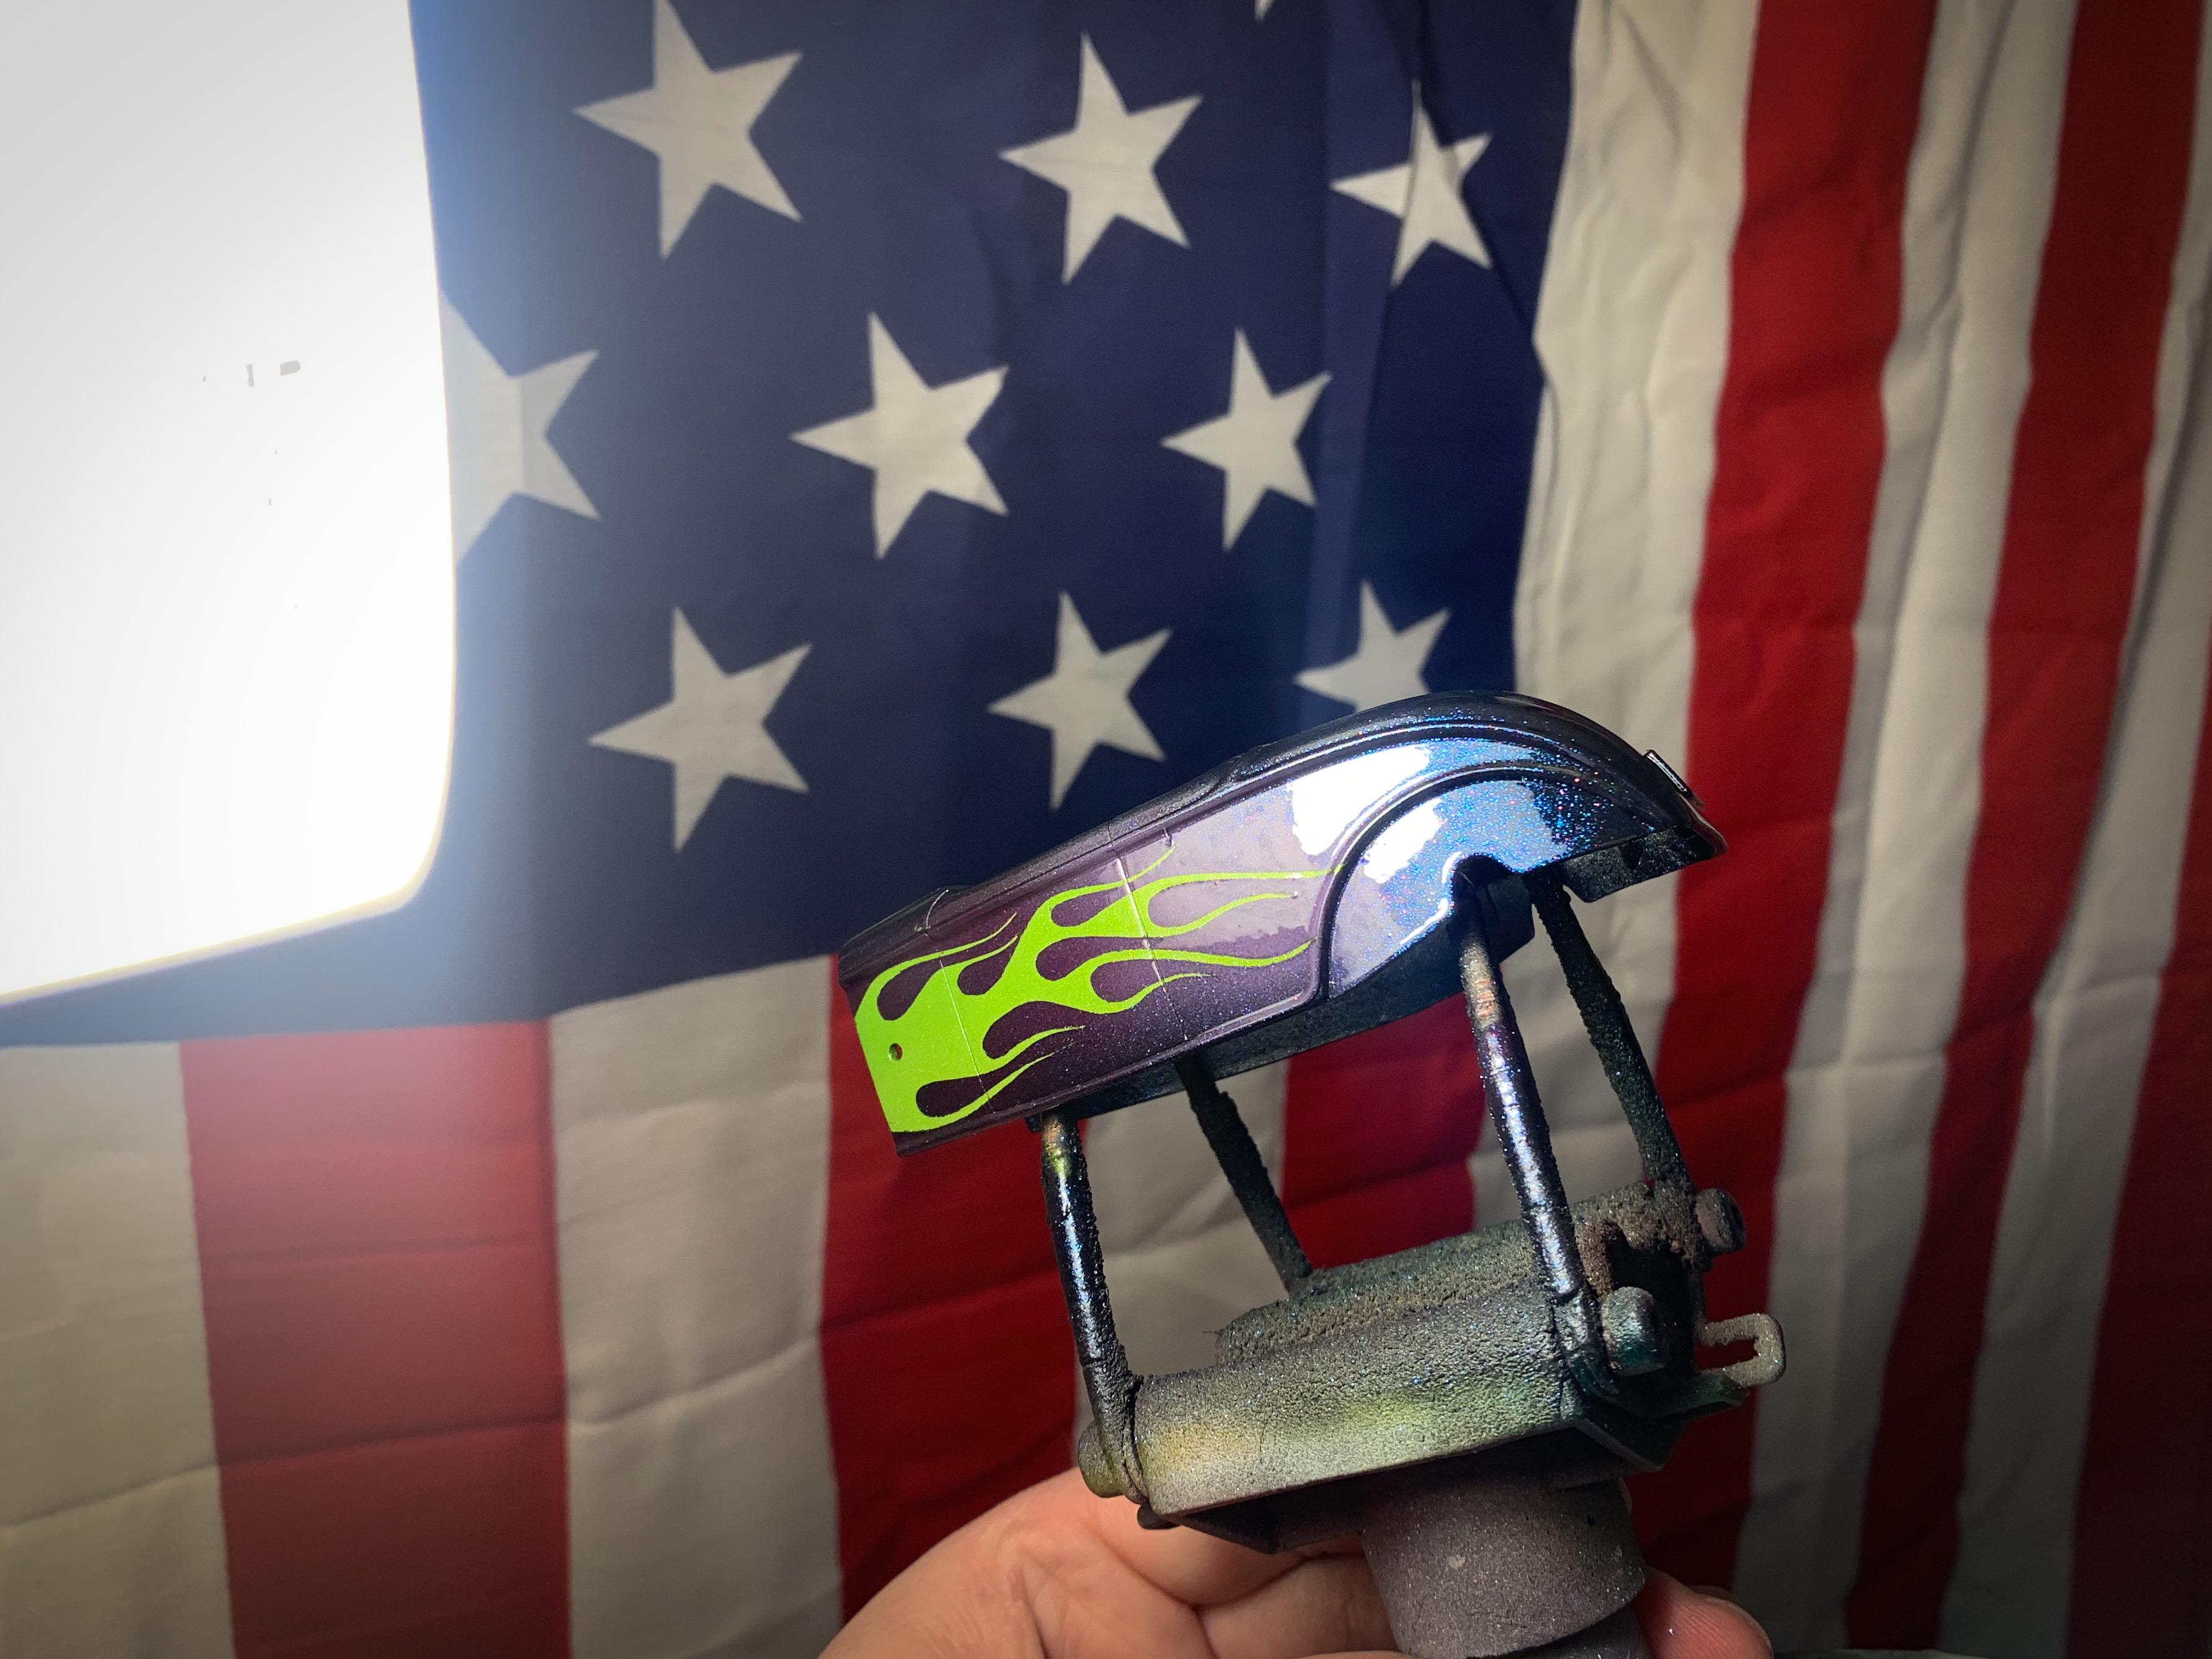
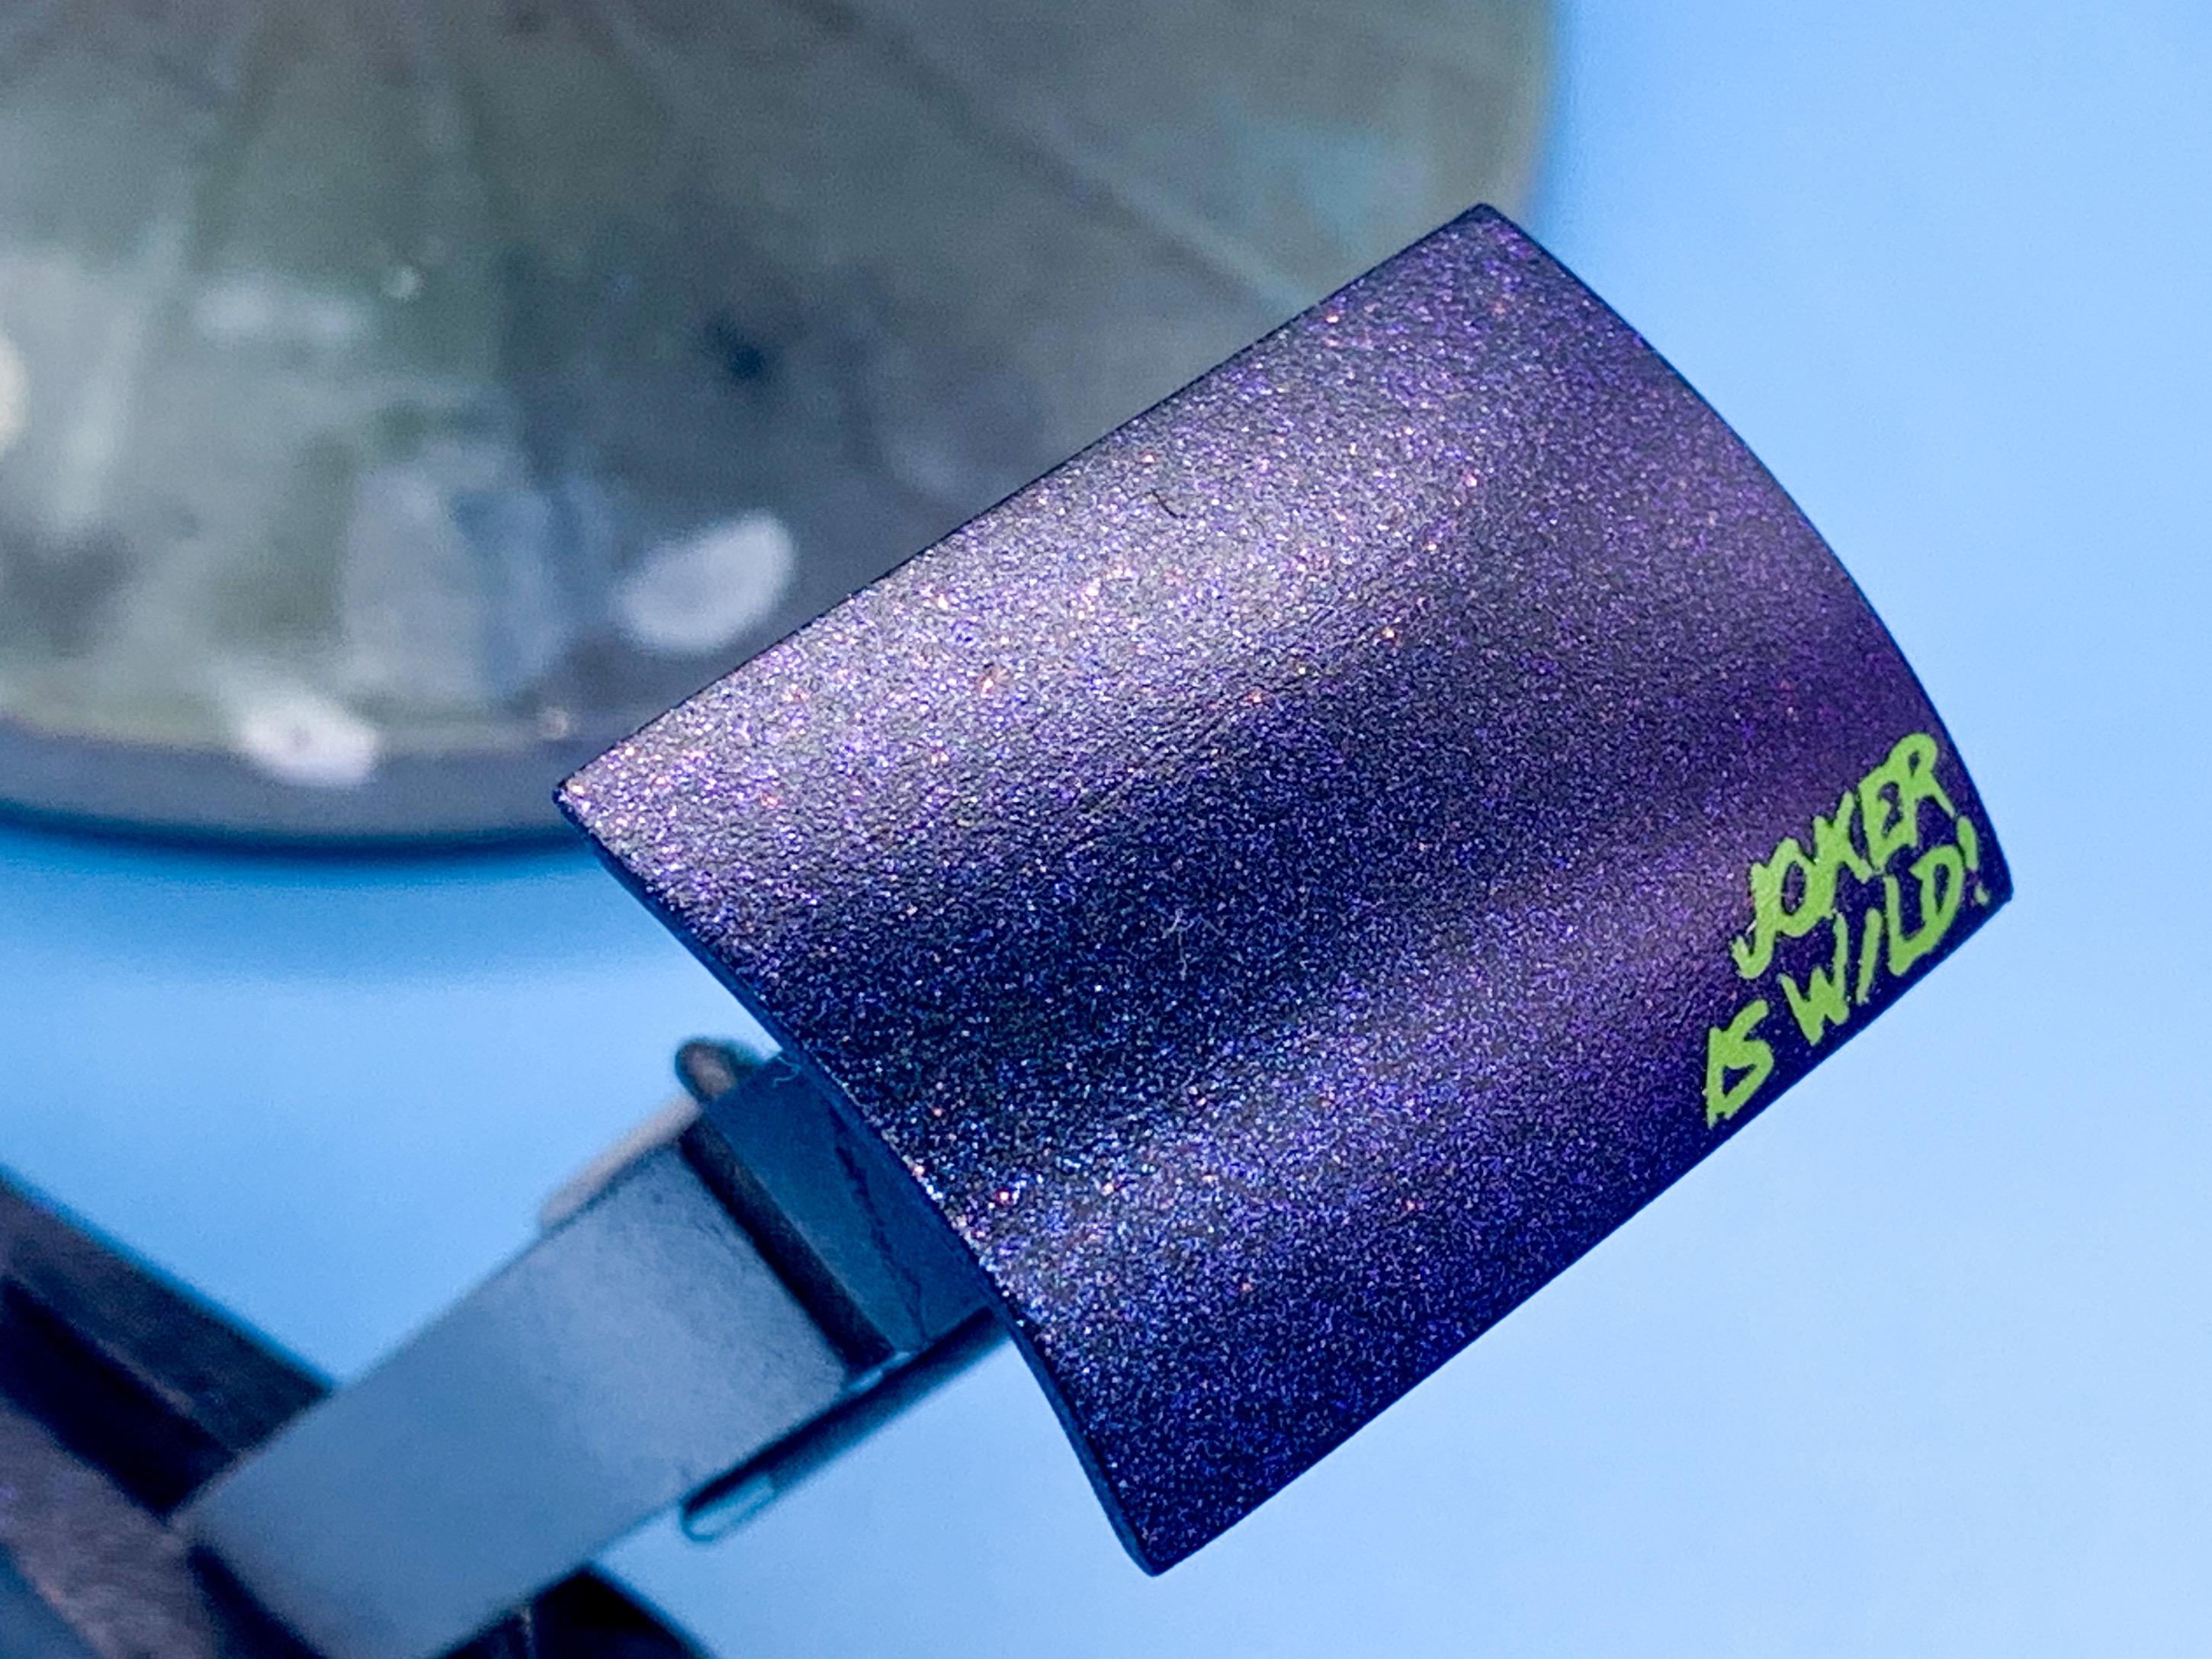
Shot some graphics on my MPC Mail Box trike body and tank today. I’ll be shooting candy over the top of them to mostly hide them, but I wanted a cool little ‘something’ for people to spot if they looked a little closer...
-
My wife gave me one of these that she wasn’t using - it’s been a game changer! Use it all the time! https://www.amazon.com/dp/B07LFH2MGH/ref=cm_sw_r_cp_api_glt_i_4T2DG8PHW3GJC0K98FC2 That or an engineer’s square to keep everything straight teamed up with an X-acto works well for me
-
Doesn't look bad from here! Very nice!!
-
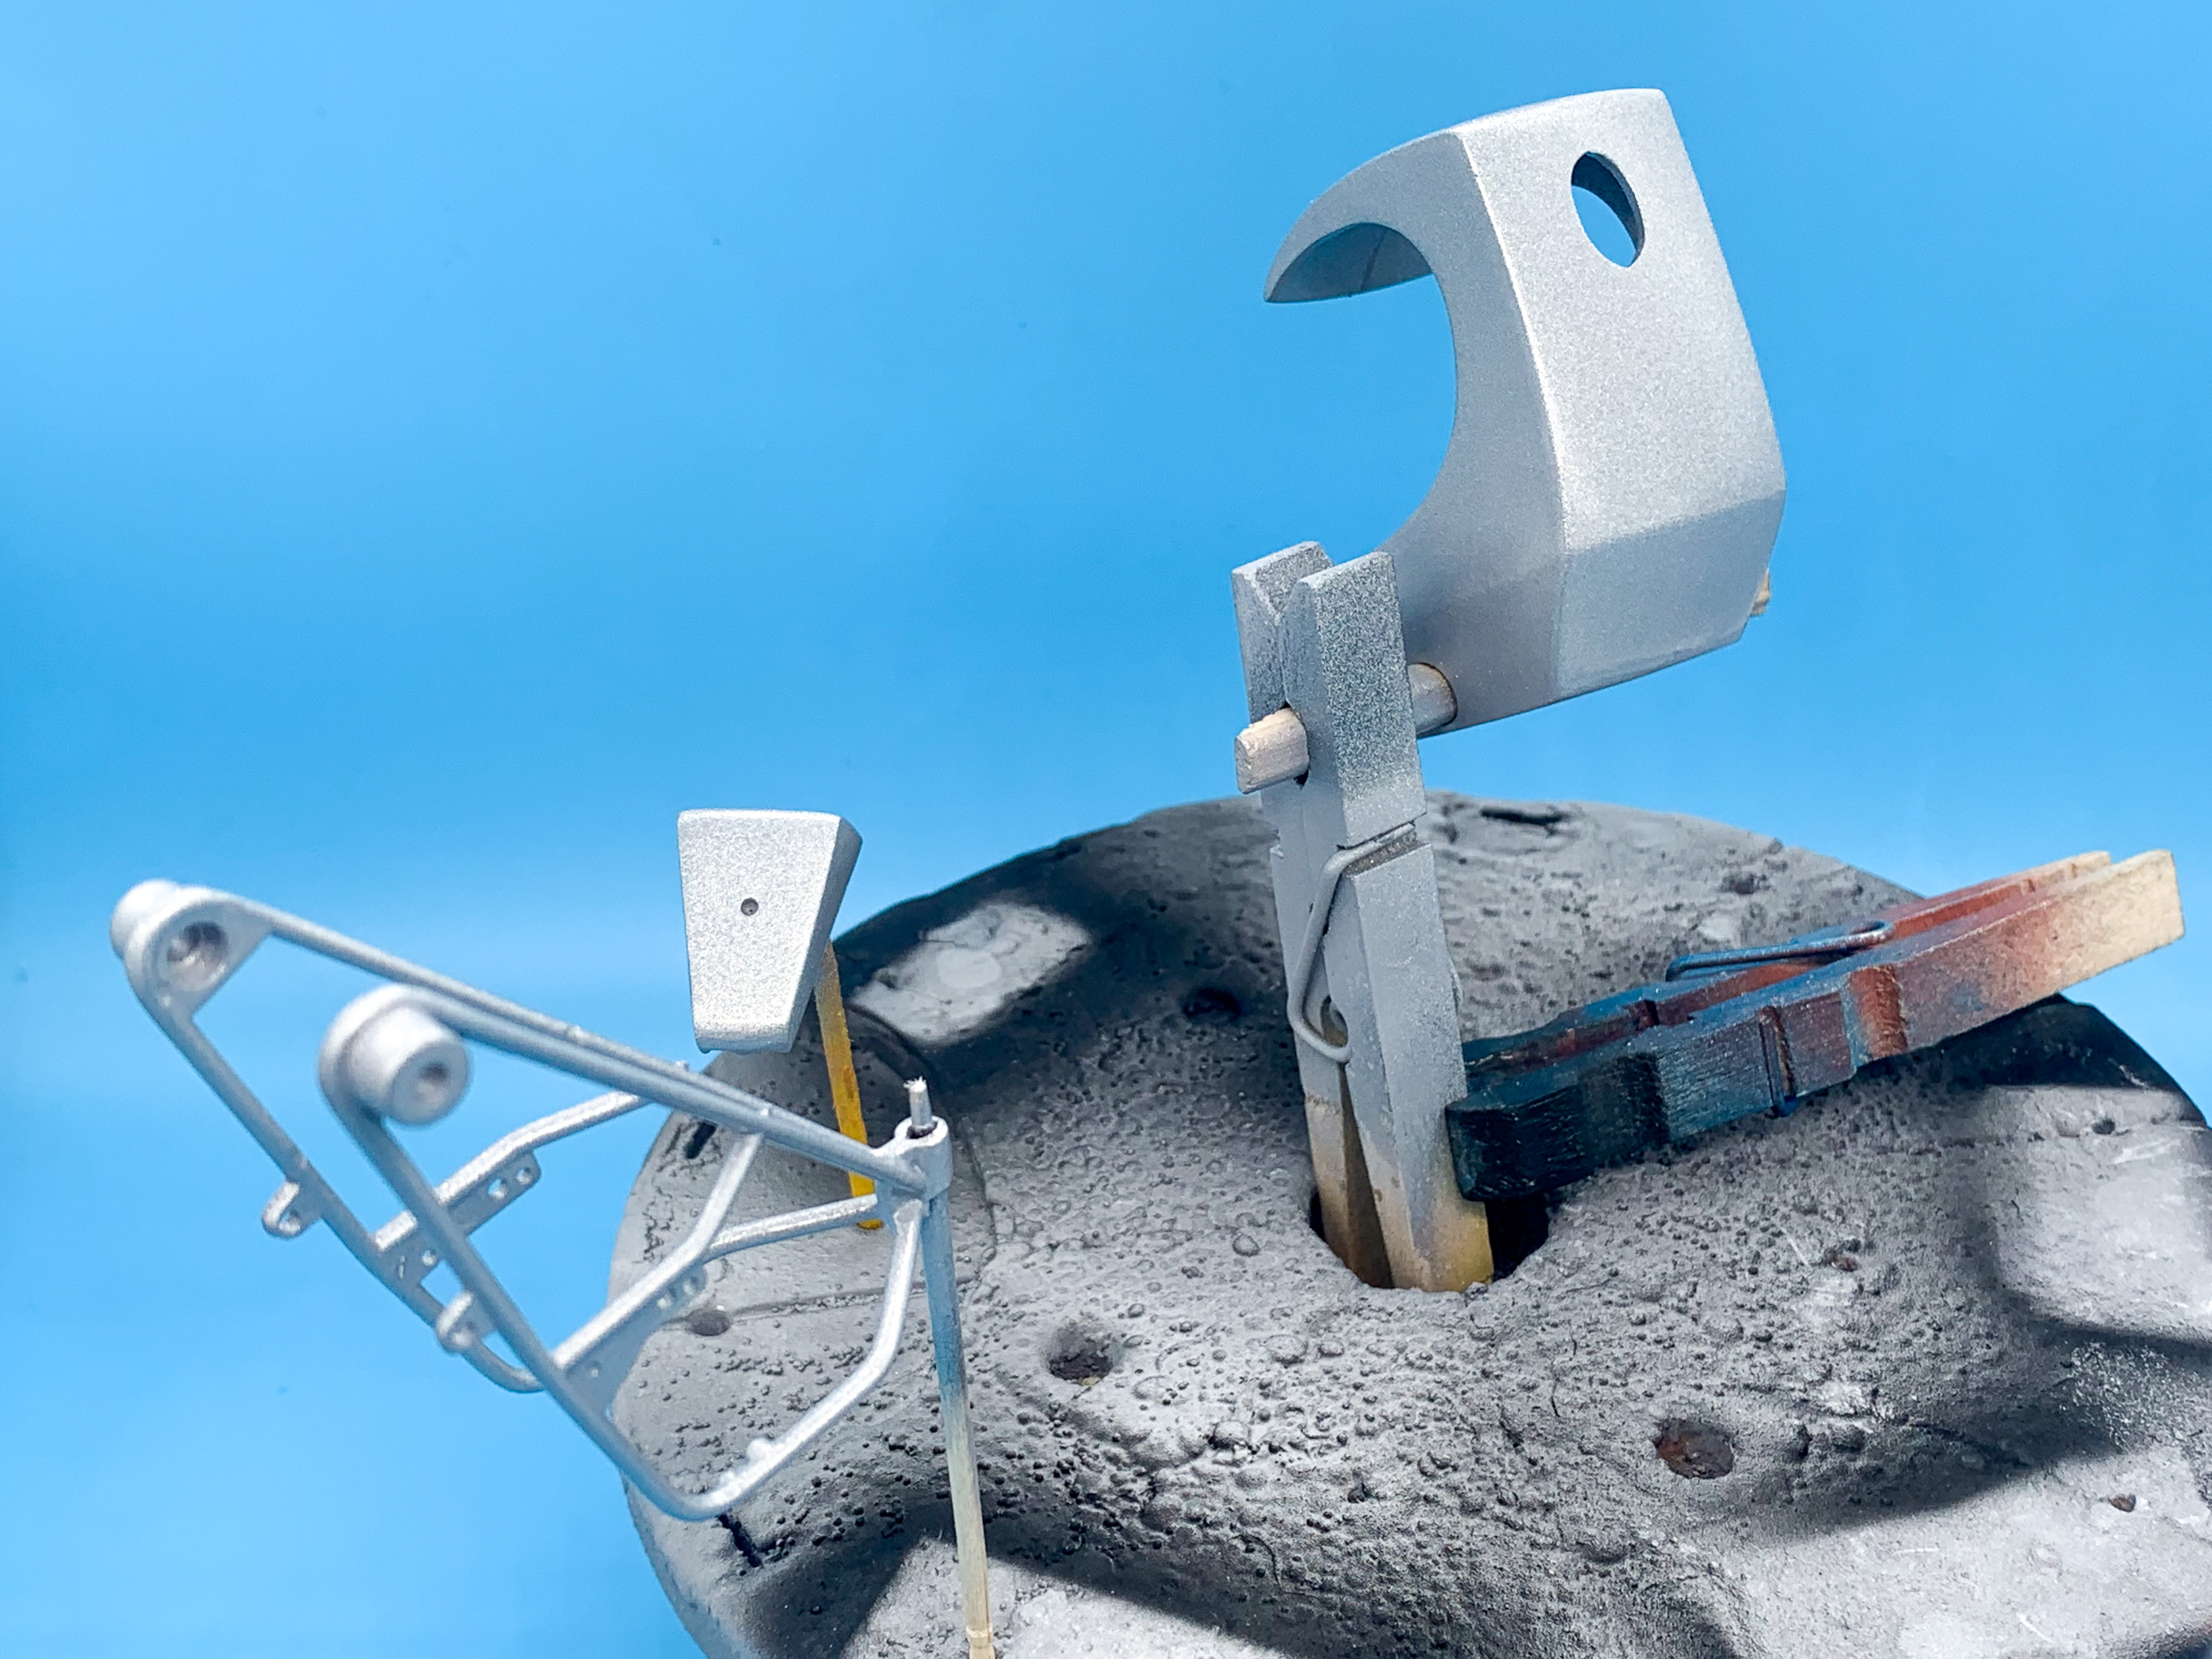
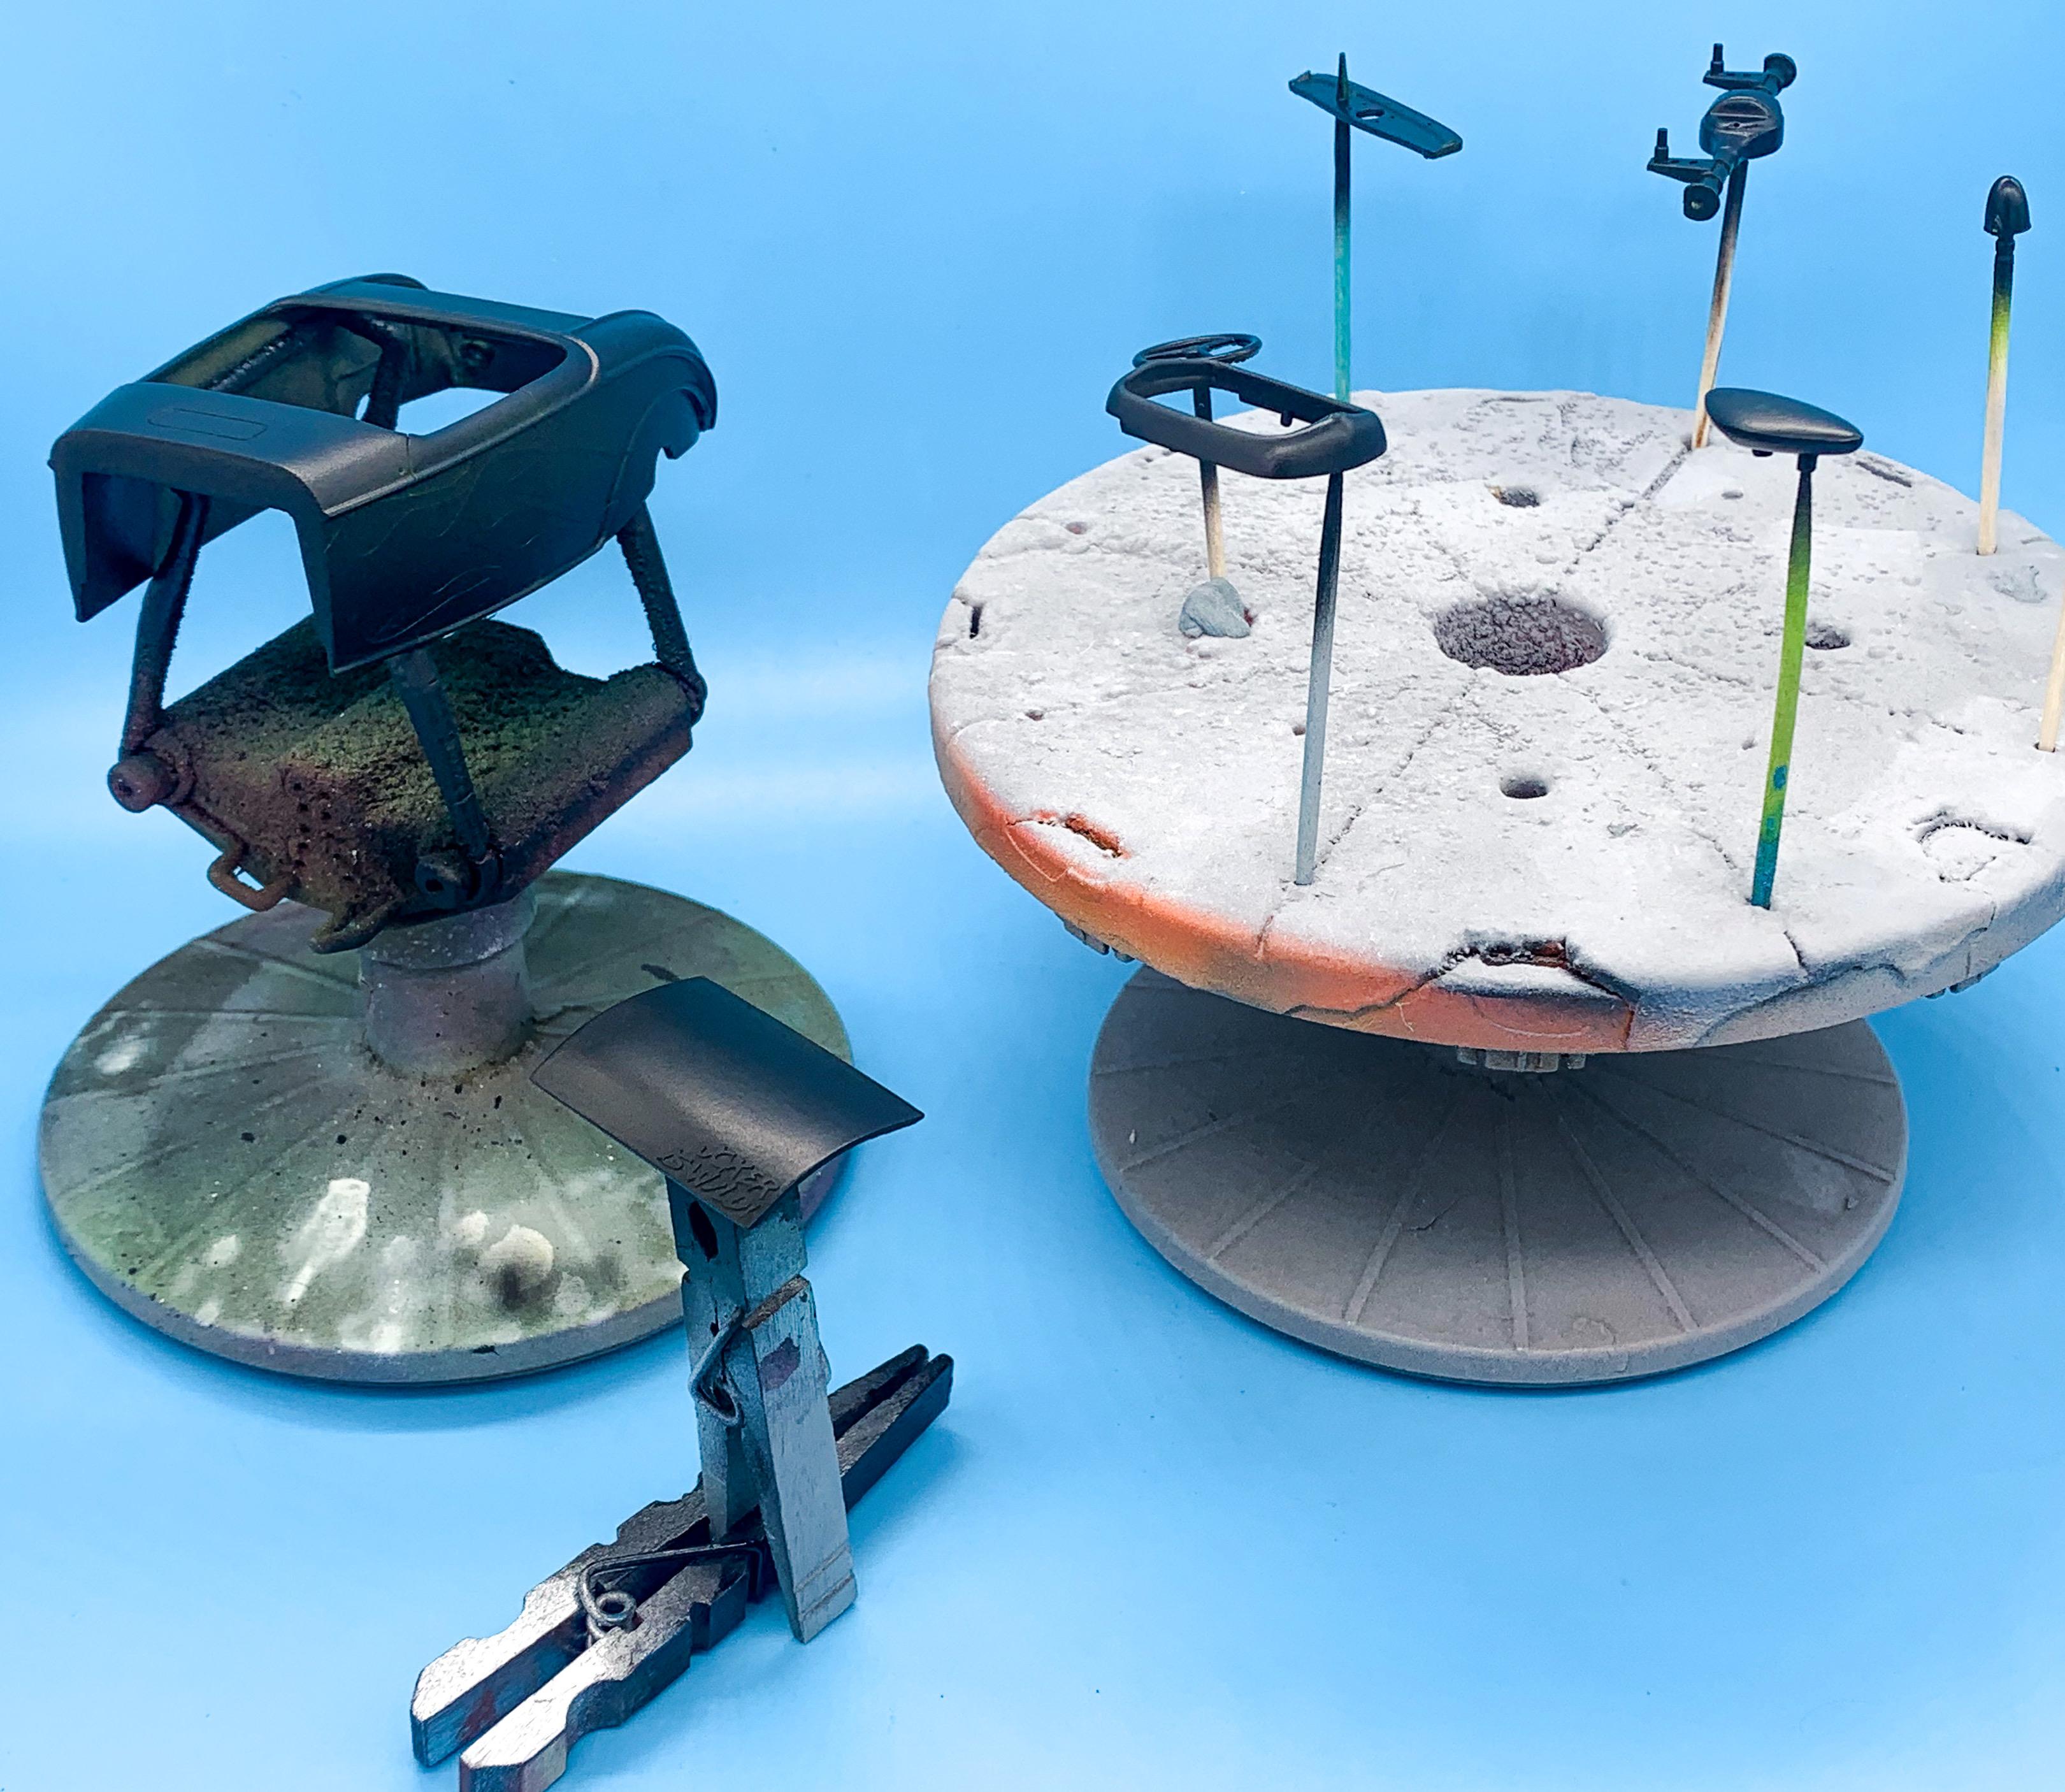
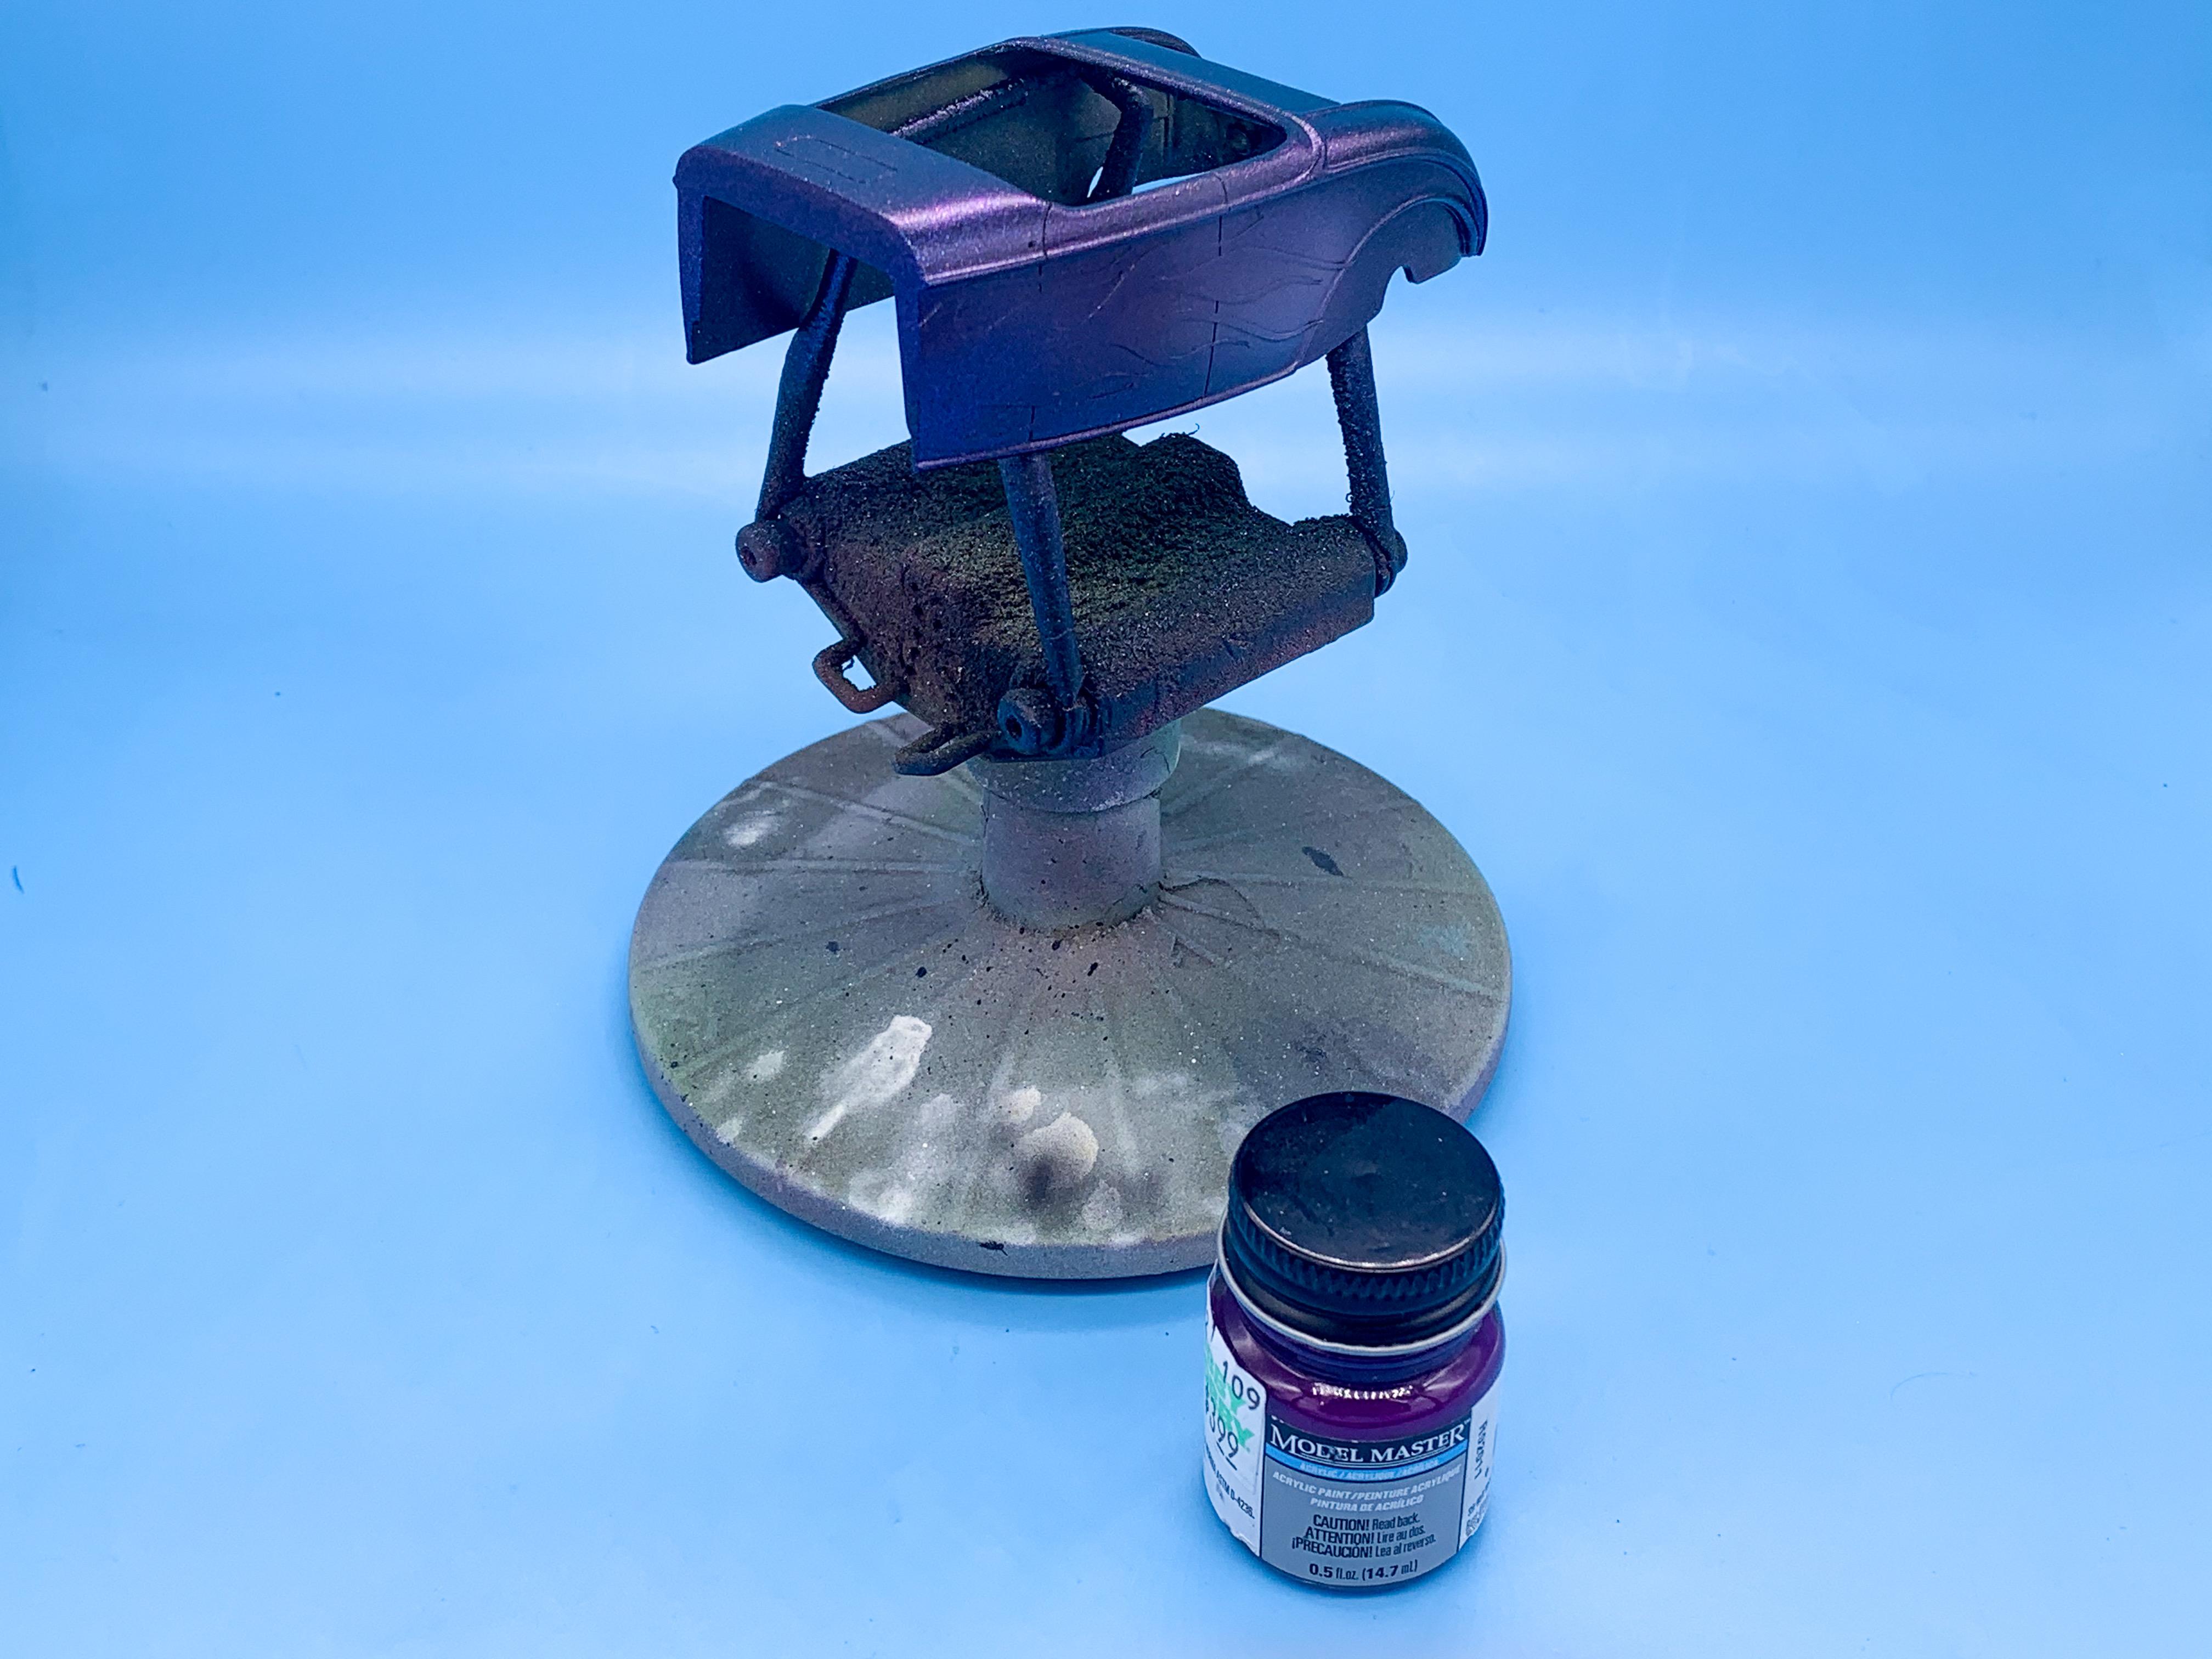
More slow progress on this one...got the frame, body and gas tank together, smoothed out and in primer ready for base color! The frame was worrying me somewhat - it’s hard to assemble it for painting without it being too fragile to handle without the engine in there to help hold it together...need to be gentle with it until I’m ready to drop the motor in. Had to do a little sanding to get the two-piece body smooth and hide the seam too, but it worked out ok I think... Because I’m putting some graphics under the candy paint on this one went with the lightest silver in my collection, Wicked Colors aluminum, so that I can lay some darker silvers over the top of it and have some decent contrast without needing to use black. Fingers crossed that works anyway... Shot all the pieces with some clear so I can lay out some more interesting stuff and do some airbrushing tomorrow, all being well! Not a super exciting update I know...but I didn’t make much progress this month ?. More soon!
-
Like the others above said - you’ve achieved the dusted-on clear finish that I’ll use if I want a satin finish to my paint. Store that technique away for future use, because it’s often useful! Heavier, wetter applications will give you the gloss finish you seek ??
-
I should really find a second use for it ??
-
“Joker Is Wild” - AMT / Revell 32 Roadster Kitbash for DSC
OldNYJim replied to OldNYJim's topic in WIP: Model Cars
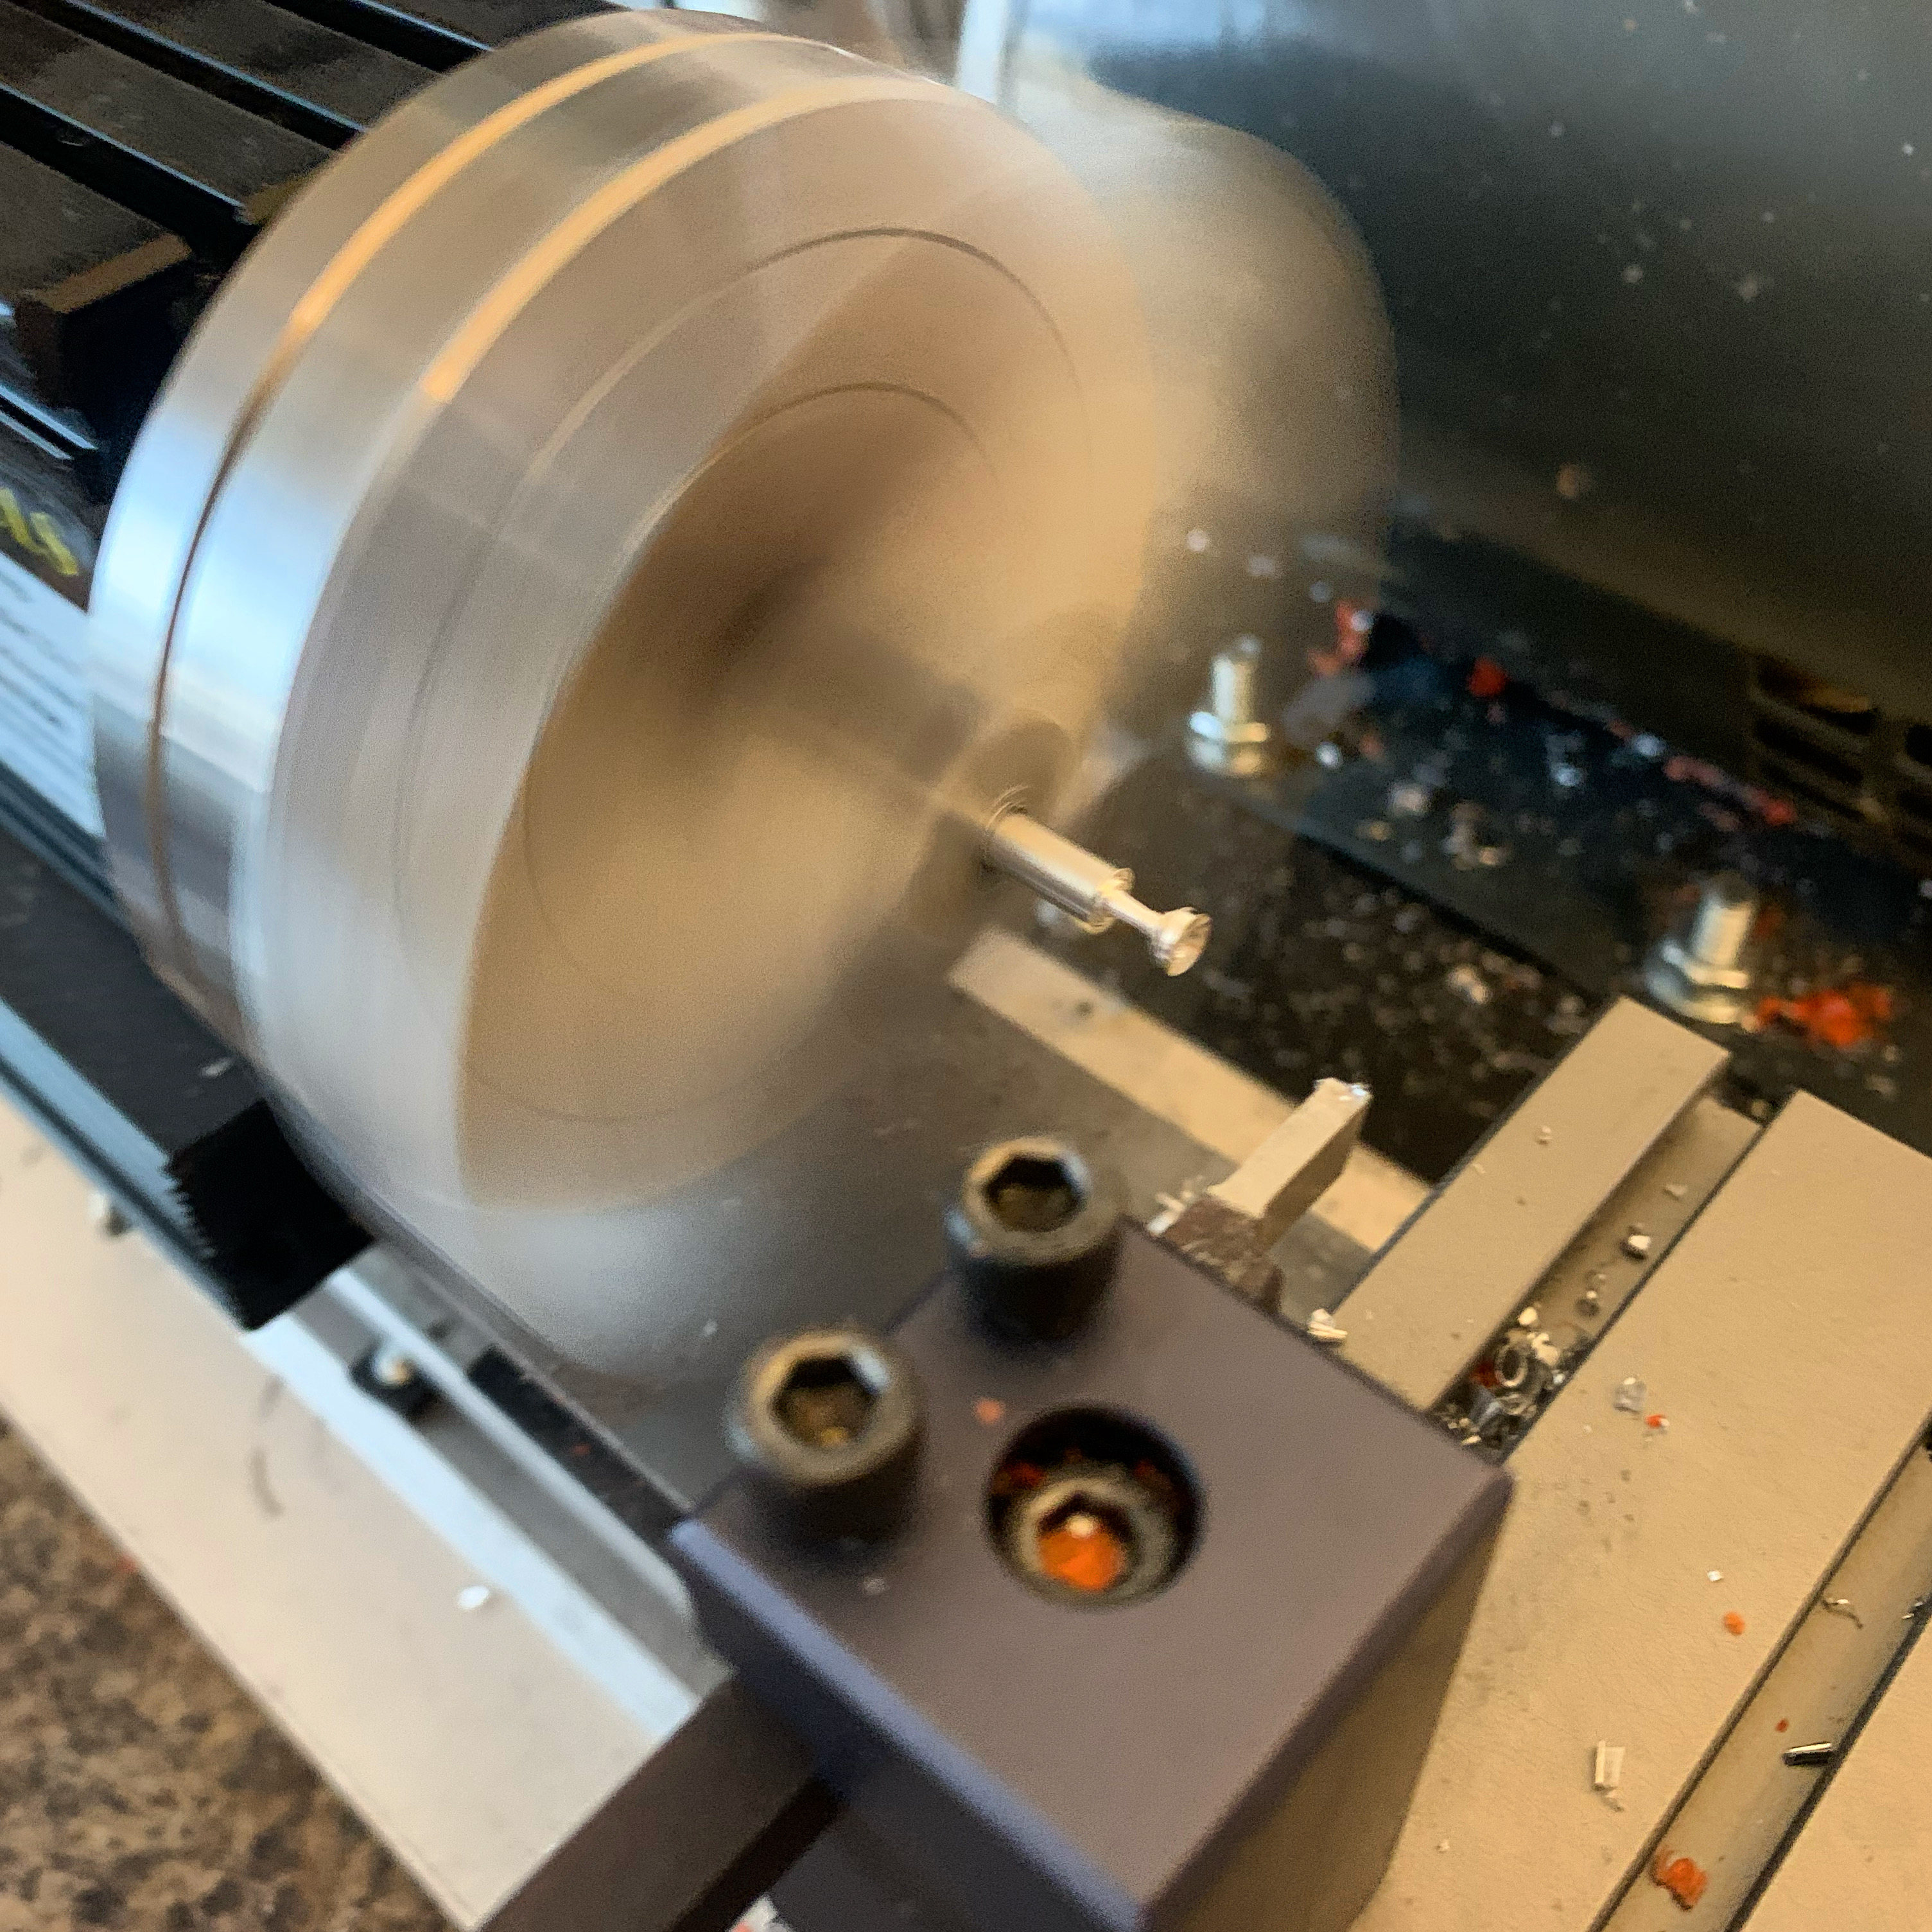
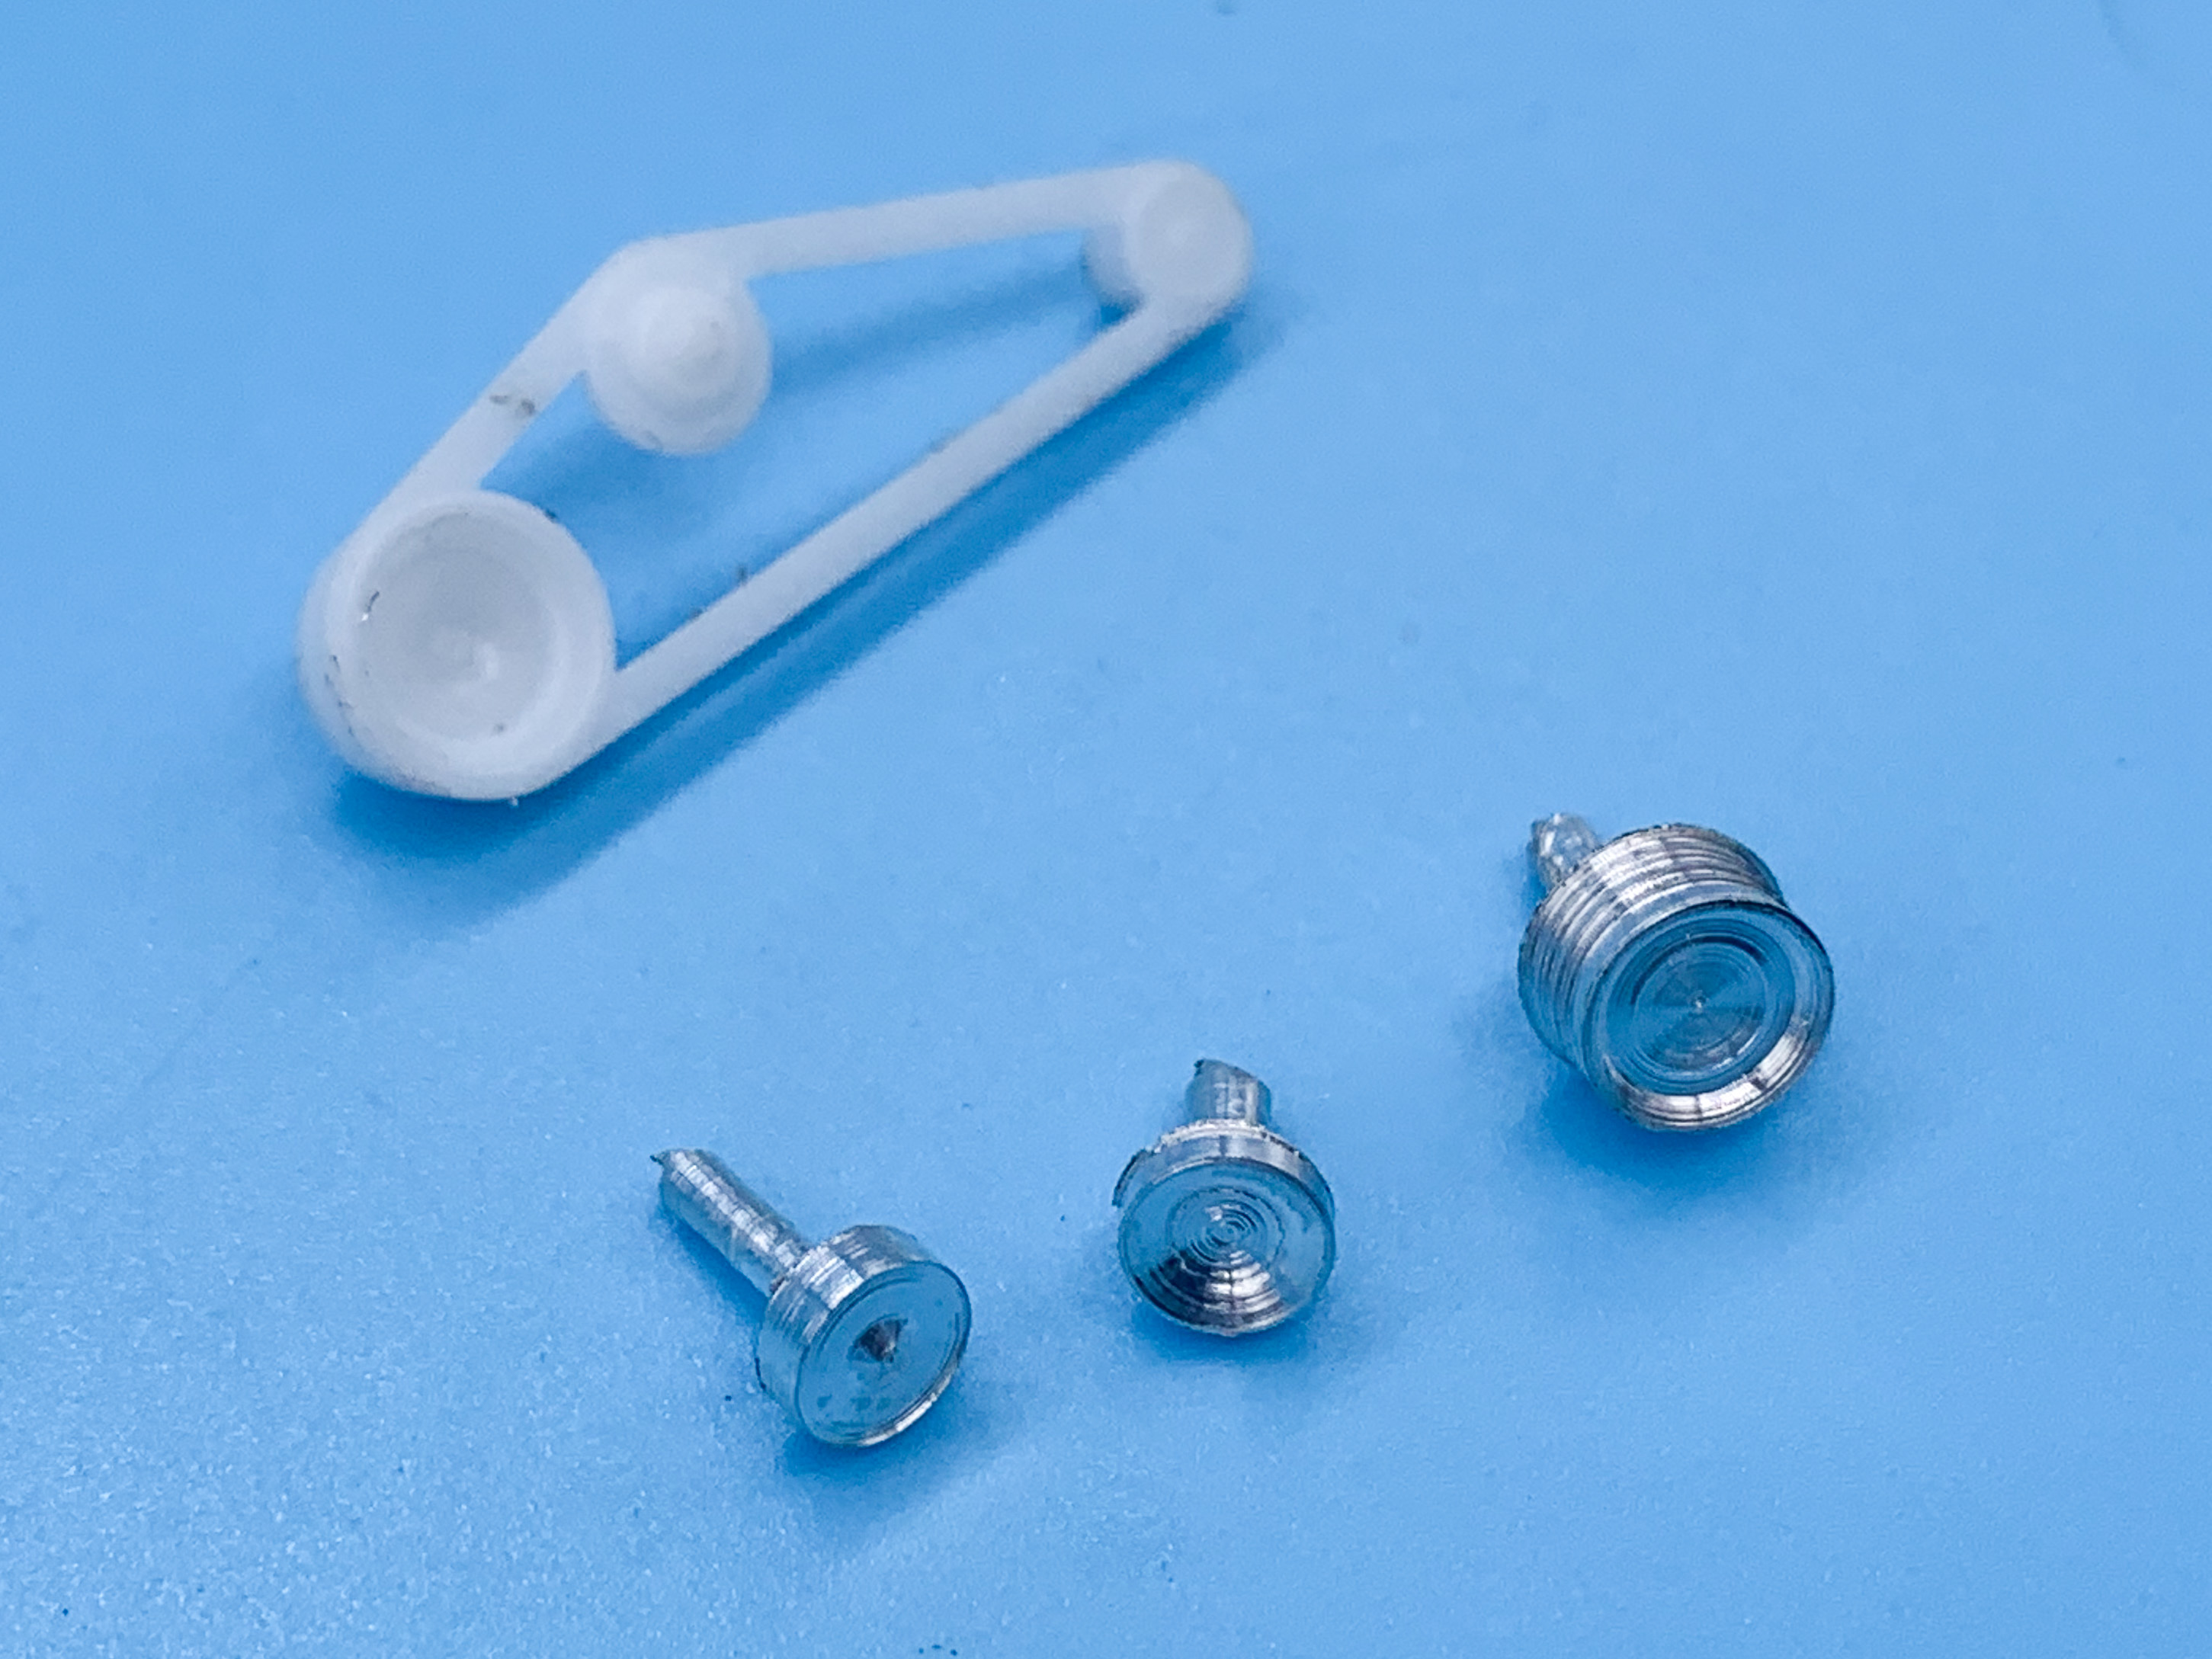
Thanks buddy! Still need to tidy those up and get them polished up... Got some clear down this weekend! I sealed in the topcoat with Future so I could lay down a few decals and little details and then shot Testors enamel on the whole shebang: Let the parts set-up an hour or so then put them in the magic paint bake machine: And 24 hours later - shiny parts! They’ll need polishing and maybe one extra coat on the body depending on how initial sanding goes - those big flakes are a little lumpy naturally and the edge around the flames is a little pronounced - but no major disasters anyway! Meanwhile, spun up the lathe to make some pulleys to replace the kit parts: Need to clean them up (they were small enough that I nipped the ends off with wire cutters rather than part them off properly and risk them flying off into space) and then polish them up but that’s another little project accomplished: I’ll add some photo etch bolt detail to these and use some sign vinyl for a belt - way better than the kit part (hopefully...) More soon!
-
Molotow Chrome thru airbrush
OldNYJim replied to 1st 700 Quad's topic in Model Building Questions and Answers
Yep, 30ml refill (or the contents of one of the pens) and spray it straight out of the airbrush with no thinning required Use 99% iso. alcohol for cleanup - not water or you’ll get a gummy mess. Lay it down a little wet and then don’t touch it for a couple of days MINIMUM unless you’re brave or like fingerprints in your chrome. If you want a realistic polished aluminum finish lightly clear-coat it with something water based, or if you don’t...don’t! ?? -
Amazon has them for $20, delivered right now (or there’s a damaged packaging version on this listing for $15 if you don’t mind taking a chance...) https://www.amazon.com/dp/B002LAC25I/ref=cm_sw_r_cp_api_glt_i_M3PBSQREGB4BS7NDTQNN?_encoding=UTF8&psc=1
-
Ohh, nice tune-up - thanks Dave!
-
Hey @TimKustom - I too really enjoyed seeing this build and wanted to look at it again but the pics disappeared...do you have a link so we can see them again? Thanks!
-
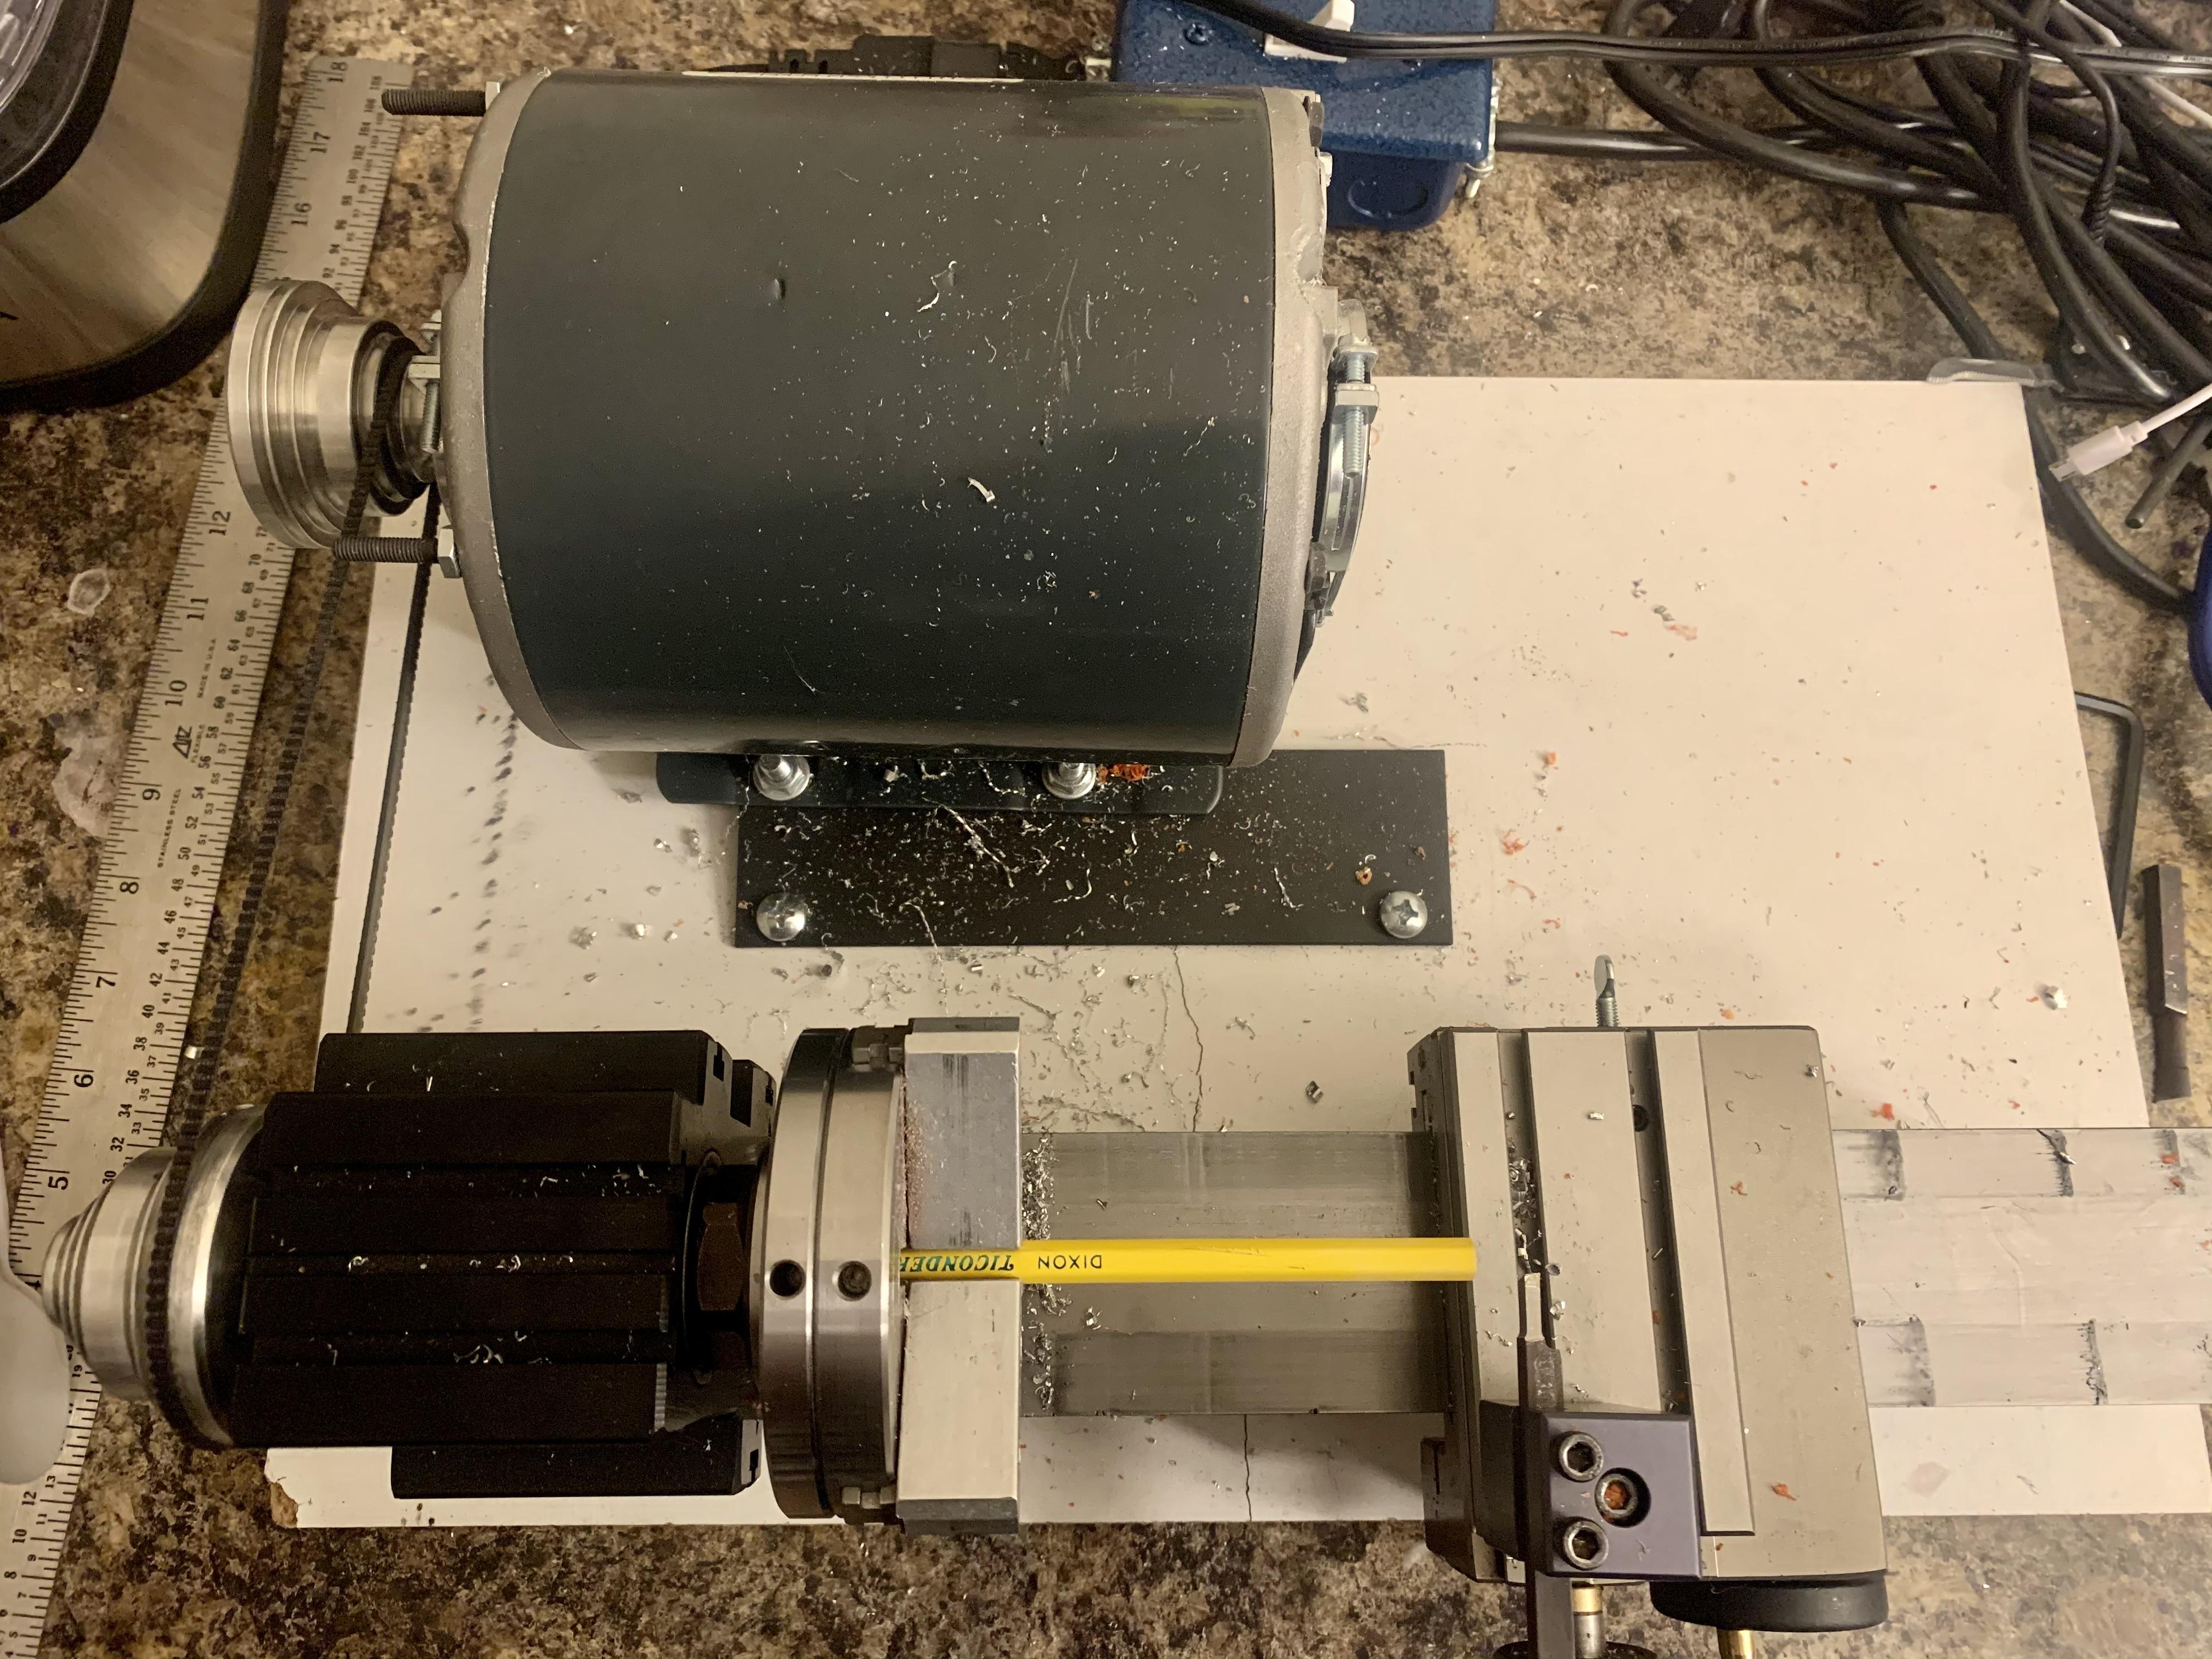
Clear coated a bunch of stuff today - not my smoothest ever clear coat but it’ll buff out nicely I’m sure Shot a bunch of bits, in fact! Oh, and sharpened my pencil ✏️
-
What did you see on the road today?
OldNYJim replied to Harry P.'s topic in General Automotive Talk (Trucks and Cars)
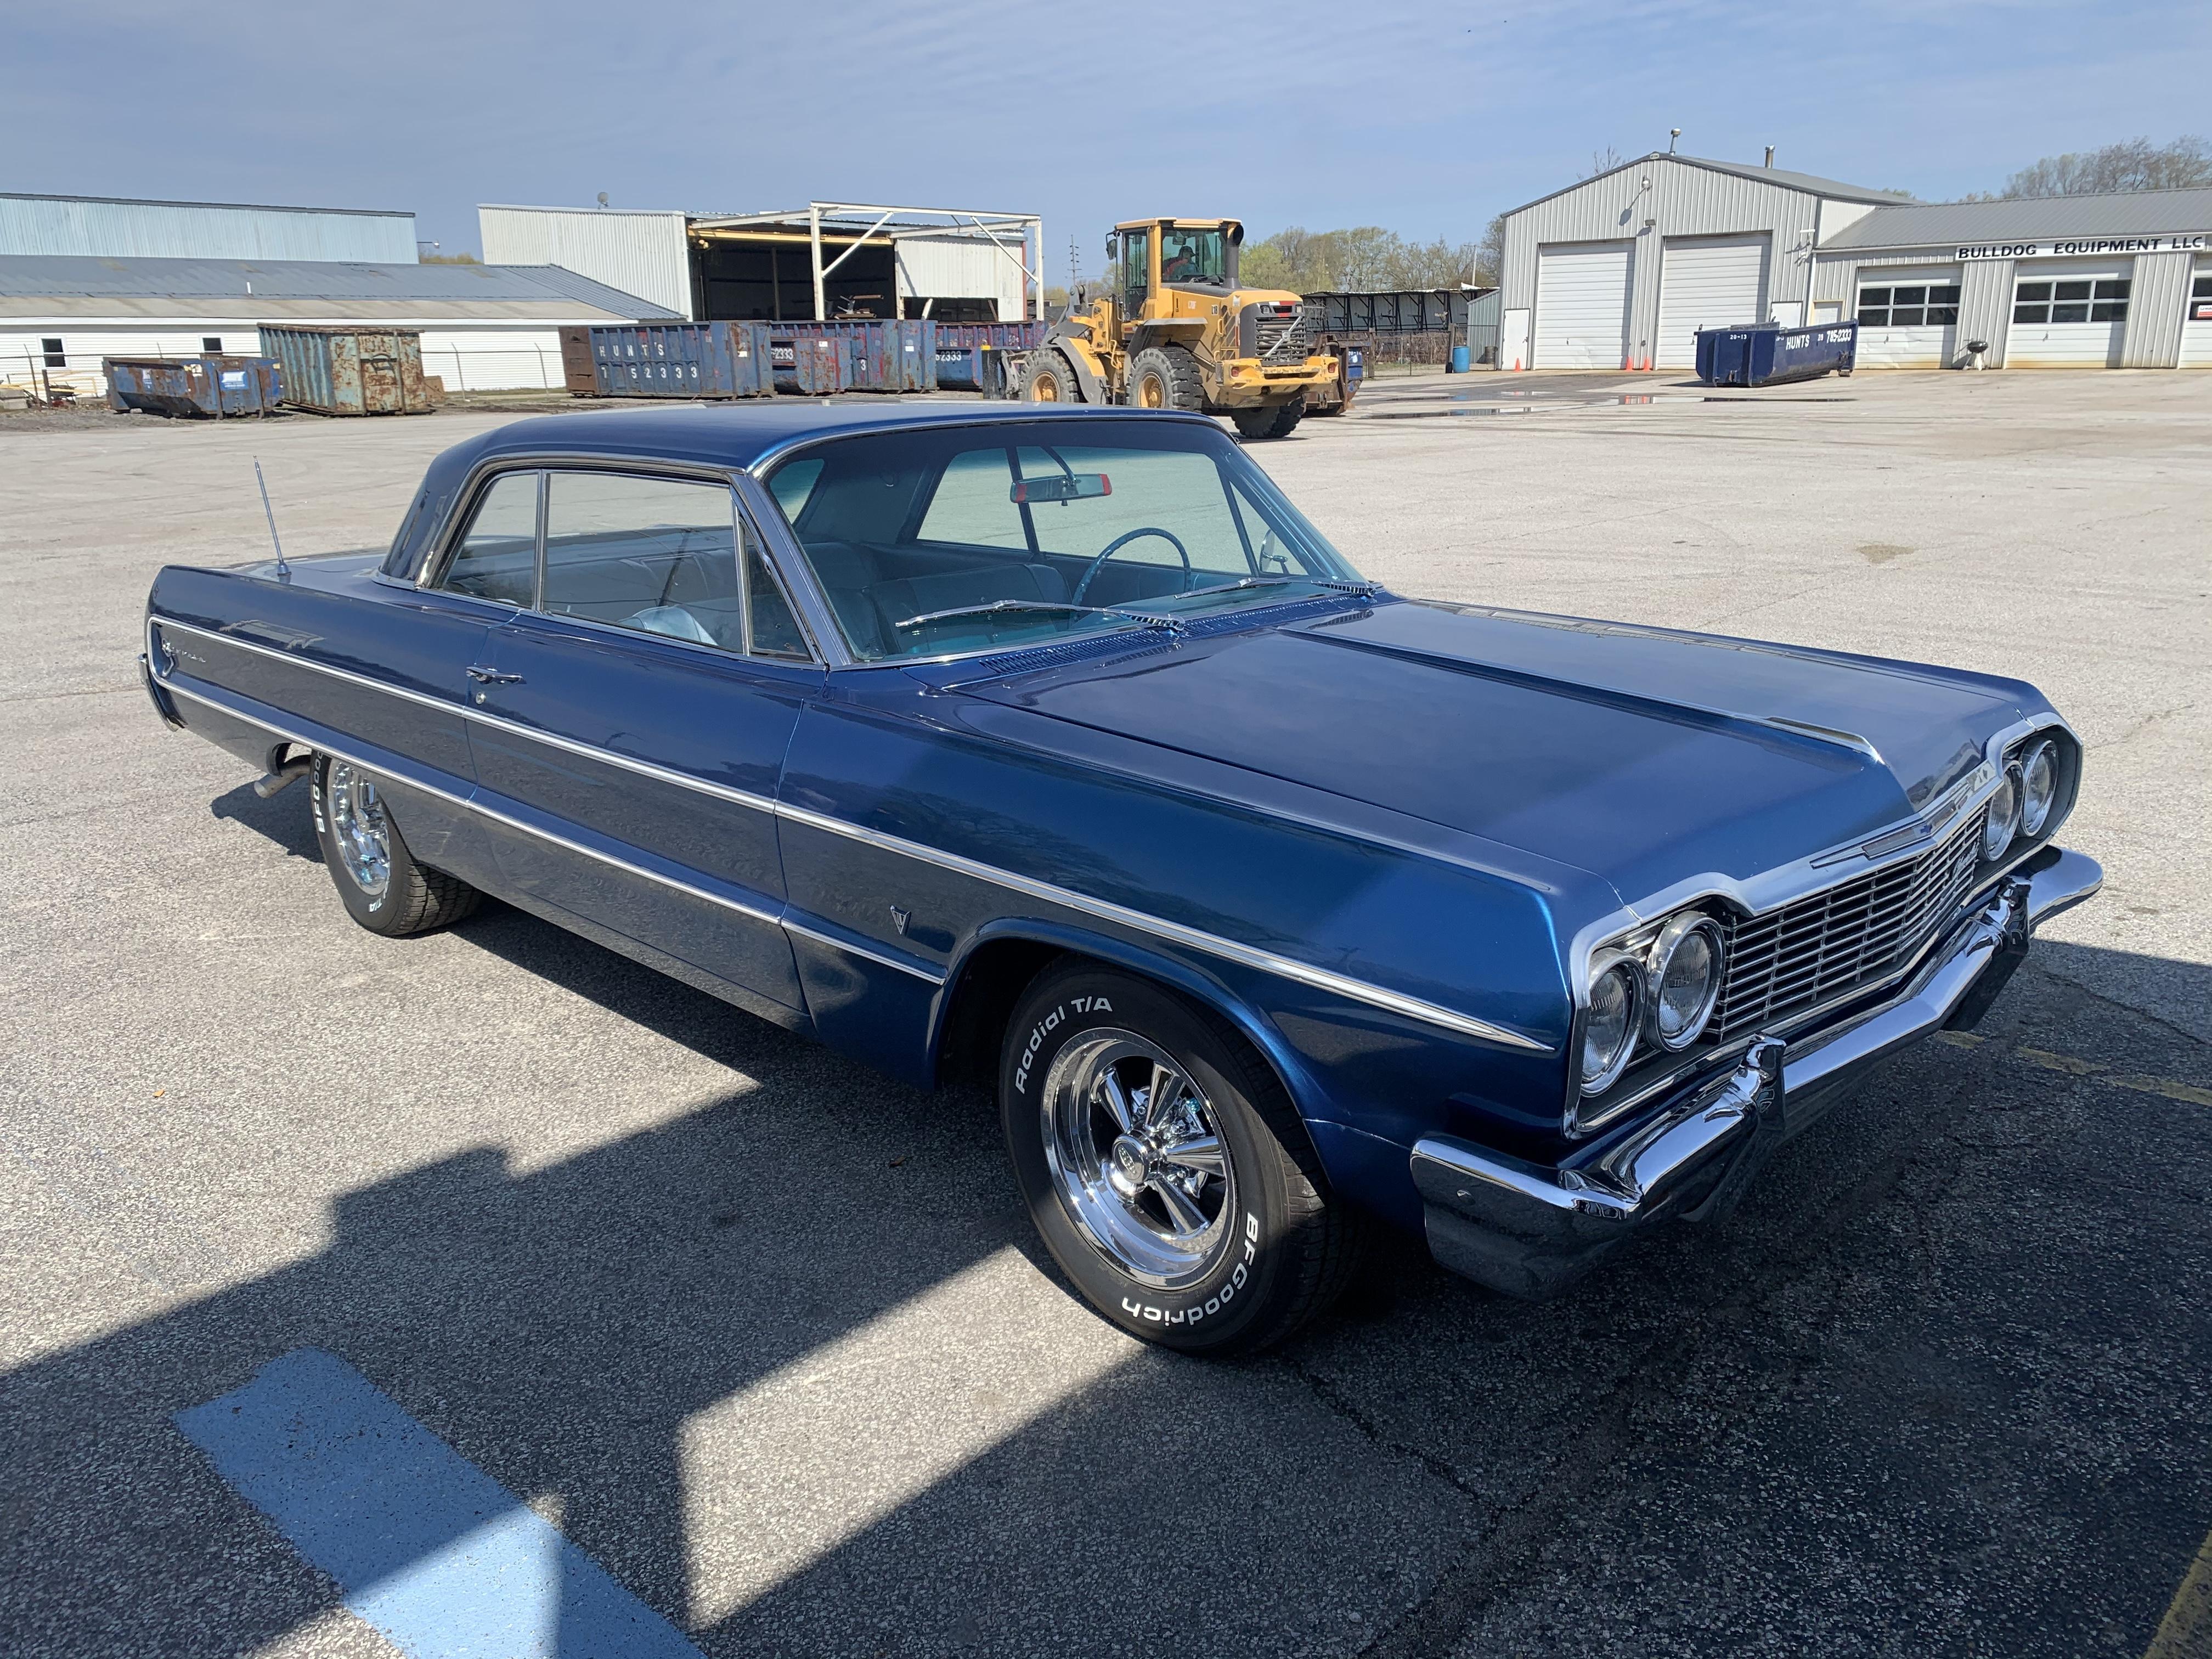
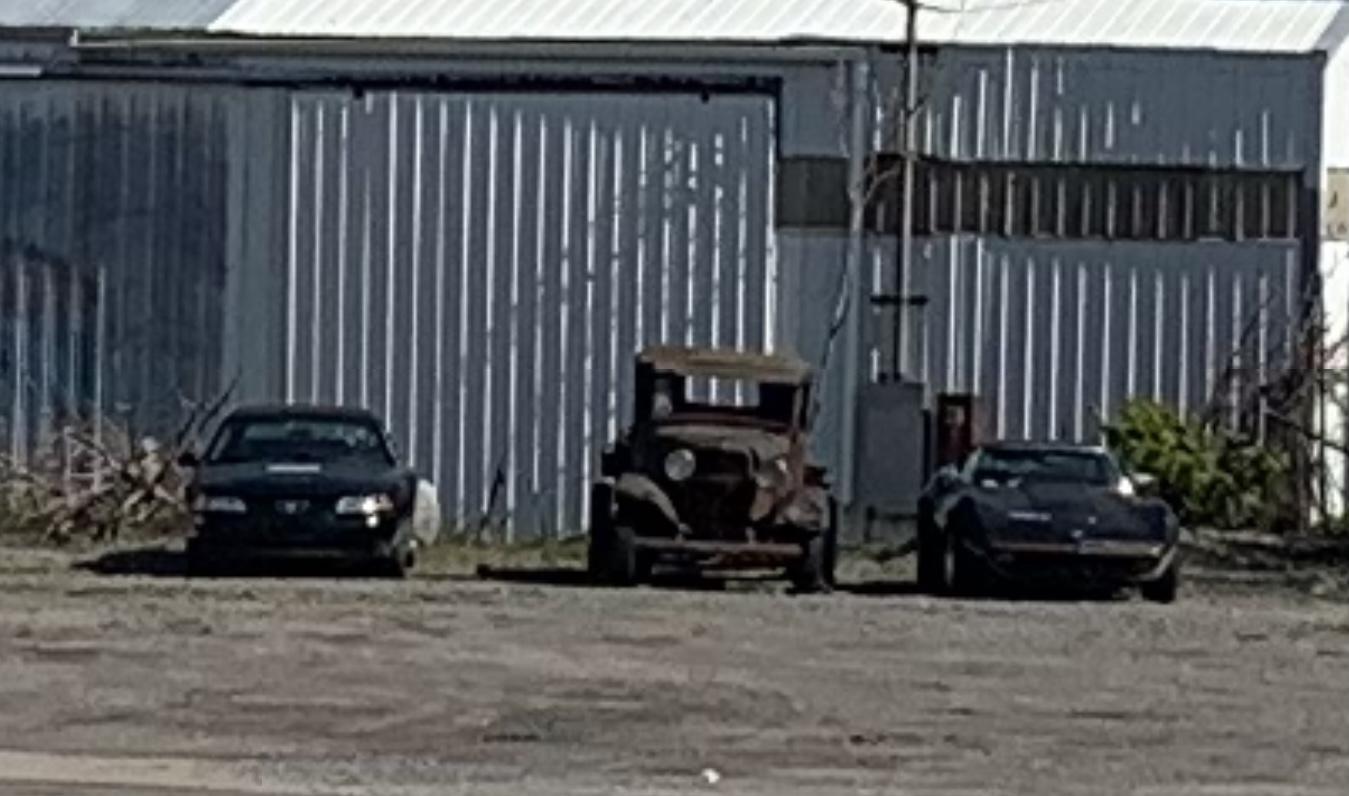
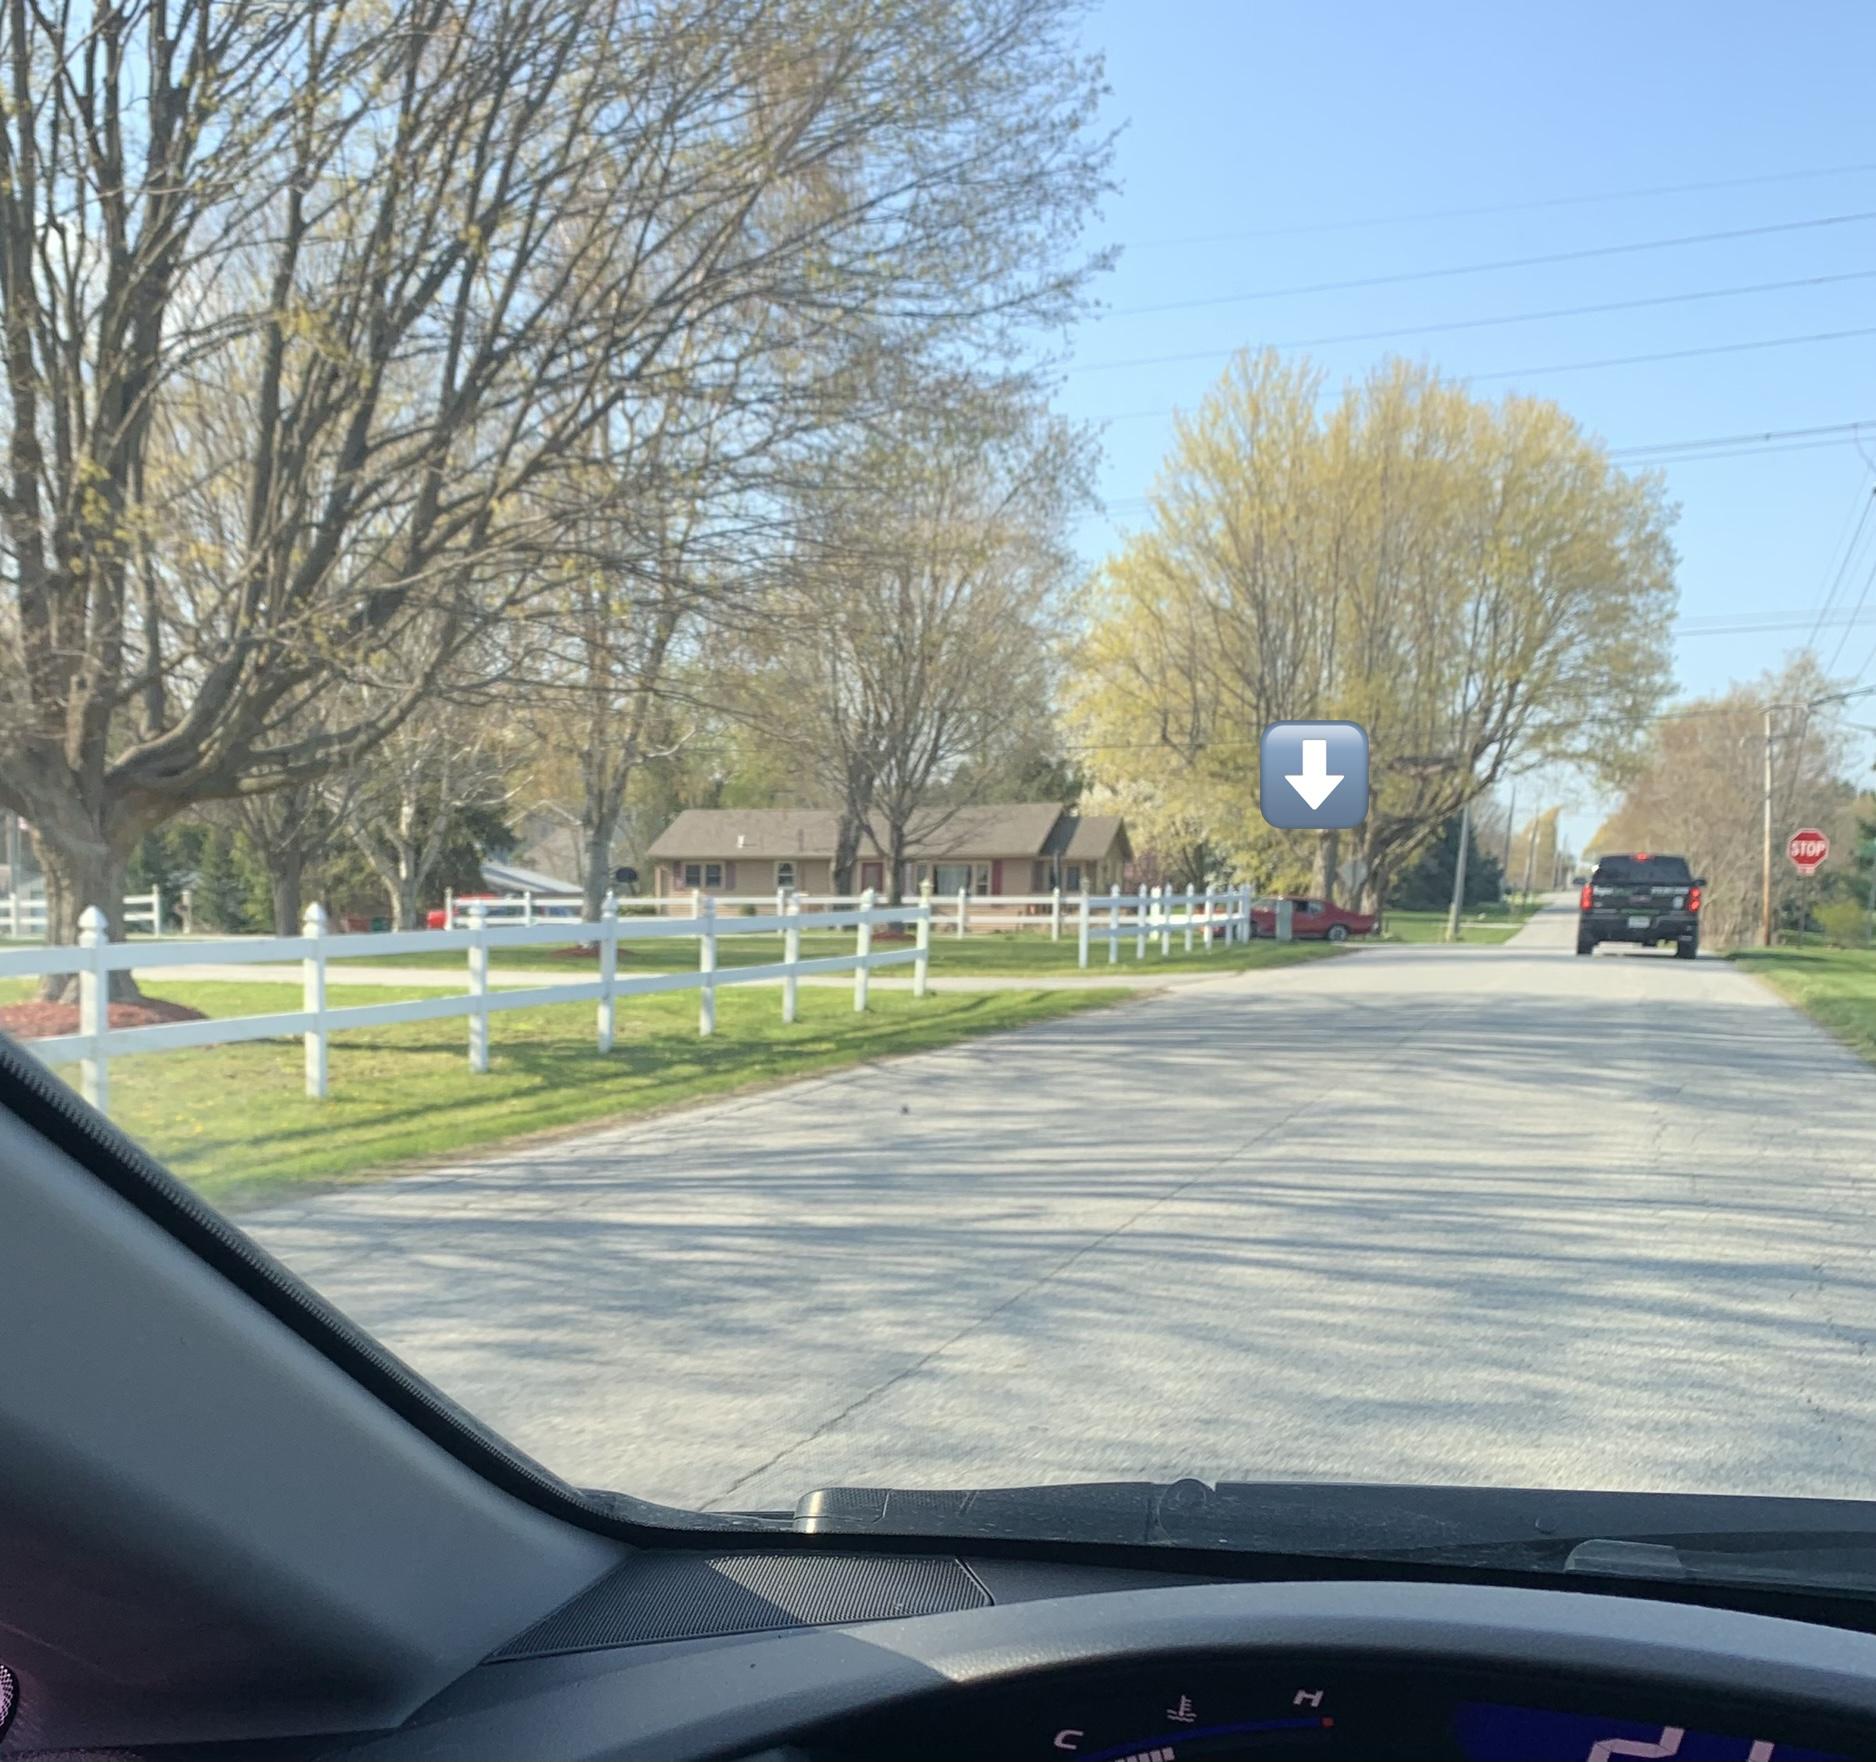
Today’s spot - saw this outside the diner whilst grabbing a little breakfast: And spotted this interesting looking trio across the parking lot...was in a rush so didn’t get a chance to go look properly but I’ll try and get back there next week and take a better look: There’s an old Porsche in a lot across the street from here and a 55 Chevy panel van of some sort too, plus a 40s Chevy truck...definitely need to go investigate further!
-
Ohh, this is going to be a cool one - LOVE that 1:1! Looking forward to seeing more!
-
Yeah, I was watching that auction - think it ended up at $120 or so in the end. Good way to get a jump on the reissue and build one if you're desperate...but I can wait a while and buy 4 of them for the same price when they're released for real
-
60's Banger Geek '27 T Touring - Updated 10/13/18
OldNYJim replied to Dennis Lacy's topic in WIP: Model Cars
Looks killer - the paint laid down nice too! -
If it's anything like your 1:1 inspiration this is gonna be COOL! Following!
-
What did you see on the road today?
OldNYJim replied to Harry P.'s topic in General Automotive Talk (Trucks and Cars)
You guys are amazing - I follow a car home and within an hour I know, from a blurry photo of the back quarter of it, what year model and color it is! And what options it did and didn't have! LOVE this place -
What did you see on the road today?
OldNYJim replied to Harry P.'s topic in General Automotive Talk (Trucks and Cars)
Hey, I never said I was smart ?? Bonus pic my wife took (not that it’s much better...)
-
What did you see on the road today?
OldNYJim replied to Harry P.'s topic in General Automotive Talk (Trucks and Cars)
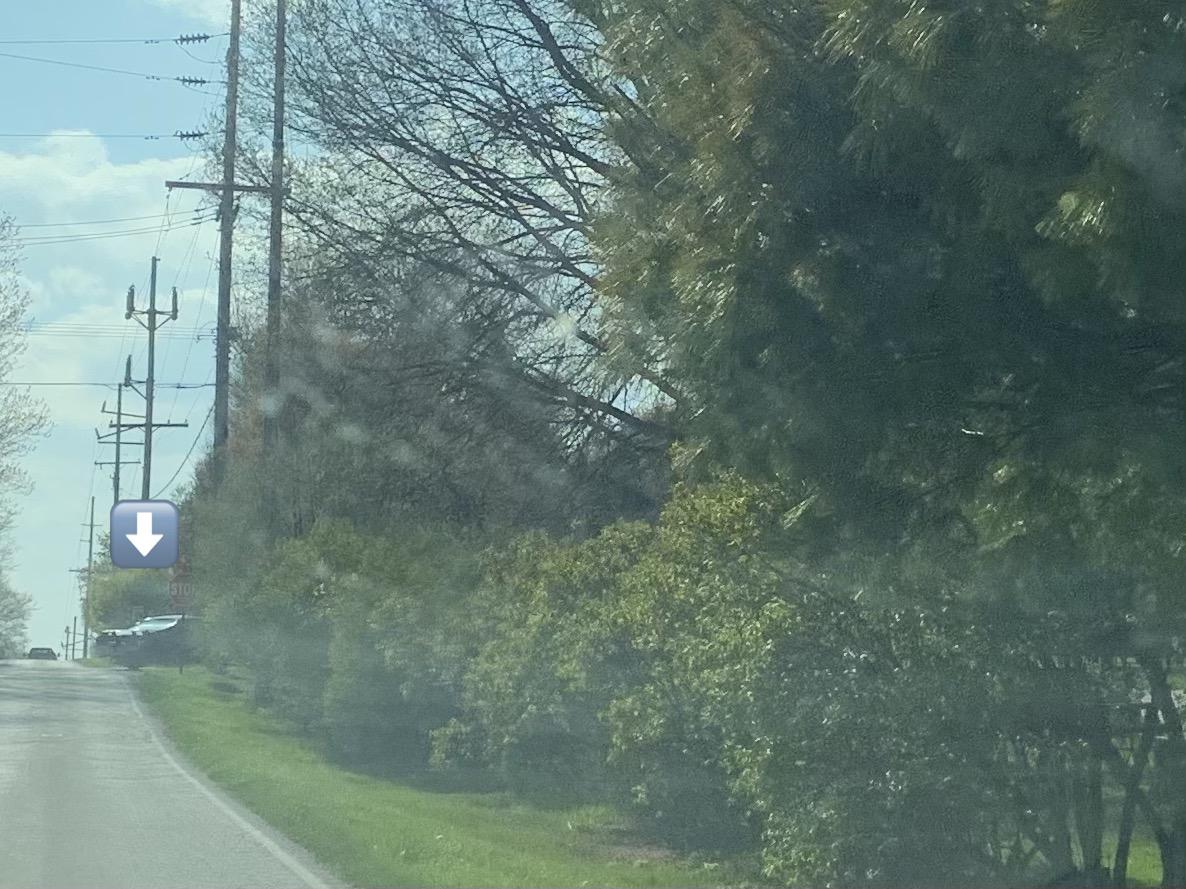
Person who can identify this old muscle car from this terrible photo gets a coconut* It sounded cool - I wasn’t fast enough (or willing to break the speed limit enough) to catch it, but I could hear it long after I stopped seeing it ? *offer not legally binding
-
Ohh, awesome - thanks for the link Tim! Will pore over that now! Guess I have a good lead on my next 50 hot rod builds now...would be fun to complete the list (even if a few of those will be trick/pricy to find I'm sure).
-
“Joker Is Wild” - AMT / Revell 32 Roadster Kitbash for DSC
OldNYJim replied to OldNYJim's topic in WIP: Model Cars
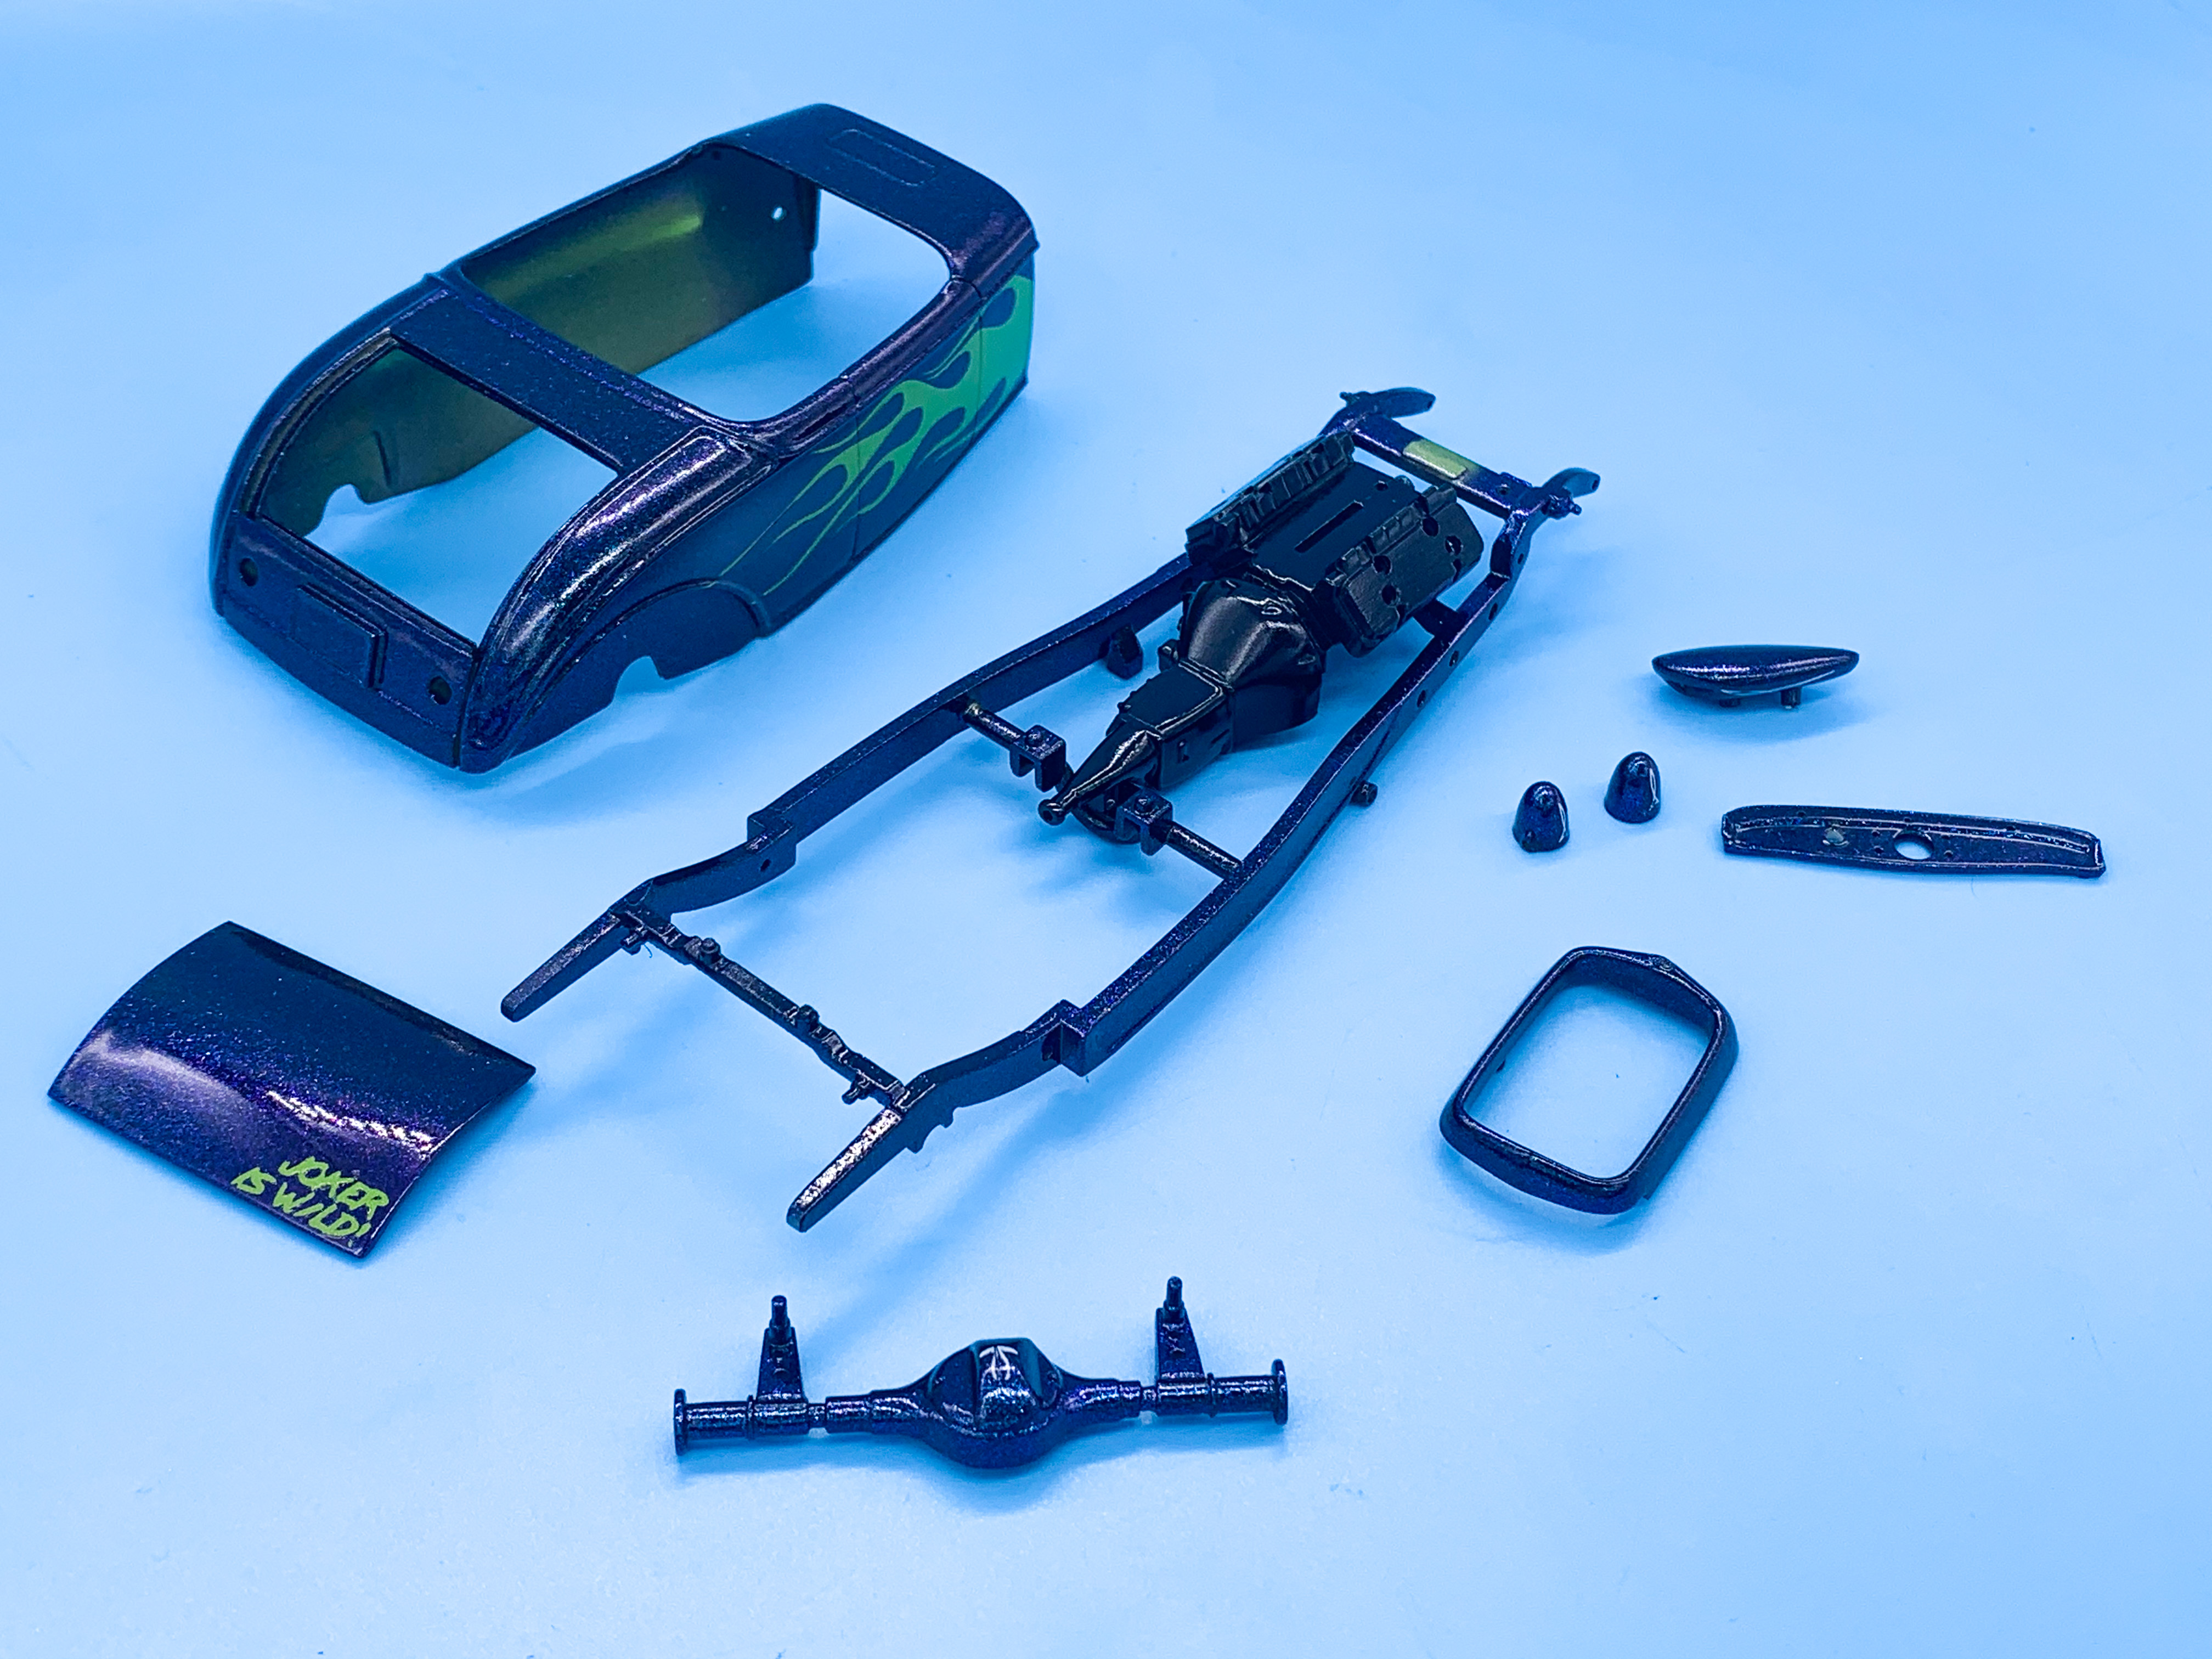
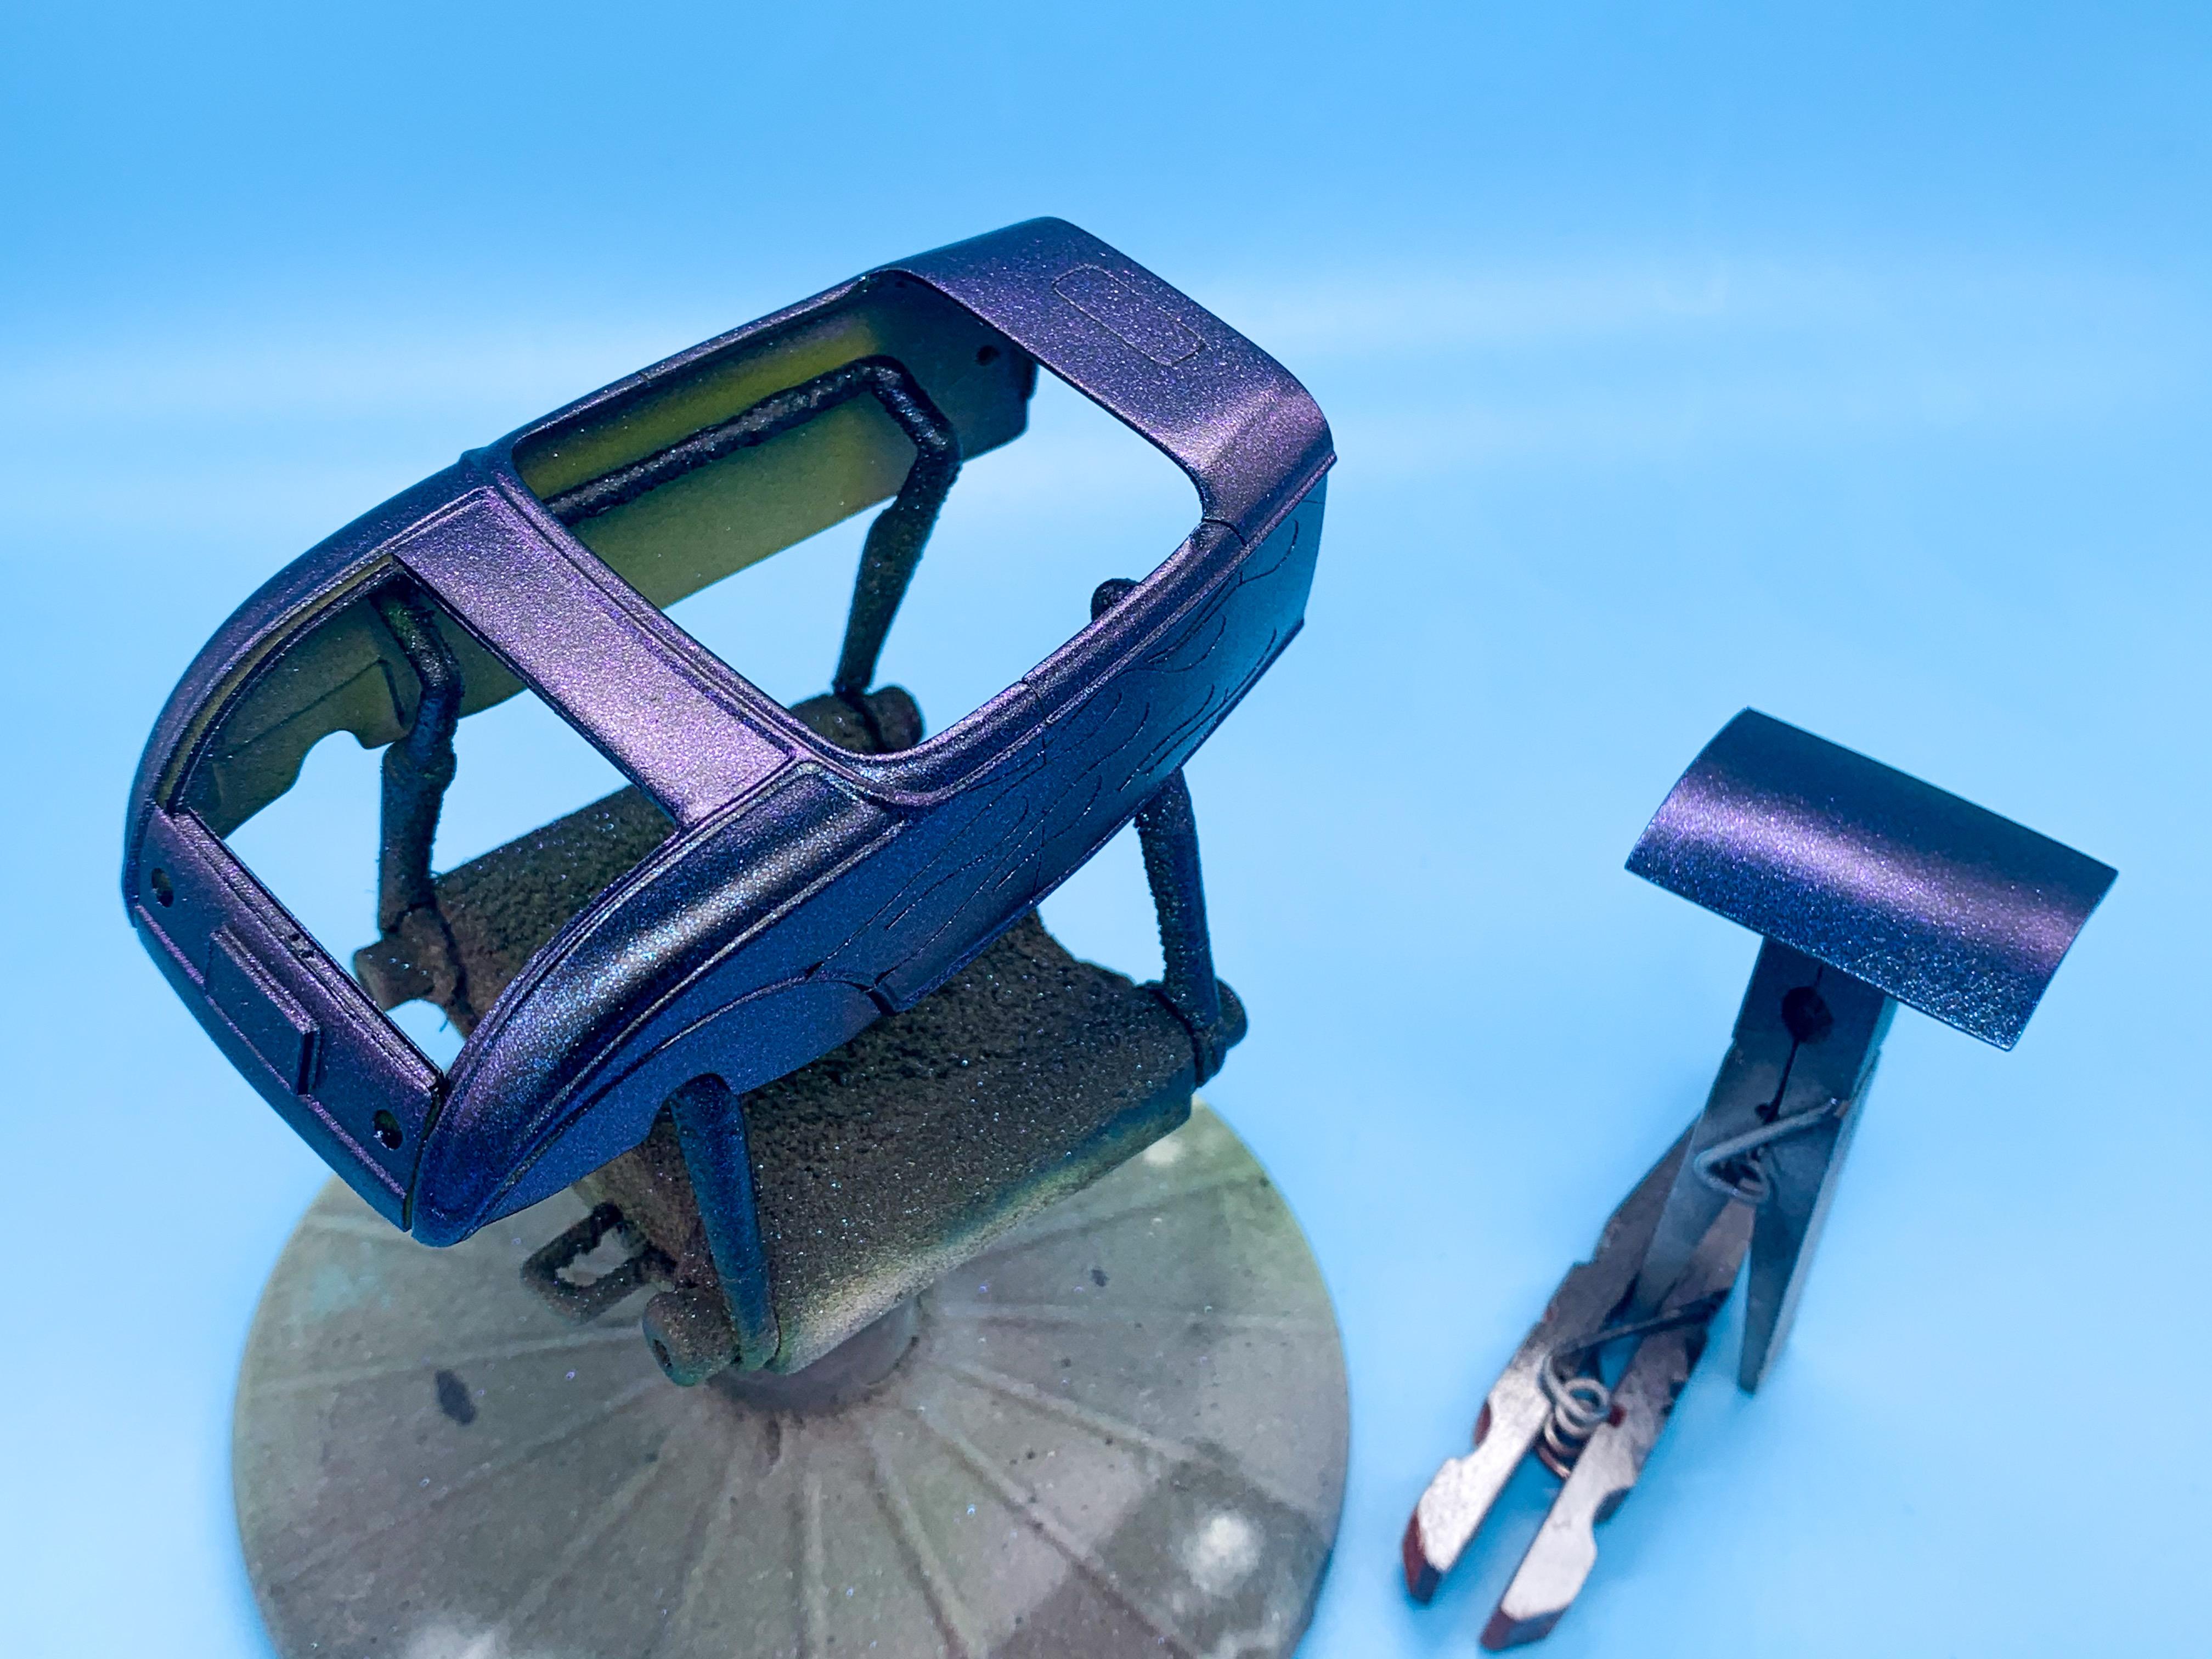
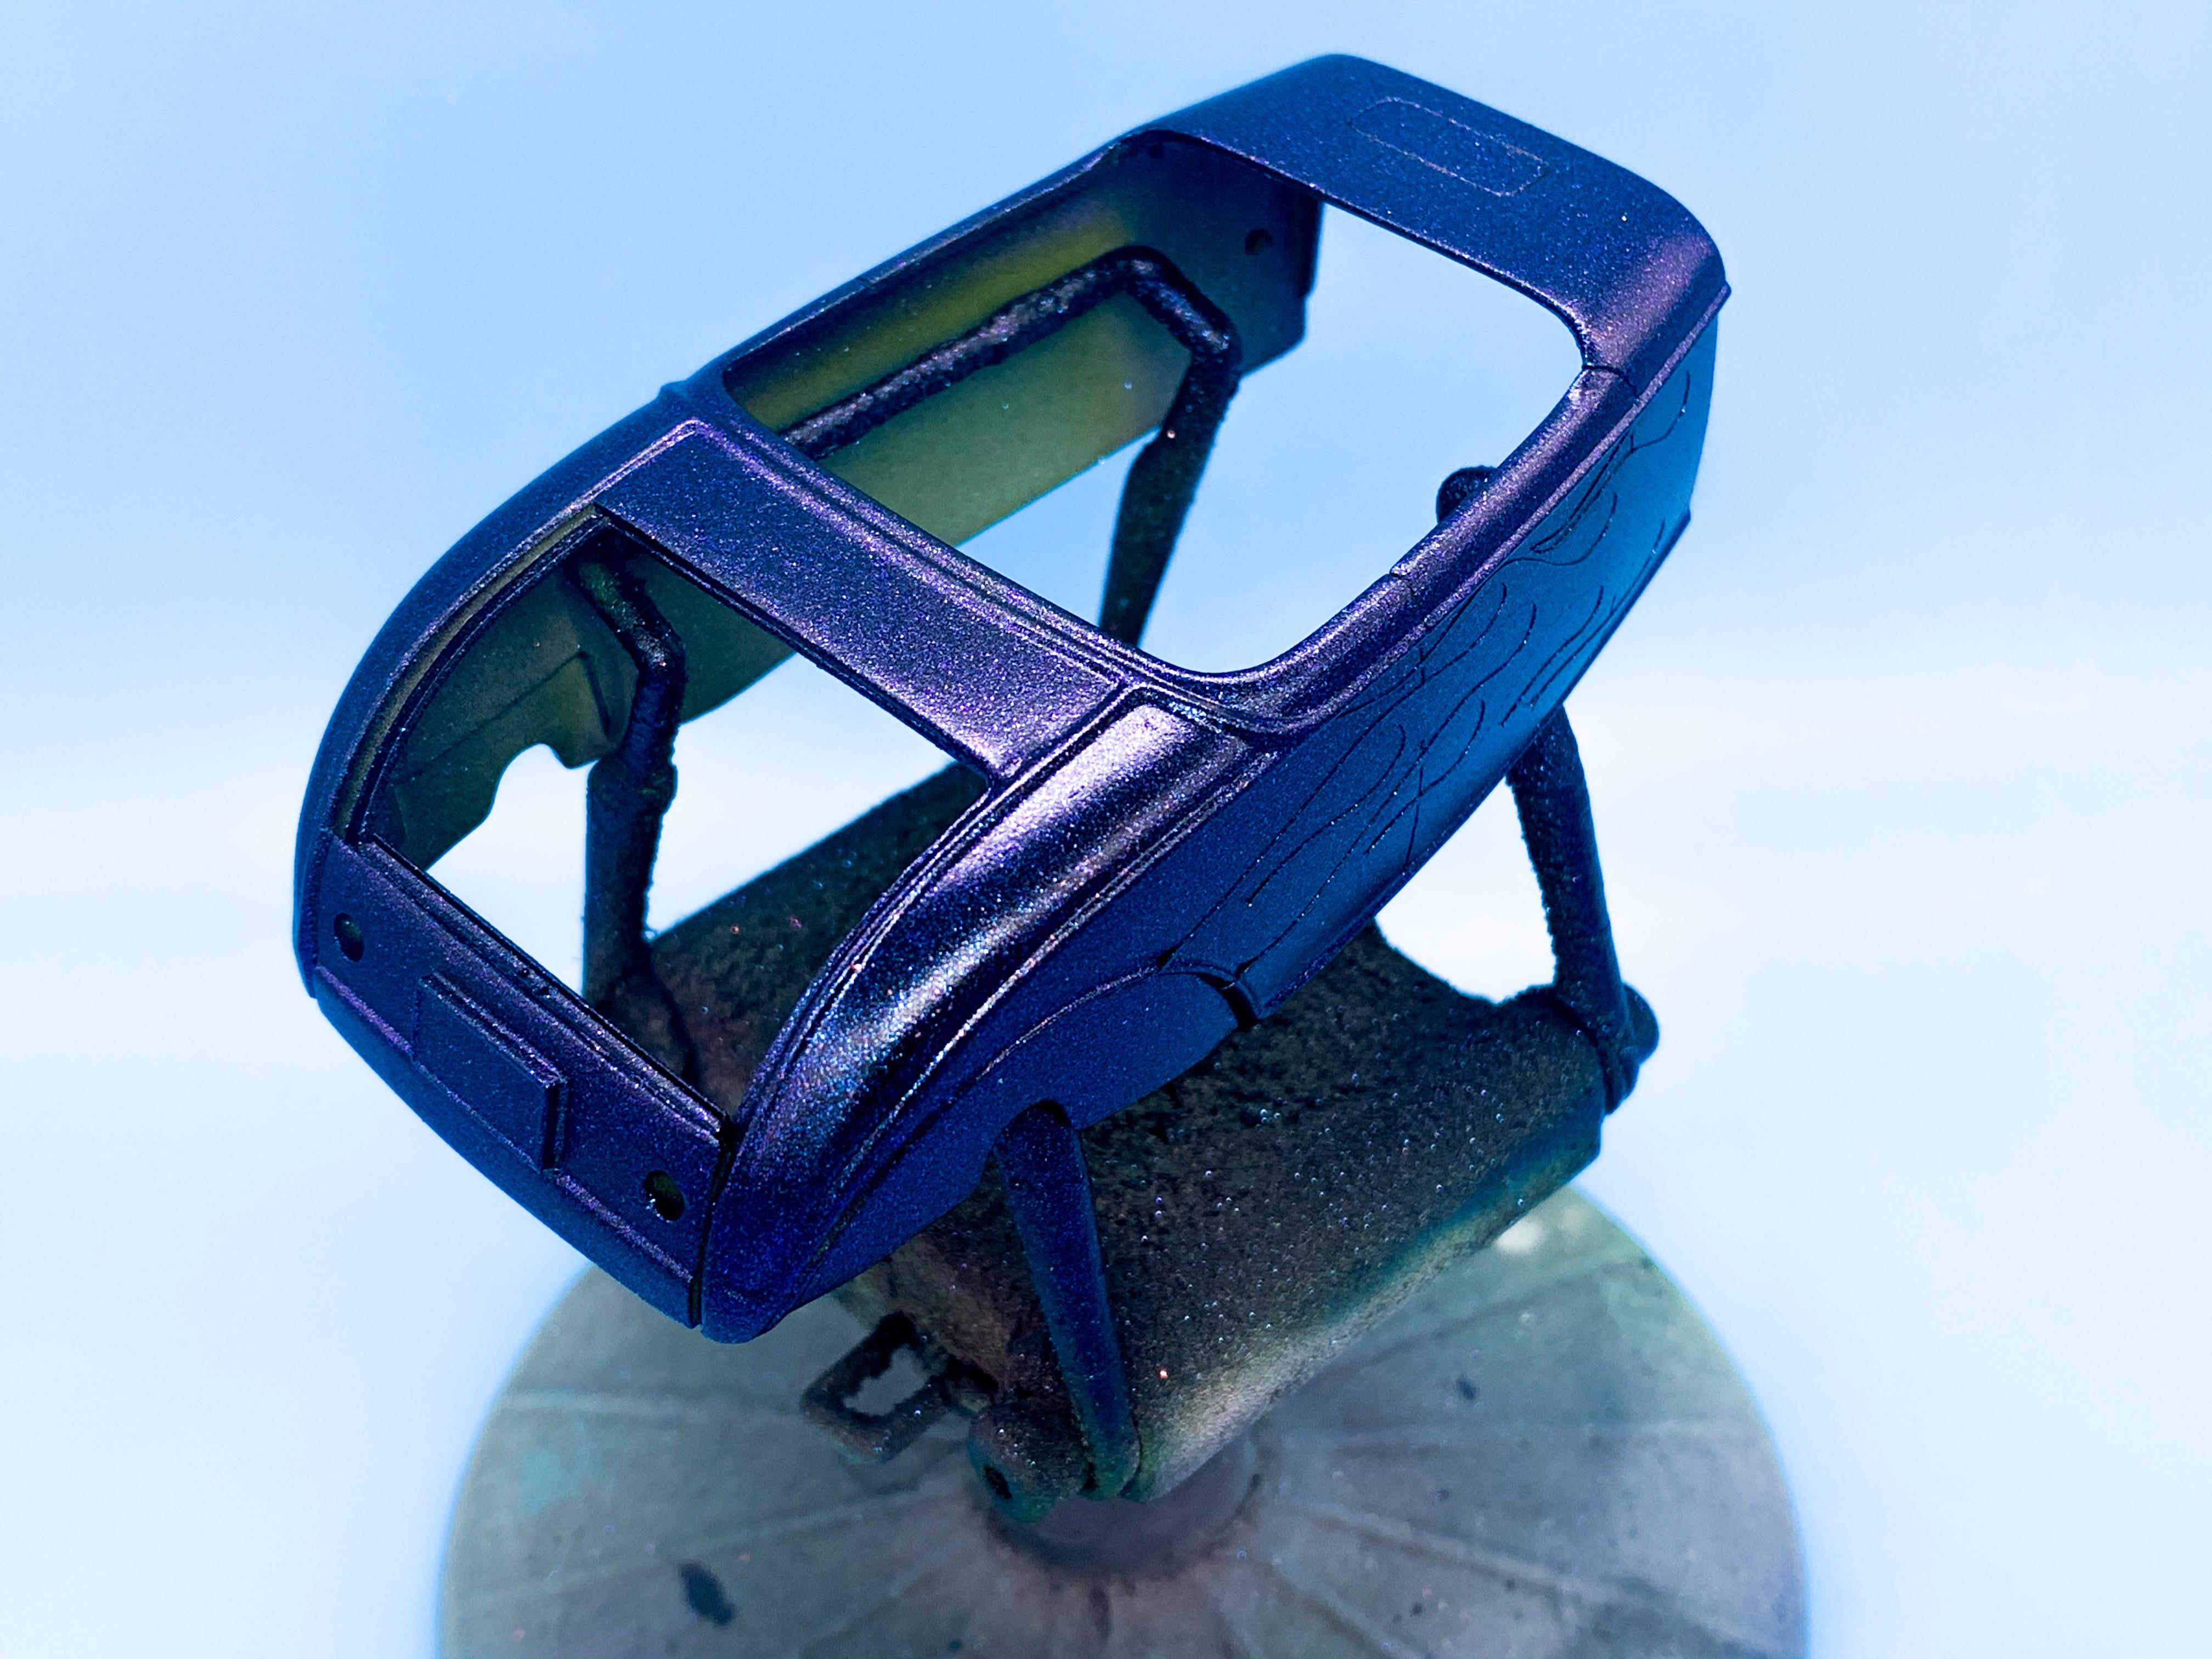
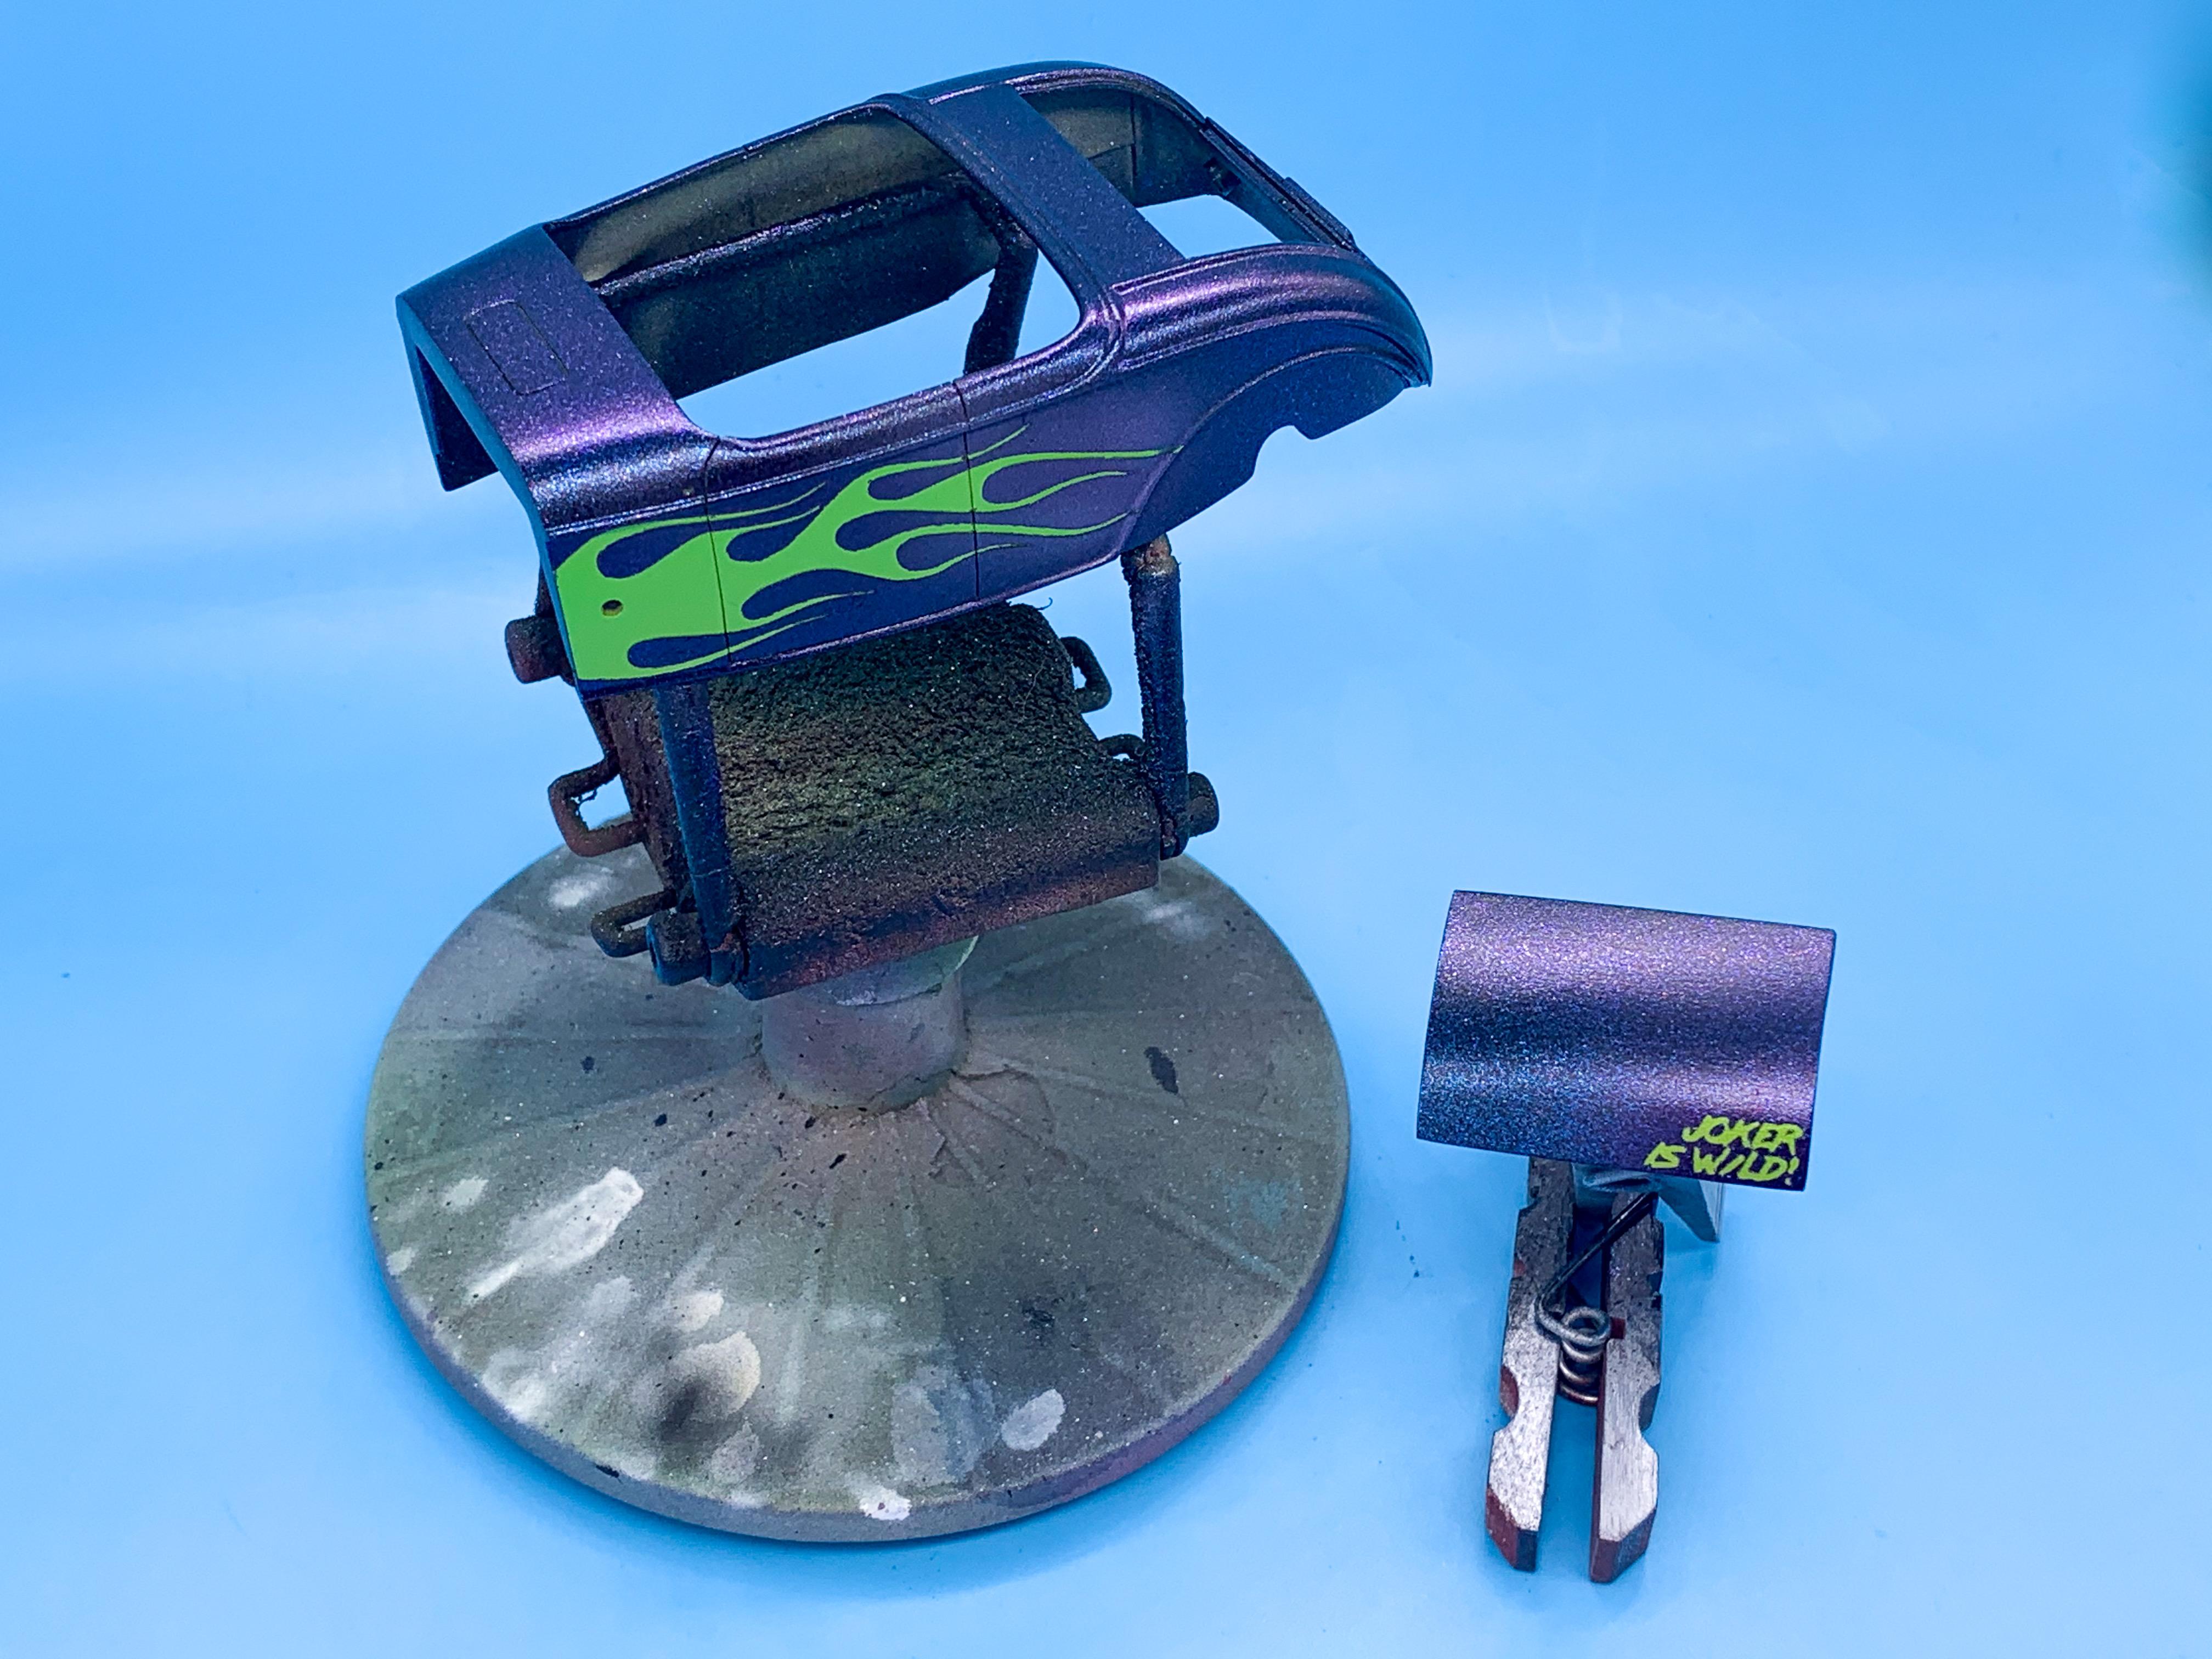
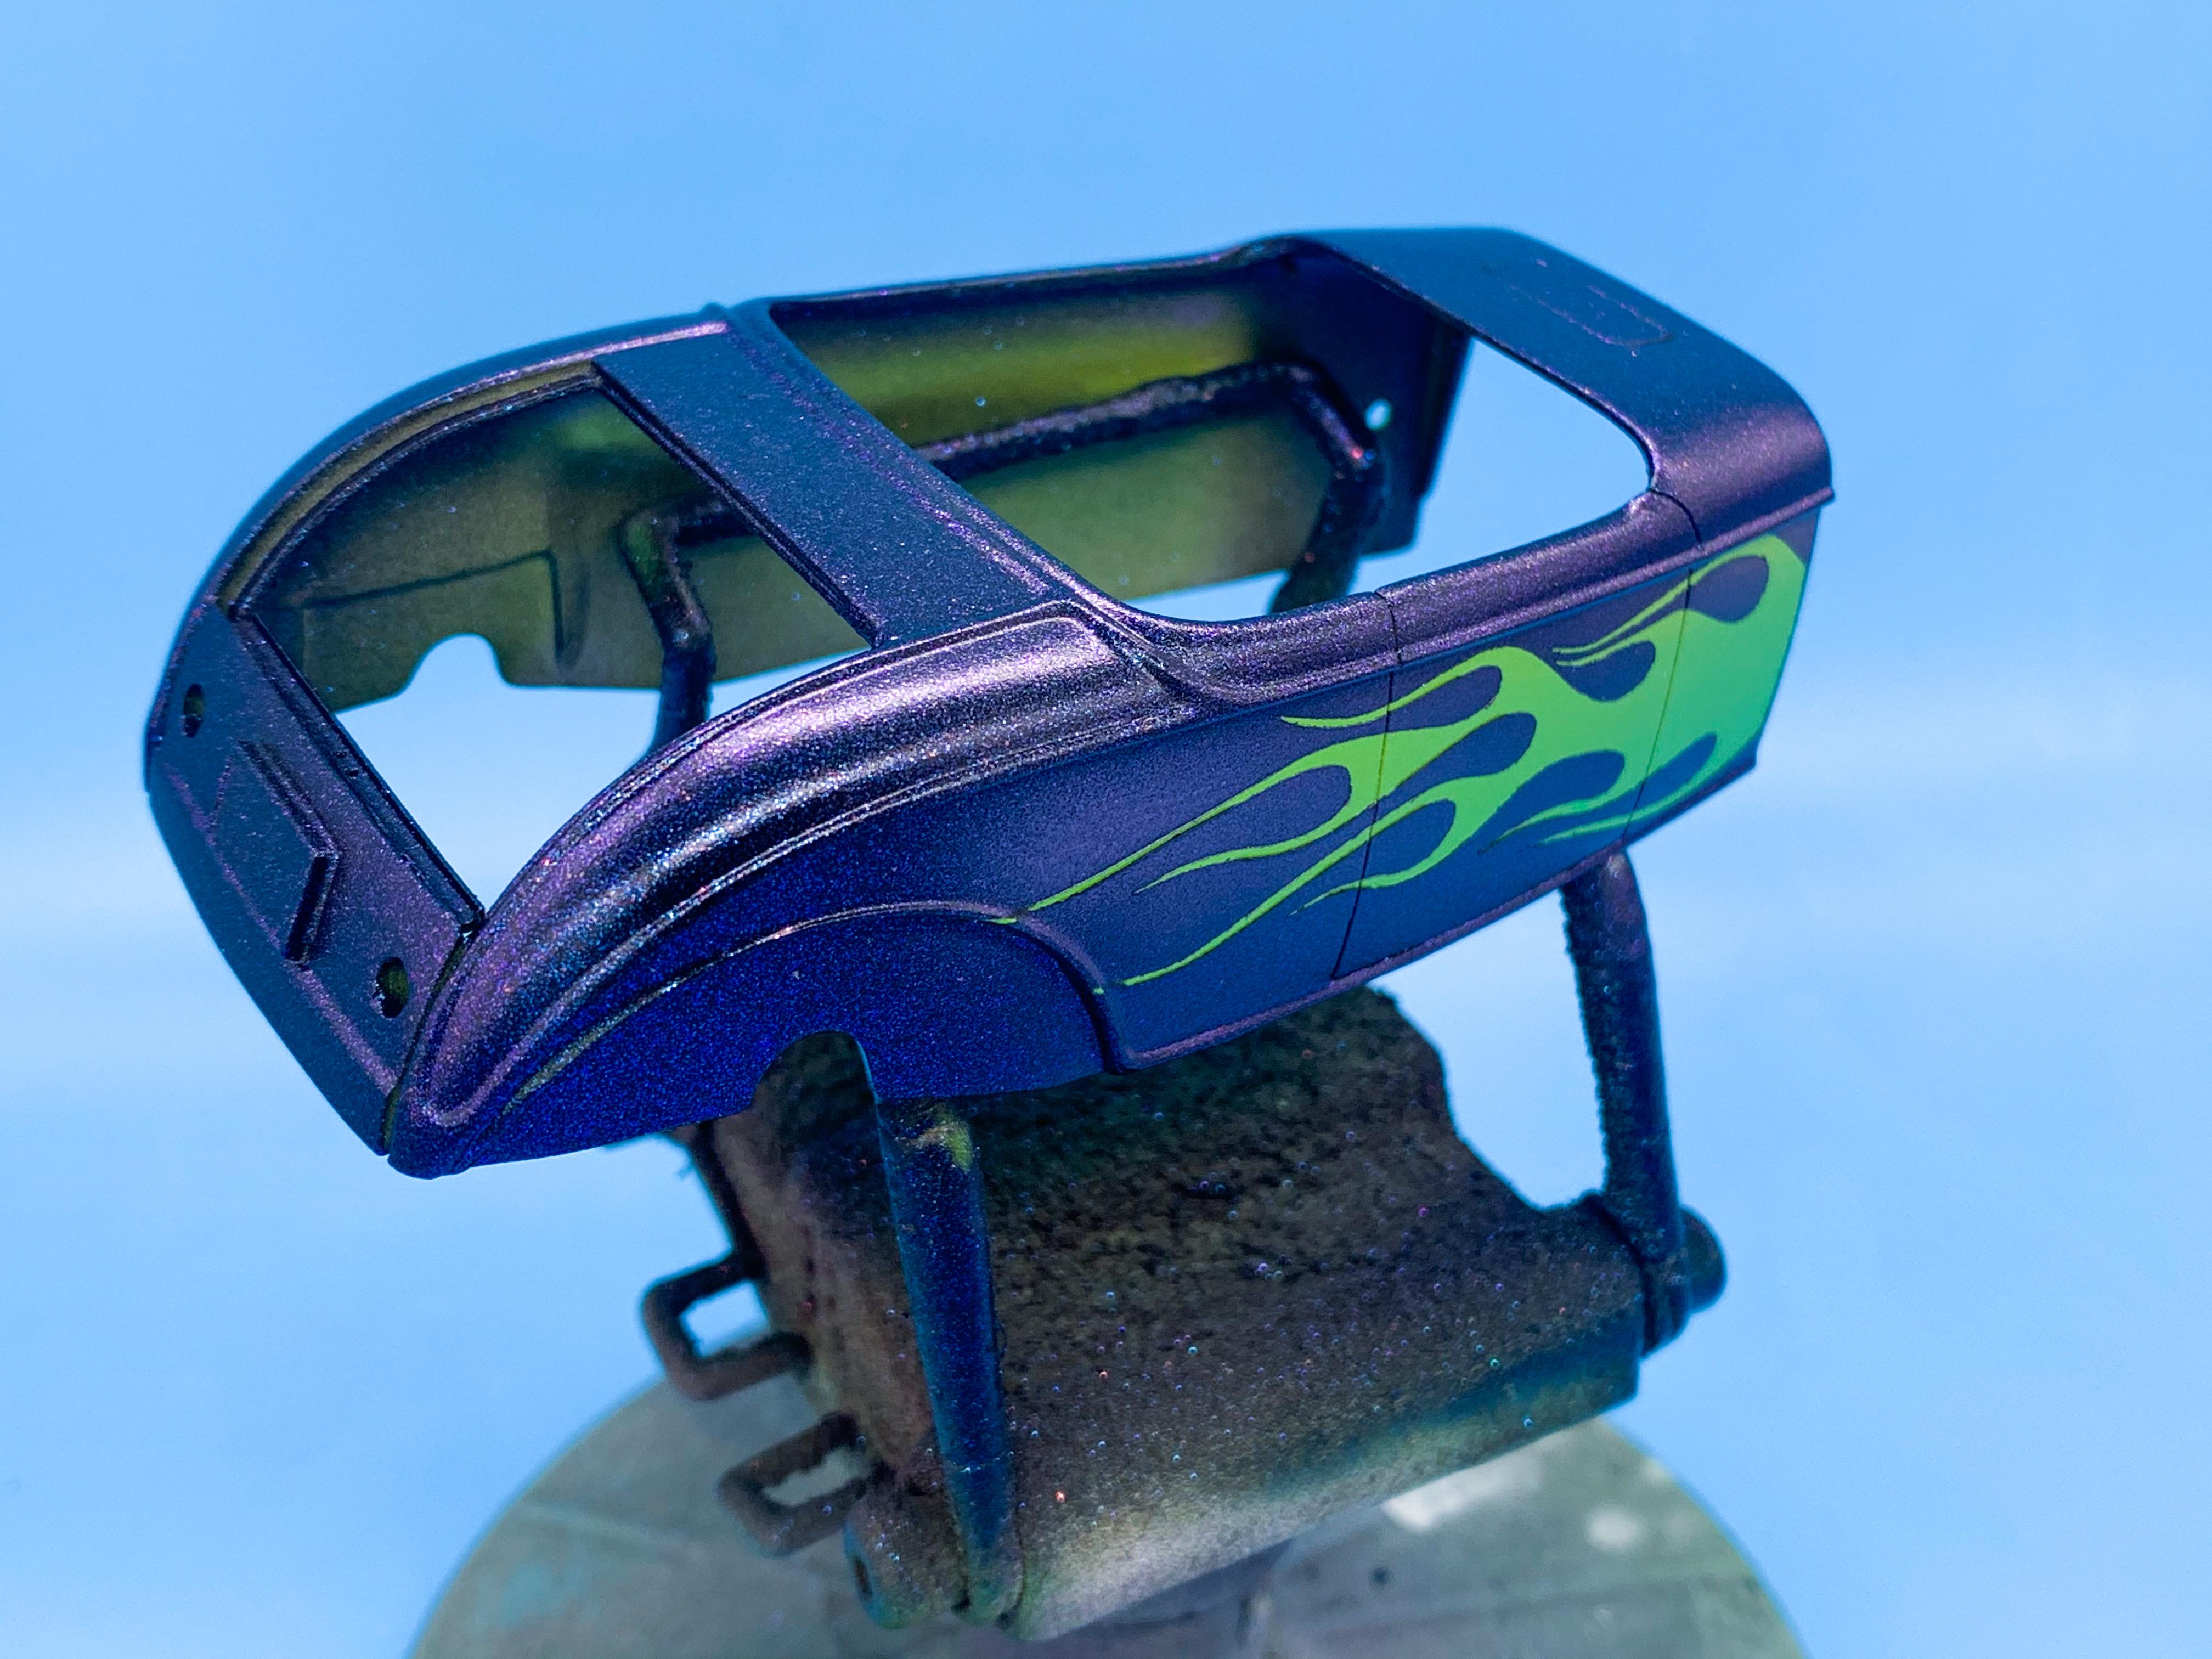
Sounds like a plan buddy! Had a fun week painting this thing...took a while to get all the layers done (and there weren’t even THAT many of them ?). First up, lime ice green: Then cut and applied a set of masks: That tiny lettering was particular tricky ??. Then, a base coat of black: Followed by blue/purple flip-flop: Then followed by rainbow pearl with pink mixed in to make the highlights even brighter once it’s cleared (hopefully): Then a little Testor’s pearl purple mixed with white for some highlights at the tip of the flames: Then, moment of truth, time to de-mask and see what we’ve got... It’s good practice to de-mask as soon as the paint is starting to set up so you get nice clean edges...but I couldn’t do that with this particular sequence of painting and layers so I need to tidy the edges up a LITTLE, but it’s nothing major. Once that’s done, we can shoot some nice glossy clear coat and really see this thing sparkle! More soon!