OldNYJim
-
Posts
251 -
Joined
-
Last visited
Content Type
Profiles
Forums
Events
Gallery
Everything posted by OldNYJim
-
Funny thing was, when I asked him later how his dog was he said "My dog?! Fine....?" and I said "After the thing with the skunk?" and he said "Ohhhh, righttttt, yeah yeah yeah - ummmm, yeah, he's fine, kinda stinky". Sounded totally legit
-
My employer arranged for me to complete a (virtual) class to learn 3d modelling in a CAD software package. Great, I really wanna learn more about that. They guy they found to train me, however, is either really unlucky, or a flake... The course is 4 weeks, with a half day session per week. Week 1: The teacher's dog got bitten by a skunk and he had to take him to the vet. Course pushed back a week Week 2: Course completed Week 3: The teacher's hot water heater exploded, course put back a week. Week 4: Couldn't get a hold of the guy - he emailed me later that day and said he "totally spaced on the training" and can we do it next week Week 5: This week - guess we'll see! Santa stuck in the chimney? The reindeer ate his course notes? I should've completed this training already and I've only managed to get half a day under my belt...can't wait to see what this week's mishap will be!
-
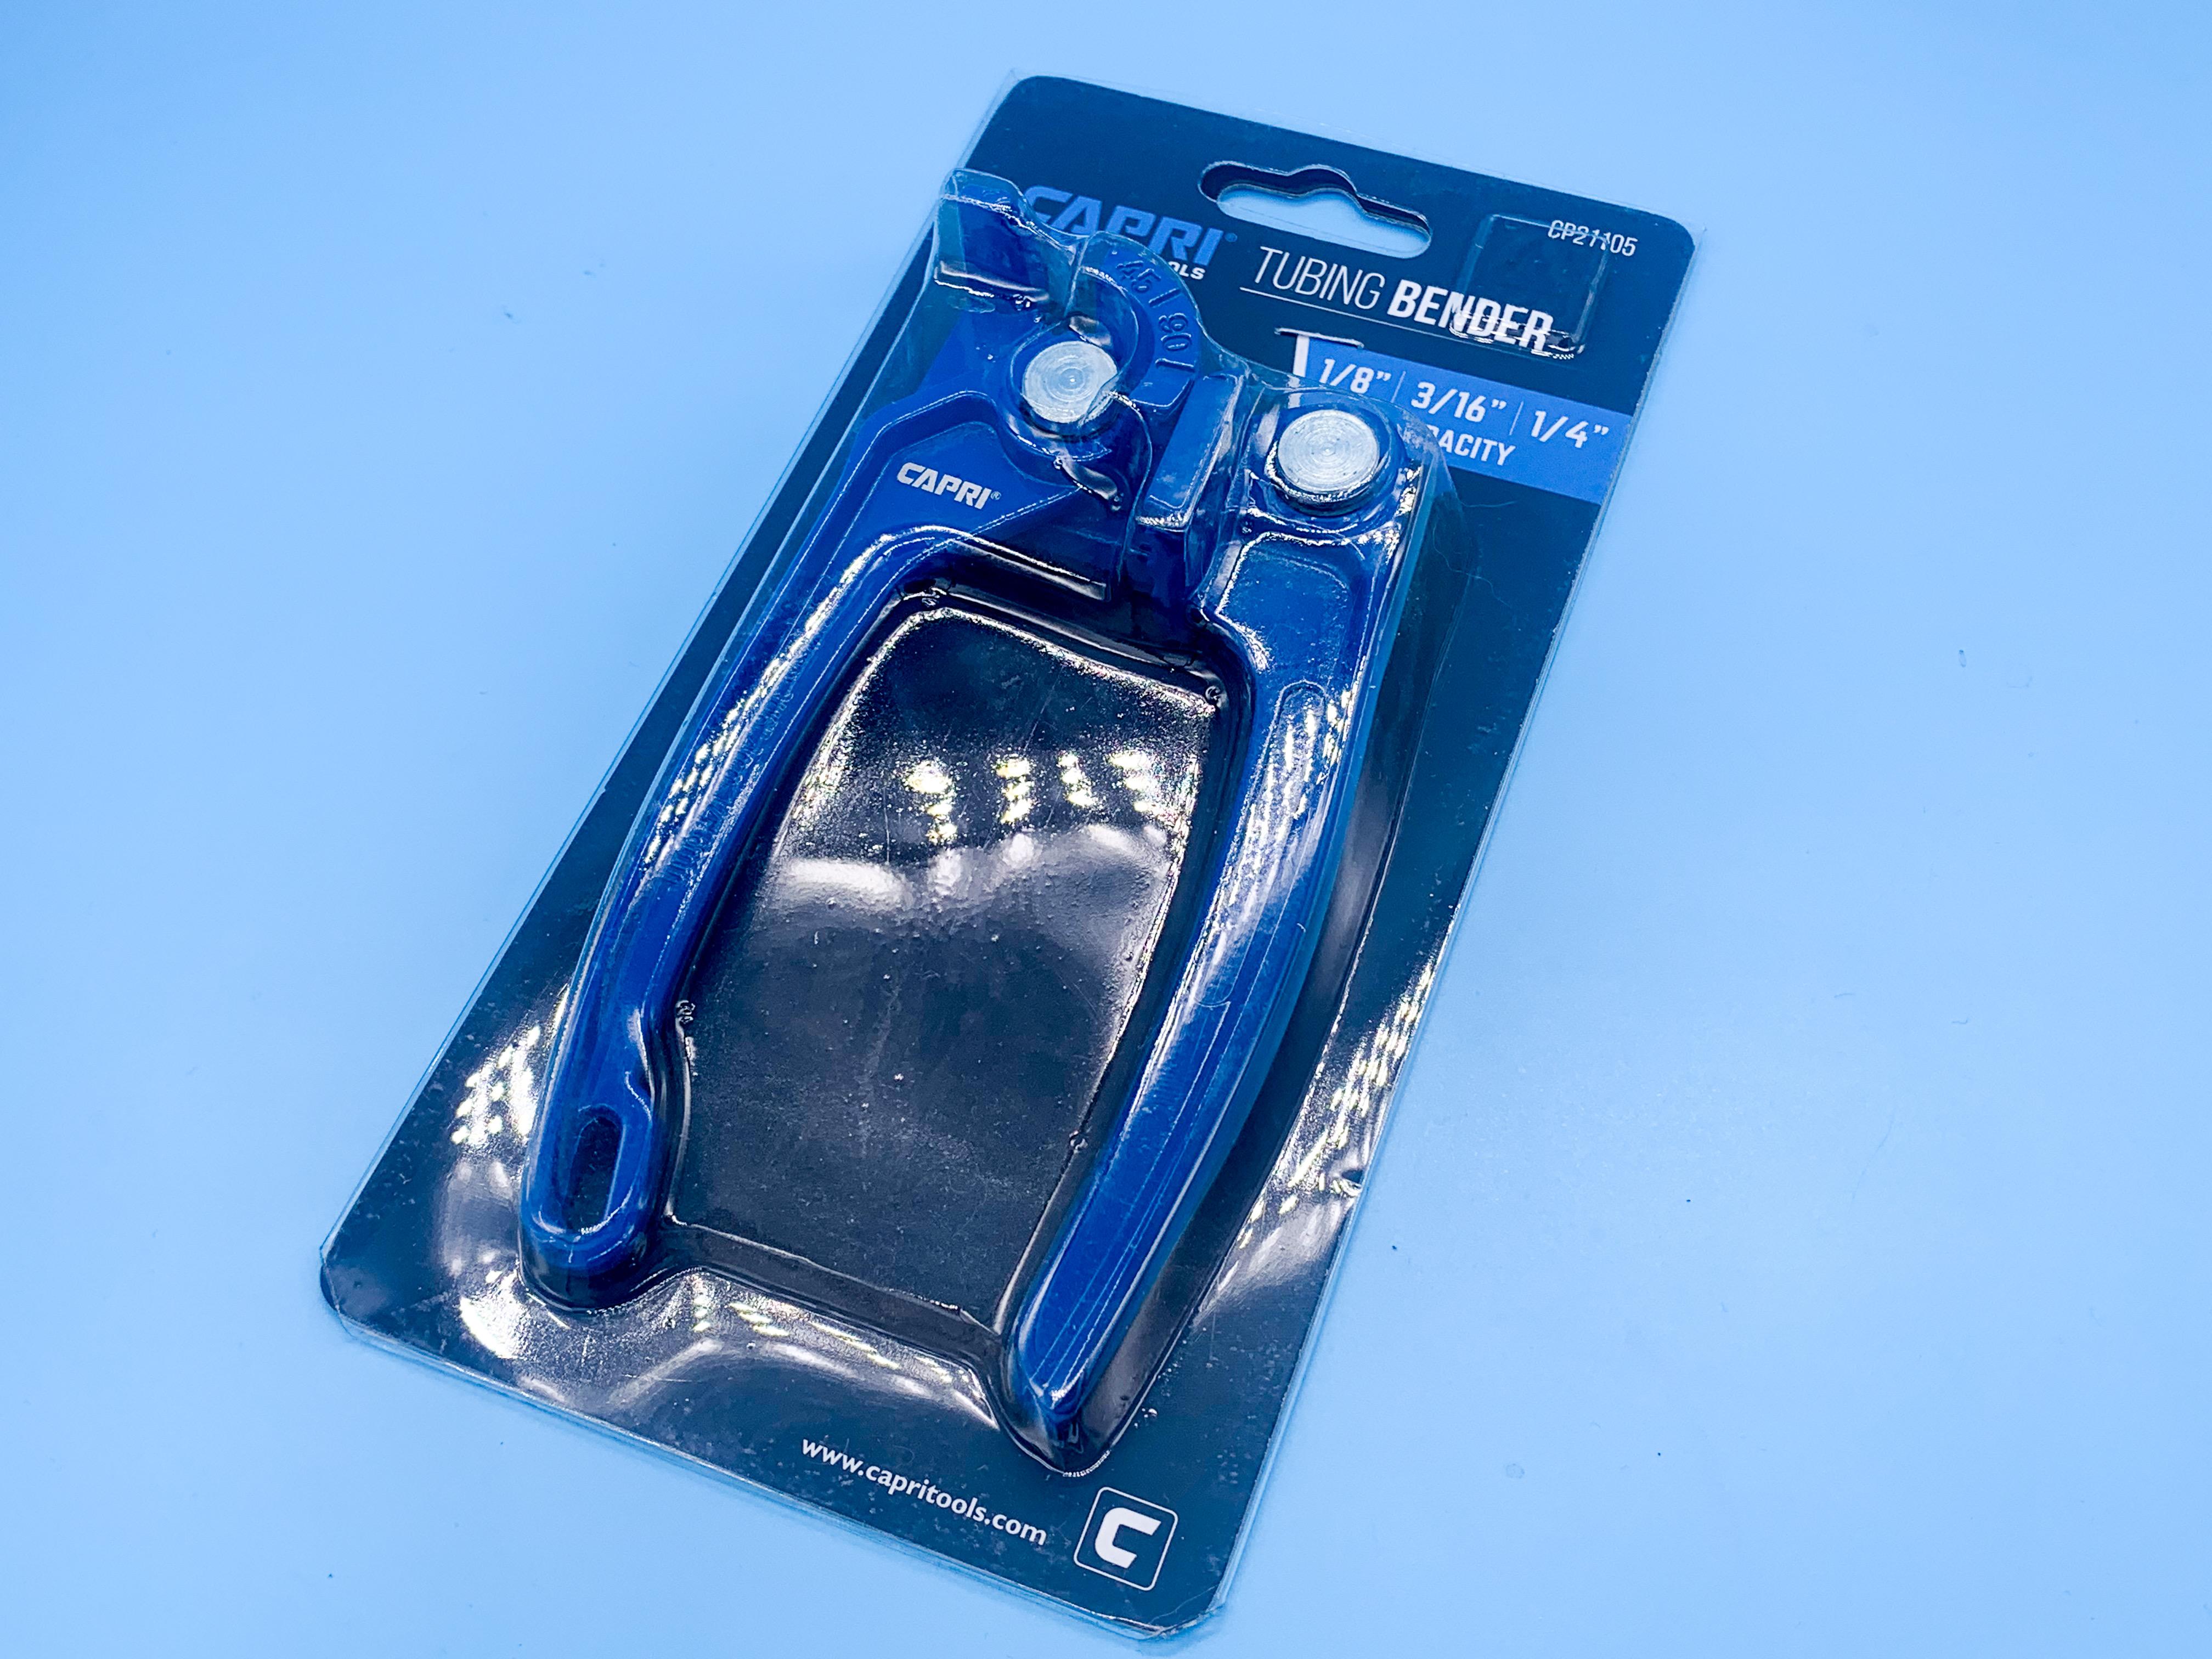
 Need to make a bunch of header pipes for a build, so picked up these pipe benders to help make the job a LOT easier. Nice quality, under $15 on Amazon and they work great. Turned a job I dislike doing usually into (almost) a joy ?
-
That engine is gorgeous
-
At our old address in Brooklyn we could get a lot of stuff same-day with Prime - it was amazing! As long as you ordered by 2pm (I think?) you’d get the package by 9pm. We’d use it some days when we didn’t feel like taking the train somewhere to go get whatever we needed - if it was anything where we would’ve otherwise just put it off until tomorrow, we’d Prime Same-Day it and have it before bed!
-
I was really hoping, from the thread title, that YOU were building one from scratch Bill
-
That one with the intake (I assume?) poking through the fender is super cool - thanks for posting these Casey!
-
'36 Ford 5ive window coupe, old build being resurrected.
OldNYJim replied to Rocking Rodney Rat's topic in WIP: Model Cars
Great fabrication - love seeing work like this -
You're telling me - I figured I'd just build the kit, and add some detail and I'd have a decent replica....I'm over a week into this one just on messing with the frame Something that muddies the water somewhat too is there being the two different cars (and seeing as the Mooneyes shop has a damaged frame on display from one of the cars, at least one of them has been rebuilt at least once). Add to that, like any race car, parts break, get replaced, get upgraded, get swapped out for some other reason, tires and wheels get changed, and so it's tricky to know exactly what reference material to go with and which exact time period of the car's life you're trying to replicate. I'm going with a lot of 'reasonable assumptions' with my build, where I need to fill in a blank
-
This is my favorite by FAR:
-
⬆️ Steve does nicer work without a lathe than I can do WITH one ⬆️ ?
-
I read last year that sometimes when packages get routed to somewhere that doesn't make sense, it's making the most of available labor to manually process mail - so if a particular office is really backed up it may be quicker to route to another hundreds of miles away and let the staff there handle it and send it to the next destination faster than if it went the 'logical' route. I have no idea if that's true though. Like all organizations, the USPS no doubt has it's fair share of inefficient staff and likely a much smaller share of EXCELLENT staff. Our local mail lady in Brooklyn, Linda, was really exceptional. In 2018 I moved in with my wife-to-be right before we got married. After we got married a bunch of my wife's family sent cards and a few forgot to put our apartment number on the envelopes. Despite the fact that I had only lived there a couple of weeks and had less than a dozen items of mail delivered there, Linda figured out where to deliver all these cards addressed to my wife (now with a surname she didn't recognize on them and no apartment number), on a route that likely included THOUSANDS of customers. She was great - I always made sure to offer her a drink or a snack when I'd see her in our lobby or outside the building. Then, another time, I went to collect a package from our local PO and the guy said "How do you expect find your package? I have 10,000 packages here?! What do you want me to do, look at all 10,000?". I said "I dunno, don't you have some sort of system, or...." ?♂️
-
Haha, thanks for the info!
-
What were the new ones?
-
Nice work Bill - looks great!
-
'66 Shelby Mustang Group II
OldNYJim replied to afx's topic in WIP: Other Racing: Road Racing, Land Speed Racers
You do such nice clean work - always enjoy seeing your build threads! -
Really enjoying this so far! Can’t wait to see more!
-
Could you slice the top off the magneto and replace it with aluminum/brass tube maybe? (I didn’t research the magneto on these cars yet admittedly, need to find some good reference pics…)
-
Earlier in the year, when my Evergreen and Plastruct supplies were running low, I ordered one of every set of square, round, half round, strip and angle that this eBay seller stocks: https://www.ebay.com/sch/kdarr70/m.html?_nkw=&_armrs=1&_ipg=&_from= Excellent value, way cheaper than the big names and I never seem to be short of anything 'normal' that I would need. I bought some 20ft x 4ft rolls of styrene in various thicknesses too so I've got plenty of that to work with, and as you'd expect, buying bulk of that stuff makes it better value than buying the hobby-sized packs. 0.010, 0.020 and 0.040 are my usual go-tos for that stuff, depending on what I'm intending to do with it. I'm lucky too that the local Ace Hardware is only a block away, and they stock all the K&S metal sizes, but I try and keep at least a couple of packs of each in stock anyway. Add to that I've got a decent selection of about every color of paint and plenty of primer and clear, and I only really need to go 'shopping' for something for a project if it's something out of the ordinary or I'm looking to match a specific color that would be hard to mix. I try and make sure to grab glue whenever I see it at a good price too - Dollar General or Dollar Tree usually have 4 or five kinds of superglue or Krazy Glue or something useful at good prices... Never hurts to have an at-home hobby store!
-
Sounds like you'd like a Pocher kit (one of the old ones, anyway...).
-
No - it’s interesting! Keep ‘em coming!!!
-
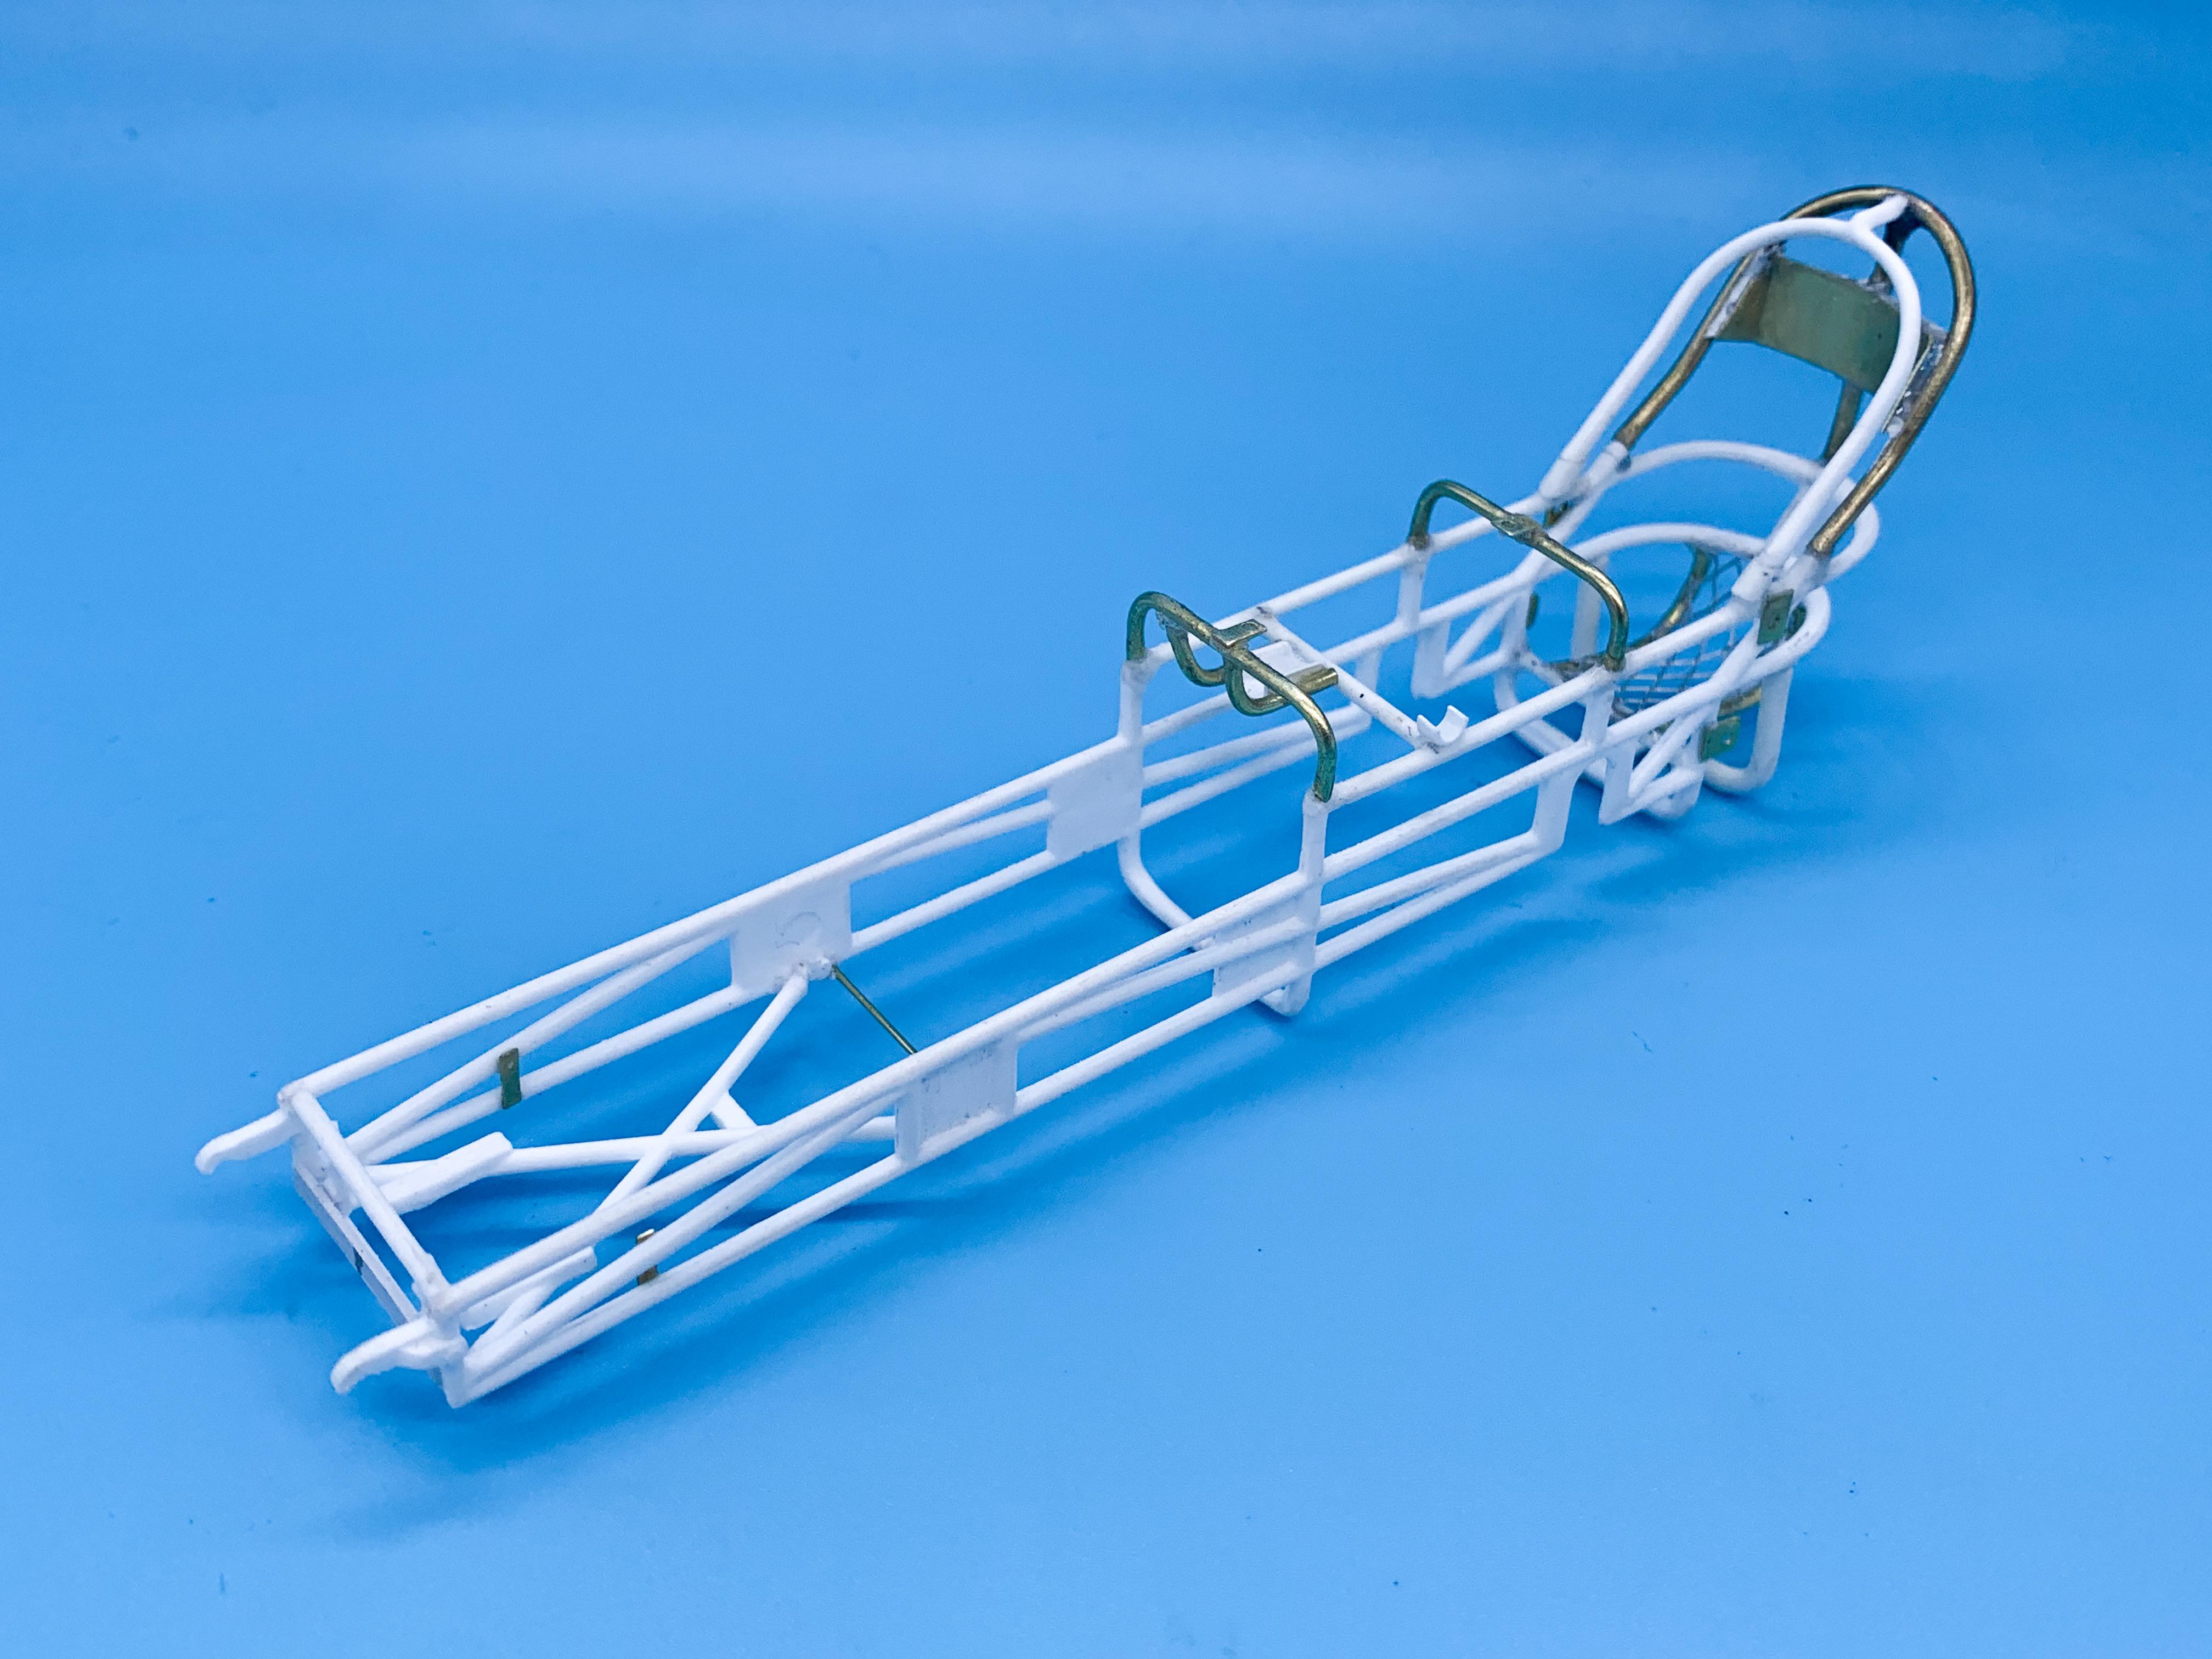
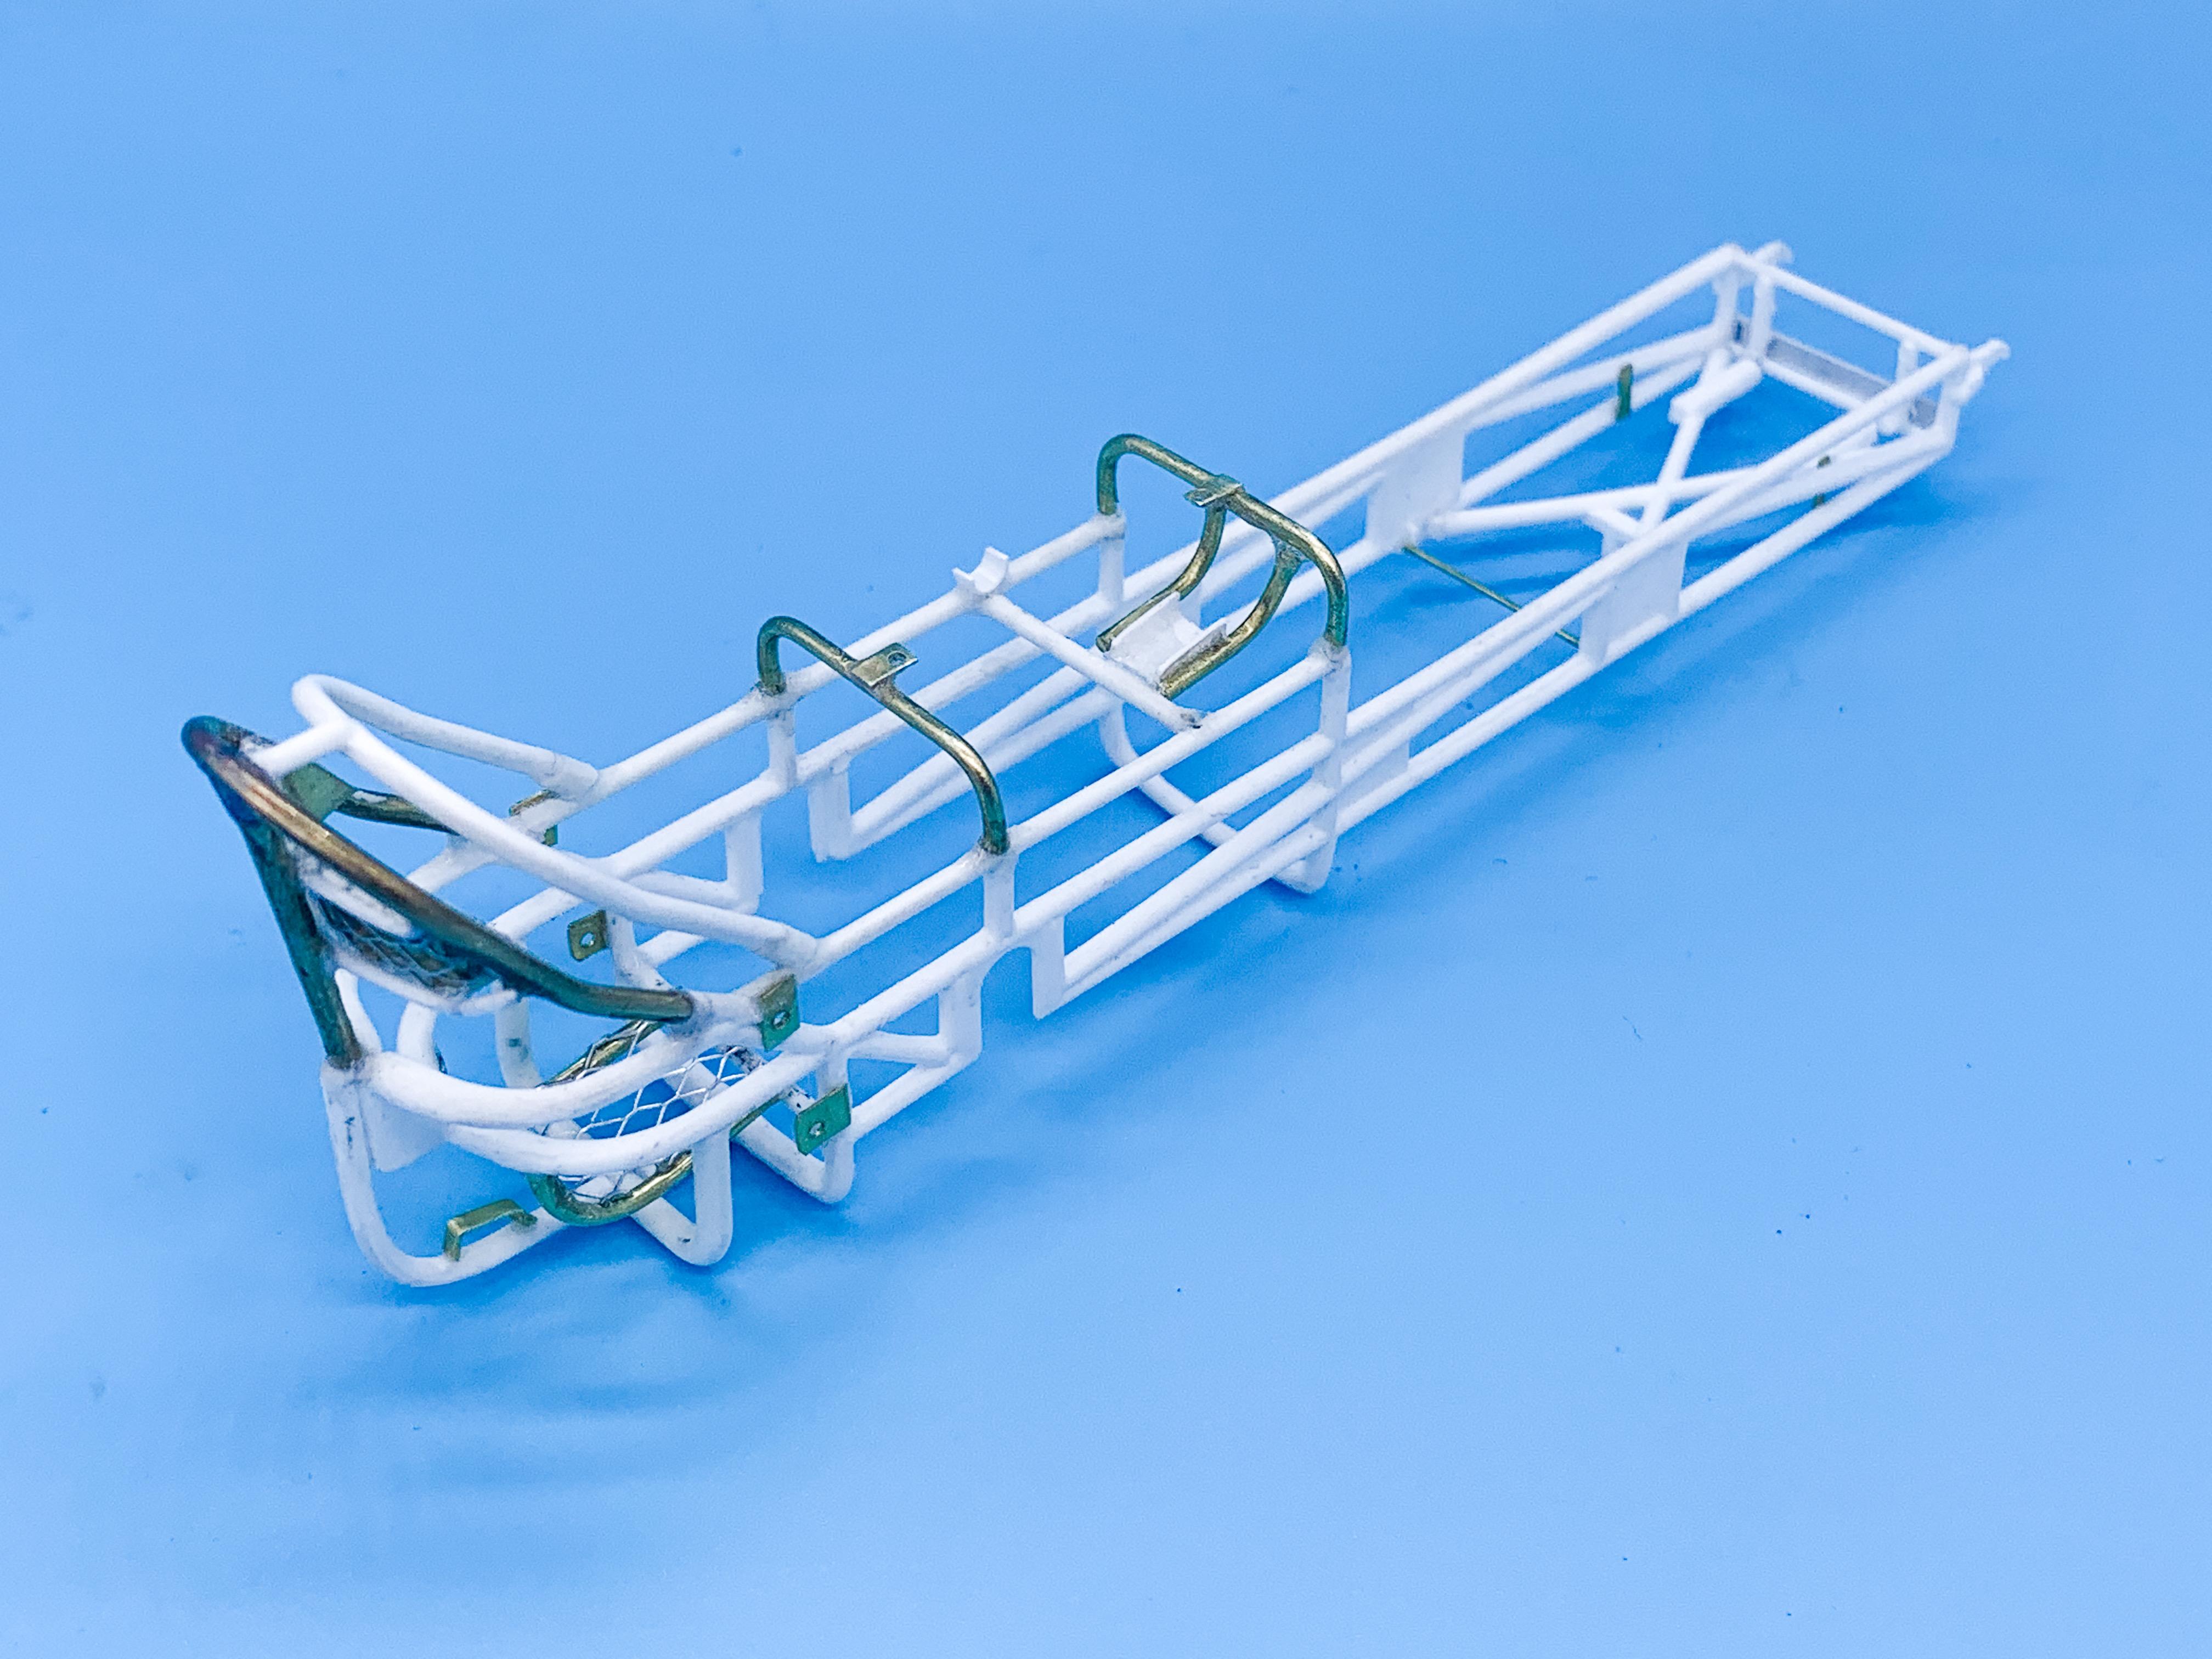
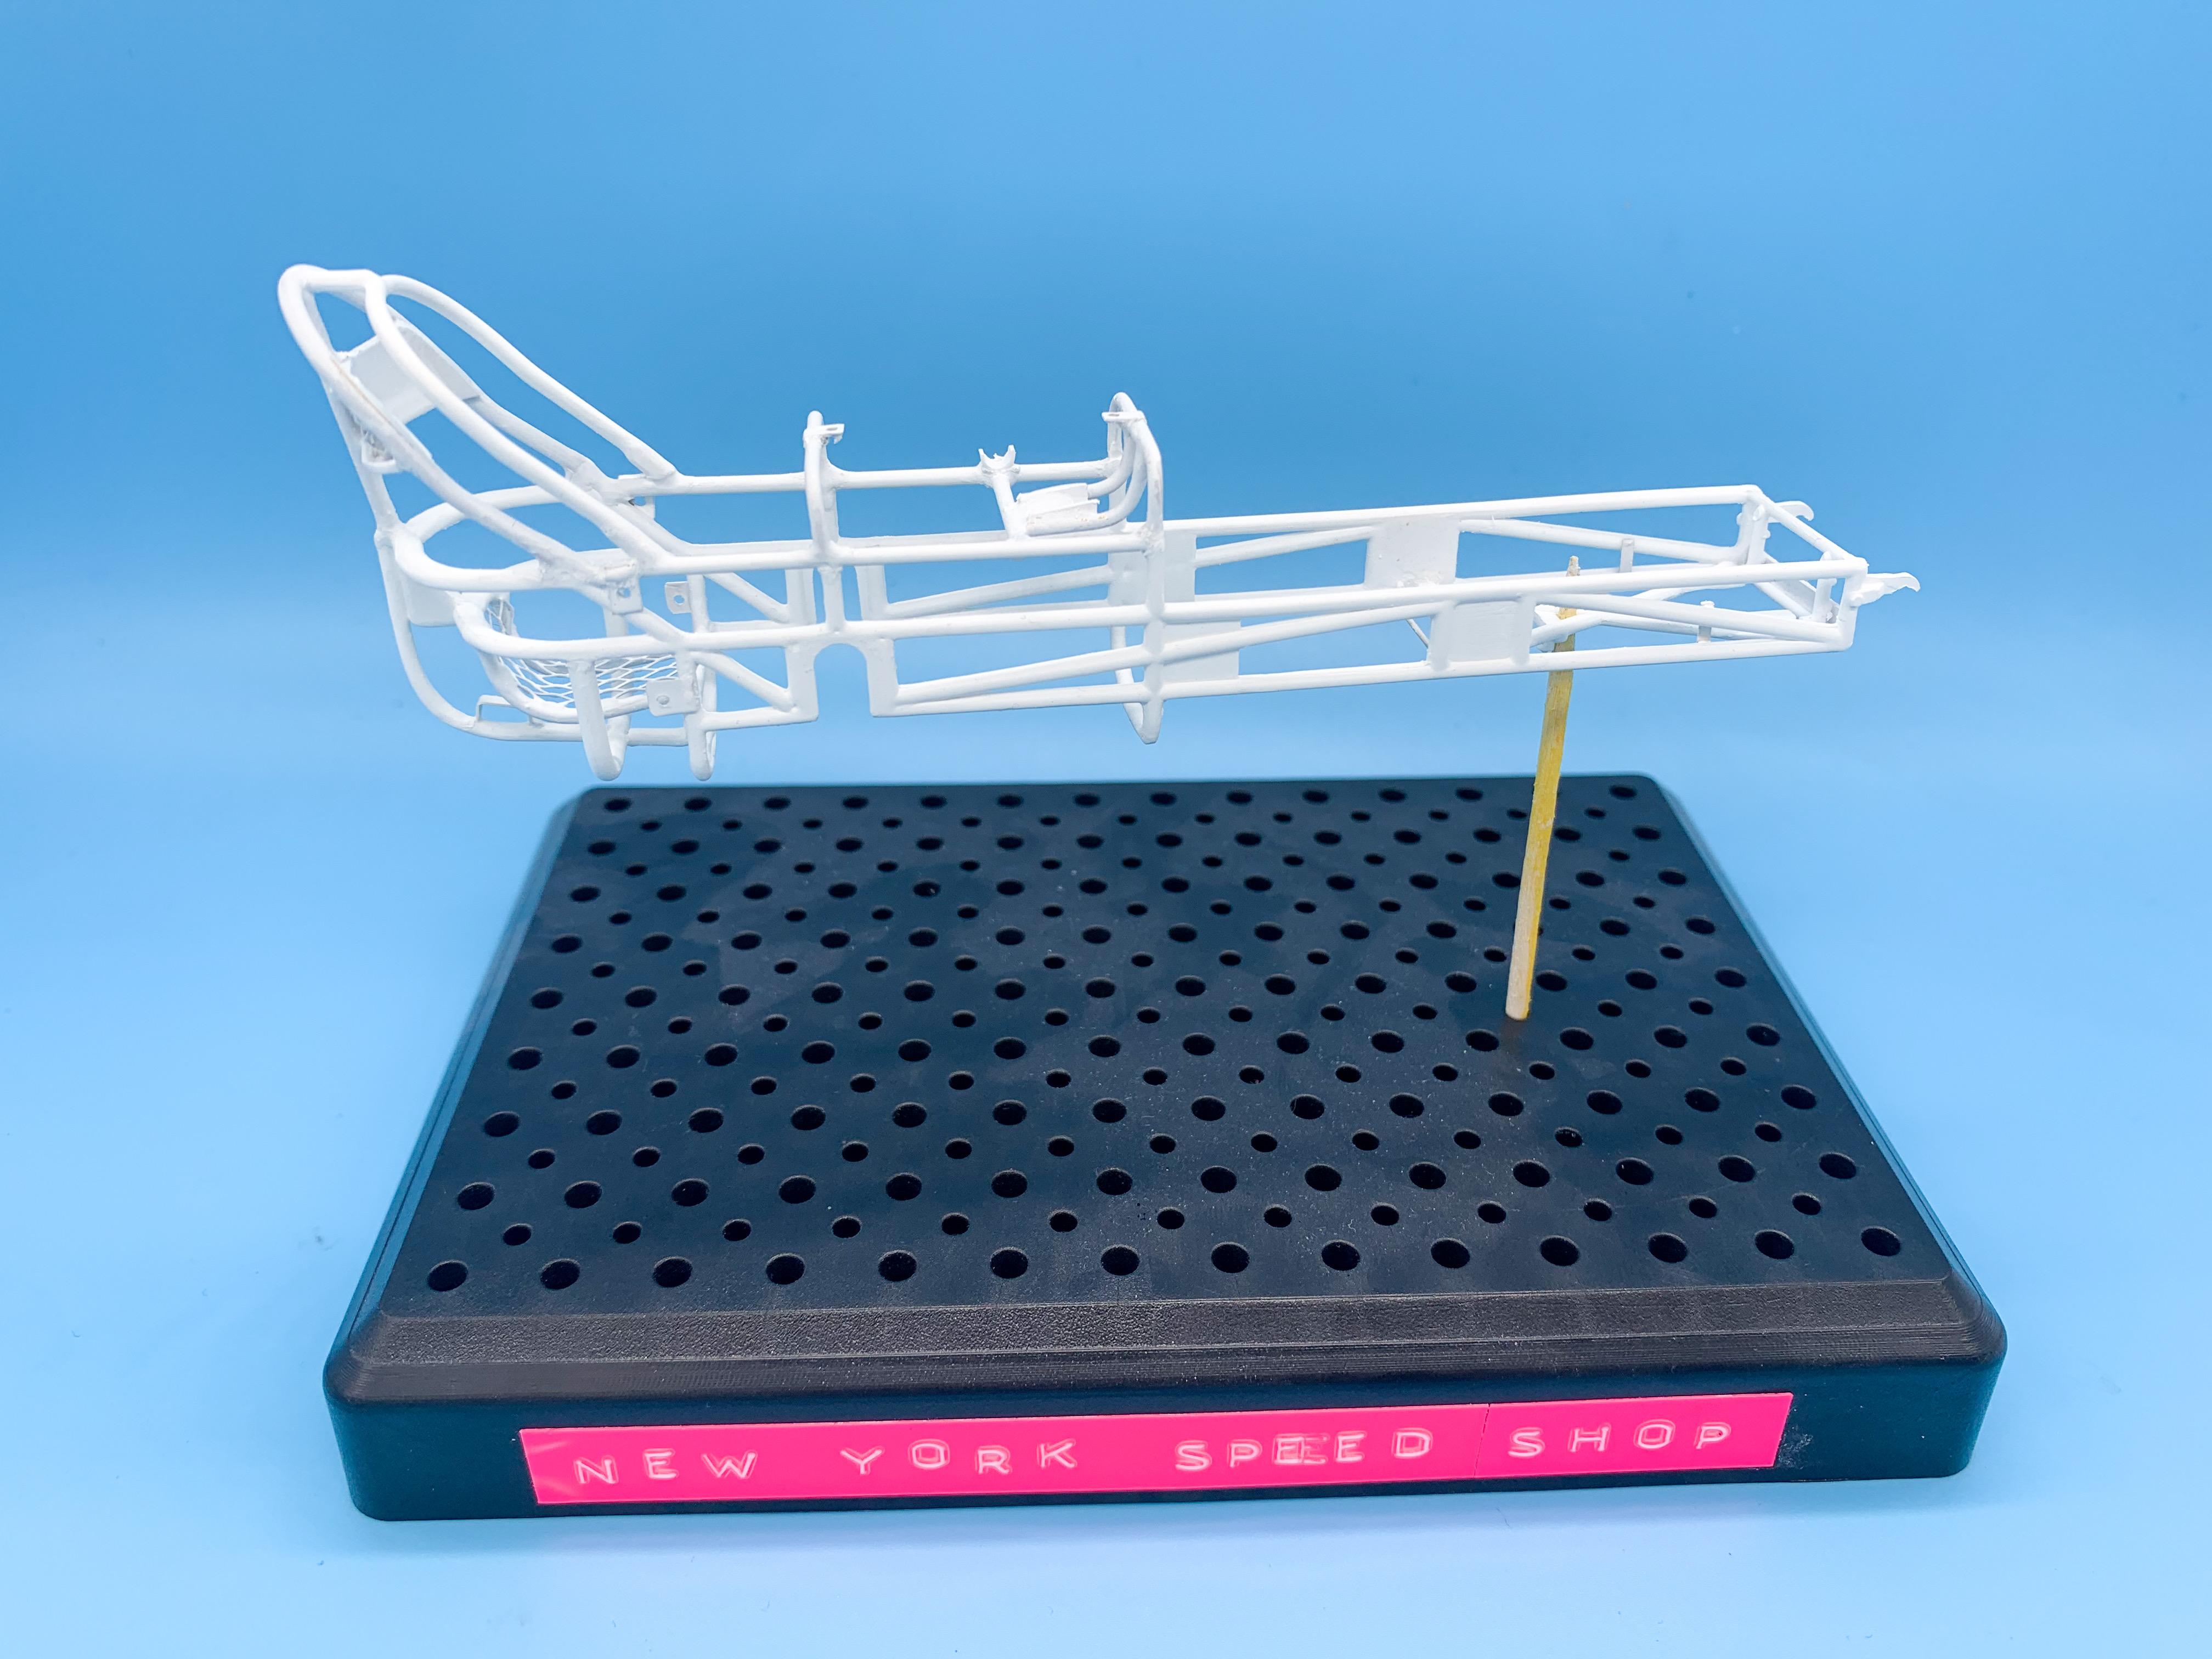
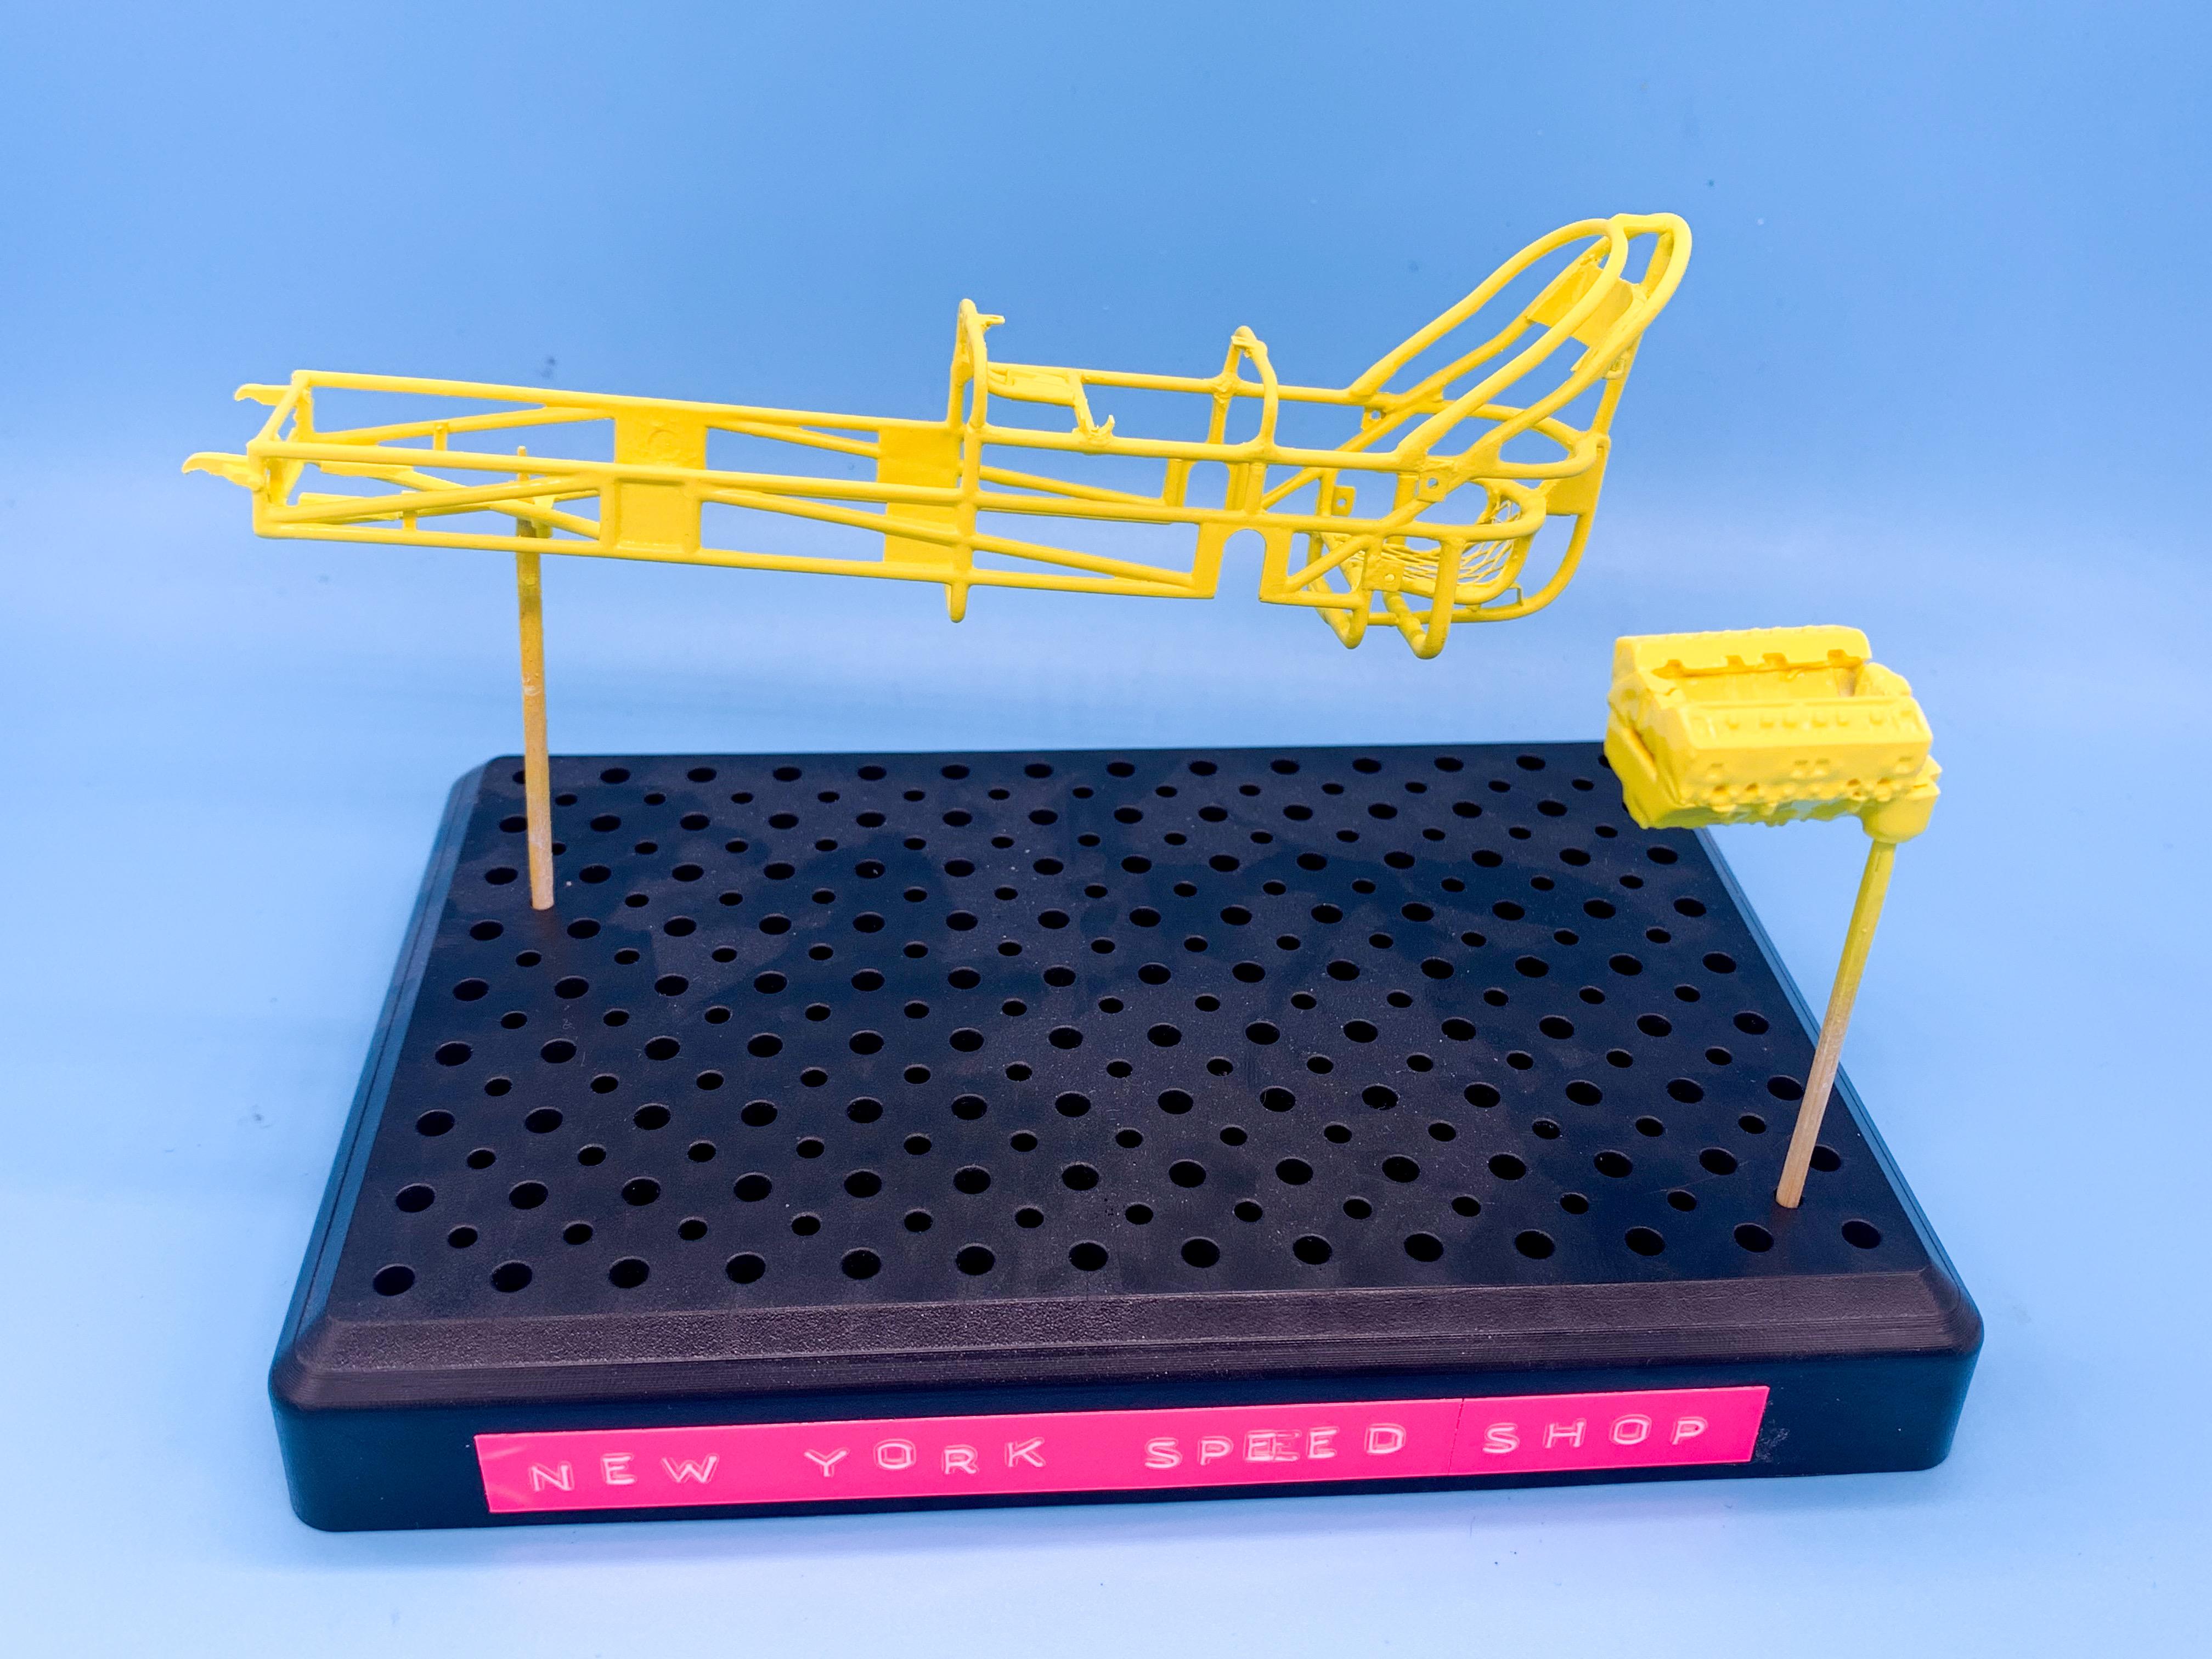
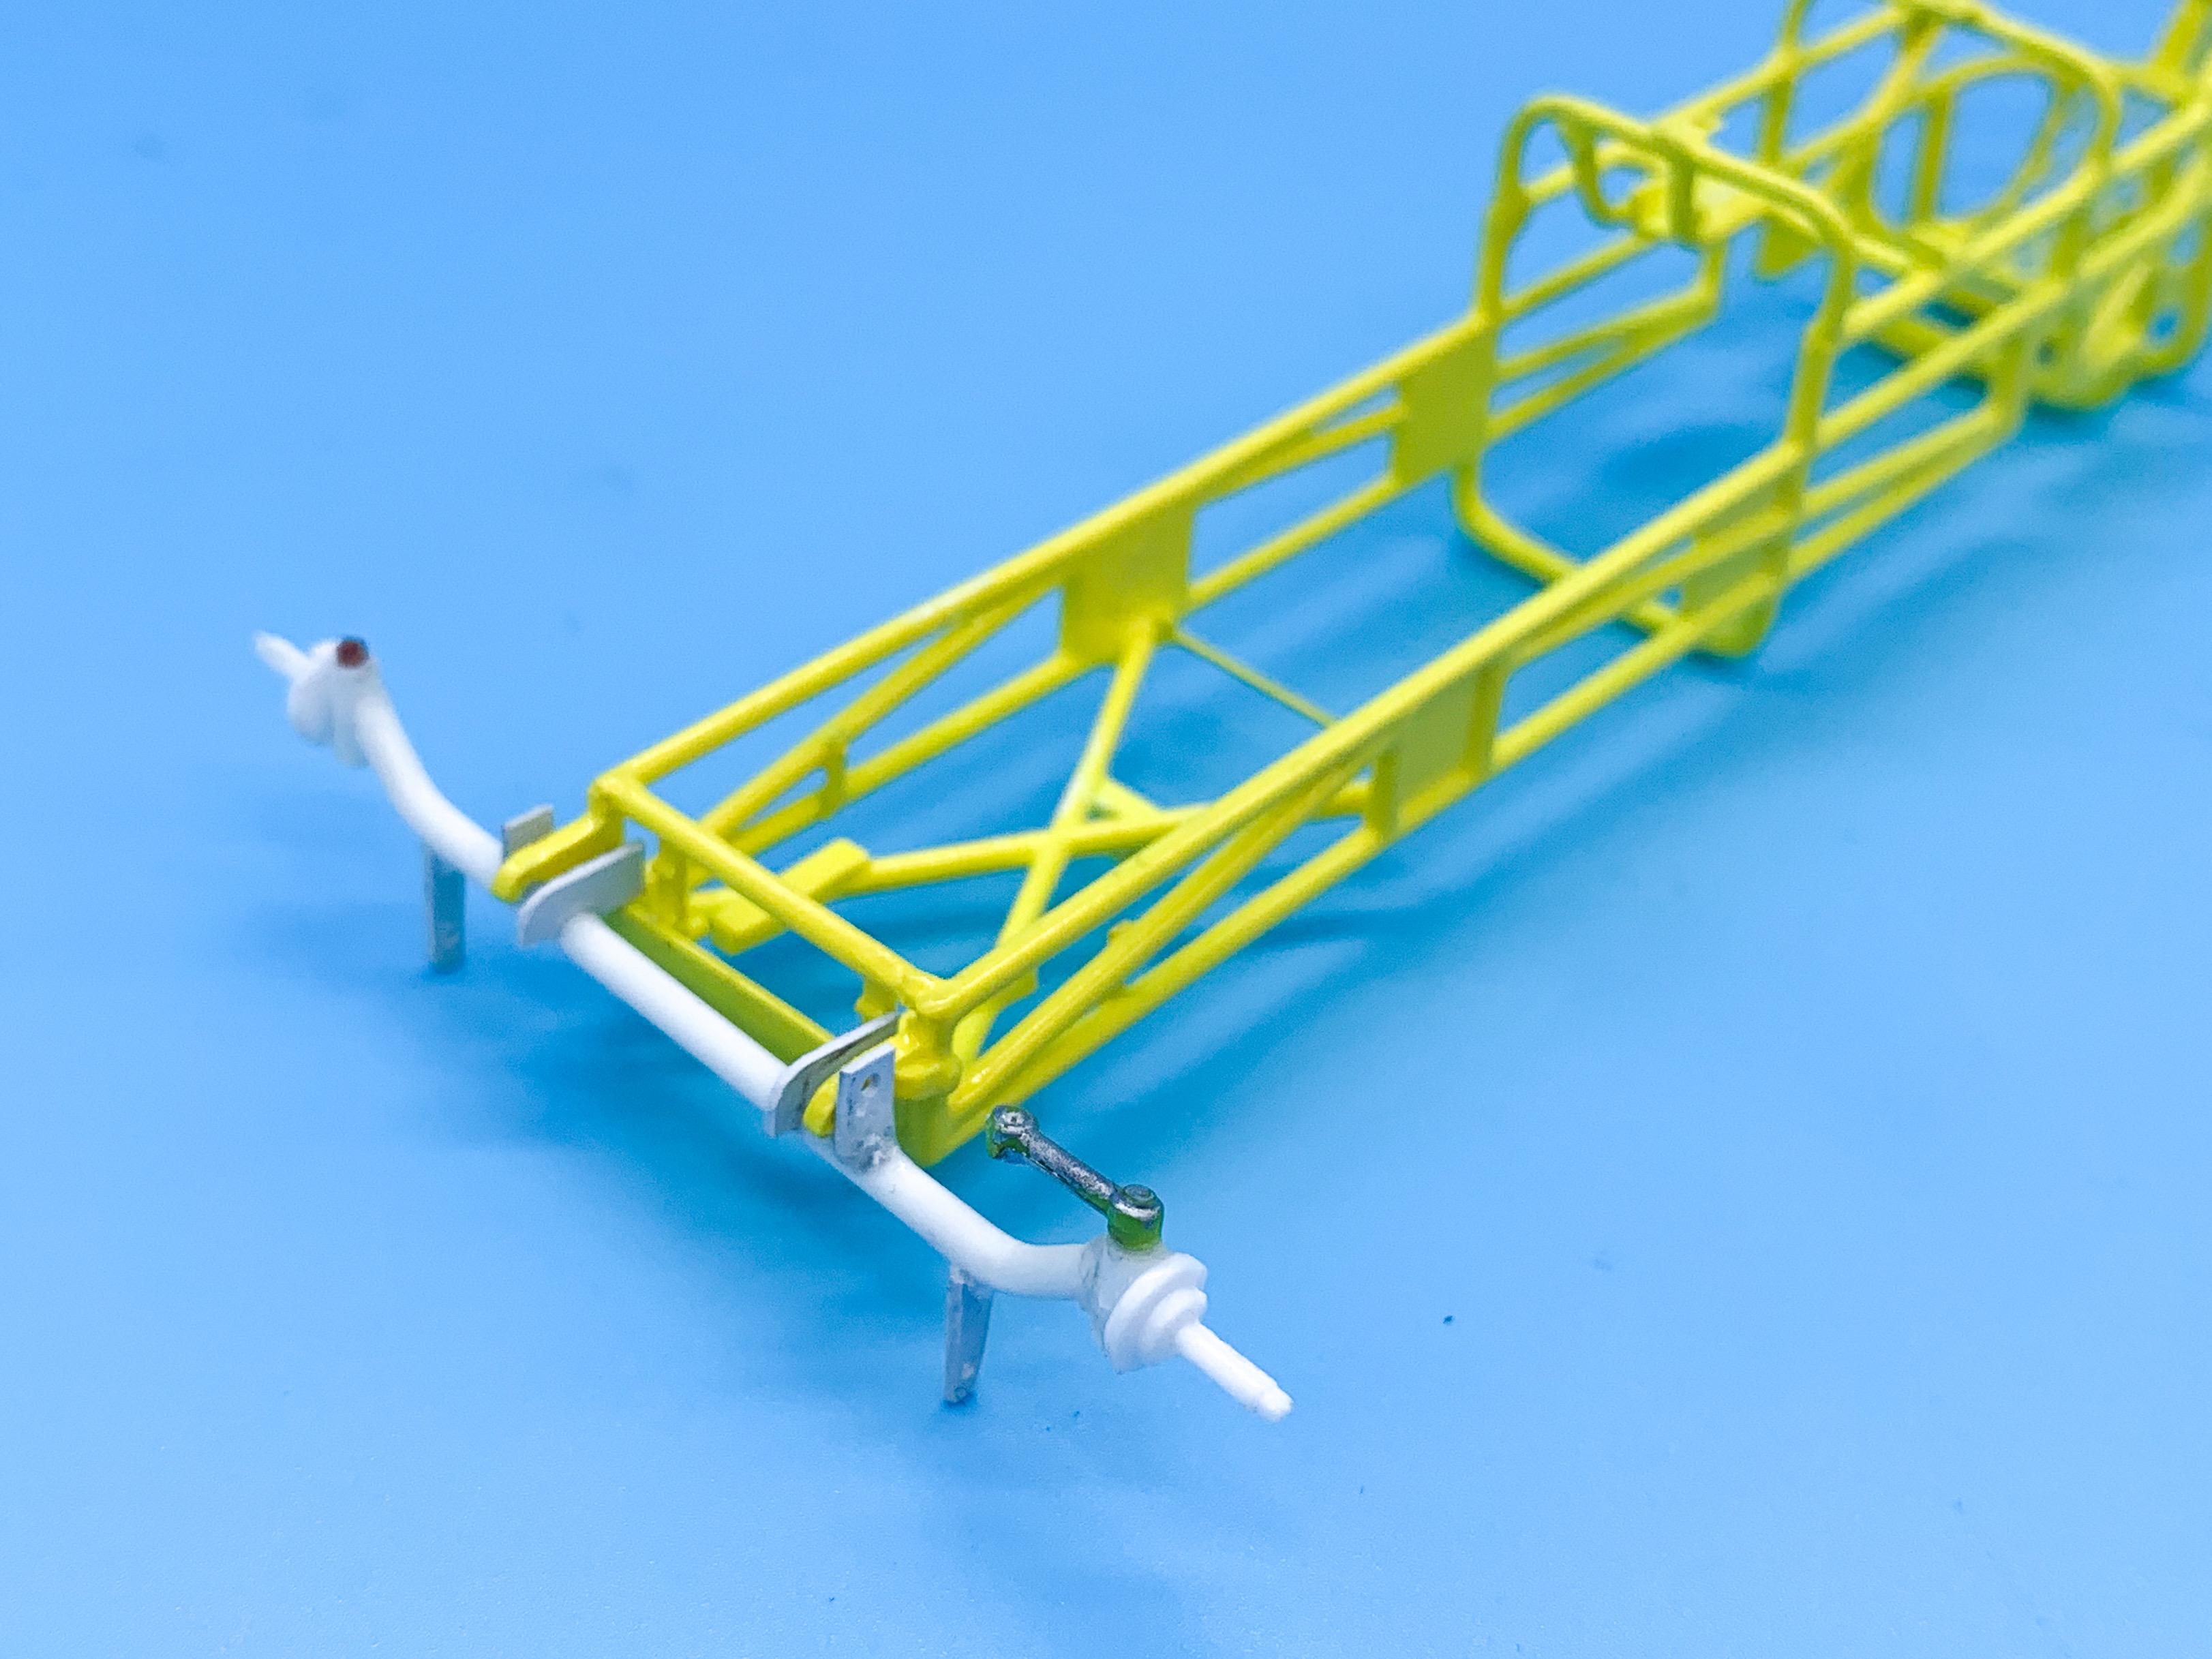
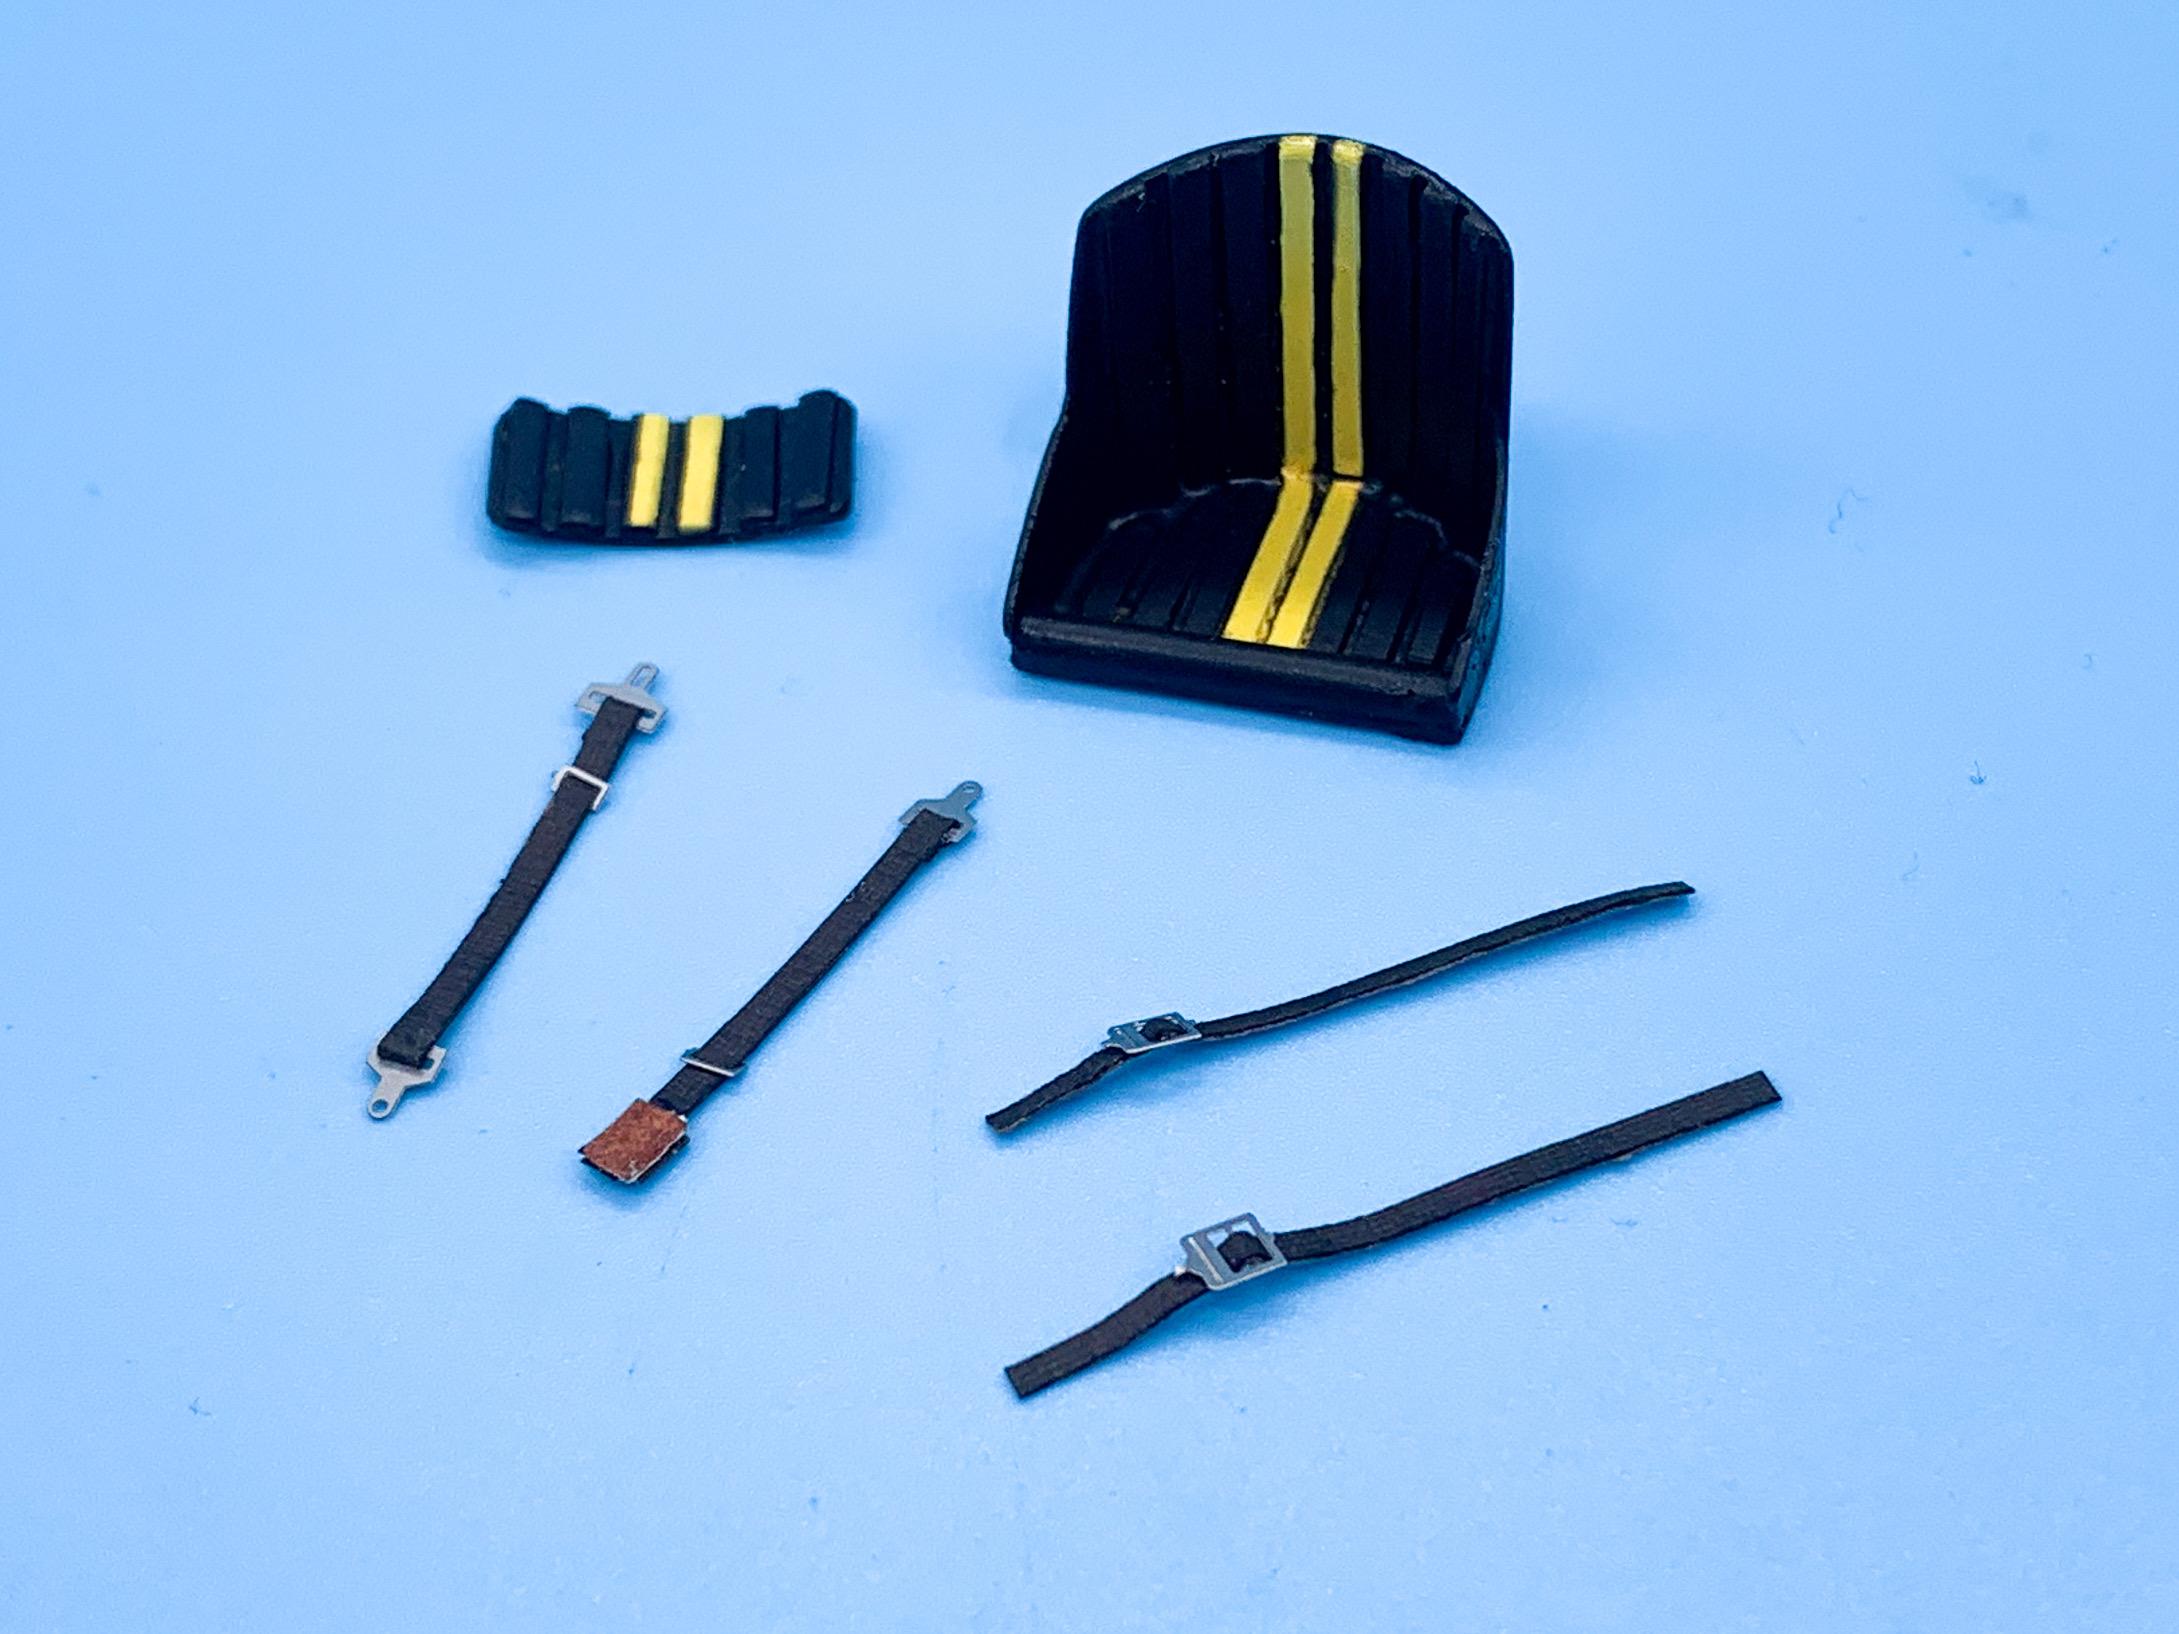
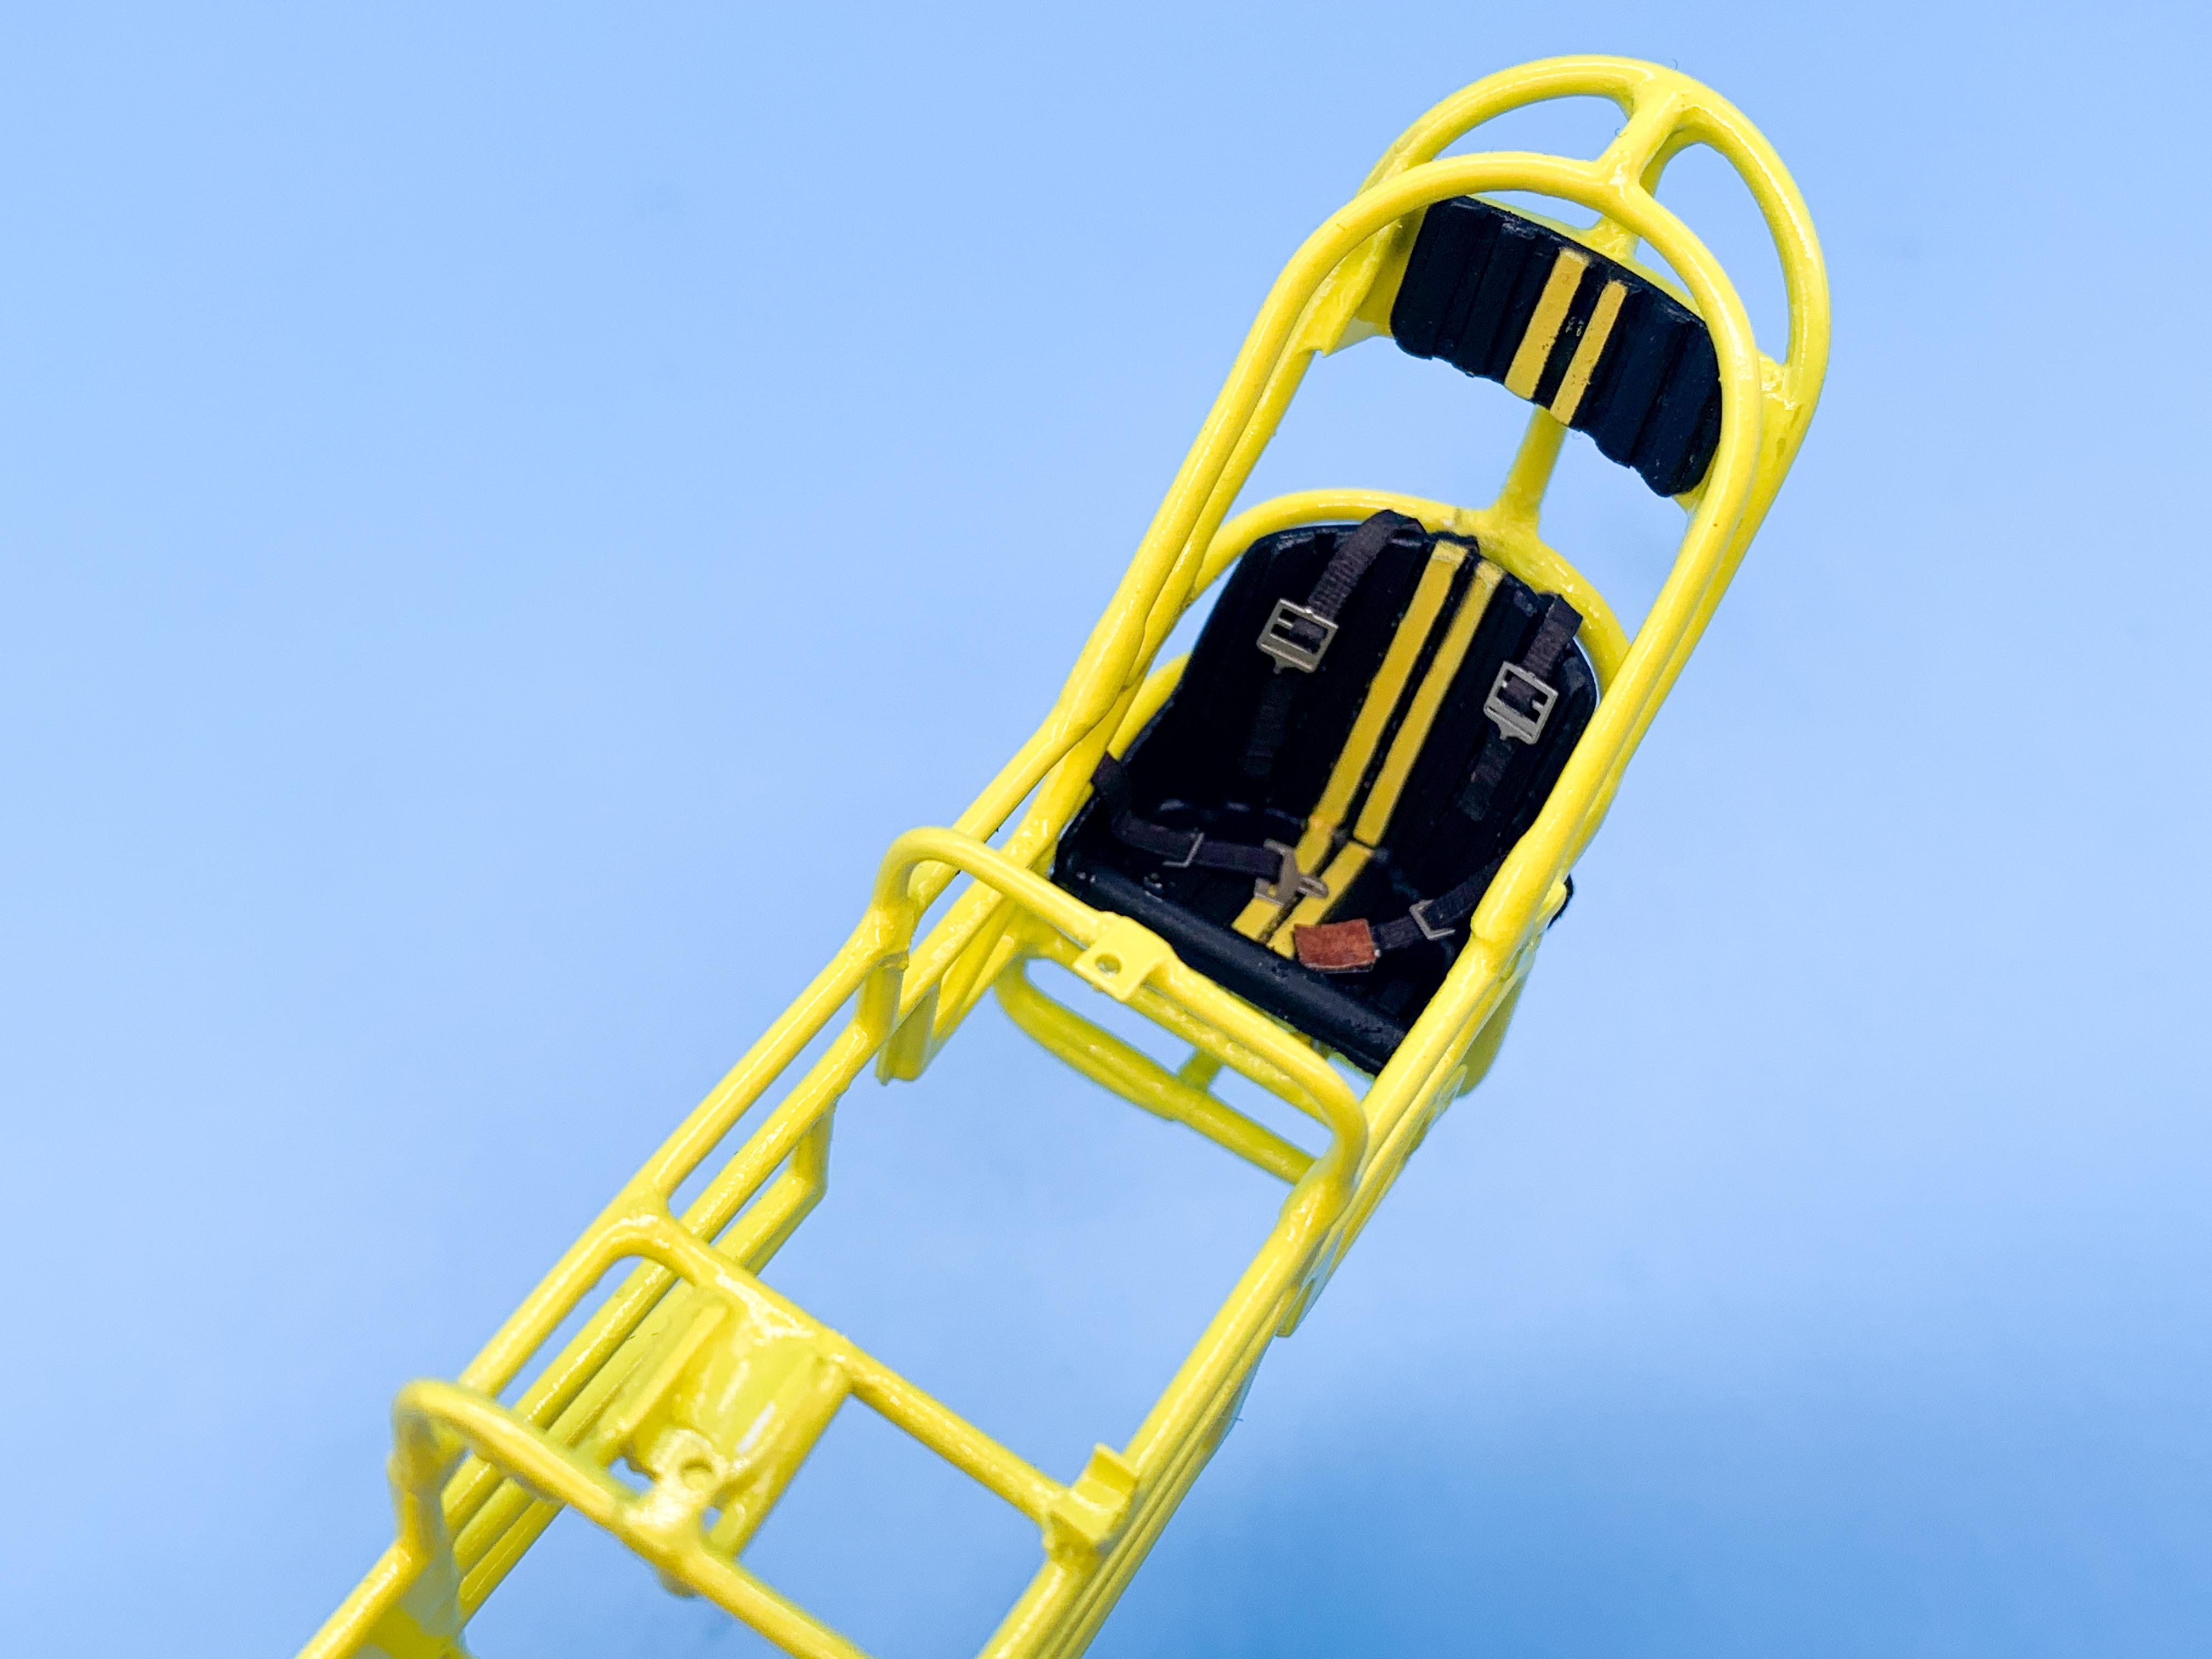
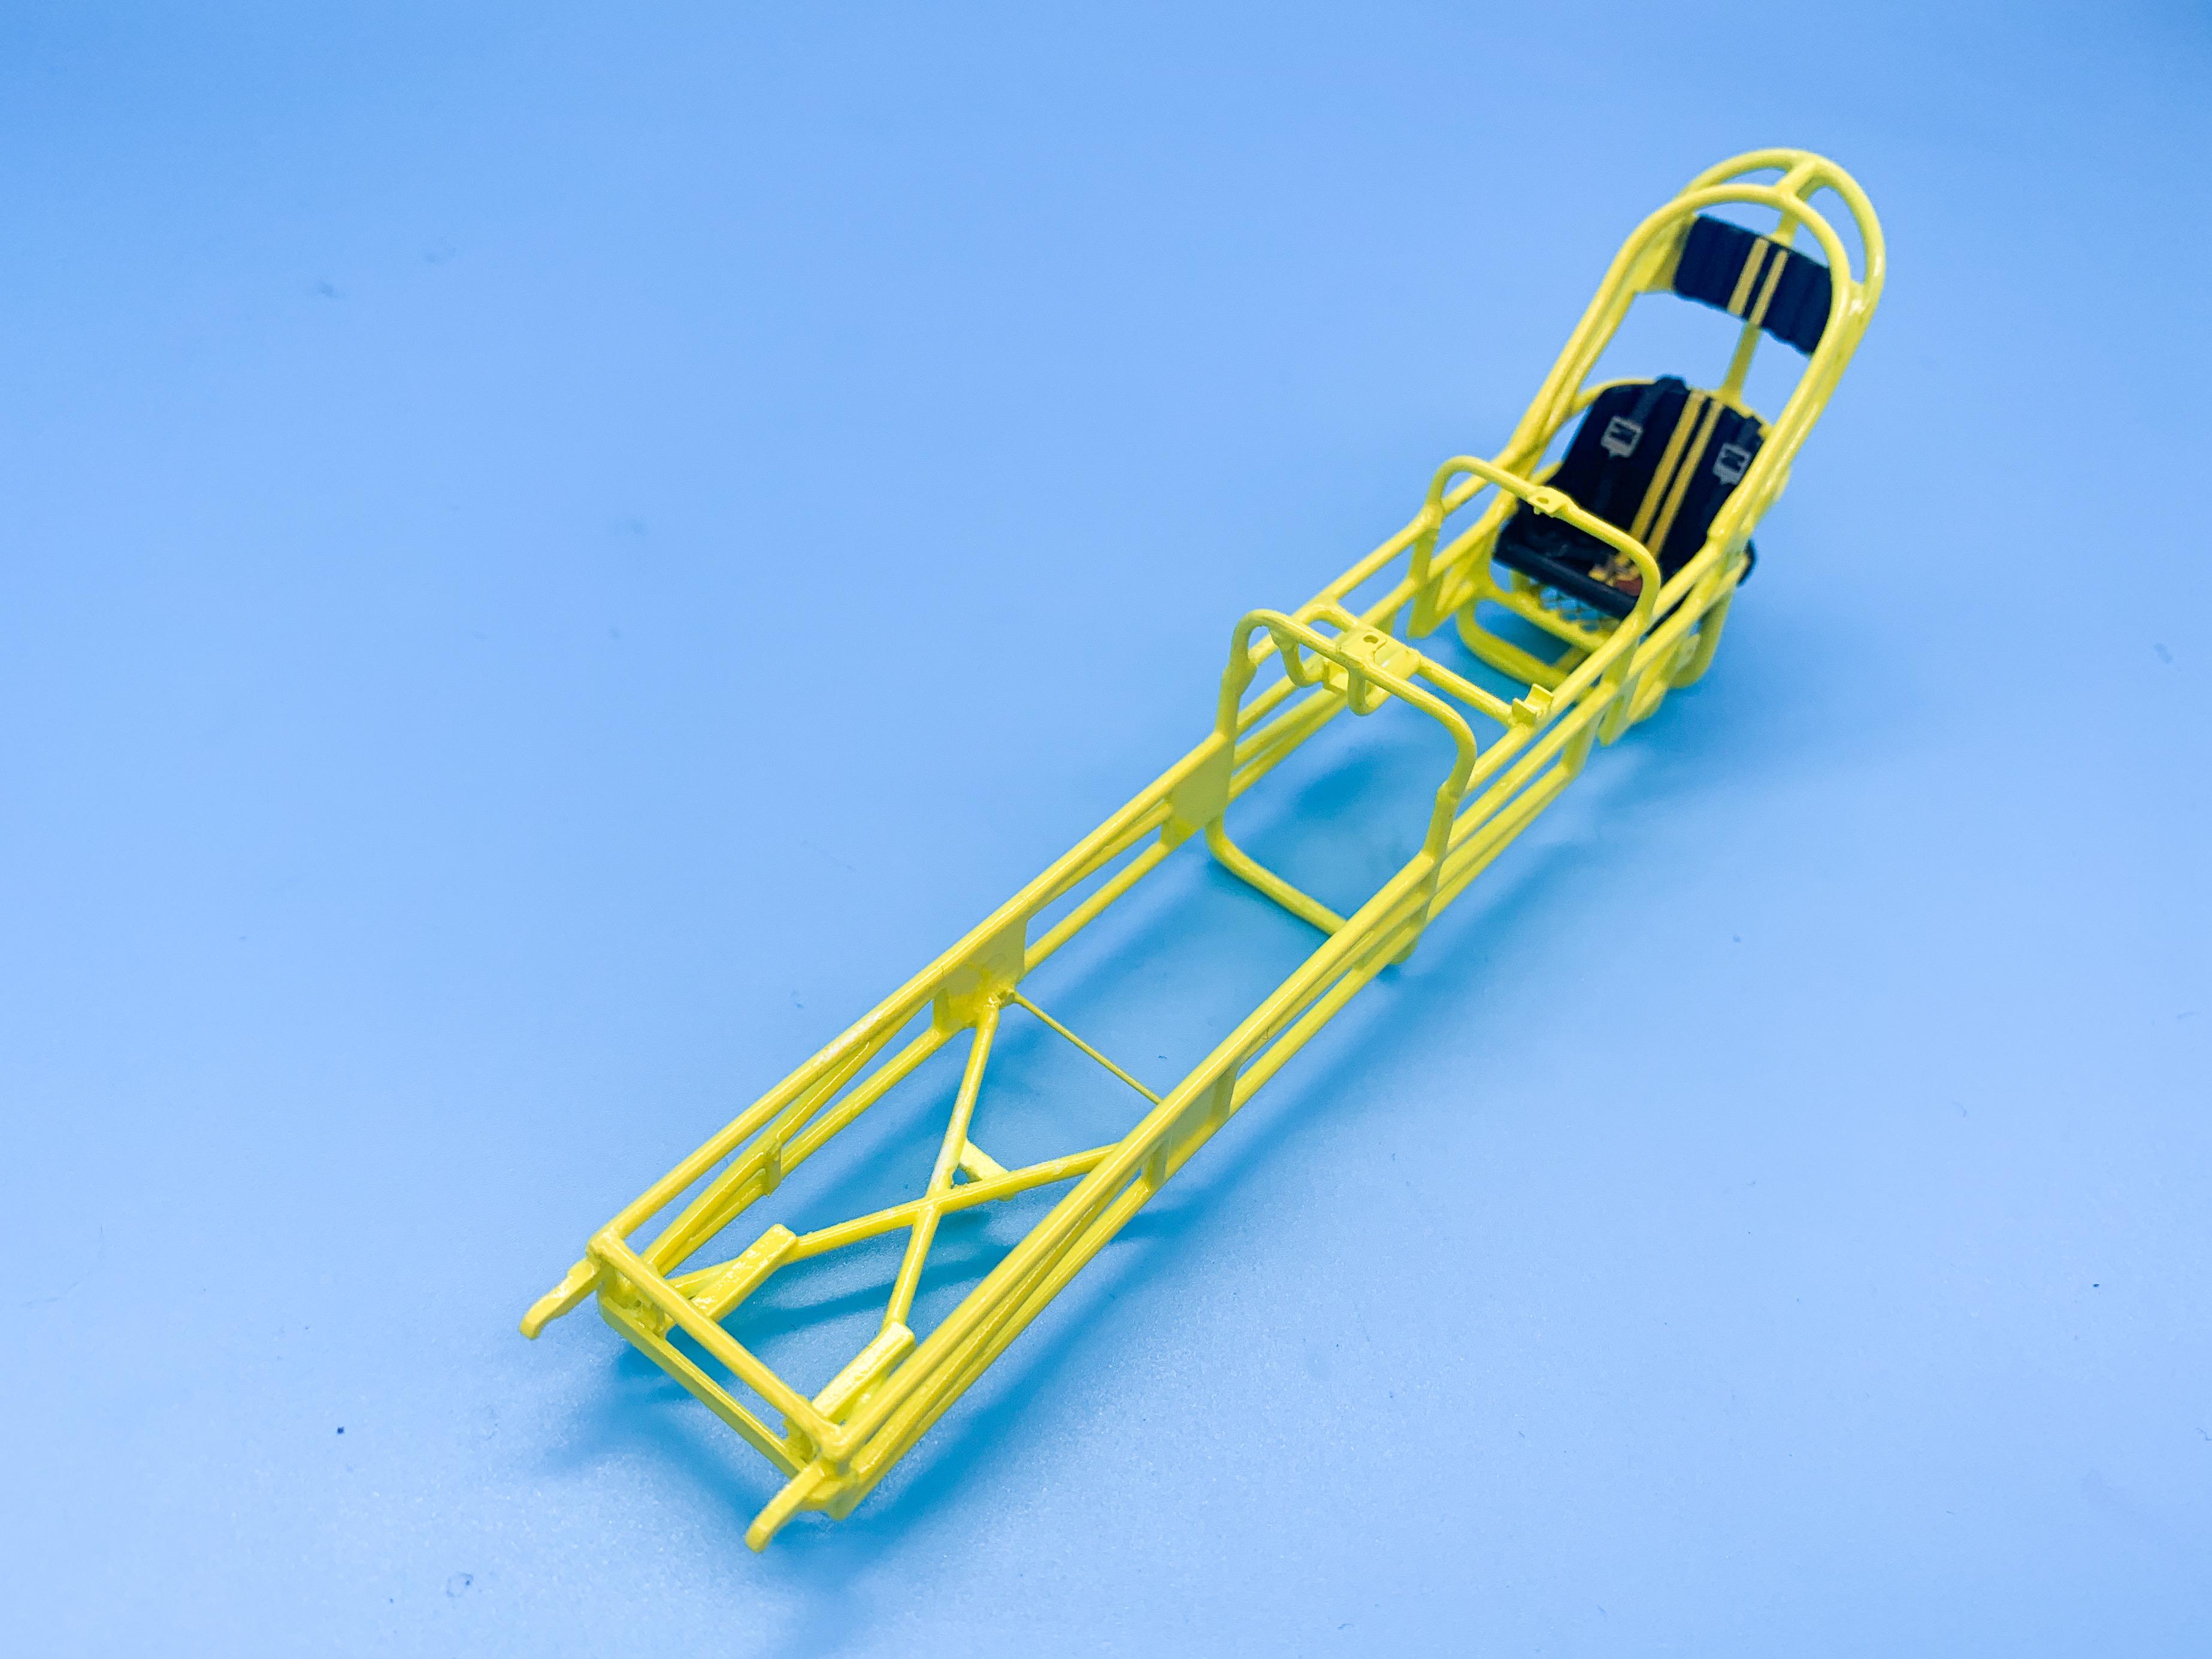
Figures - thank you! You’re right! Going to do my best to correct the look of that somewhat (but still have it so I can actually pick the thing up without breaking it ?). I tried making styrene pieces originally but settled for getting some gel glue in there, hitting it with activator and filing it square as best I could without damaging the frame and making more work…didn’t quite get it like the 1:1 but tried my best anyway… Speaking of the frame, got the last few pieces added before paint this weekend: Had some little brackets and clips and a few little pieces that it needed, before shooting the whole thing with primer, smoothing out some of the little flaws and imperfections, adding some weld beads with Vallejo plastic putty and then shooting with Createx pure white as a base to make that yellow really pop: Then, I mixed up some Createx yellow with just a tiny dash of orange to warm it up a little and shot the frame and engine: Once that was dry, shot three mist coats of clear just to gloss it up a LITTLE, and let it dry overnight. I already figured out the rear axle, aside from adding detail, but the front axle needed some more work, so I tackled that next: I sacrificed a little scale fidelity to make sure I can actually assemble the thing when the time comes - I really don’t want to be fiddling with tiny little gluing areas once this part is in Alclad, but I’ve also got some more detail to add after paint that is going to add some more realism. Whilst I had the Vallejo putty handy, I used some of that, mixed with a little water, to smooth out the ‘leather’ in the bucket seat and headrest that I made and then got that painted and made some seatbelts: The belts on the real car had a little brown leather cover over the one latch for some reason, so I added that as a little detail - although I’d really like to find a scale crash helmet that I can sit on the seat so most of this stuff will disappear anyway. Michael’s sells some great textured paper that works well for belts, incidentally, which is what I used here, with Gopher Racing (I think?) photo etch. Seat and headrest in place: Not a tonne of progress since the last update, but I had to keep waiting for paint to dry ? Next job will be running some brake lines and lines for the parachute and whatever else - I want to get them handled before I install a bunch of other stuff in the way. More soon! PS: yeah, I see the bow in the frame - but with the engine in there it fixes itself ? PPS: I hate how easily you can see flaws with pictures this large…makes it easy to see the areas that need touch-ups tho More soon!
-
Model Car Muse with Doug Whyte
OldNYJim replied to OldNYJim's topic in General Automotive Talk (Trucks and Cars)
A few more! I’m REALLY enjoying these videos - and there’s a good interview with Doug (below) where he mentions that there are plenty more to come…I hope this series runs and runs! -
Marcel Bebris ?
-
Not being ignored at all...if they'd pitted, Max was close enough that he would jump Lewis and take the lead - and with only 5 laps to go and a car smashed all over the track, likelihood is they wouldn't have had a chance to regain the position. And they were right - if things had followed the normal procedure, the track was clear and ready to race with one lap - but the one lap that the regulations require to let lapped cars loop round to the back of the pack before the safety car comes in would've taken them to the flag. Of course, that's based on the FIA following their own rules and not cutting the safety car short...