David G.
-
Posts
11,326 -
Joined
-
Last visited
Content Type
Profiles
Forums
Events
Gallery
Everything posted by David G.
-
Great looking paint and engine bay detail. David G.
-
What a great profile! David G.
-
Thanks Carl, I'm quite happy with the way they came out. David G.
-
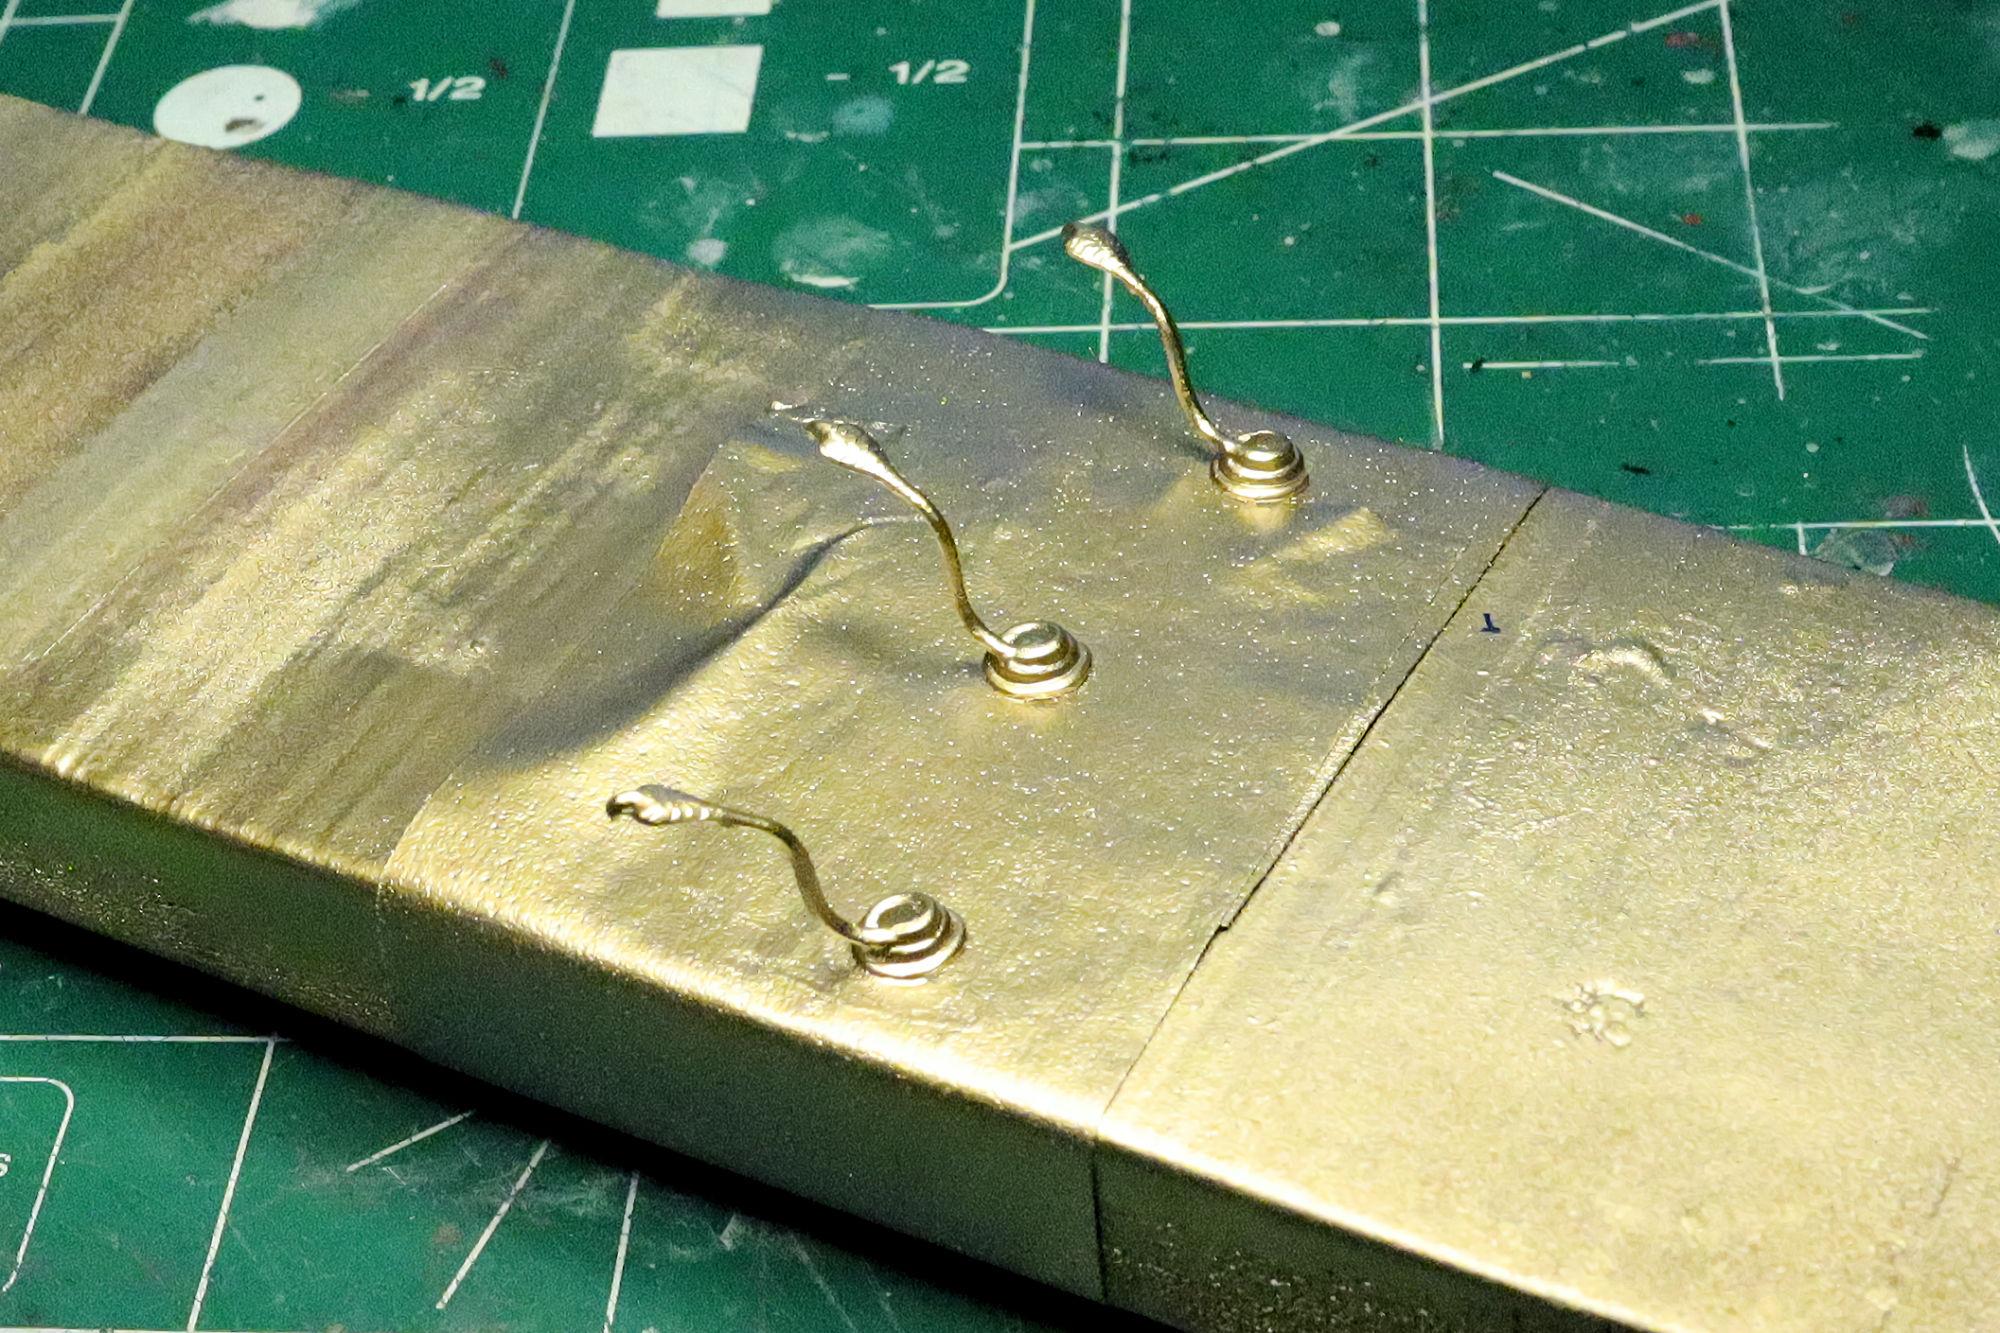
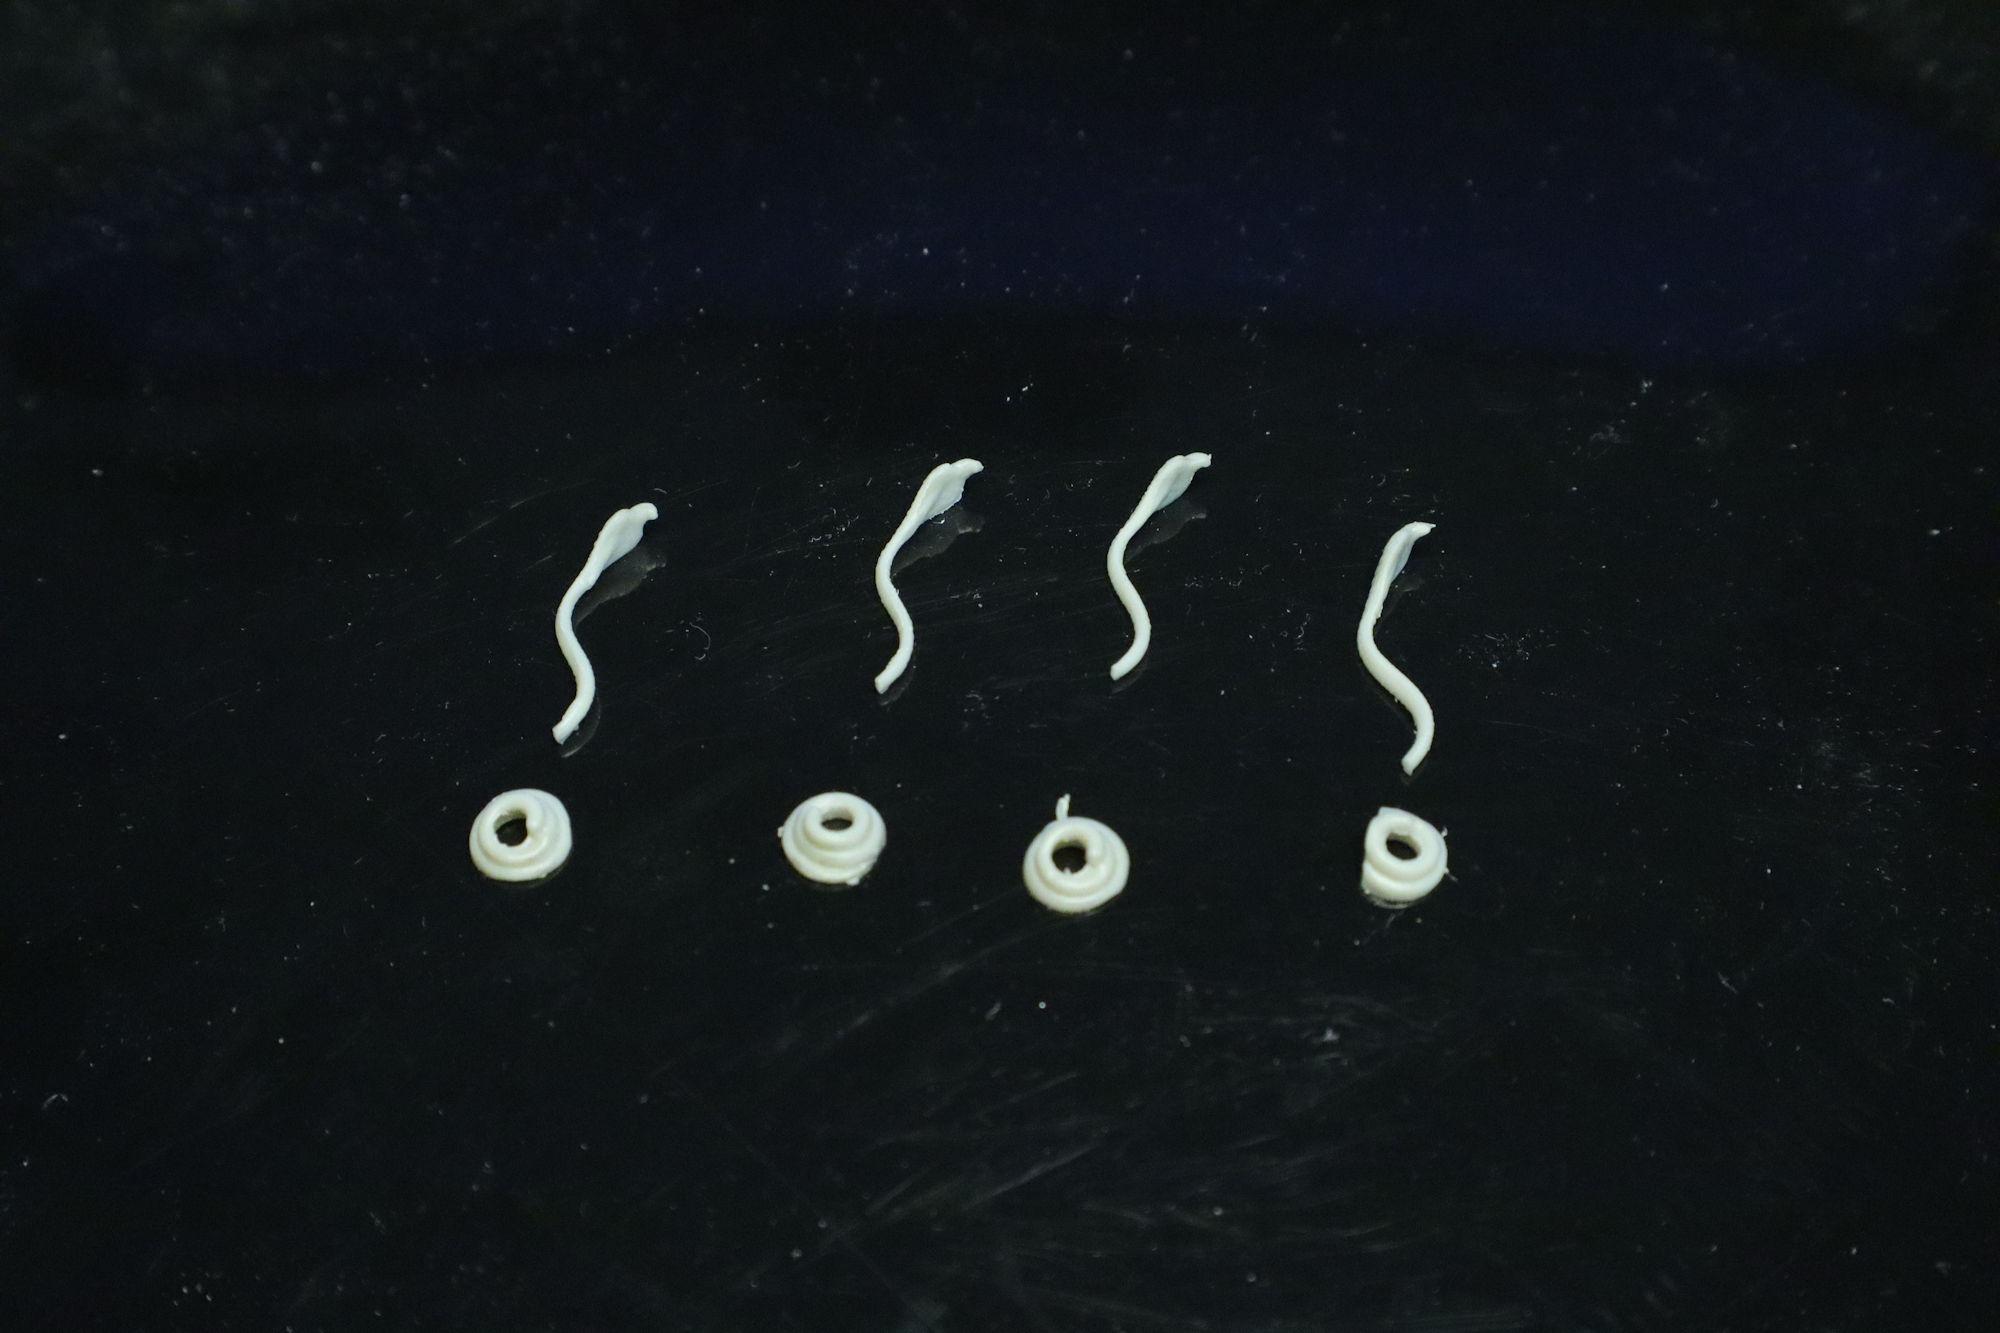
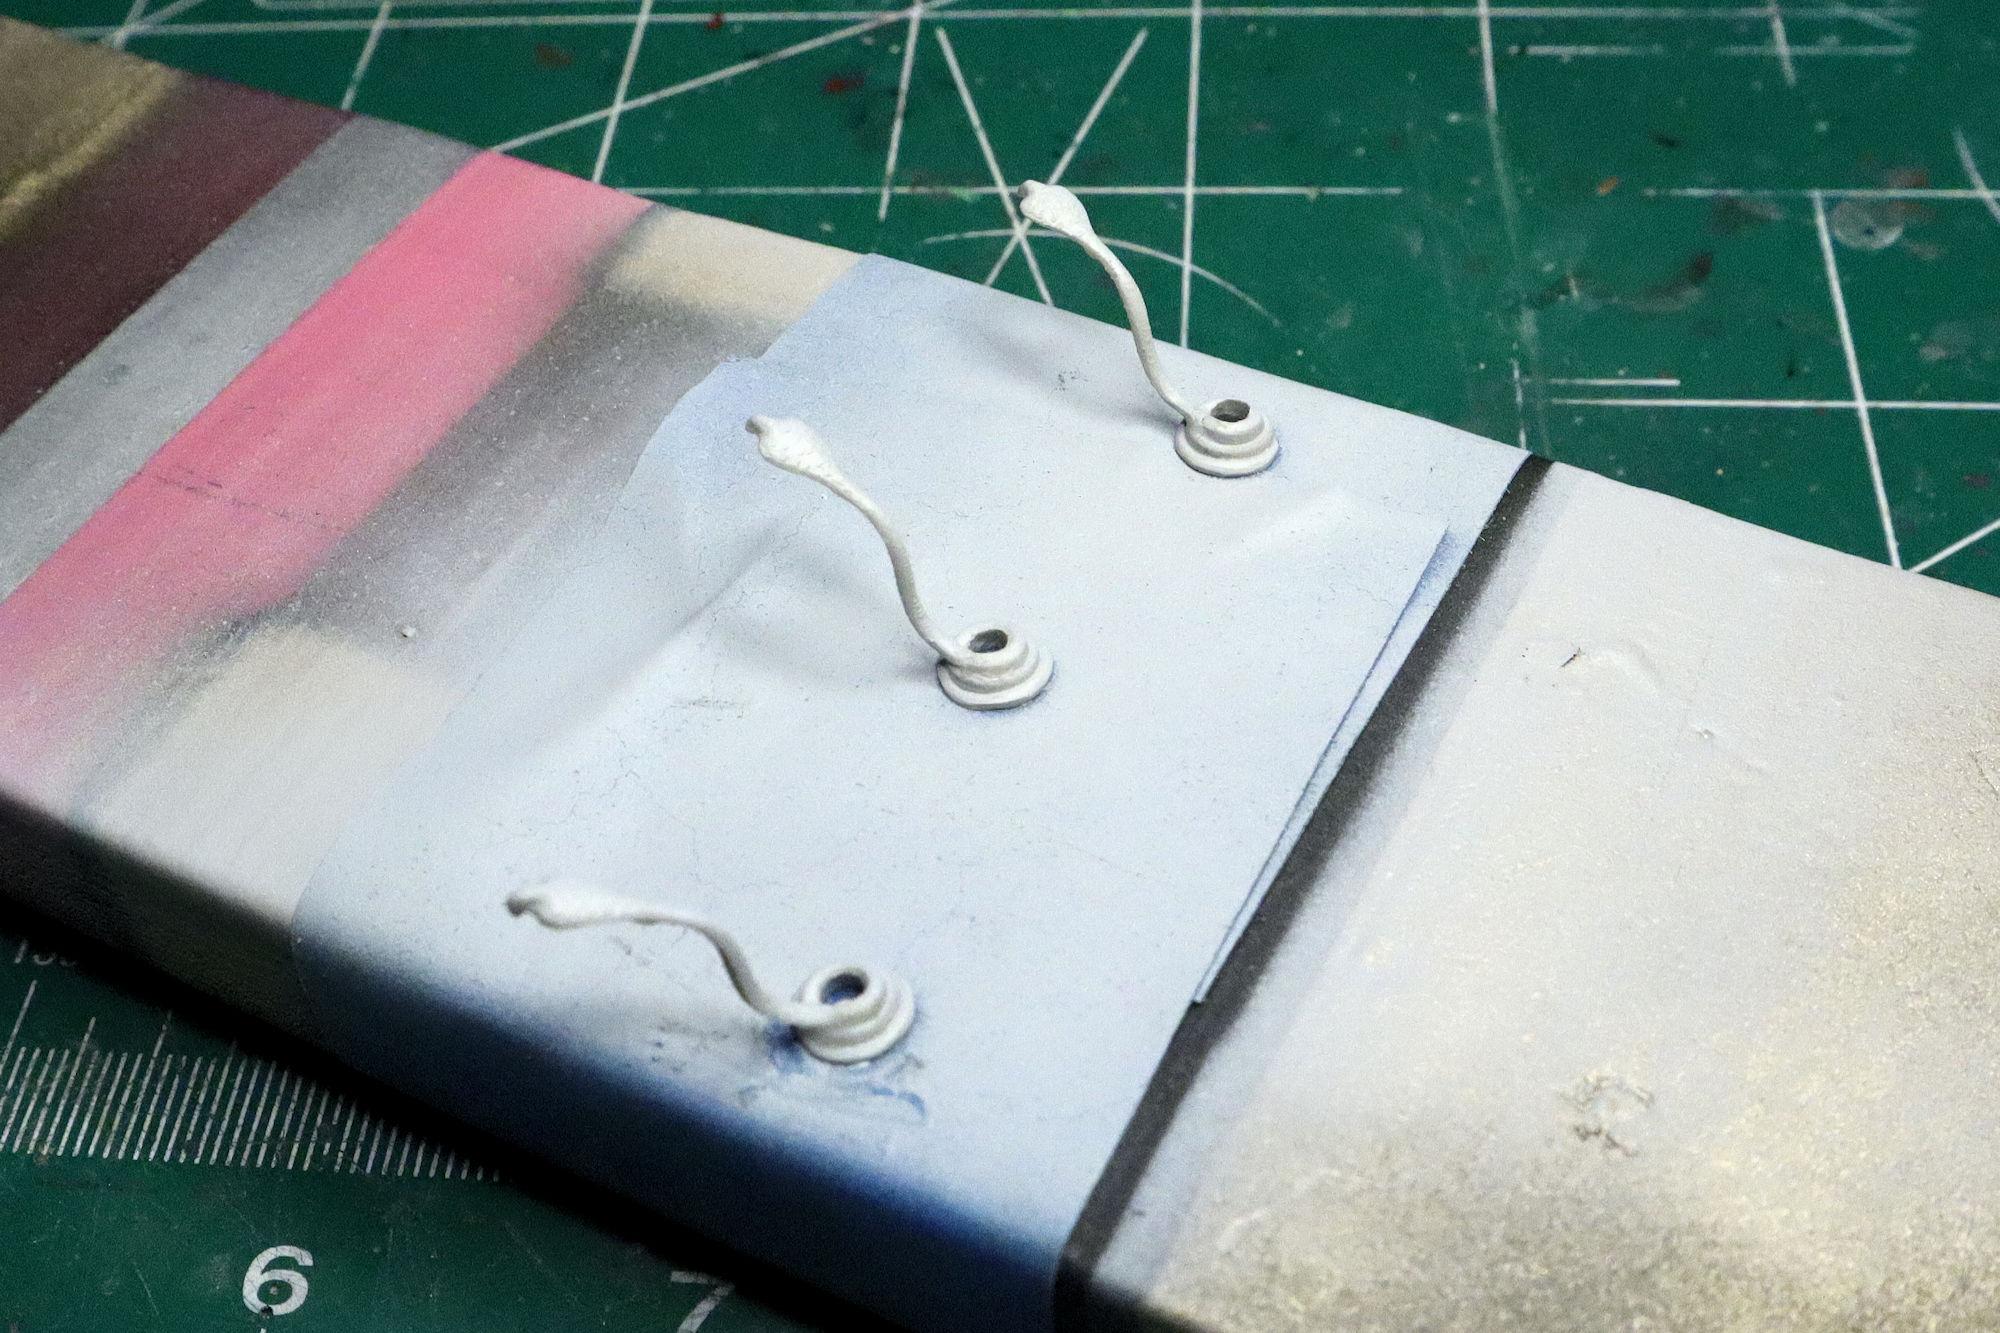
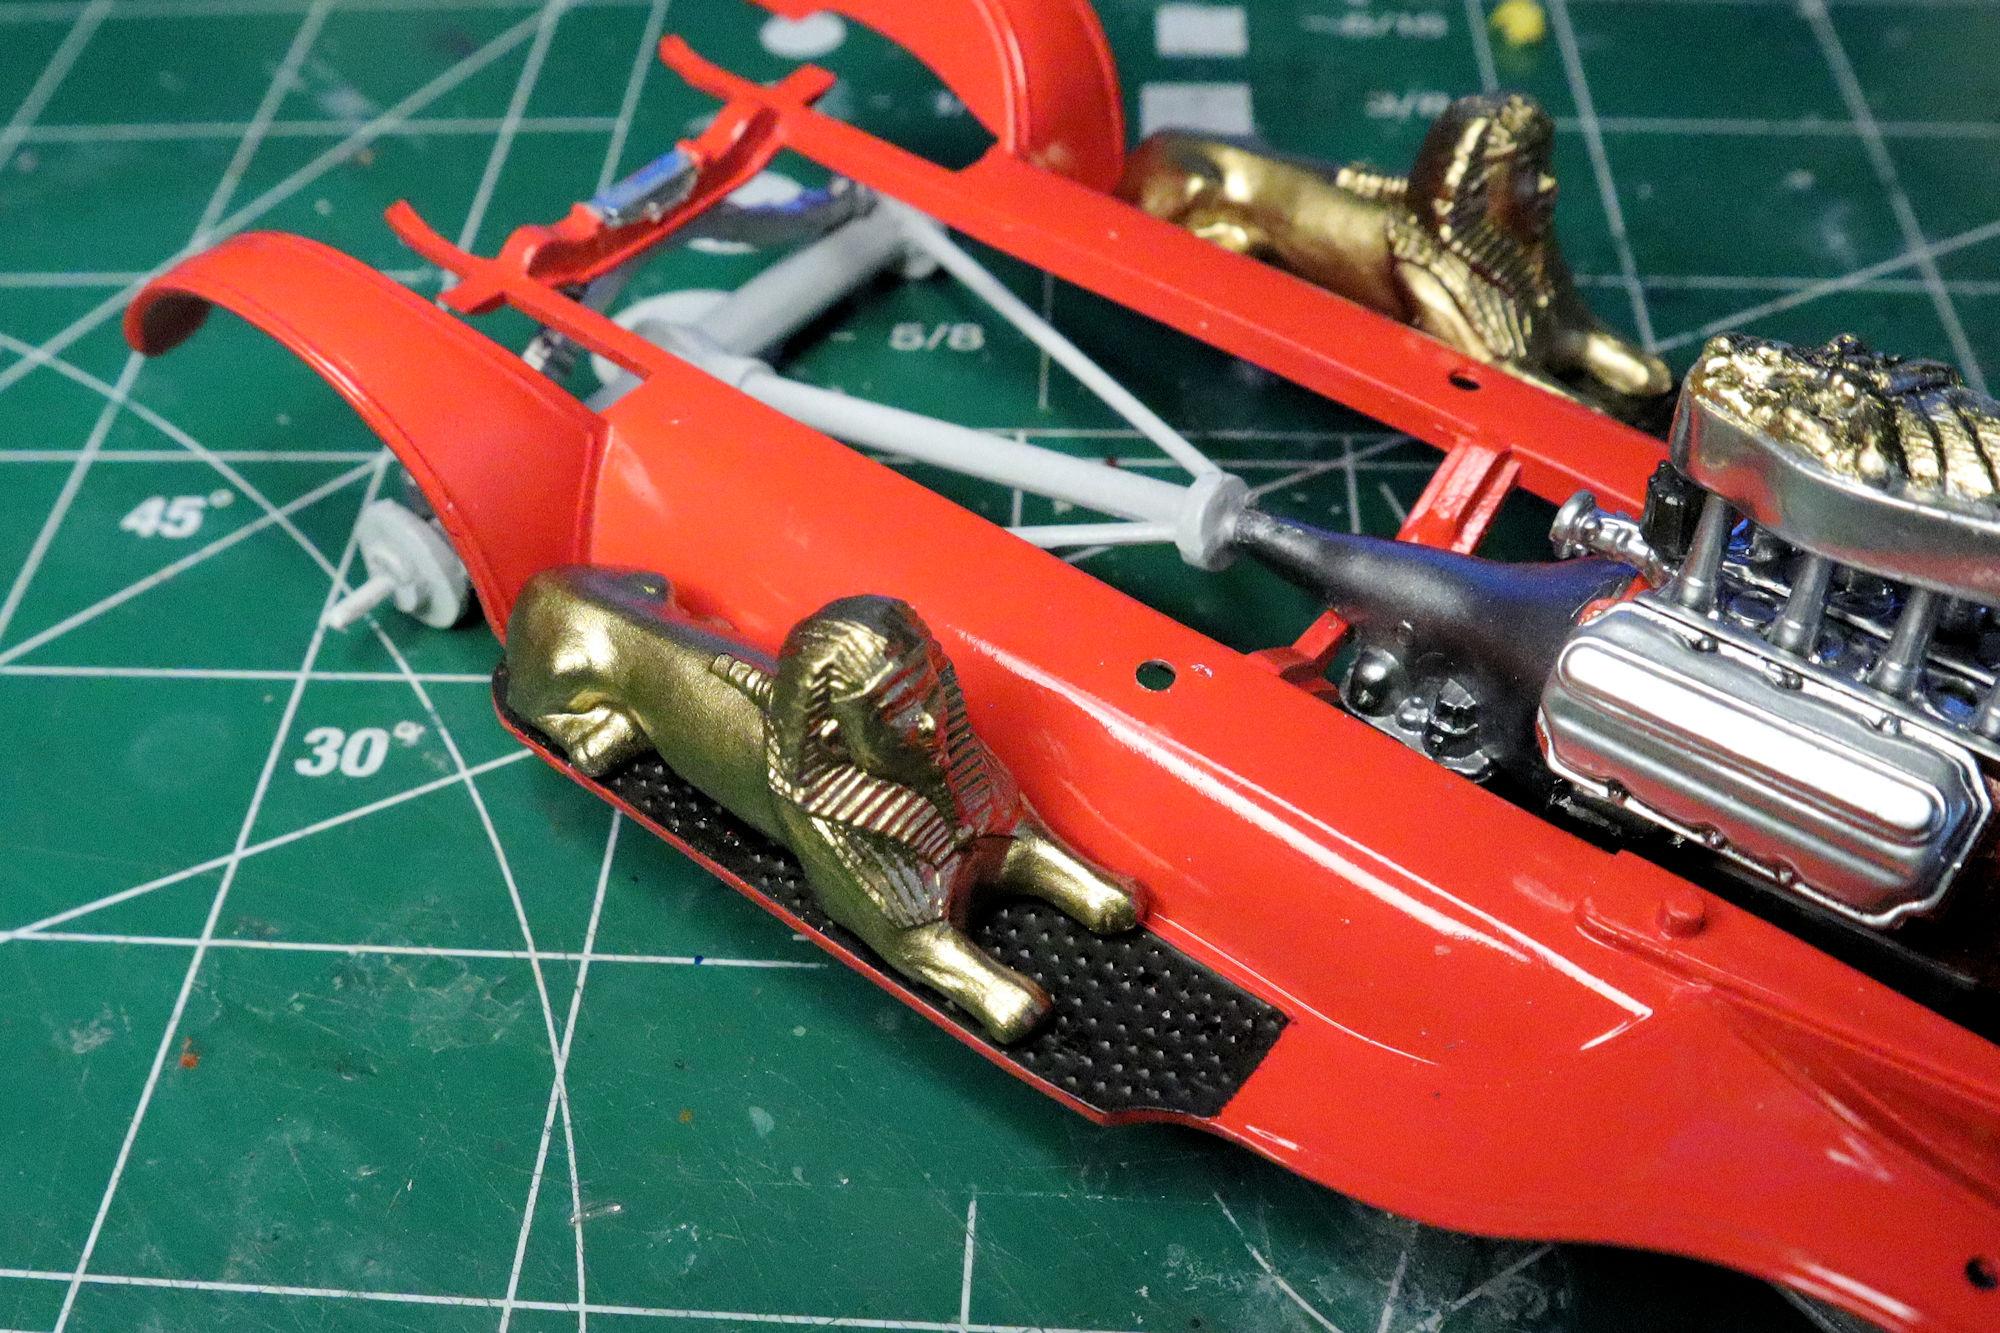
Hello Everybody! I feel like I'm in the home stretch with this one, just cross-checking all the final details. Cobras! There are four. Two are to be mounted to the area between the engine and running board. One is to be used as a gearshift and one is supposed to be used in place of the upper radiator hose. We'll have to see how the last one works out. After assembling the three body-mounted cobras, they needed a little filling and smoothing. Multiple applications of CA with some filing and shaping in between each application is the way to get that done. Here's the result. I have to say, I'm really pleased with the way the Rustoleum metallic gold looks. That's all for now. As always, thanks for looking and please feel free to comment. David G.

-
Smoooooth an' Deadly! David G.
-
Nice work on the chassis. Now the fun begins, fabbing body bits. David G.
-
 Excellent work updating the B-wing! I love all the detail you added, especially the weapons and cockpit. It was fun following along with your build, thanks for taking the time to share it. David G,
 -
The paint and interior details look fantastic! Love the color. David G.
-
Nice work with the wiring, love the wire looms. The color looks great with the second coat. David G.
-
Who doesn't love a mock-up? Let's see yours!
David G. replied to Belairconvertable's topic in WIP: Model Cars
Wow! That engine looks fantastic! David G. -
Another PaddyWagon,kind of.
David G. replied to BIGTRUCK's topic in WIP: Model Trucks: Pickups, Vans, SUVs, Light Commercial
Nice tank, and your brass work looks great! David G. -
Lots of nice detail! David G.
-
Great looking Beetle! The light work is very well done and the diorama is a perfect setting. Your photos are very well done as well. David G.
-
The end result is well worth all the work you put into it. Everything about it looks perfect. David G.
-
An absolutely fabulous version of the Tijuana Taxy and the excellent diorama is a perfect setting for it! David G.
-
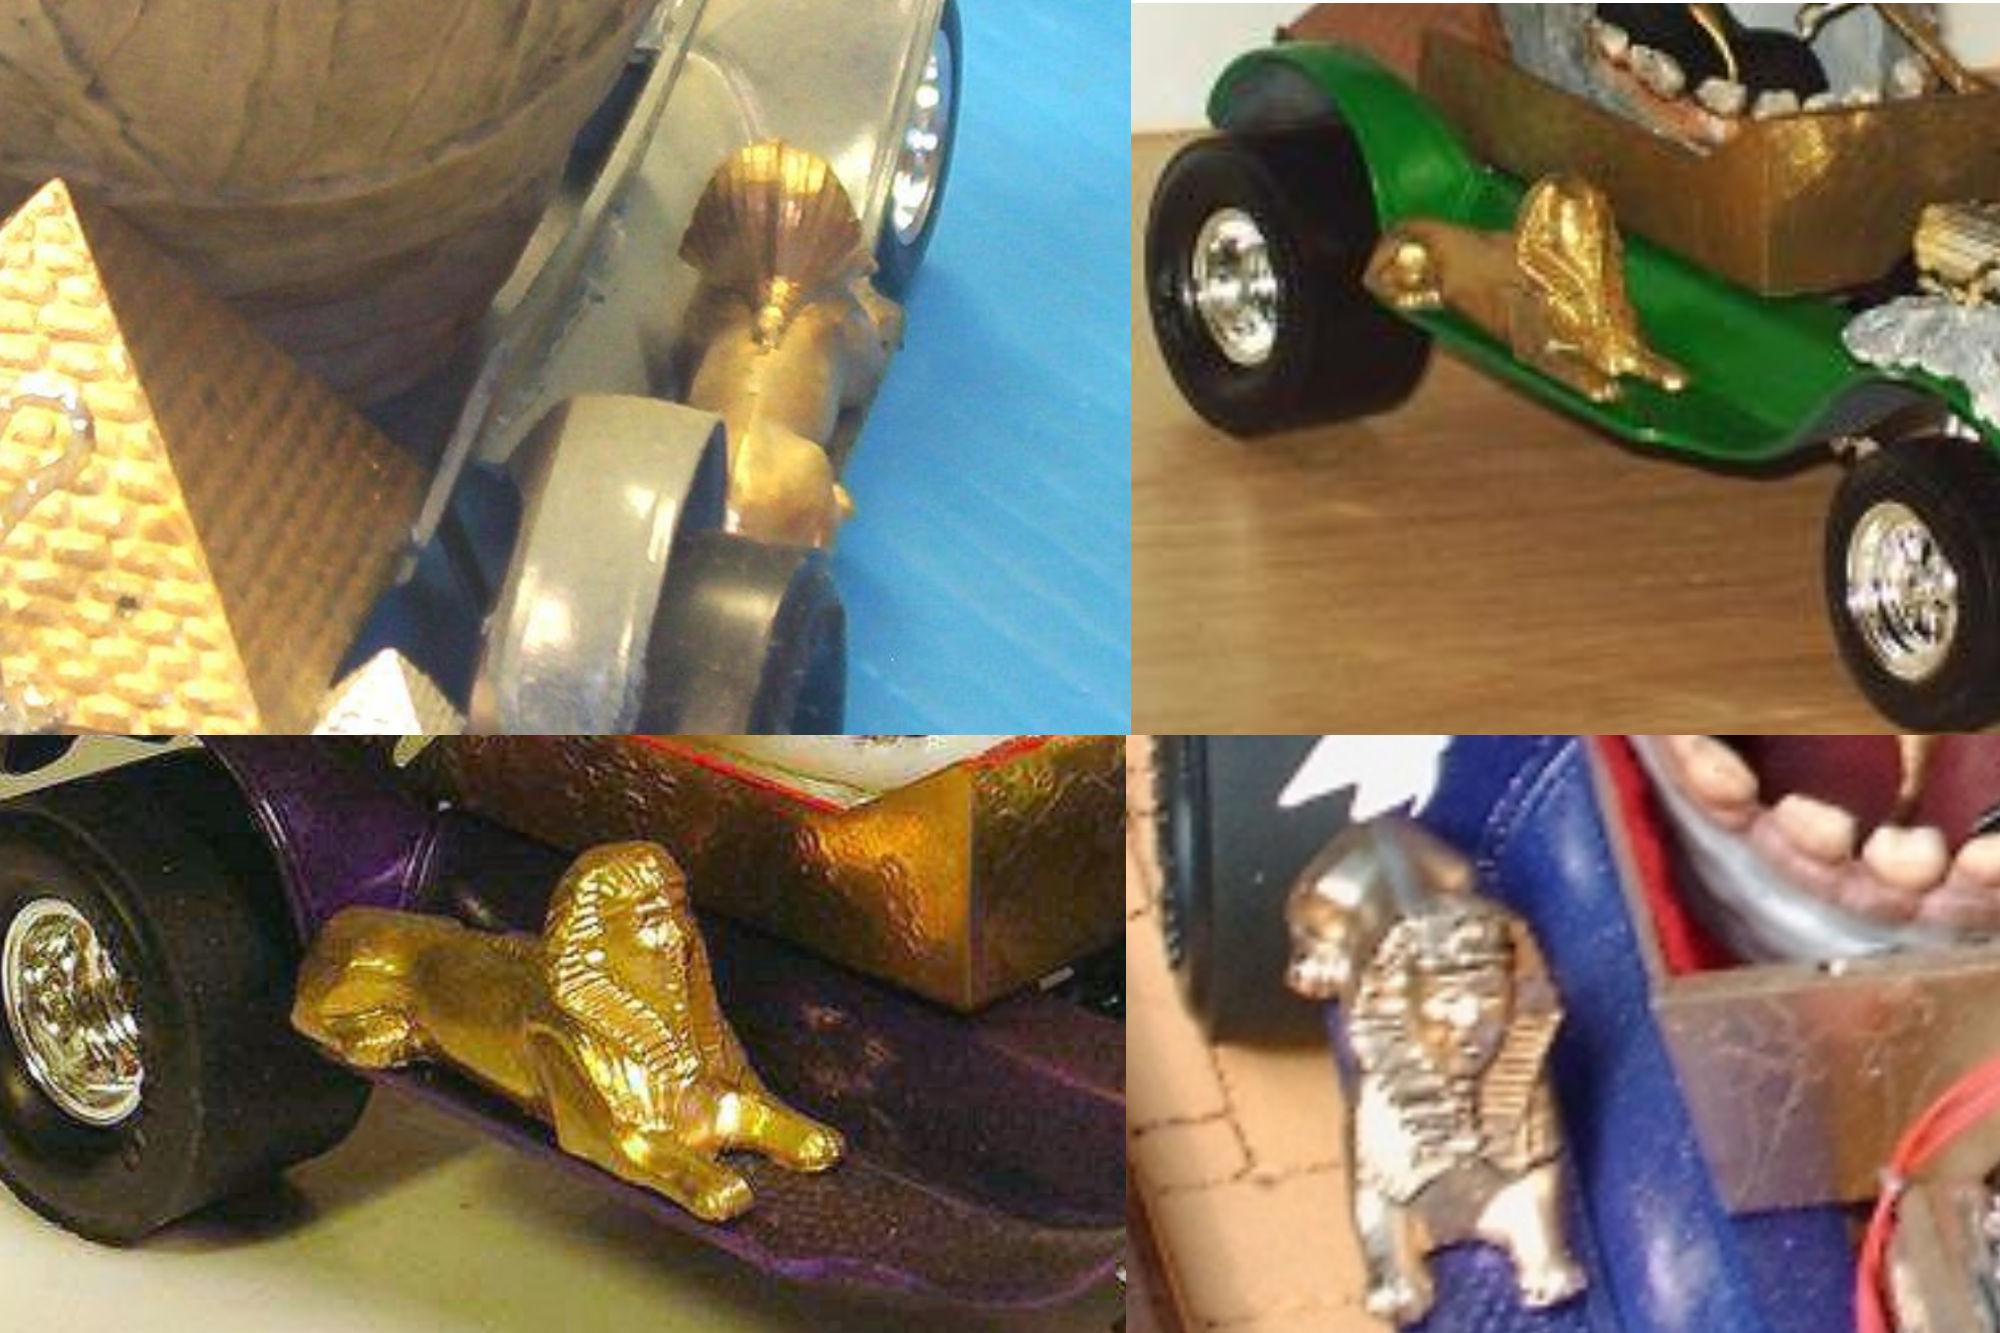
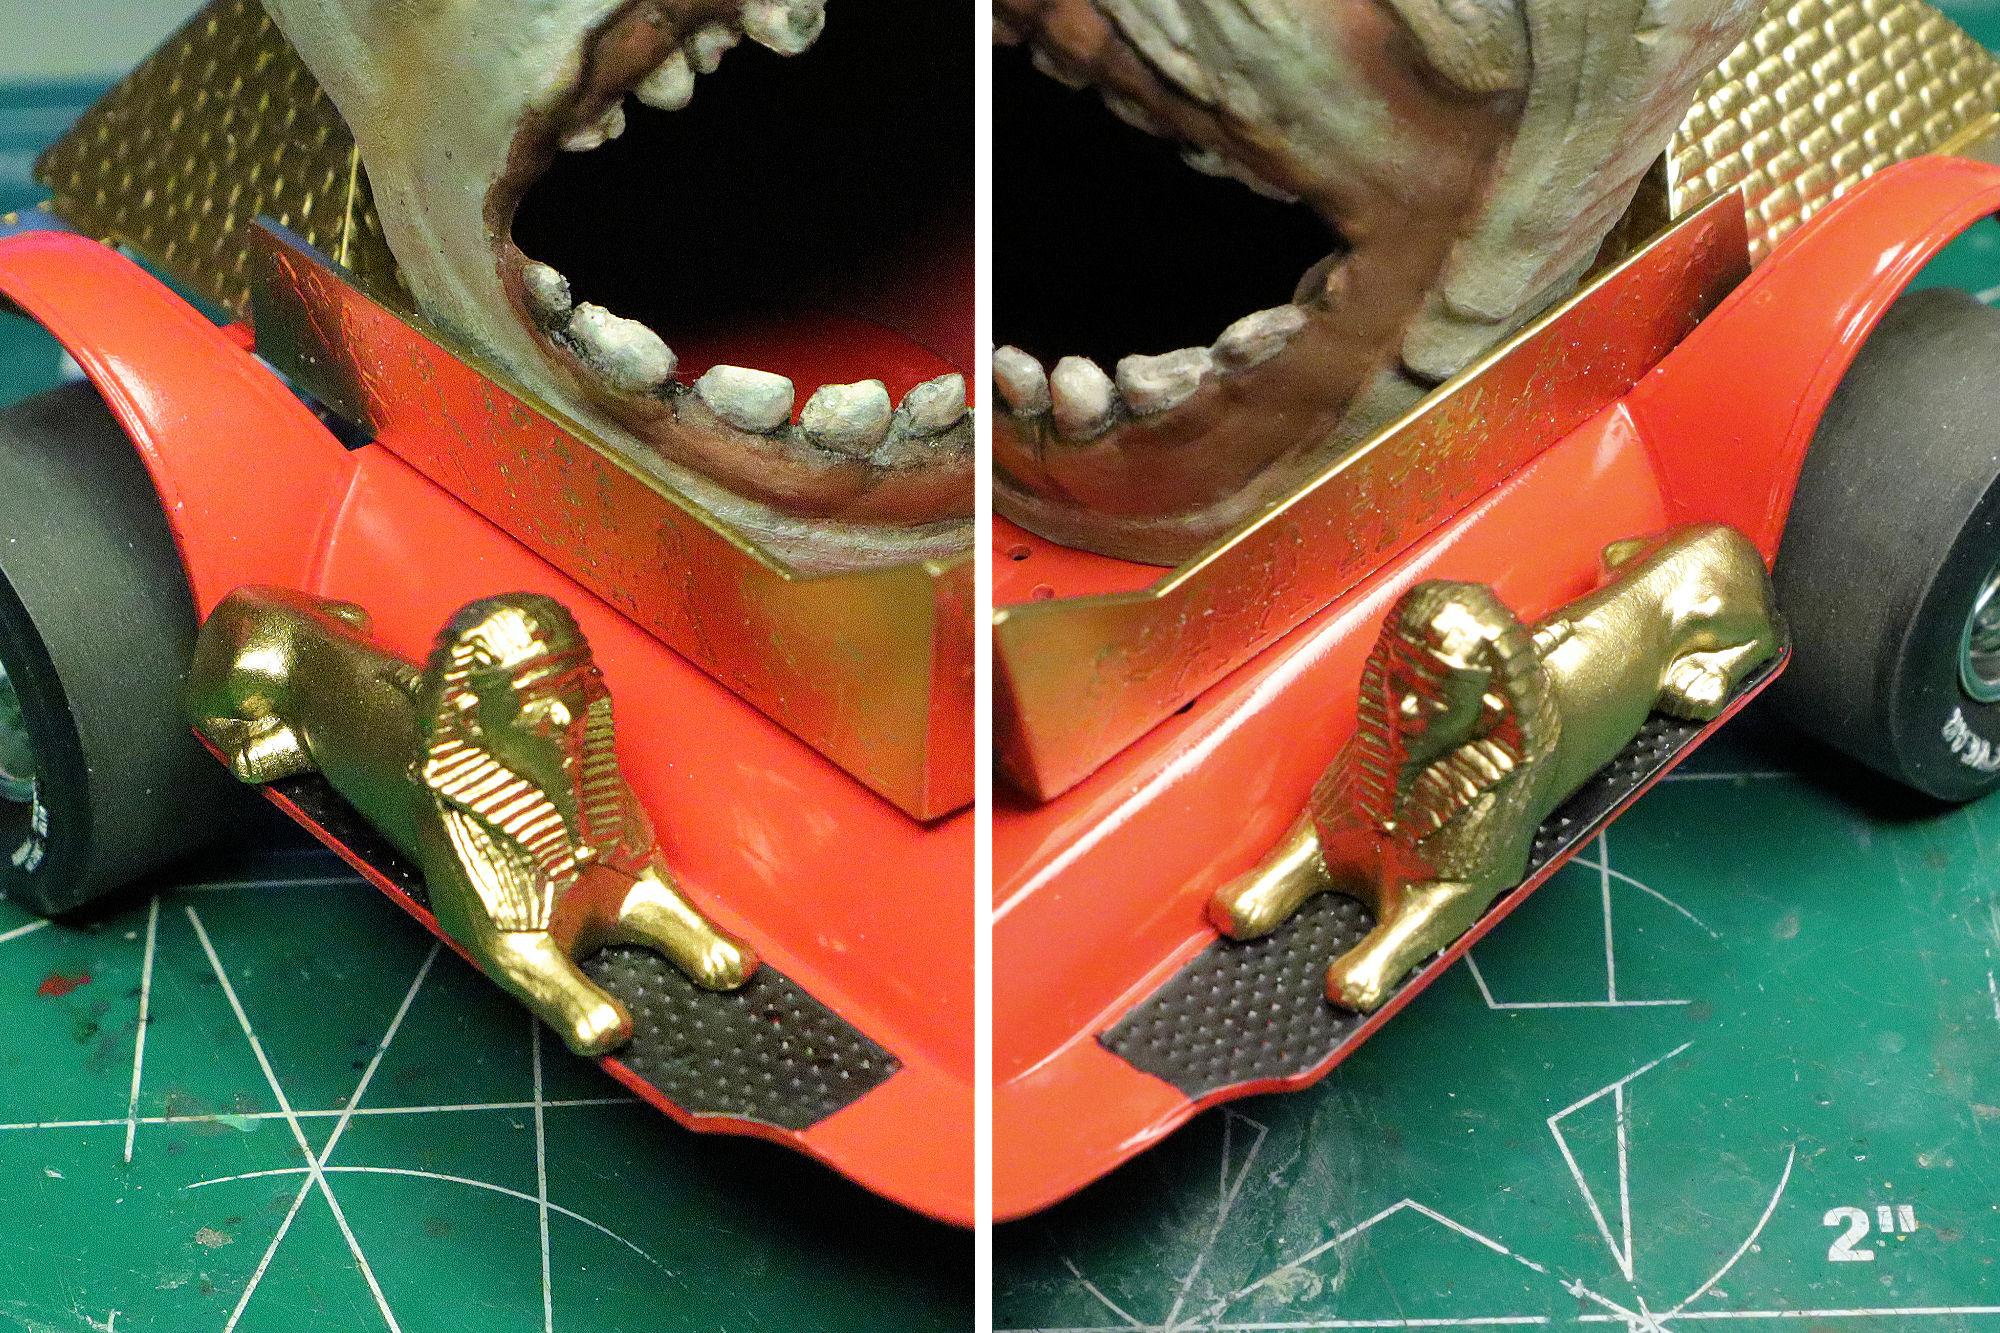
Hello Everybody! As I begin to catch up on life and all things related, the updates will come more quickly. As such: I noticed that the right fender puppy (sphinx) is not quite in the same position on its running board as is its mate on the left. This seems to be a matter with the kit itself as the few built-up examples I found online shared the same issue. I'm going to correct it on mine. I drilled out the original locating pin from its hole in the running board. After shaving the remnants of the original pin from the sphinx, I positioned the sphinx where I felt it should go. I then marked and drilled it for a 1/16" styrene rod replacement pin. That looks much better! As always, thanks for taking the time to stop and look. And I'm always interested in what you're thinking, so please feel free to post it. David G.
-
"Wheels Down!" as I say. Looks good! David G.
-
That's a really clever solution to the light issue, well done! David G.
-
That's a nice and tidy build! David G.
-
Excellent work on this! A cool theme well executed. David G.
-
It looks like everything came out quite nicely. Well worth the effort. David G.
-
Those gun / blaster barrels will add some nice detail to the finished model. David G.
-
Good detail painting on the chassis, David G.
-
Nice recovery! It'll look great once the putty is all blended in. David G.
-
Hello Everybody! I've been a little busy with real life matters lately so the bench time and subsequent updates are a little behind schedule. It's a self-imposed schedule but a schedule none the less. Though not many people will see the underside of this model after it's build and put on the shelf, I decided that I couldn't live with such an unsightly void. So I cut a piece from some styrene sign material to fill in the blank. After fine tuning the fit of the cover piece, I decided that the rest of the floor pan needed a touchup so I hit it with some Tamiya TS-49 Bright Red to better match the insert panel. I have more plans in mind for this area in the future. That's all for now folks! Please feel free to post any comments or critiques you may have. David G.