David G.
-
Posts
11,326 -
Joined
-
Last visited
Content Type
Profiles
Forums
Events
Gallery
Everything posted by David G.
-
Love the color! Nicely done. David G.
-

Truck Overload
David G. replied to tiking's topic in Model Trucks: Pickups, Vans, SUVs, Light Commercial
An amazing rolling diorama! David G. -
1999 Ford Focus WRC
David G. replied to Exotics_Builder's topic in WIP: Other Racing: Road Racing, Land Speed Racers
Spectacular detail work so far! David G. -
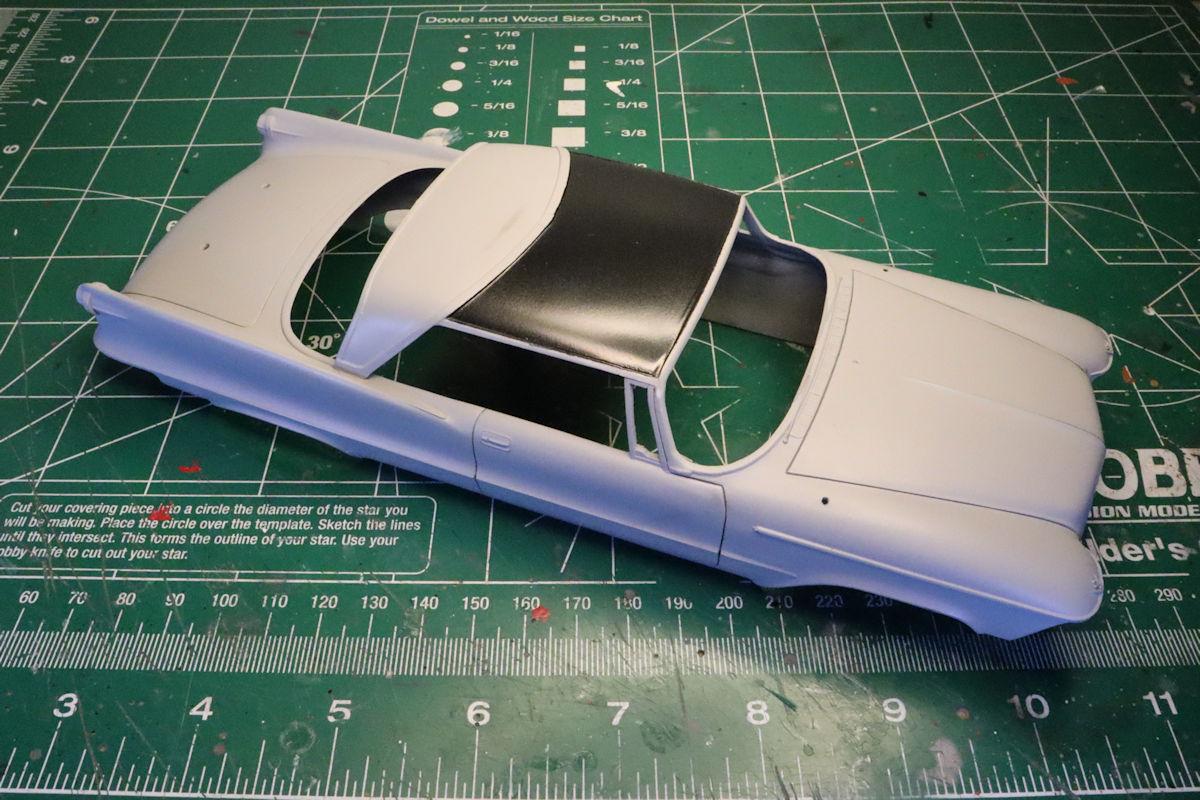
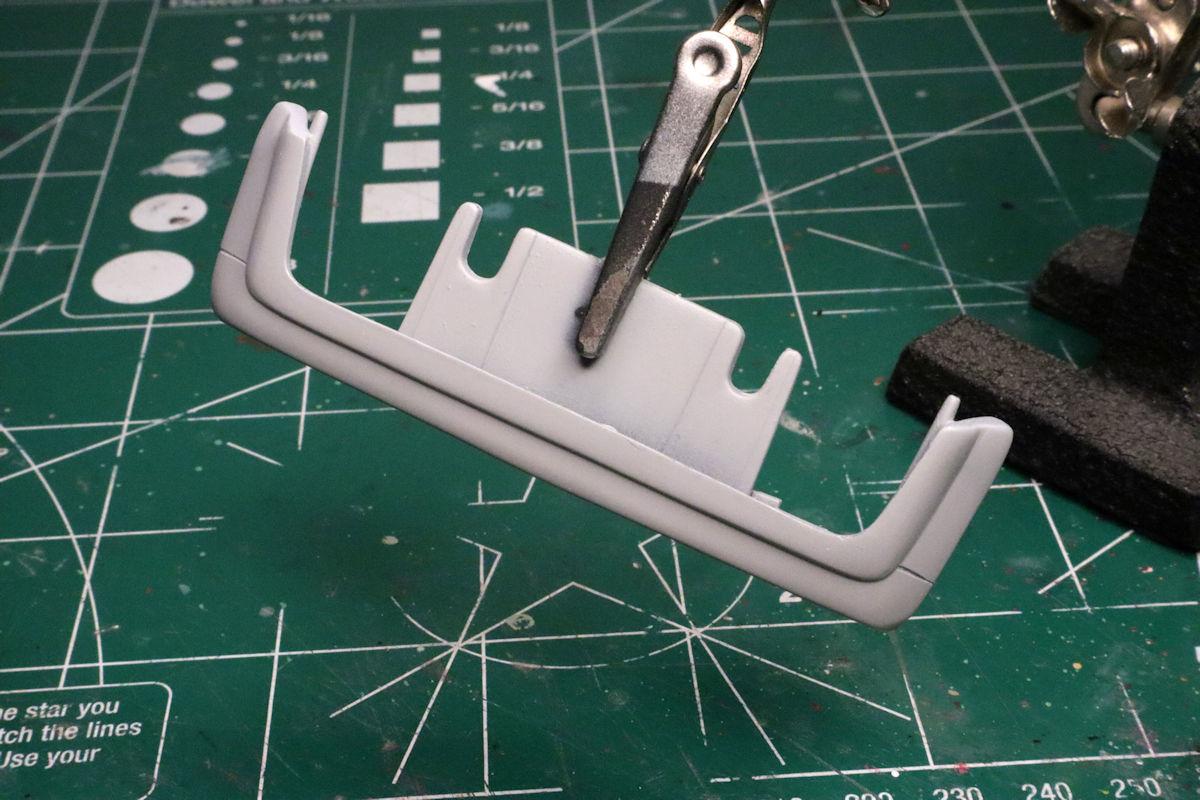
Hello Everybody! I managed to make some time yesterday to get some work done. I got some paint sprayed on the roof and I think it came out rather well. I'm planning a second coat after a little smoothing over. The color is Tamiya TS-40 Metallic Black. I also got the cut I made in the roll pan corrected and ready for paint. I have some Molotow chrome paint on order and it should be here by 4 October. I want to try shooting it through my AB to "re-chrome" this piece. And as a bonus, here is a test fit shot. As always, thanks for taking the time to look and please feel free to leave a comment. David G.

-
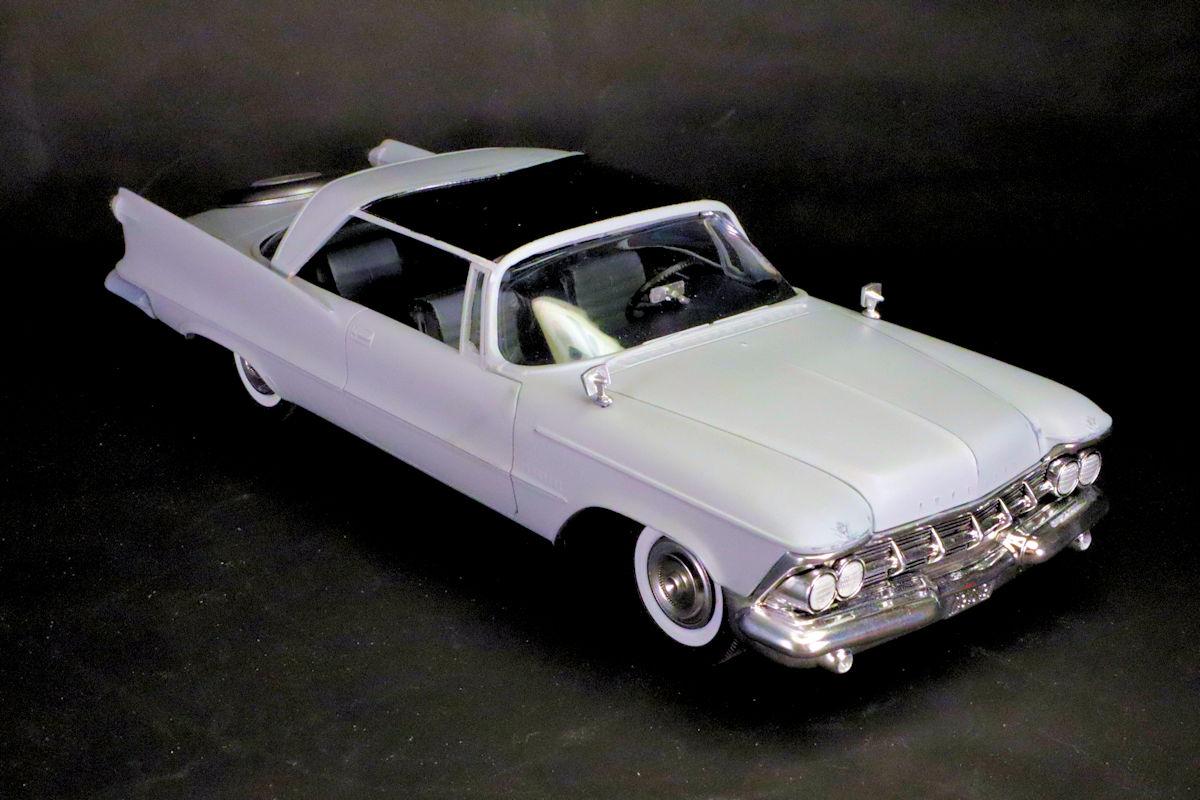
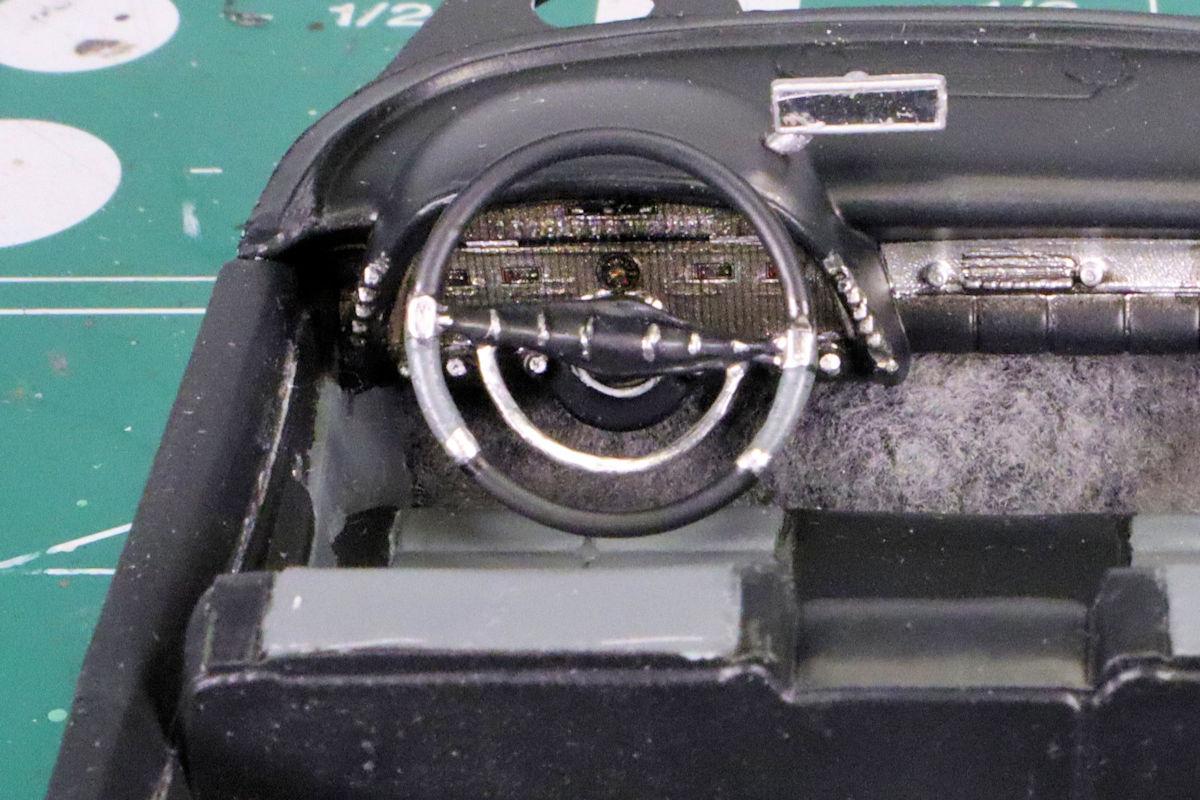
Hi Tom, thanks for the comment. I must have gotten lucky or maybe the molding problem was addressed. While the casting alignment was off on the steering wheel in my kit, it was not nearly as bad as the one in the photo above. With no more than the normal amount of filing and clean-up, I was able to get decent looking results. The interior is a bit shallow and lacking in detail on the door panels and for those reasons is in my opinion, not well suited for building this model as a convertible. The dashboard and steering wheel are by most standards, nicely detailed and more than sufficient for use when building the hardtop version. Overall I'm quite pleased with this model and have no serious complaints. I appreciate the effort and expense that Mr. Burkett went to to keep this kit in circulation and prevent it from becoming another of the many that have been lost to history. Based on what you shared regarding the community's complaints in relation to this kit, I find myself wondering what kind of complaints we'd see from the community if all the lost Jo-Han were suddenly re-released tomorrow. ? Unfortunately, we'll likely never know. Regards, David G.
-
Great work on this so far, love the cage! David G.
-
That's a gorgeous color! Nice engine detailing too. David G.
-
Wow, this one seems to be fighting you every step of the way! Aside from the aforementioned issues, the paint looks great. Can't wait to see it all come together. David G.
-
That came out really nice. There sure is some chunky tread on those tires! ? David G.
-
Sometimes it's the subtle changes that make all the difference. David G.
-
Looks fantastic! Engine and interior detail are nicely done. Likewise the paint and overall assembly. David G.
-
Fabulous paint job! That with the high level of detailing could easily have it passing for the real thing. Well Done! David G.
-
A beautiful build! Excellent detailing, the paint and decals look great. David G.
-
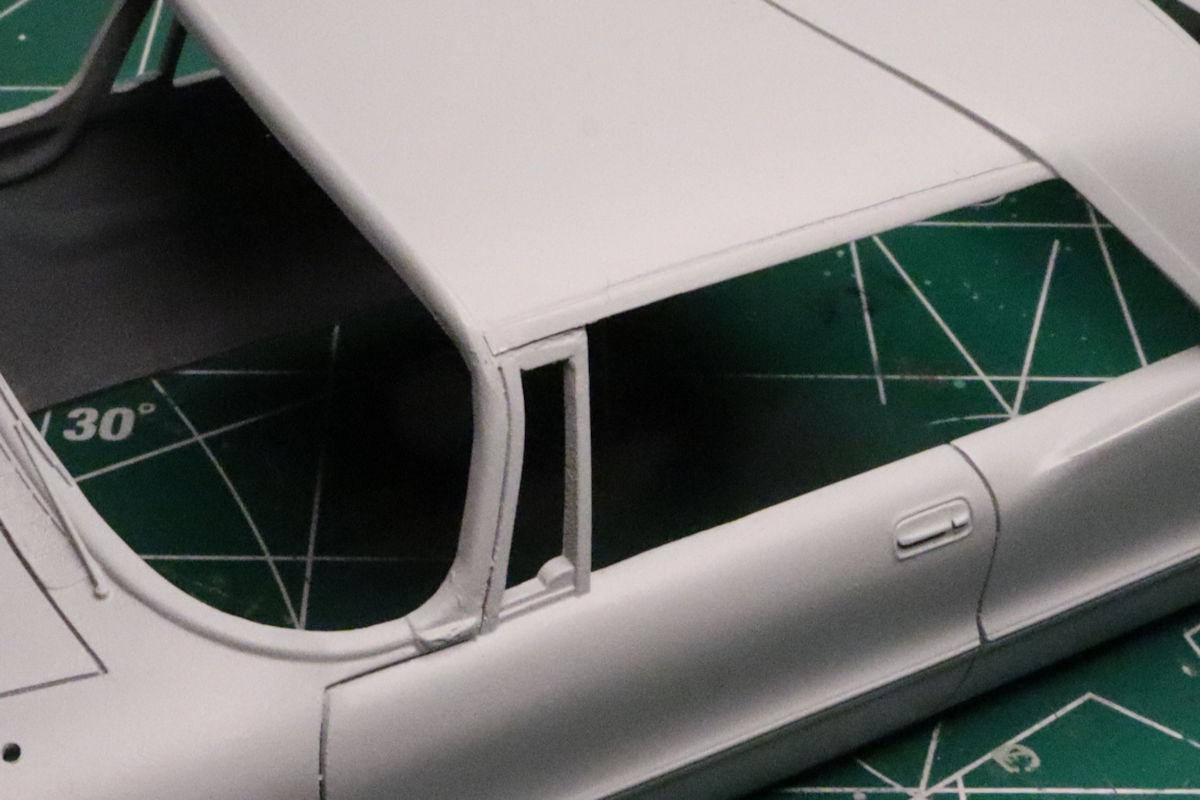
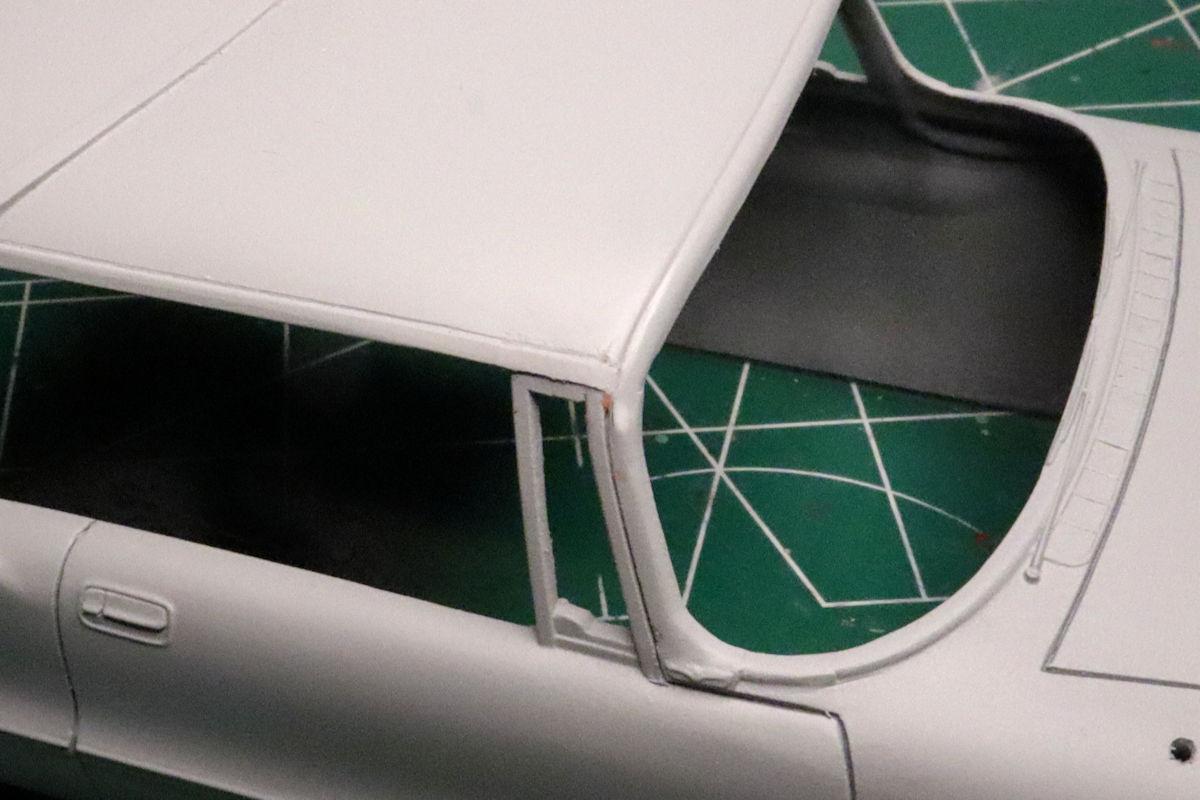
Hello Everybody! I finally got the roof joint and drip rails to a point where I think I can start to paint. It looks like I cut into the windshield mold with the file a little bit on this side but I think it will be okay. I'll probably go back over it to smooth that edge down just a little before I foil it. Hopefully I'll get some paint shot today. As always, thanks for taking the time to look and please feel free to post a comment. David G.
-
Hi David, thanks for your response. I mentioned in my reply to charlie8575 that I was considering doing just that: Your post helps to reaffirm my thoughts regarding that option. "Great minds..." I guess. Regards, David G.
-
Thanks Carl, I'm glad you like it. David G.
-
Hi Charlie. The window set in my kit seems to seat well enough. I already cut the locating pins out from the inside of the roof because I didn't like the way that they visually intruded into the interior like two inverted emergency beacons. So it's a little loose but still traps fairly well between the body and interior. Normally I do use Micro Kristal Klear PVA to tack these canopy-style glass inserts in place to prevent shifting and rattles after assembly. I'm still toying with the idea of cutting the windows loose from the roof runners and gluing them in separately so I can add a little more detail to the headliner. There are a couple of nice sun visors and some trim molding cast into the ceiling that I'd like to accentuate. Interesting story about the kit, I'm glad Mr. Burkett ponied up for the parts. I'm also glad that I supported his decision by purchasing the kit. So many times people say "If they would spend a little money to (update, replace, remold, retool) and release this kit, I would buy two or three." and probably eighty percent of those who say that don't even buy one. For getting the front to fit as well as it does I have to give credit to @bisc63 aka Rusty Shackleford for the providing me advise on how to file it for a better fit. The corrections I made did improve the fit but still left a 1 or 2 mm gap between the hood and grille which I was prepared to live with. Most other build ups I've seen photos of in my research showed the same gap so I counted it as a design flaw and decided to move on. Once I thought about it, the advice Rusty offered made perfect sense and worked like a charm. Regarding an antenna, I'm not even sure I'm going to place one. Most of the photos I've seen in my research show the antenna just inboard and slightly forward of the right sideview mirror. It shows up often enough in this location that I believe that this would likely be the factory configuration. At scale, adding an antenna so close to the sideview mirror would probably look awkward and crowded and twin swept-back antennae on the rear of the car are in my mind, a bit cliché. So at least for the time being, I think I've decided against an antenna. Thanks for posting the pic, that green is a great color for the car. It sounds like you have plans to build a version of each of the main styles offered. That would be a cool set to have. I considered building this one as a Crown Landau. While I was working out the best way to make the stainless steel roof, I discovered the Tamiya TS-40 Metallic Black at my LHS and decided I liked that better. And it would be easier to work with. I always enjoy your posts Charlie, thanks for taking the time to write them. David G.
-
I have a couple of those WIPs myself Tom. Thank you, this is one of my builds that I'm rather proud of and It's nice to know that others like and remember it too. I'm not sure I recall using it as an avatar but I may have. It seems like something I would do. Thank you Bob. David G.
-
Hello Everybody! As some of you may know, I've been going back over my old threads and updating old photos and replacing broken photo links. To say that there is a lot of work involved in such a project is a bit of an understatement. To get things just the way I want them, there are some threads that I will go back to and redress more than once. This is one of those threads and hopefully it's done now. Thank you for your patience and I hope you enjoy. David G.
-
The Grape Crate - a (mostly) scratchbuilt Model A Woody
David G. replied to OldNYJim's topic in WIP: Model Cars
Beautiful color. David G. -
Clean and classy, nicely done! David G.
-
Hi Carl, I just pushed mine together rather firmly and so far it's stuck fast. David G.
-
Excellent interior detailing! The trim and badges came out nice too. David G.
-
Pan American 777
David G. replied to unclescott58's topic in All The Rest: Motorcycles, Aviation, Military, Sci-Fi, Figures
Two great looking planes. Nicely Done! David G. -
The glitter looks great! That was the big thing for fiberglass dune buggies and speedboats back then. Well Done! David G.