David G.
-
Posts
11,326 -
Joined
-
Last visited
Content Type
Profiles
Forums
Events
Gallery
Everything posted by David G.
-

55 Chevy Bel Air Hardtop: WIP (Photos Restored)
David G. replied to David G.'s topic in WIP: Model Cars
Thank you Michael, I'm glad you like it. David G. -
Given its age, this kit is in surprisingly good shape. David G.
-
Volkswagen Type 2 triple cab
David G. replied to avidinha's topic in Model Trucks: Pickups, Vans, SUVs, Light Commercial
Nice work. David G. -
23 Window VW Van
David G. replied to Finks Garage's topic in Model Trucks: Pickups, Vans, SUVs, Light Commercial
Sweet Bus! David G. -
Beautifully Done! Paint, stance, assembly and trim all look fantastic. David G.
-
That came out nice, well done! David G.
-
Everything about this one looks great! Whether or not the roof is correct, it looks right. I also like the doggo looking for lunch. David G.
-
Looks like you're off to a great start! David G.
-
Nice work. It's the small subtle details that make the biggest difference. David G.
-
The Grape Crate - a (mostly) scratchbuilt Model A Woody
David G. replied to OldNYJim's topic in WIP: Model Cars
Cool! It looks like a rolling coffin. David G. -
Wild paint job! Looks great, love the flame transition. David G.
-
Fabulous work on this so far. Can't wait to see more. David G.
-
So it's a sleeper then. Impressive work on this one all around. Paint, detail, stance, it all comes together quite nicely. It feels like a car with a story. David G.
-
1969 Chevrolet Chevelle SS Convertible (AMT/Round 2)
David G. replied to Tommy124's topic in Model Cars
You sure have made a good go of it. In spite of all the troubles you cite, it looks great! David G. -
Thank you David. Maybe the parting lines weren't so bad sixty years ago when the molds were new and in better shape. That's a great story Michael. I didn't know anything about Bill Harrah but now knowing this story, I can see that the "Harrah's" script would be a great idea. Thank you Eyman. I like to get the best that I can from every kit I build. Thank you Chaz. Regards, David G.
-
Thanks for posting the pics Michael. There seems to be a bit of work to do but it looks like a fun kit. It does look like it may be lifted from an old promo like the AMT one we're all familiar with. In my mind the finished model is painted metallic lavender with a gold "Las Vegas Hilton" script on the doors... and a couple of suitcases in the back. David G.
-
Thanks Eyman, I'm glad you found it useful. The black paint looks great! Nice improvement. Unfortunately, there's just not much to be done with that engine, it's really just a sad lump. In mine, I painted and installed the engine but I think I glued the hood shut. You know, a few years ago Greenlight Diecast released the Bluesmobile both with and without the PA system. https://www.ebay.com/itm/322576332661 I bought one when they came out, but there's nothing like building your own. Cheers, David G.
-
Thank you Carl. Hi Michael. Considering that Packard, Plymouth and Dodge all offered wagons, it's not really that much of a stretch (sorry) to consider a factory conversion of a Chrysler Imperial. Out of curiosity I did do a quick search and found examples from most of the years in the second generation, 1957 to 1966, so somebody was buying them. It would be a little upscale for an ambulance but I could see funeral homes ordering them for flower cars. I'm intrigued by the kit you mentioned. Does it seem to be a promo based kit similar to this one? Thank you for your kind comment. Please feel free to use any of my ideas, chances are that I stole them from someone else anyway. Regards, David G.
-
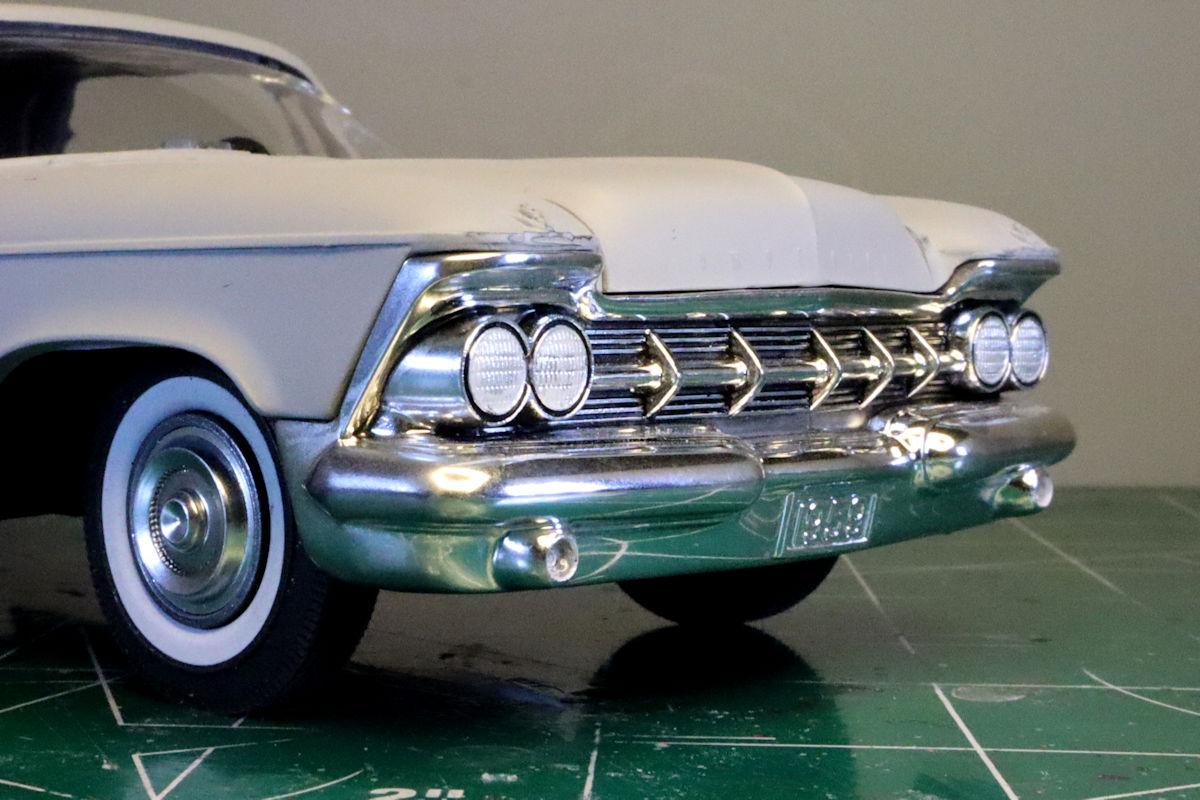
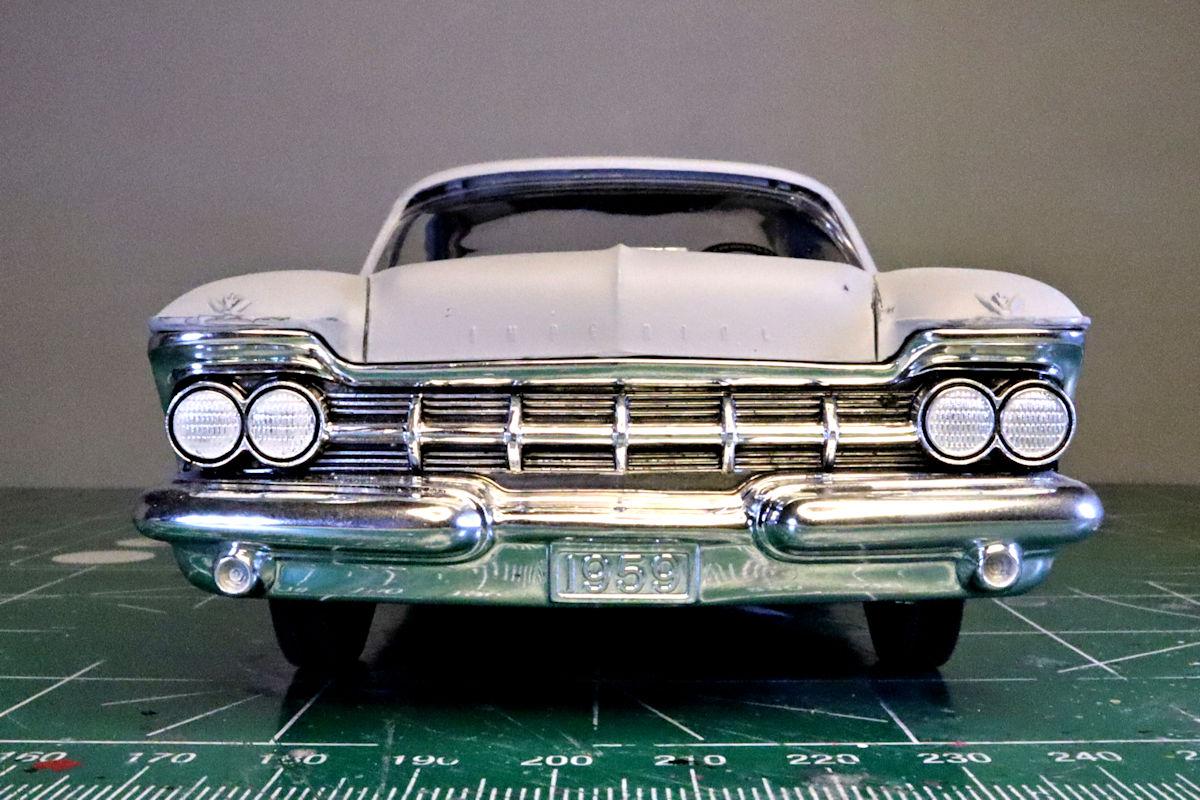
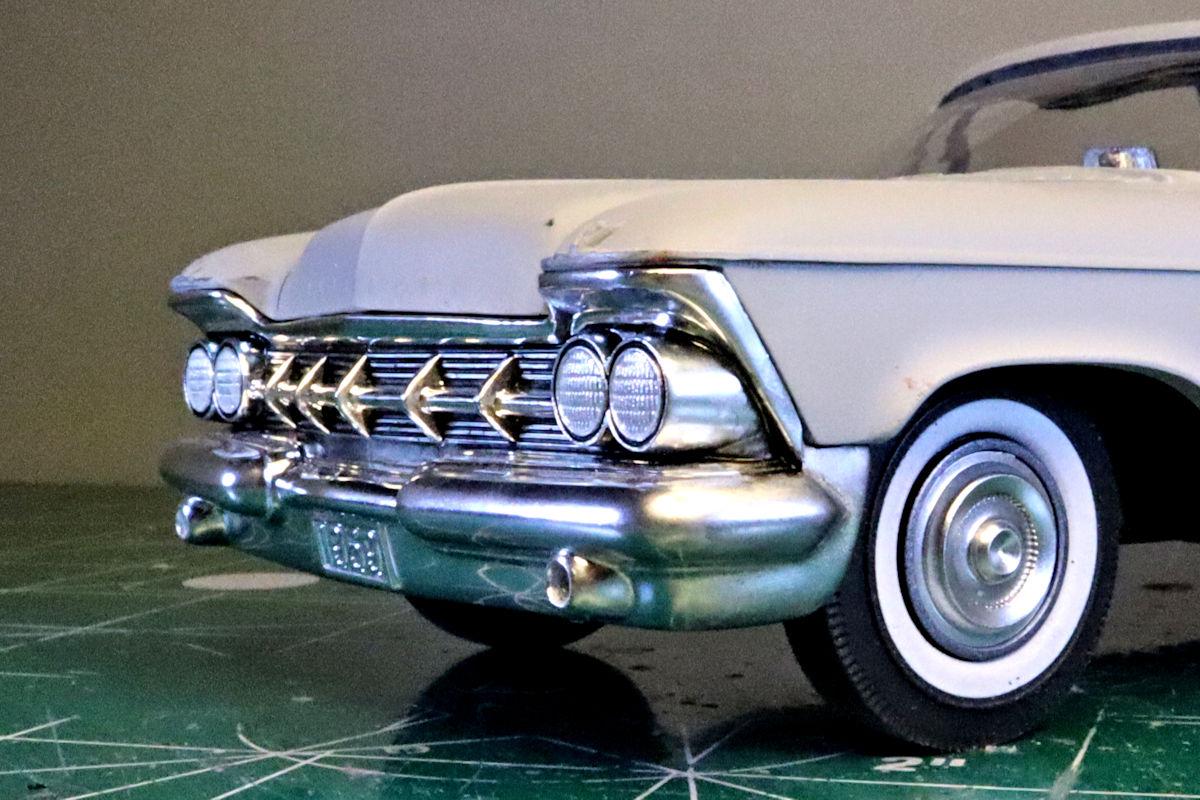
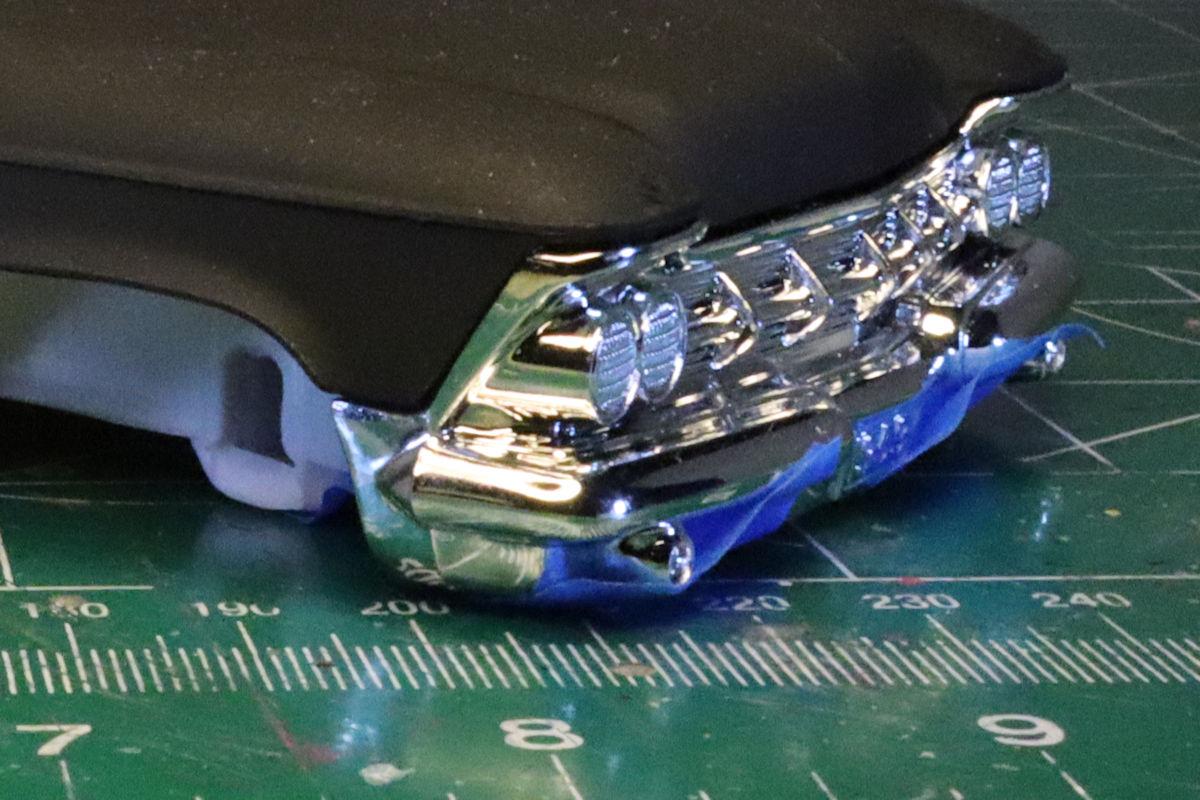
Hello Everybody! I'm still working on getting the drip rail moldings smoothed and blended with the rest of the body work. But while waiting for the various applications primer and putty to cure for subsequent sanding and shaping, I decided to get started on the front bumper and grille. Those of you who are familiar with this model are probably aware of the huge chunky parting lines on the sides of the bumper. I've smoothed those over and re "chromed" the areas with Spastix chrome paint. I also have most of the black wash and detail painting done. I want to get some more acrylic clear in the turn signal lenses and there are still a few areas that need some cleanup. The other side came out pretty good too. As always, thanks for taking the time to look and please feel free to comment. David G.

-
Great work on the trim! David G.
-
Great looking interior. David G.
-
Excellent interior detailing! David G.
-
Atlantis Groovy Grader
David G. replied to PatW's topic in Model Trucks: Big Rigs and Heavy Equipment
That looks like a really quick and fun build. Well Done! David G. -
Beautiful build! Interior and engine detail are excellent. David G.
-
Absolutely Gorgeous! The interior, body, paint, color and assembly all look great! David G.