David G.
-
Posts
11,326 -
Joined
-
Last visited
Content Type
Profiles
Forums
Events
Gallery
Everything posted by David G.
-

KA Models Mazda K360
David G. replied to GeeBee's topic in WIP: Model Trucks: Pickups, Vans, SUVs, Light Commercial
What a delightfully odd little vehicle! And with a PE kit included too? Wow! I'm reminded of the Cushman vehicles of the 70's that were used by some municipalities as parking enforcement here in the States. This should be an interesting project. David G. -
I'd say you nailed it! Great work on the hood mod too. David G.
-
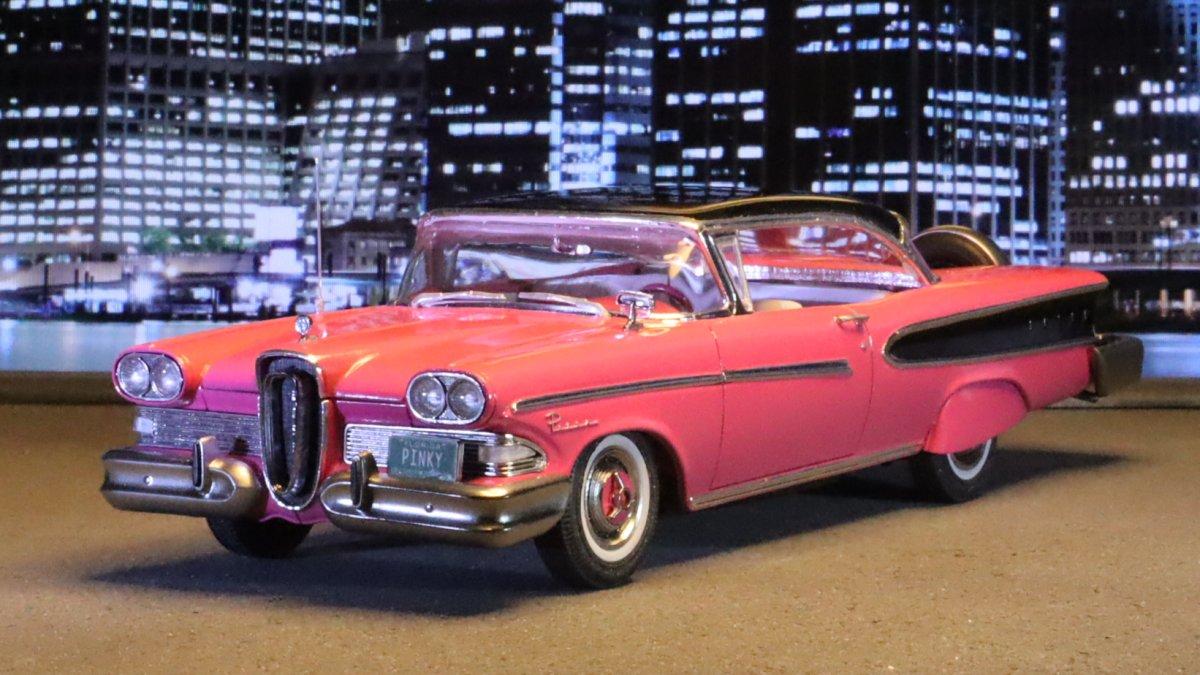
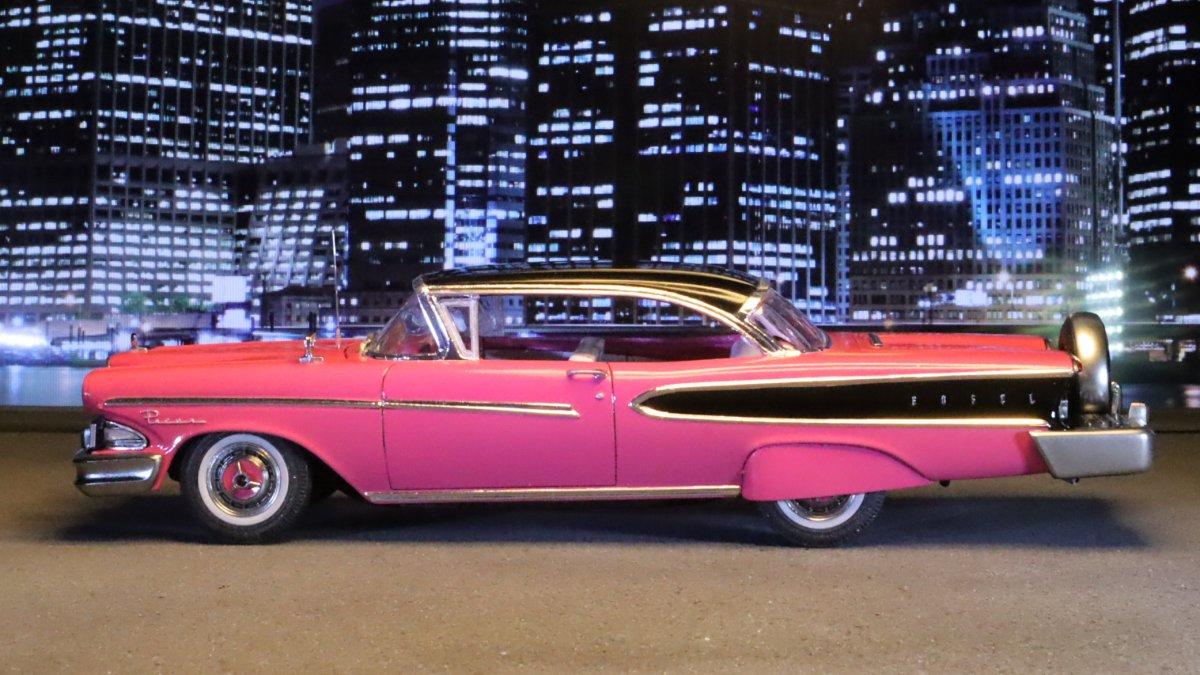
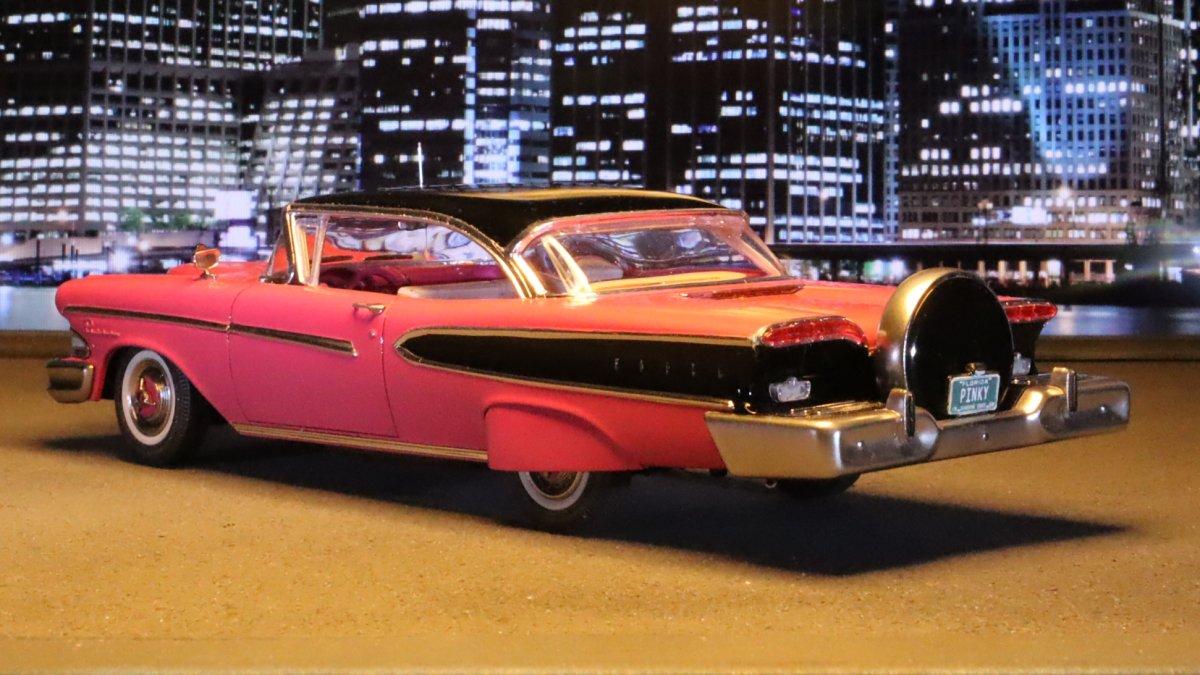
Thank you Anders, I'm glad you like it. Thanks Geoff, I'm glad I did too. Yes, I wanted to build it to display with either the continental kit or bumper in place but the continental kit had a bit of a sag in final installation so I ended up holding it in place with a little PVA. I could probably still swap them out but right now, I'm just not feeling that urge. Thanks Tom. Thank you Chris and thanks for your comment on the background. I'm glad to know that someone likes it. Thanks Lee. Thank you John, I'm glad I stuck with it too. Interesting thought on the skirts. Given the struggle I had placing them, I could see where you may be correct on that. But, thinking back, I remember that there is a lip cast into the inside of the wheel well which seems to be there as a locating feature. I also went back and looked at the box cover image and did a quick online search and it looks to me like they are fitted from the inside. Thank you for taking the time to share that though with me, I do appreciate it. Thanks Eric. Thank you Eric, I'm glad to know that you like it. Thank you Carl. Thanks Chris. David G.

-
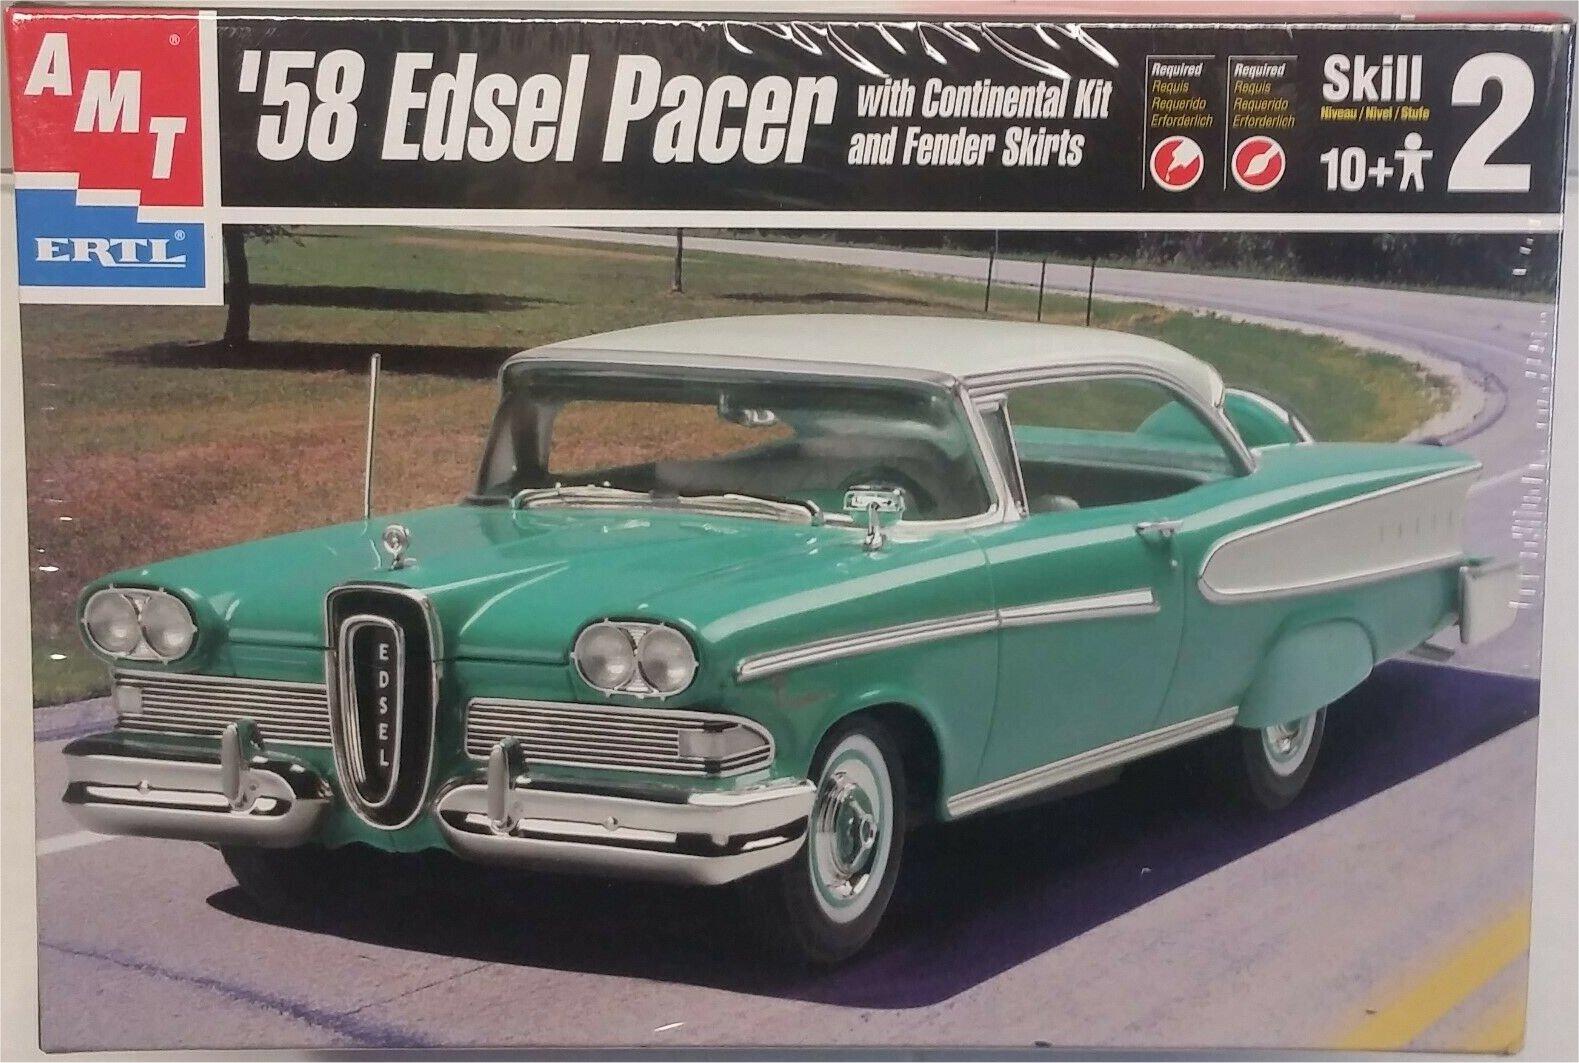
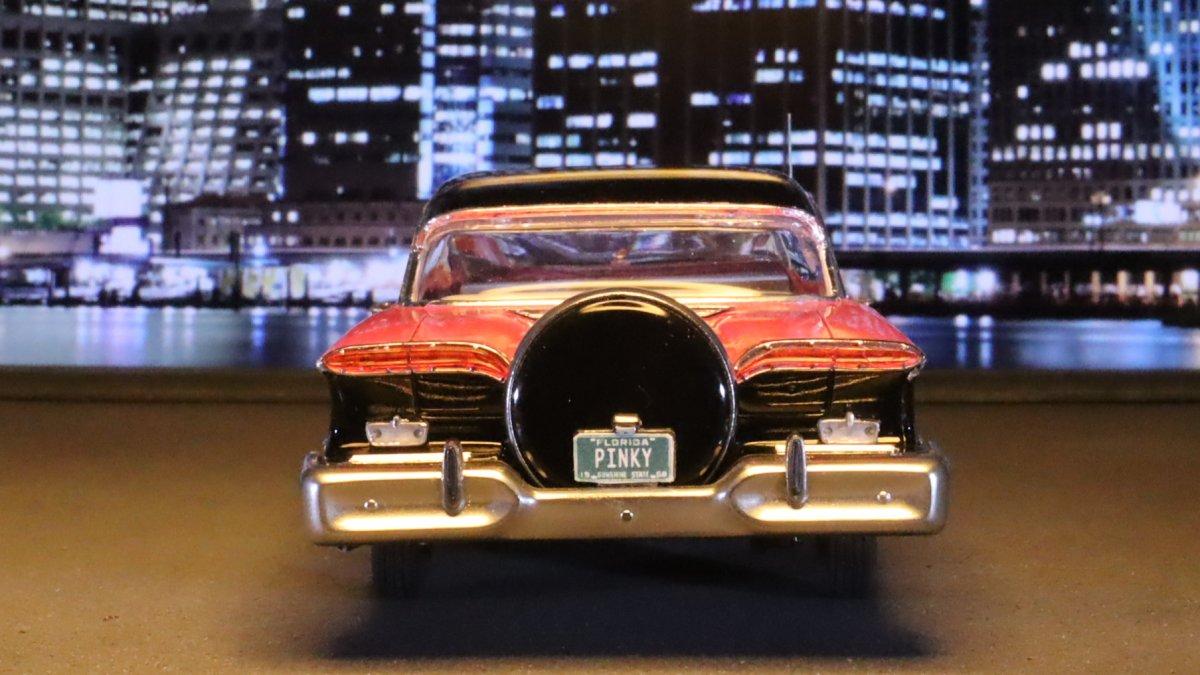
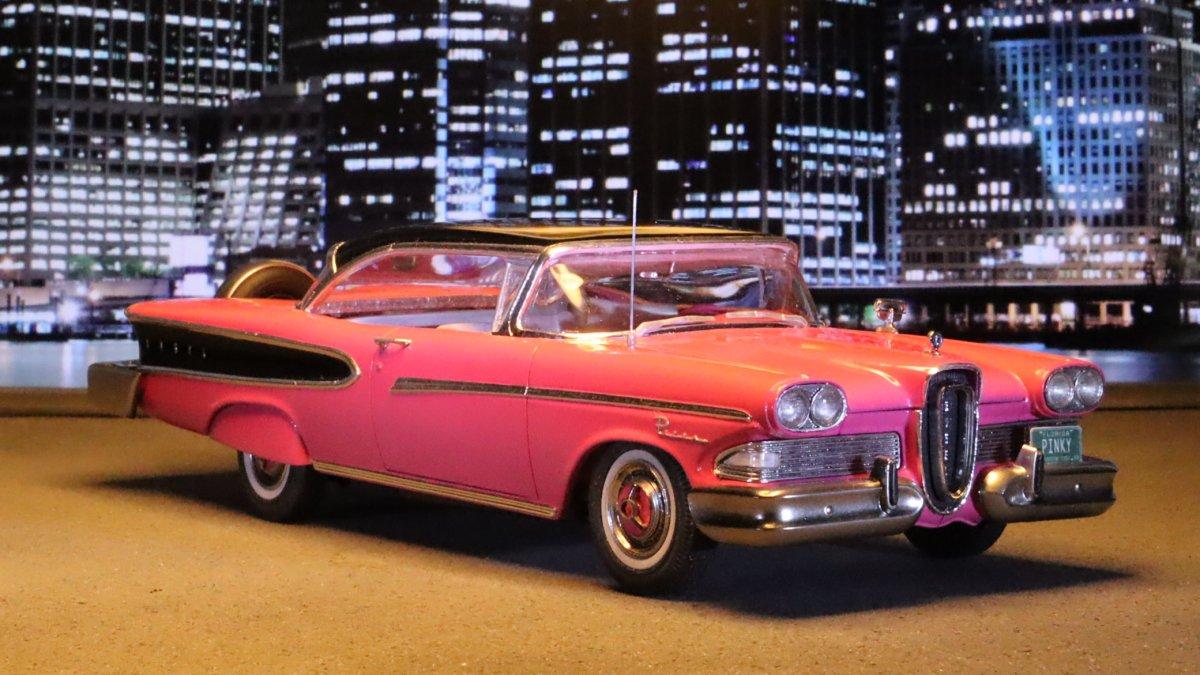
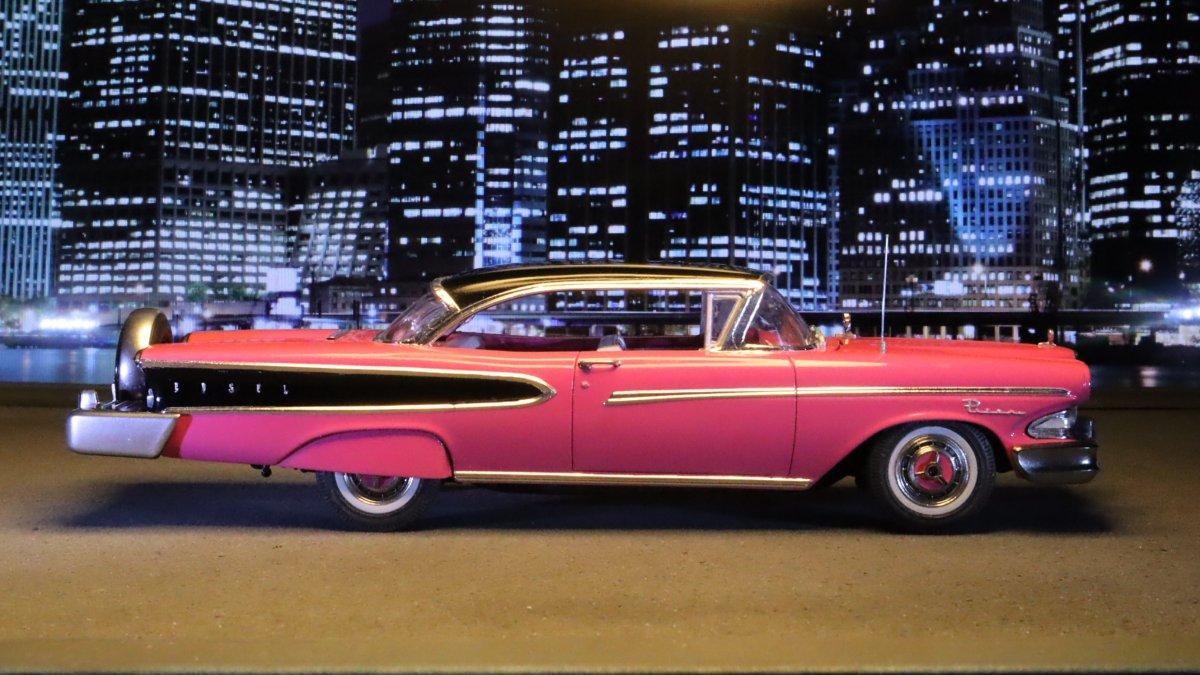
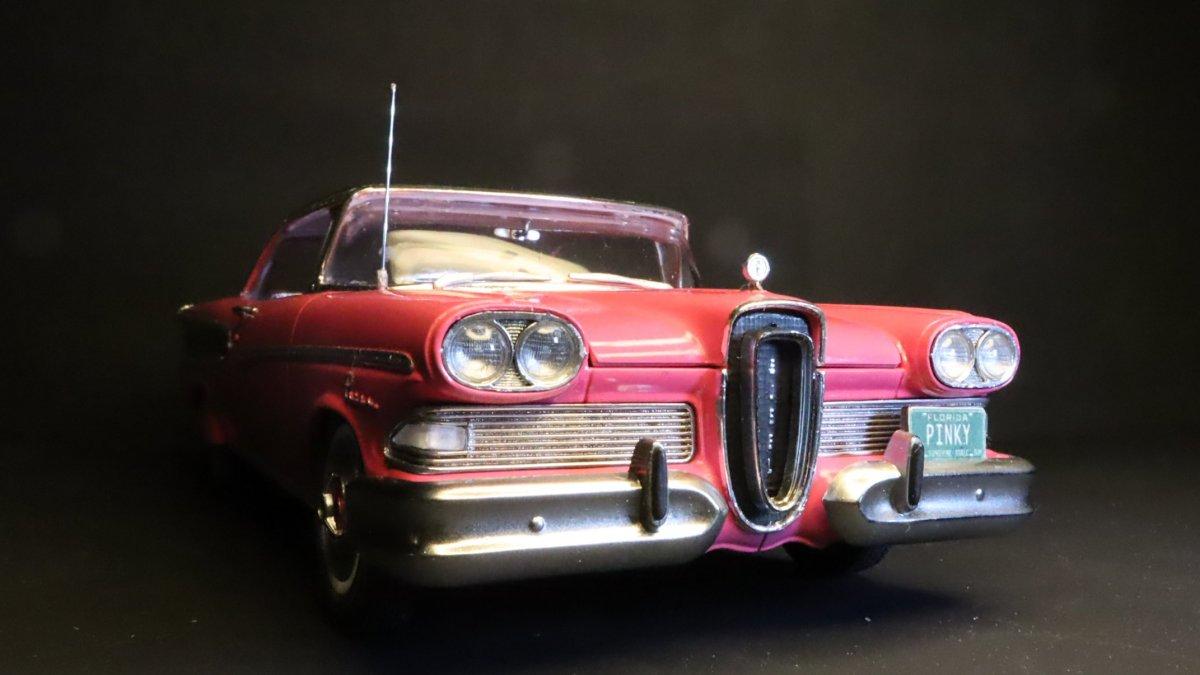
I started this build in August of last year and after about six and one-half months, I'm very pleased to have completed it. For those who may be interested, here is a link to the WIP thread. If the background is too busy, let me know. I do have some photos with a plain background. That's all for now. I do have some more pics to edit and I want to try to get a few sunlit shots. Thanks to all those who stuck with me through this build, I do appreciate your encouragement and support. As always, please feel free to comment. David G.
-
Excellent idea for a tribute build! And to have the actual paint to use for it? Just... wow. David G.
-
Looks like an interesting project. Do you plan to use the molded body color or paint? David G.
-
Beautiful work on this one! Sweet color combination. David G.
-
Thank you so much fort hose kind words Rusty. I think I've spent more that half my time working on this one in getting the paintwork done on the body. It was worth it though. Thanks again, David G.
-
1907 Rolls Royce Silver Ghost, 1/24 Finecast metal kit
David G. replied to Matt Bacon's topic in Model Cars
Beautiful work! Excellent painting of the figures too. David G. -
Thanks Randy, glad you still like it. Thanks Tom. Got this one finished up yesterday, I plan to get some pics today to post in the Under Glass section. David G.
-
Love the print pattern on the upholstery! The color combination is killer! David G.
-
The difference is remarkable! Nice rescue. David G.
-
One More Jeep..
David G. replied to Tom Geiger's topic in WIP: Model Trucks: Pickups, Vans, SUVs, Light Commercial
Looks great, nice rescue! A bikini top would look great on that. It'd probably be the only time on this forum that anyone could say, "Wouldn't you like to see that in a bikini?" David G. -
Excellent work! It reminds me of a Handley Page O/400 Bomber. David G.
-
Sweet Gasser! The paint and decals look great. I remember having one of these too, back in the day. I do enjoy a good nostalgia build. David G.
-
Excellent rust effects! I can almost smell the rust, dirt and oil. David G.
-
You're welcome Charlie. For the outer chrome trim I used Bare Metal Foil. Starting with the portion on the hood, I cut a strip of BMF about 3mm wide and maybe 3.5cm long. I placed this strip along the faintly molded edge line at the front of the hood as best I could to minimize having to trim along the painted surface. For the little bit I did have to trim, I used a single-edged razor blade which I pressed lightly along the mold line instead of dragging it to follow the line. Make appropriate relief cuts in the corners to allow you to fold the excess material around the front and underneath the hood, then trim the inside portions to a straight line as best you can. With a strip about 3mm wide, I don't think I had much trimming to do. The two side pieces I cut a little wider (maybe 4 or 5mm?) and when placing them, again, I focused mainly on aligning the foil edge with the outer mold line as the inner one is defined by the center grille. I didn't worry that much about following the curve at the bottom. I just more or less allowed the foil to follow its own course and taper away from the mold line as it would. The bottom curve I completed using two more sections which I cut maybe a little more than 1cm sq. Those pieces were short enough that I was able to work them into the curves without too much difficulty. I do seem to remember that it took me a couple of attempts to coax the foil into bending and stretching enough to follow. Doing all that took me an entire build session of about an hour. Thanks for your comment and question, I hope you found this helpful. David G.
-
I think the roof line works well, can't wait to see in in color. David G.
-
OK after following some good advice (thank you Håkan) I was able to get the hood seated properly by taking a little off the bottom of the radiator support assembly. I even got that nasty CA accelerant stain cleaned up! Now to install a few more fiddly bits, then a final polish and I should be done. Thanks to everyone for their patience, advice and kind comments. David G.
-
Canyonlands junk cars - diorama idea
David G. replied to 89AKurt's topic in General Automotive Talk (Trucks and Cars)
Fantastic work on this! The rock, rubble and litter are all spot-on. The little bends dings and dents in the metal look unbelievably real. Not to mention the distressed metal and paint. Just, wow. David G. -
Hello again Håkan. I found some time to do a little work on this yesterday and I ended up taking your advice to remove the support. It came loose much easier than I though it would and I was able to adjust the clearance issues from the bottom and reinstall it with little difficulty. Thanks for that. I'll see if I can post a pic later today. Thanks Tom. In person it's quite striking, I hope my photos can do it justice. David G.
-
57 bug with working suspension & teardrop trailer
David G. replied to stitchdup's topic in WIP: Model Cars
Great color for the Bug! I can't wait to see what you do with the trailer. Nice recovery on the paint chip BTW. David G. -
Smooooth and Deadly! David G.
-
Beautiful paintwork on that! Love the color. David G.
-
I'm very interested to see how this one works out. You look to be off to a great start. David G.