David G.
-
Posts
11,325 -
Joined
-
Last visited
Content Type
Profiles
Forums
Events
Gallery
Everything posted by David G.
-

Shell Oil Mack
David G. replied to Travis Waits's topic in Model Trucks: Big Rigs and Heavy Equipment
Very well done! Do you have any other photos to share? It would be great to see some of the detailing you've done. David G. -
Excellent custom paintwork! David G.
-
Thank you Dave, you're the best! David G.
-
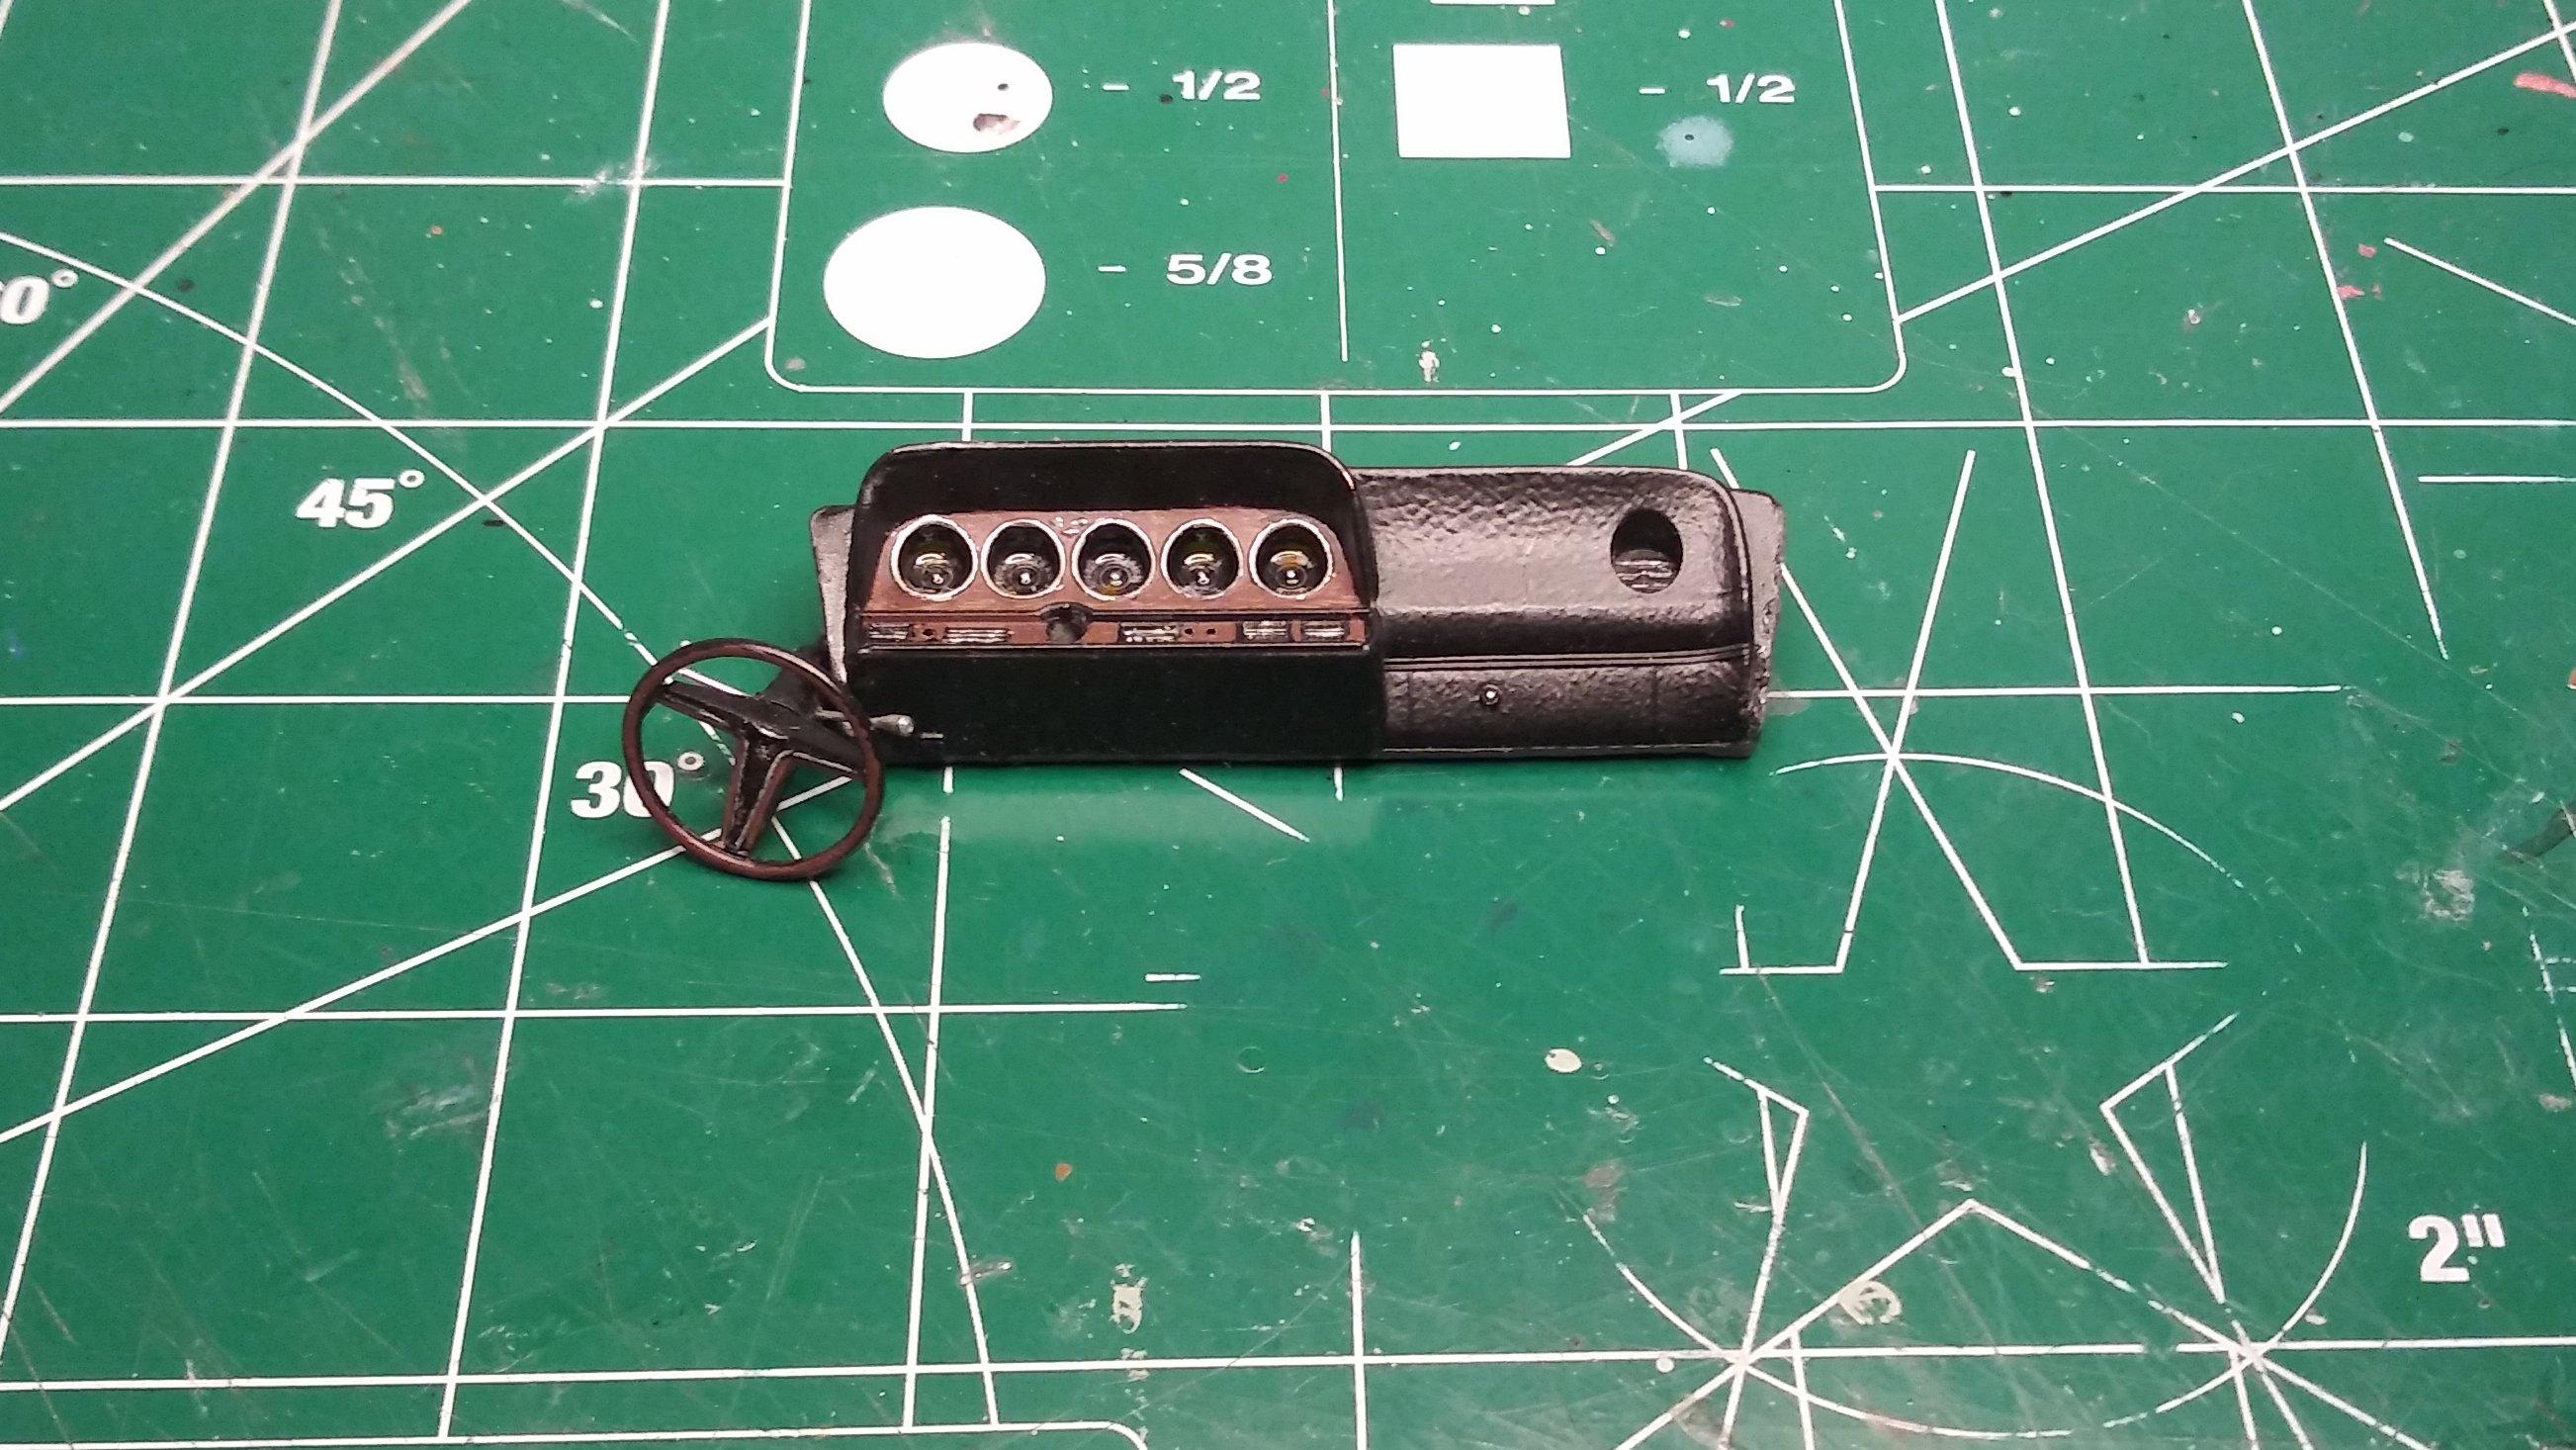
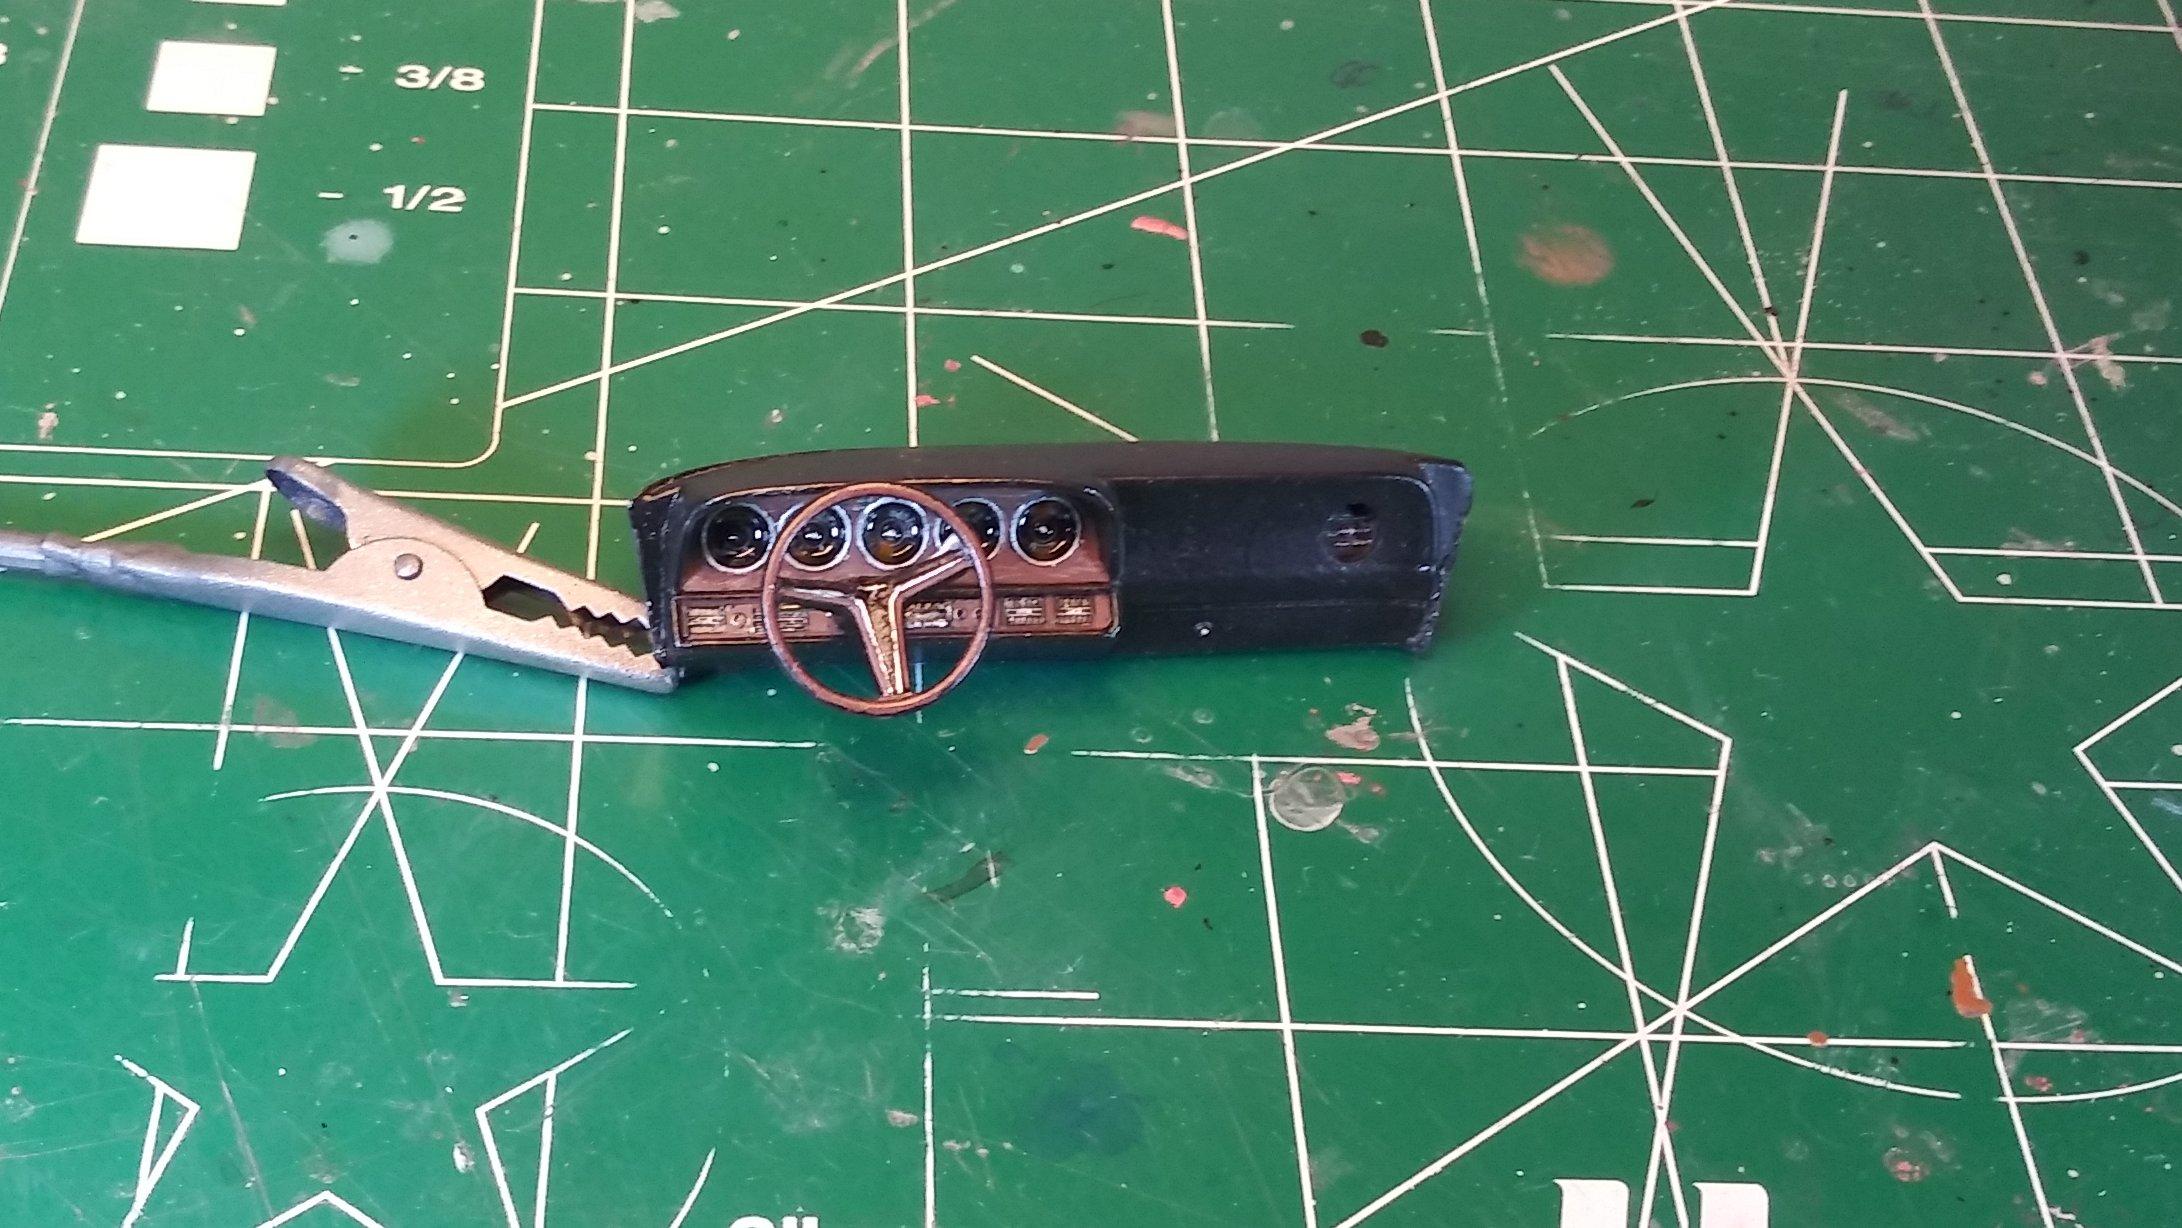
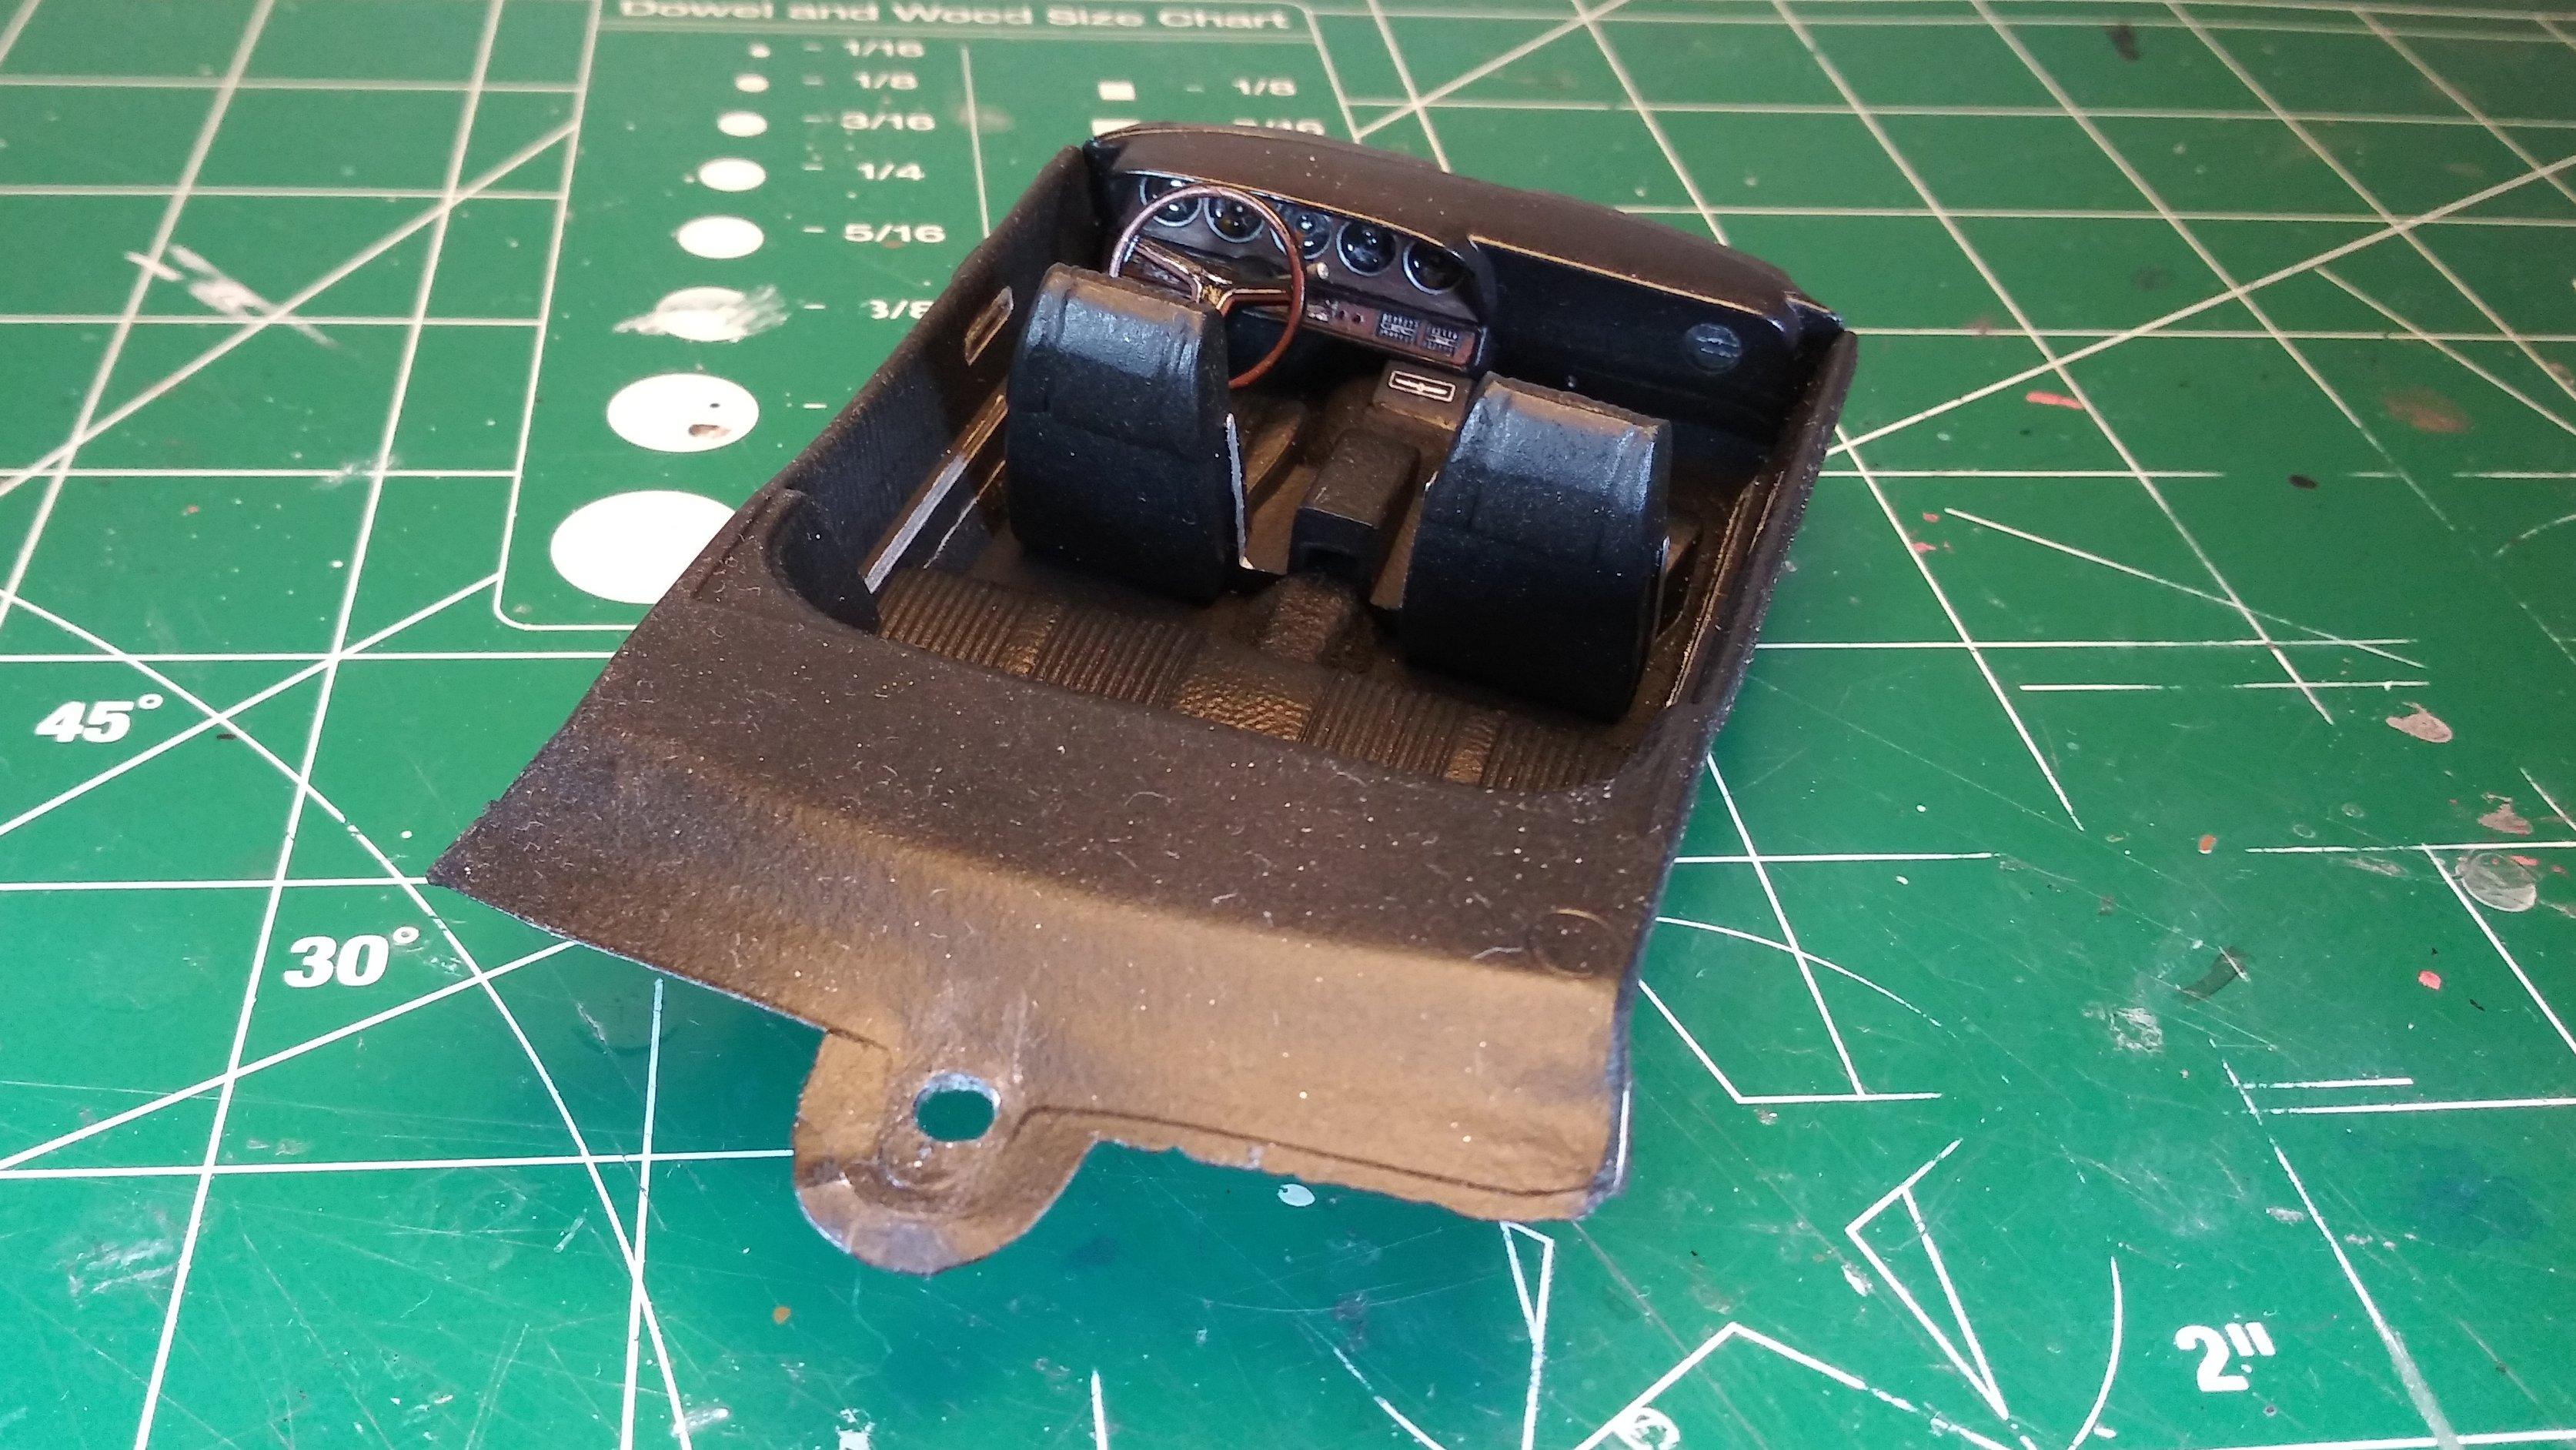
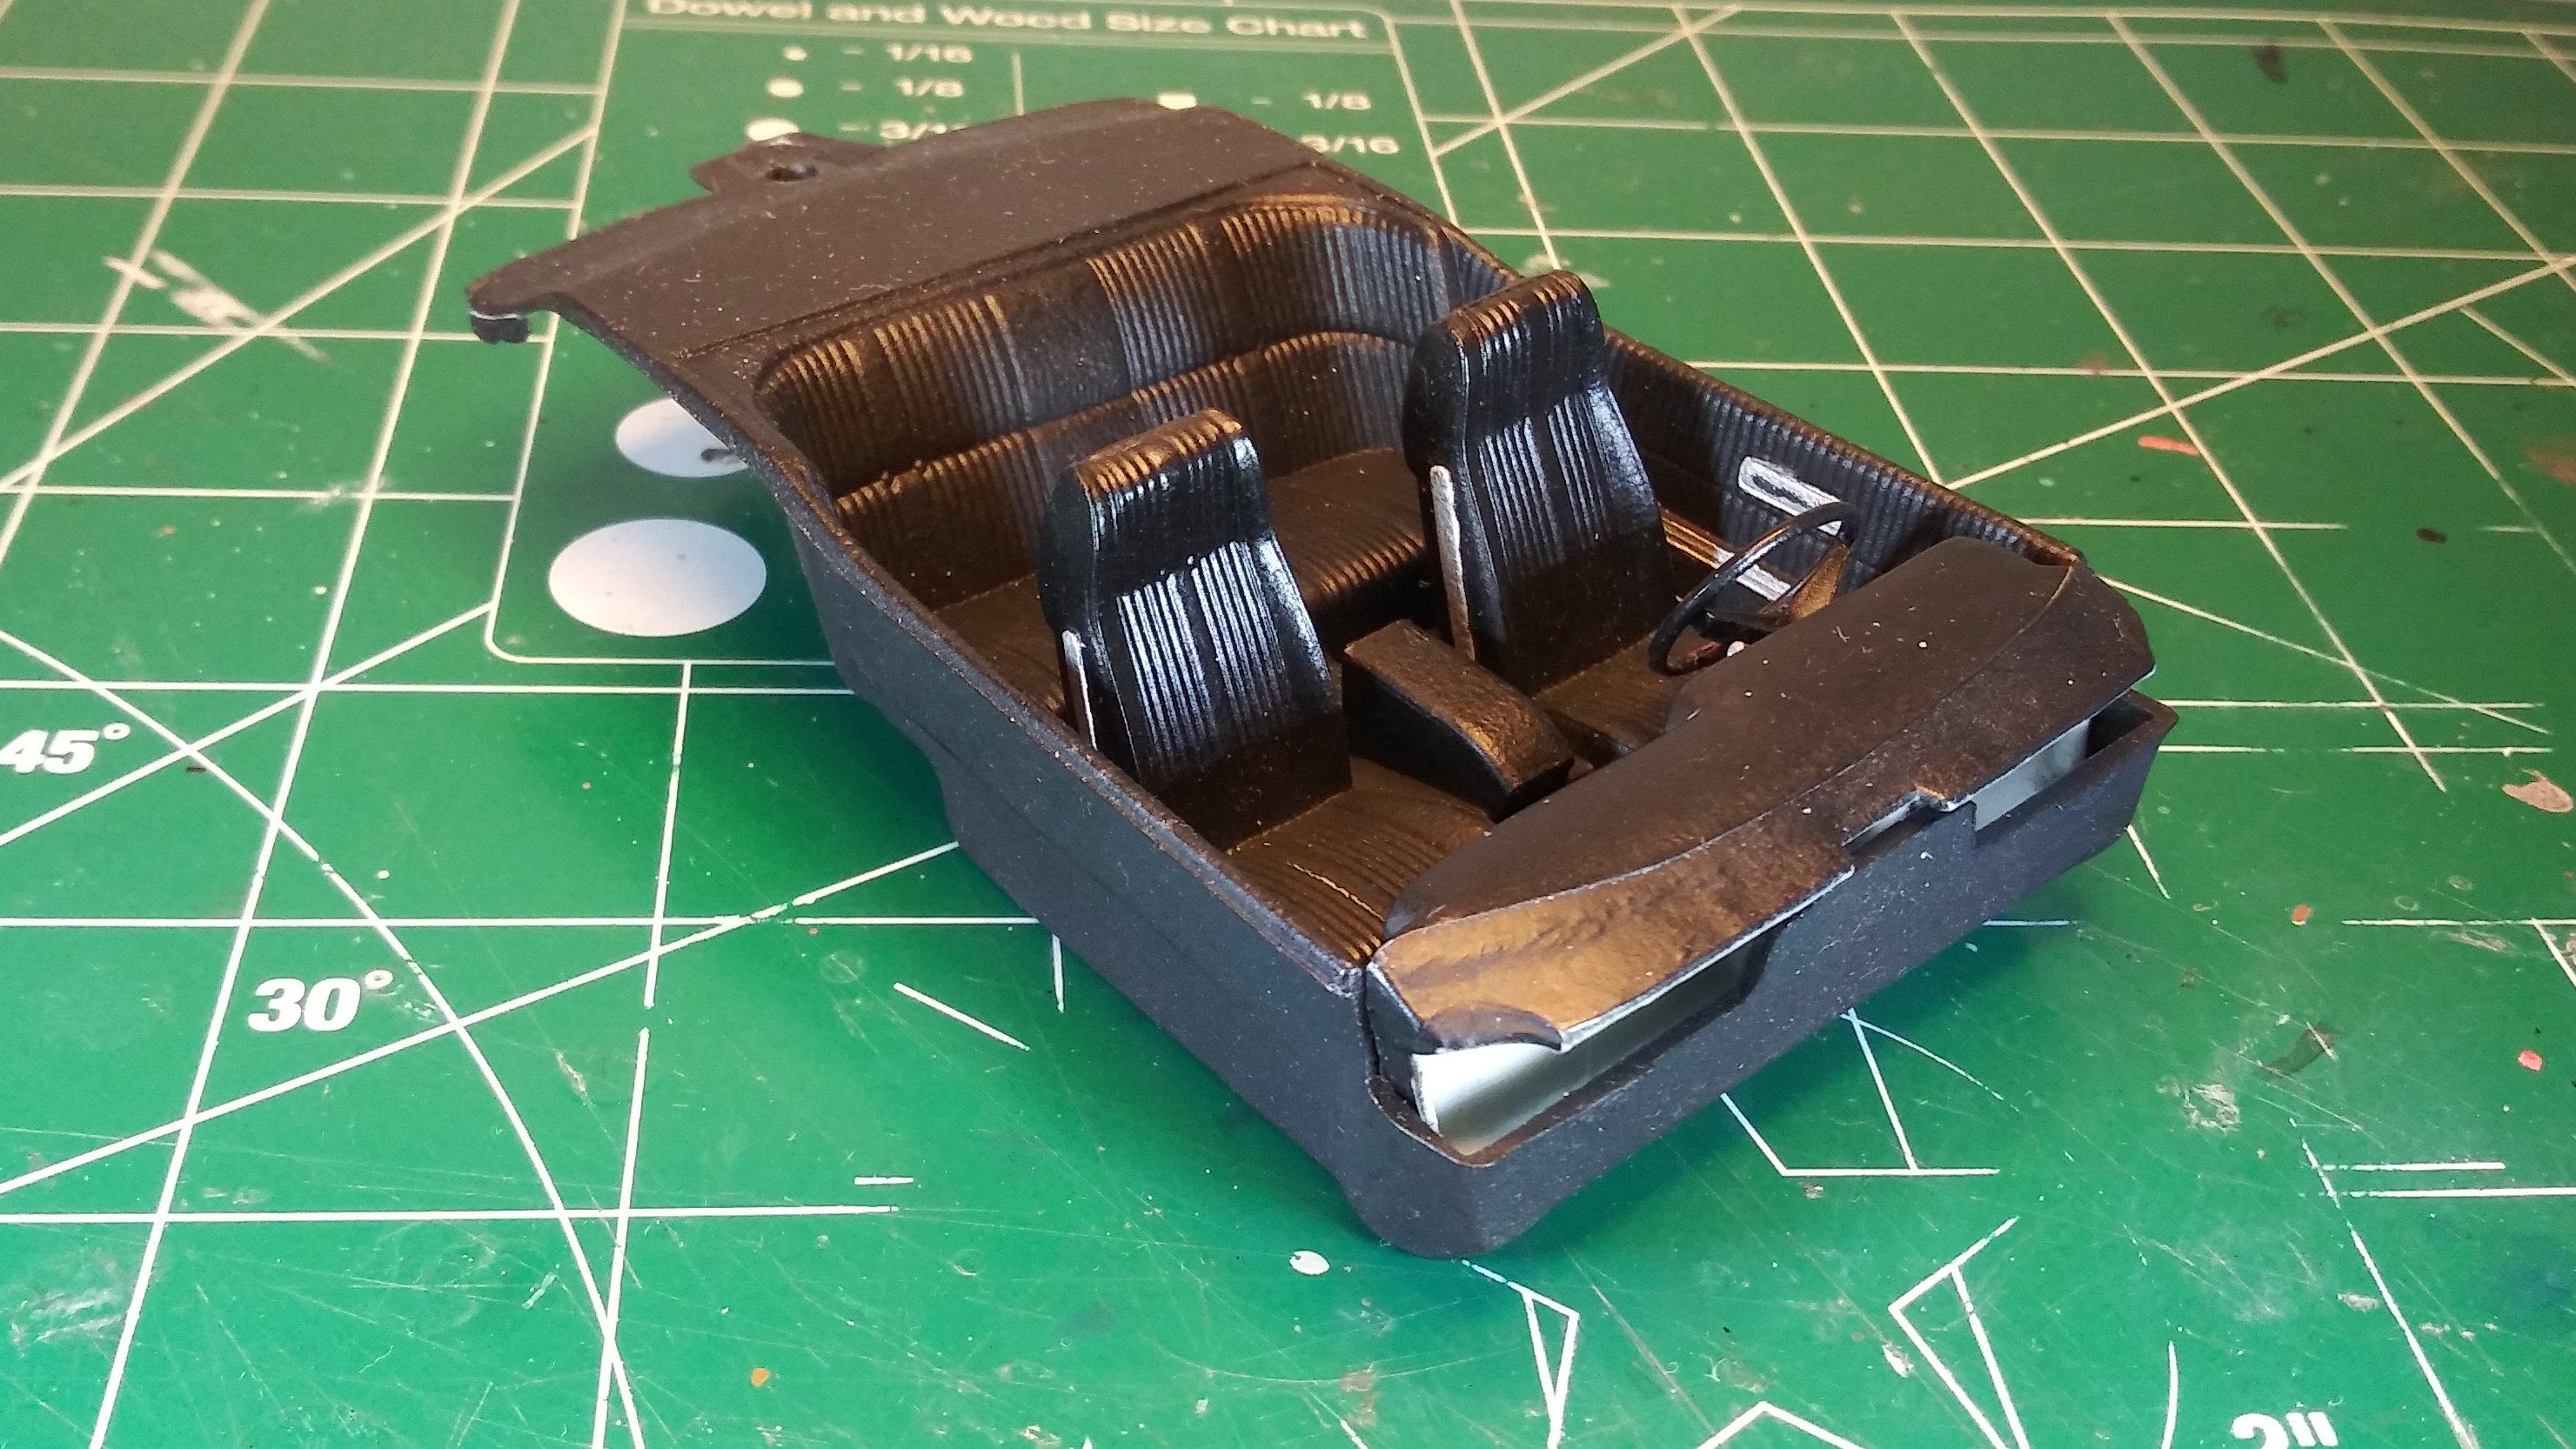
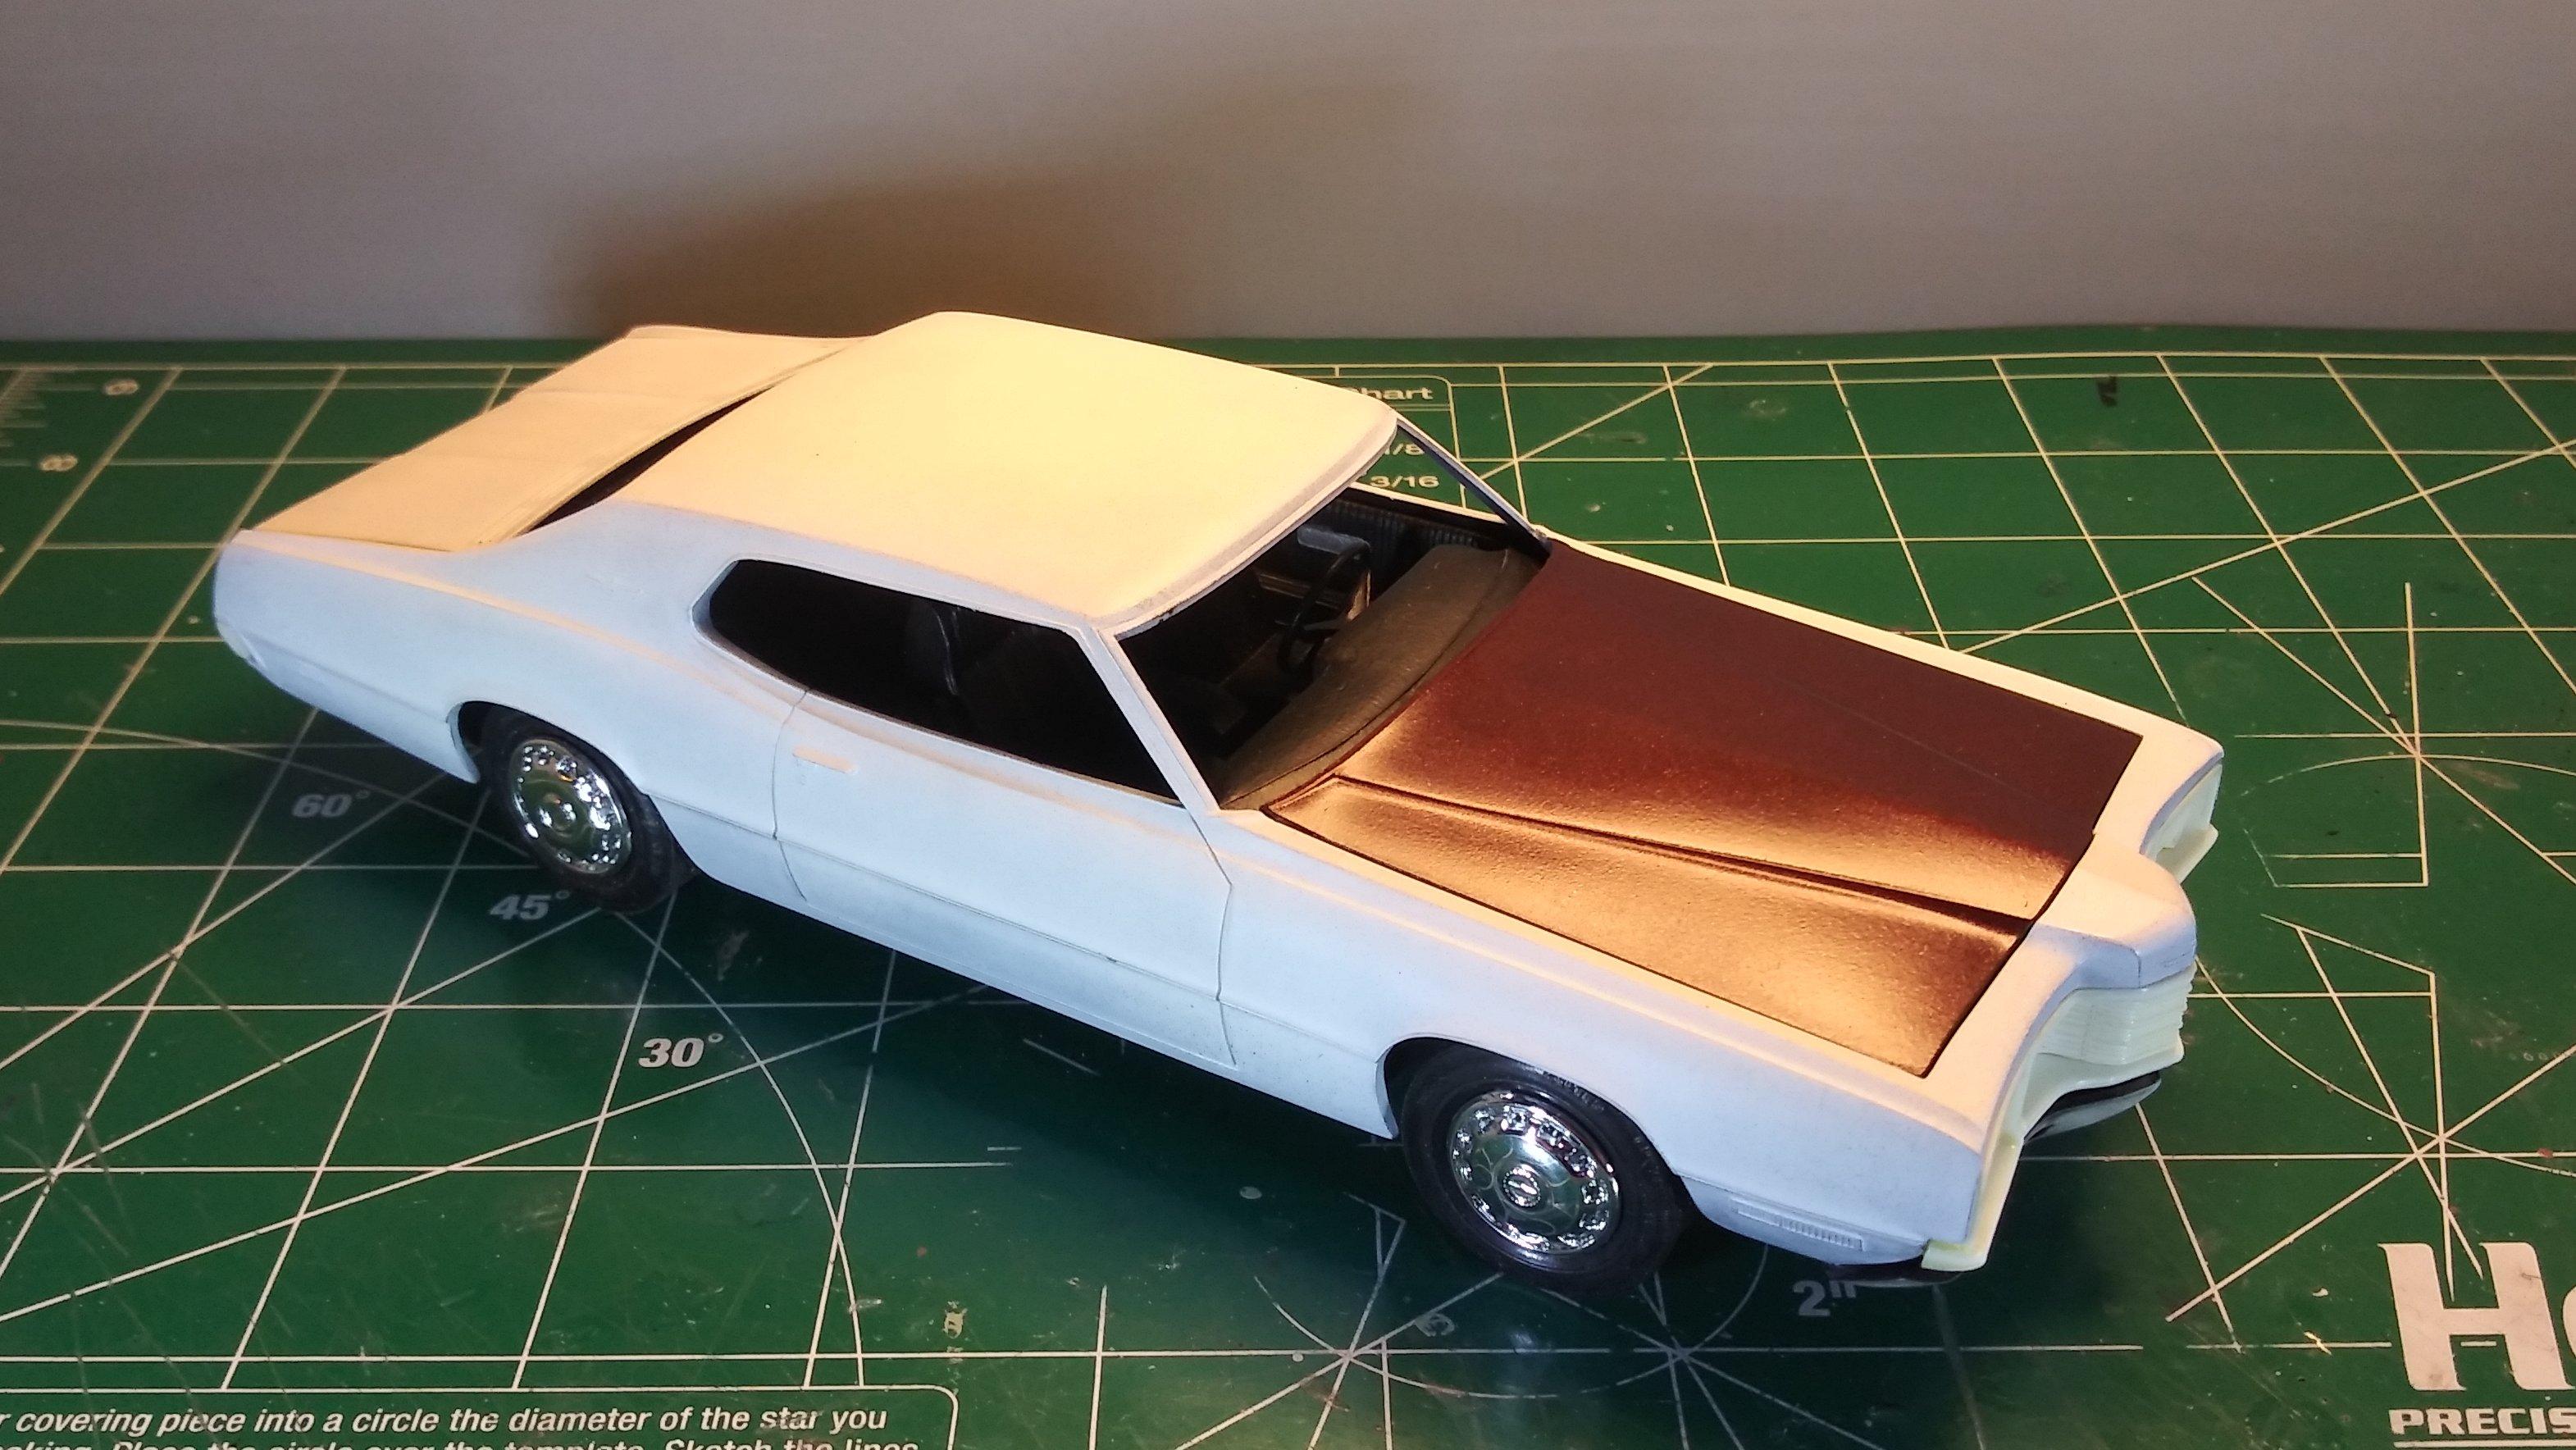
It's time for another update! I painted and detailed the dashboard. I didn't go crazy with the details since the instrument cluster is set deeply beneath the overhang of the upper dashboard and not much of it will be seen after assembly. I also added a gear selector and turn signal lever to the steering column. The column itself required some additional shaping work to adjust the angle and position in relation to the seats. The finished interior. The door panel detail is there but it's shallow. I dressed it up as best I could without going overboard. I usually do a color check and paint test on the hood or some other removable body panel before committing to painting the whole body. That way any issues are more easily dealt with. Good news! No issues. As always, thanks for taking the time to look and please feel free to comment. David G.

-
Go for it! Given all that I've seen you do, I'm certain that you could make it work. David G.
-
Thank you Dann. I was going to throw you a link to the thread in the Under Glass section but the image links are currently broken. I sent a message to Dave Ambrose to see if there is a way to fix the links so we'll see what happens. In the meantime, here is the link in case the images do get restored. Regards, David G. p.s. The images have been fixed.
-
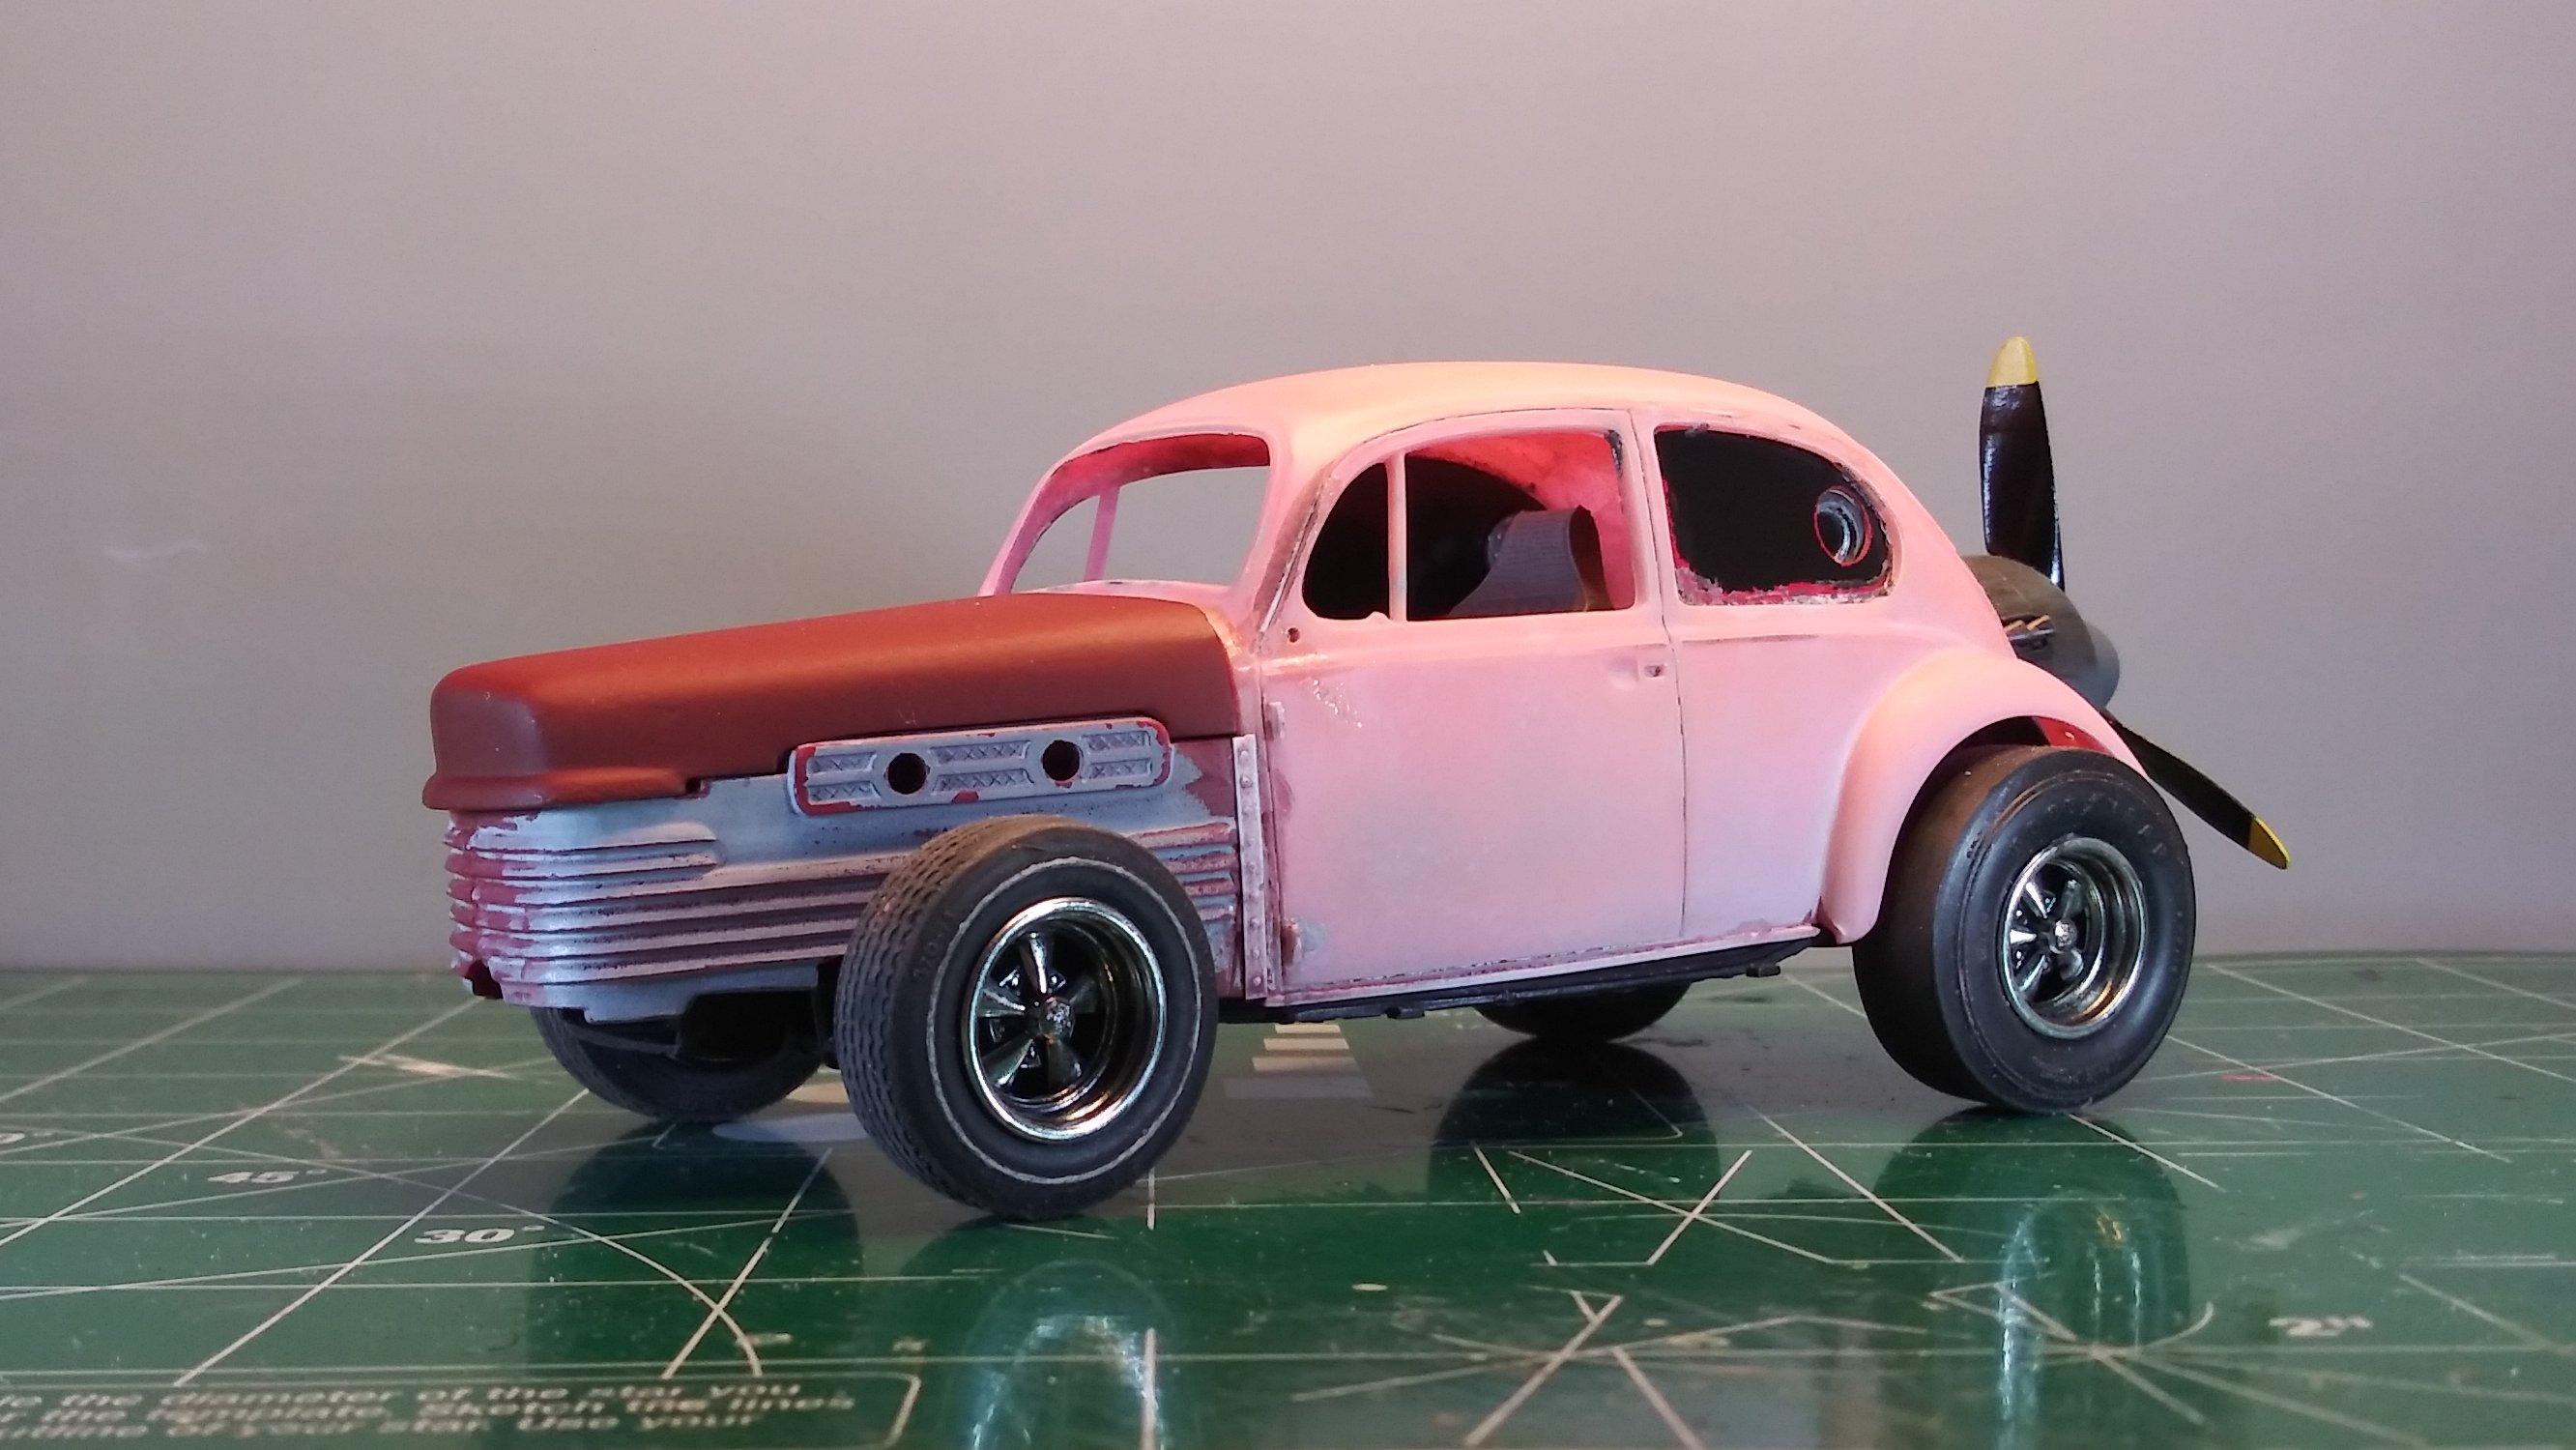
Thank you for your interest Patric. Battle Bug is pretty good but you're right, it does sound like a Tom Daniel car. If I rename it, I'll probably go with Aero Bug or Luftwagen. (I know, kind of the same thing) While I appreciate the aesthetics of your suggestion, this is a parts box build and I don't have anything like that in the Ol' Junk Box. If I did, I would definitely consider using them. Then I'd have to put a bumper on it. But that is a good idea. I do have some decals lined up for it. I think they'll be cool. Patric, thanks for taking the time to comment. I'm hoping to finish up the little bit of body prep I have to do and get it painted this weekend. David G.
-
'72 Jeep Commando
David G. replied to Plowboy's topic in Model Trucks: Pickups, Vans, SUVs, Light Commercial
Looks great! Have you considered adding some door markings for something like "Jackson, Wyoming Volunteer Fire Dept."? And maybe a brush guard up front with a fire axe on the rear fender? David G. -
Looks like a great start. I have two questions. What scale are you working in? Where the heck did you find a model of a 1960 Peterbilt? David G.
-
Nice paintwork! Good color choice. David G.
-
Who Ya Gonna Call?
David G. replied to Joe Thomas's topic in Model Trucks: Pickups, Vans, SUVs, Light Commercial
Looks Great! I have one or two in my stash, I should get around to building one. Just curious, did you paint the white or polish the plastic? David G. -
That is crazy! It has an Auto-Rama Custom Car Show feel to it. Very well executed too. David G.
-
What you've done so far looks great! David G.
-
Anybody can glue parts together but it takes skill to build a model! You're off to a good start! David G.
-
Wow! What a battle you've had with this build. I think that red is a great choice for the wheels. Soldier on! David G.
-
Excellent color choices! Making pattern decals for the upholstery is a great idea. Beautifully done! David G.
-
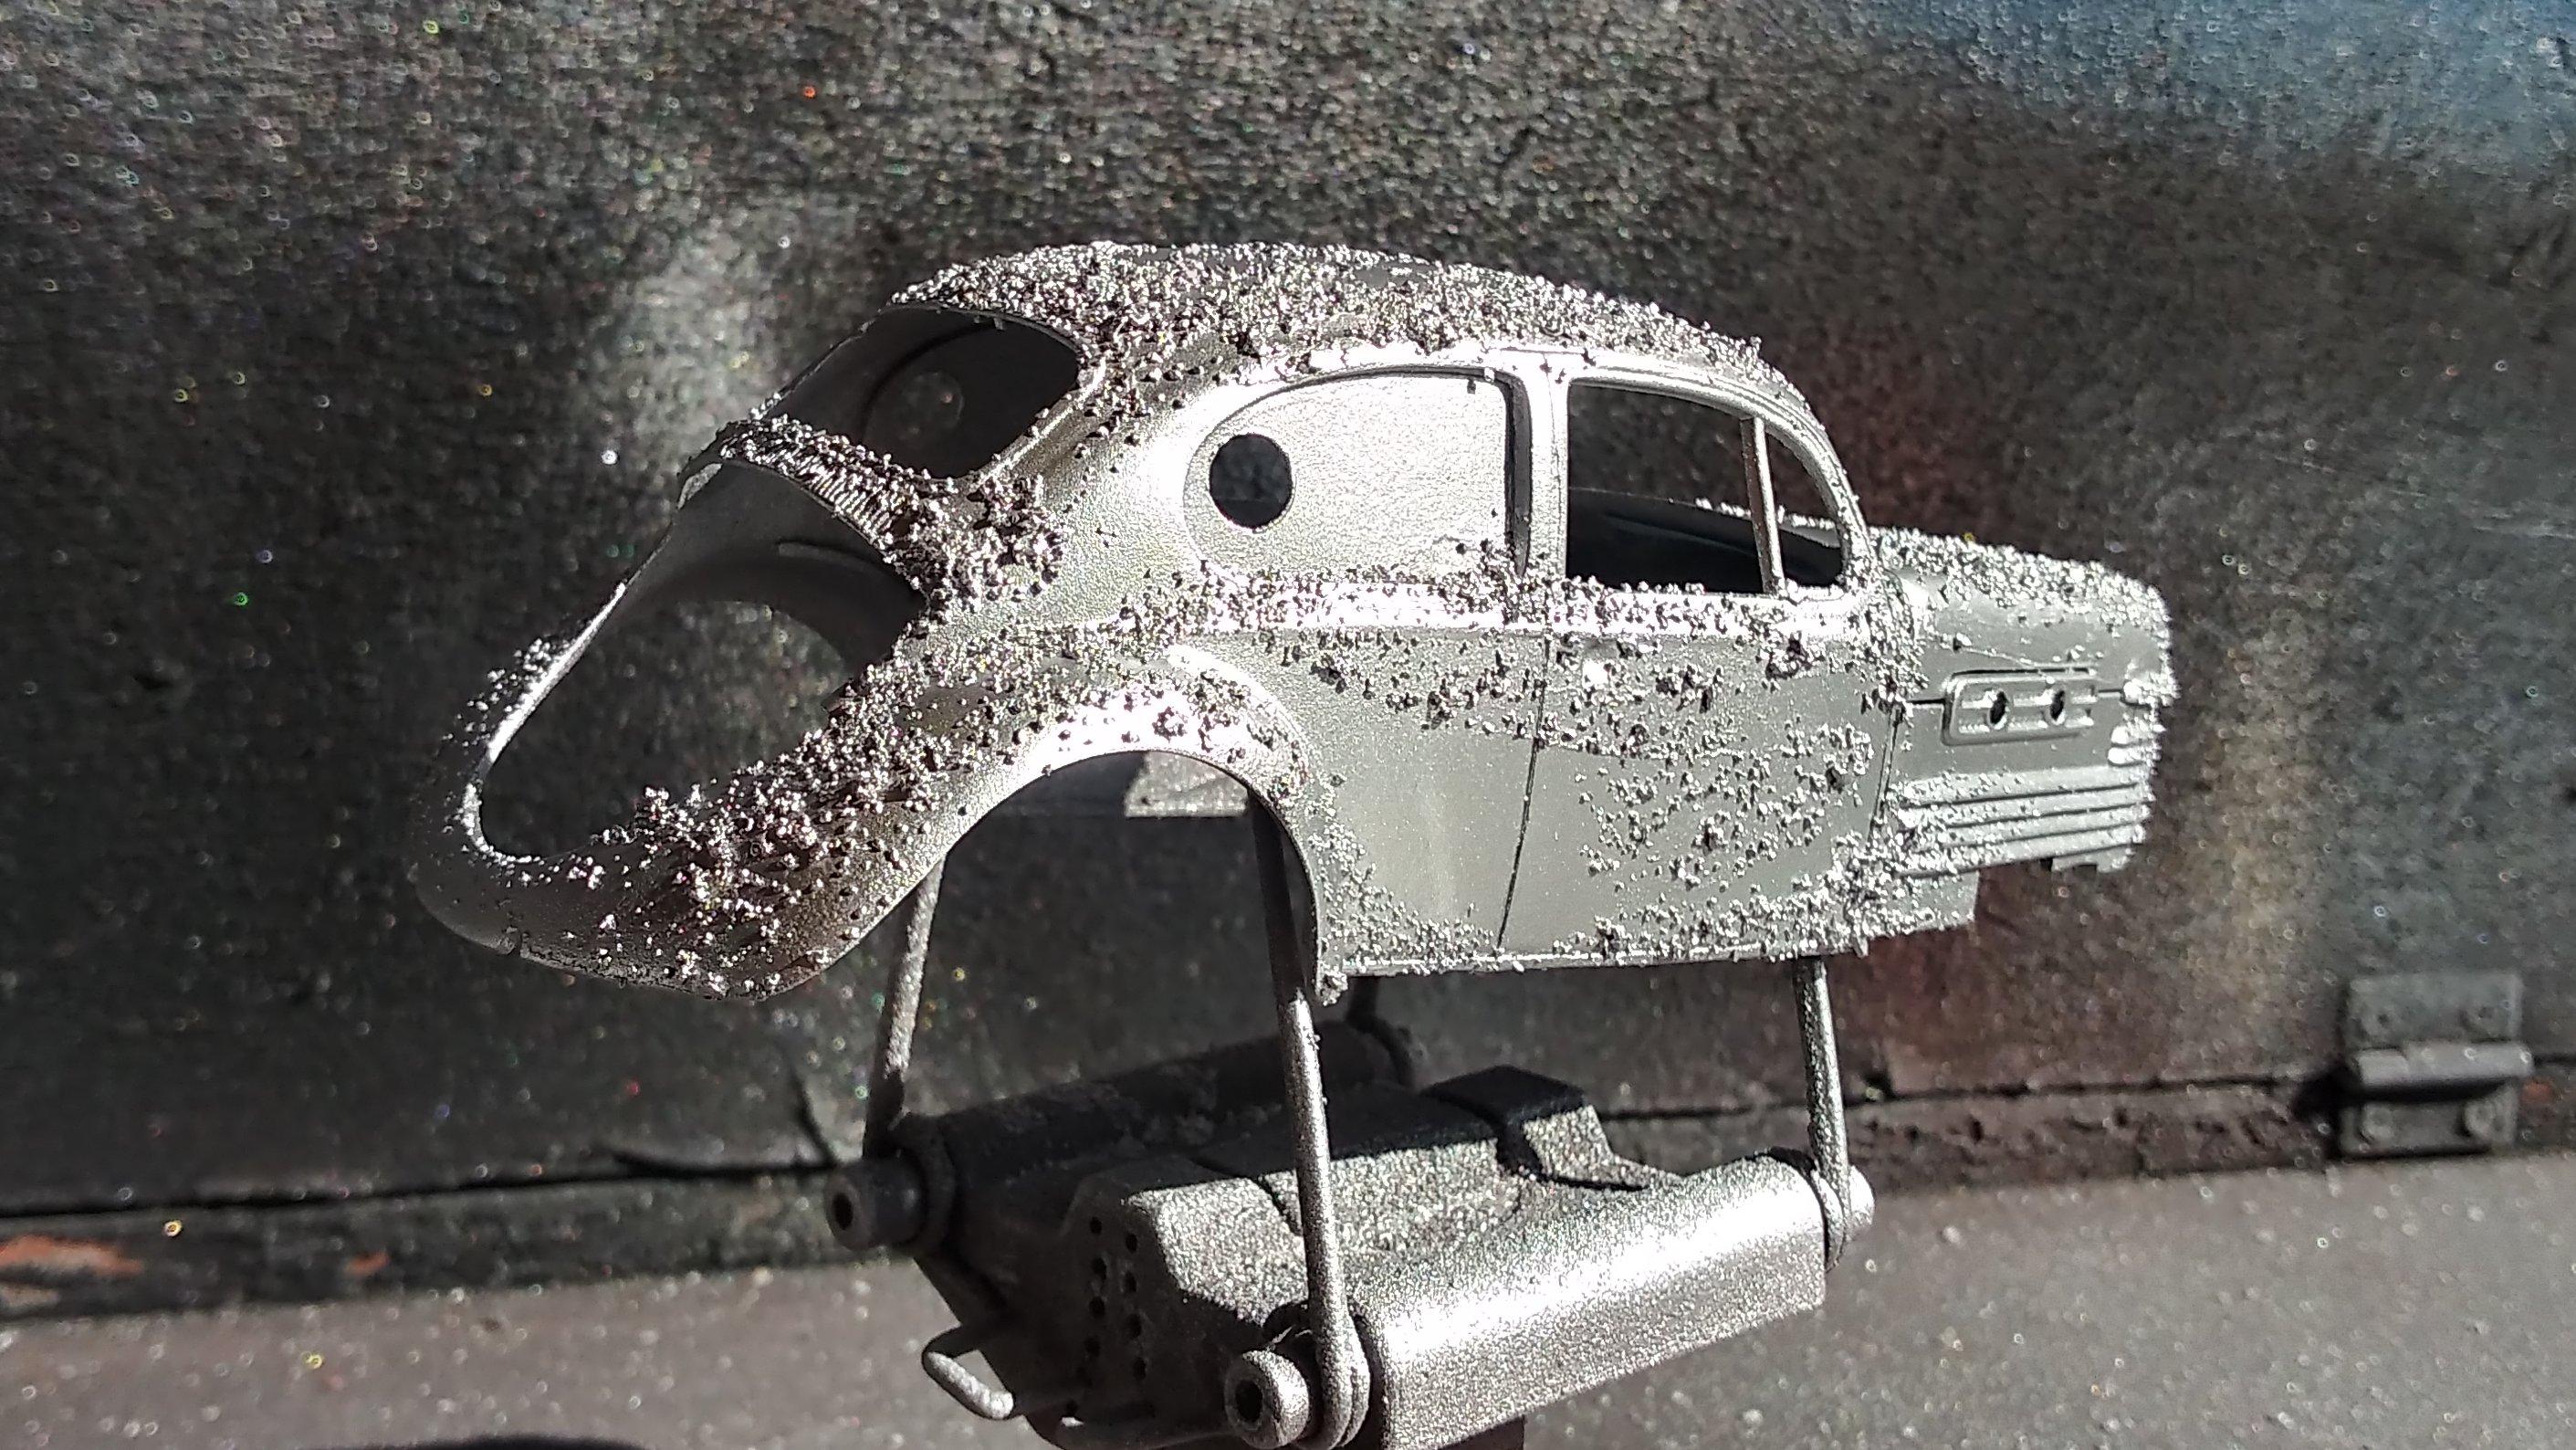
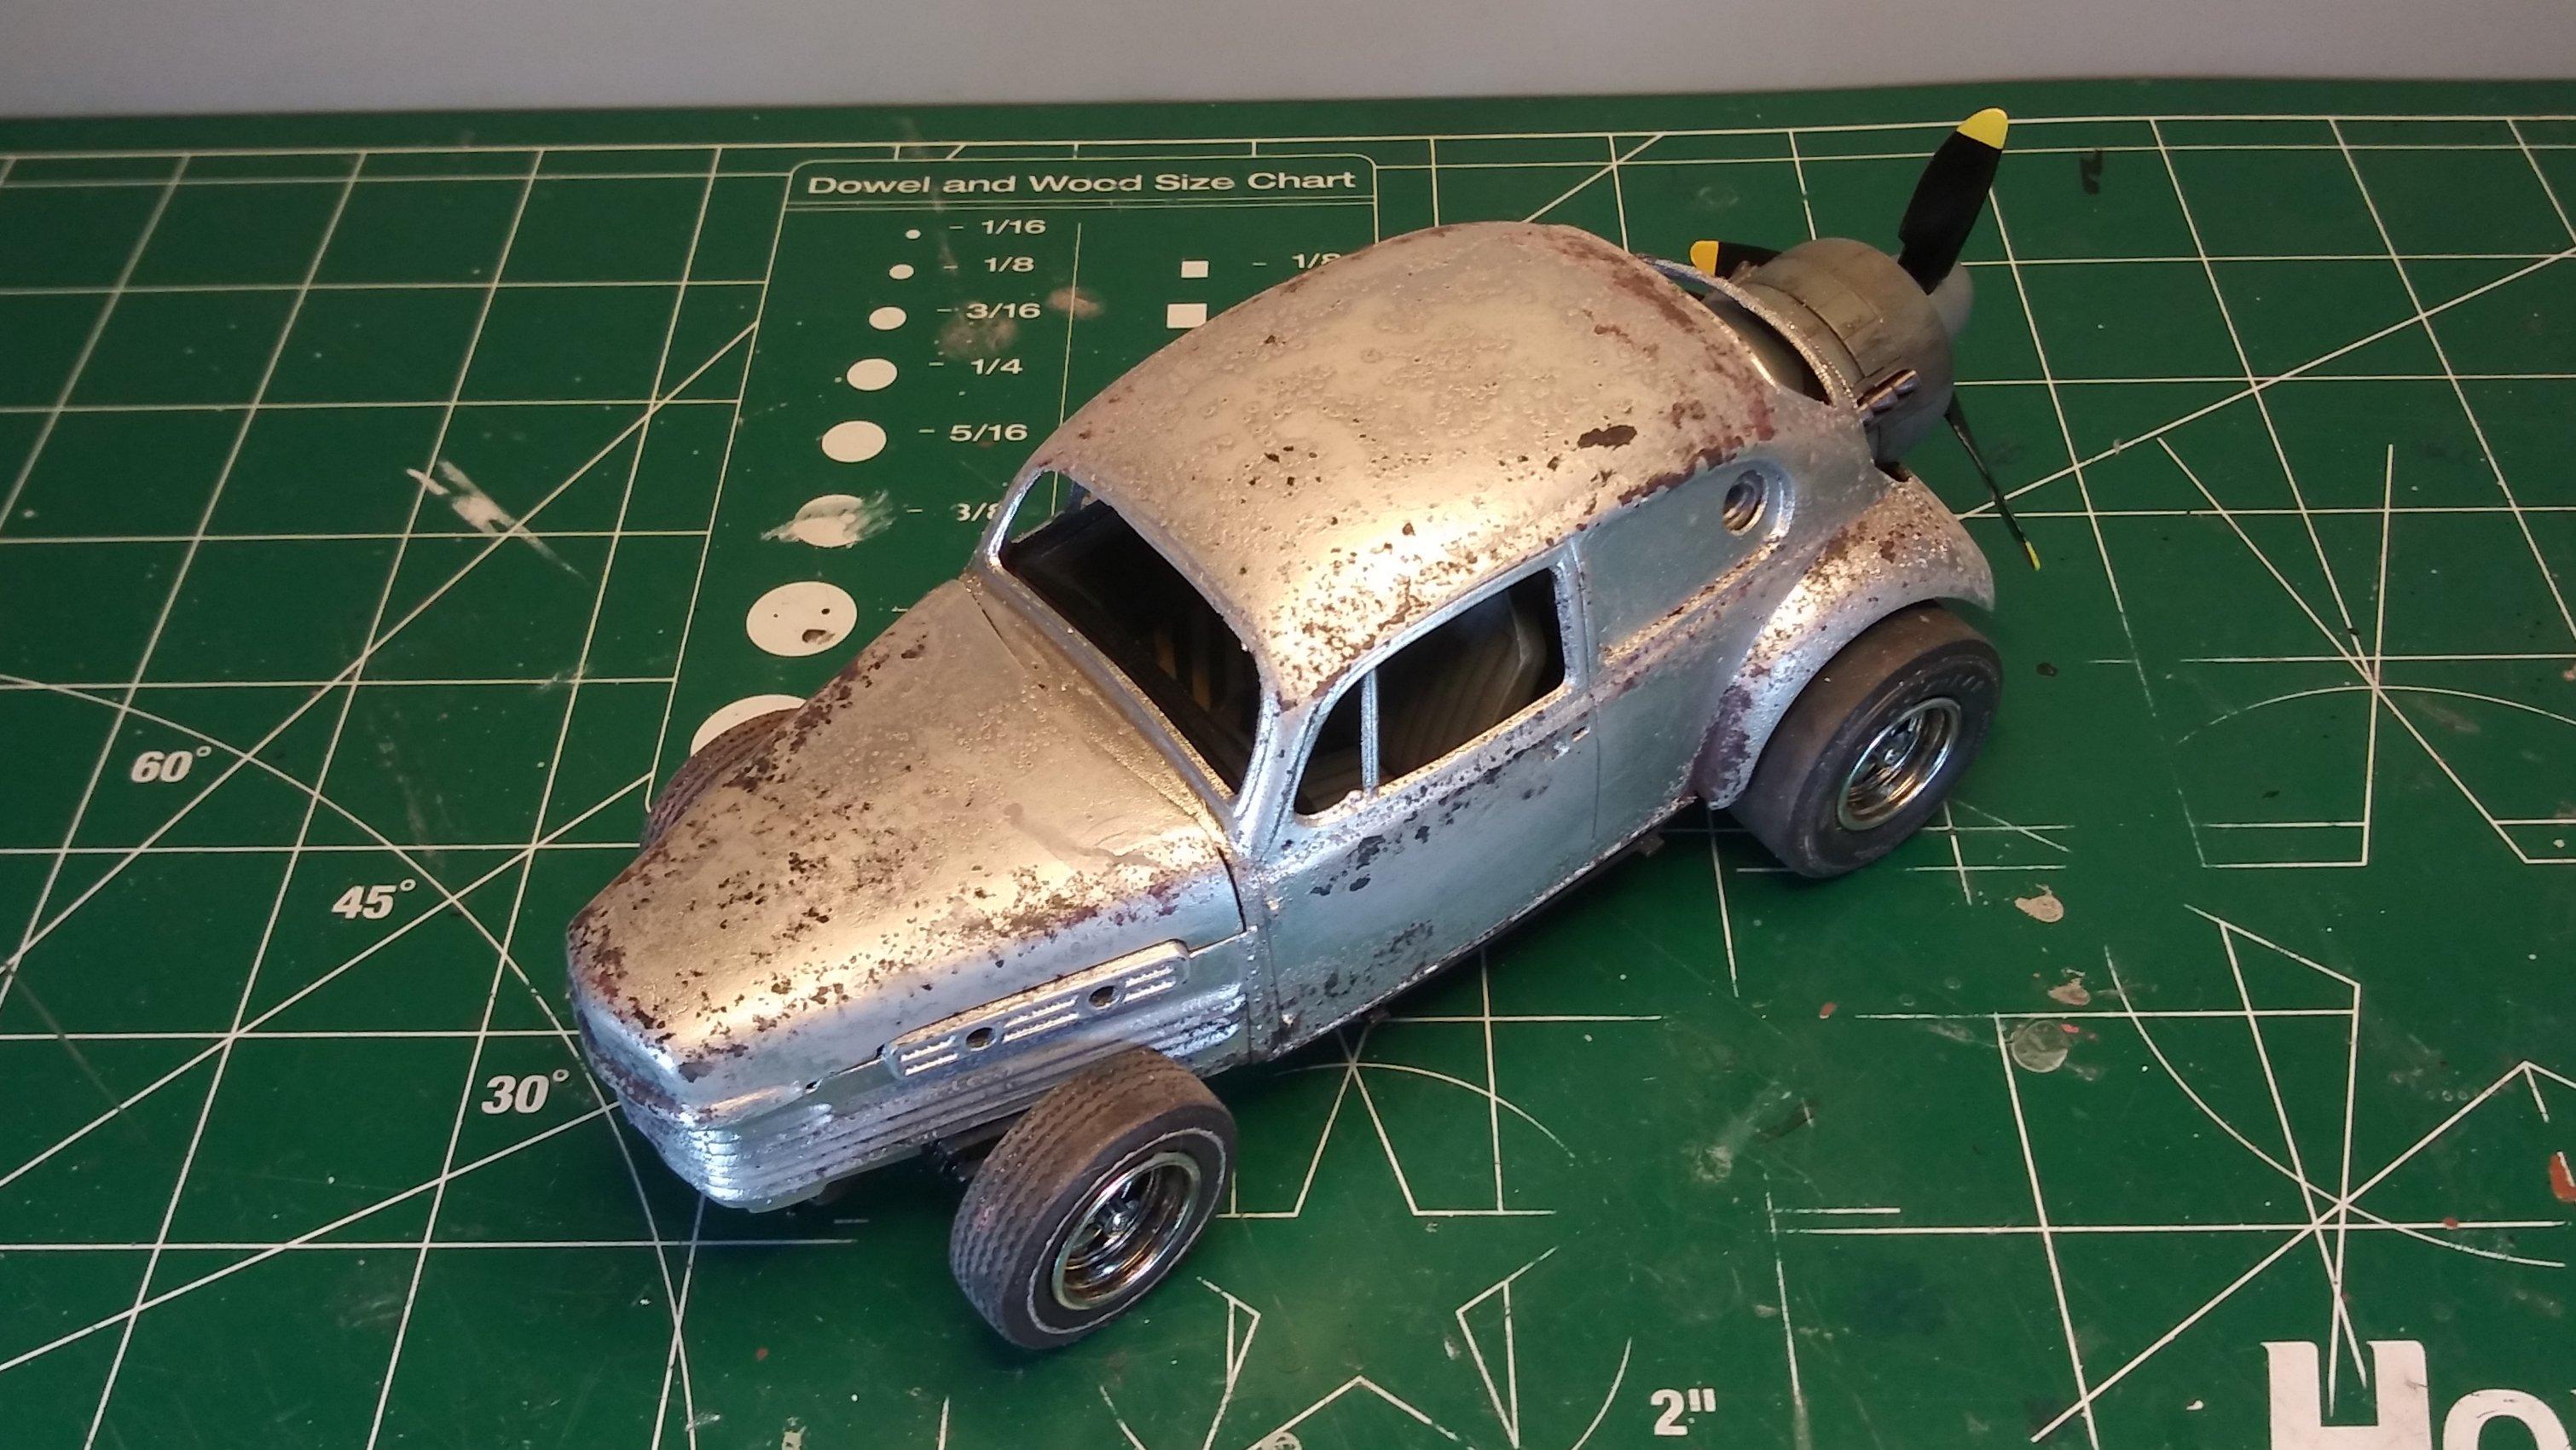
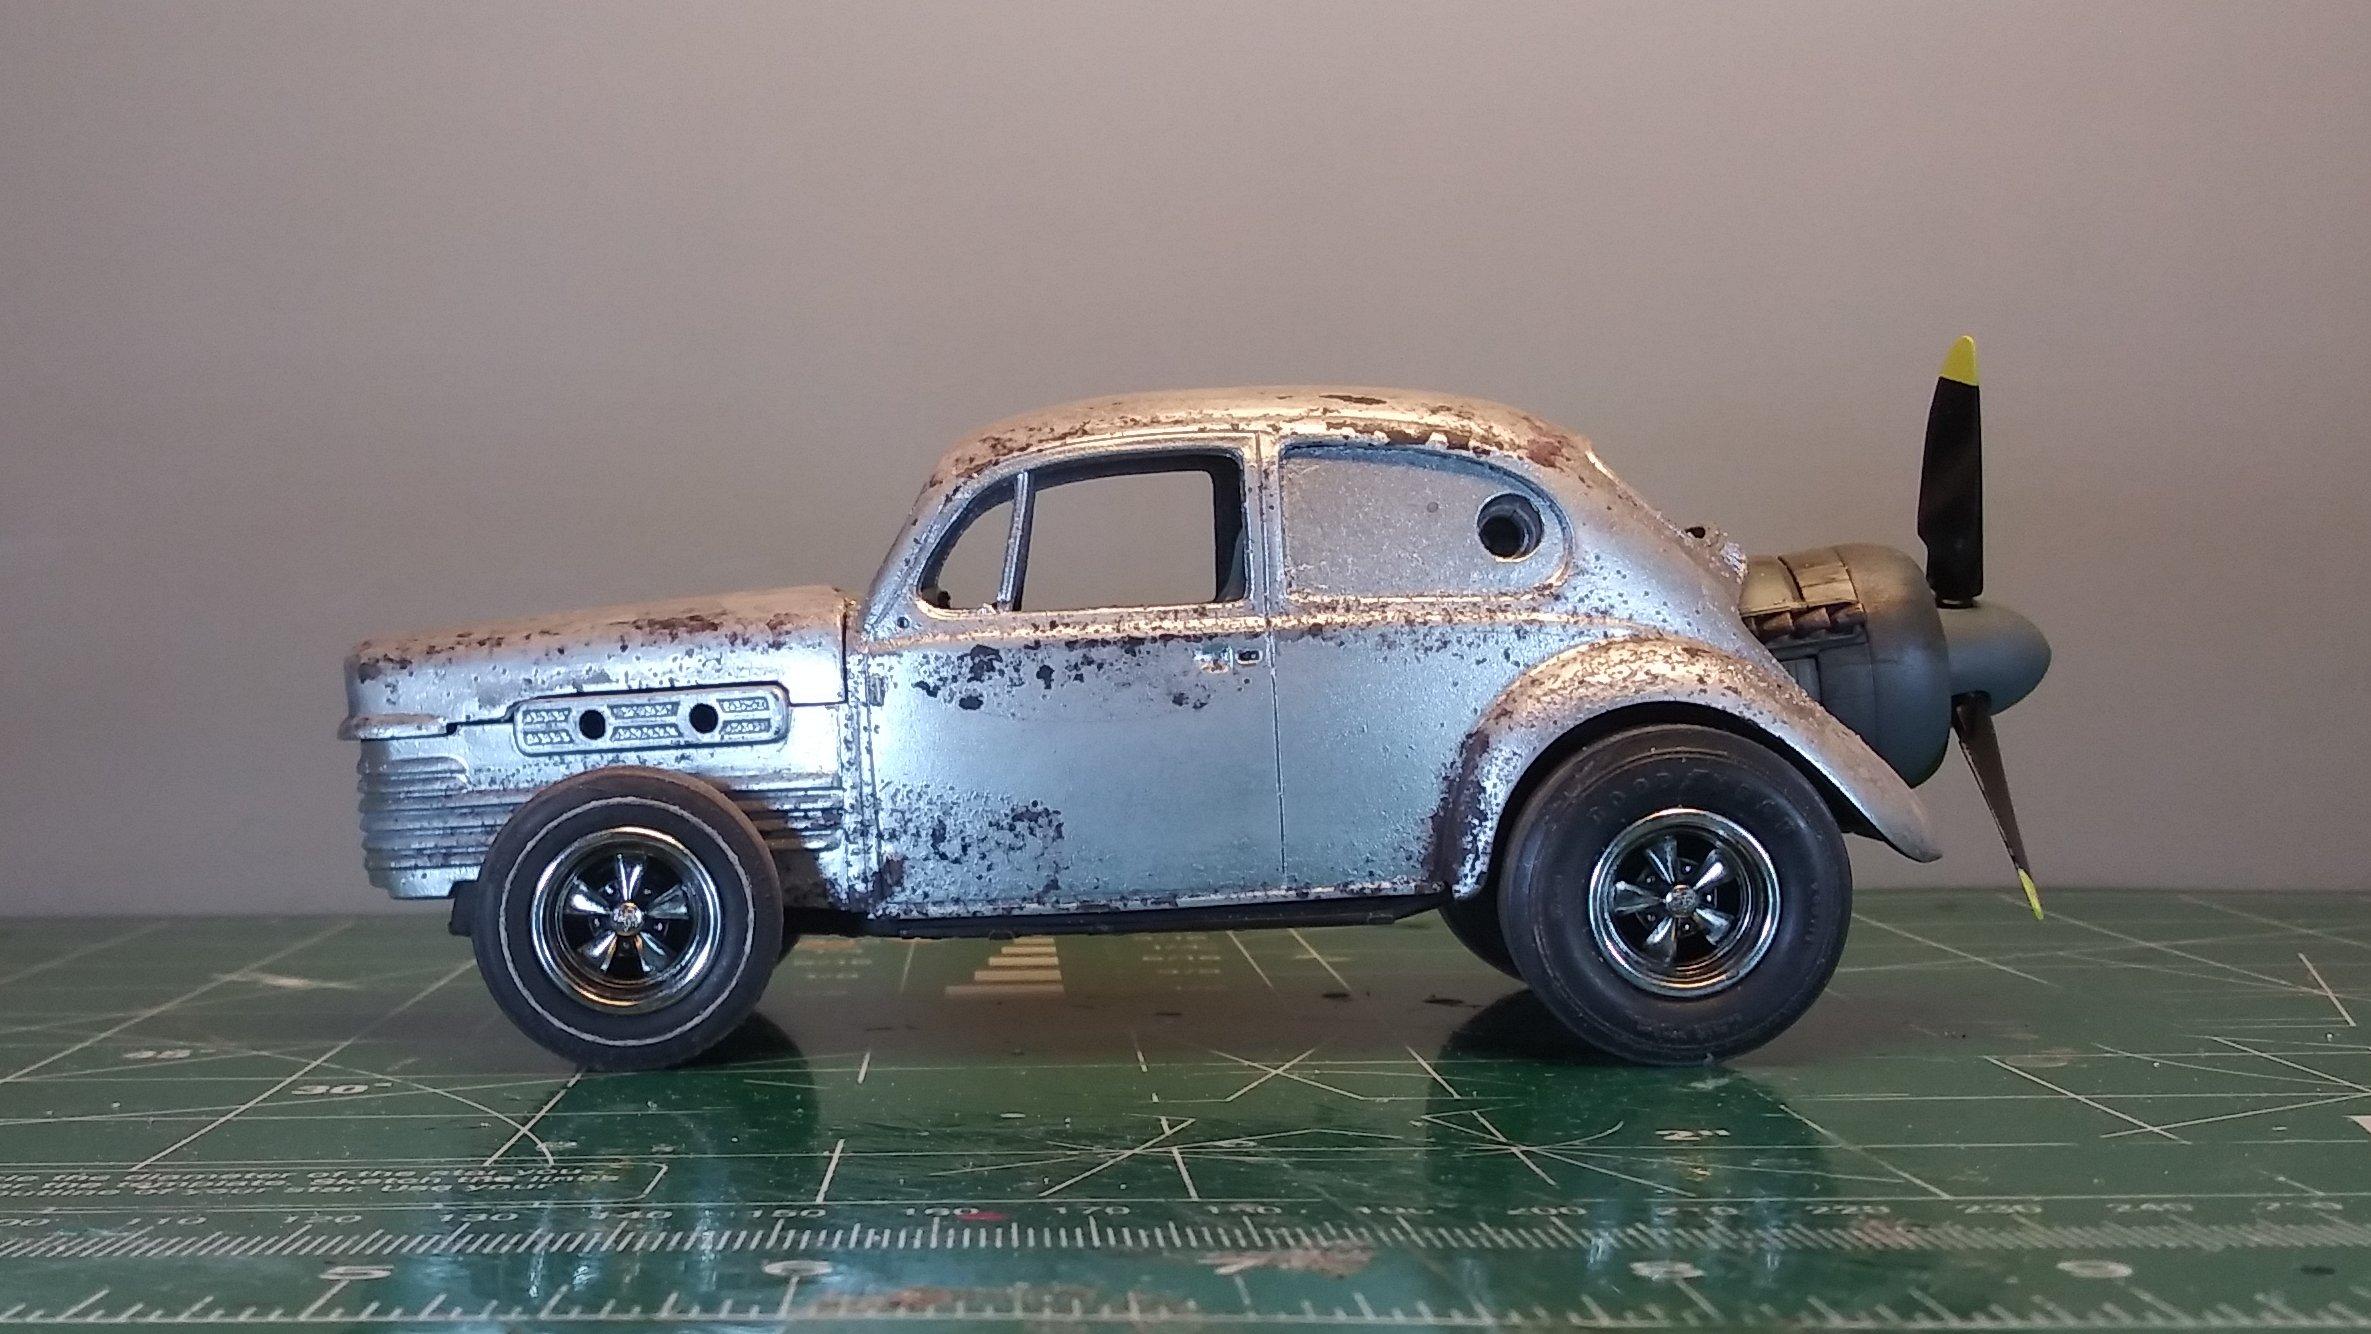
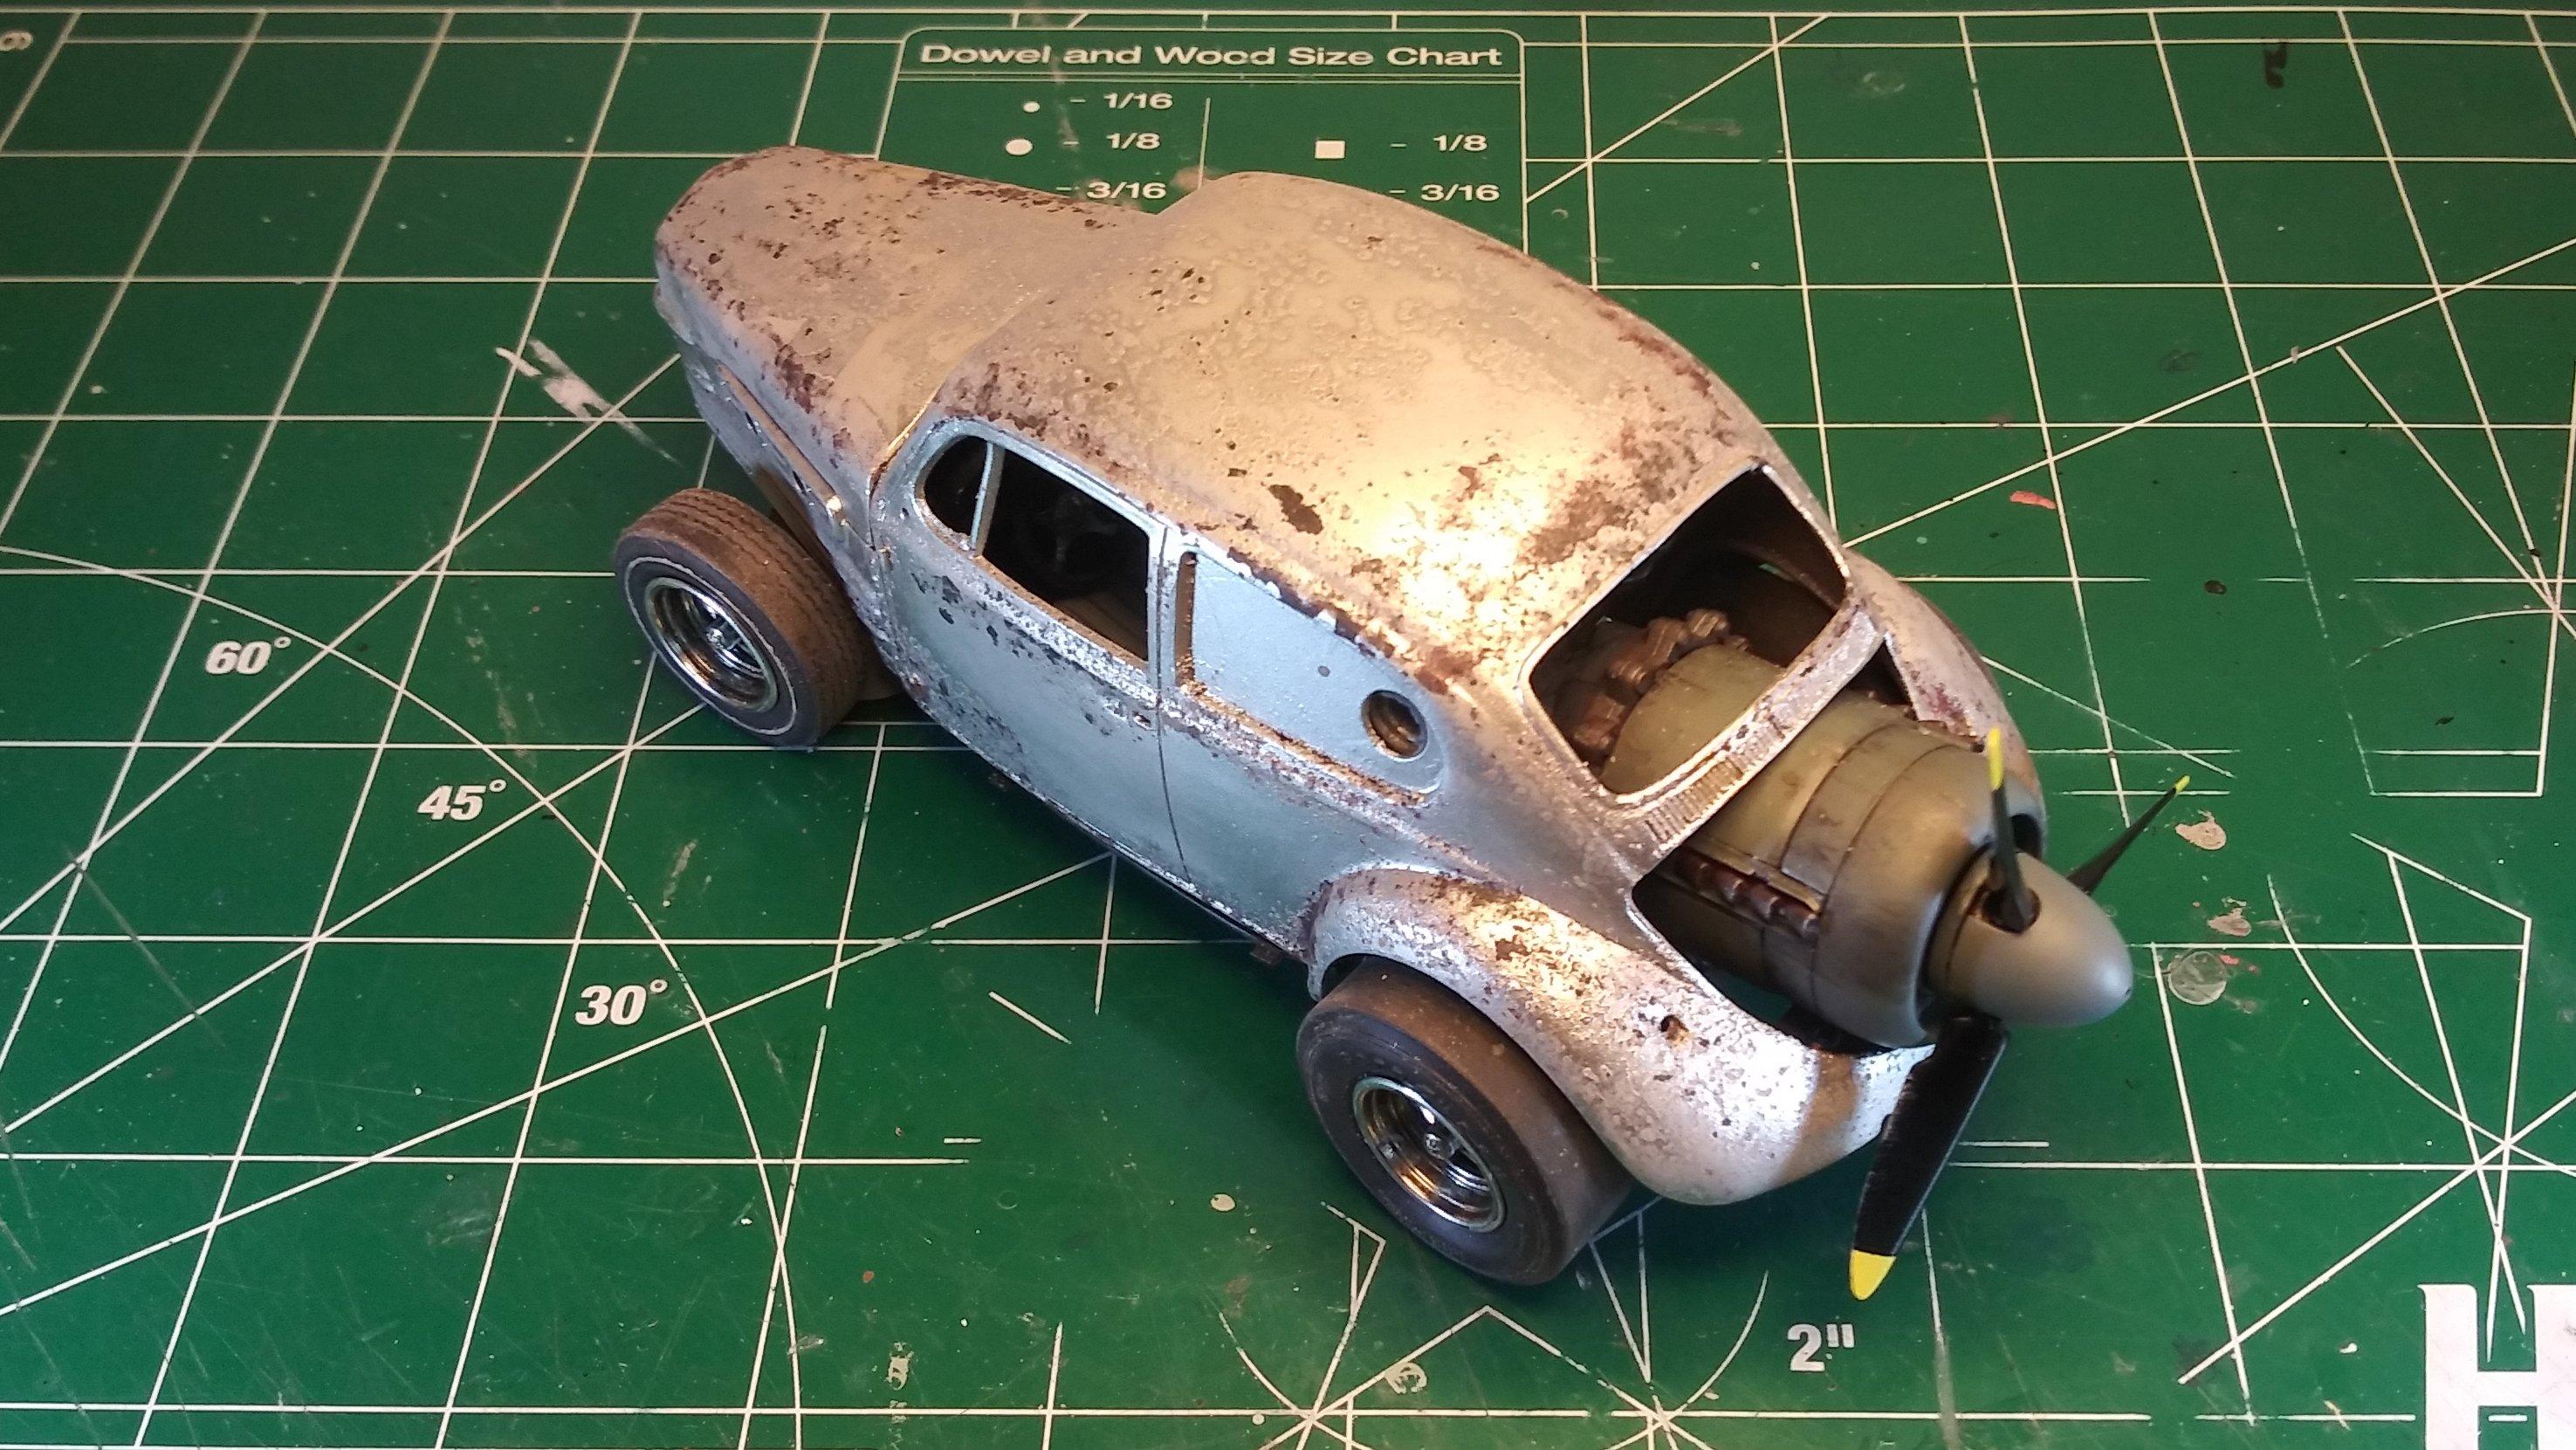
Thank you Dann. Knowing the work you've done, I have a lot of respect for your opinion. Thank you. Now the next update. Or as I call it... Chapter six: A Failed Experiment I wanted to try a technique on this model known as Salt Chipping or Rock Salt Technique. I'm sure that most of you will be familiar with it but there may be some who aren't. The technique is intended to produce a rusty, oxidized paint effect using coarse salt as a masking medium. The first step is to paint a suitable base color. I chose a combination of black and oxide primers. Rather than blend the colors as I probably should have done, I worked in layers. After applying the base coat, brush on some water, and shake some rock salt onto the moist parts. Wait a few minutes for the paint to dry a bit then spray the top coat. Once the top coat dries a little, the salt is to be removed with a suitable brush, an old toothbrush or the like. It was at this point that I began to have an uneasy feeling. This was not the effect I had hoped for. Rather than faded and chipped, the paint ended up looking pitted and lumpy. It looked more like a bad paint job than distressed metal and worn paint. I've had good results with this technique in the past but not this time. I think that there were just too many layers and the paint was too thick. Not having a good base color didn't help matters any. So this one goes in the stripping tank, the first one in a long time. All cleaned up and ready for another round. The paint was still soft so it came off without and difficulty. Luckily, I was able to sand the hood down and re-prime it. I wanted to avoid putting it into the tank because all the putty I used in contouring it would have gone bye-byes. So now I tighten up the body work again, then back to the paint shop! Thanks to everybody for taking the time to follow along and thanks for the support and encouragement. David G.
-
Yeah, I always seem to pick the winners. The oddball stuff where nobody can find a clear answer. David G.
-
Nicely Done! David G.
-
That is nice! The level of detail is very good for a diecast. David G.
-
Excellent progress. love the paintwork! David G.
-
I just discovered this thread and spent the last hour reading and enjoying. What can I say that hasn't already been said? Your work is simply amazing on every level. David G.
-
Yeah, sorry for the name mix-up. ADHA and astigmatism are dangerous combination. I appreciate all the information and the link. There are some good ideas there, I have more options to consider now. Thanks, David G.
-
Looks great! Nice grille treatment and there looks to be a custom engine in there too. David G.
-
Sorry Steve. My eyes jumped a line. David G.