David G.
-
Posts
11,324 -
Joined
-
Last visited
Content Type
Profiles
Forums
Events
Gallery
Everything posted by David G.
-
Excellent color choice and engine detail. David G.
-
I almost forgot about my daily driver!

-
Nice effect with the foil, I've always wanted to try that. You've made it work nicely. David G.
-
Excellent work so far! Thanks for taking the time to share it with us. David G.
-
Looks great! Everything is spot-on. David G.
-

Beverly Hillbillies truck
David G. replied to BIGTRUCK's topic in Model Trucks: Pickups, Vans, SUVs, Light Commercial
Excellent weathering, looks great. The only thing it needs is more junk on the deck. David G. -
Very cool! Everything looks perfect. David G.
-
Rescue 911 van
David G. replied to crazyjim's topic in Model Trucks: Pickups, Vans, SUVs, Light Commercial
Came out nice, good color choices. David G. -
Spectacular work, as always! David G.
-
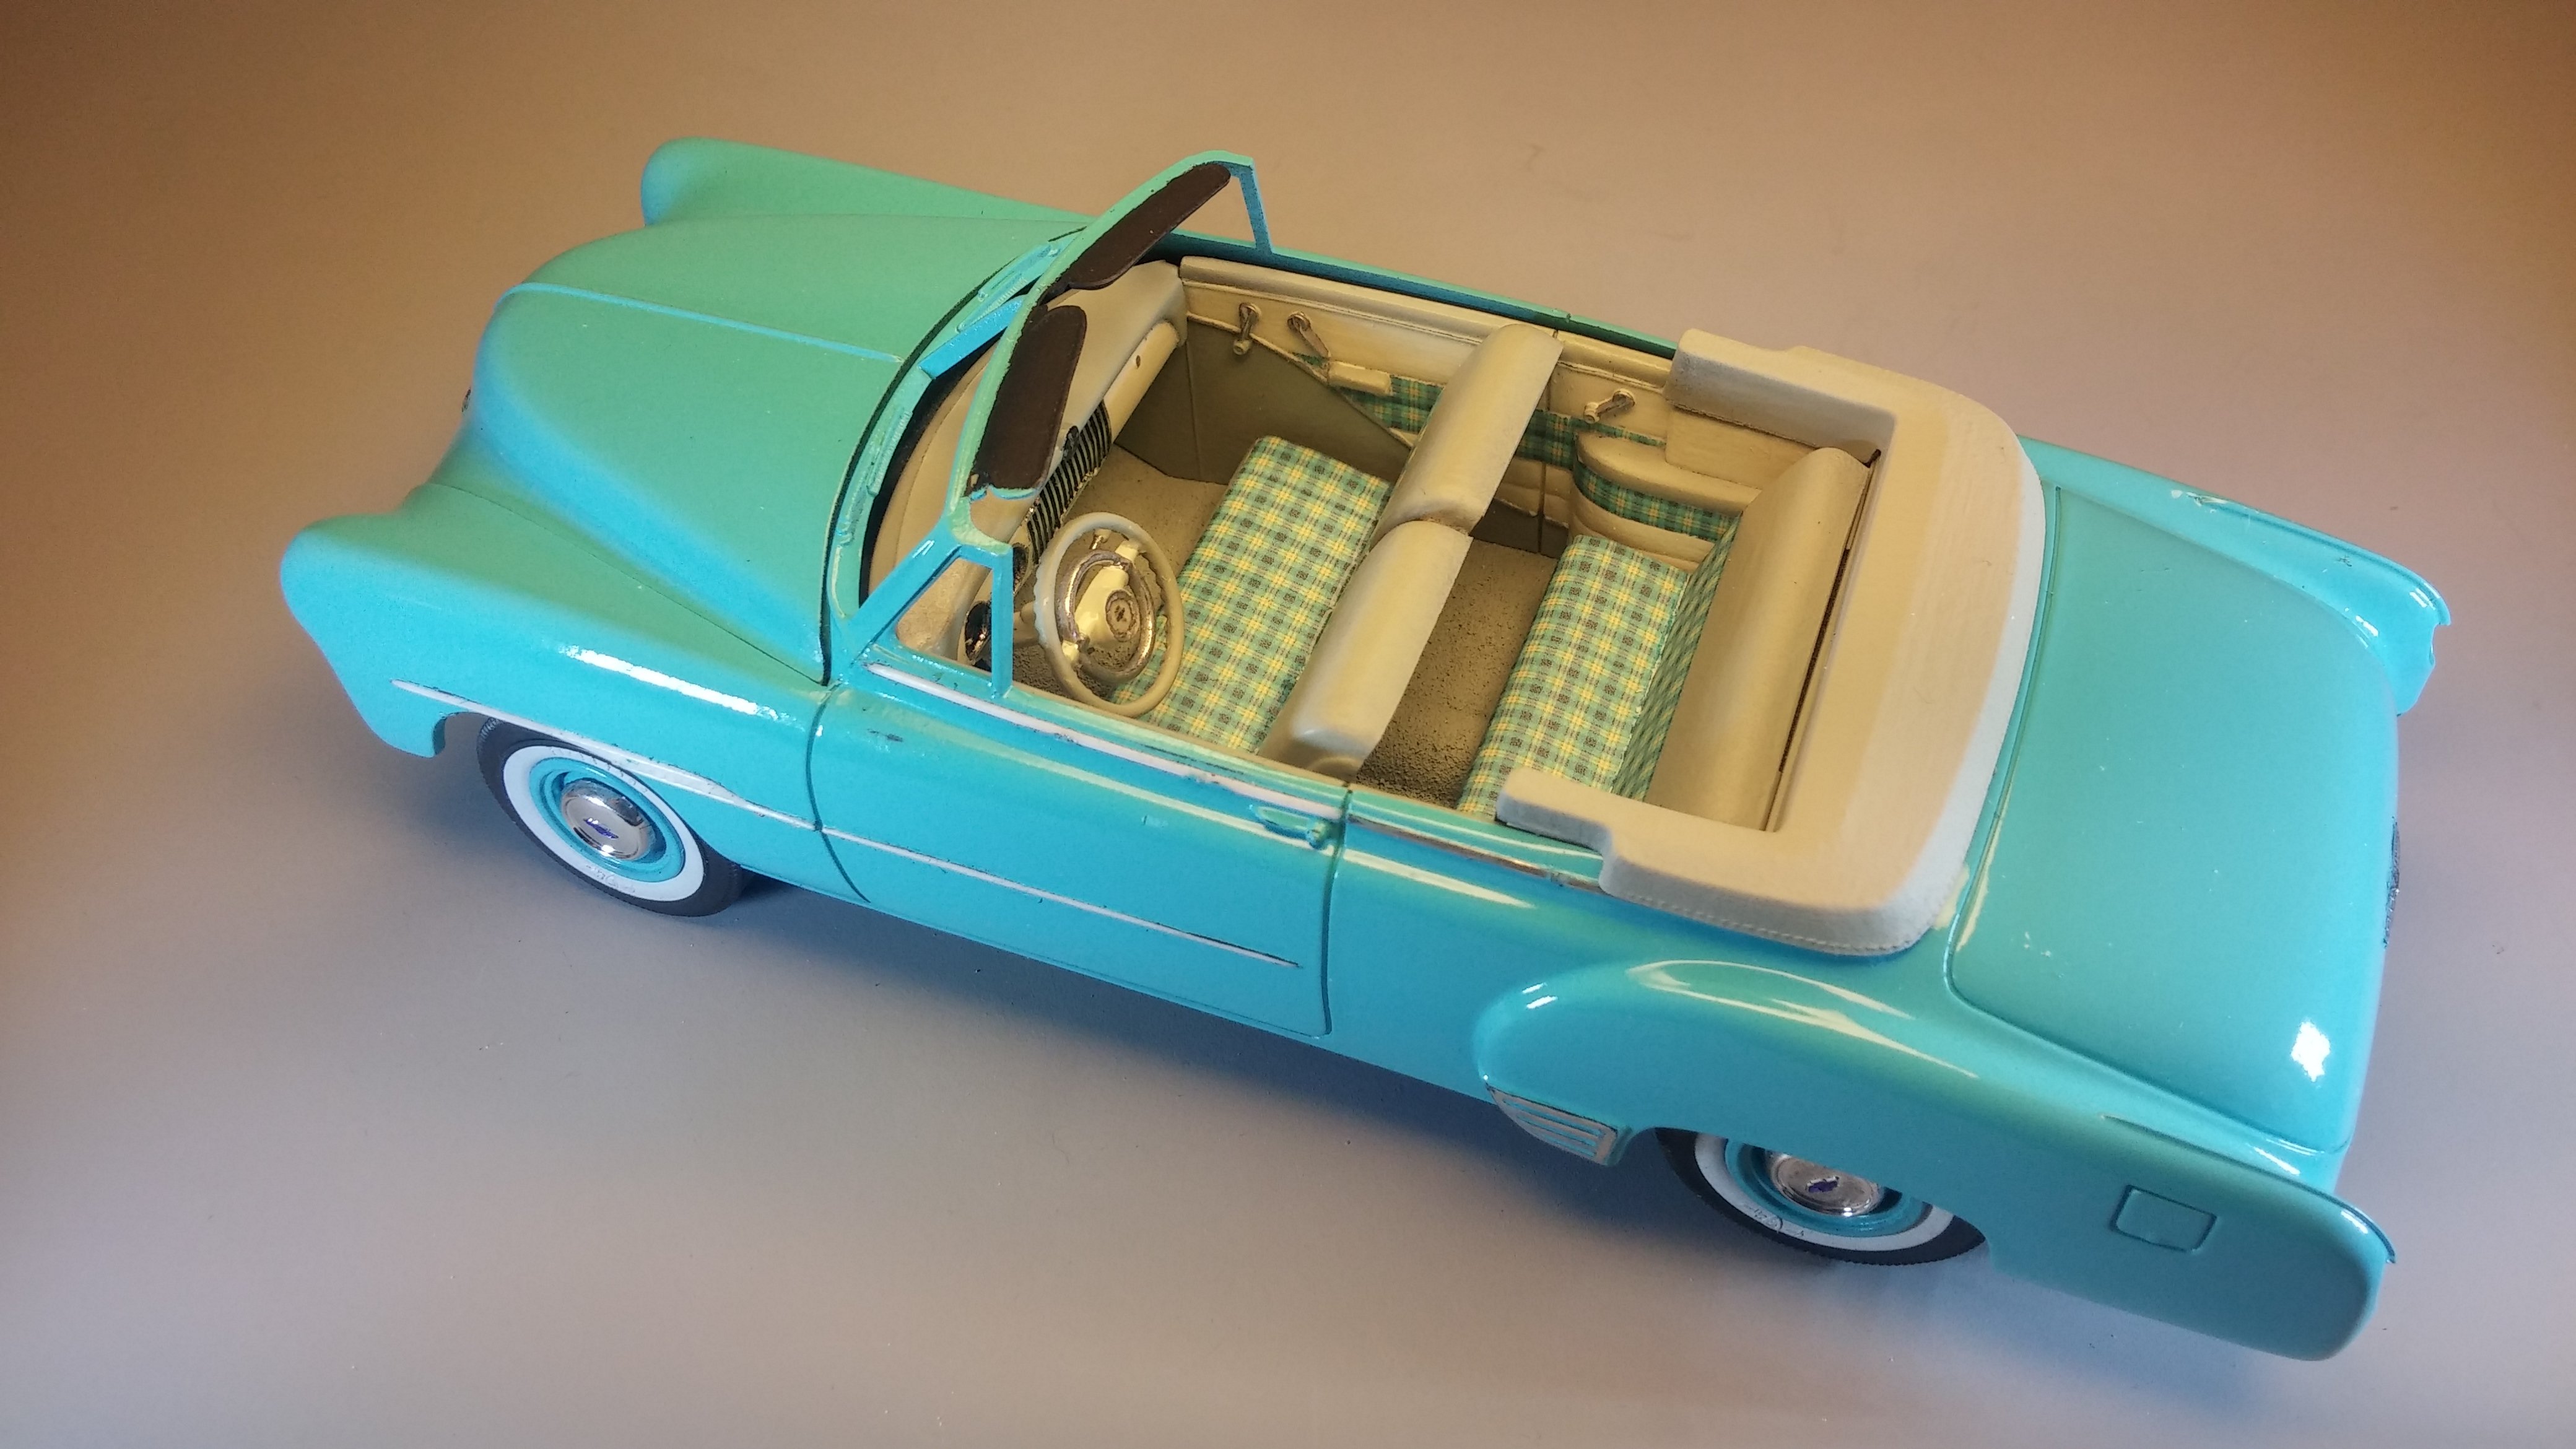
Thank you Mattias. I thought the plaid would have a 50's feel to it, happily it seems that I was right. Thanks Curtis. David G.
-
You're off to a good start. David G.
-
It came out nice, you did it justice. David G.
-
If there's a way to make that chute fit, I'm sure you'll find it! David G.
-
Thank you Vince, I'm glad you like it. Thanks David, I'm pretty pleased with it's all coming together. All I need to do now is get the paint smoothed out and polished so I can finish this beast. David G.
-
I can't wait to see it in final paint. Are you going with black? David G.
-
I got some color put down over the weekend. I like the way this color looks on this car. I have a bit of orange peel and some other flaws to address. Since this is Testors enamel, I plan to give it at least a week to cure before I start cleaning it up. I think I hit on a good color combination with this one. As always, thanks for taking the time to look and please feel free to comment. David G.
-
Looks great, nice wheel treatment. I would say no scoop. But, the way it is now you can just set the scoop on the hood and take it off whenever you want. David G.
-
Very cool! David G.
-
1964 GMC
David G. replied to bill lanfear's topic in Model Trucks: Pickups, Vans, SUVs, Light Commercial
Nicely Done, excellent weathering and detail. David G. -
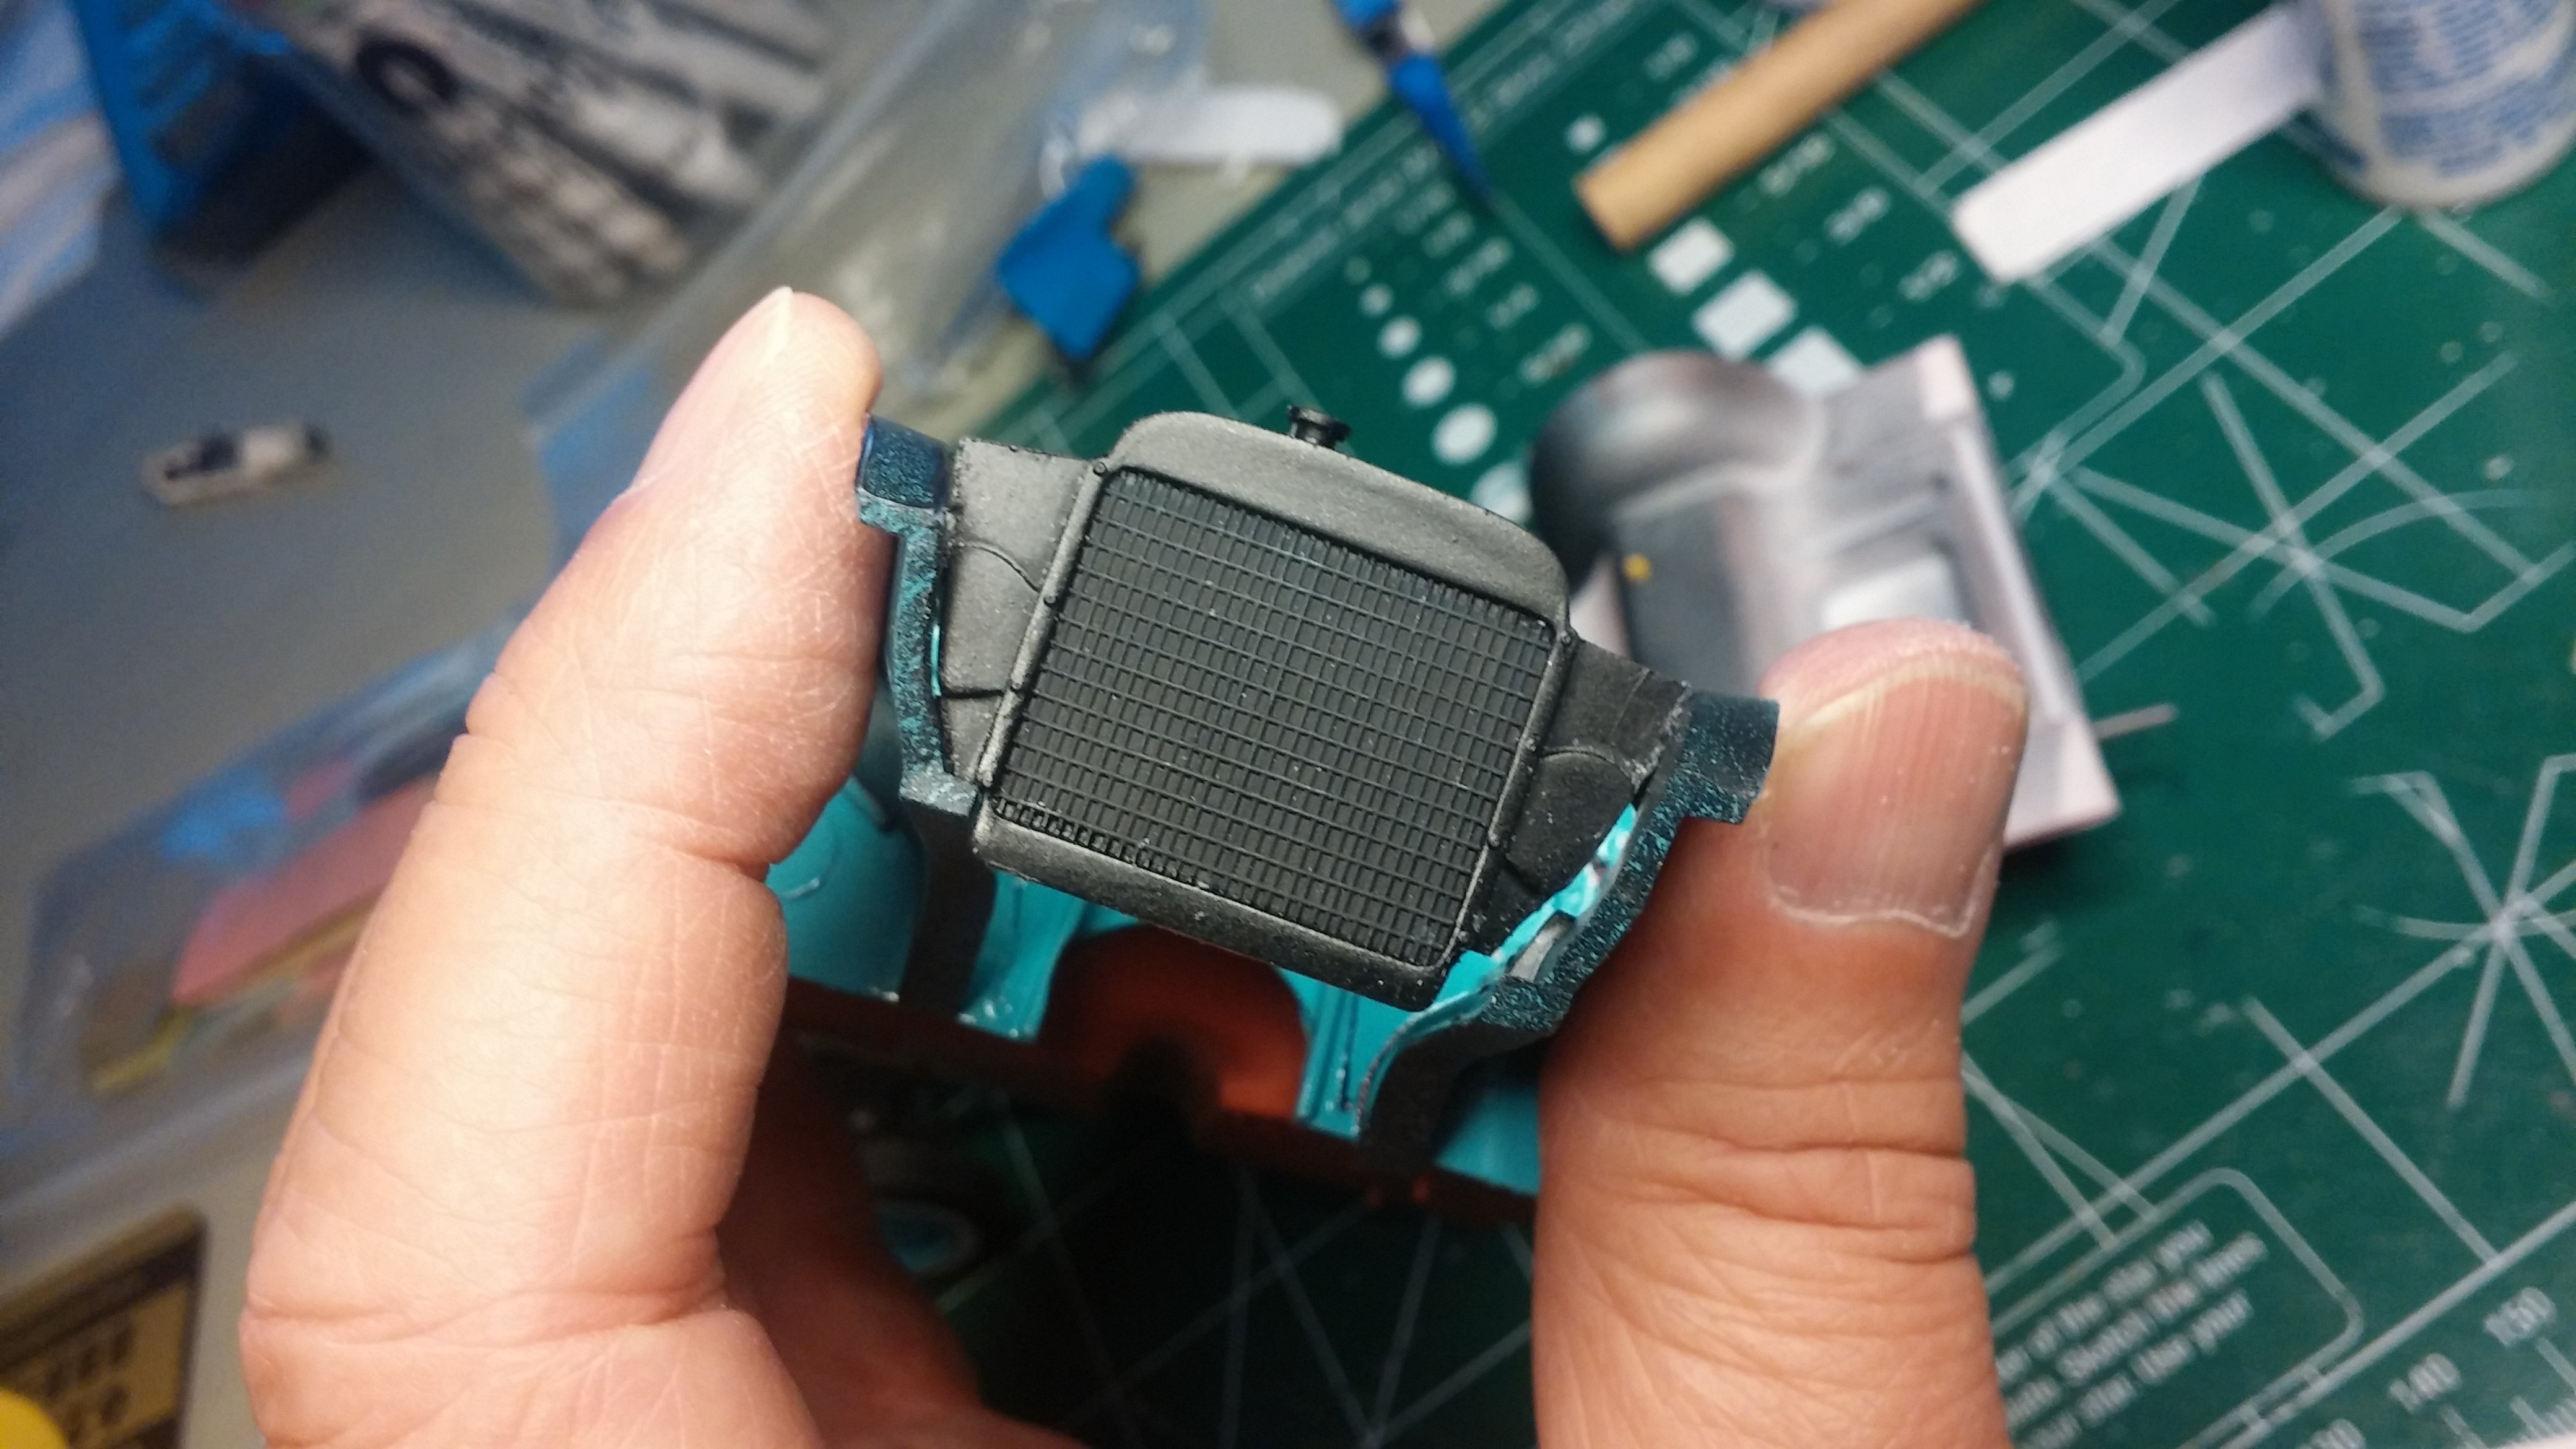
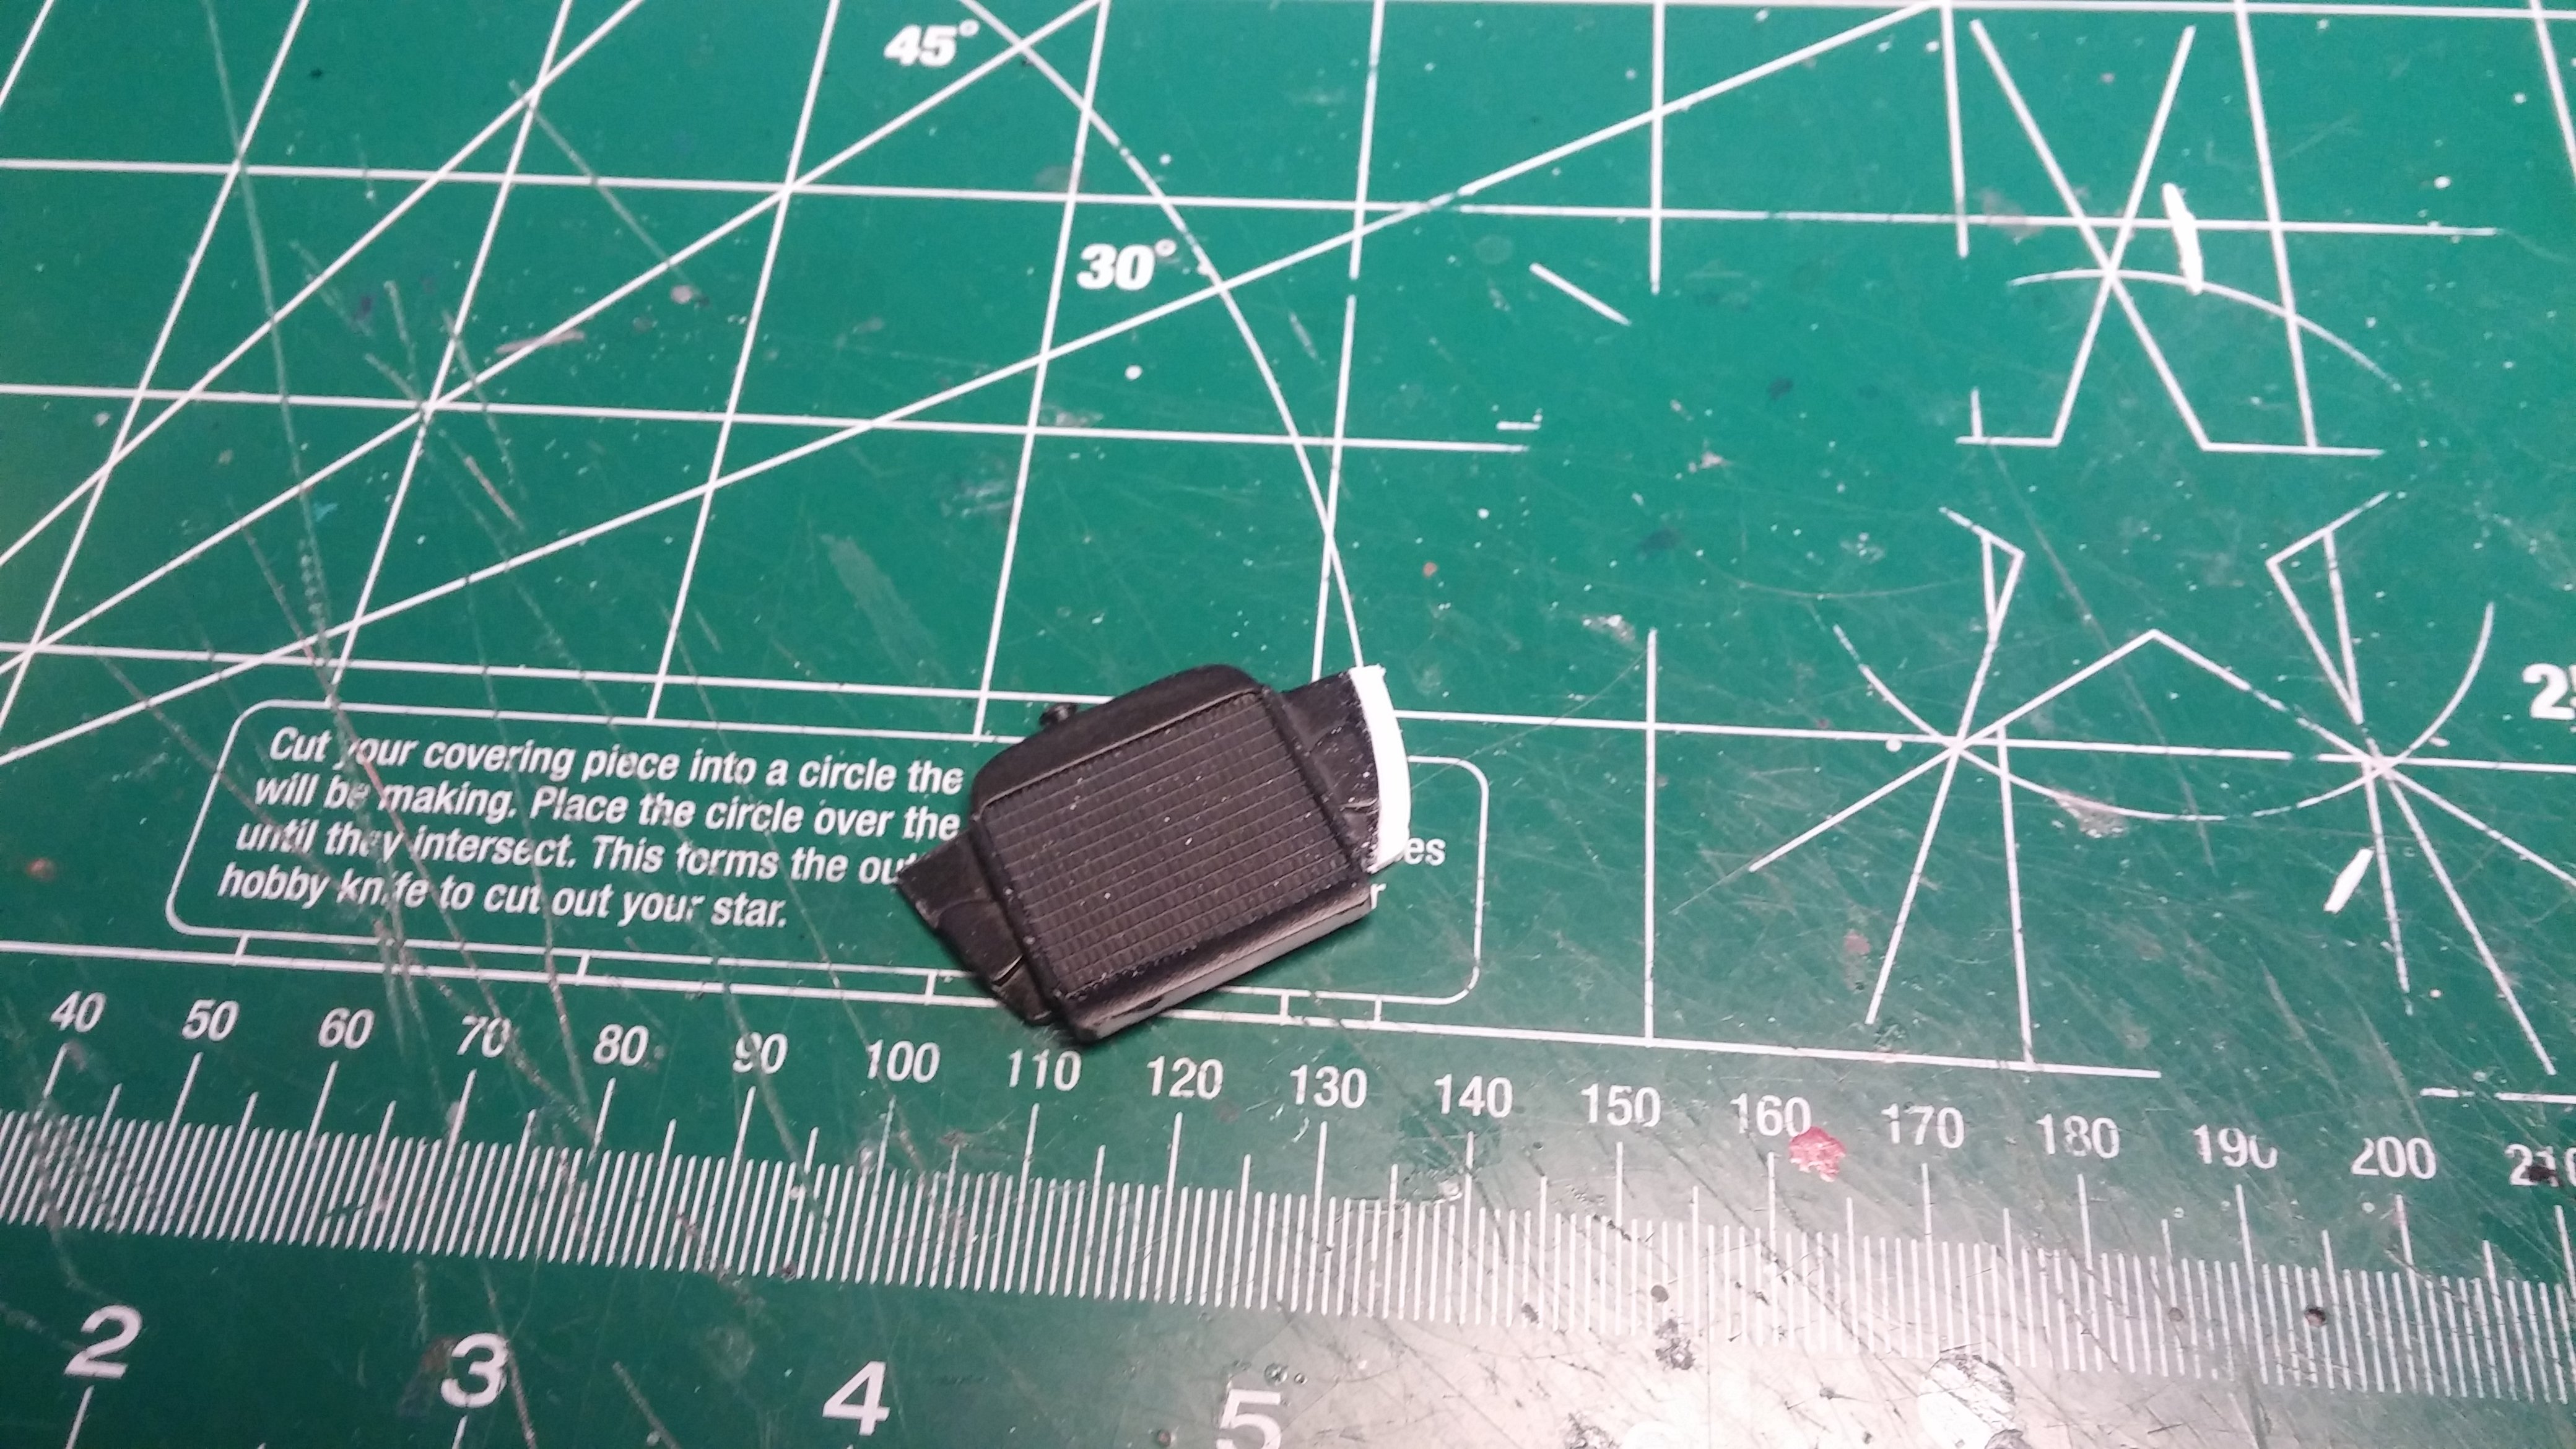
This from the "There's always something" file. There seems to be a bit of a gap on one side of the radiator support. The inner fender wells glue to the firewall and have to align with the frame, radiator support and outer fenders. The car has to be pretty much assembled before the inner fenders can be glued in place properly. Due to their complex shapes and limited access there is no easy way to hold them in location while trying to apply adhesive to the area where they attach inside the fenders behind the front wheels. So, yeah, my alignment may be a little off, but not that much. Gluing a bit of styrene to build up the area then file it into shape. Checking the fit... Looks like that should work. A little fill and then off to the paint department to make it pretty. With the engine compartment knocked into shape, the chassis is mostly done. On to the body. As always, thanks for taking the time to look and please feel free to comment. David G.
-
Thanks Mike, I'm pretty happy with the way it turned out. I think I've come up with a good explanation for the stock looking custom options- a story for the car. I'll share it when I move it to the "Under Glass" section.
-
Thanks Randy, I think I came up with my story for this one. I'll share it with everyone when I put it in the "Under Glass" section. David G.
-
Nicely Done! Great garage diorama too. David G.
-
Amazing work so far, I admire your creativity and dedication. David G.
-
Great color combination, excellent detail work and paint- Well Done! David G.