David G.
-
Posts
11,326 -
Joined
-
Last visited
Content Type
Profiles
Forums
Events
Gallery
Everything posted by David G.
-
Gorgeous models, tremendous detail! David G.
-
It looks great Jim, I love the pinstripes on the roof. David G.
-
A nice variety, all very well done. David G.
-

Simpsons Canyonero
David G. replied to spencer1984's topic in Model Trucks: Pickups, Vans, SUVs, Light Commercial
Tremendously cool! David G. -
A great set for the year! The cobra trike is really cool! David G.
-
1962 Rolls Royce Silver Cloud II by Minicraft Models: Finished
David G. replied to David G.'s topic in Model Cars
Thanks Larry. Thank you Lee. Your support and encouragement with this build as well as your willingness to share your expertise regarding the subject were both instrumental in helping me maintain my desire to complete this one. Thank you David. You are correct about the molding around the rear window. I think it ended up chromed because the Molotow pen was in my hand and seemed to take on a life of its own. I agree. For their place in automotive history, Rolls Royce are criminally underrepresented in the model car world. Thank you again. Thank you Garry. I envy them that opportunity, it must have been a beautiful wedding. Thank you for your kind words Nigel. It certainly was a challenge. Thanks Jim, I appreciate that. Thank you very much Phil. Thank you Bruce. Thanks Glen, I'm glad you like it. David G. -
Thank you Bob. Thank you David. David G.
-
A nice group for the year! I'm particularly fond of the Edsel. David G.
-
Fabulous looking builds! You do seem to have a talent for working with decals. David G.
-
International CO-4000, Navajo Trucking.
David G. replied to Repstock's topic in Model Trucks: Big Rigs and Heavy Equipment
Nicely done! David G. -
Hello Everybody! Here are a couple more to close out the file on this one. First, quick shot of the interior. And finally, my traditional Display Case shot! As always, thanks for taking the time to look and feel free to comment if you wish. David G.

-
Quite a respectable set for the year! A nice variety. David G.
-
1962 Rolls Royce Silver Cloud II by Minicraft Models: Finished
David G. posted a topic in Model Cars
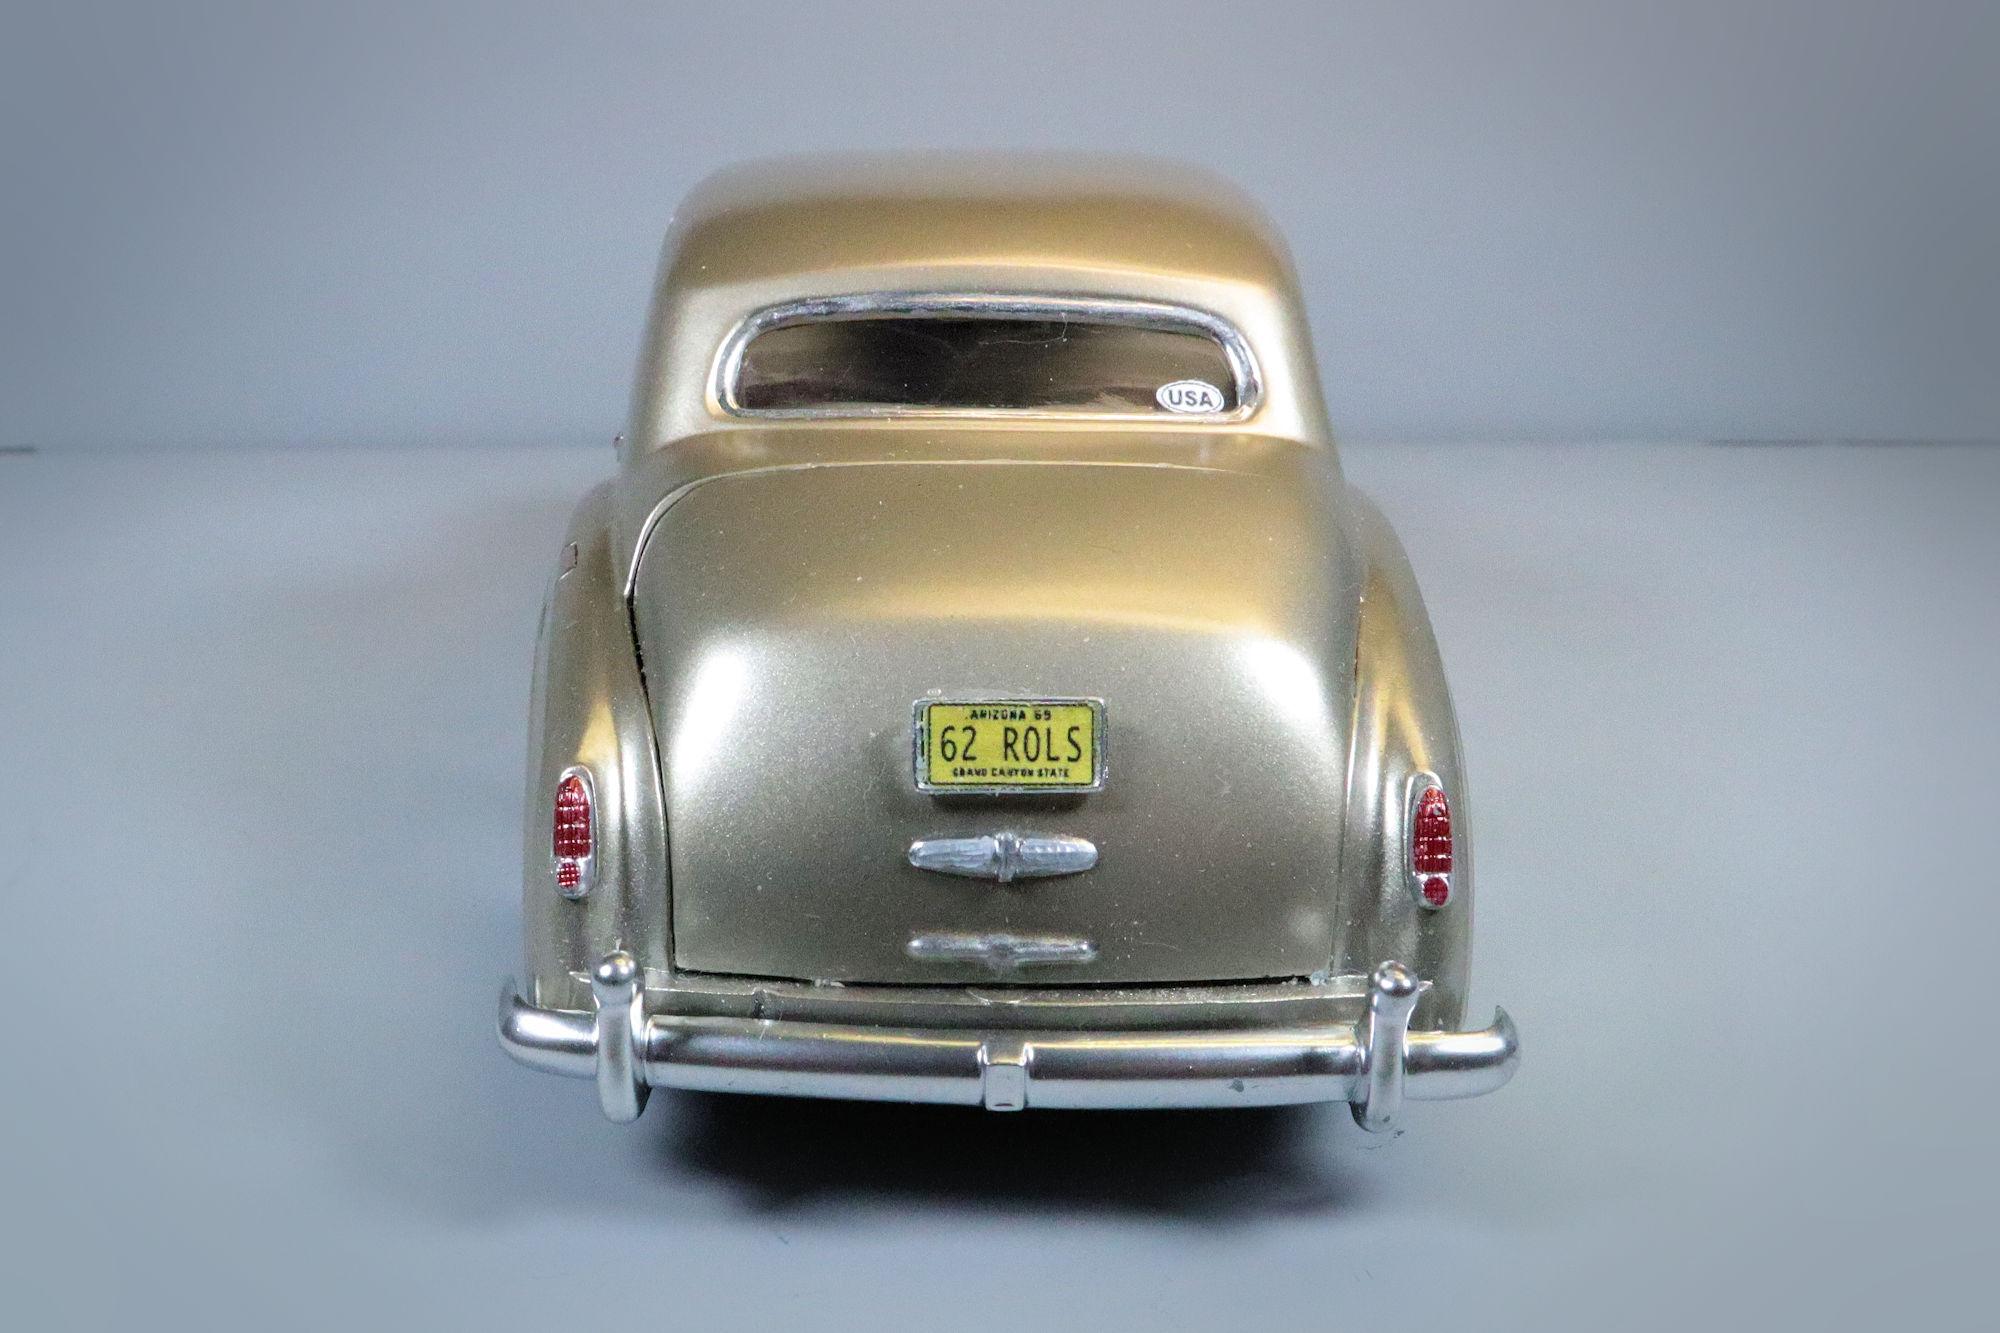
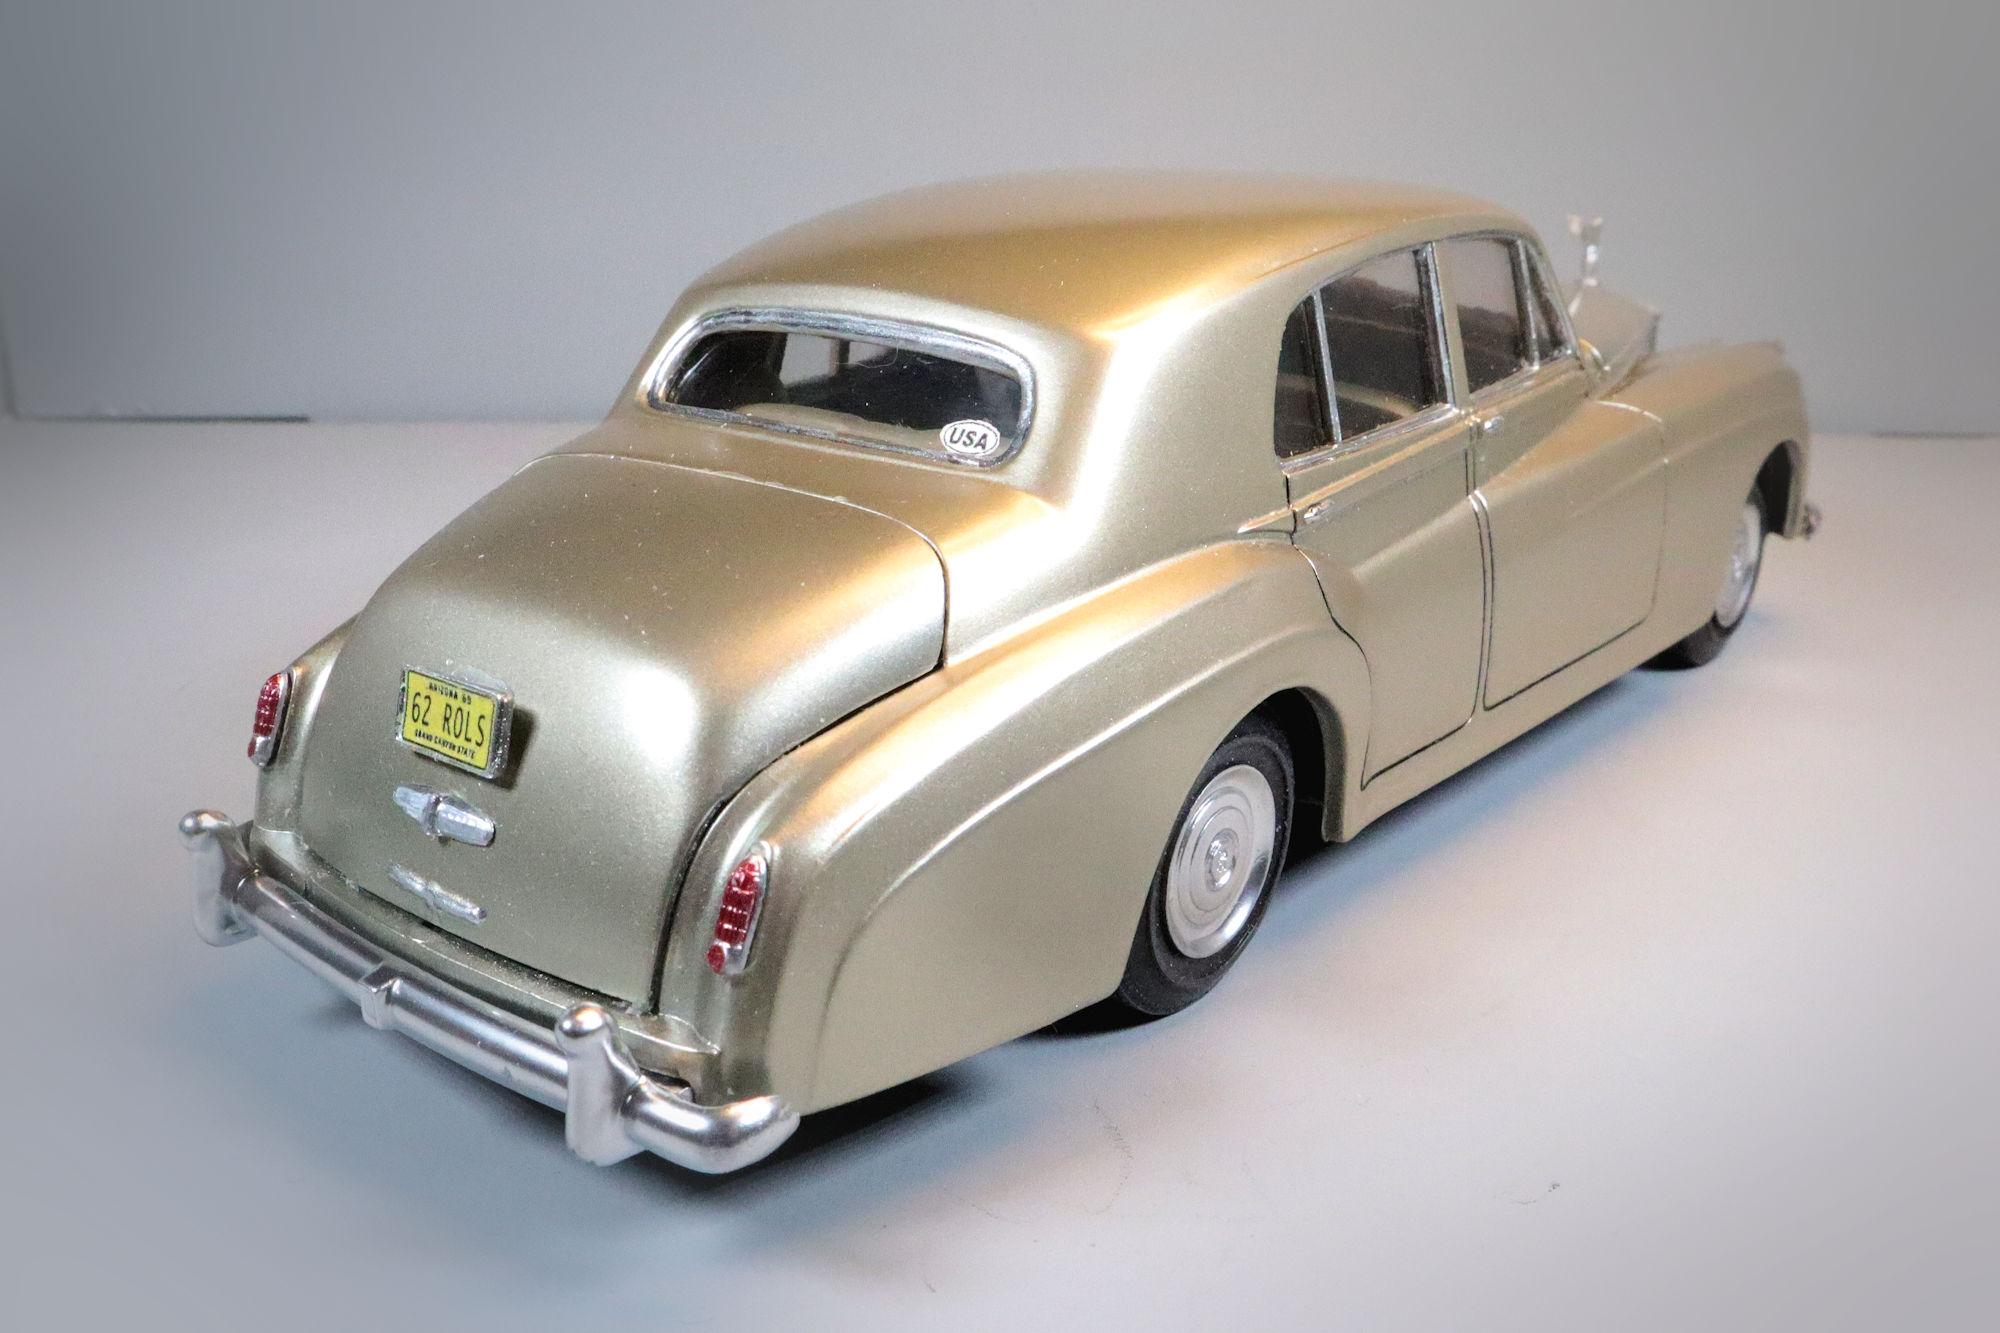
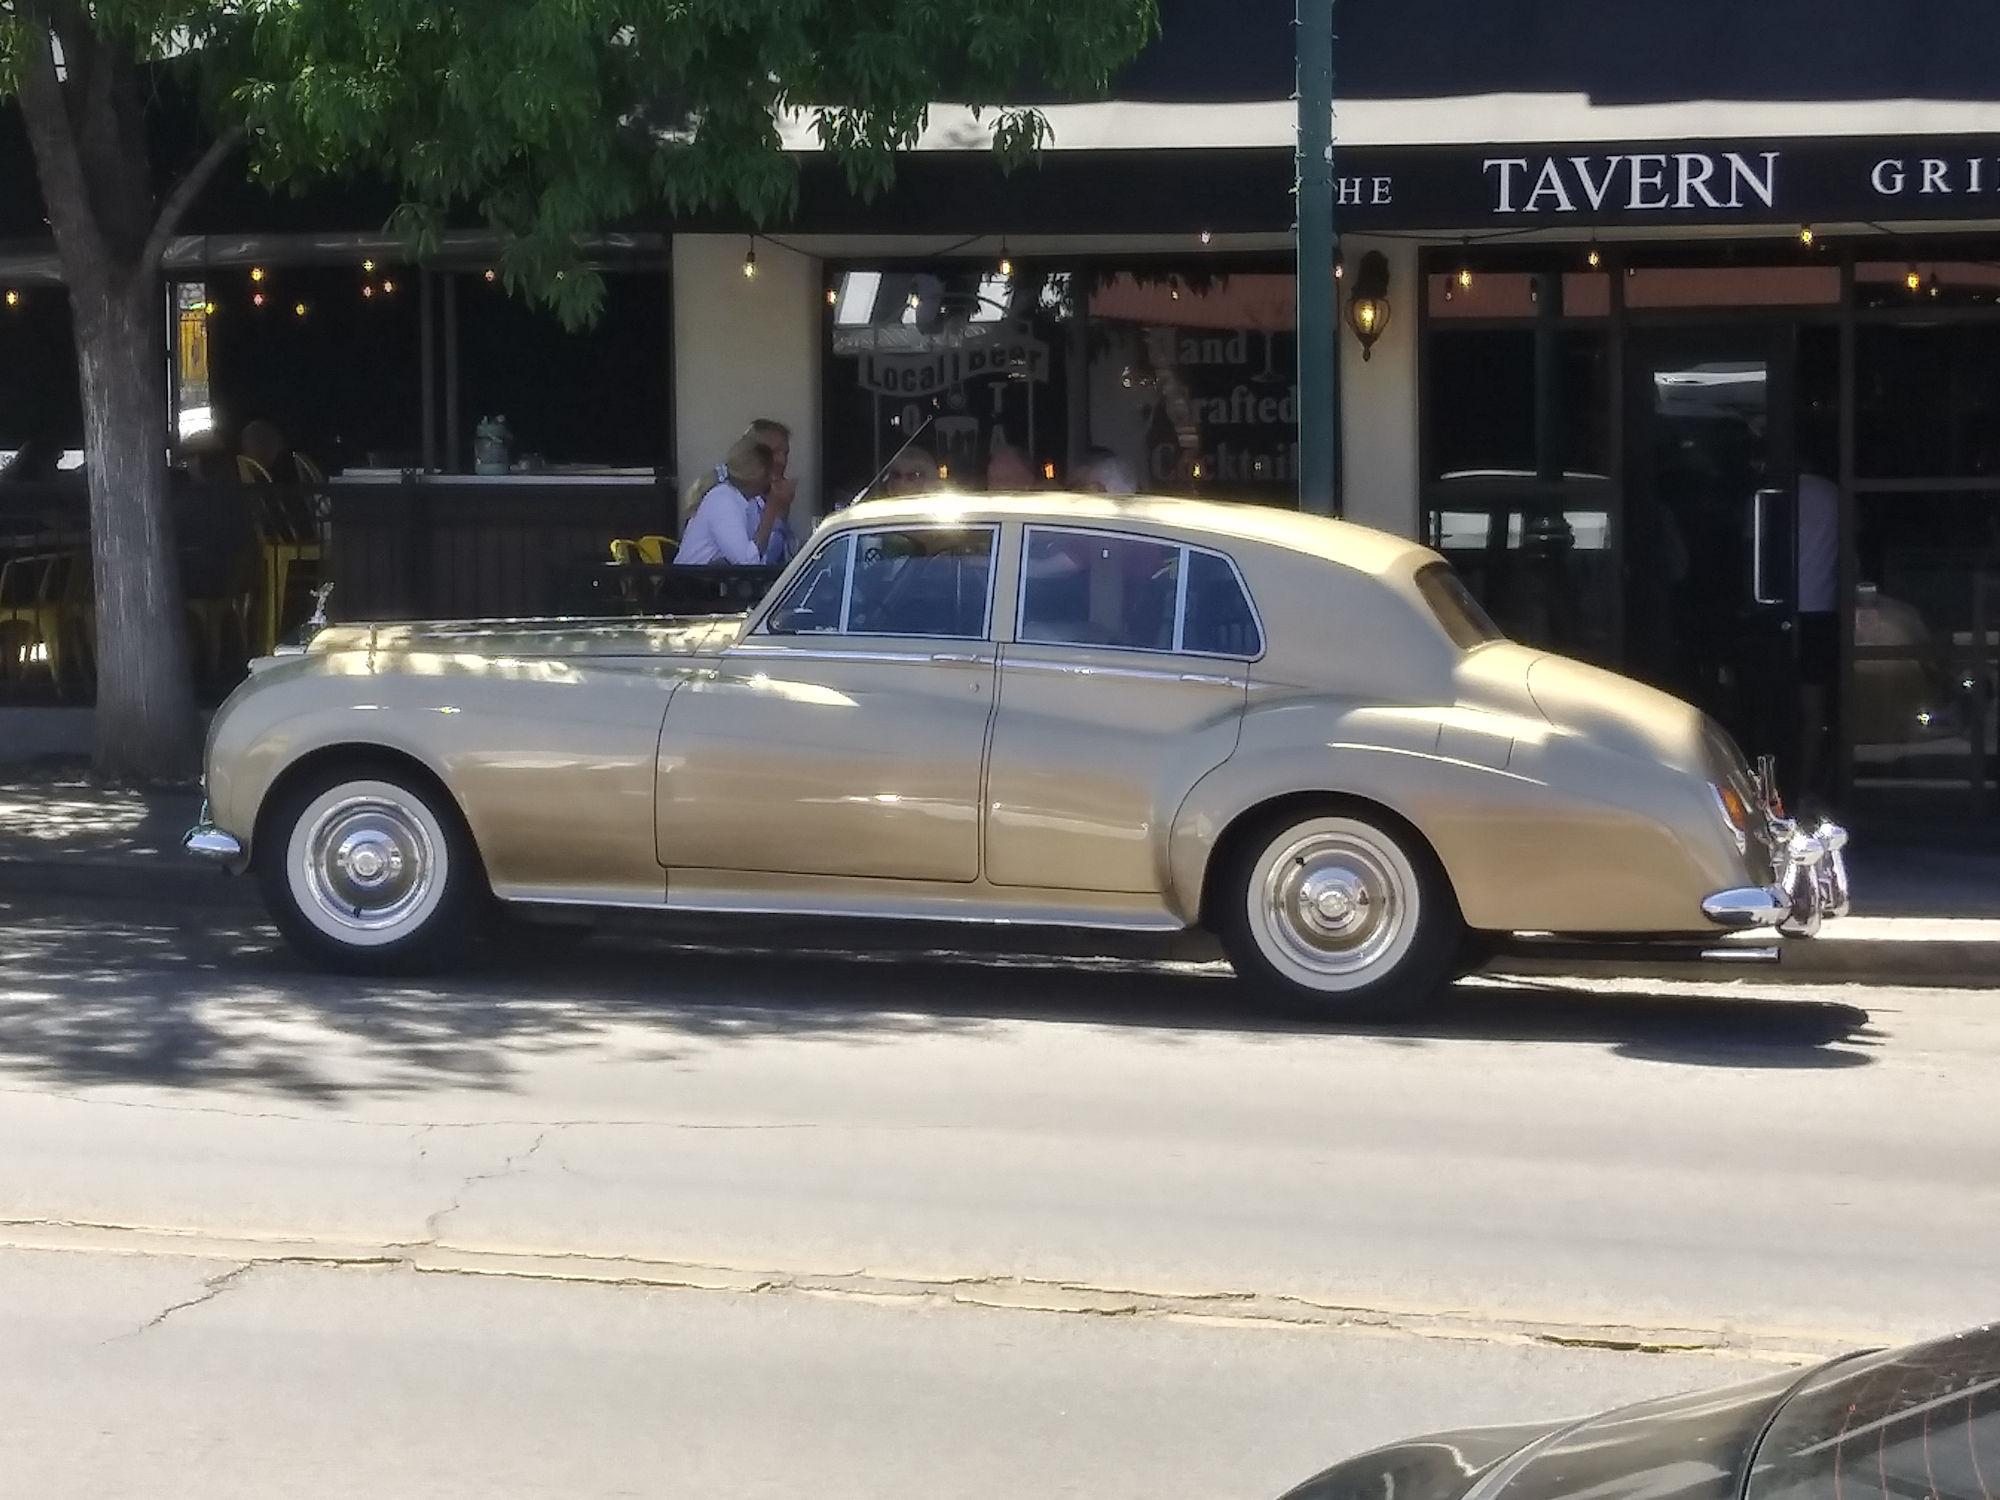
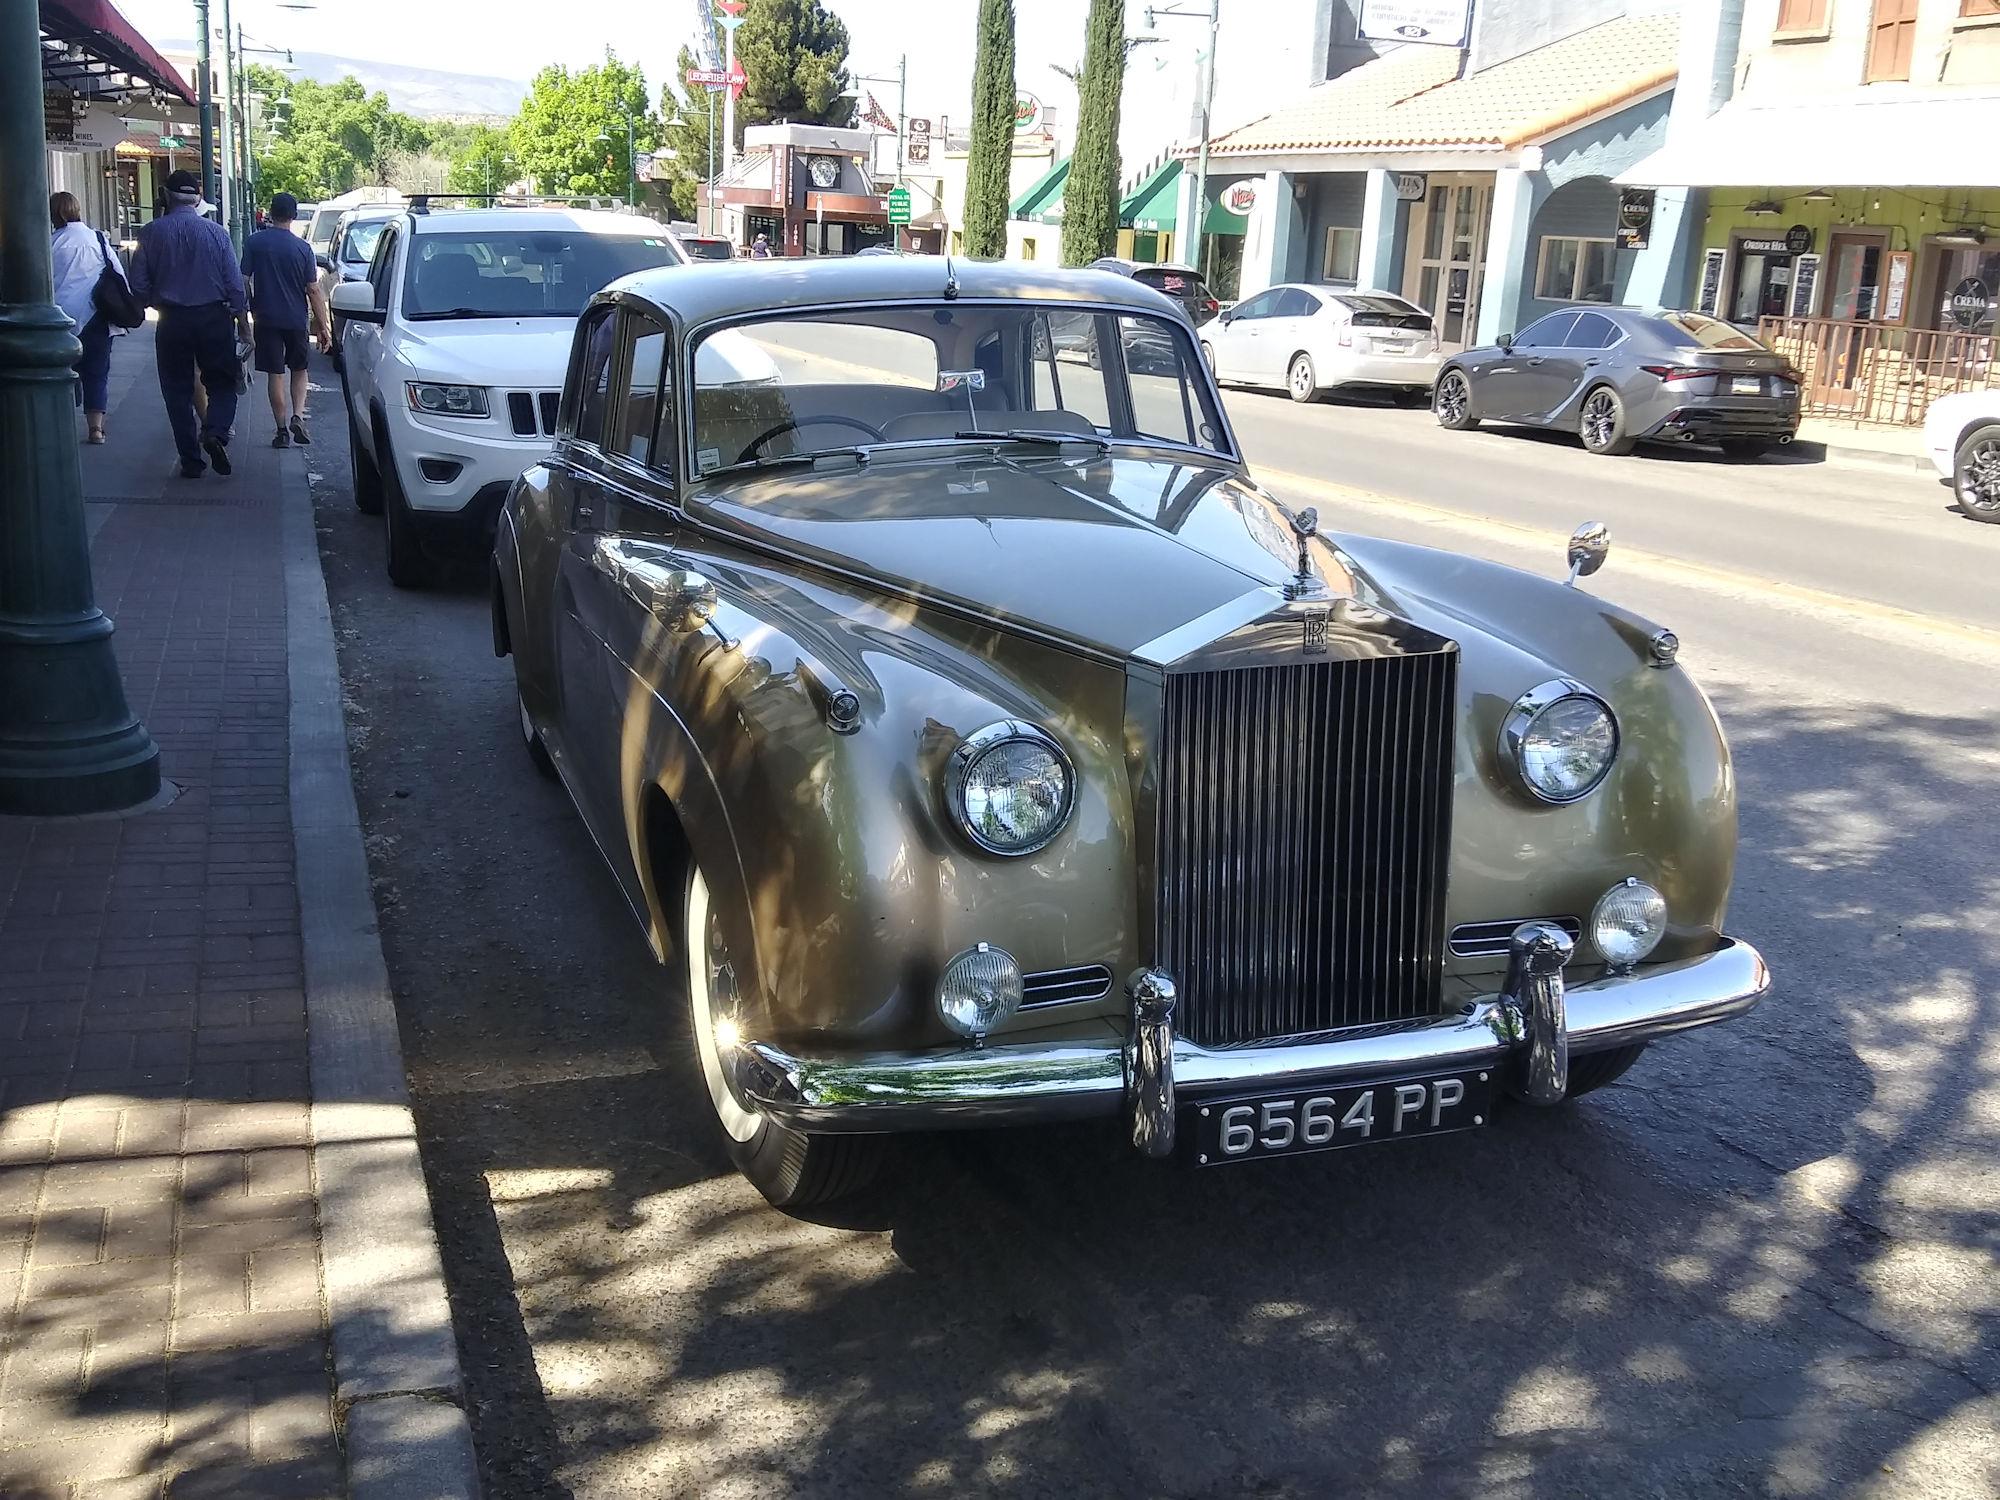
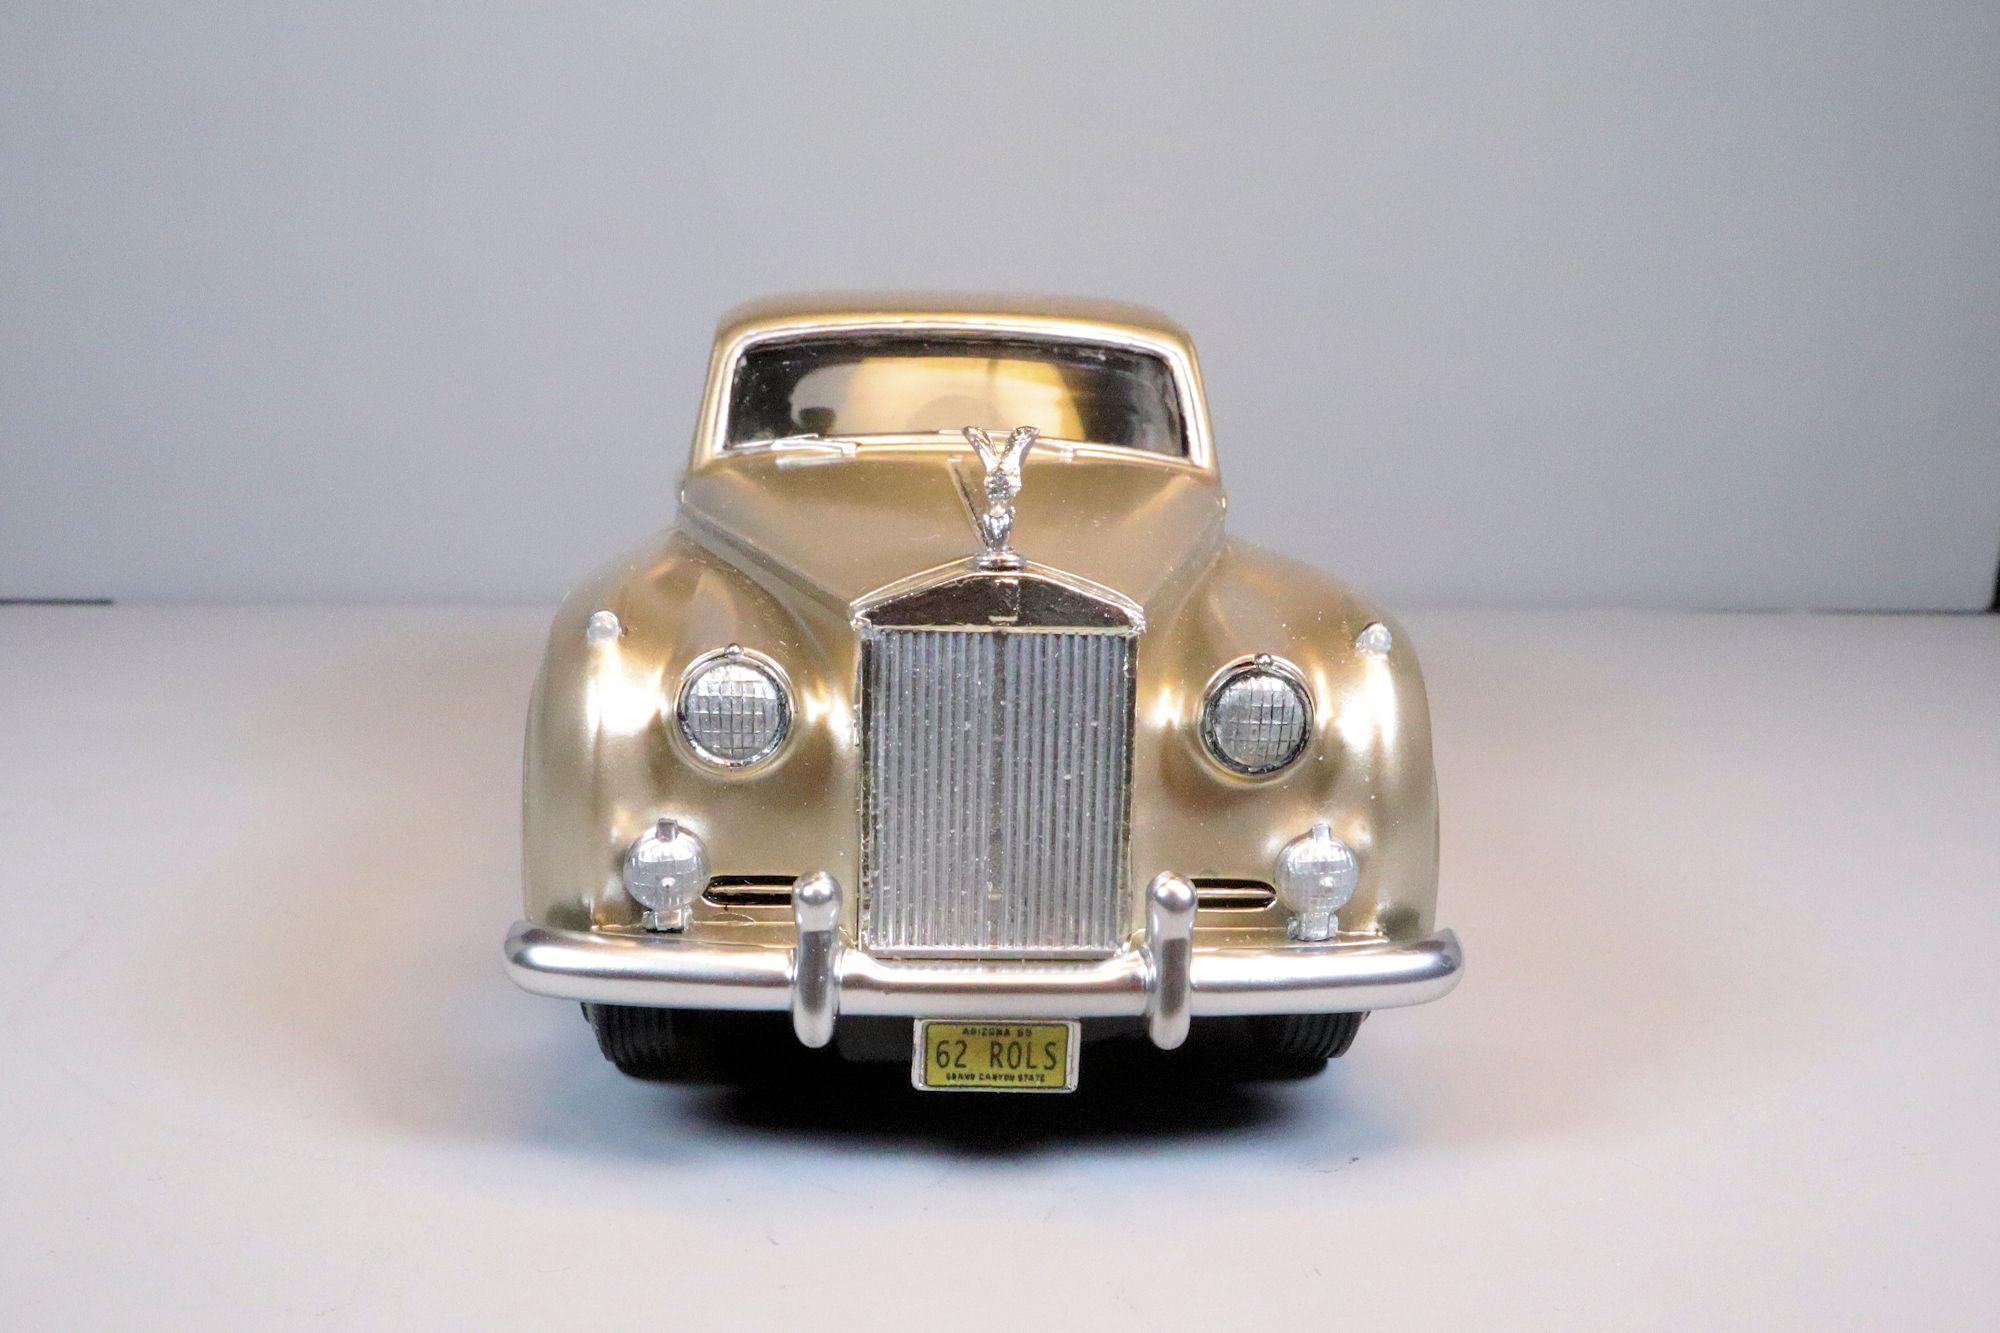
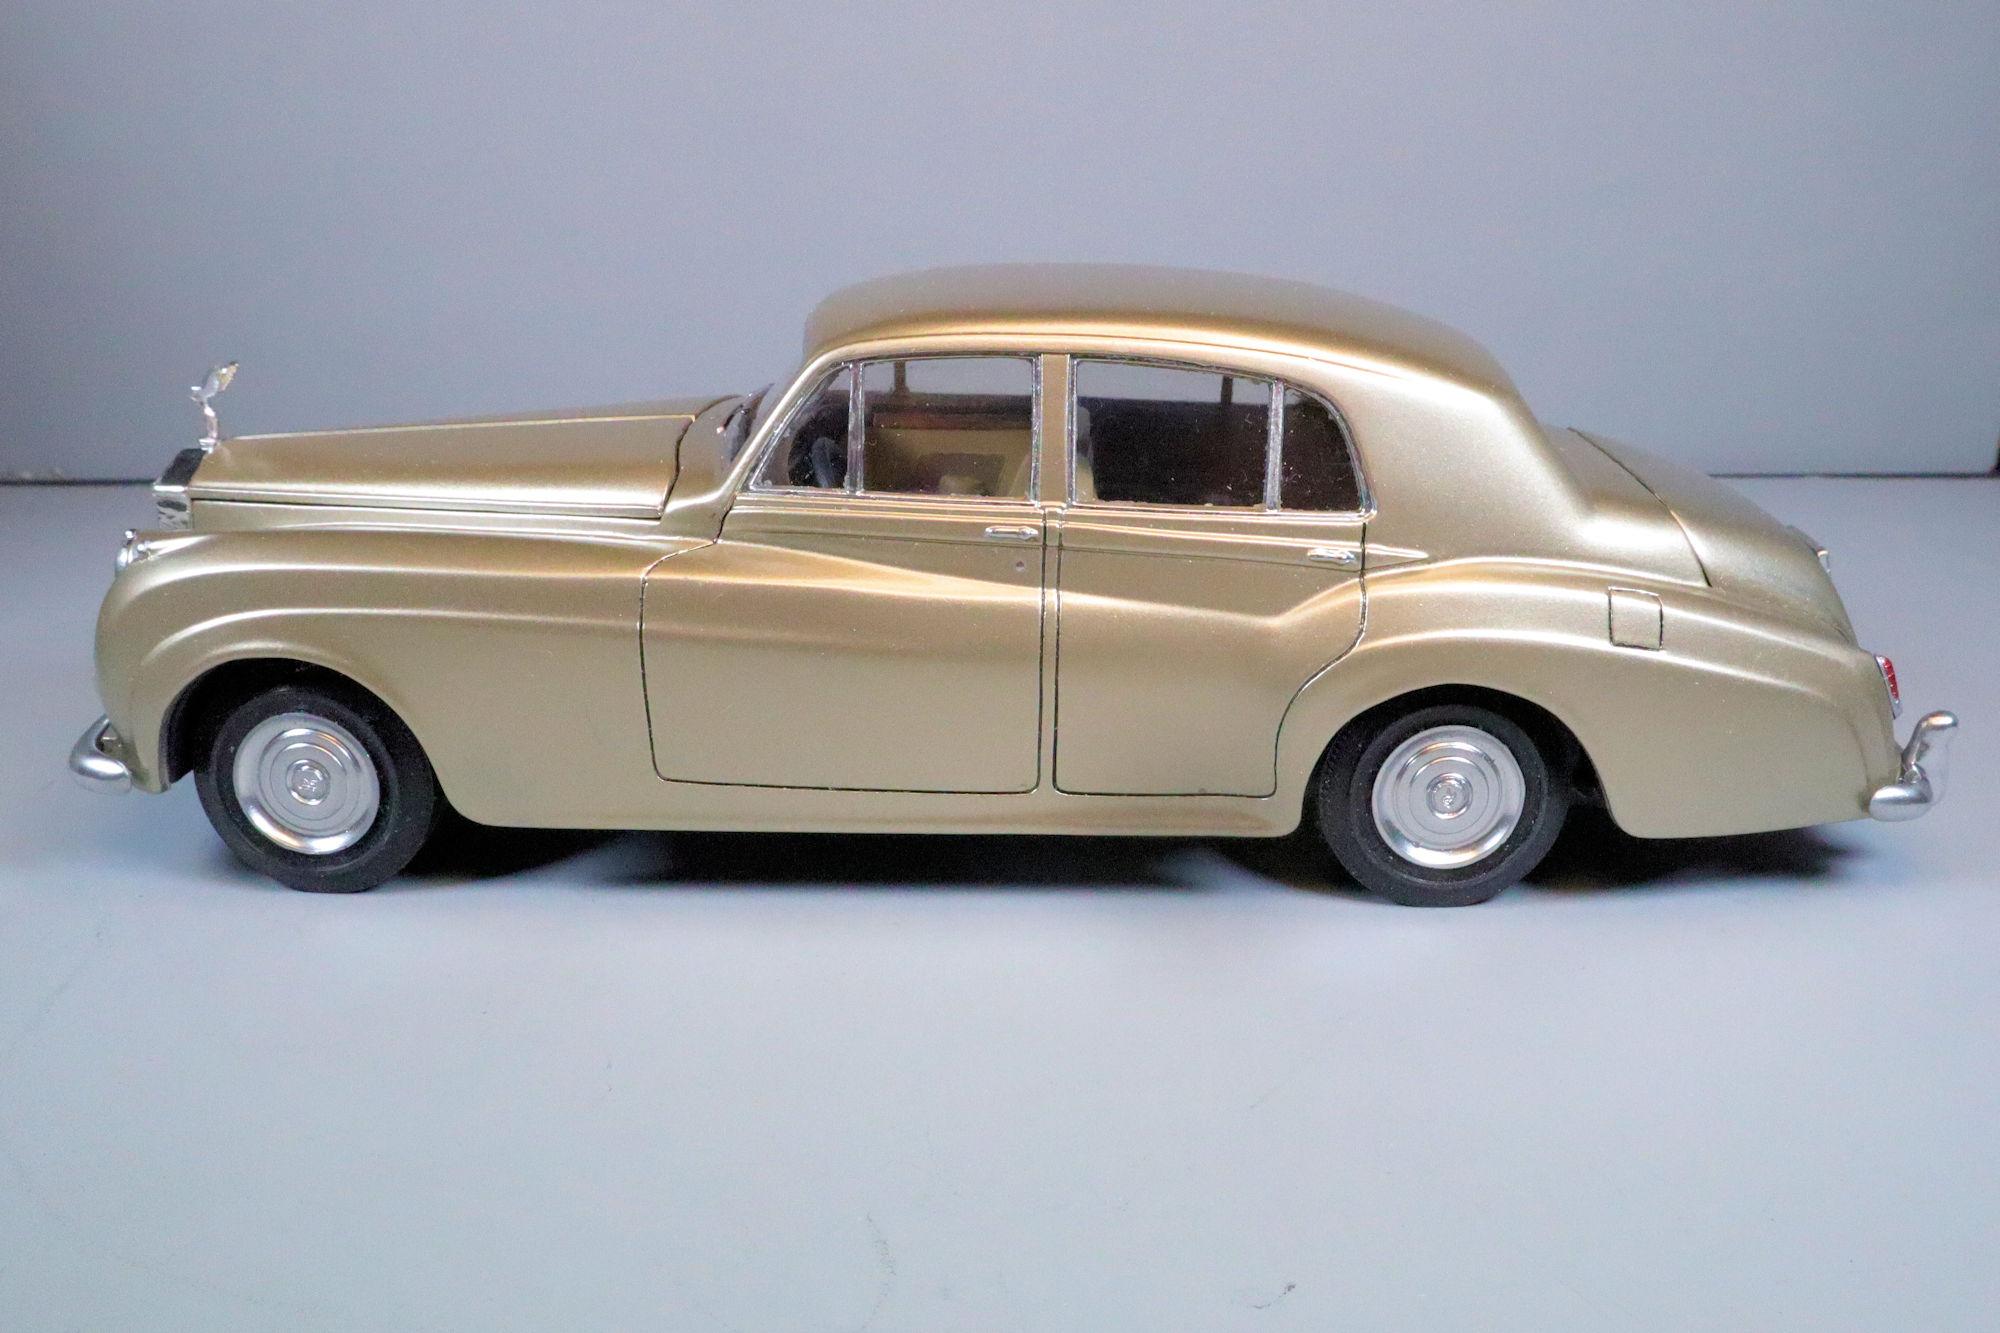
Hello Everybody! The 1962 Rolls Royce Silver Cloud II by Minicraft Models. The original kit was tooled and released by Hubley Manufacturing around 1960. It's been re-boxed and re-released about ten times by a couple of different companies since then. This version was re-issued by Minicraft Models in 1997. Though this version is labeled as a 1962, Rolls Royce manufactured the Silver Cloud between 1959 and 1962. One release of this kit was labeled as such. I purchased it at the most recent Desert Scale Classic model car show and swap meet in Phoenix. In spite of being such a simple kit, there was a good bit of work behind getting it into this finished state. For those who may wish to see it, here is a link to the WIP. The Spirit of Ecstasy mascot and radiator ornament is horribly out of scale to the rest of the car. Unfortunately, I could find no suitable replacement for it, so there it is! The classic Rolls Royce lines flow like gently rolling waves of water. One of the "fixes" I chose to make was to re-scribe the seams around the fuel door. They were originally cast as bumps rather than indentations. The boot lid is supposed to be openable but there is nothing inside worth seeing. The boot lid did require a good bit of reworking to get a decent looking panel line between it and the body. And here is the inspiration for the build. I saw this 1959 (?) in Cottonwood, AZ a couple of months after finding the kit at the Desert Scale Classic in Phoenix. As always, thanks for taking the time to look and please feel free to post any comments you may have. David G.
- 38 replies
-
- 18
-

-
I had the pleasure of watching you design and develop this build in the WIP section. An amazing process! Fabulous work Steve! David G.
-
Gorgeous paint! Nice build too, I like the adjustable ride height. David G.
-
Thank you Jeremy, I appreciate that. David G.
-
1941 Chevy Pickup
David G. replied to Zippi's topic in WIP: Model Trucks: Pickups, Vans, SUVs, Light Commercial
It looks great Bob! The last one for the year. David G. -
Tamiya Suzuki Katana
David G. replied to shoopdog's topic in All The Rest: Motorcycles, Aviation, Military, Sci-Fi, Figures
What a great looking model. My son had one of these in bright orange. David G. -
Fabulous work on the cabinetry! I can't wait to see more. David G.
-
A beautiful build! David G.
-
Thank you so much for your kind comment Steve. Thank you Michelle. Thanks Carl, I'm always glad to hear from you. David G.
-
Hi Gary. What I would suggest to is search the internet for images of warning placards. Generic warnings like "HEAVY", "Lift Here" "HAZARDOUS EQUIPMENT" and others that may be appropriate. You could save the images to your computer then use a photo editing program to scale them down and print them out. Maybe even print out a label for a corporate name like "Chastain Electrical Equipment", or any other name you like. That's how I made the warning placards on the side of the yellow tube on my Ecto-1 model. And I agree with your thought to apply some light weathering and wear. You may want to start with a very thin blackwash. You may also want to try some wood stain to bring out the differences in the various wood pieces. The crate is a delightful model on its own, but I agree with you. It would definitely benefit from some detailing and weathering. I hope you found some of these suggestions helpful. Also, I think the tie-downs are a great idea. You found a great way to represent them. Regards, David G.
-
Great idea getting the gauges printed like that. David G.
-
Johan ‘70 Cadillac ElDorado pro touring (low and aggressive)
David G. replied to Steve H's topic in WIP: Model Cars
It's beautiful! I can't wait to see it in the Under Glass section. David G. -
Thanks Mike, I'm glad you like it. David G.