David G.
-
Posts
11,326 -
Joined
-
Last visited
Content Type
Profiles
Forums
Events
Gallery
Everything posted by David G.
-
Very cool! It's great that she kept it all these years. David G.
-
 A nice set and a delightful piece of history. Well done! David G.
 -
Wow! That's a whole lot of fabulous looking builds! Amazing turn out for the year! David G.
-
Great looking build! Love the decals and paint, lots of work there. David G.
-
Excellent color choice and great looking paint, nice trim, detail and assembly. An all-around fabulous build! David G.
-
1962 Rolls Royce Silver Cloud II by Minicraft Models: WIP
David G. replied to David G.'s topic in WIP: Model Cars
Hello Everybody! Here's a long overdue update on the Rolls. I had my little desk-top studio set up because I was taking some photos of another subject so I decided to get a photo of the Rolls. I finally got a good color match between the hood panels and the rest of the body. The hood and trunk lids will be securely glued down. I also painted the chrome trim around the windows and on the body with Molotow ink using a fine brush. I finally got an acceptable chrome-like finish on the radiator grille. The headlights and driving lights are also looking pretty good. I've painted the chrome lenses with a mixture of diluted white paint and clearcoat in the hope of improving their appearance. Bringing it all together for a mock-up photo, I find that I'm actually rather pleased with the way the lights and grille look. I still need to work on the fit and placement of the driving lights as they seem to be aimed for worm-spotting. The windshield and side windows have also been installed but I still need to do a clean-up on the adhesive ooze. Other than that, not too bad considering what I started out with. As always, thanks for taking the time to look and please feel free to post a comment if you wish. David G.
-
Excellent detail, great looking chrome and color, a sweet street rod and a wonderful tribute. David G.
-
Great color, tight assembly, nicely detailed, a gorgeous build! David G.
-
1941 Chevy Pickup
David G. replied to Zippi's topic in WIP: Model Trucks: Pickups, Vans, SUVs, Light Commercial
Great stance on this! It has those "Slammin' Hammer" decals and it has indeed been slammed. I also like the tubs you added to the bed and the well detailed engine. BTW this is one of my favorite pickup styles. I just love the grille on these. David G. -
1933 Cadillac Fleetwood All Weather Phaeton
David G. replied to ModelcarJR's topic in WIP: Model Cars
Nice progress on this, everything looks great so far. David G. -
Bugatti Royale Victoria 1931...Linberg 1/24 scale
David G. replied to louis Carabott's topic in Model Cars
A well detailed quality build. Beautifully done! David G. -
1992 Land Rover Range Rover
David G. replied to StanGlover's topic in Model Trucks: Pickups, Vans, SUVs, Light Commercial
Nicely done! Great color choice, David G. -
A beautiful vintage dragster, lots of great detail. I love it! David G.
-
It looks cool, can't wait to see the final pics. David G.
-
It's coming together quite nicely. David G.
-
That still blows my mind! David G.
-
Looks great! You got that masking line cleaned up very nicely. David G.
-
My Builds of the Tom Daniels designed "true" hot rods kits
David G. replied to Mr. Metallic's topic in WIP: Model Cars
Clever work on the radiator shell! David G. -
Holy Cow! ? I am so glad to see this build back in the light of day Steve! It's a shame about the lost part but I don't think you'll allow that to slow you down for long. I'm sure they will turn up once you build the replacements! Isn't that the way it always seems to go? David G.
-
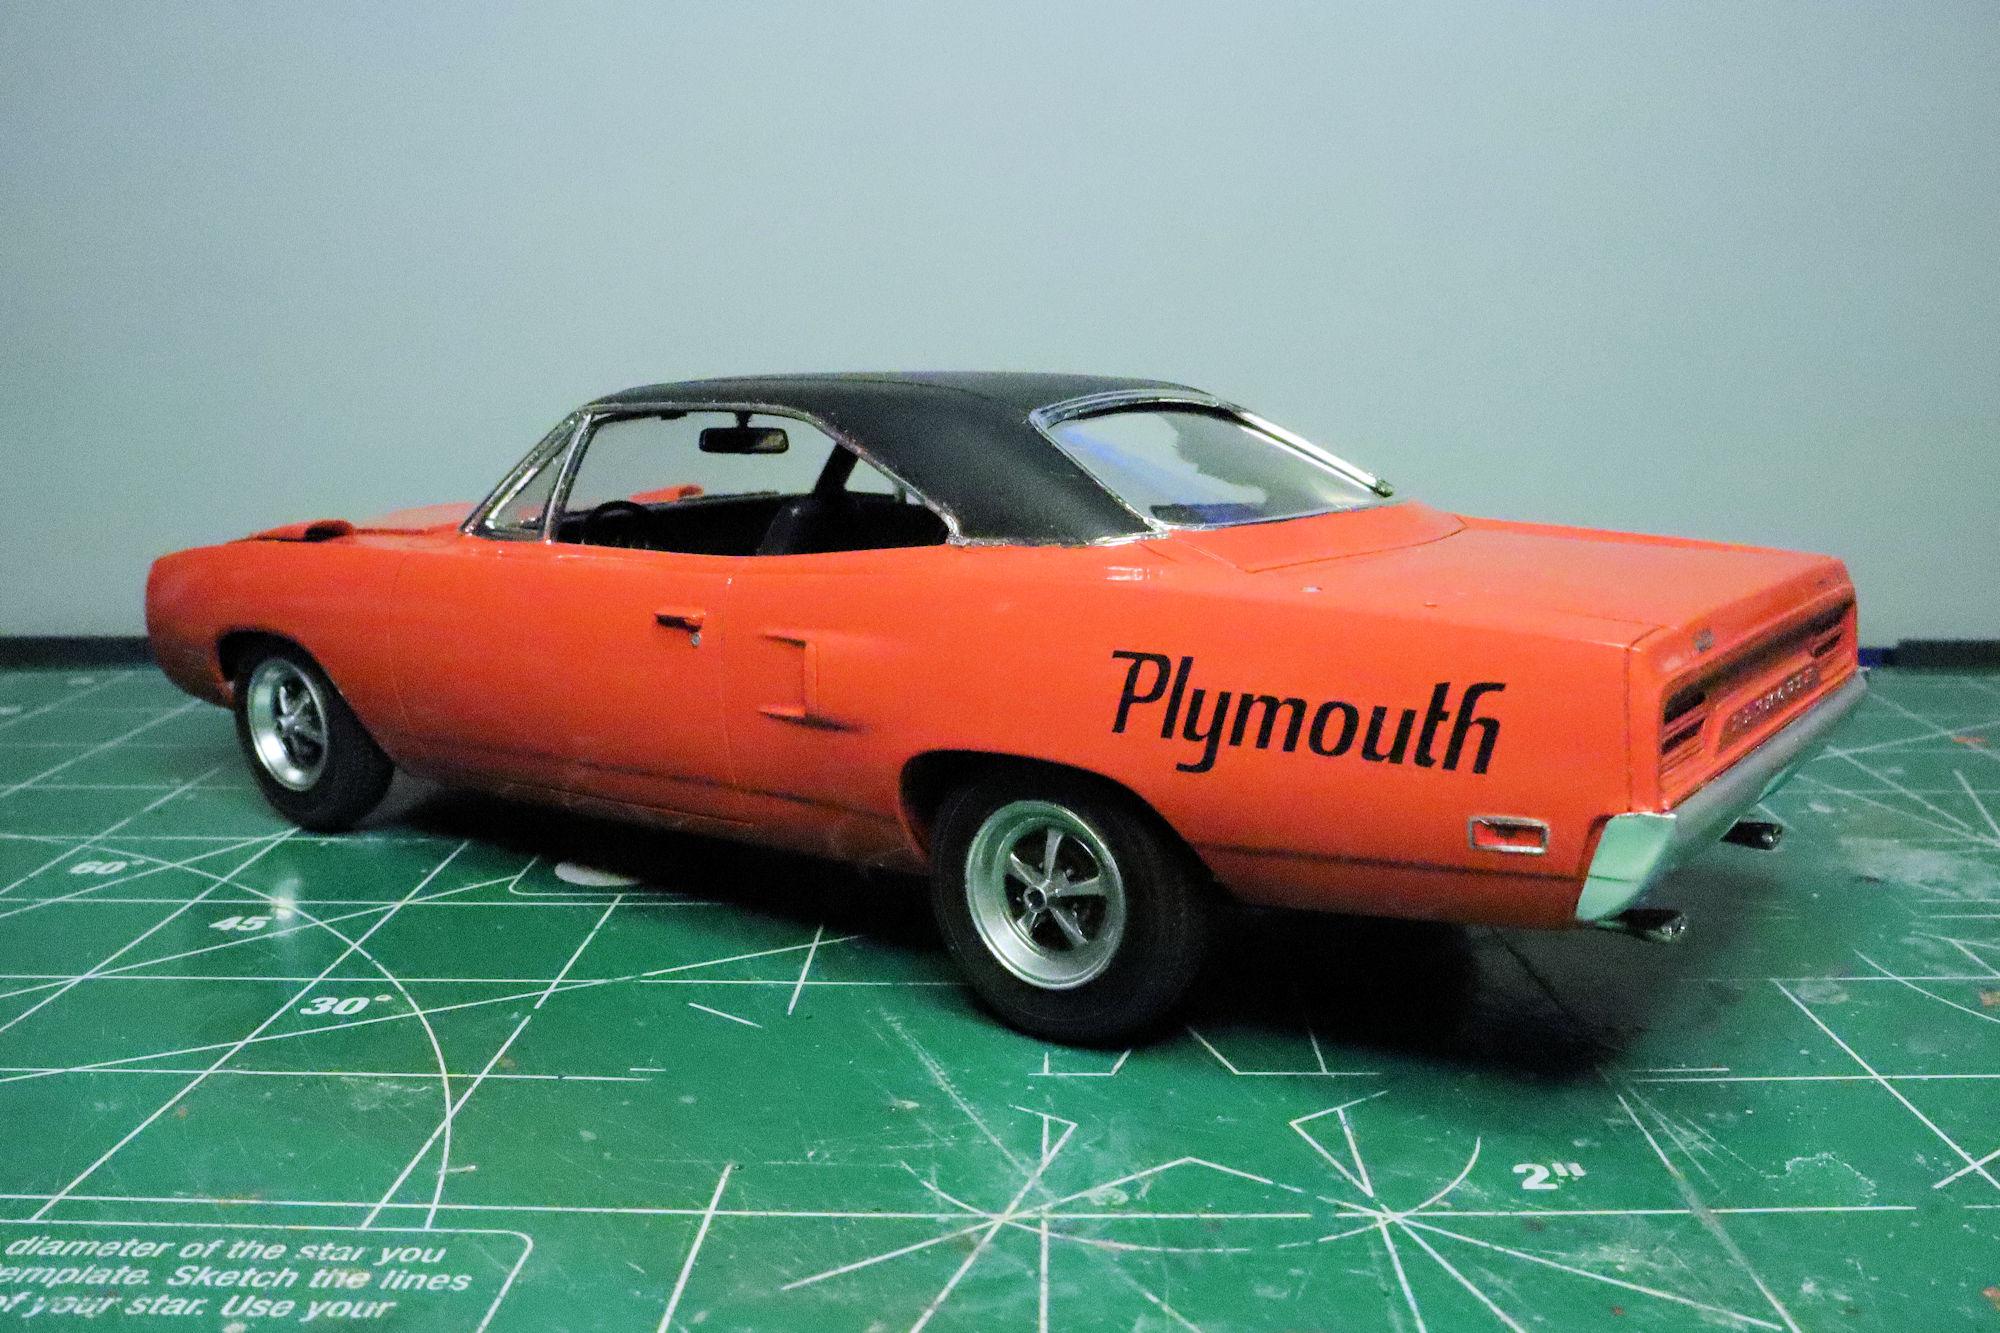
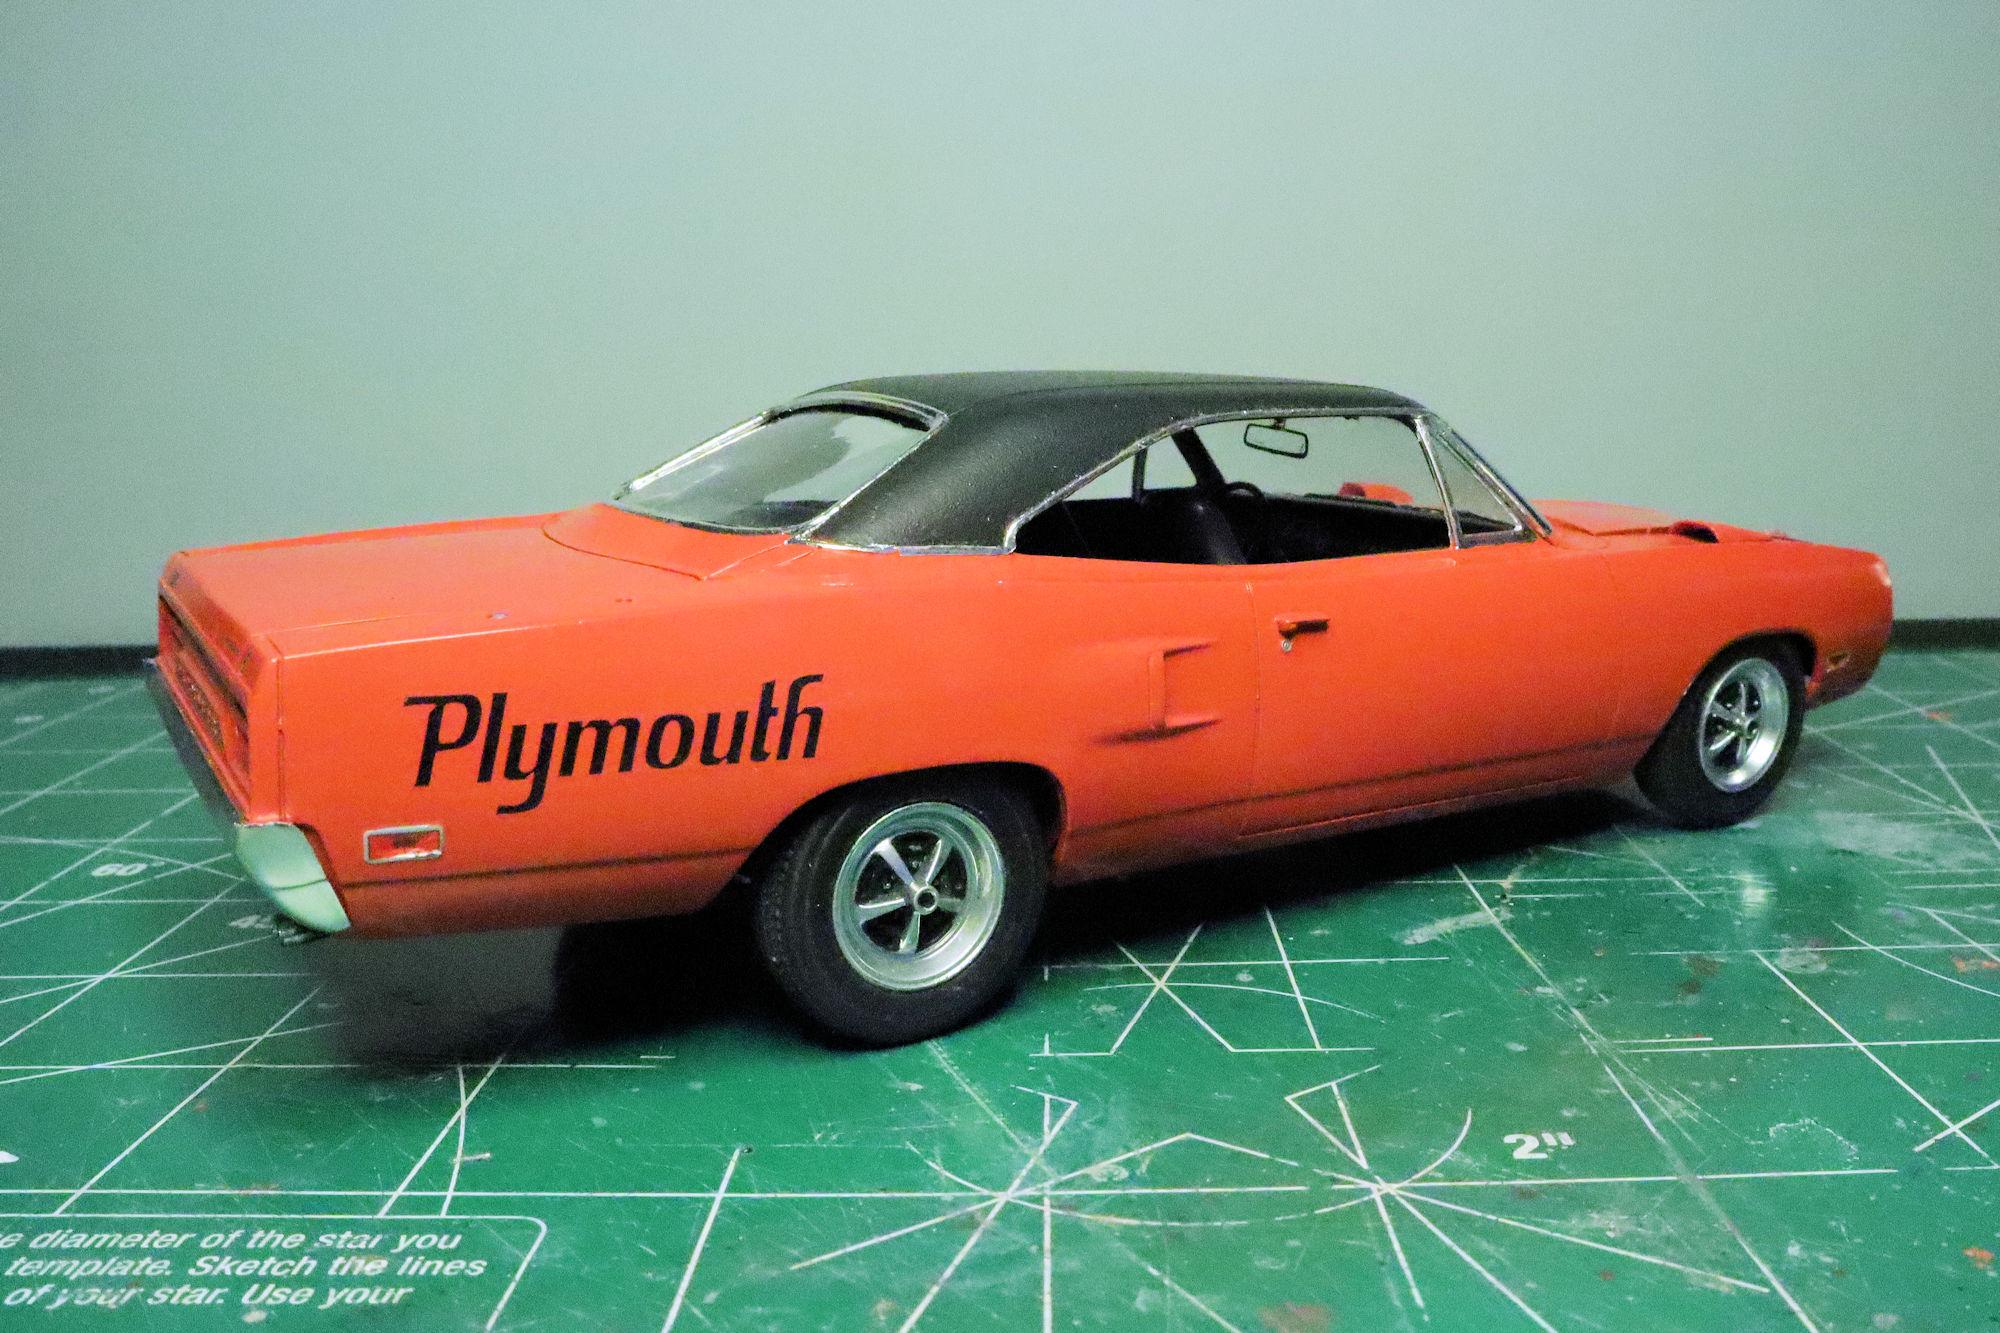
Hello Everybody! This will be the final photo post for this build. The next set will be posted in the "Under Glass" section. The two giant "Plymouth" decals are where they belong. As garish and gaudy as they are, they don't seem to me to be the least bit out of place. Let's face it, the whole idea of this car is to be a bit of an over-the-top attention grabber. And in that it certainly succeeds. These are the last two bits that I needed to do to finish this build. Now I'll complete the final assembly, clean it up and get the final photos shot and processed. Thanks to all of you who followed along and encouraged me with your comments. I do so enjoy your feedback and support. David G.
-
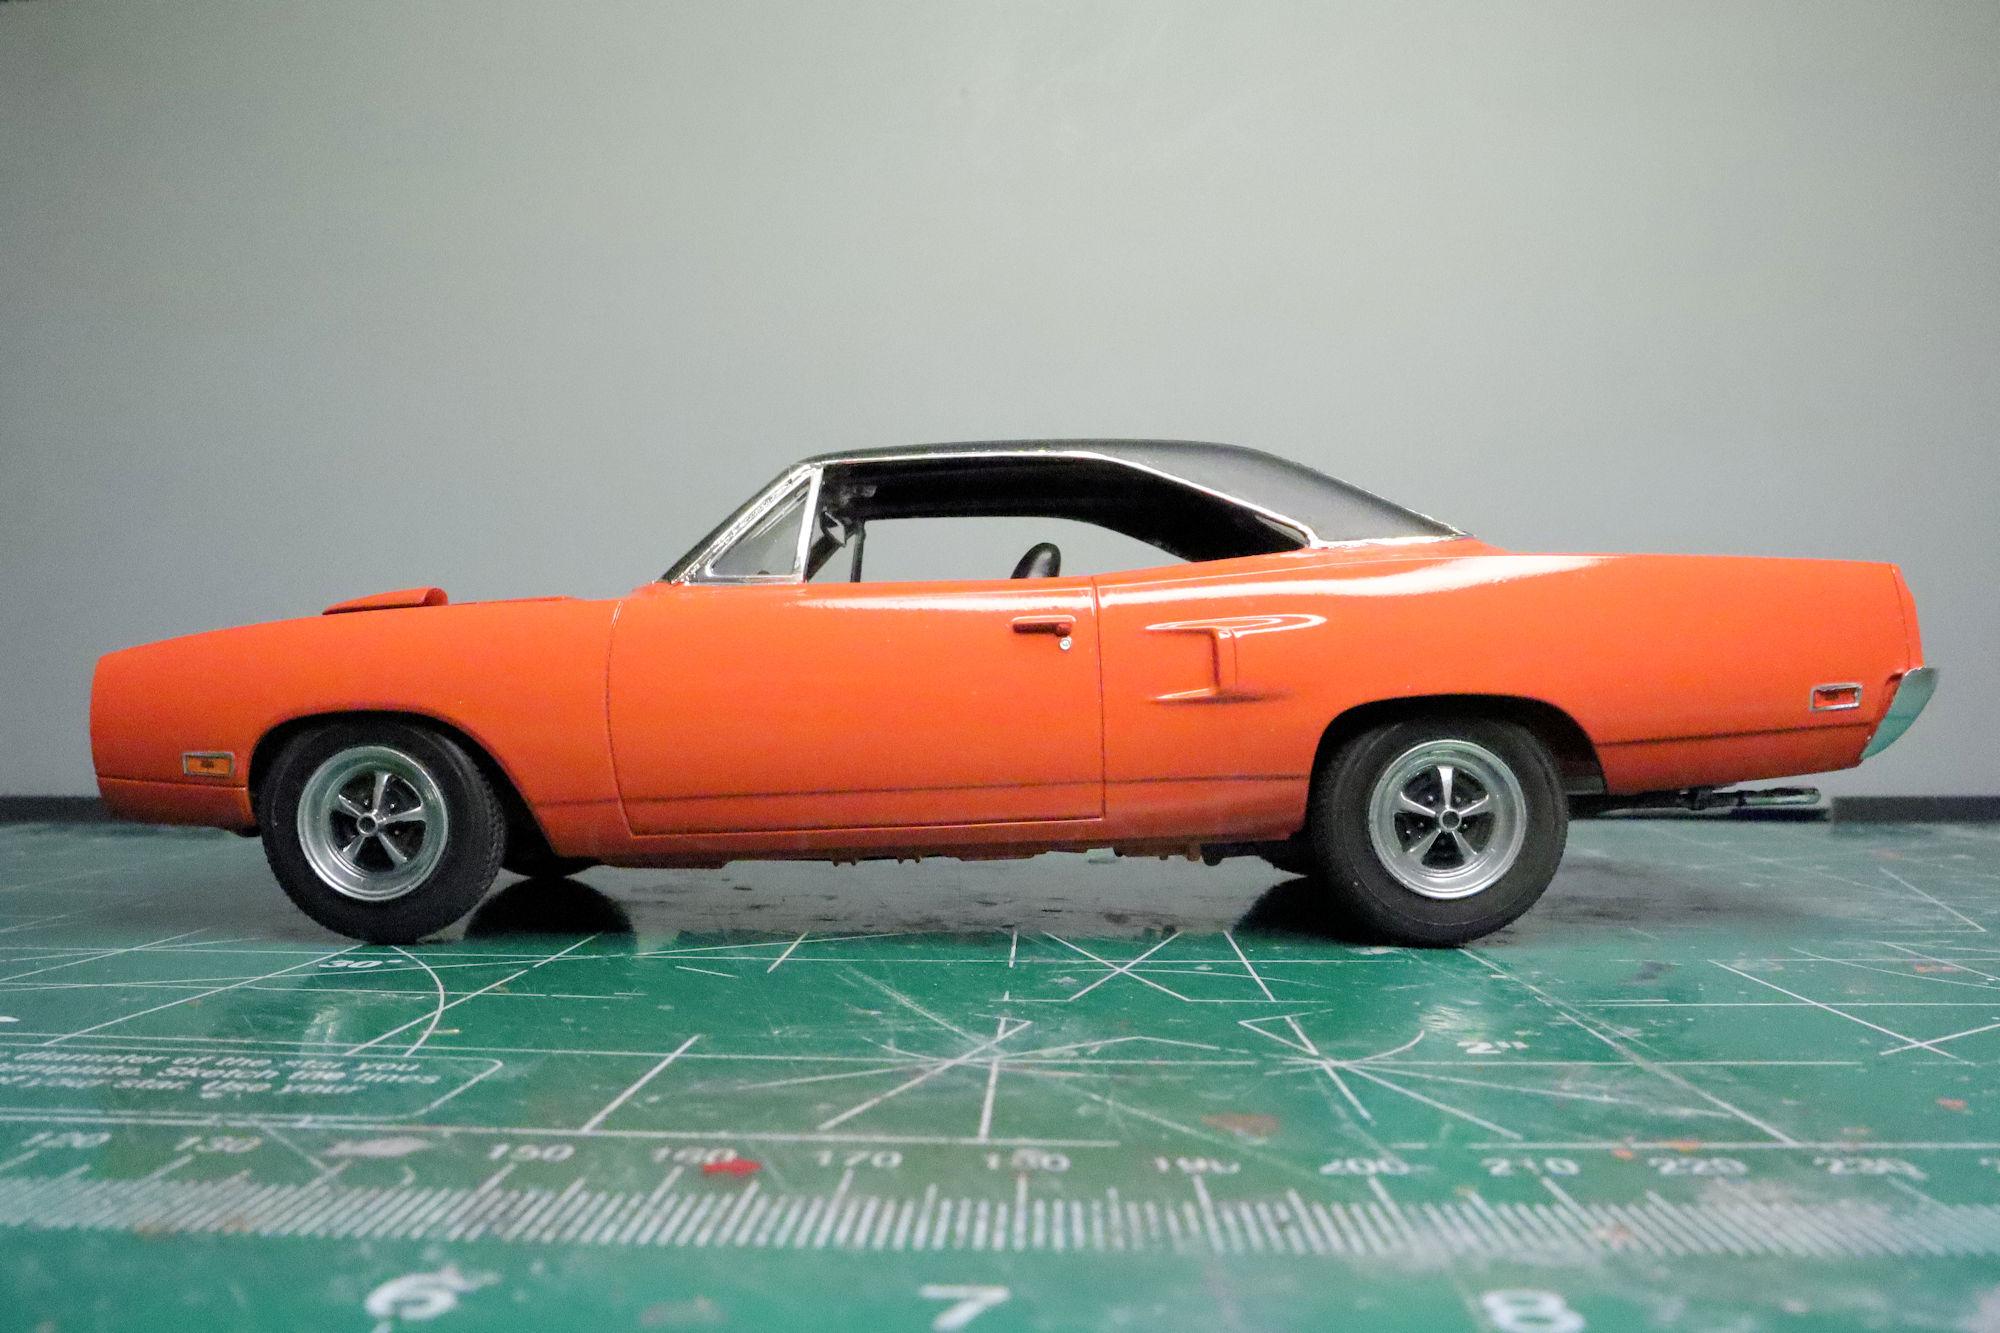
Thank you for your kind comment Jeremy. Thank you David. I' rather pleased with the way this one is turning out. It does have a nice rake, doesn't it? David G.
-
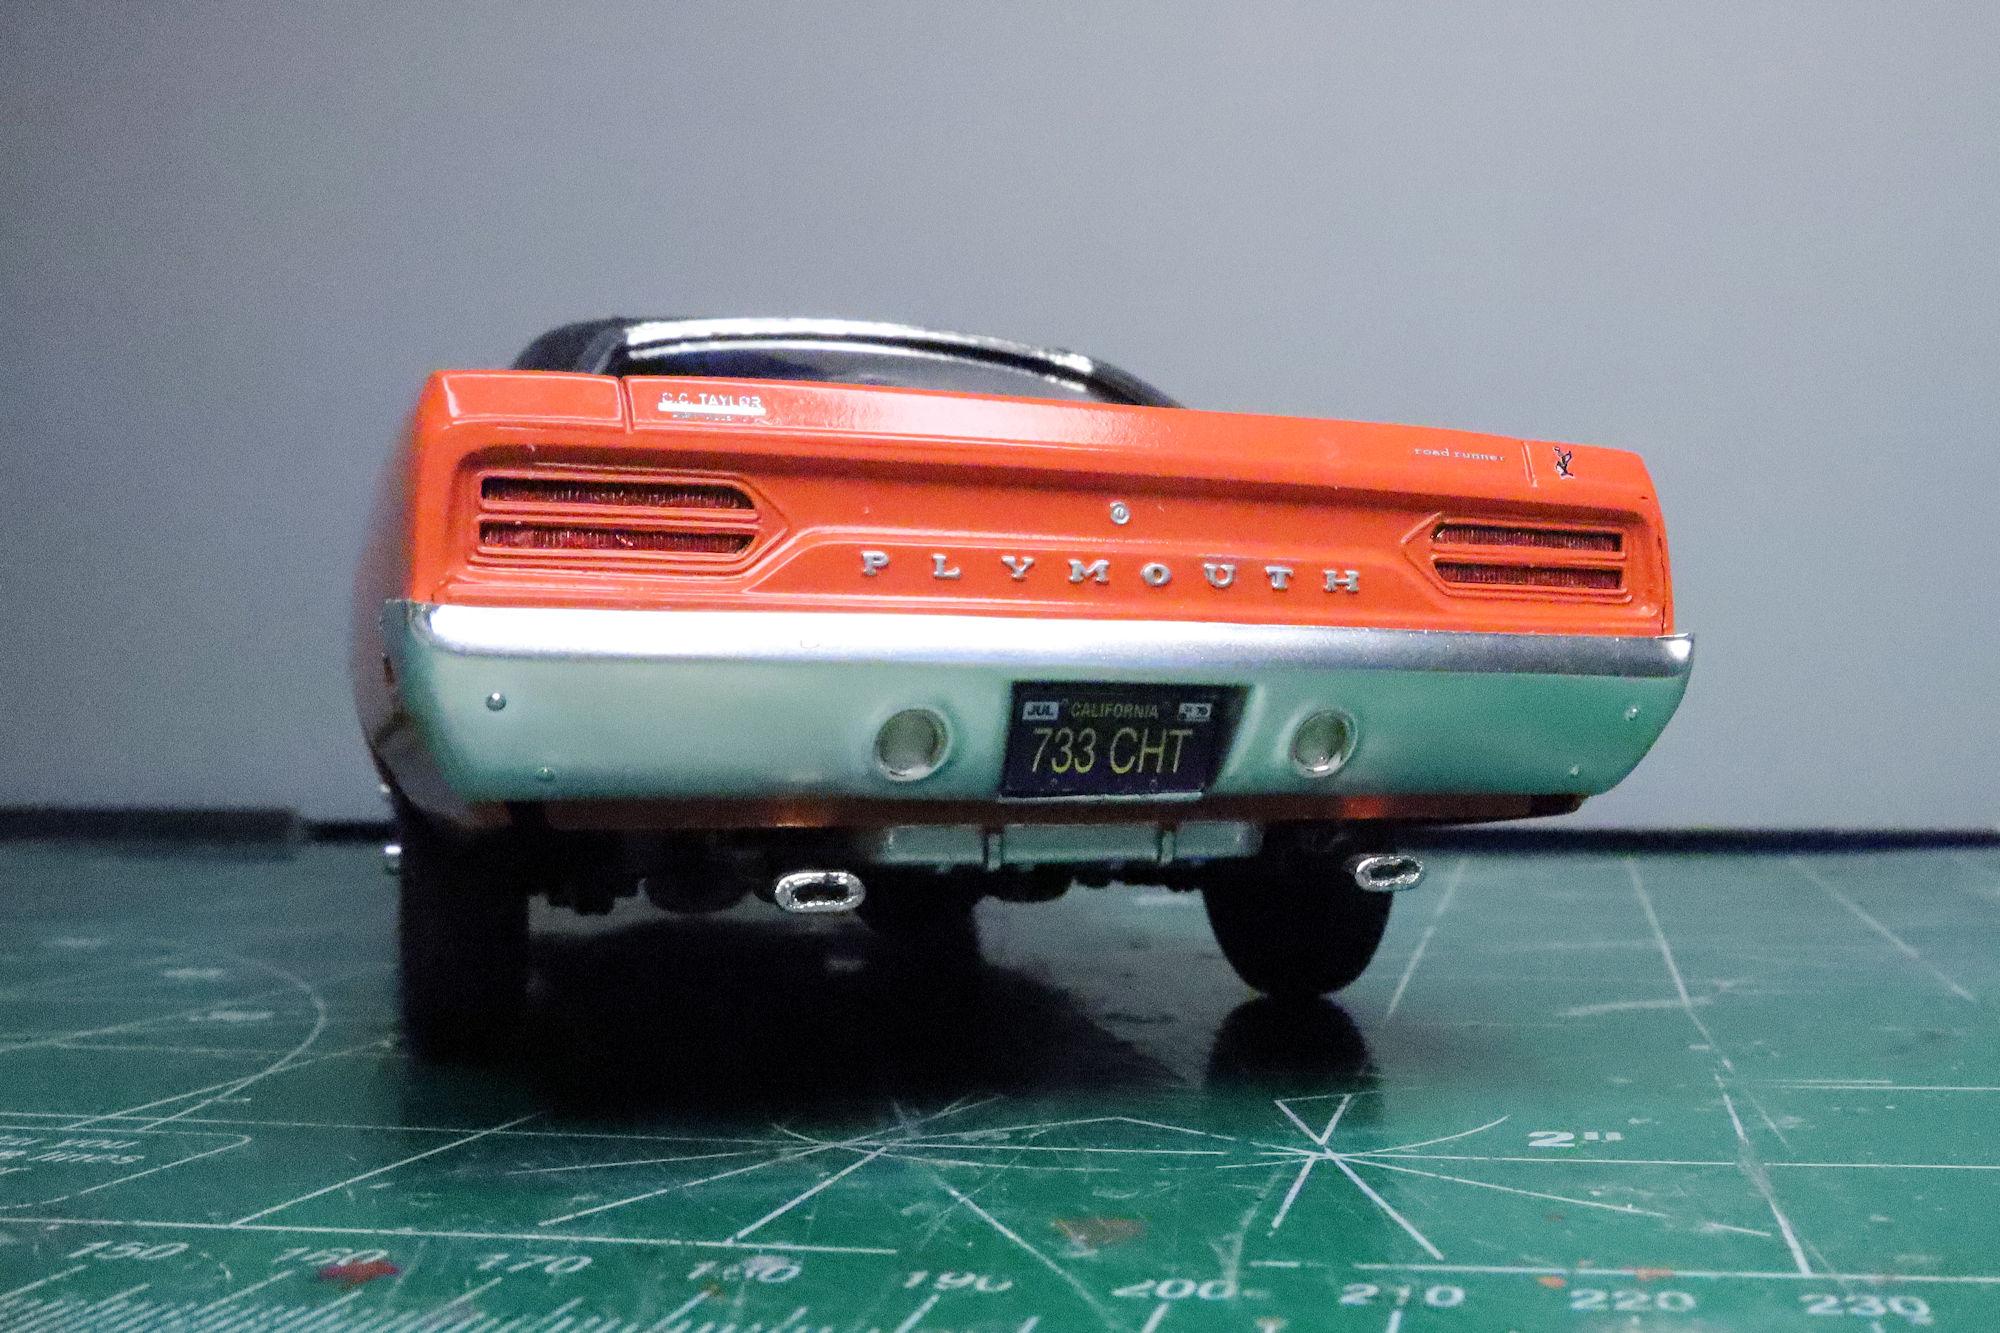
Hello Everybody! This one will be done soon, I'm in the final stages of of the build. In this build session I applied the minor decals. These side marker light decals are designed to replicate the colored lens as well as the metal bezel that surrounds it. The only problem is that this makes the decals a little over sized when it comes to getting them to settle into the indented relief of the lens. Multiple applications of Micro Sol eventually got them where they needed to be. I do like the way they look versus just painting the lenses red and amber. The "Roadrunner" badge came from the kit decals and the other two, a cartoon Roadrunner and dealership badge are from @Superbird McMonte by way of the Model Cars Magazine discussion board, (Thank You! ). Revell also provided decals for the locks on the trunk and doors but I decided that dotting them with a silver Sharpie would be the easier way to go. The "Plymouth" script on the back was also colored with a silver Sharpie instead of using the kit-supplied decals. I think I'll do one more post in the WIP section then wrap it up. As always, thanks for taking the time to look and please feel free to post a comment if the muse so moves you. David G.
-
1962 Rolls Royce Silver Cloud II by Minicraft Models: WIP
David G. replied to David G.'s topic in WIP: Model Cars
Thank you Chaz. This has been one of my more challenging "simple" builds. David G. -
Thank you Chaz! I'm in the process of wrapping this one up, more photos soon. David G.
-
Johan ‘70 Cadillac ElDorado pro touring (low and aggressive)
David G. replied to Steve H's topic in WIP: Model Cars
What a phenomenal and inspirational build! Thank you for taking the time to document and share your adventure with us. David G.