Deathgoblin
-
Posts
2,464 -
Joined
-
Last visited
Content Type
Profiles
Forums
Events
Gallery
Everything posted by Deathgoblin
-
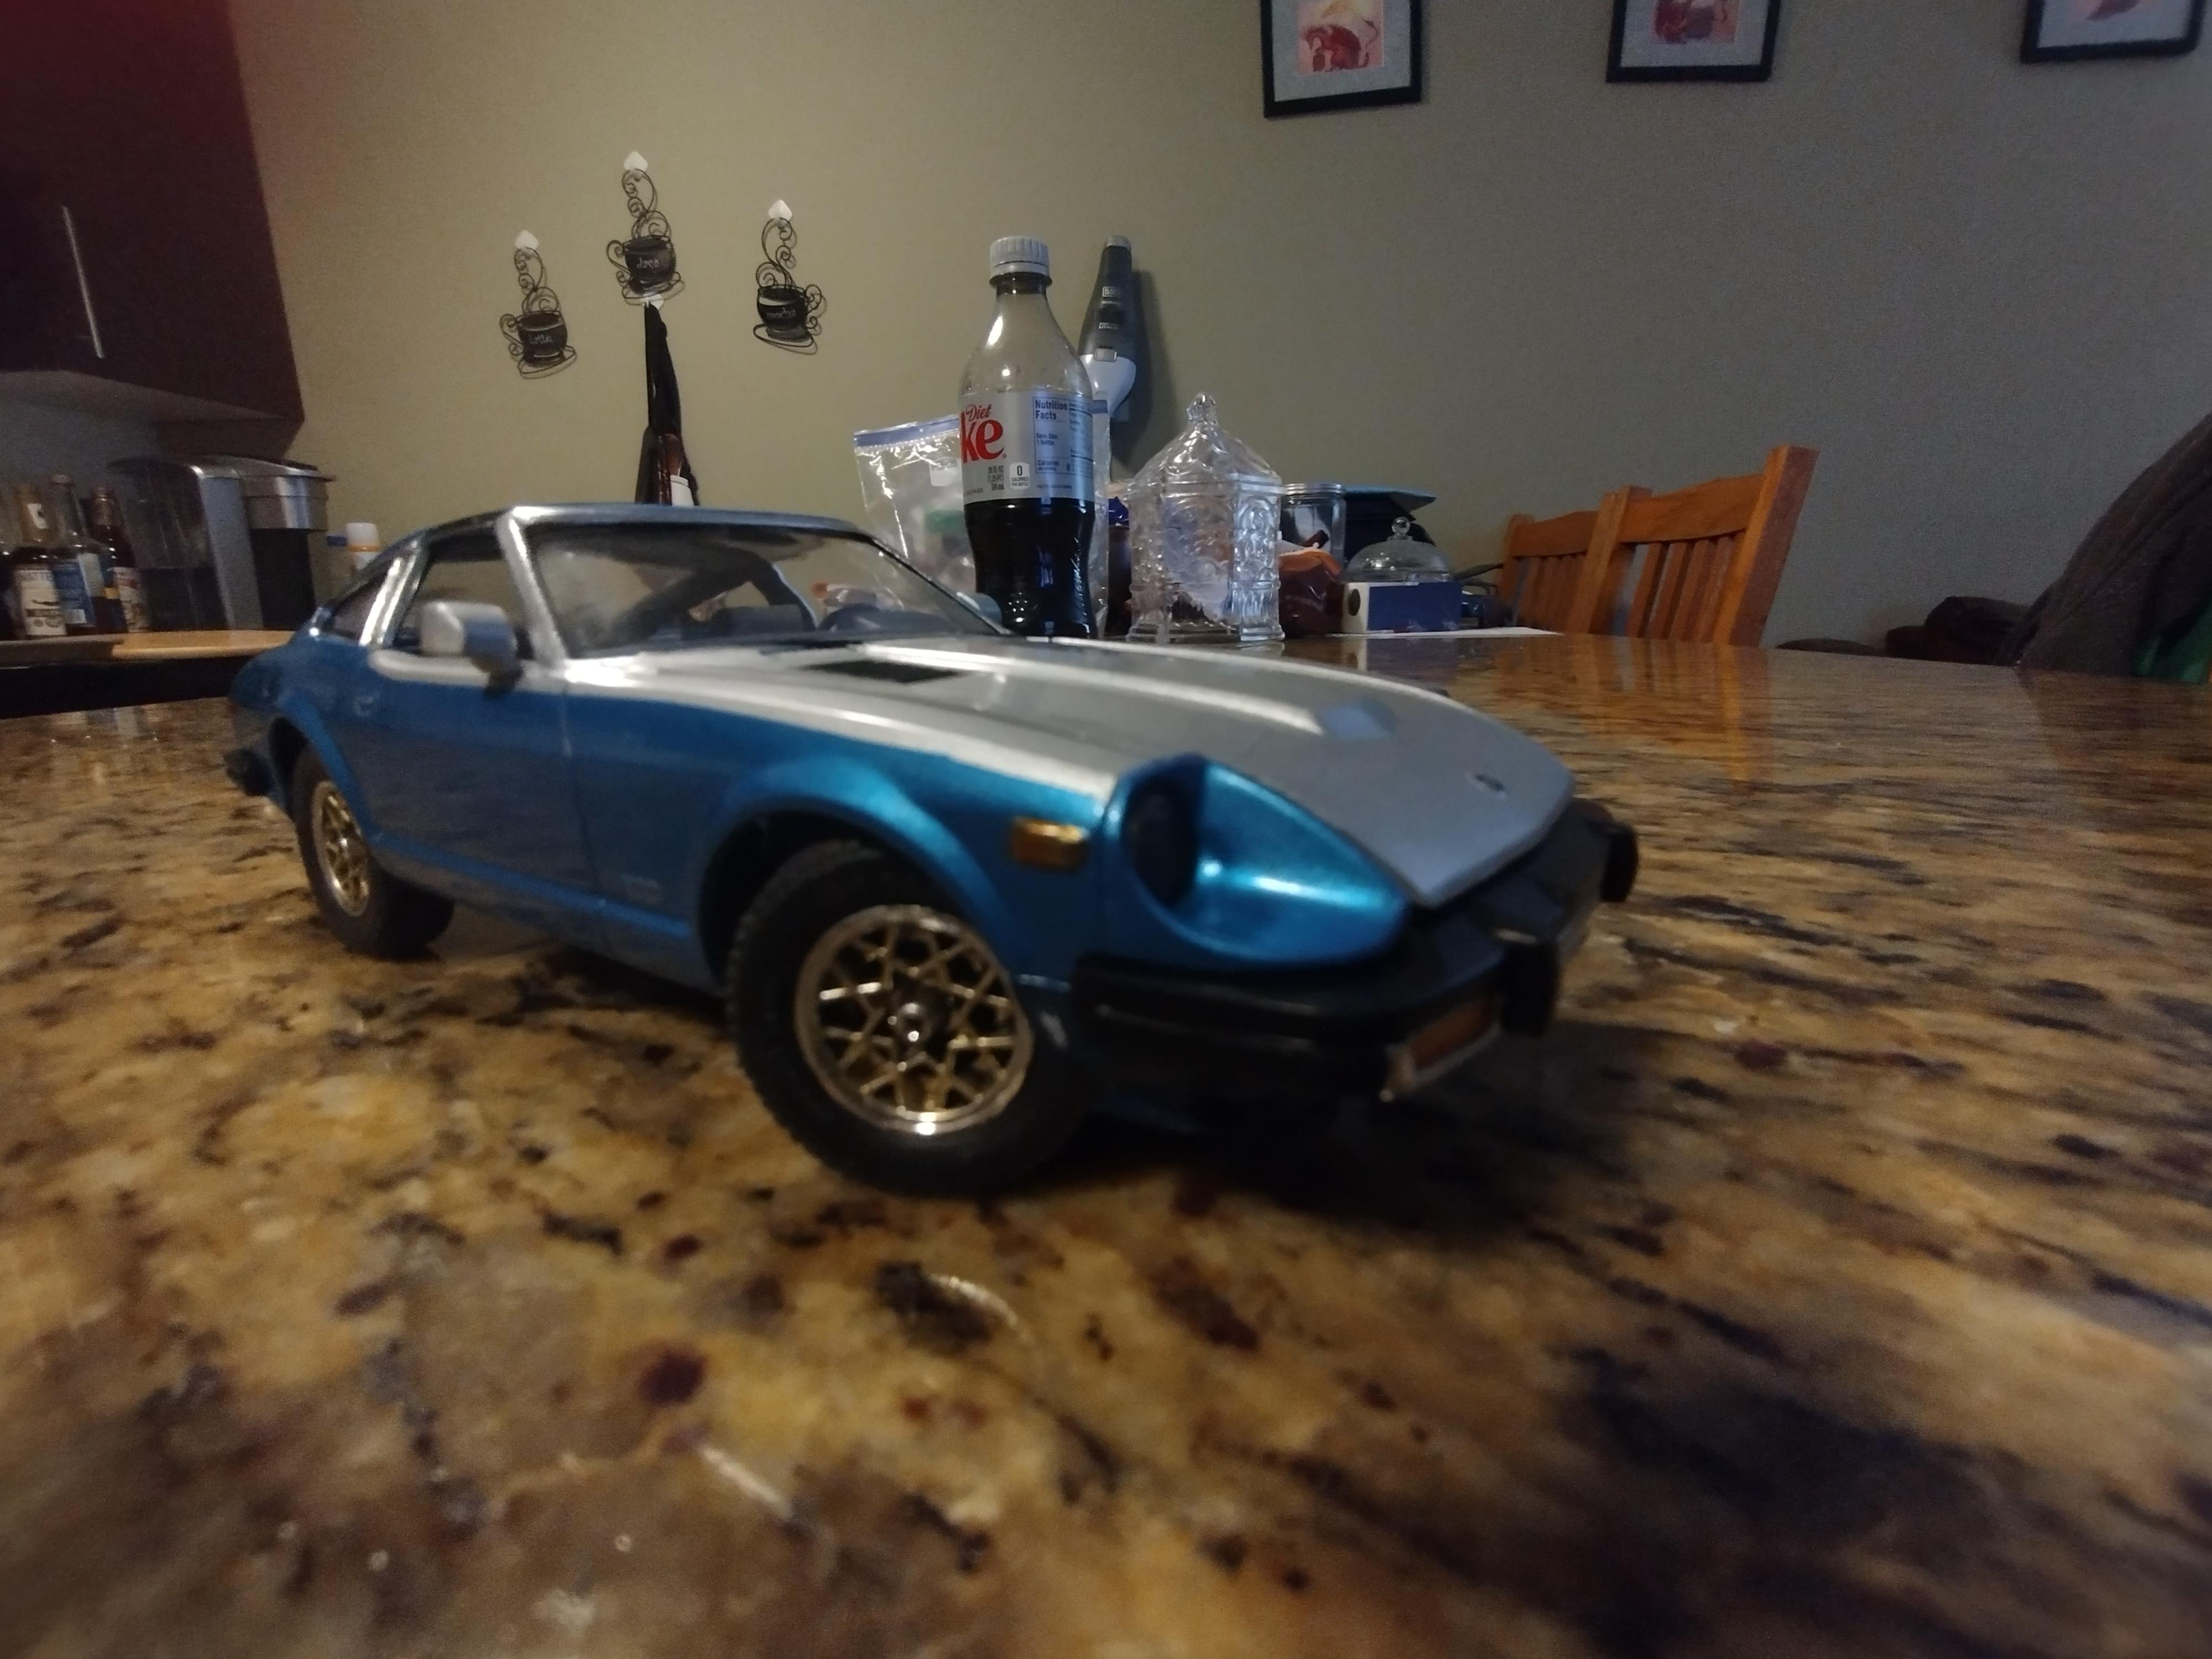
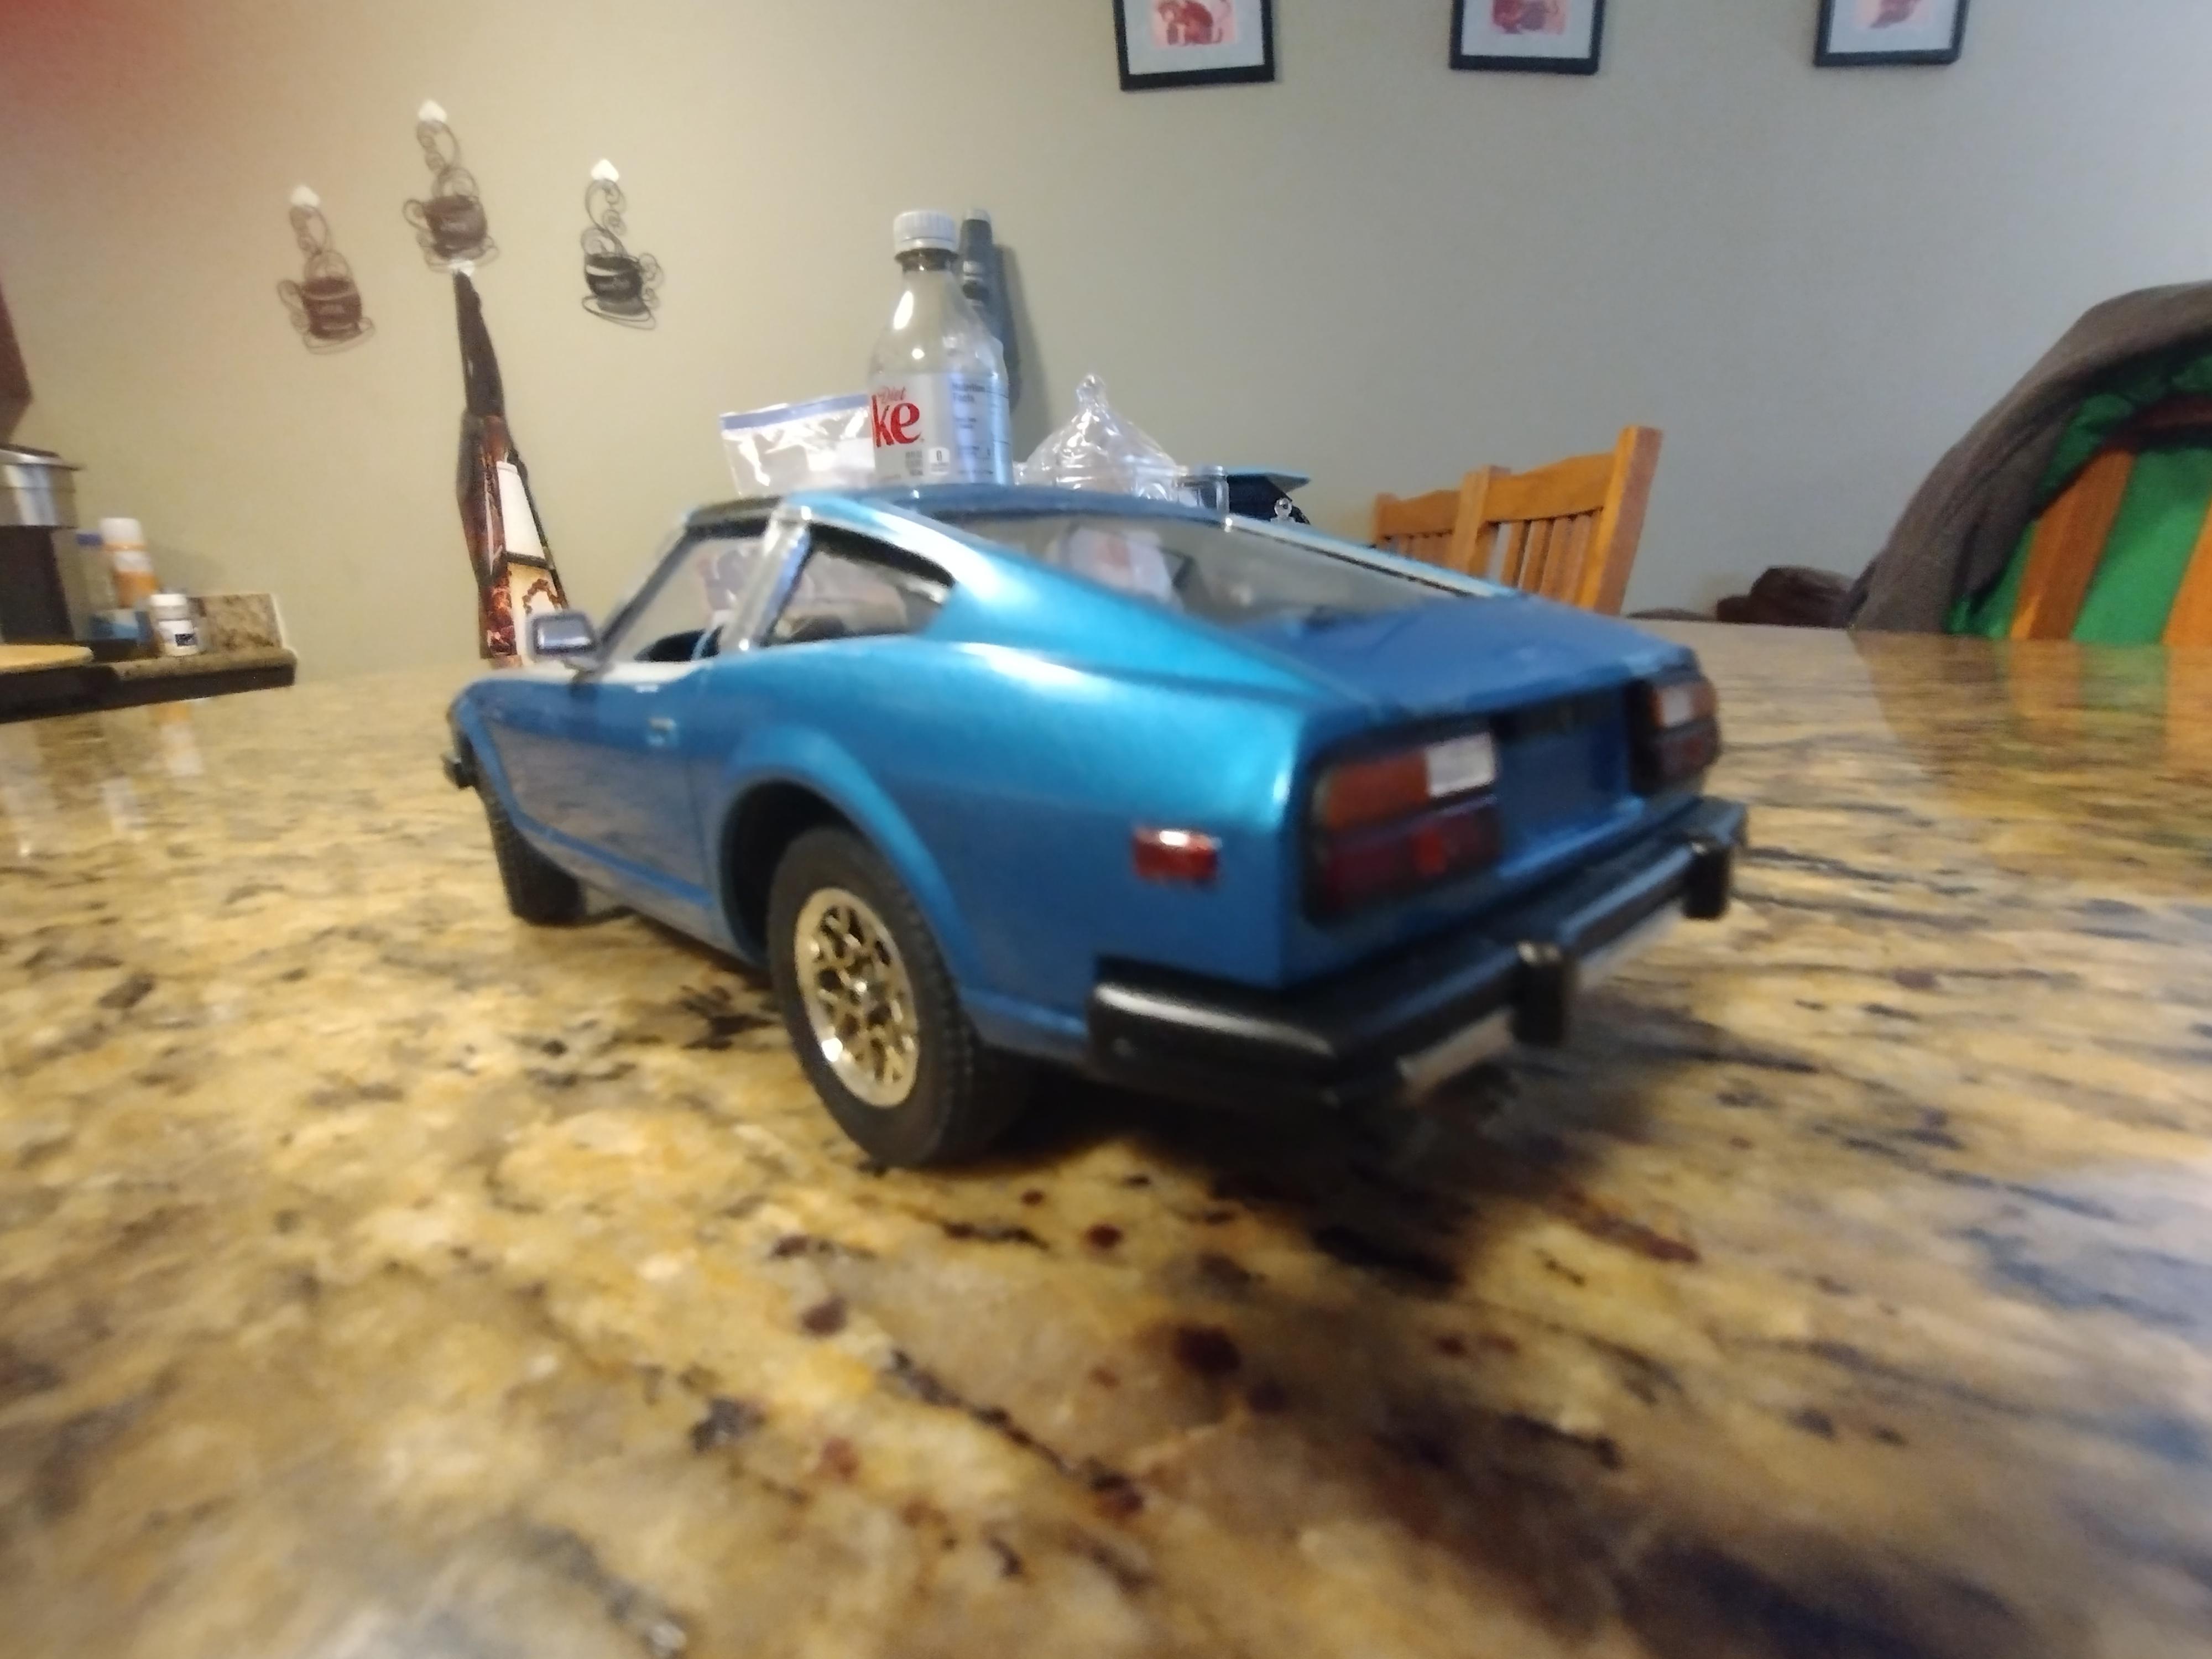
This one came out really well, I think. I took the interior tub apart and made new window cranks and door handles. The colors are Duplicolor Olympic white and Tamiya pearl green.

- 20 replies
-
- 12
-

-
This is similar to what I do. I step out the doorway and spray, then back inside to thaw.
-
 I love it!
 -
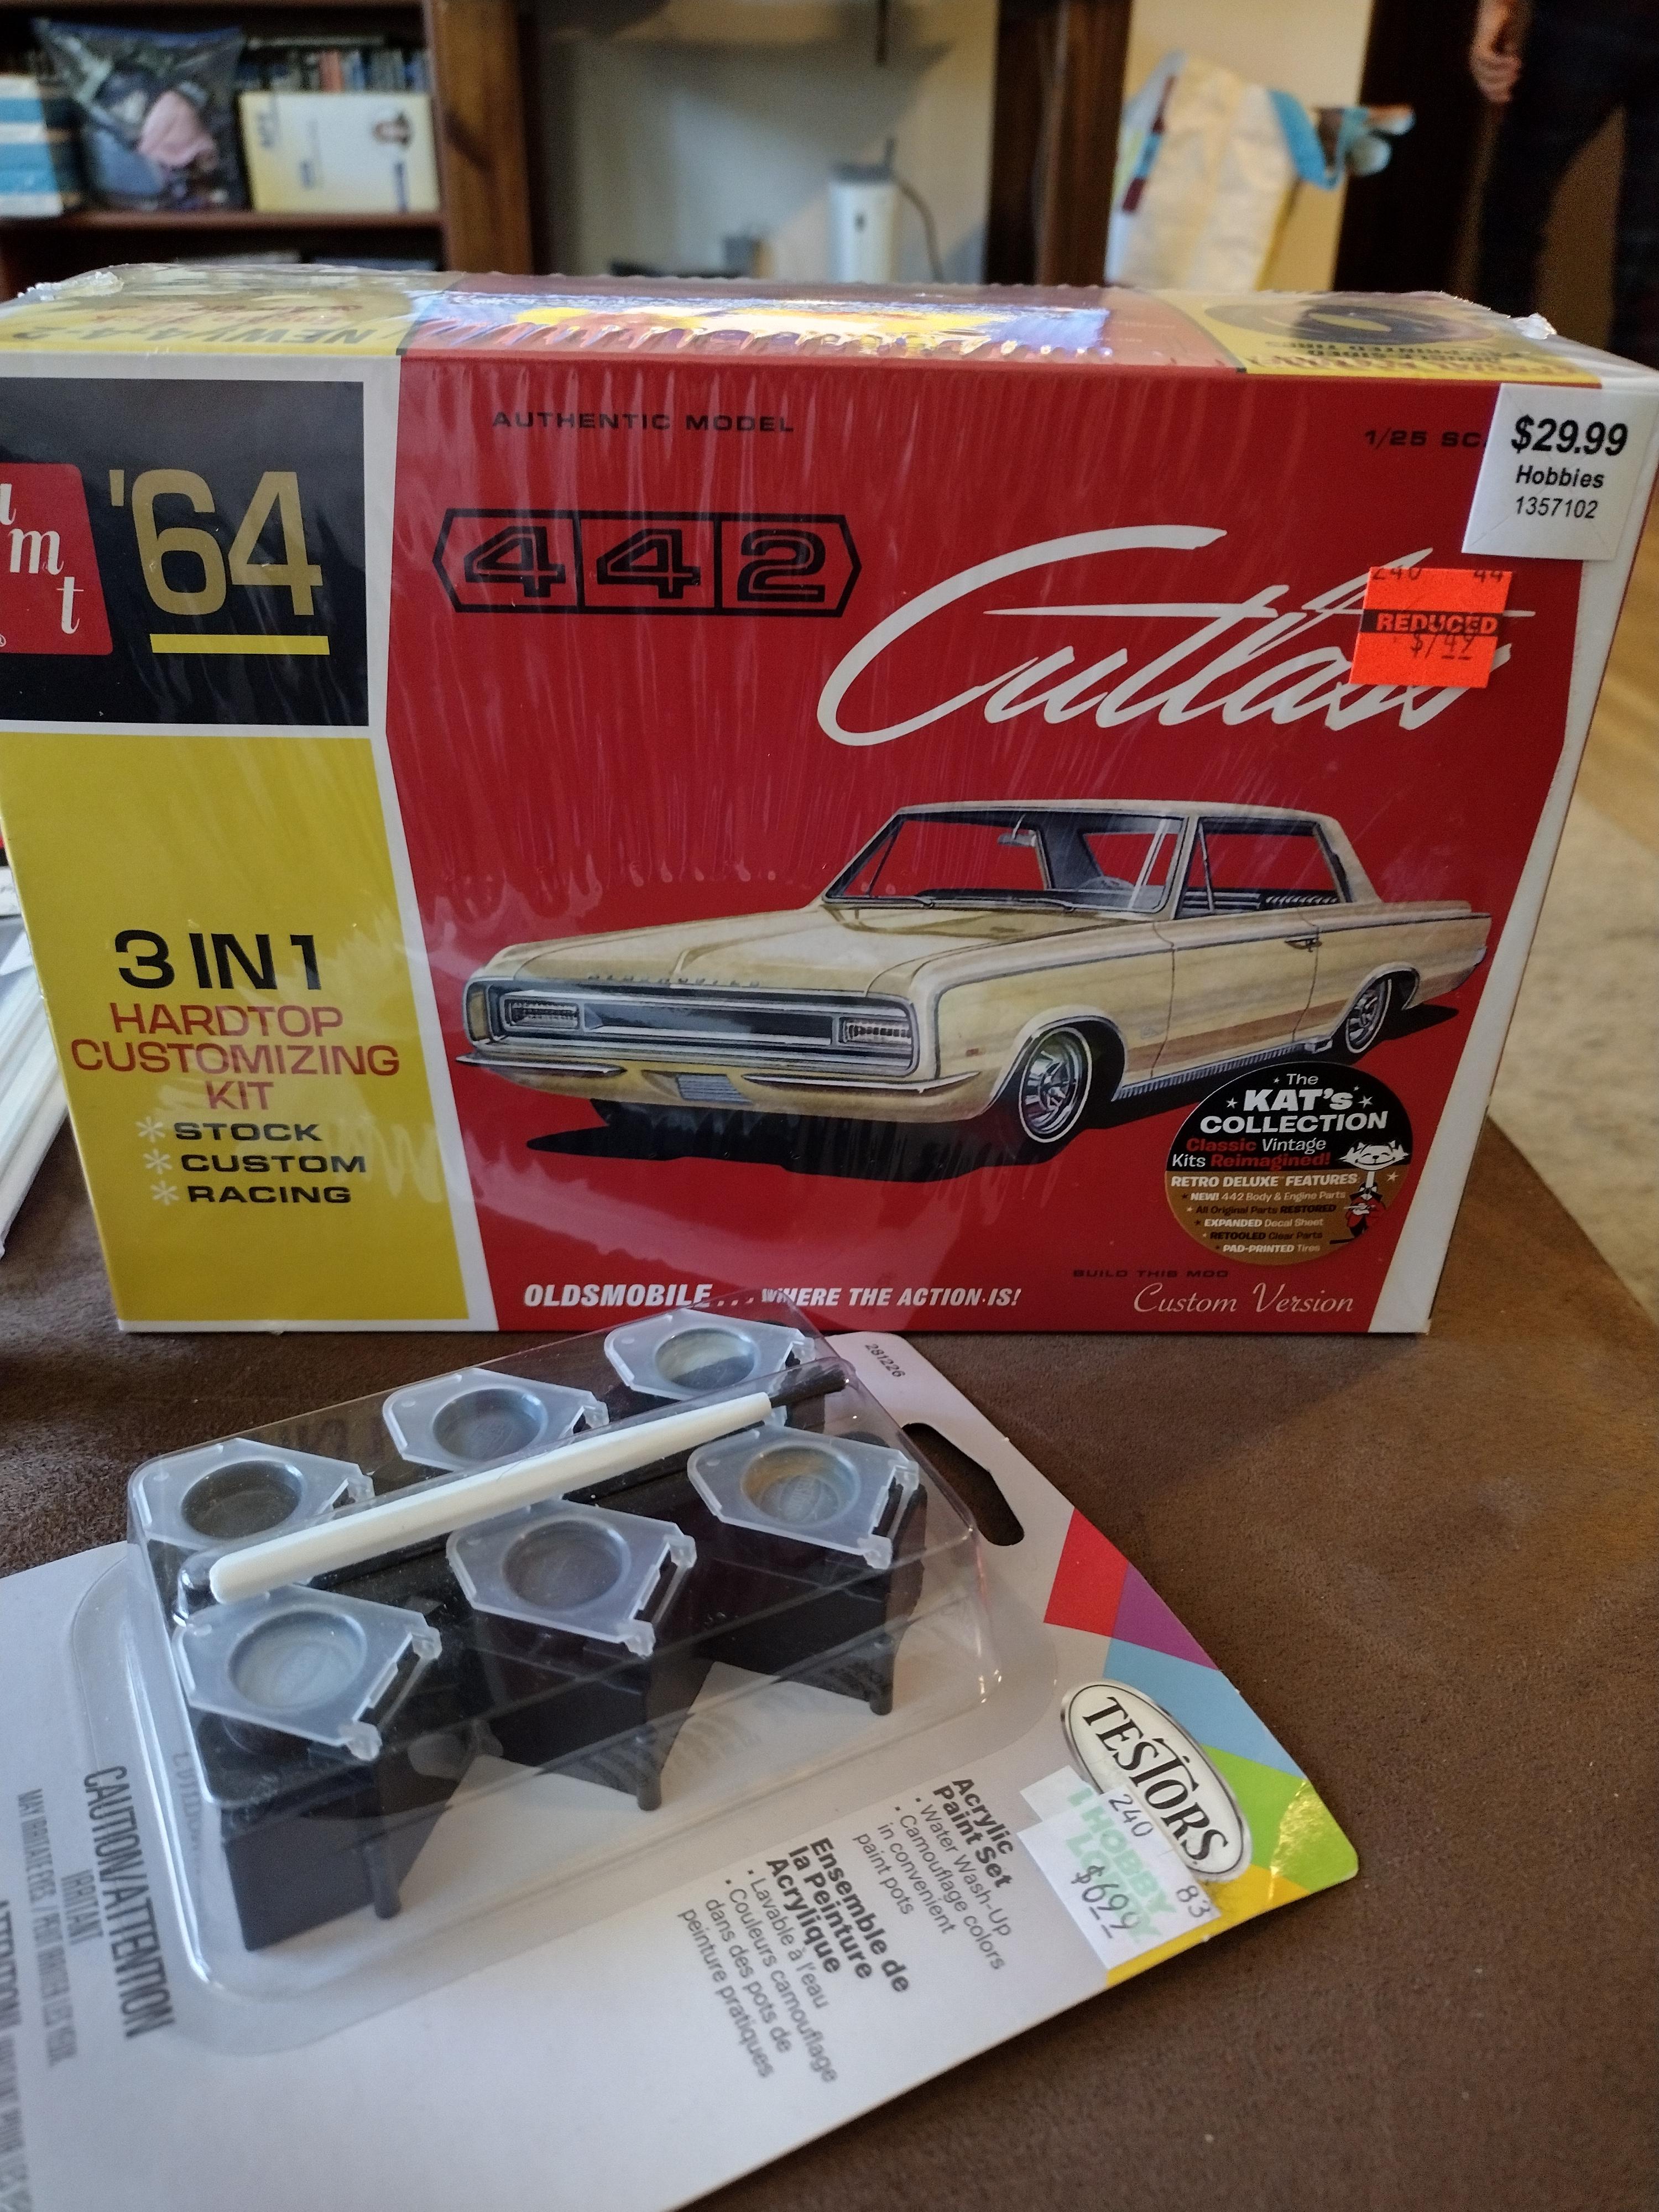
Ran to Hobby Lobby for supplies and while I was there hit the clearance section. Got an AMT 1964 Olds Cutlass 442 reduced to $7.49
- 39,134 replies
-
- 3
-
-
- johan
- glue bombs
- (and 1 more)
-
What did you see on the road today?
Deathgoblin replied to Harry P.'s topic in General Automotive Talk (Trucks and Cars)
My wife and I were out for lunch and coffee today, decided to go up around Dublin, OH. There's an area up there called Shawnee Hills, and next to the center with the coffee house was a car lot. Parked out front was a Porsche Carrera, a couple of Bentley Continental GT's (coupe and drophead), a 1971 Mustang Mach 1 convertible and a Jaguar E-Type convertible. Edit: Forgot the Rolls Royce. -
Very nice looking Firebird! Excellent paint!
-
Had this one for a while partially completed, and finally got the foil work done. Not perfect, but I think it came out pretty good.
-
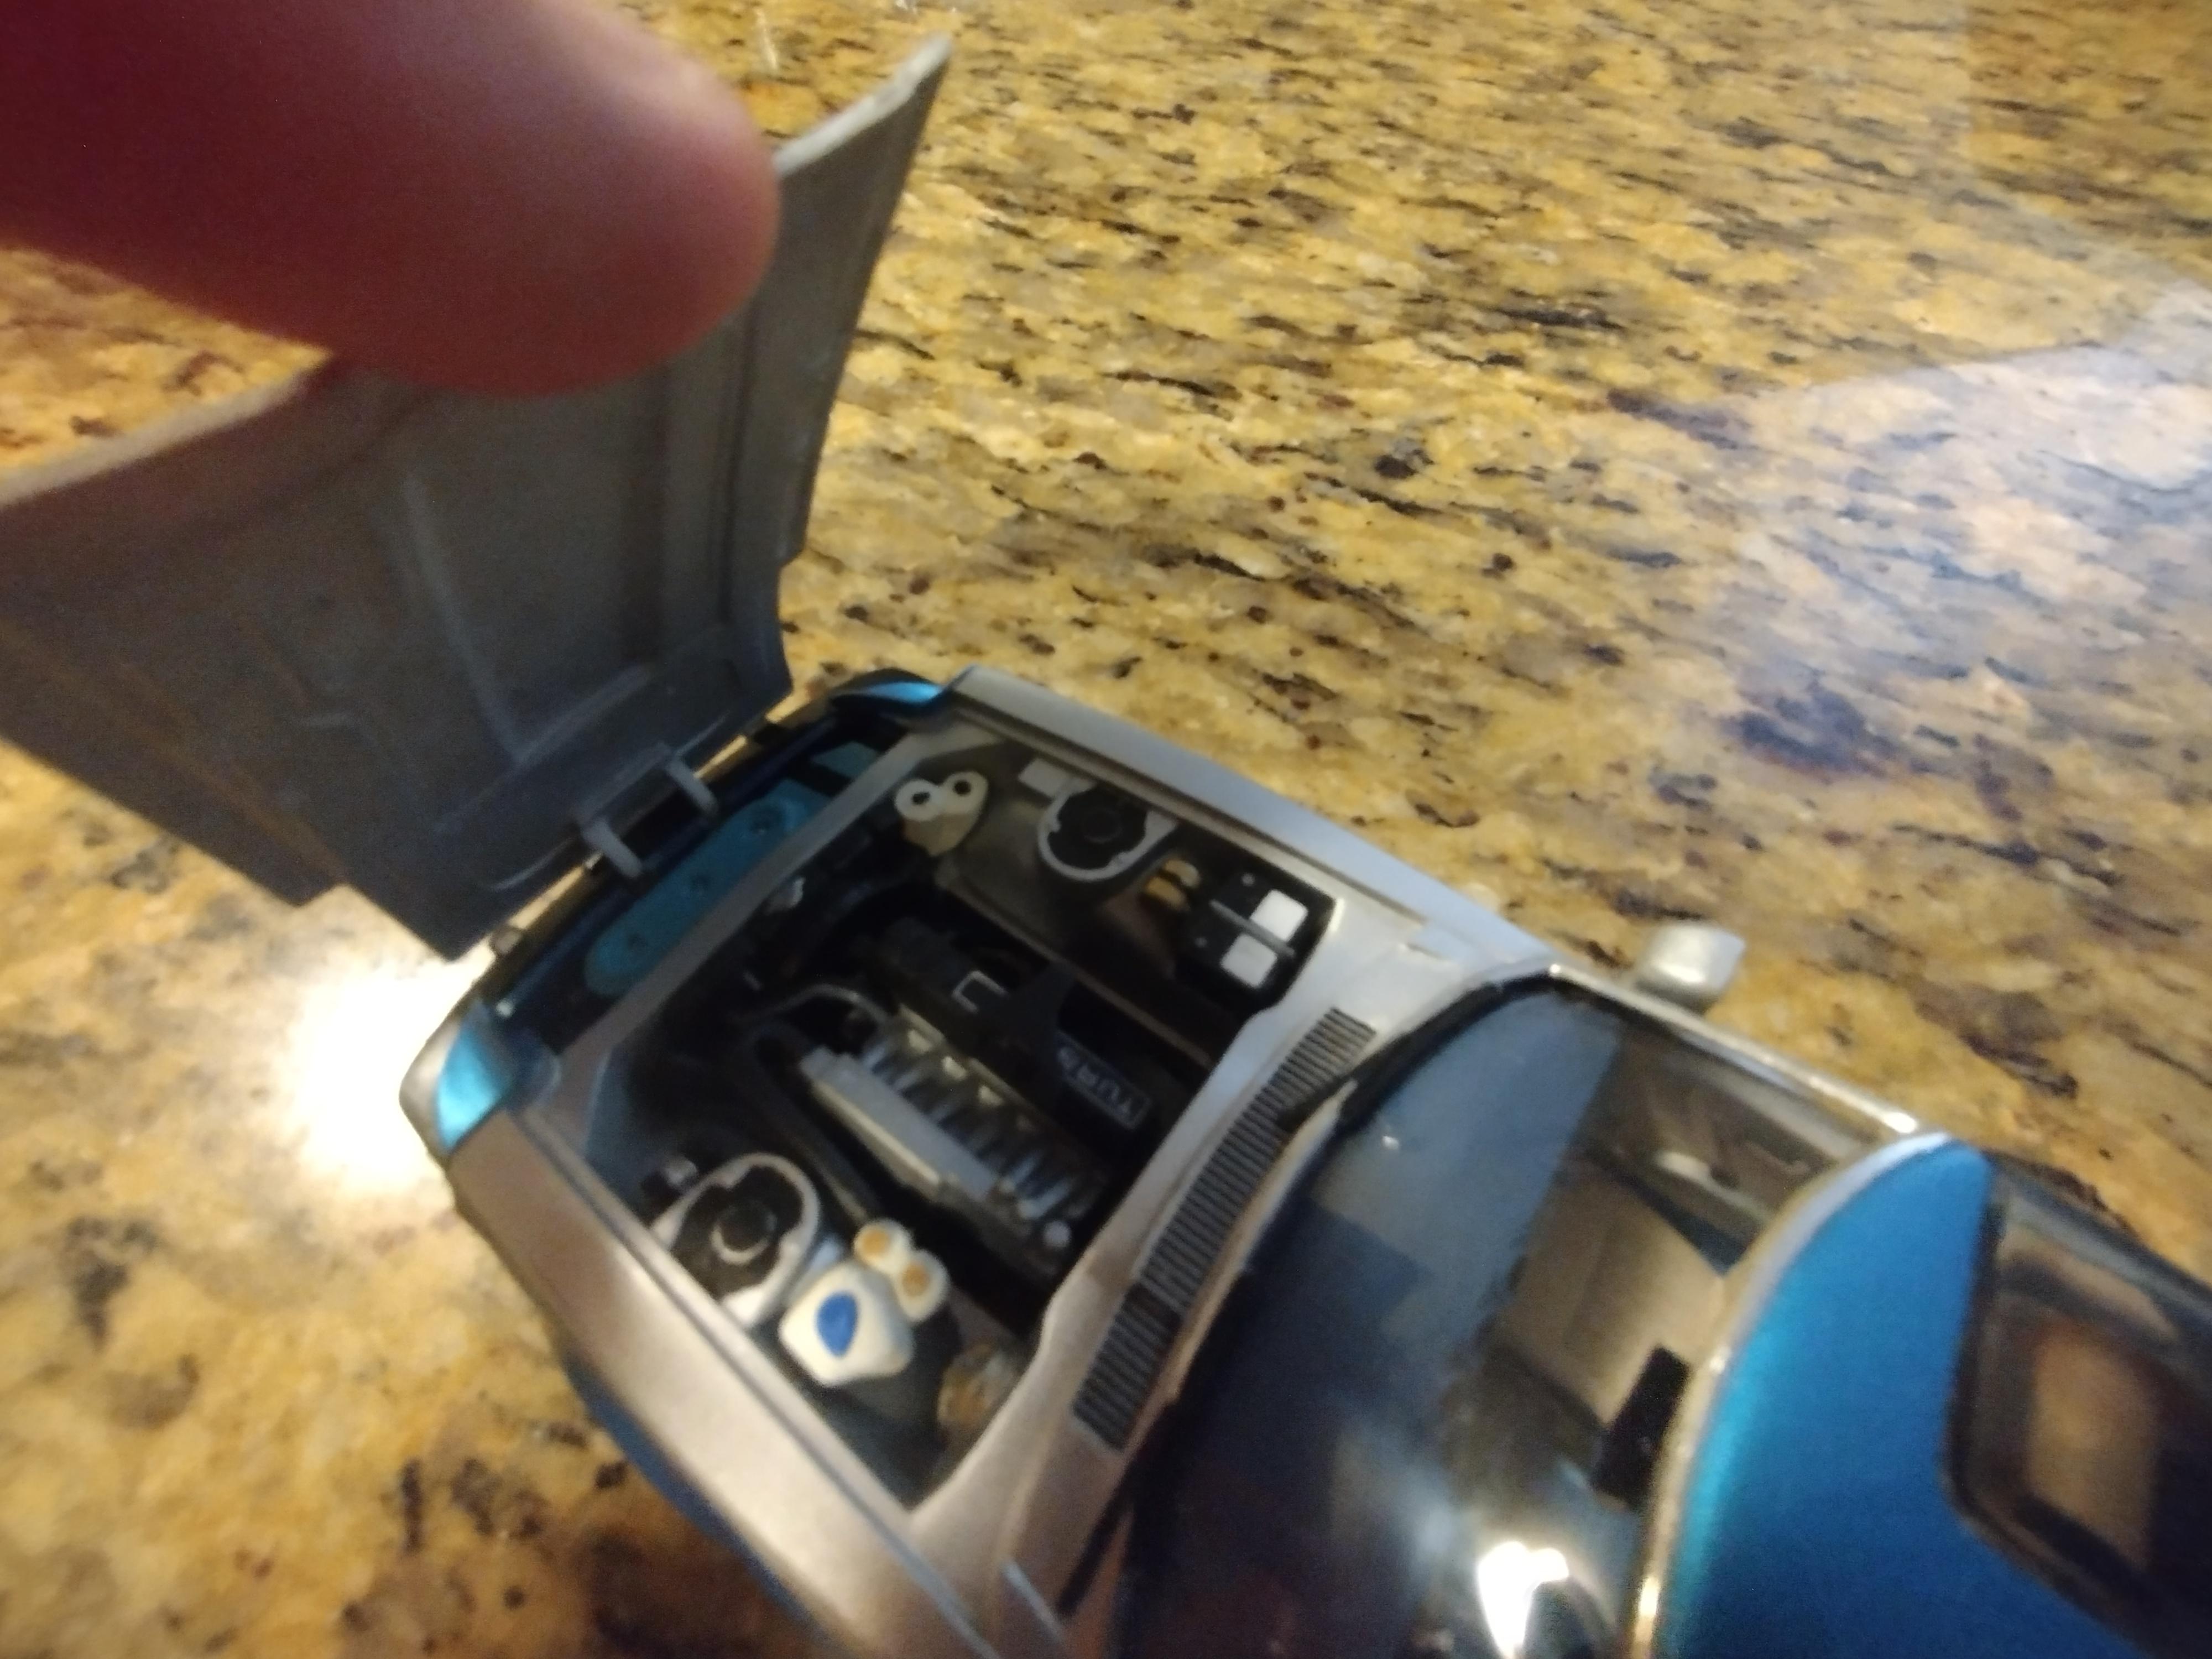
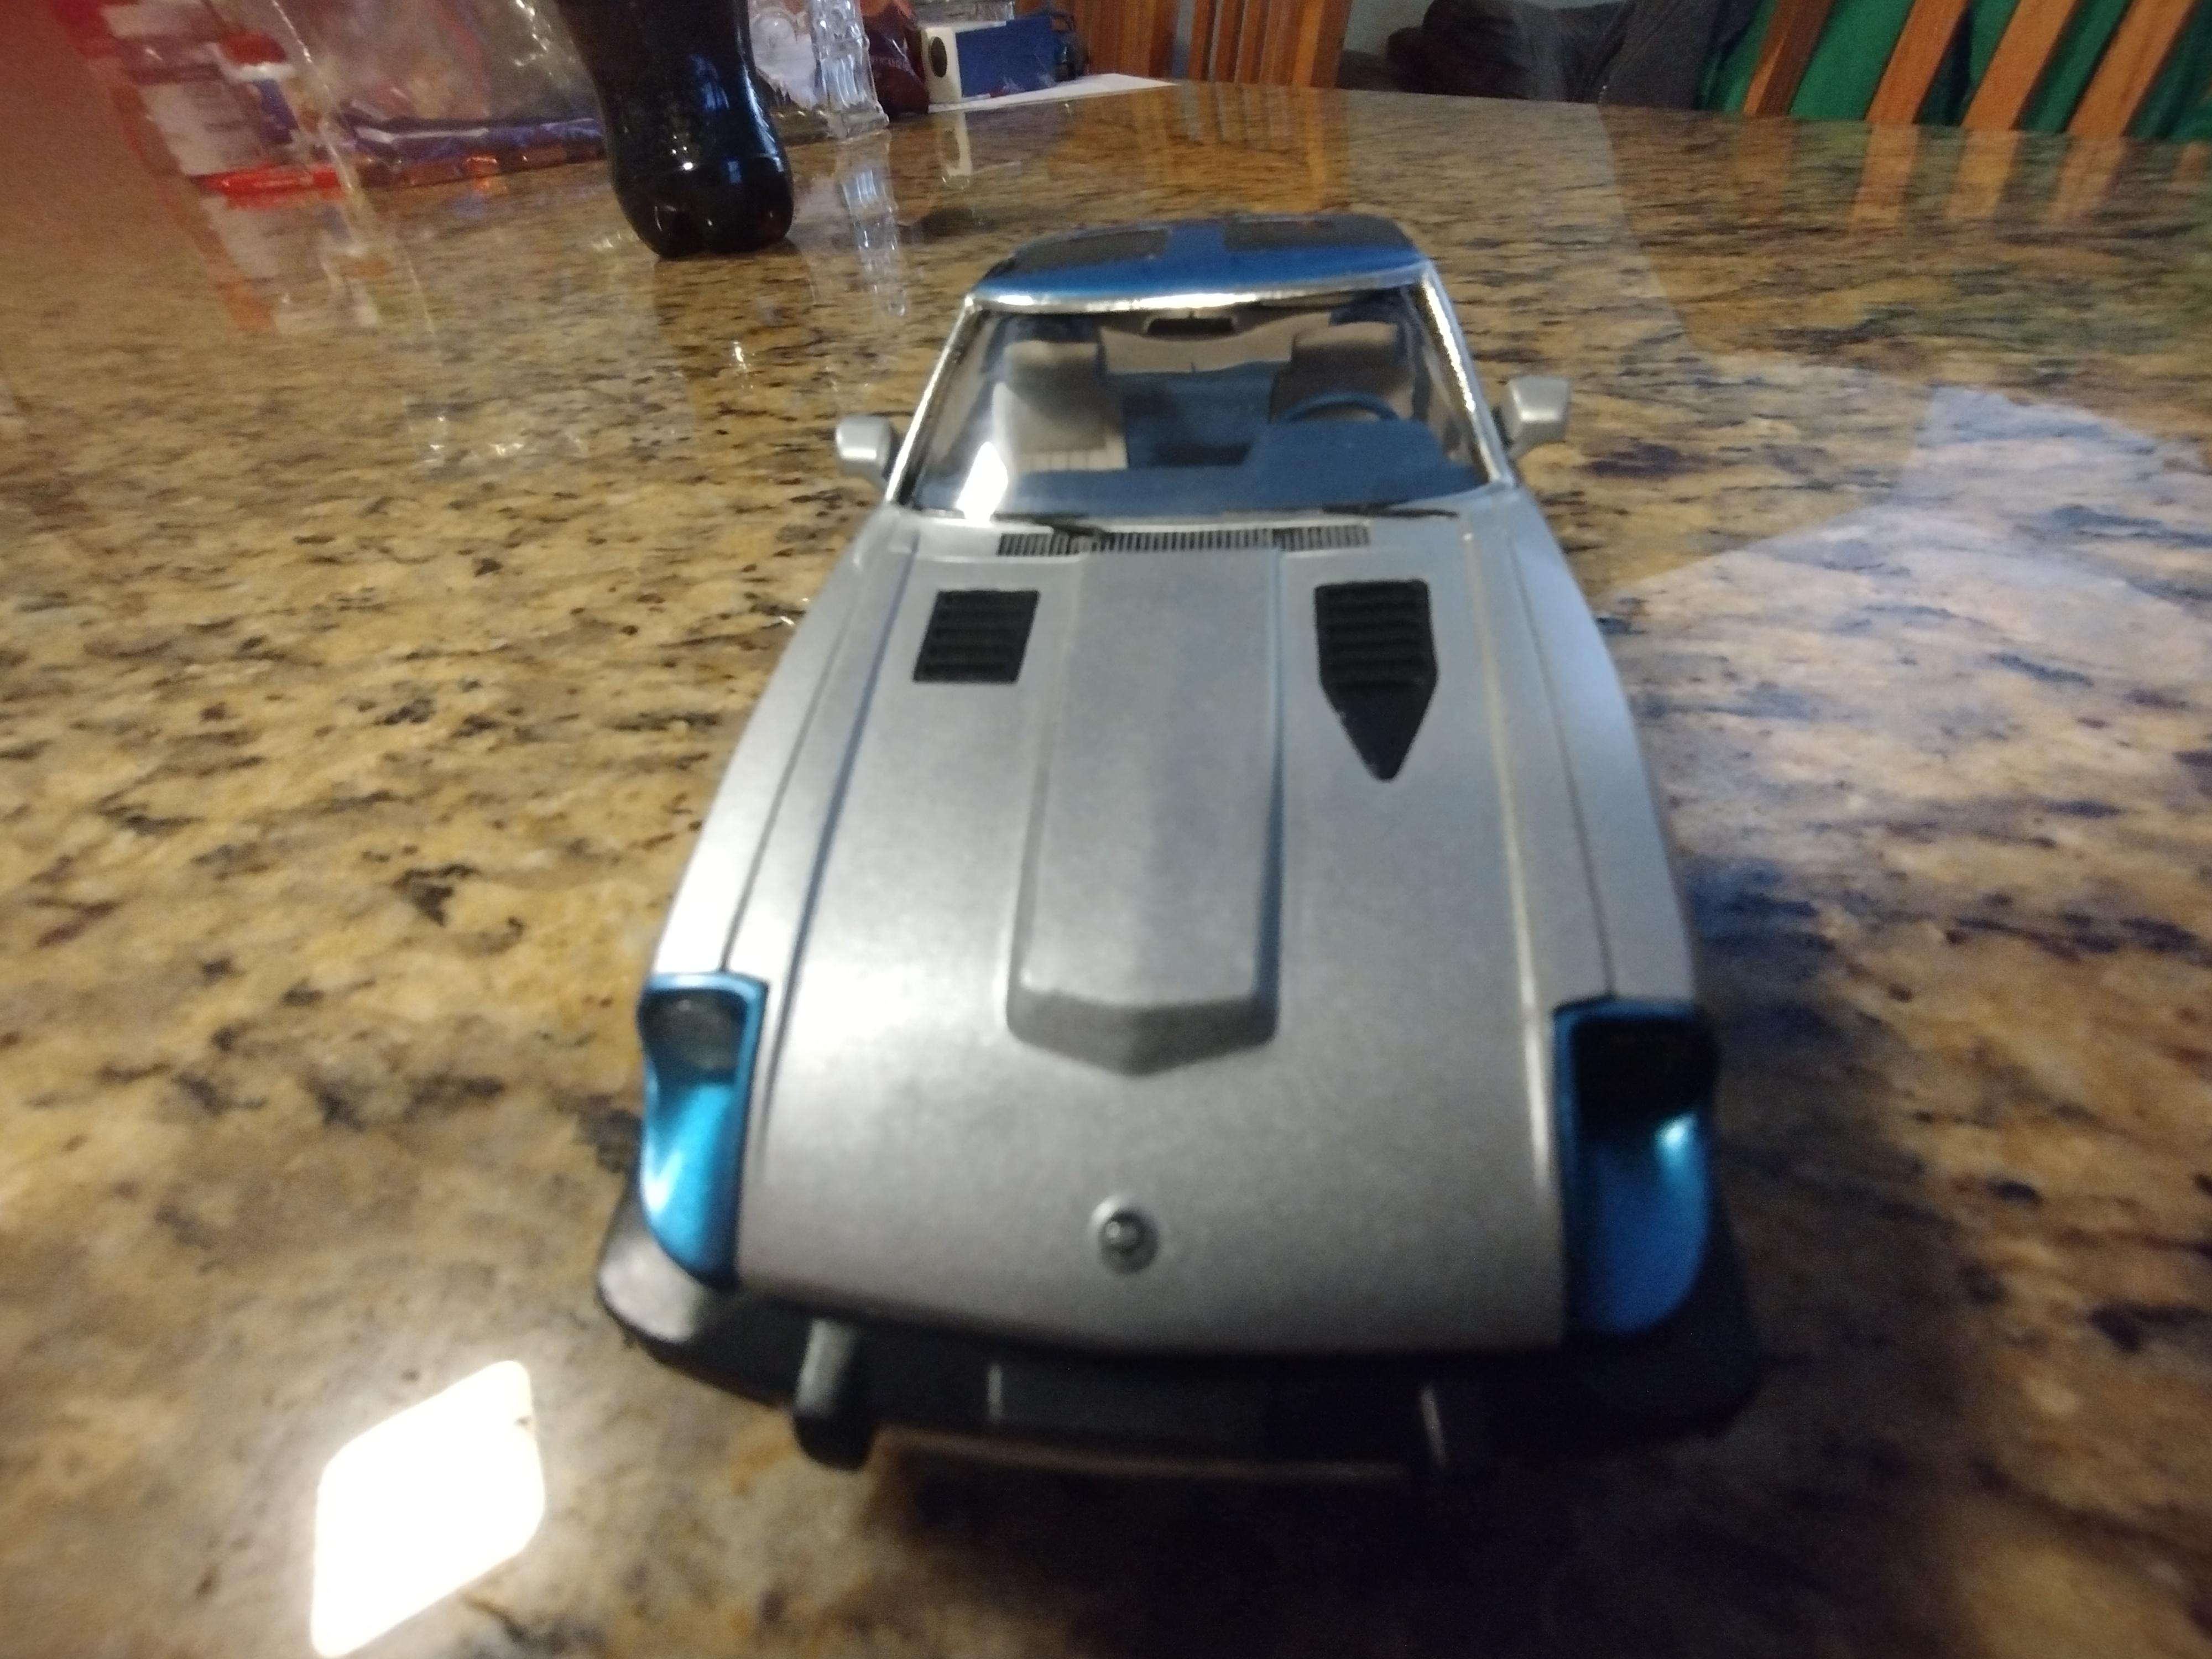
So THAT'S how they make accordions!
-
Ow! My Wallet! Definitely interested in the new Mopars.
-
Very nice! I love the color!
-
More old paint
Deathgoblin replied to junkyardjeff's topic in General Automotive Talk (Trucks and Cars)
Wow! Good luck! -
I'm watching this one! I hope you can salvage her.
-
Looks great! Very nice job!
-
Subaru BRAT
Deathgoblin replied to Erock's topic in Model Trucks: Pickups, Vans, SUVs, Light Commercial
Awesome job! Got one of these in the stash, might be a soon coming project. -
Love it! Gonna have to get one of these. I've heard the "real" Herbie had an engine out of a Porsche and was surprisingly quick.
-
This is beautiful. I can't wait to see how it turns out.
-
If I remember correctly in the show, both versions appeared side-by side. Jethro had the hot rod version built and he and Granny ended up in a race. She beat him stupid because she fueled the old truck with moonshine.
-
007 1971 Mustang and "Super Boss" Chevy II Funny car. I love Ollie's.
- 39,134 replies
-
- 1
-
-
- johan
- glue bombs
- (and 1 more)
-
Very nice job!
-
Case in point: I recently posted a Porsche 911 Slant Nose that I ended up doing in pink. It was molded in red plastic and I wanted to do it in pearl white, but failed to undercoat it properly. The red bled through the primer and base coat of universal white Duplicolor quickly and it was pretty bright pink after the first coat. I've heard of undercoating with silver first, then primer and paint over top first. Might do that next time.
-
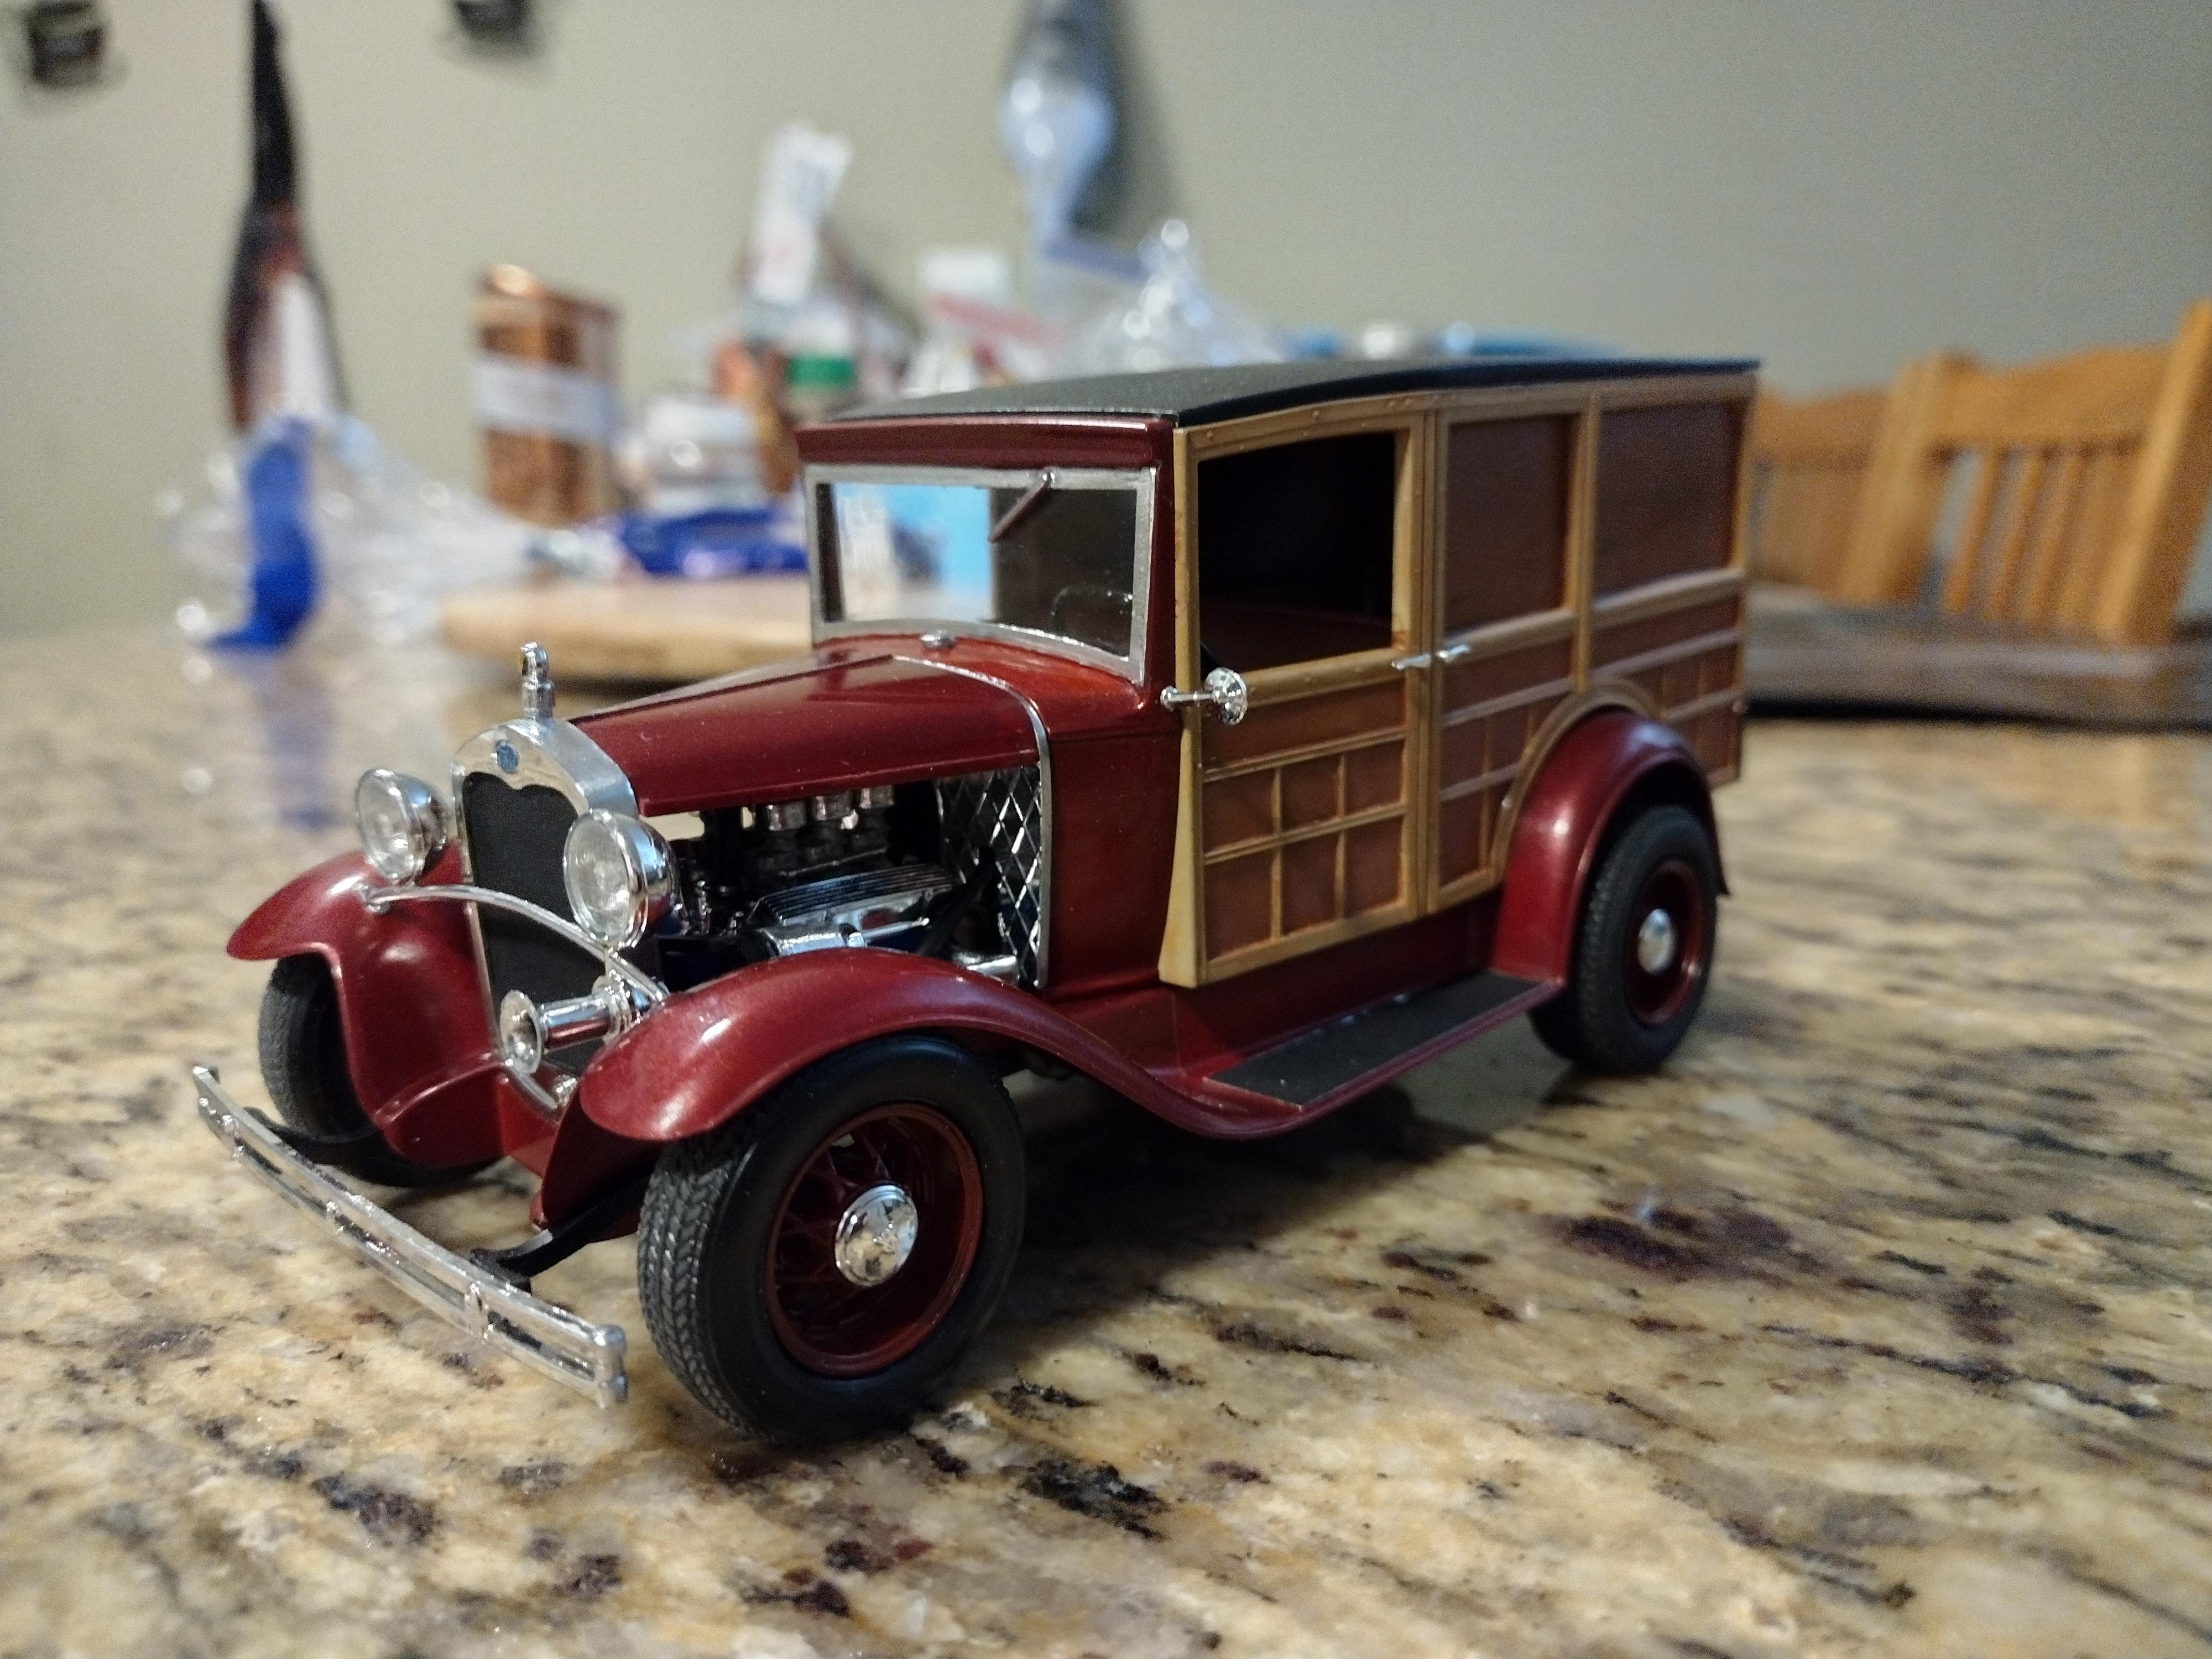
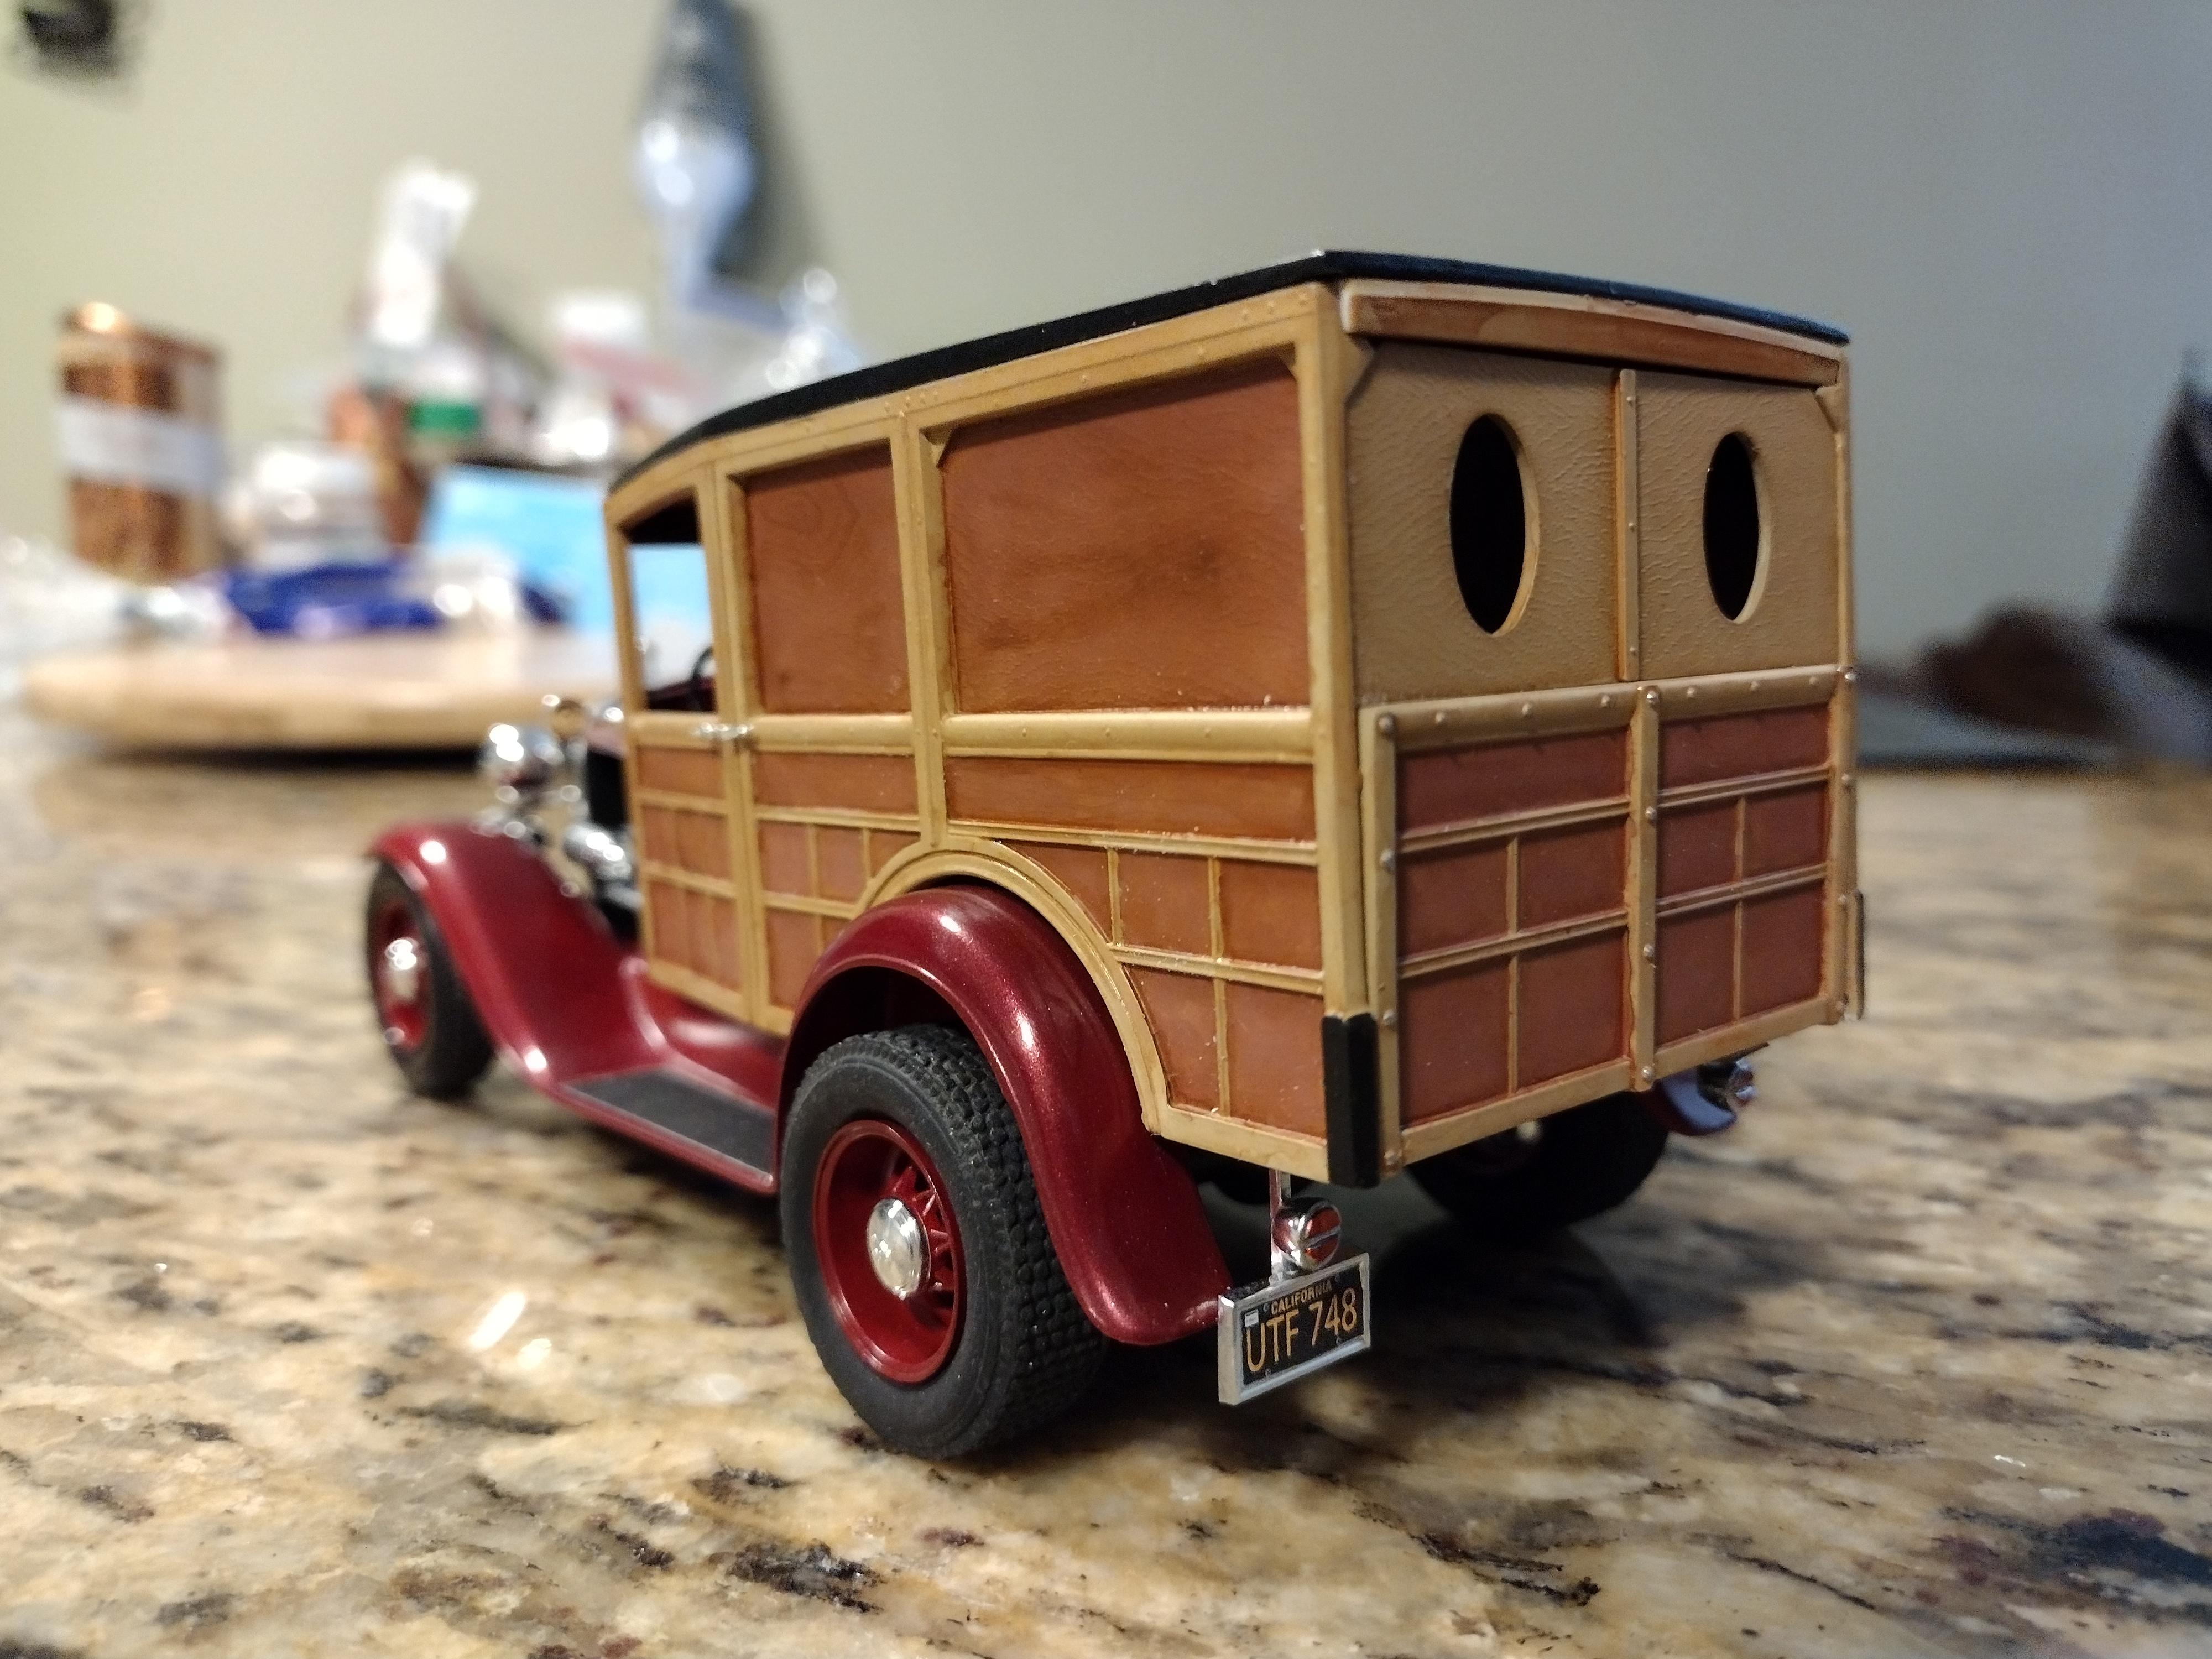
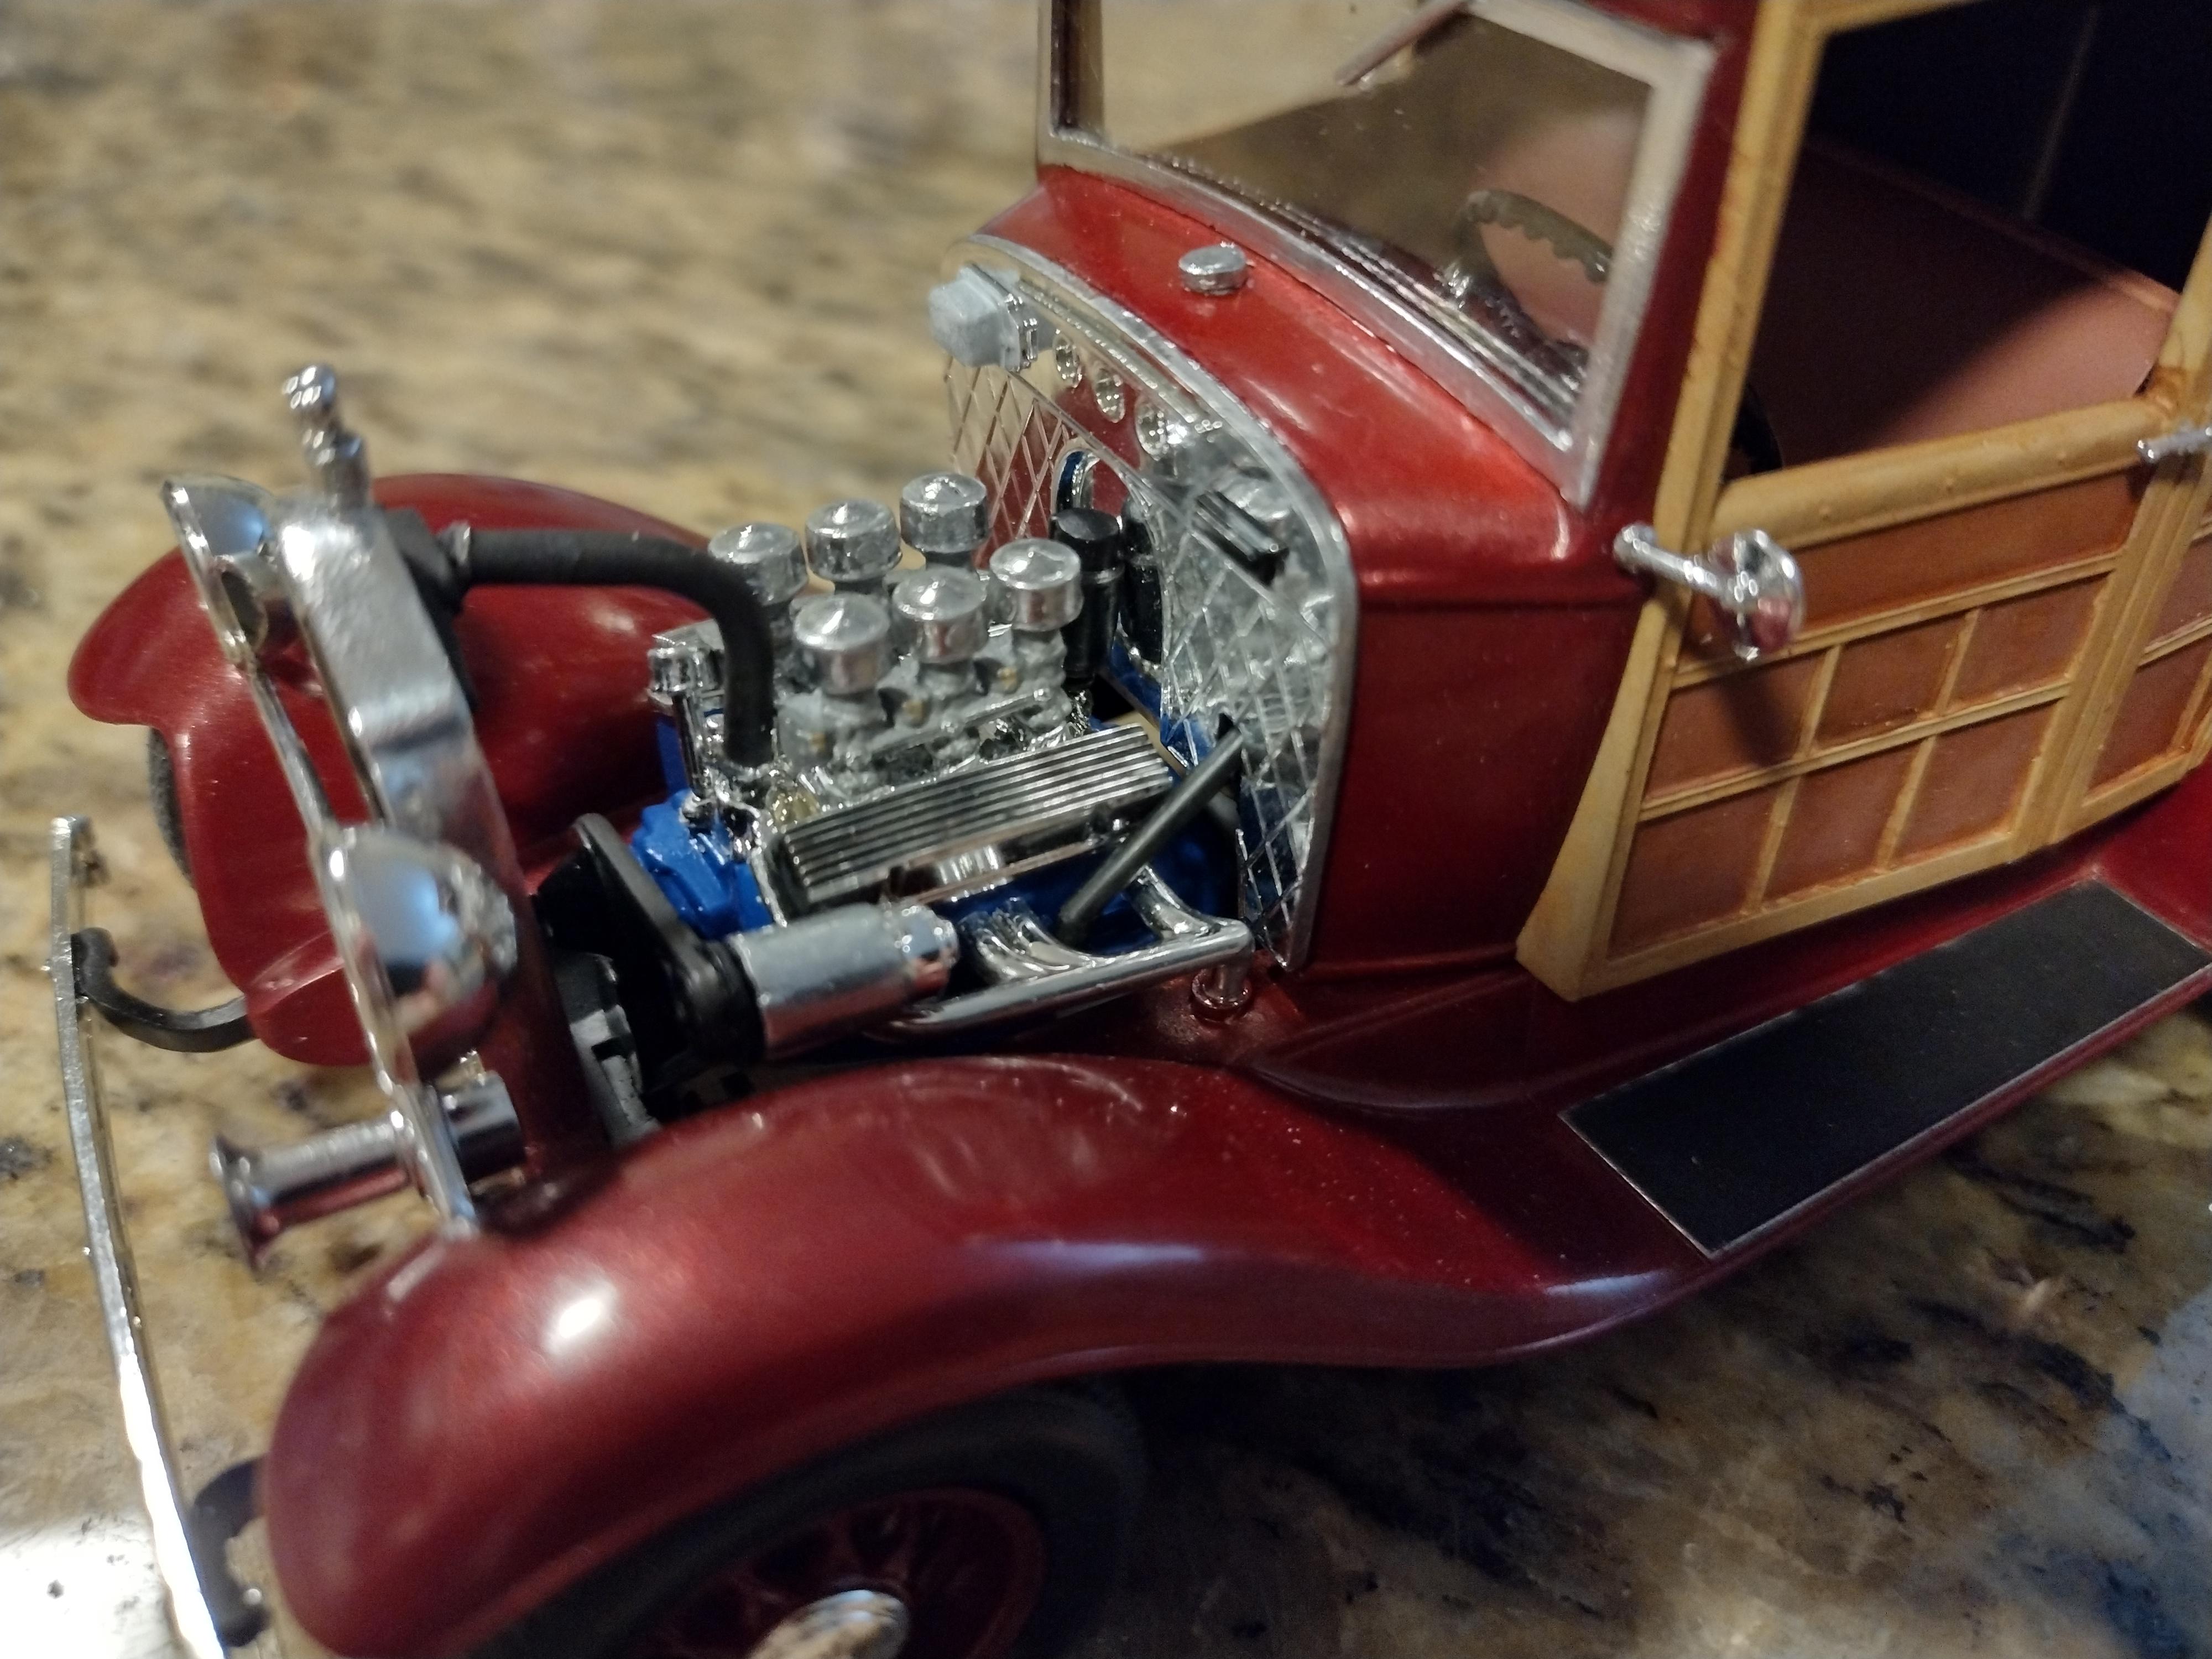
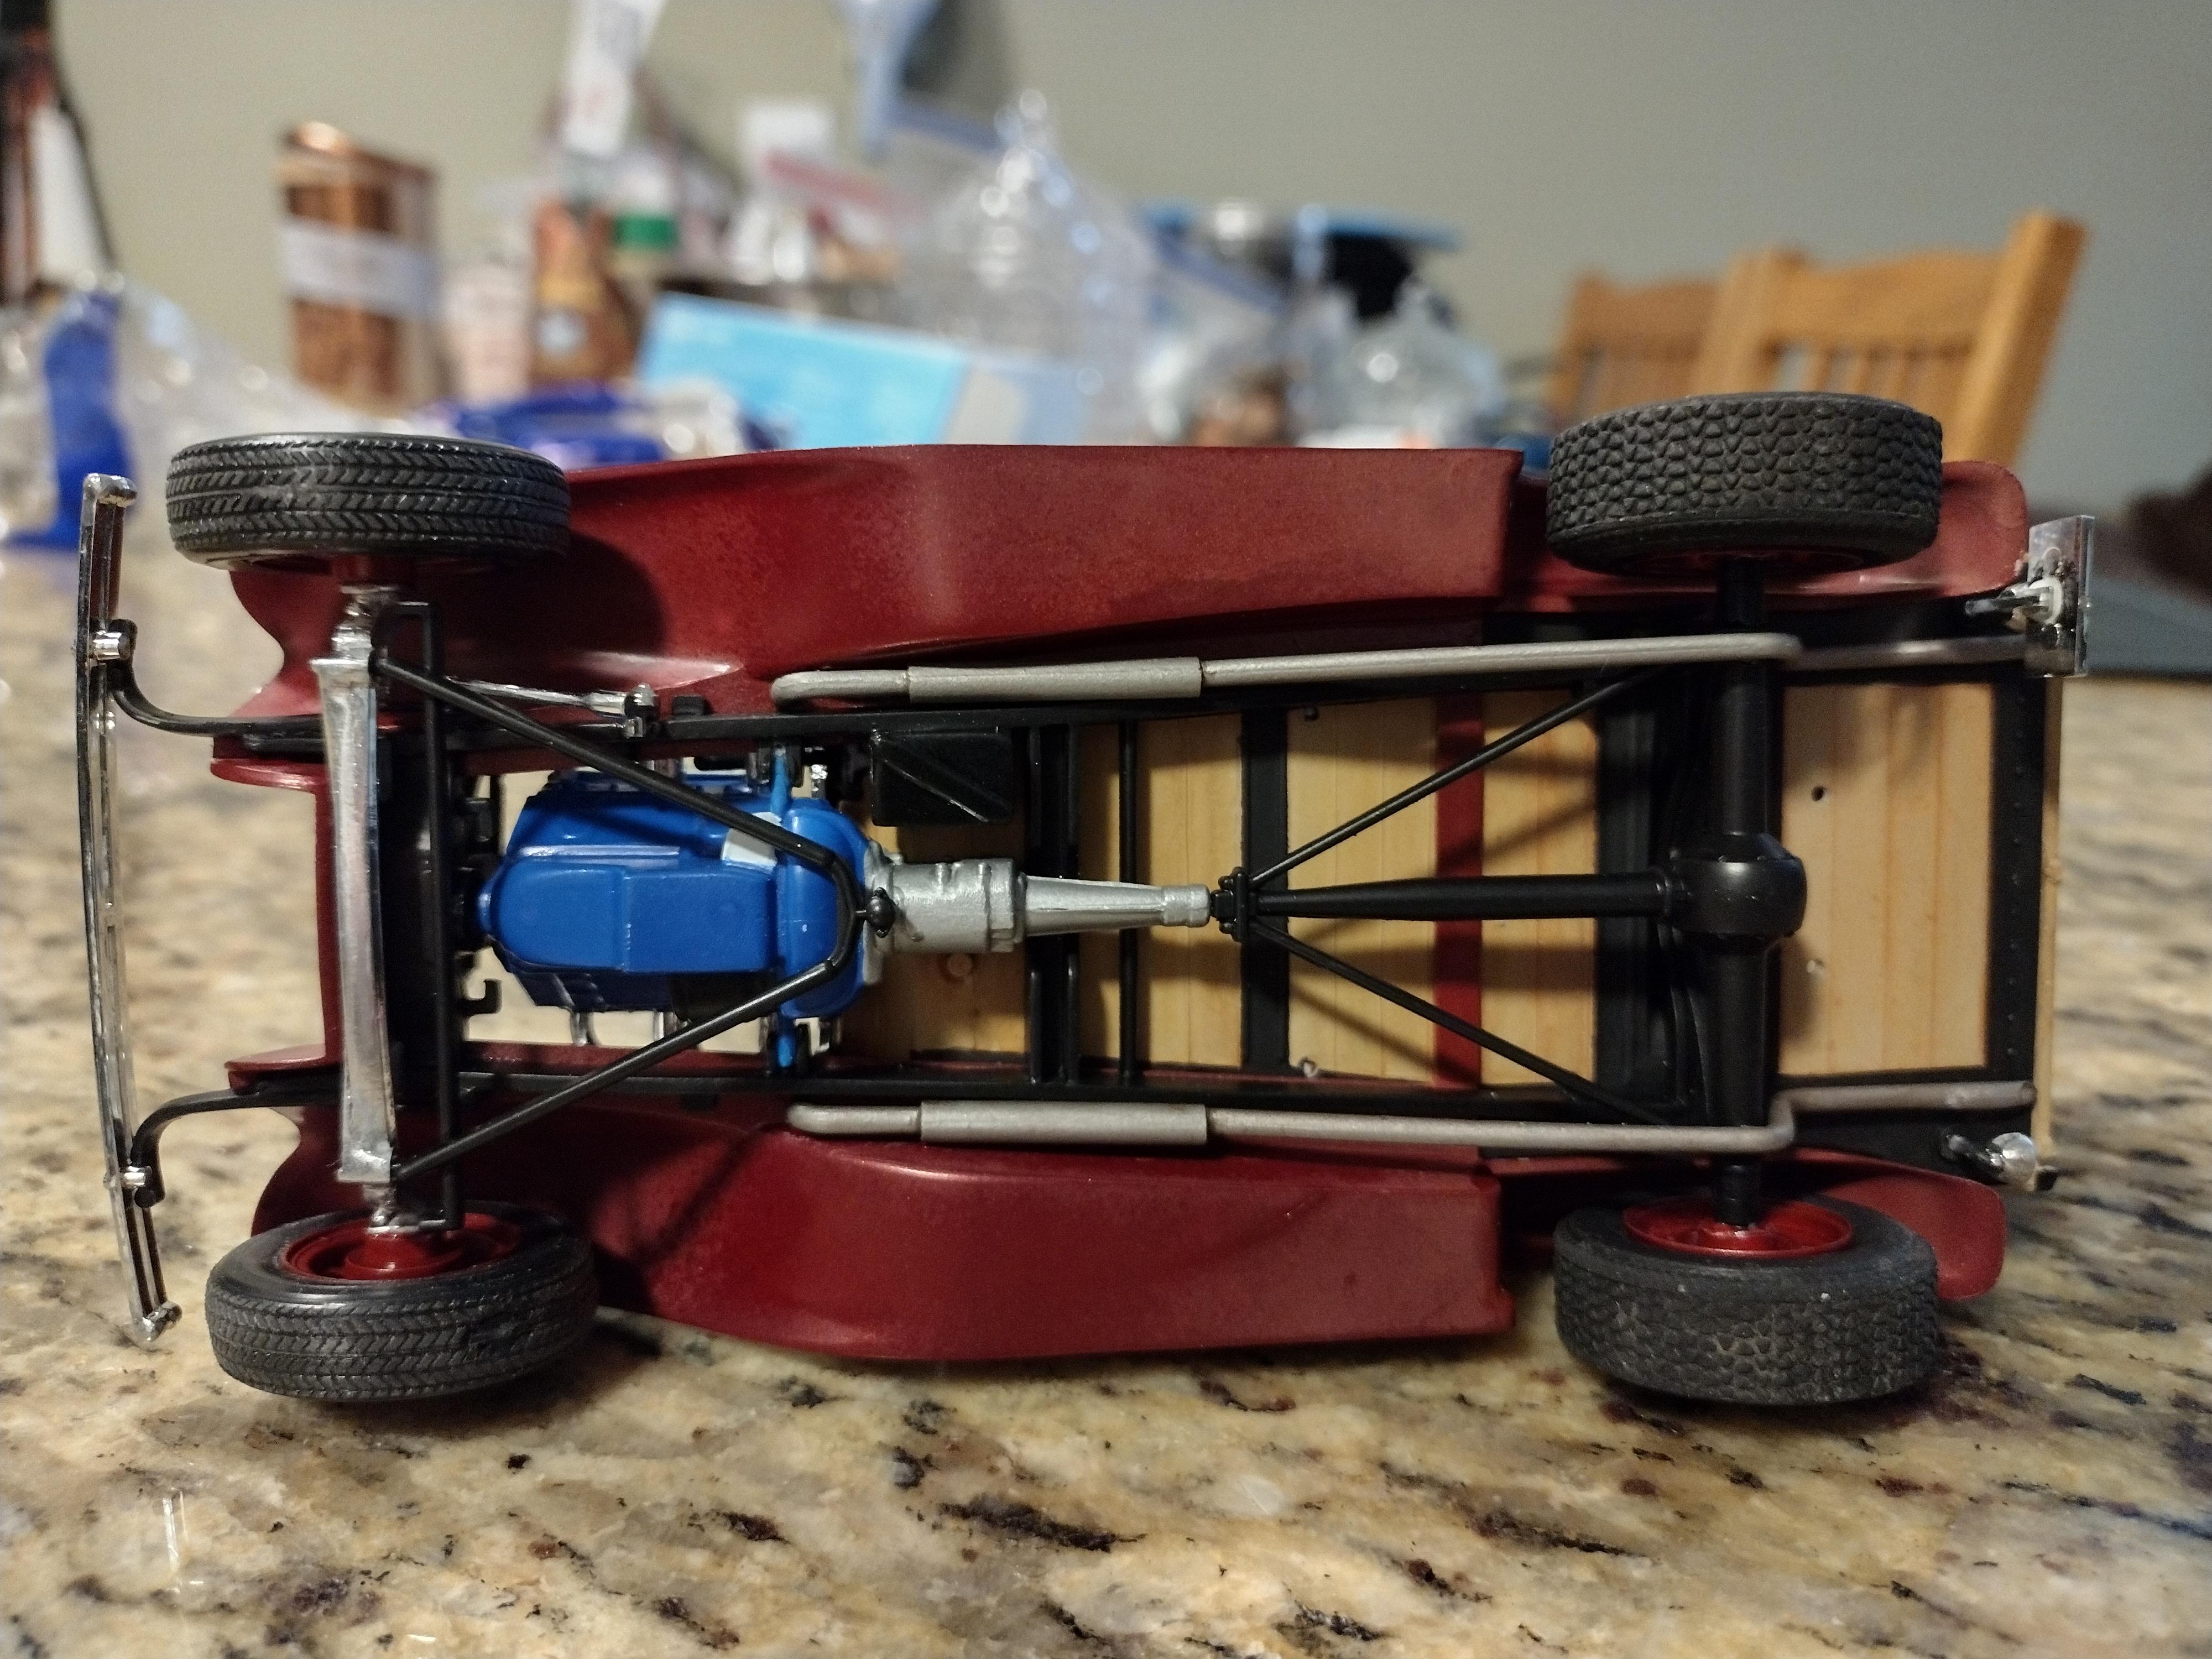
Finished this one last night. It has a lot of options for a pro mod look, but I went with old school. Pretty happy with this one. The wood grain is all paint.
-
What did you see on the road today?
Deathgoblin replied to Harry P.'s topic in General Automotive Talk (Trucks and Cars)
Bright red Ford GT with white stripes on Polaris Parkway earlier today. Beautiful car. -
Wicked! Love it!
-
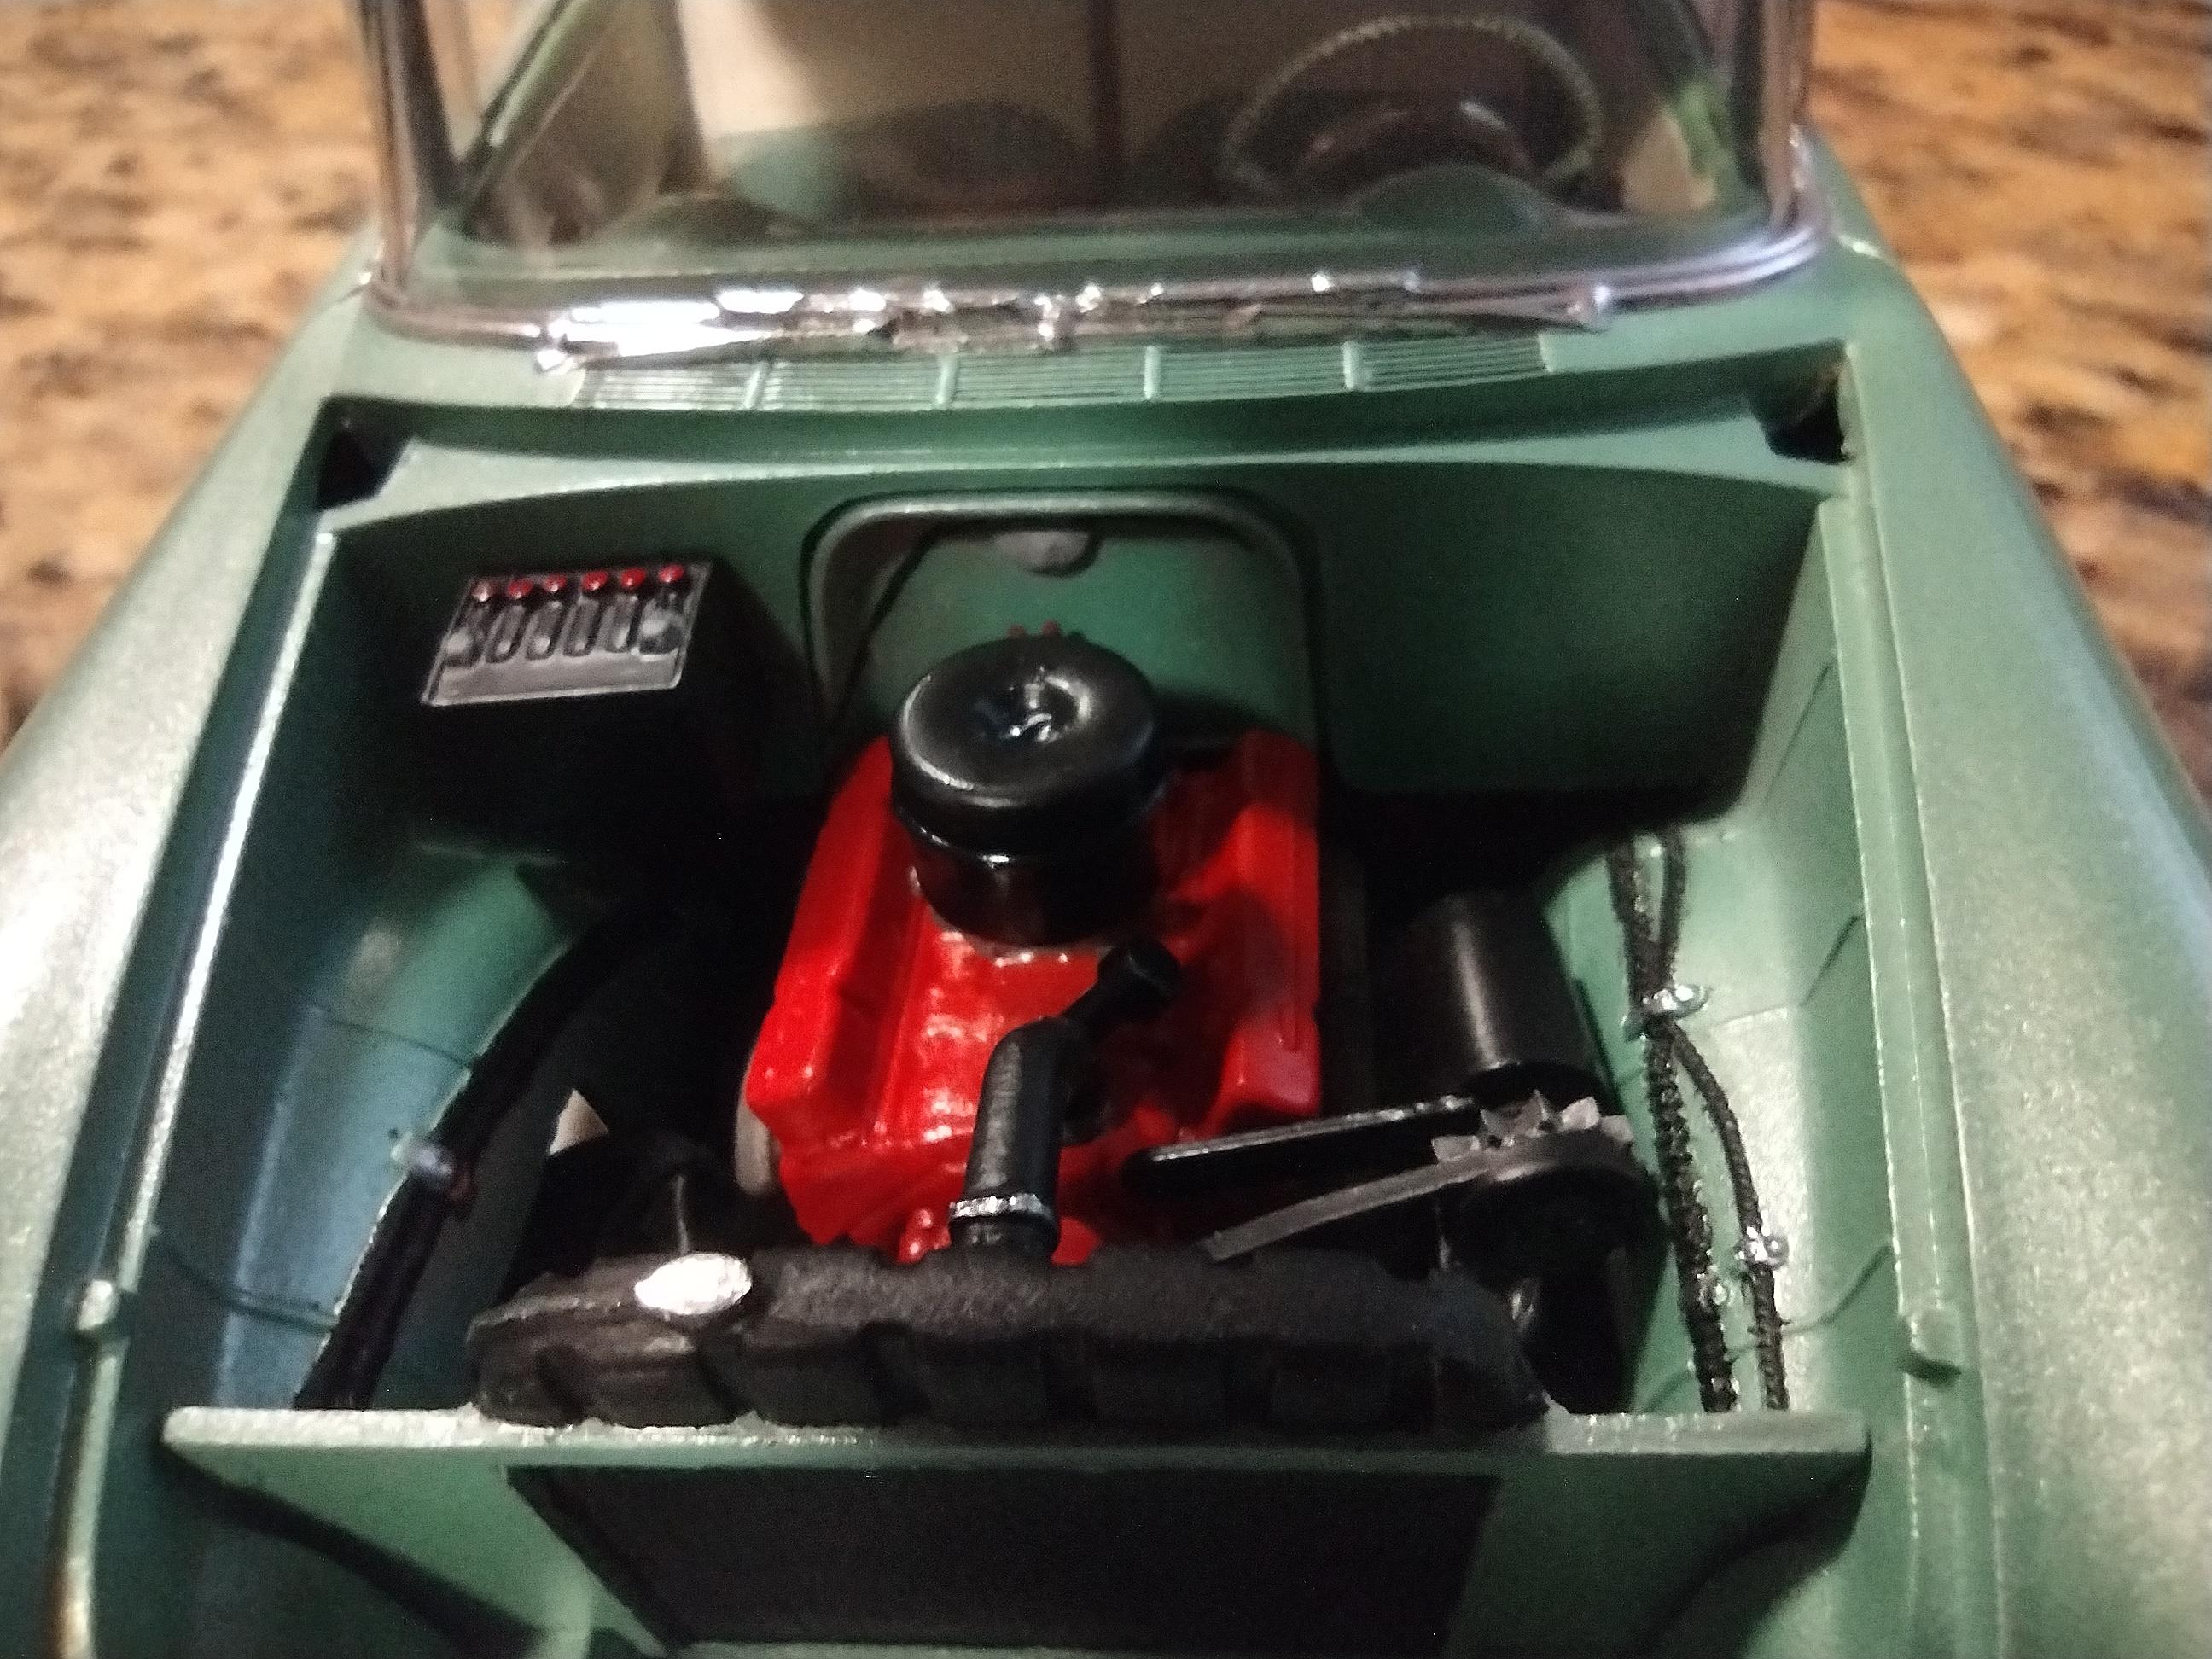
Excellent job! These are really surprisingly nice kits with a full engine. I want to do another one eventually and open up the engine cover.