e30lover
-
Posts
336 -
Joined
-
Last visited
Content Type
Profiles
Forums
Events
Gallery
Everything posted by e30lover
-
FIA 289 Cobra
e30lover replied to Rich Chernosky's topic in Other Racing: Road Racing, Salt Flat Racers
Fantastic build! Seeing your completed build makes me wanna start one. -
Pink Monogram 1959 Cadillac Eldorado Convertible
e30lover replied to lghtngyello03's topic in Model Cars
Great looking caddy! Love all the details. Looking forward seeing your next build! -
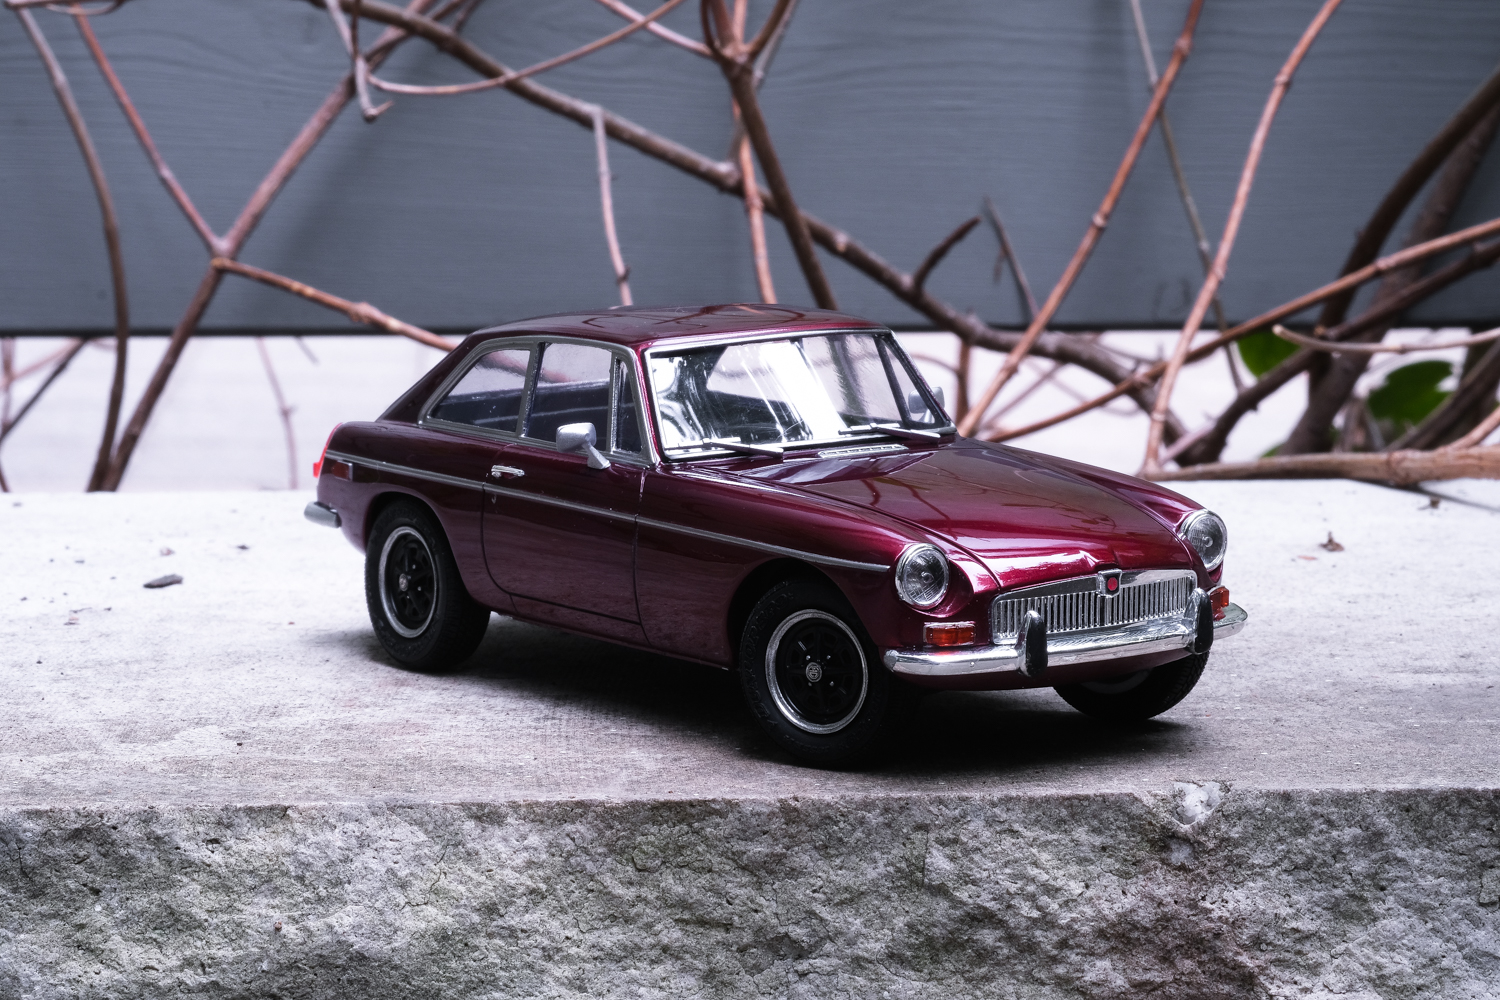
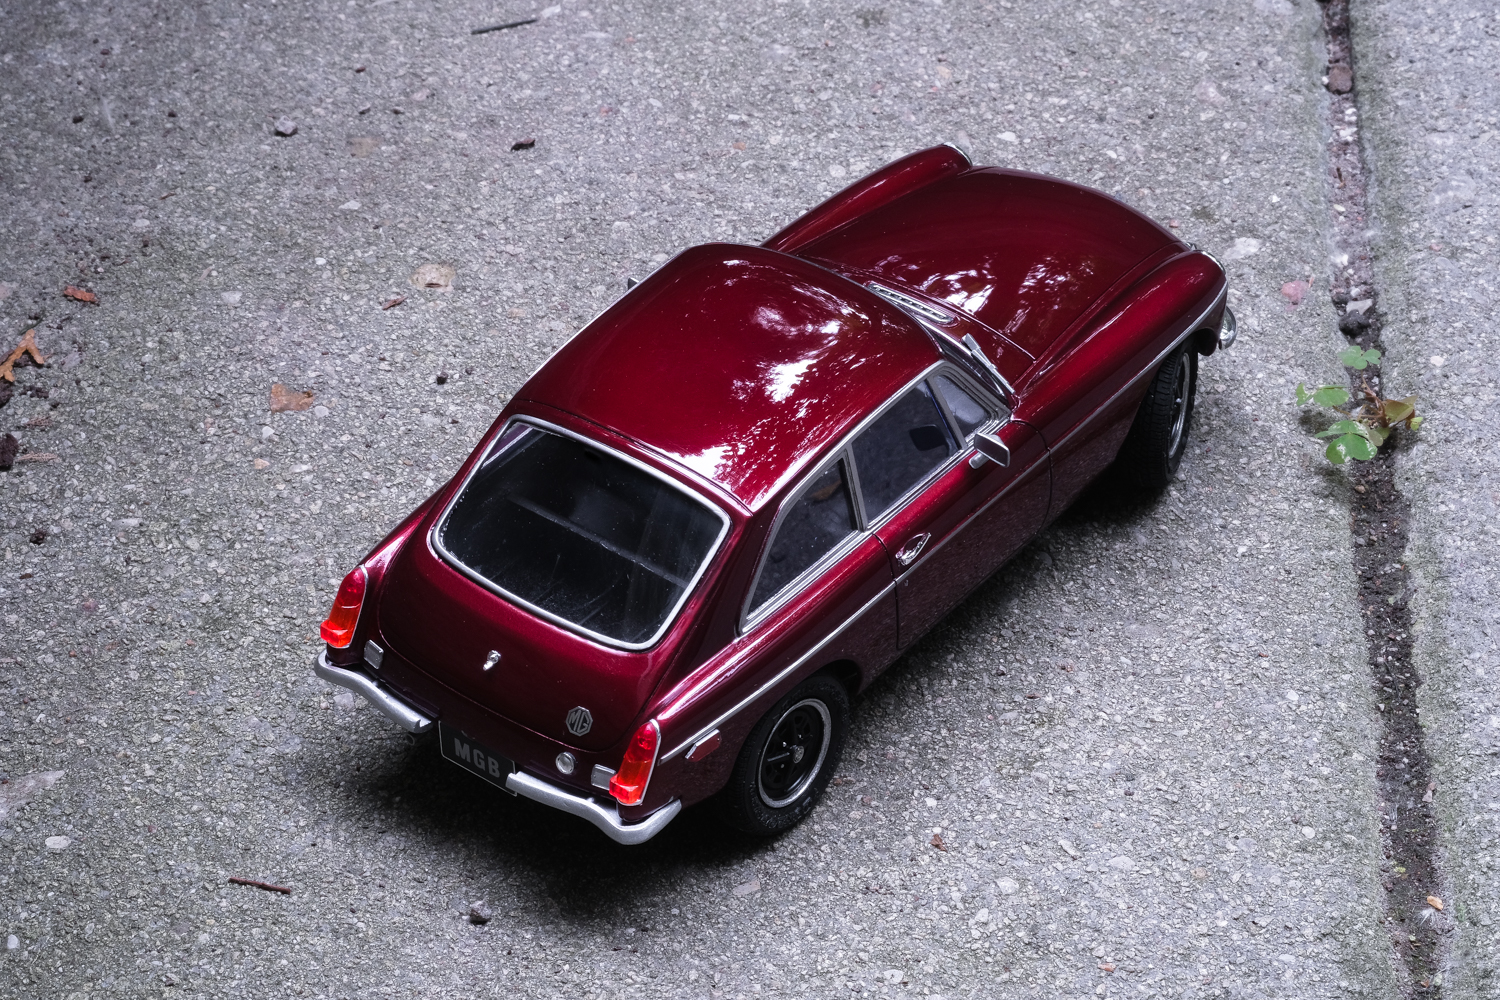
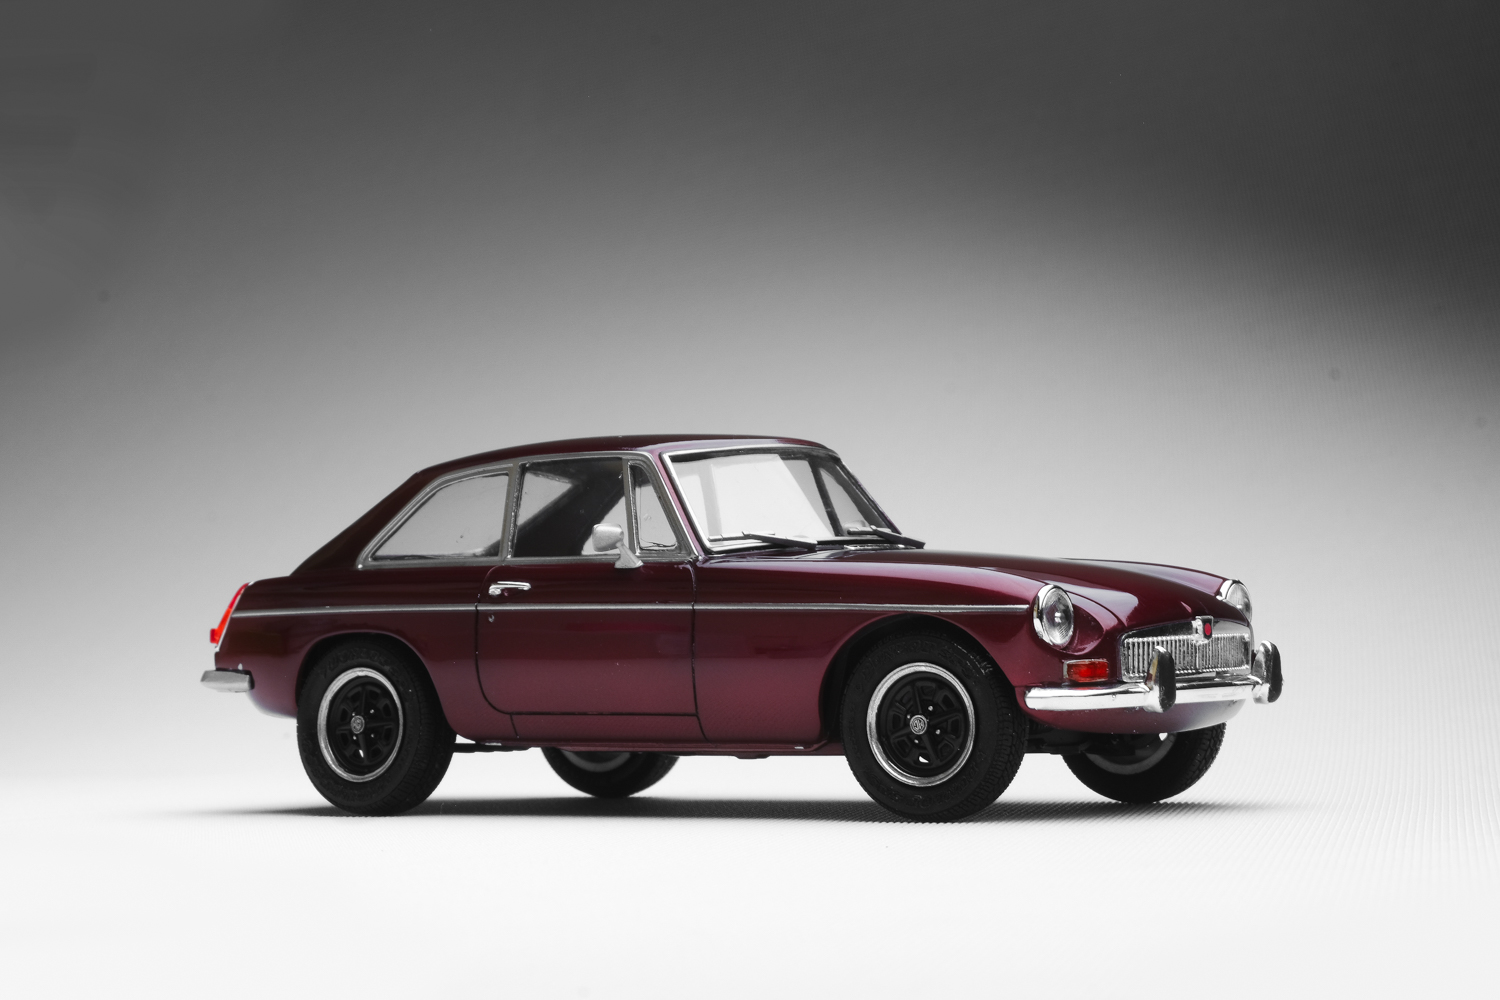
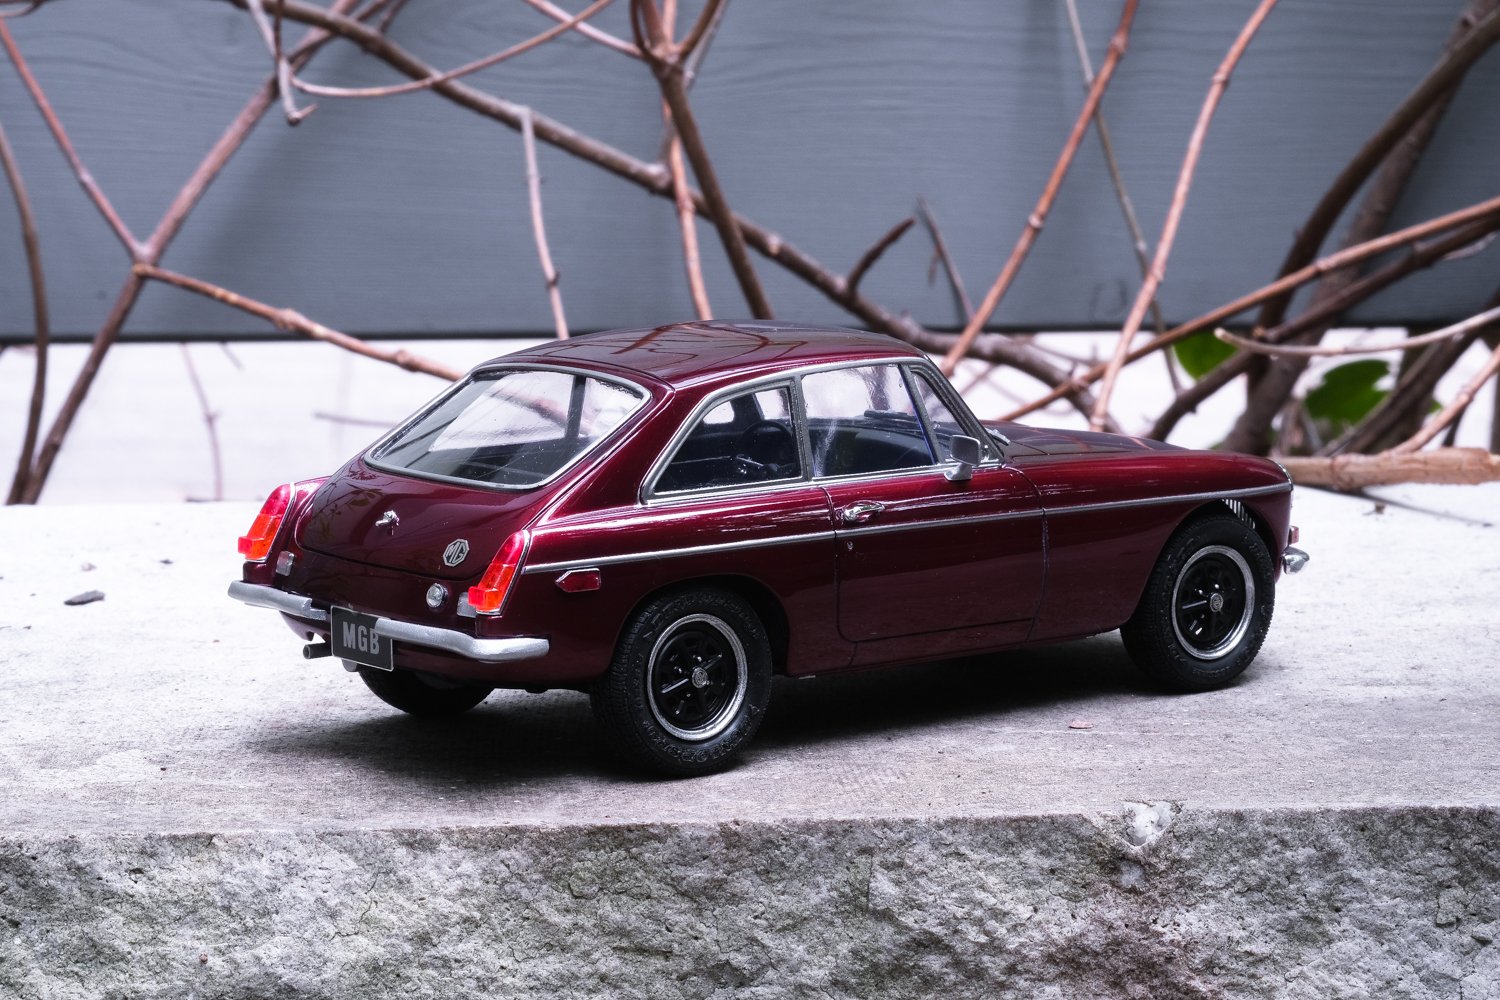
1/24 1970 MGB GT [Aoshima MGB + C1 Models GT Transkit]
e30lover replied to e30lover's topic in Model Cars
Thank you! Thank you! It was fun matching all the details to my friend's car. Thank you! The new macro lens really helped. Thank you! Thank you! There are still bunch of details that I could've done better.. maybe next time Thank you! Thanks! I'm very happy with Mr Color's clear metallic lacquers. He bought it about 2-3 years ago, so it could be the same car? Thank you! This time I added another layer of clear (added much more thinner) and increased the drying time. I'm pretty happy with the improvements! Thank you! -
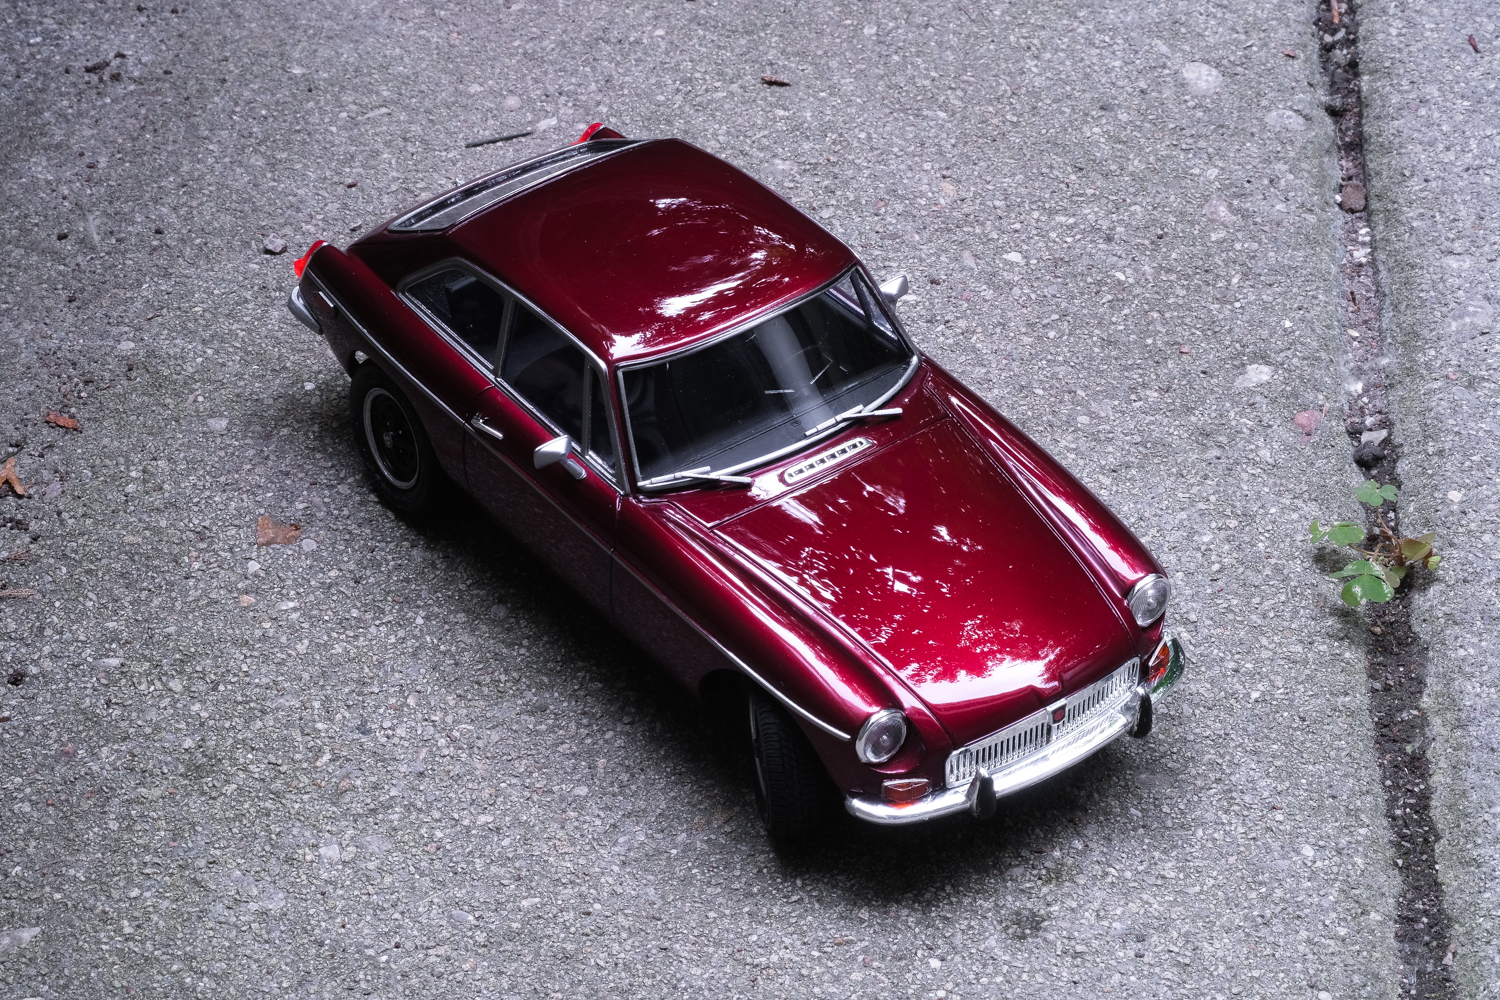
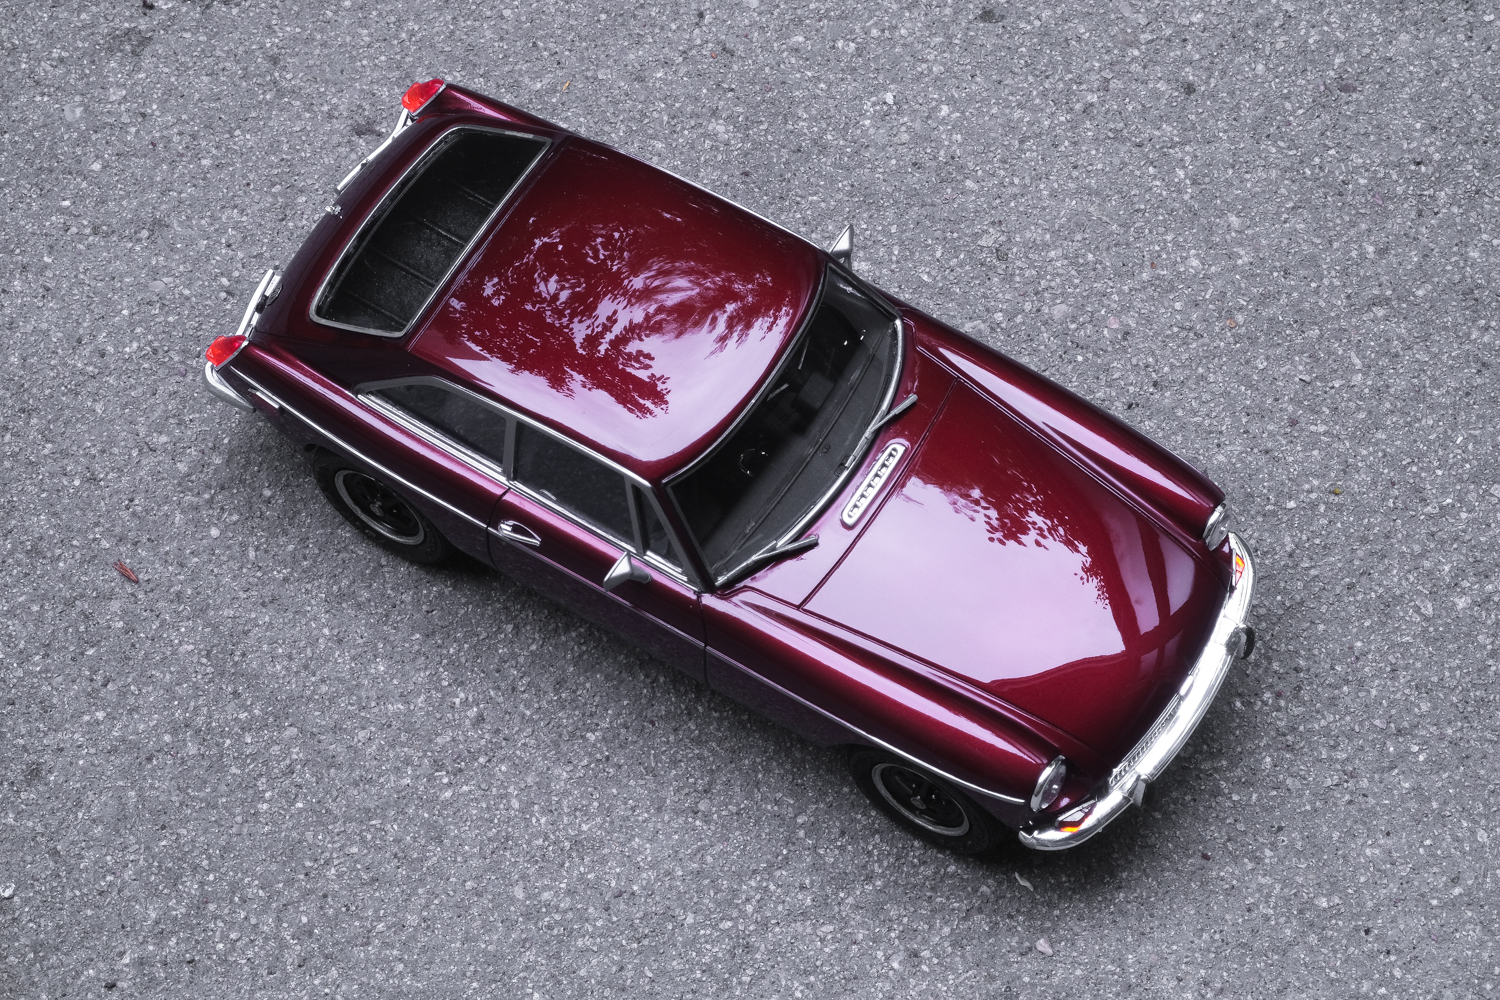
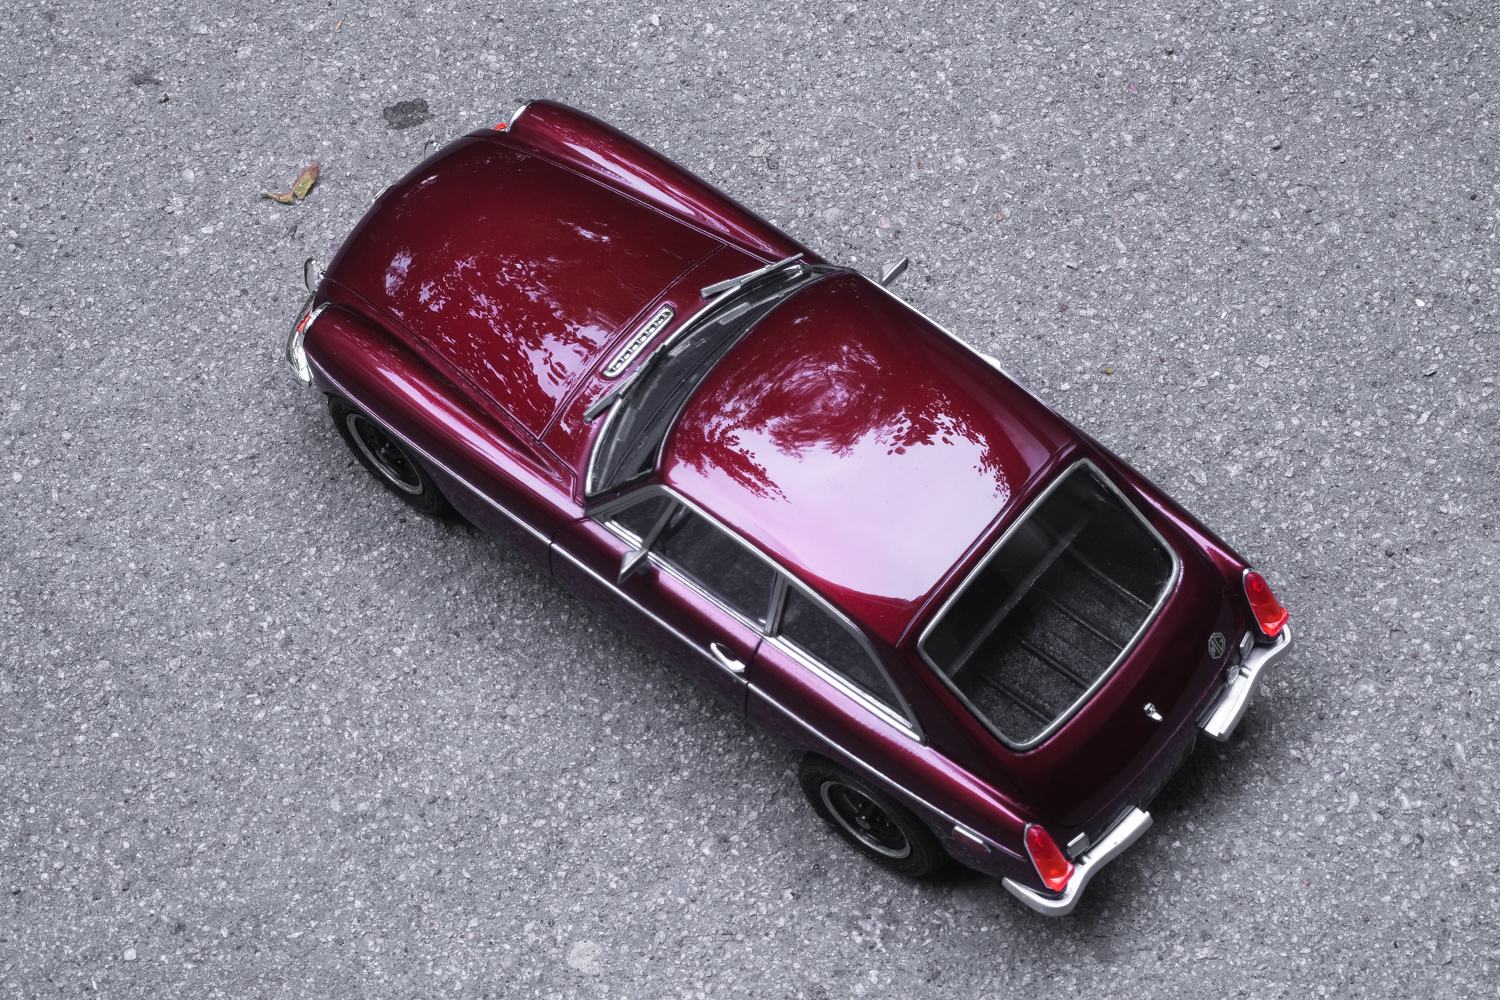
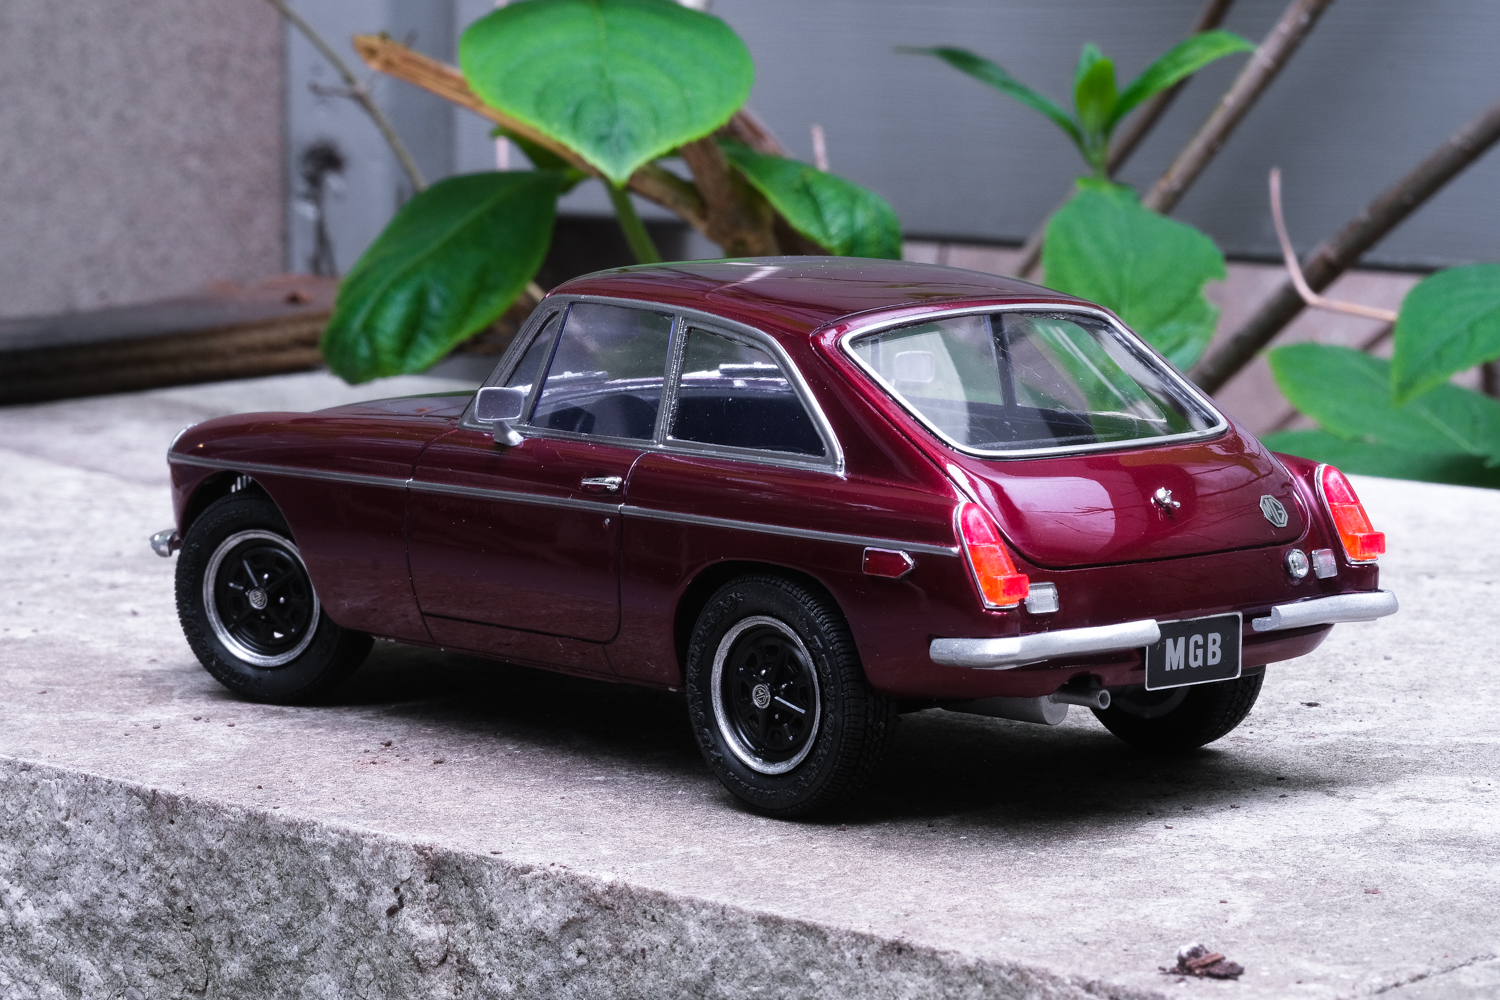
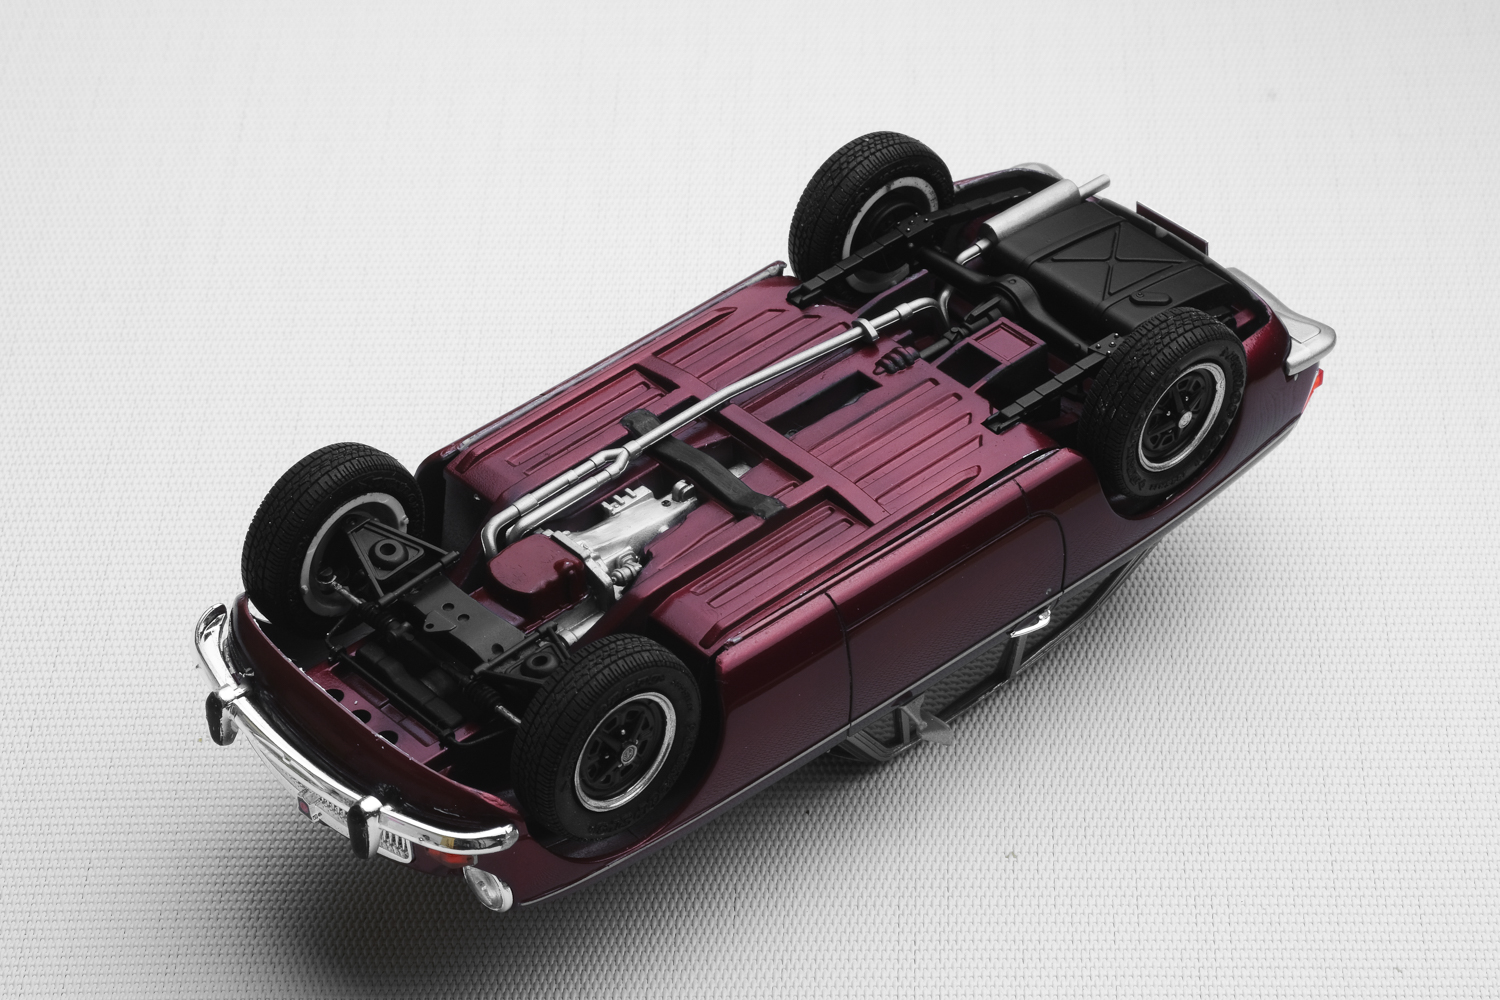
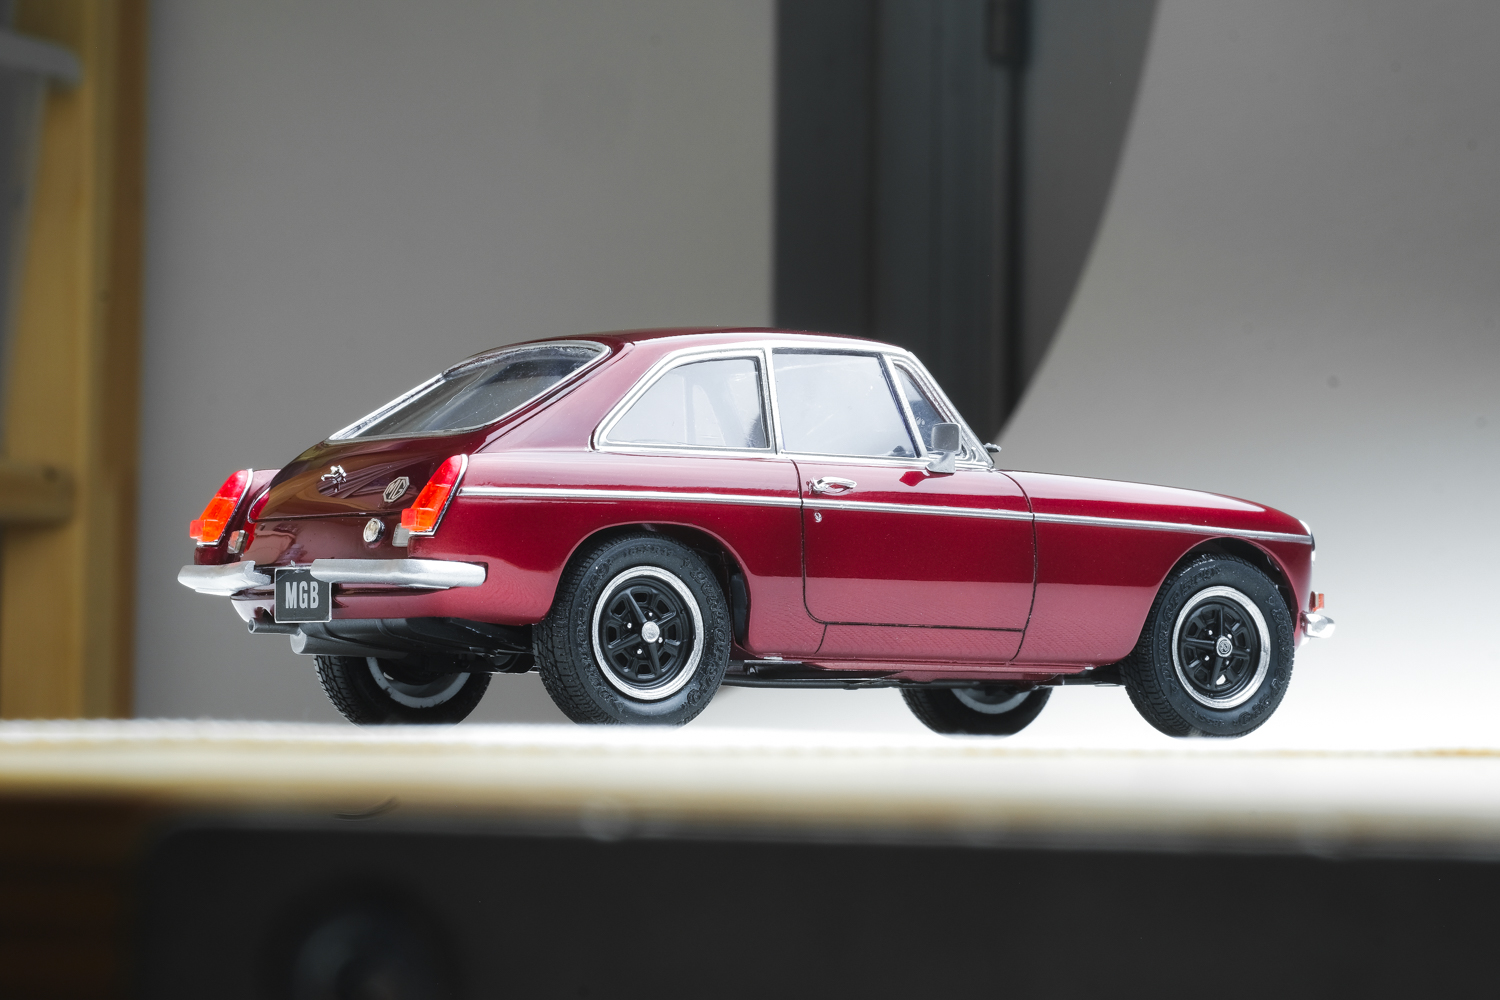
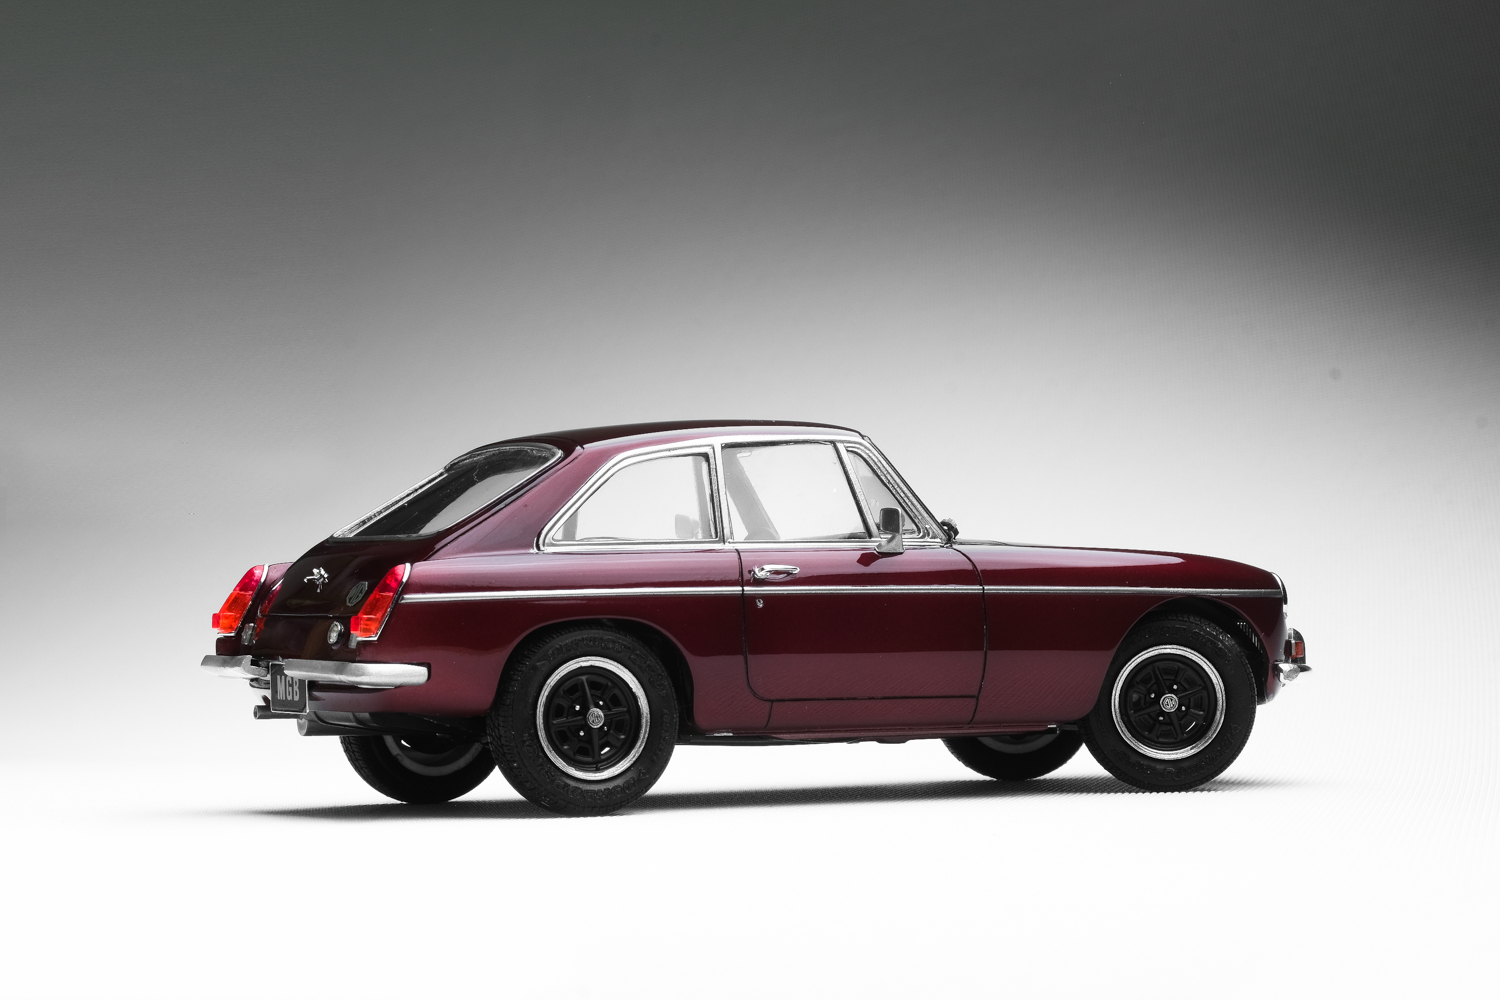
Hi folks, My good friend has 70’ MGB GT and I’ve wanted to make a replica of his car in 1/24 scale (early grille with damask red and black rostyle wheels) Luckily C1 Models recently release GT transkit for Aoshima MGB kit, and I got the project going. Build details: Prepped body with 600 and 1500 sandpaper and removed sink mark on the roof Applied Tamiya grey surfacer then wet sanded with 1500 grit Airbrushed base coat with Mr Color’s chrome silver Applied two coats of Mr Color’s GX102 deep clear red Added 3 coats of Mr Color’s super clear III with wet sanding before the final coat Let the paint cure for 1 month (most of lacquers feel cured after a few days, but they develop very small orange peel as the paint continues to cure beneath the surface) Wet sanded with 3000 grit and polished with Tamiya compounds Double masked the front window to get the rubber gasket effect Cut up the rear bumper to make split bumper look Flocked the trunk and floor and added three spoke steering wheel Here are the photos - thank you!

-
Love the pair! I need to go out and get the stingray kit now..
-
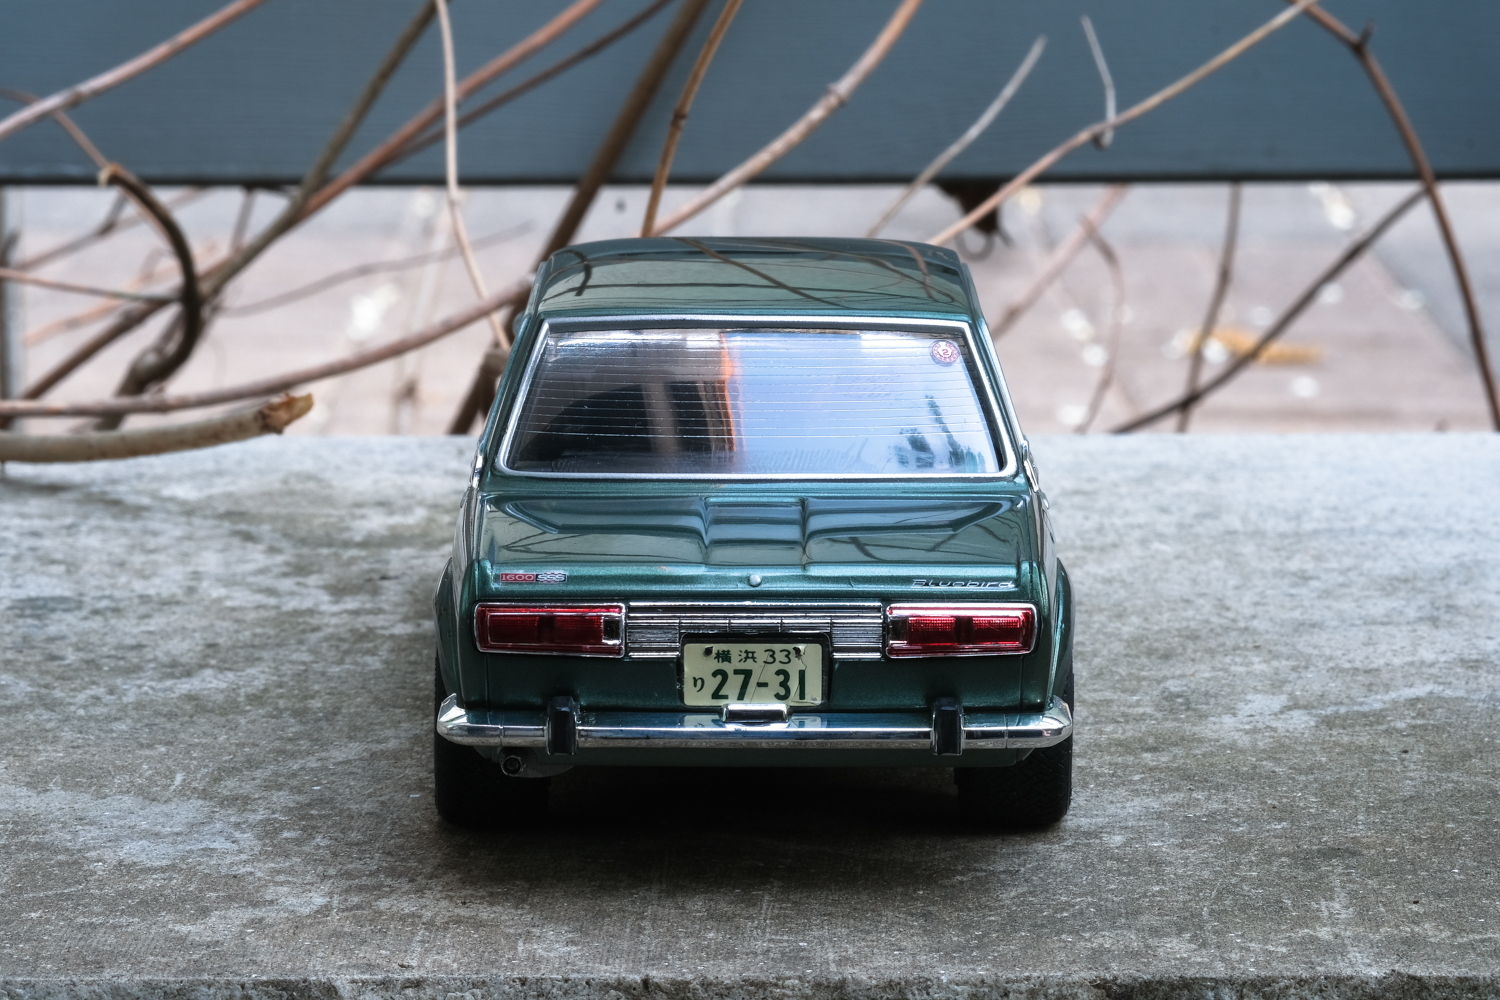
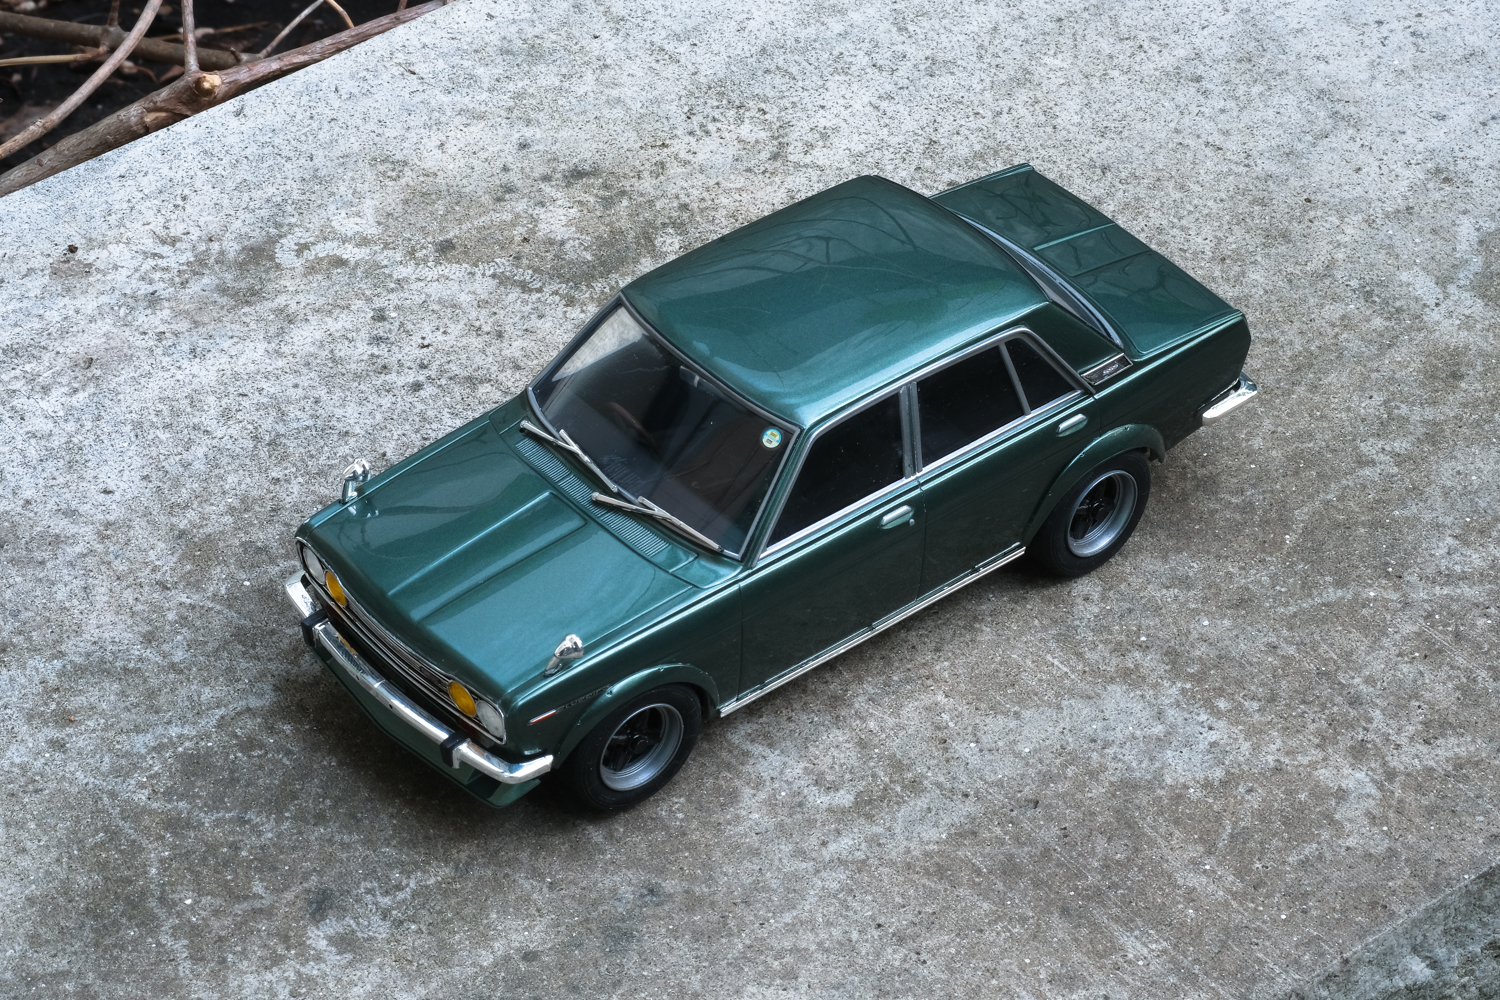
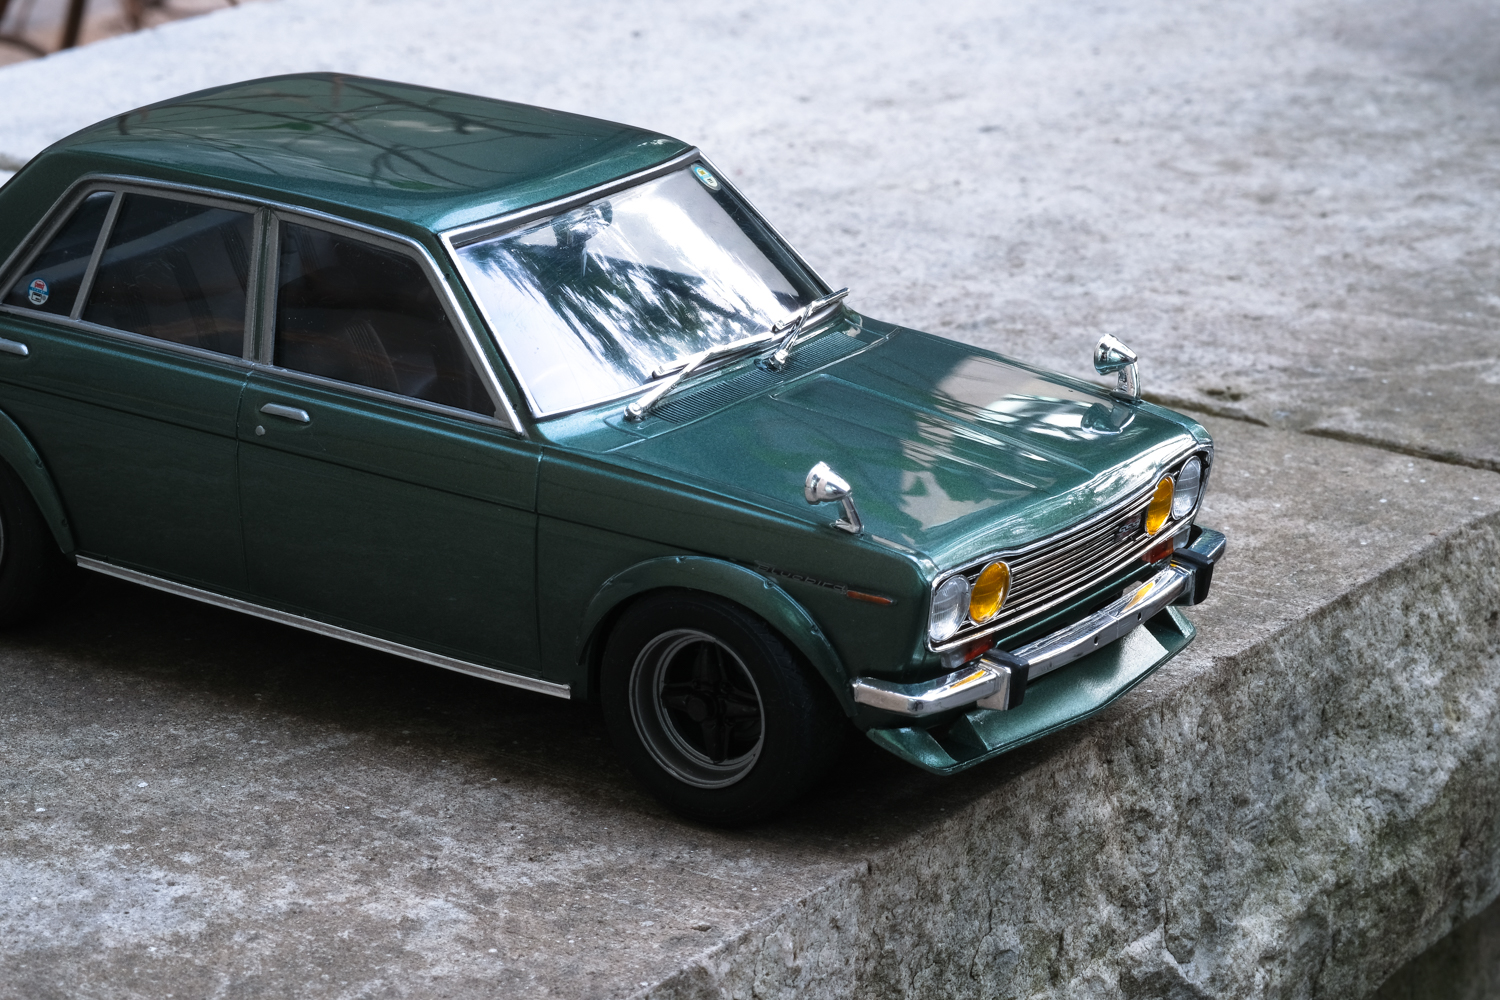
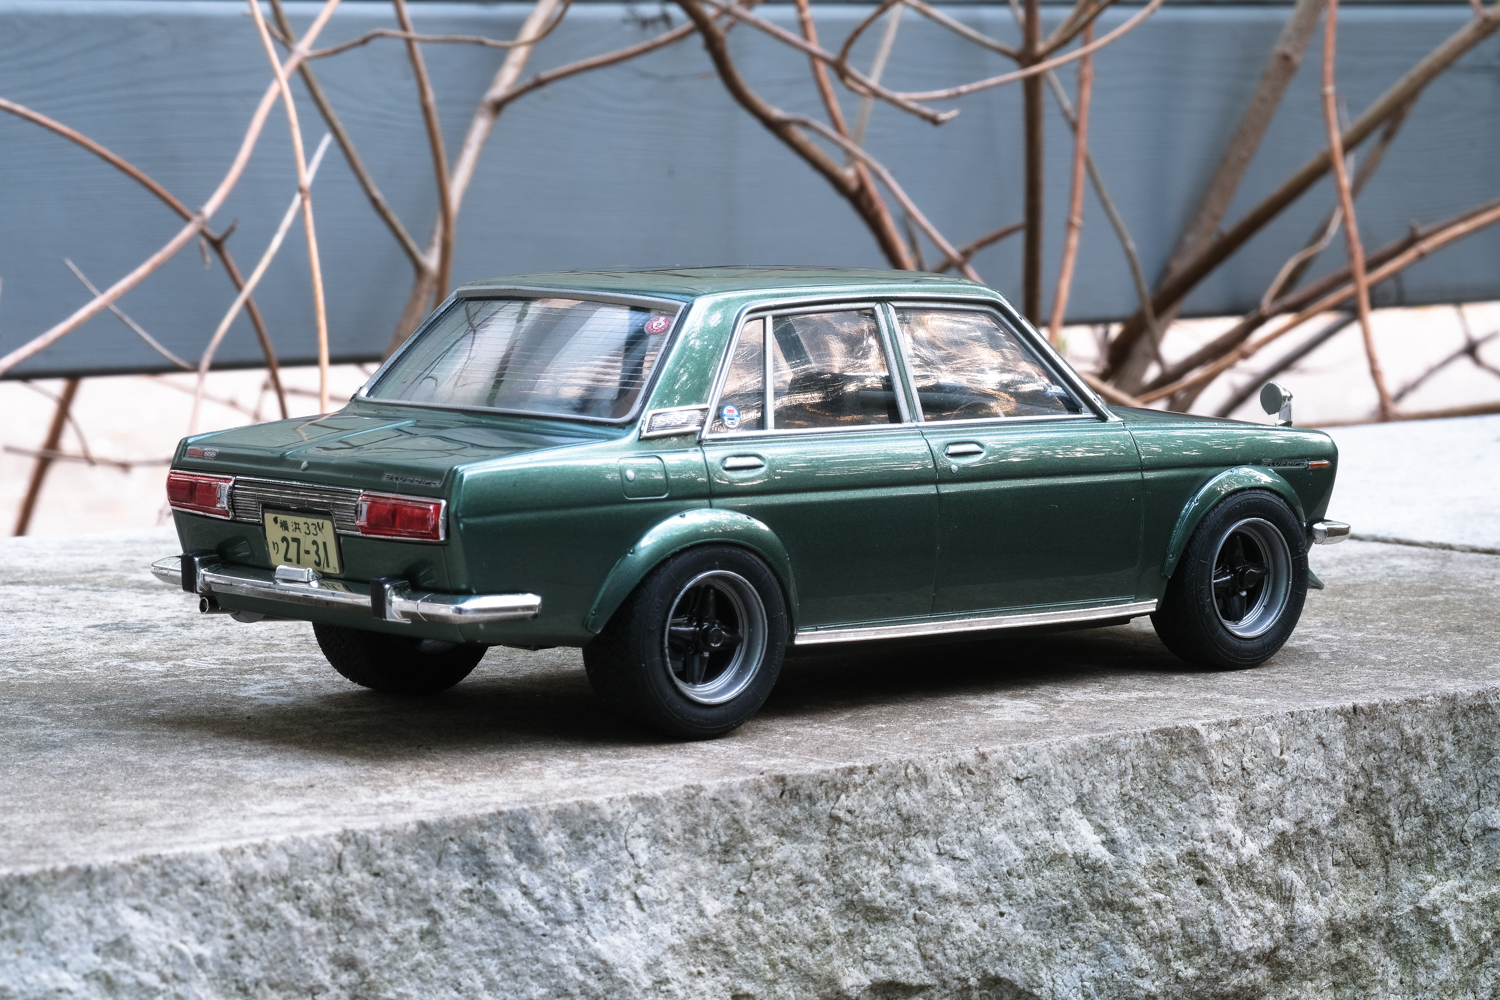
1/24 Hasegawa Datsun 510/Bluebird 1600 SSS street racer
e30lover replied to e30lover's topic in Model Cars
Thank you! It's a bit too much teal compared to Datsun factory colour - next time I'll use more gold! It has definitely grown on me. The price of real car reflects the popularity! -
1/24 Hasegawa Datsun 510/Bluebird 1600 SSS street racer
e30lover replied to e30lover's topic in Model Cars
Thank you! Weather is amazing in Toronto these days. Perfect weather for outdoor shoot. Thank you! Appreciate it! I really like the new macro lens I bought Thank you! Thanks! I might try doing the other way around (painting silver first then black surroundings) next time. I think I might've pulled from Aoshima Celica LB 2000GT which had a set of rim looked just like American Racing's Le Mans wheels! -
1967 Camaro -- Buddy Repperton's car from Christine
e30lover replied to gjorenby's topic in Model Cars
Small details you added definitely paid off! Love the understated look on Camaro. -
Sweet color combo! Lovely build.
-
1/24 Hasegawa Datsun 510/Bluebird 1600 SSS street racer
e30lover replied to e30lover's topic in Model Cars
Thank you! Thanks a lot! Appreciate it! Thank you! It was a bit of work trimming the underbody to fit these wheels. For me colour mixing is one of the most fun part of modelmaking. Thank you! -
Love the thick rubber!
-
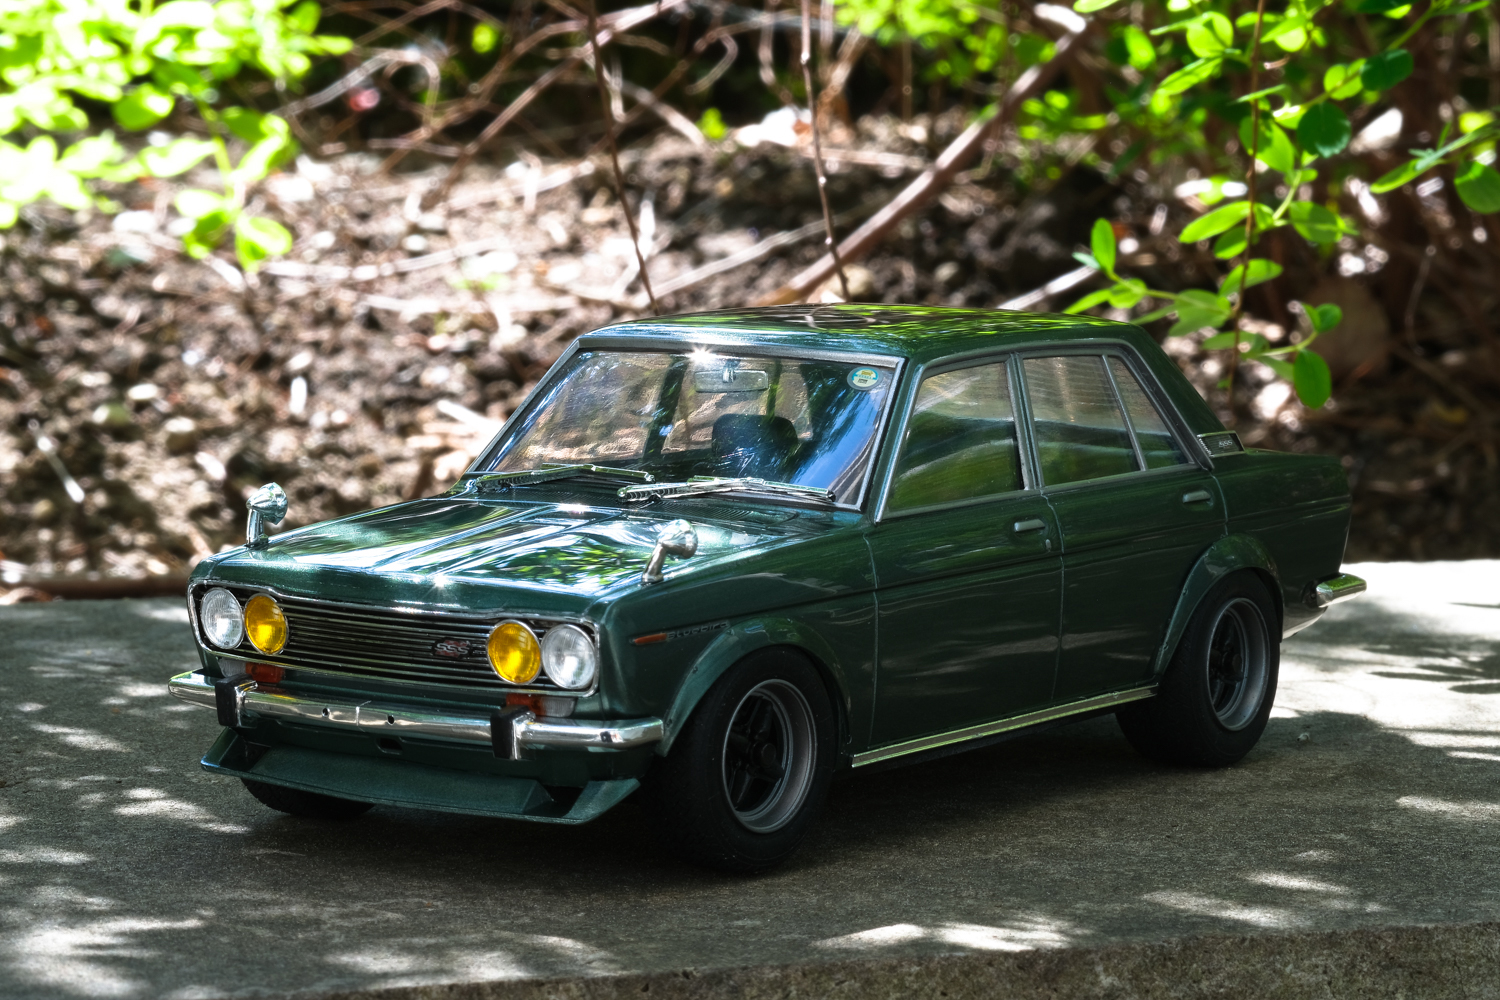
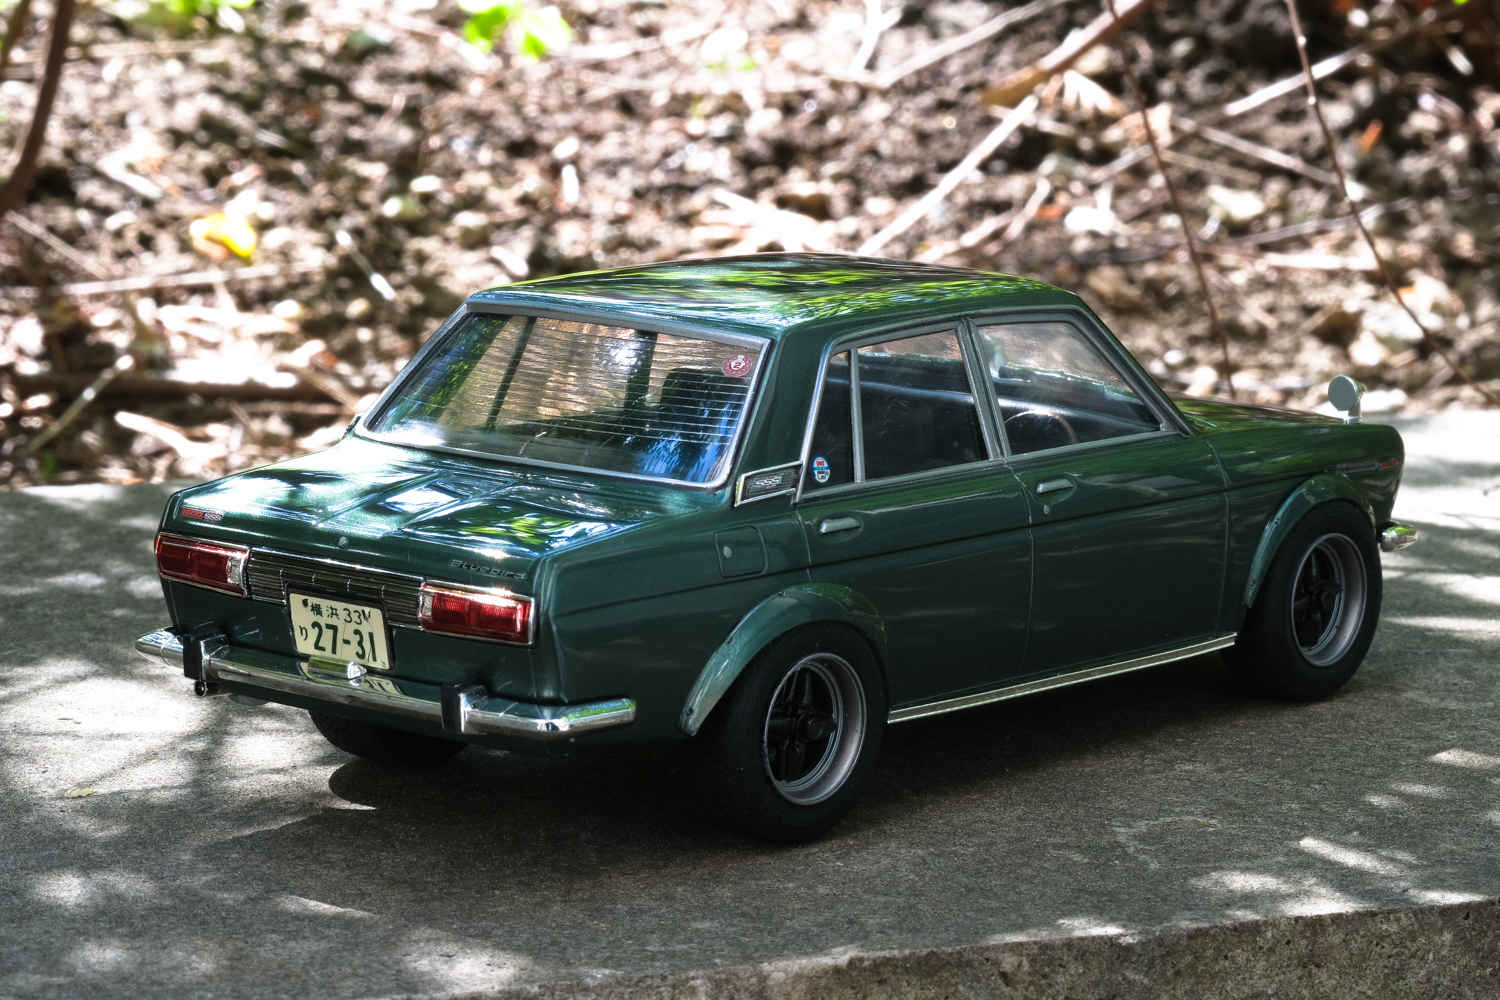
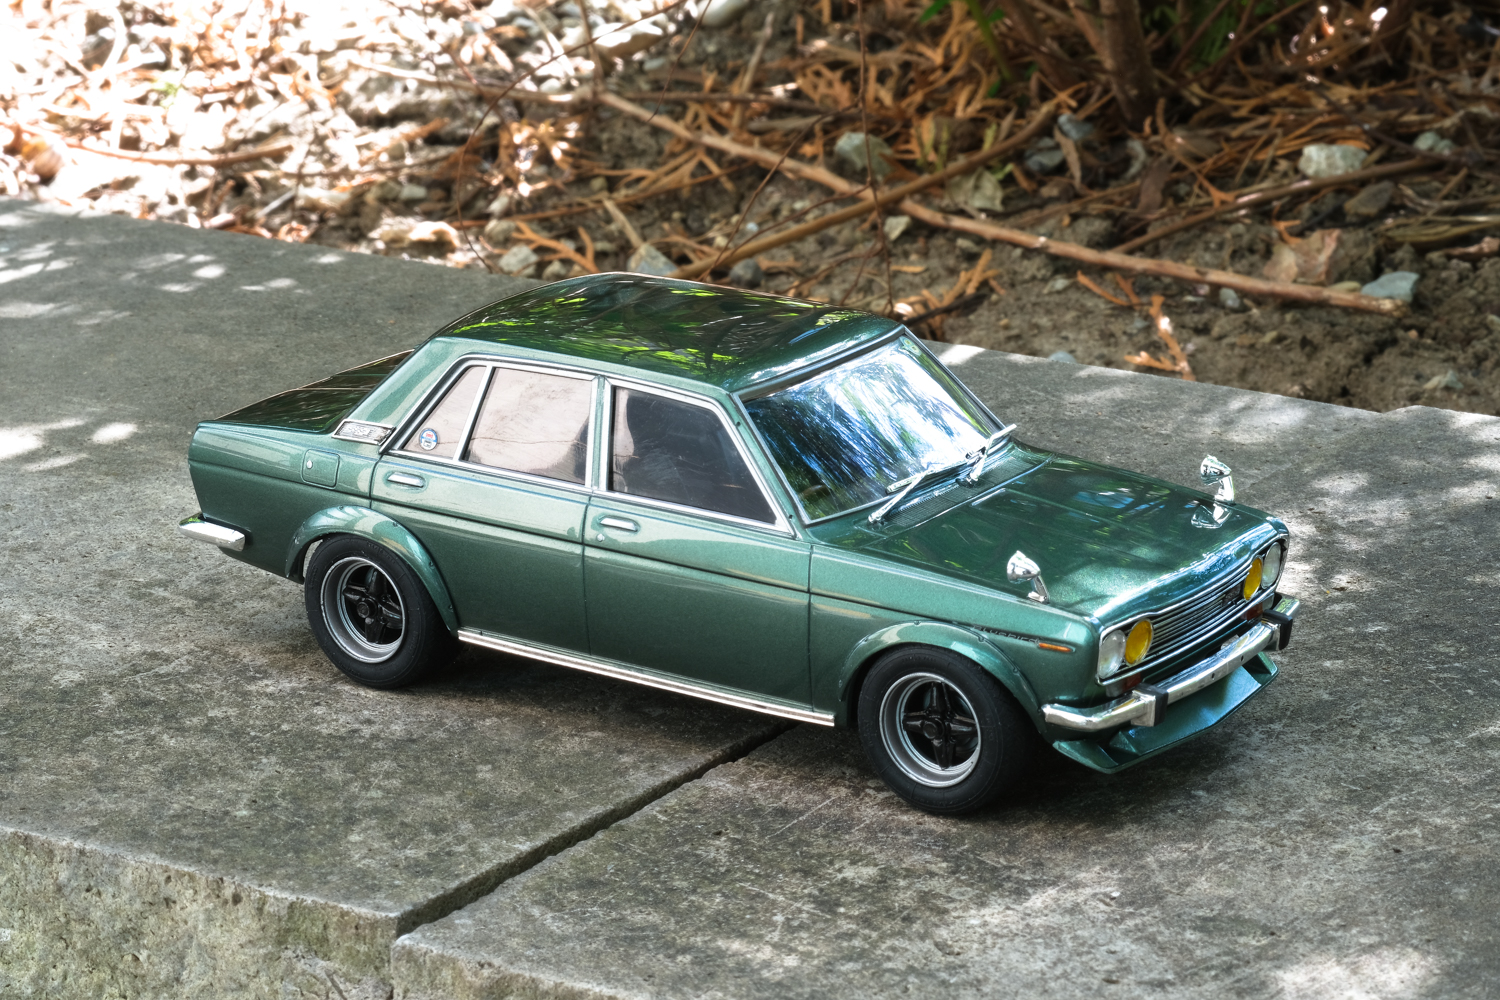
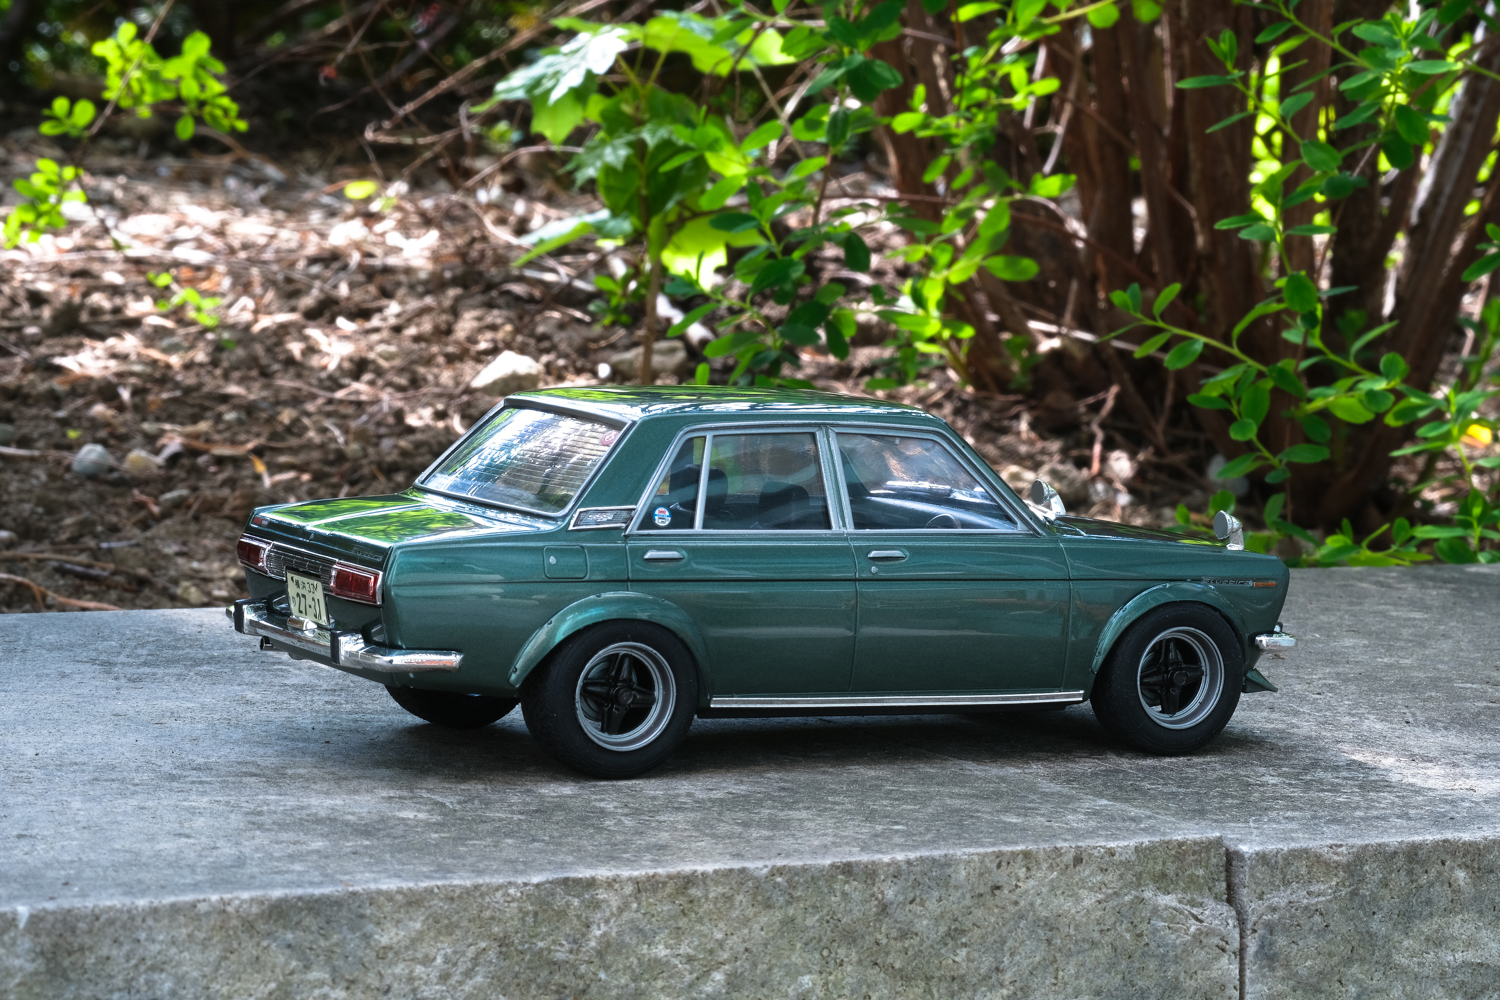
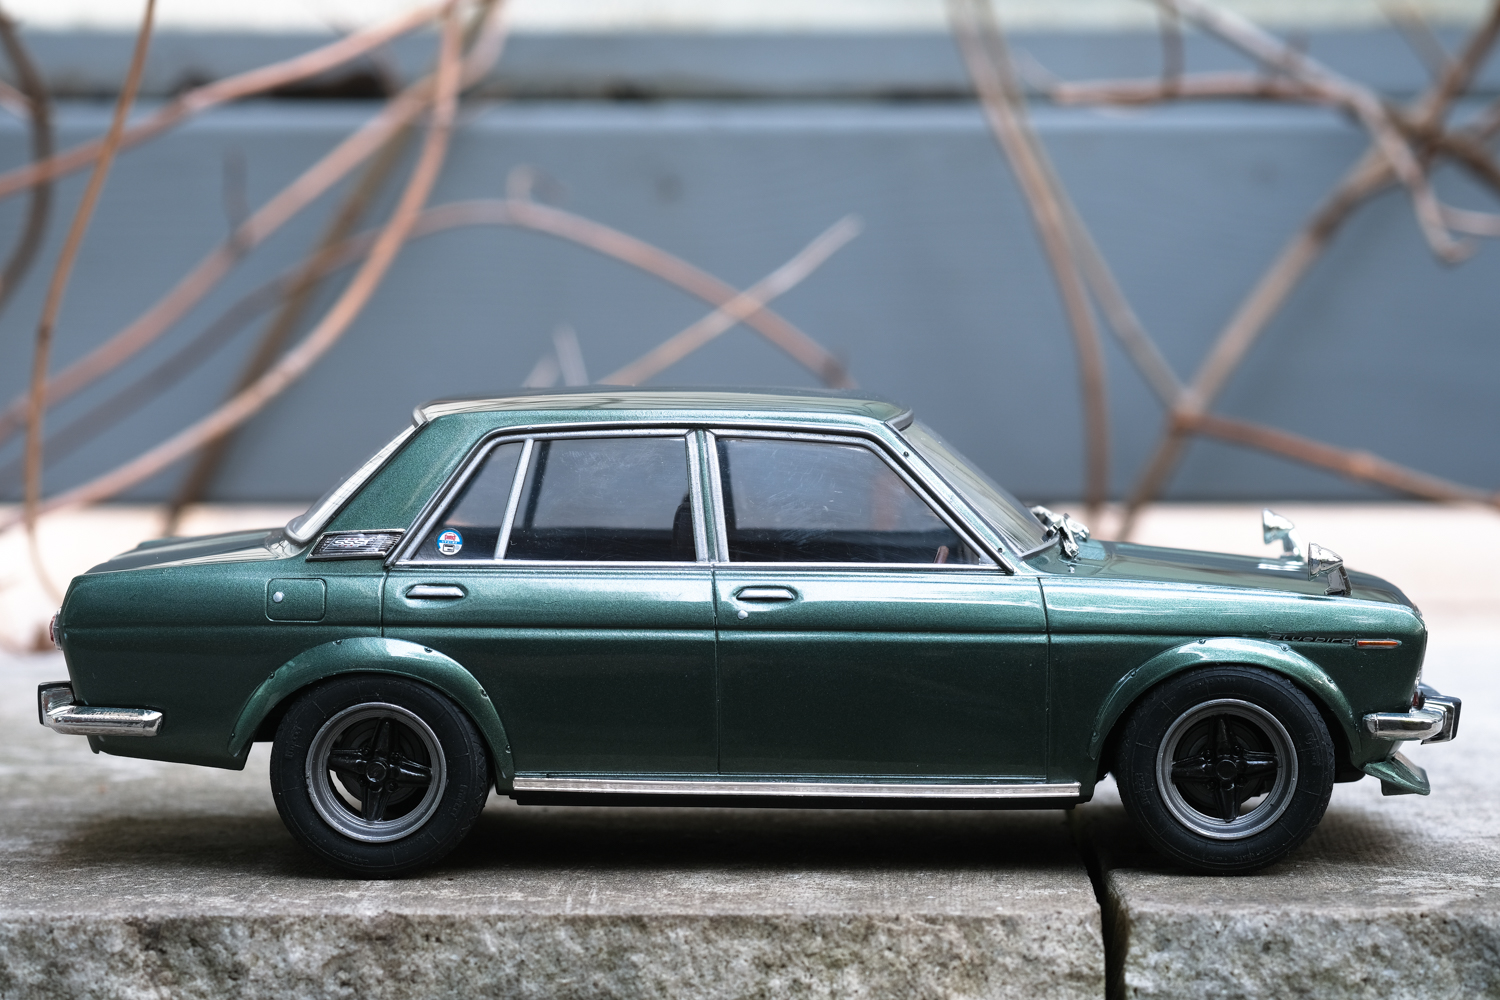
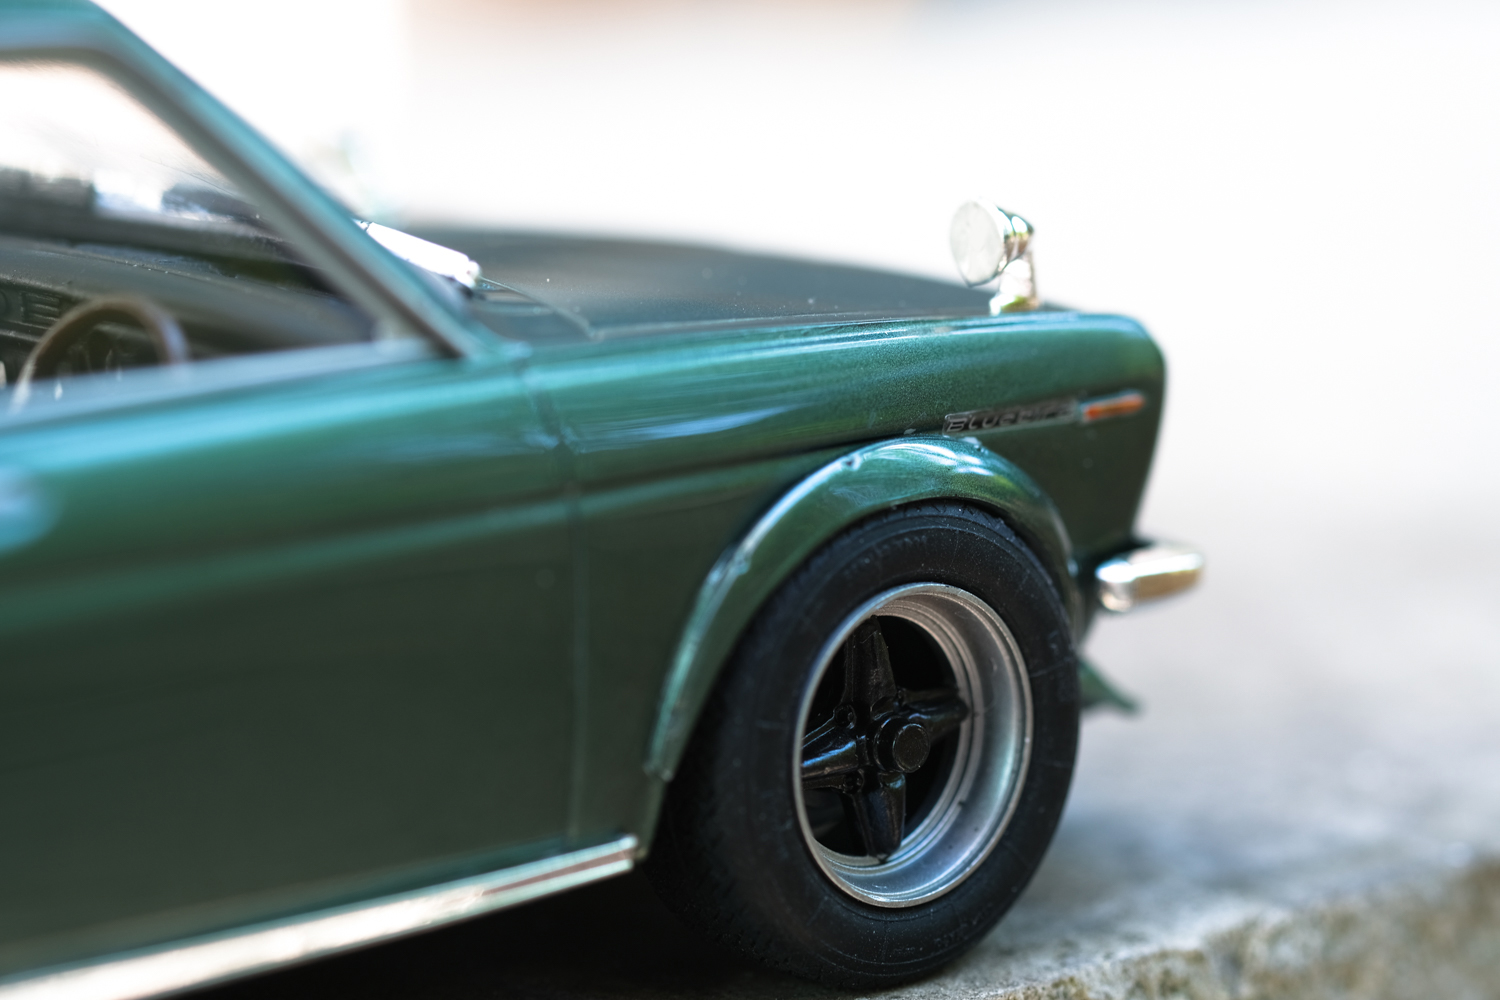
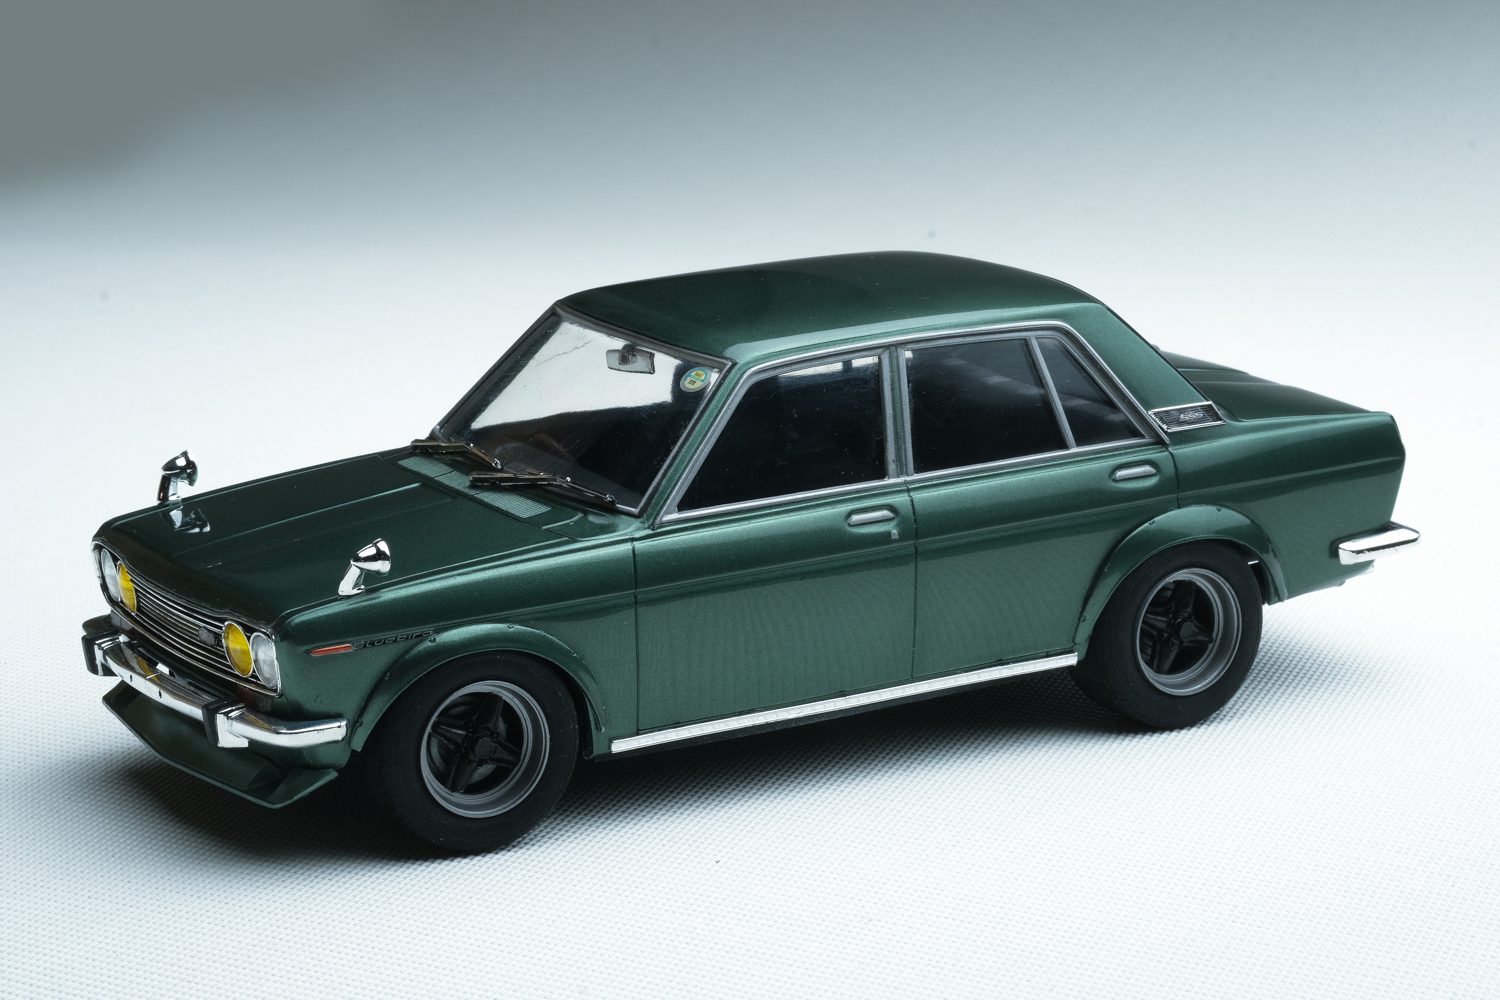
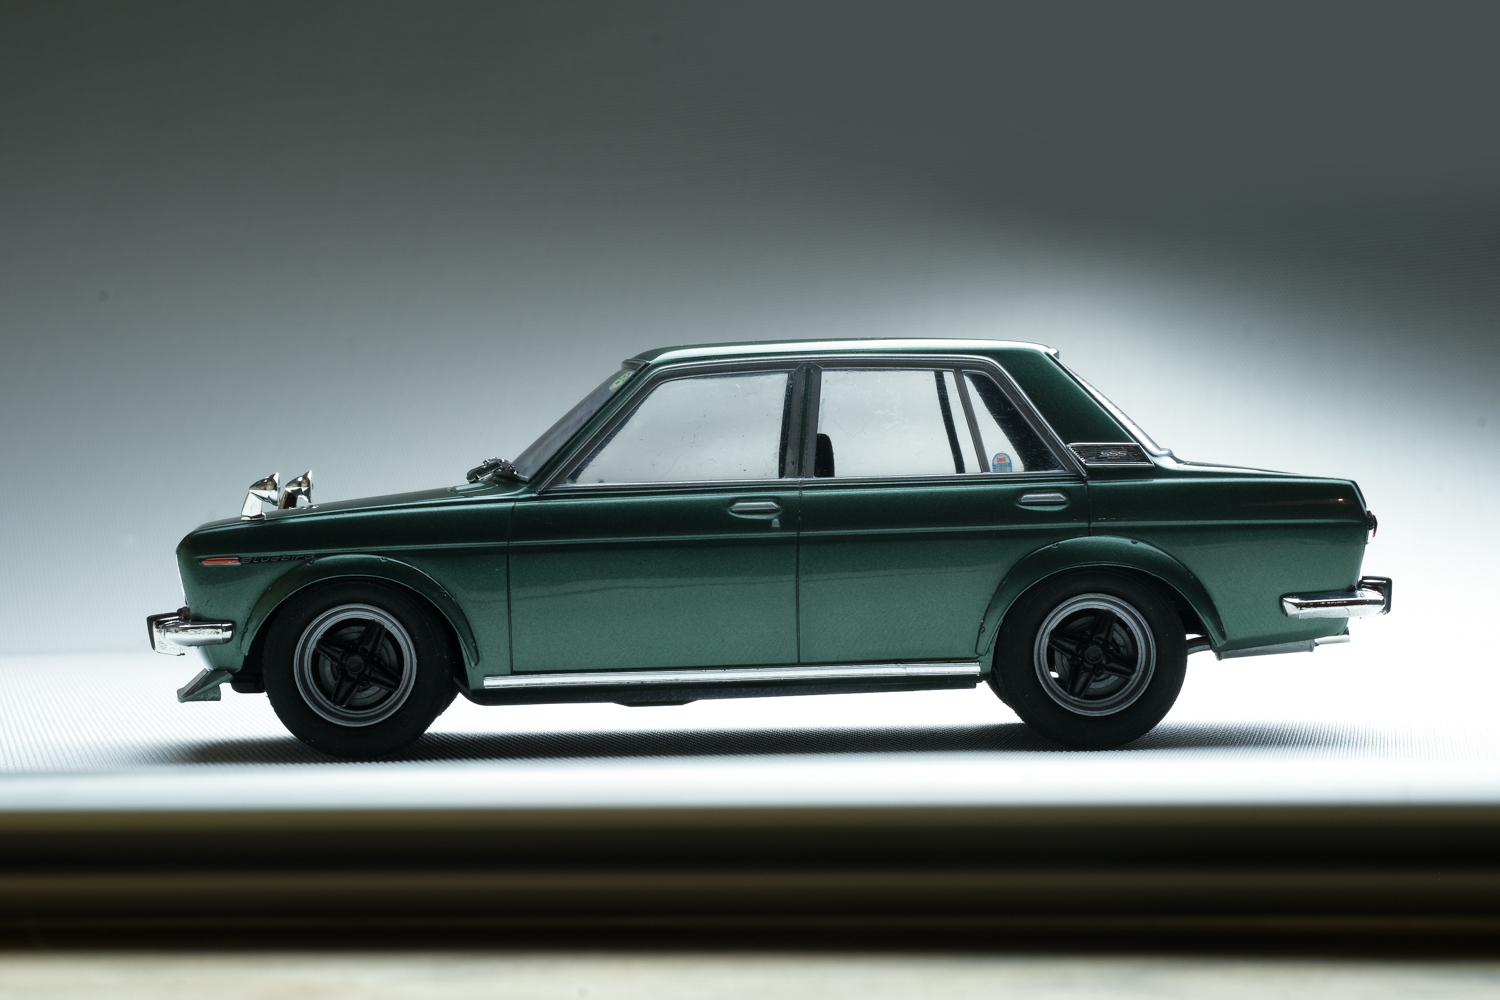
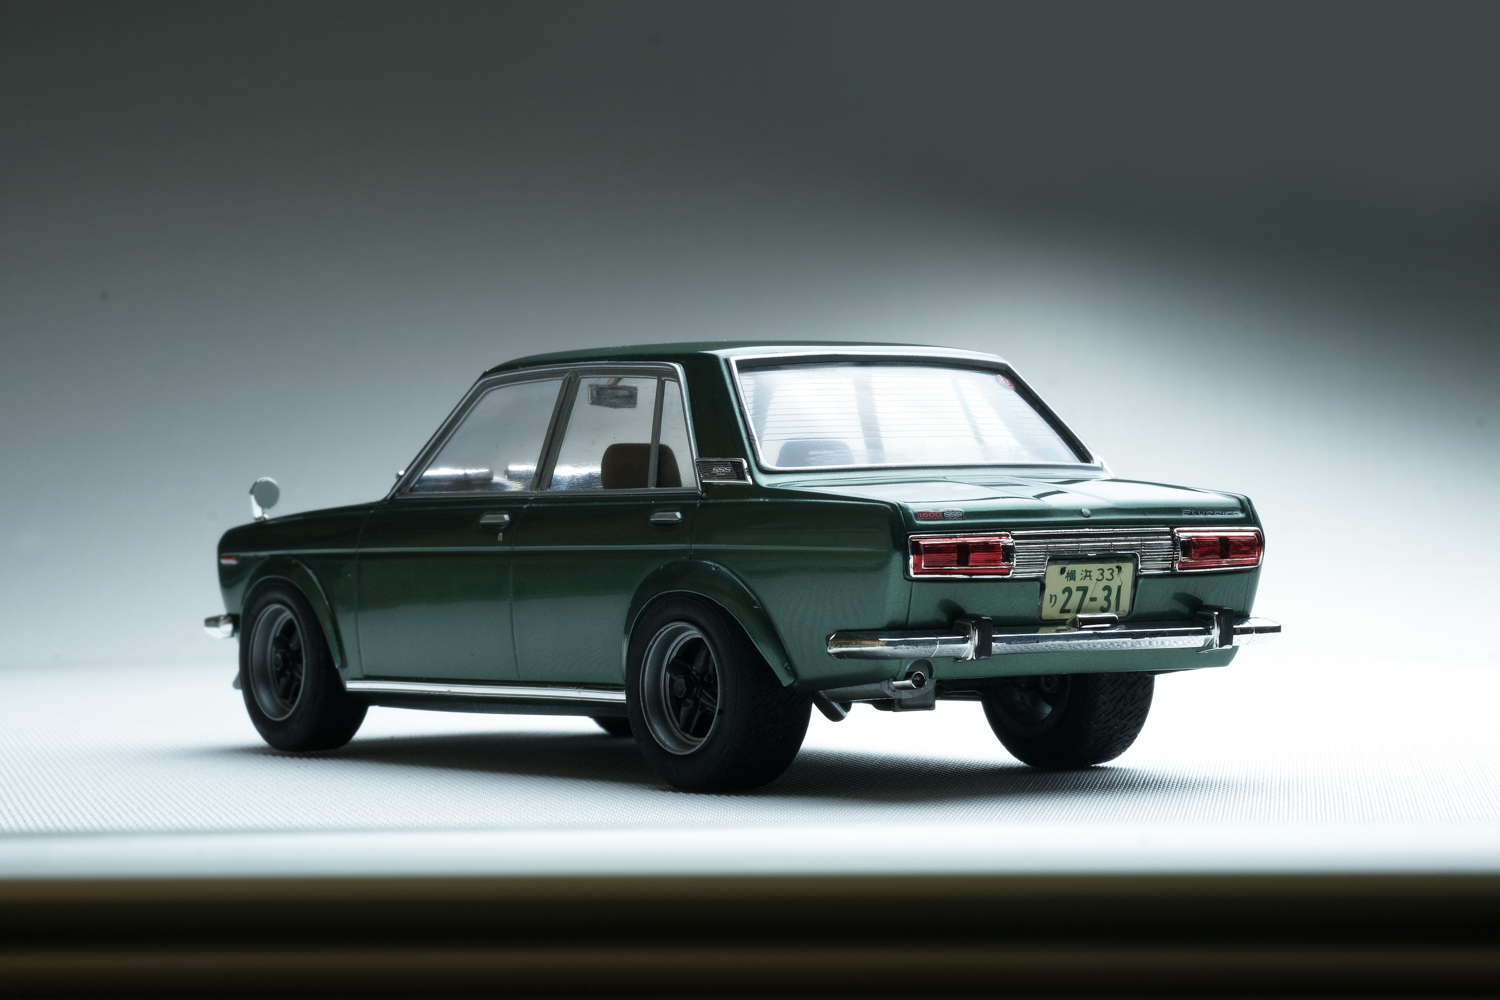
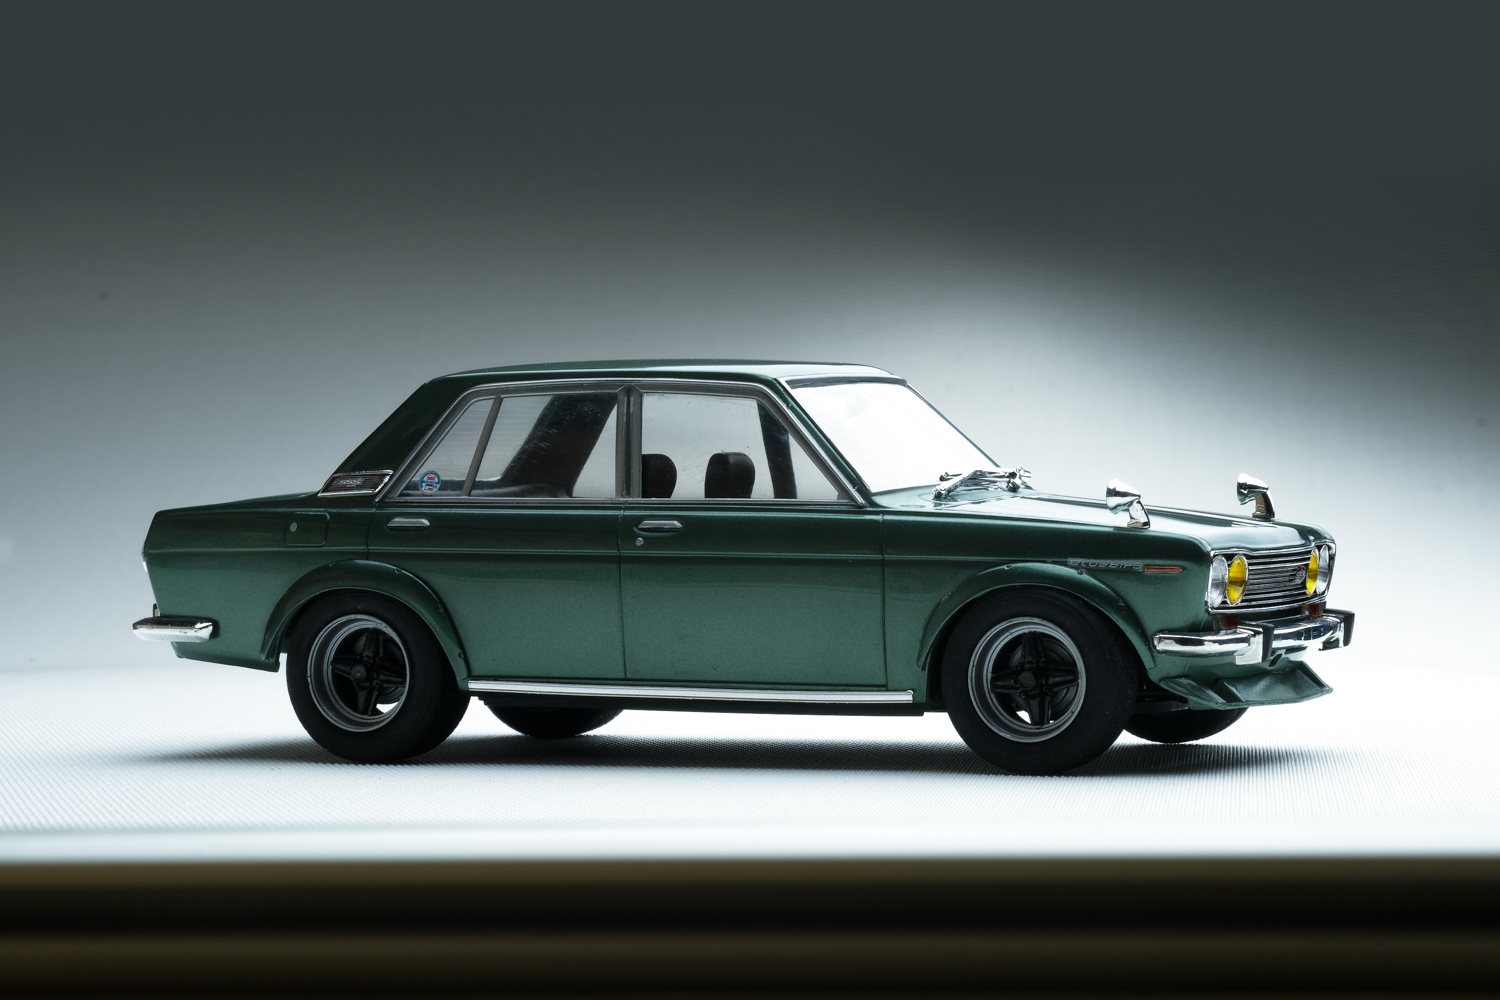
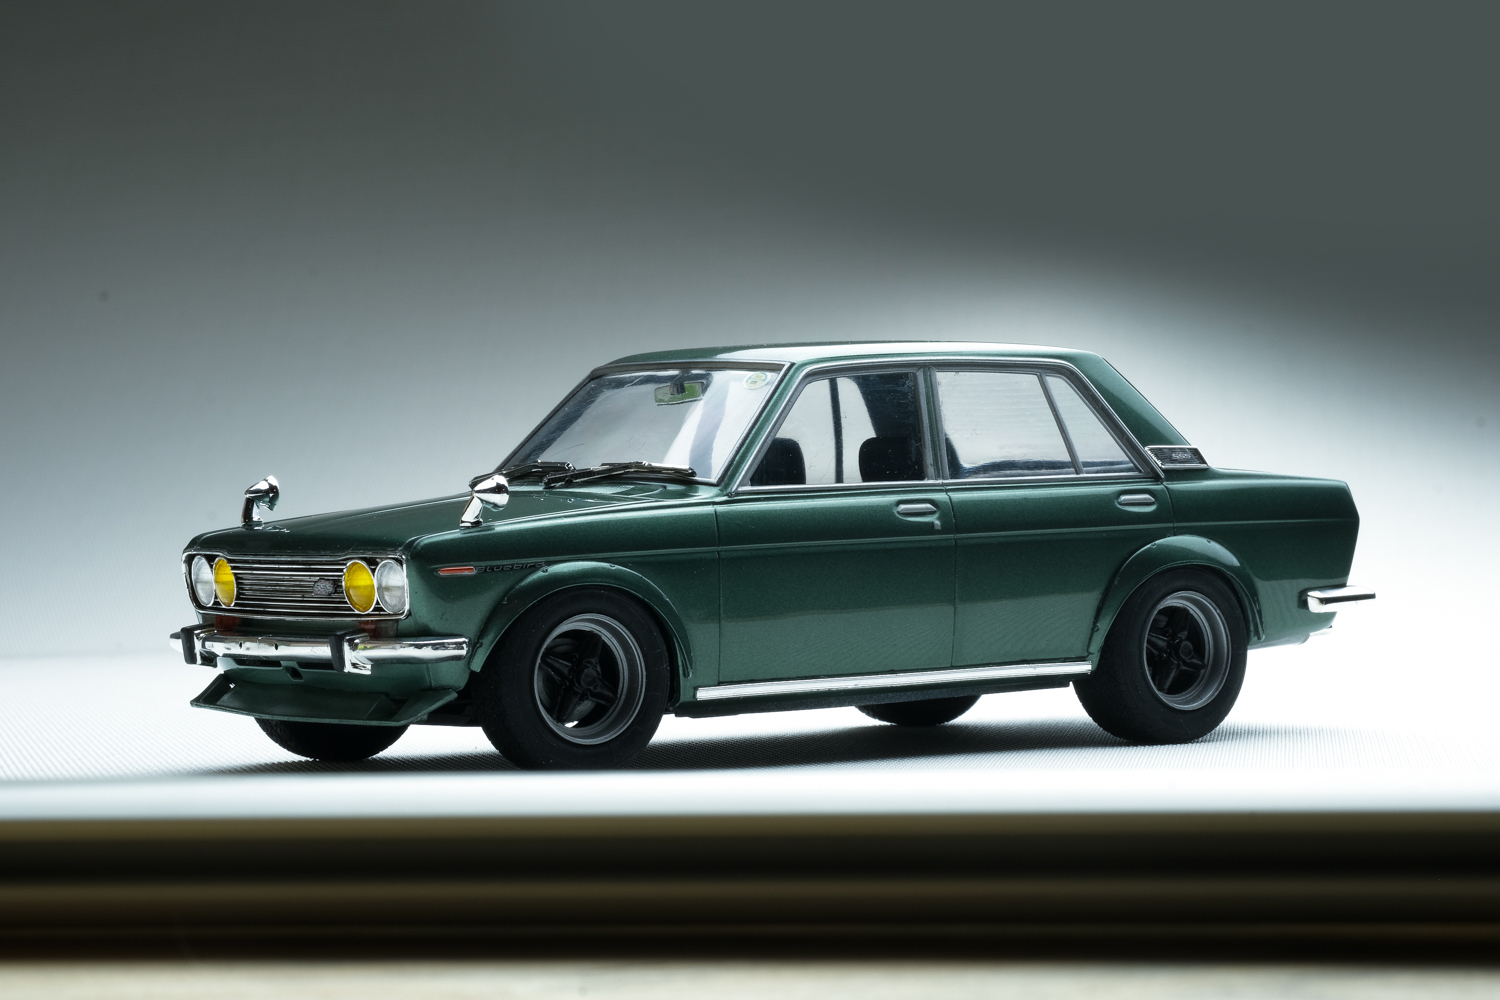
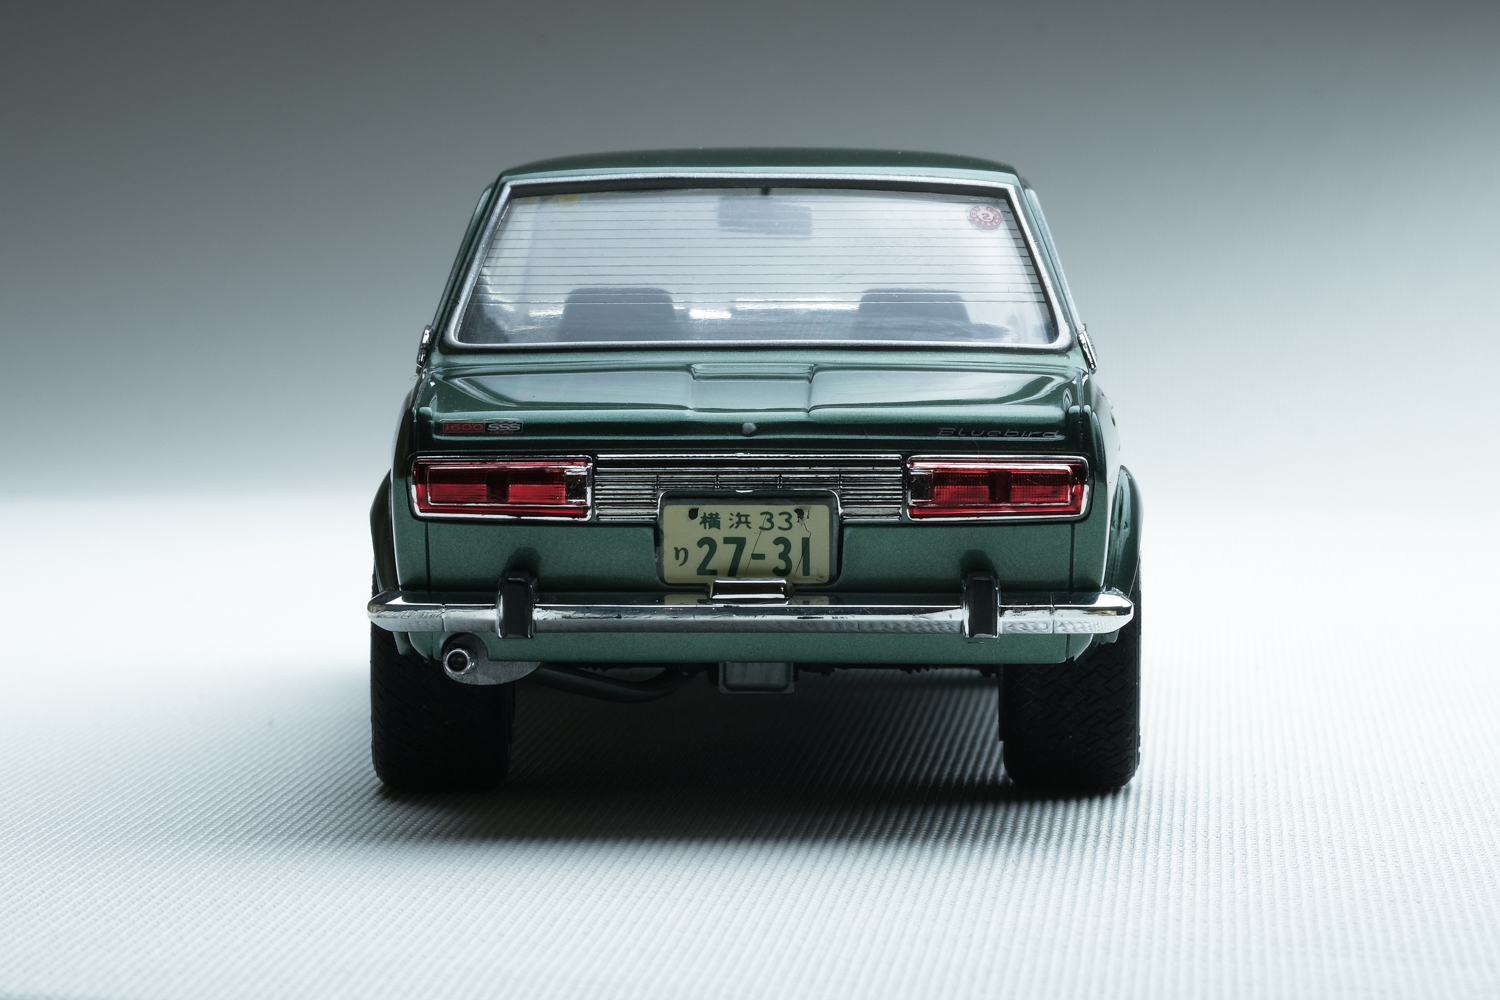
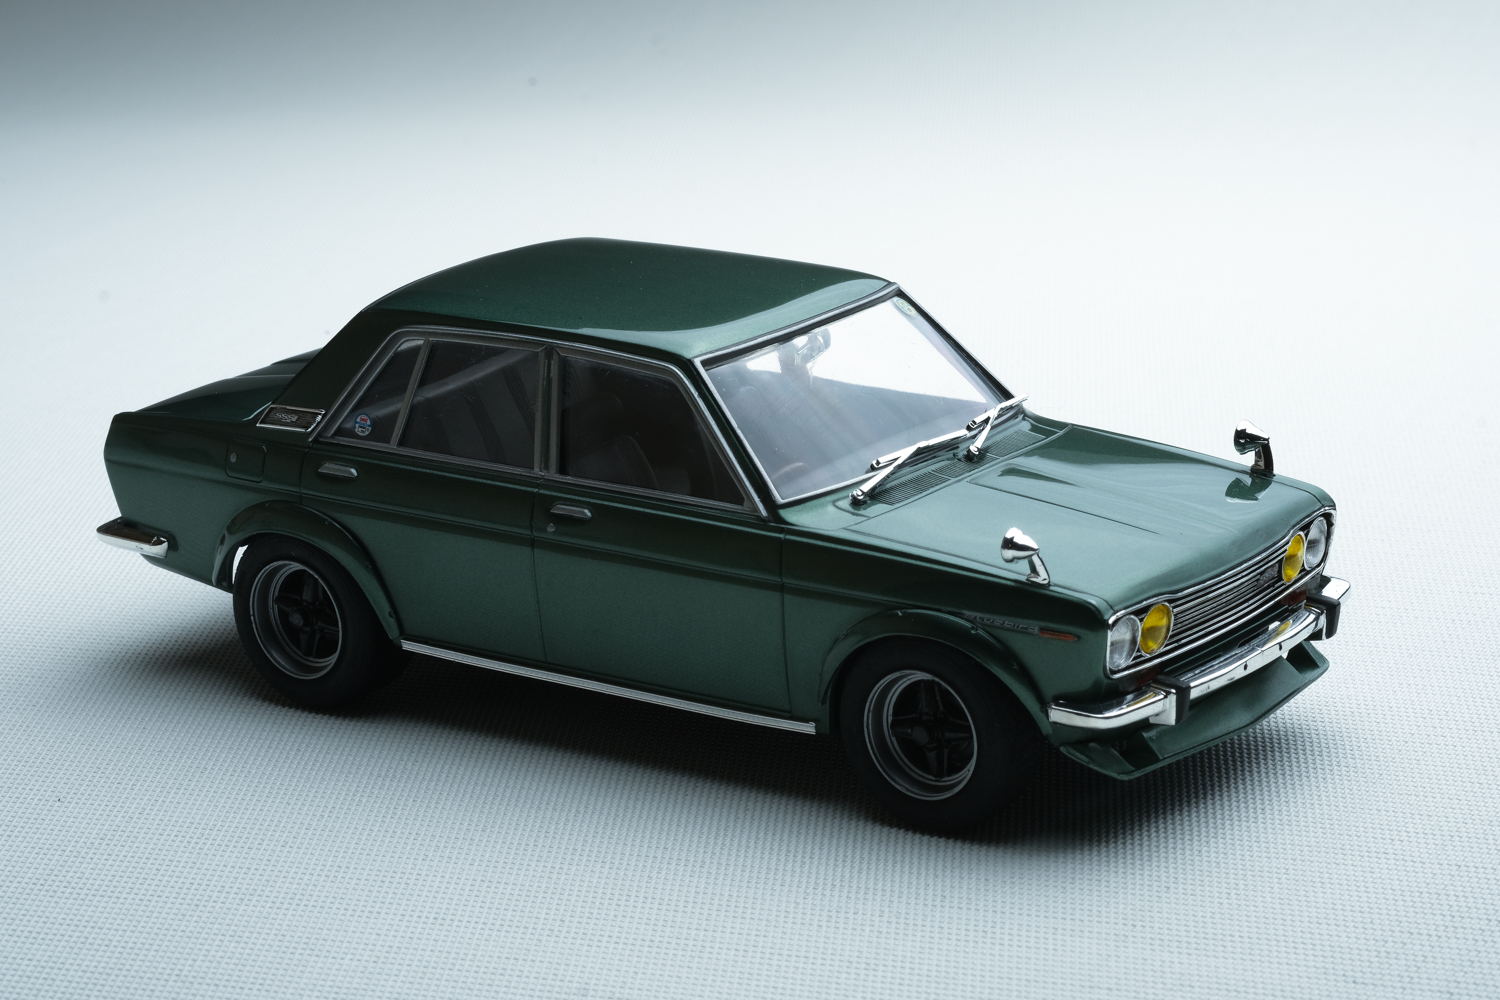
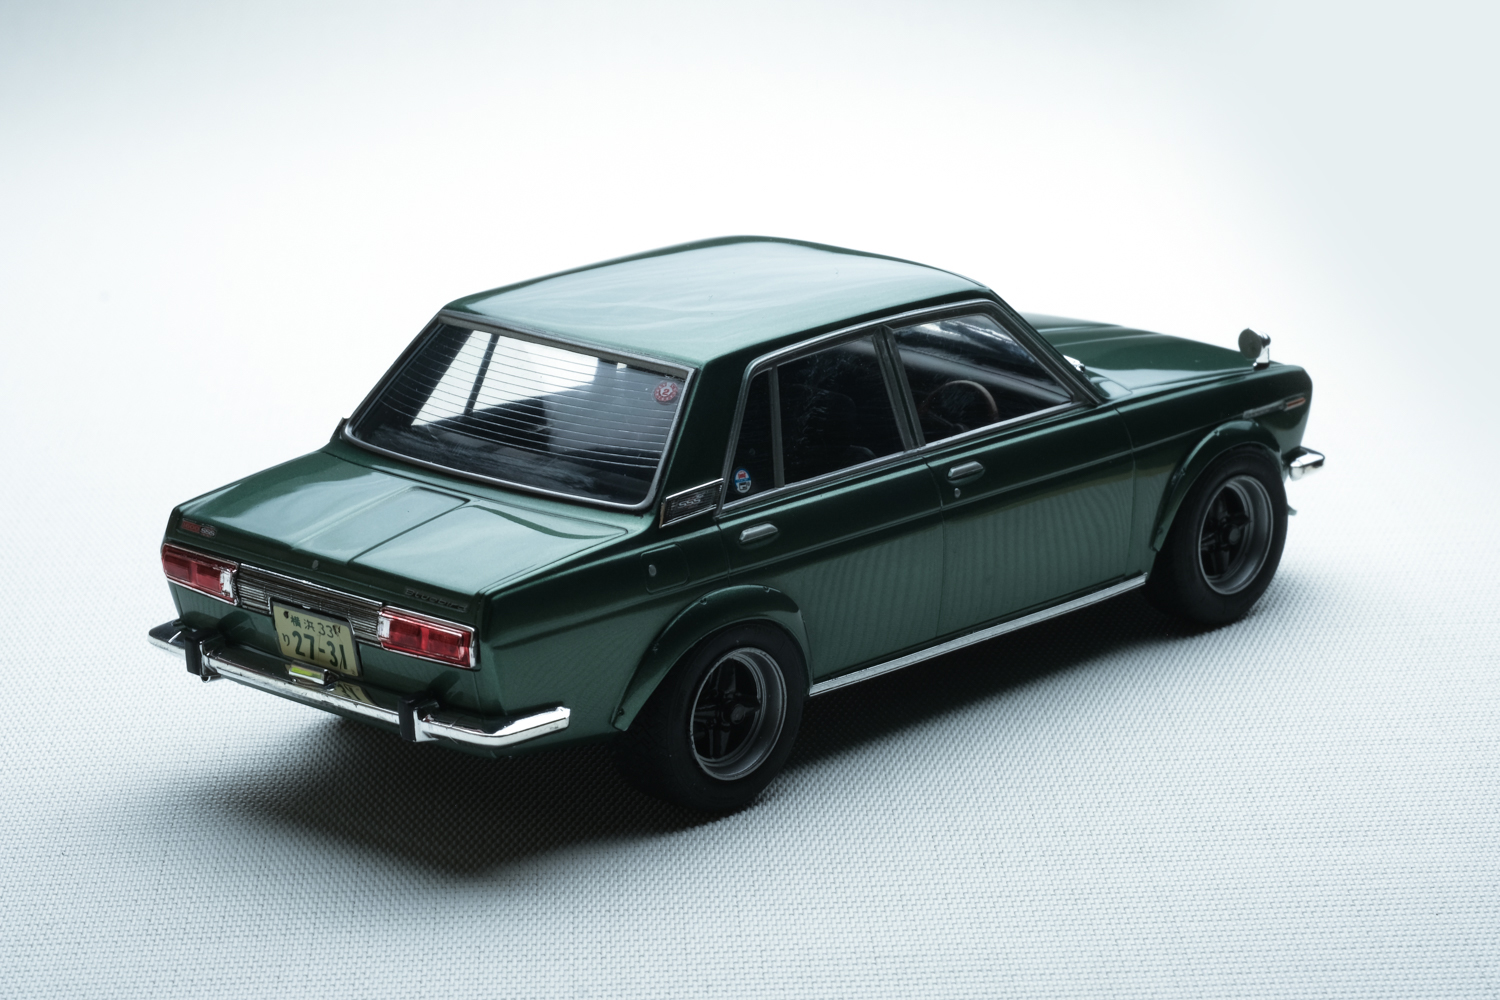
Hi folks, I haven’t been able to do as much modelmaking as work got so much busier this year, but I didn’t stop buying more kits.. so I needed to start finishing to clear up space for new kit boxes. This is a recent re-release of Hasegawa Datsun 510/Bluebird which includes front valence and Watanabe-style wheels, but when I got the kit the wheels were way too small for this car, so I instead decided to go for a period street racer/autocross look, with aftermarket rims from Aoshima that looks similar to American Racing Le Mans wheels which were go to choice by BRE and period looking Fujimi tires. I also added fender flares sourced from Hasegawa Fairlady kit to clear the rubbers, with good amount of trimming around the wheel arches and underbody. Here’s my build summary as usual: - Cleaned up mold lines with 600 grit and gave whole body a good 1500 grit wetsand prep - Sprayed Tamiya grey surfacer - Mixed Mr Colors’ aluminum, gold, metallic green and tiny bit of metallic black for a base color to simulate one of rarer period Datsun colors - 302 Leaf Green Metallic - Applied three coats of Mr Colors’ super clear III and progressively added more self levelling thinner on each coat (wet-sanded the second coat with 2000 grit to get the optimal surface for the final coat) - Dried the paint for 1 month (for the most of time, I usually dried 2 weeks for all the bodies I painted with TS spray cans, but then I noticed some of my recent builds would lose some shine couple of weeks after I finished them, and bit of research I realized 1 month drying time for lacquer clear coat was the rule of thumb in most Korean and Japanese modelling community) - Wet-sanded with 3000 grit sponge then polished with three-stage Tamiya polishing compounds - Masked the front & back windows and sprayed Mr. Color’s flat black, then masked them again and applied chrome silver to simulate rubber surroundings. Thank you for looking and hope y'all enjoy!
-
Wow wow can't believe I missed this one! Chromework on this looks very clean and vinyl treatment is spot on as well!
-
Looks very realistic! Black on red is my favorite color combo.
-
Beautifully done! The color really works well.
-
Thank you! It's a great kit that doesn't need ton of work to make it look good. It's a recent re-release so they're available for cheap price as well. Thank you! My new macro lens helped getting some good pics! Thank you very much!
-
Beautifully done and color looks fantastic too!
-
1982 Chevrolet Camaro Z28-E (overseas version) - Arii 1/24 scale
e30lover replied to Tommy124's topic in Model Cars
And it's also probably the fact you'll likely need to fold your mirrors after you park in rest of the world! Great build and result especially with the kit that doesn't have much details. -
Beautiful build. Love the contrast between white body and black vinyl!
-
Thank you! Thanks. The build process is in my original post - I'd say Mr surfacer 1200 is pretty much the same as Tamiya grey surfacer, and compounds in between coats don't yield much because even the course tamiya compound is not strong enough to properly flatten the orange peel - so I always hit with 2000 or 3000 grit before hitting it with compounds.
-
Stunning paint! Clear parts look so clean as well.
-
Thank you! It's my favorite Lamborghini ever made! Thank you so much! Thank you! Thank you! There are a lot of 60s machines I want to build, but kit selections are fairly limited! It must be the little branches!
-
Beautifully done! The interior detail looks stunning. Love the monochromatic exterior color too.
-
Nice build! Love the period wheel and rubber. I have an identical wheel set too.
-
Thank you! Smaller aperture (I shoot between F16 - F22) helps capturing all the details. Appreciate it! Thank you very much! It's definitely easy to put together - body was almost perfectly free of any uneven surface or nasty mold lines so I didn't spend hours of body prep (I'd typically spend a full day fixing this for revell/monogram kits). Interior metal transfers are a bit finicky but otherwise it's very easy to put together. Thank you! Thank you - the surface on my miura project isn't as good as my other previous work (all the flat panels were kinda hard to get mirror-like surface compared to convex panels), but the dark color helps hiding the imperfections Thank you! Thank you! Hasegewa kit's metal transfers definitely helped. I admire all the weathering work to achieve barn find look! To me that's harder than getting a good polished paint! Thank you very much! Thanks a lot! Yes, I didn't modify anything (didn't even de-chromed them) because they looked really good. PE wipers are great on these kind of sports cars with huge windshield but I wanted to save the hassle for later! Me too! I wish there are more pre-countach Lamborghini kits available..