Funkychiken
-
Posts
2,662 -
Joined
-
Last visited
Content Type
Profiles
Forums
Events
Gallery
Everything posted by Funkychiken
-
Slick build here, weathering is great
-
The finish is great Dann! Great to remember your friend by!
-
The nicest stang of the three you've posted, looks great
-
Looks cool!
-
Looks like an 80s creation!
-
It's certainly beautiful, great build
-
What did you see on the road today?
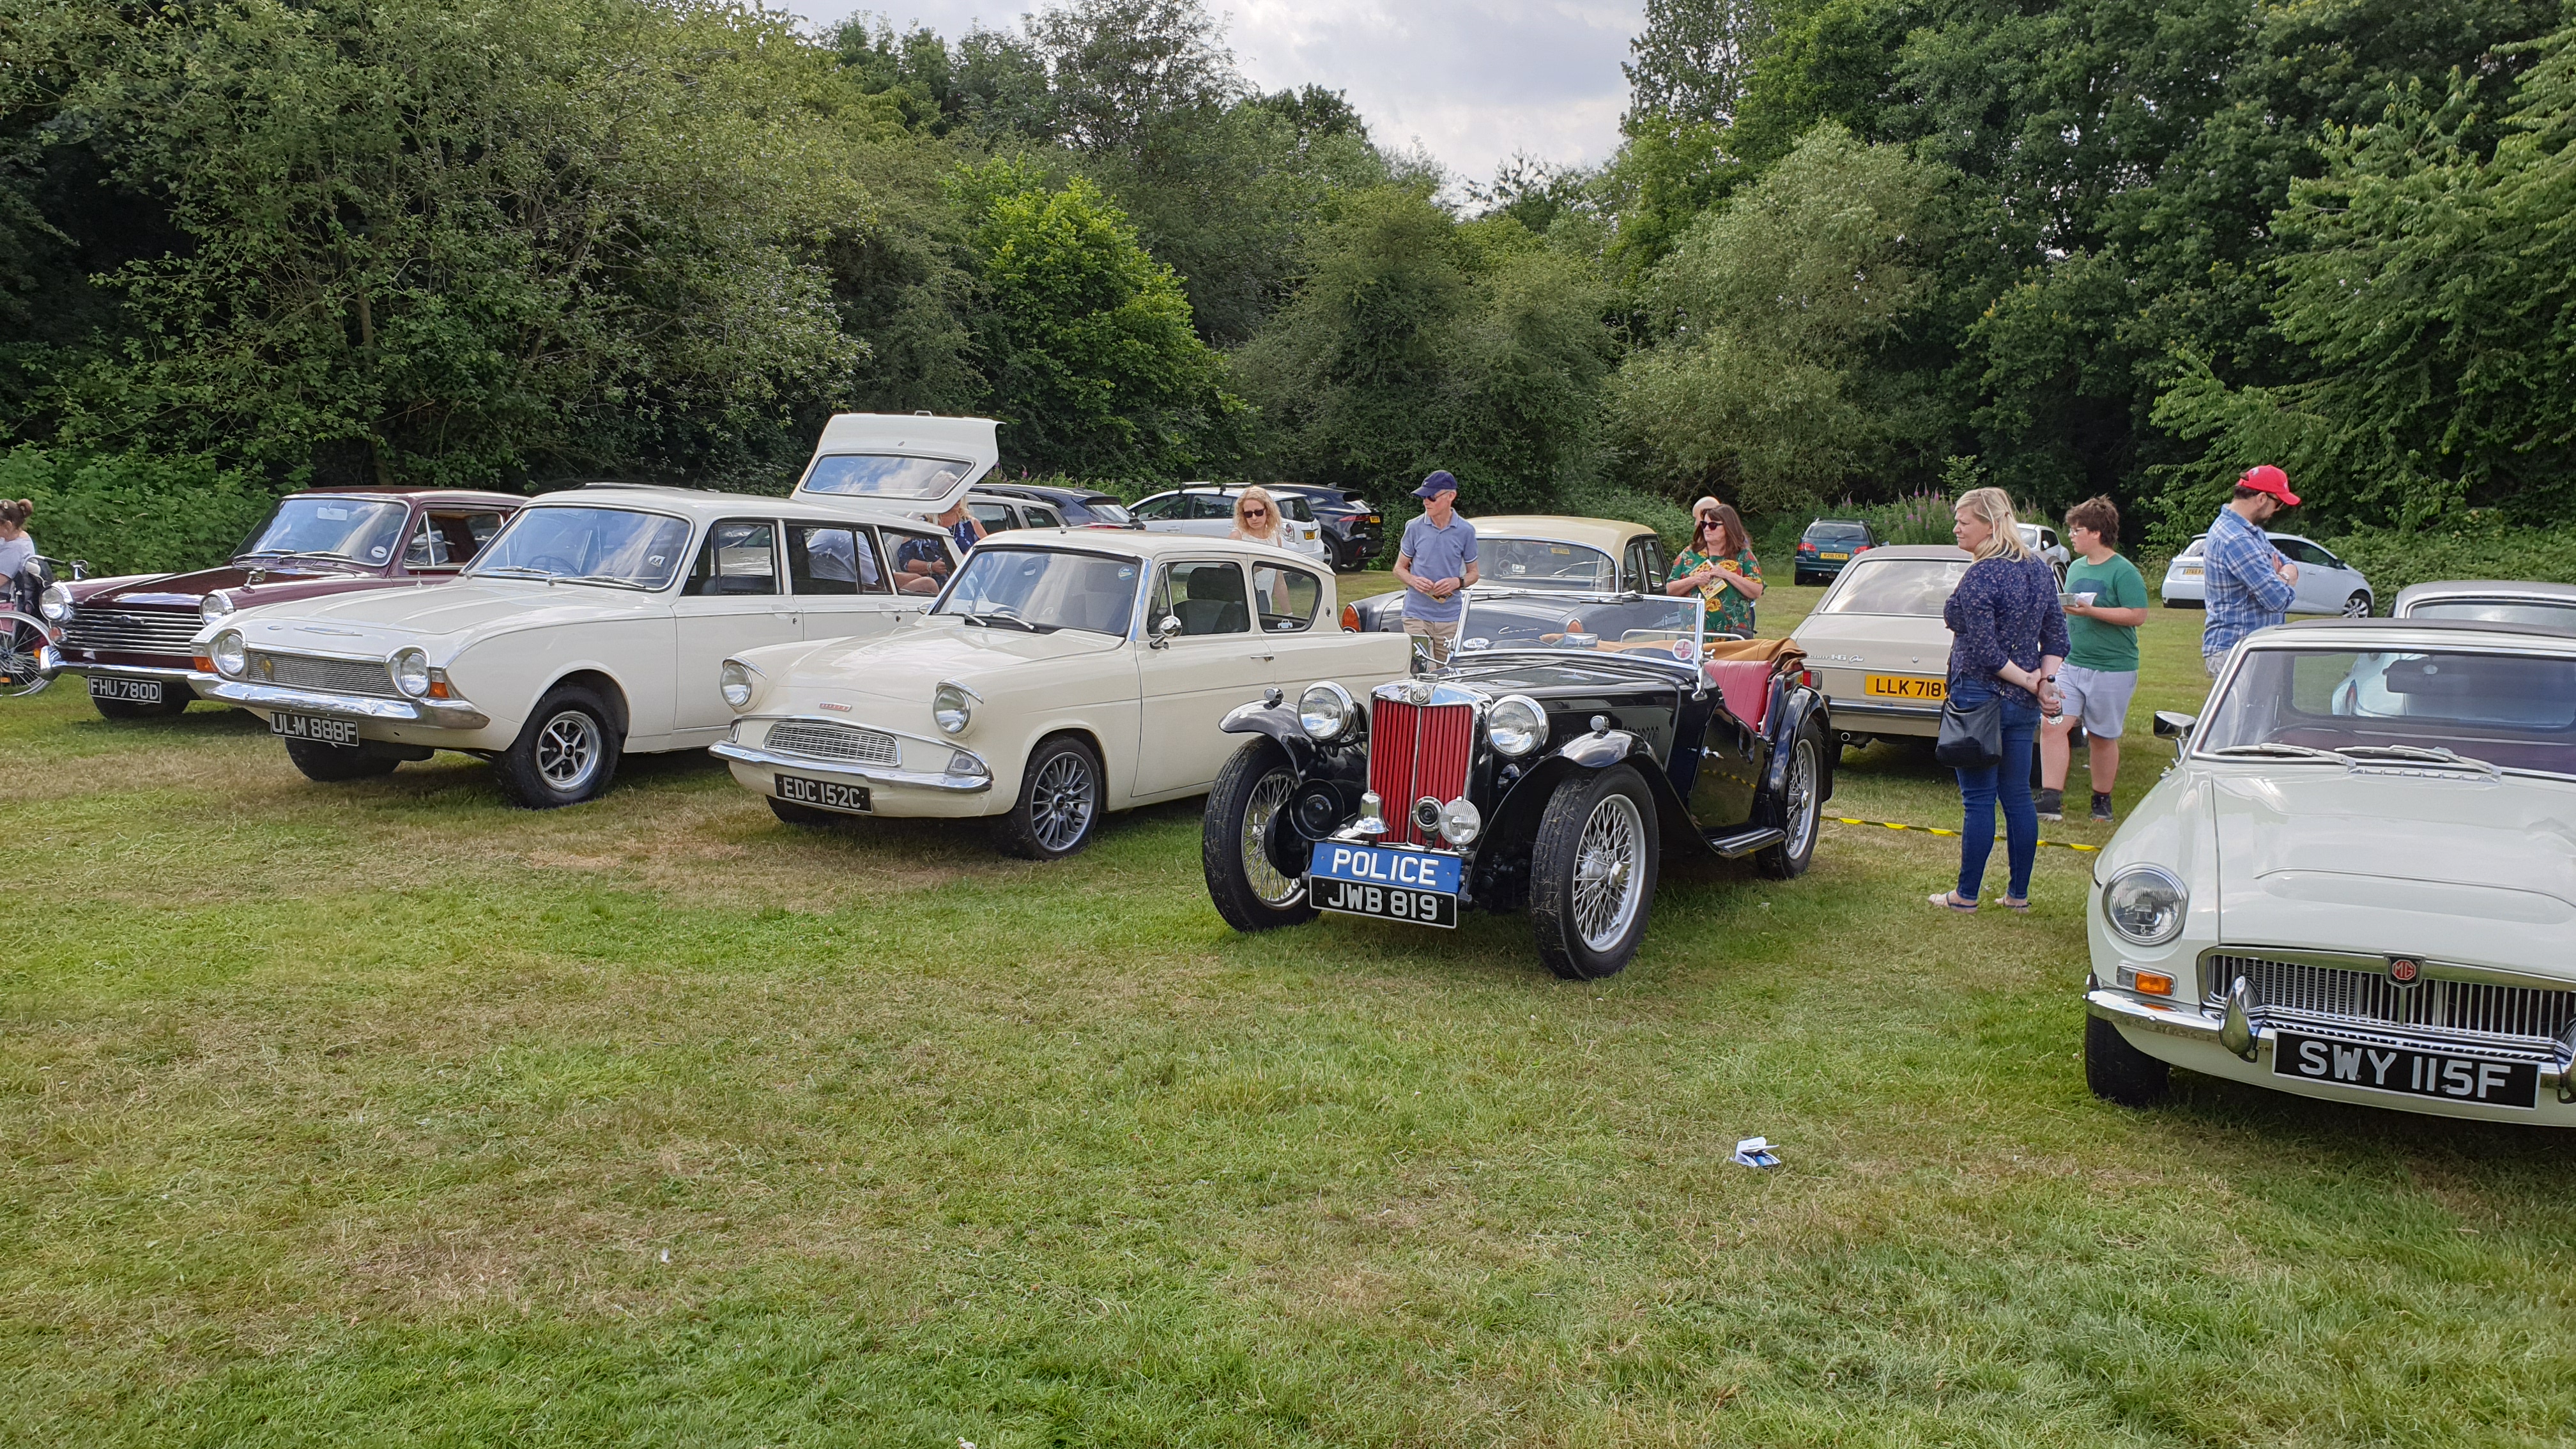
Funkychiken replied to Harry P.'s topic in General Automotive Talk (Trucks and Cars)
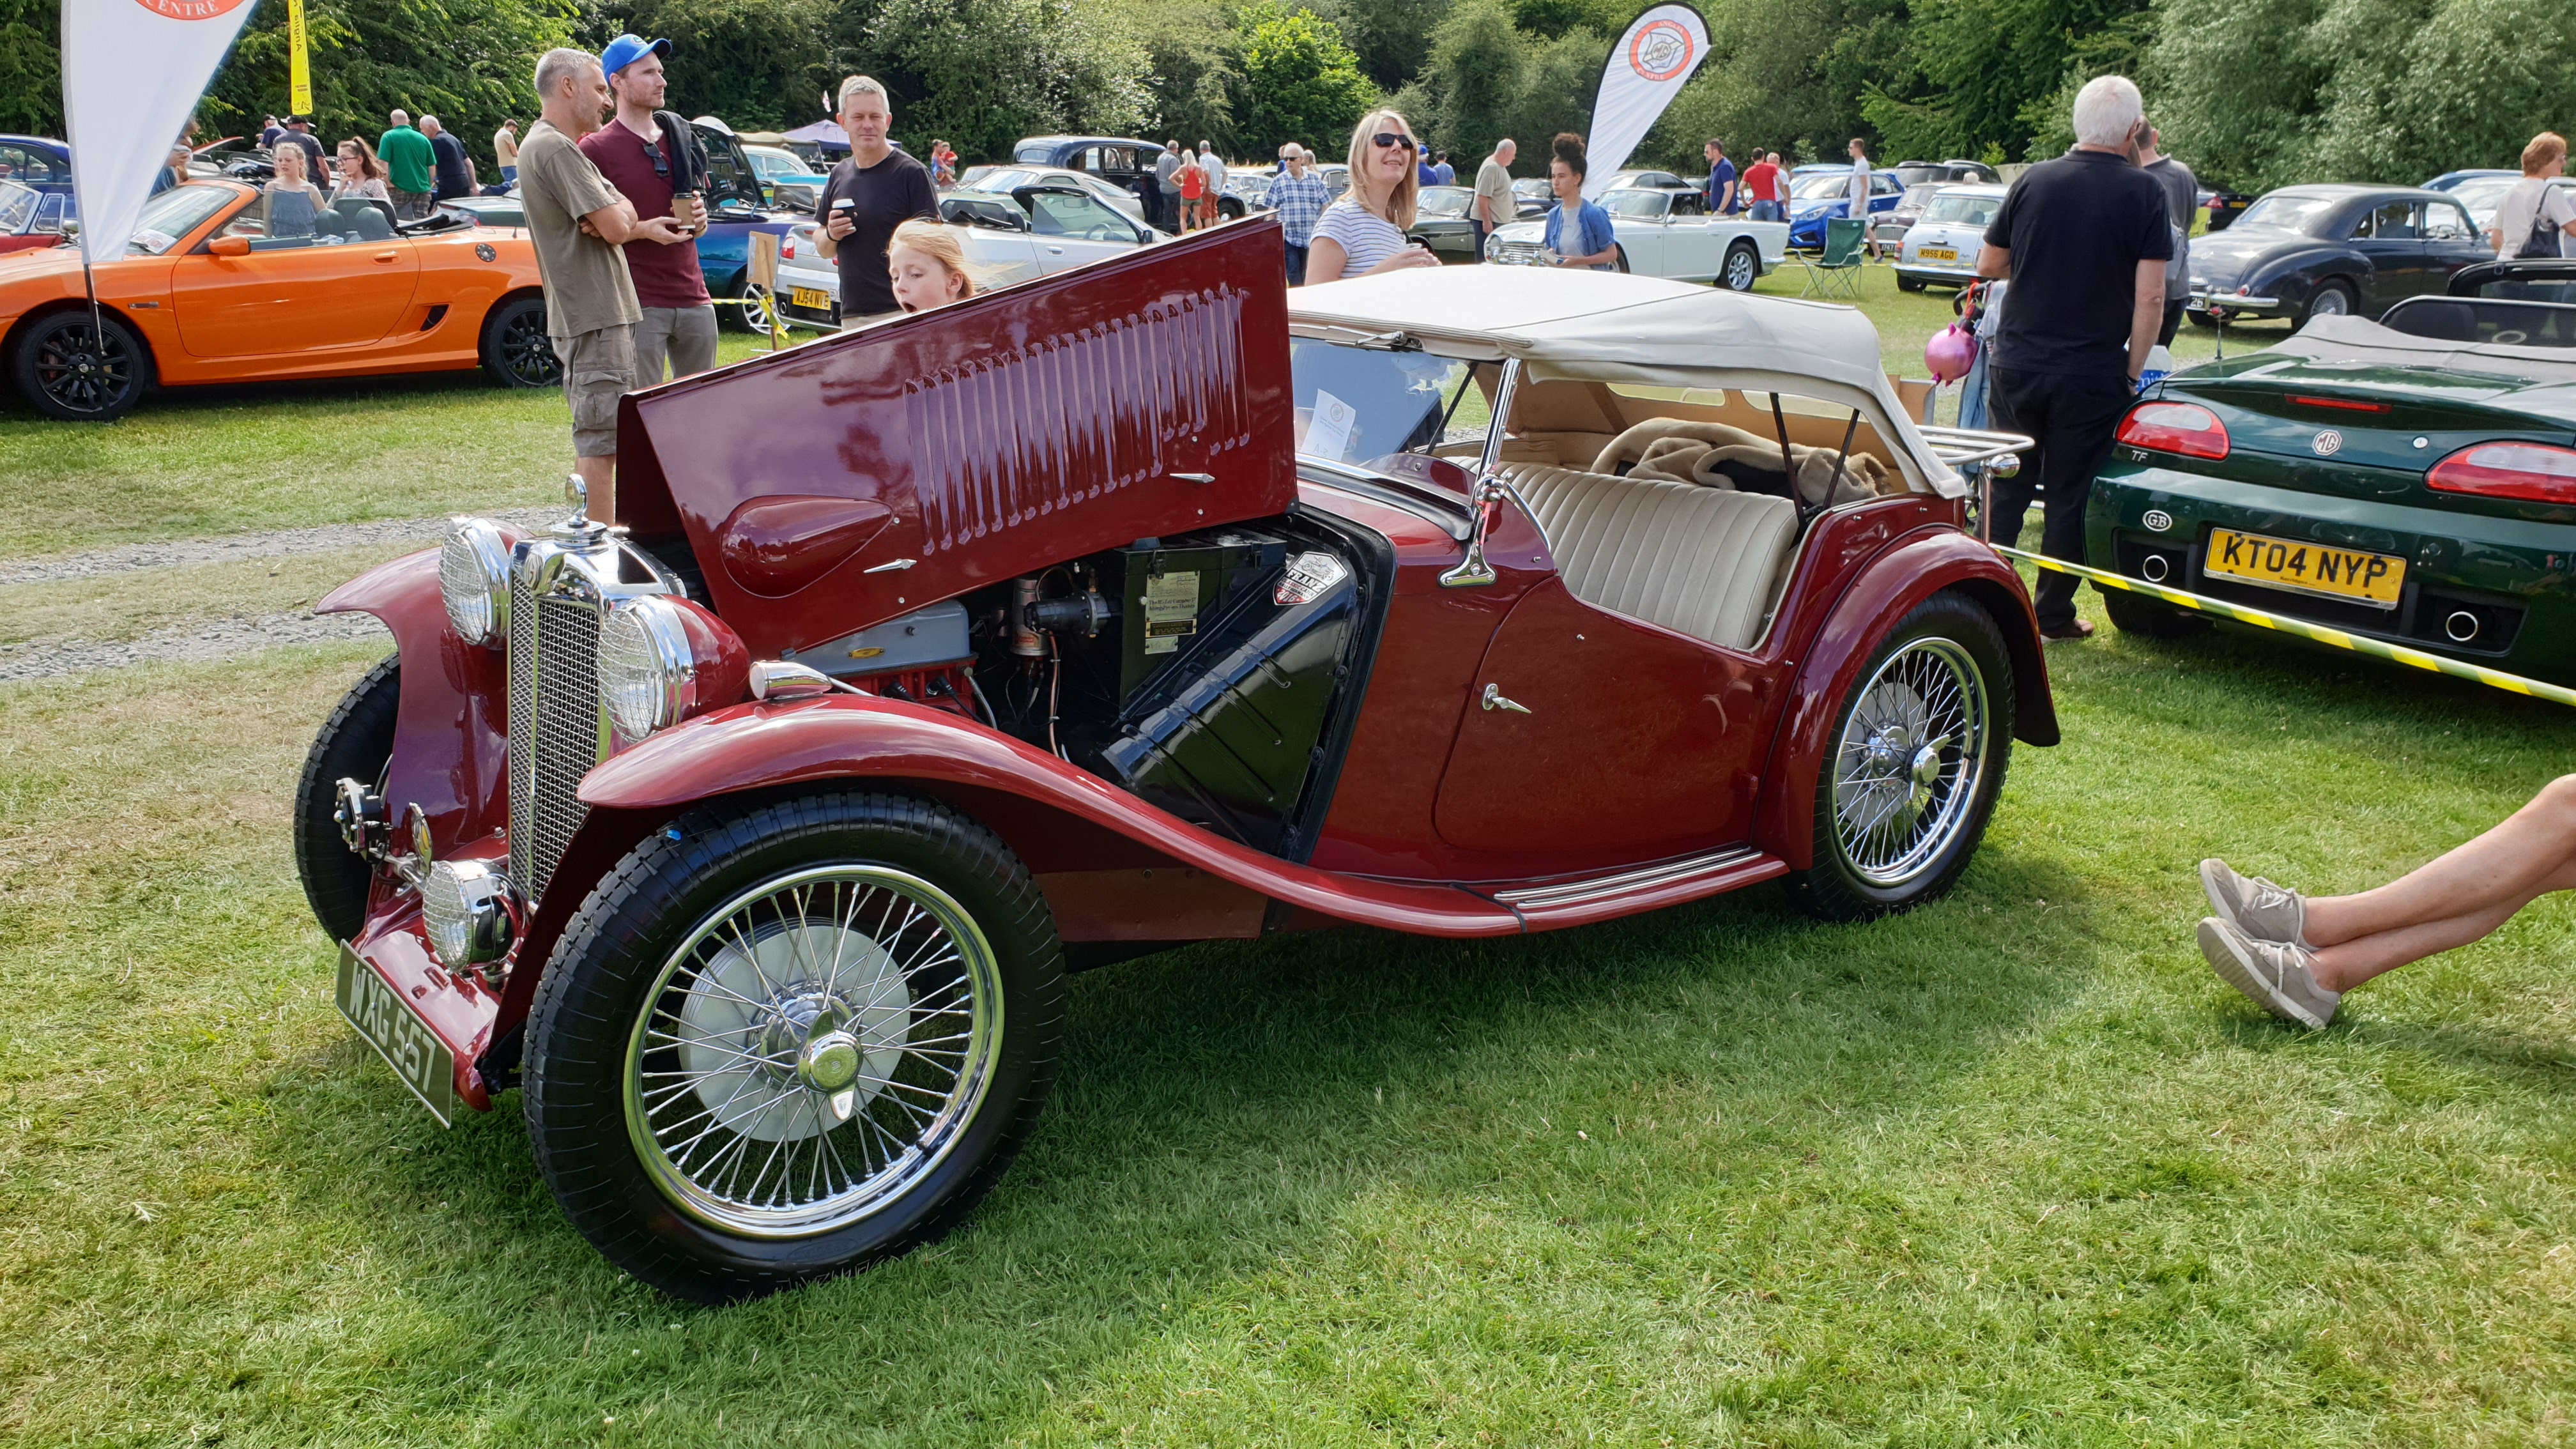
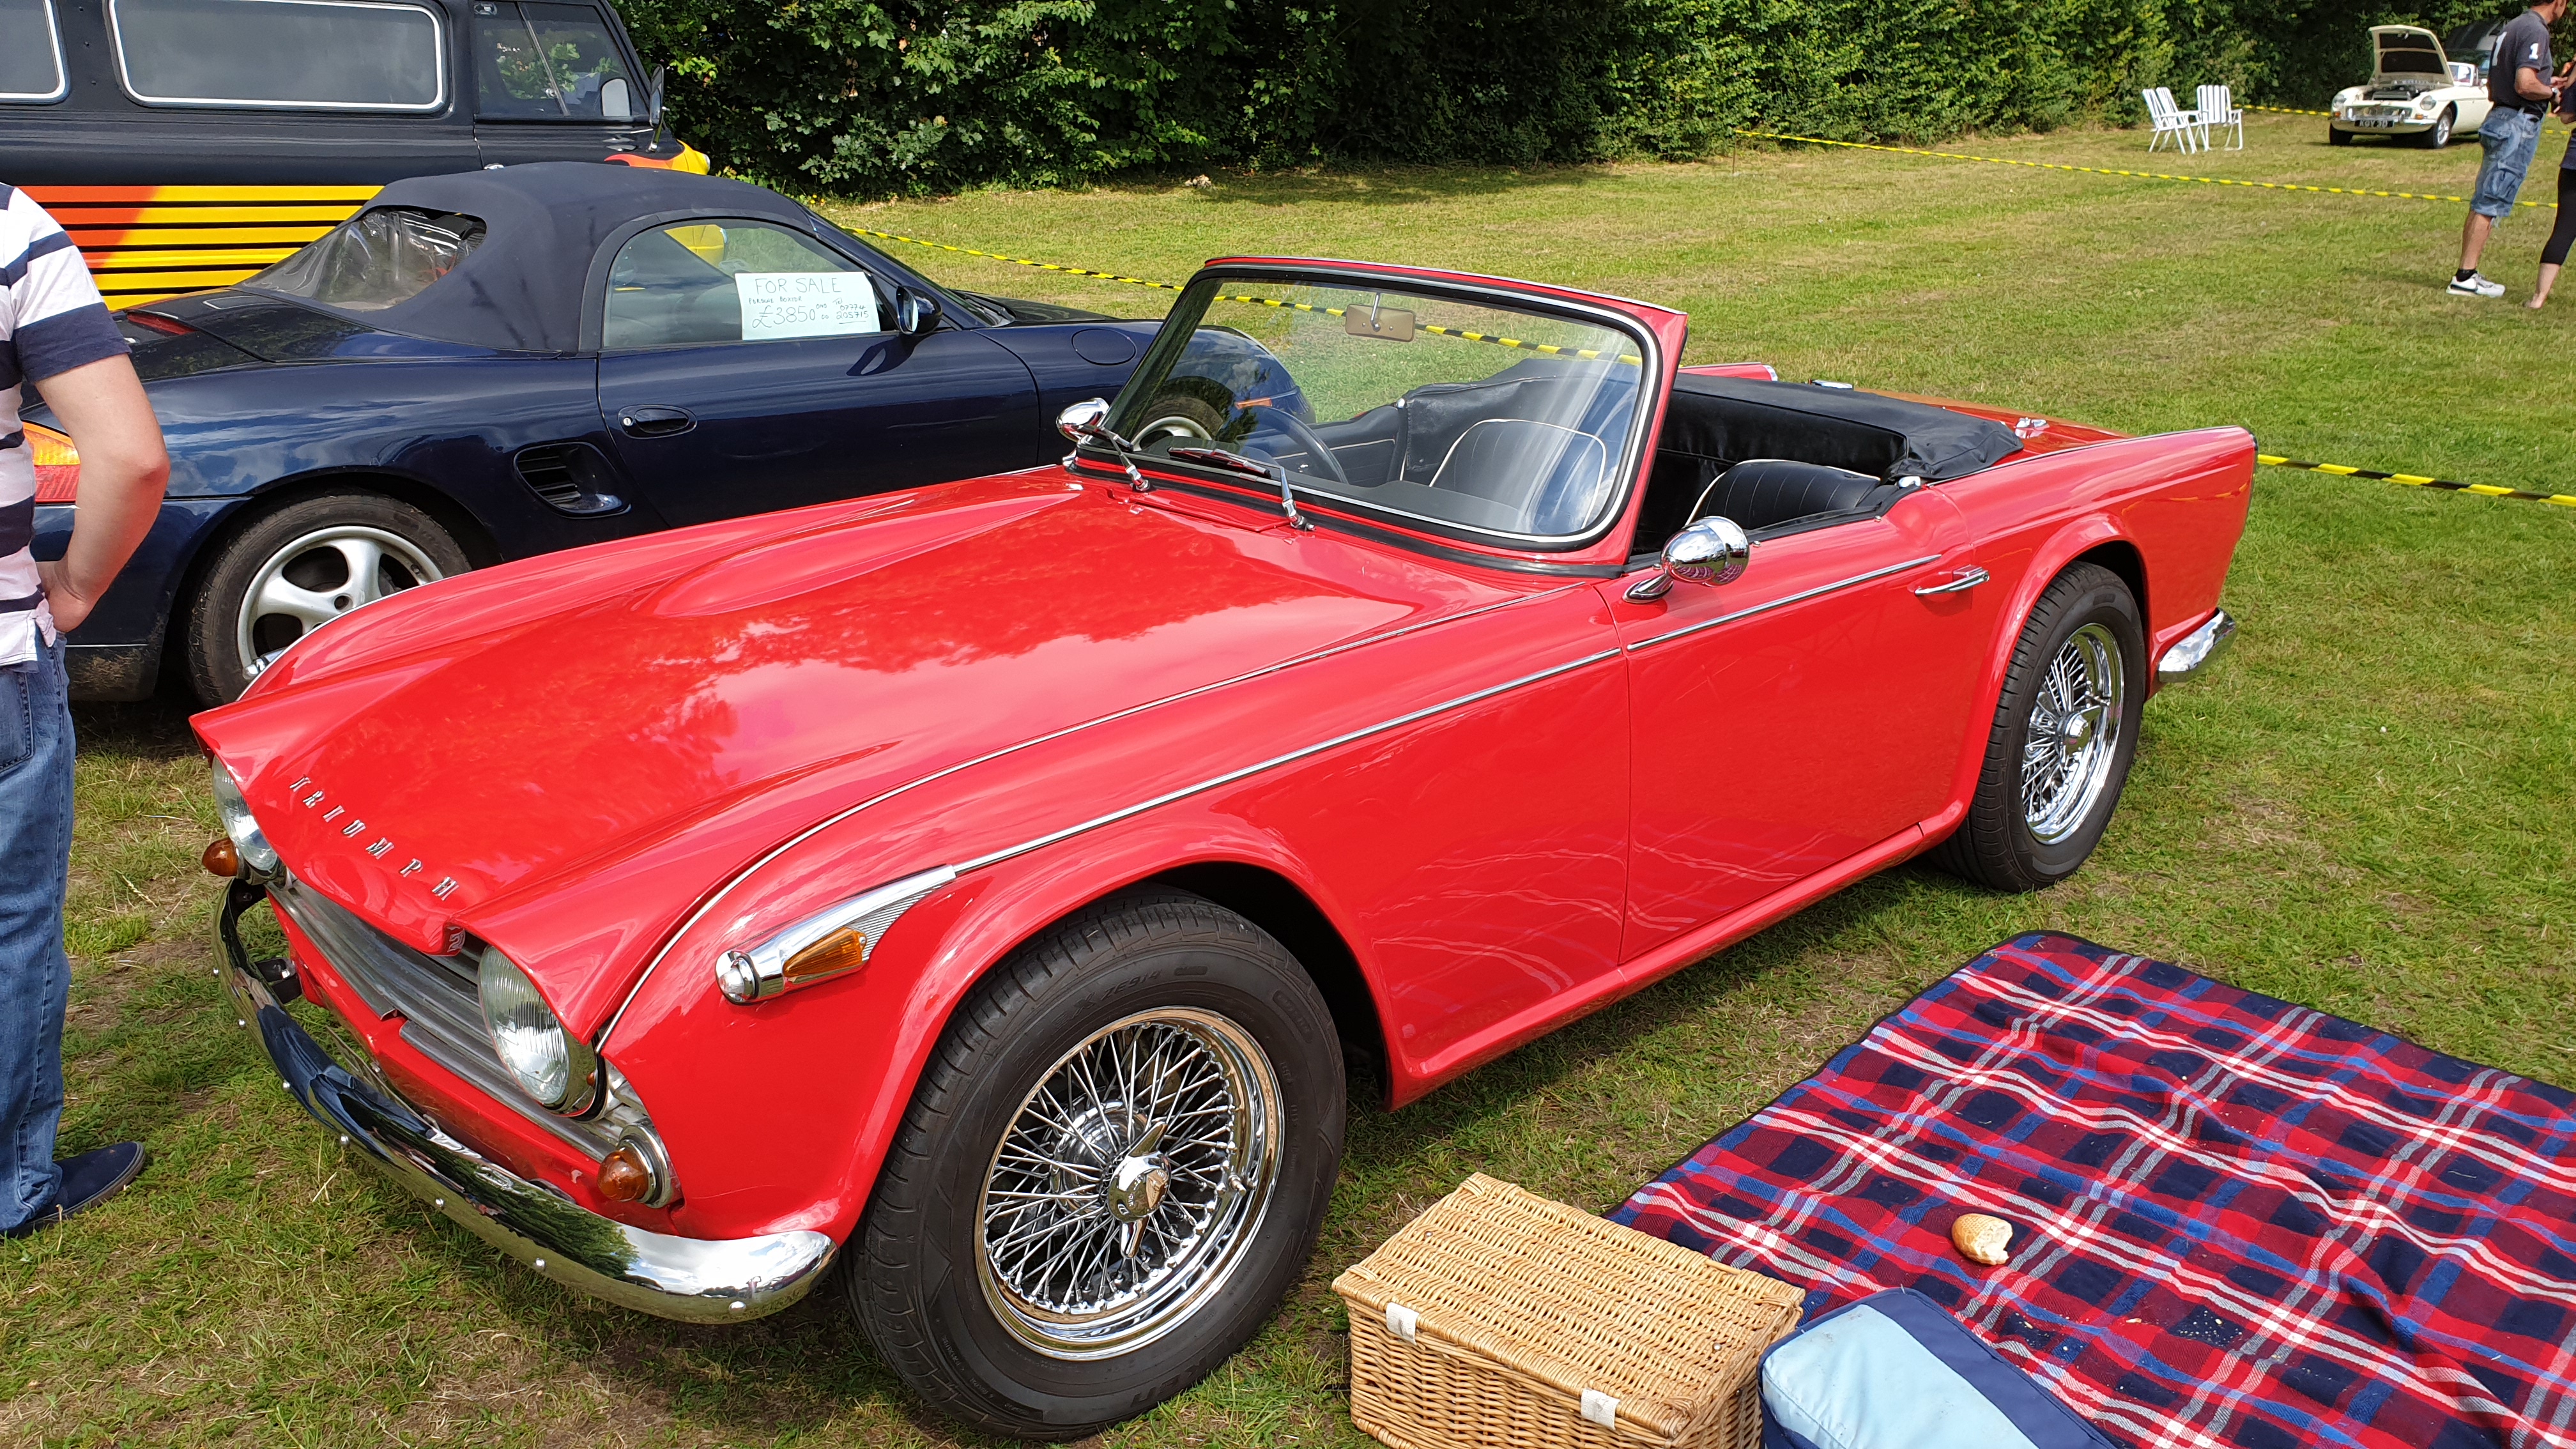
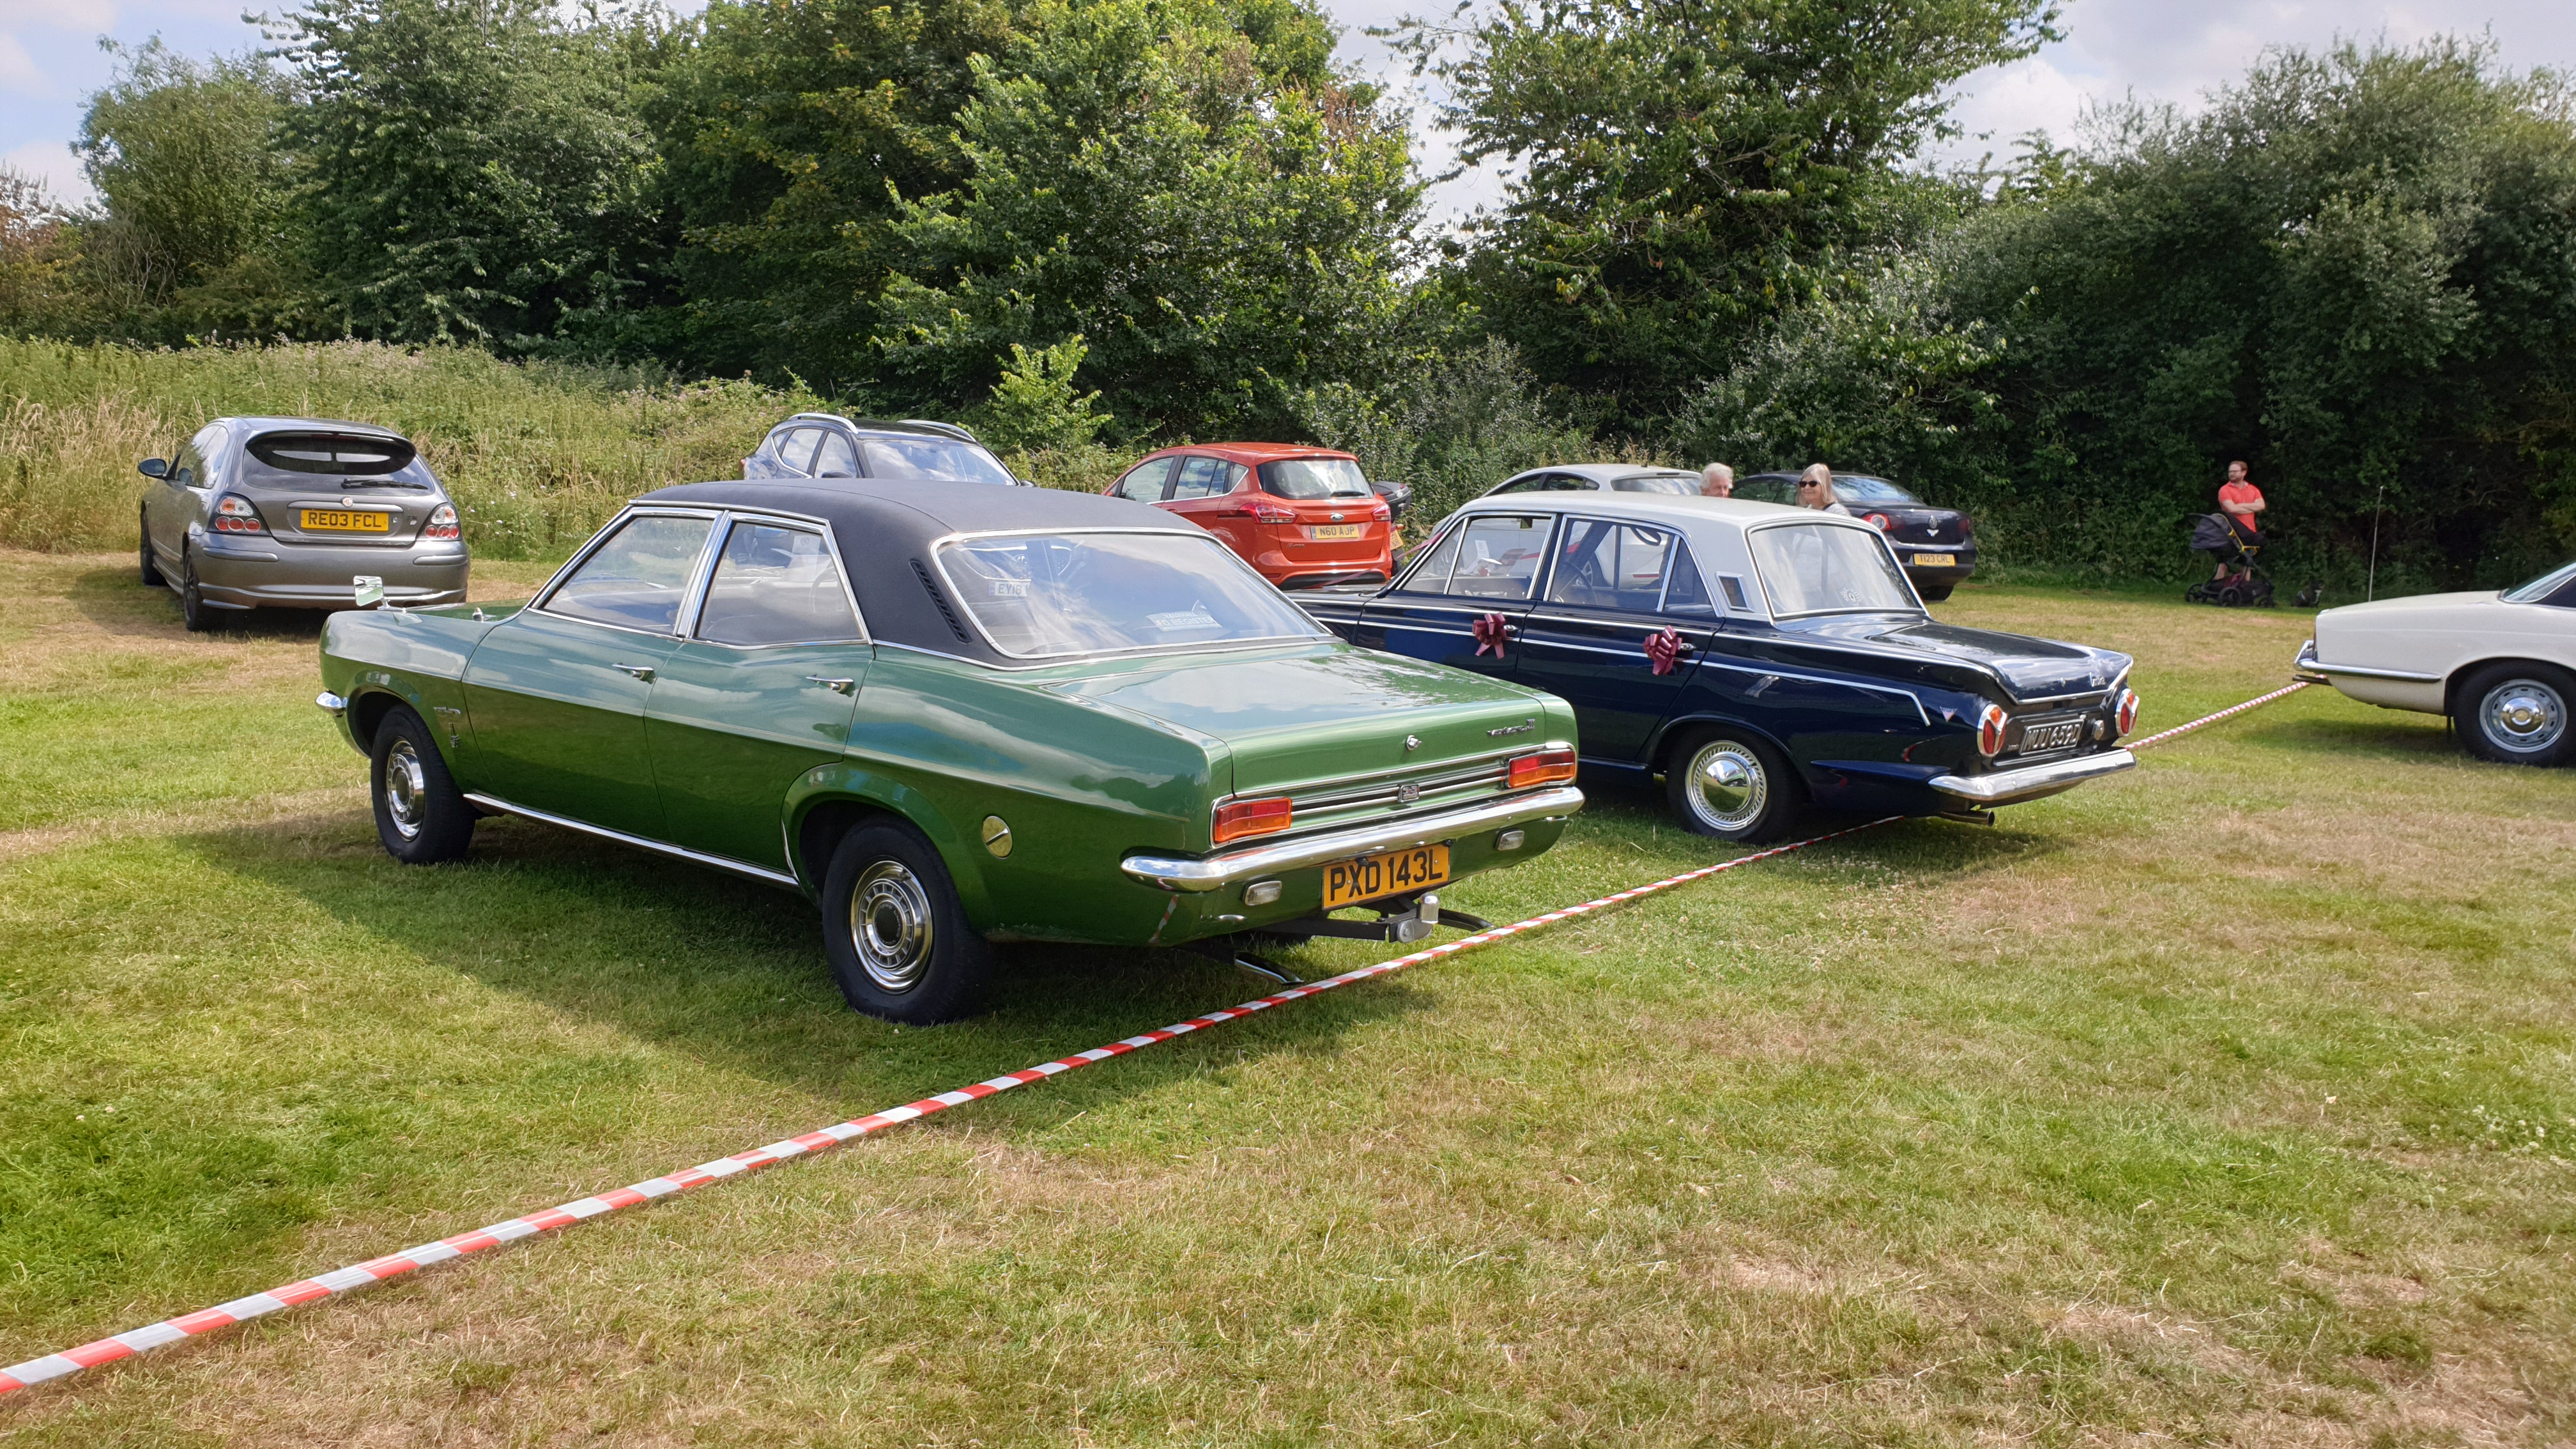
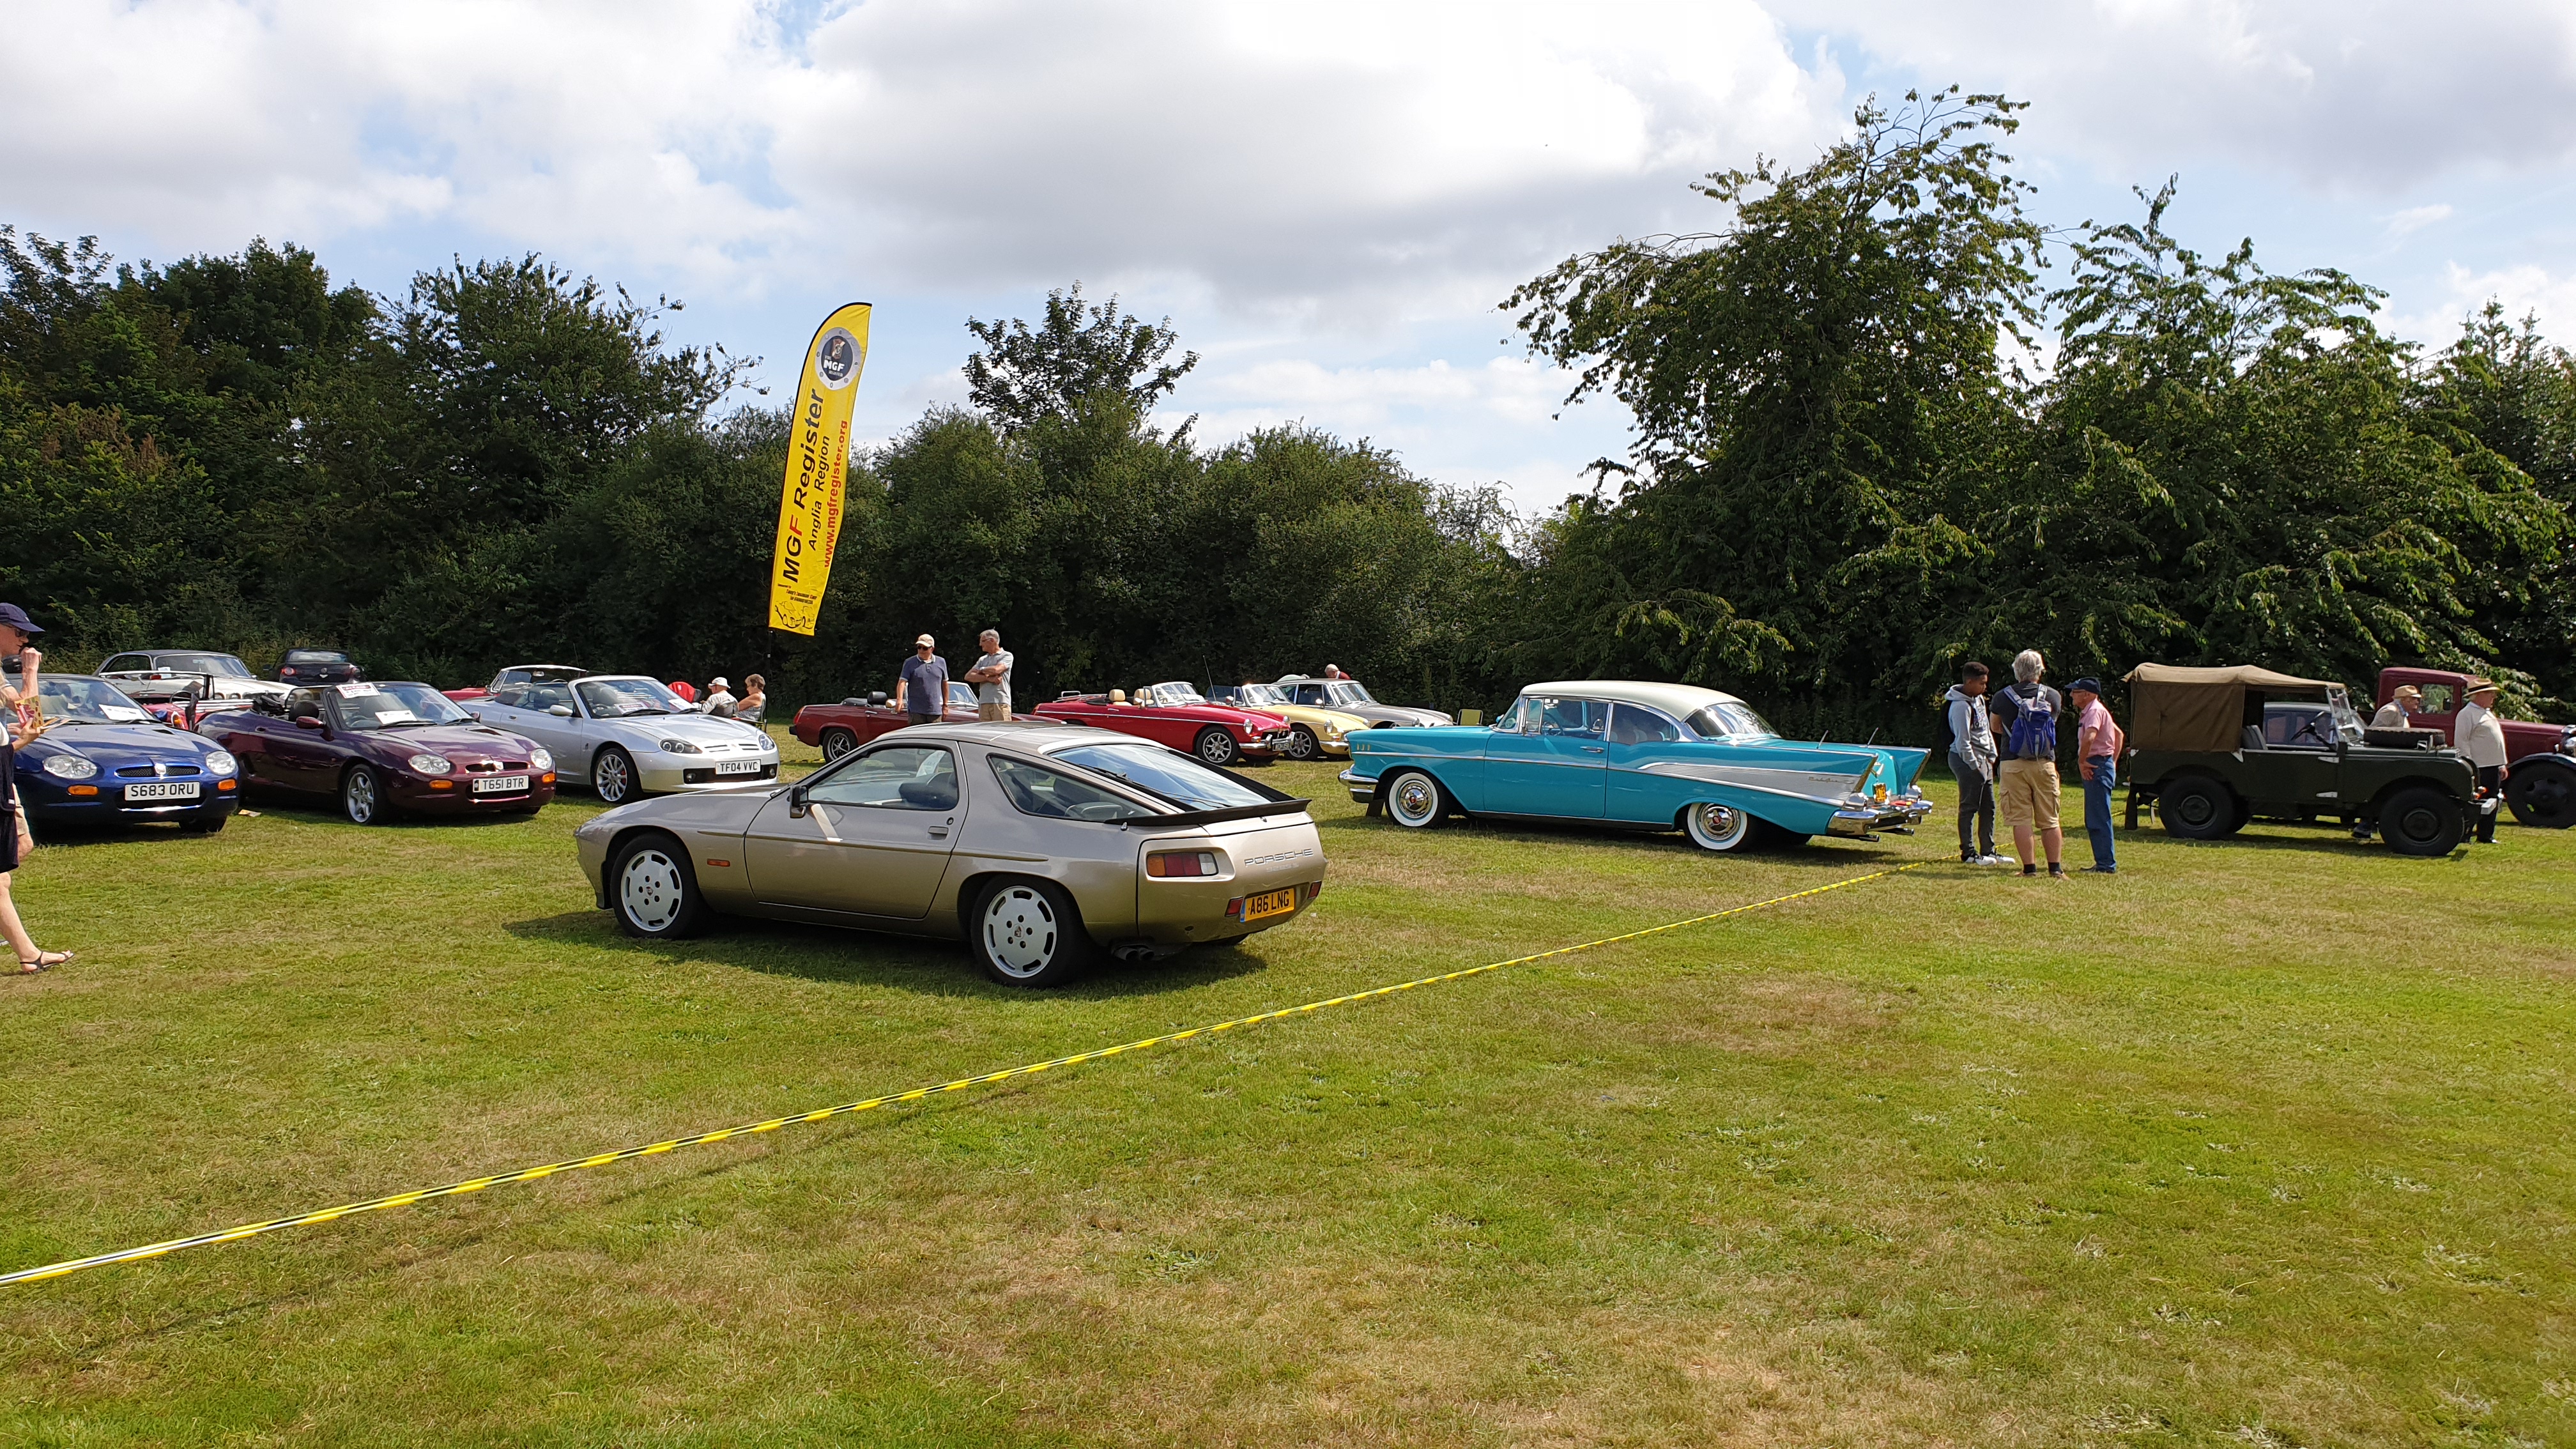
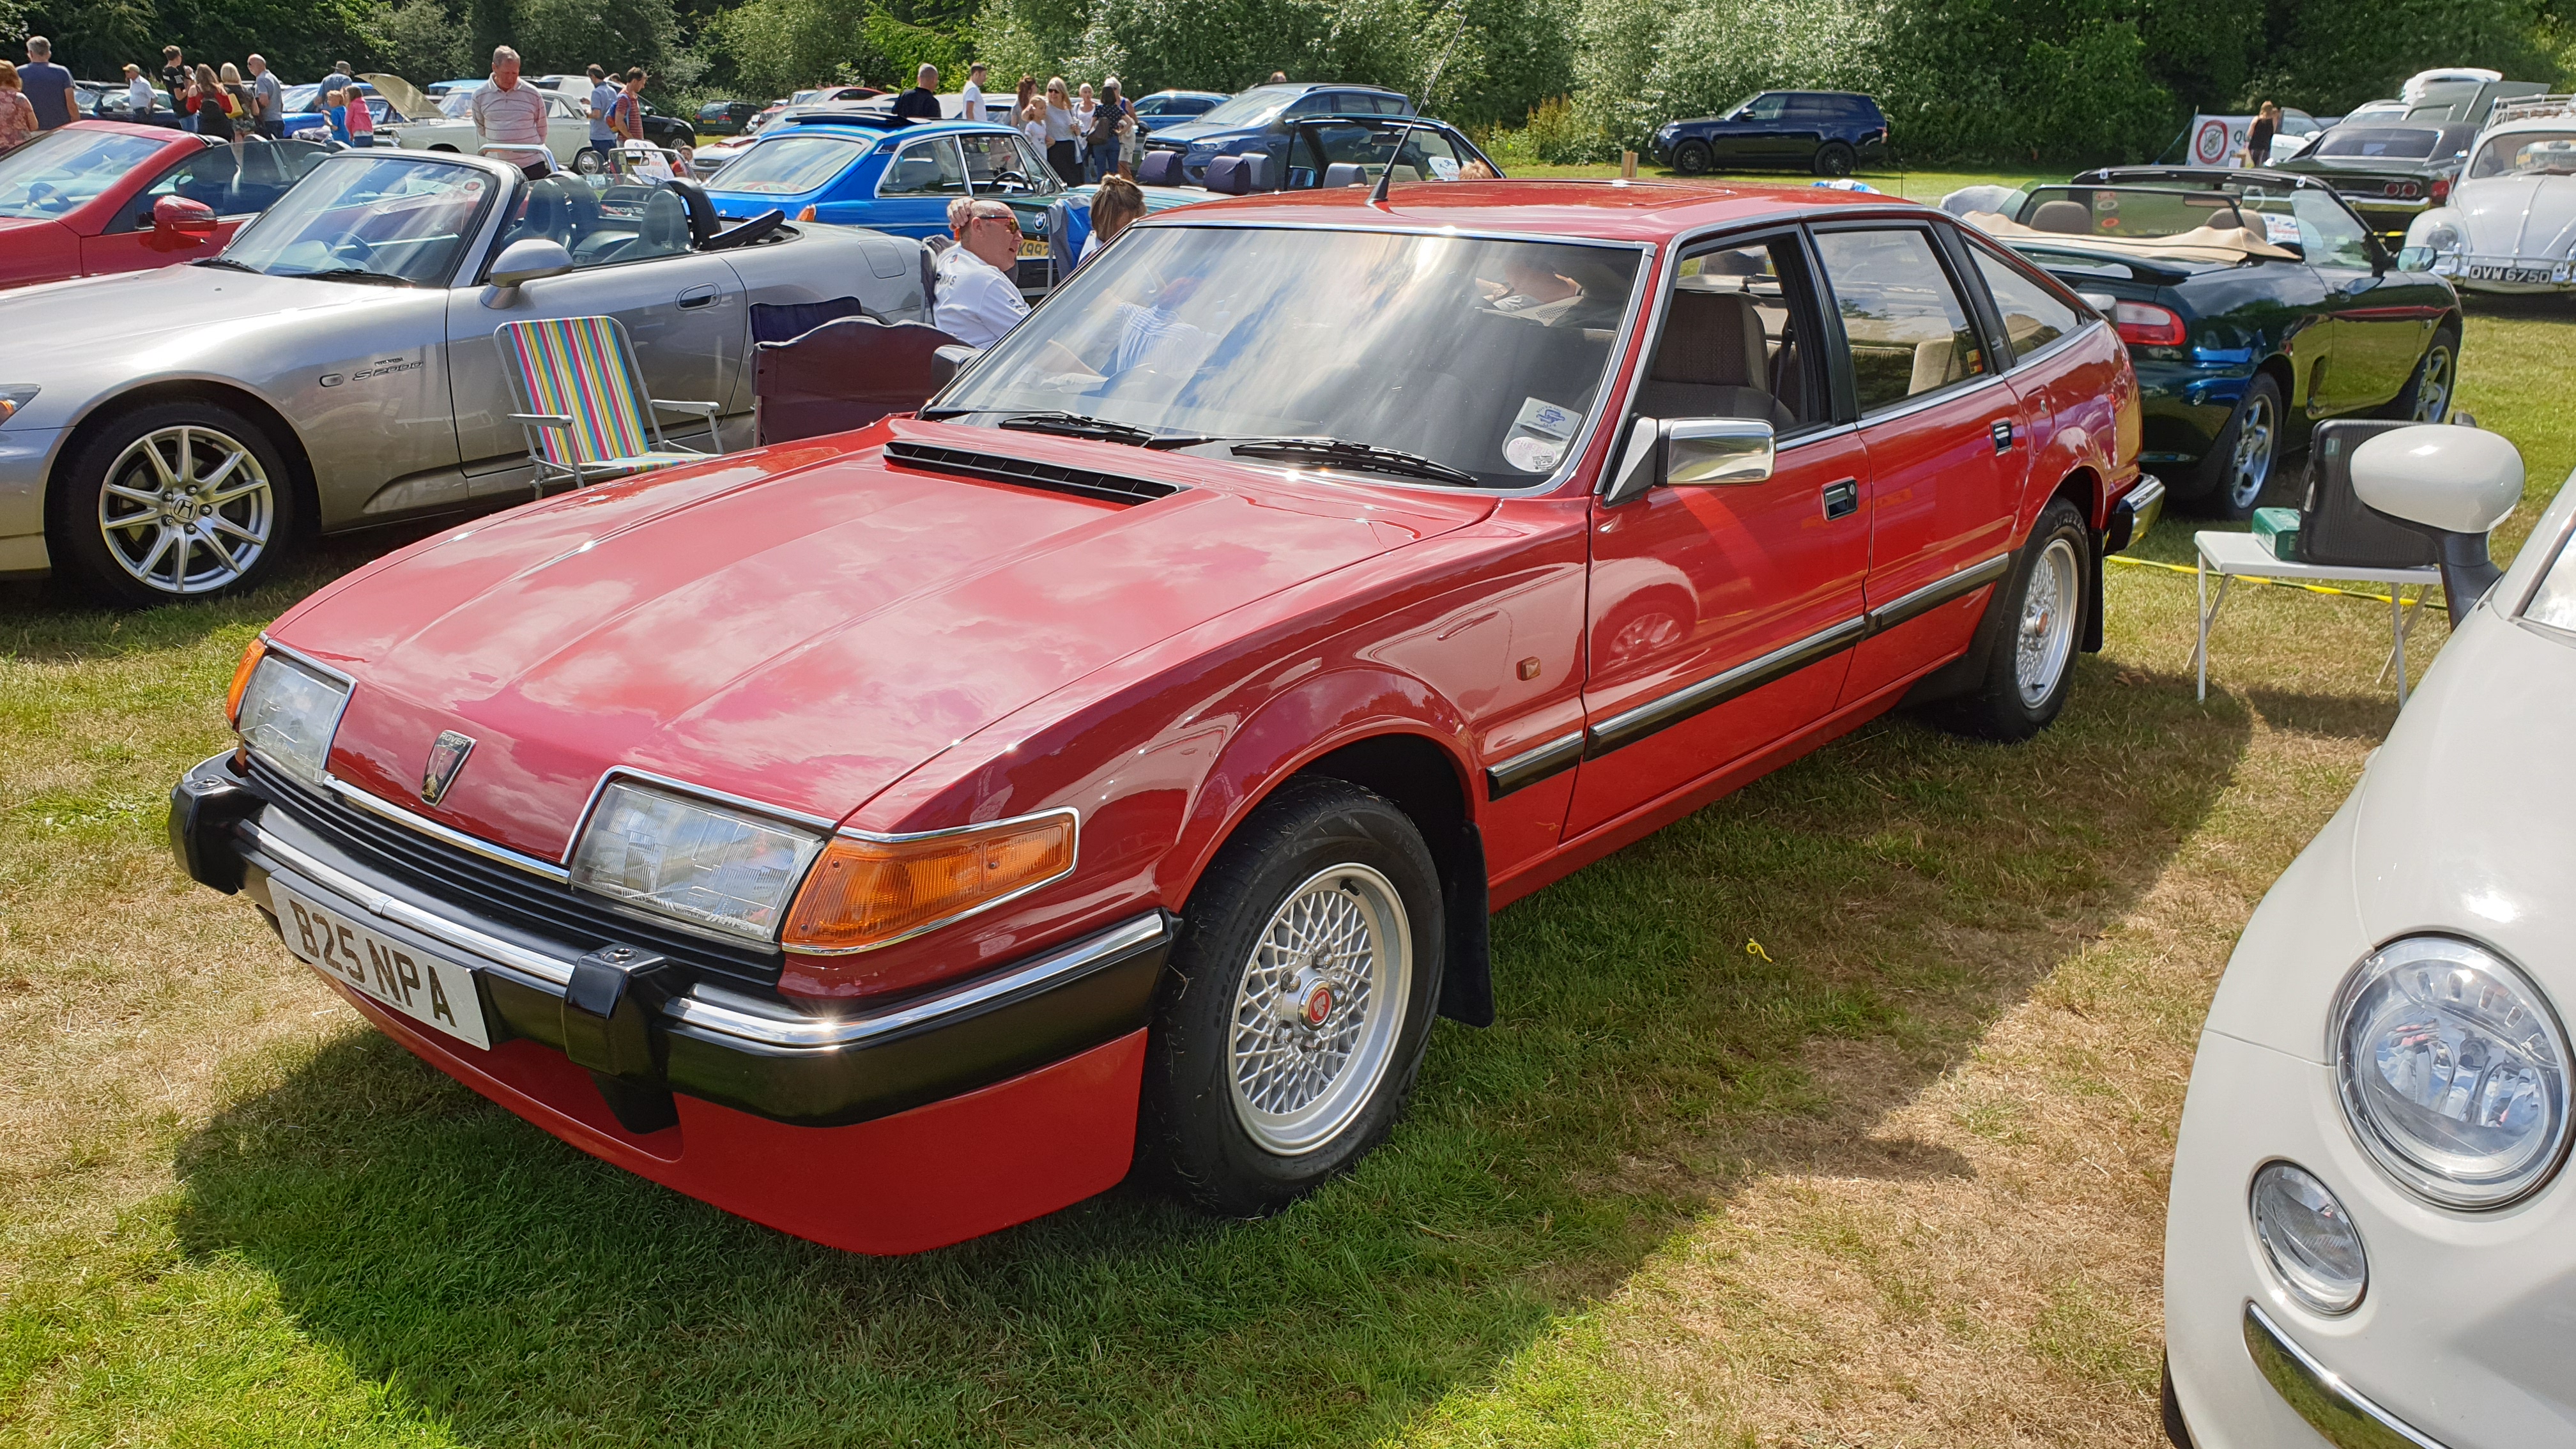
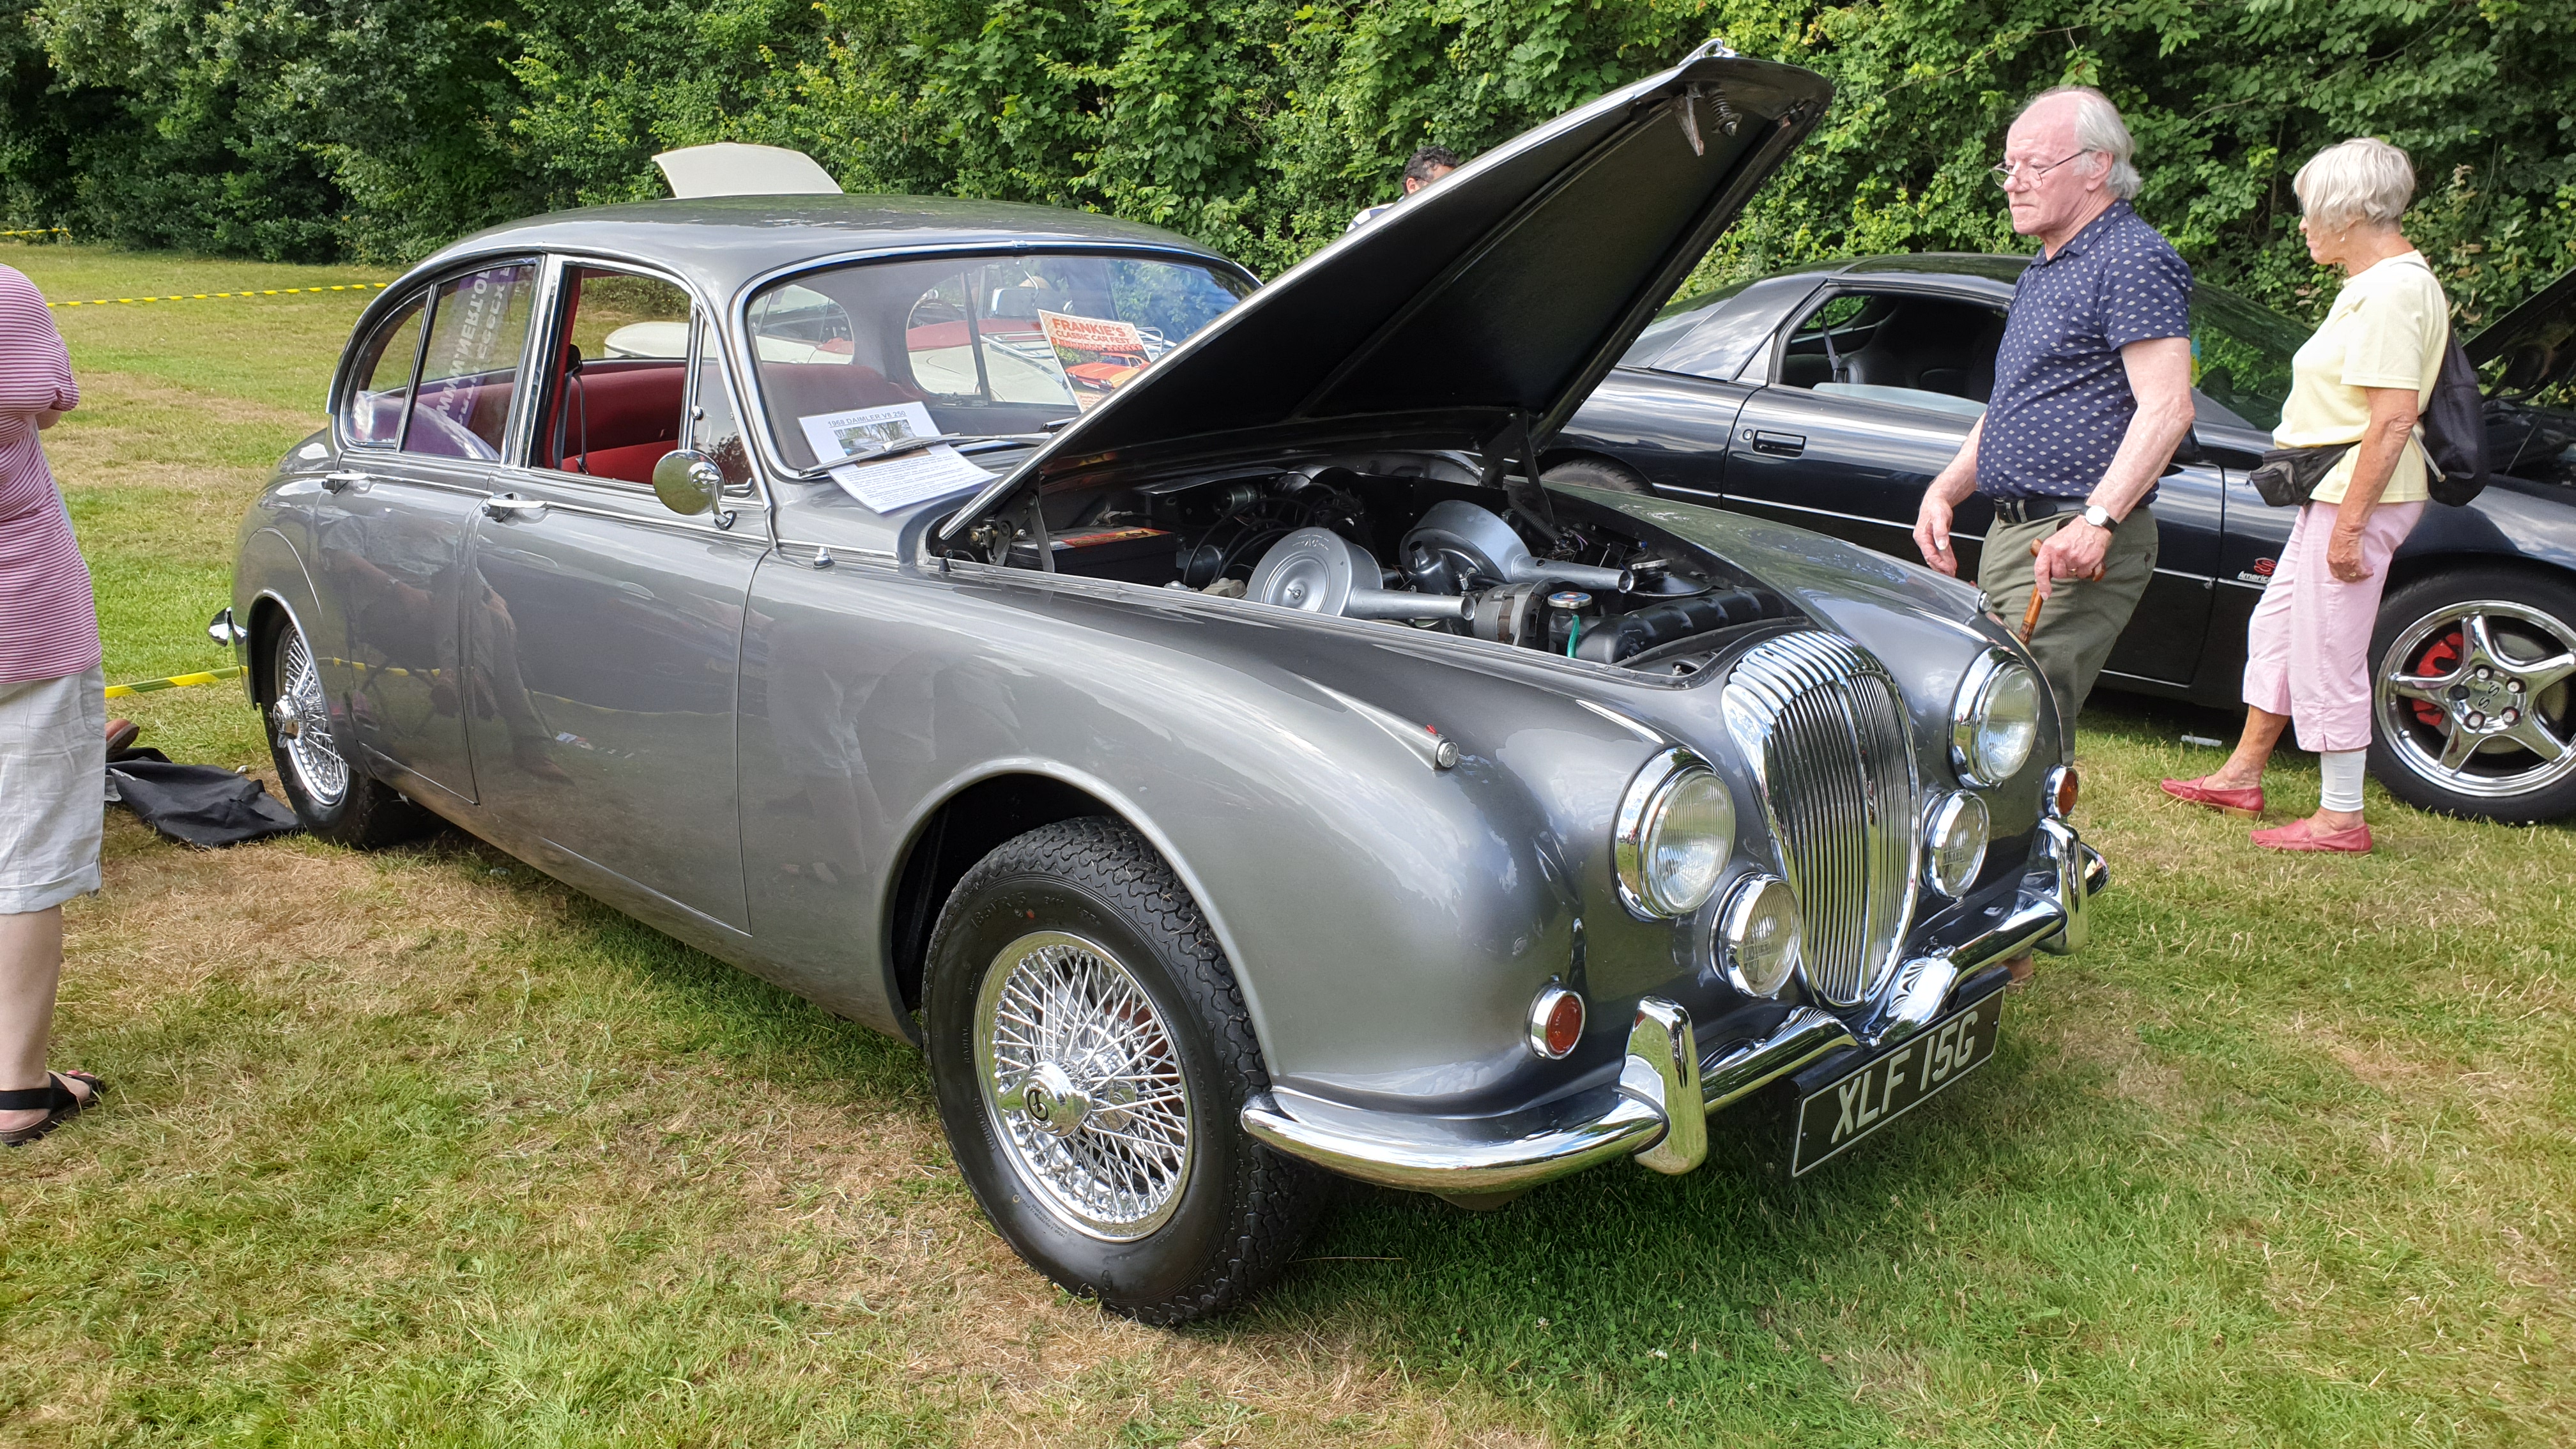
The local summerfest in Billericay had a few nice cars in it today!
-
Range Rover Police
Funkychiken replied to mrmike's topic in Model Trucks: Pickups, Vans, SUVs, Light Commercial
Fantastic Build! remember seeing these on the road when I was really little! -
That's real fine work there!
-
Rescue 911 van
Funkychiken replied to crazyjim's topic in Model Trucks: Pickups, Vans, SUVs, Light Commercial
Great paint work, did you pull some paint around the tail light? -
Ramcharger SRT custom
Funkychiken replied to BeakDoc's topic in Model Trucks: Pickups, Vans, SUVs, Light Commercial
Great build! -
1966 Ford F250 Service Truck
Funkychiken replied to Chuck Most's topic in Model Trucks: Pickups, Vans, SUVs, Light Commercial
Sweet build - realistic looking! -
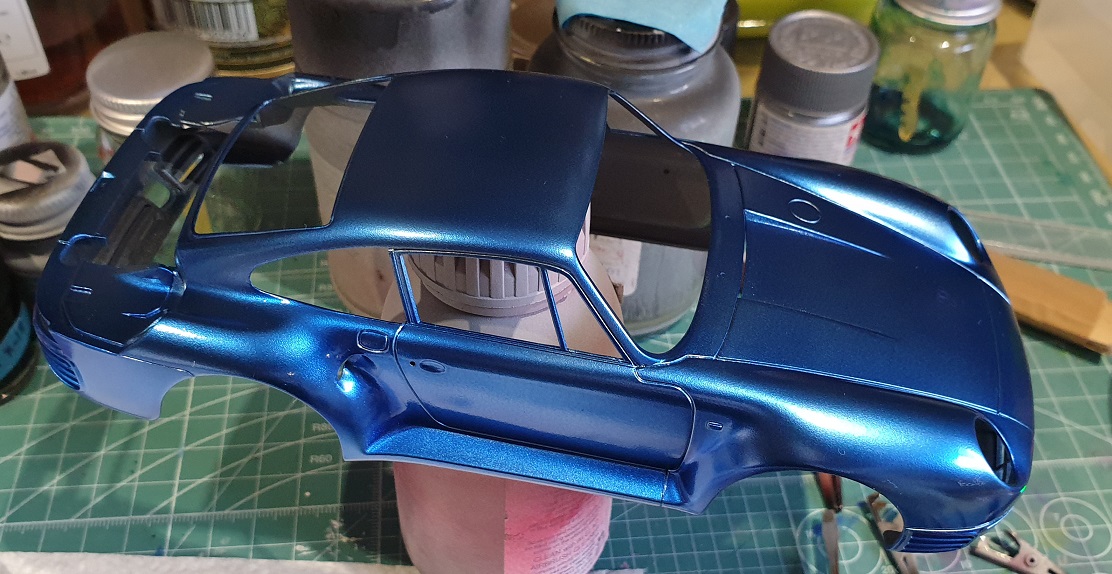
This 2nd pic is of the 2nd coat after a repair for dust. It's a little darker
-
Well you kind of get to fin out! I'm posting 2 pics, the first is 1 dust coat, then 1 medium coat of Cobalt Blue. The Alclad II instructions recommend 1 do 1 light coat wait 10 mins 7 than 2 medium coats. It's a lacquer, but unlike any i've used before. The problem with this paint, it that it has been designed to be translucent - so the silver base shines through. Well that's great, but it makes it really difficult to patch up issues. I had dust land in one spot, lightly sanded it out, then when touching up, I ended up with a light spot (where the sanding was) then dark areas outside of it. I also ended up with 2 splodges - same issue trying to sand out and patch up. I'll probably give it one more coat. This paint also attracts dust. Once washed and air dried, it's like a magnet for dust. never seen anything like that before!
-
High quality build you got there!
-
Fantastic build, and the effect on the interior looks excellent
-
1965 Pontiac Gran Prix custom ......try it again
Funkychiken replied to Peter Lombardo's topic in Model Cars
Kool build! -
Very well executed, and nice solution for the steering!
-
Builds up into a sweet looking kit, and the pinky red is nice
-
Eleanor is another favourite of mine, you build is great!
-
Mr Rider, it looks that way! The rubber on this kit is very corrosive! Agree, the food was fiddly, thanks for the comments!
-
That paint work is amazing!
-
Fantastic progress on this!
-
Great finish!
-


.jpg.2159a54321f3e872a96a82386c7e1276.jpg)