Jump to content
Model Cars Magazine Forum

Funkychiken

Members
  • Posts

    2,635
  • Joined

  • Last visited

Everything posted by Funkychiken

  1. I think this is your best build yet, looks great, and the color really pops in the Sun. Excellent!
  2. It's a beaut, expertly finished as always!
  3. It's looking sharp so far.
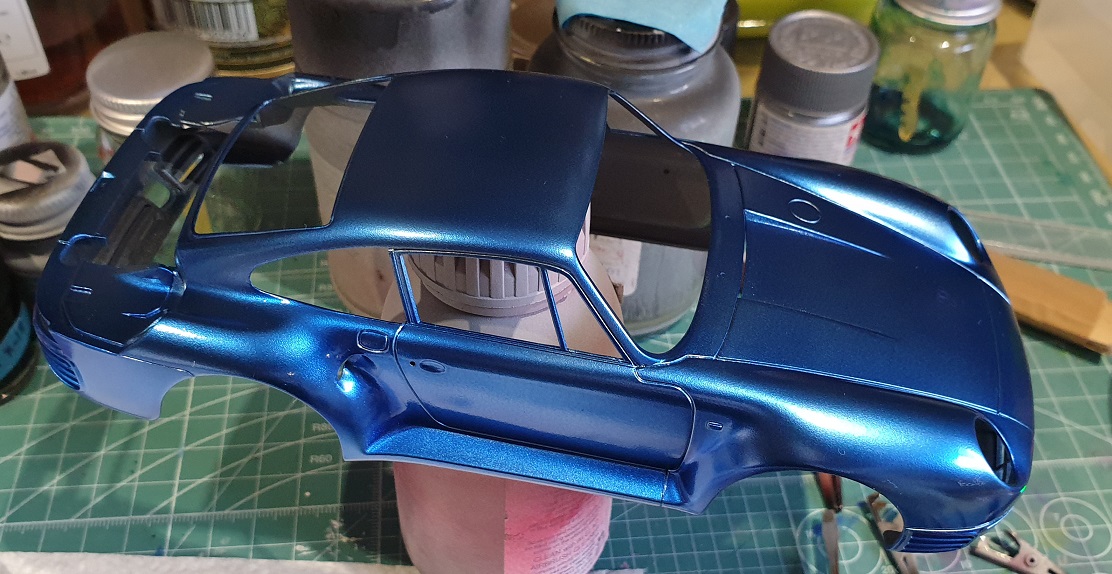
  4. This is looking excellent! I'm sure you already do, but please take precautions, don't inhale the dust, it's dangerous! This build is going to be amazing!
  5. Thanks Dann, hope you are doing well and flexing your building skills
  6. I don't have an image of how bad it has come out - but far worse than the 1st side. This is an image of it during application - with the setting solution... I used warm water. Setting solution for under the decal & Softening solution for on top of the decal & used a hair dryer to make it more supple during drying....
  7. Thanks for the tip, but I couldn't find any. i went with "DACO PRODUCTS" Decal Setting solution STRONG. I then tried to get the other side done... and failed miserably! the 2nd side is worse, so I'm going to have to strip them. I might try and print my own decals, I always take a scan of decal sets prior to use (just in case) but this is the first time I've really messed up a set!
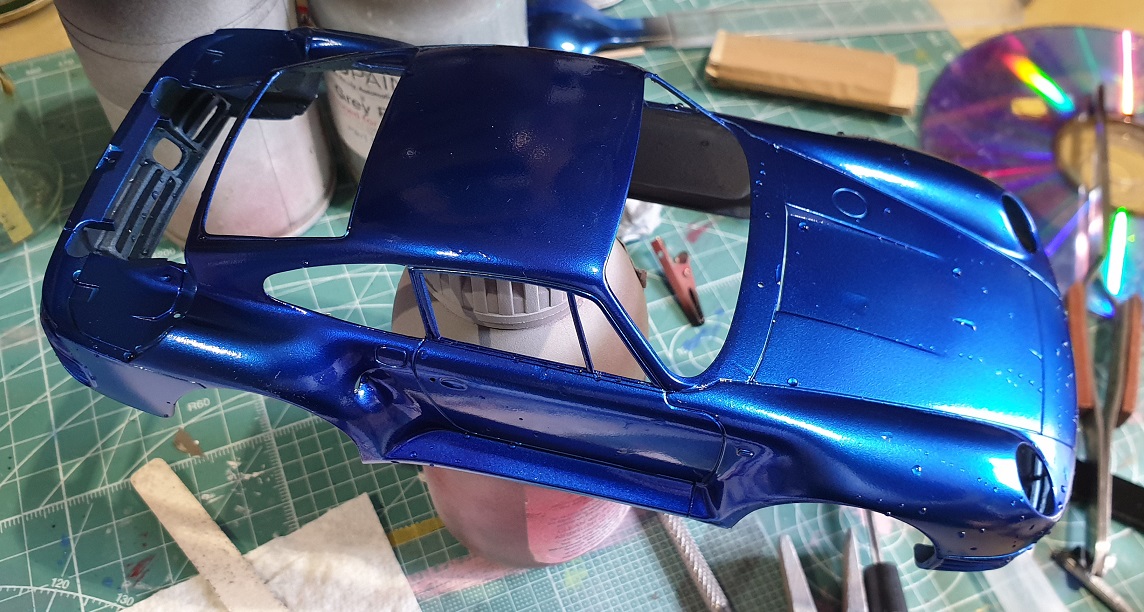
  8. it's been lightly sanded, and will now get Cobalt blue Lacquer on top... I can already predict that it will also receive an unwanted layer of dust... but I'm not looking ofr perfection - just want to get a kit done this year!
  9. So this is where it's at now, the Alclad II Bright Silver Base has been applied. The spoon test received 2 light coats, and looks great with a black/silver look to it, but I couldn't replicate this on the body shell - it was too difficult to get it even. it ended us so patchy that eventually it has ended up just silver. I'm hoping it will still look good though.
  10. The body was sprayed with Zero Primer - a few coats and some very light sanding. I'm using a new bottle of zero grey primer, and have found that I need to thin it down by about 20 to 30%. Never happened to me before, but look on the bright side - it'll last longer! Then there were several light coats of Zero gloss black. it came out smooth to the touch, but looks textured!?
  11. The chassis in the instructions is difficult to understand - it looks like it is all in the body colour. The images on line do show that most of it probably is finished in the body colour. But I decided to do mine in a mixture of semi-gloss black & the body colour. Masked & ready to go!
  12. So I havn't posted in a while, as I was going to move house... it's still on the cards, but we are currently trying to re-finance & teh mortgage company is not easy to deal with! Anyhow, most of my stuff was packed a month ago, but with the delay, I sneaked some of it out & re-started this car... all thw components have been stripped from sprues & are in progress. I was debating on colour, and have decided to go woth Alclad II Cobalt Blue. the spoon test is half with black base & half without, the black base looks way better, so that's what I decided to do!
  13. Sweet finish on that paint, you're on the home straight now!
  14. sweet!!!!
  15. Beautiful!
  16. Excellent build!
  17. will be following along, this is a great kit! & a great car. looks great so far
  18. One other comment to add here is that you shoudl rub down the tamya tape well after application - especially around raised or lowered profiles and contours around the body. sometimes paint will seep under the masking tape edge if it's applied too heavy - and the tape has not been rubbed down well. just make sure that the base coat was cured well first - or it'll peel off when you remove the tape...
  19. Hi All, I have a Hasegawa Touring car kit, and it came with these tyre transfers. Does anyone have an idea about how they are applied? They are not decals - as can be seen in the image, they are reversed. They remind me of the "rub on" fake tattoos that we had when we were kids... so I tried to "rub" a section of it onto a surface, it did not come away at all (you can see the "A" in a circle on the bi that's been cut away had been rubbed). There is no mention of them in the instruction manual, and no references I could find on-line. thanks for the help!!!!
  20. Coming along nicely, I like the details!
  21. It's a beatiful kit, and your flocking and body paint look excellent!
  22. I have made a lot of progress - amongst packaing (to move house soon), a vacation (to Dubrovnik) and 2 business trips, one to Dearborn USA, and one to Istanbul in Turkey... been busy! The body was primed - several light coats of tamiya White primer over Zero grey primer Then the whole body was coated in a few coats of Zero White Then masked as shown & sprayed yellow. I used Camel Yellow from Zero, it came out a bit more orange than the images show, but it's close enough. Unfortunately, the Microsol was not able to make these after-market decals conform. I've got wrinkles & air pockets near raised moulding detail. Now, I'll admit I did apply them over the Zero Base coats - and not over a clear. How ever, I've done that before with no issue. I have used soooo much microsol, and sooo much hair drying - that I managed to warp the body (because I left the body in the spring-loaded tamiya paint stand, and it bowed out!) However, I plan to cut the bubbles and have another go at it with microsol Some of you may notice that I also messed up with the positioning of the transition from white to yellow. Now the racing number is half yellow & half whit - it should be all yellow, I think I'll make up for it by adding a decal over it that's yellow... Need some advise though - what do you reckon - paint the clear first then add te 2nd side's decal? or just try the same with the other side? Also - does anyone know of a stronger decal conforming product? thanks!
×
×
  • Create New...