Speedpro
-
Posts
842 -
Joined
-
Last visited
Content Type
Profiles
Forums
Events
Gallery
Everything posted by Speedpro
-

Ready for BOOT HILL EXPRESS - The DRIFT edition?...
Speedpro replied to Claude Thibodeau's topic in Model Cars
What a awsome build! Beautifully done! -
Very nice! Good choice for a '32 build and you knocked it out of the park!
-
excellent build! Very well done!
-
Very nice. I like the red with the gold strips.
-
They make black chrome. You must use a gloss black base. Alclad has been such a great addition to my builds. Still figuring it out though.
-
I'm using alclad chrome ALC 107. Airbrush only. I thought this stuff would be bright looking chrome but it looks almost like black chrome. I think it's just me. Been using it on another build I am working on and trying different spray settings to get more product down to make it to look brighter as there is a fine line before it turns silver. It's looking better every time I use it. I still have the front and rear bumpers plus the exhaust to spray again. Hopefully this will be the last time as I have done them 3 times already.
-
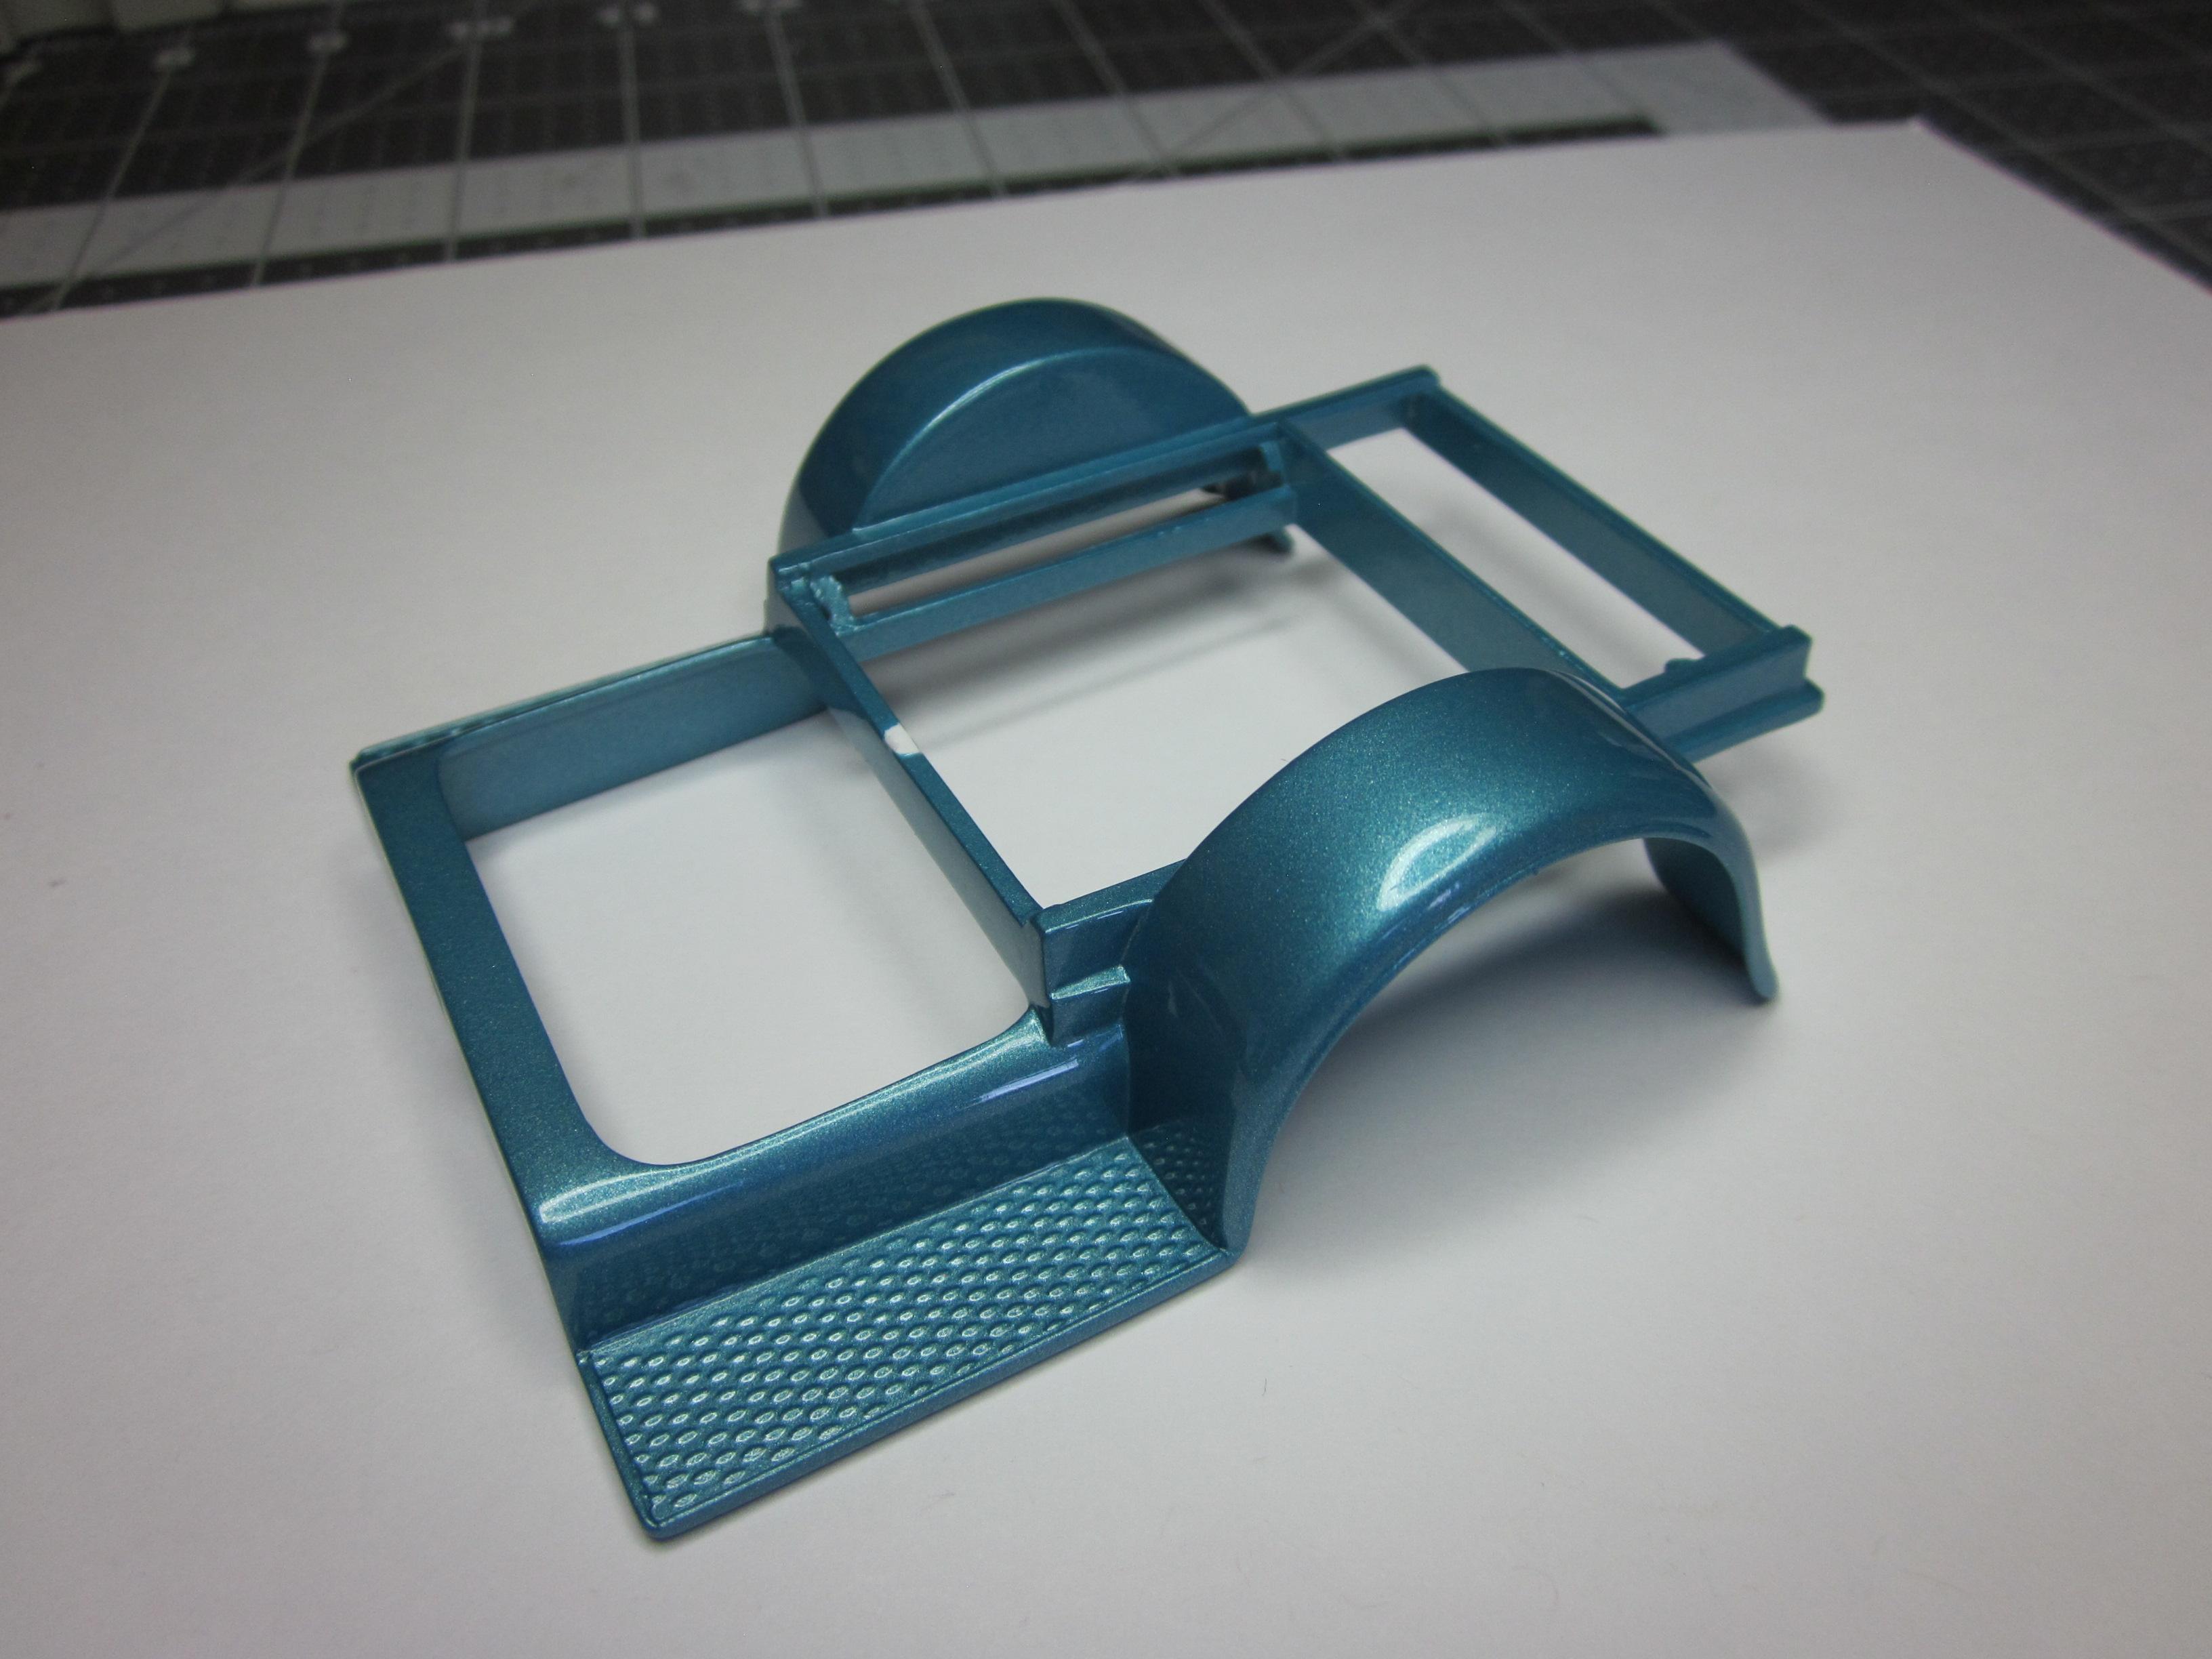
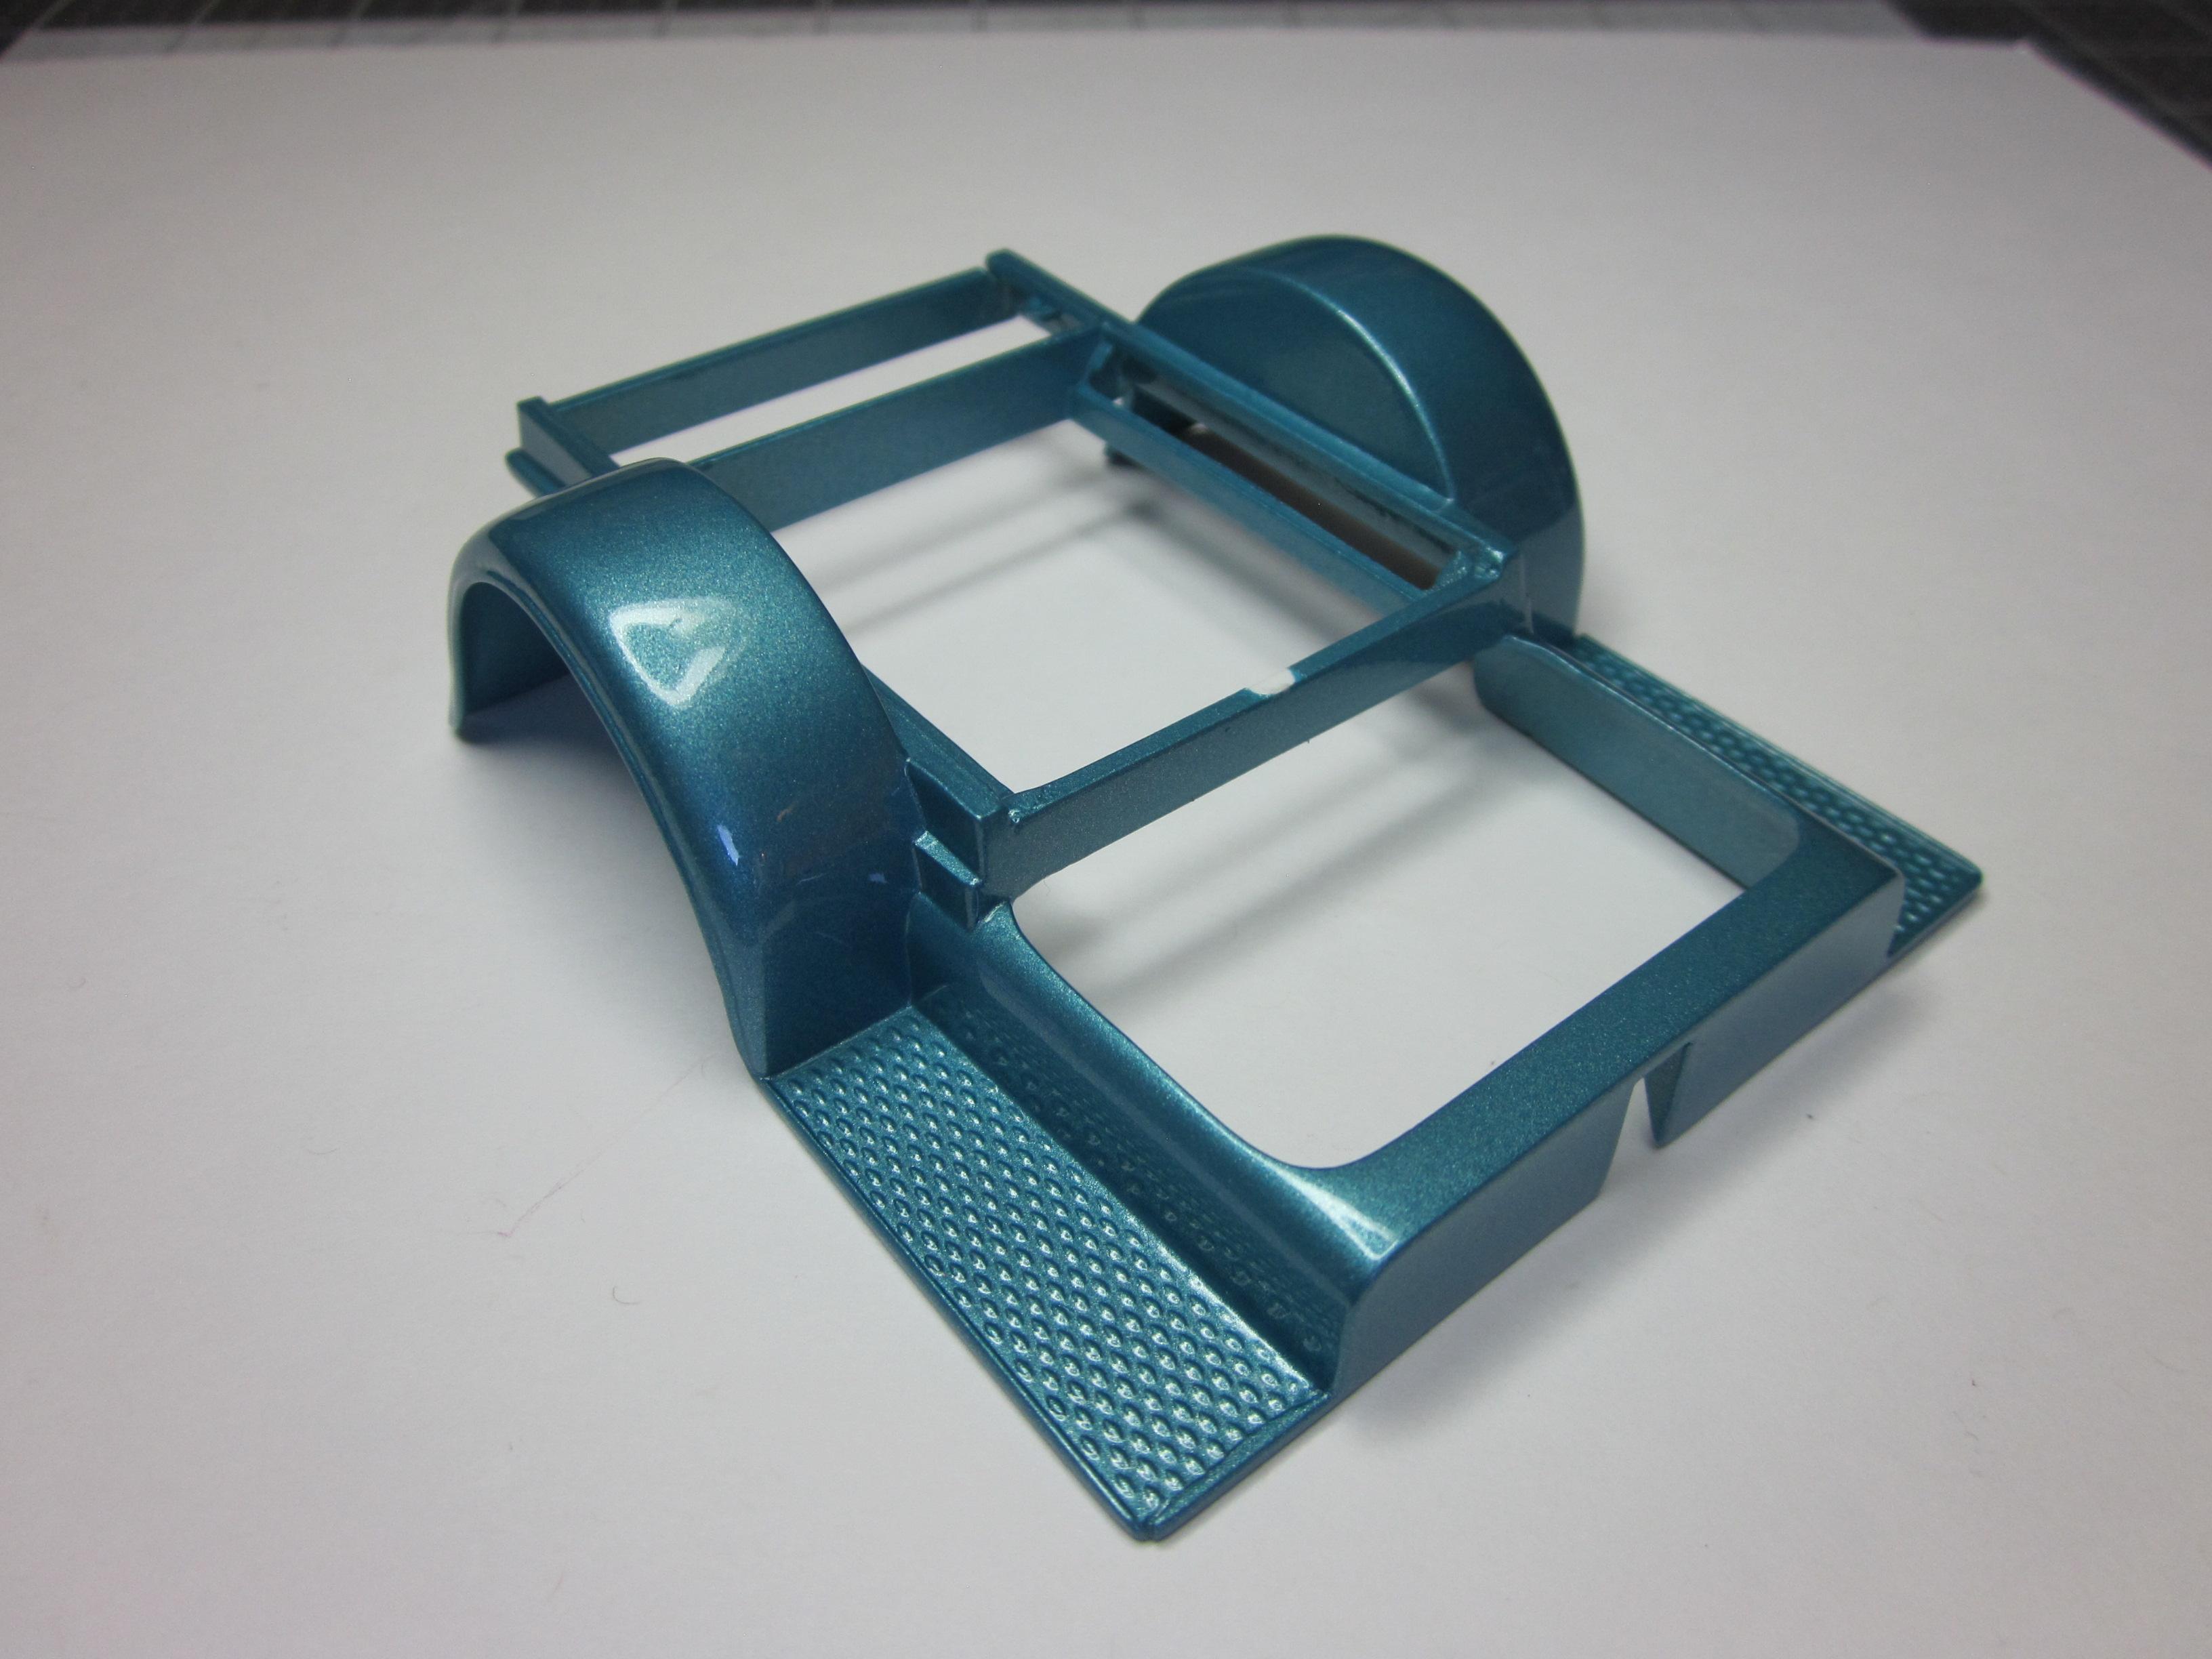
Thanks Bob, I know the paint color look's blue, but it is actually turquoise. Look's way different in person. Thank's Carl, Alway's appreciate your comments! Thank you , @Dennis Lacy Still up in the air as to who is putting this thing together. I was only hired for the paint work I think. @Kit Karson might have other thoughts though.....hehe Phil, I wish i could call it mine but is actually the property of @Kit Karson and my part was to repaint the truck after he had a tuff time with the first paint job.
-
Bella's 34 Ford P/U
Speedpro replied to speedy5963's topic in WIP: Model Trucks: Pickups, Vans, SUVs, Light Commercial
Beautiful paint work on the '34. That's the results that happen when one has a great teacher and the right tool's. Awsome work so far!! -
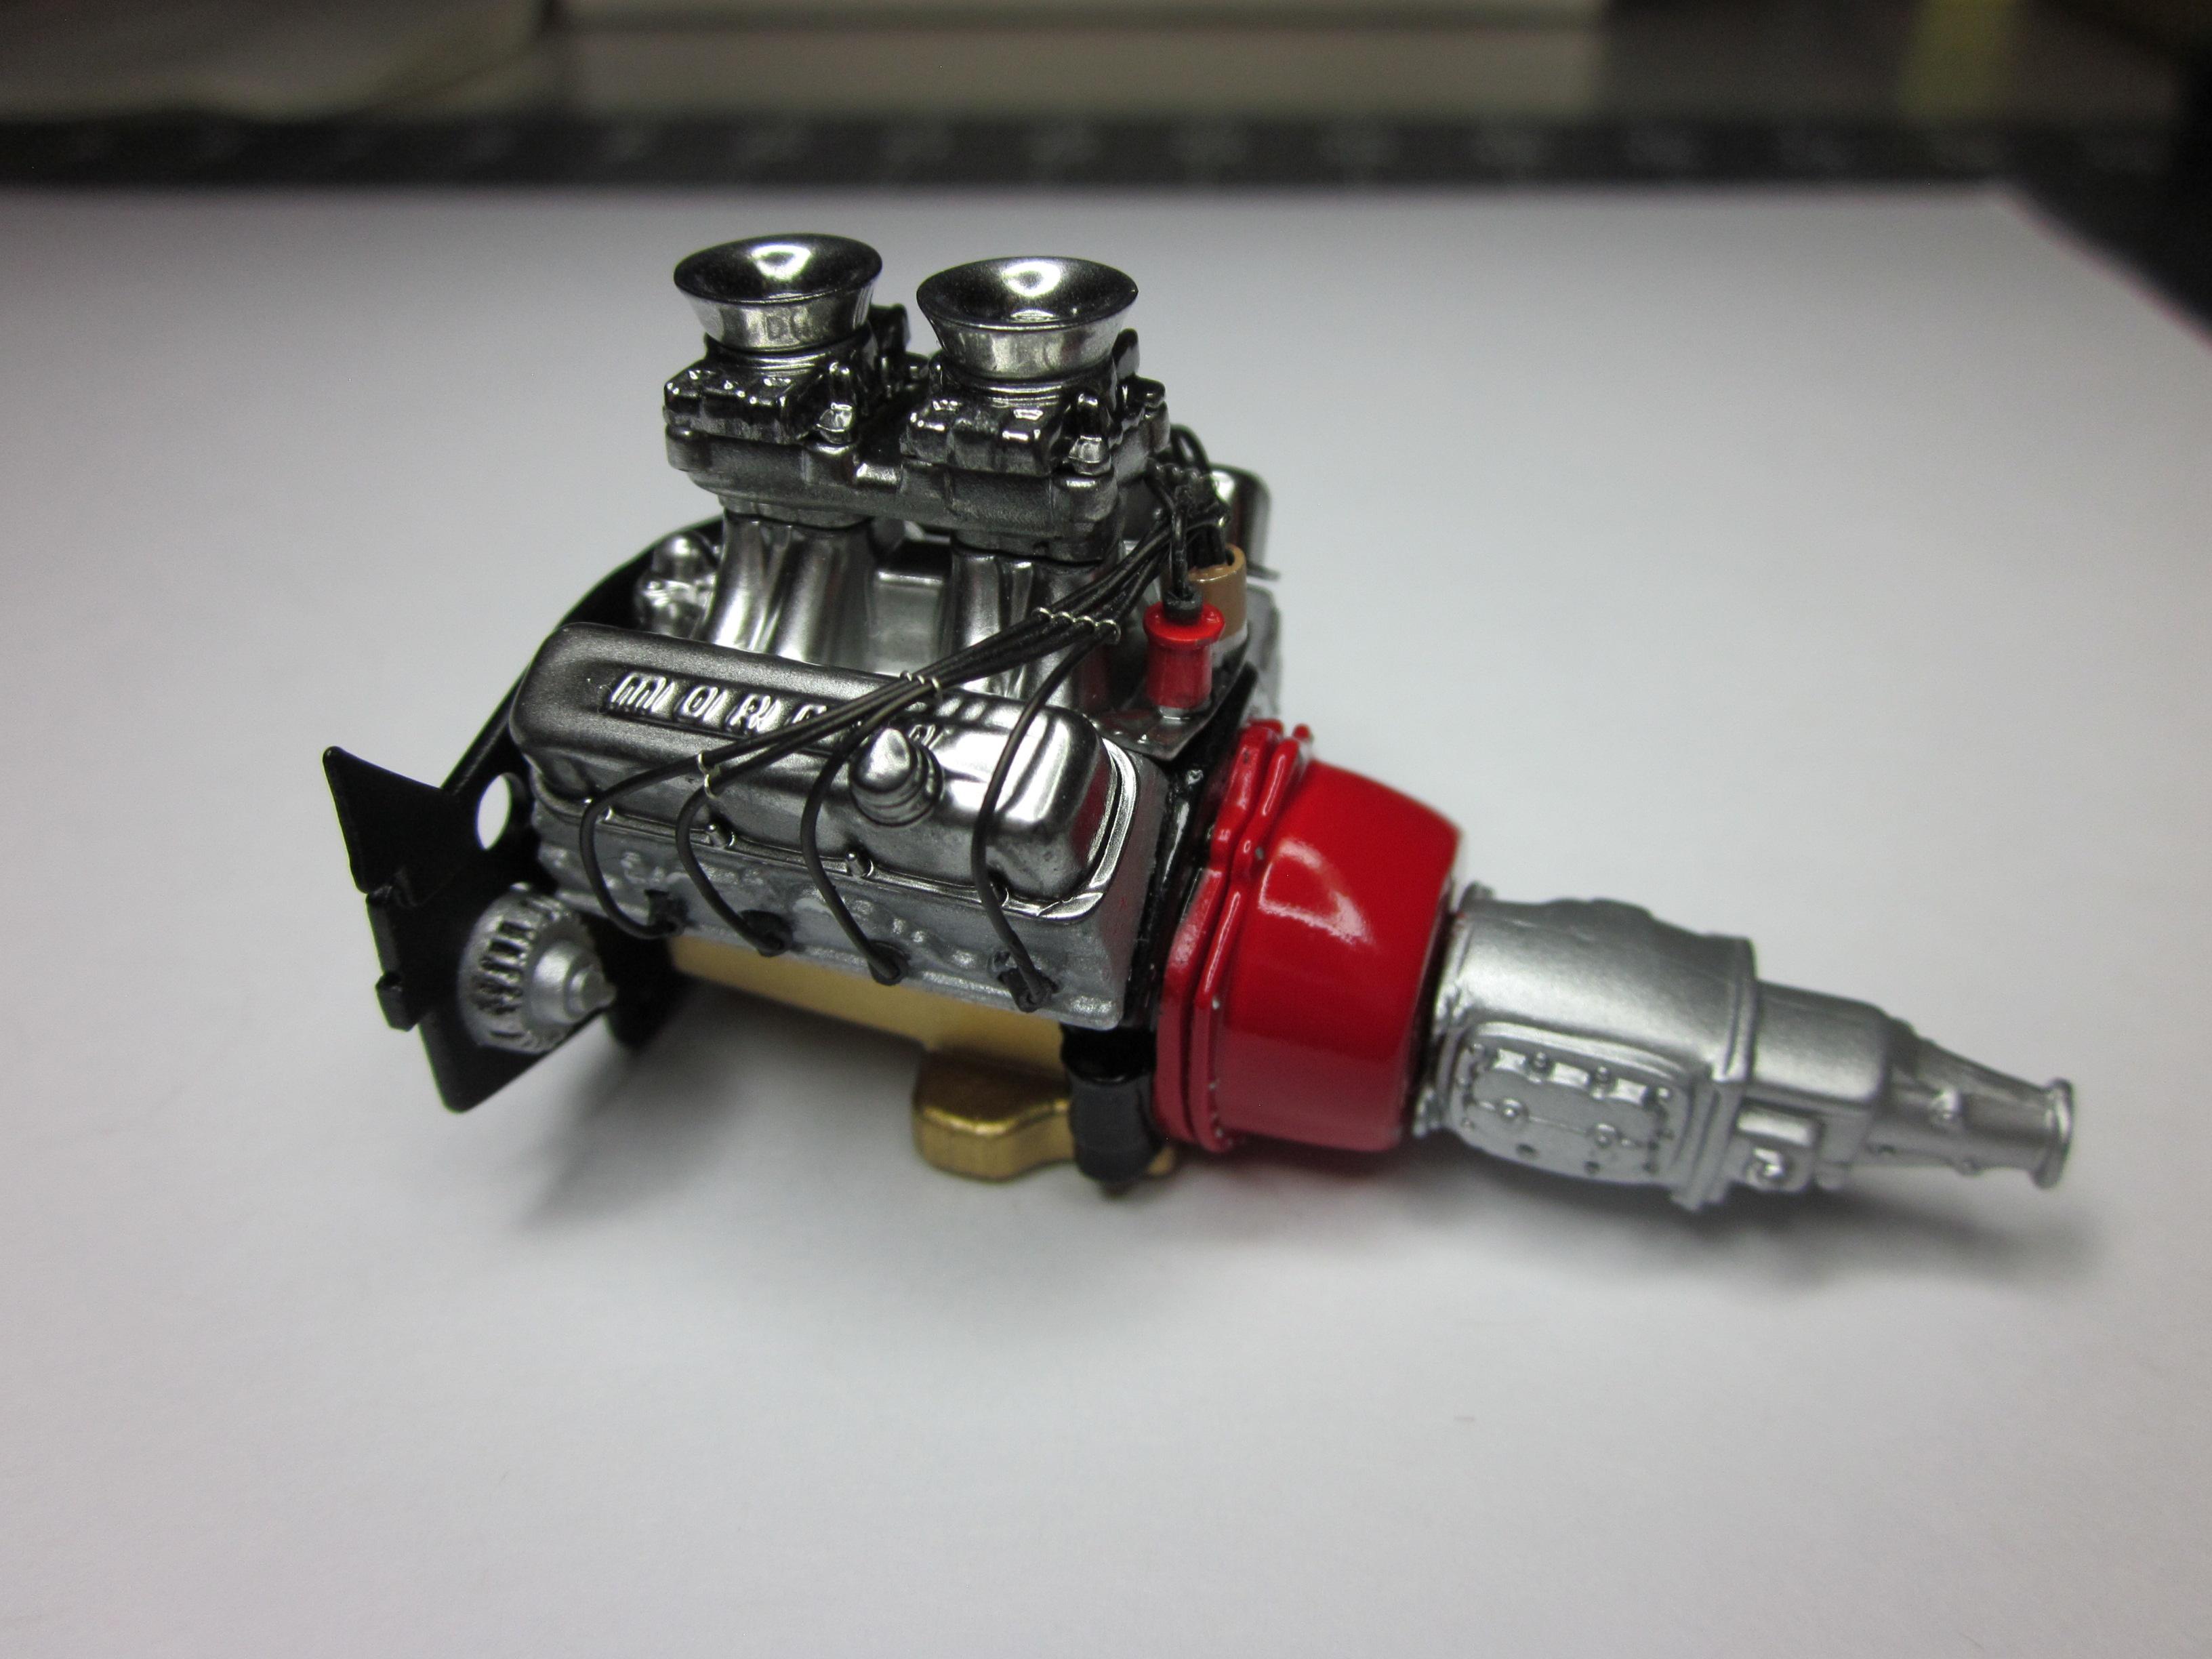
Thanks Chaz, The RH header is giving me some fit issues. It's like the engine is too far back. Not sure if its something I caused or I missed while mocking things up. The drivers side had no problems. Thanks Greg, Doing the alclad has slowed things down but gives alot of life to the build. I have a '66 SS that I'v had for 23 years now. It's marina blue with bright blue interior. I restored the car from top to bottom in 2000. Only things I didn't do myself is the paint(it was on the car when I got it), headliner and front end alignment. One day I might build a model of it. Thanks Chris

-
Was hoping to get this done a couple weeks ago but have been fighting the chrome on some of the parts. Ended up having to strip the parts in brake fluid to get the enamal paint off so they can be redone with the alclad. As it sits right now, I'v put as much together as I can. Was working on the exhaust but had a hard time with fit and trying not to ruin the chrome finish. Picked up some alclad aqua gloss clear to help save the finish when the parts are sprayed again. Here is a couple pics of where this build is stalled at............................. The exhaust that you see mounted has been removed to be redone. Going to get the parts that will get the alclad done this week. Then I can finish this thing. Speedpro
-
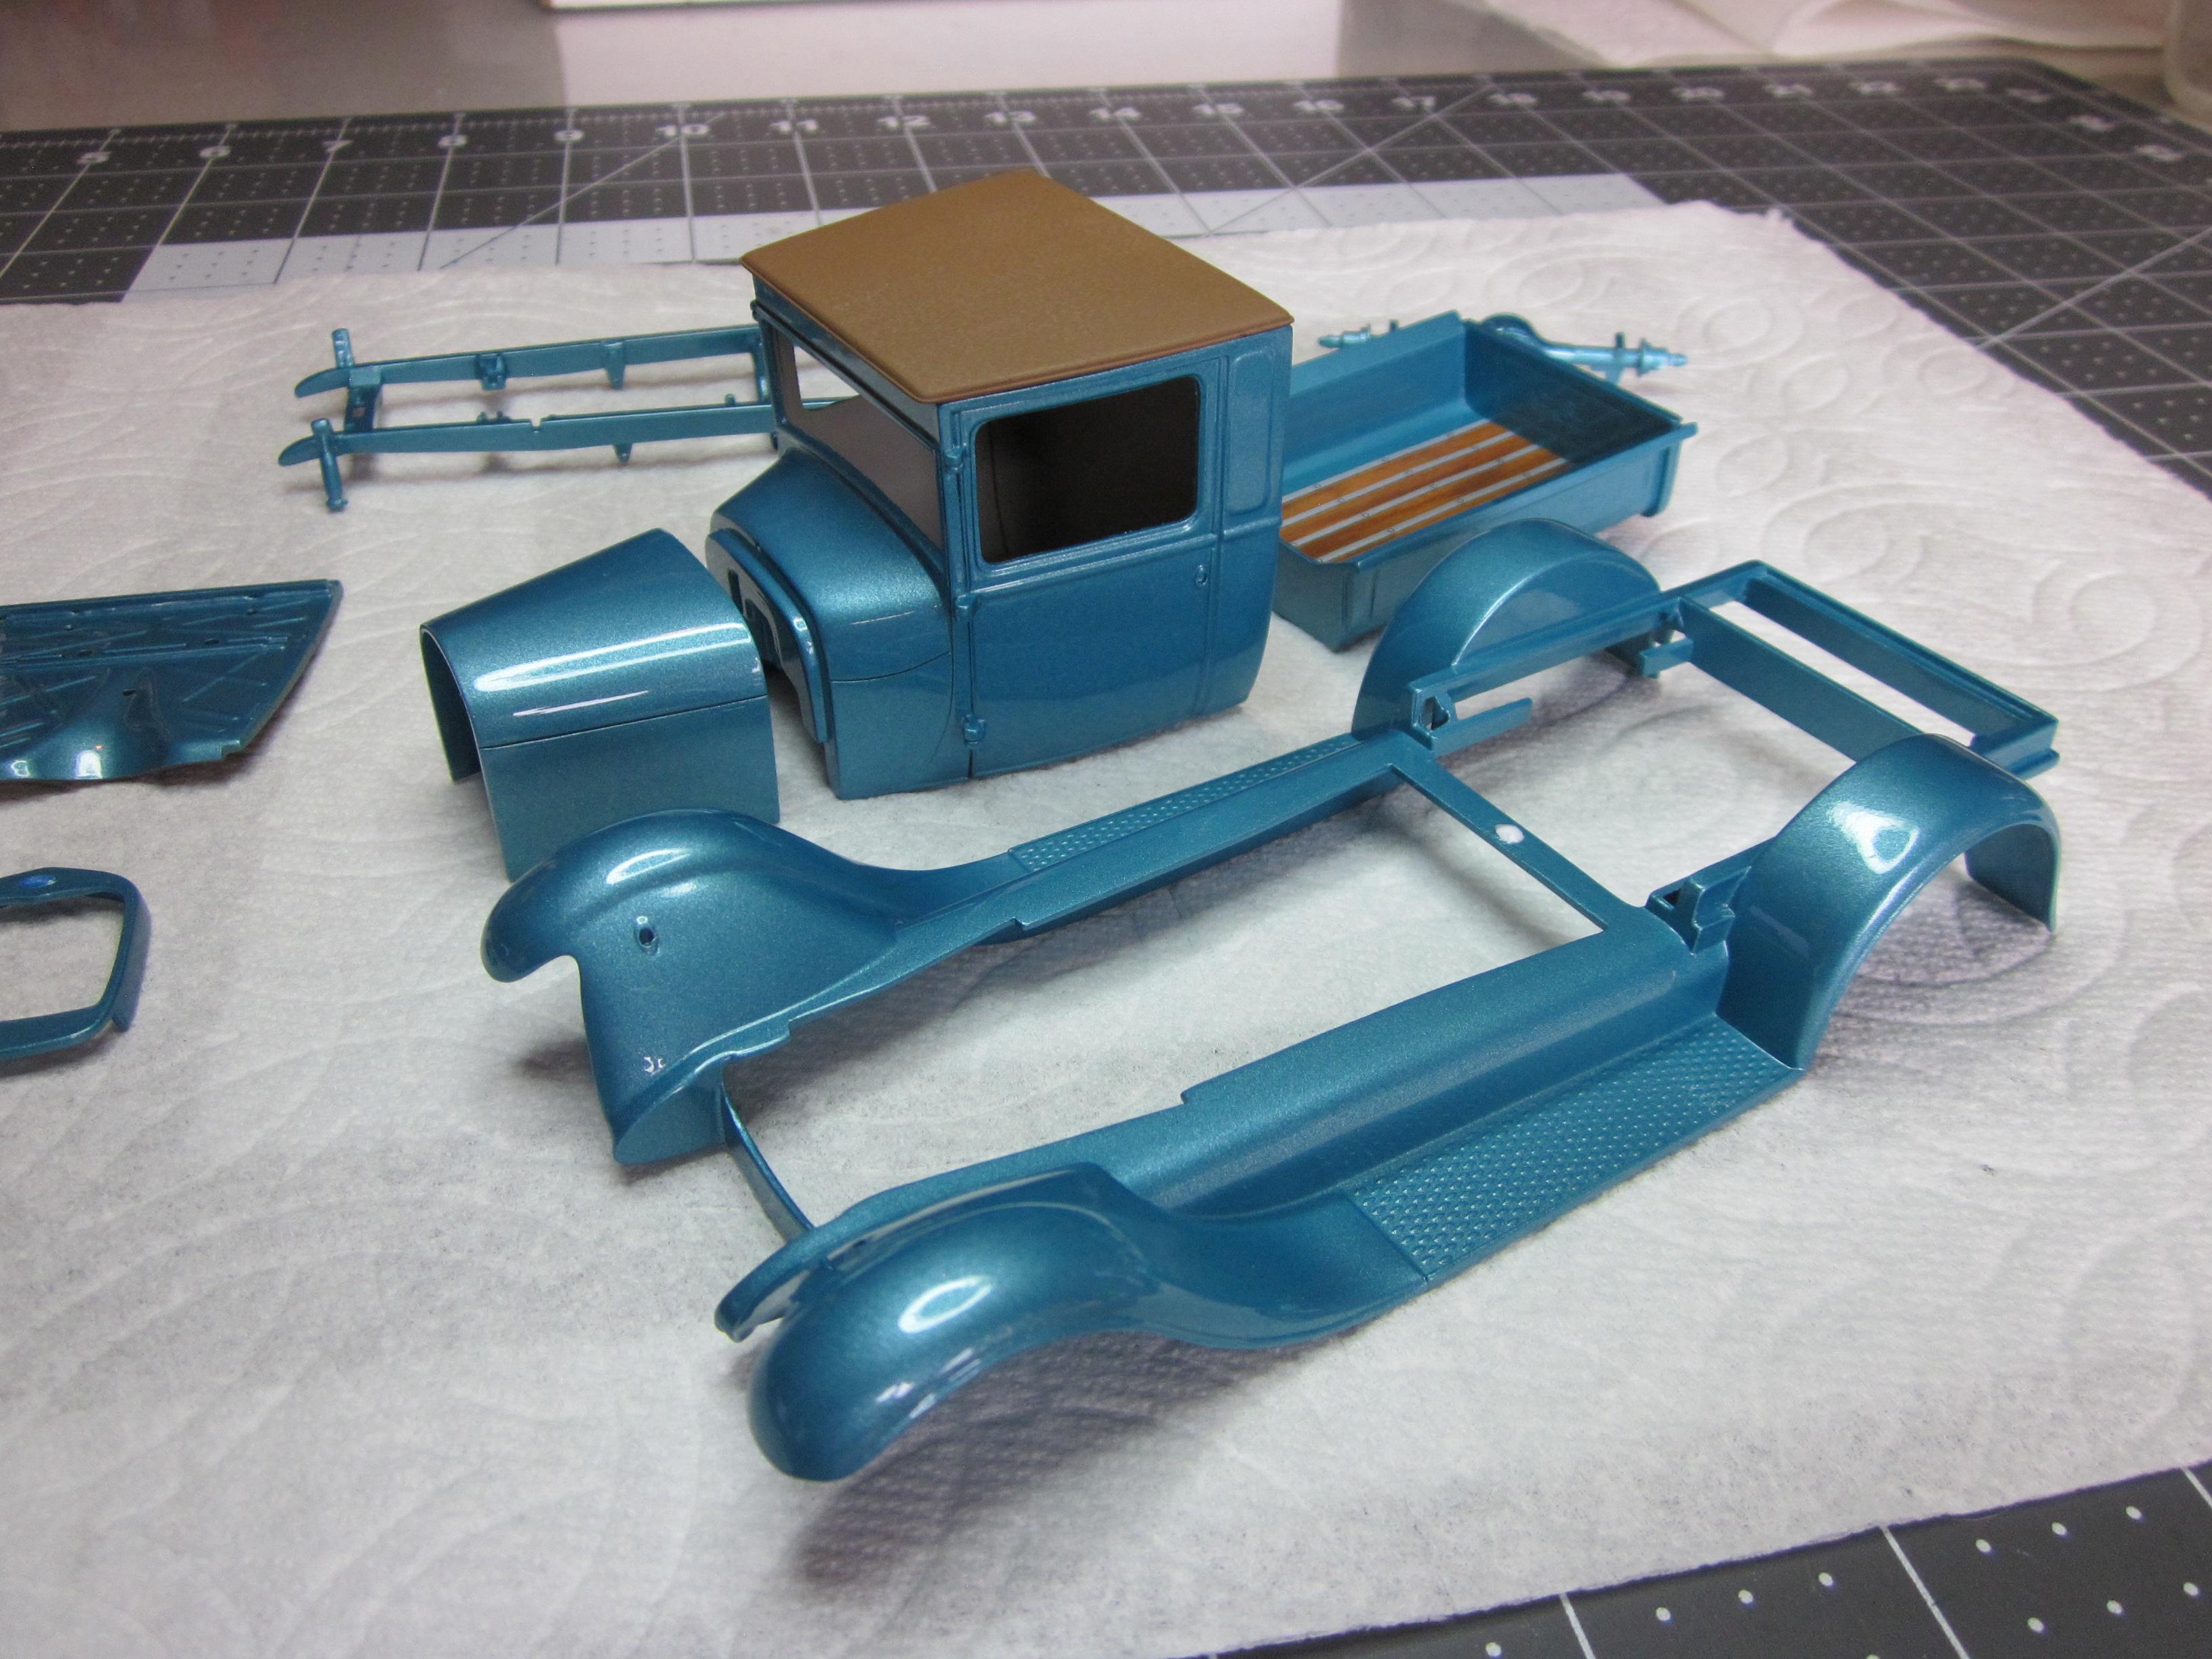
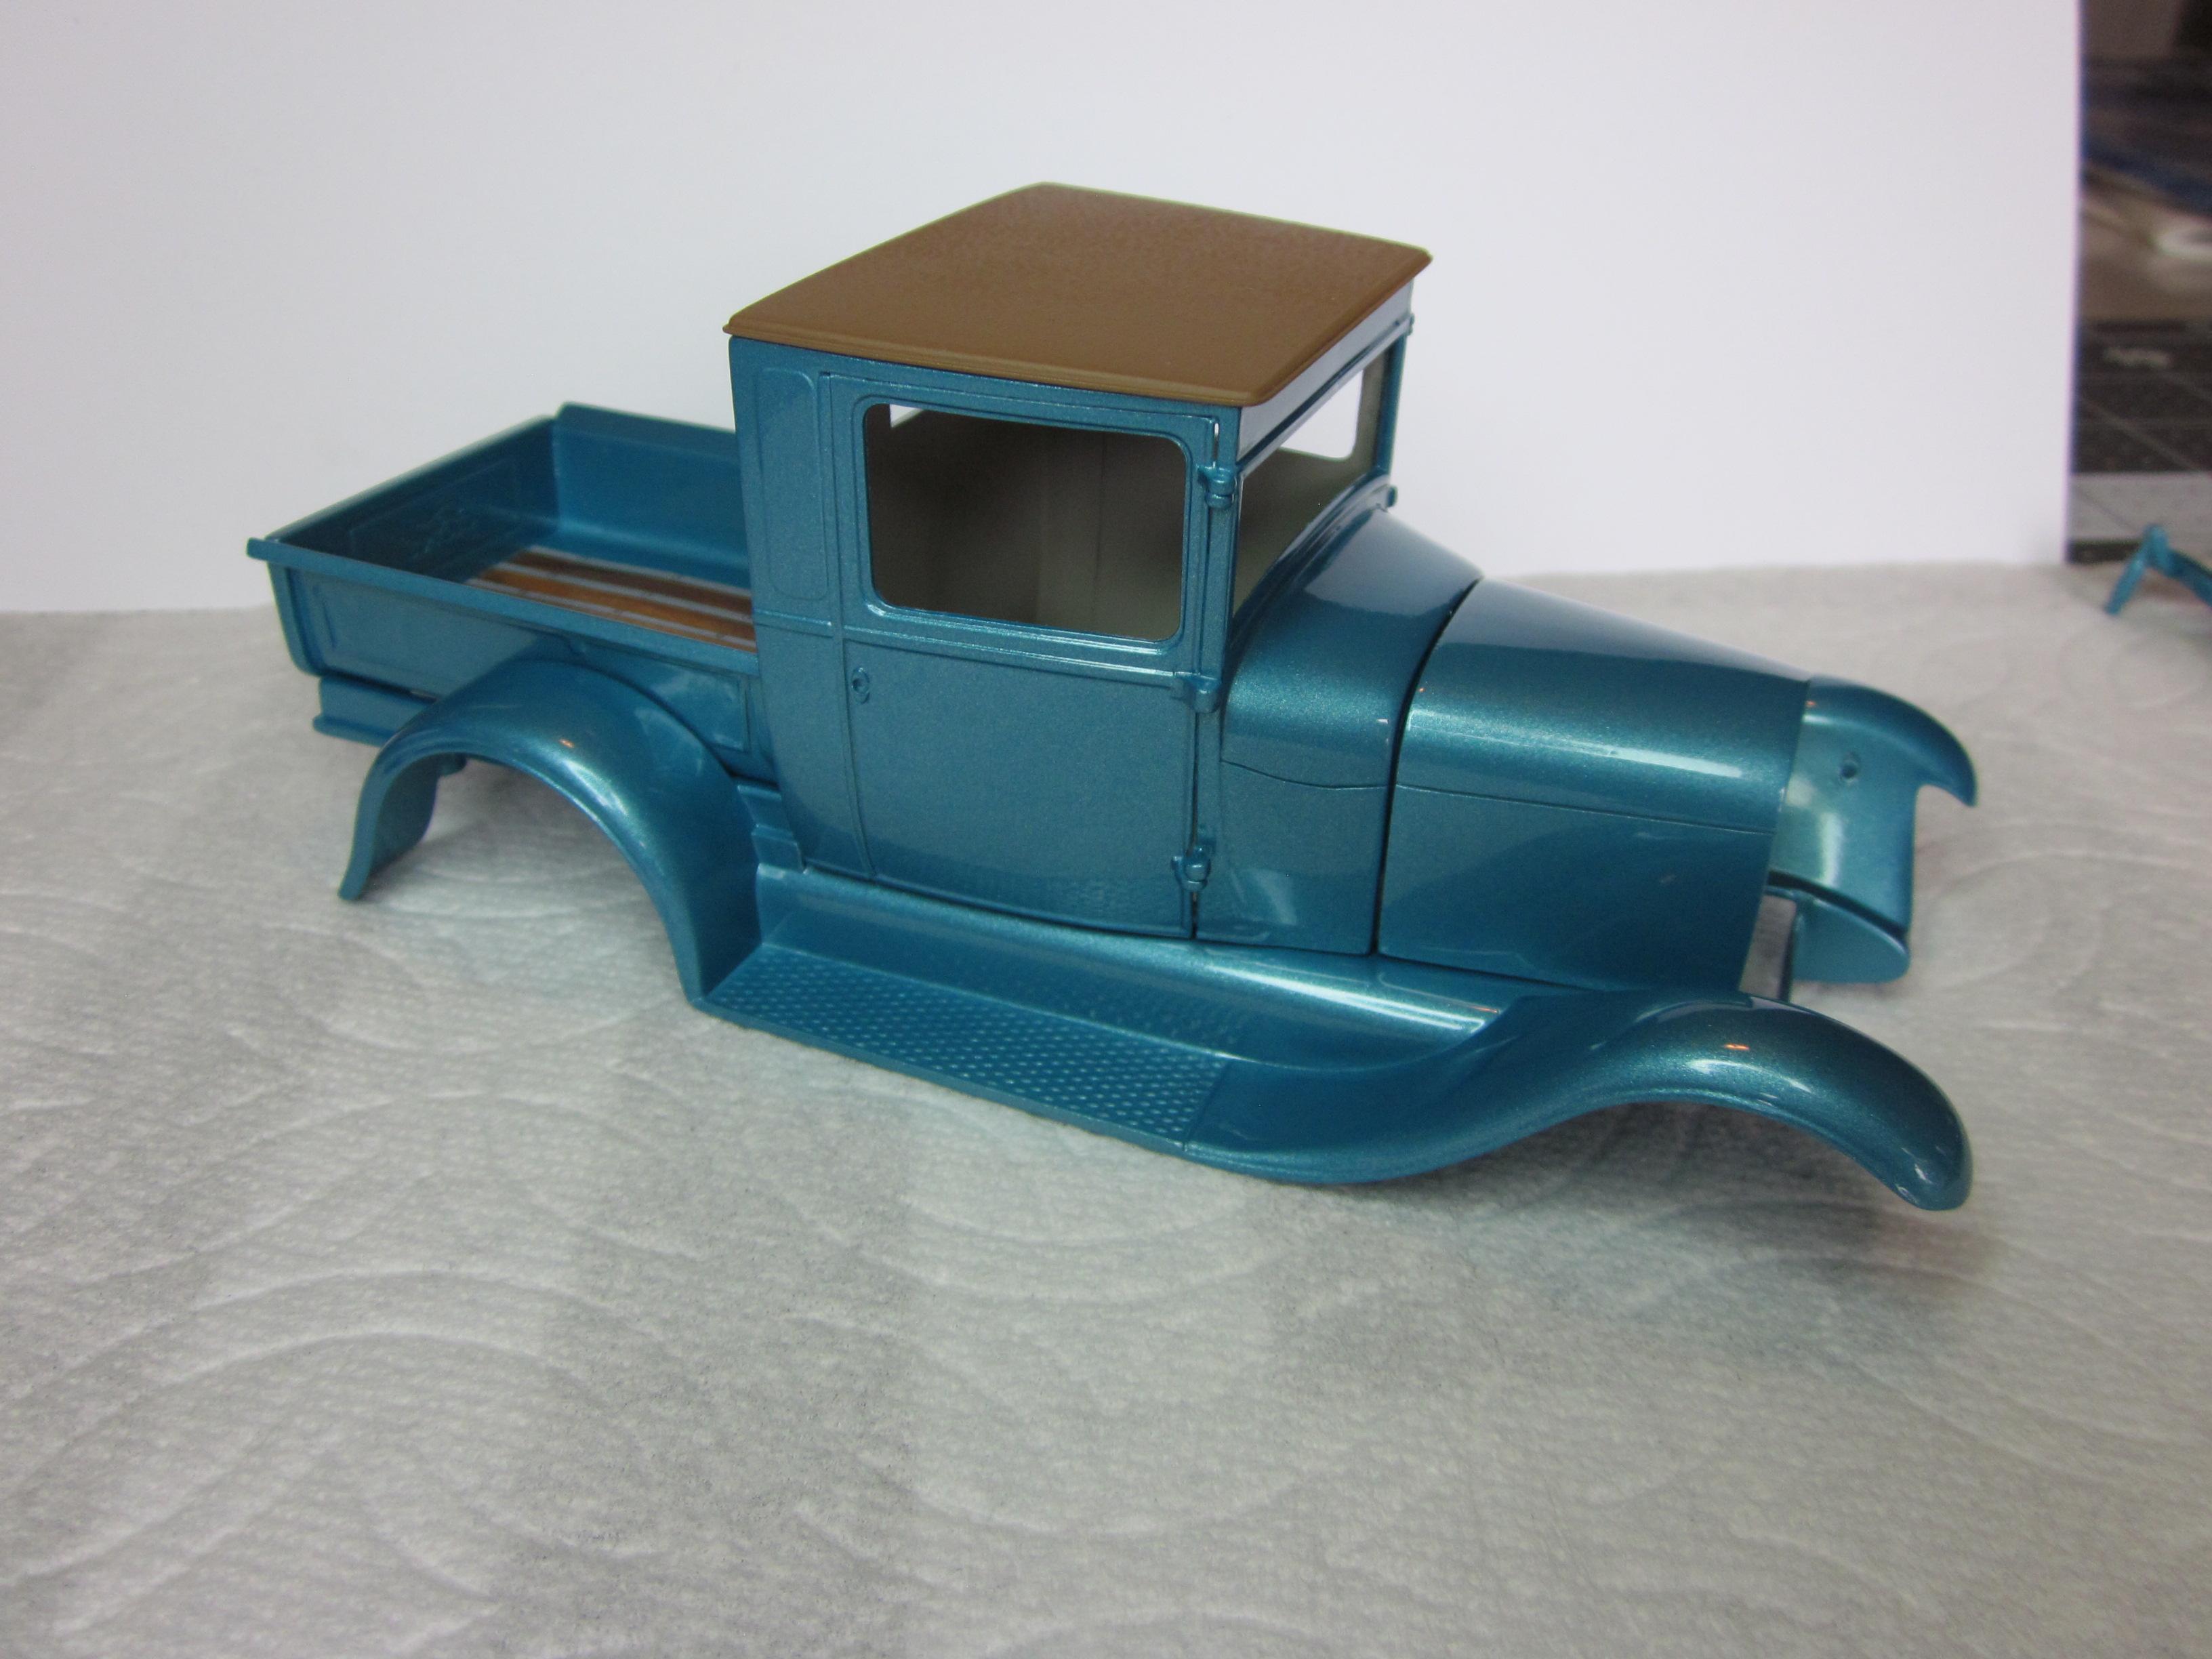
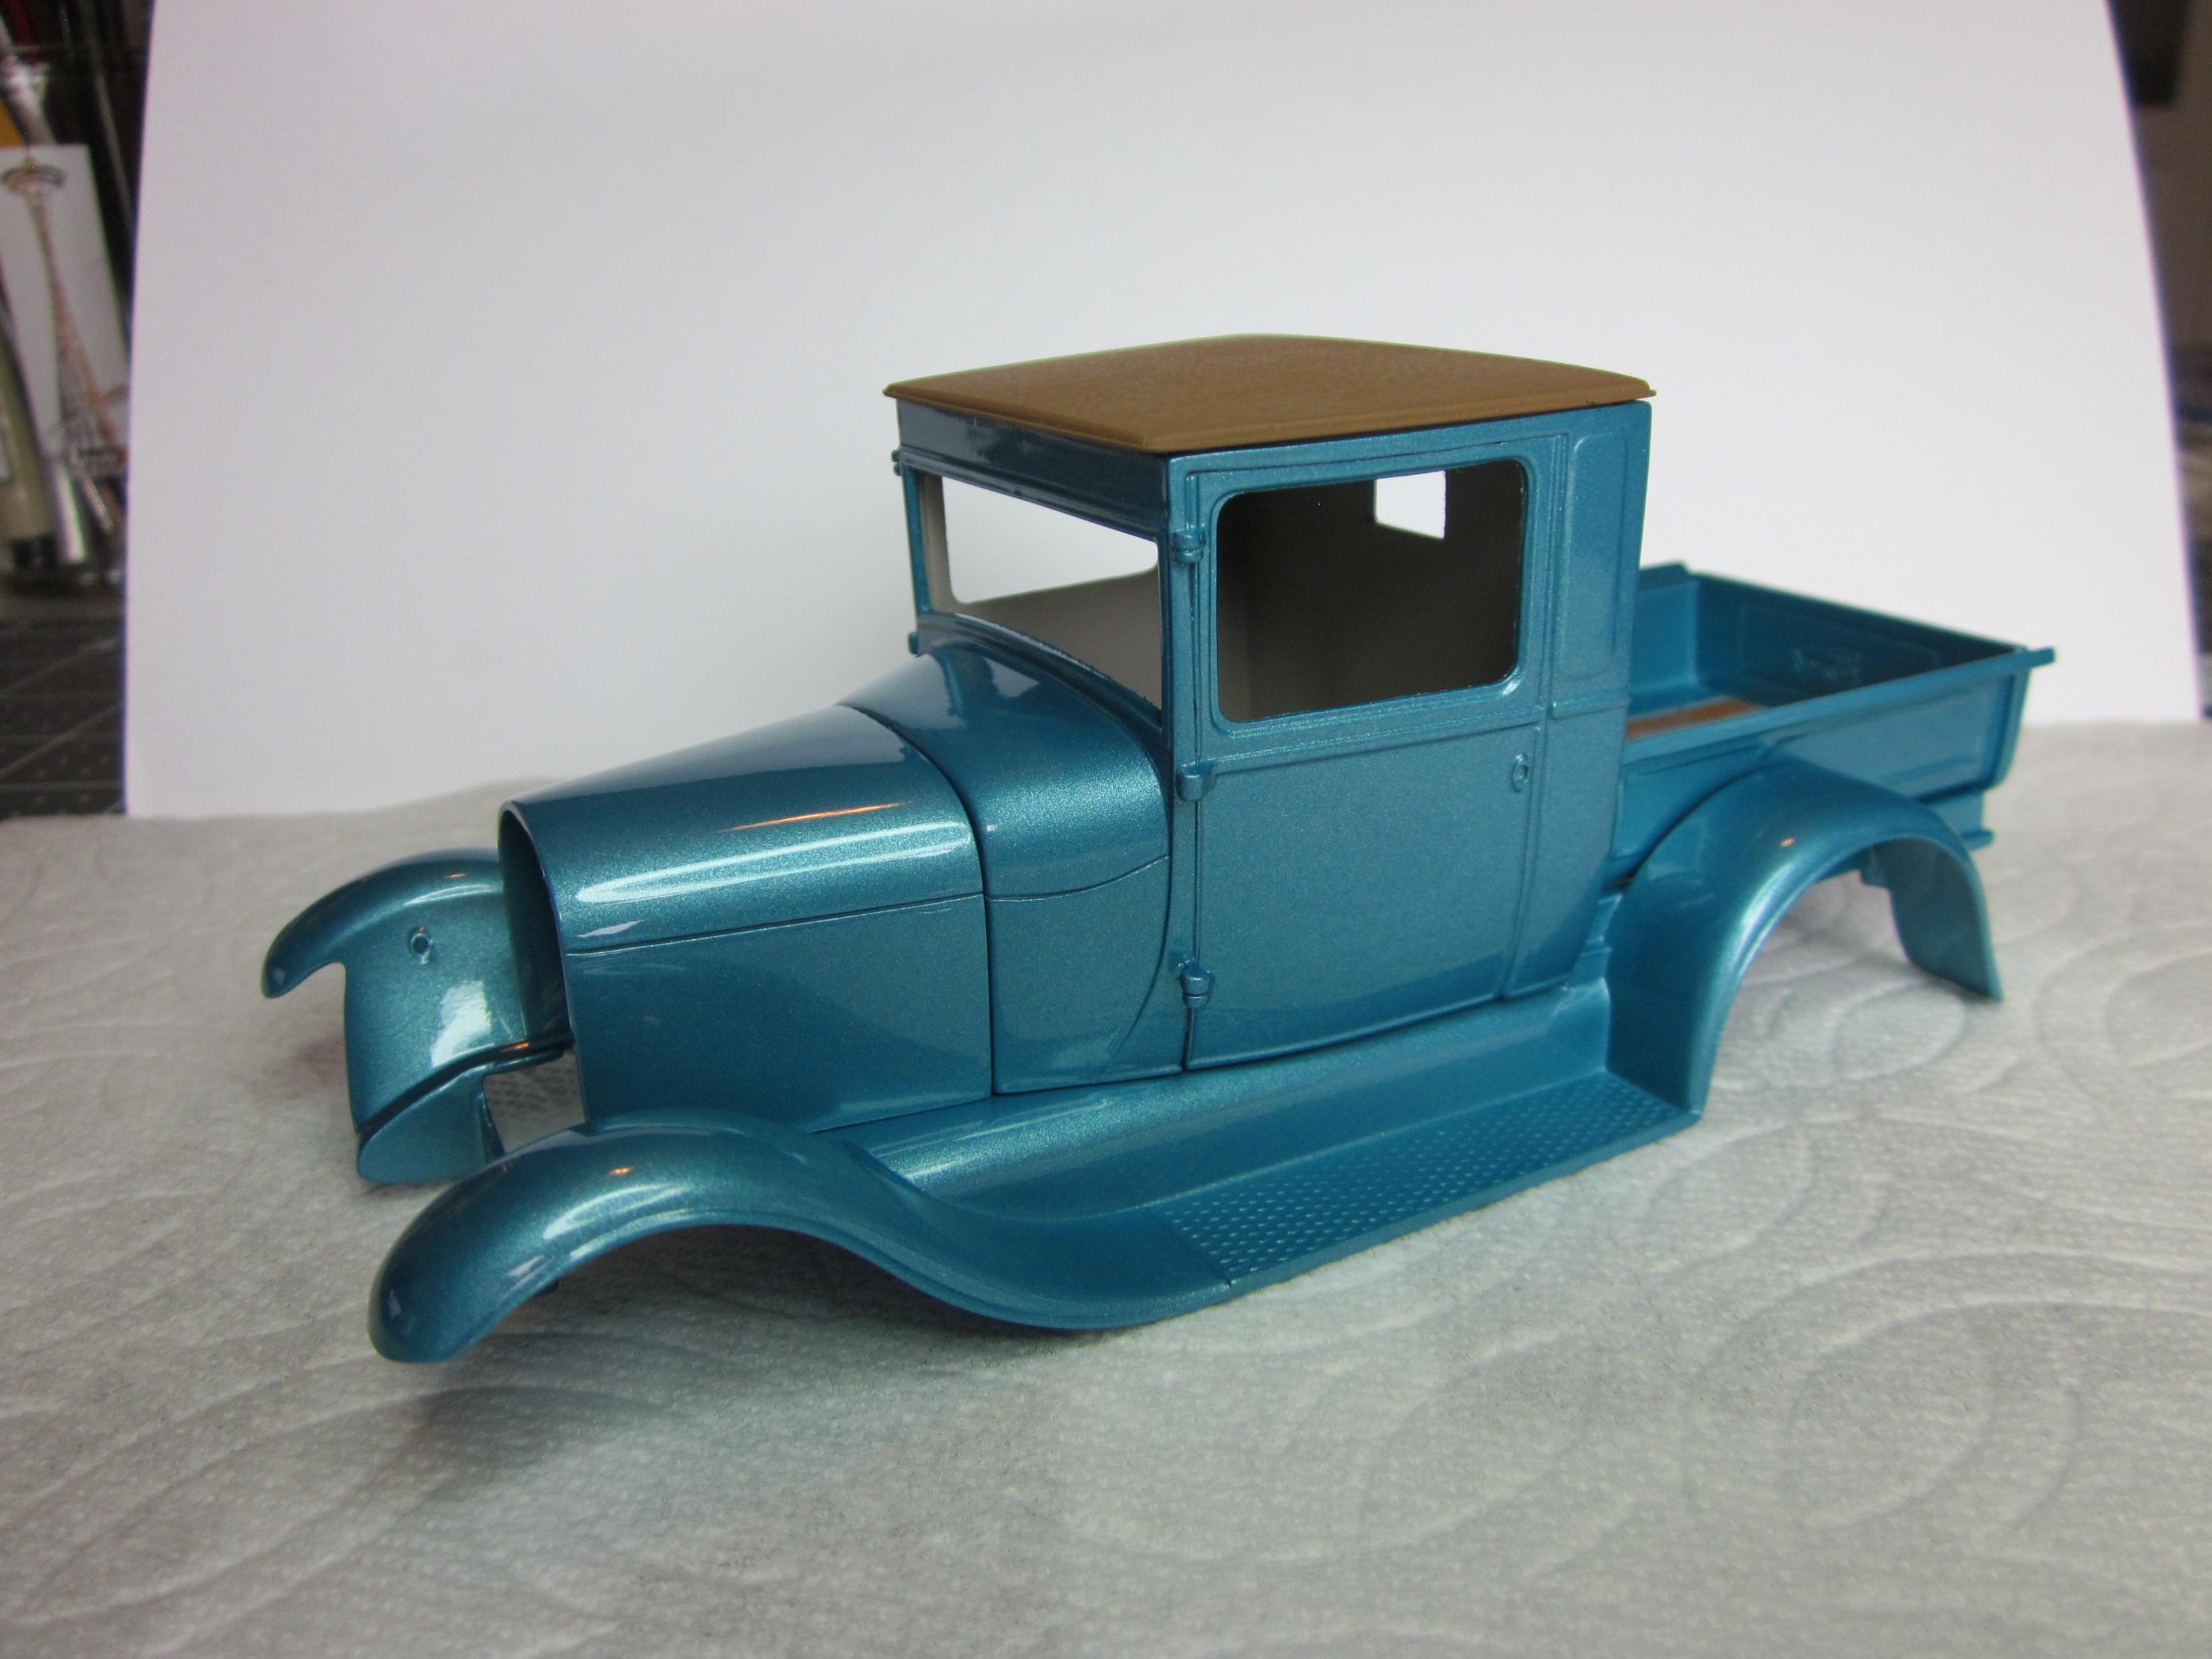
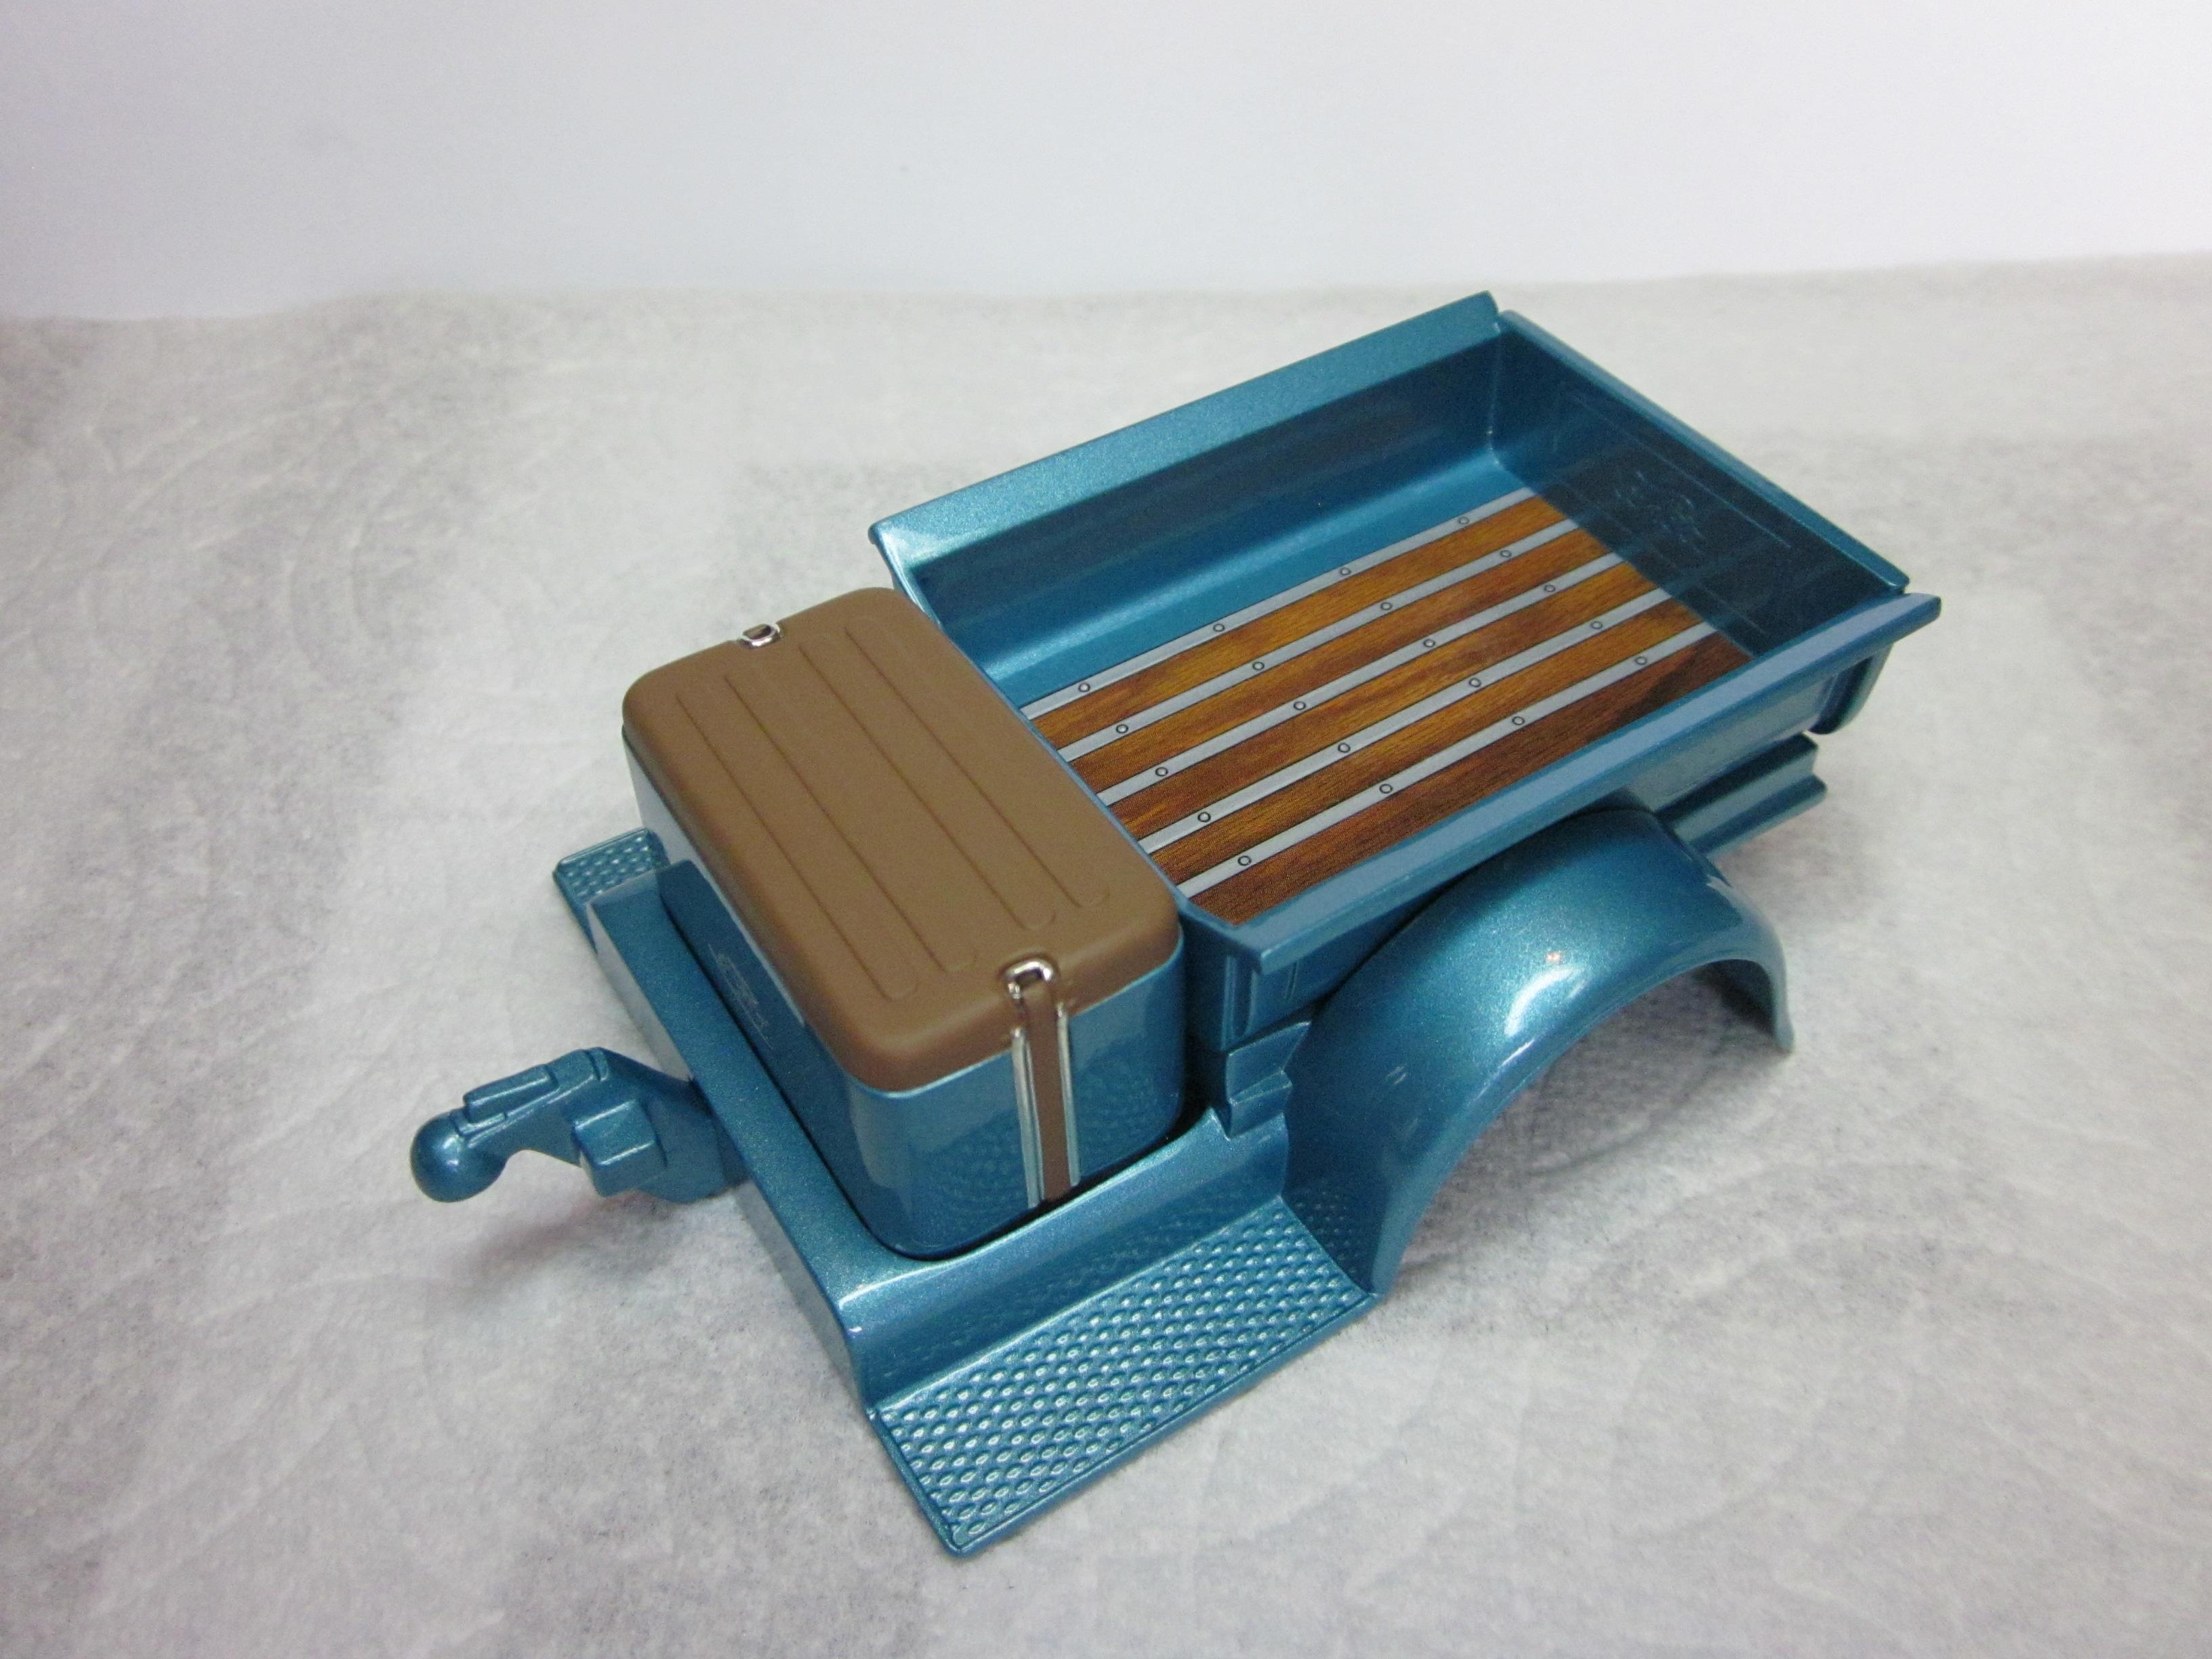
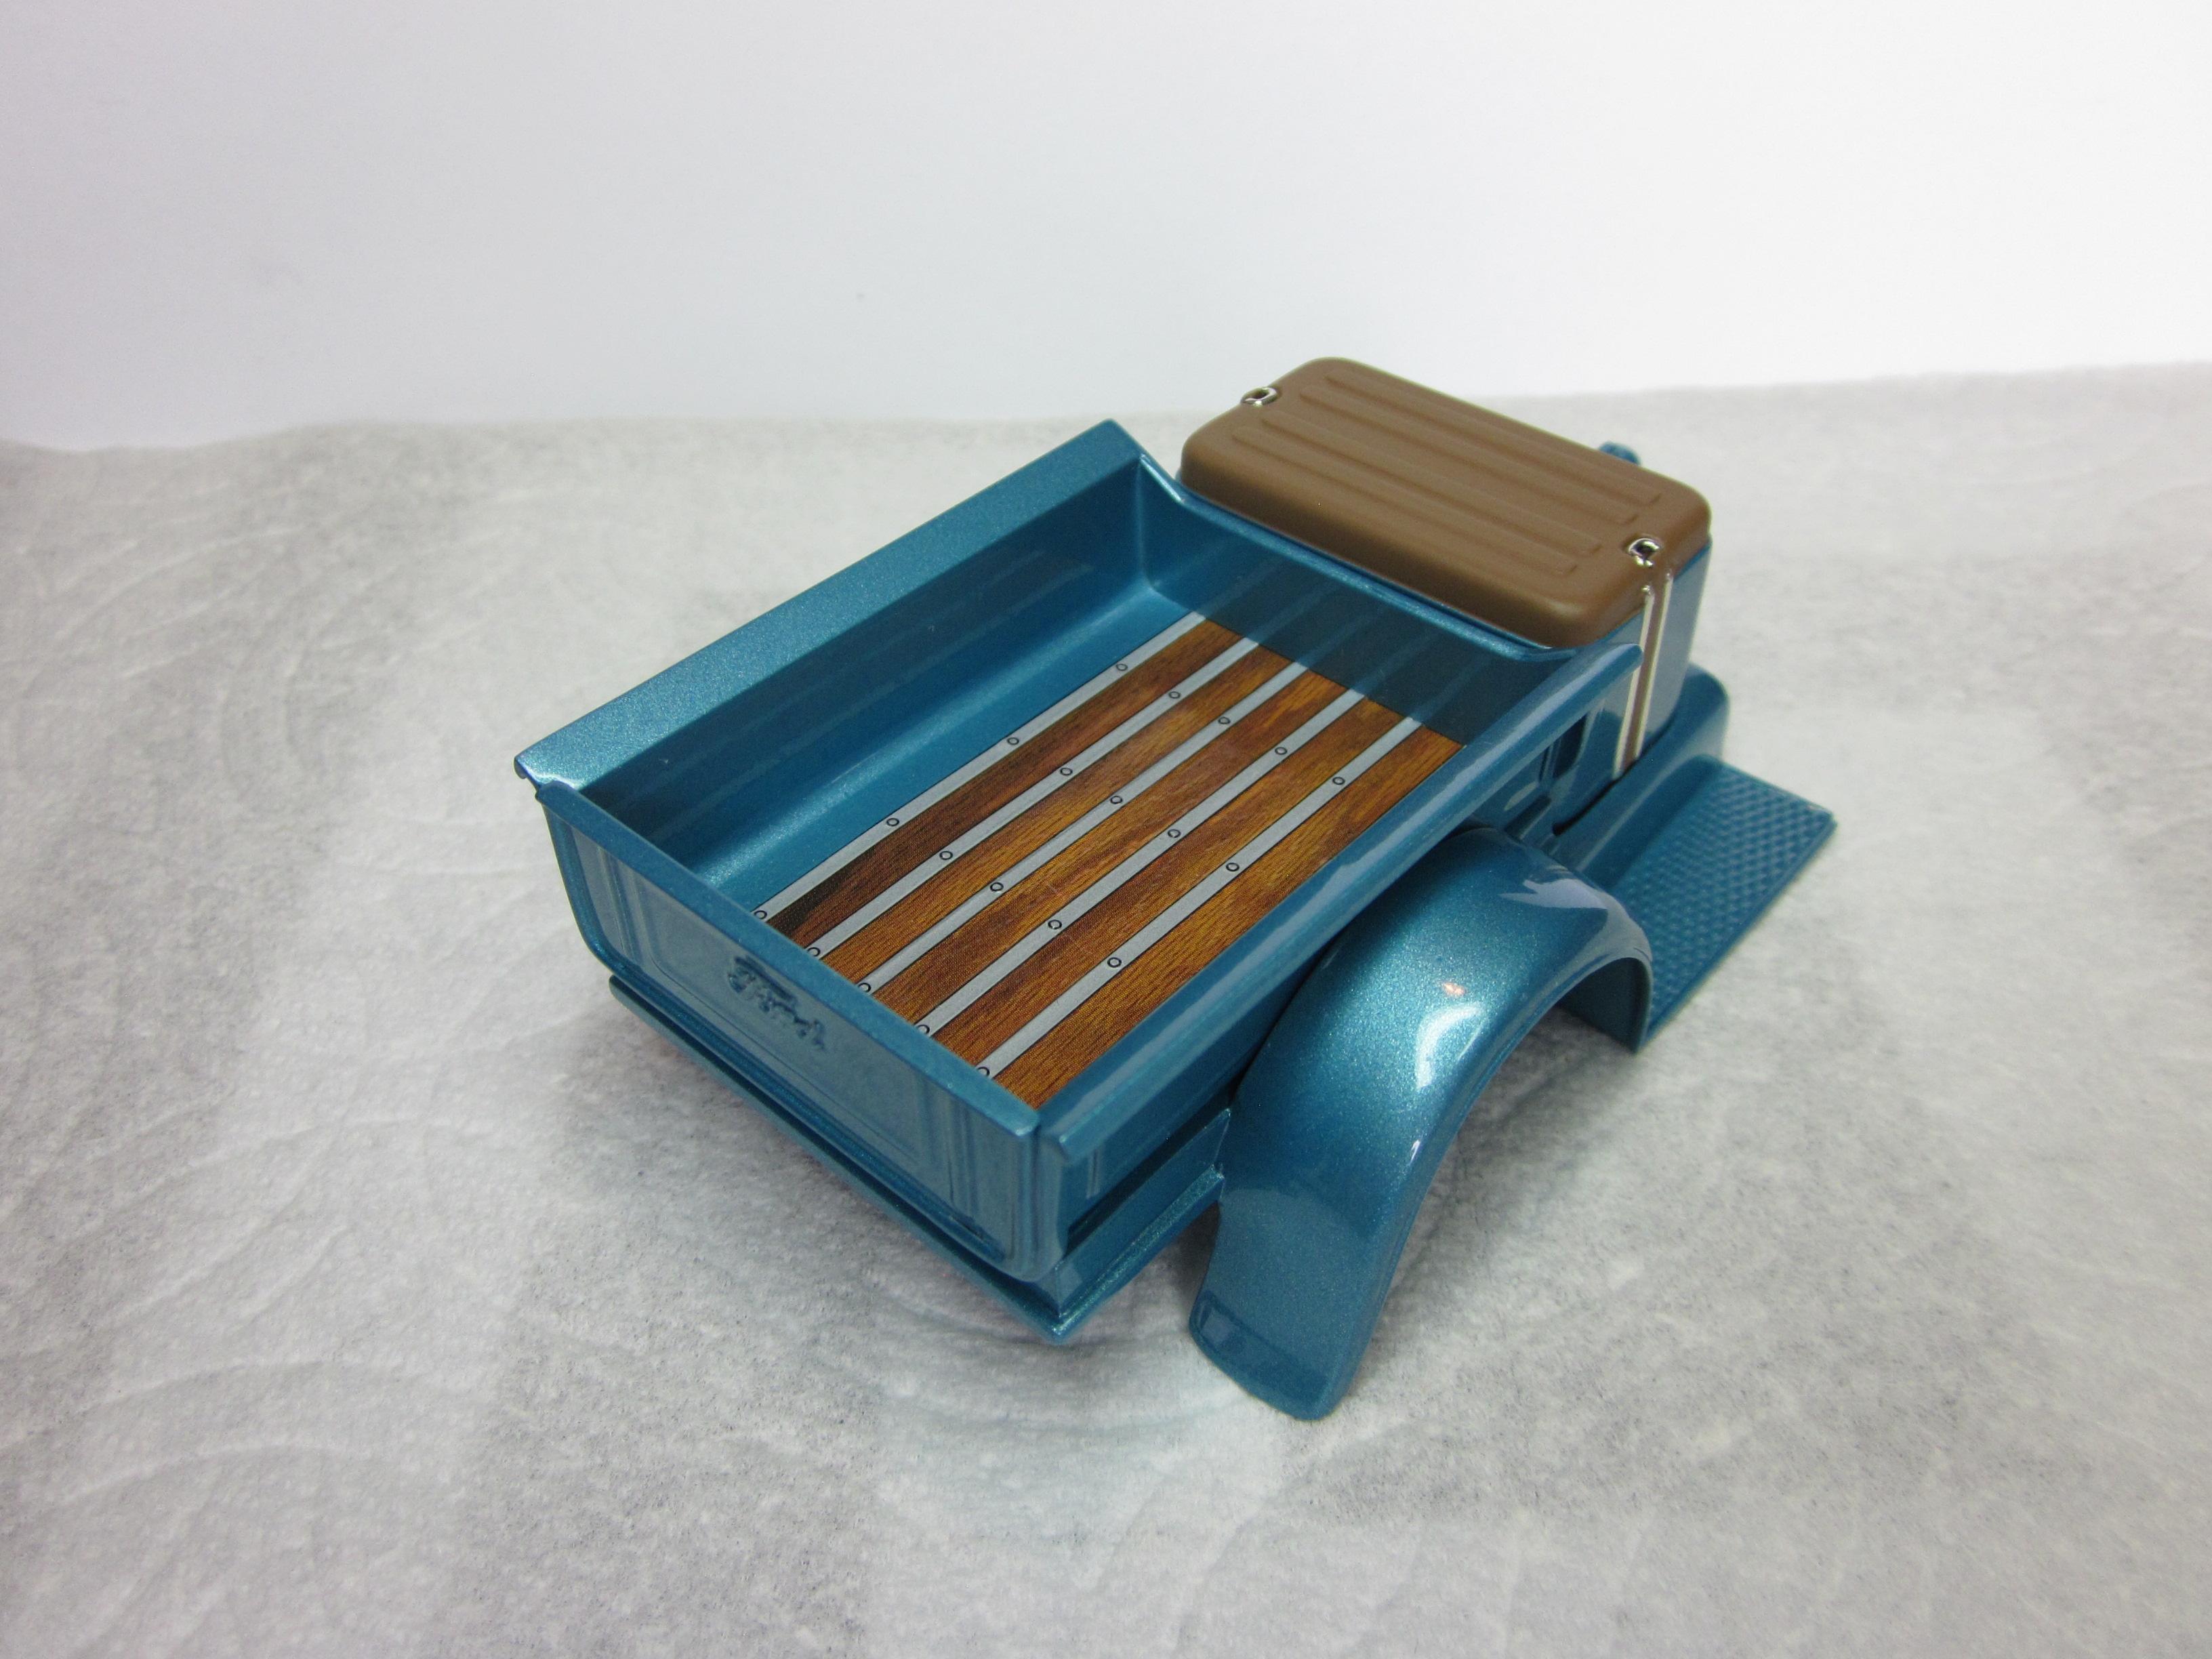
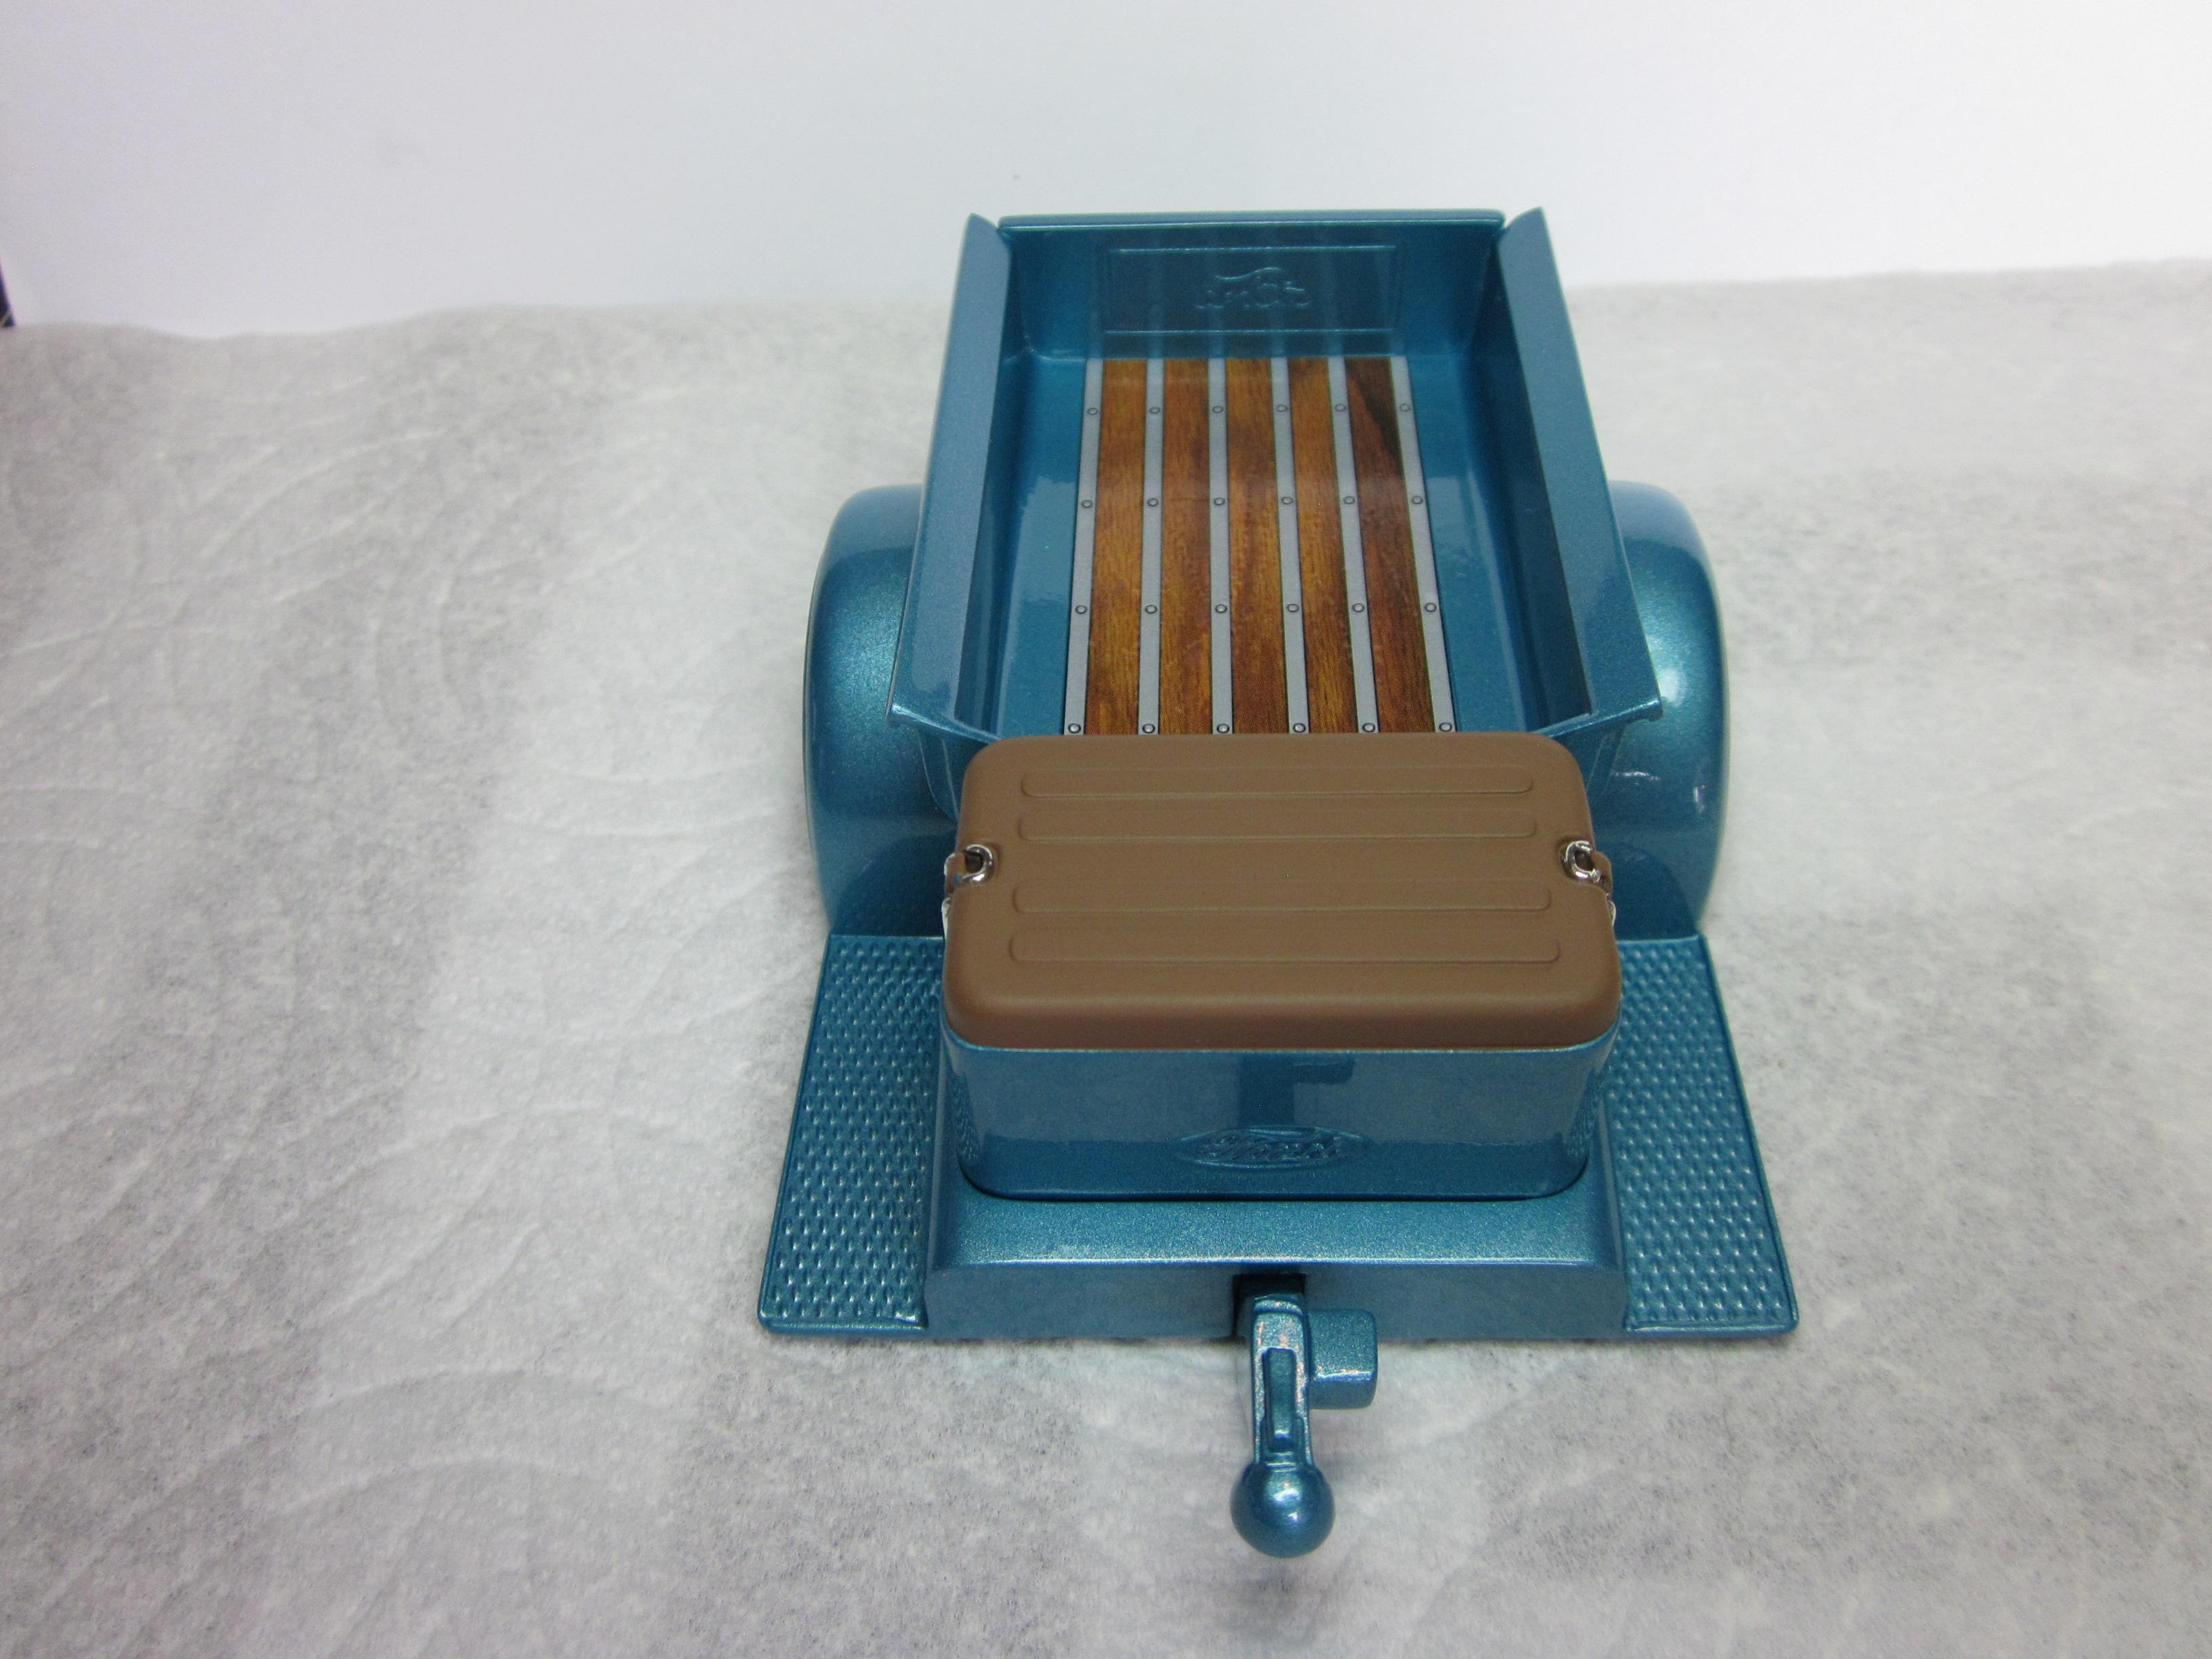
Made a bit of progress on @Kit Karson '29 truck repaint project. Everything is now in color. The interior seat and door panels were painted a light gray and light earth brown color. The top of the truck got the same brown as the interior parts. The tool box lid on the trailer also got the brown helping it to go with the truck colors. The wood decals for the beds were put in place with some solvset to get them to snug down real good. Also been applying alclad chrome on suspension parts and polished aluminum for the engine parts. The engine block was painted body color. Still have a few more parts to finish but this project is getting real close to being done. I'm thinking the repaint part is done , Its just the small stuff now. Speedpro
-
Really nice build! That color is beautiful. I too use MCW paints and love them. You do really nice paint work.
-
Outstanding build! Great photography!
-
Looks great! Nice build.
-
Nice!
-
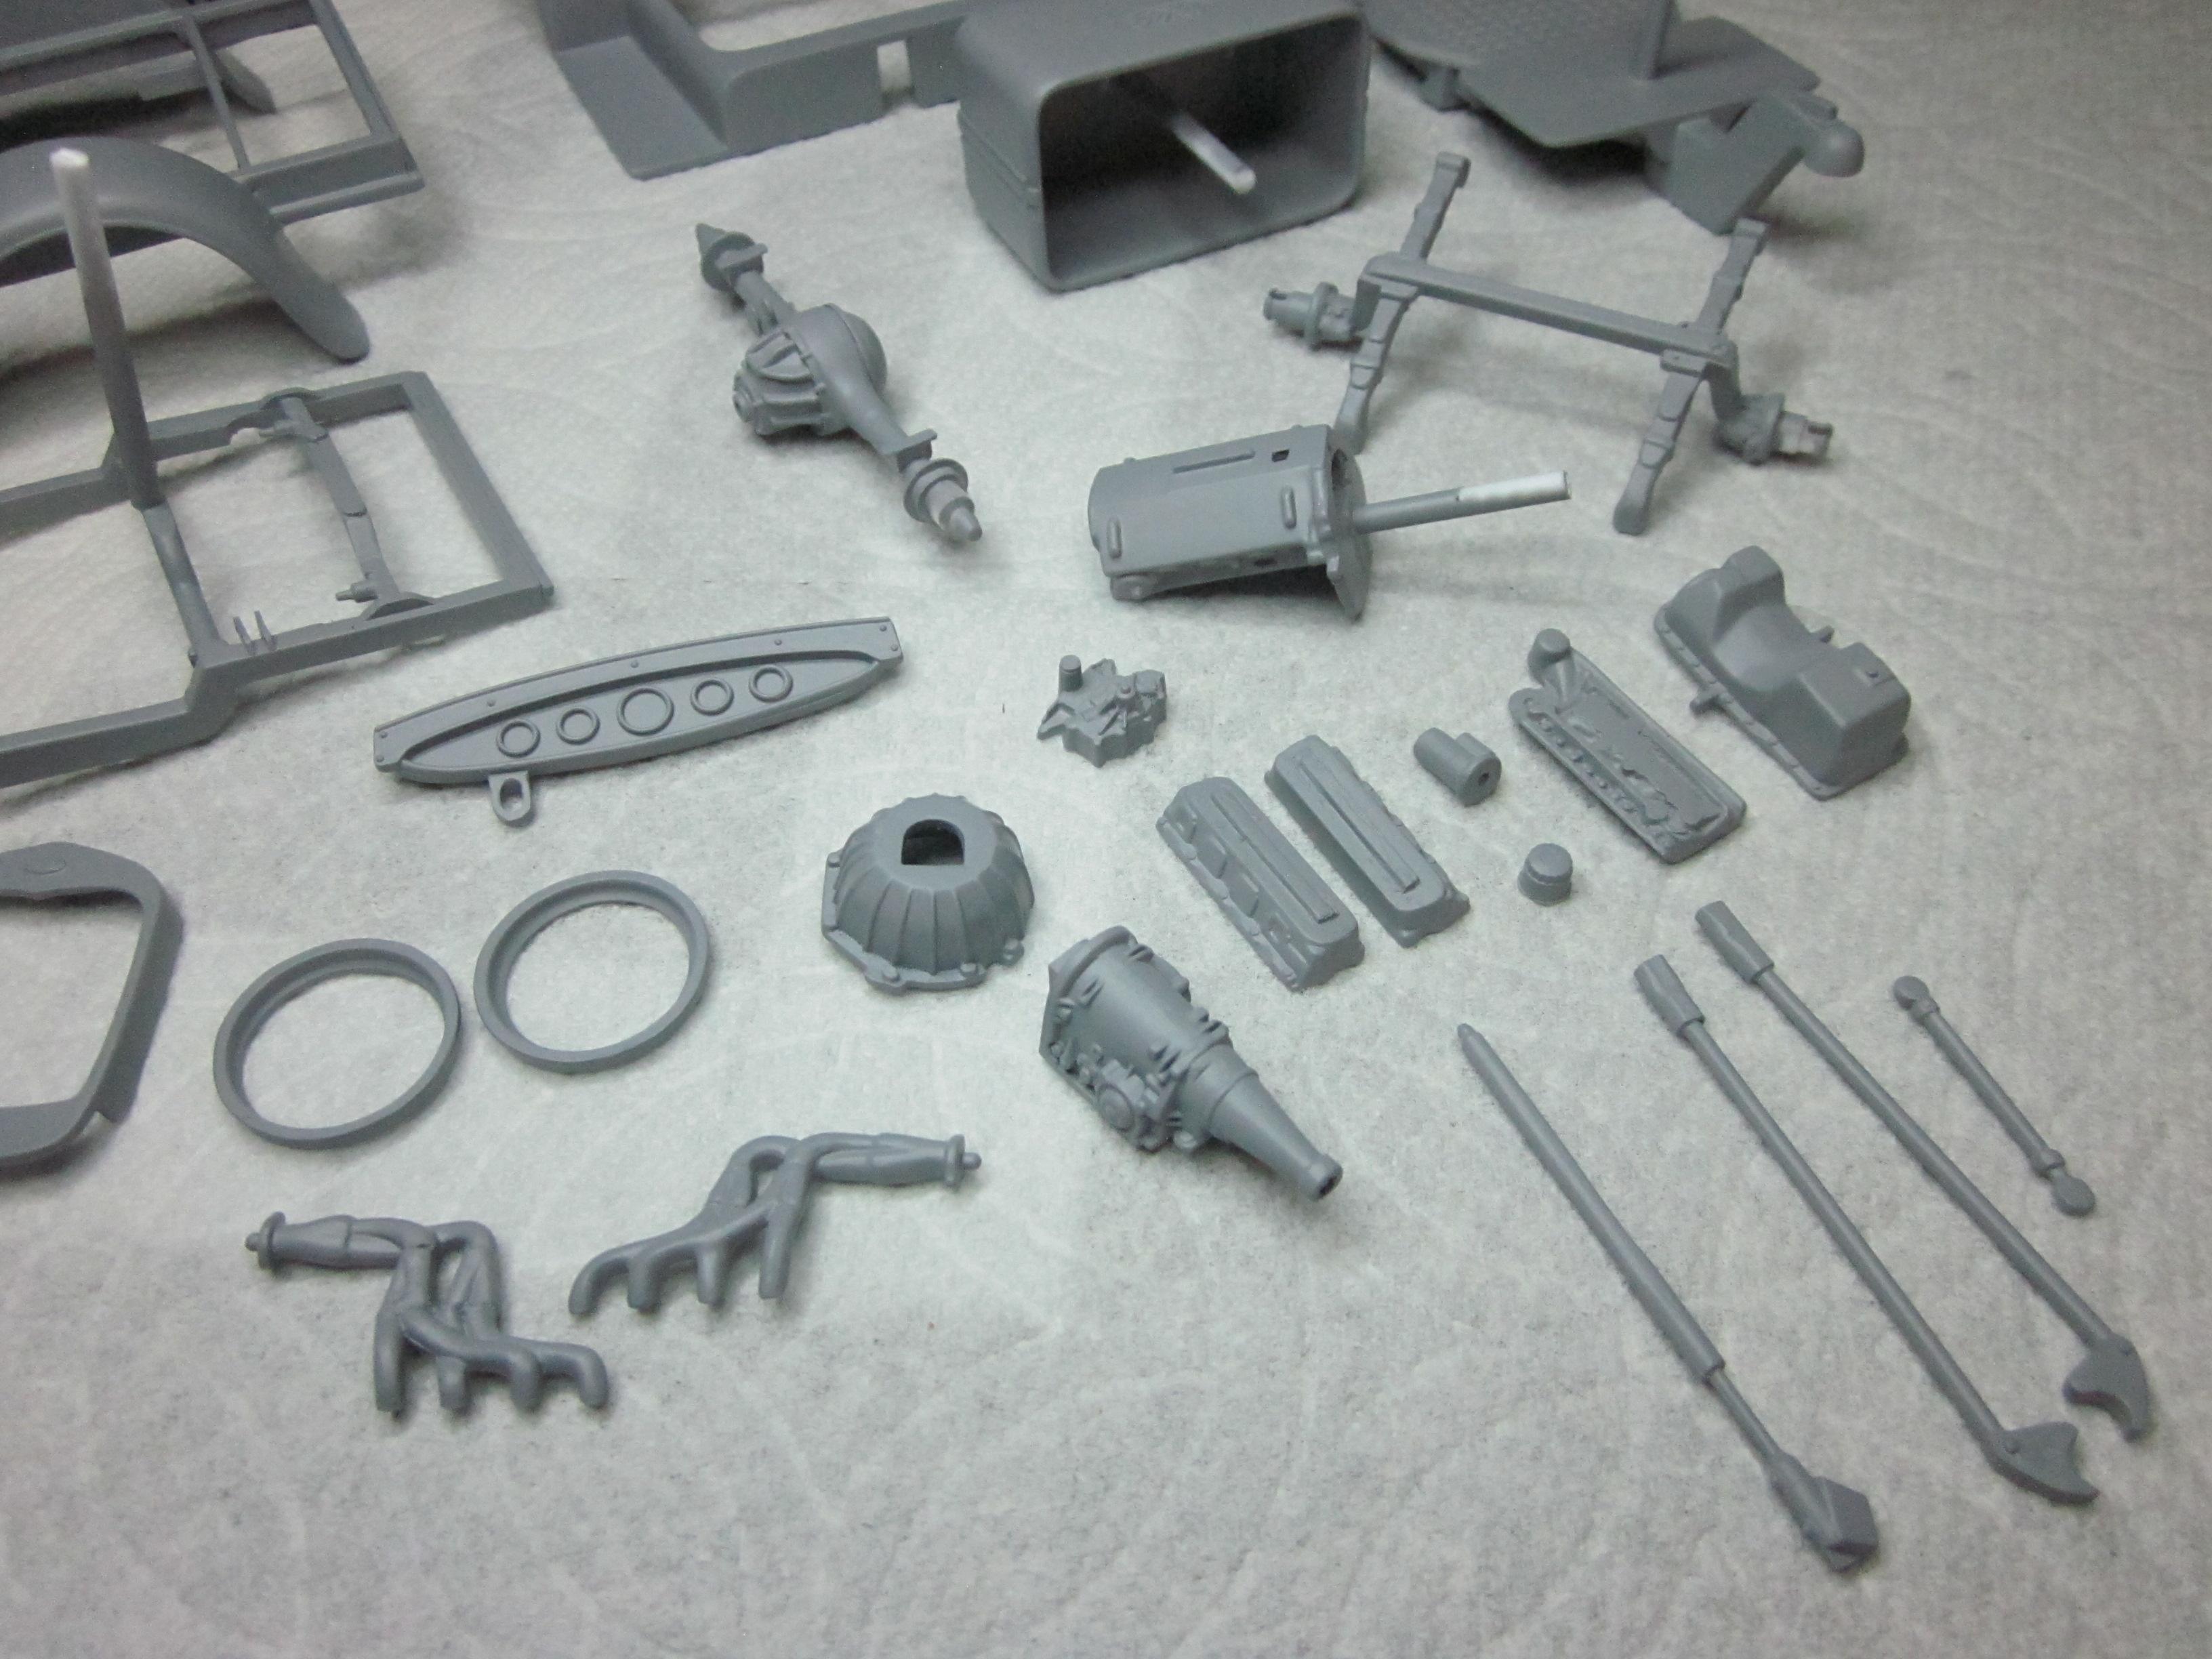
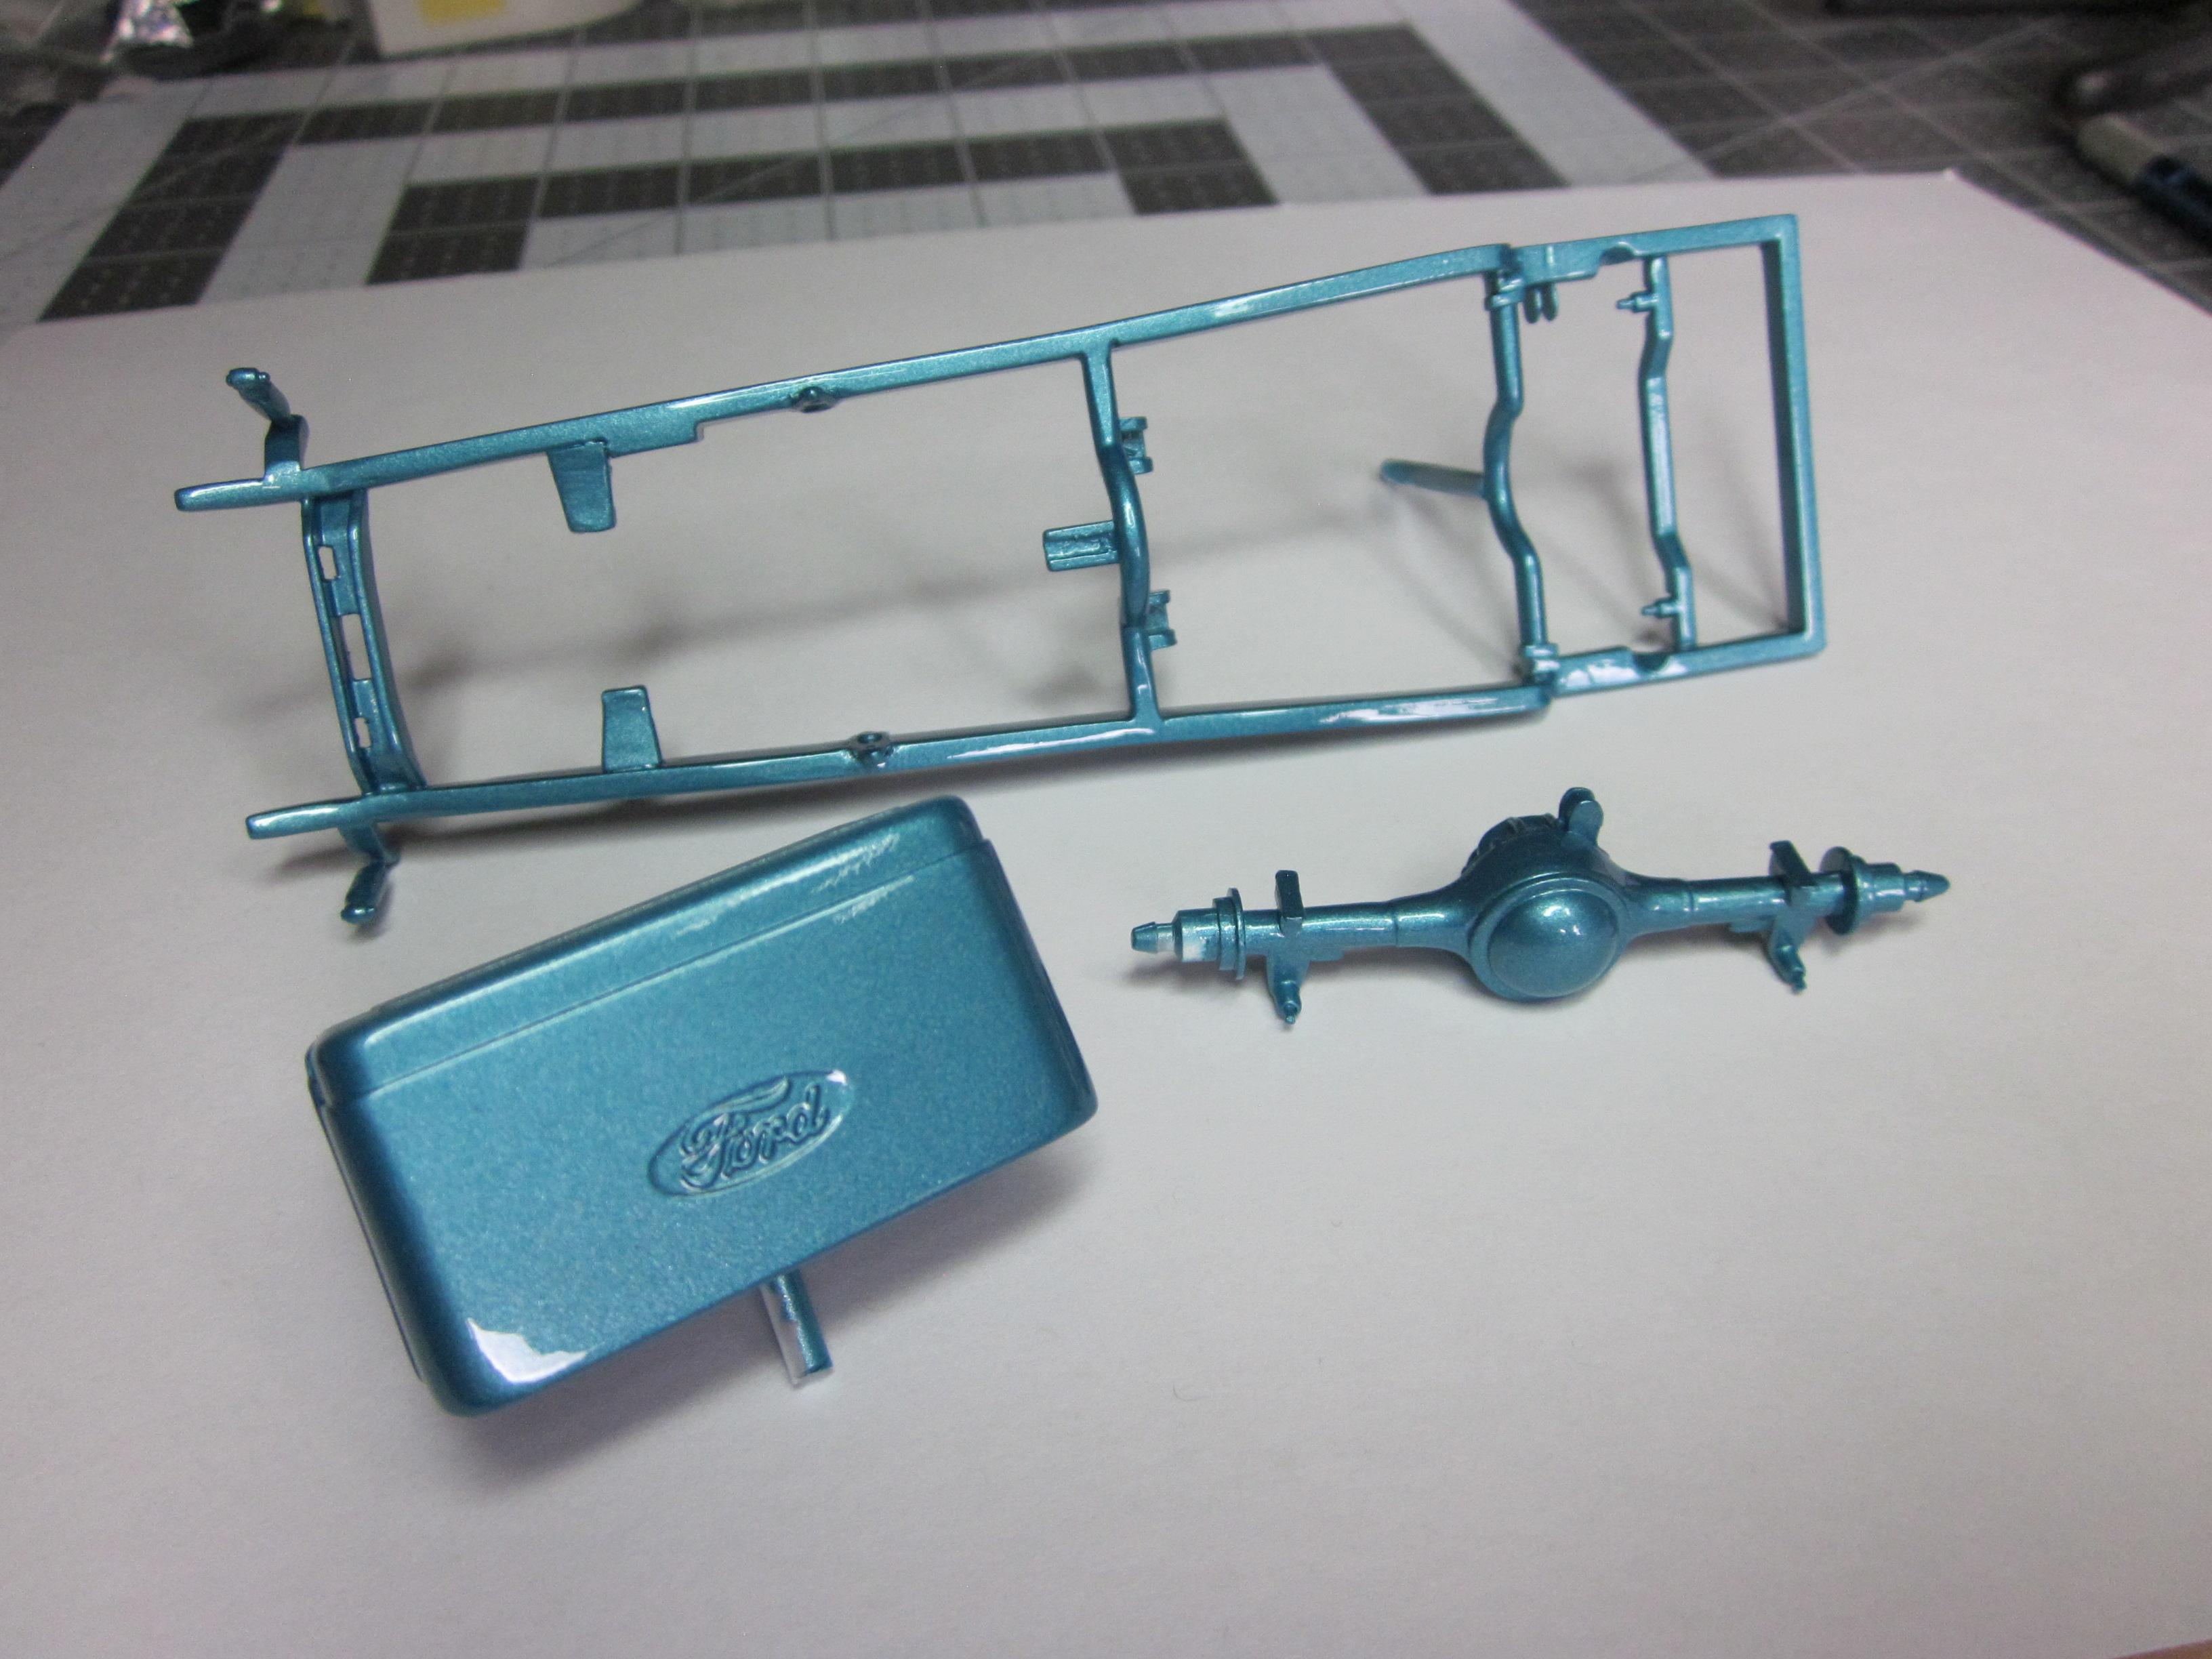
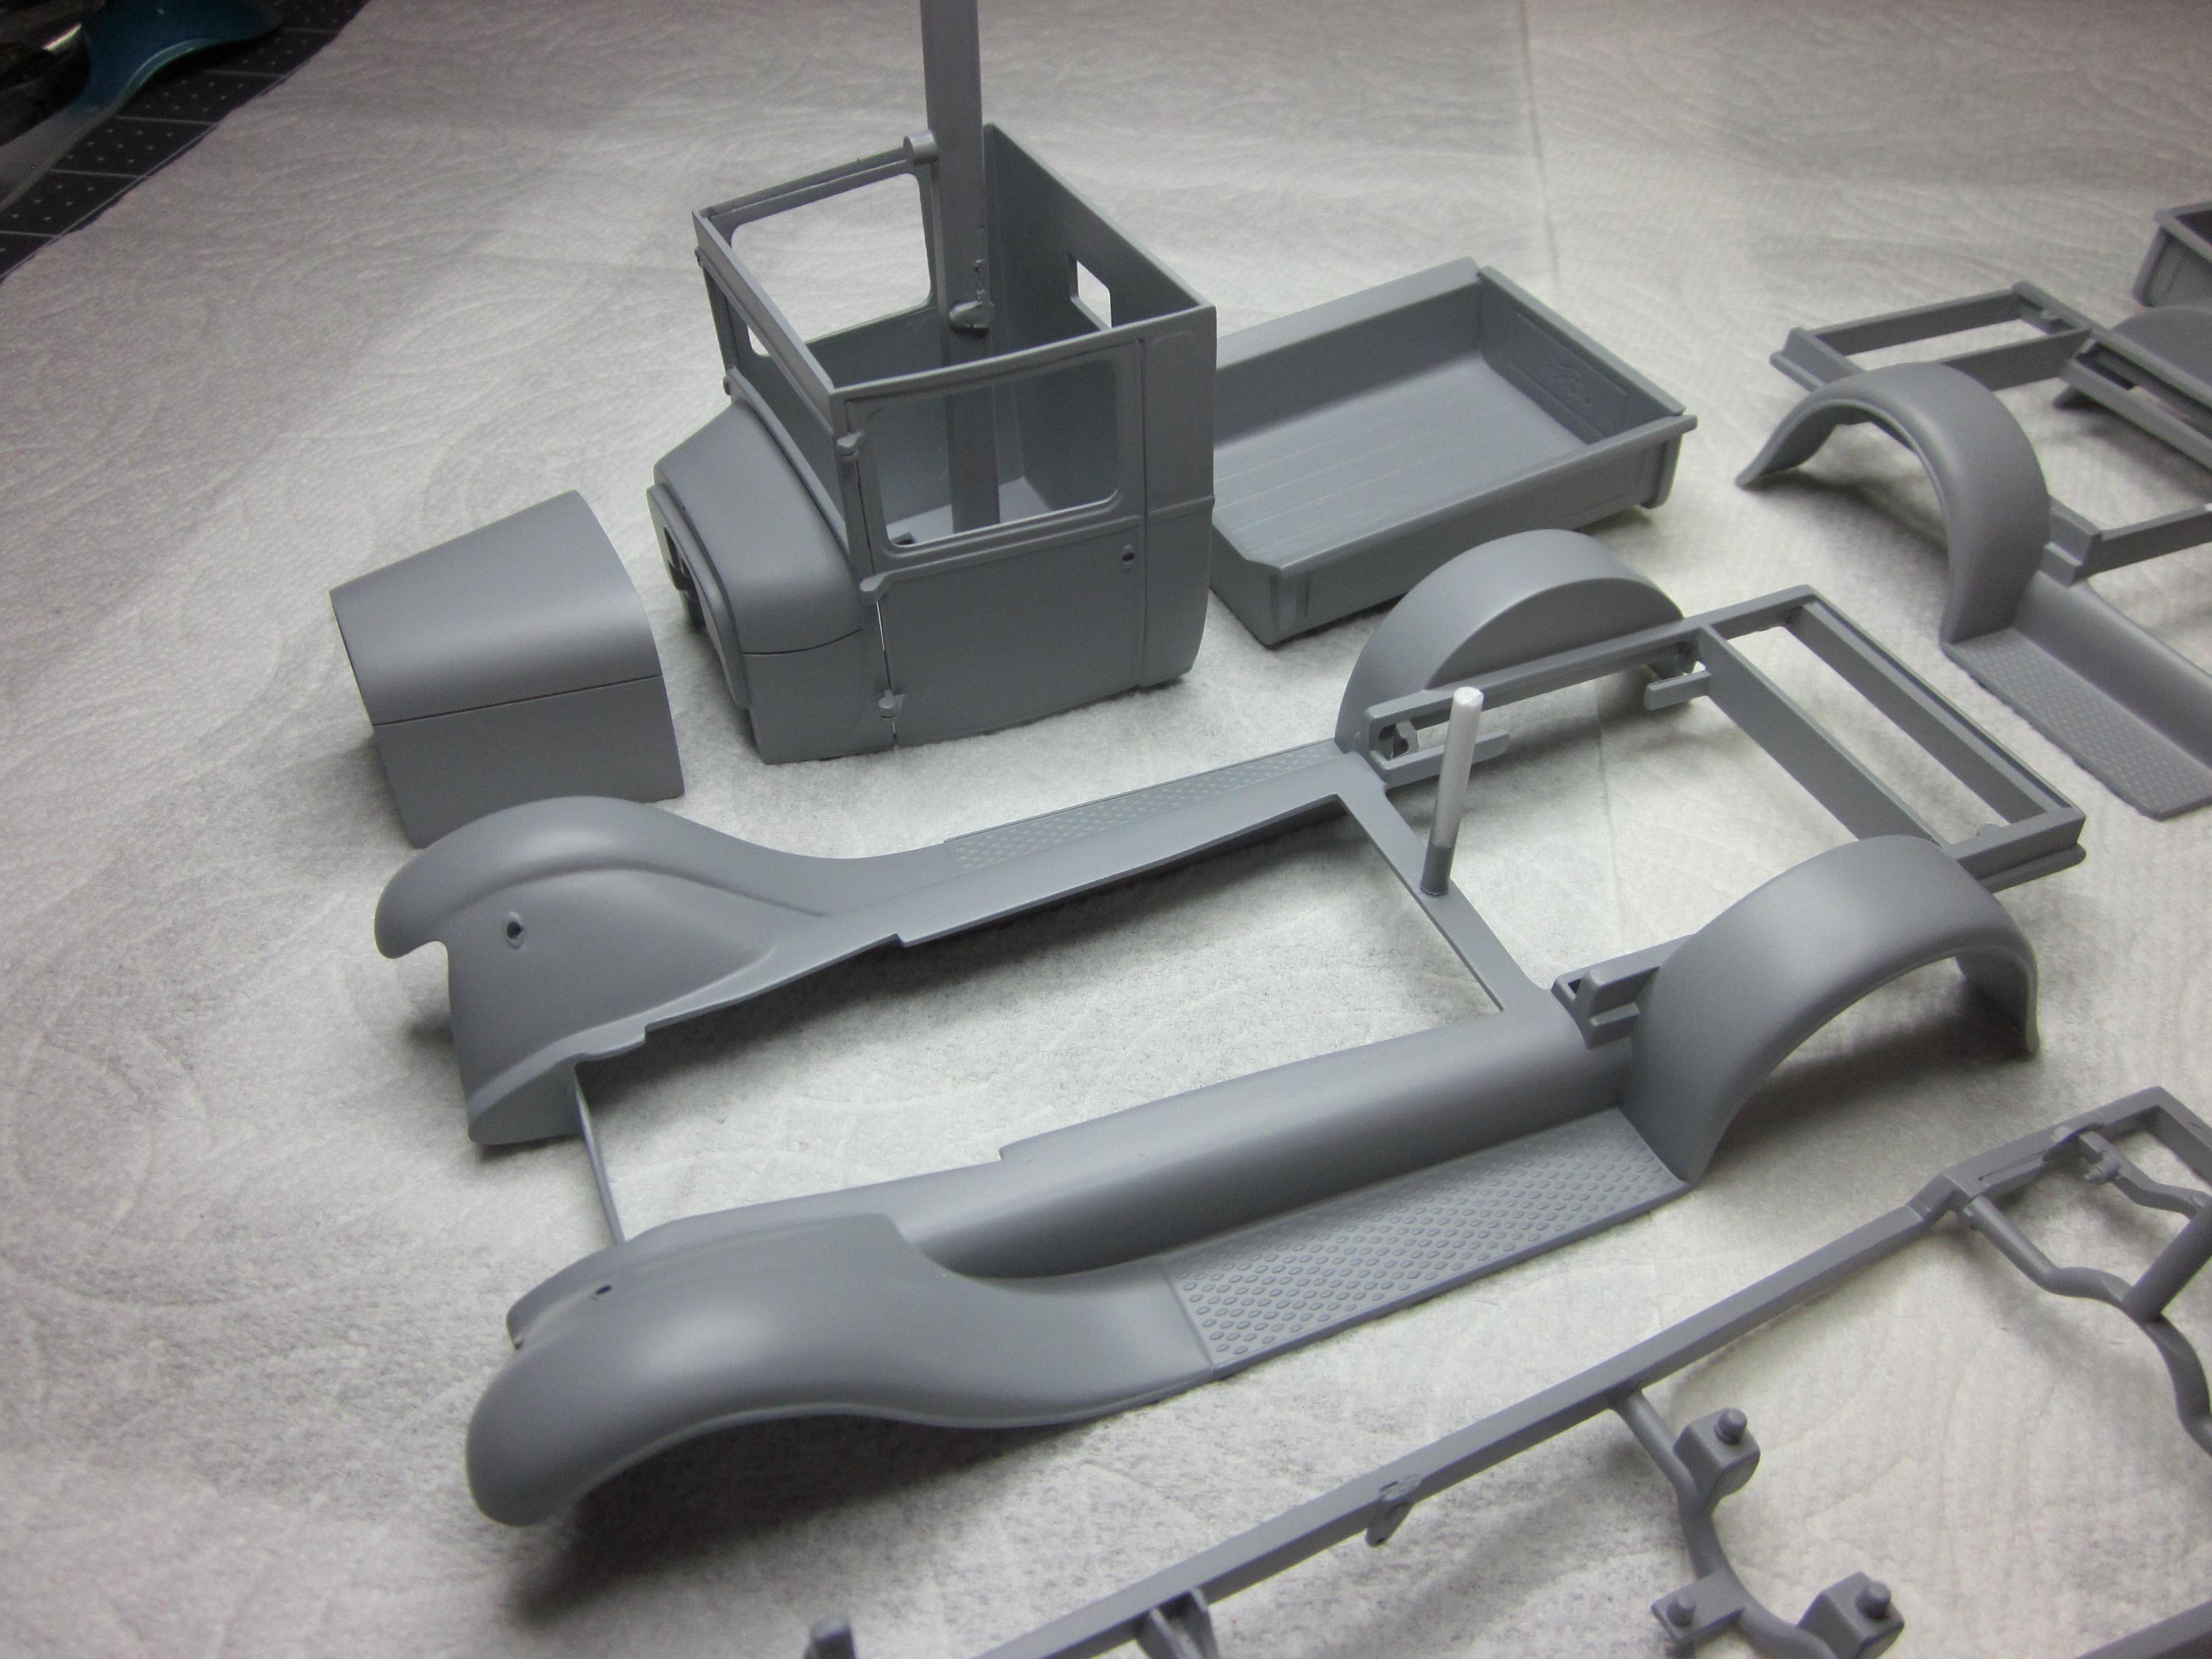
I'v been plugging away on @Kit Karson '29 trib truck repaint and have managed to get everything in primer. All the parts then got a once over and found only the firewall needed a little more love. I'll go over all the parts with 6000 and on to paint we go........................ So here's the color that's been chosen for the truck and trailer. Went with MCW 6012E Tasco Turqouise Metalic. Using the 1003E hardnener with it. Clear will be MCW 1017E Gloss Clear with the 1017EH added.................................. Here are a few of the parts that have made it to color so far...................... So far so good. Been thinking about interior colors as the inside of the cab must be painted before the outside. I'll update as things progress. Speedpro
-
1963 Chevy Nova Wagon: Early 90’s Street Machine
Speedpro replied to Dennis Lacy's topic in Model Cars
Dennis, This is by far the best chevy ll wagon I'v seen. The engine is perfect for what should be in a 1.1 car like this. Thanks for not putting a LS or shoe horning a big block in there. Drips old school. Great job on the engine bay details to! The paint work looks flawless. Wheels and tires fit real nice and the car sits as it should for a street machine. But that interior work you did really is something special! This was a pleasure to watch you build also. Outstanding work! Speedpro -
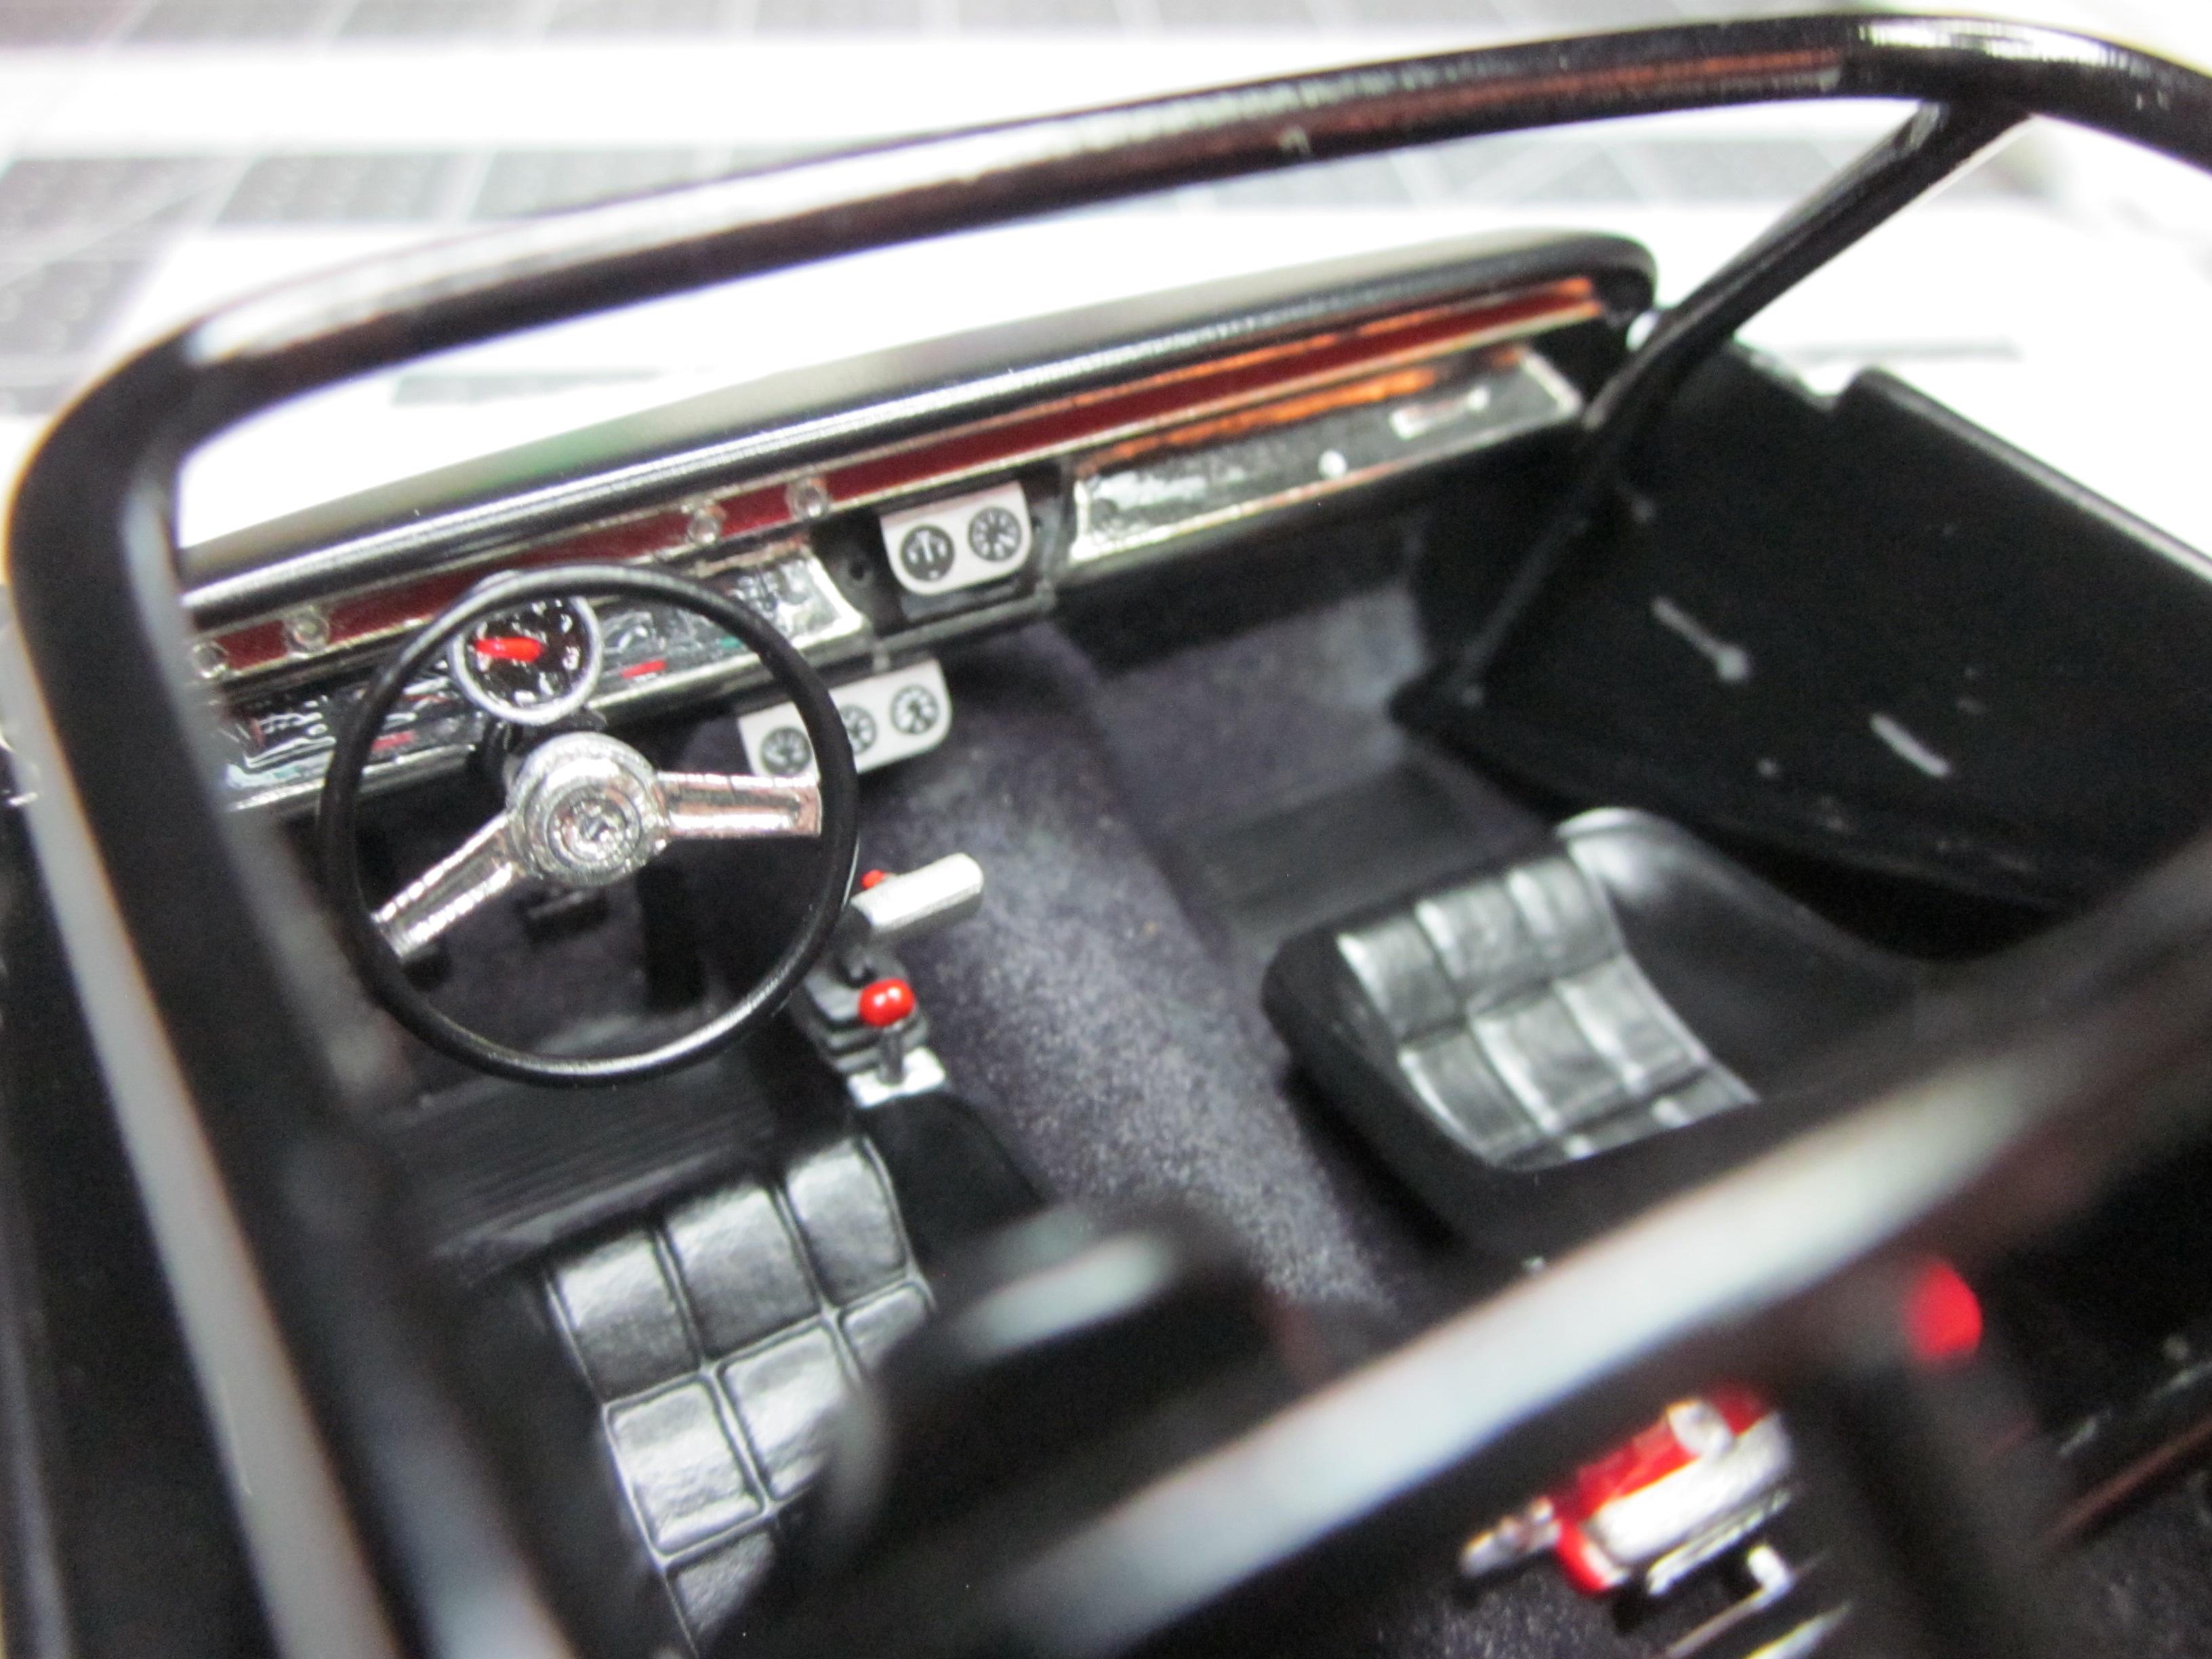
I appreciate your comments, Thanks Rusty Thanks Chaz, I had a heck of a time trying to take a good picture of the interior. The camara kept wanting to just focus on the rollbar making everything else look fuzzy. Thanks Mike! Michel, Sounds just like my experience buying this kit for the first time in the '70s when it first came out! There are definitely things to correct in this kit. There are also things missing like rad hoses, brake master and even rear shocks. Thanks for looking Jose Thanks John!
-
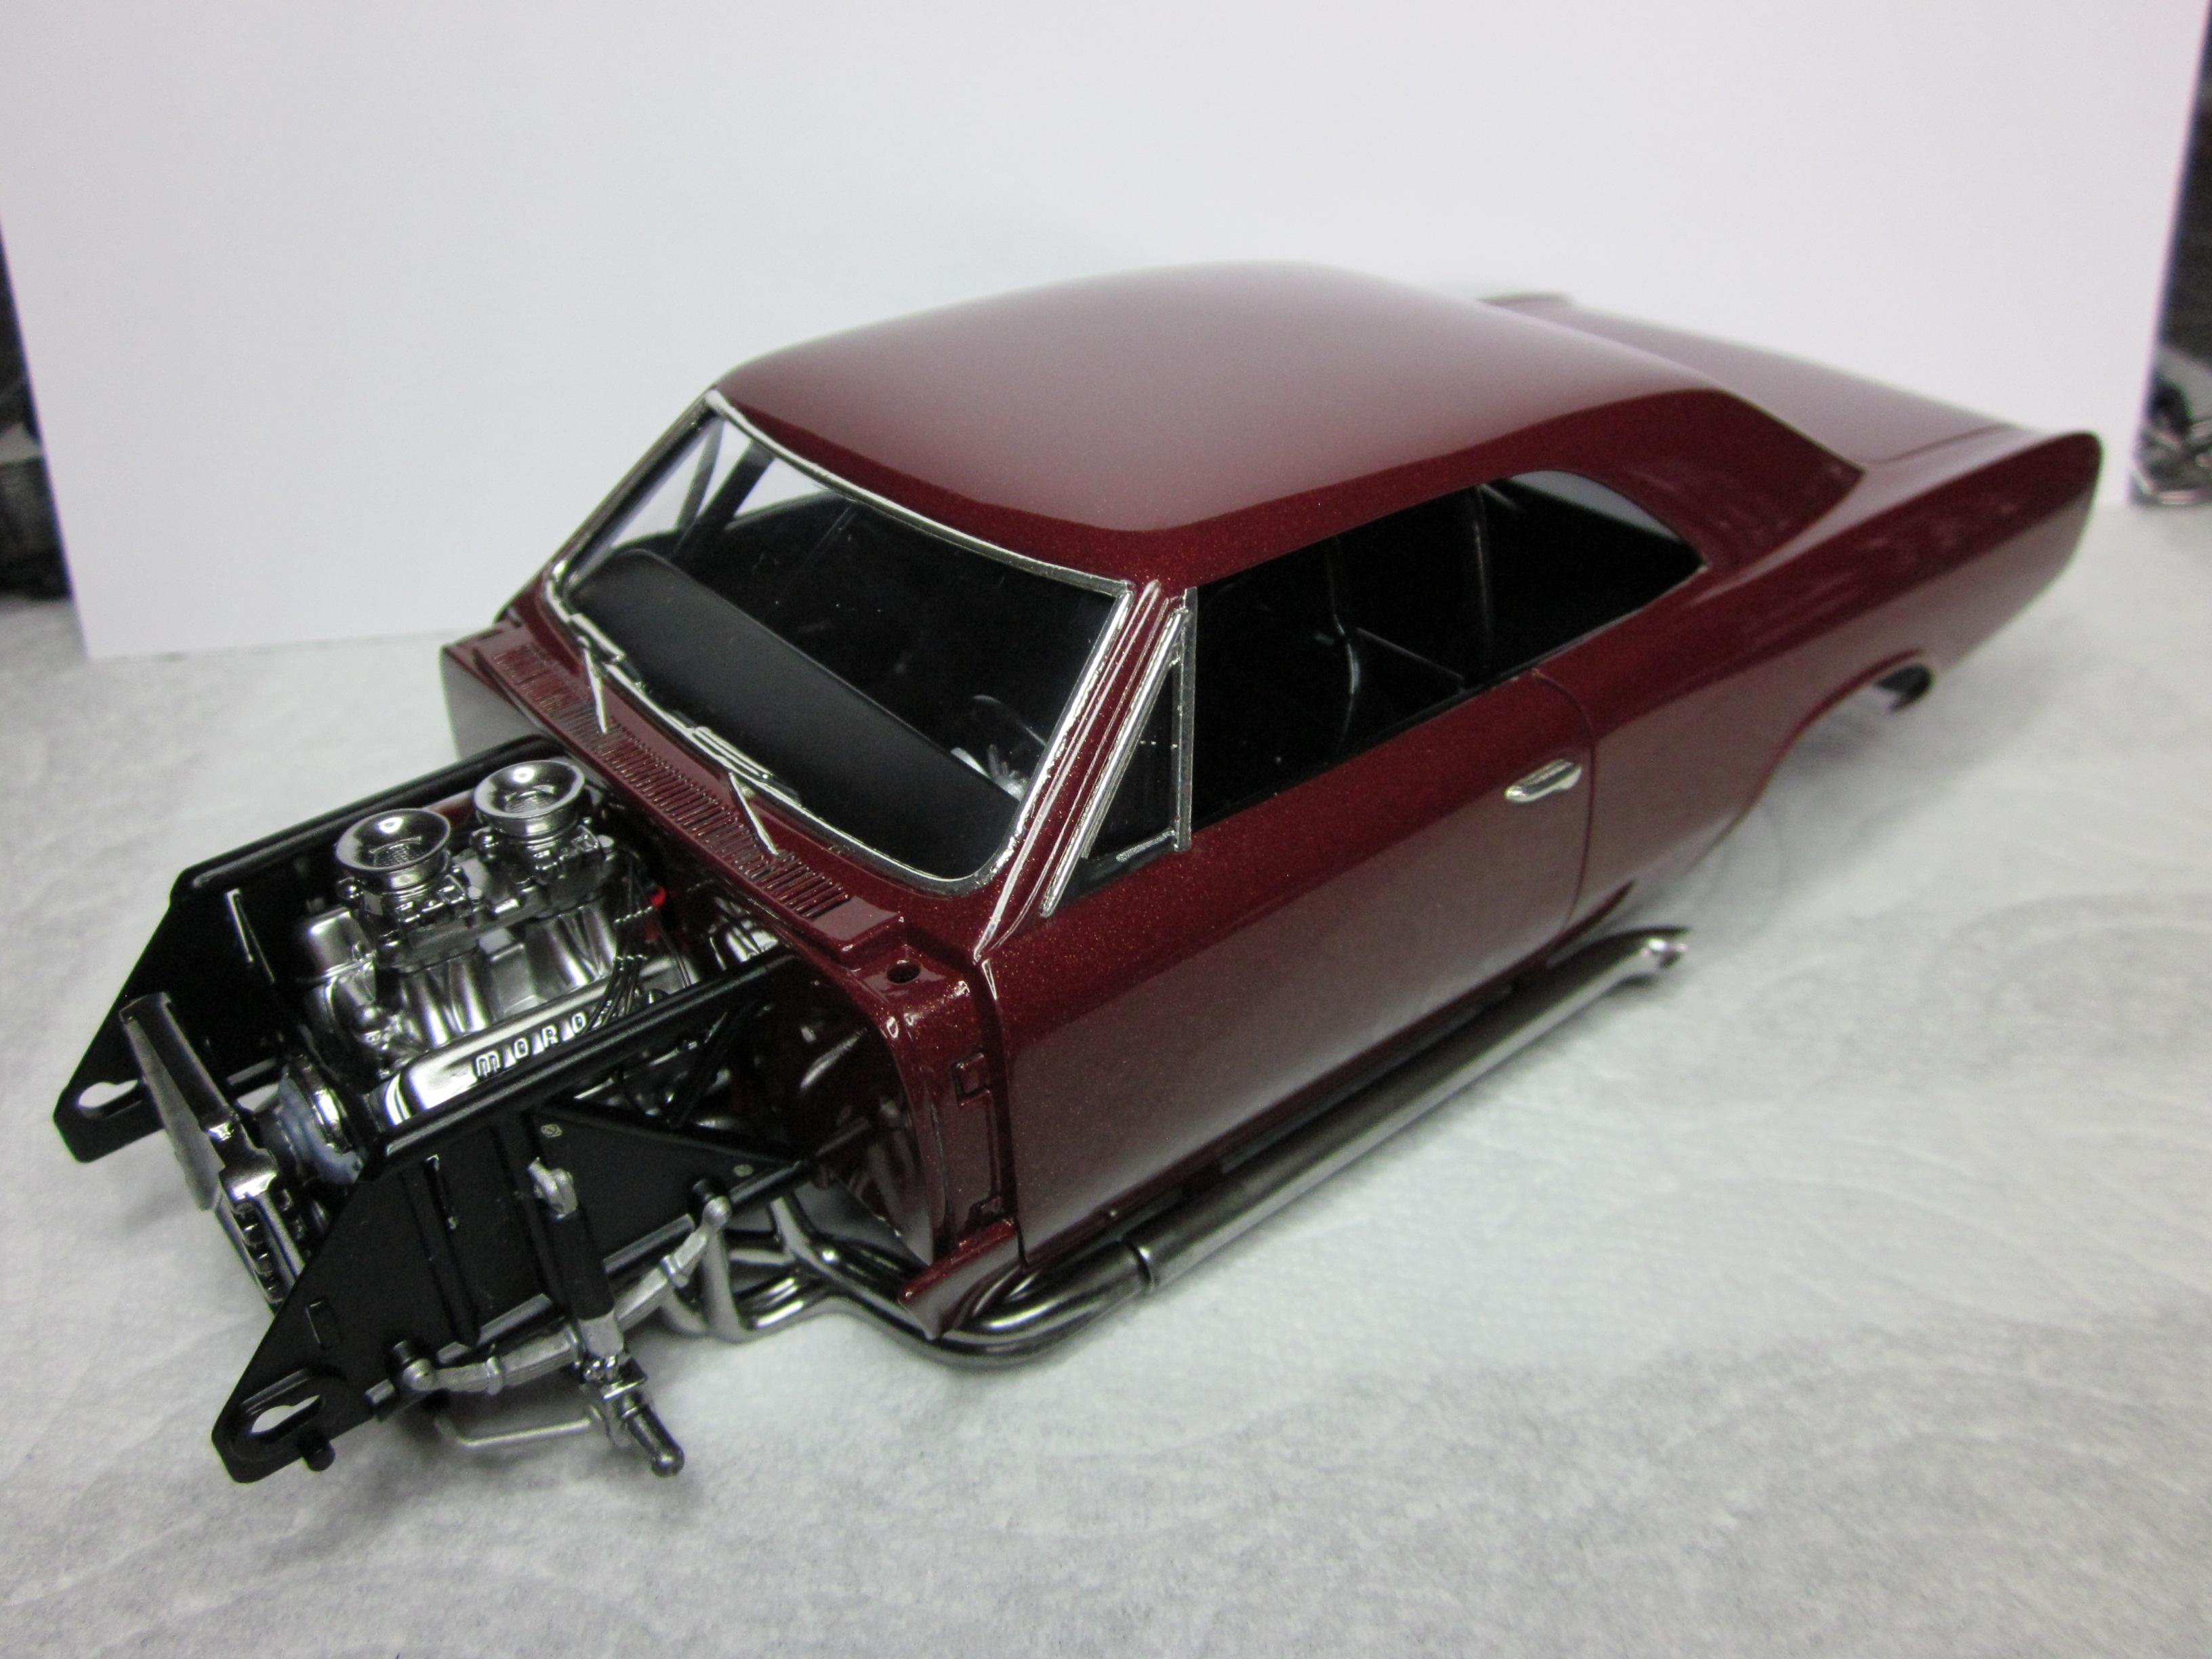
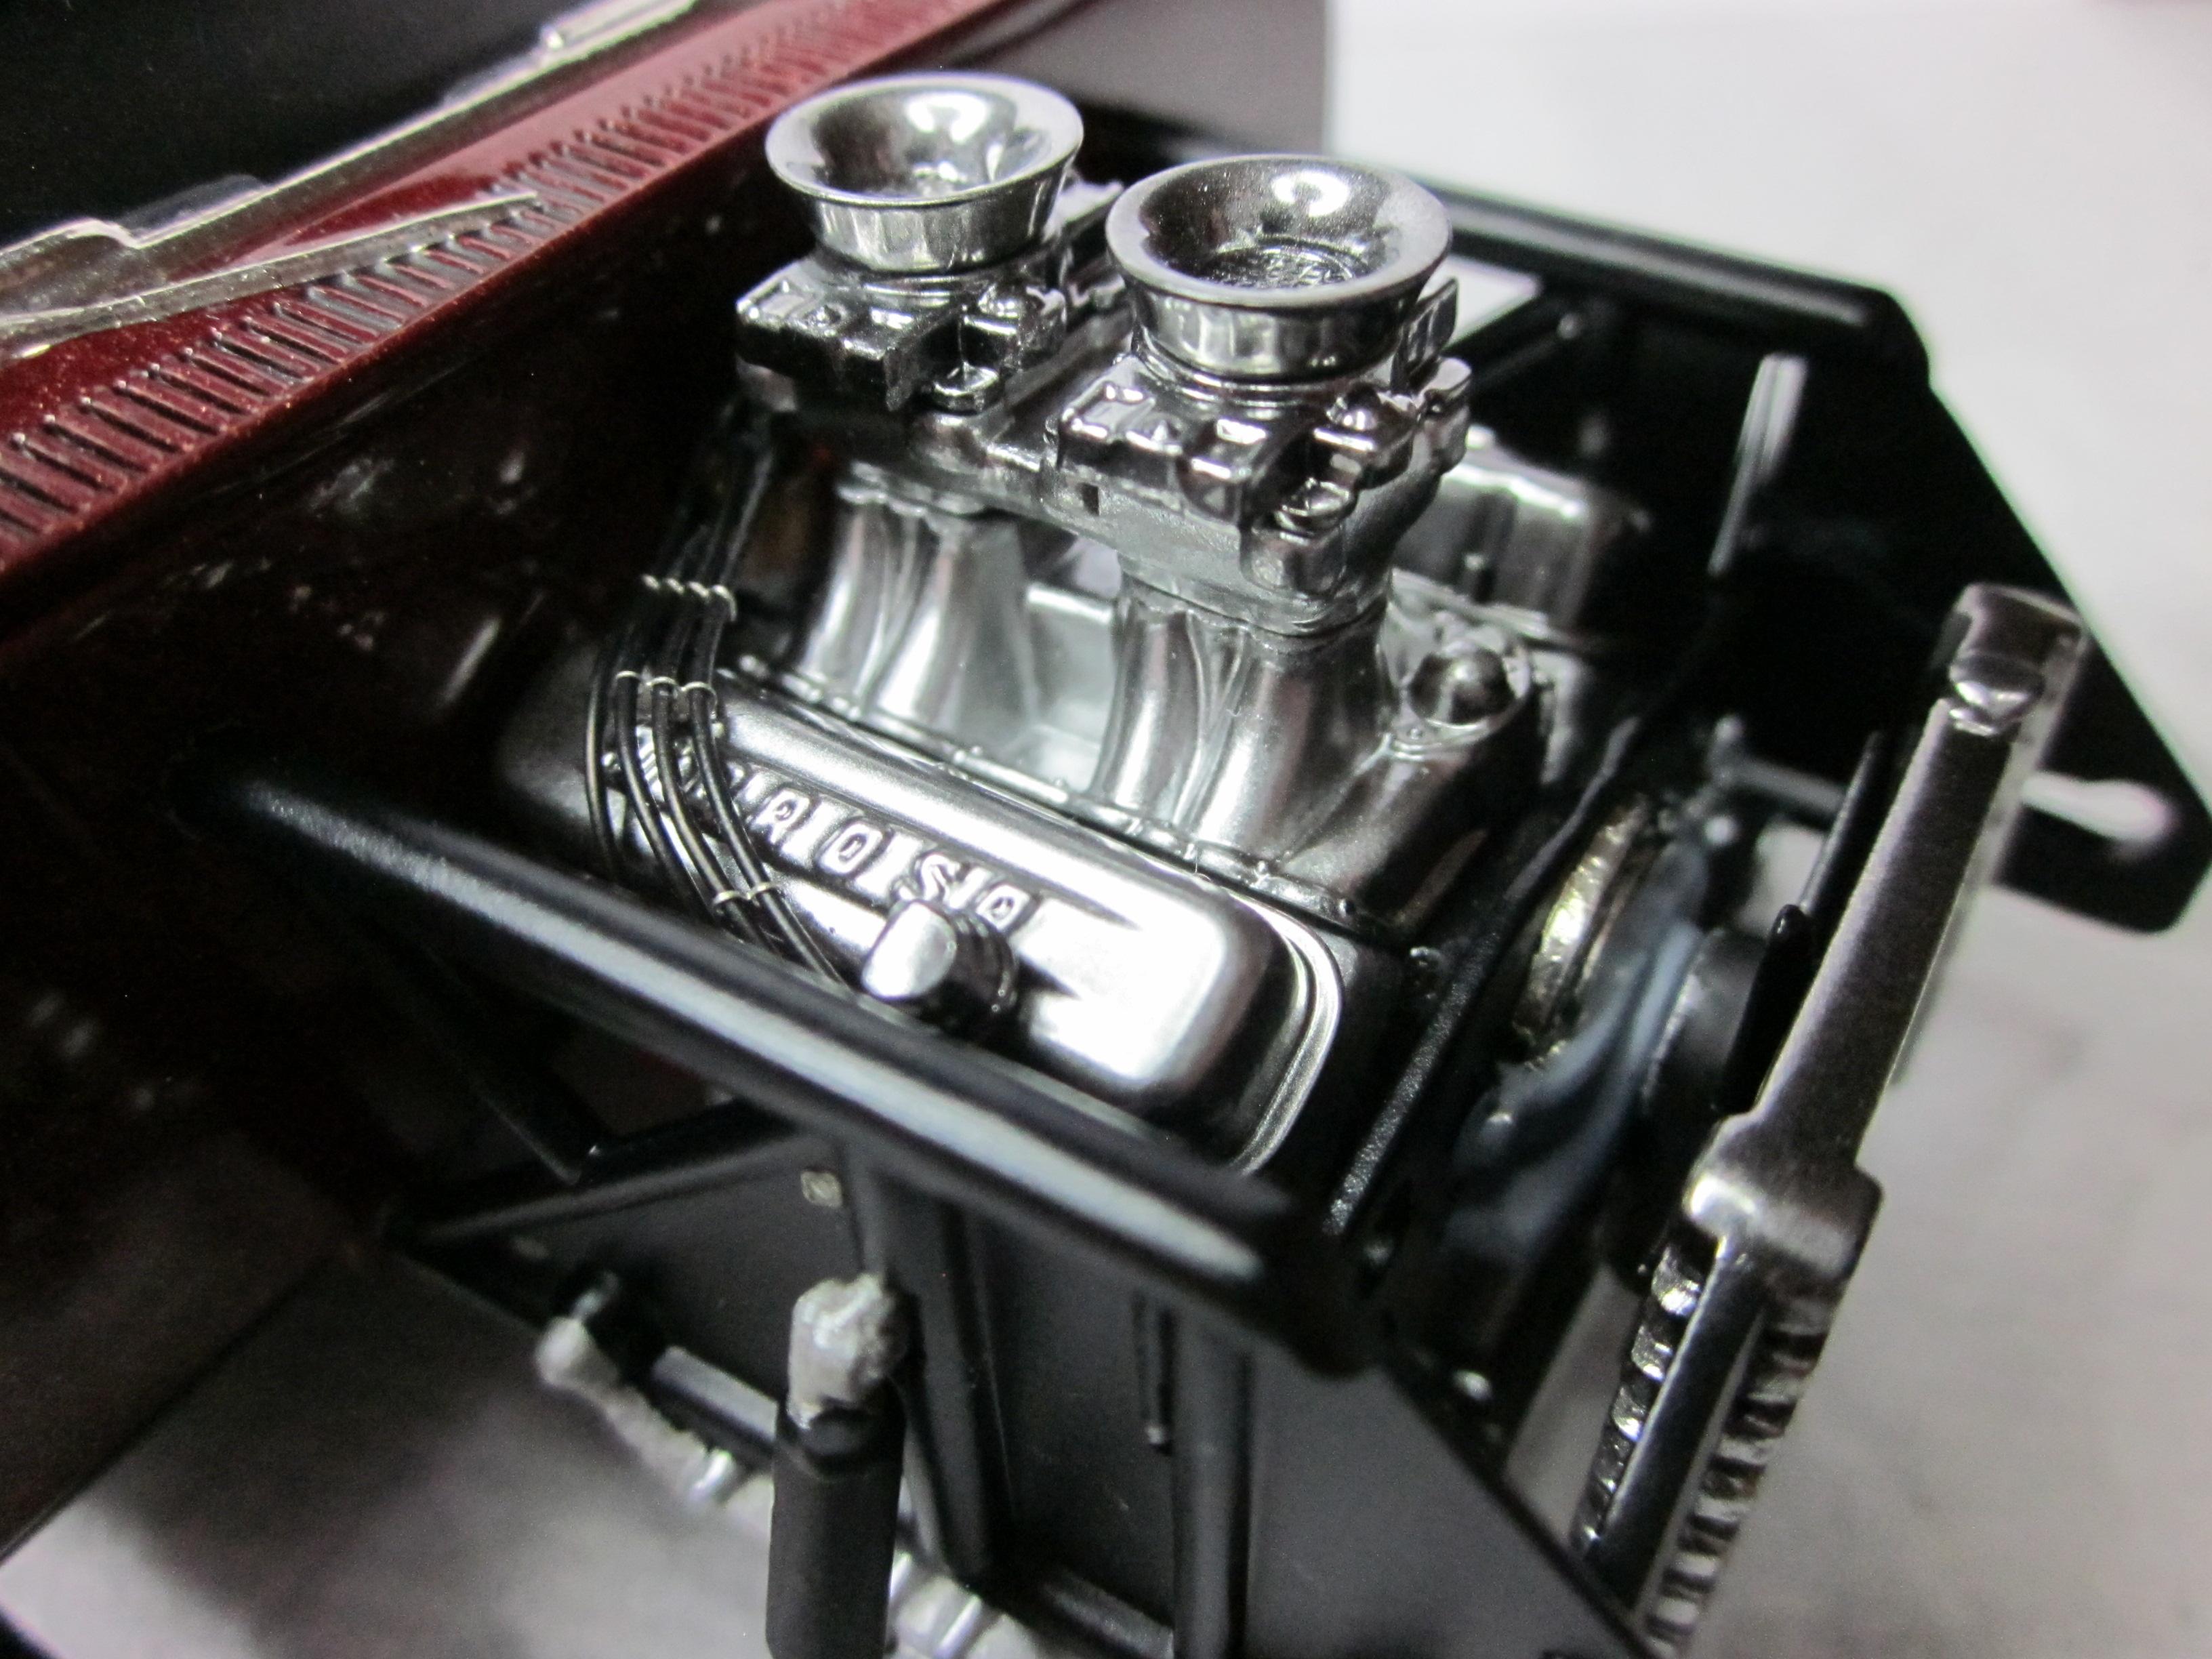
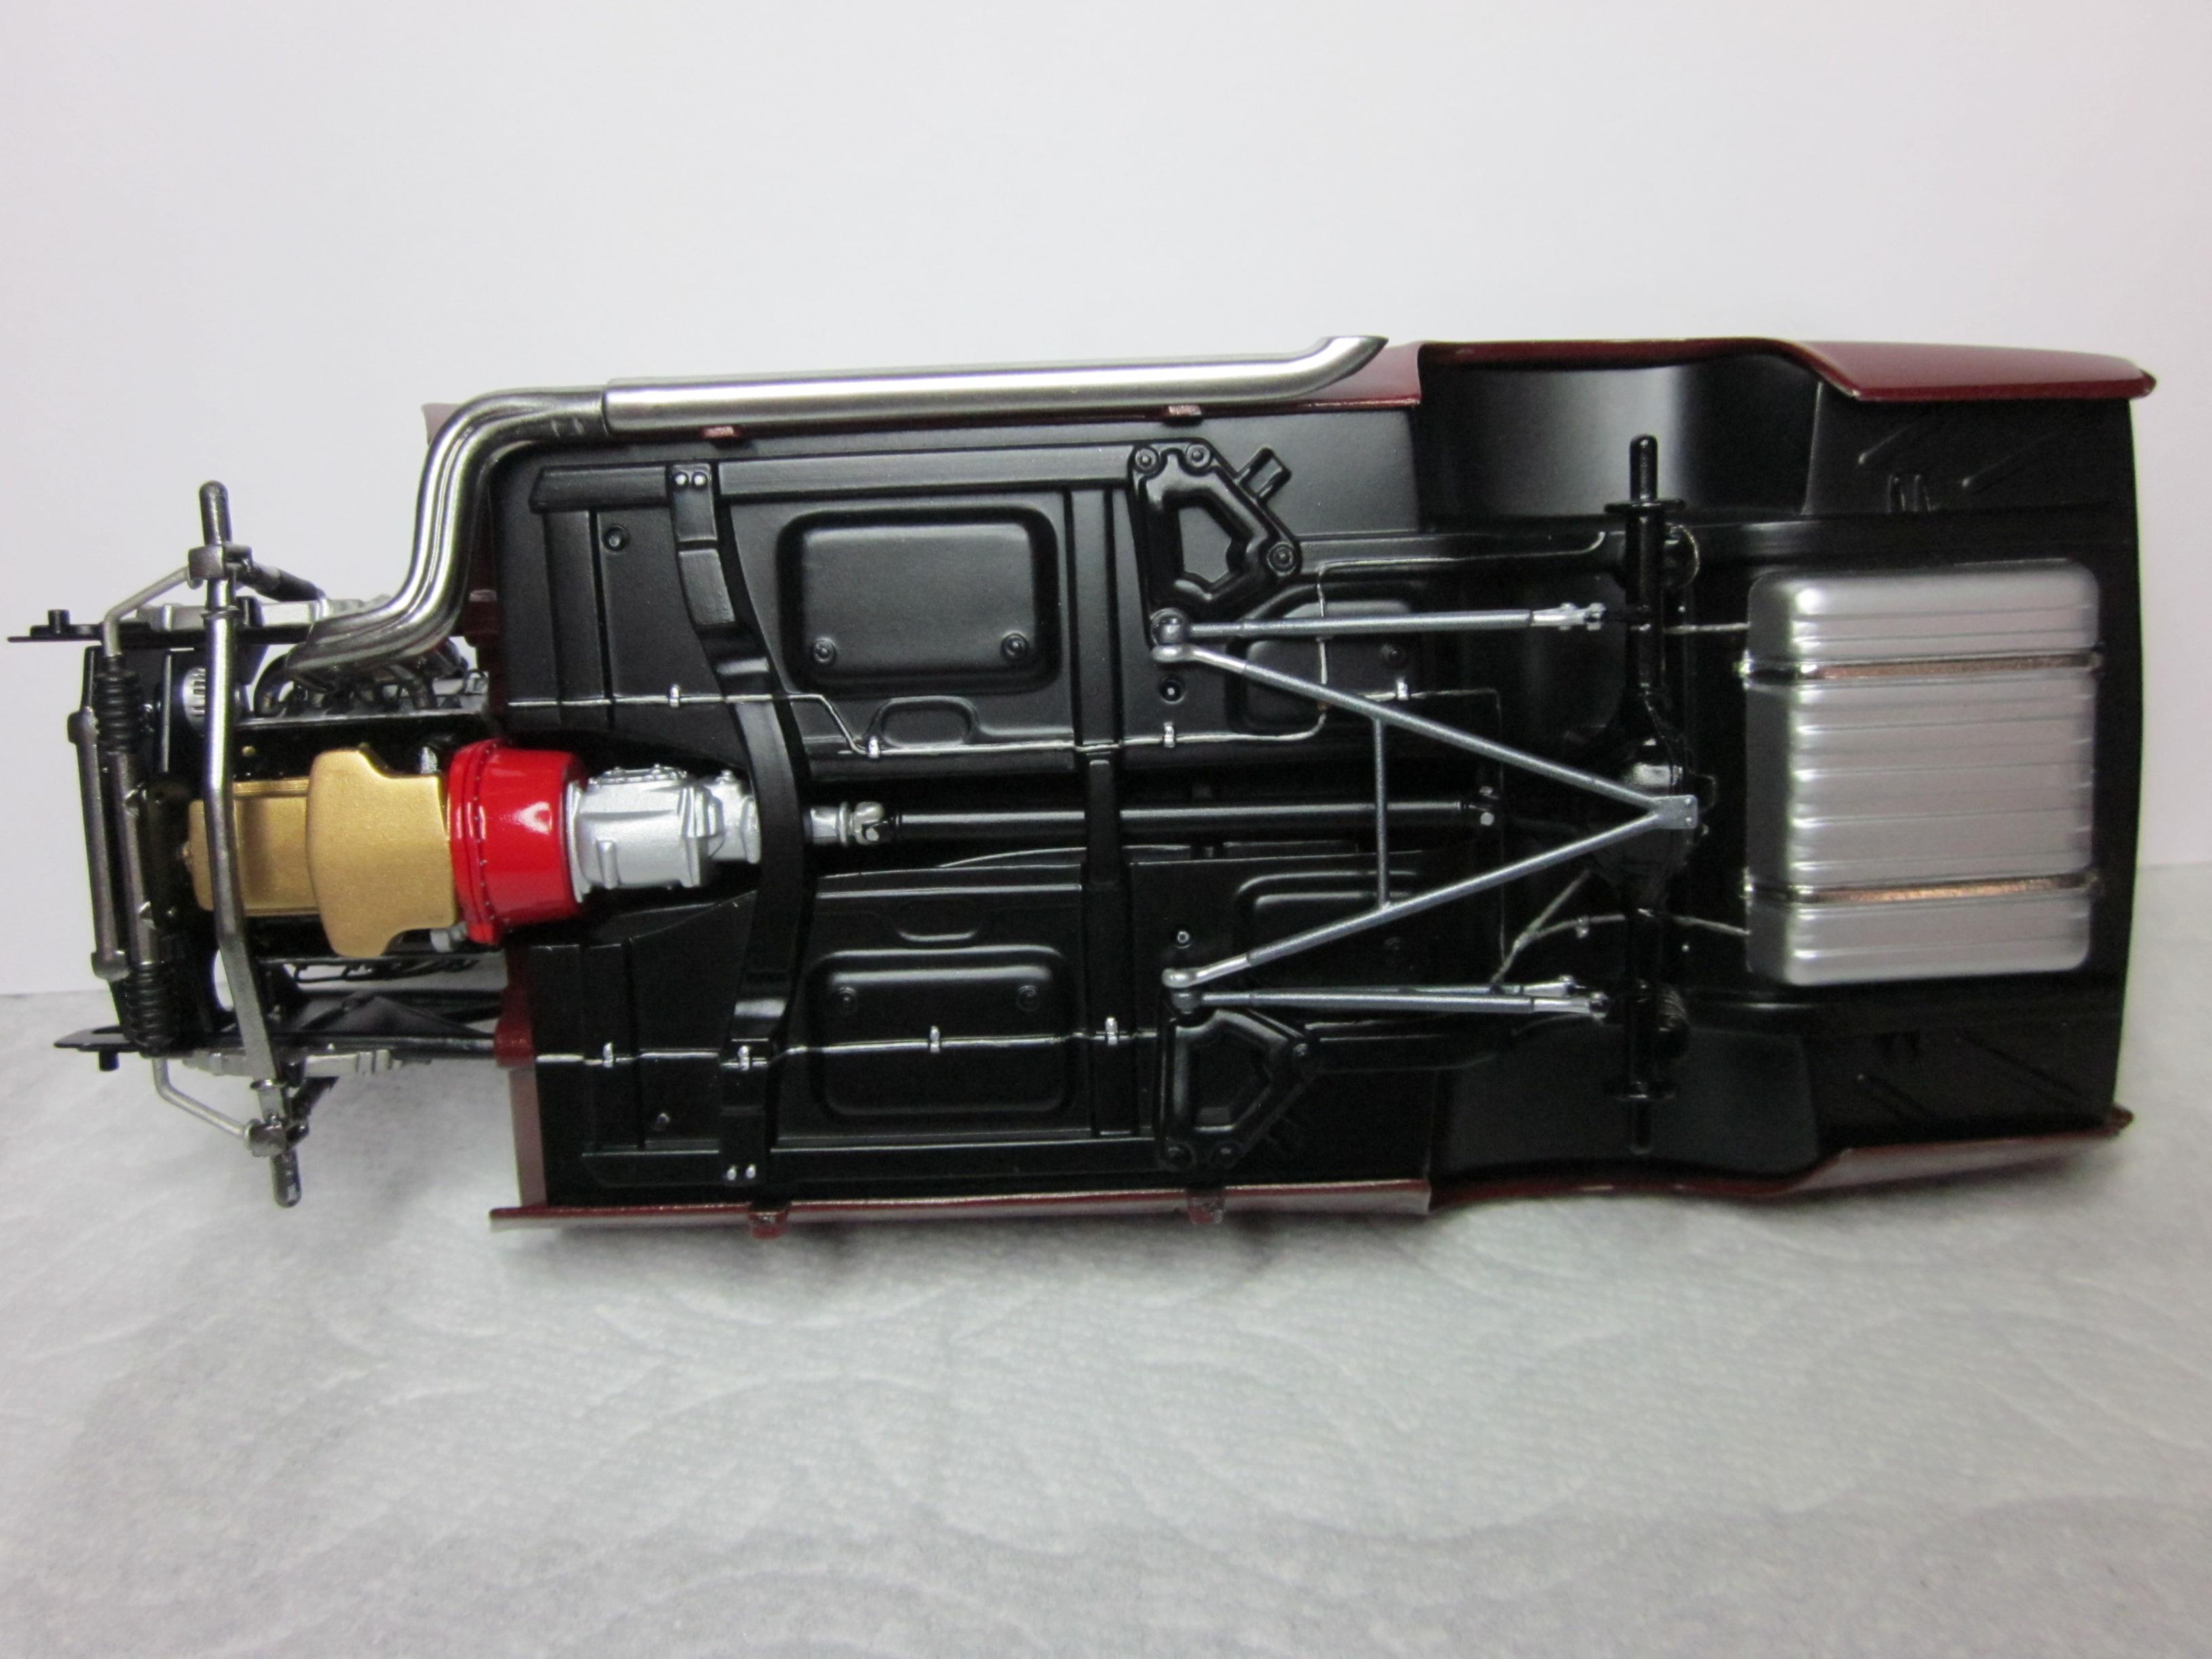
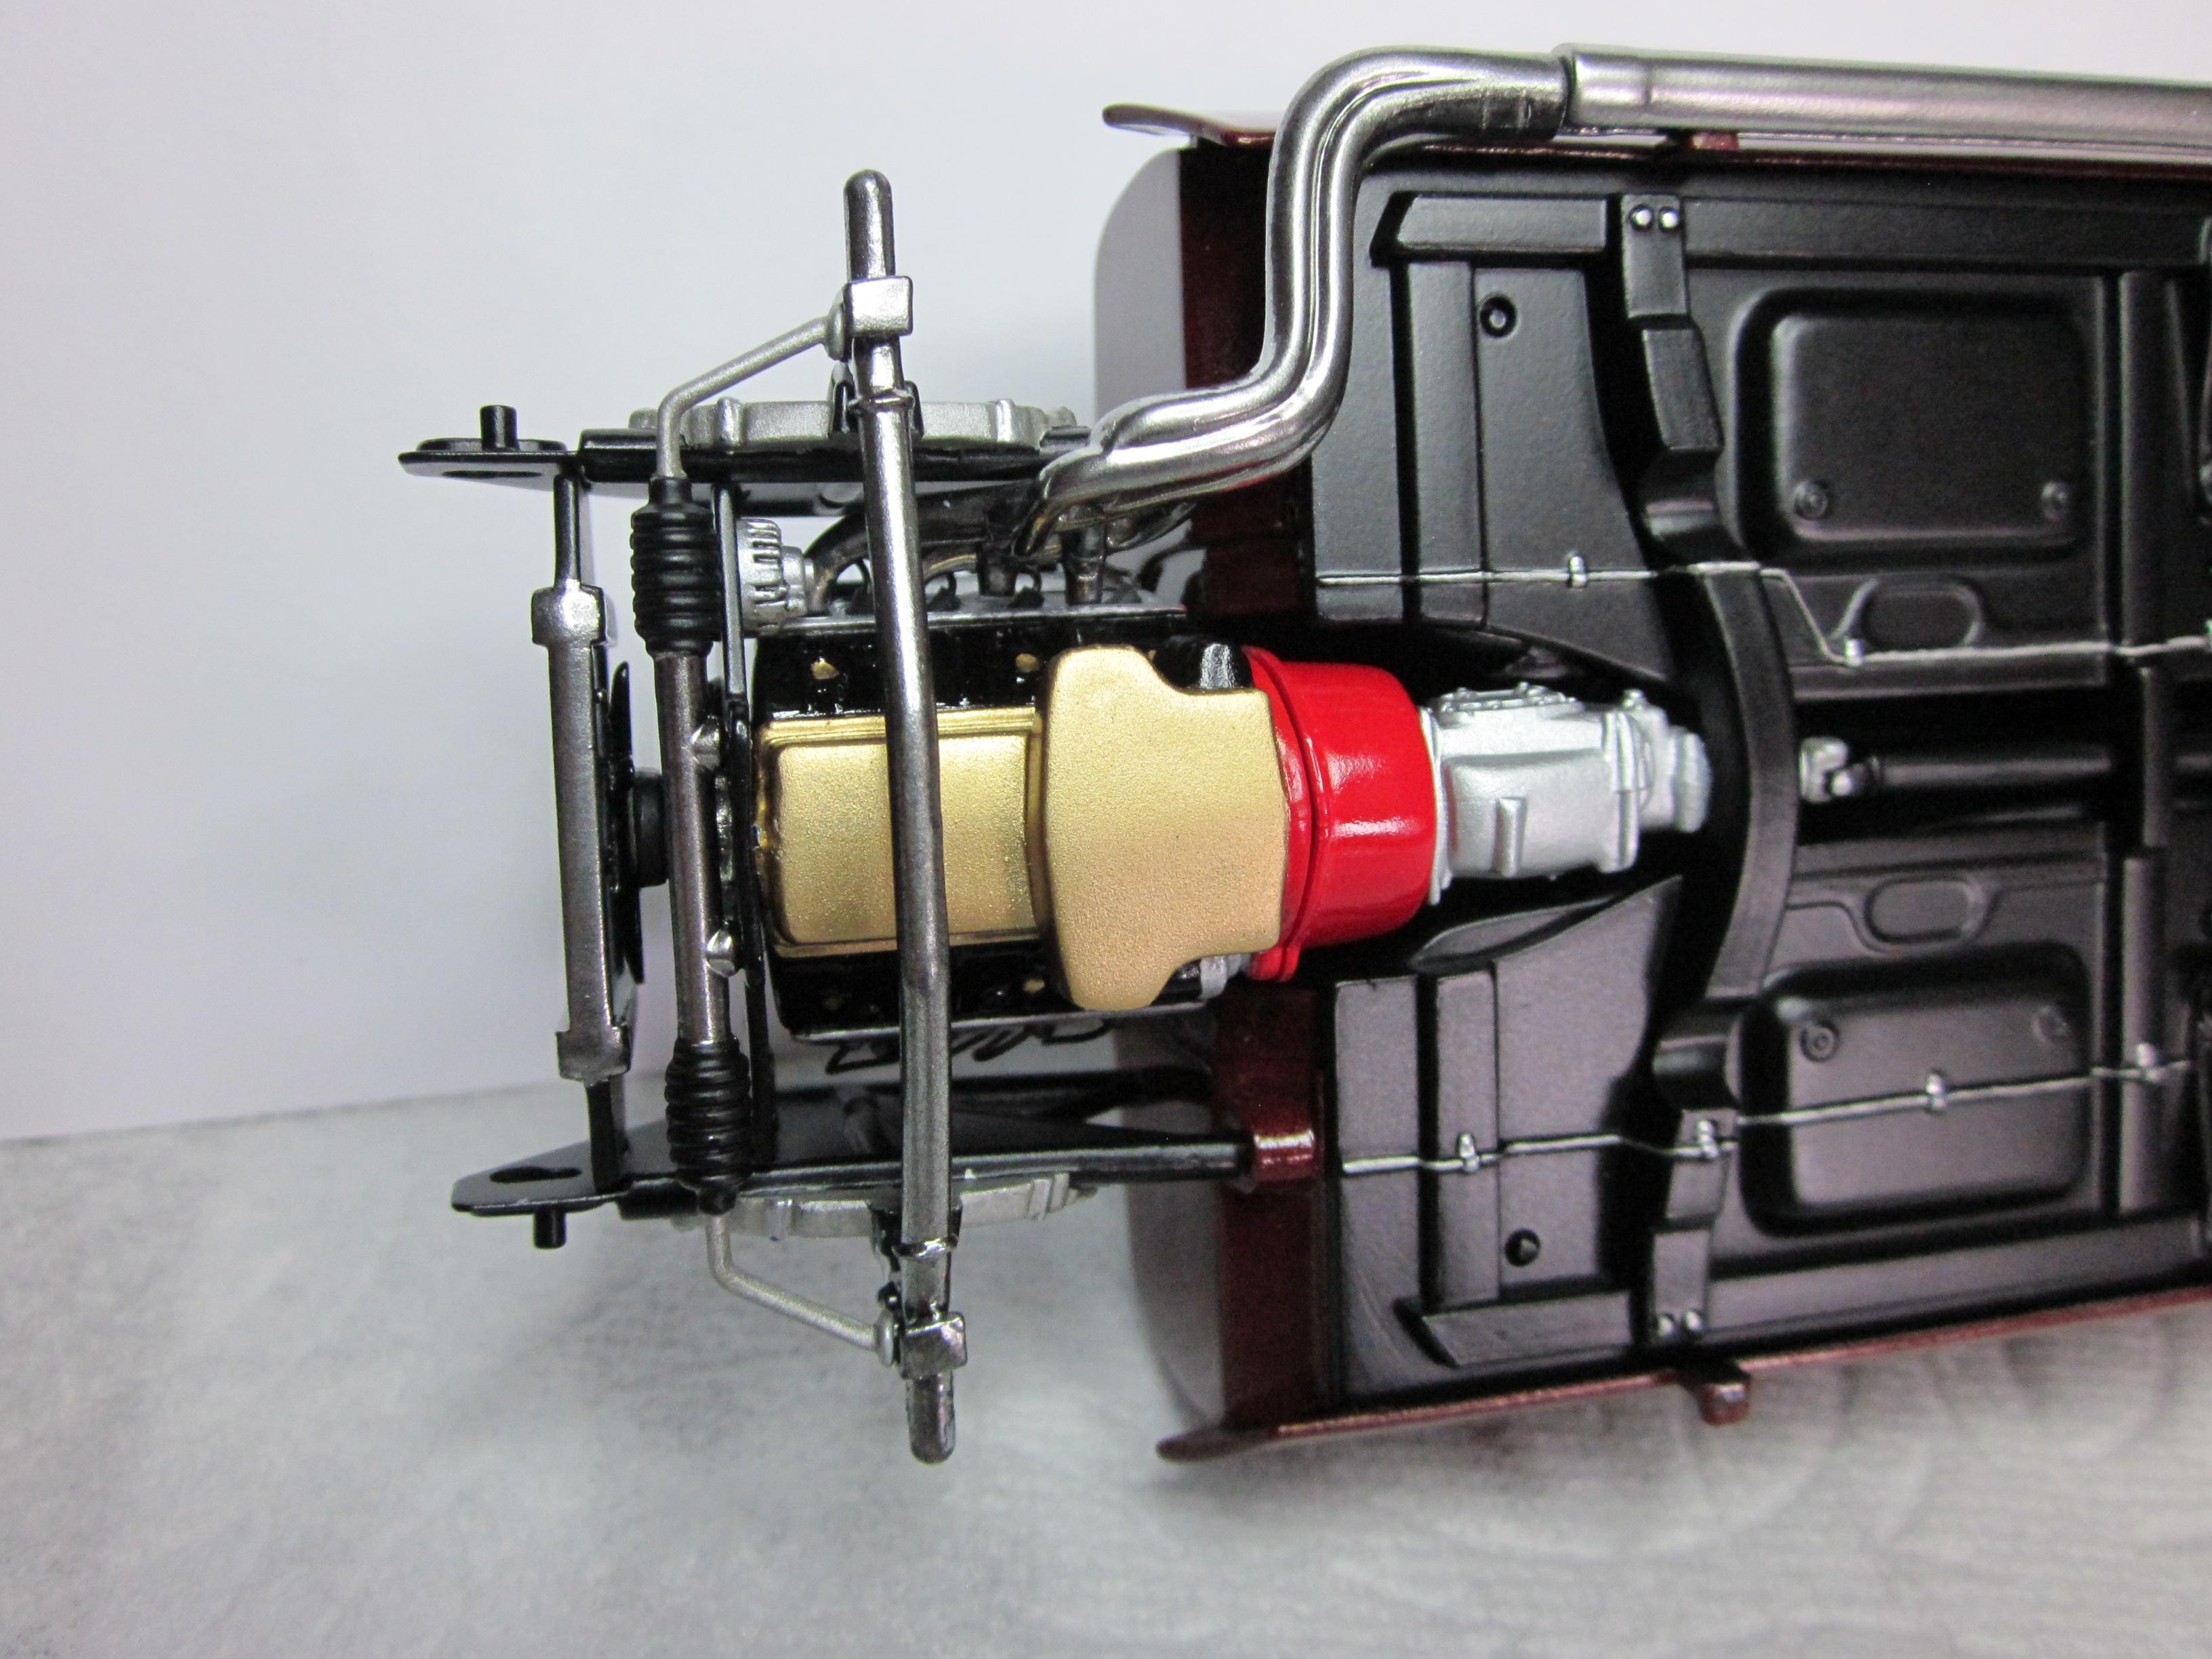
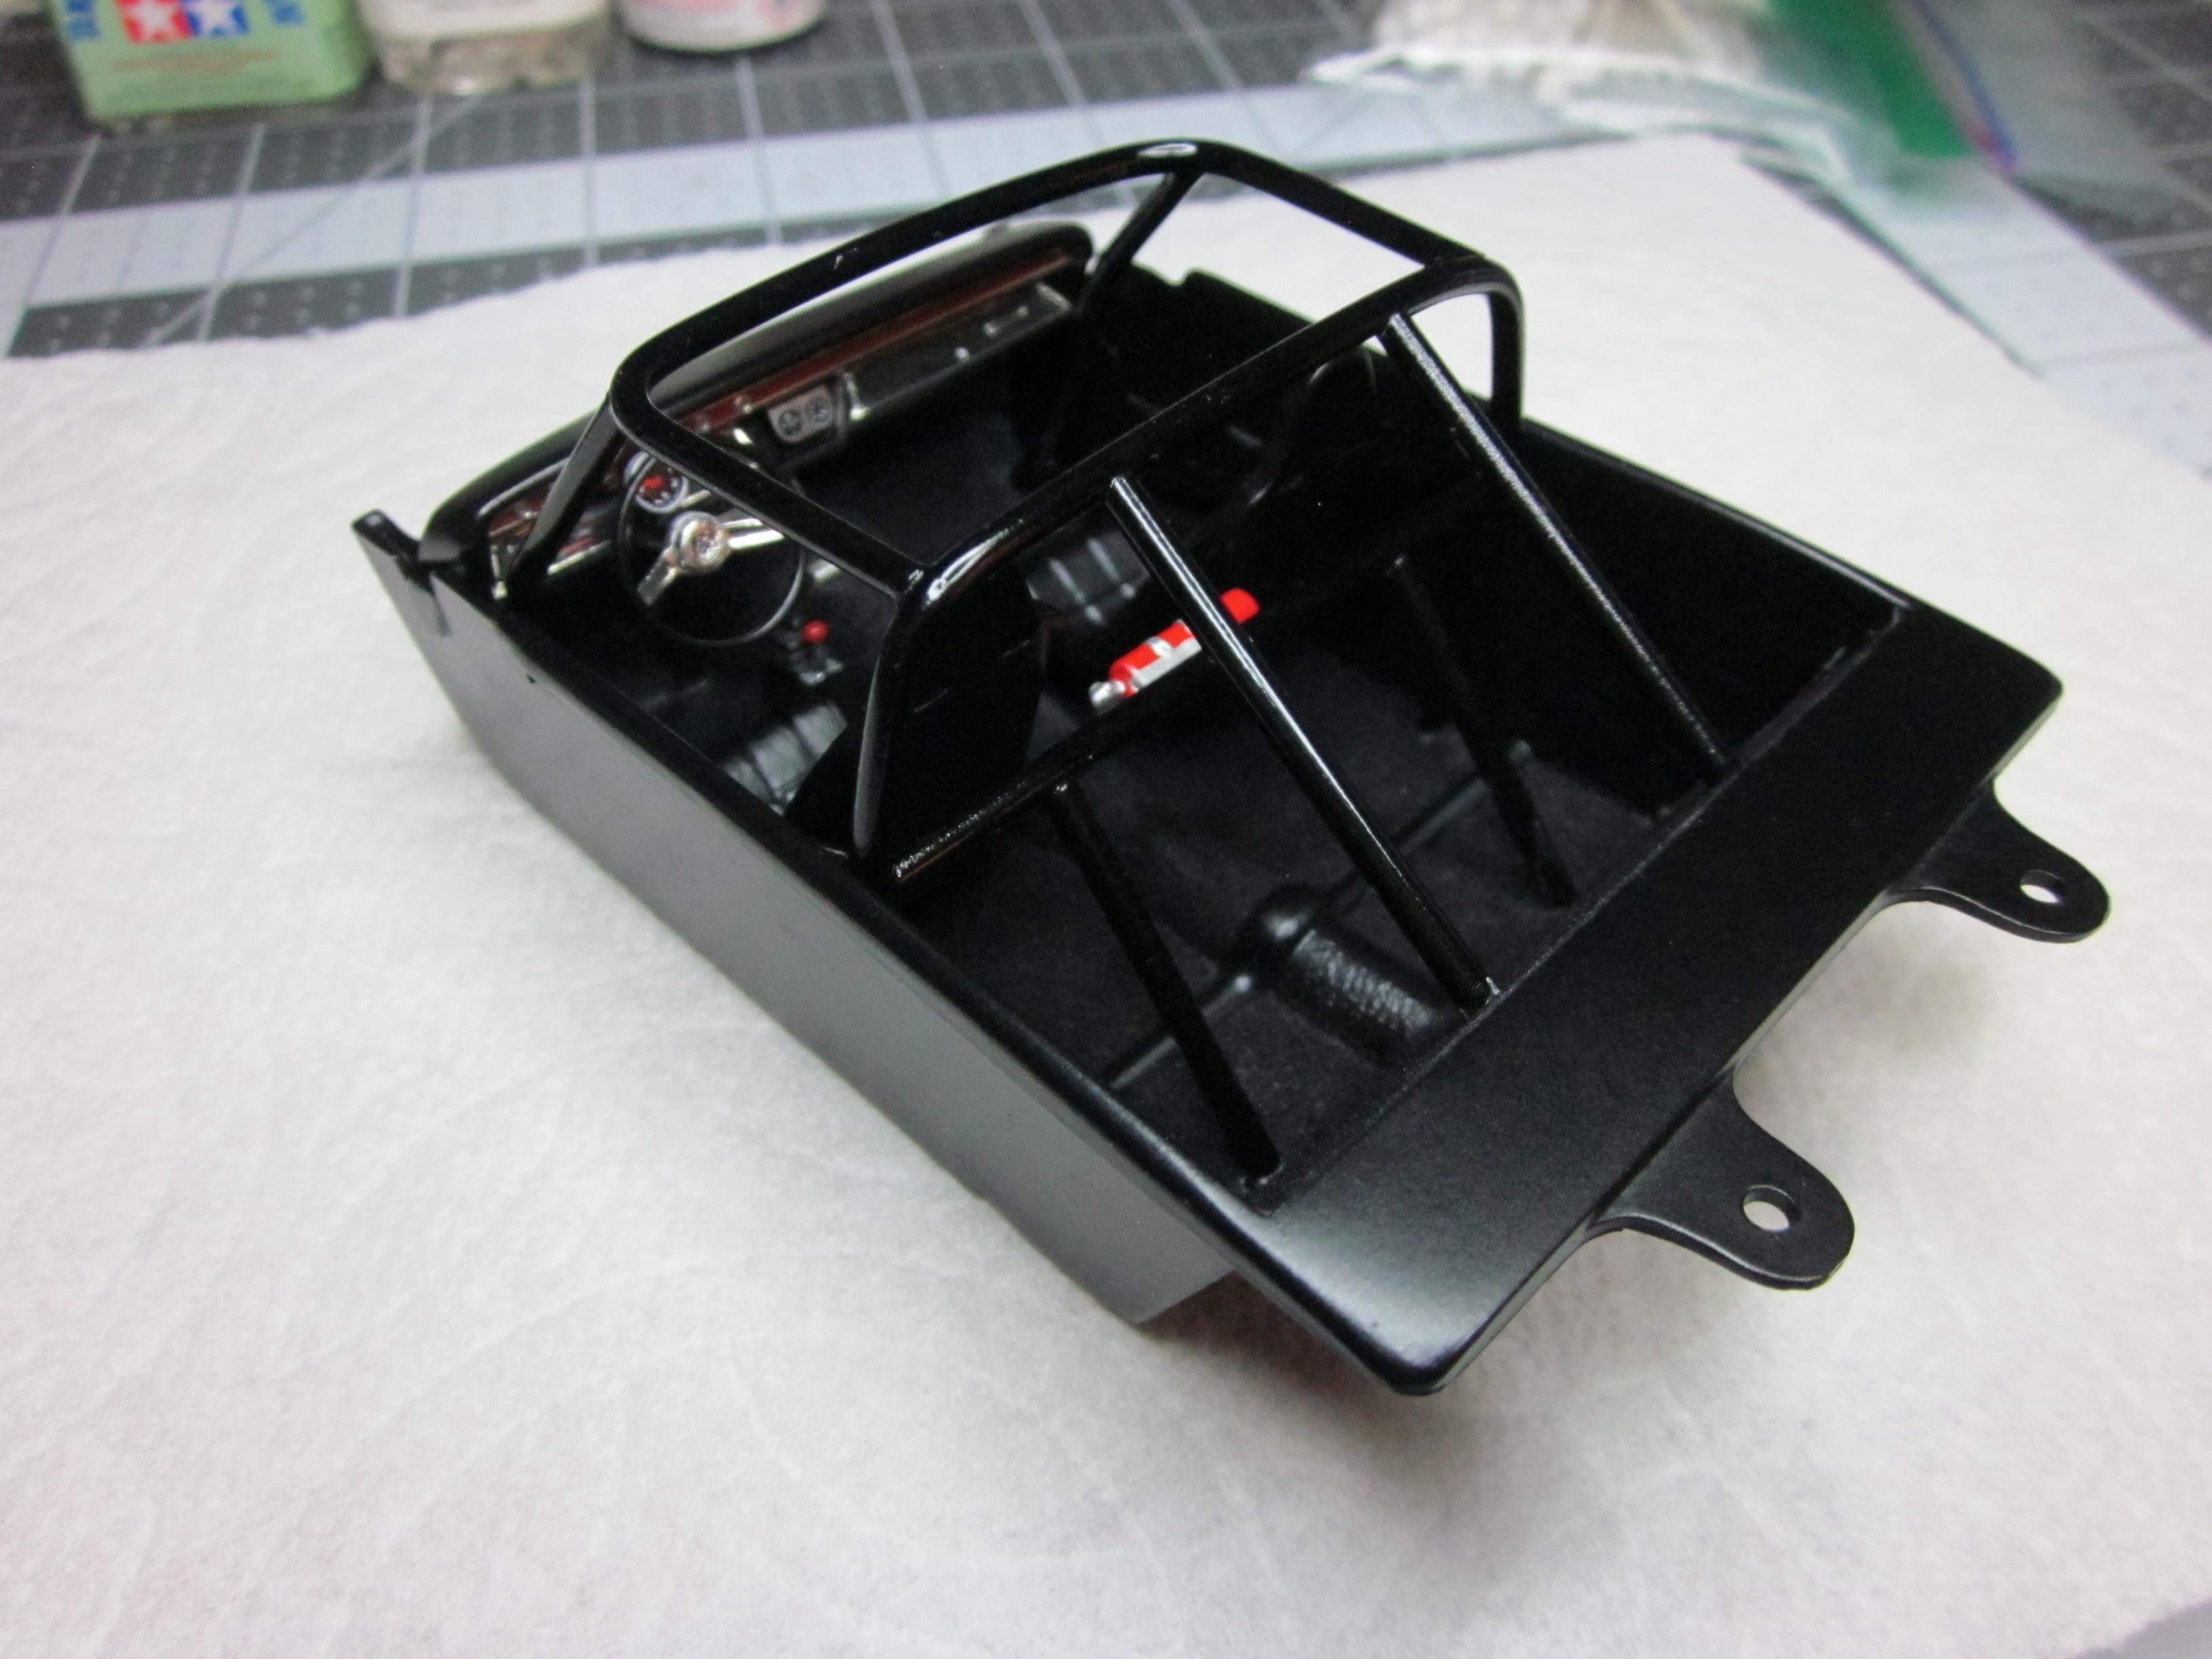
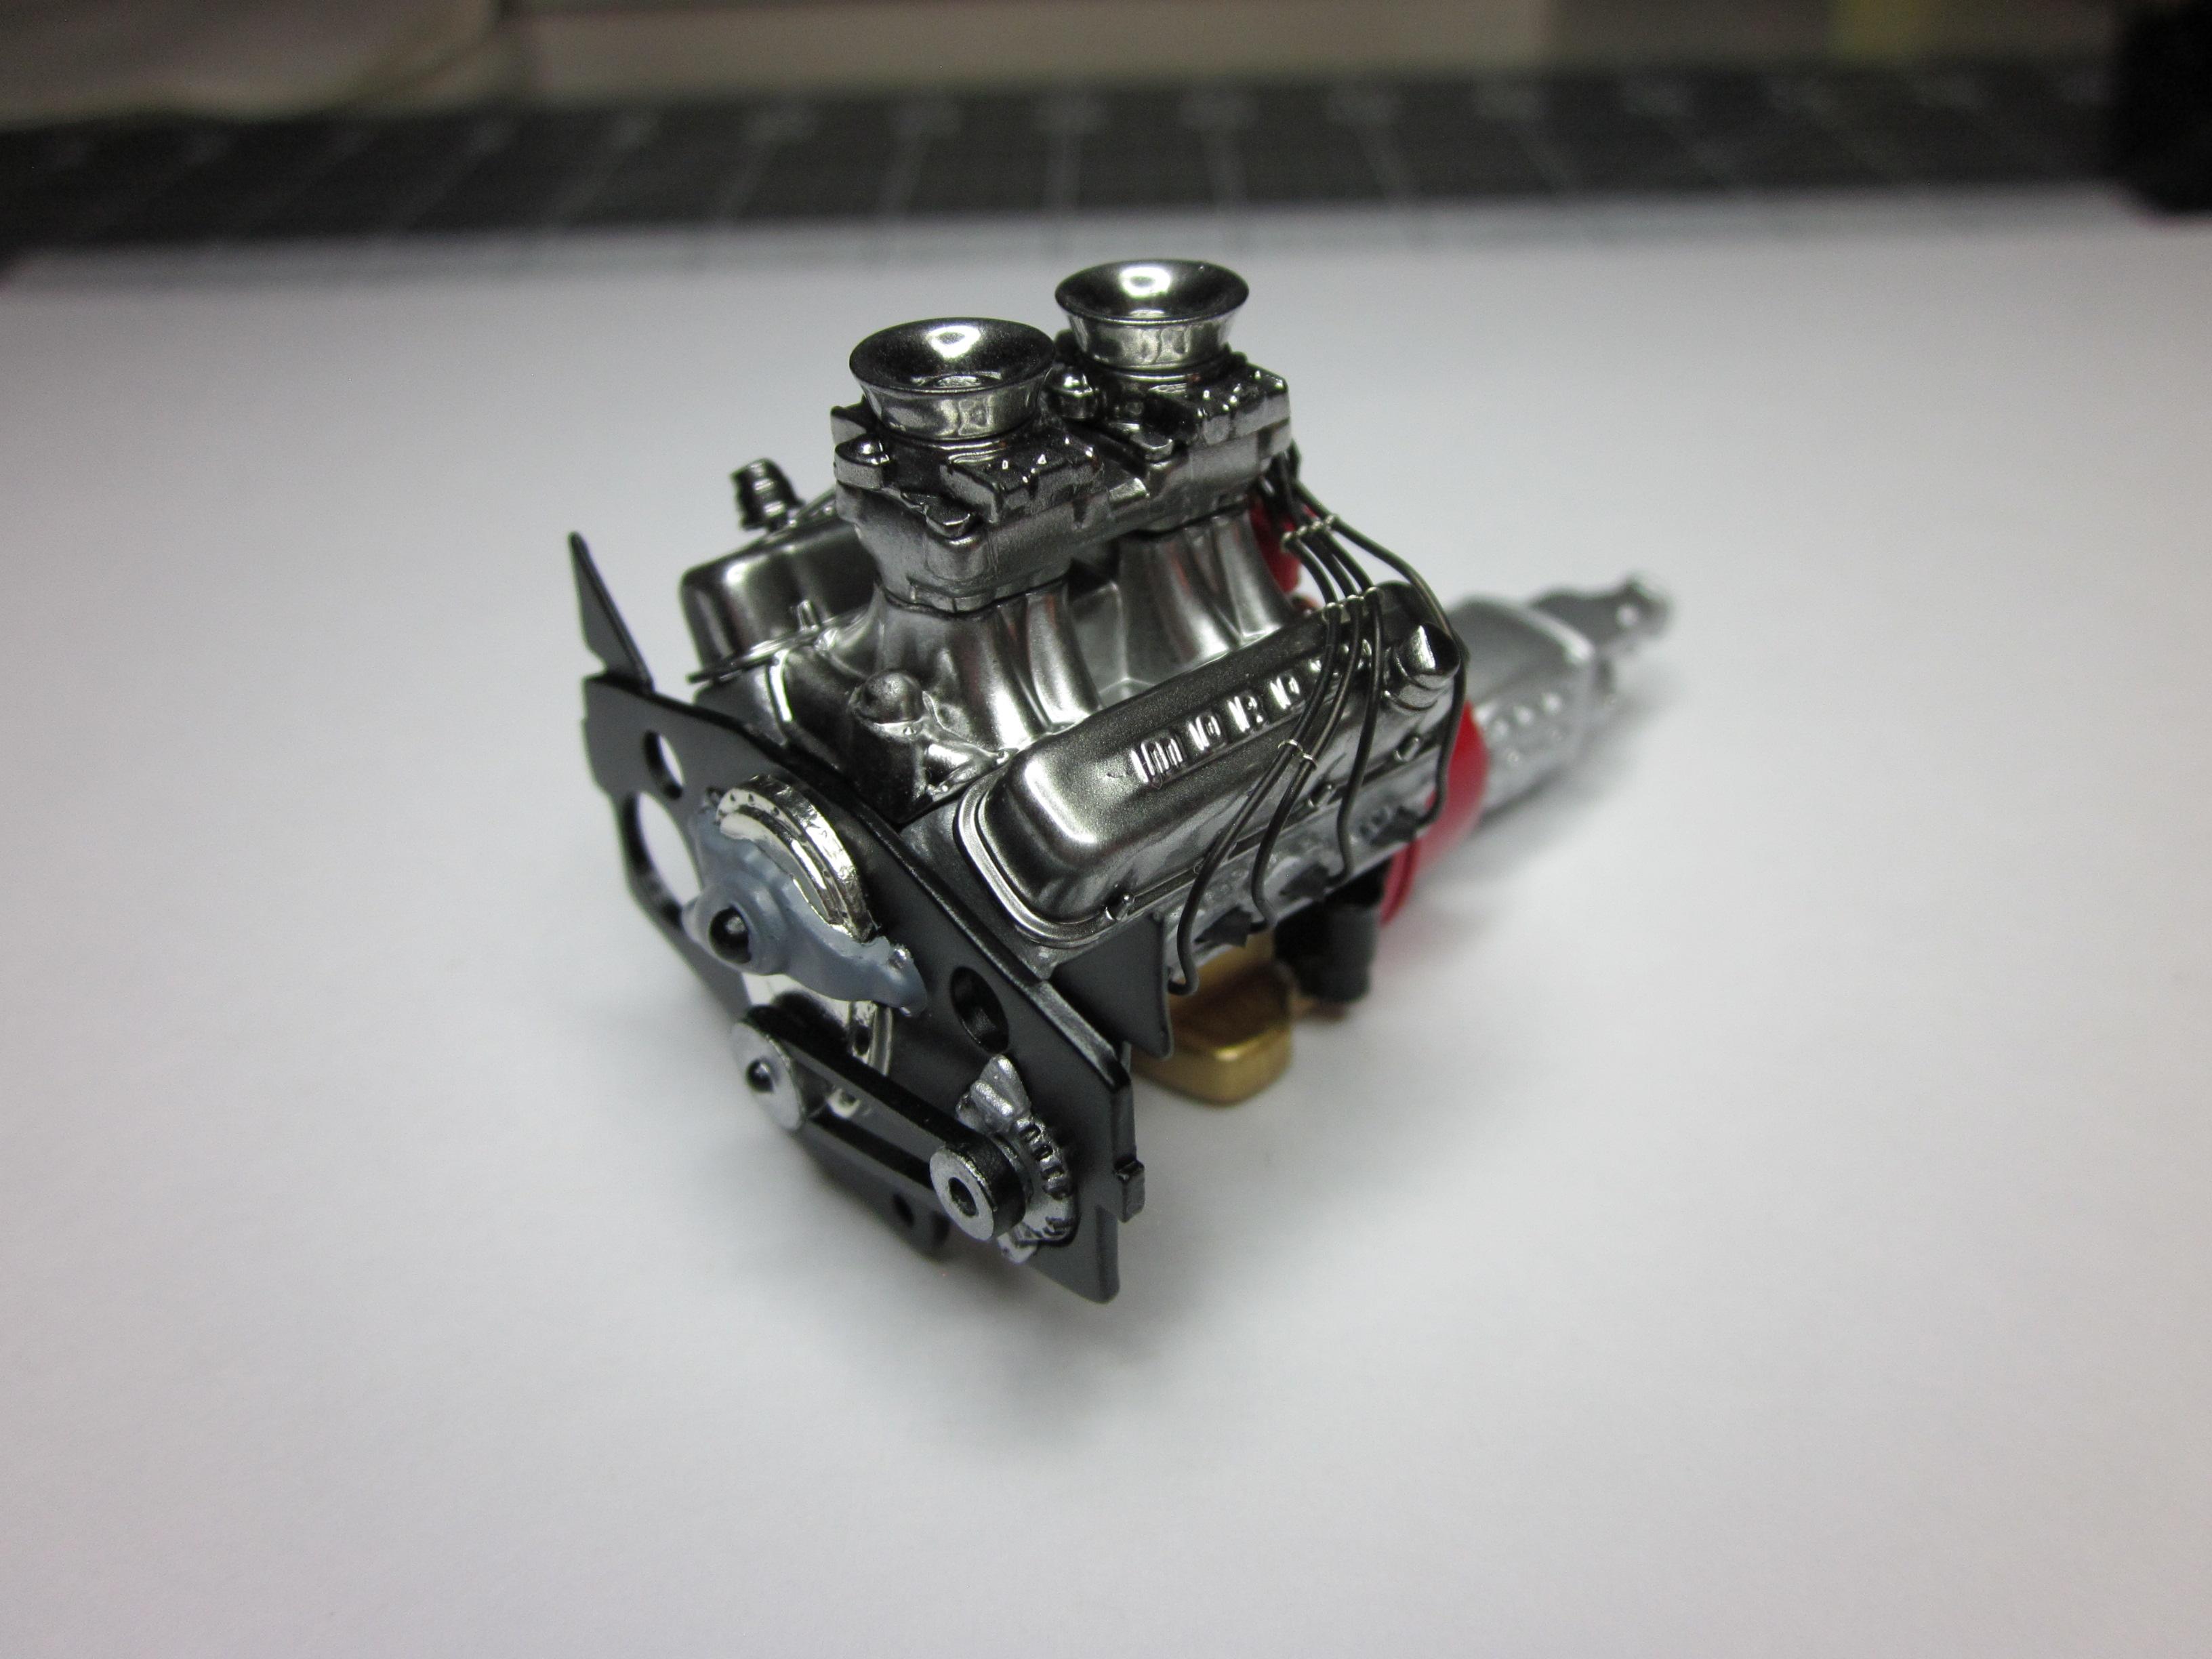
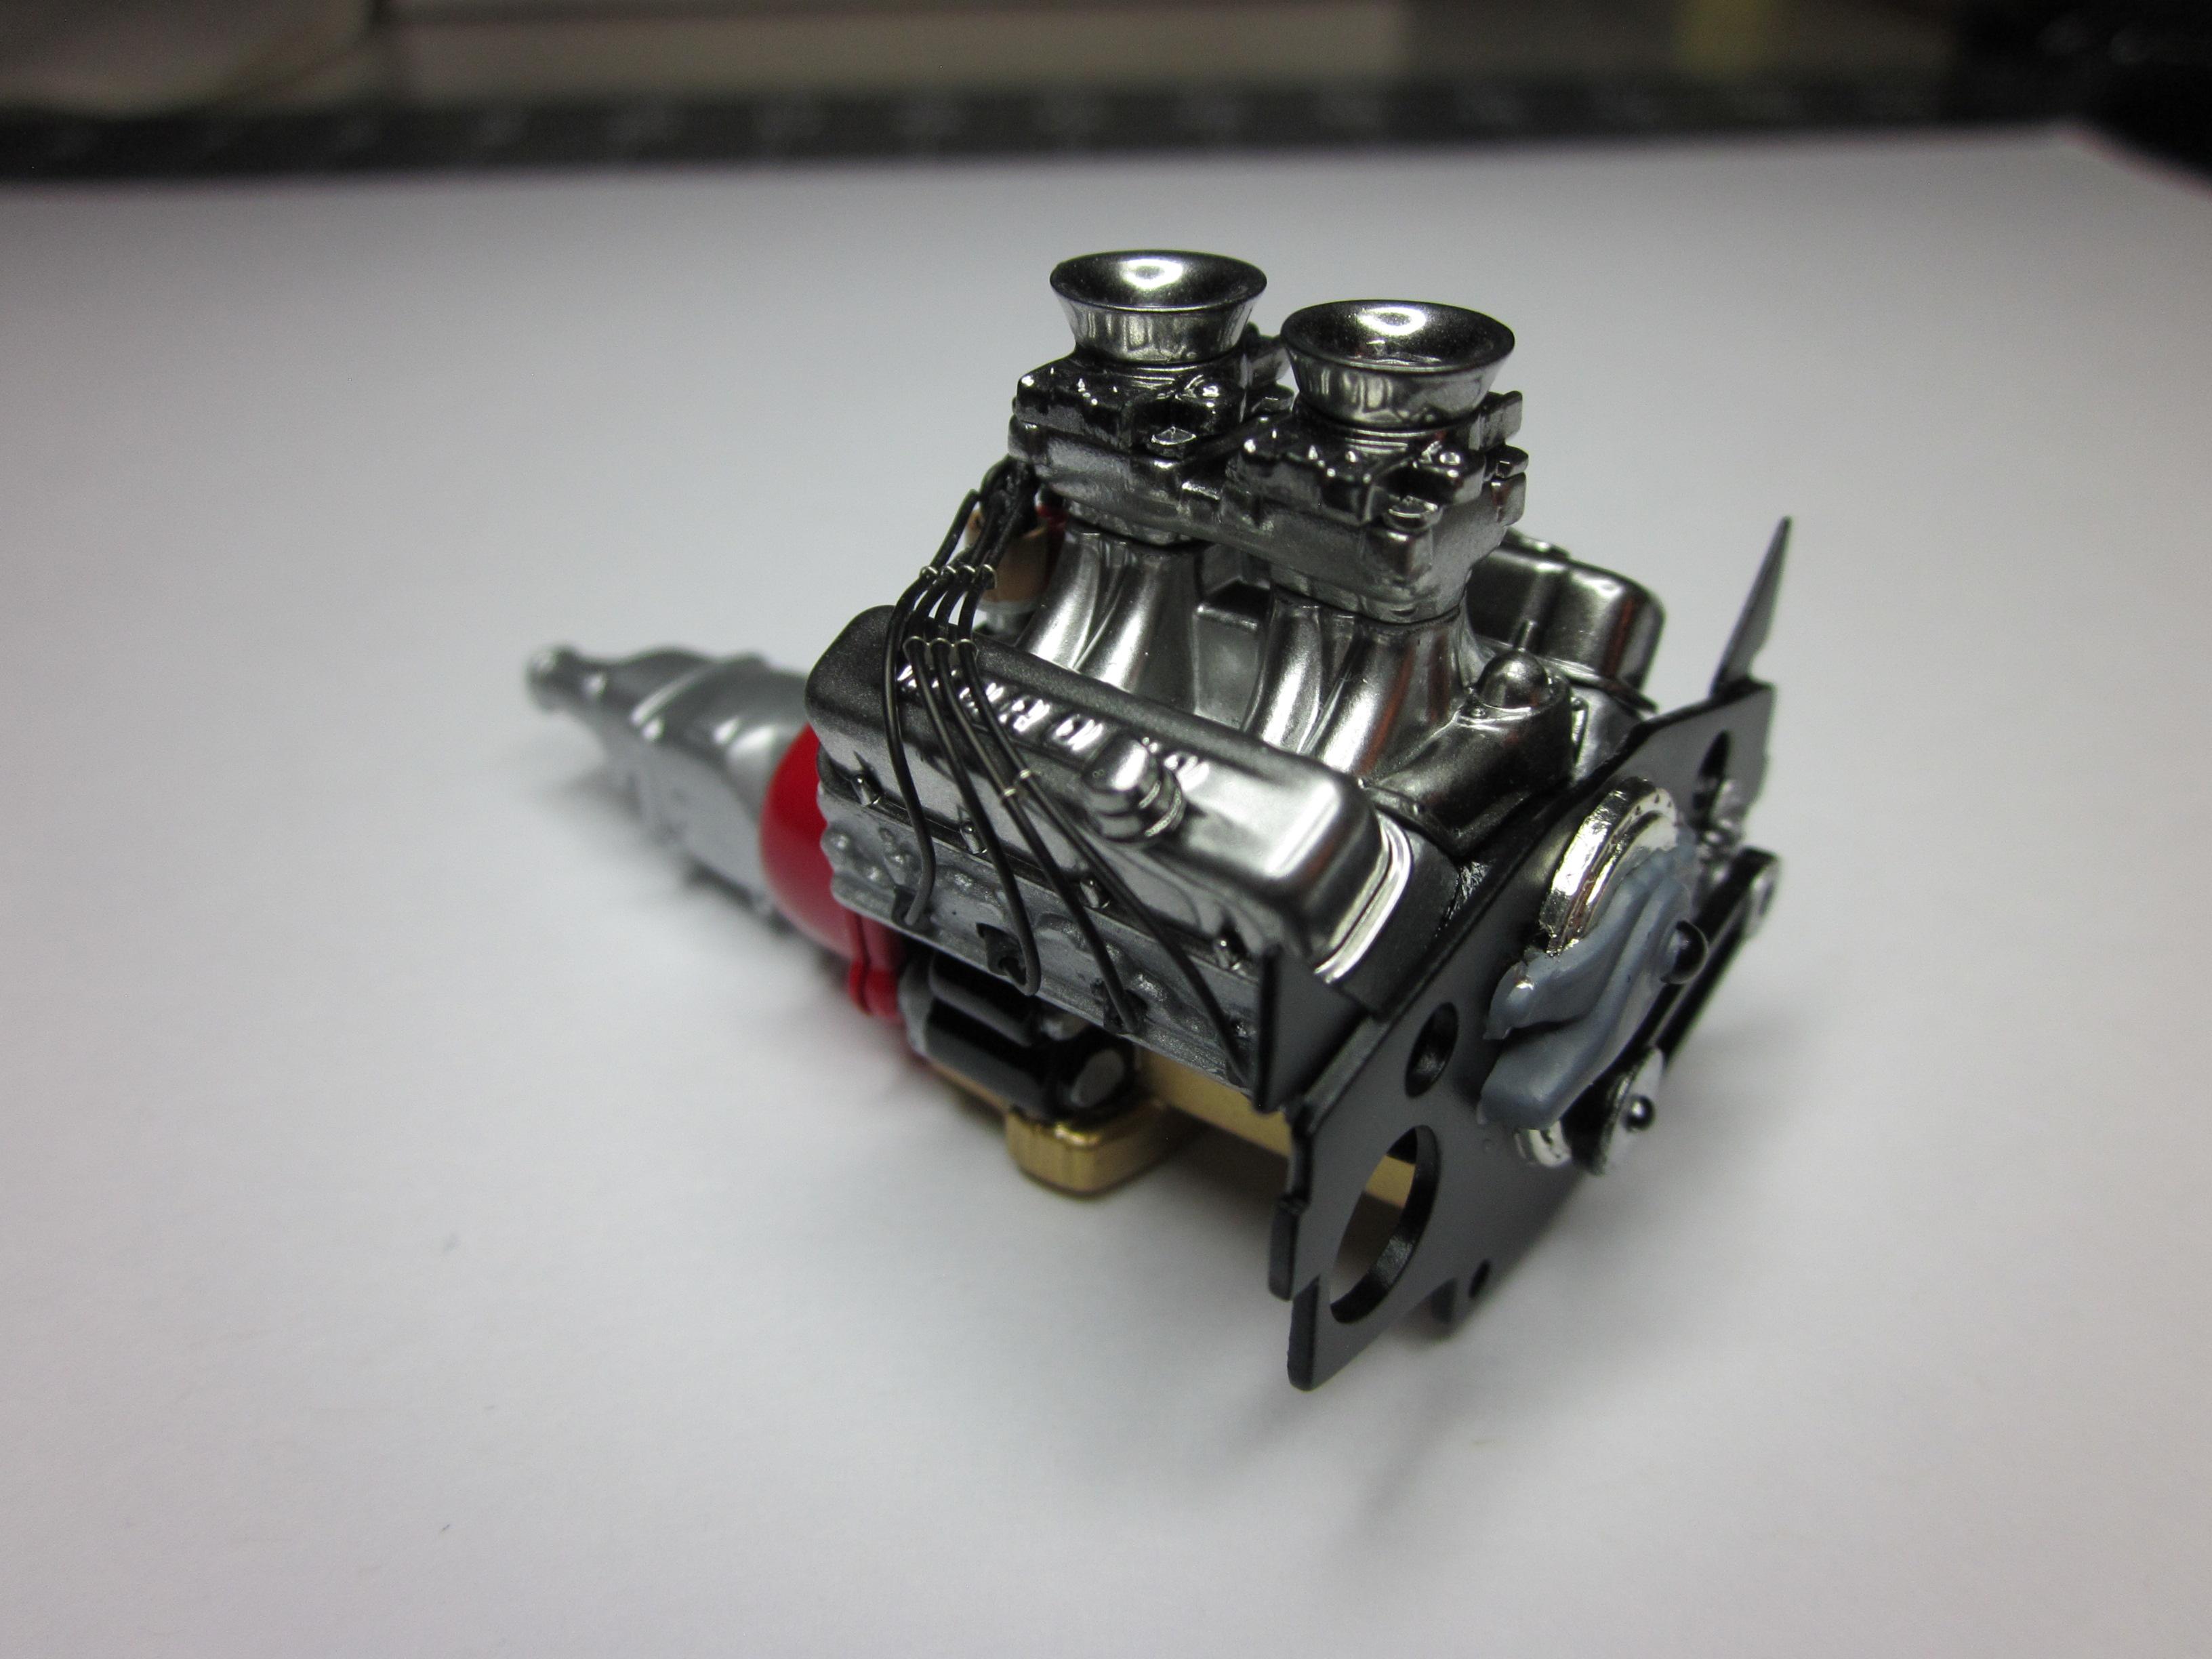
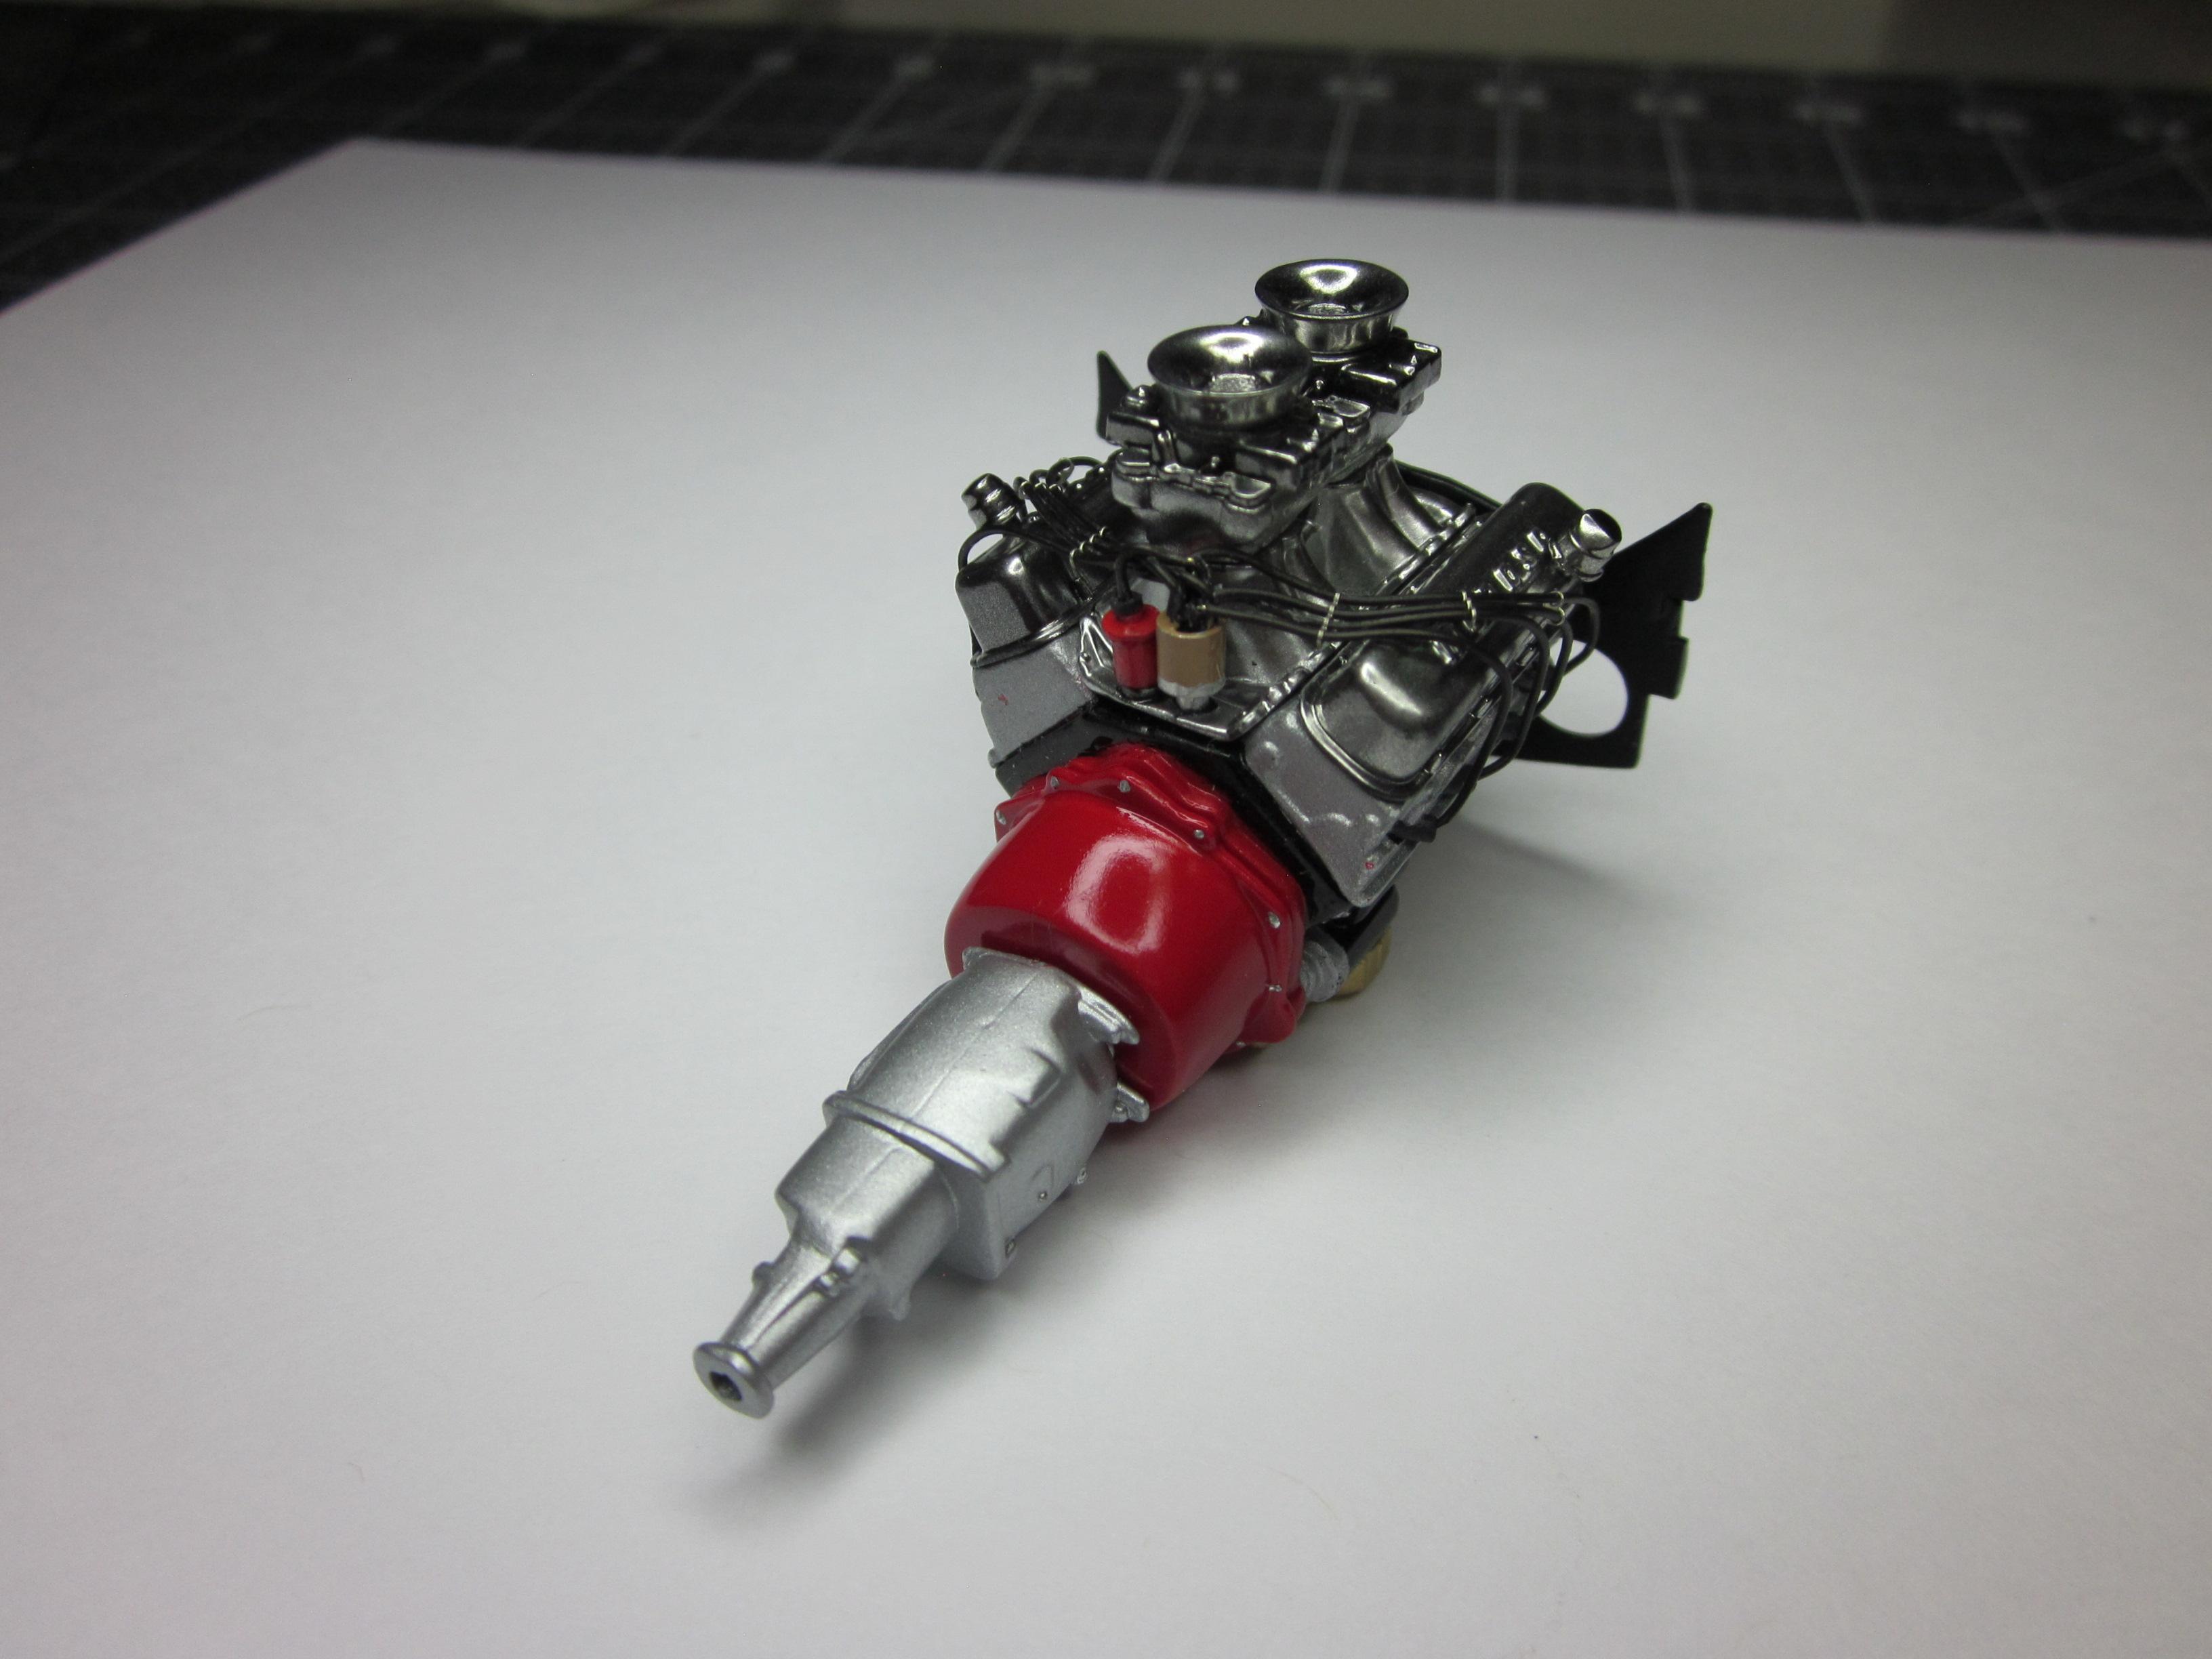
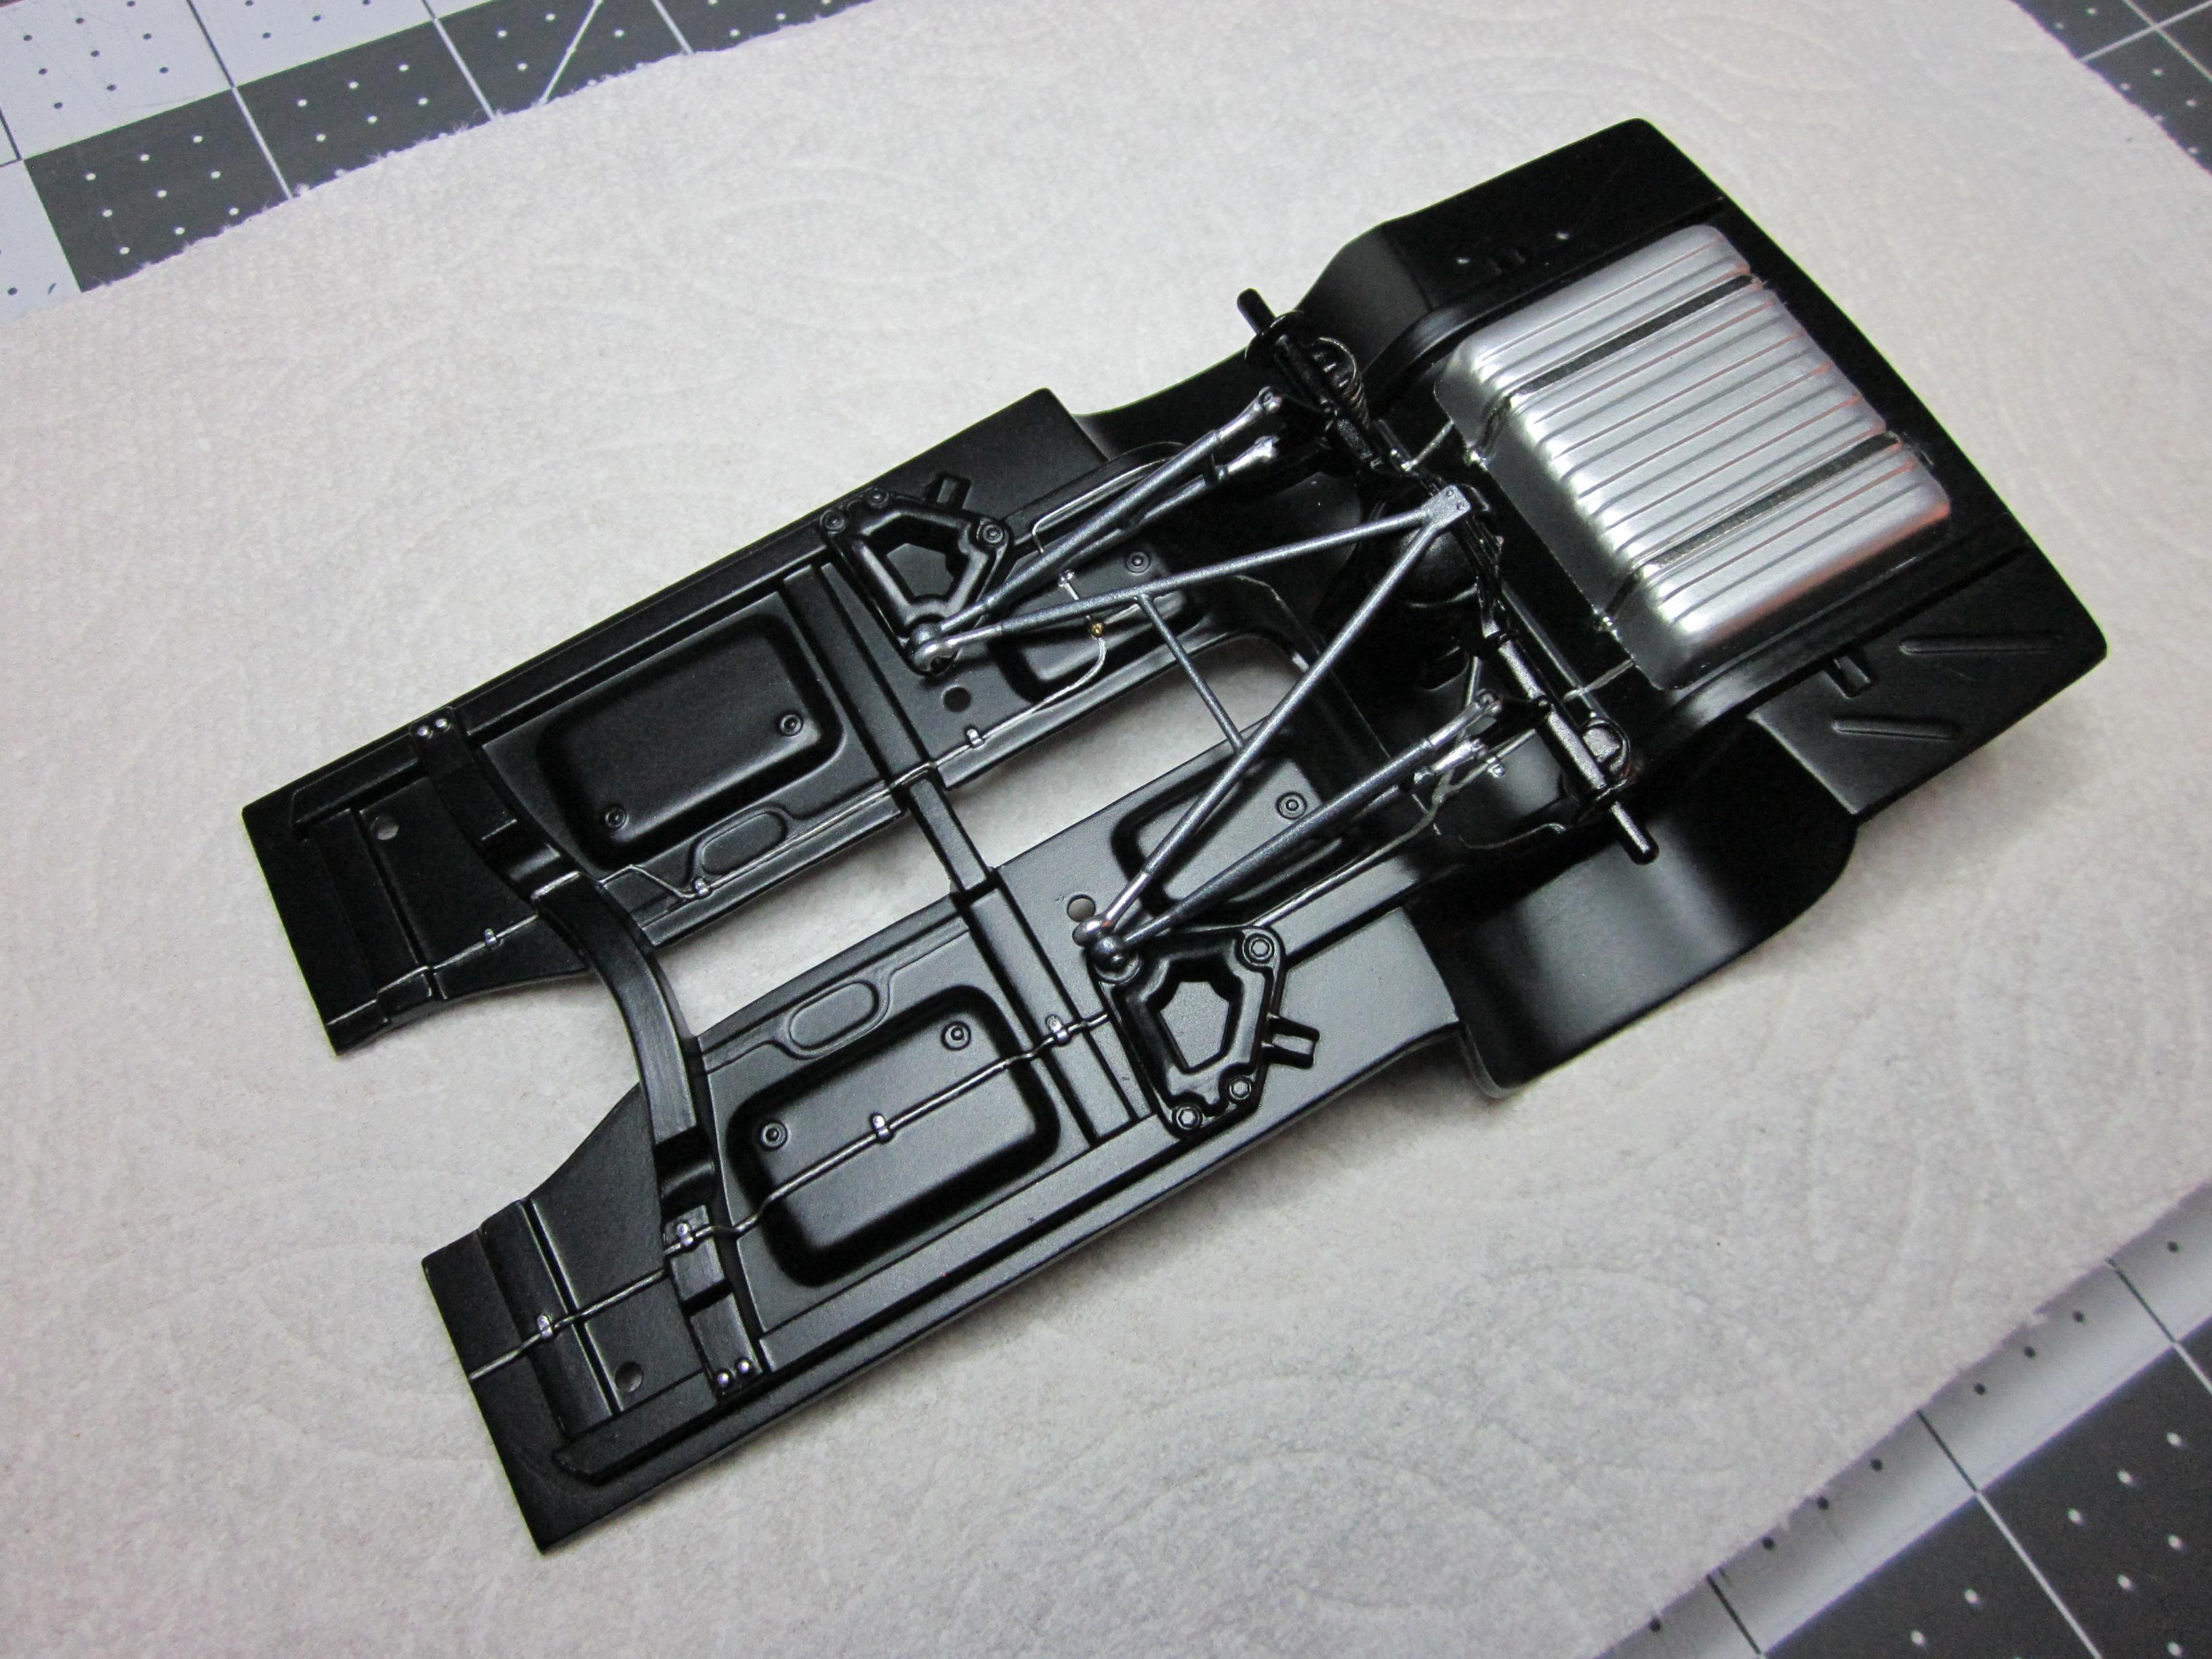
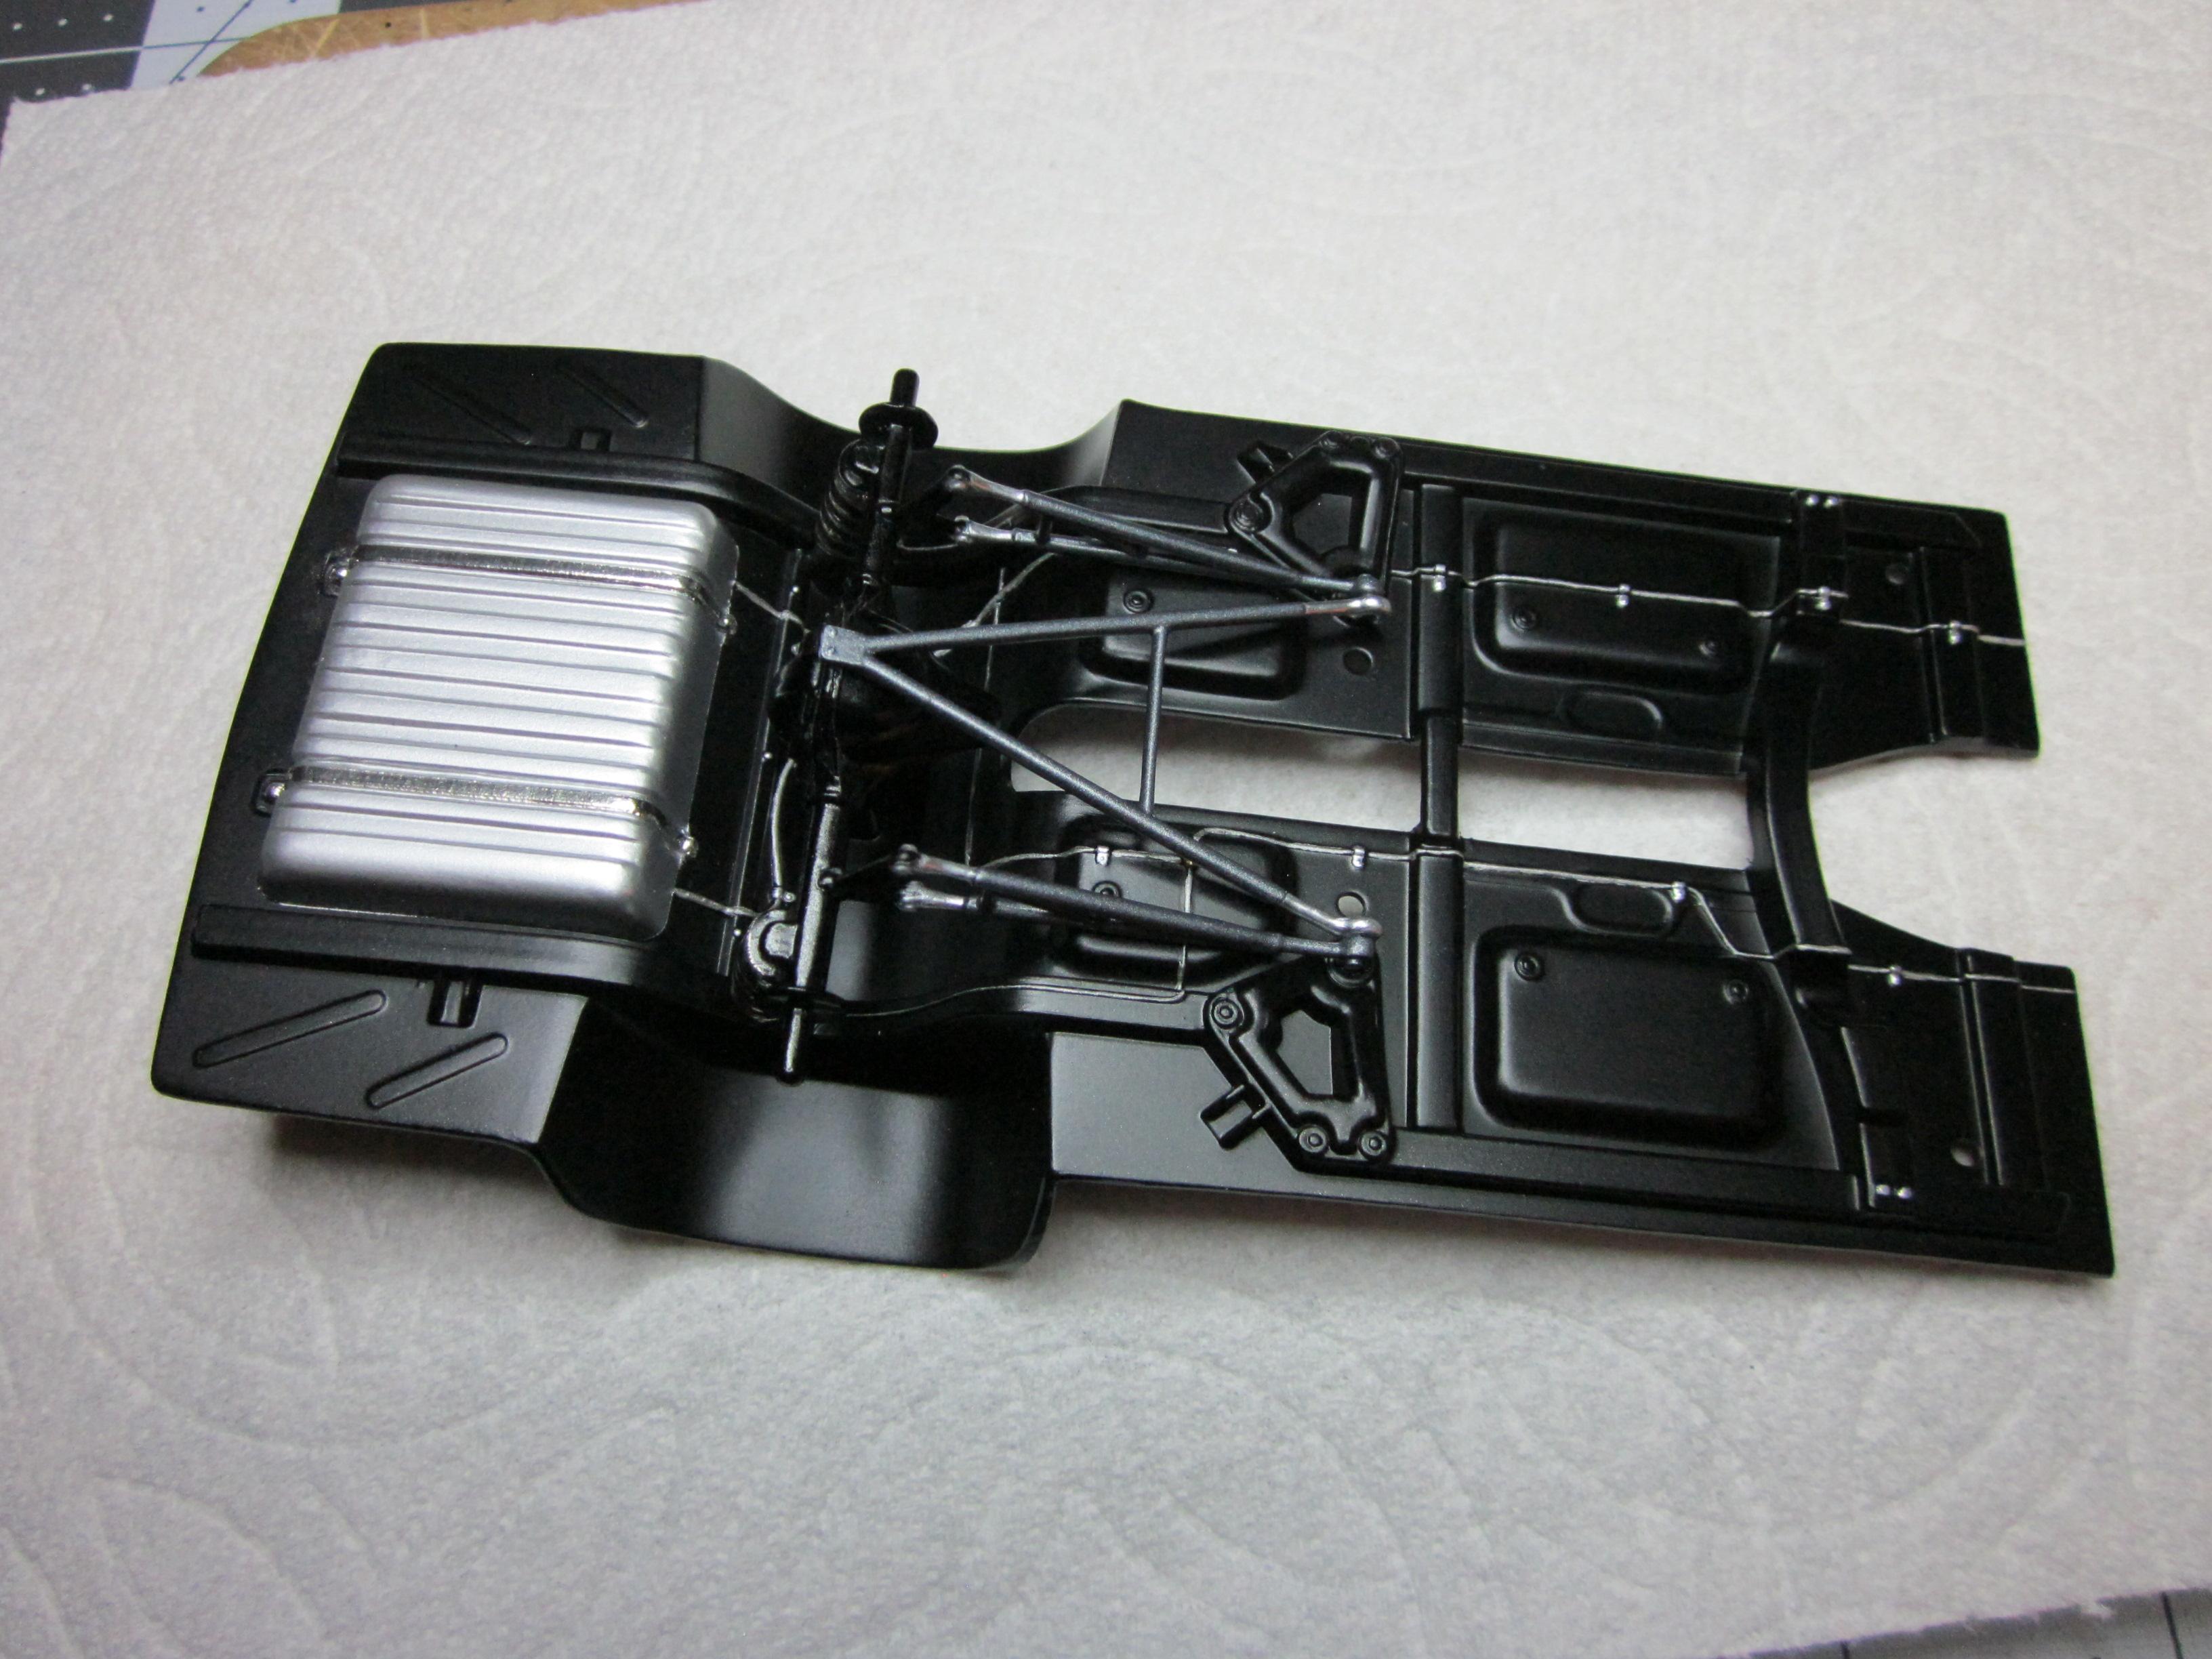
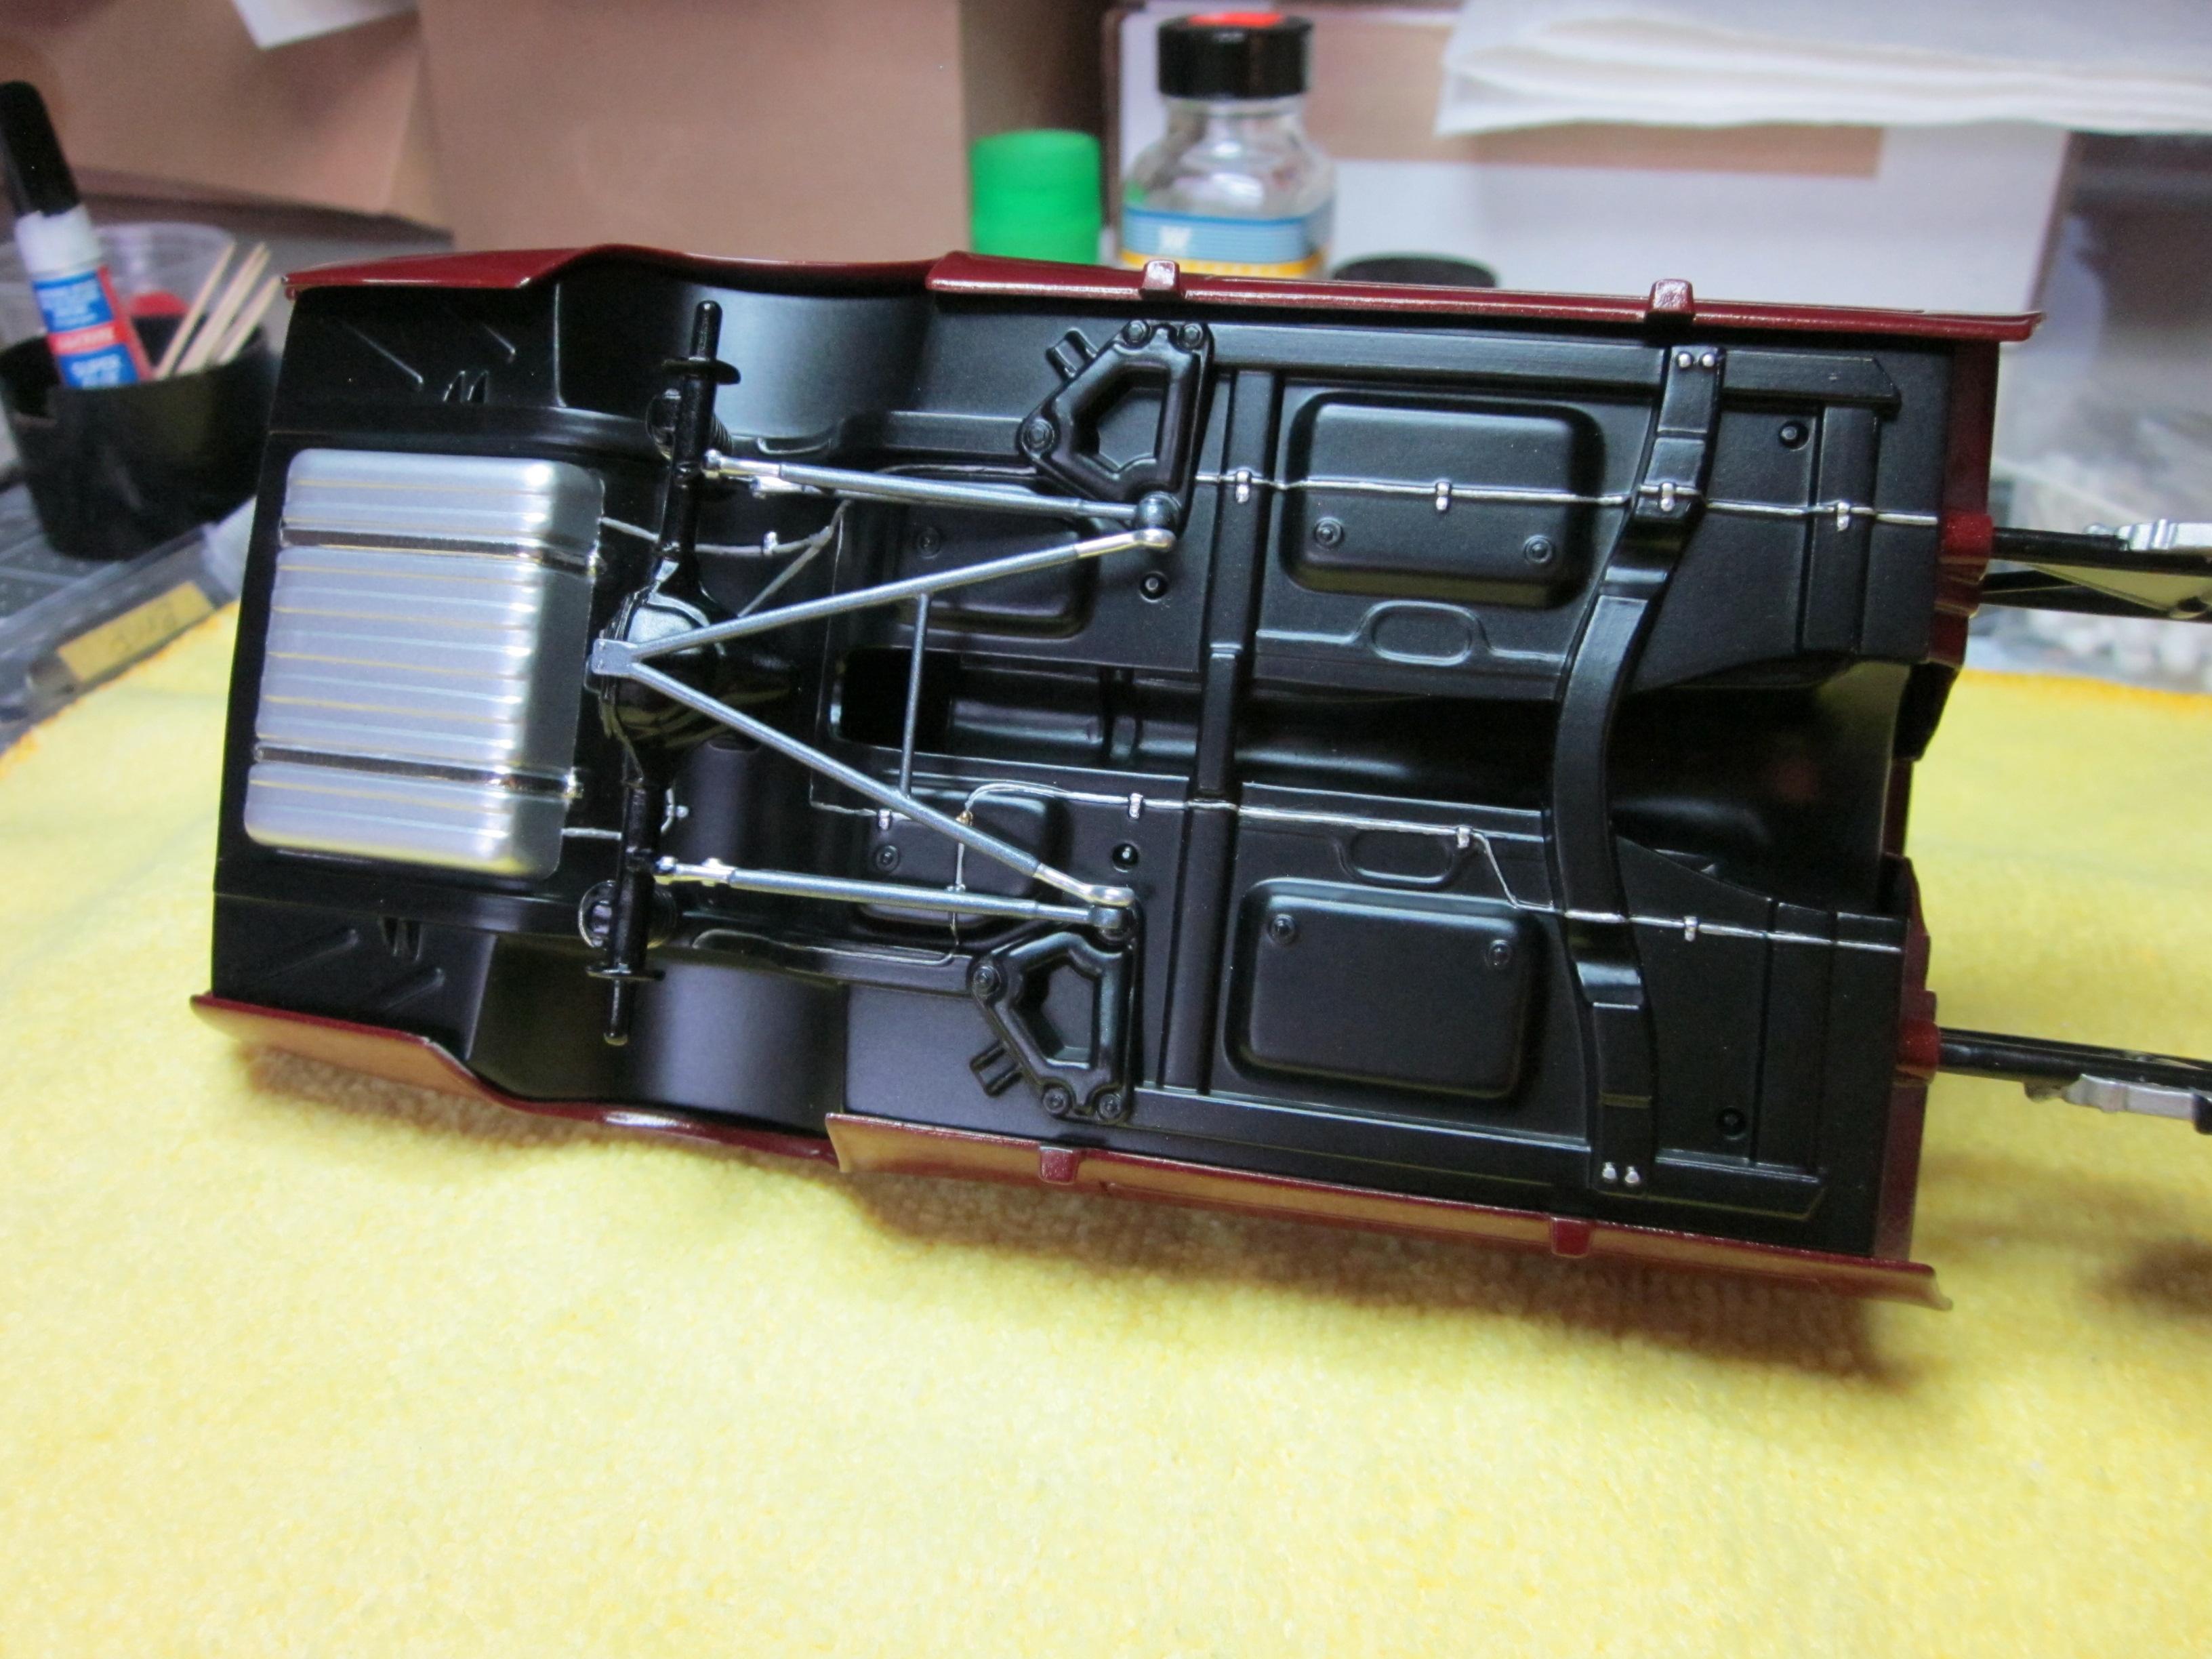
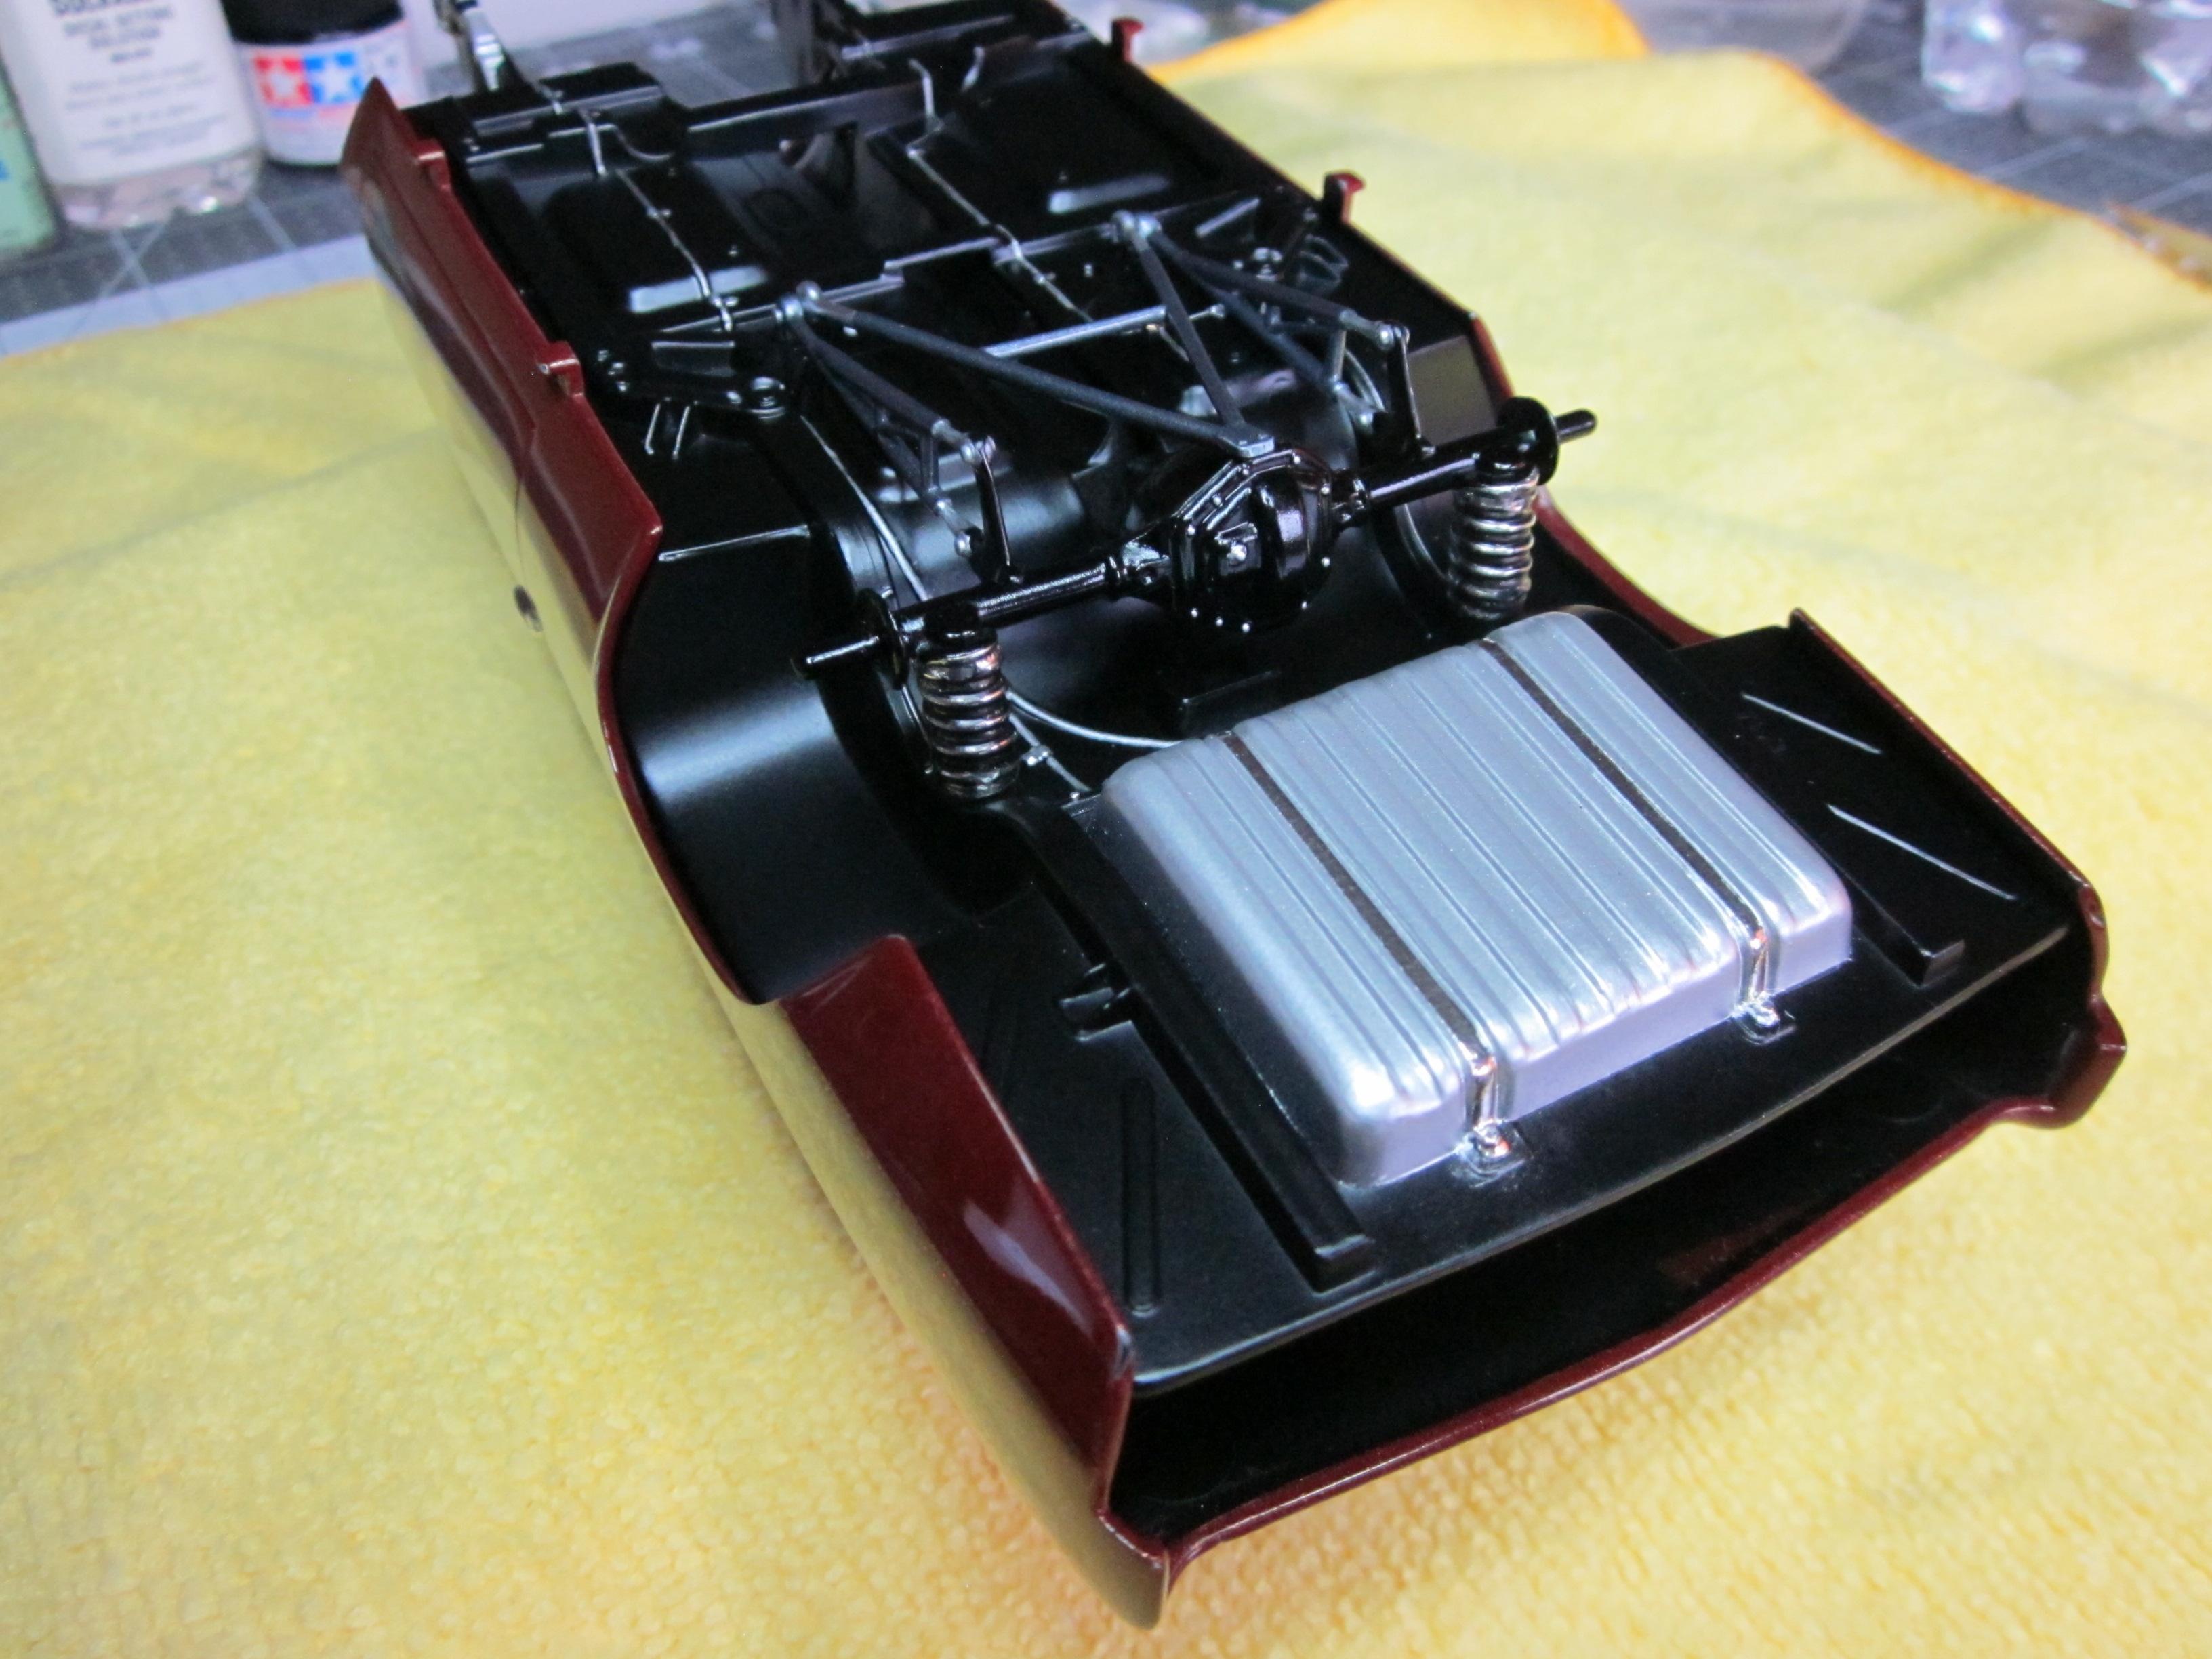
Things are starting to come together. I have been assembling and finishing the interior, engine and chassis. Glass is in also. One issue I'm have is with the chrome on the front and rear bumpers. I have sprayed them twice and they still look dark like black chrome. The bumpers must look shiny chrome. I have a new bottle on its way and hoping to correct this issue. Here's the interior. Built the cage, embossing powder on the floor, changed the seats and added some gauges. Dash was detailed and steering wheel modified. Here's the engine ready to go in. I thought hard about detailing it beyond the plug wires. I'm sticking to my initial intension and that was to build this kit out of the box. I thought really hard about further detailing it, but this is all I'm doing. The chassis was assembled and is ready to go in. No mods here. Just some detail painting.............. Thats it for now. The bumper chrome is the main issue at this time. Thanks for looking................
-
Great looking build! Engine details are very well done and love the black with red interior!
-
Nice looking 442. The paint looks great!
-
Very nice! The vinyl top adds a lot to the overall appearance of the car. I like the color too. Well done.
-
1963 Chevy Nova Wagon Street Rod FINISHED 3/20/22
Speedpro replied to Dennis Lacy's topic in WIP: Model Cars
Beautifully done interior Dennis. Colors work so well together. You sure have a good eye for the custom stuff. Nice work! -
Nice save! Those decals can get tricky. Nice work on this build.
-
Very cool, very different and very well done so far! That paint work is really something and makes this custom build stand out!


.jpg.e52554f0a0b6d6b2897d043dd3eaf849.jpg)