Speedpro
-
Posts
792 -
Joined
-
Last visited
Content Type
Profiles
Forums
Events
Gallery
Everything posted by Speedpro
-
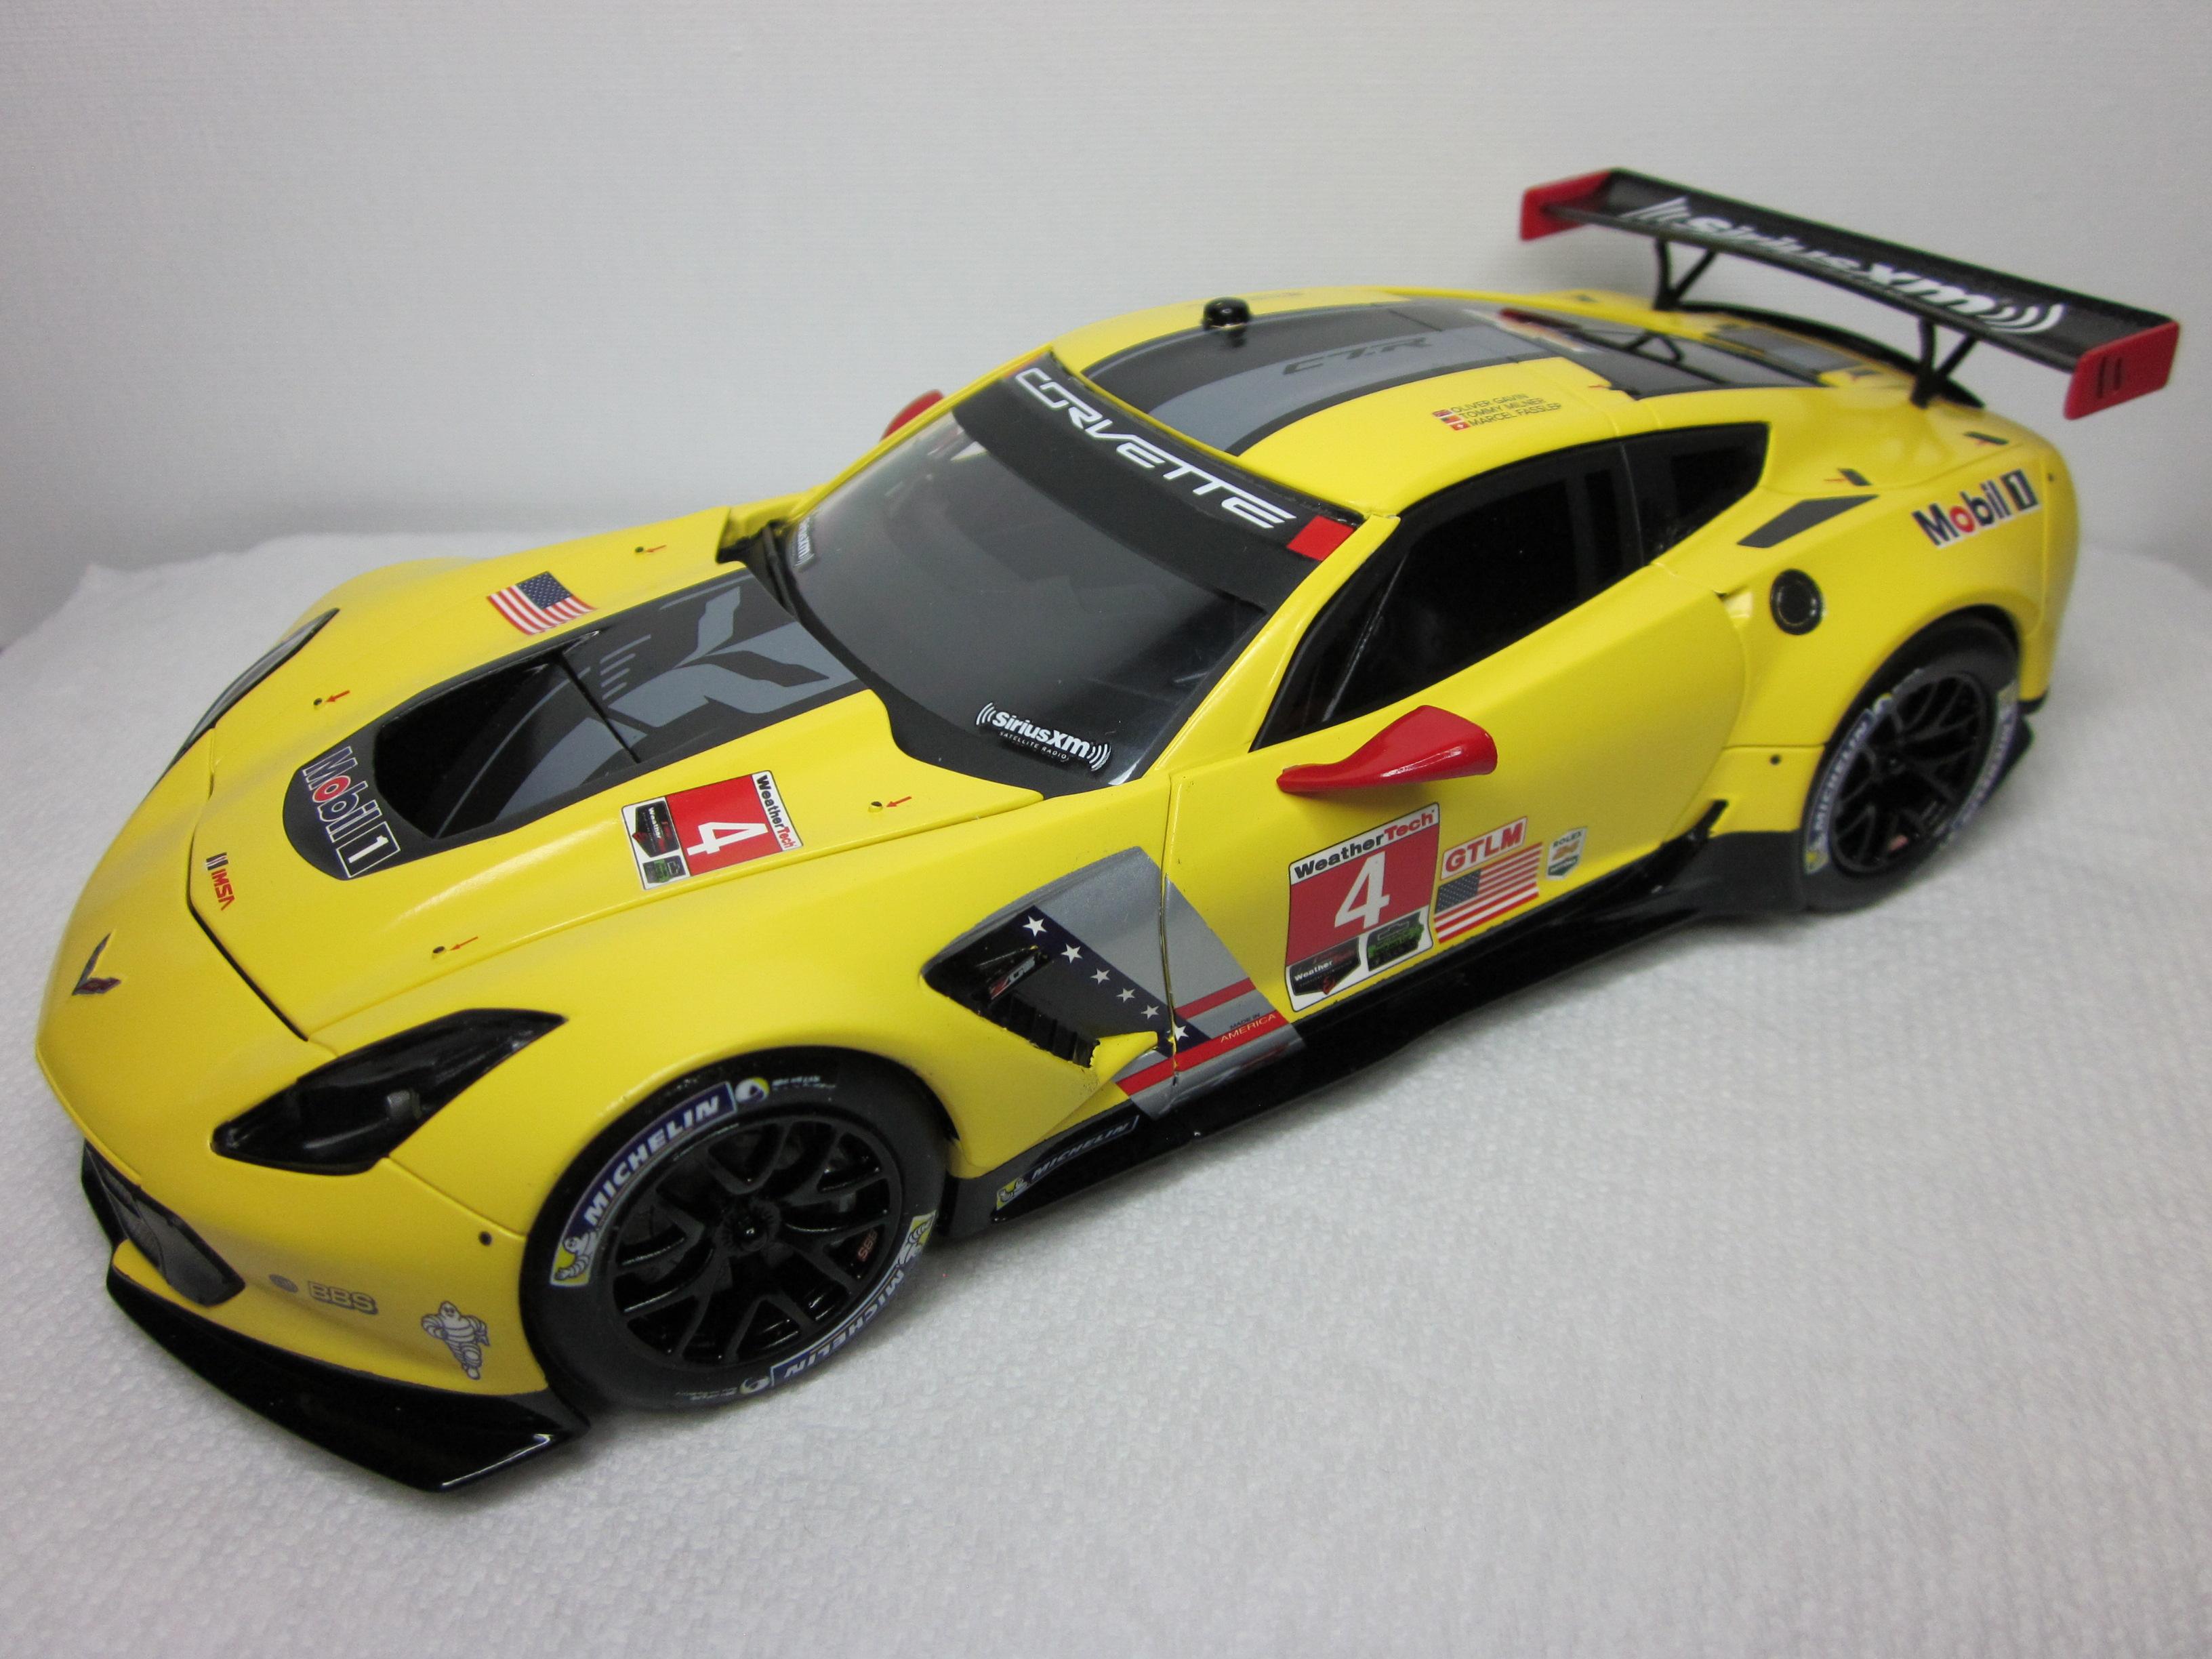
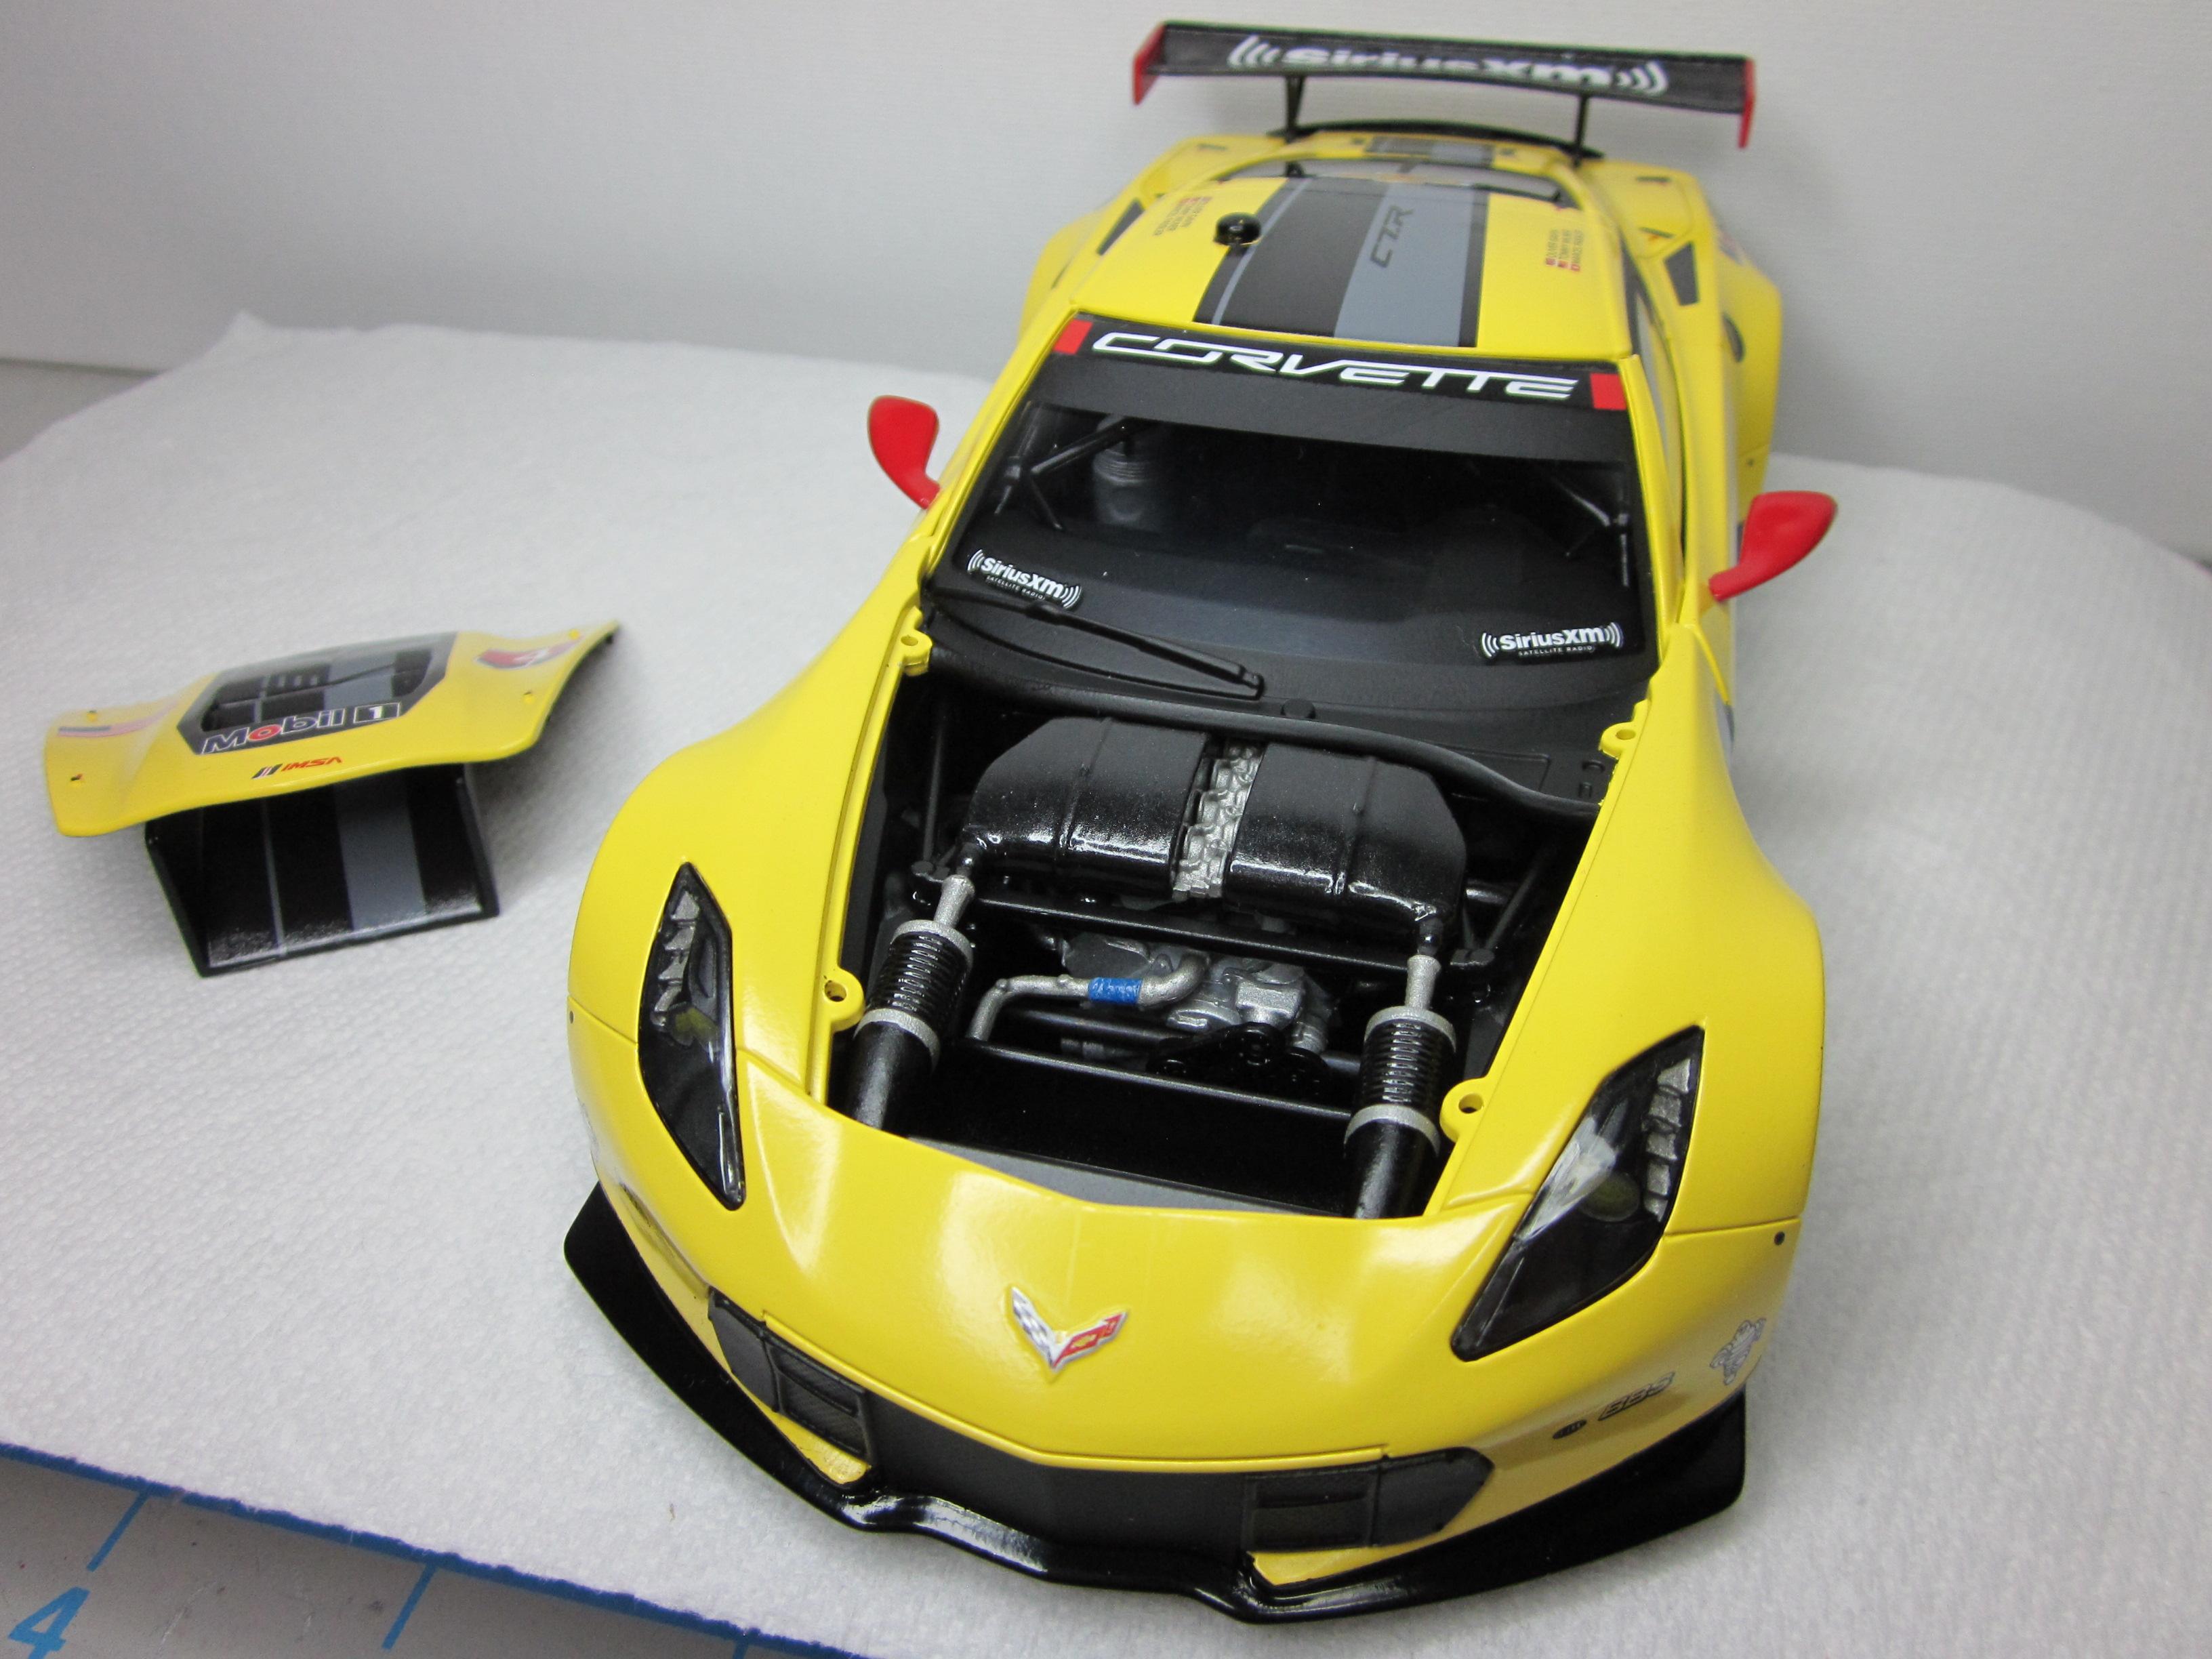
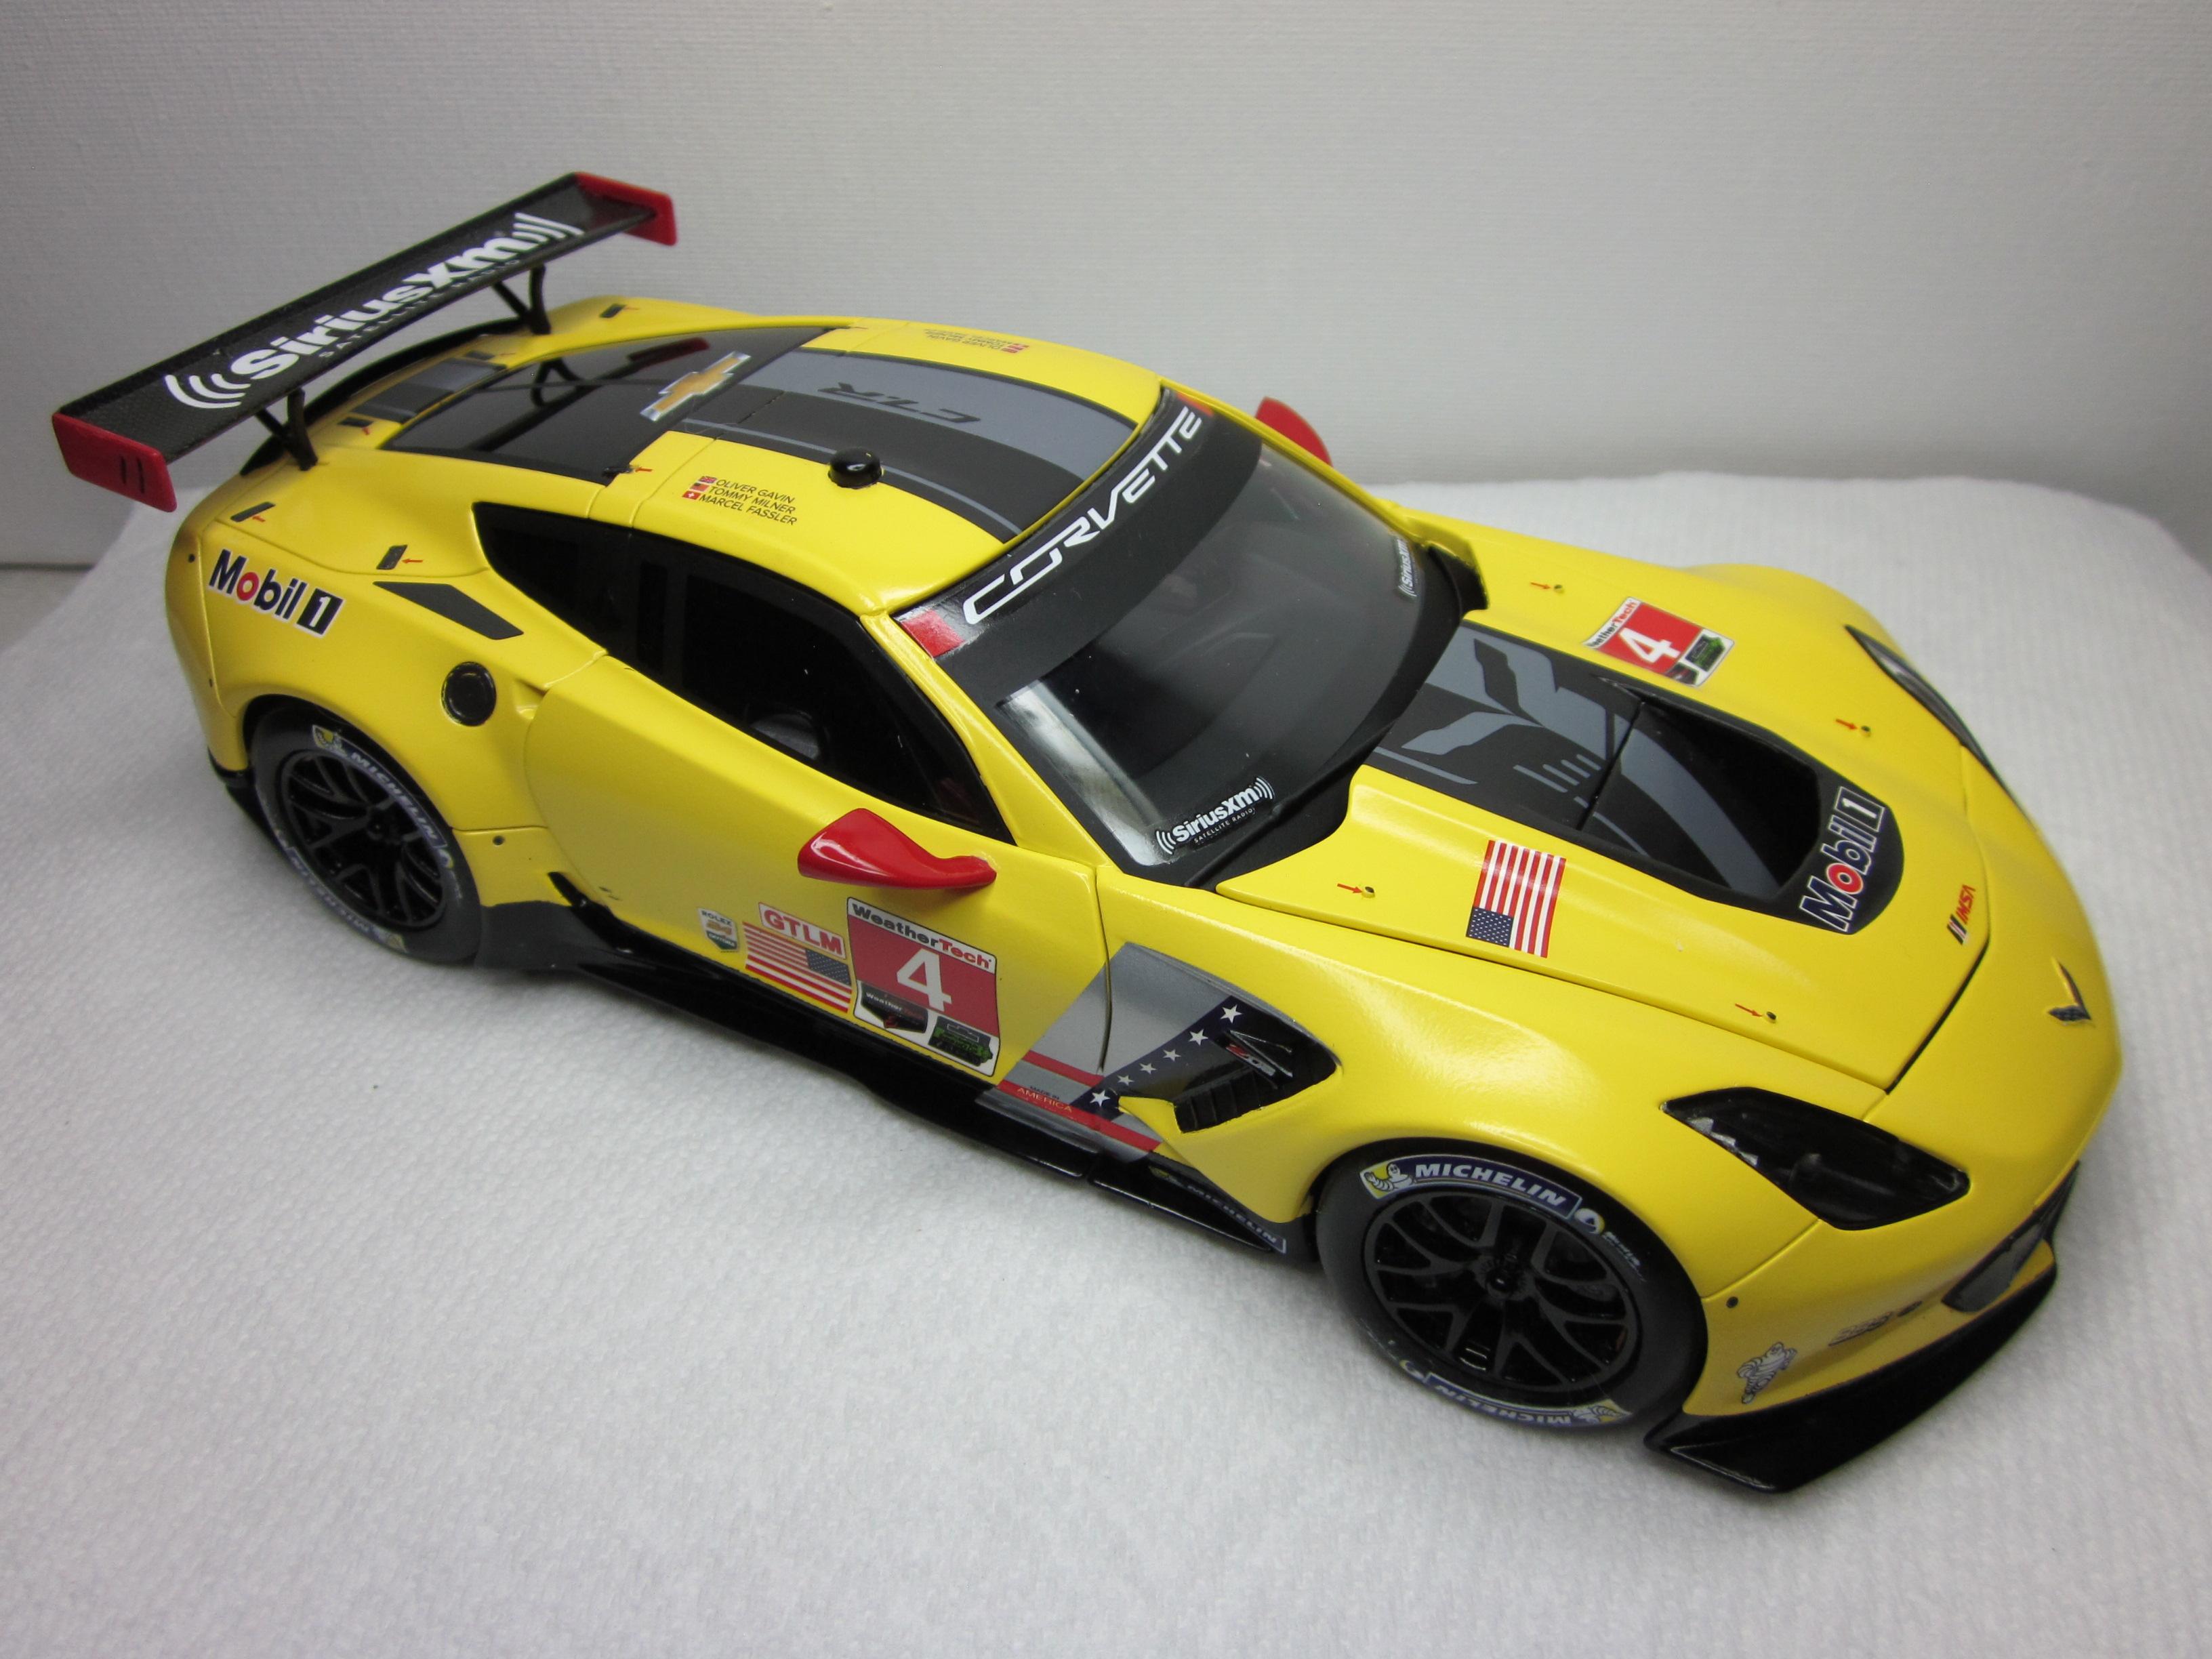
This is a basic OOB Build. Paint color is MM daytona yellow lacquer. No clear coat. Really nothing special done.

-
Nice collection of box art build's. All very well done!
-
I think you did a darn good job. I looked up the real car and i must say, you nailed it! Also watched a video on youtube (Antti Kivinummi - Drag race -kuski 2004) that showed the car in action.
-
Thanks everyone for all the great comments! Very much appreciated. Paul
-

'68 Poison Dart (Revell Hemi Dart) 24HR Build
Speedpro replied to Starliner Kustoms's topic in Model Cars
Amazing! I couldn't do the body work and primer in 24 hrs!! -
Looks good. Nice detail work on the engine.
-
Well done!
-
Nice work! I like the wood on the top.
-
ZZ 41: If Billy Gibbons dreamed of a 41 Lincoln Kustom
Speedpro replied to Claude Thibodeau's topic in Model Cars
I could see Mister Gibbons rolling in this! Nice work and execution. -
Very well done!
-
That's a great looking S-10. Lots of details. Very nice!
-
Must have been fun building this old kit. Turned out great! I remember building a lot of these old kits when i was a kid.
-
Very well done! Watched both vids too. Lots of good stuff there.
-
Thanks everyone for checking out my build and all the great comments. Very much appreciated. The paint color is tamiya TS-85 bright mica red over tamiya white fine primer. Cleared with 2 coats of tamiya clear coat. Paint would have looked better if it had been polished it out. Honestly, I just didn't feel like doing it.
-
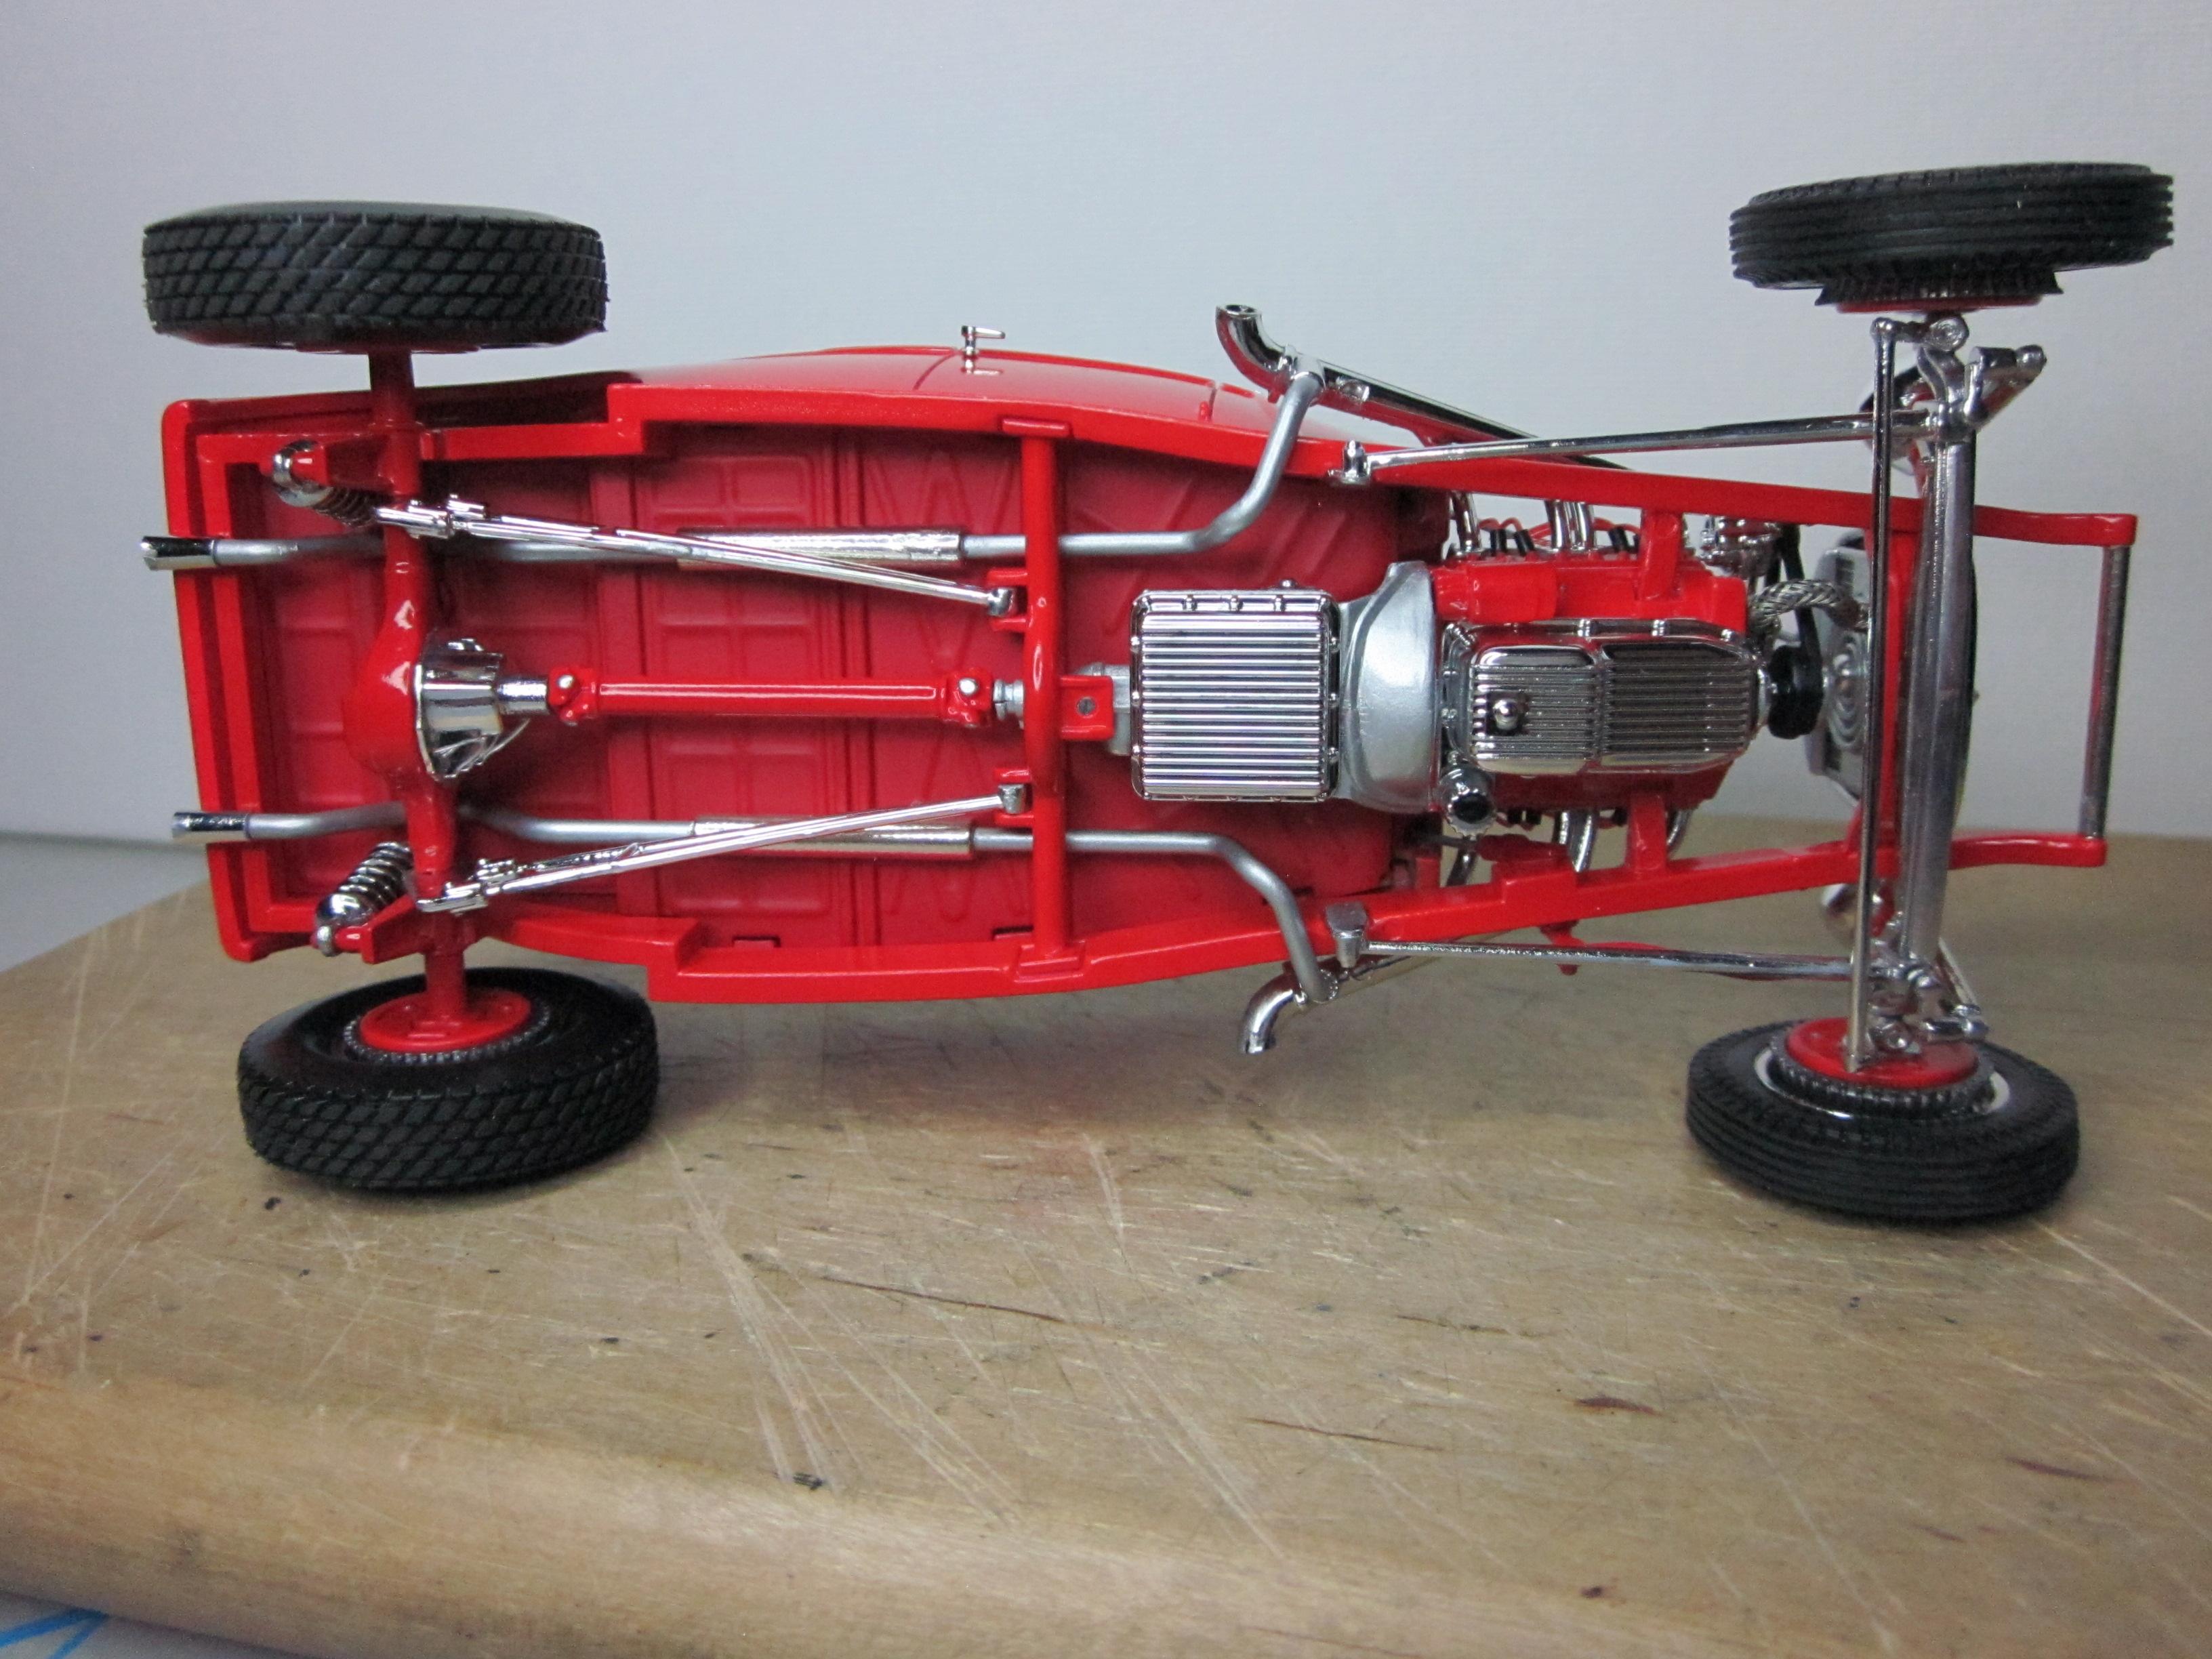
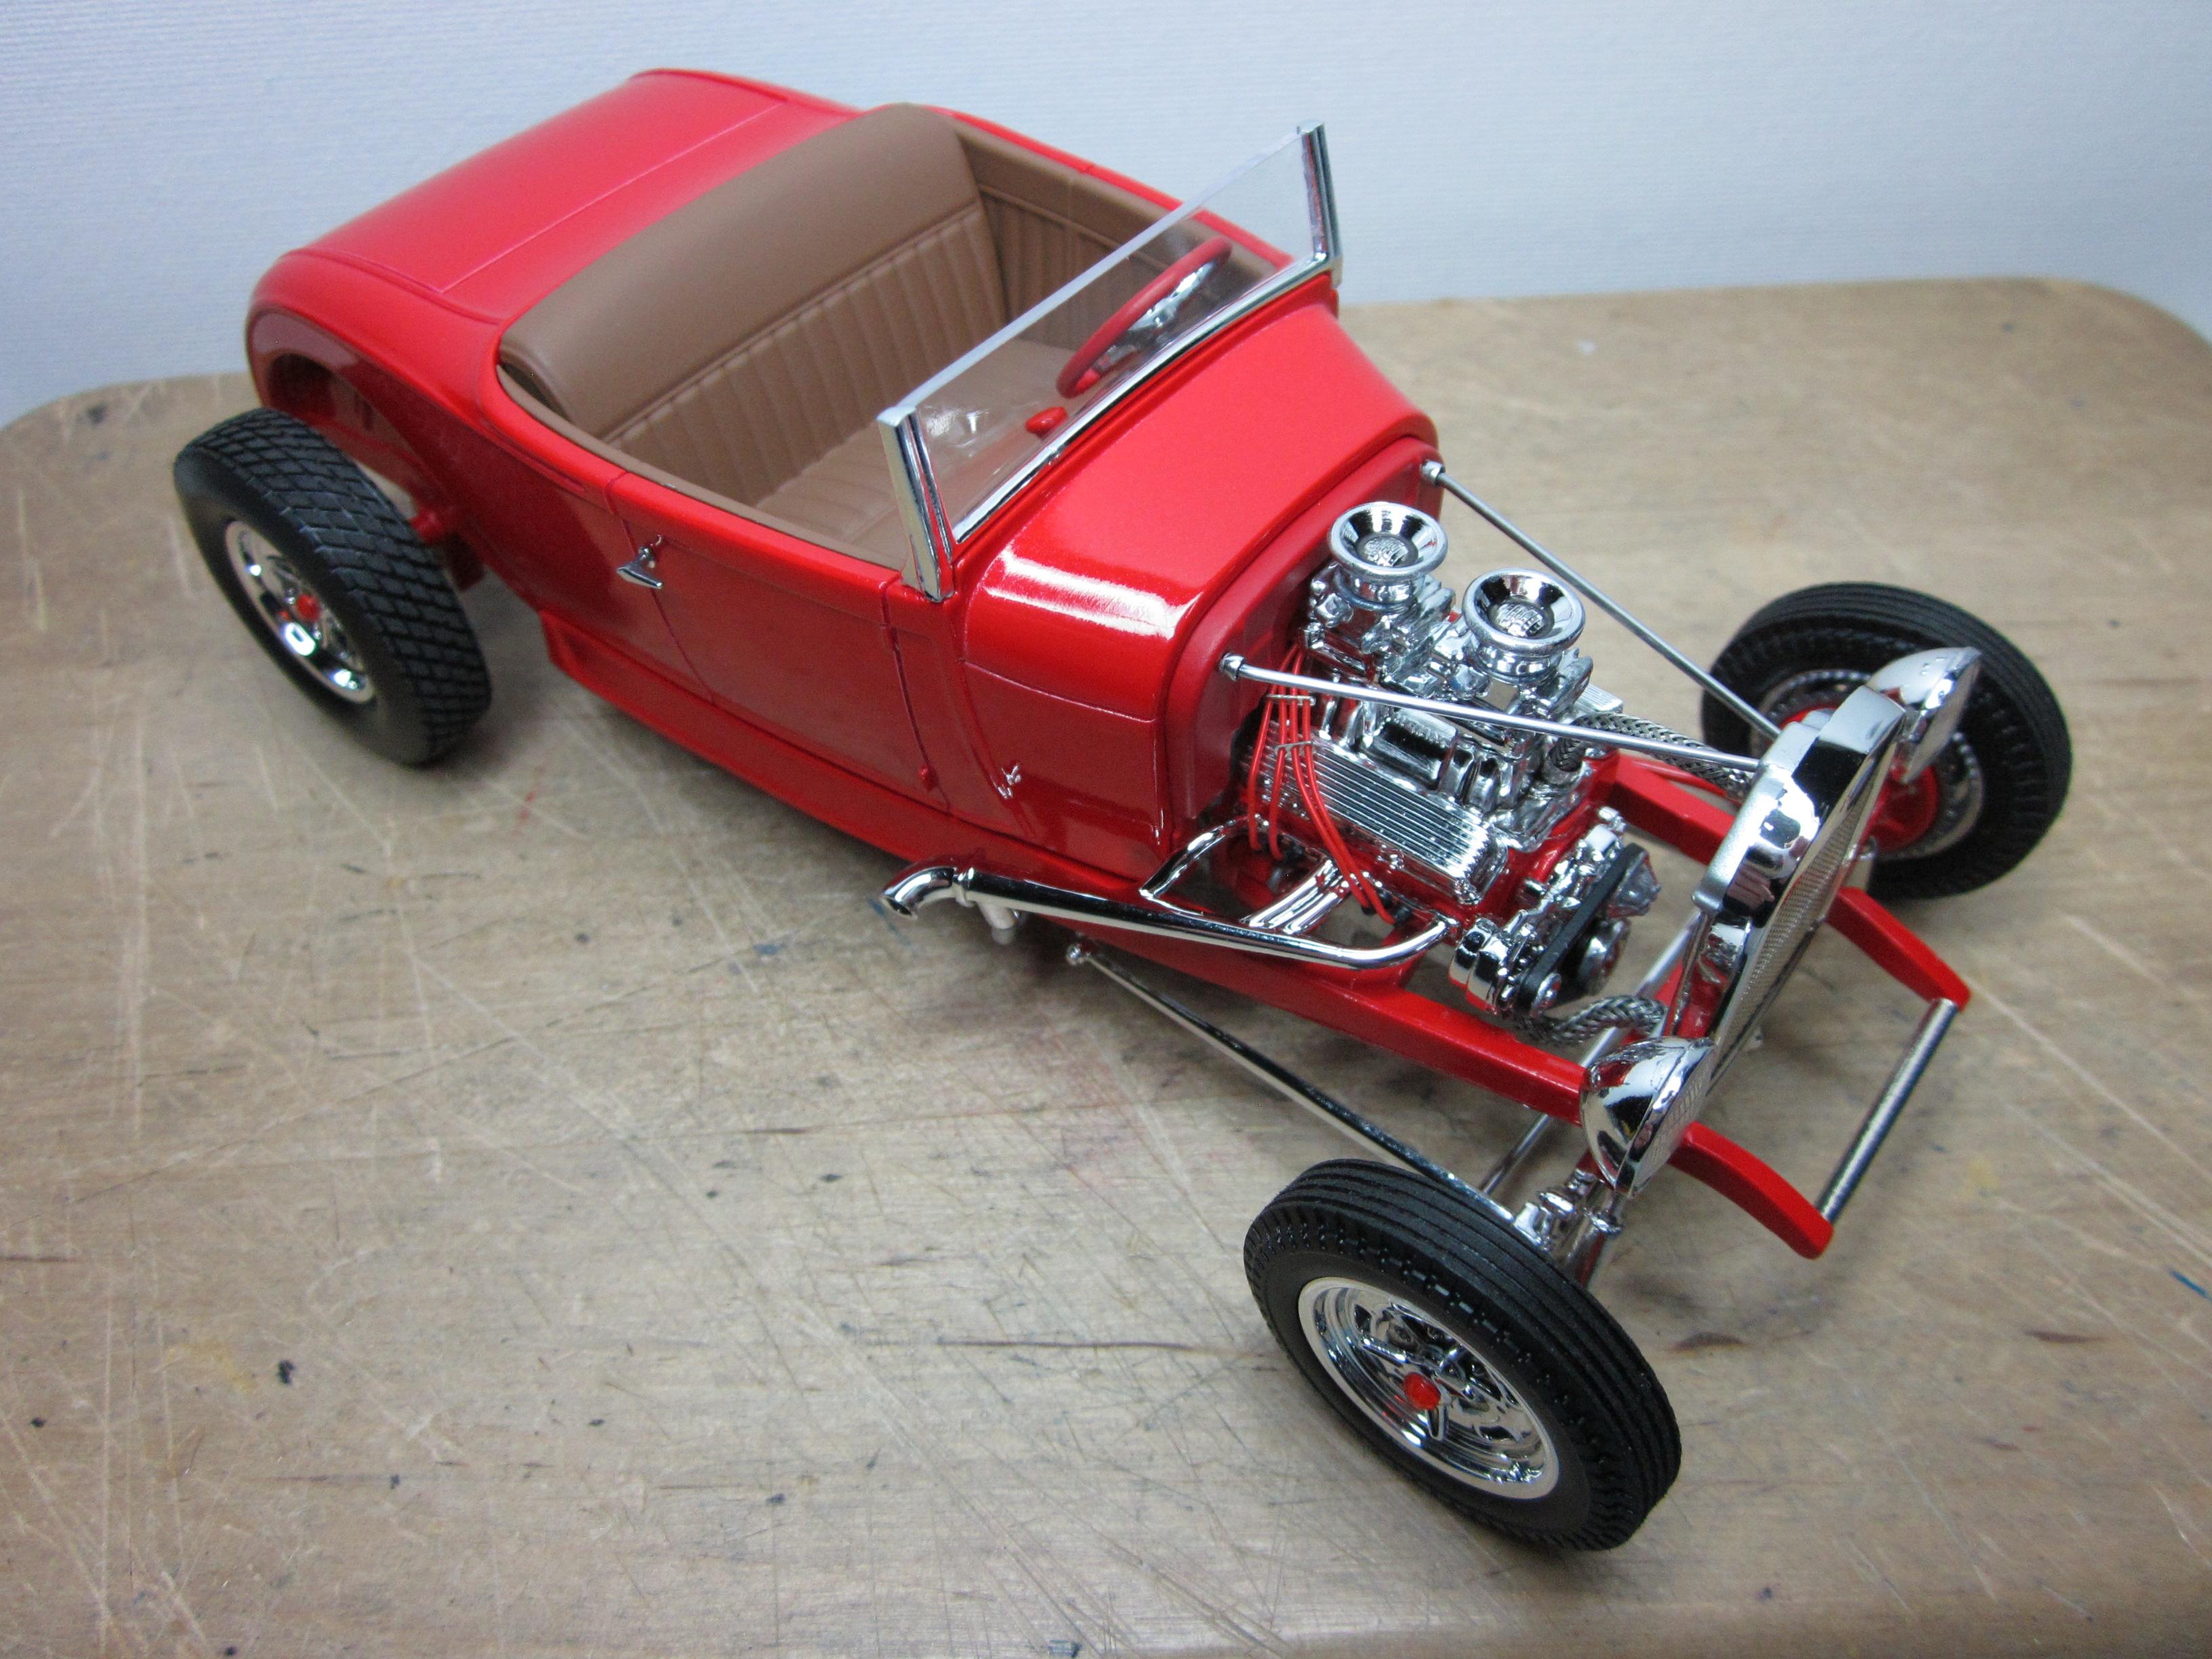
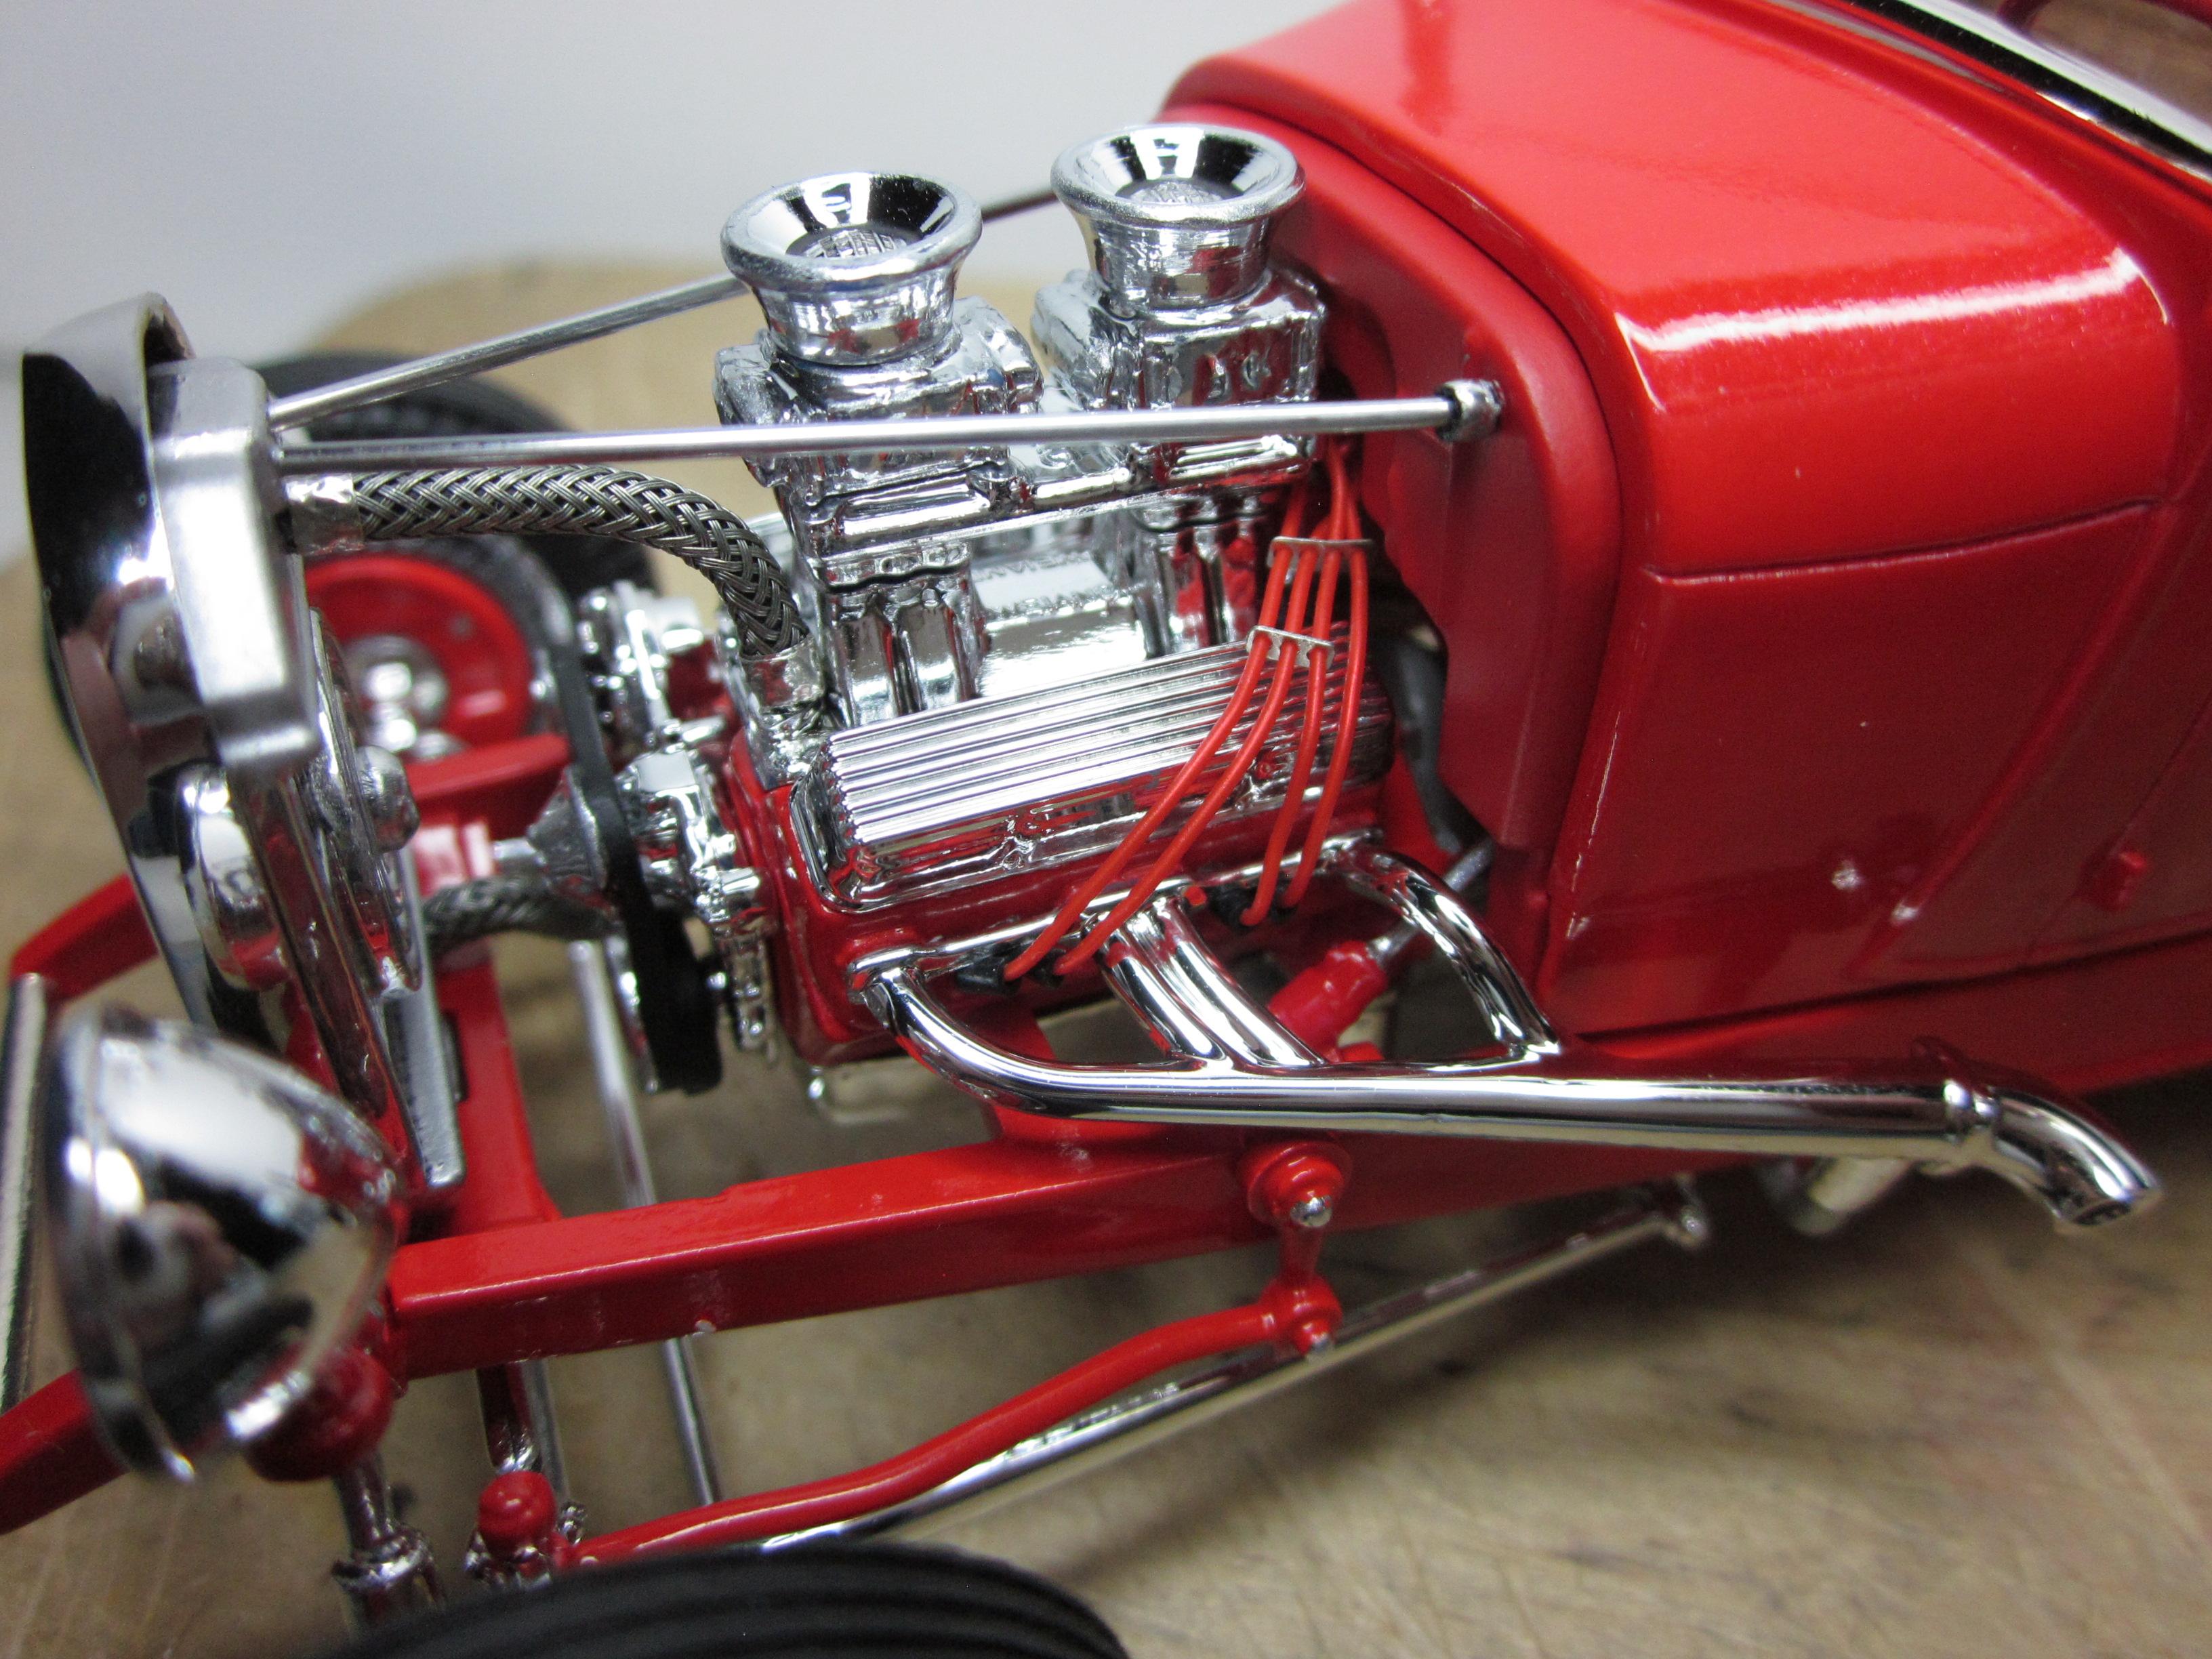
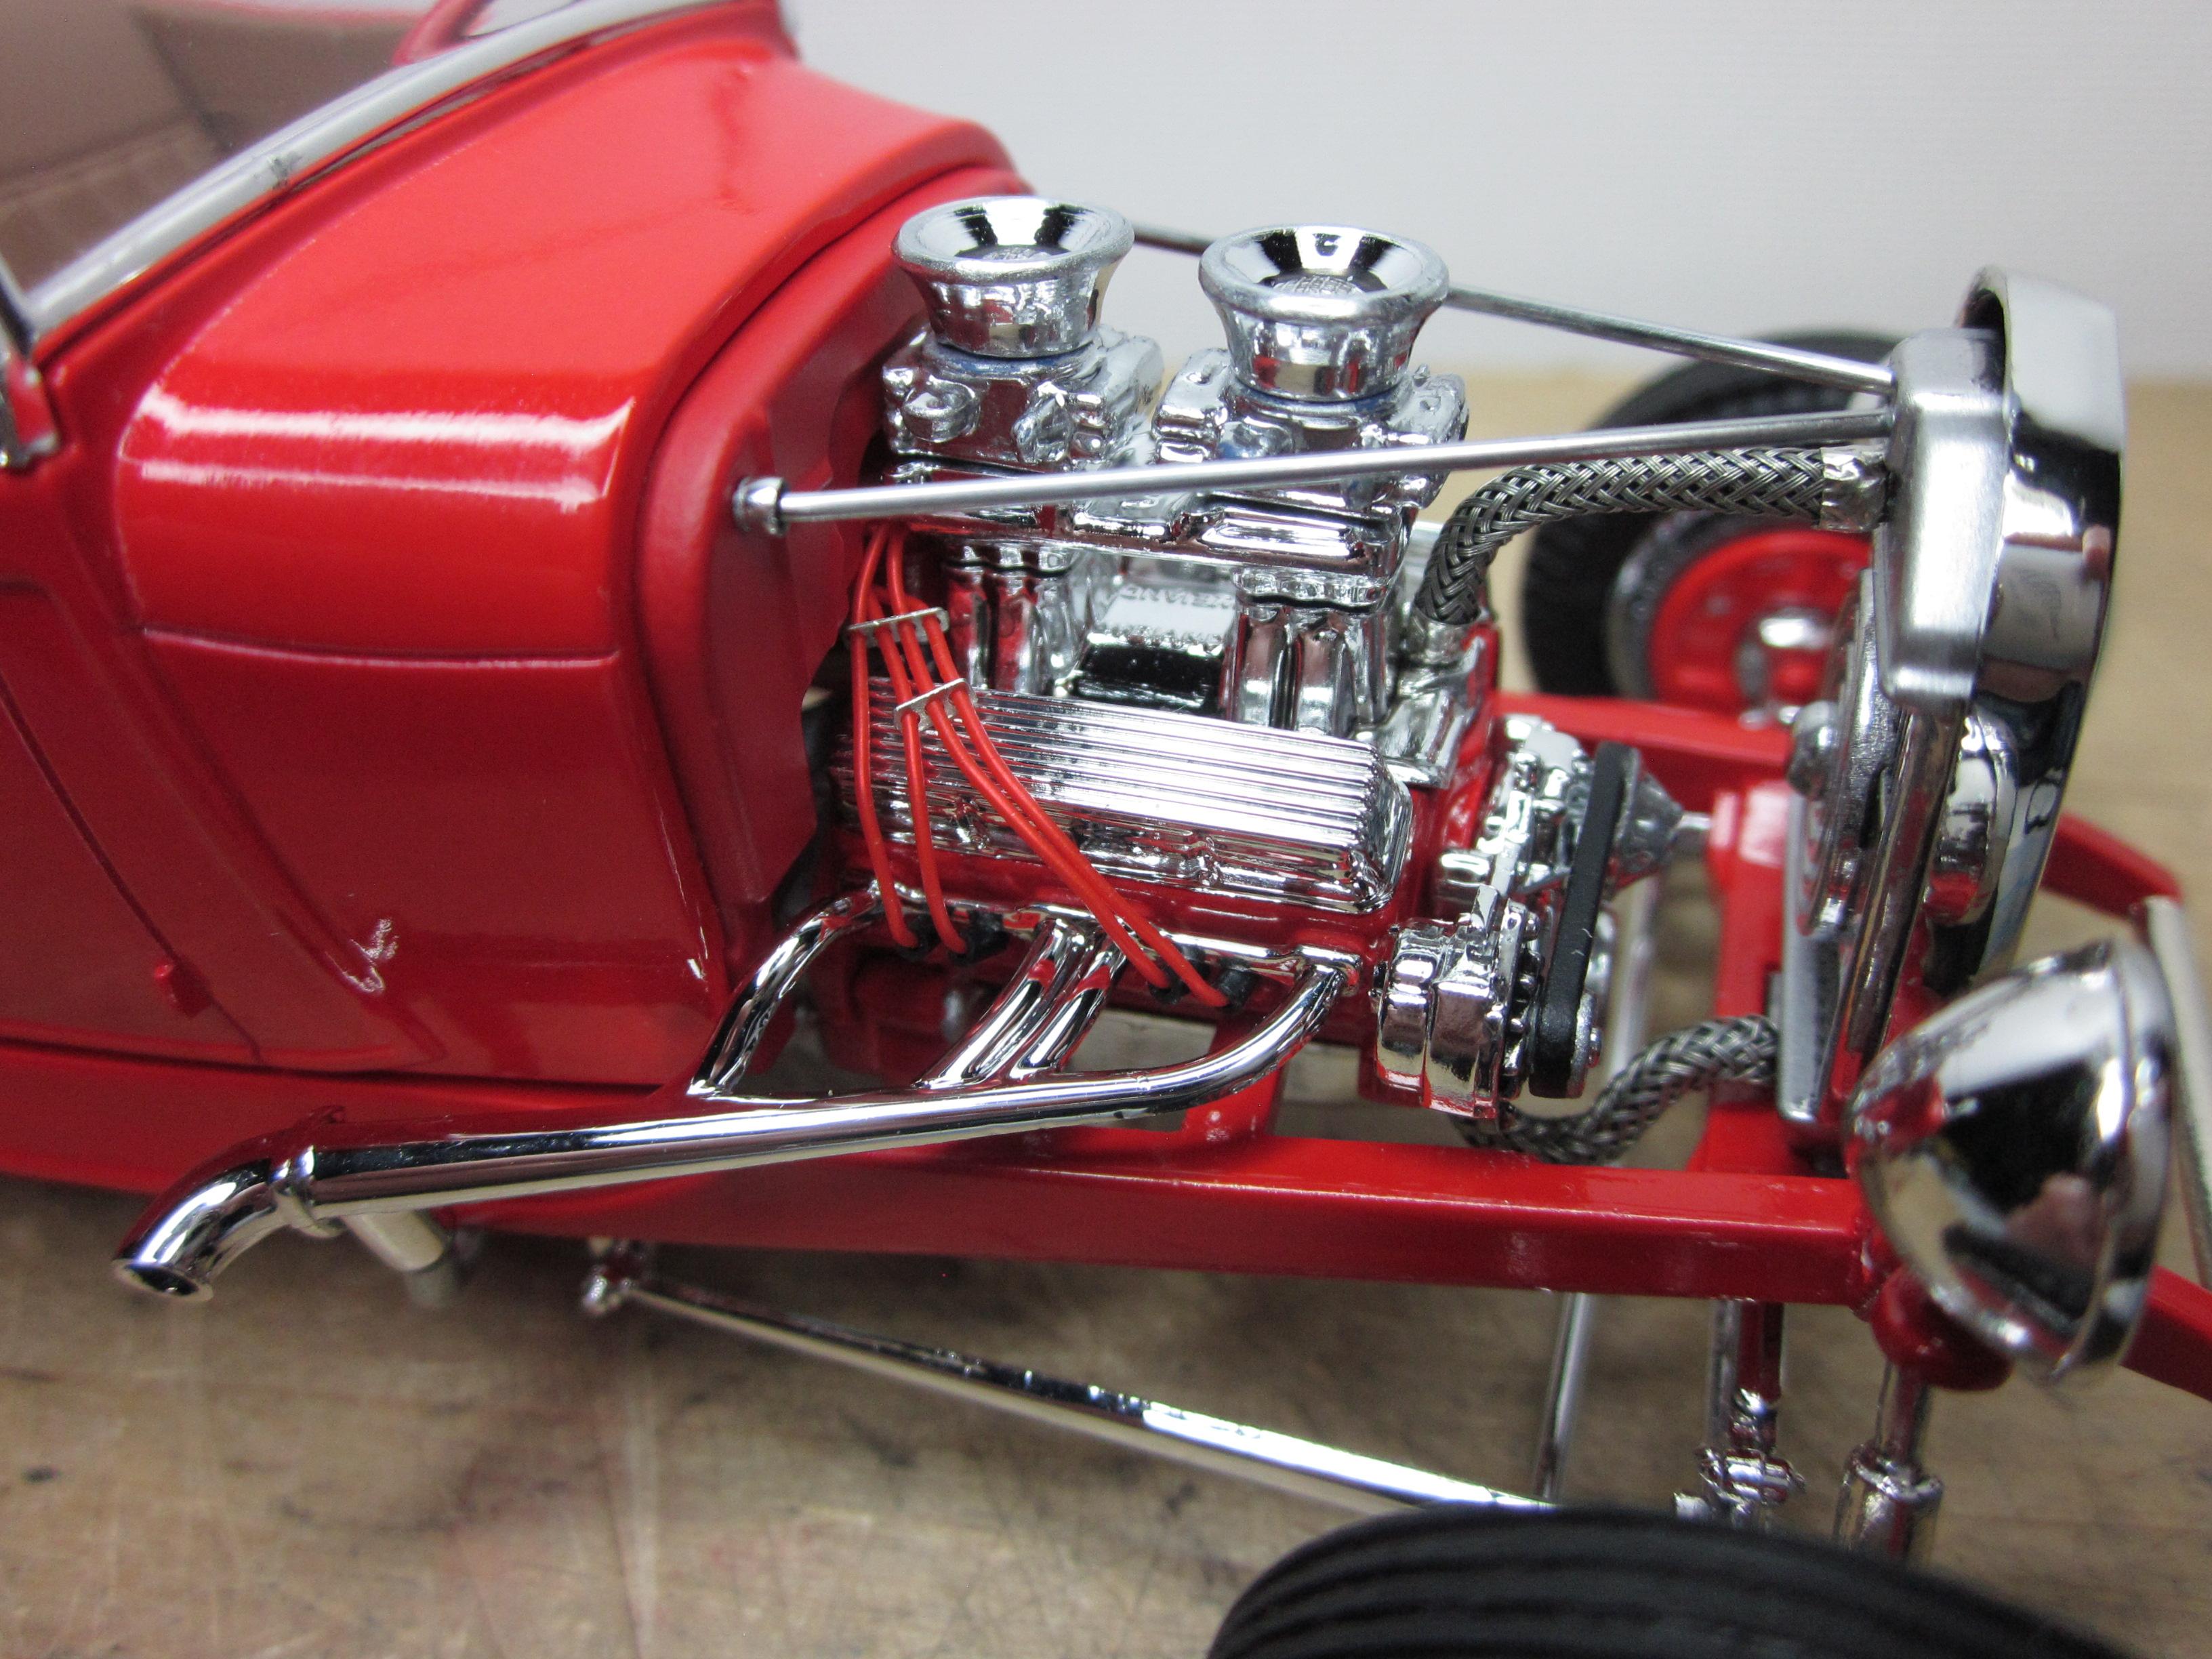
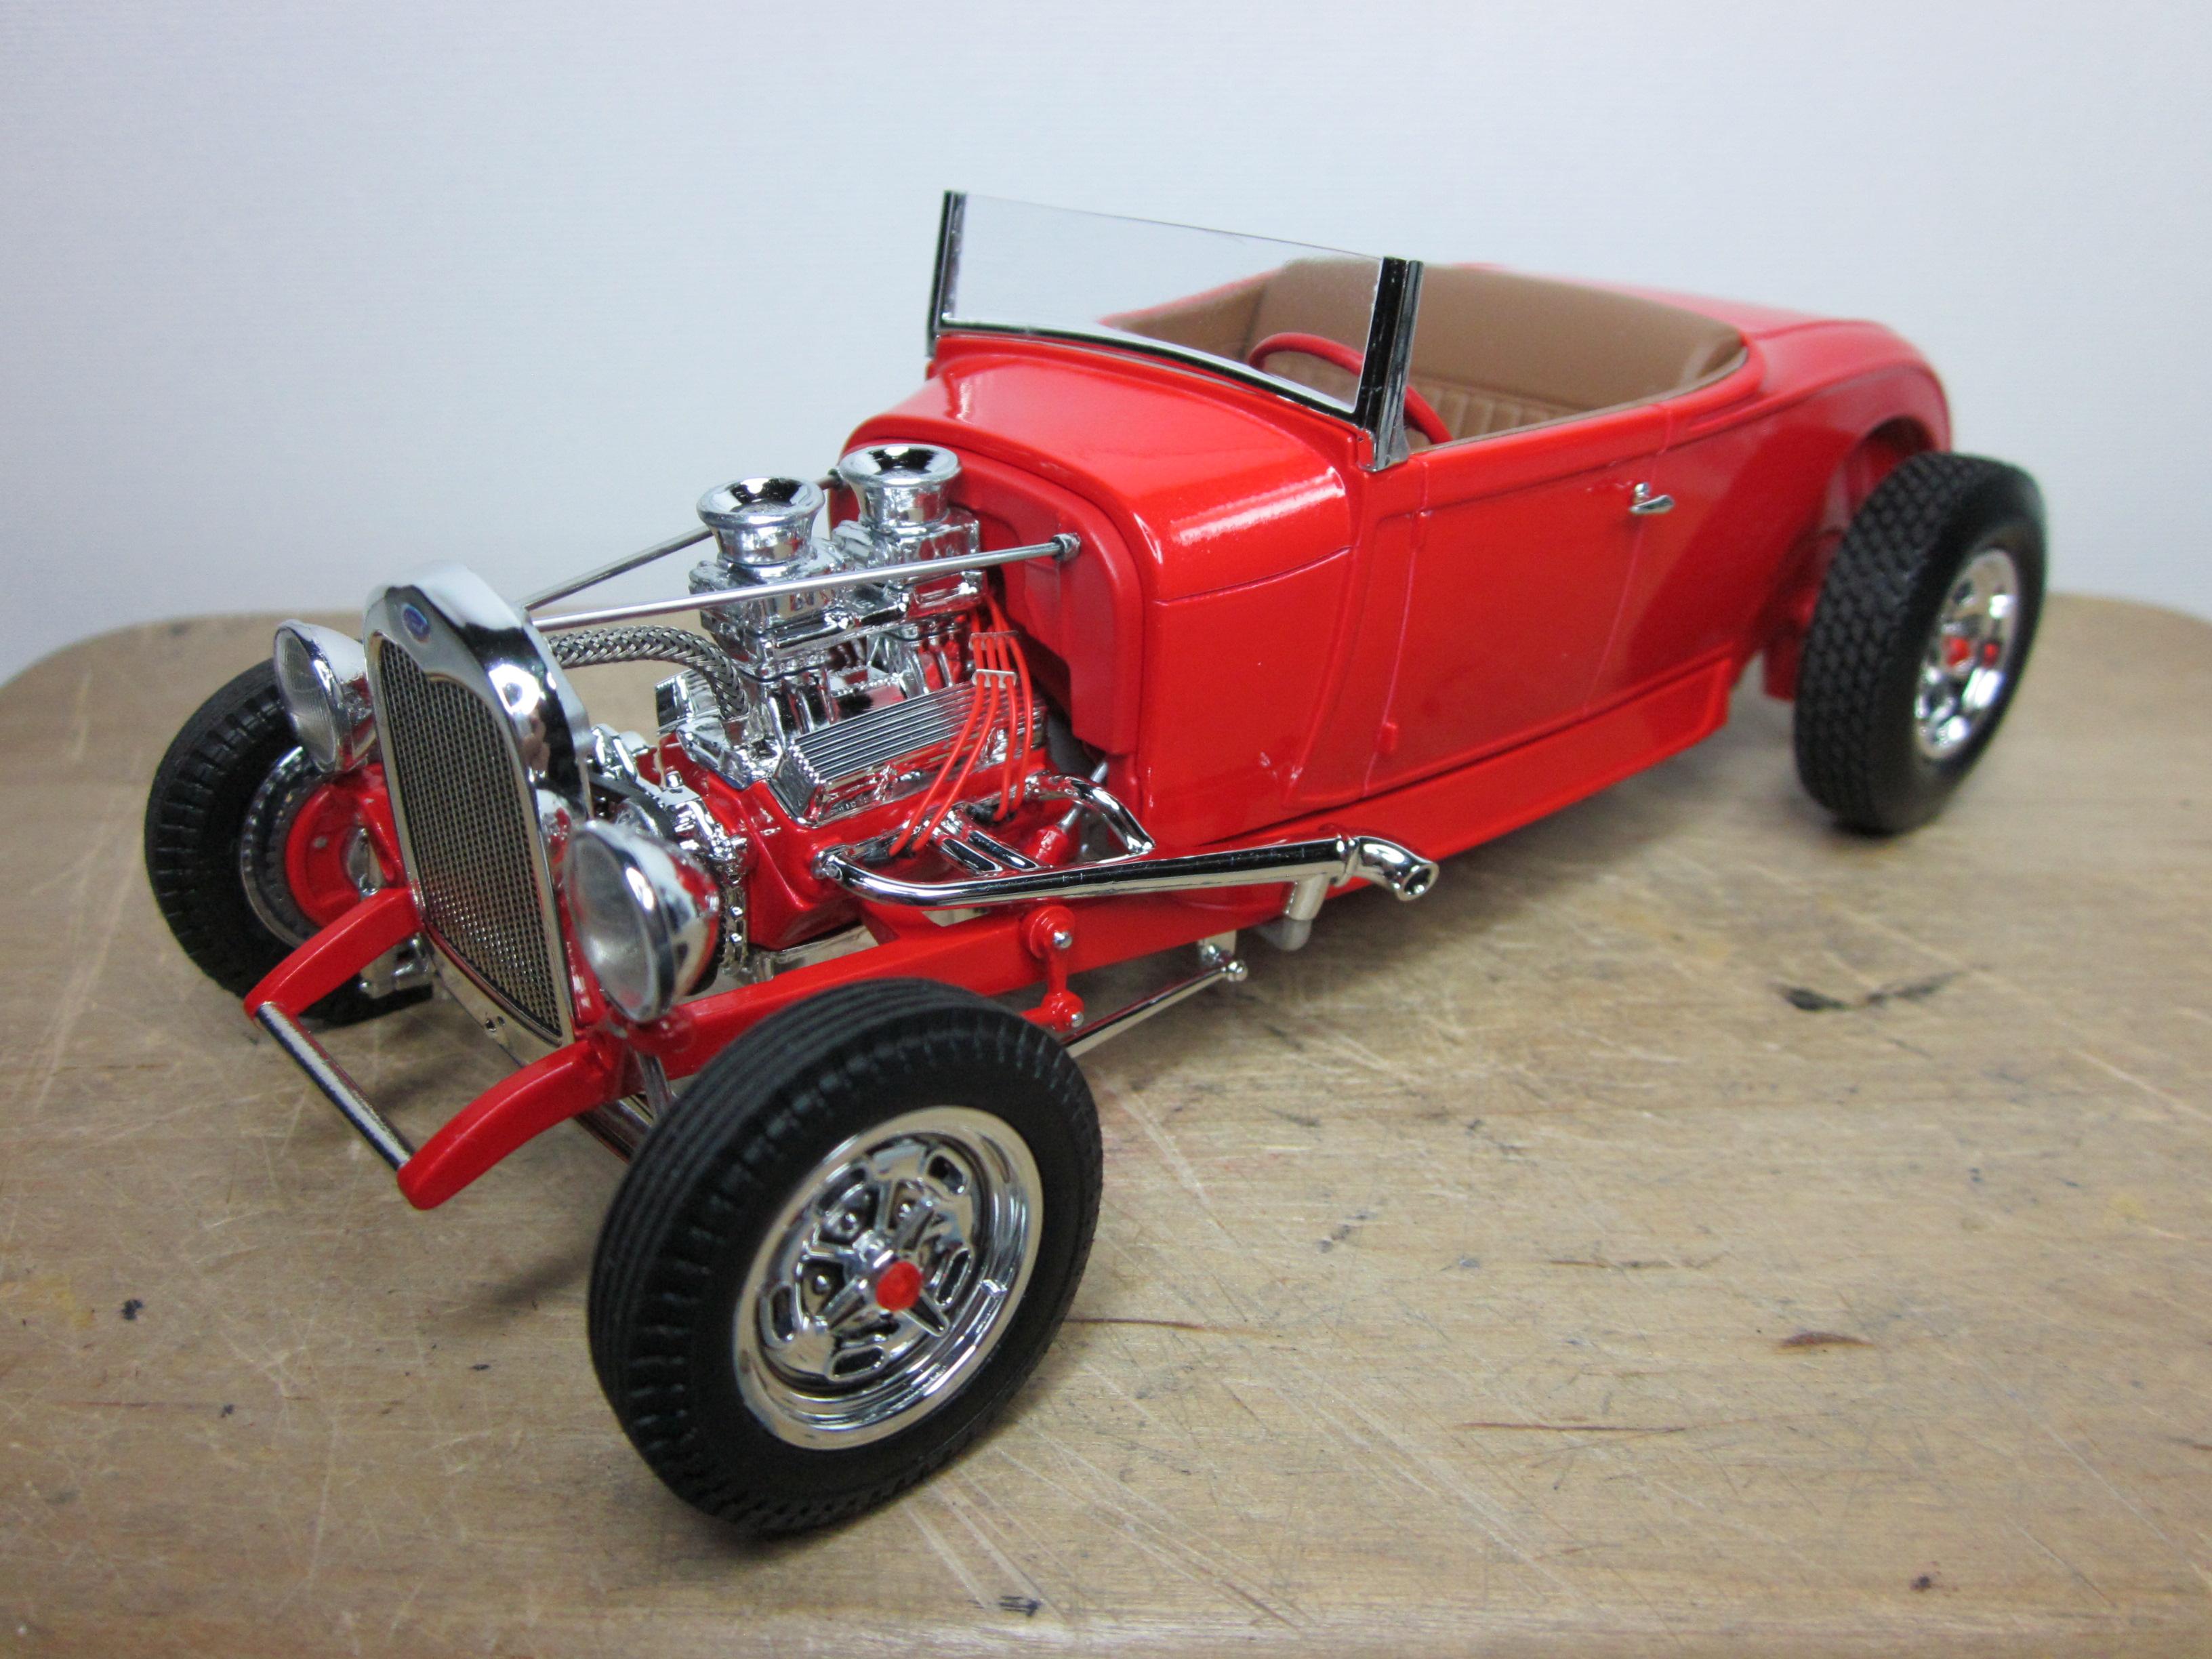
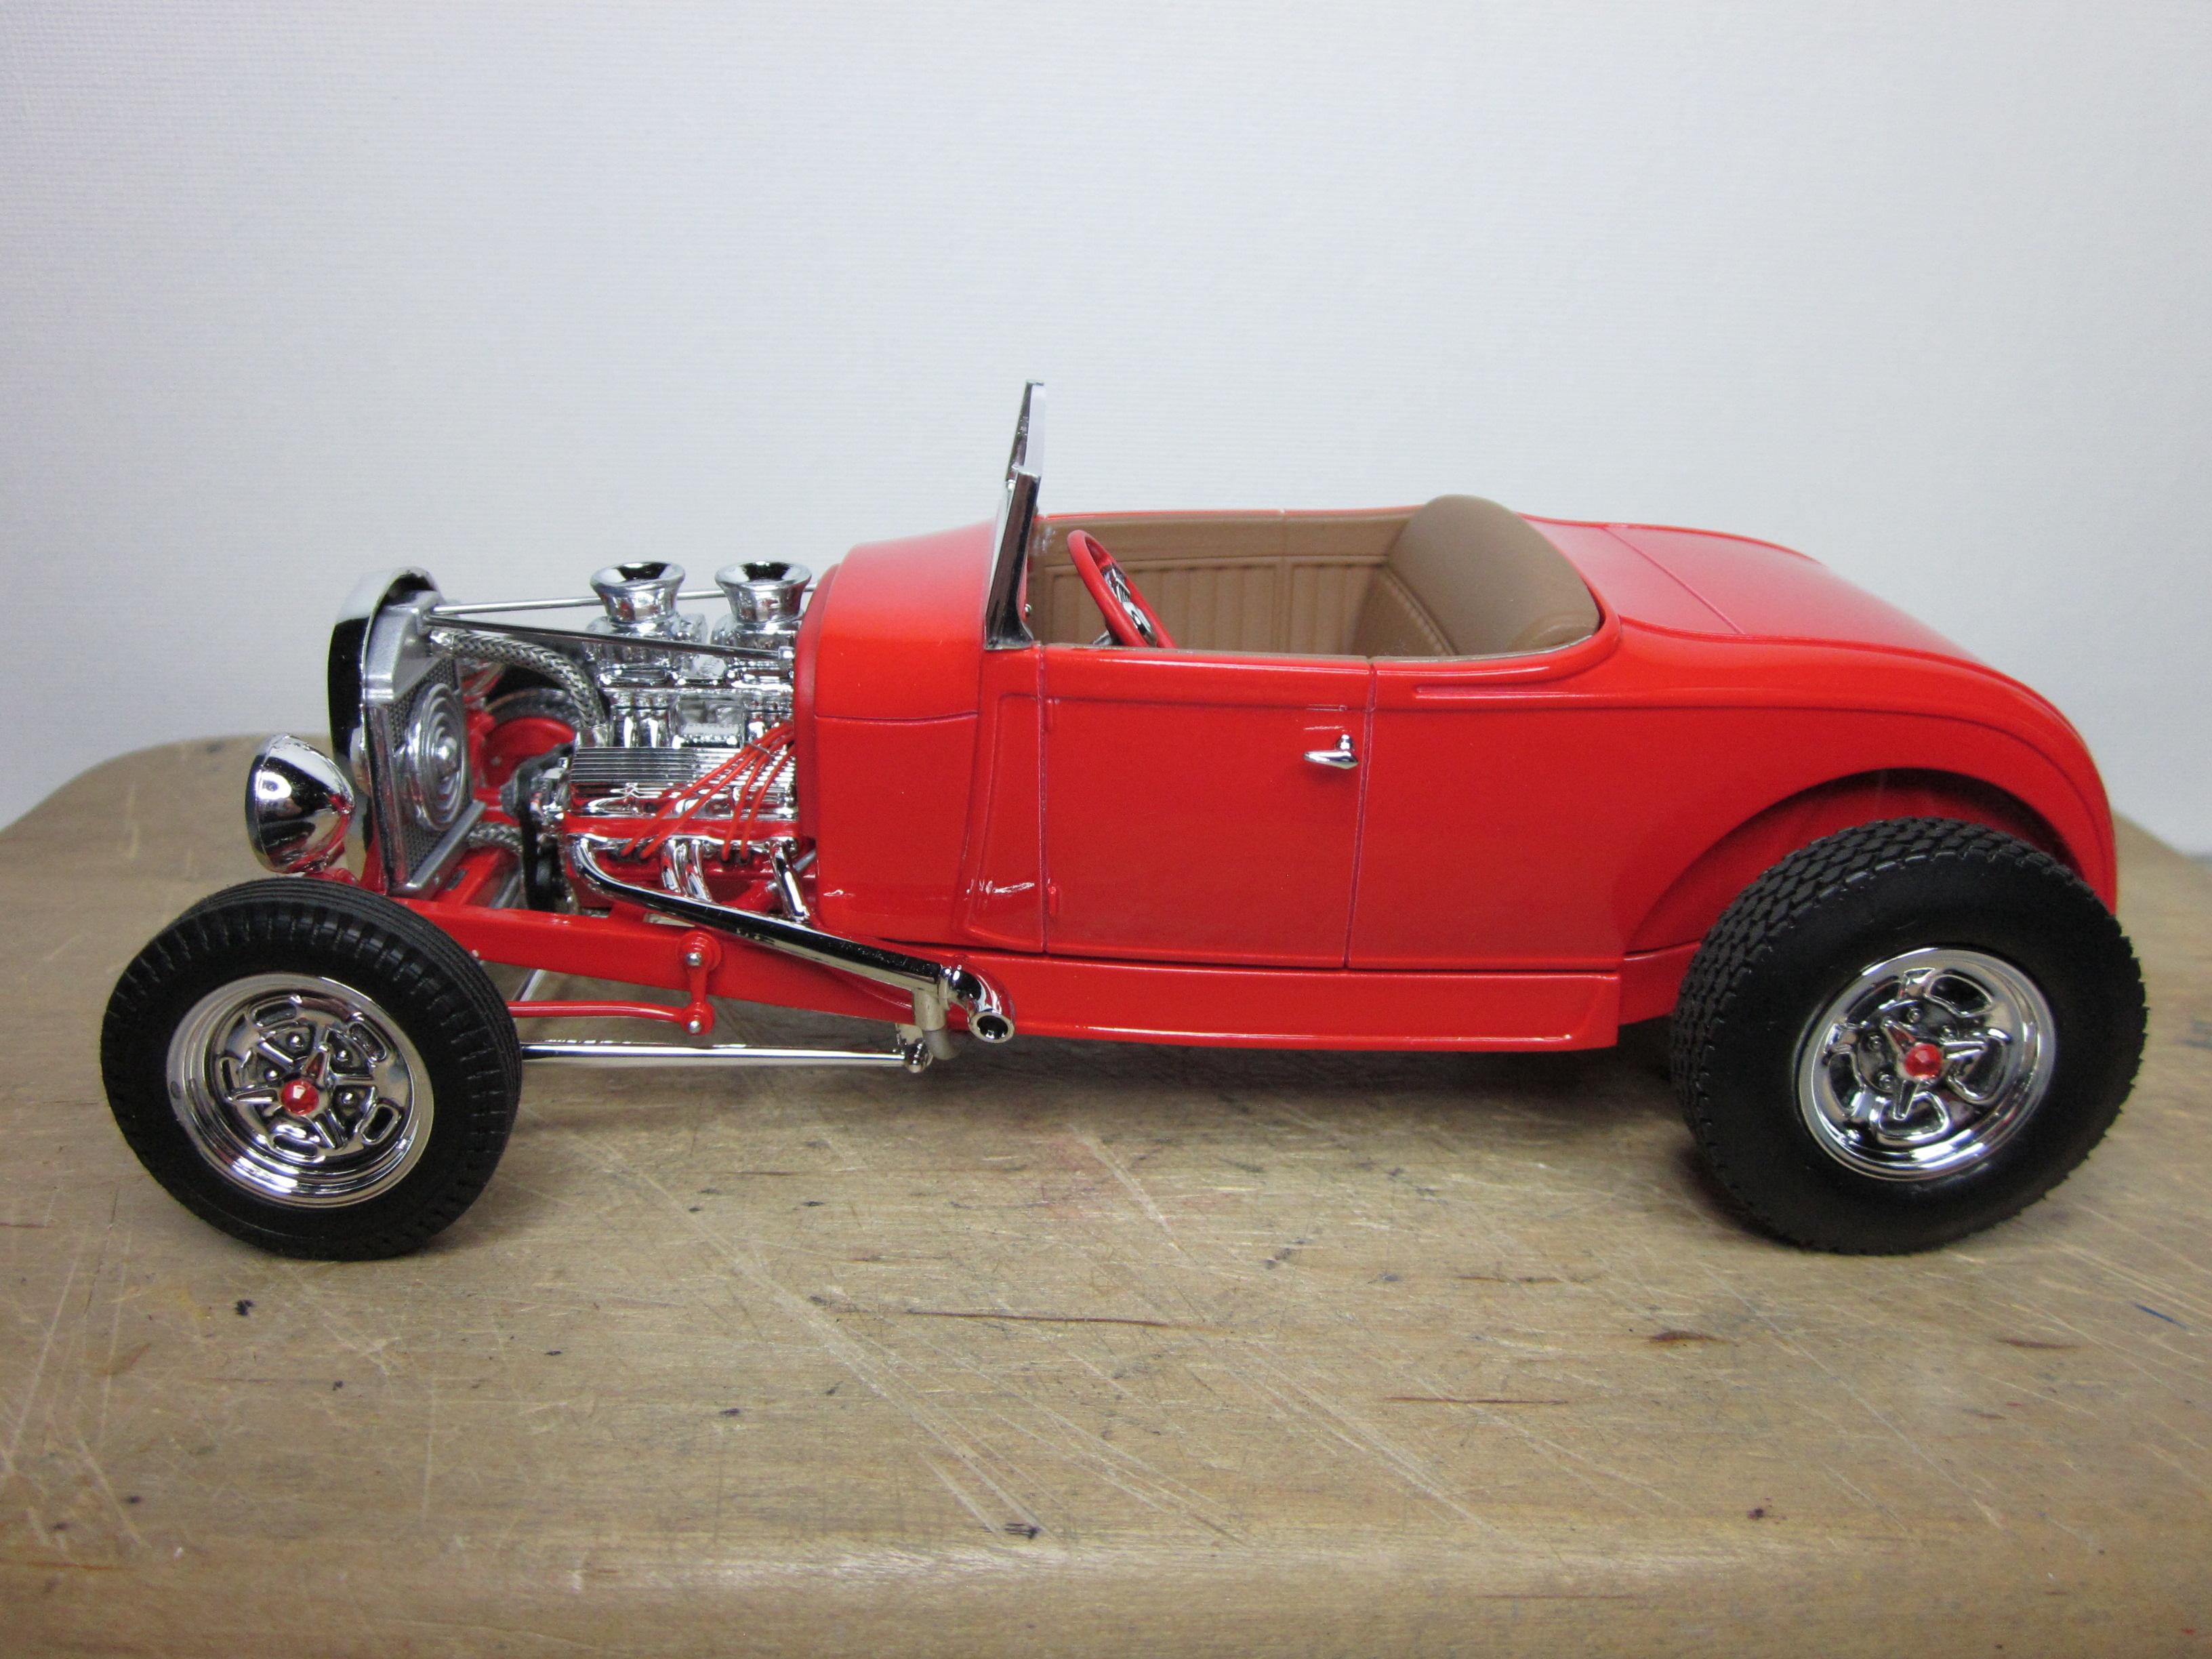
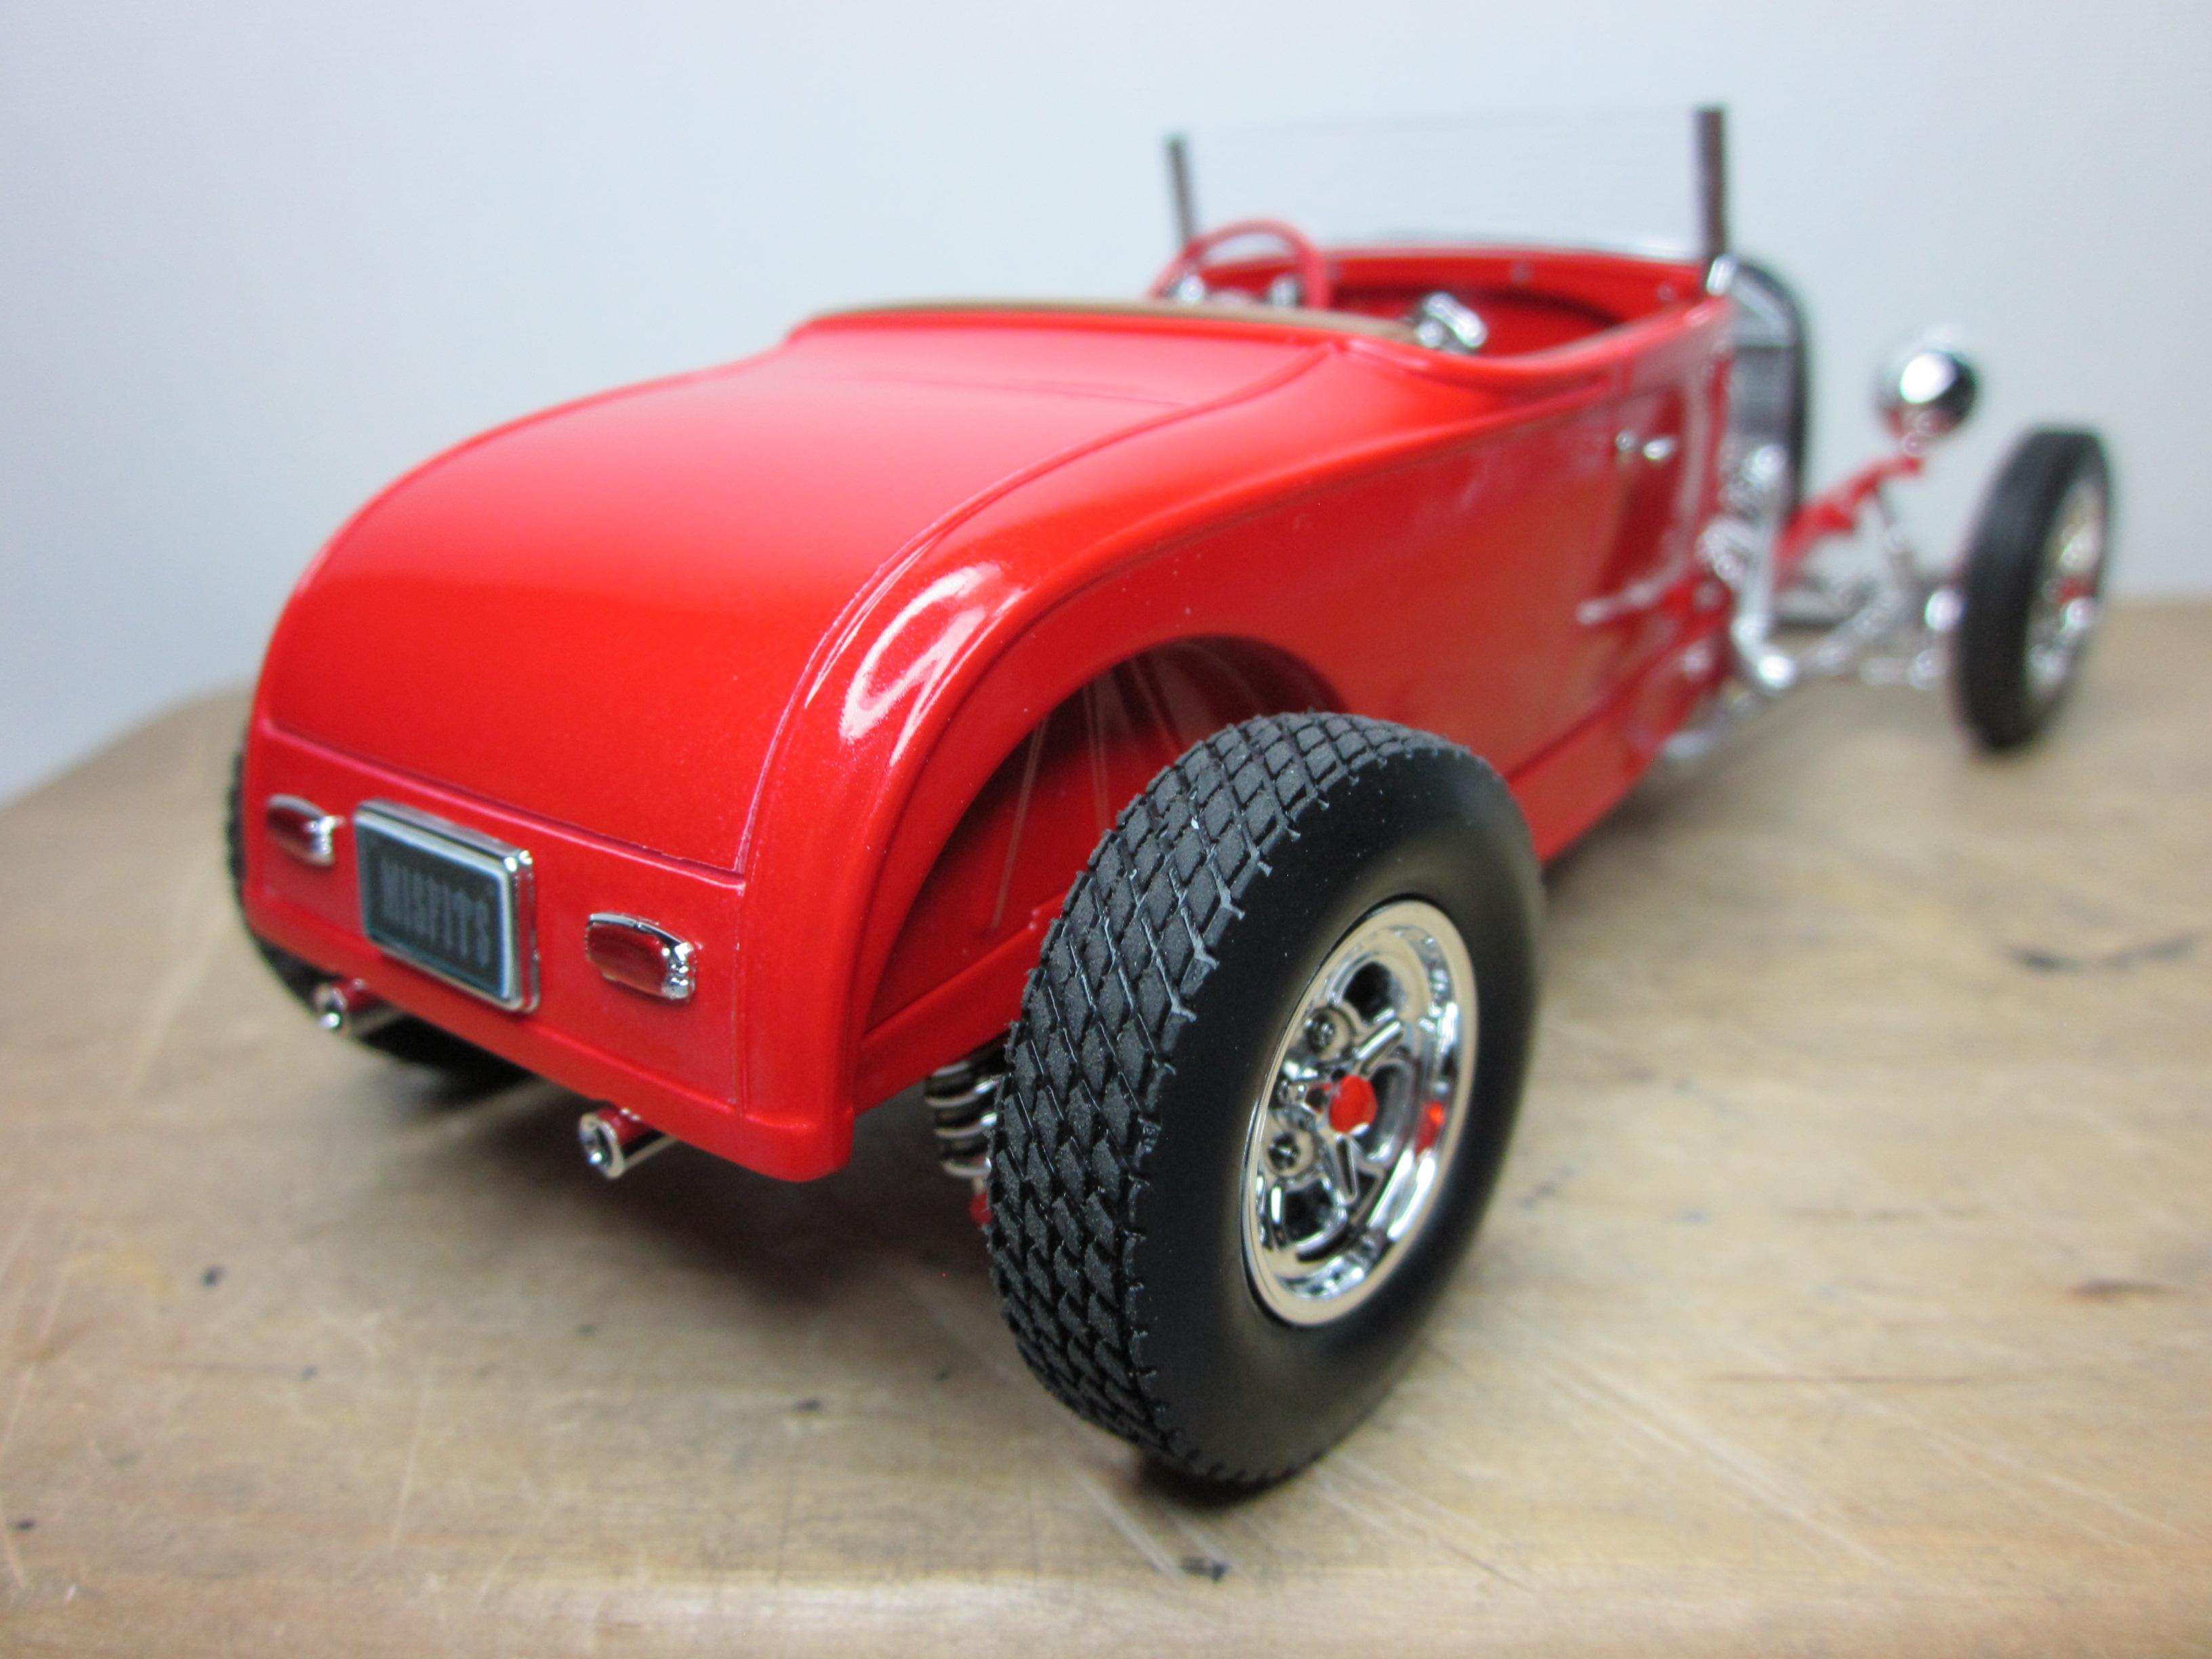
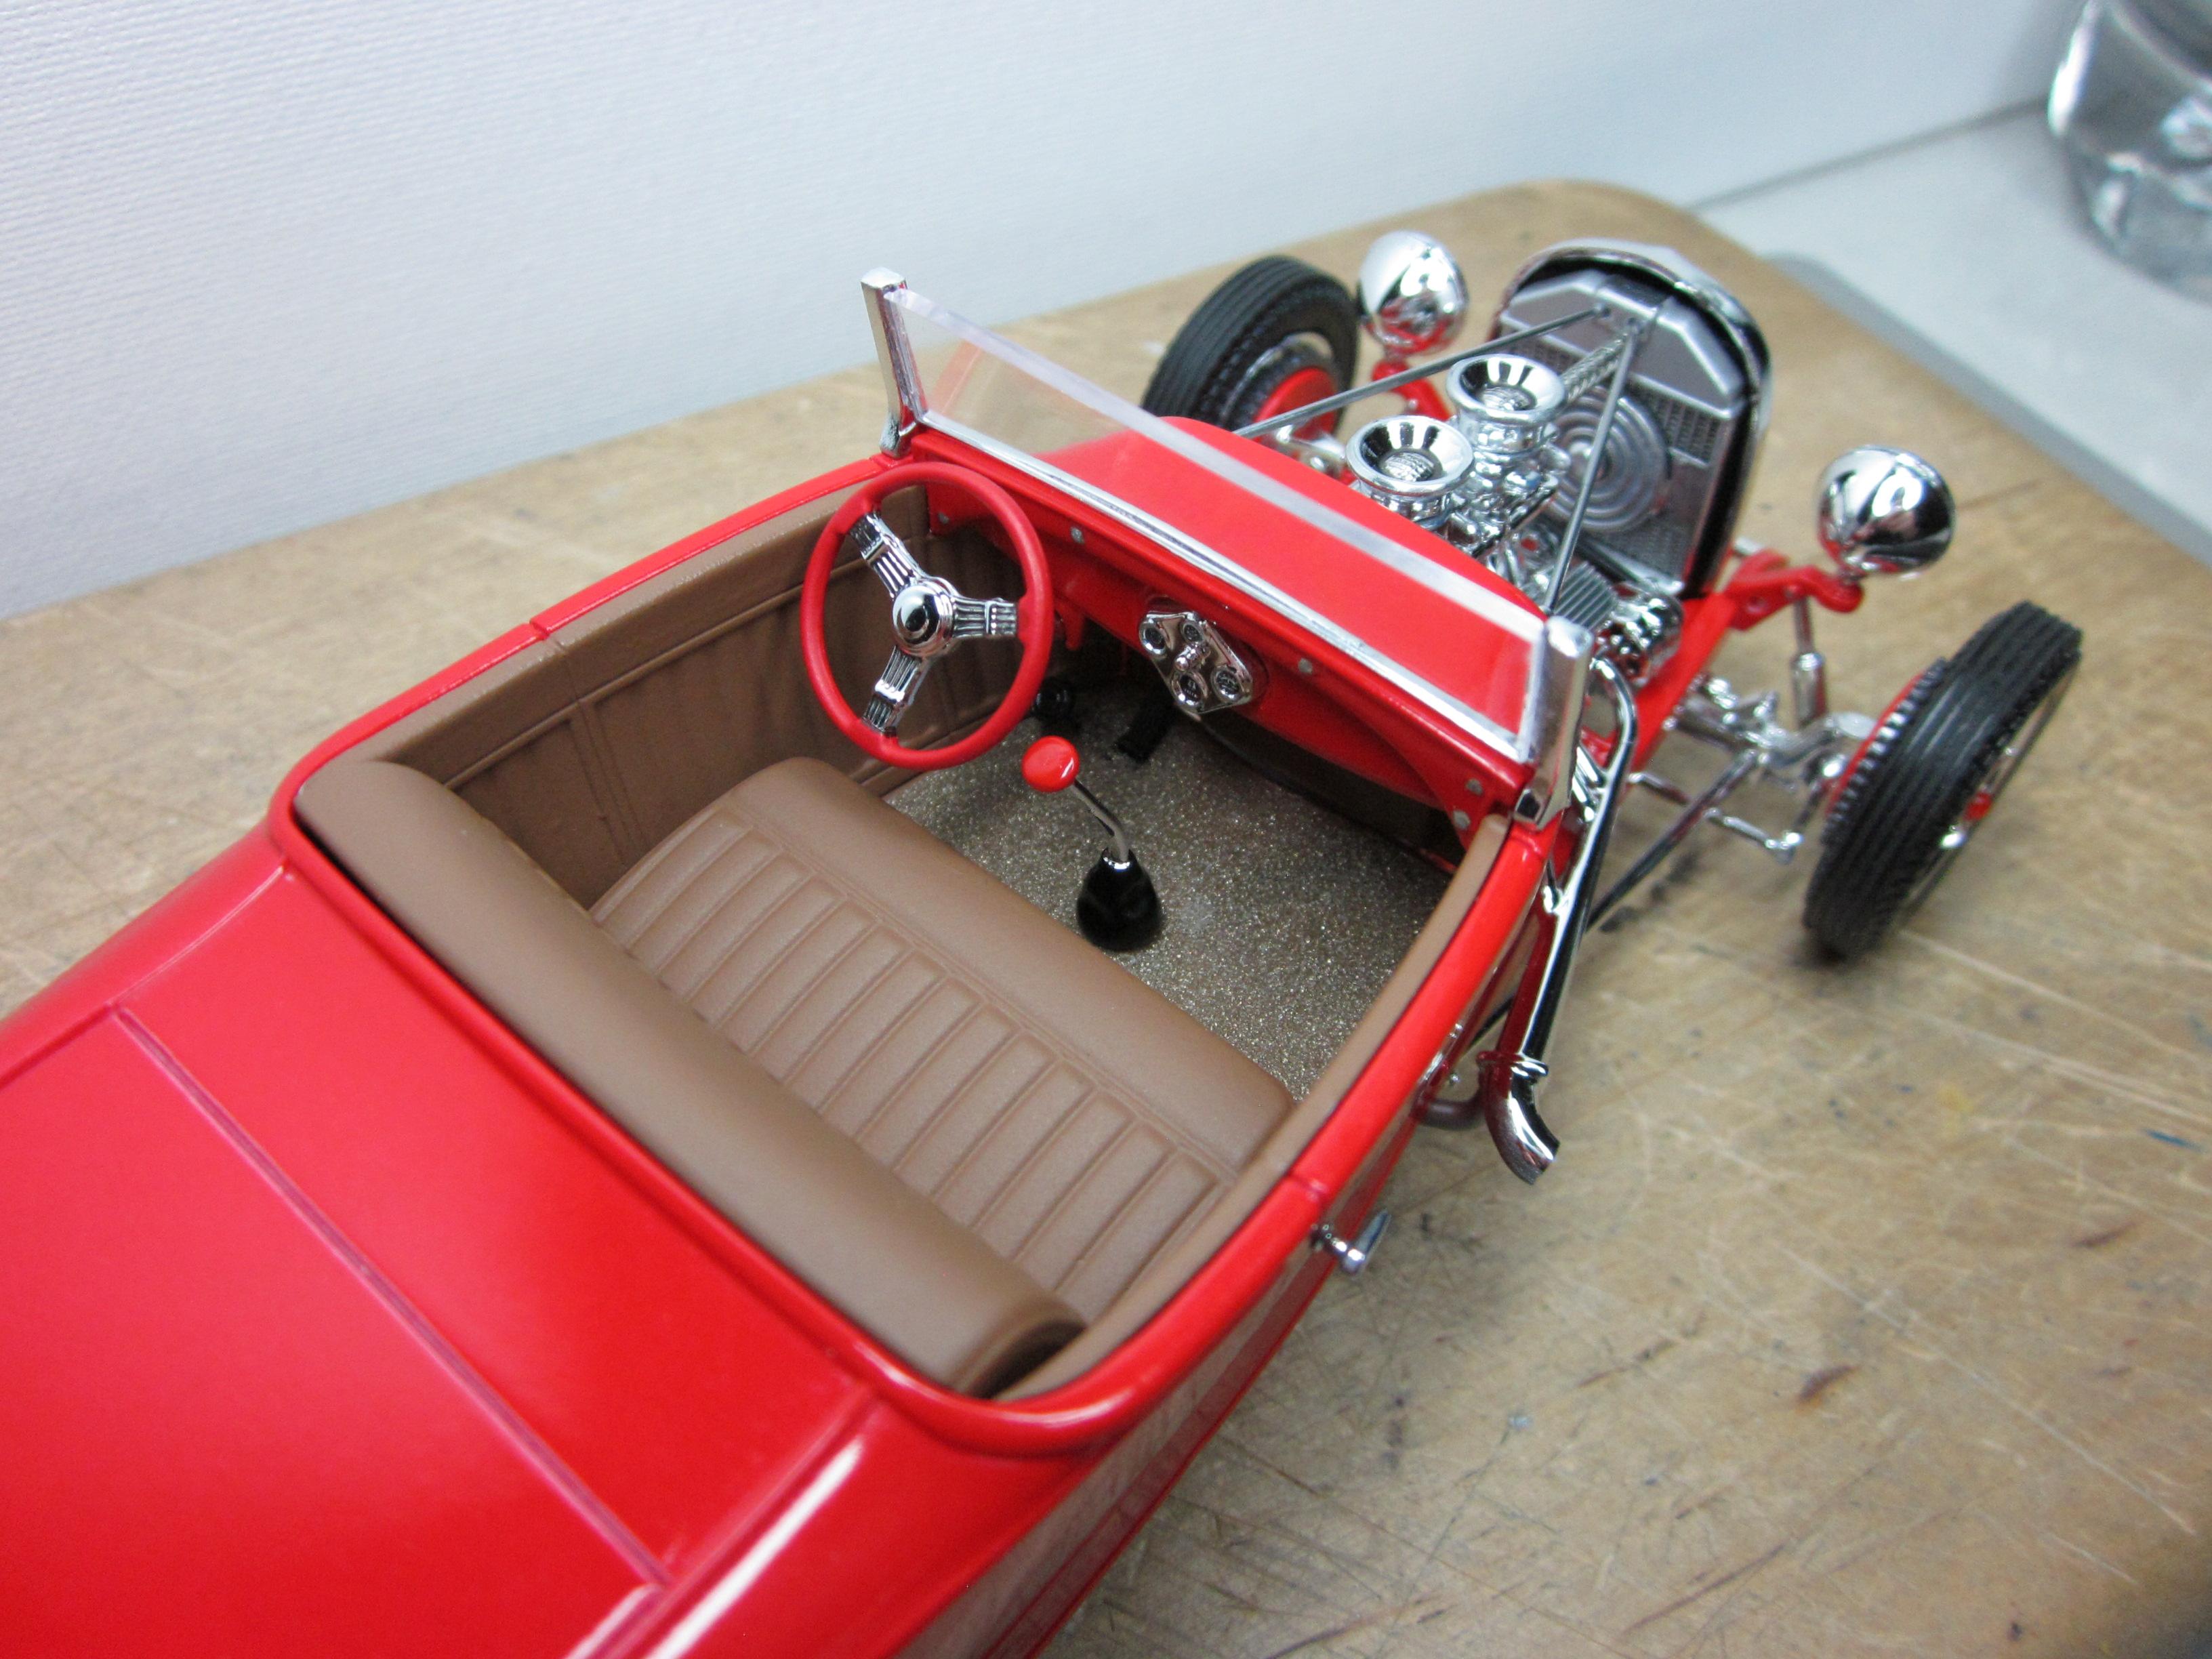
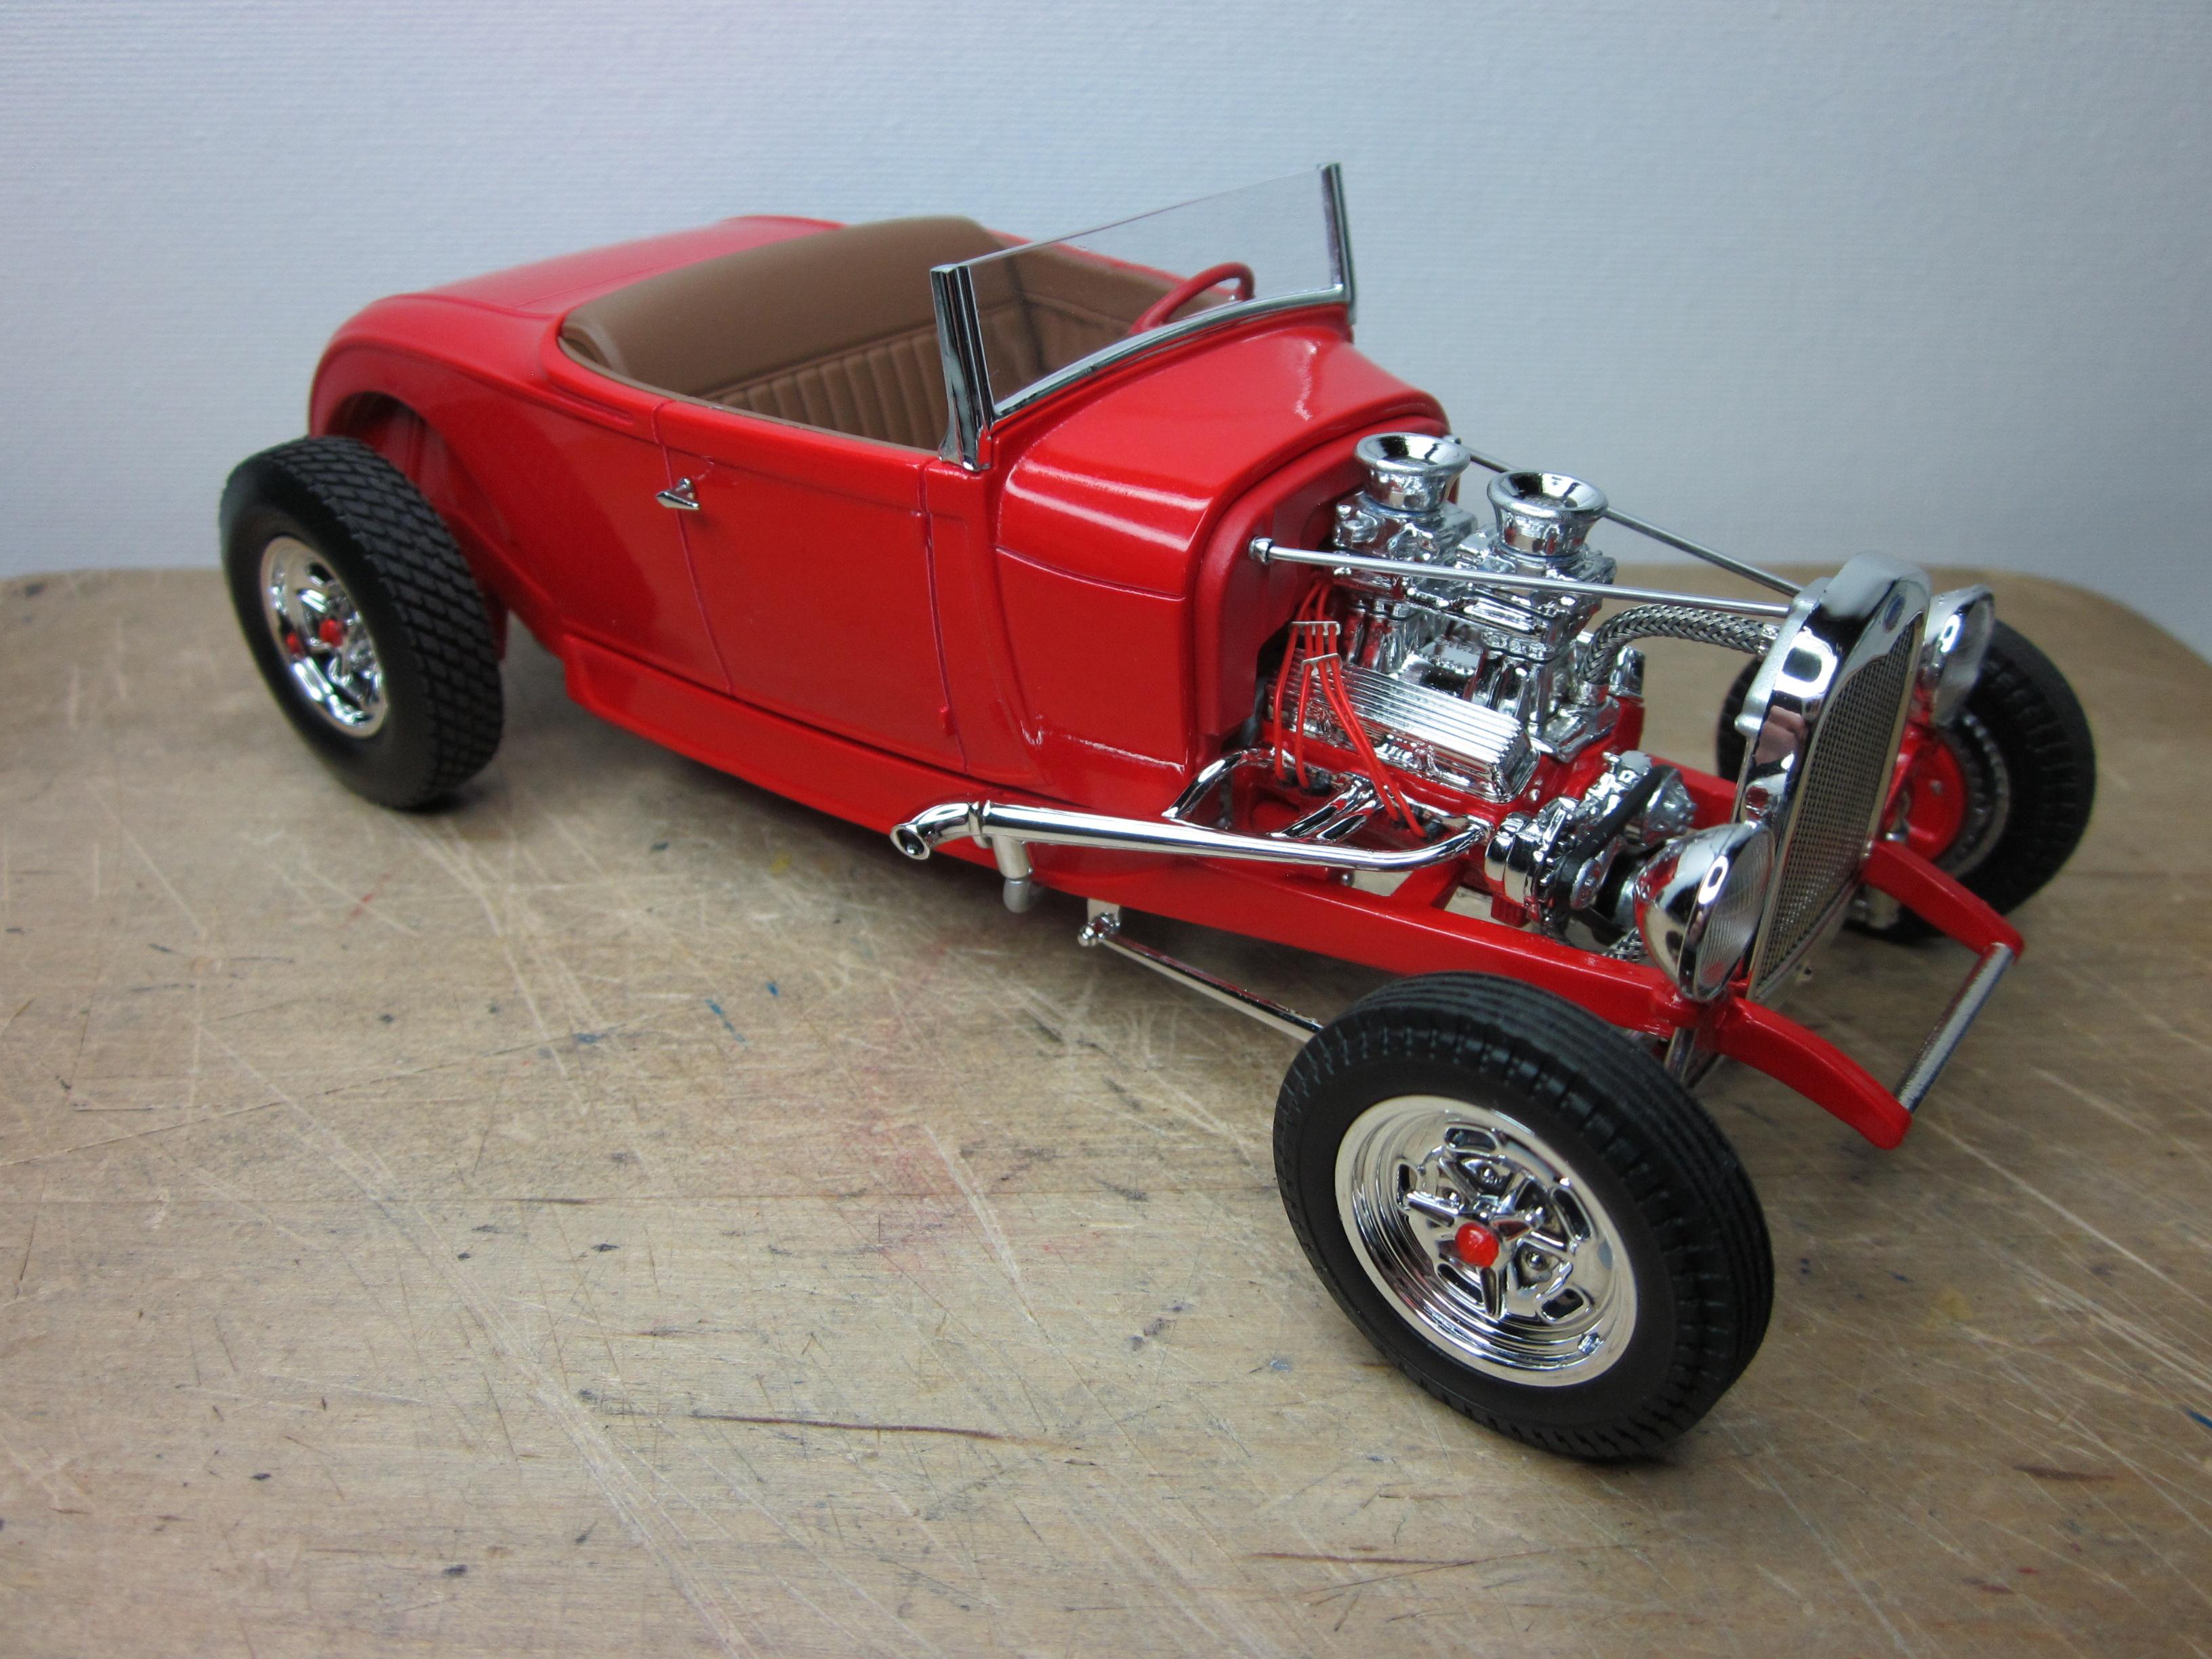
This is my first build in 4 years. I built the highboy version of the 29 model a roadster. Painted tamiya mica red, earth color on the interior, flat red bottom of floor and firewall. Added tunnel ram intake setup from a 66 nova, plug wires and rad hoses. Also cut the windshield down a couple scale inches. Thanks for looking...................
-
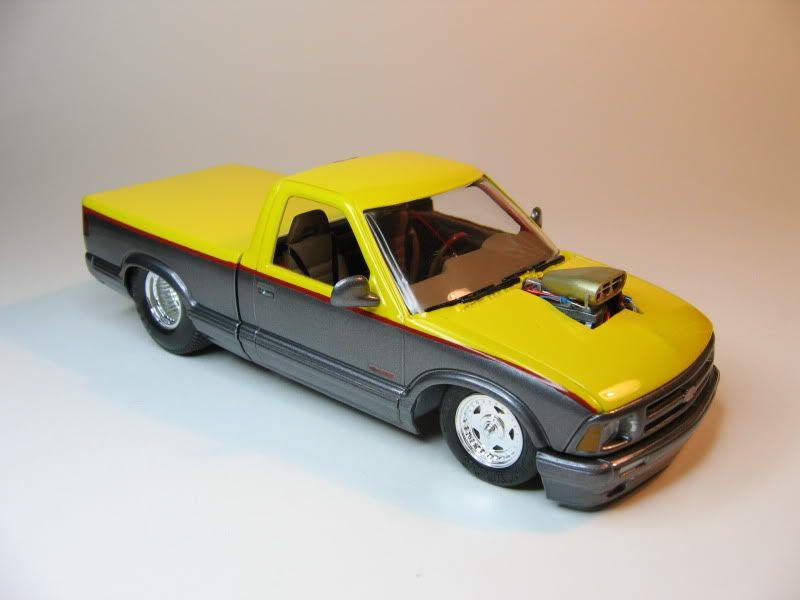
This is a S-10 that i built a few years back................................
-
Super clean build. Paint and detail work very well done. Stance is spot on. Did you stretch the wheel well openings on the rear to fit the tires or did they just fit that good?
-
Thanks for looking Paul
-
Again, It's been awhile since any update but I have got a few things done. Got the body primed and painted with Tamiya white surface primer and TS-85 bright mica red. I overlaid the emblems on the body with the kit decal's. Then it was onto the BMF. Always fun to do. Also got the chassis painted and mostly assembled. Painted the interior and completed the dash. Here's a few pics of where it sit's right now.................................
-
These are some of my best......................
-
Came out really nice. I like the color. Nice detail work under the hood.
-
What a great looking woody! Very clean work.
-
Nice work! I like this a lot.
-
Been a while since I have worked on this project or any thing else for that matter. This has been sitting on my bench just waiting for me to come back to it. So here is what I got done today. The body got finished with the sanding and fine tuning. Then I taped it up on the outside and painted the inside Tamiya semi-gloss black. While that was drying I primed the chassis, interior tub and all the other parts. The tape was removed from body and then cleaned up and sanded again. After wards it was washed and is ready for some primer and paint. As usual I have no idea what color yet. I can now also start painting all the suspension and interior parts. Here are some pics of my progress.......................... Thanks for looking and more to come. Paul