Speedpro
-
Posts
842 -
Joined
-
Last visited
Content Type
Profiles
Forums
Events
Gallery
Everything posted by Speedpro
-
Very nice build. The paint and BMF look perfect!
-
Good looking project so far!
-
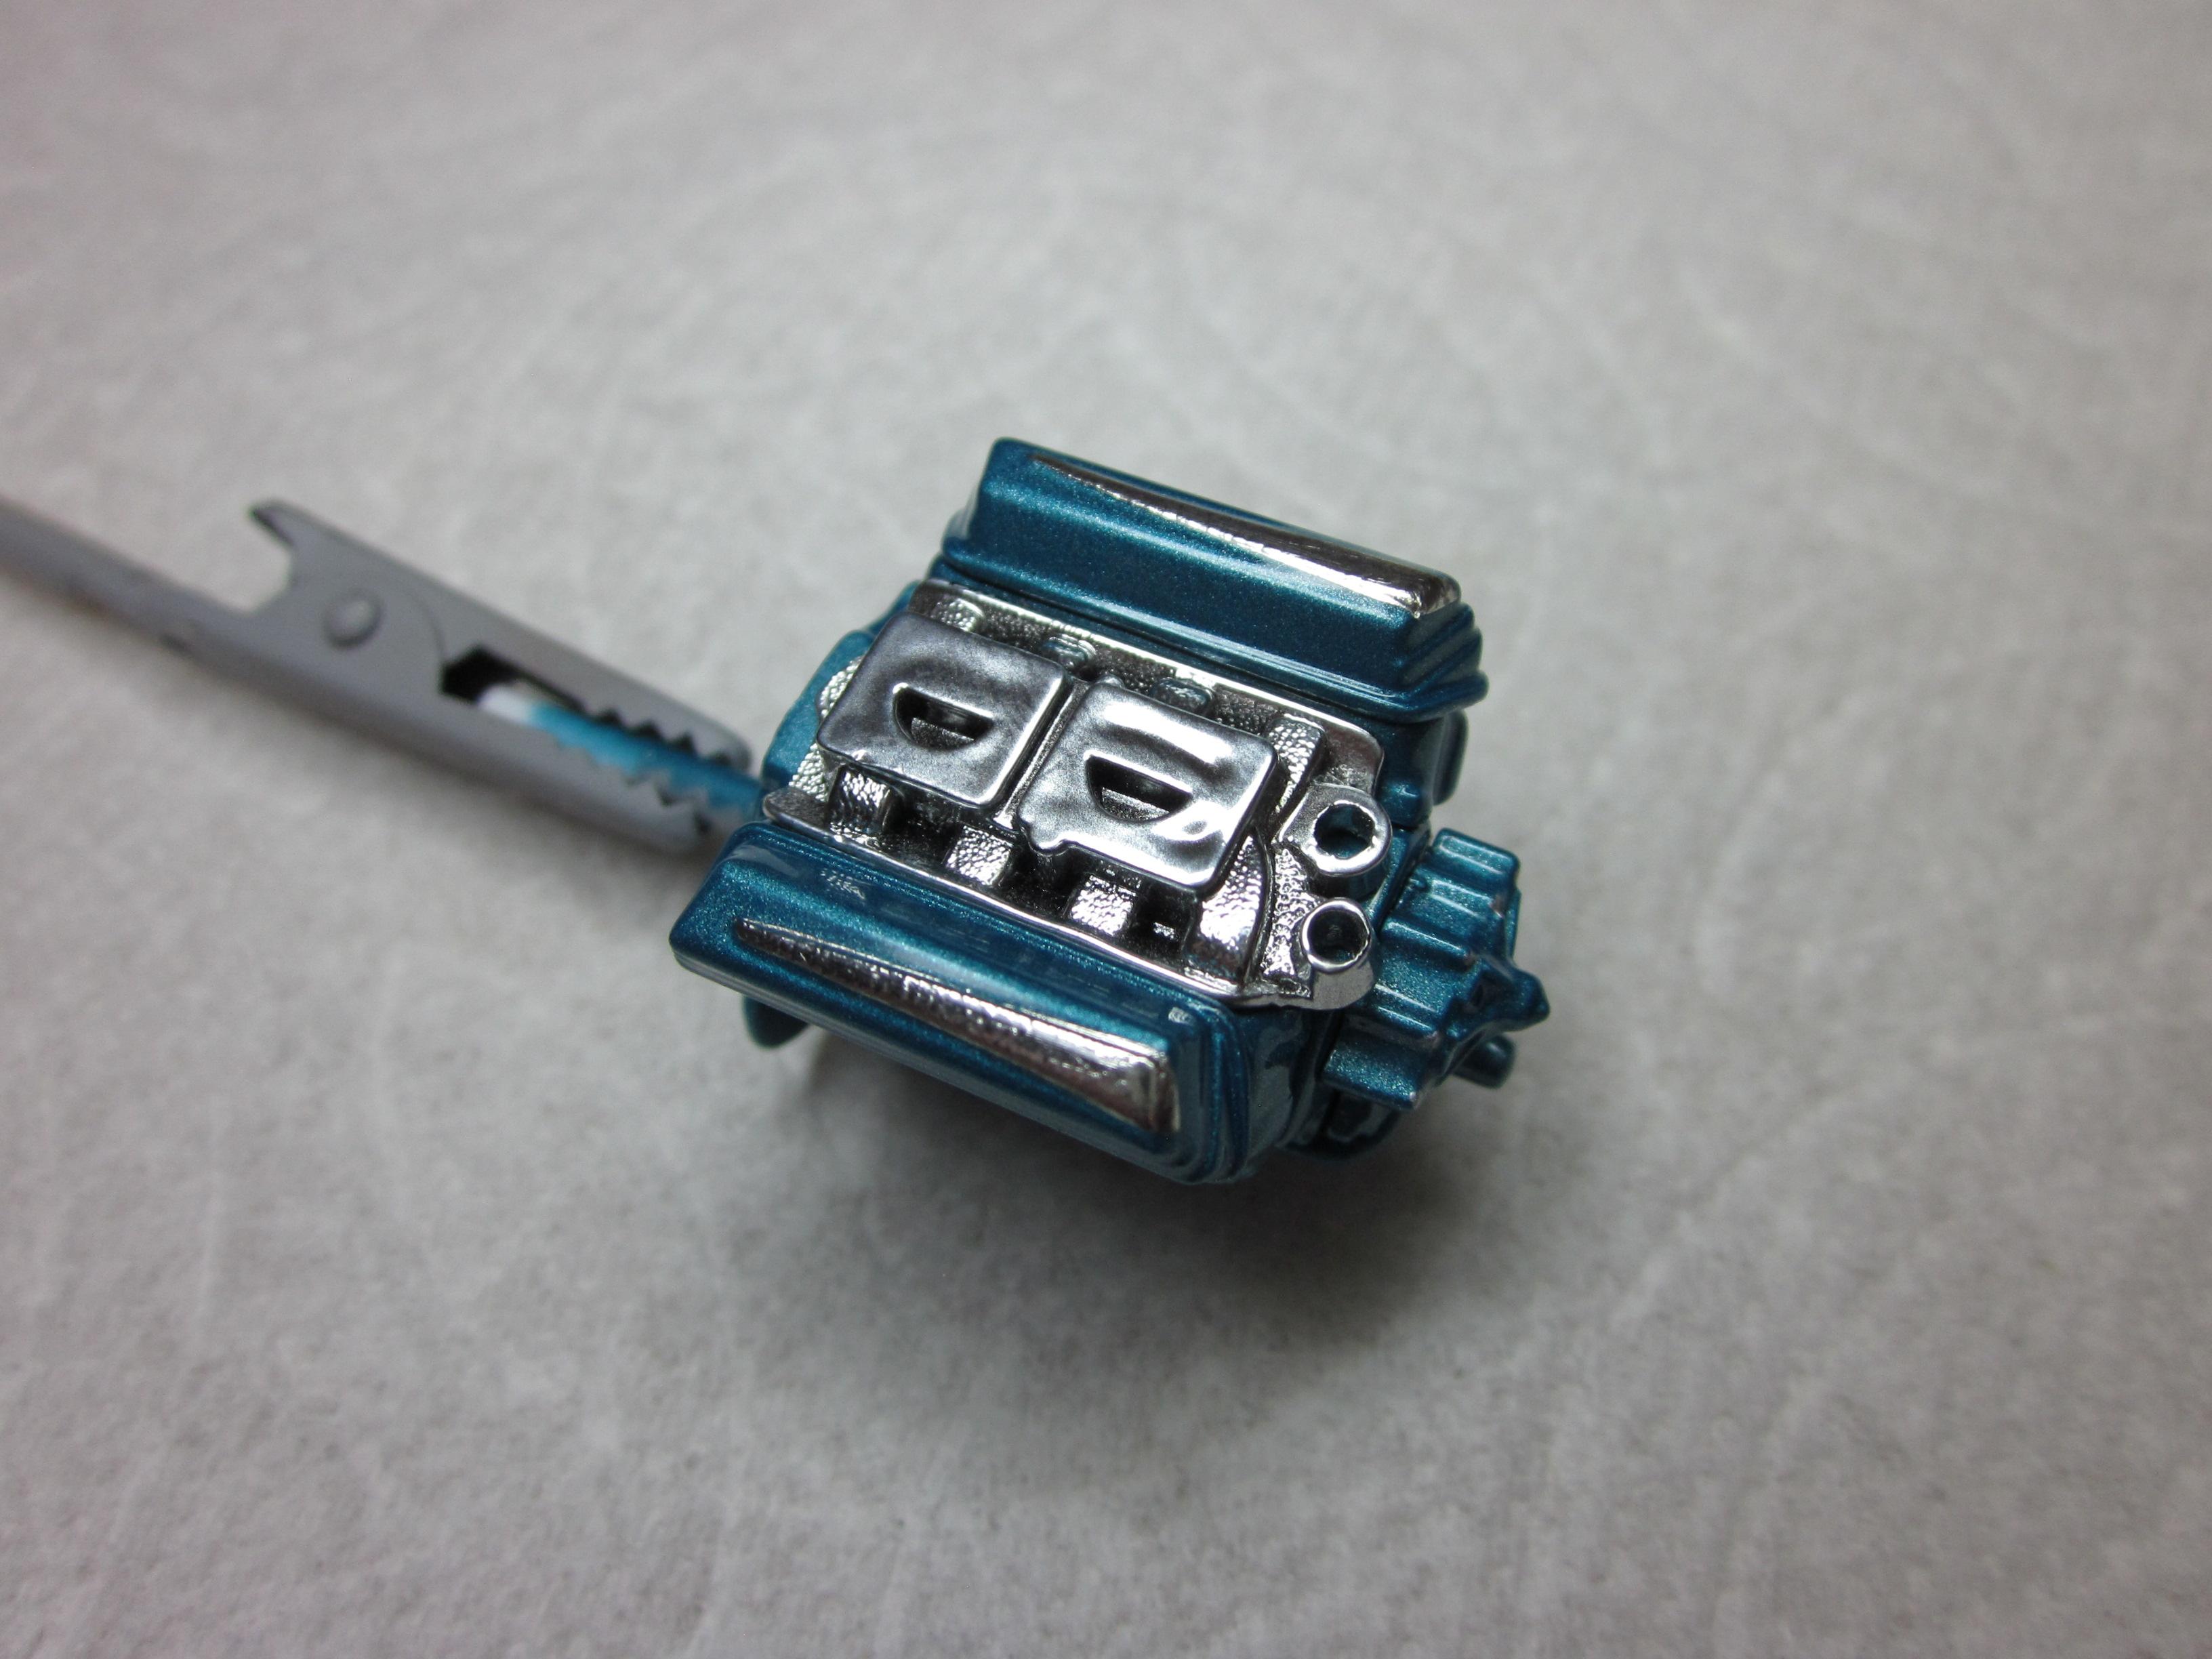
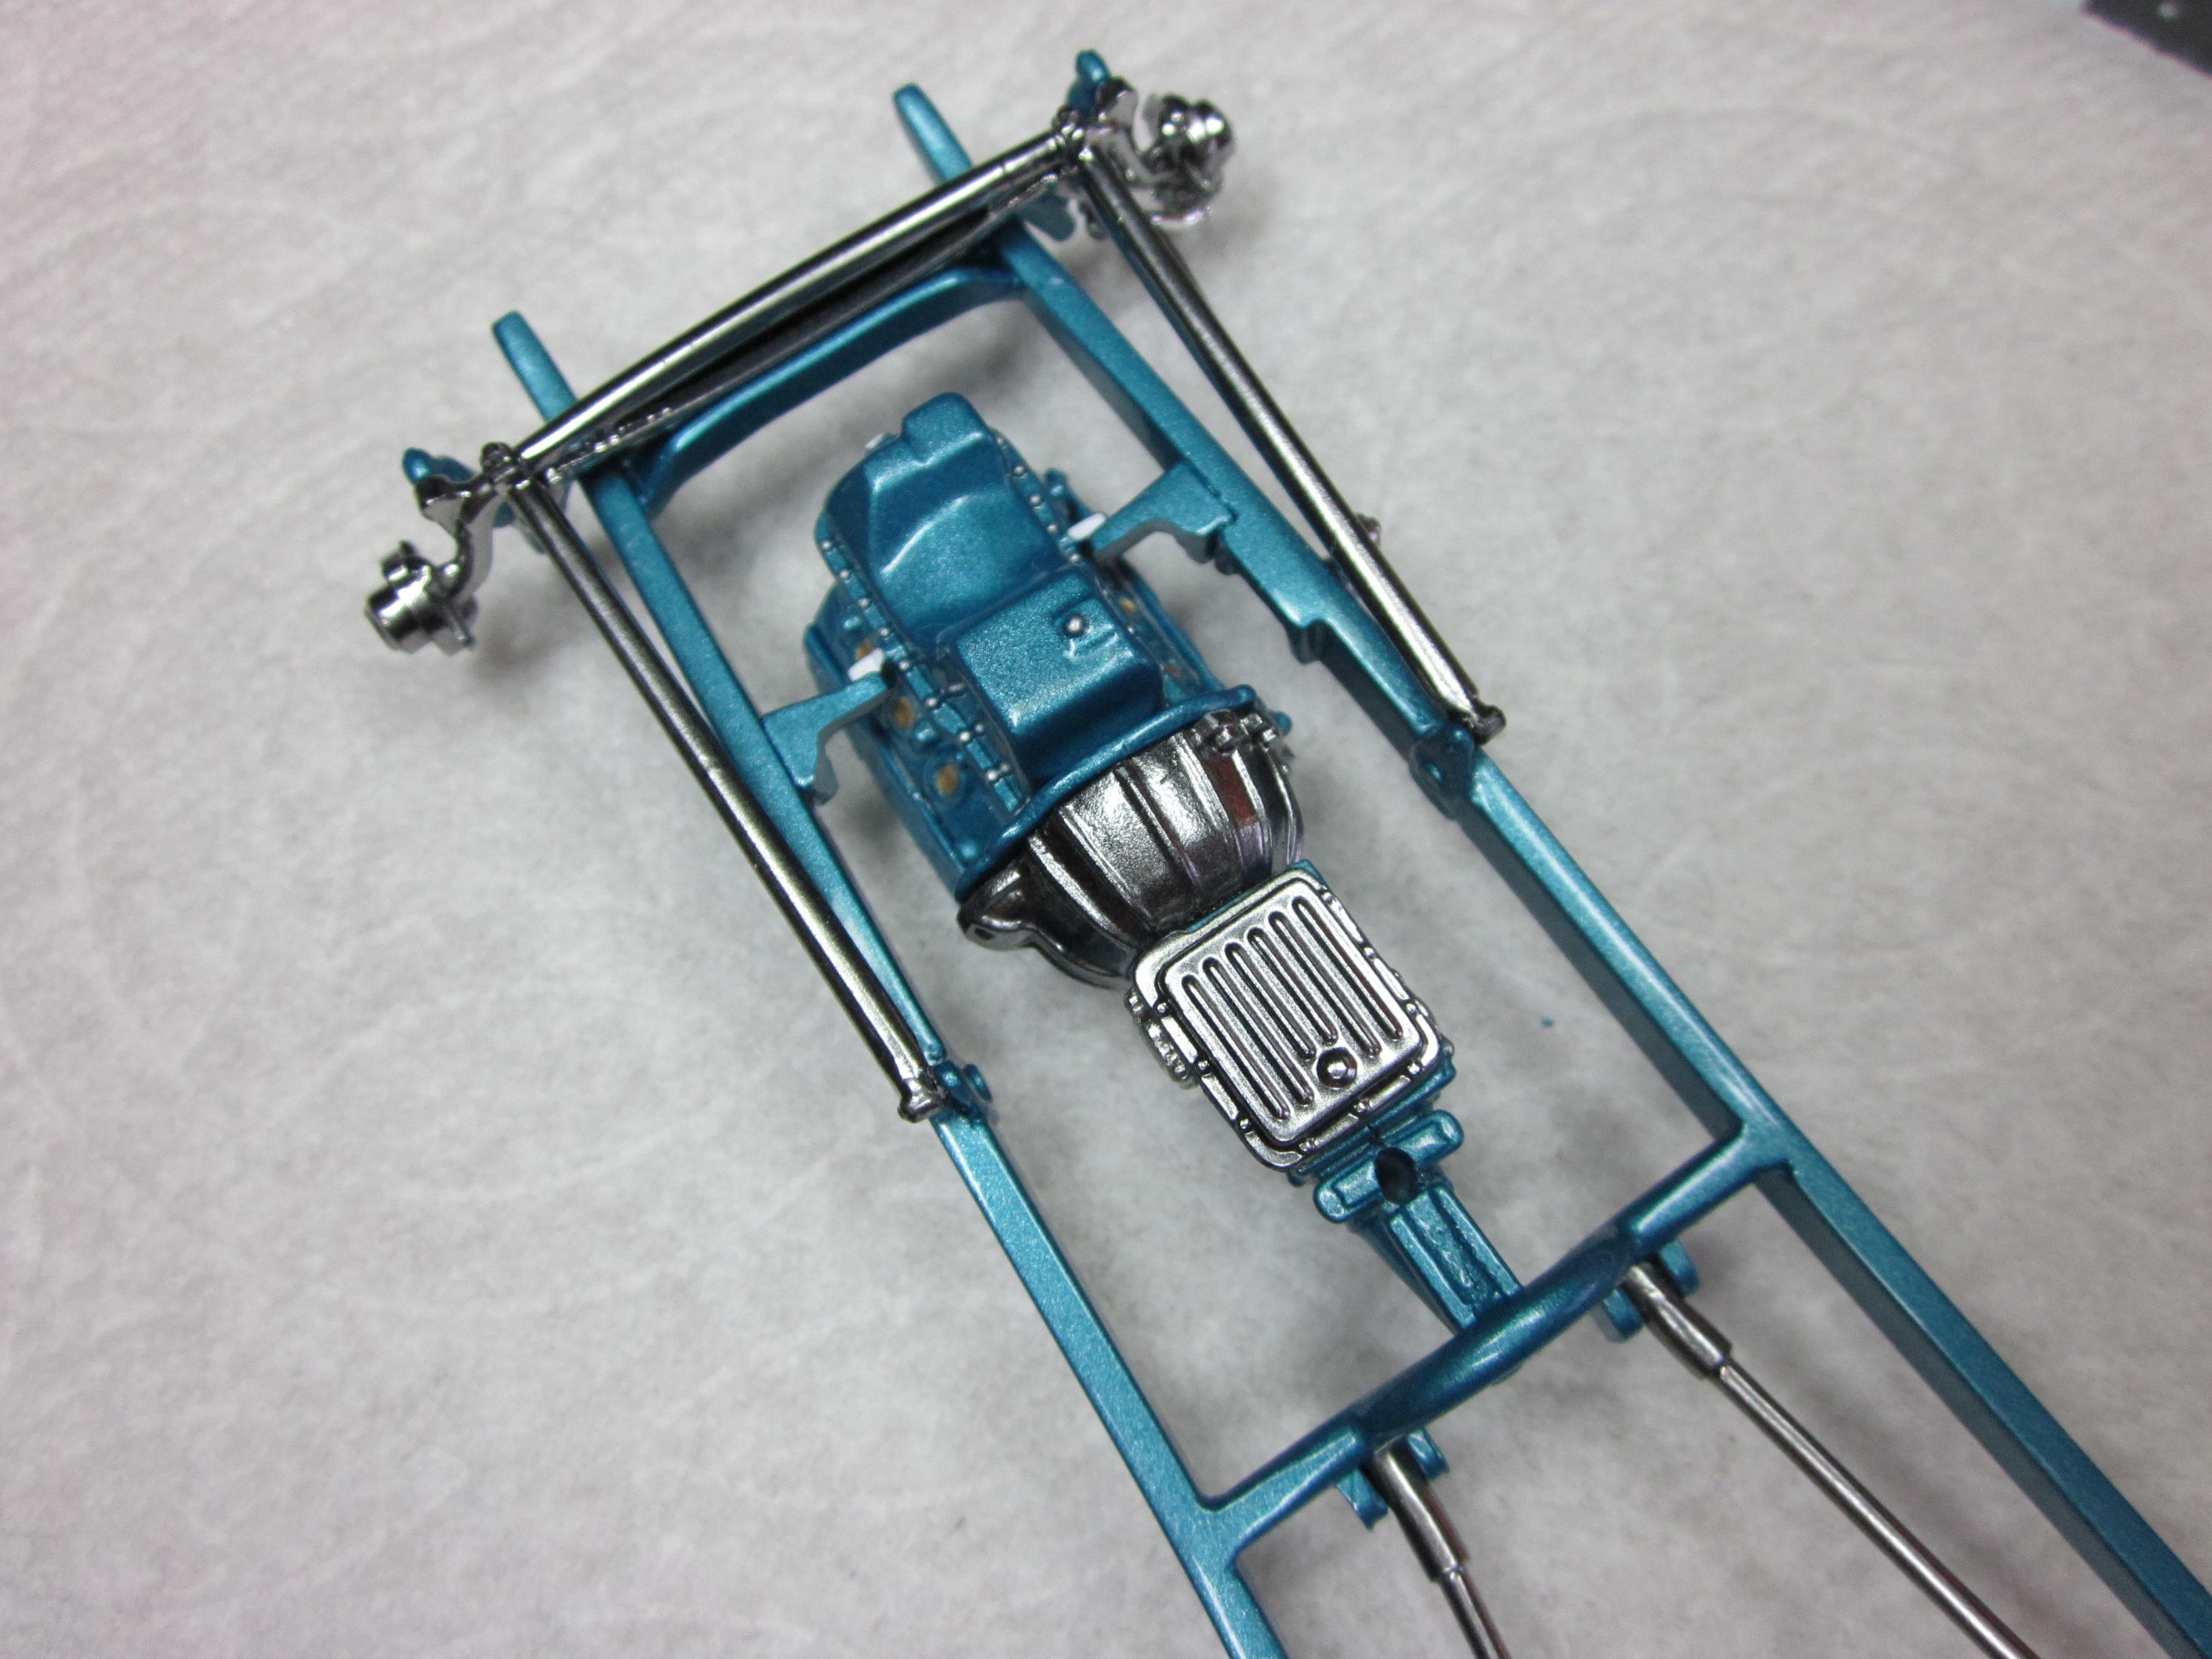
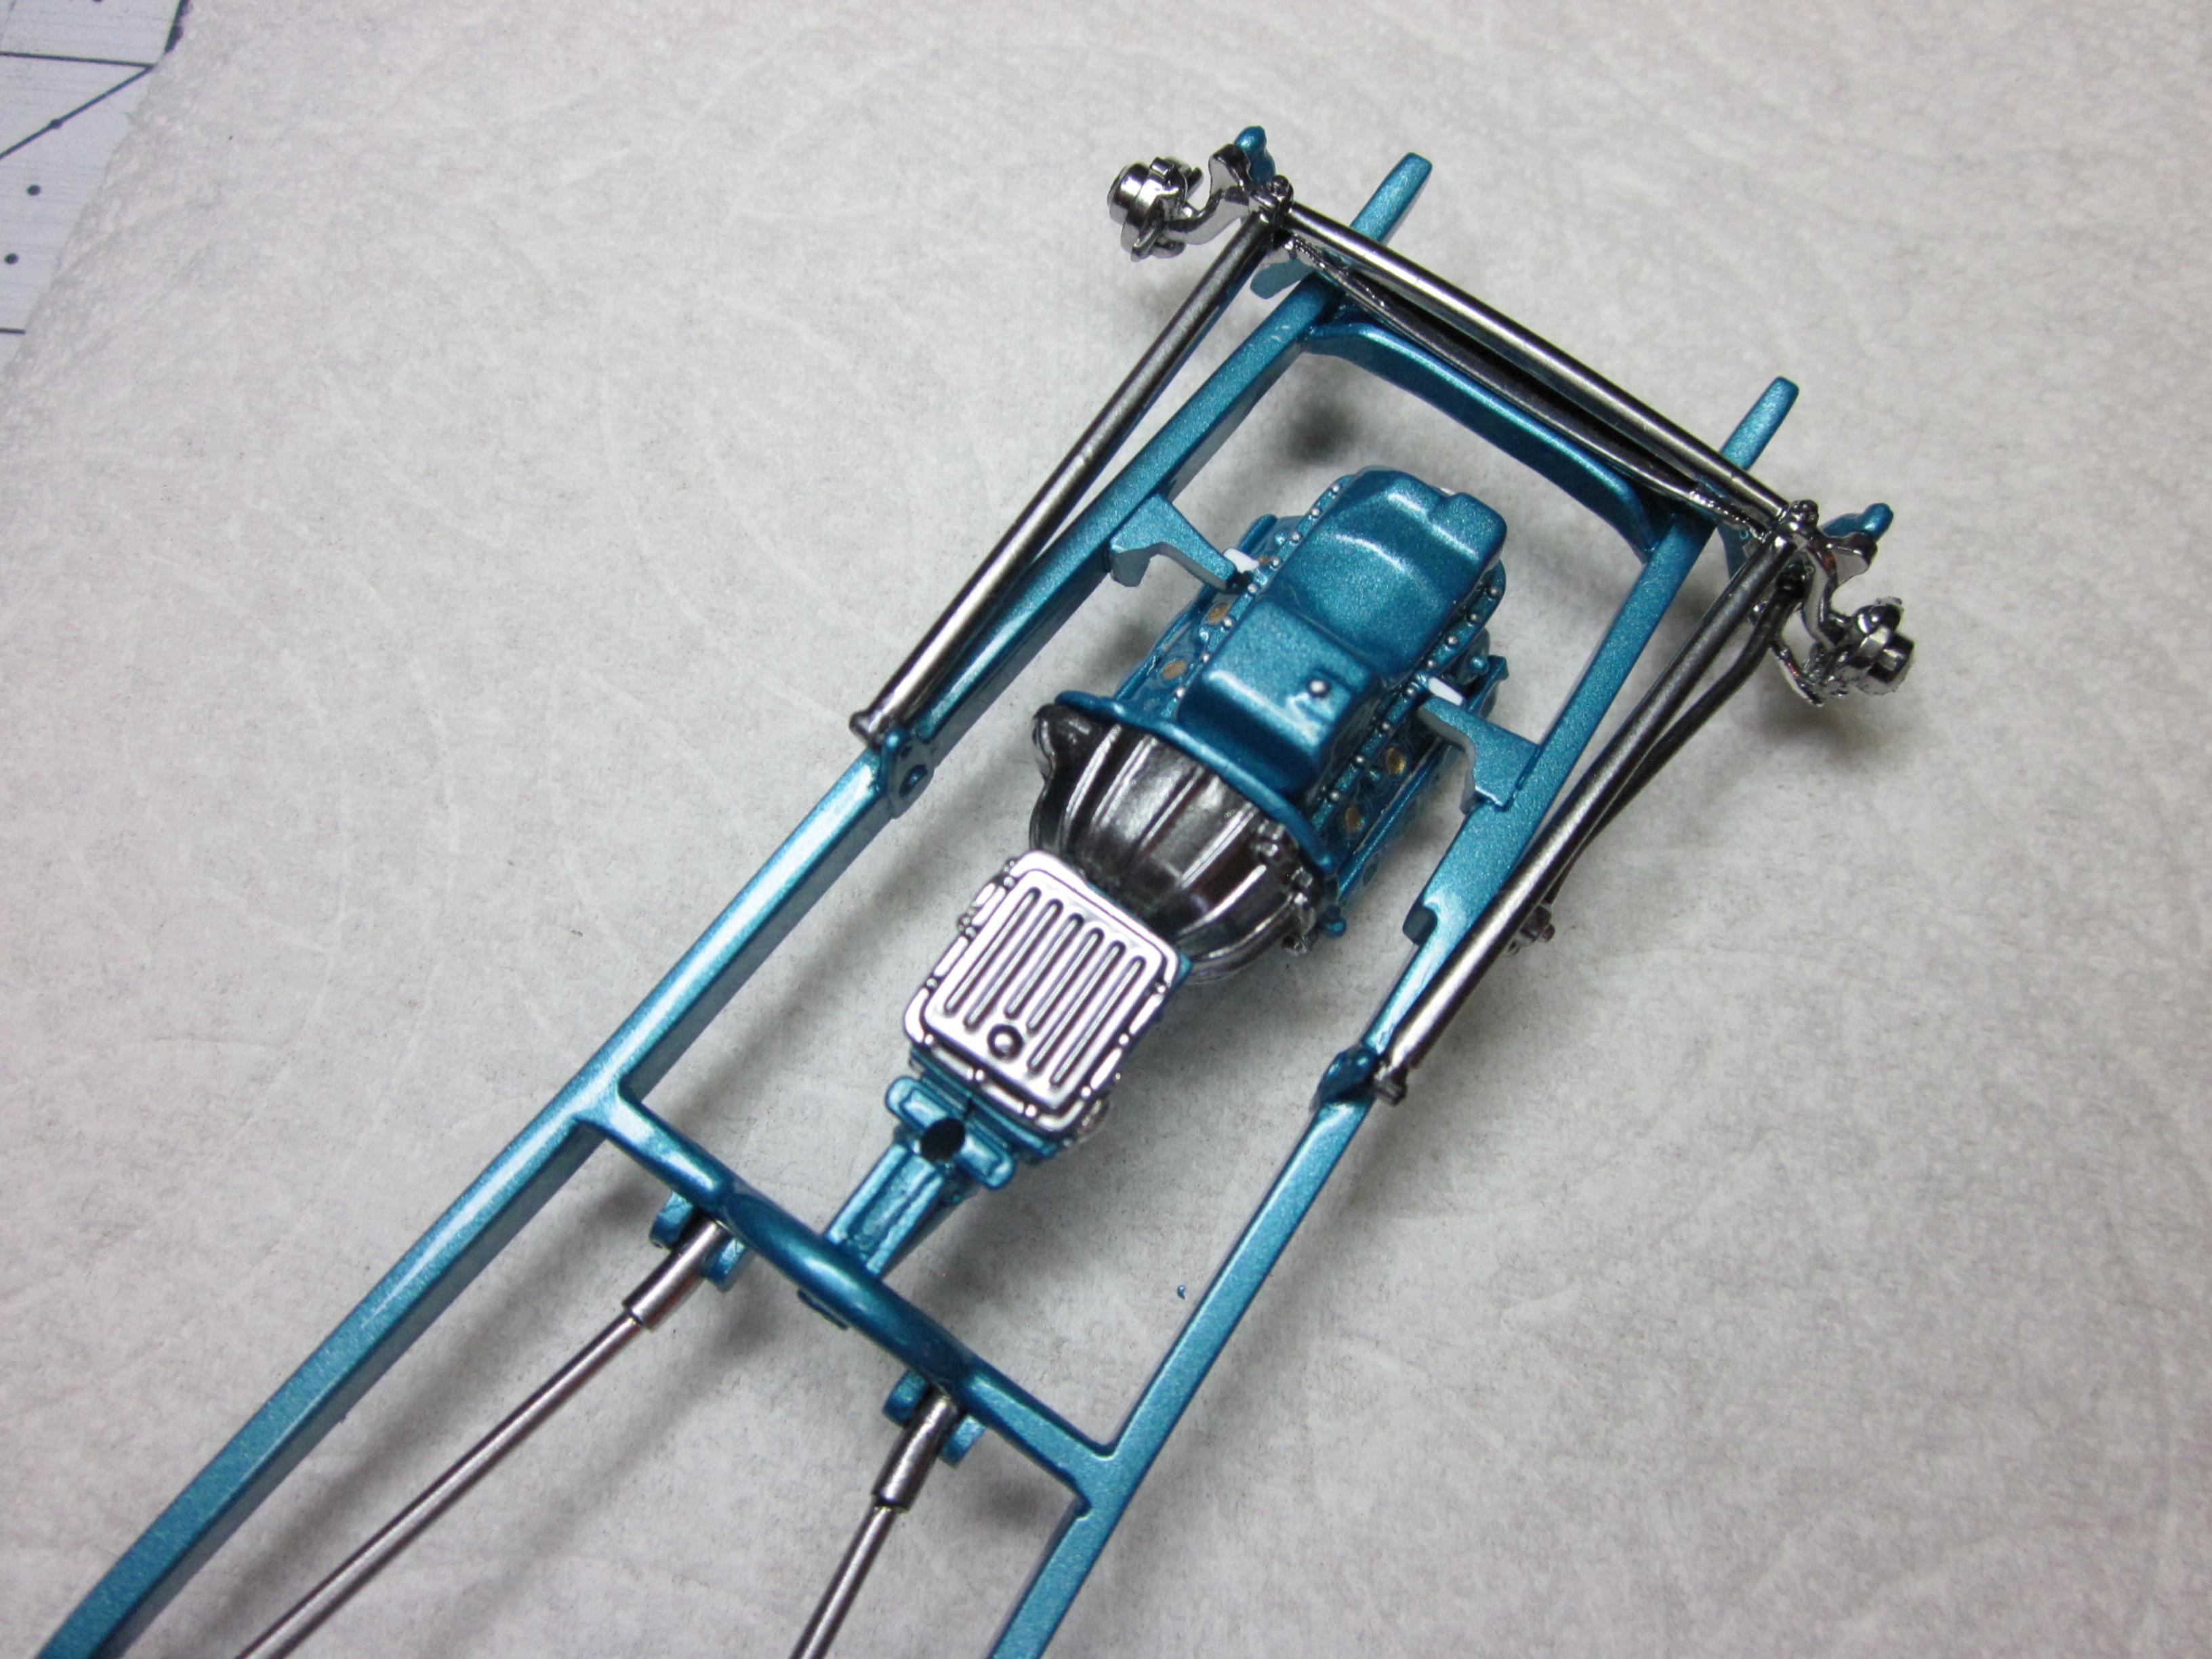
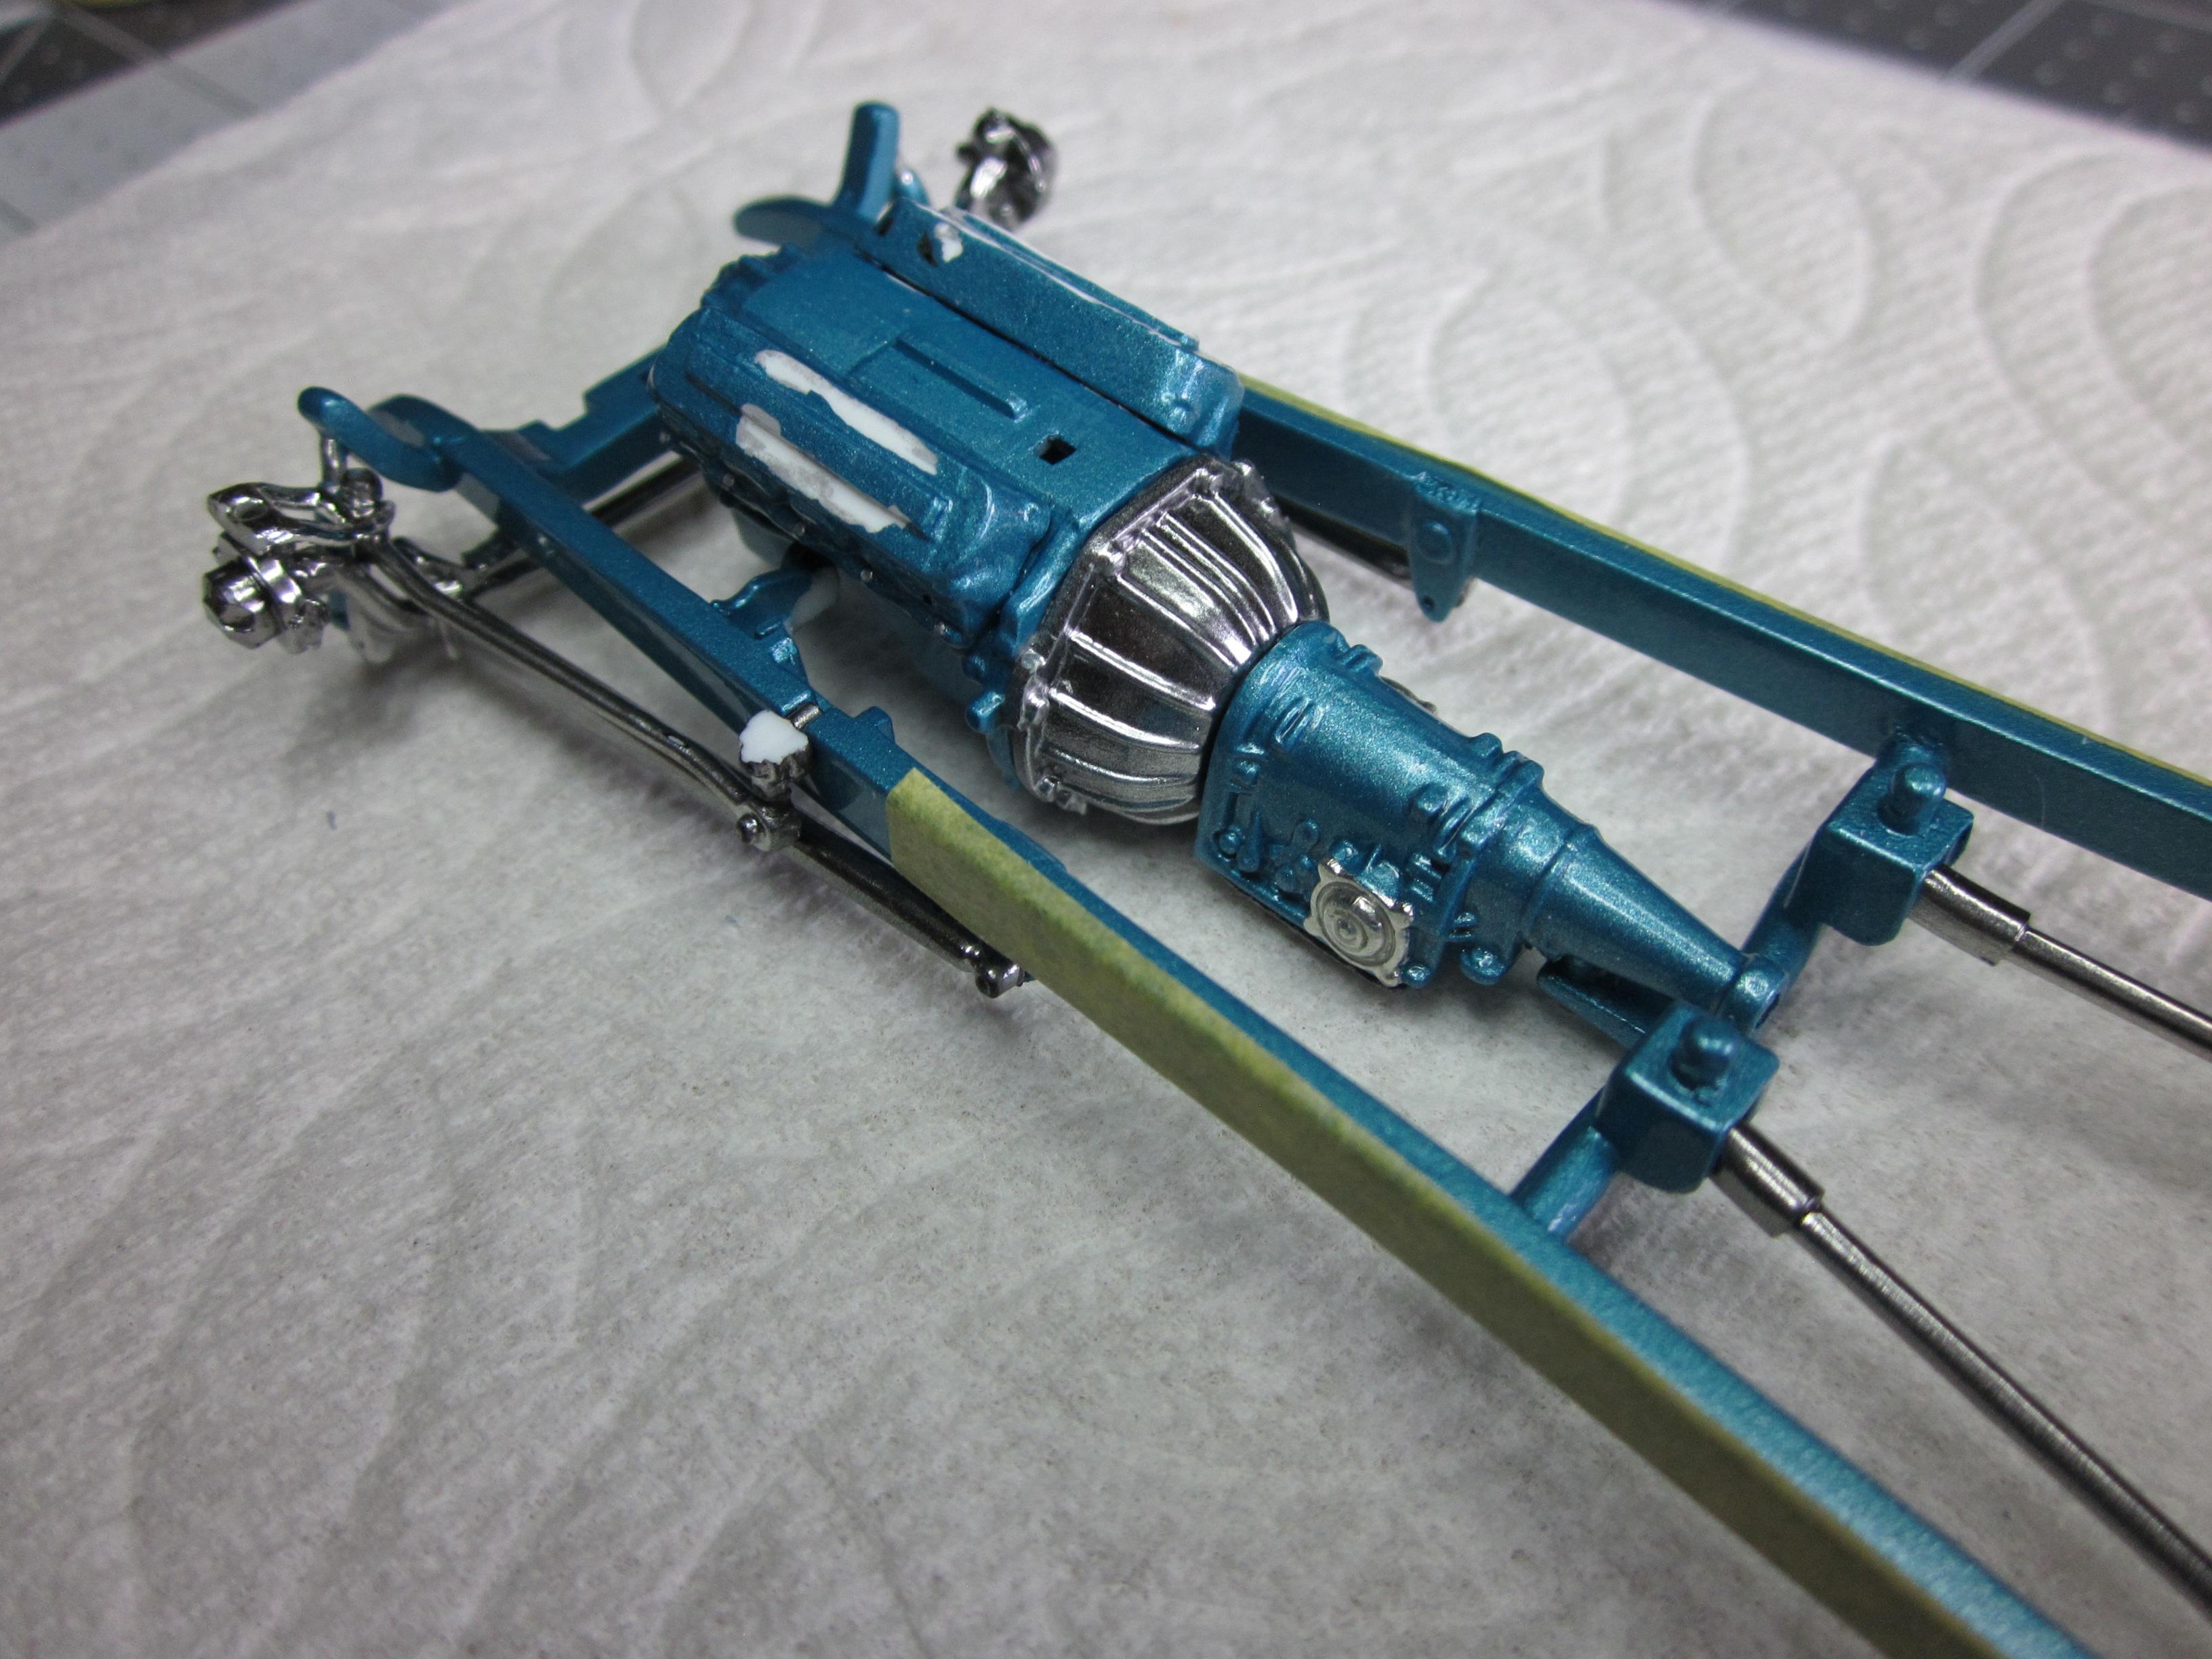
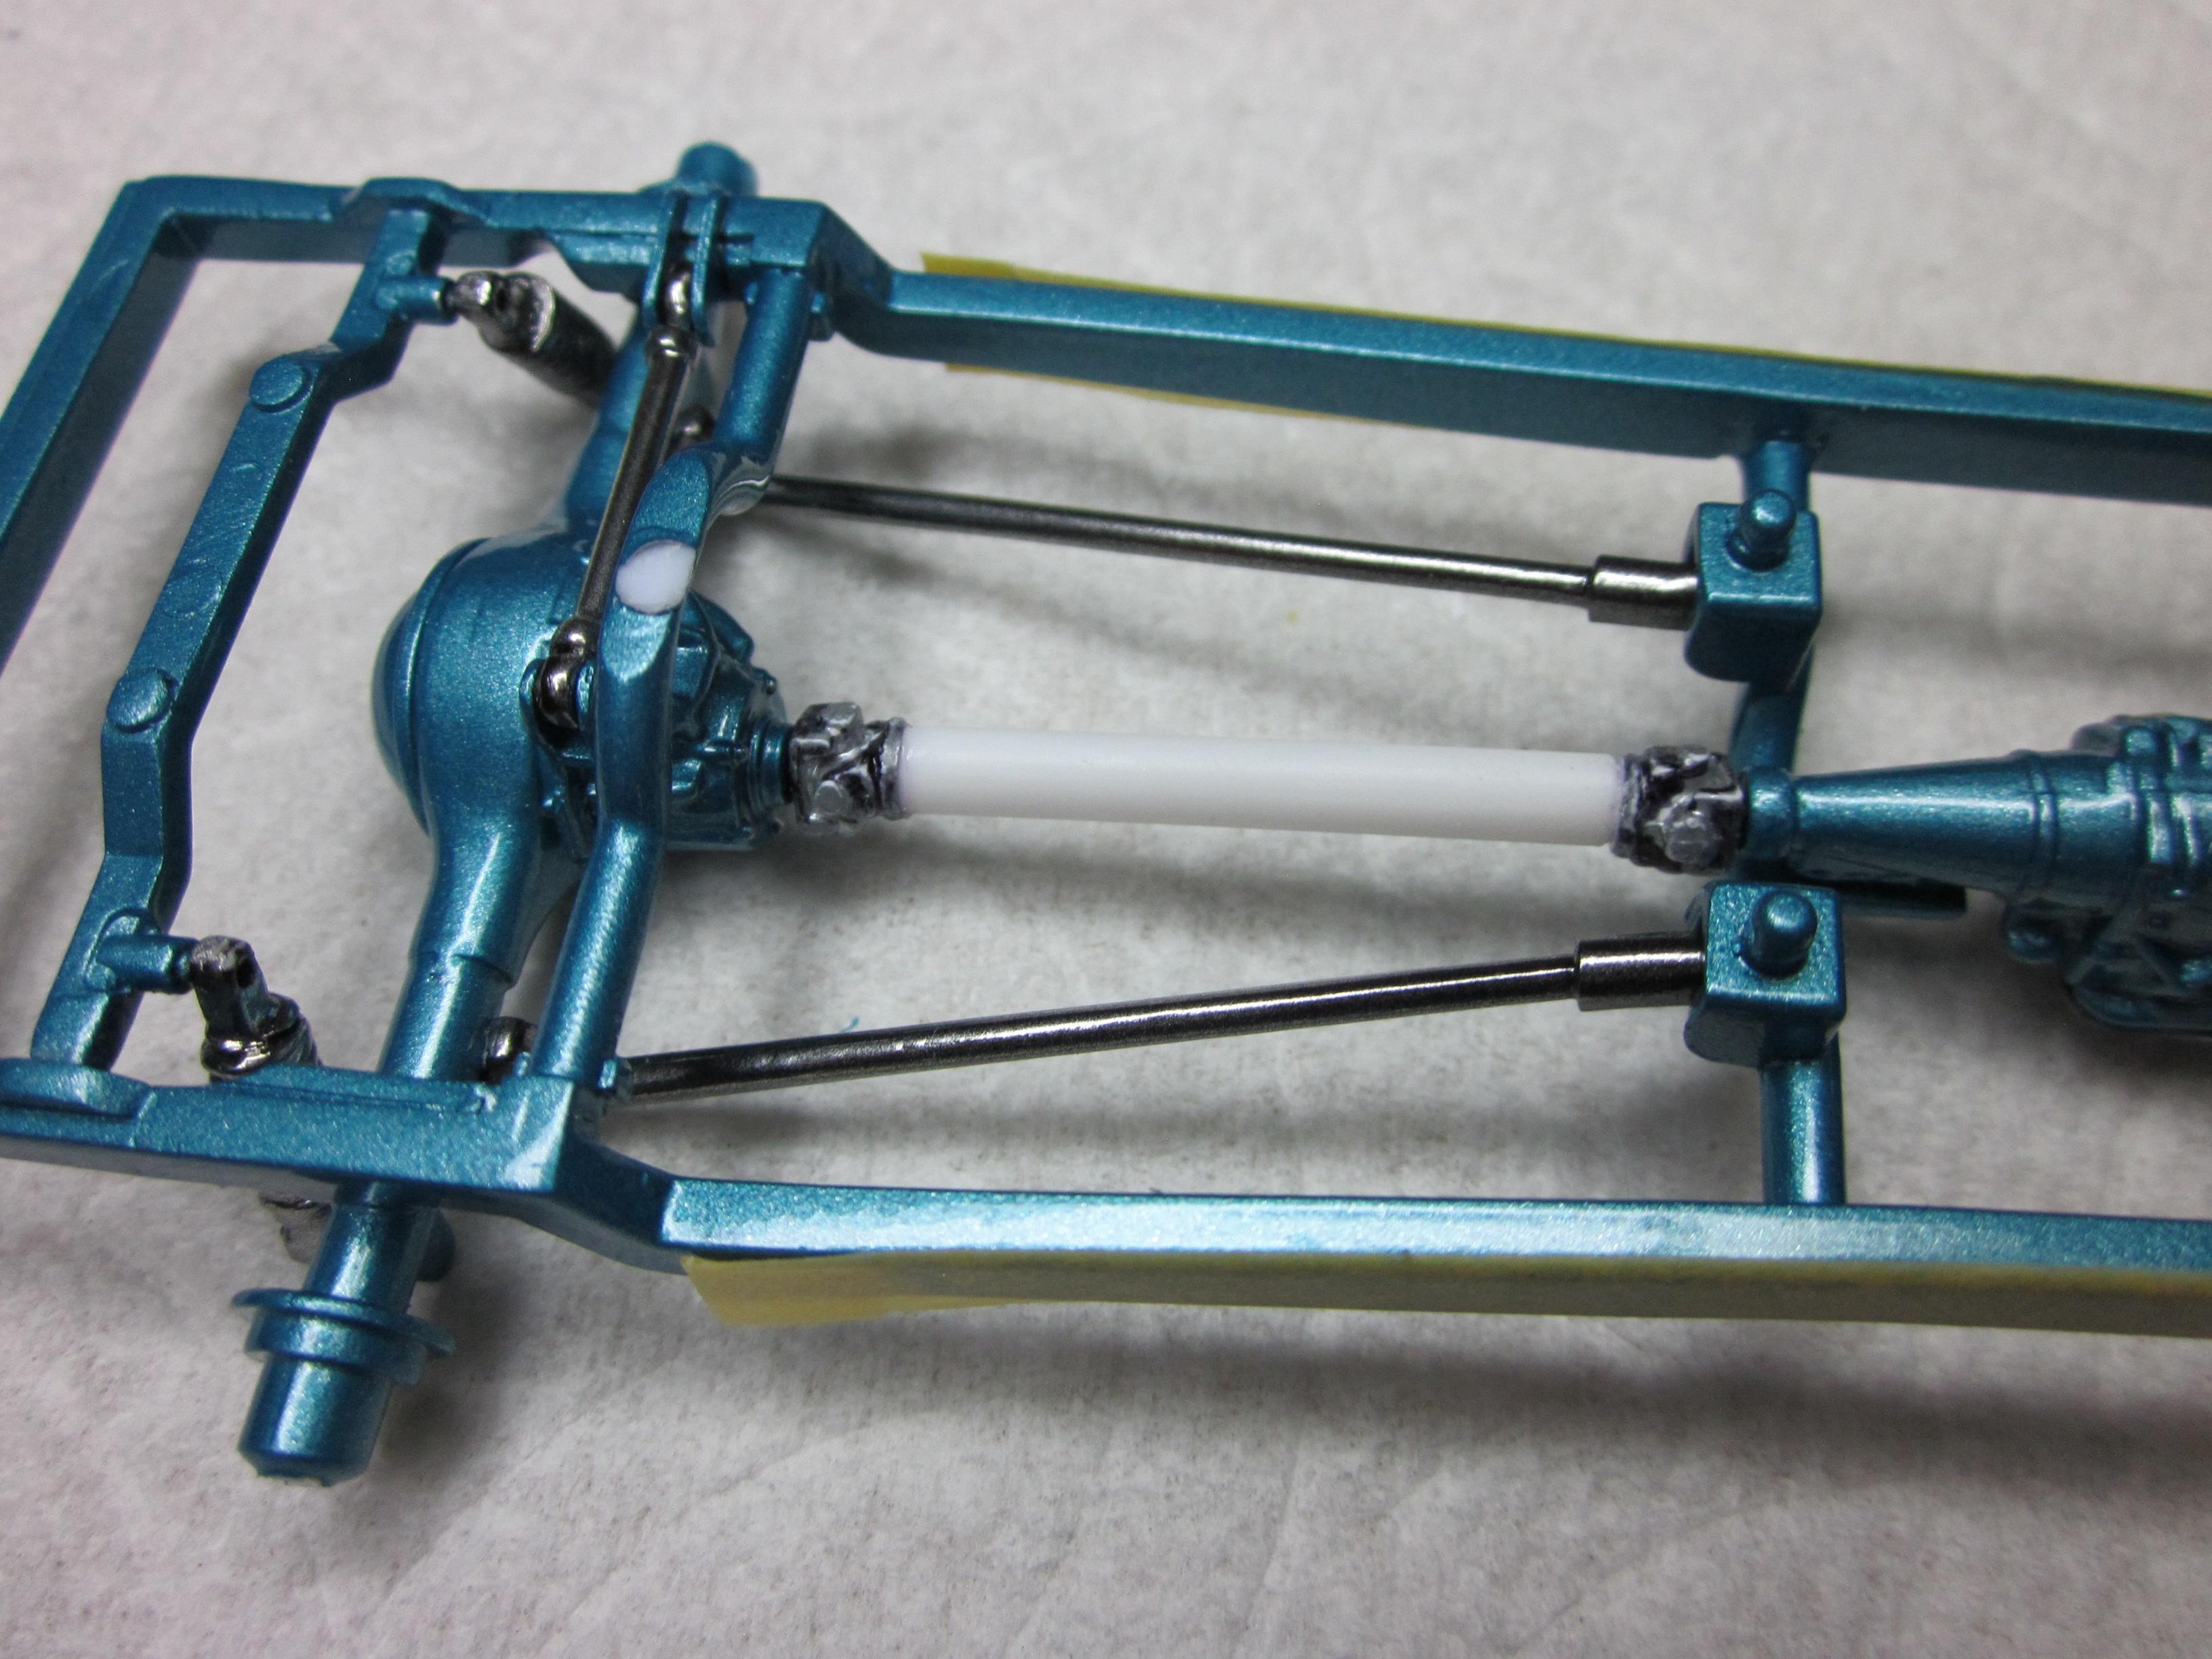
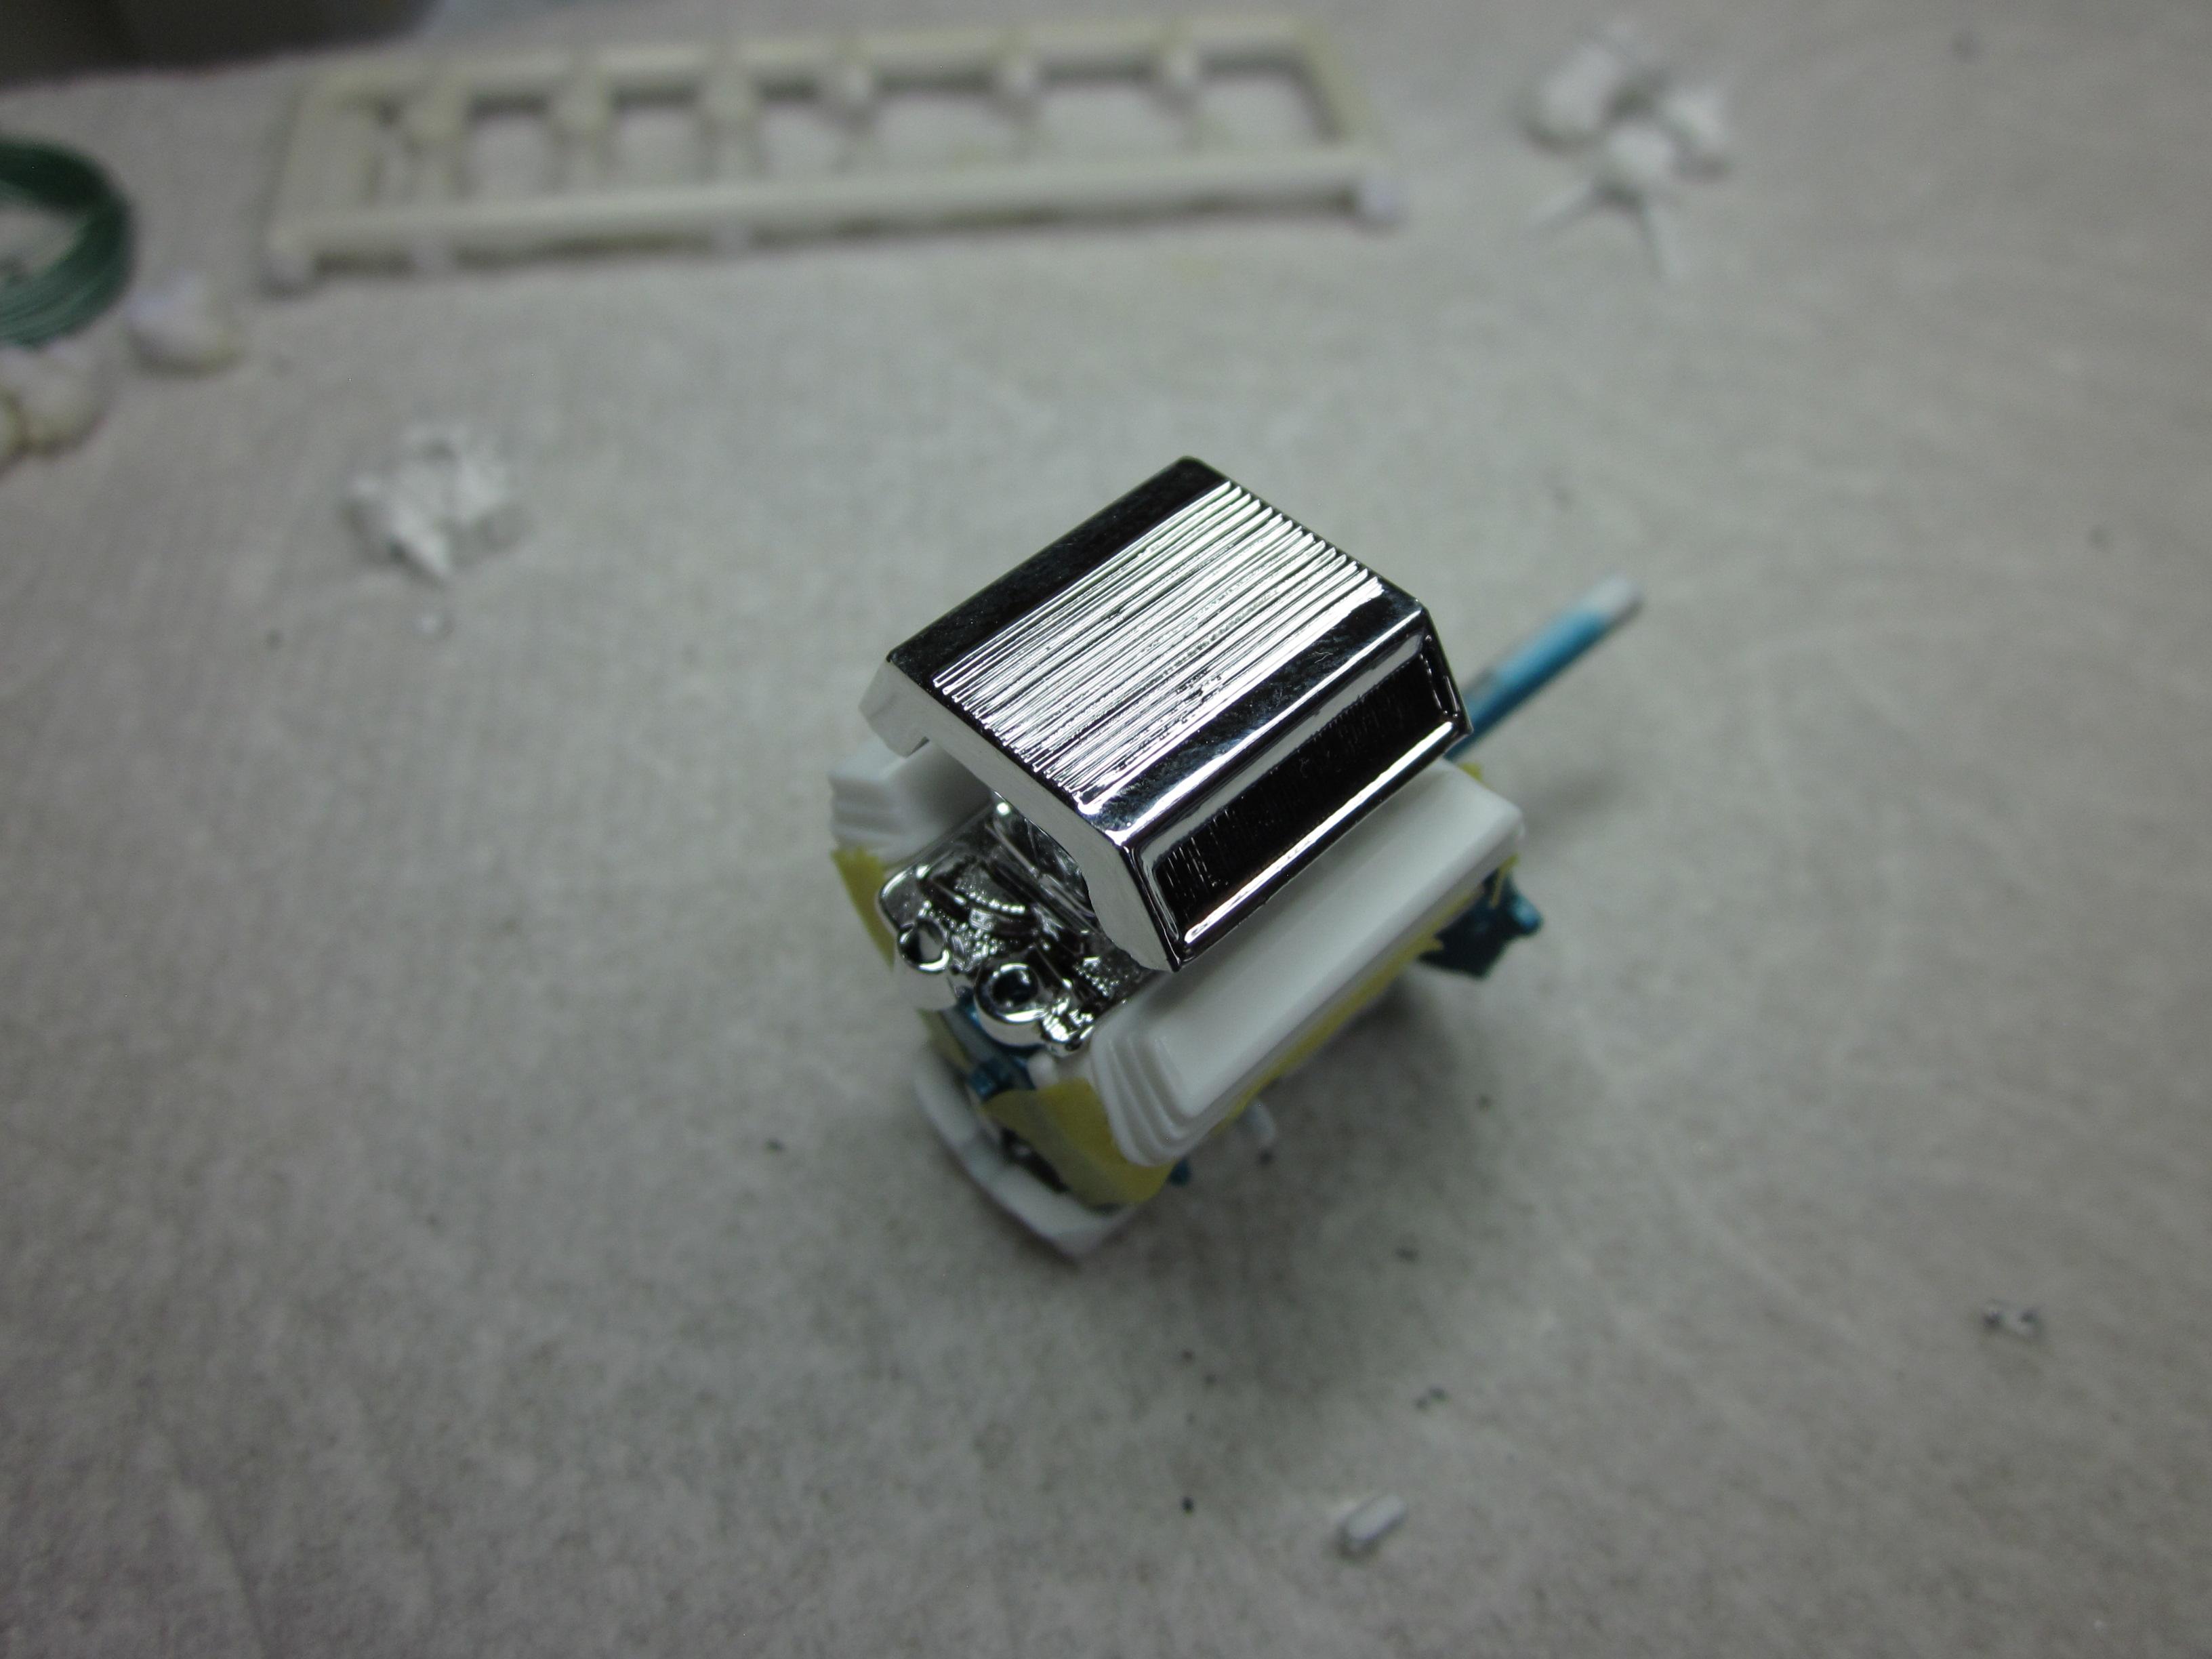
 Been working on the engine and its seems like I go two steps forward and three steps back. The engine paint all went well. Even did some BMF work on some of the parts. I was able to finally get the intake manifold trimmed and fit. It was then covered in alclad polished aluminum as were the carbs. This is where things started to go backwards. When fitting the intake manifold, I had to move the cylinder heads apart more to compensate for the width of the manifold. This created a bit of a interference with the valve covers and the firewall. And the engine sits to far back in the chassis that the air box is never going to fit because it hits the firewall also. Never did a mock up with the engine at any time up to this point. Didn't think it would have turned into this big of a problem though. After a day or two figuring out how to fix this mess, this is what I did. First thing was removing the valve covers and stripping them again. They were mocked on the engine and put in the frame, with the fenders and cab in place. At this point I got a very good idea what to do to get the valve covers to work. Moving the engine forward wasn't too bad, but at the same time I was cutting on a finished frame and was not happy about that at all. But it is what it is and I made it work. Had to do some trimming on the frame mounts removing about half of them on each side. Also making sure the headers will still fit. A new hole was drilled in the trans to mount to the crossmember. A small plate will be made to fix the difference there to cover the old hole. When the engine is installed, It has somewhat of a pressure fit sitting in the frame. Not just flopping around. Some touch up paint will need to be done now also. While I was at it I made a new drive shaft as the original one was not going to work being too short. The valve covers and driveshaft are in primer. The frame needs to get masked off so the engine mounts can get painted. This all might work together now. Speedpro
-
Very nice chevelle! Love the engine details. That's some clean work. Speedpro
-
You have probably heard this before, But that paint looks excellent. I have been messing around with the alclad stuff. Just might have to give it a go. Very nice build! Speedpro
-
Very nice challenger! Those cragars look perfect. Speedpro
-
Great lookin build!
-
Very nice! Beautiful paint and the bmf looks perfect. Speedpro
-
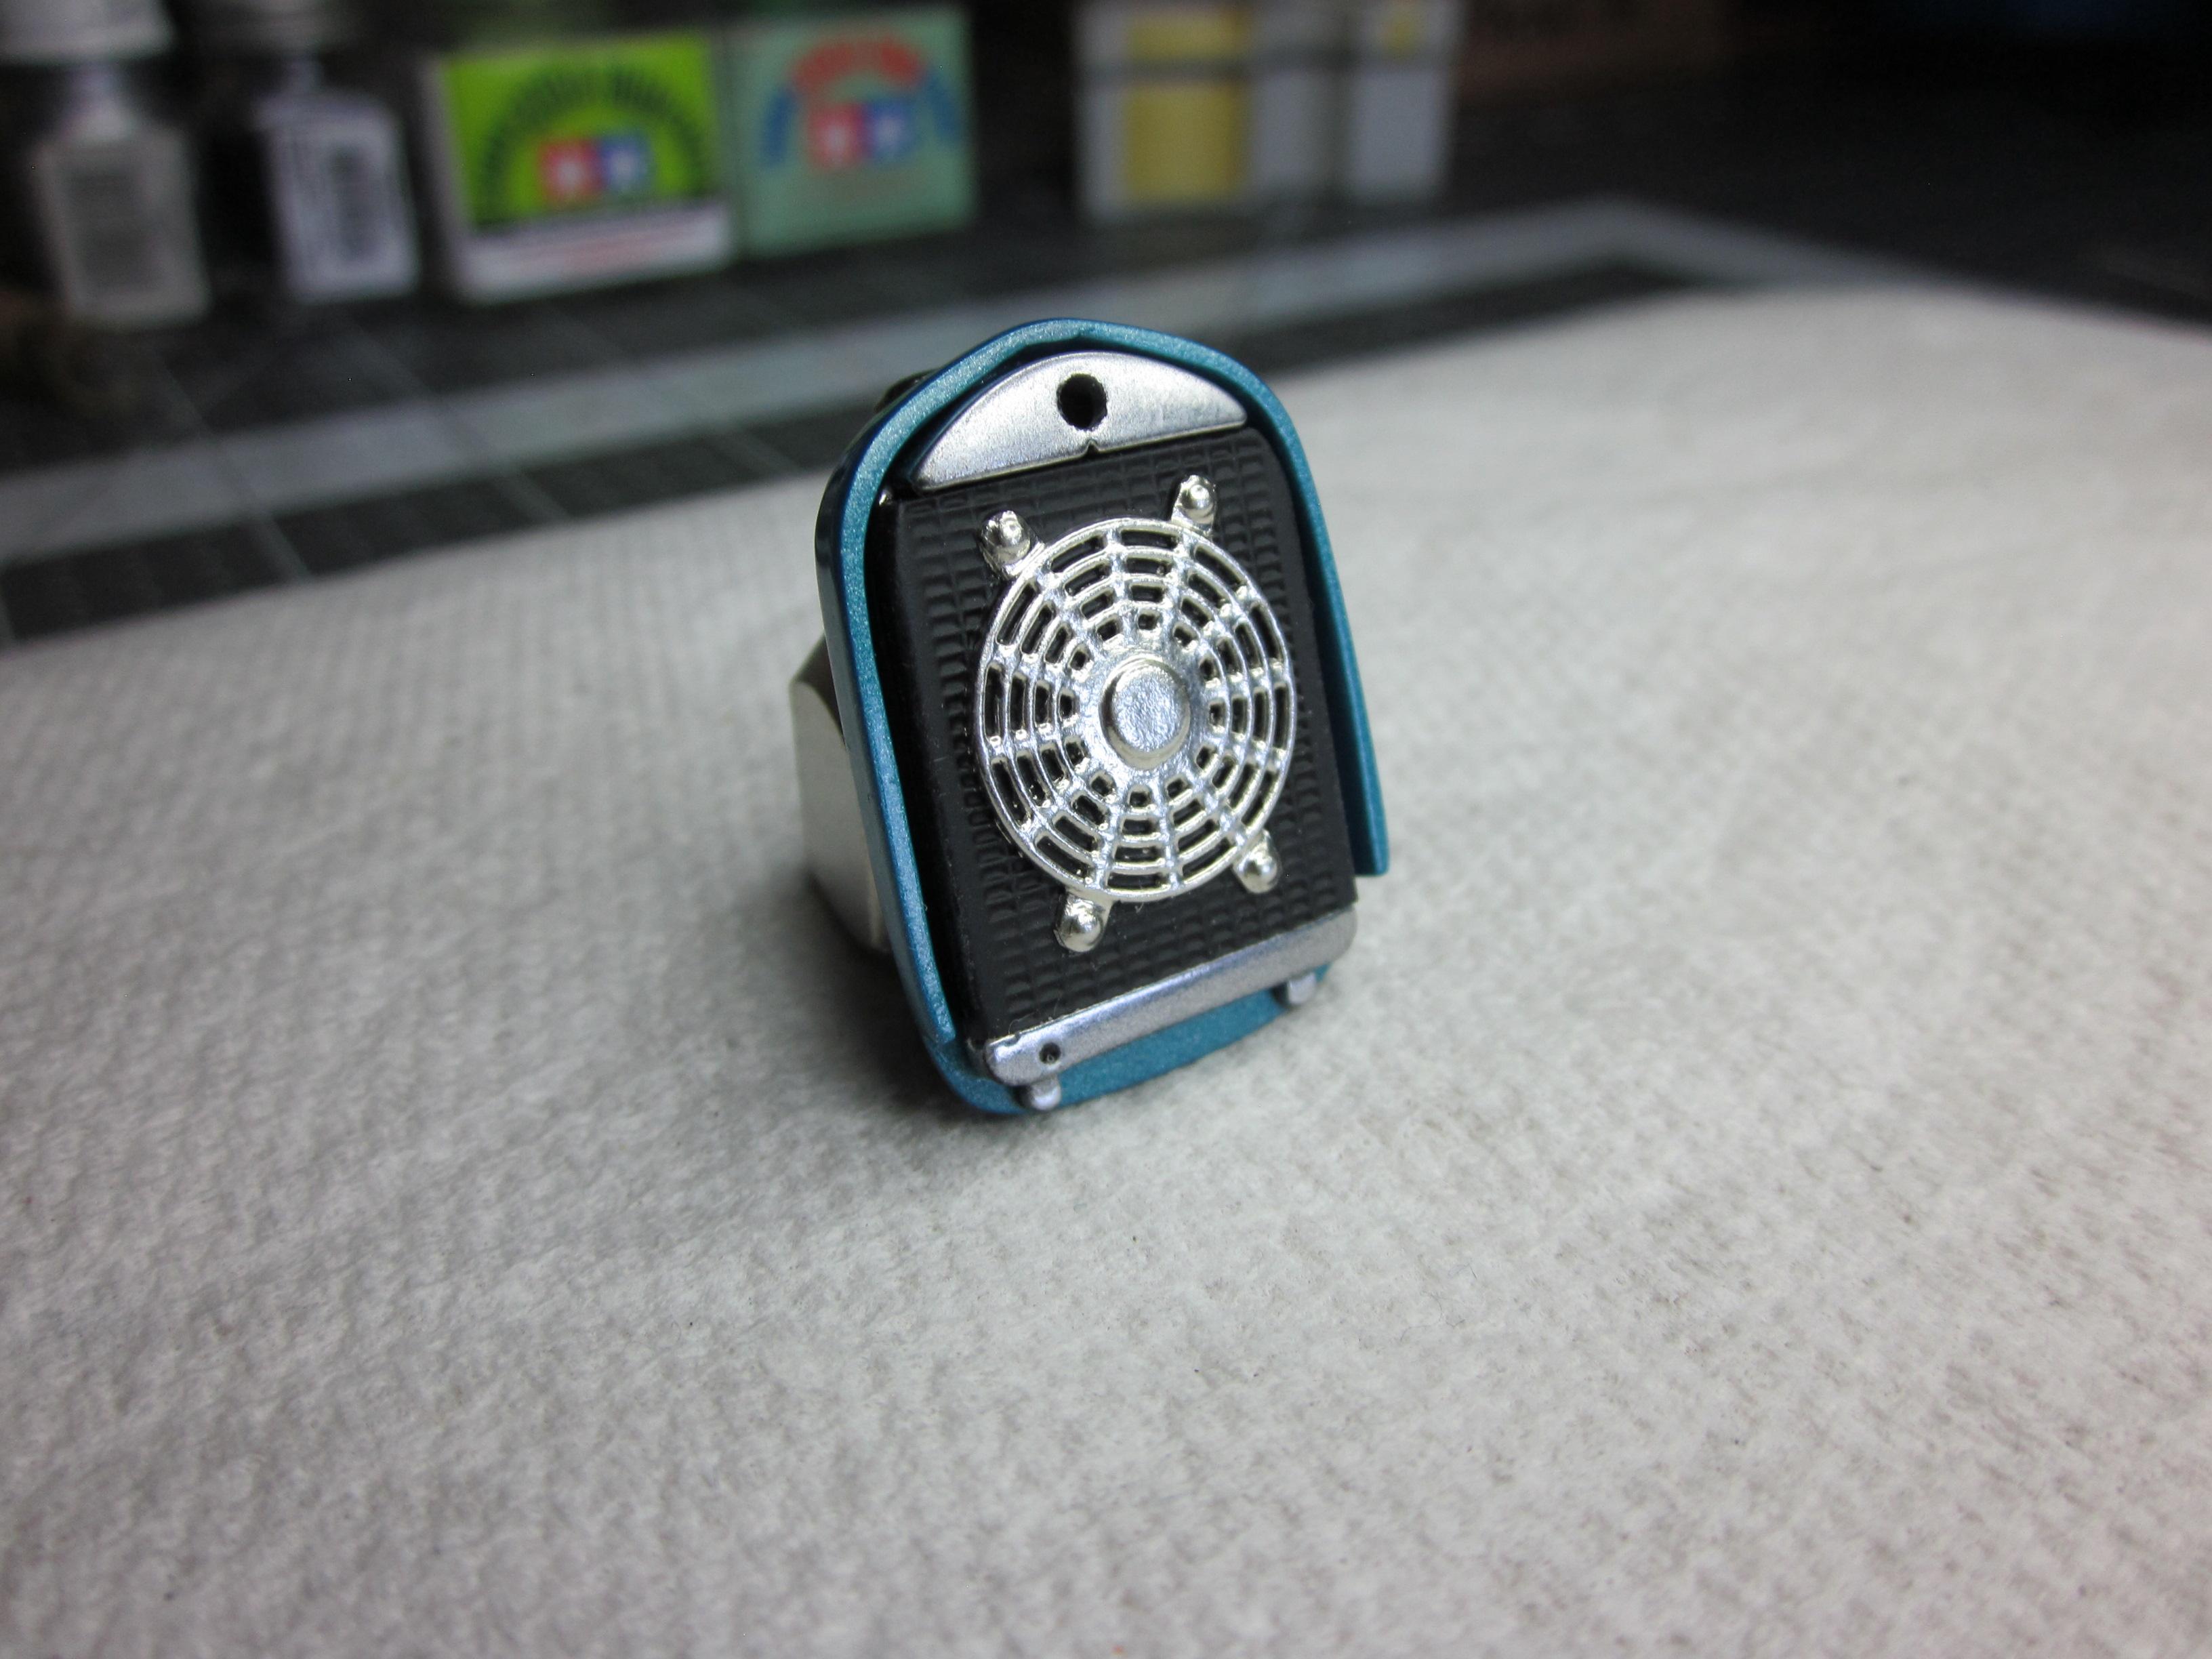
Small update, Shot the paint on the engine parts. Also worked on the radiator. The front and back of the rad is flat black. The tanks are alclad polished aluminum. Fan was covered with BMF. I'm not going to clear the parts till they are back on the engine block and then clear the whole thing. More to come.............. Speedpro
-
Thanks Bill, I appreciate your comment. The trumpets definitely added some life to cover. Will see what the paint does for it. I think it's going to look good on the engine. Paul
-
Great looking willy's! Nice clean work. Speedpro
-
Revell 1970 'cuda AAR w/body corrections, accurized and detailed
Speedpro replied to tim boyd's topic in Model Cars
Nice Accurate looking AAR Tim! Enjoy looking at all the details. That EB5 340 looks very nice also. Speedpro -
Beautiful! Nice paint. looks very smooth. Are those Bbs wheels? They look really good on this 911. Speedpro
-
Nice pair of ferraris. I like the interior on the Sa Aperta. The piping looks good on the seats. Speedpro
-
Nice, Very clean work!
-
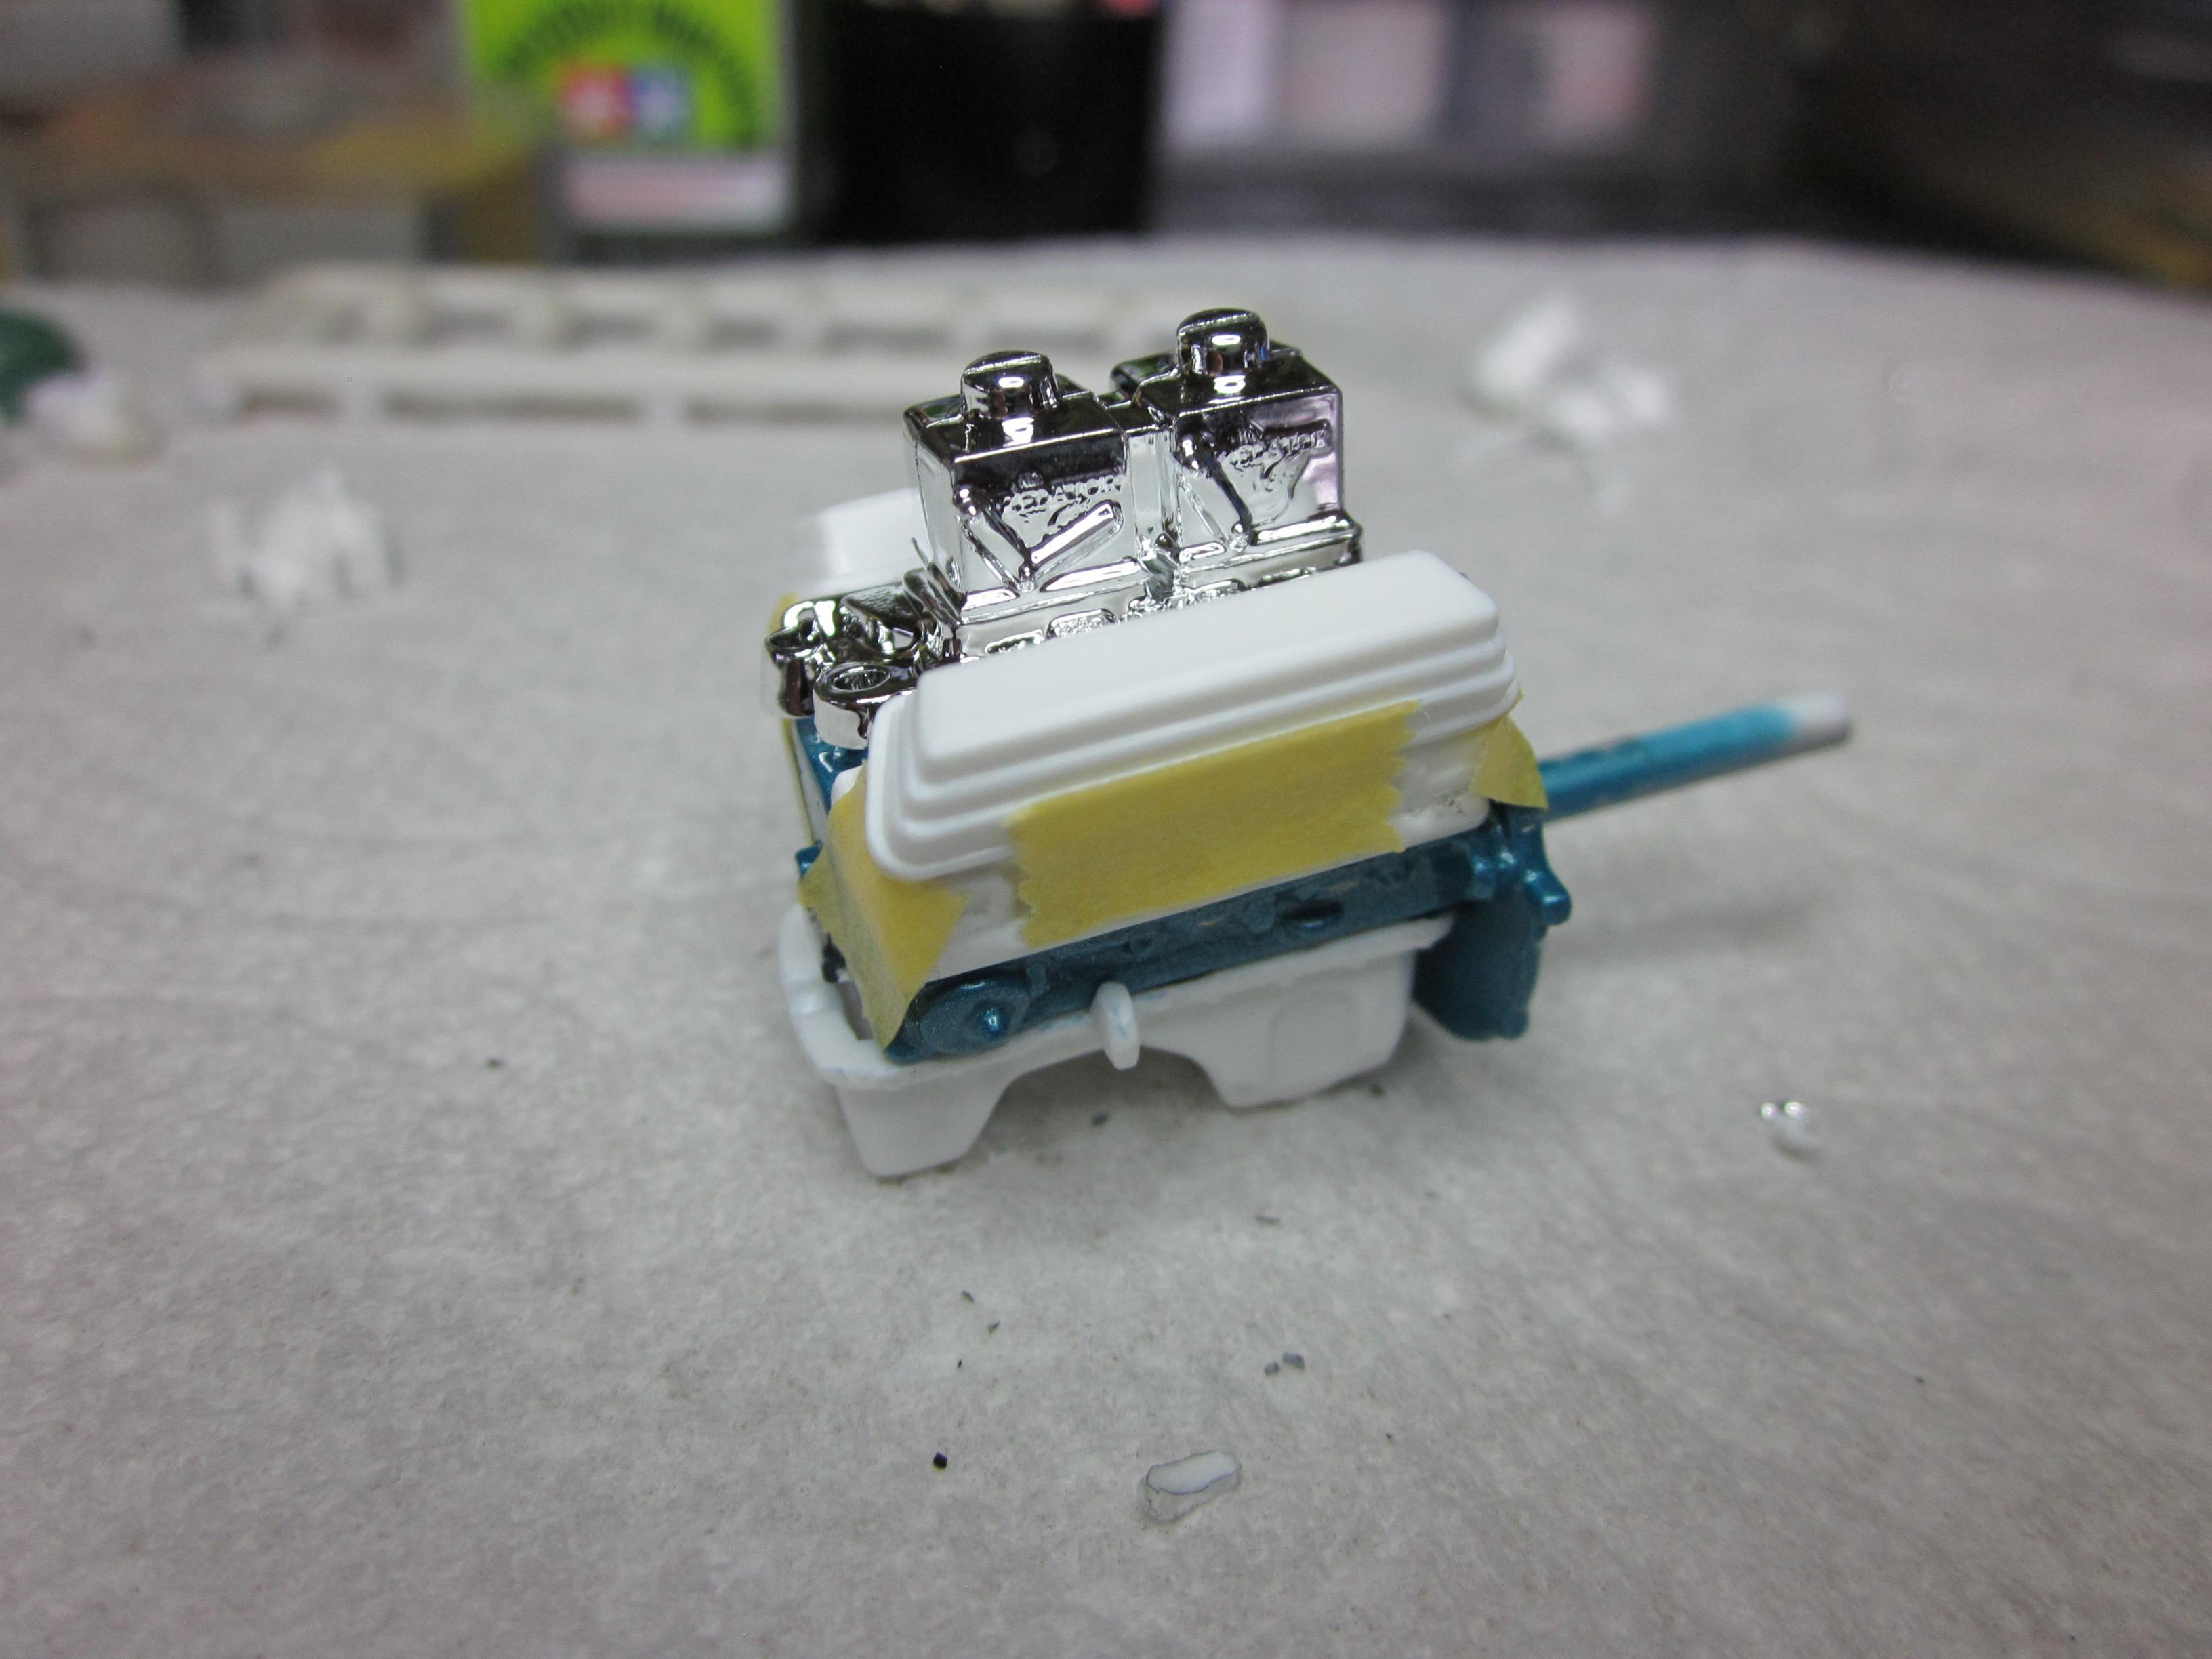
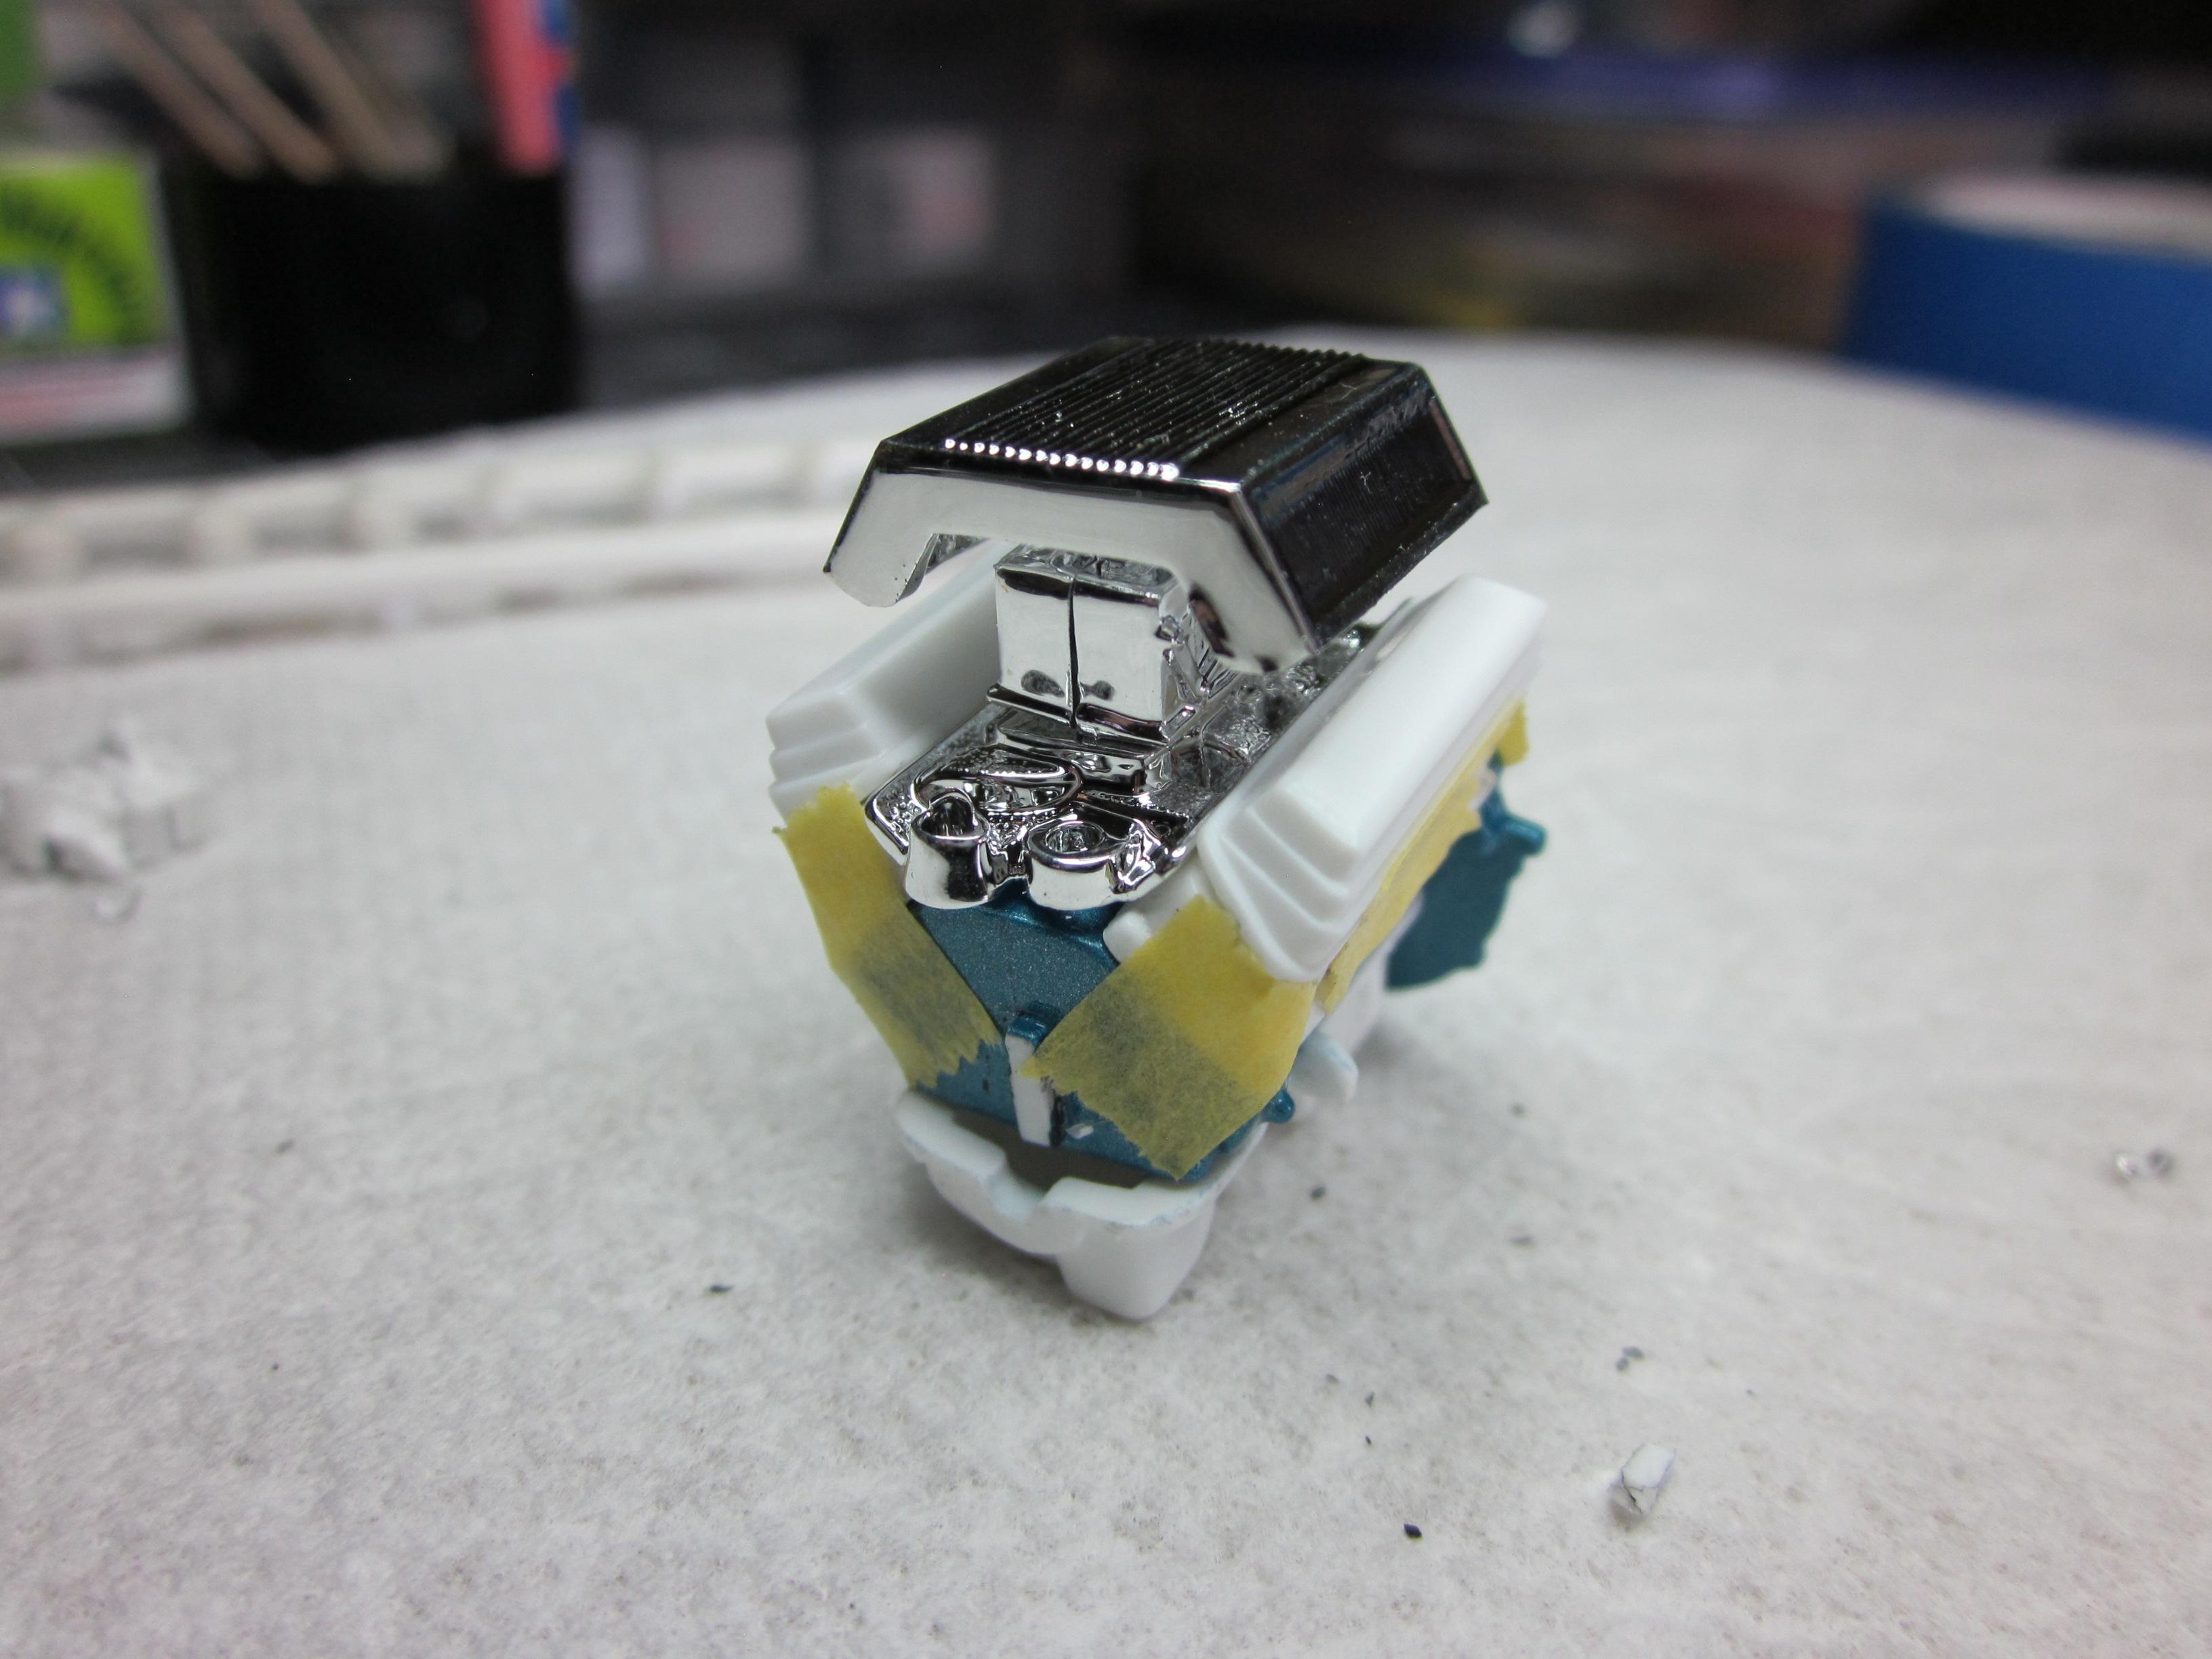
The engine parts are in primer. Found a parts box distributor and drilled it for wires. Added a little something to the valve covers. The pulley's and carb's will get alclad polished aluminum. If you look at the box you can see that the front was filled in a bit to help hide the ends of the stacks. It was easier than trying to cut the stacks down. On to paint........................ Speedpro
-
Thanks Tim @Dennis Lacy I was at my wits end trying to find about anything for the induction for this engine. I was starting to look for a alternative engine to build when I came across this. I just got lucky as I never thought to look at this kit.
-
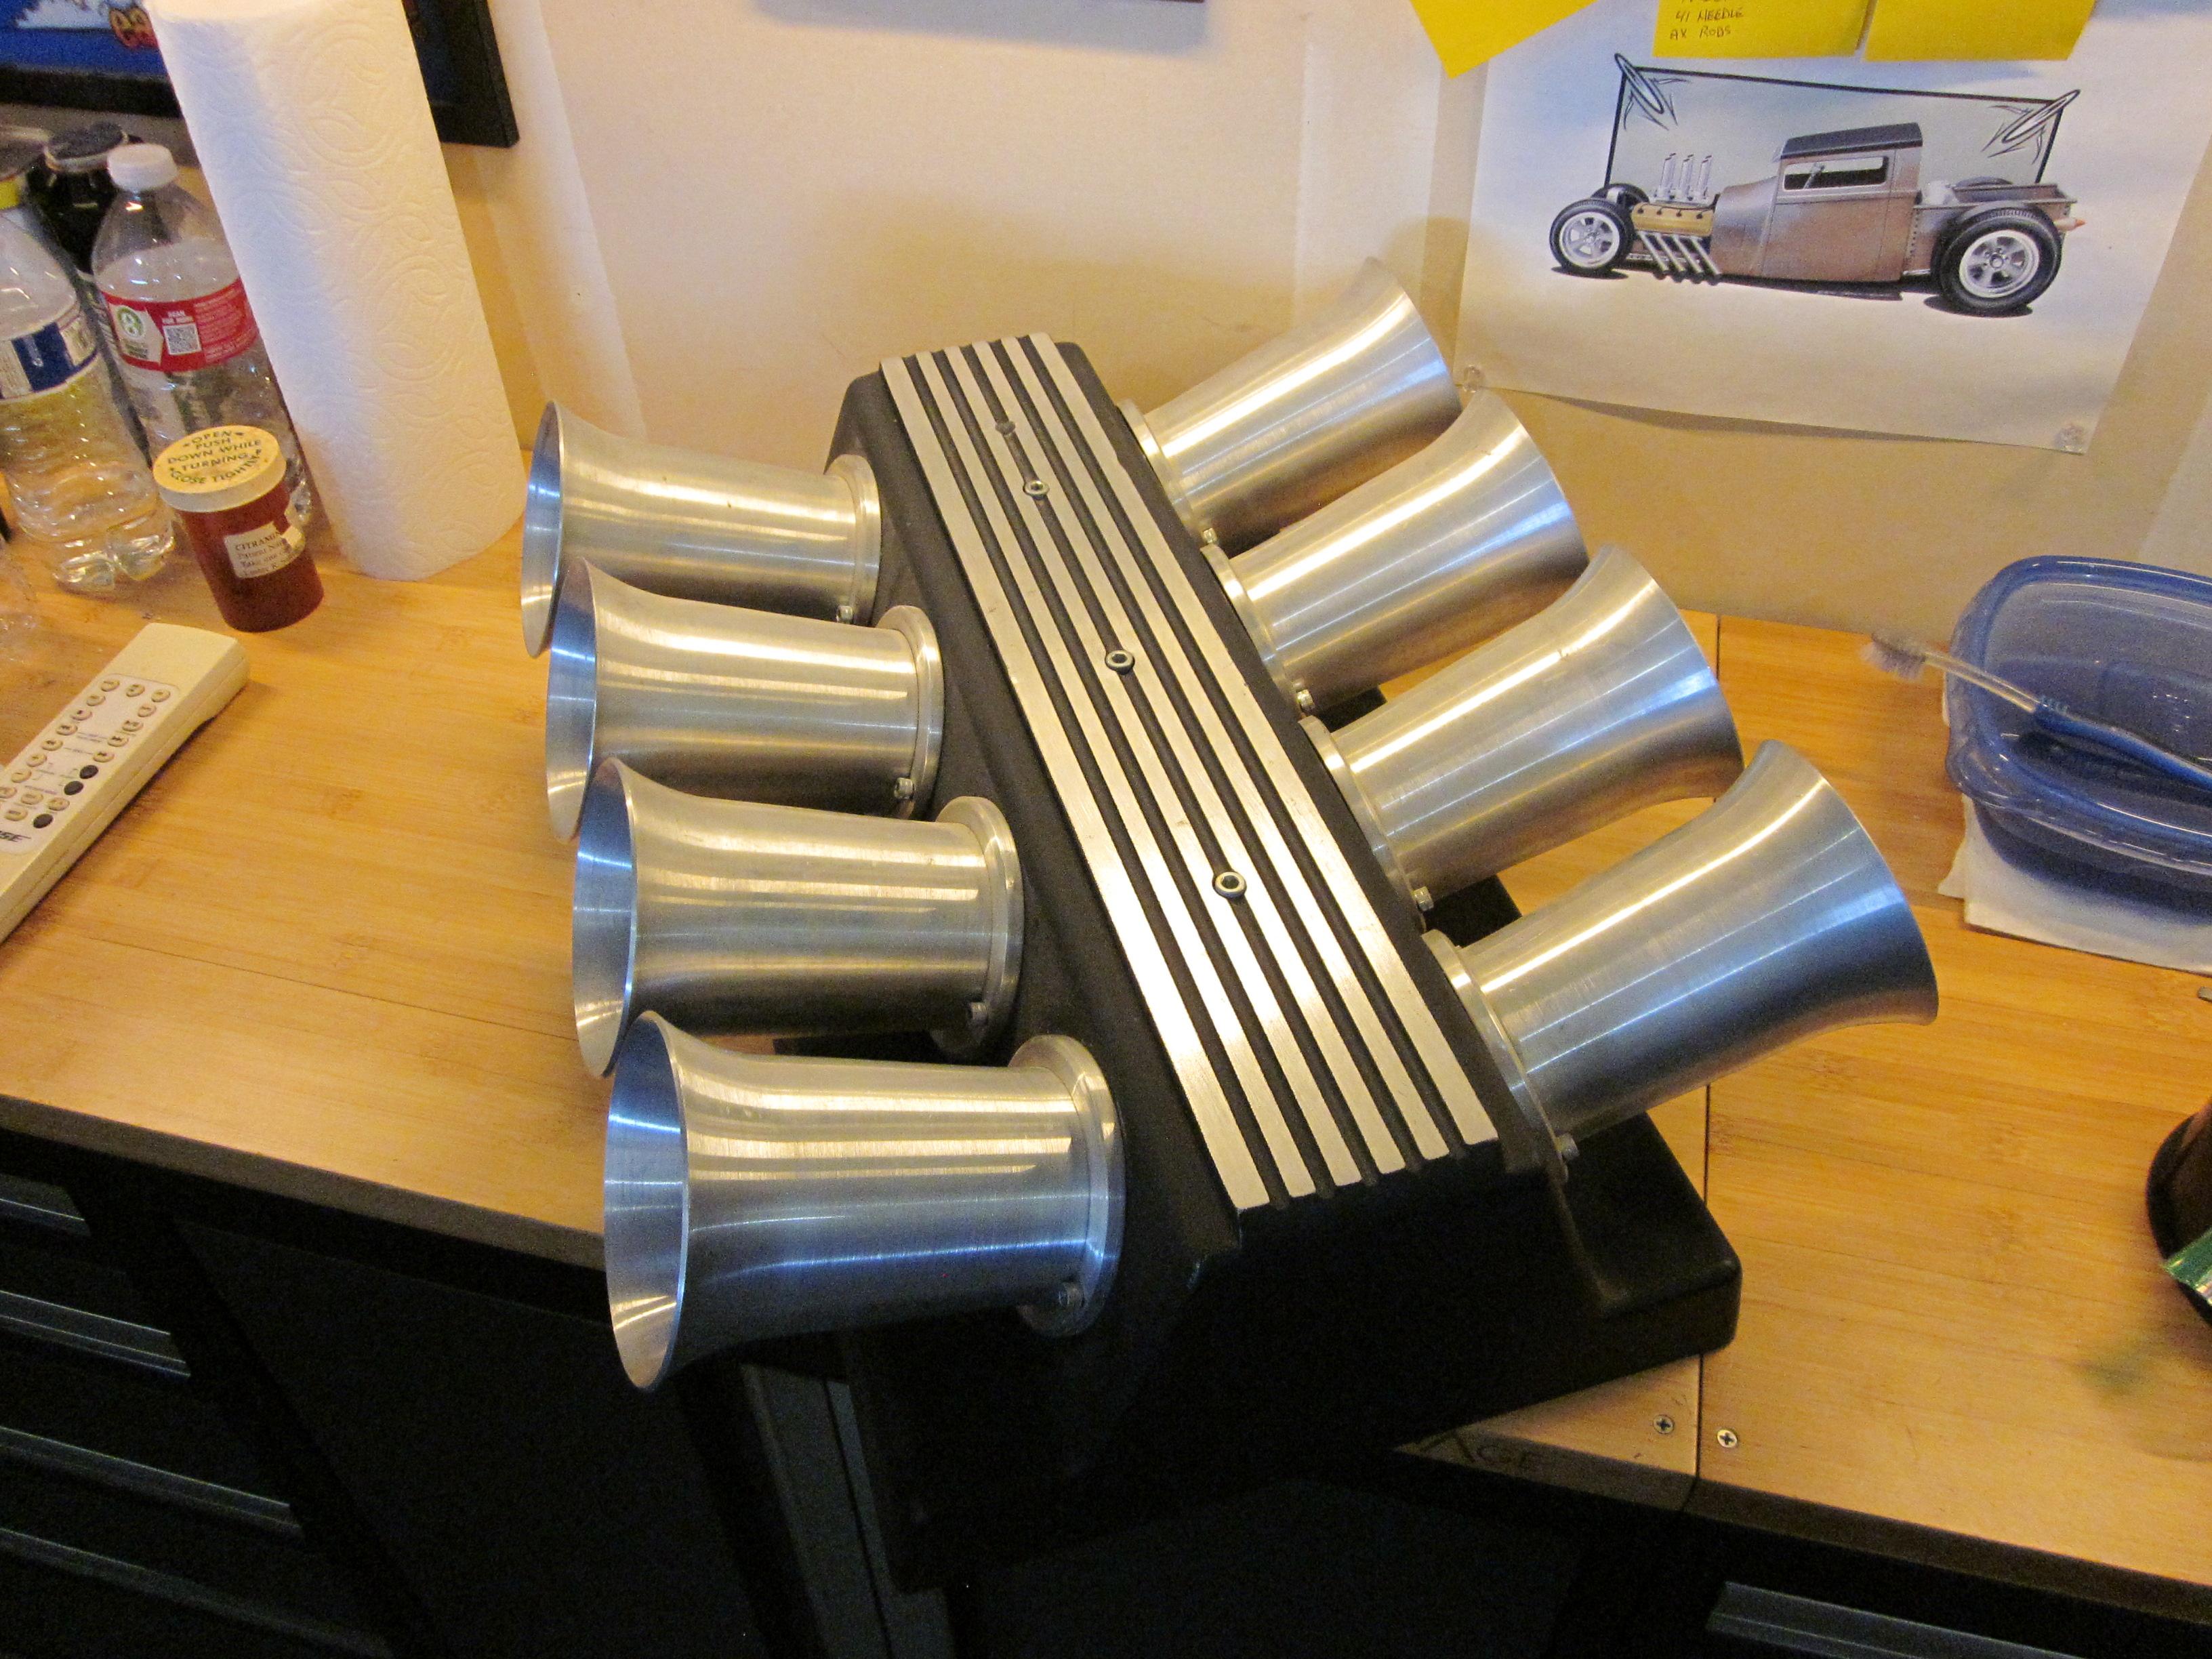
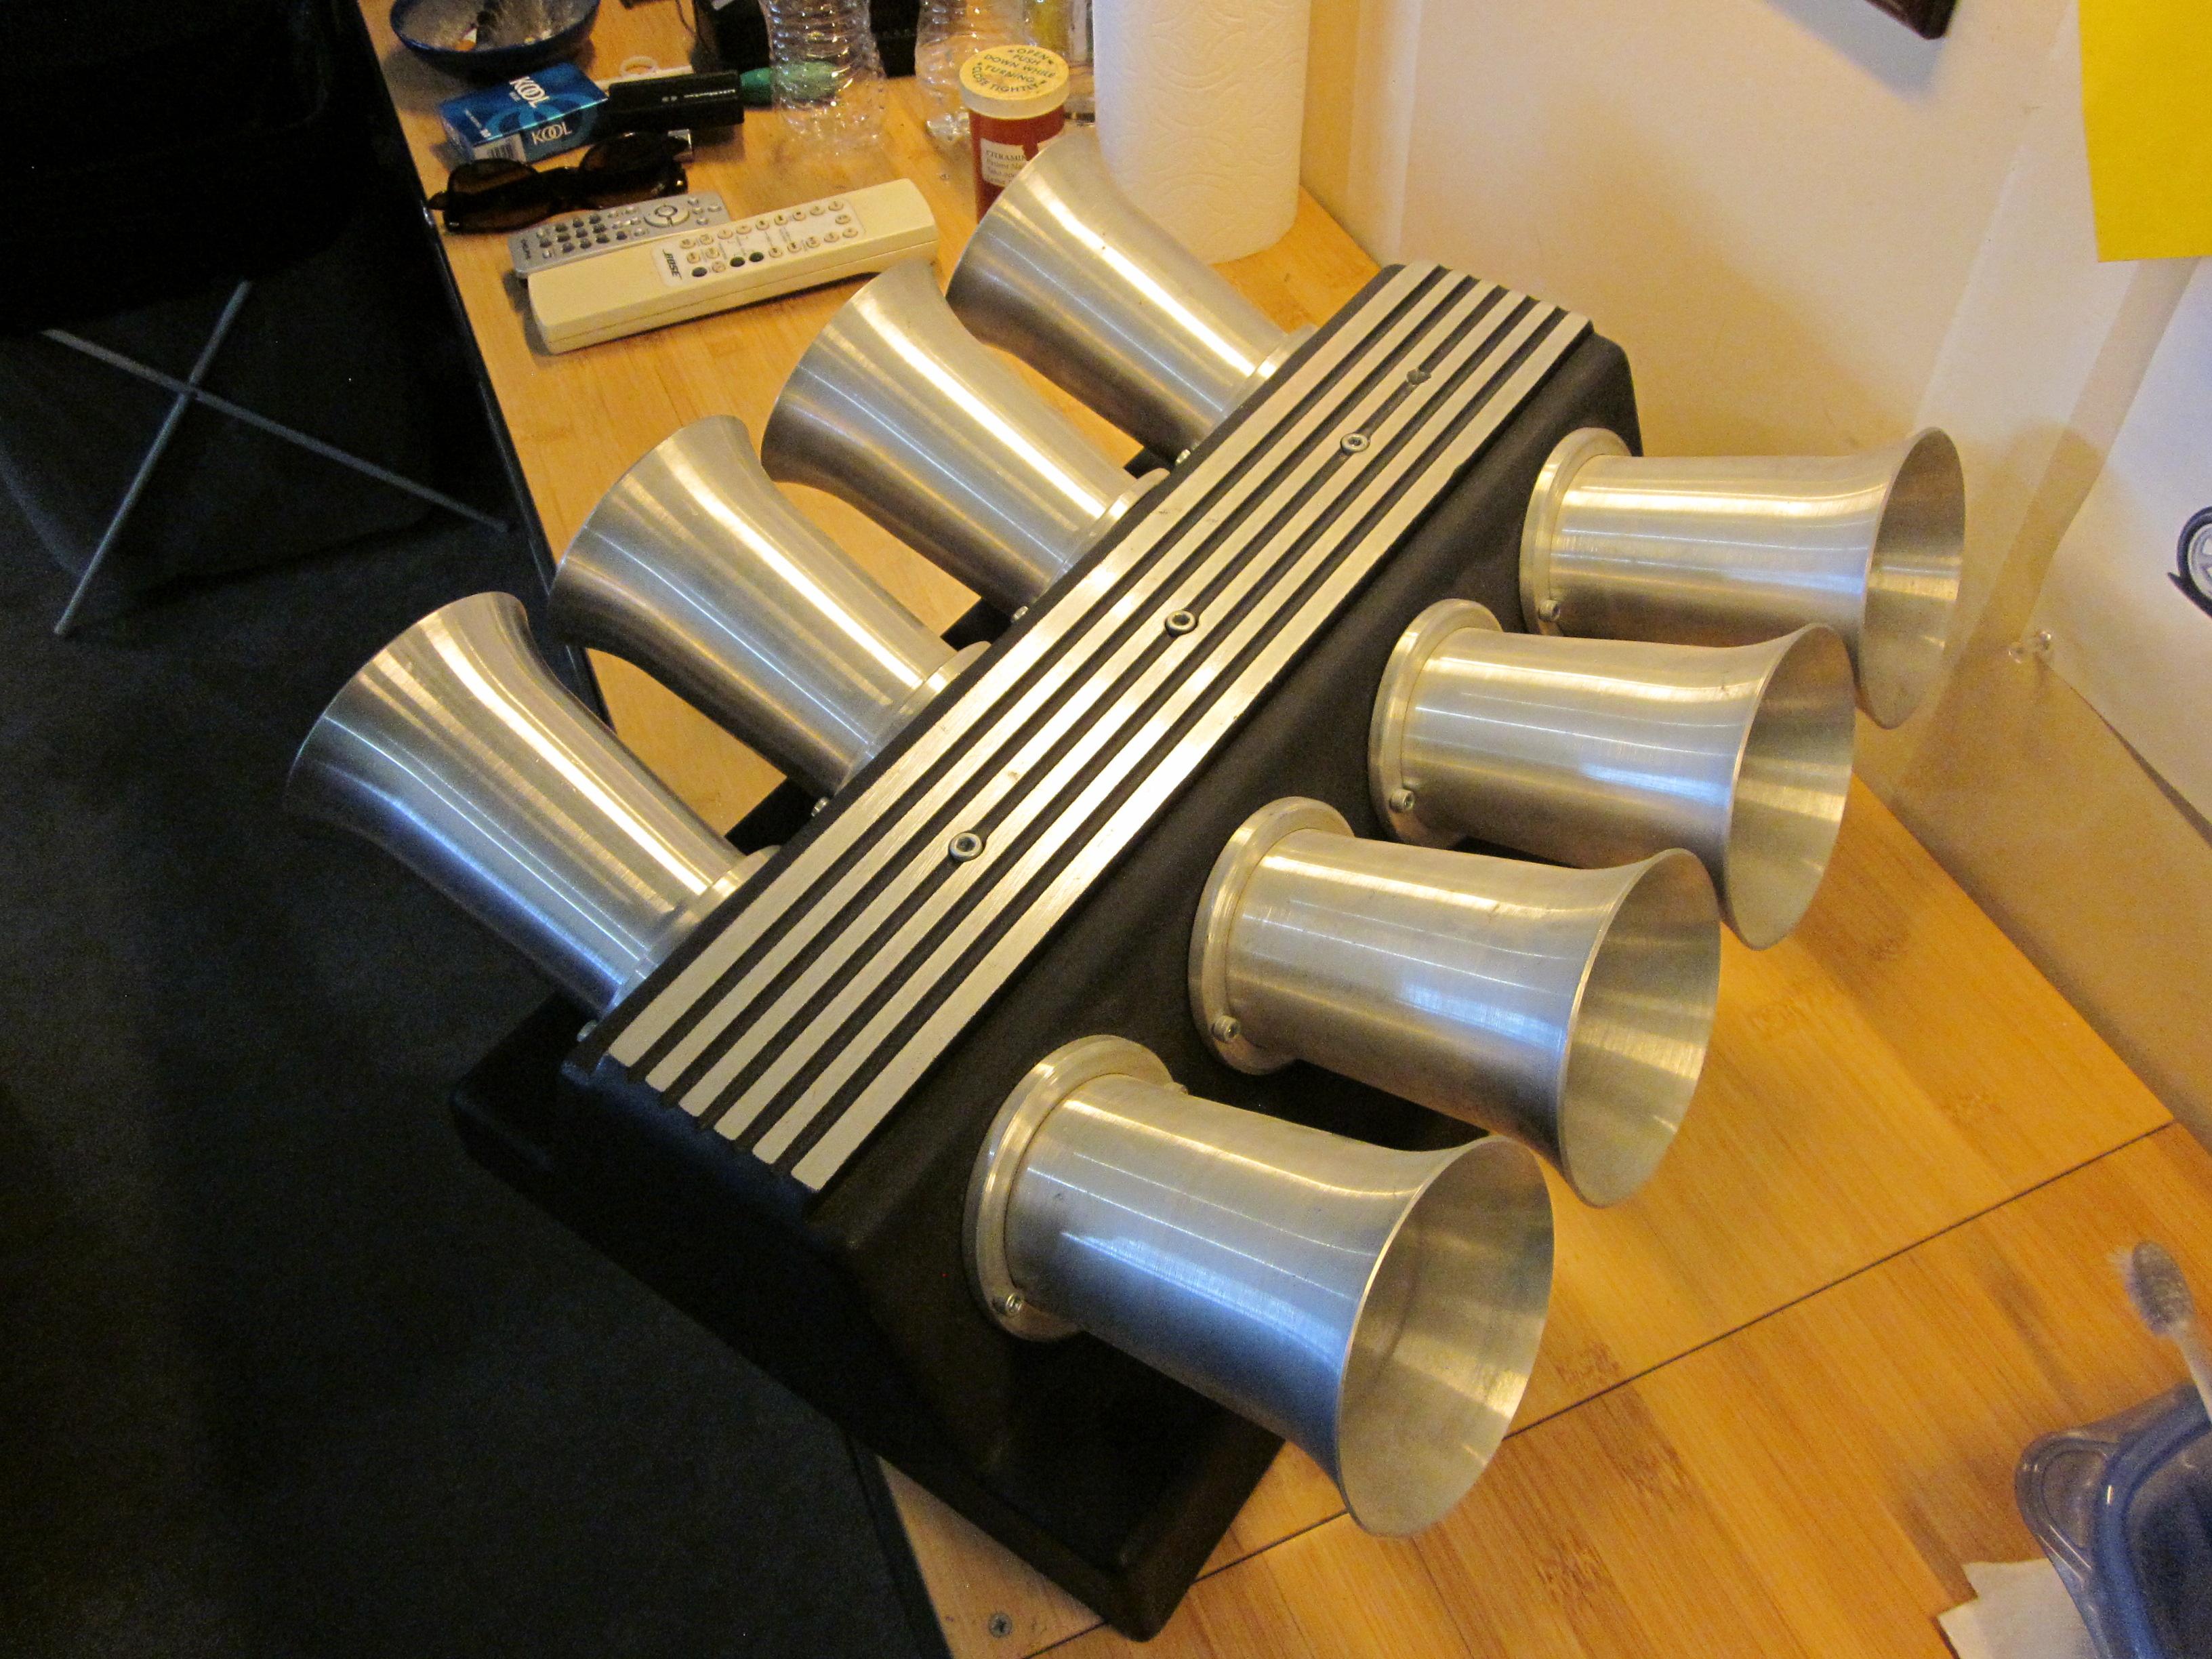
@Kit Karson, You mean this one. It was made by larsen engineering in the early '80's. This is my inspiration for the cover on the engine for your truck. Good Times, Brother
-
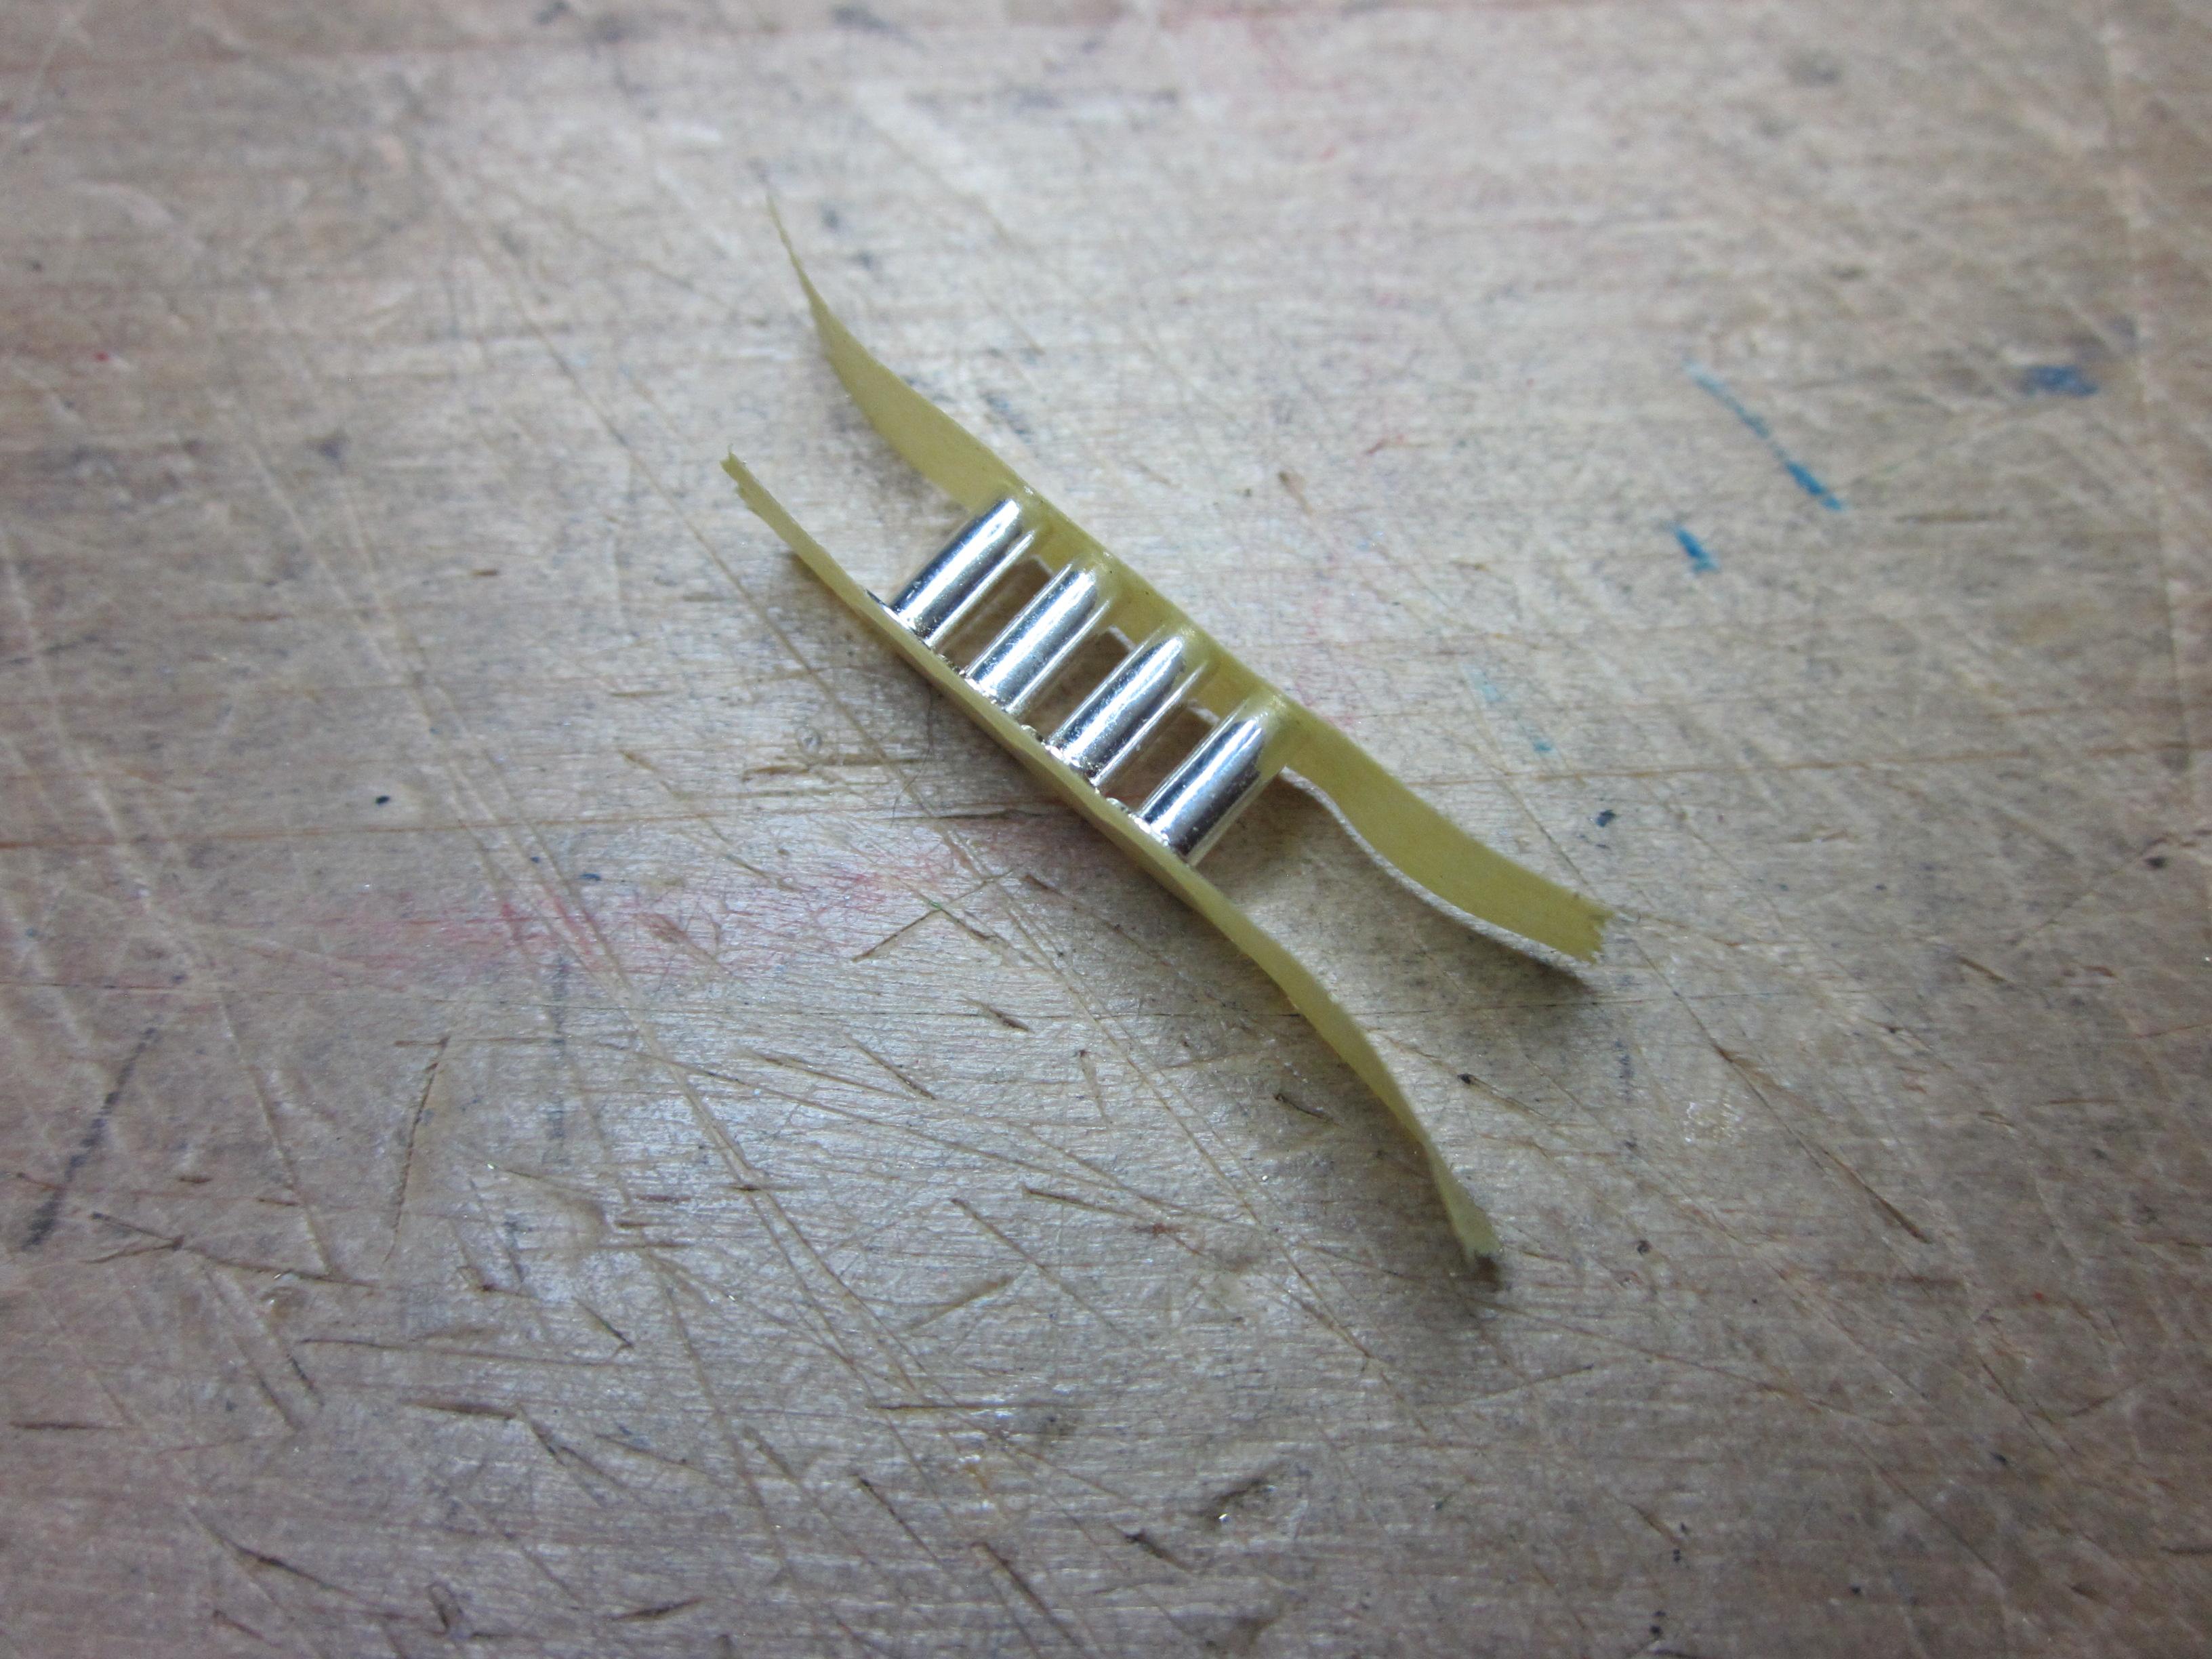
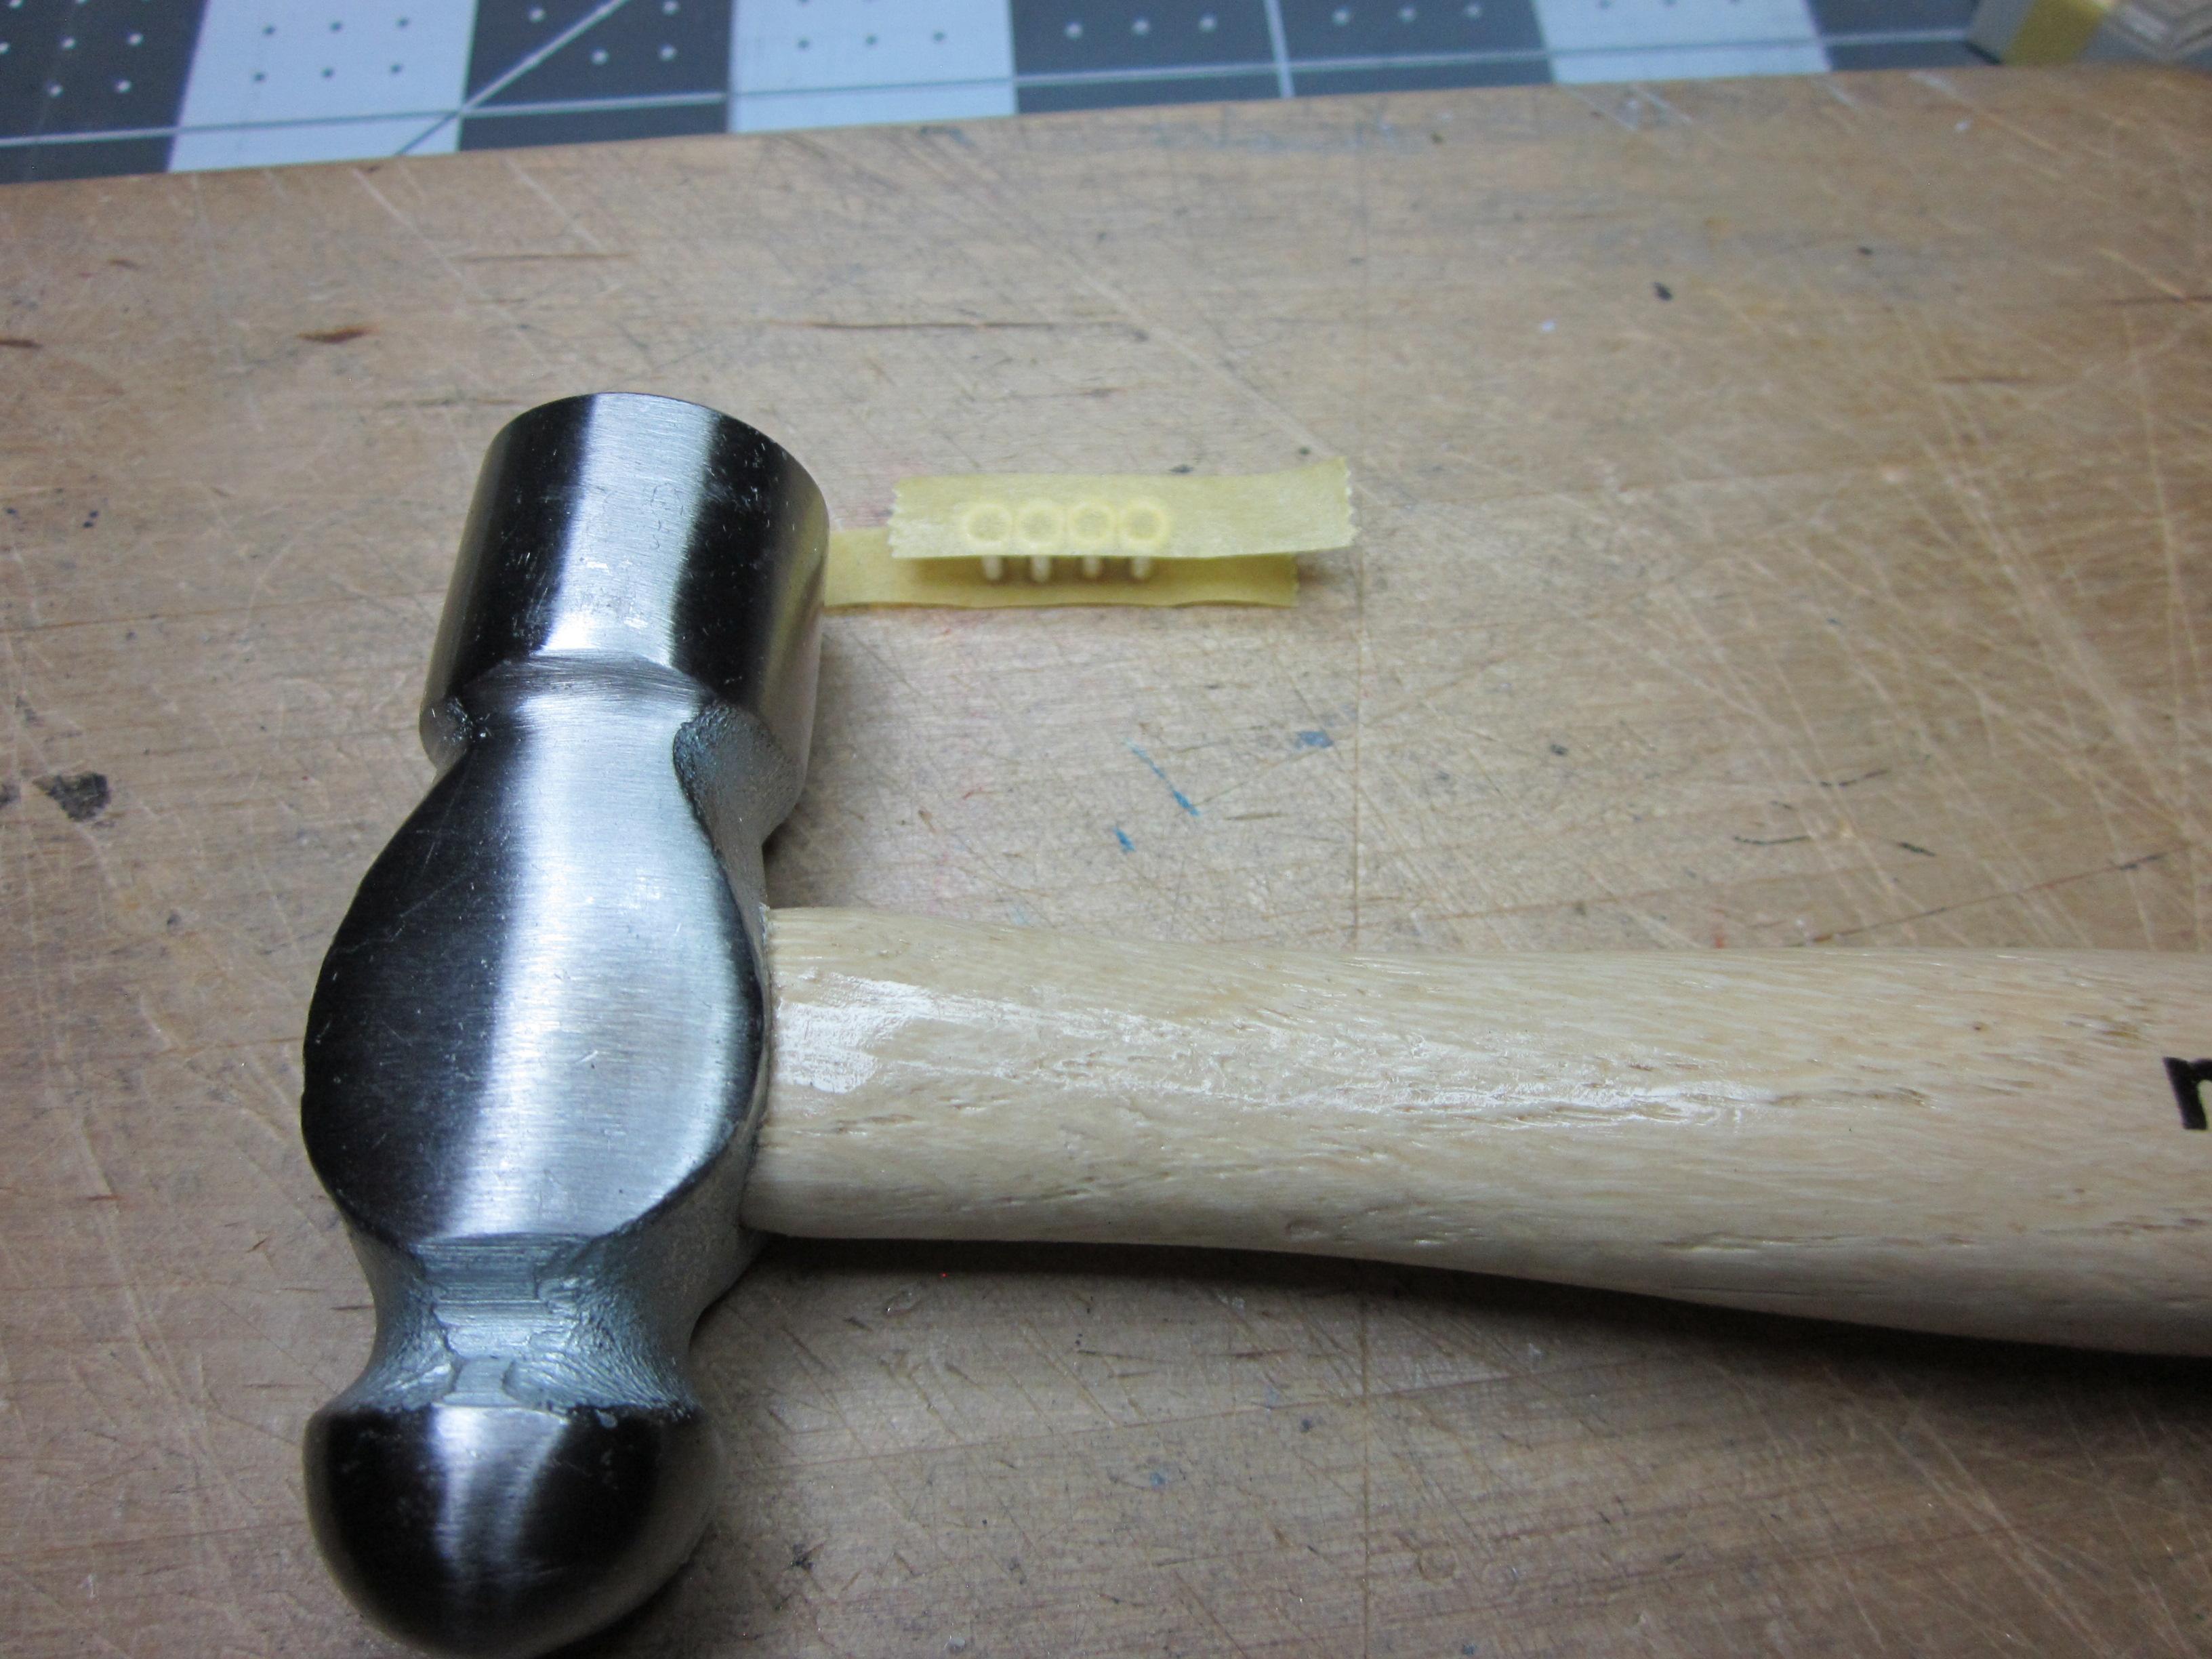
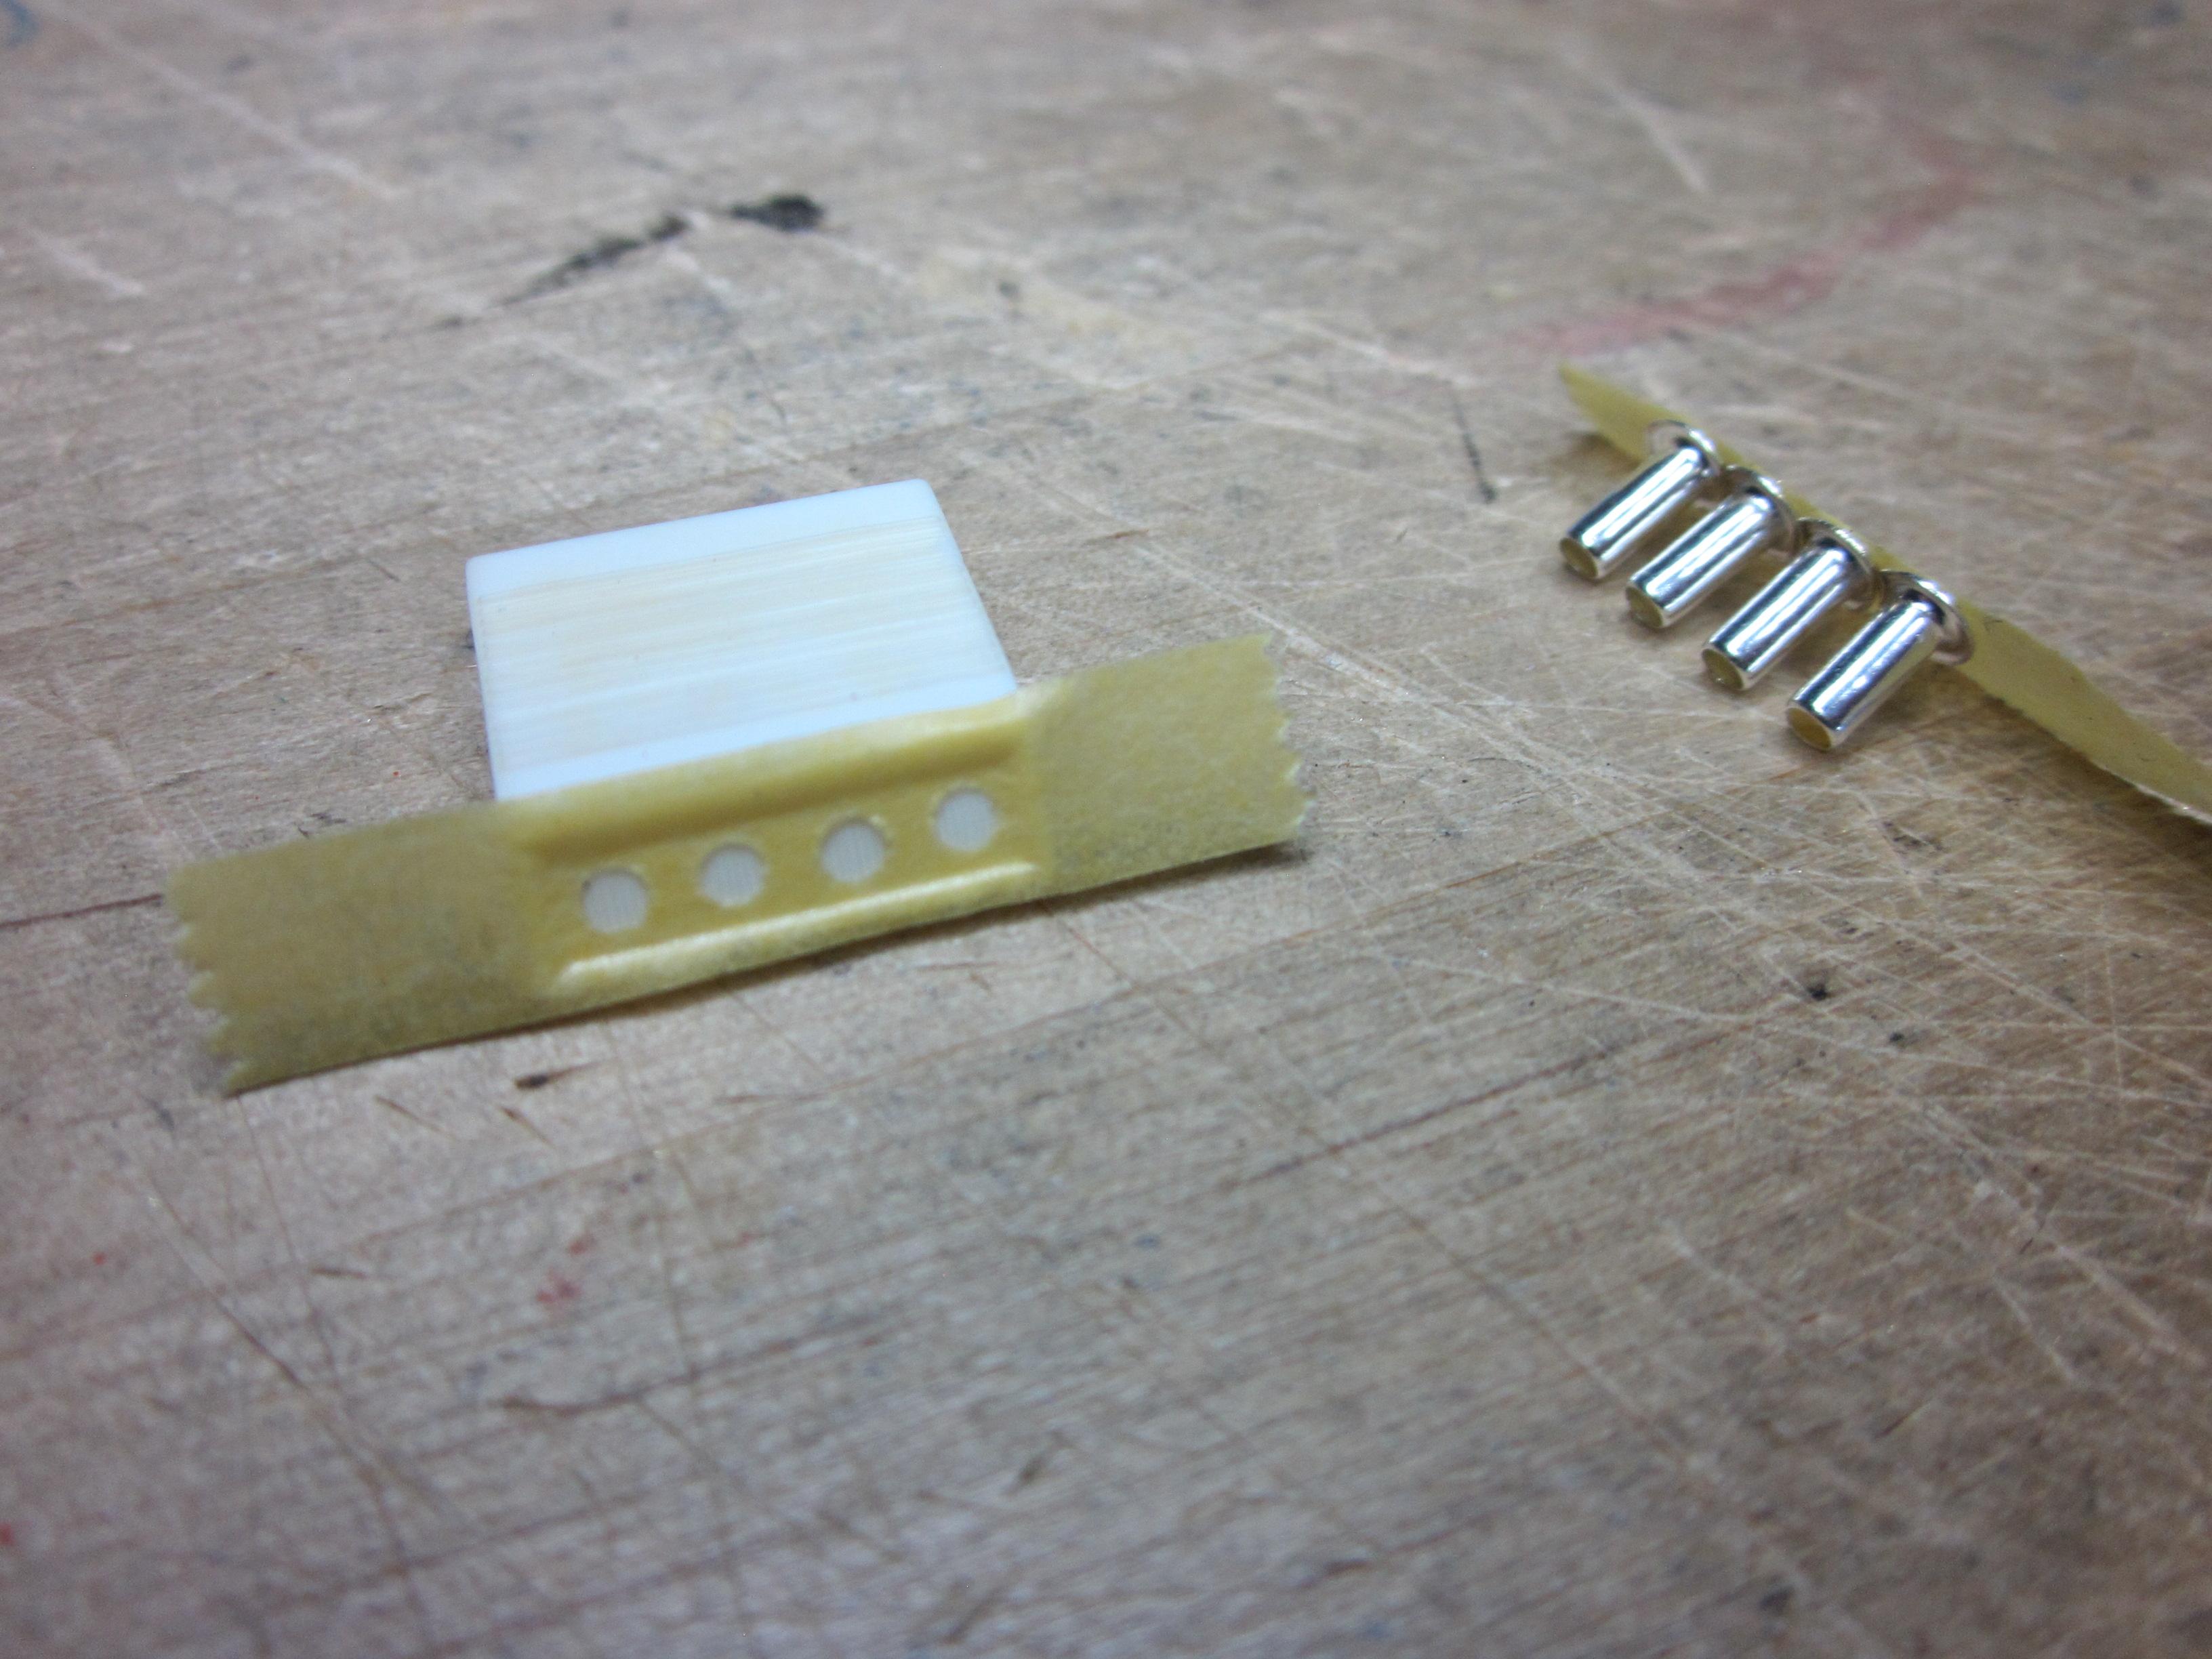
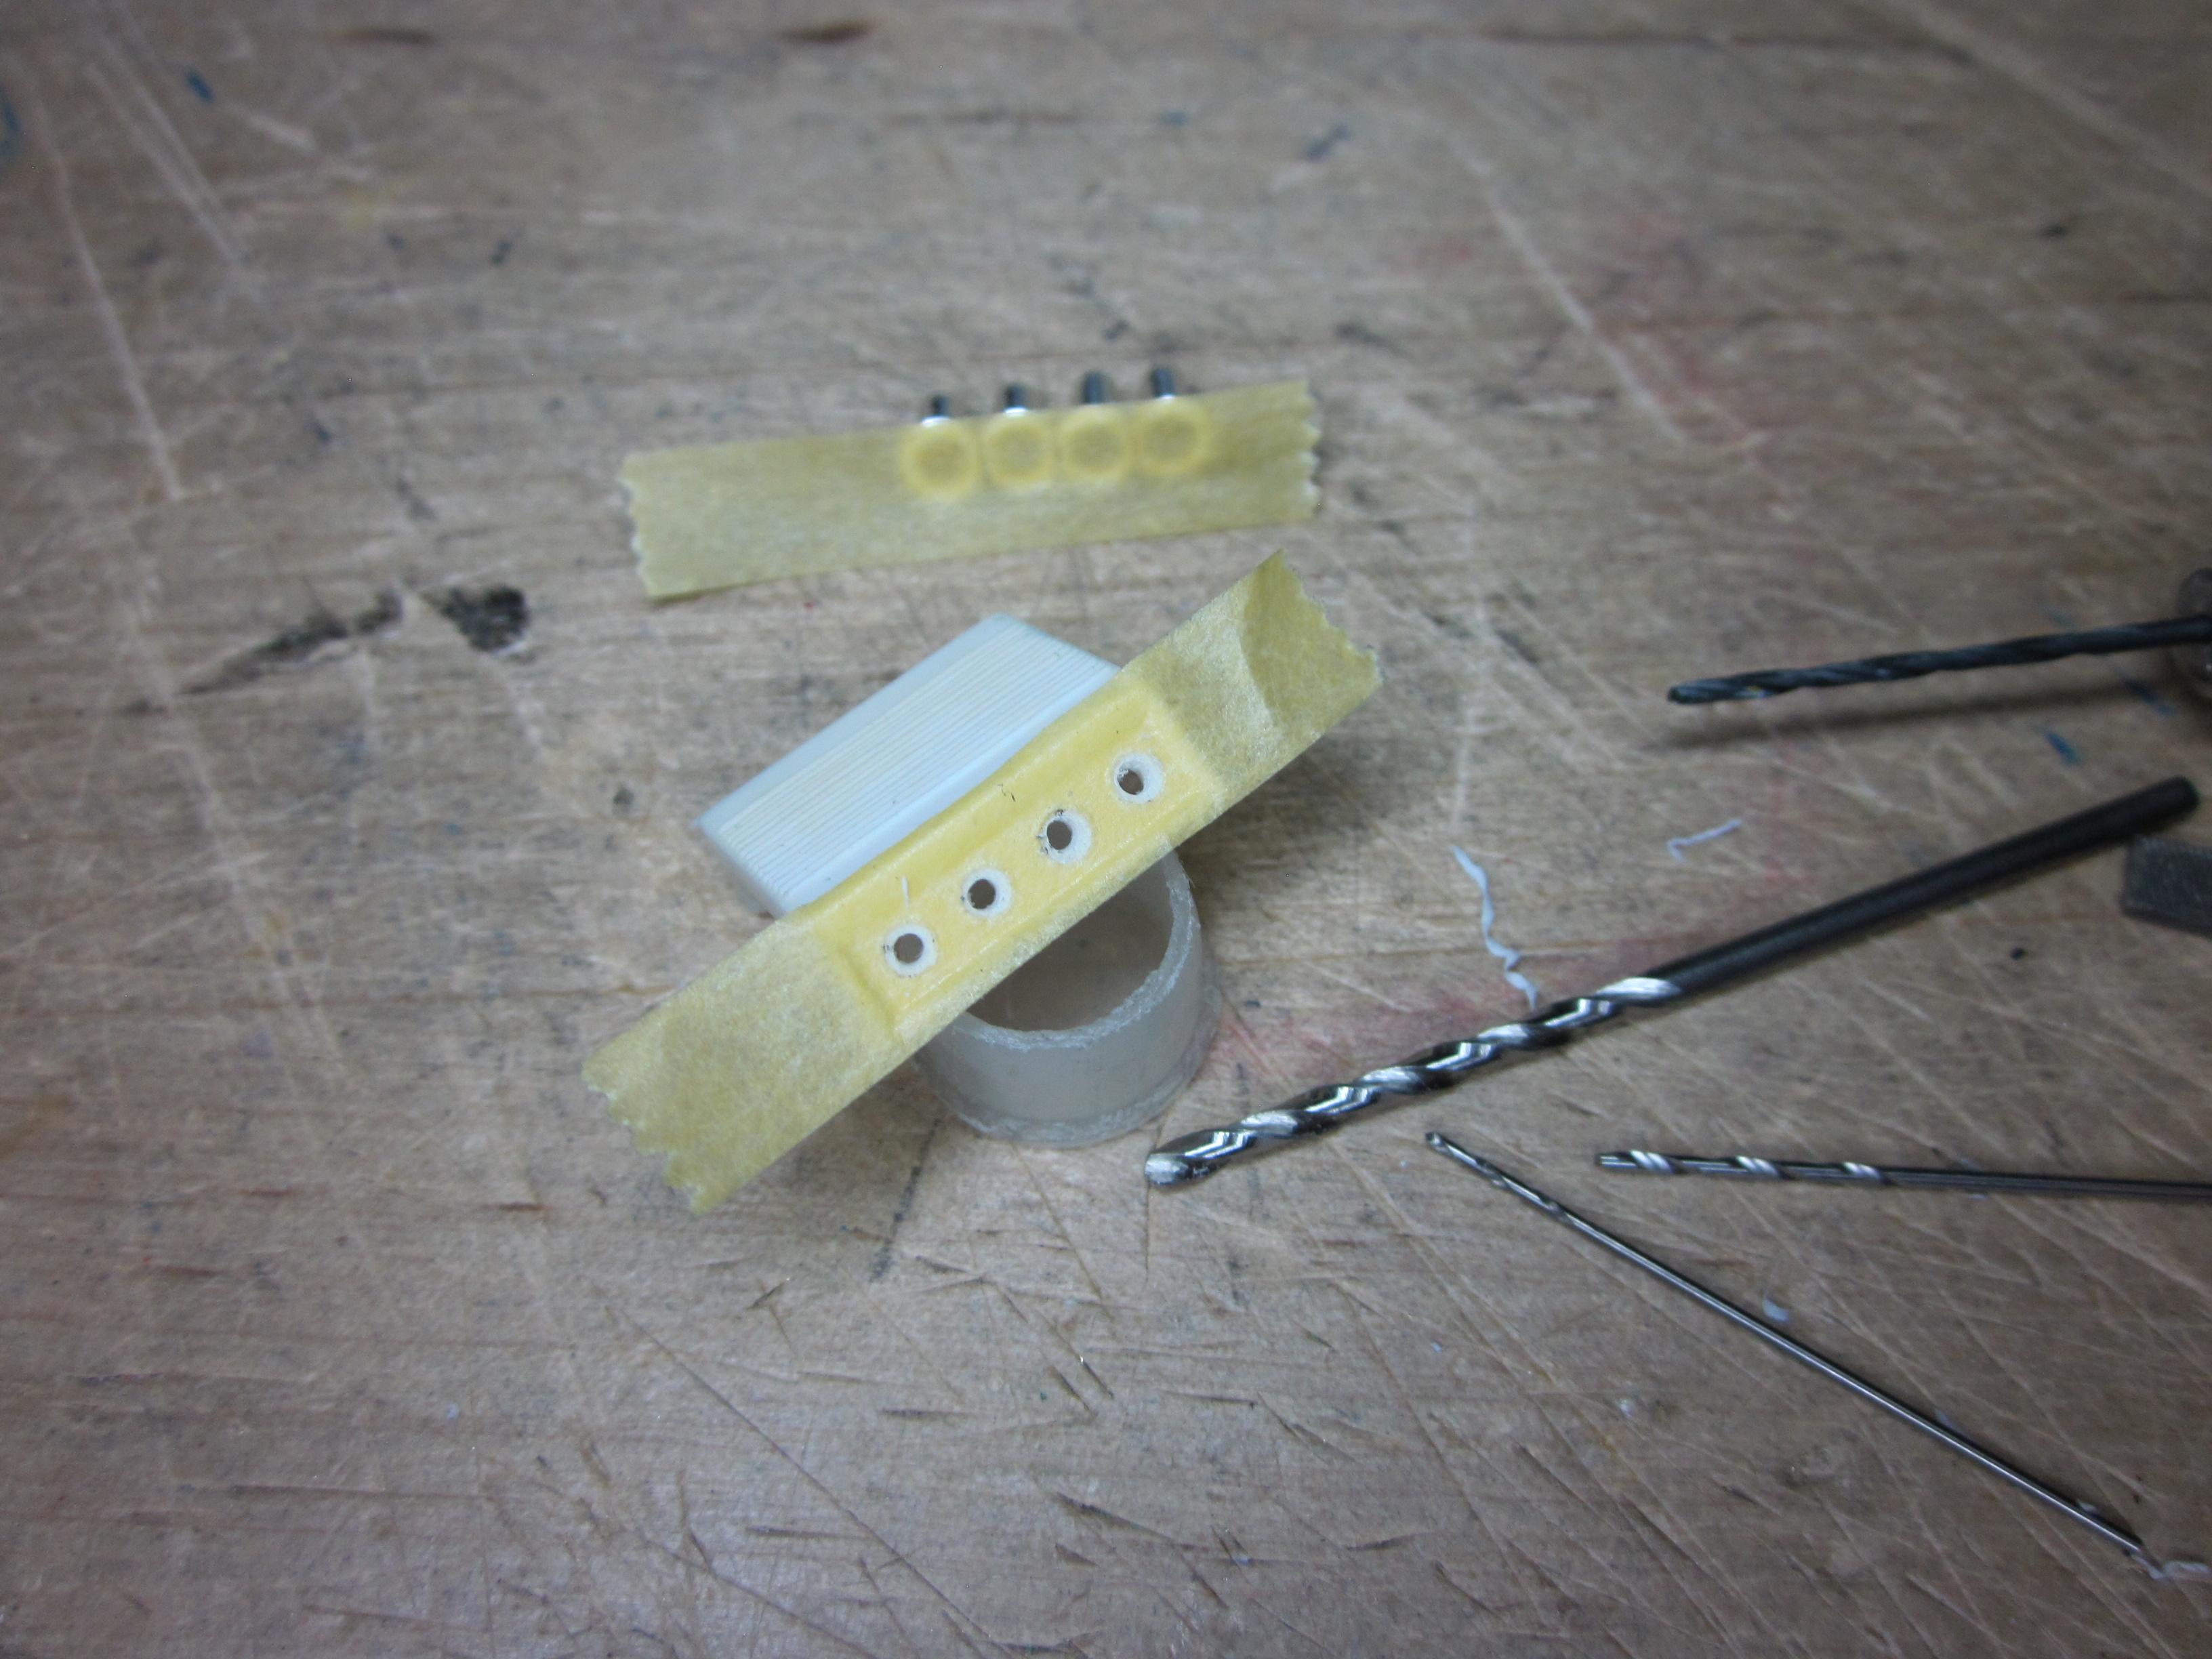
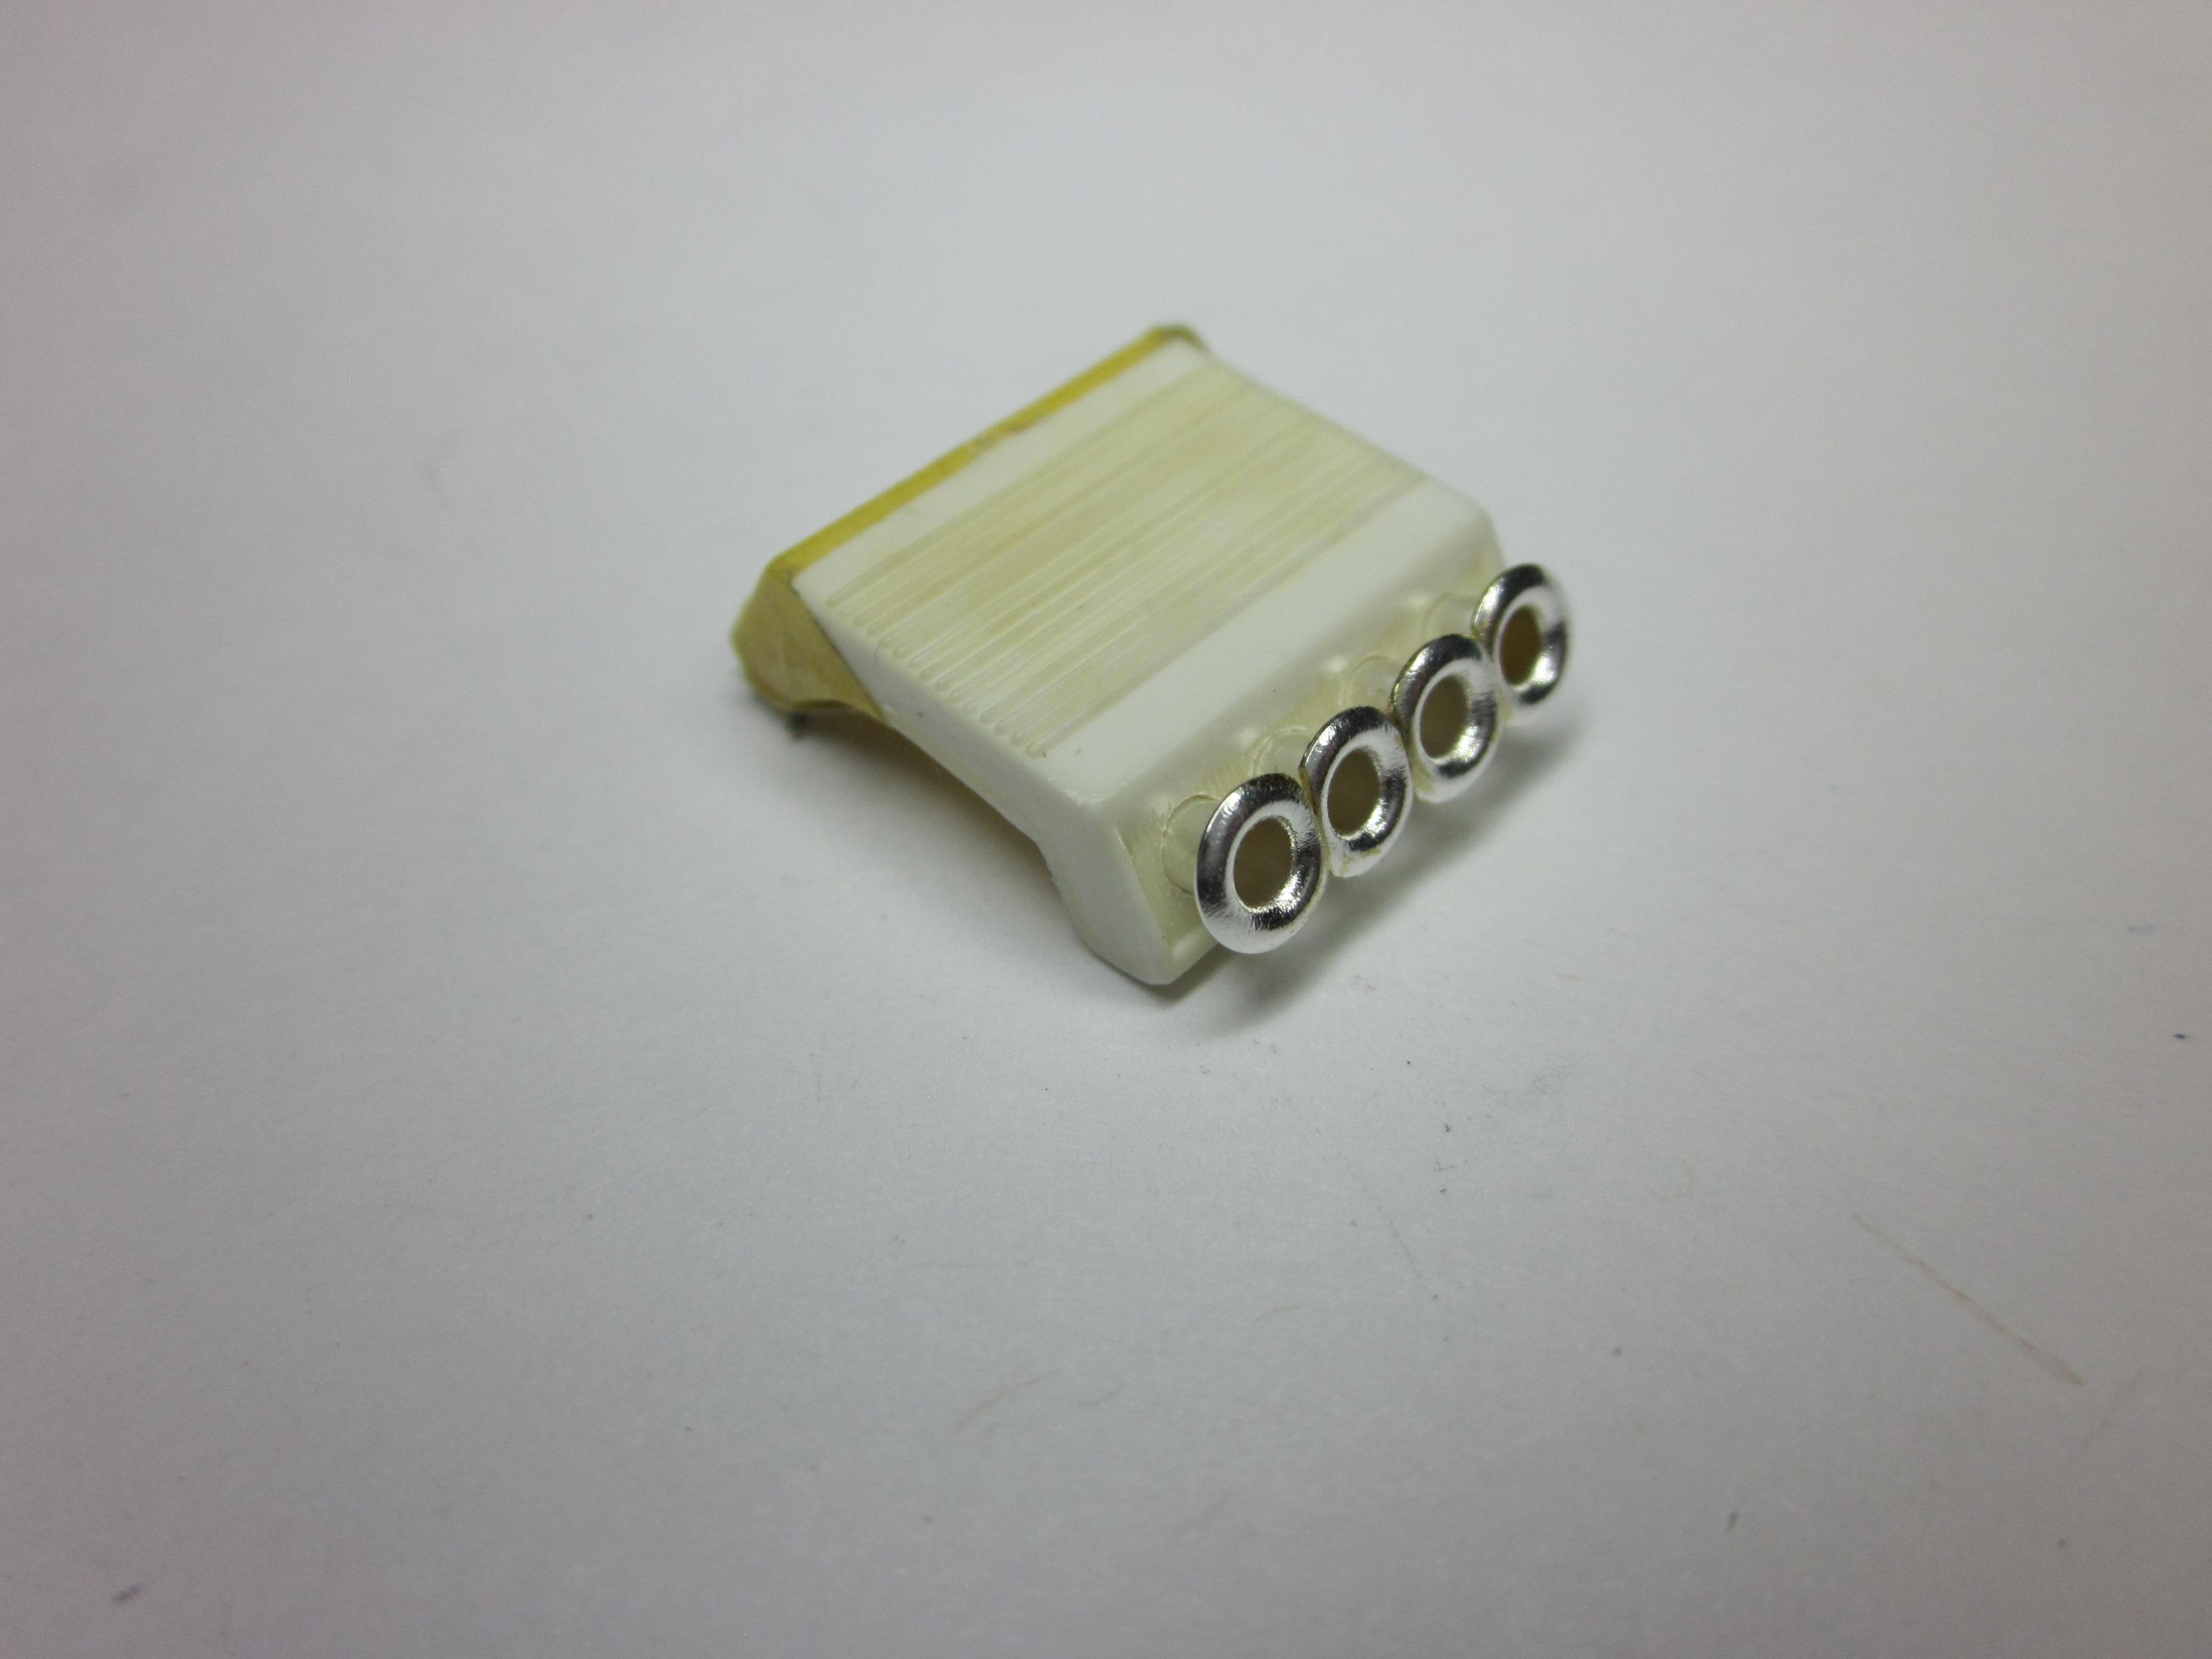
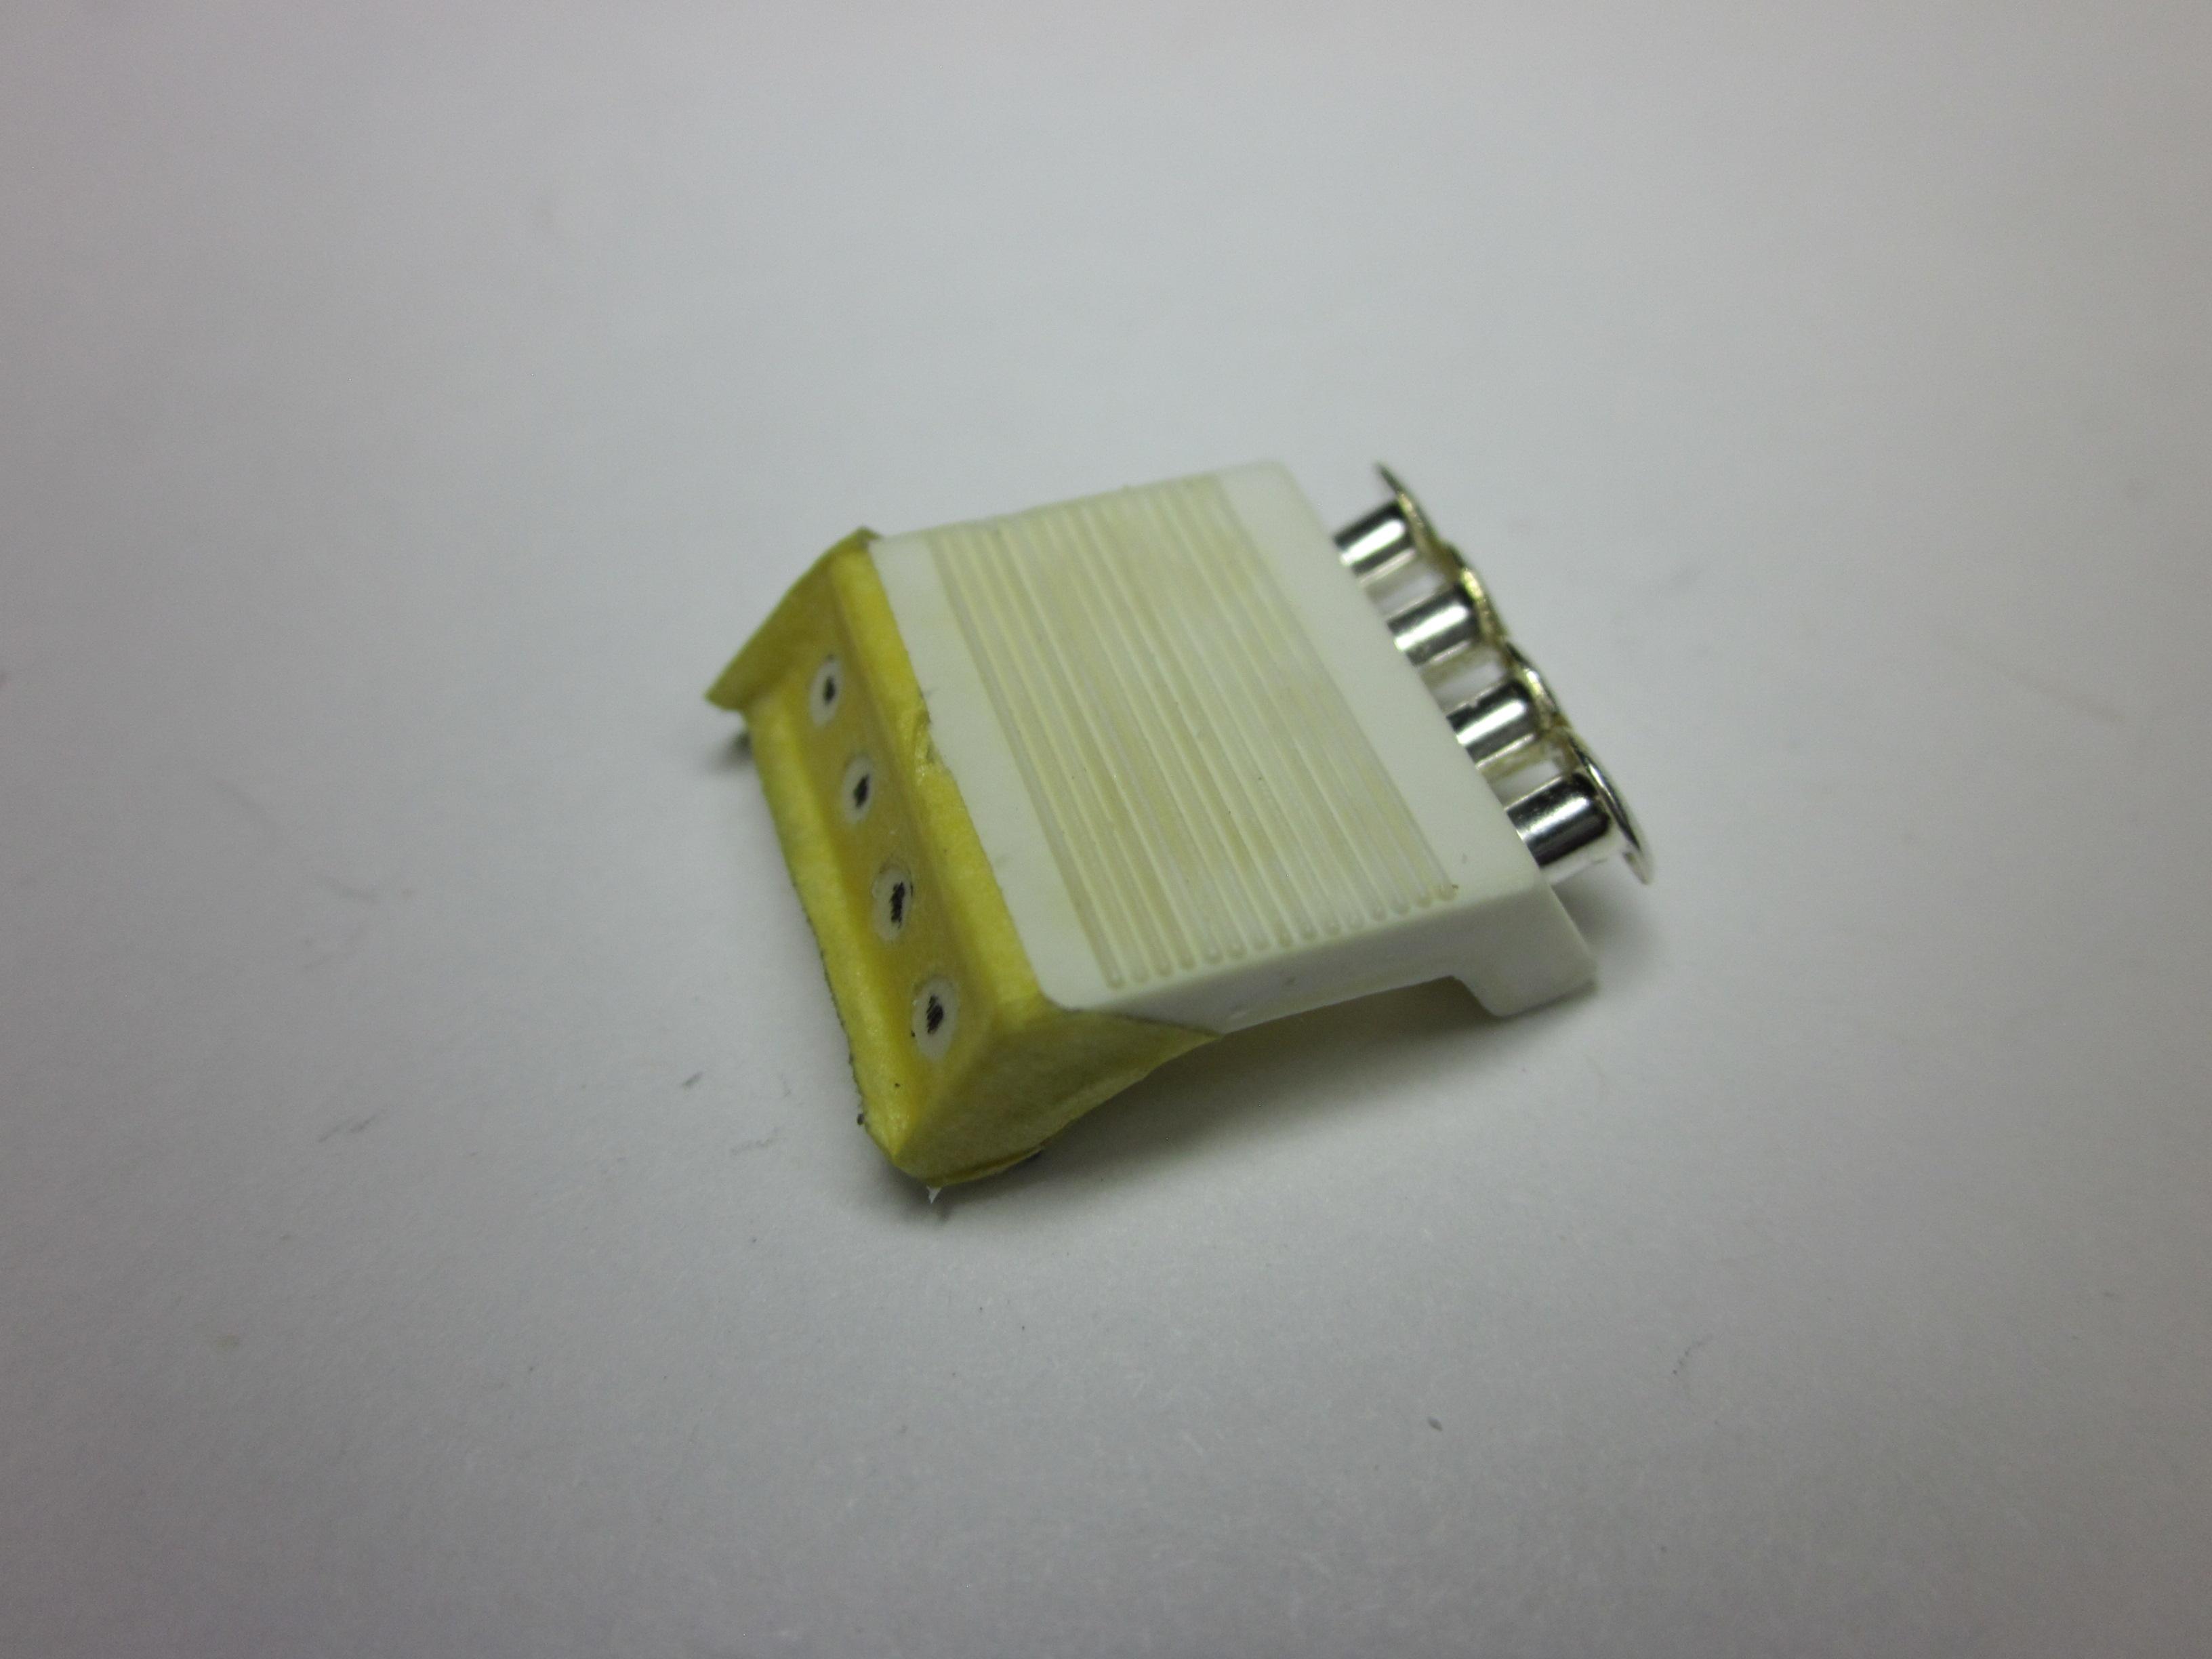
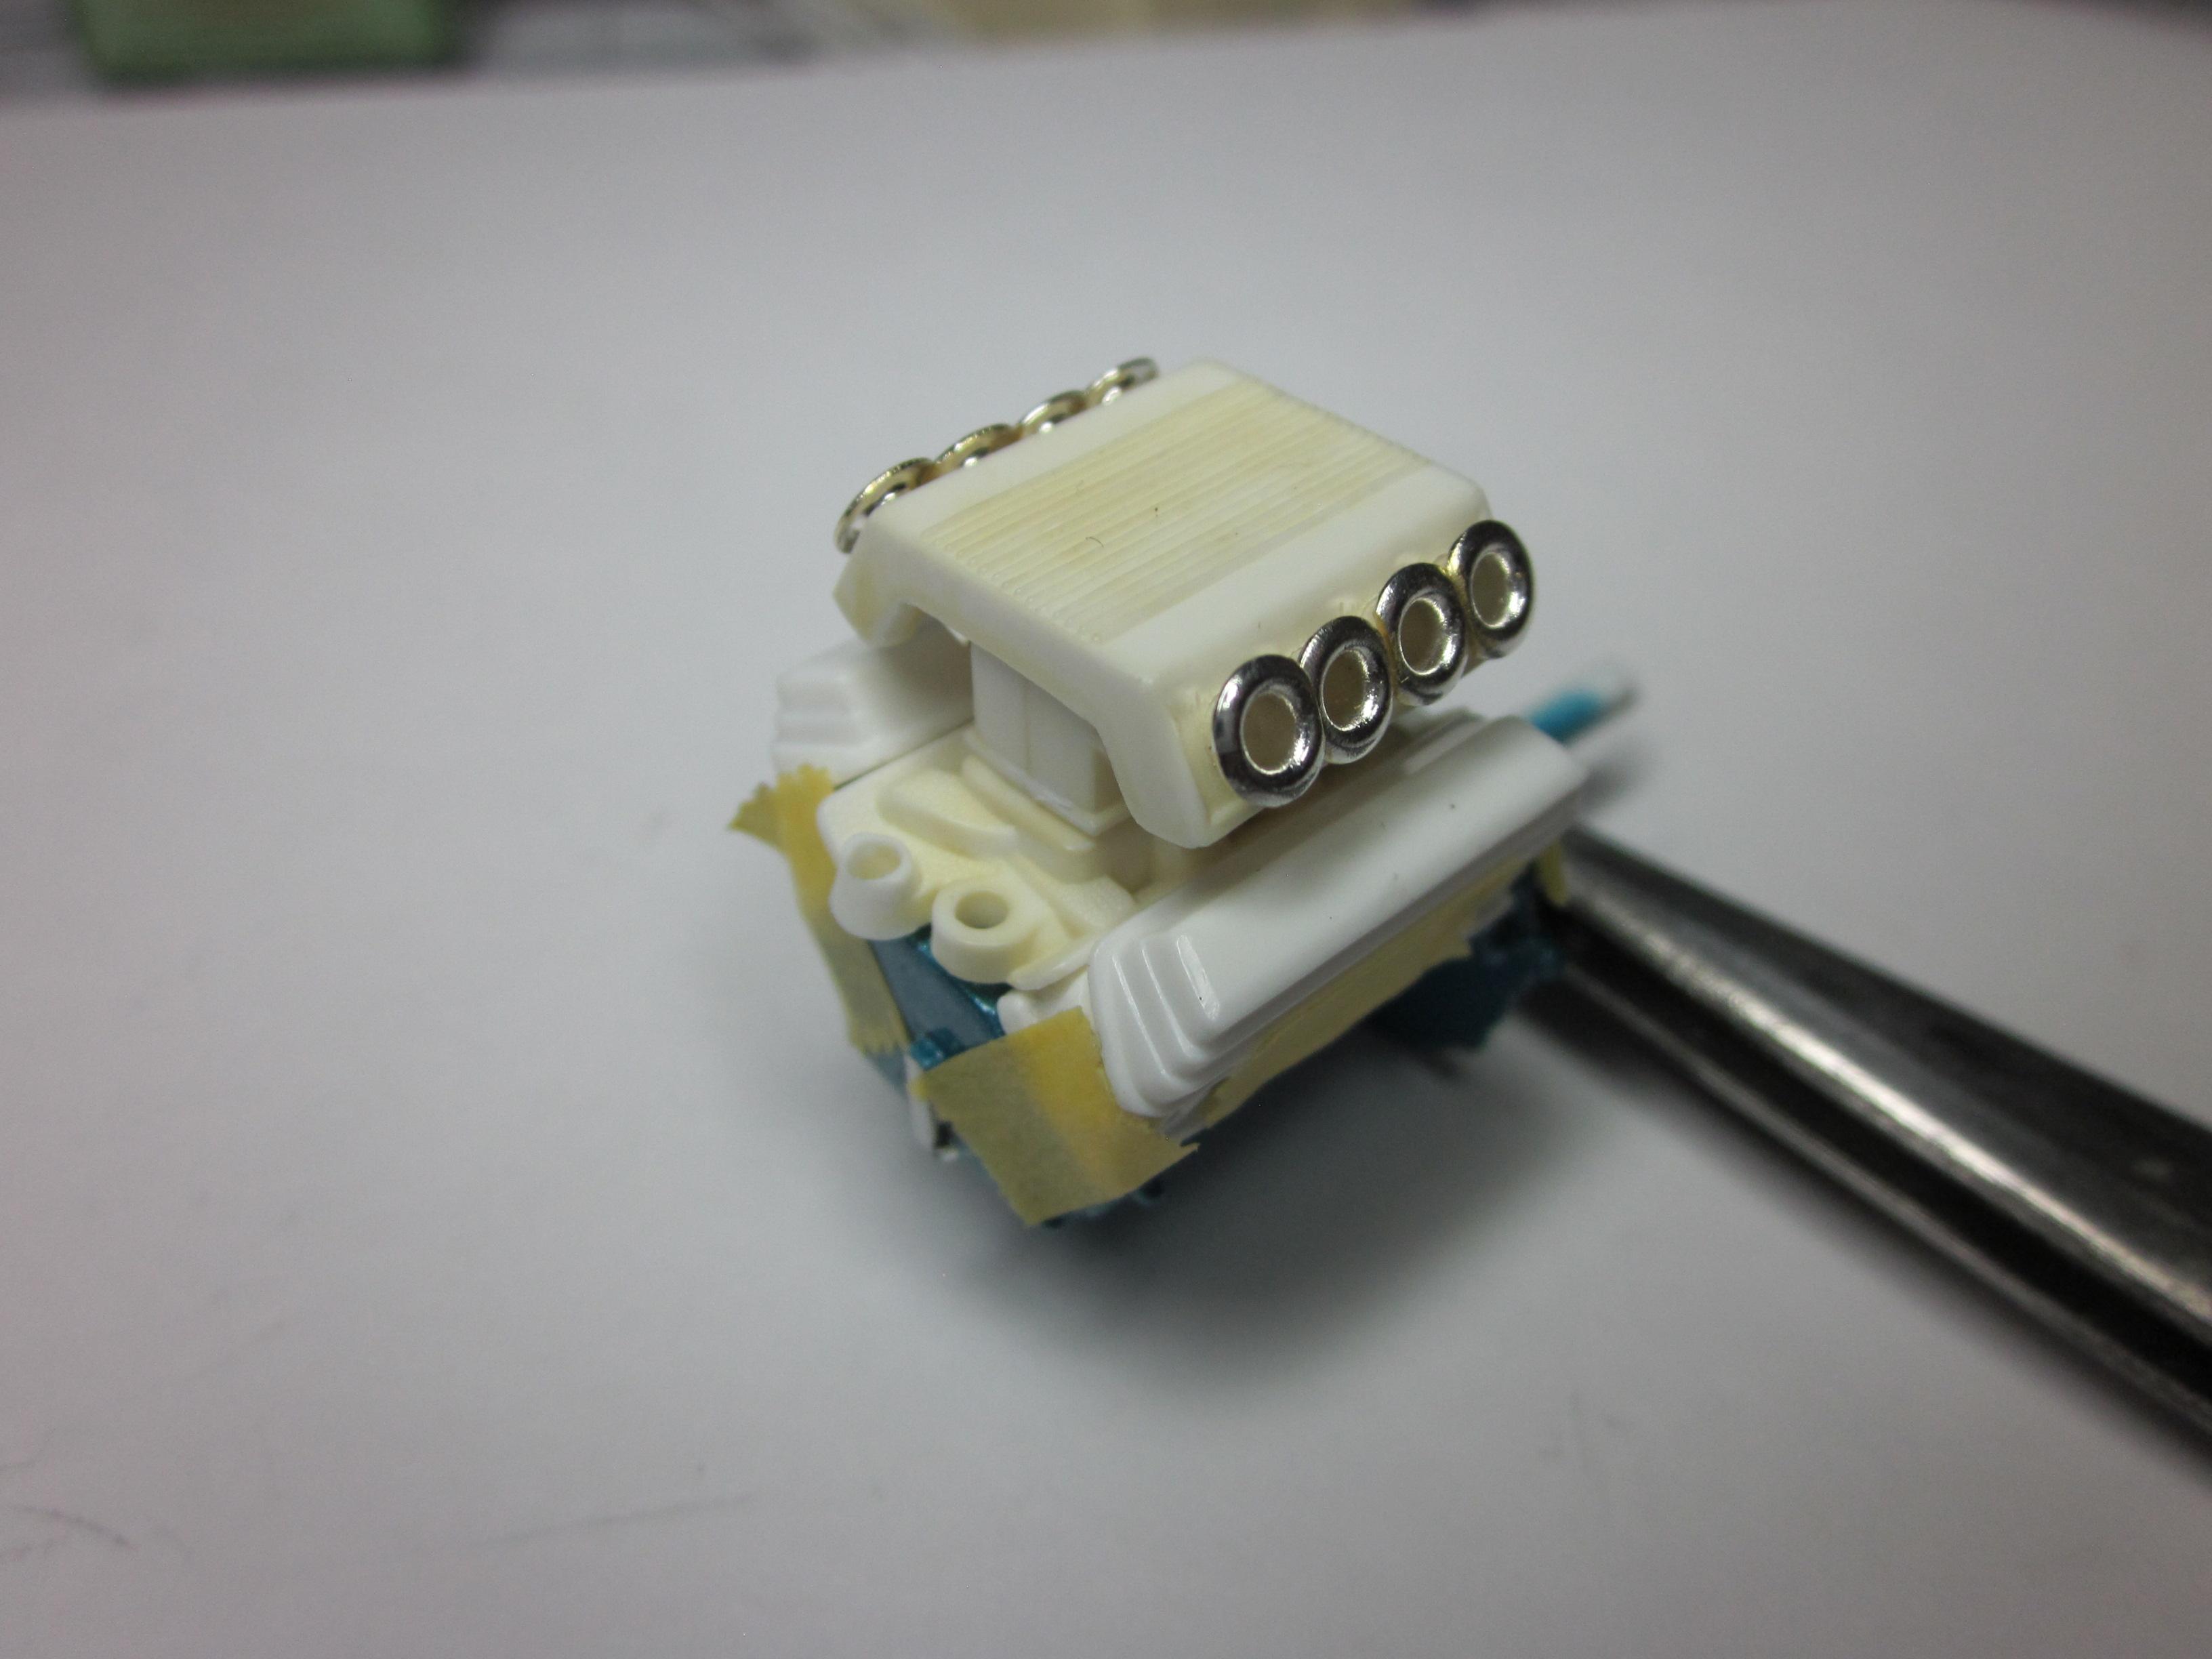
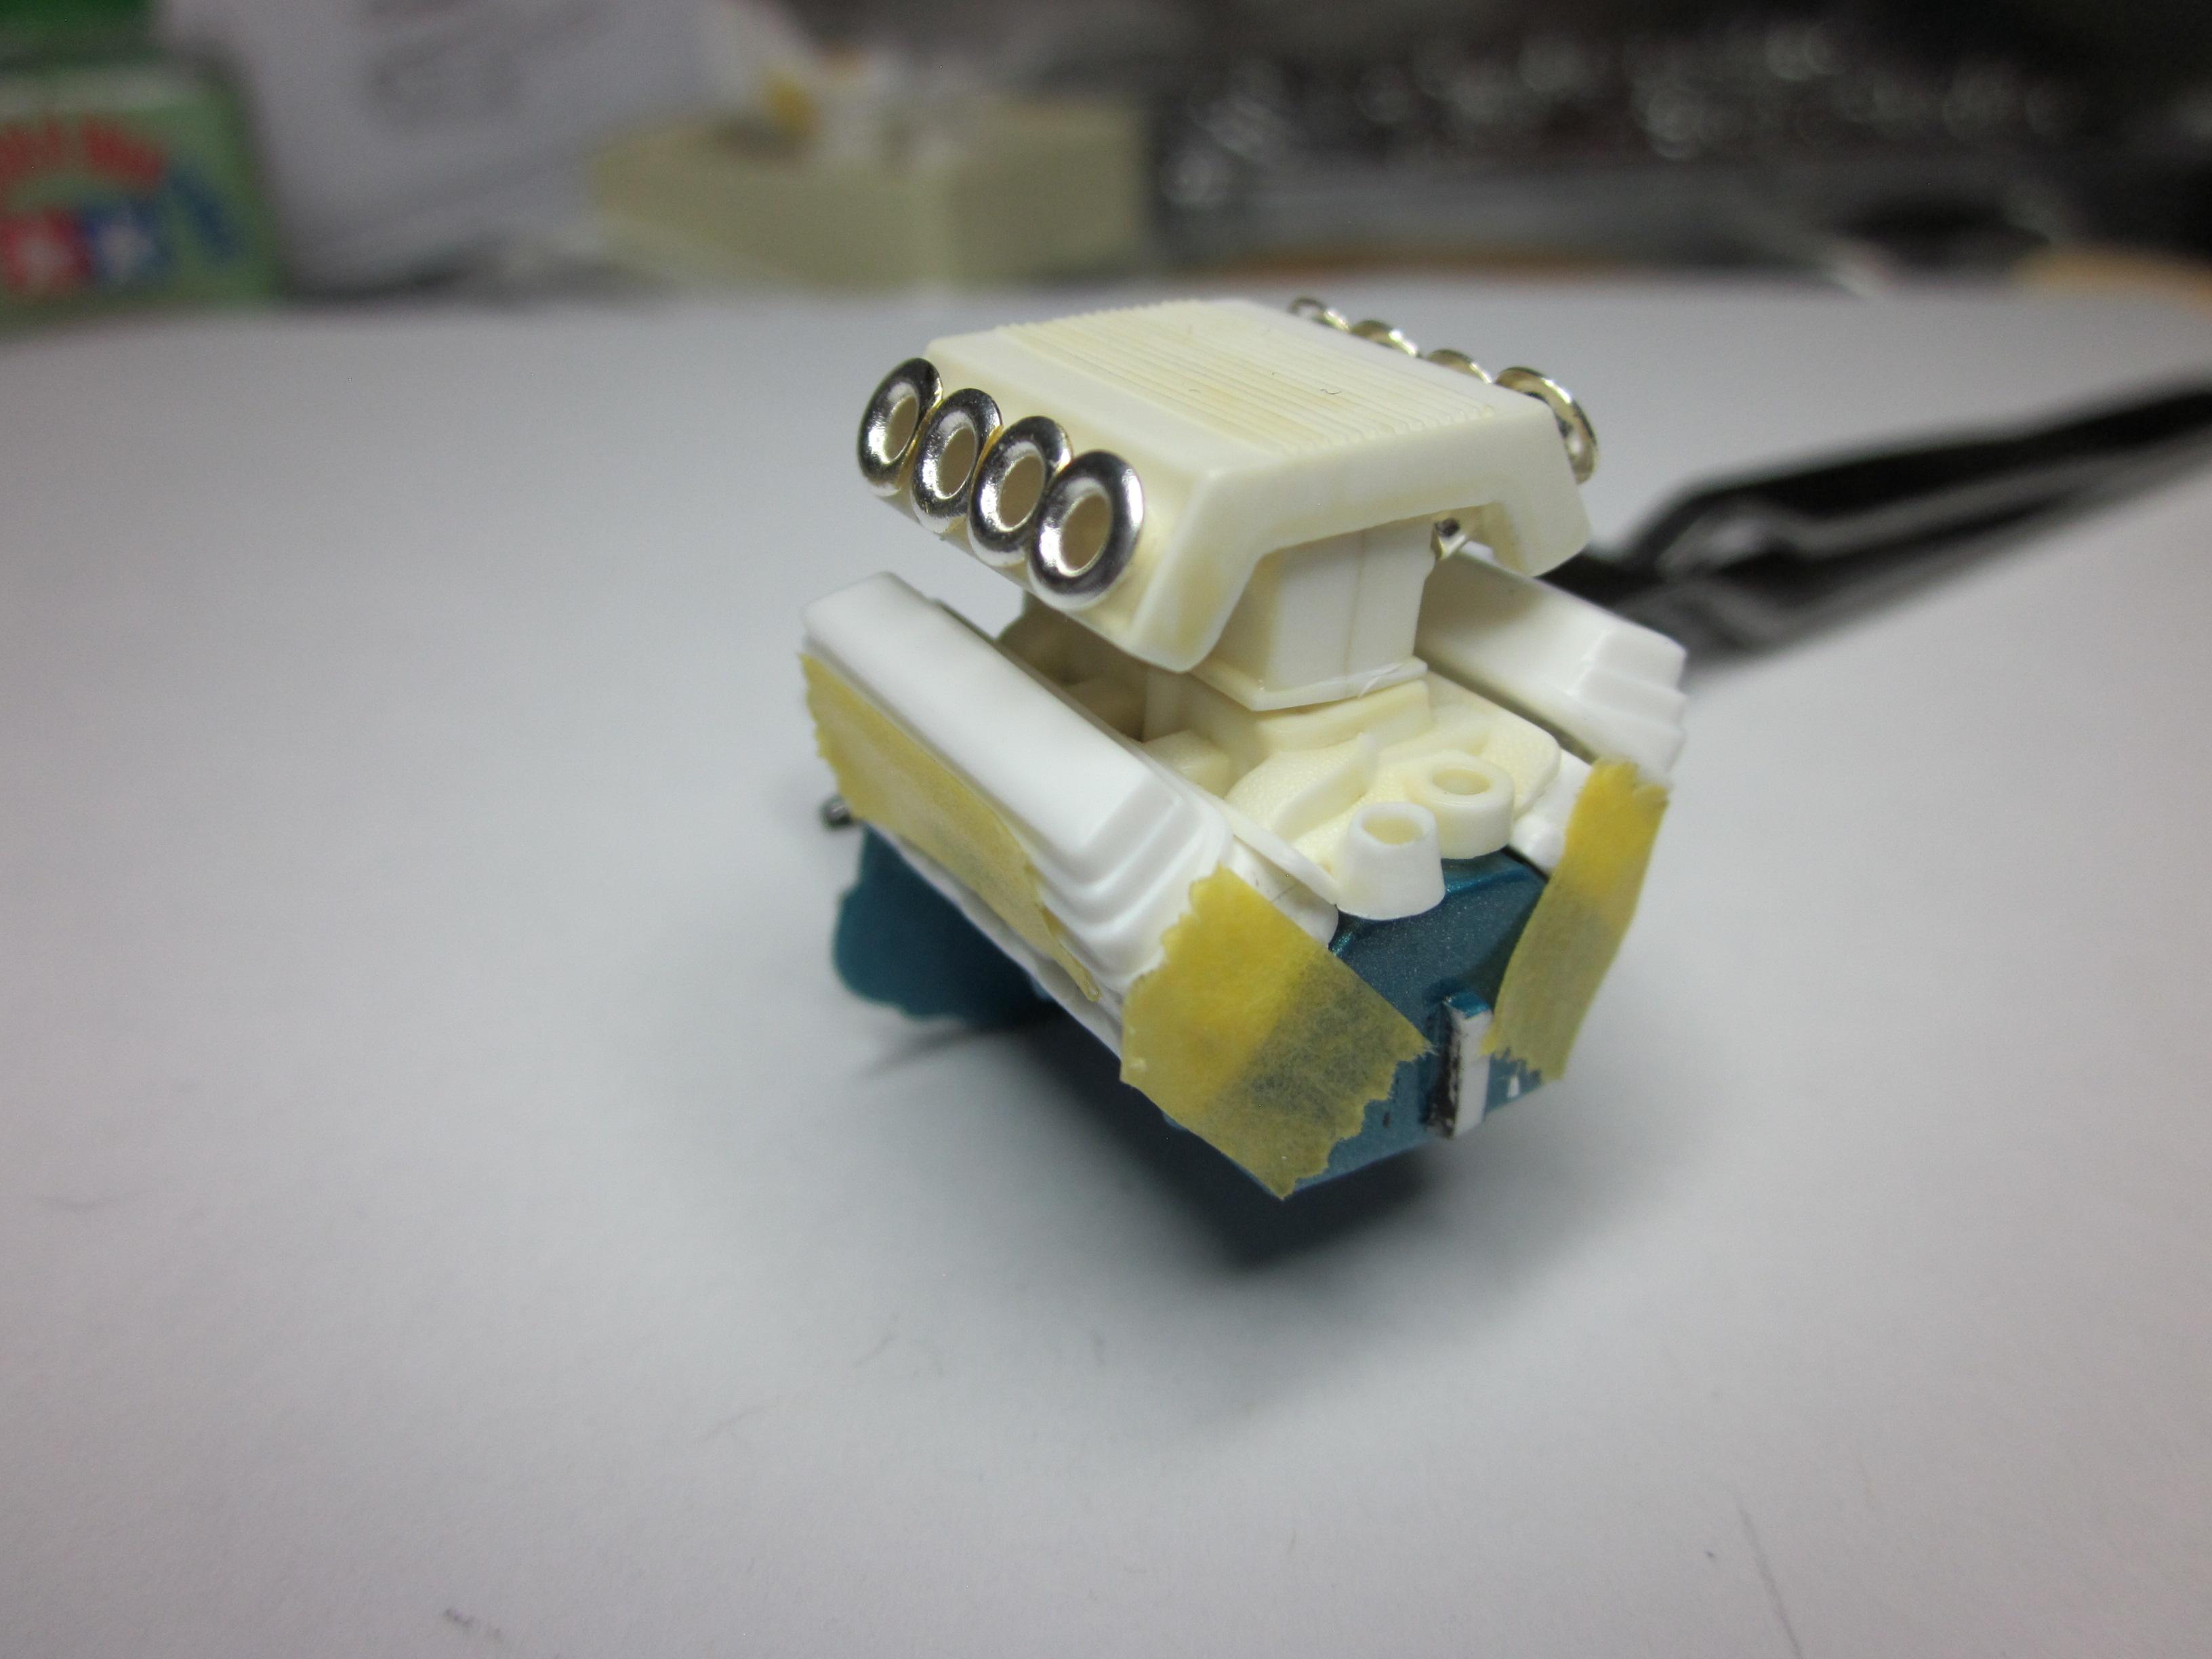
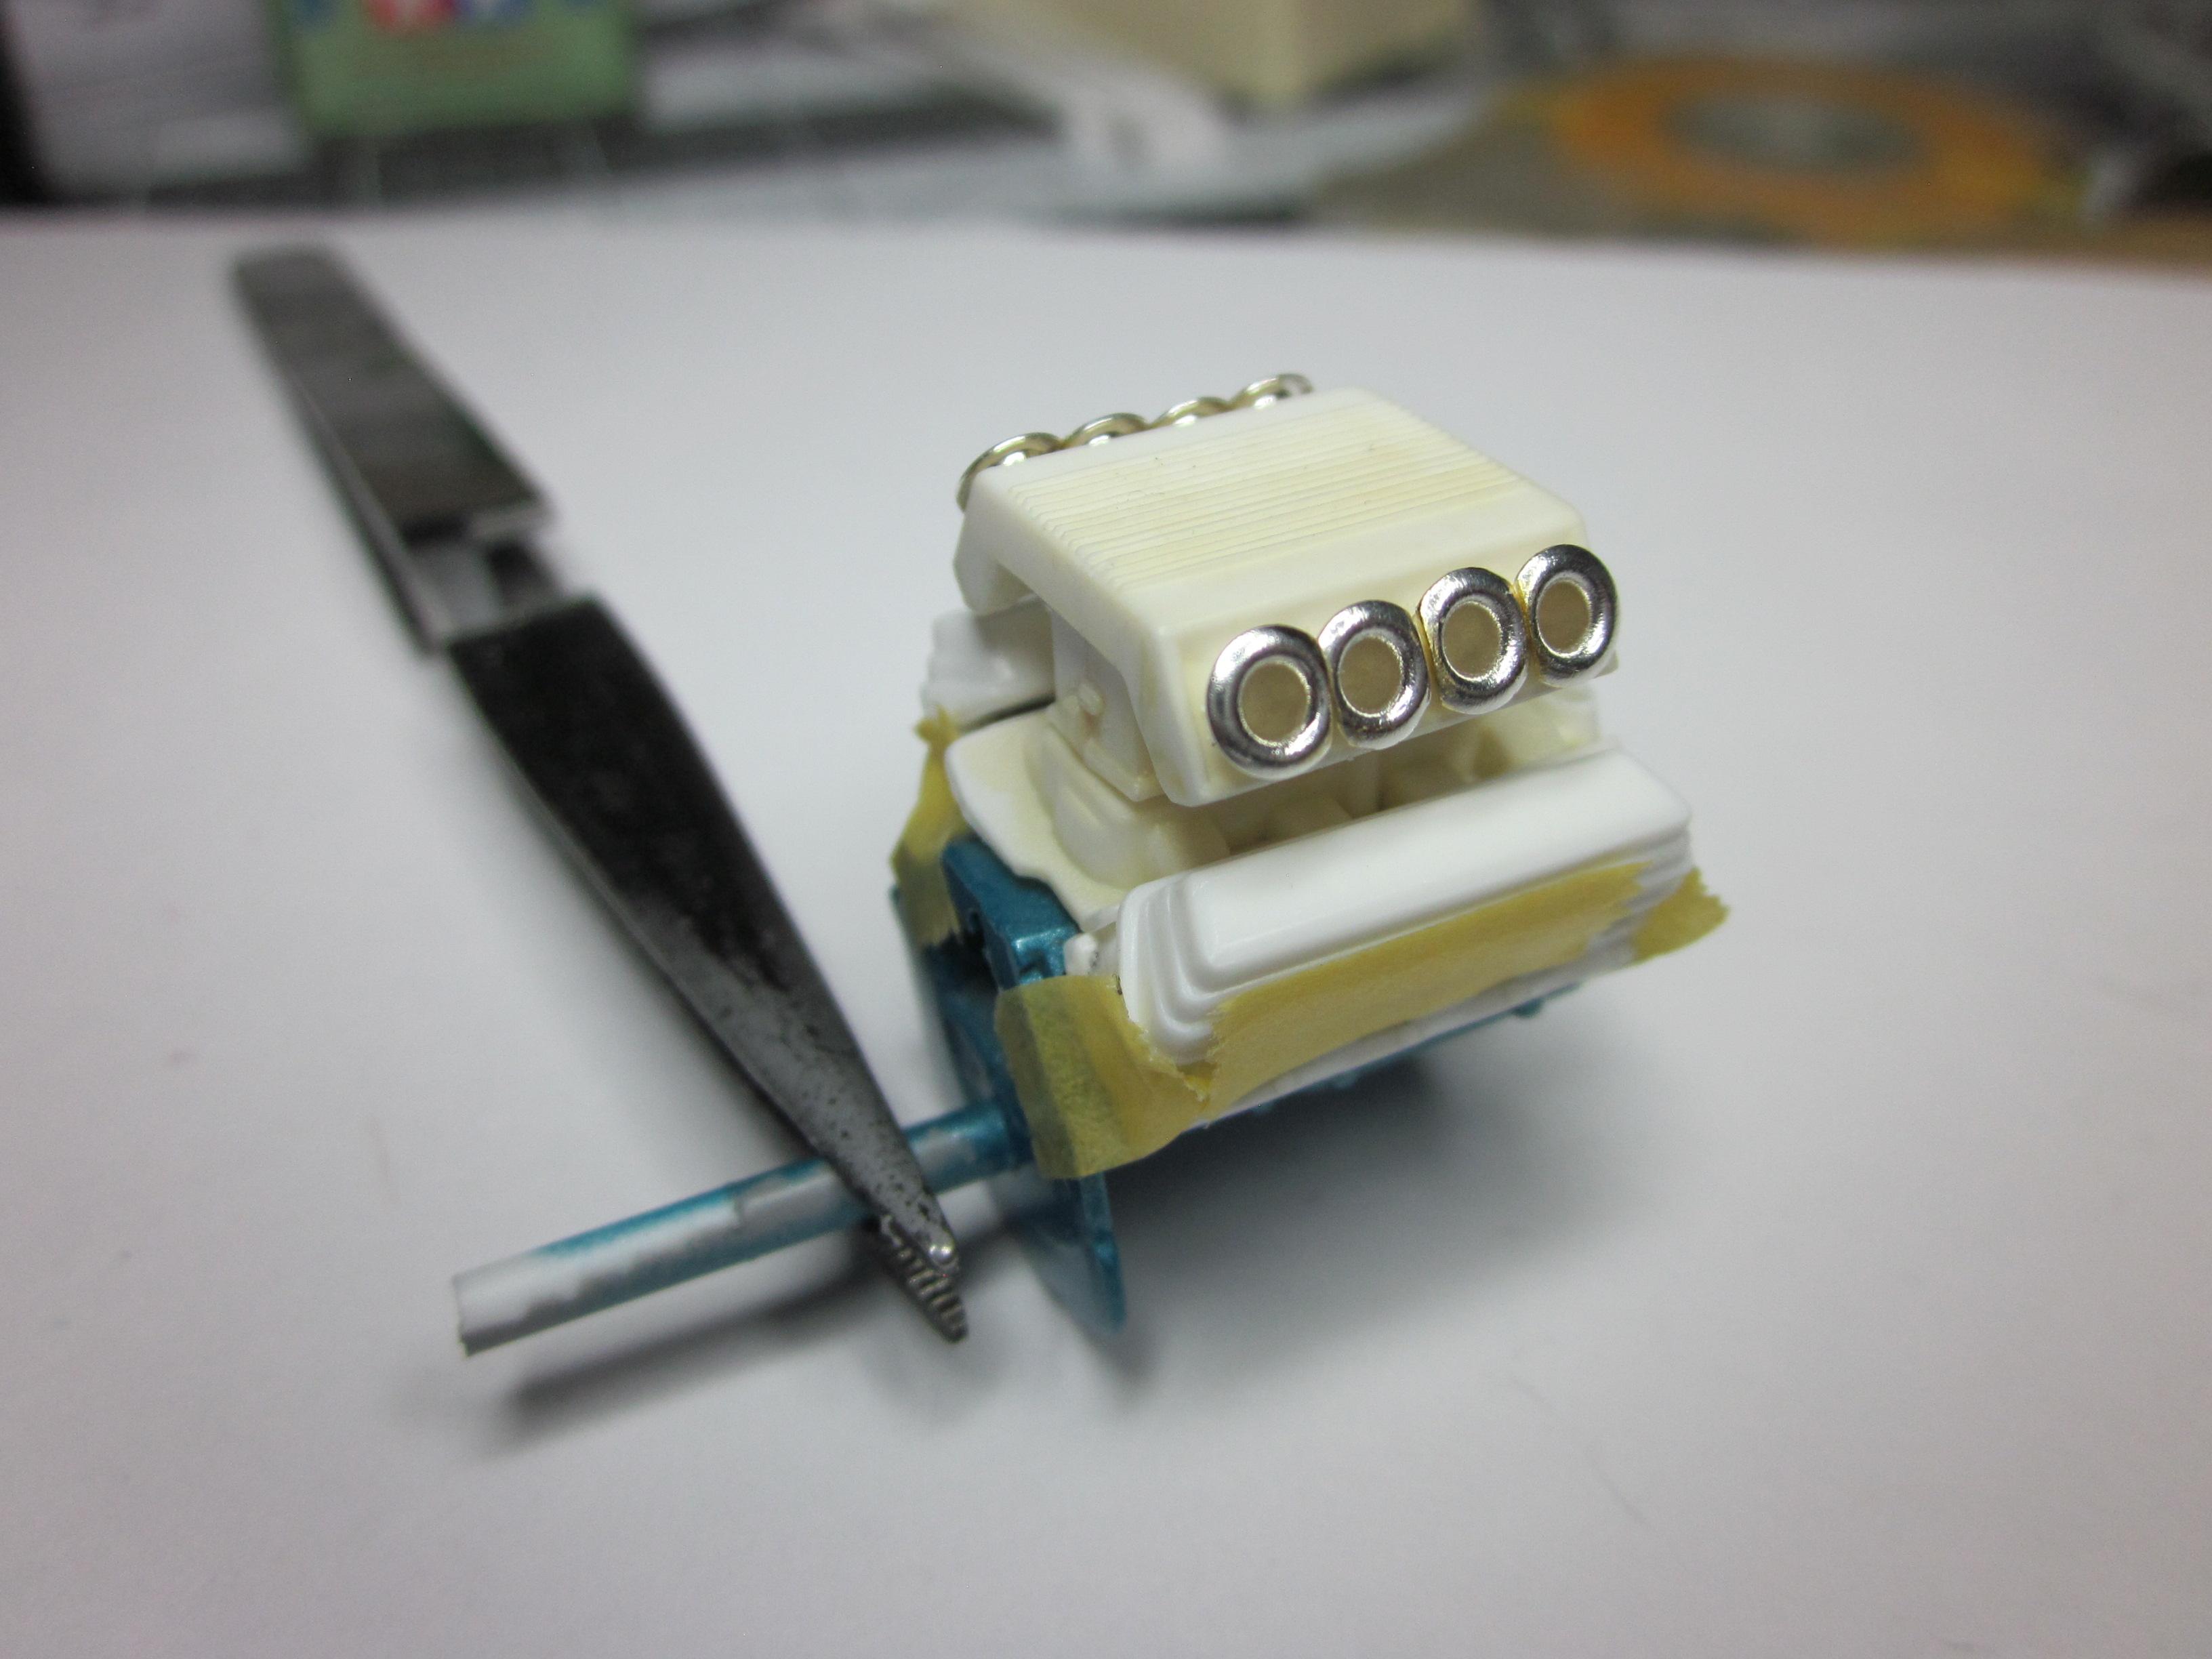
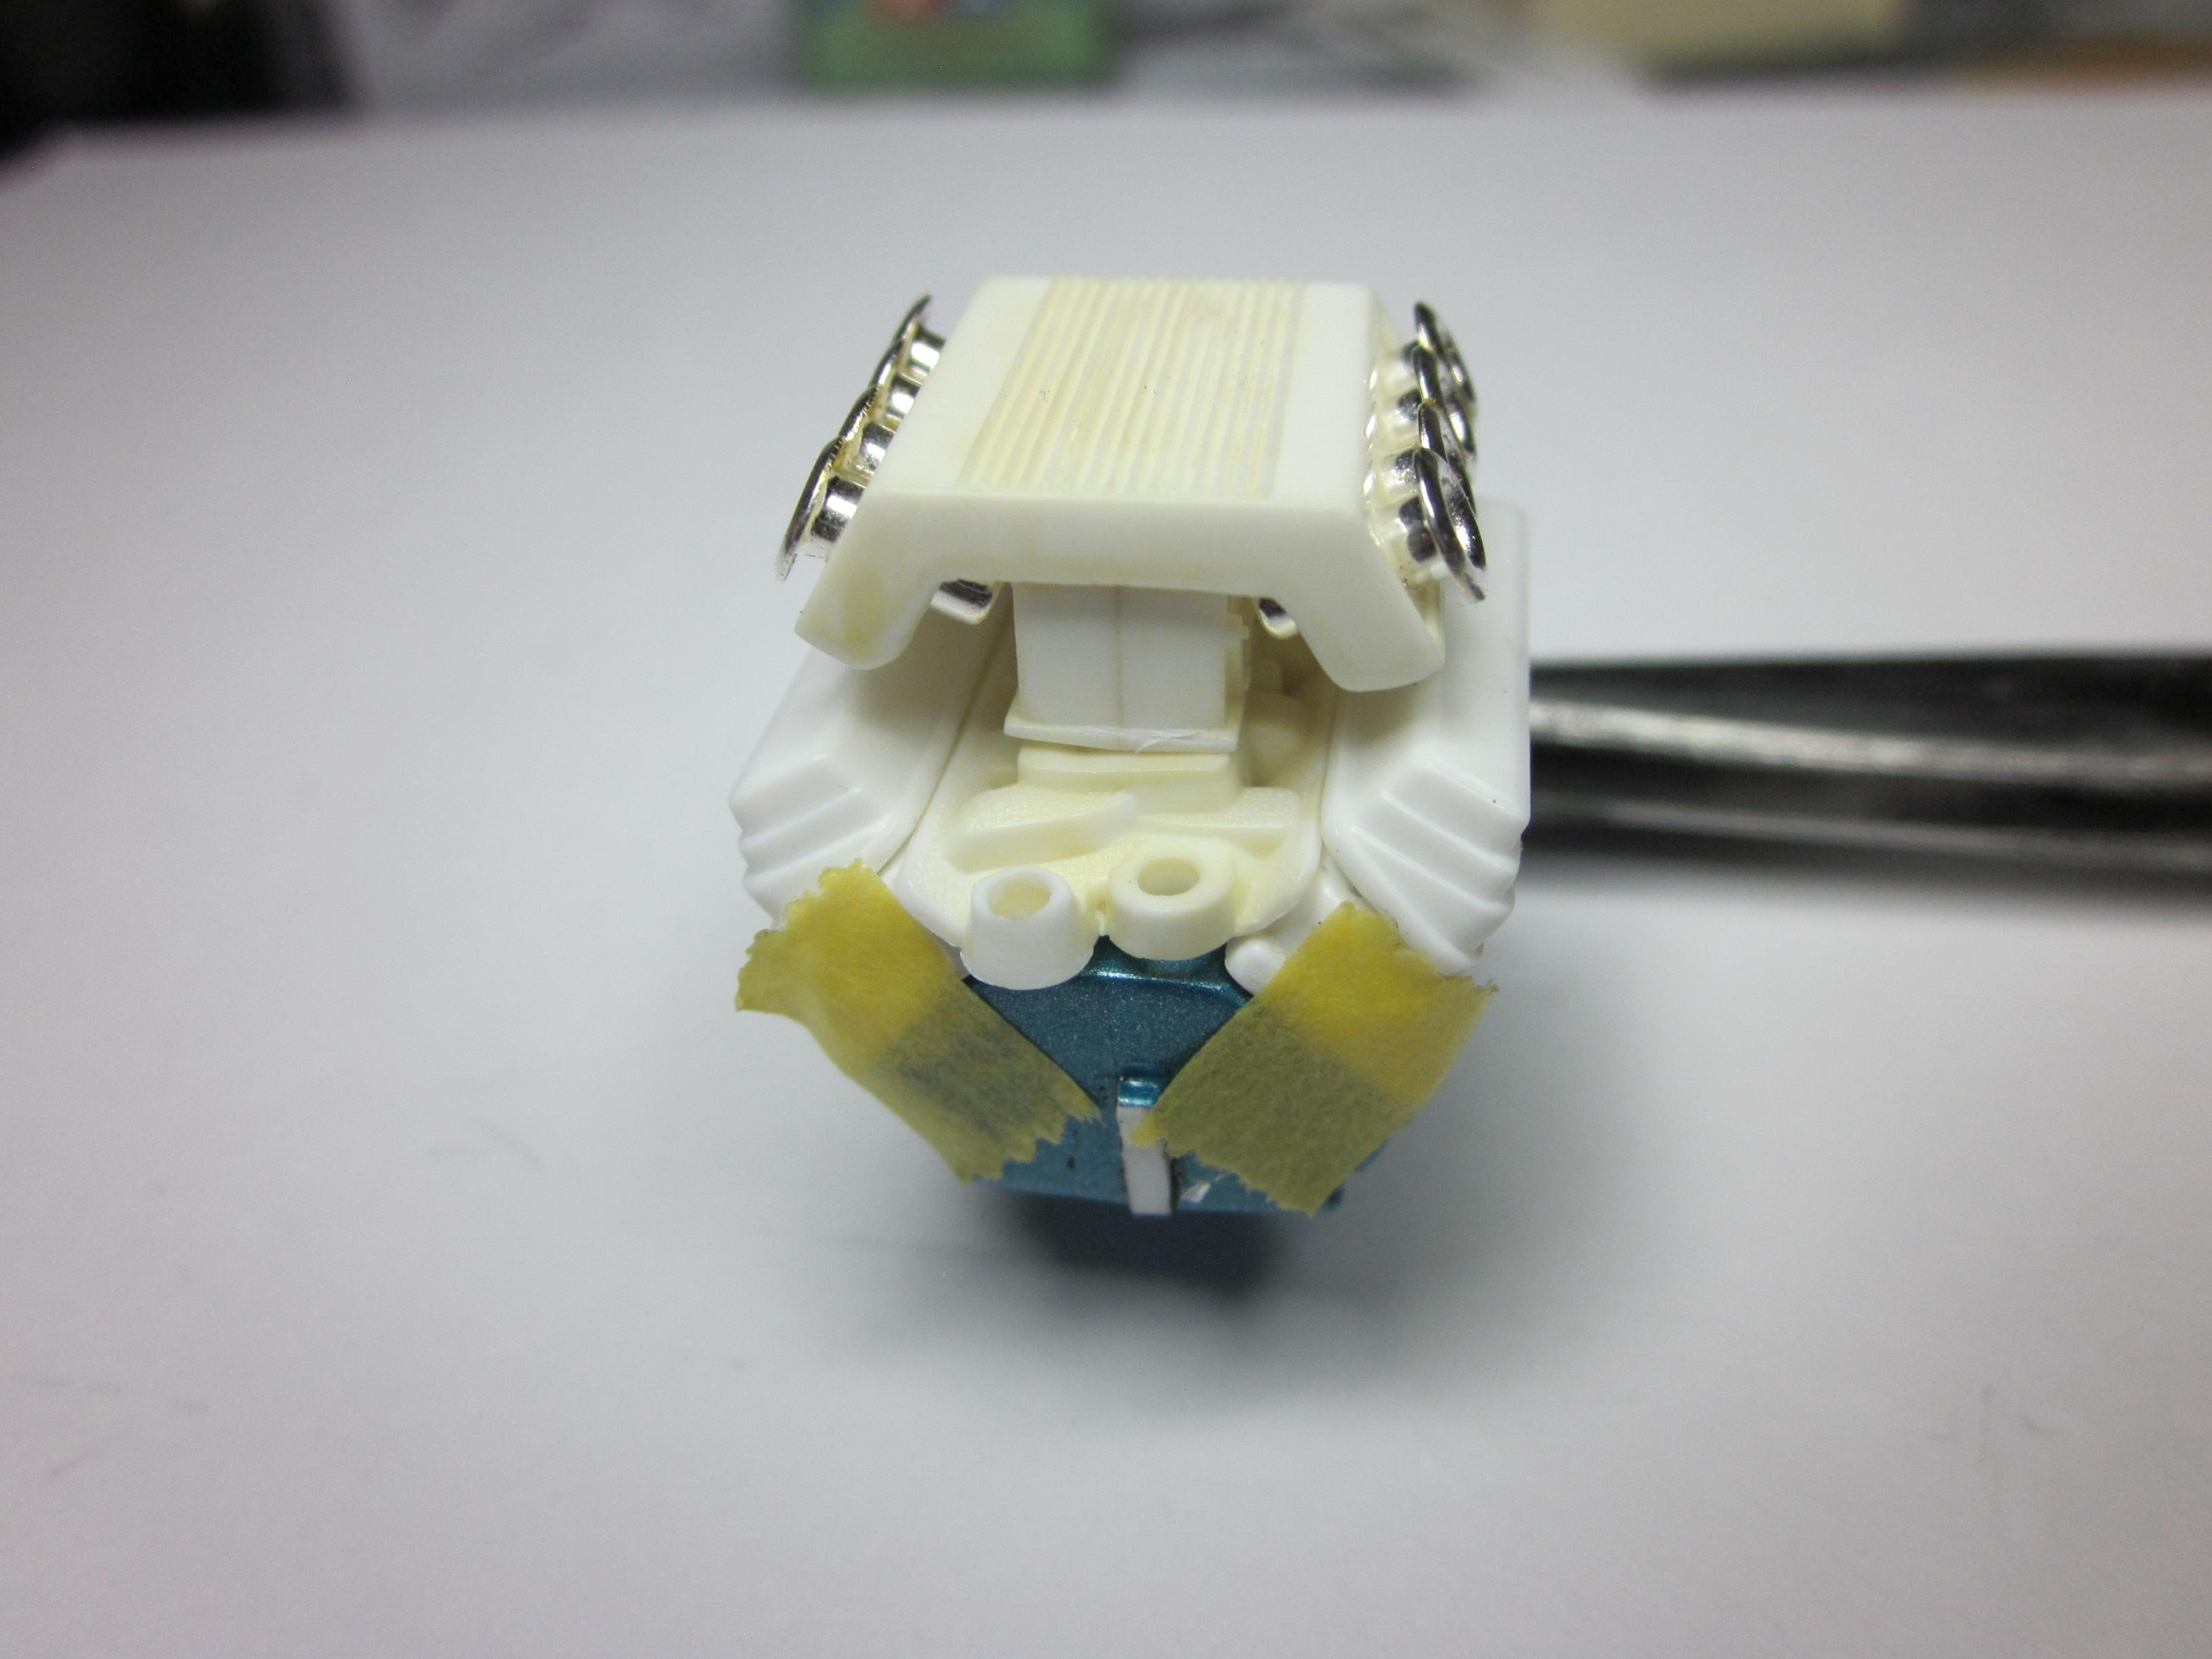
Steve, The parts came out of the AMT '92 ford flareside pickup kit. And yes , I did see those valve covers in there but chose to use the ones already on the engine as it came to me from @Kit Karson and making them look more custom. I have an idea for the air box that i think will make it somewhat unique and add some detail to the engine. What I'm planning to do is add 8 bellmouth volocity stacks to the air box, 4 down each side. KK sent me some parts to make this happen and I think they will work perfect. The first thing I had to do was to file them to have 2 flats on the center ones and 1 flat for thr end ones. Not too tough to do. To make a template for the holes to be drilled for the stacks in the box I mounted 4 of them between two pieces of tape. Then a small hammer was used to lightly tap on the eyelet's on a solid surface to punch the holes on the other side. This worked perfectly. And the result is a template that was put on the box and the holes drilled for the stack's starting with a .80 bit and working my way up to a size that the stack would almost fit and then filed too fit from there. Did the same thing on the other side. I like the results and think it was worth the effort. I think that the front of the box will have to be filled in alittle to hide the end of the eyelet's. And the intake manifold has to be trimmed some to fit the engine. I can't do that till the heads are painted and on the block. More to come.................. Speedpro Missed a couple pics.......
-
Very nice RRR! You never cease to amaze me with your builds. That blue is the perfect color. Really nice build man! Speedpro
-
Great build! Excellent paint color choices and application. Love the details. Top notch work here!! Speedpro
-
Cool streamliner. Nice work
-
c class dtm salzgitter 2011
Speedpro replied to dougwintz's topic in Other Racing: Road Racing, Salt Flat Racers
Very nice! -
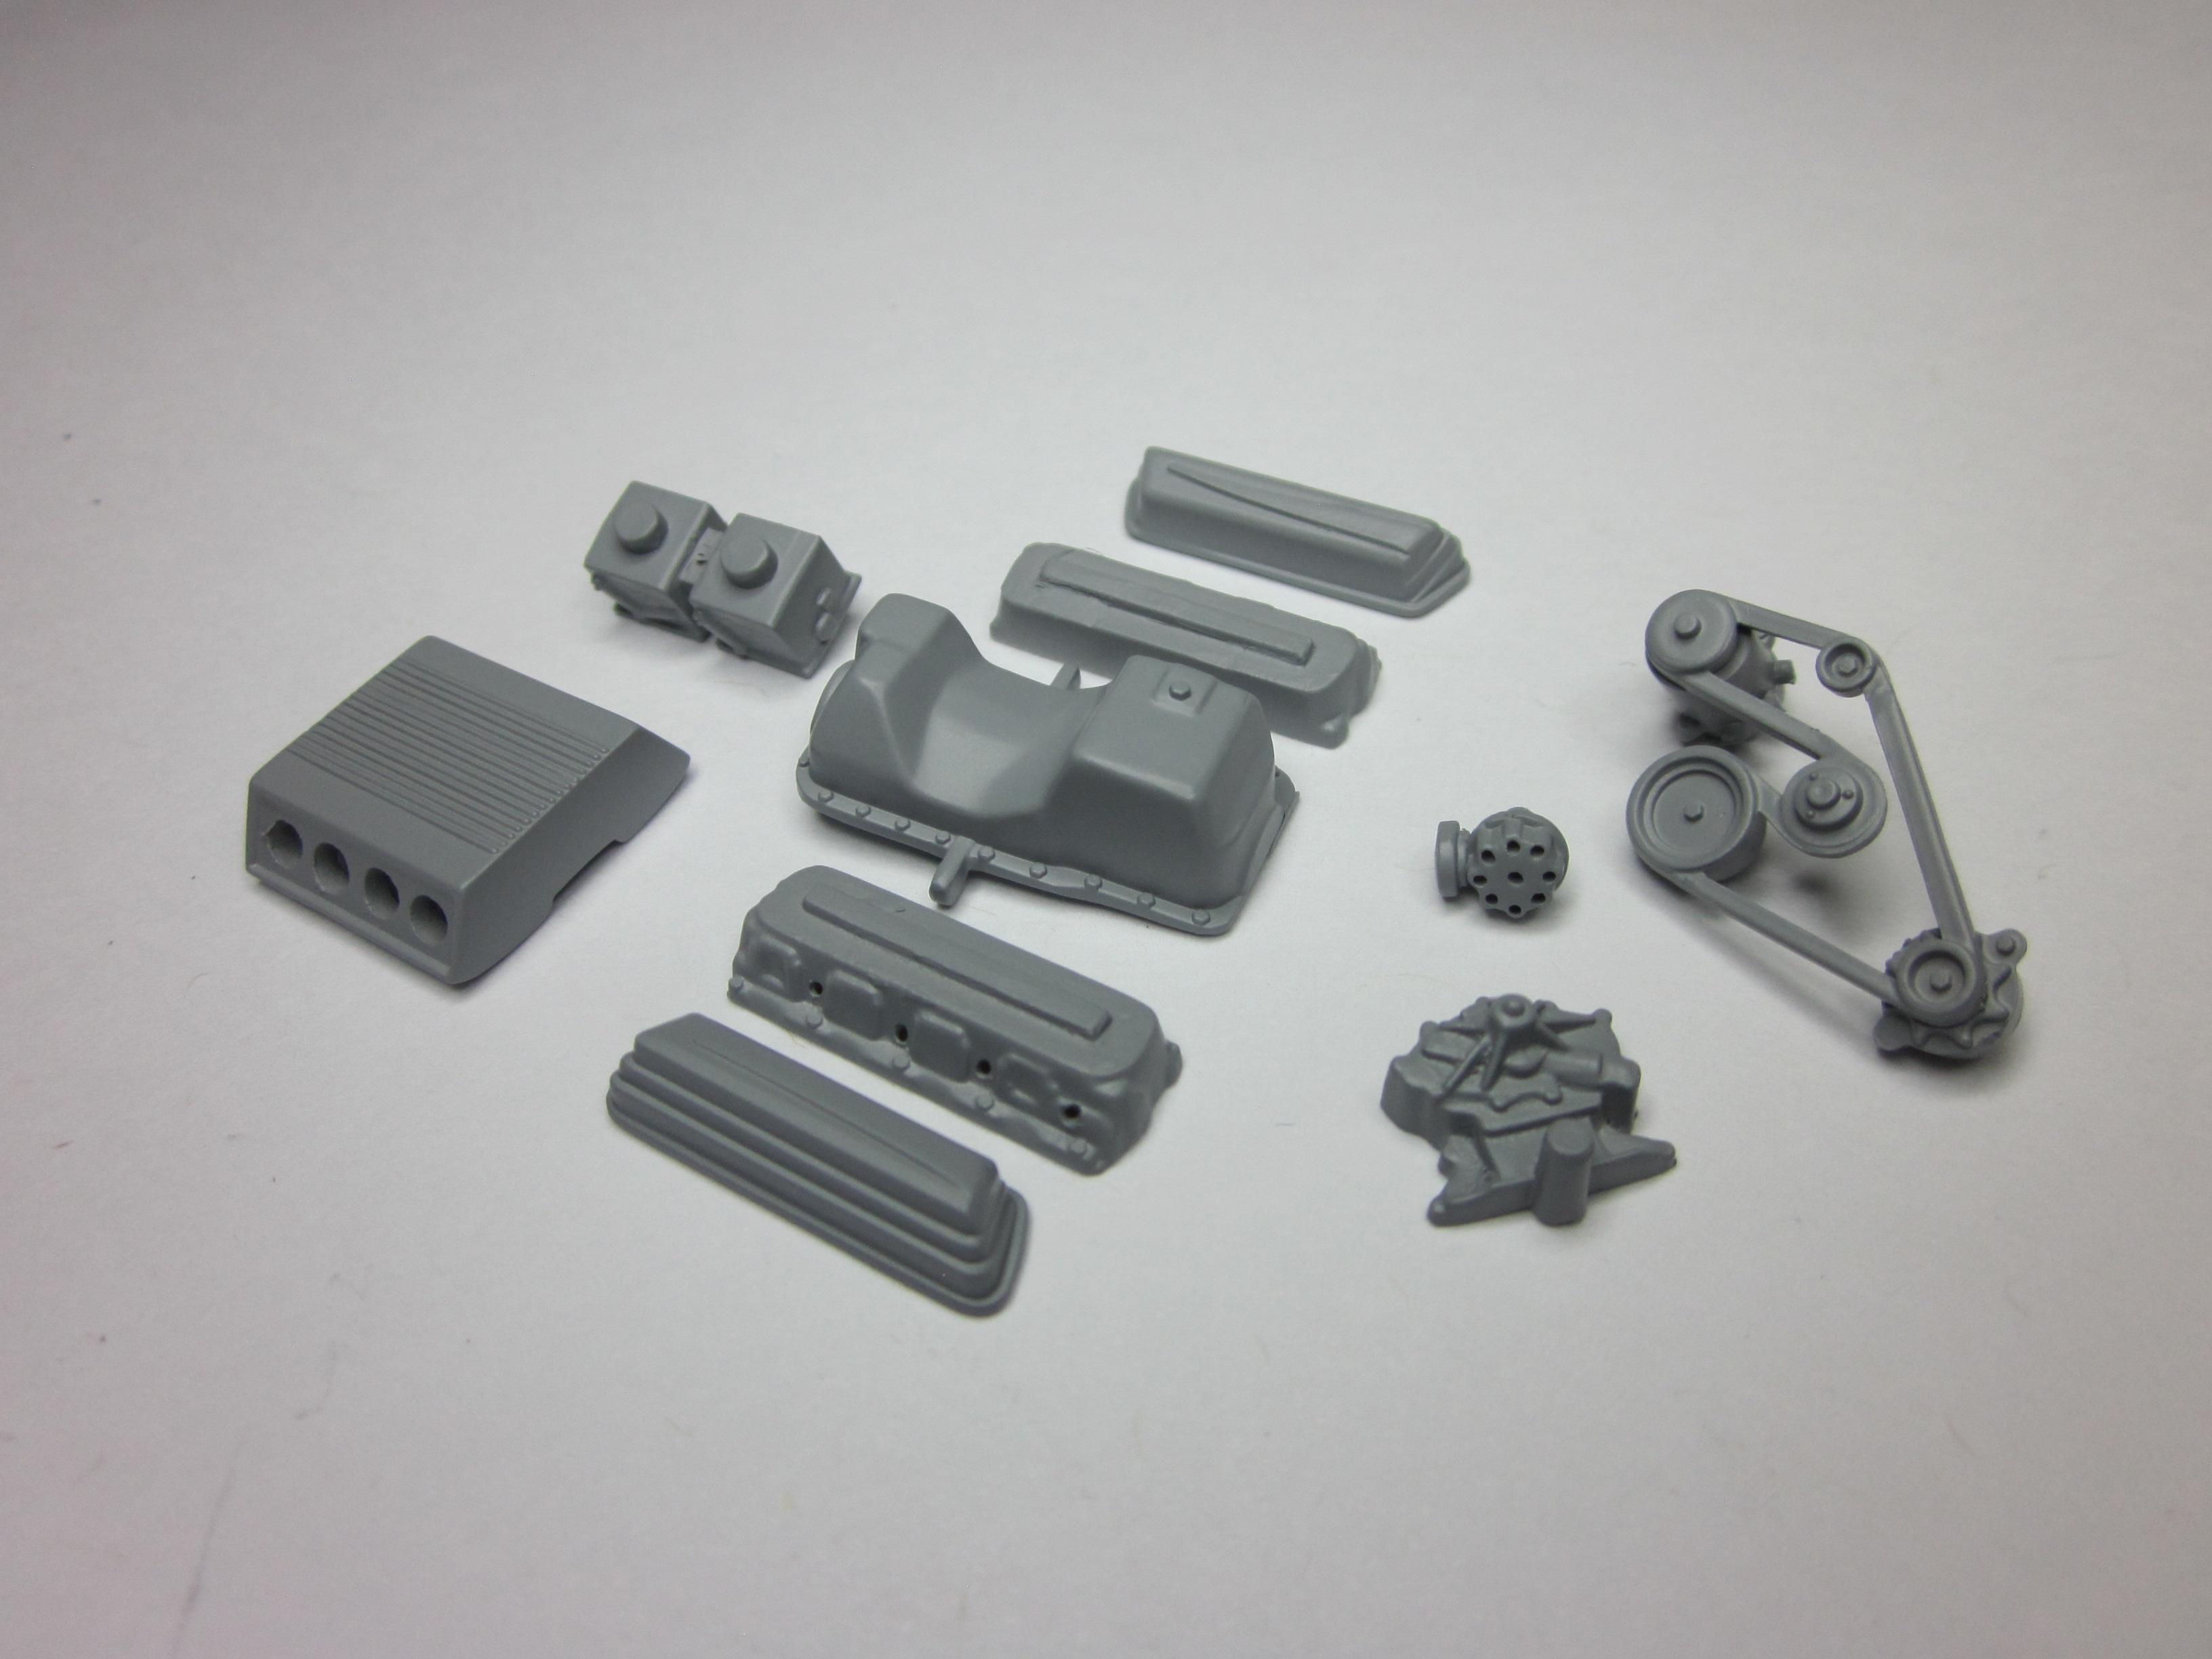
Have a small update on the engine for @Kit Karson's truck. i must have gone through 100 kits trying to come up with something to give this engine some life. Finding a intake manifold for a blower or some kind of injection that will fit the engine was unsuccessful in my stash. Everything was just too out of scale (too big). Just couldn't believe I don't have anything, or though I thought! This is what I came upon. It's different. Intake that fits and has a pair of Predator carburetors. Period correct? What I really like is the air box that mounts on top of the carbs. Any one know what kit this setup came from? I'v got something in mind to bring the air box to a different level. For now the parts are getting the chrome stripped. @Kit Karson sent some parts to help out my vision................. I think I'm on the right track. Will maybe do something to the valve covers to give some character as they are just too plain looking. Thats it for now. Speedpro
-
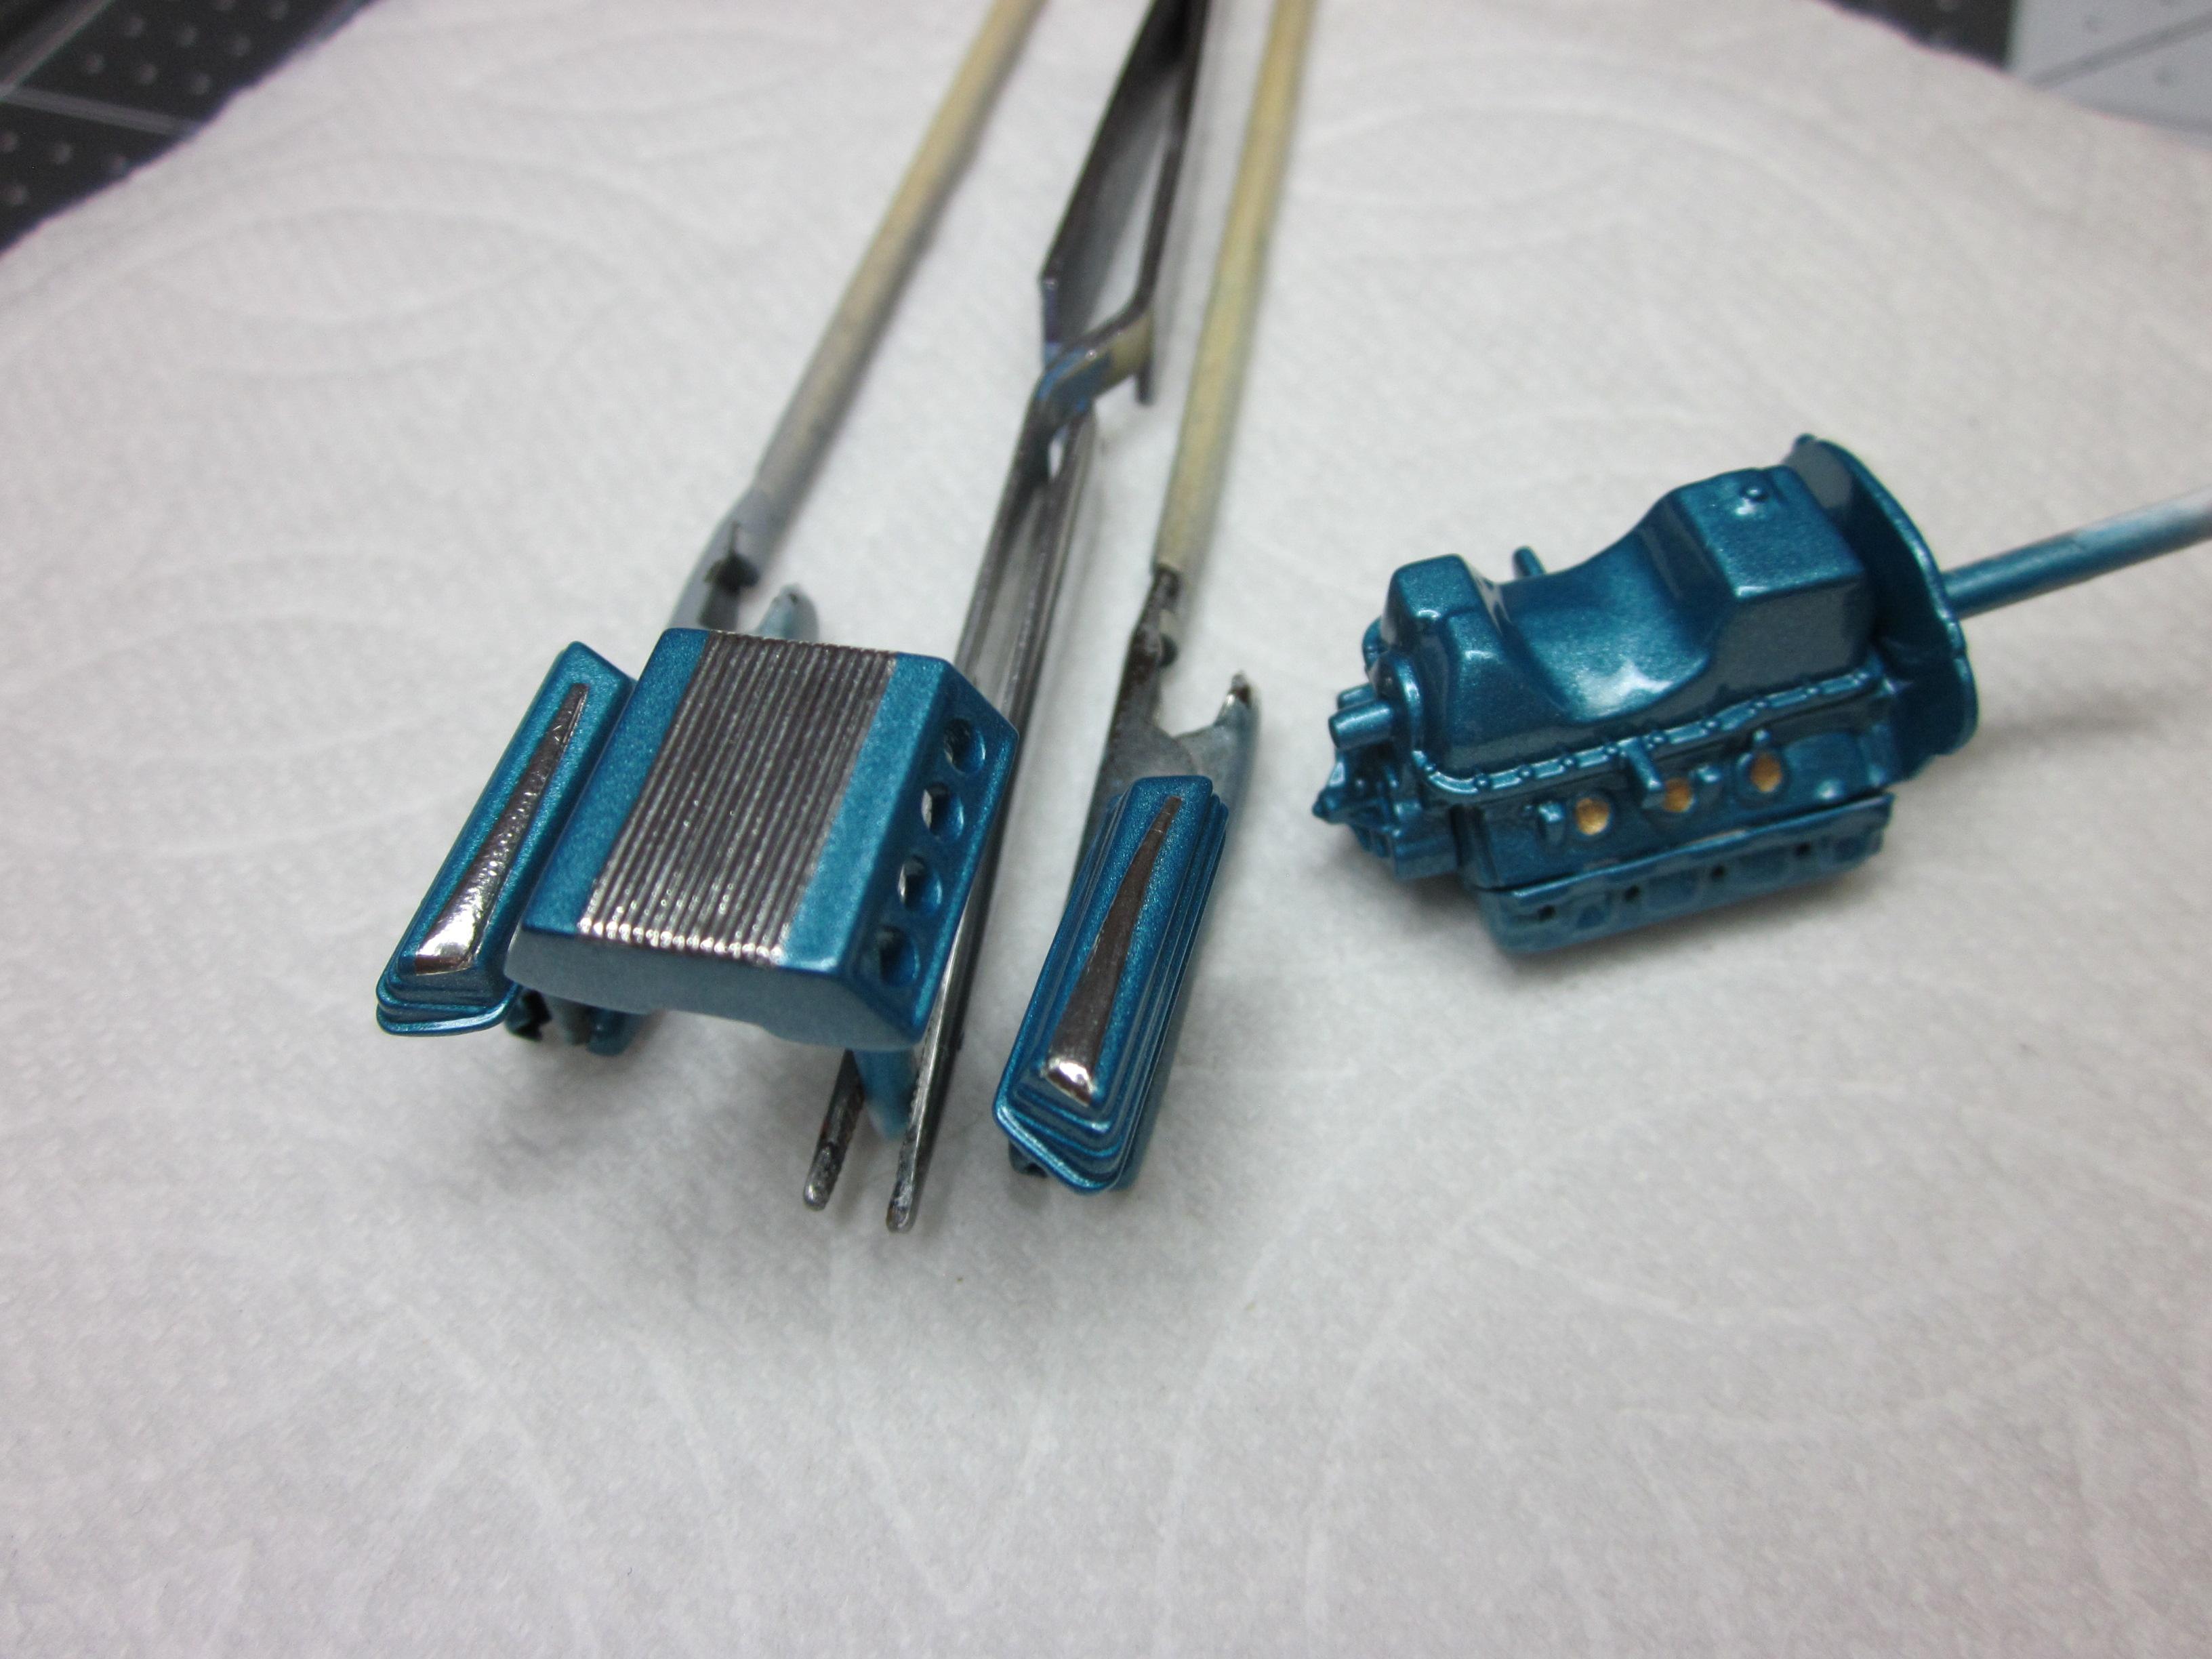
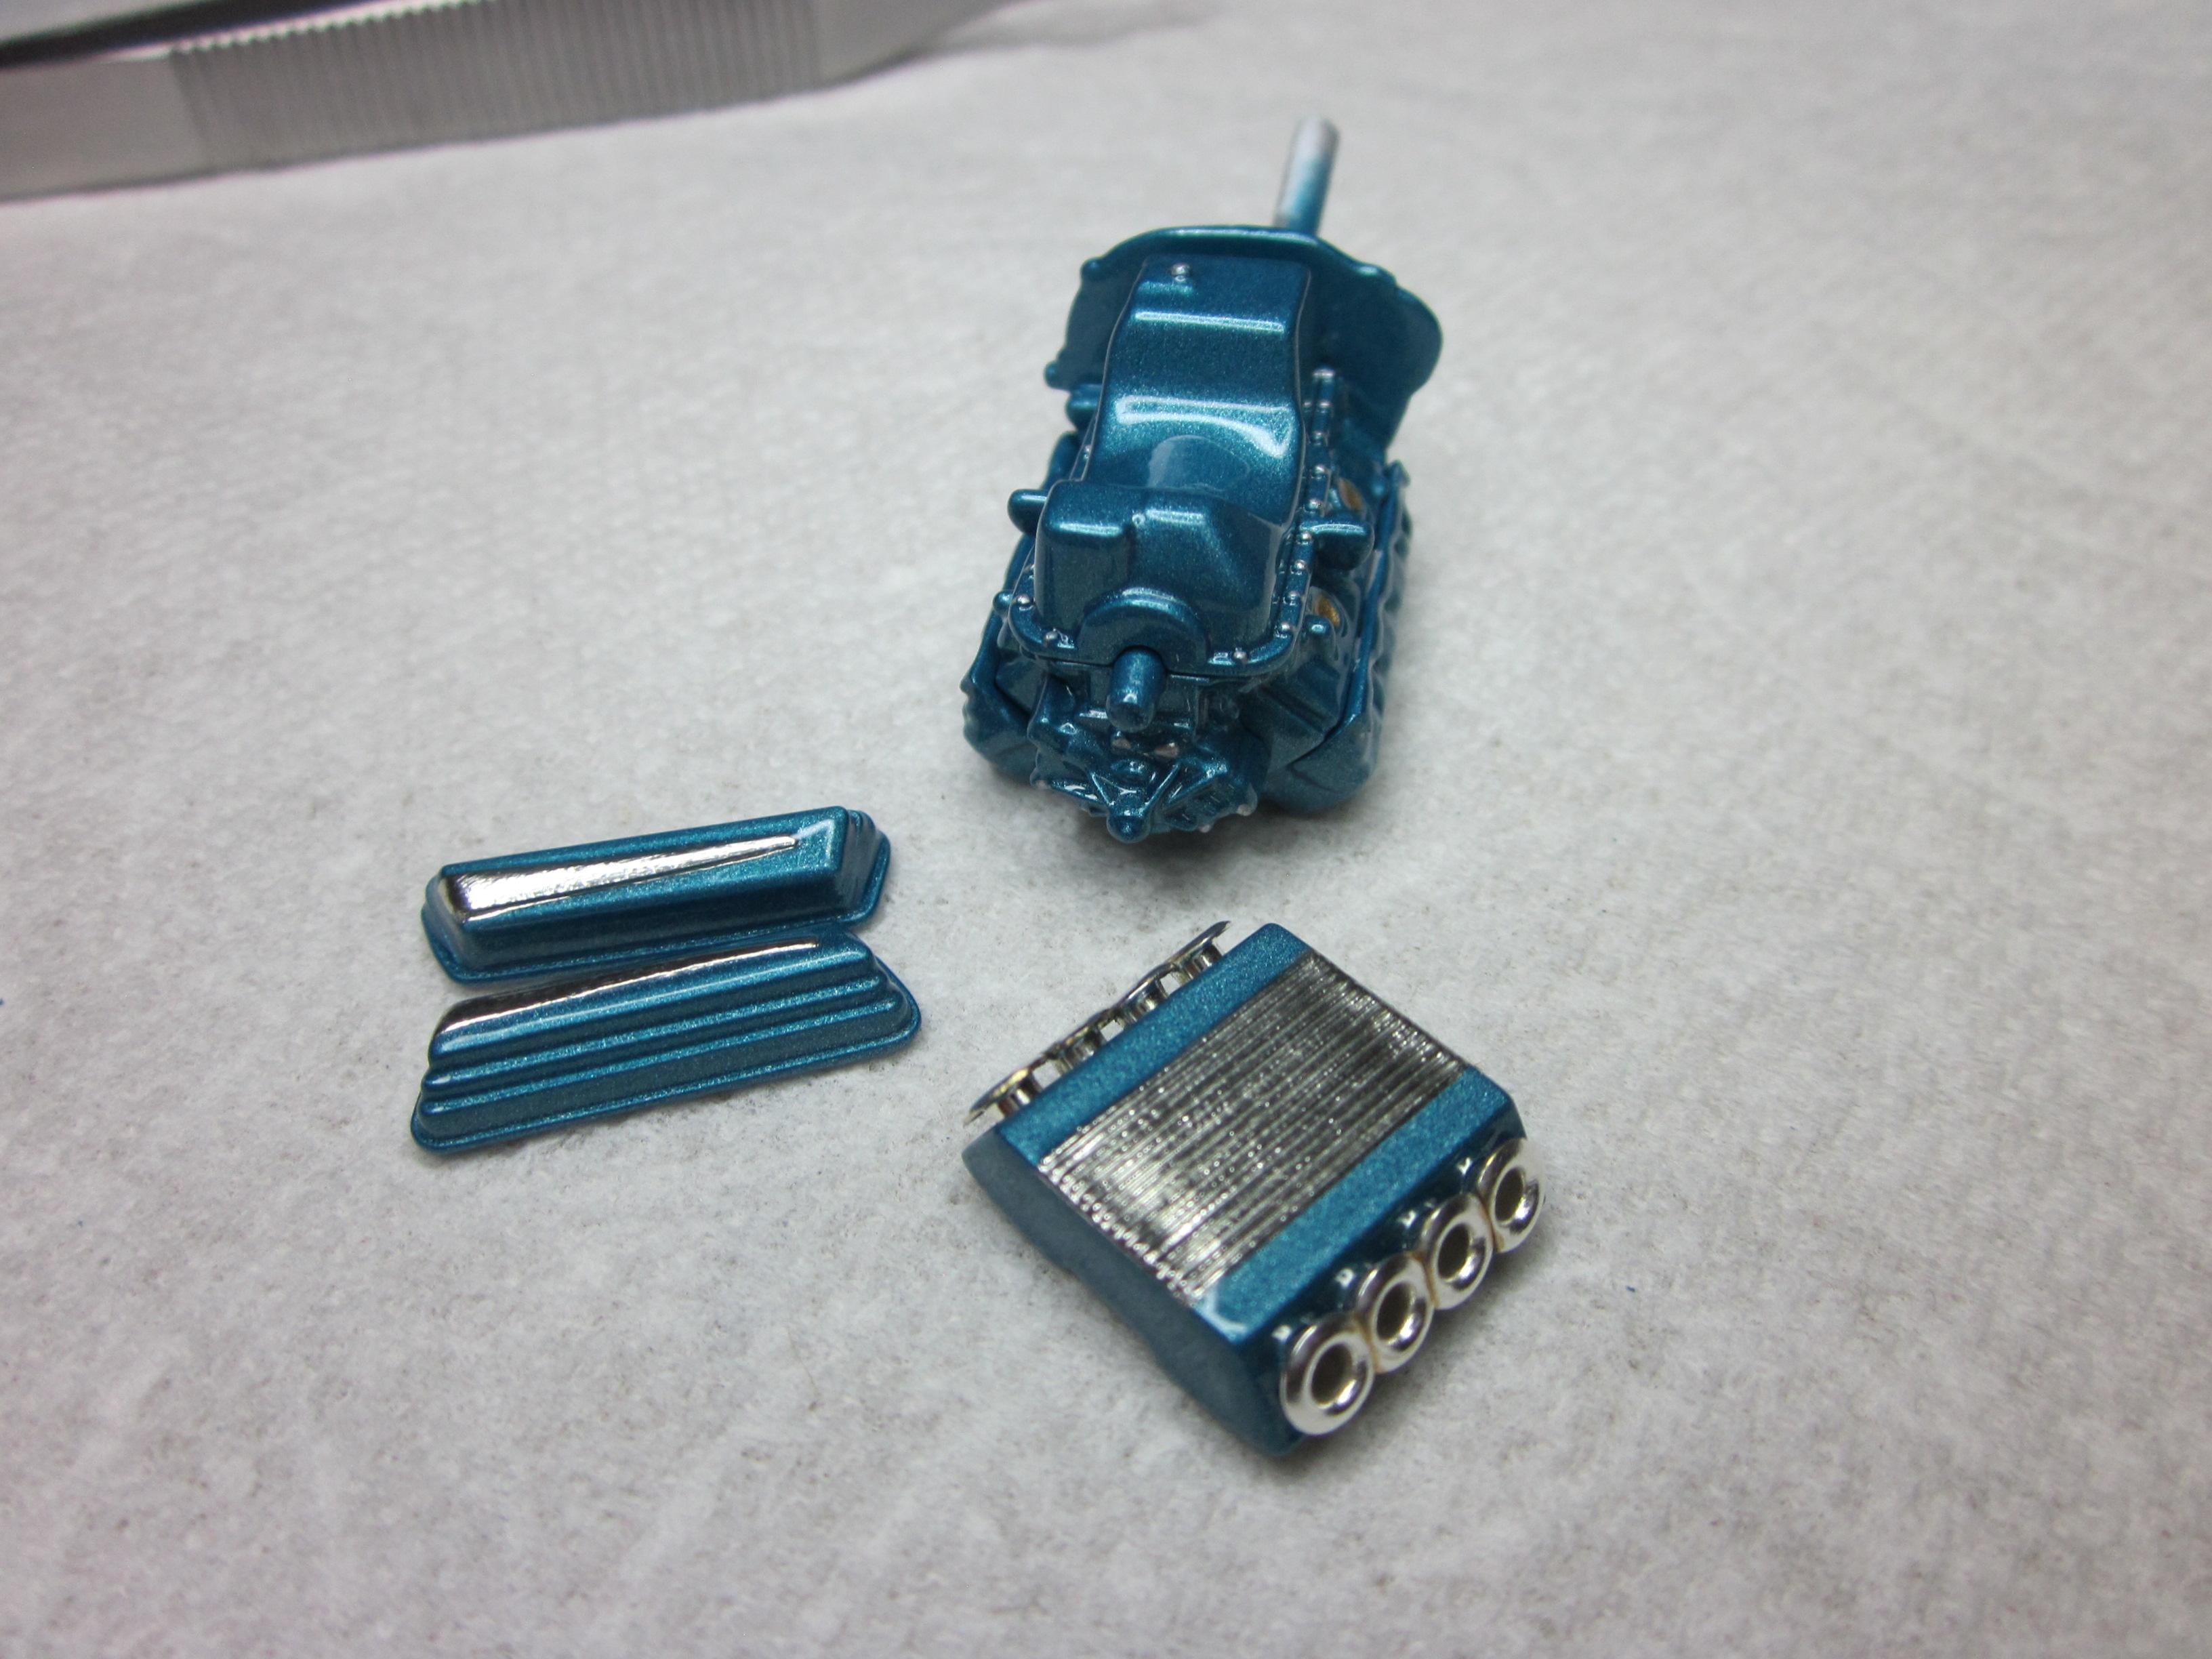
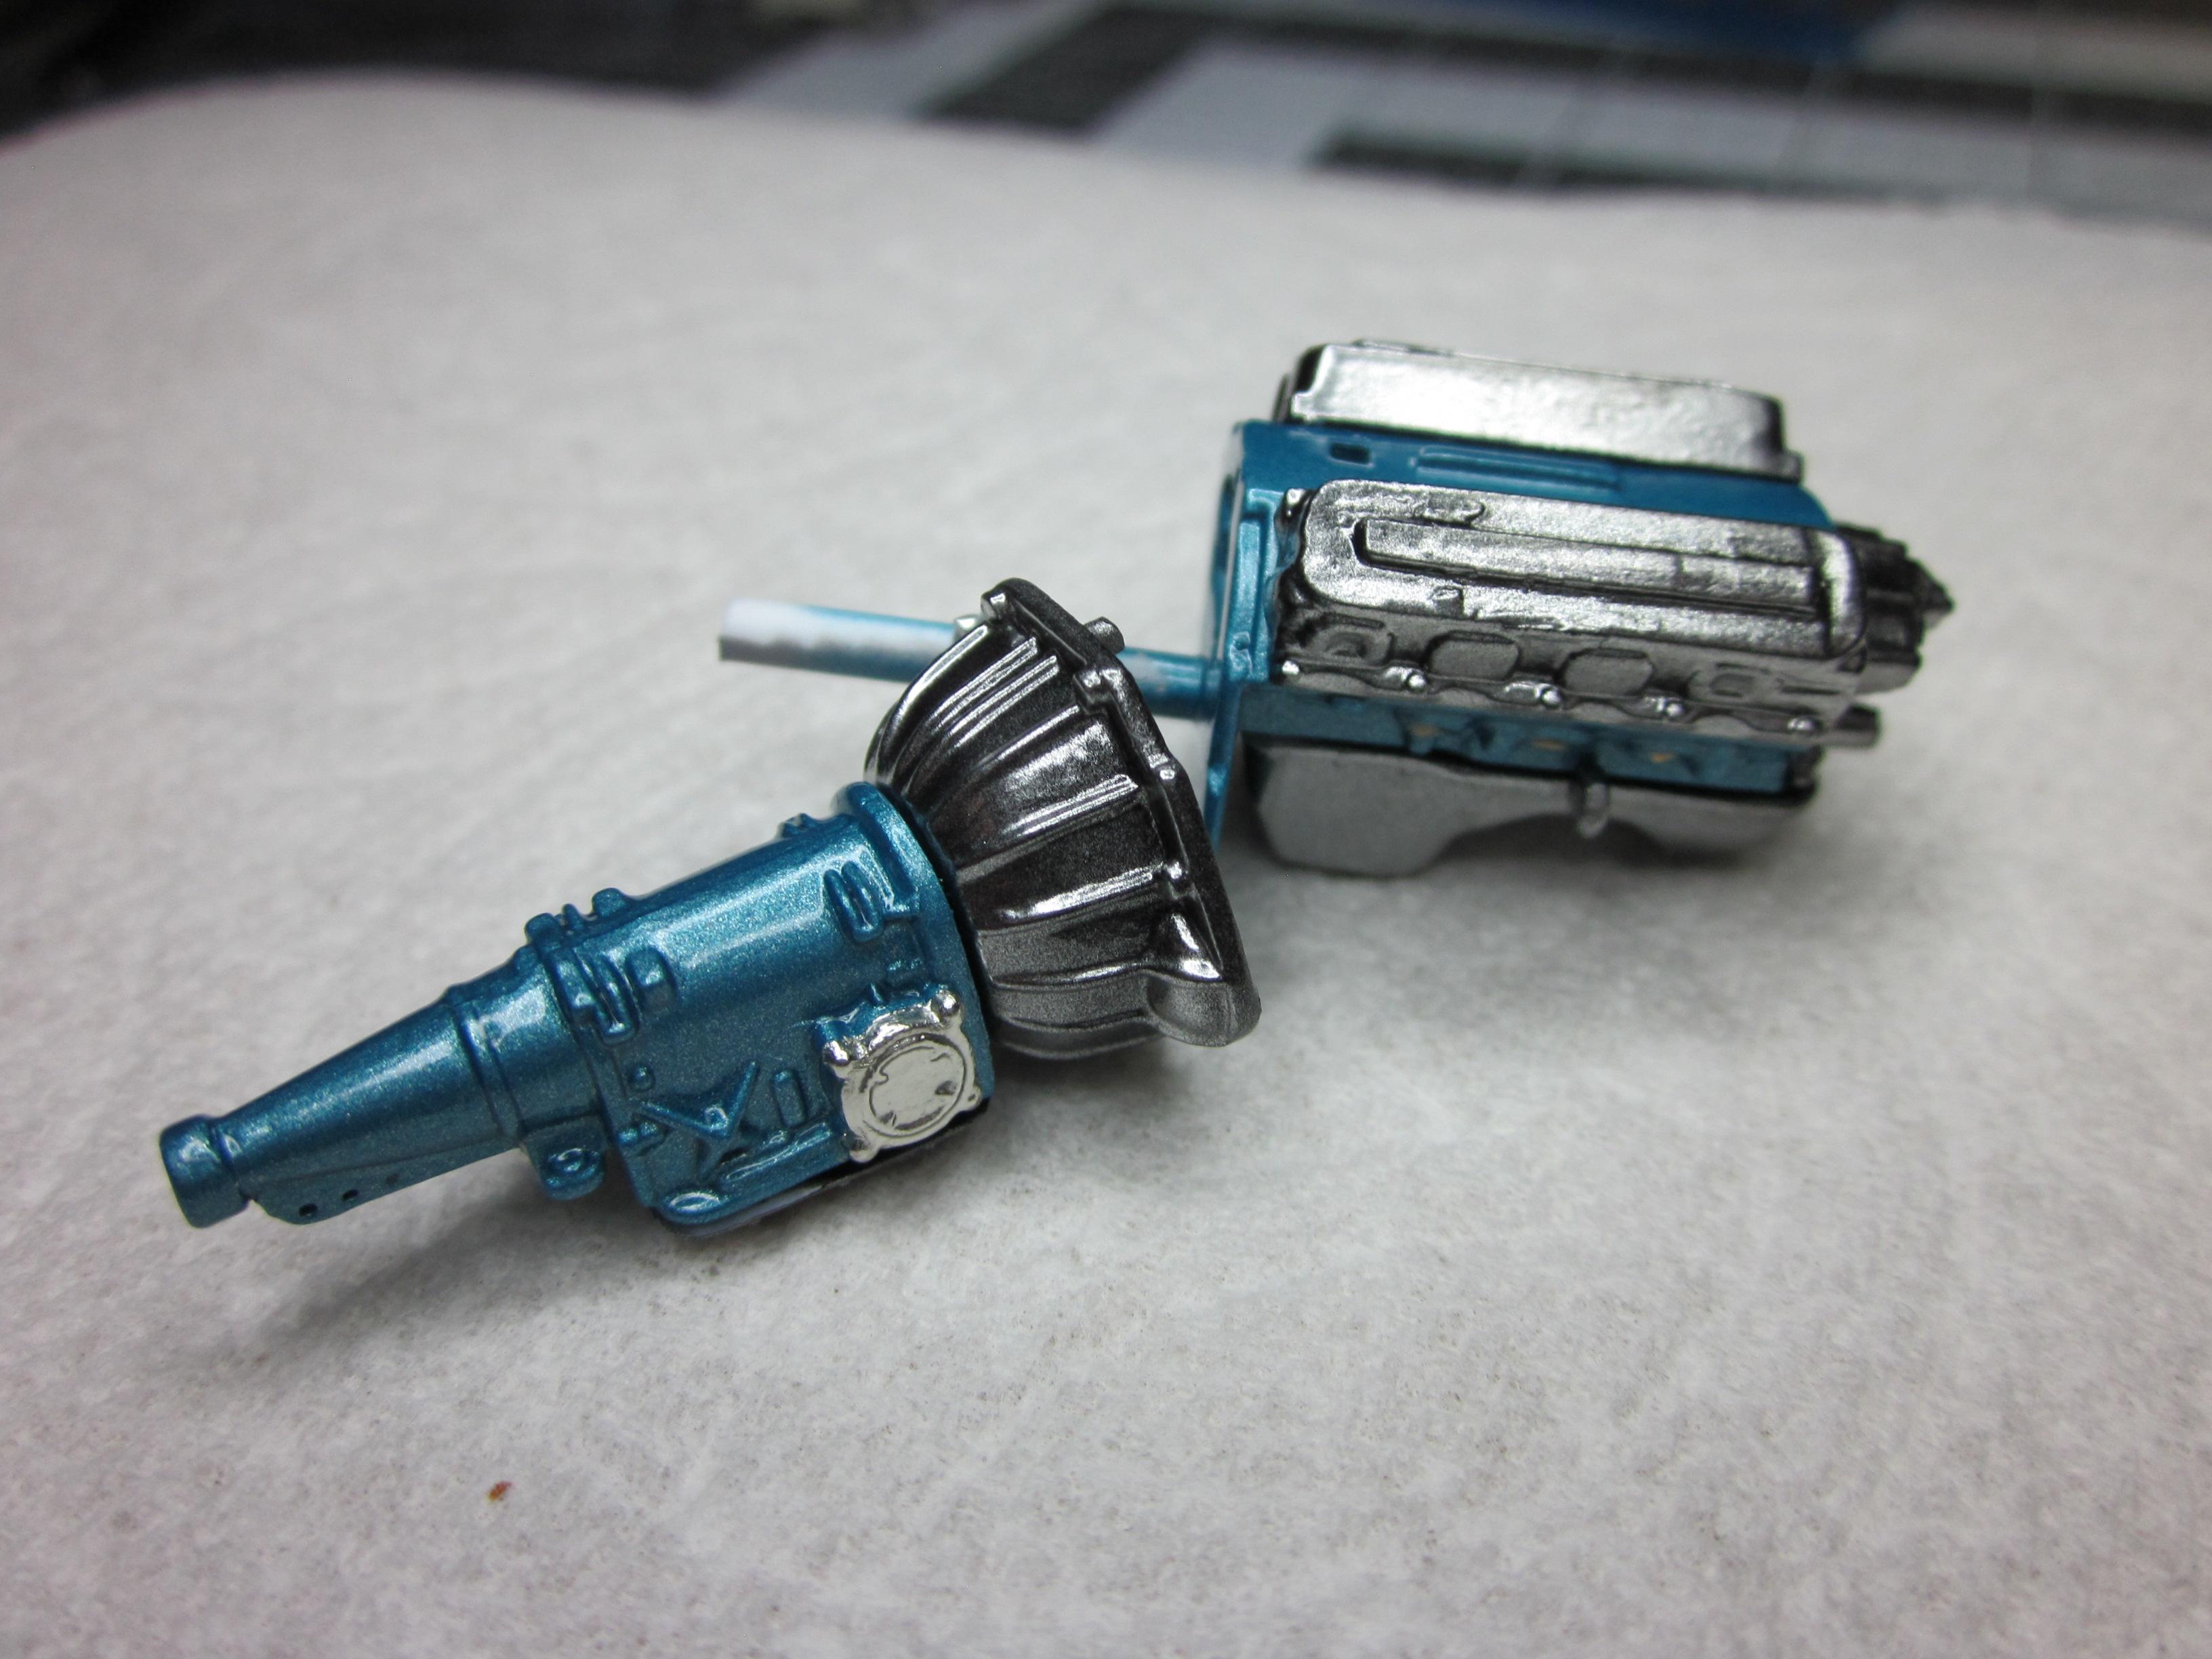
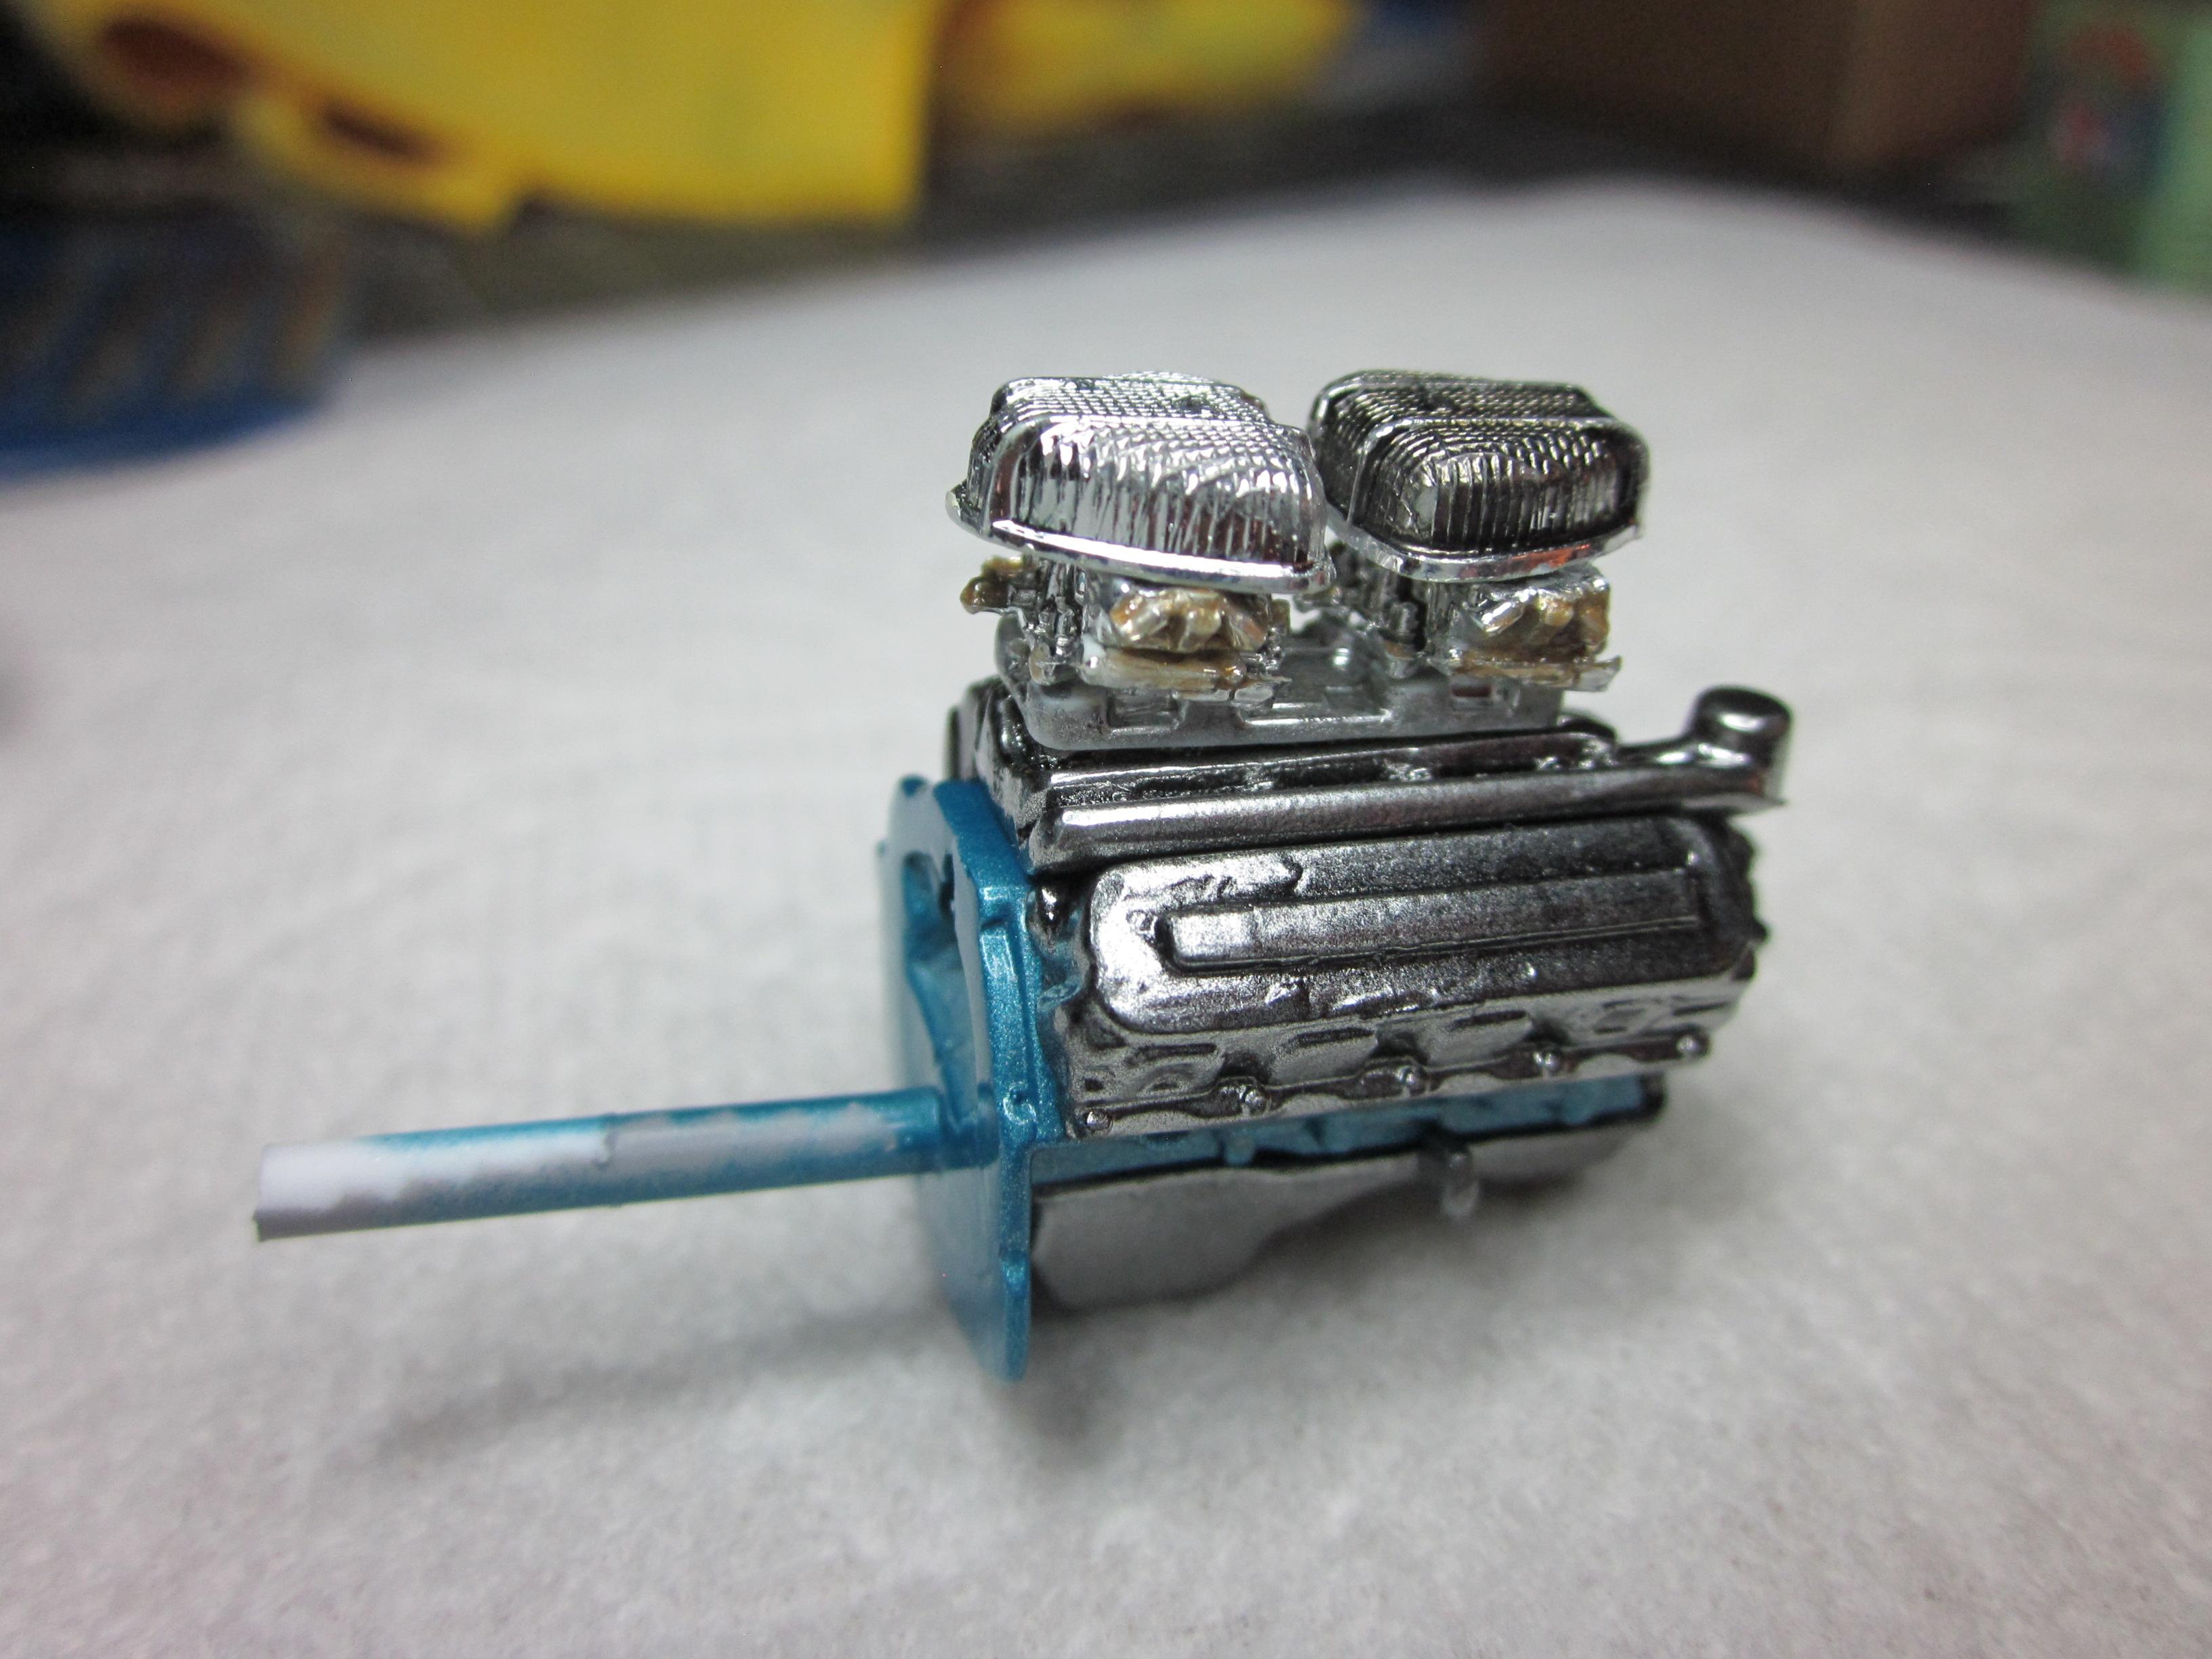
Bill, Your chassis turned out very nice. Great work! So as you know, I have been involved with working on @Kit Karson's 1929 Ford Pickup 80s Contemporary Street- Rod a Tim Boyd Tribute build that i was doing a repaint on for him. Things have escalated past the paint, the chassis, and the interior and on to the engine I go. The engine was put all together when i took possession of this project. I tried working with said engine and it just wasn't working with the truck and what i have got done so far. Here is a picture of the engine as it came to me. Sorry it's not a better pic but it is the only one i have. It all came apart and stripped of paint soon after i got it. I already knew i was going to repaint it...... With the engine apart and stripped, it was primed and ready for some fresh paint. The block will be body color and the heads, intake, oil pan and water pump will be alclad polished aluminum. Bellhousing will be alclad also. The trans will be body color with bmf and and alclad on the pan........ With everything painted the assembly was put together. For the amount of time, effort and material used i thought the results came out ok. Really had to think about this. Is it what should be under the hood. kind of yes. But the intake and carbs must go. Just not feeling it with the induction setup. Needs a more correct intake manifold to start with. After much concideration, I have decided to make some changes in color on the engine. I'm not going to repaint the block but the other parts will get changed. So apart the engine goes again and the parts are being stripped. We will see how things are looking in the next update. Till then..................... Speedpro