Speedpro
-
Posts
842 -
Joined
-
Last visited
Content Type
Profiles
Forums
Events
Gallery
Everything posted by Speedpro
-
I can smell the race fuel and burning rubber from here! Nice work!
-
Thats a hard kit to build. Your effort shows and the color is perfect. Very nice
-
Beautifully done! The trim and all the details look spot on. One of the best examples I have seen!
-
You always do such nice clean work. I enjoy looking at your builds.
-
Great build of an old kit. Very clean work.
-
Very nice! The paint and details look great
-
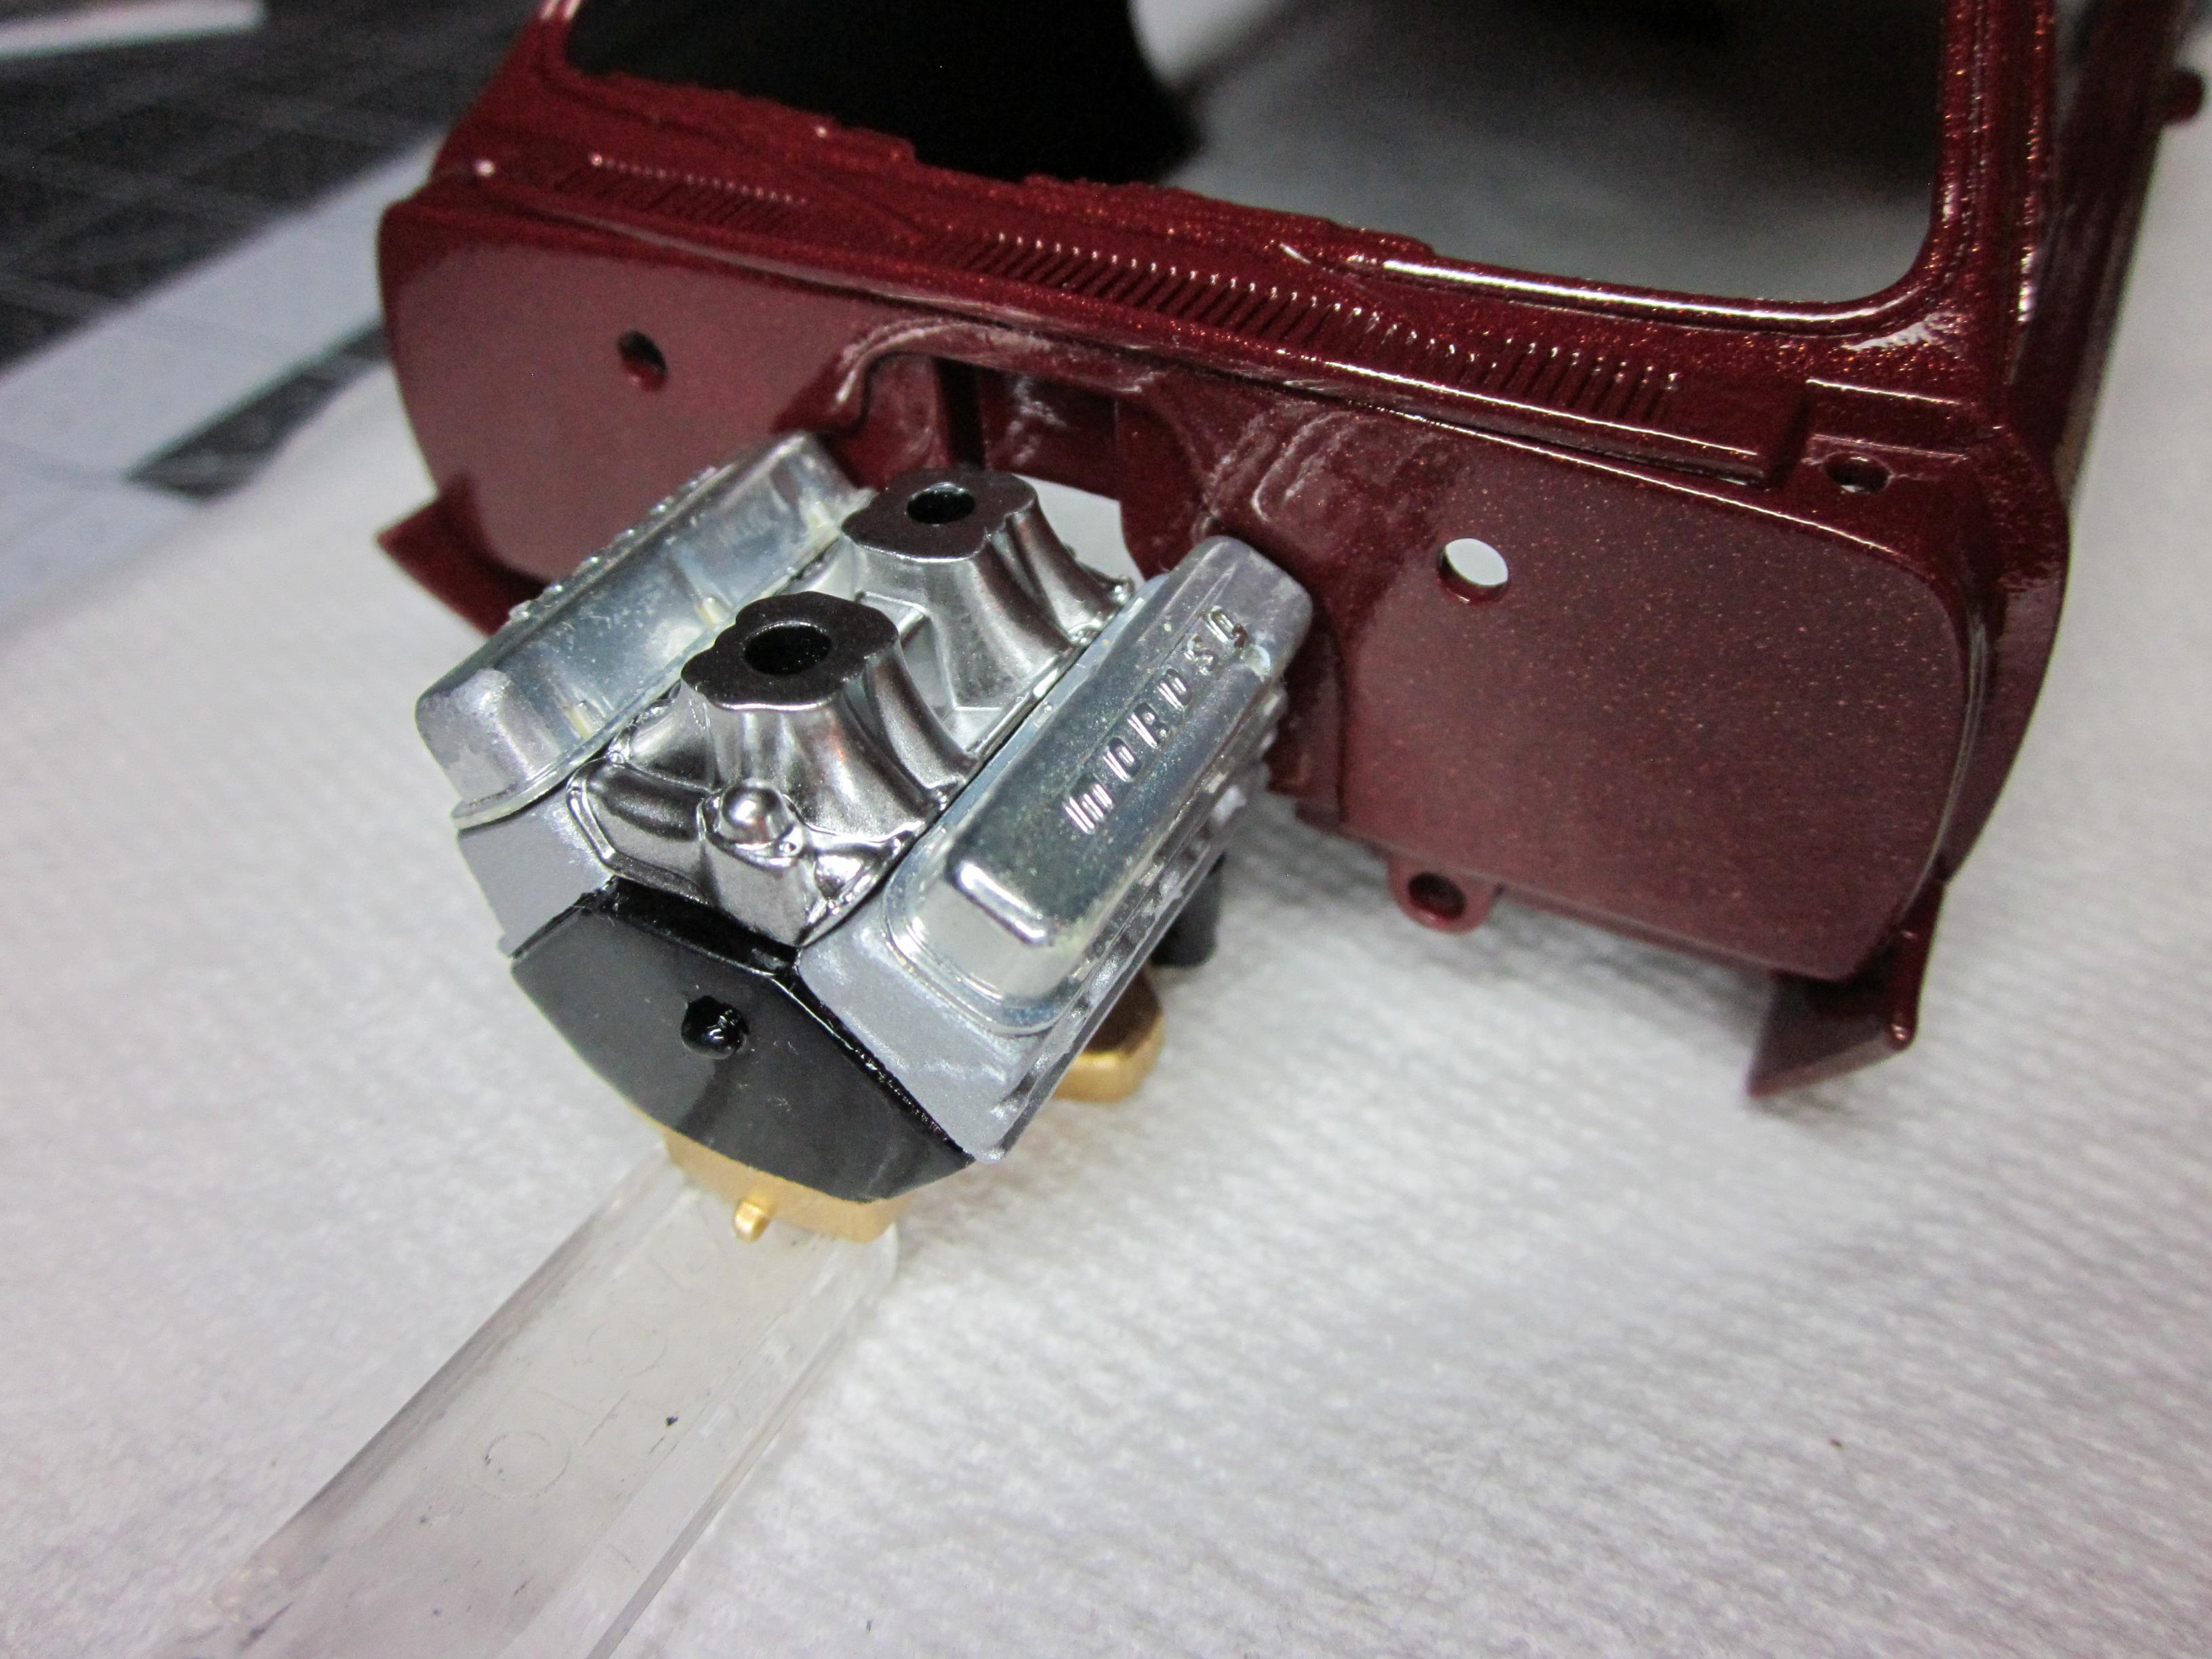
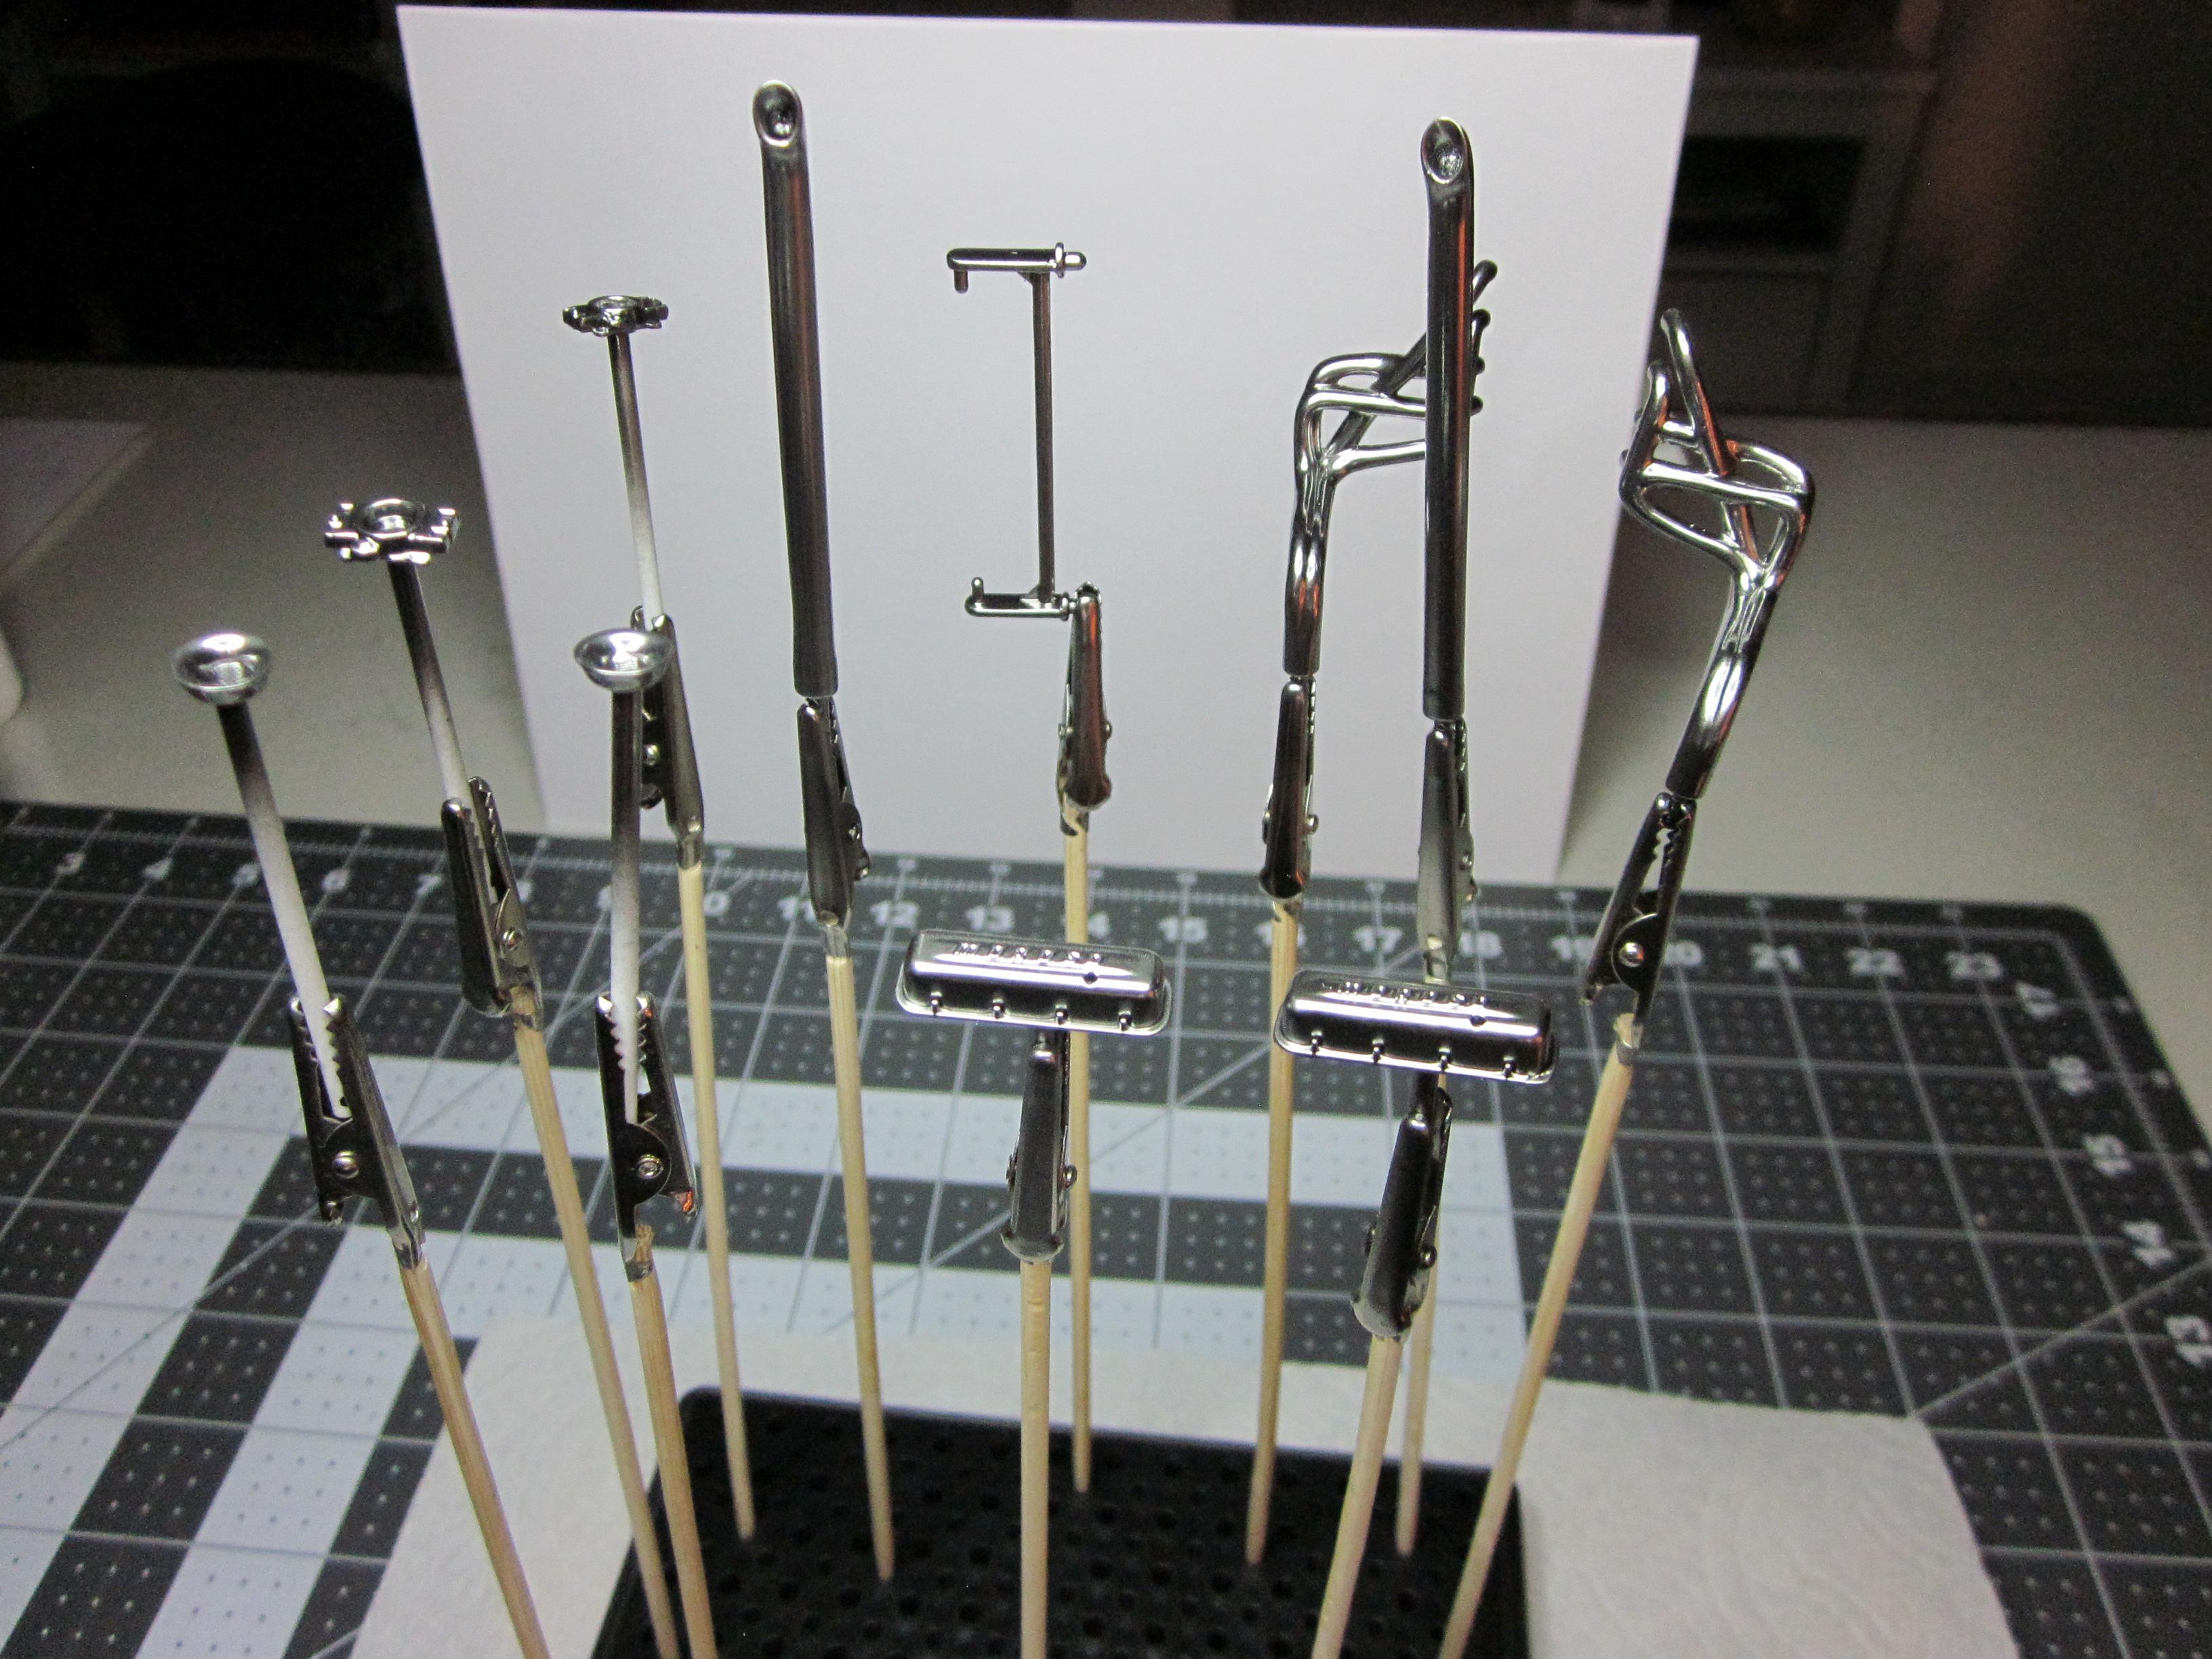
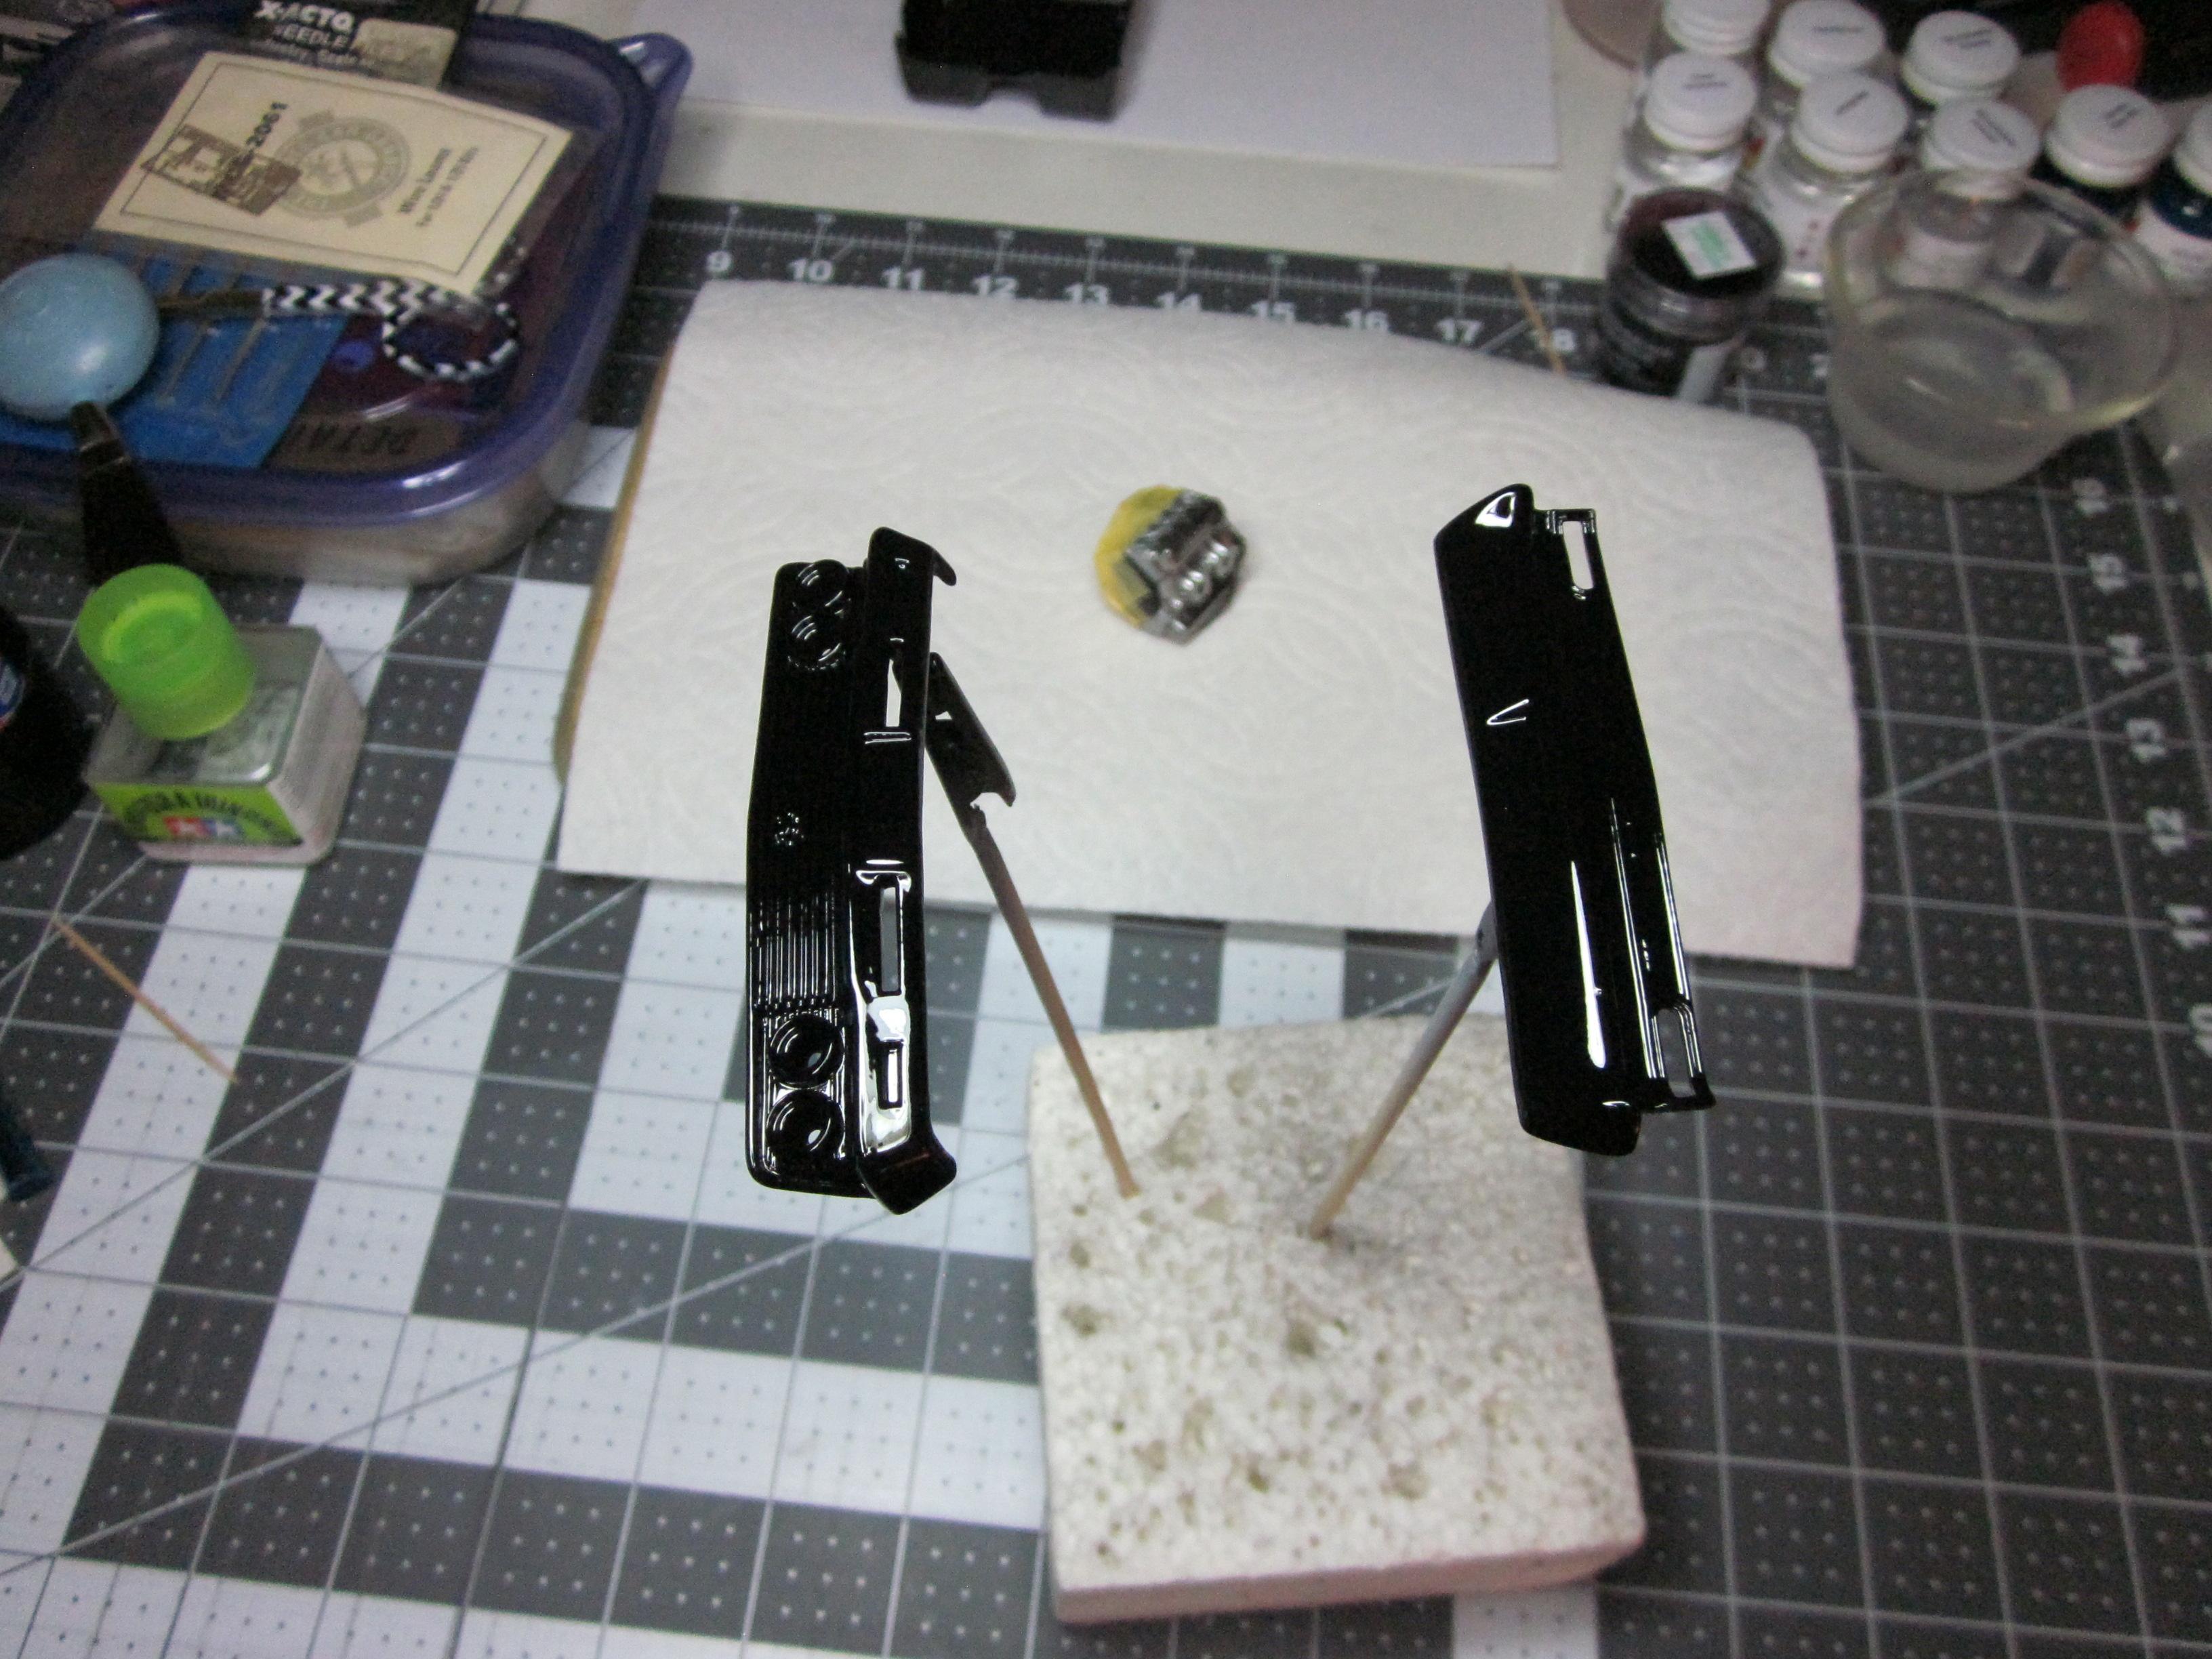
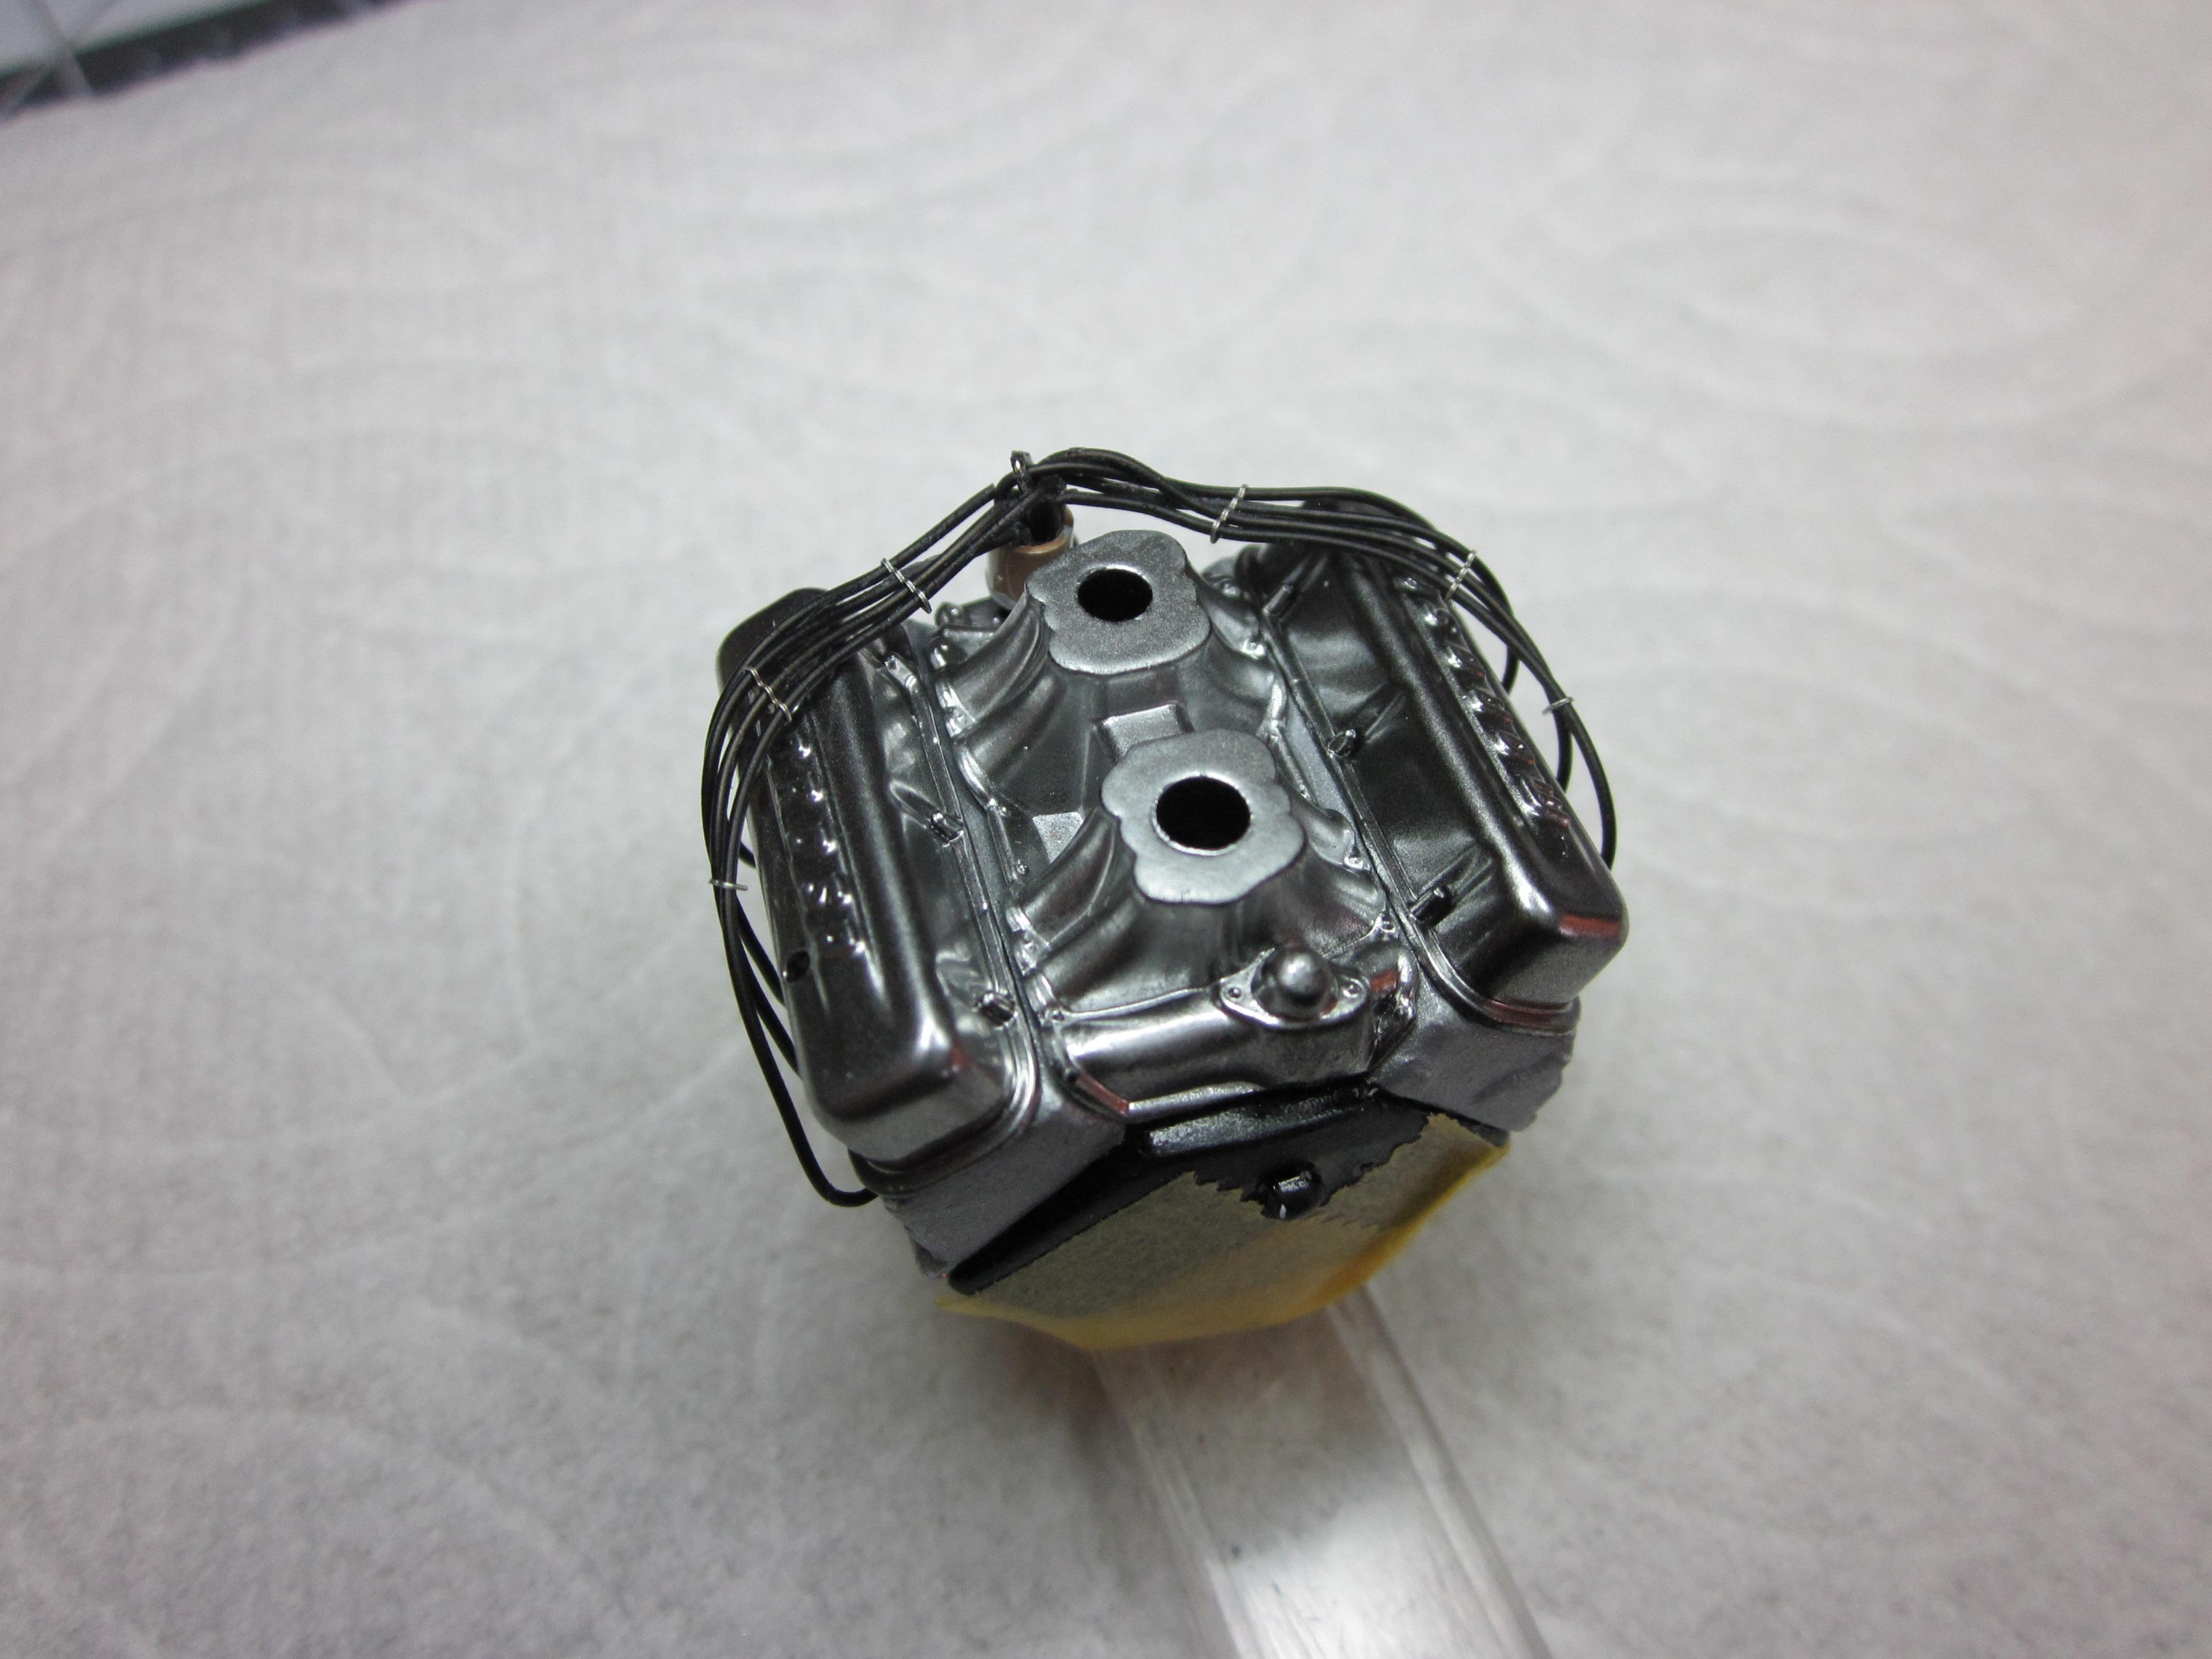
I think I have things corrected and redone and I can move forward. Got the plug wires ran over the valve covers. Now the engine should go right in. Put embossing powder on the back wall of the interior bucket to hide what happened with the decal. The bumpers had to be resprayed with alclad and those are done. They came out ok I think. They just seem to look a little dark. First pic is the gloss black enamel before chrome........... Thats it for now................ Thanks for looking and more to come......................................

-
No offence taken steve. I like to think I can get it right the first time. After paint I feel like I only get one shot to get things right. It never looks the same the second time around. So it's more annoying than anything. The fixes are all easy except the plug wires...a little more effort there on those. Thanks also for liking the color because haven't convinced myself I like yet. Speedpro Thank you dave Thanks Edgar, I had to add those fasteners just to give more life to the part. And if you had to work on the engine, taking the panel off would help get those spark plugs out. lol
-
Daniel, The wrinkle's that were in the decal were pretty bad. I use Micro Sol on all my decals. But this one didn't like it. I tried using my brush on it to manipulate it a little and it was not going to get any better. Done a lot of decals in my time. I think it was just too old. It was from an old monogram 55' chevy kit from the early 80's. Thanks Daniel
-
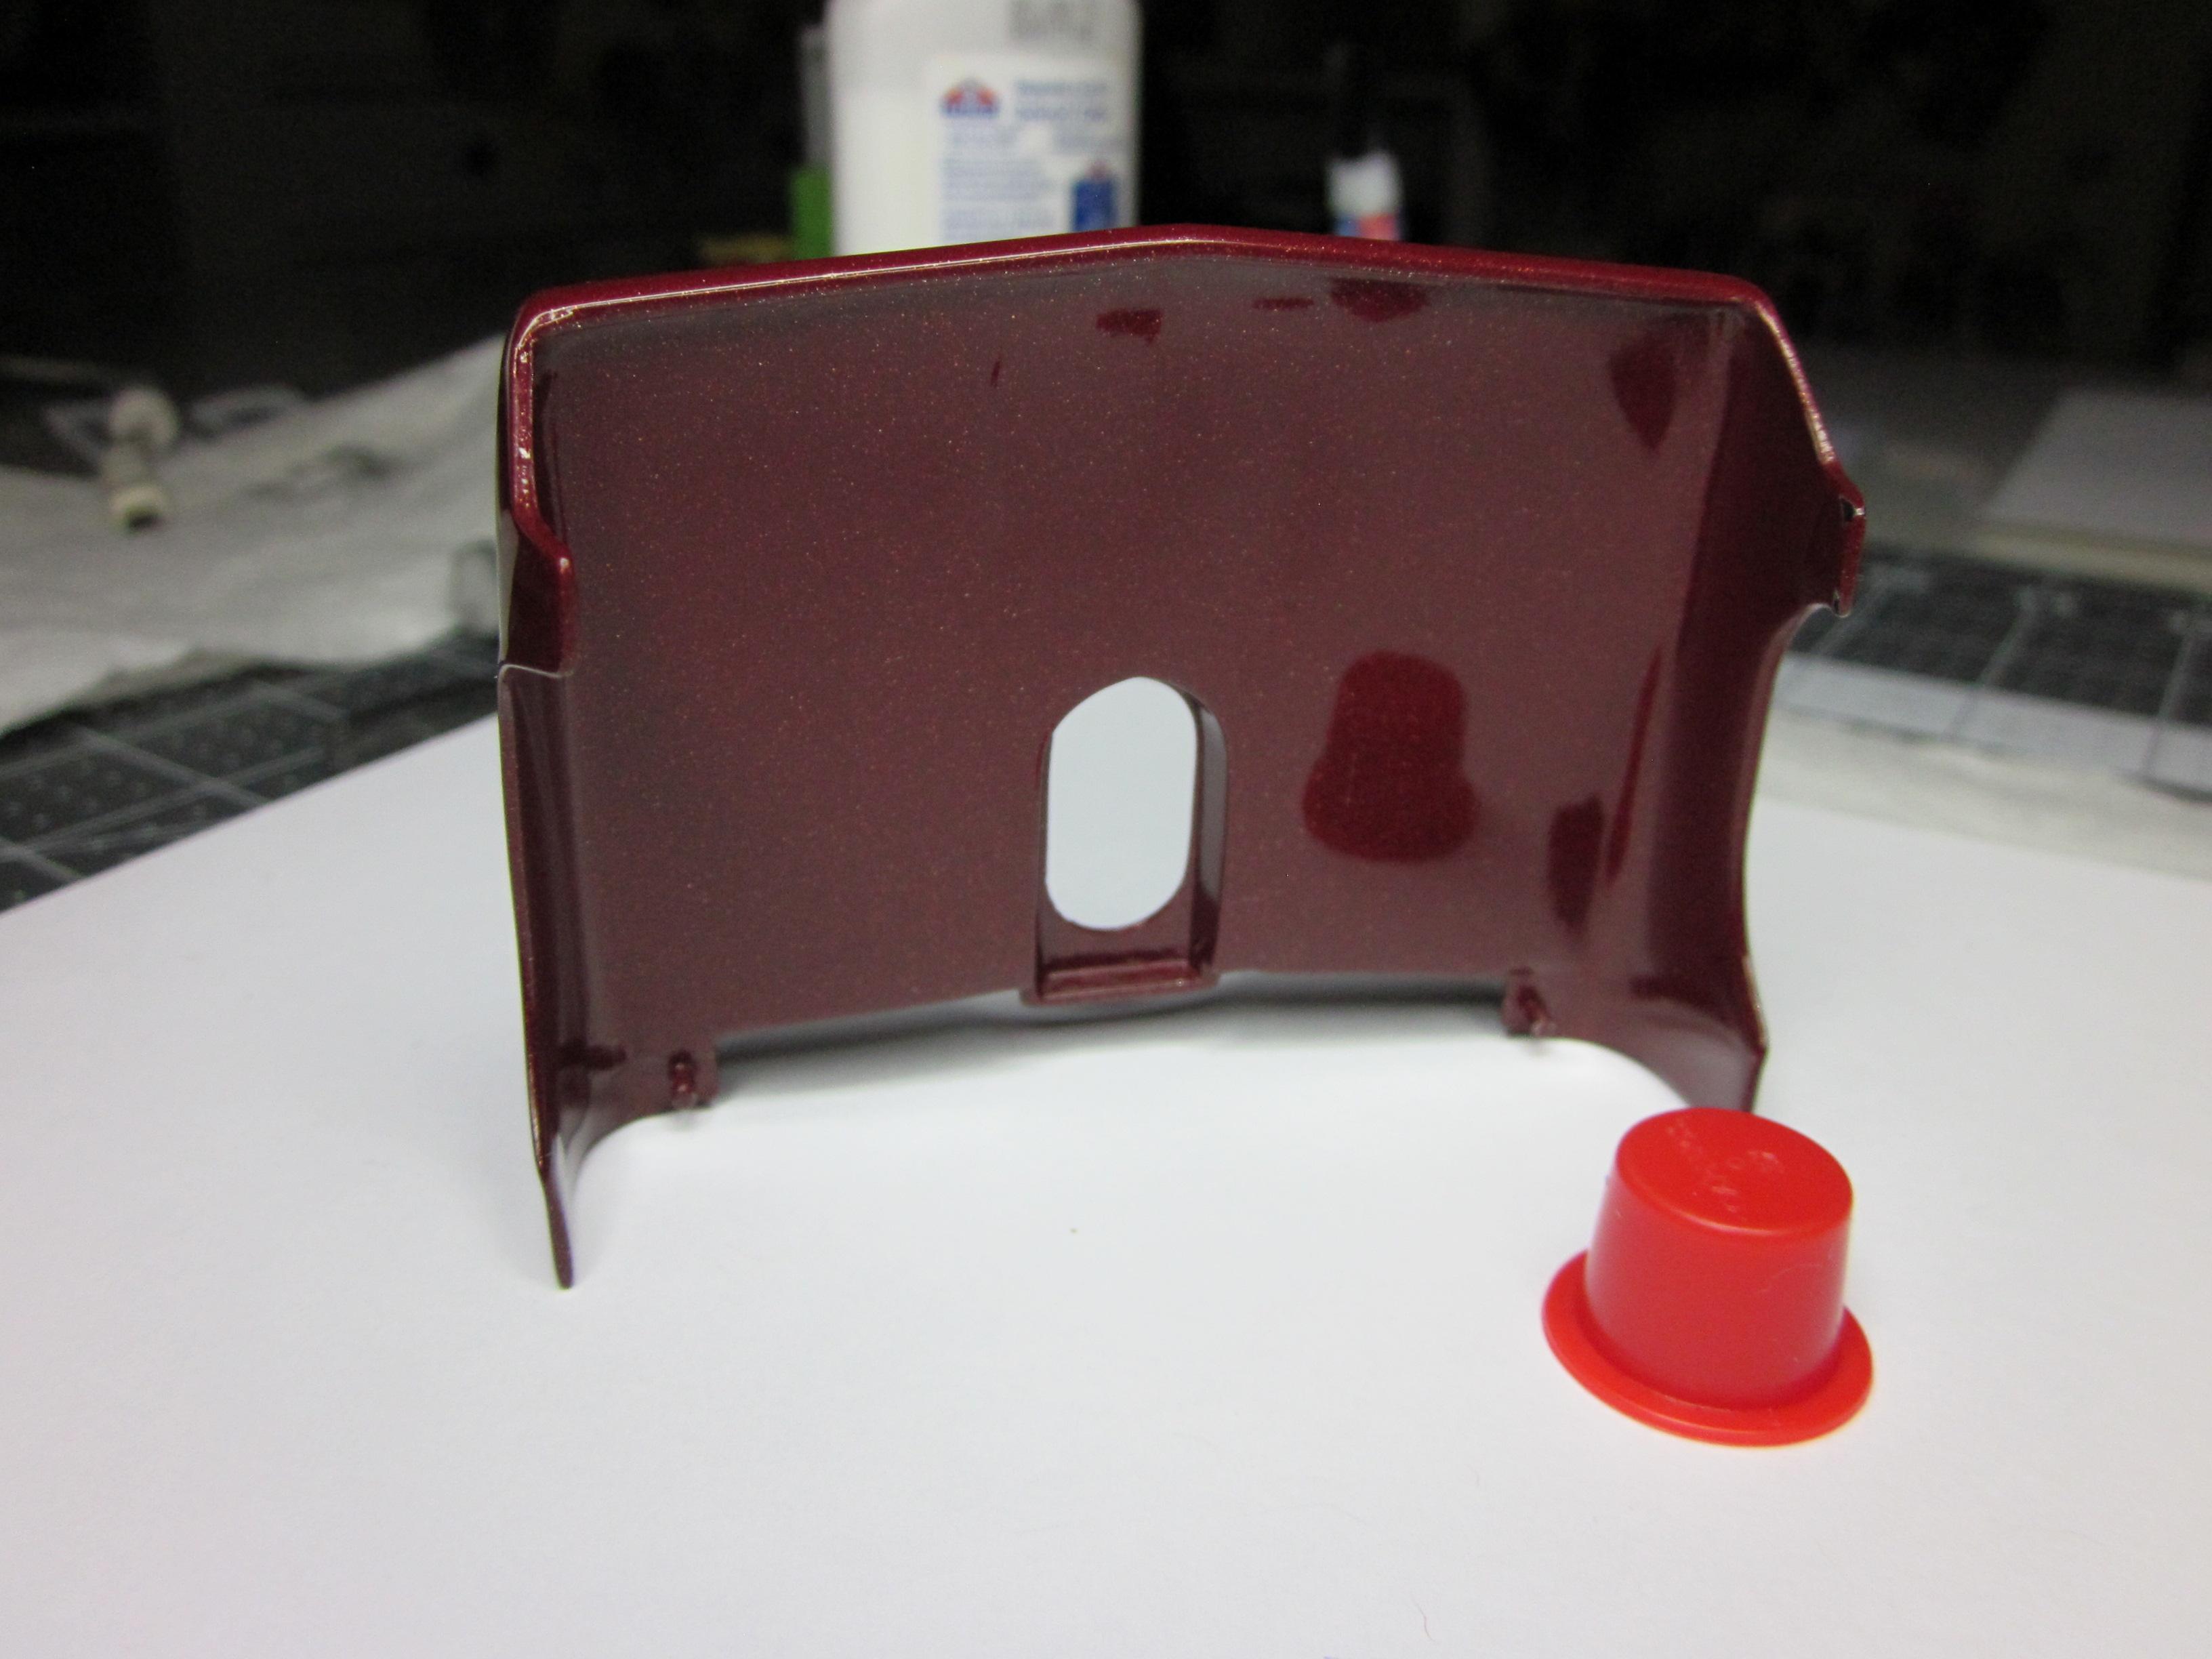
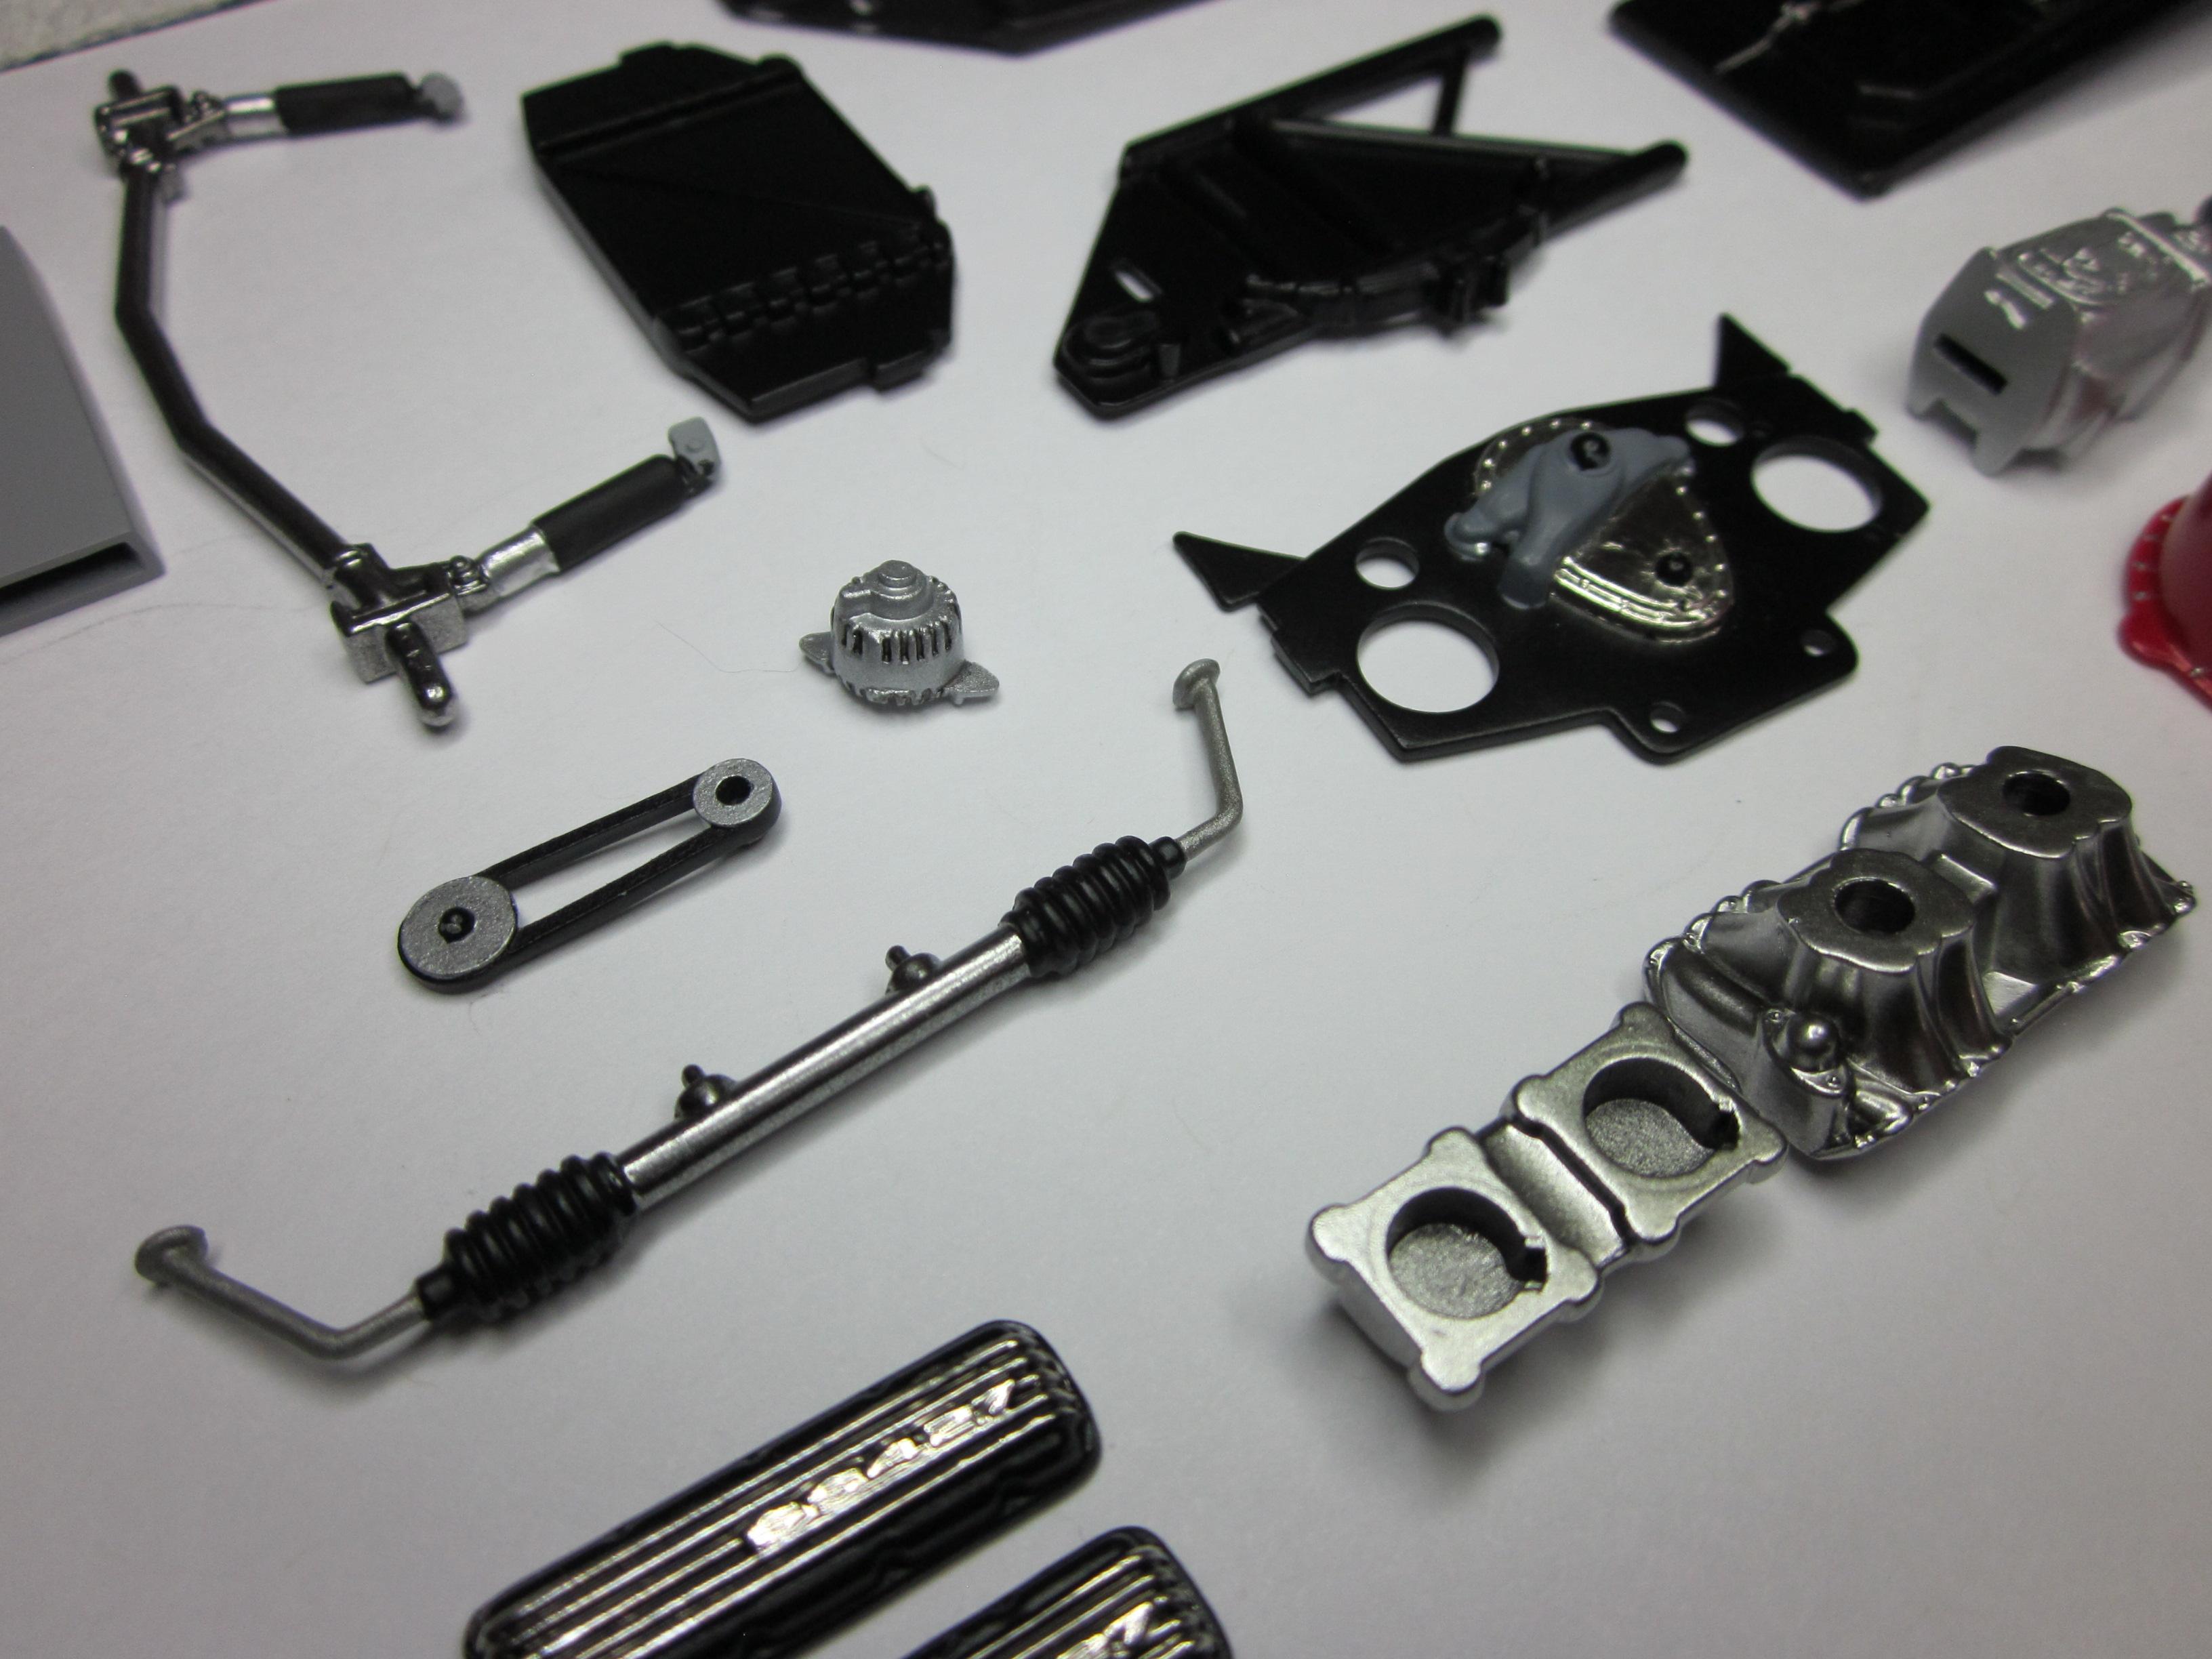
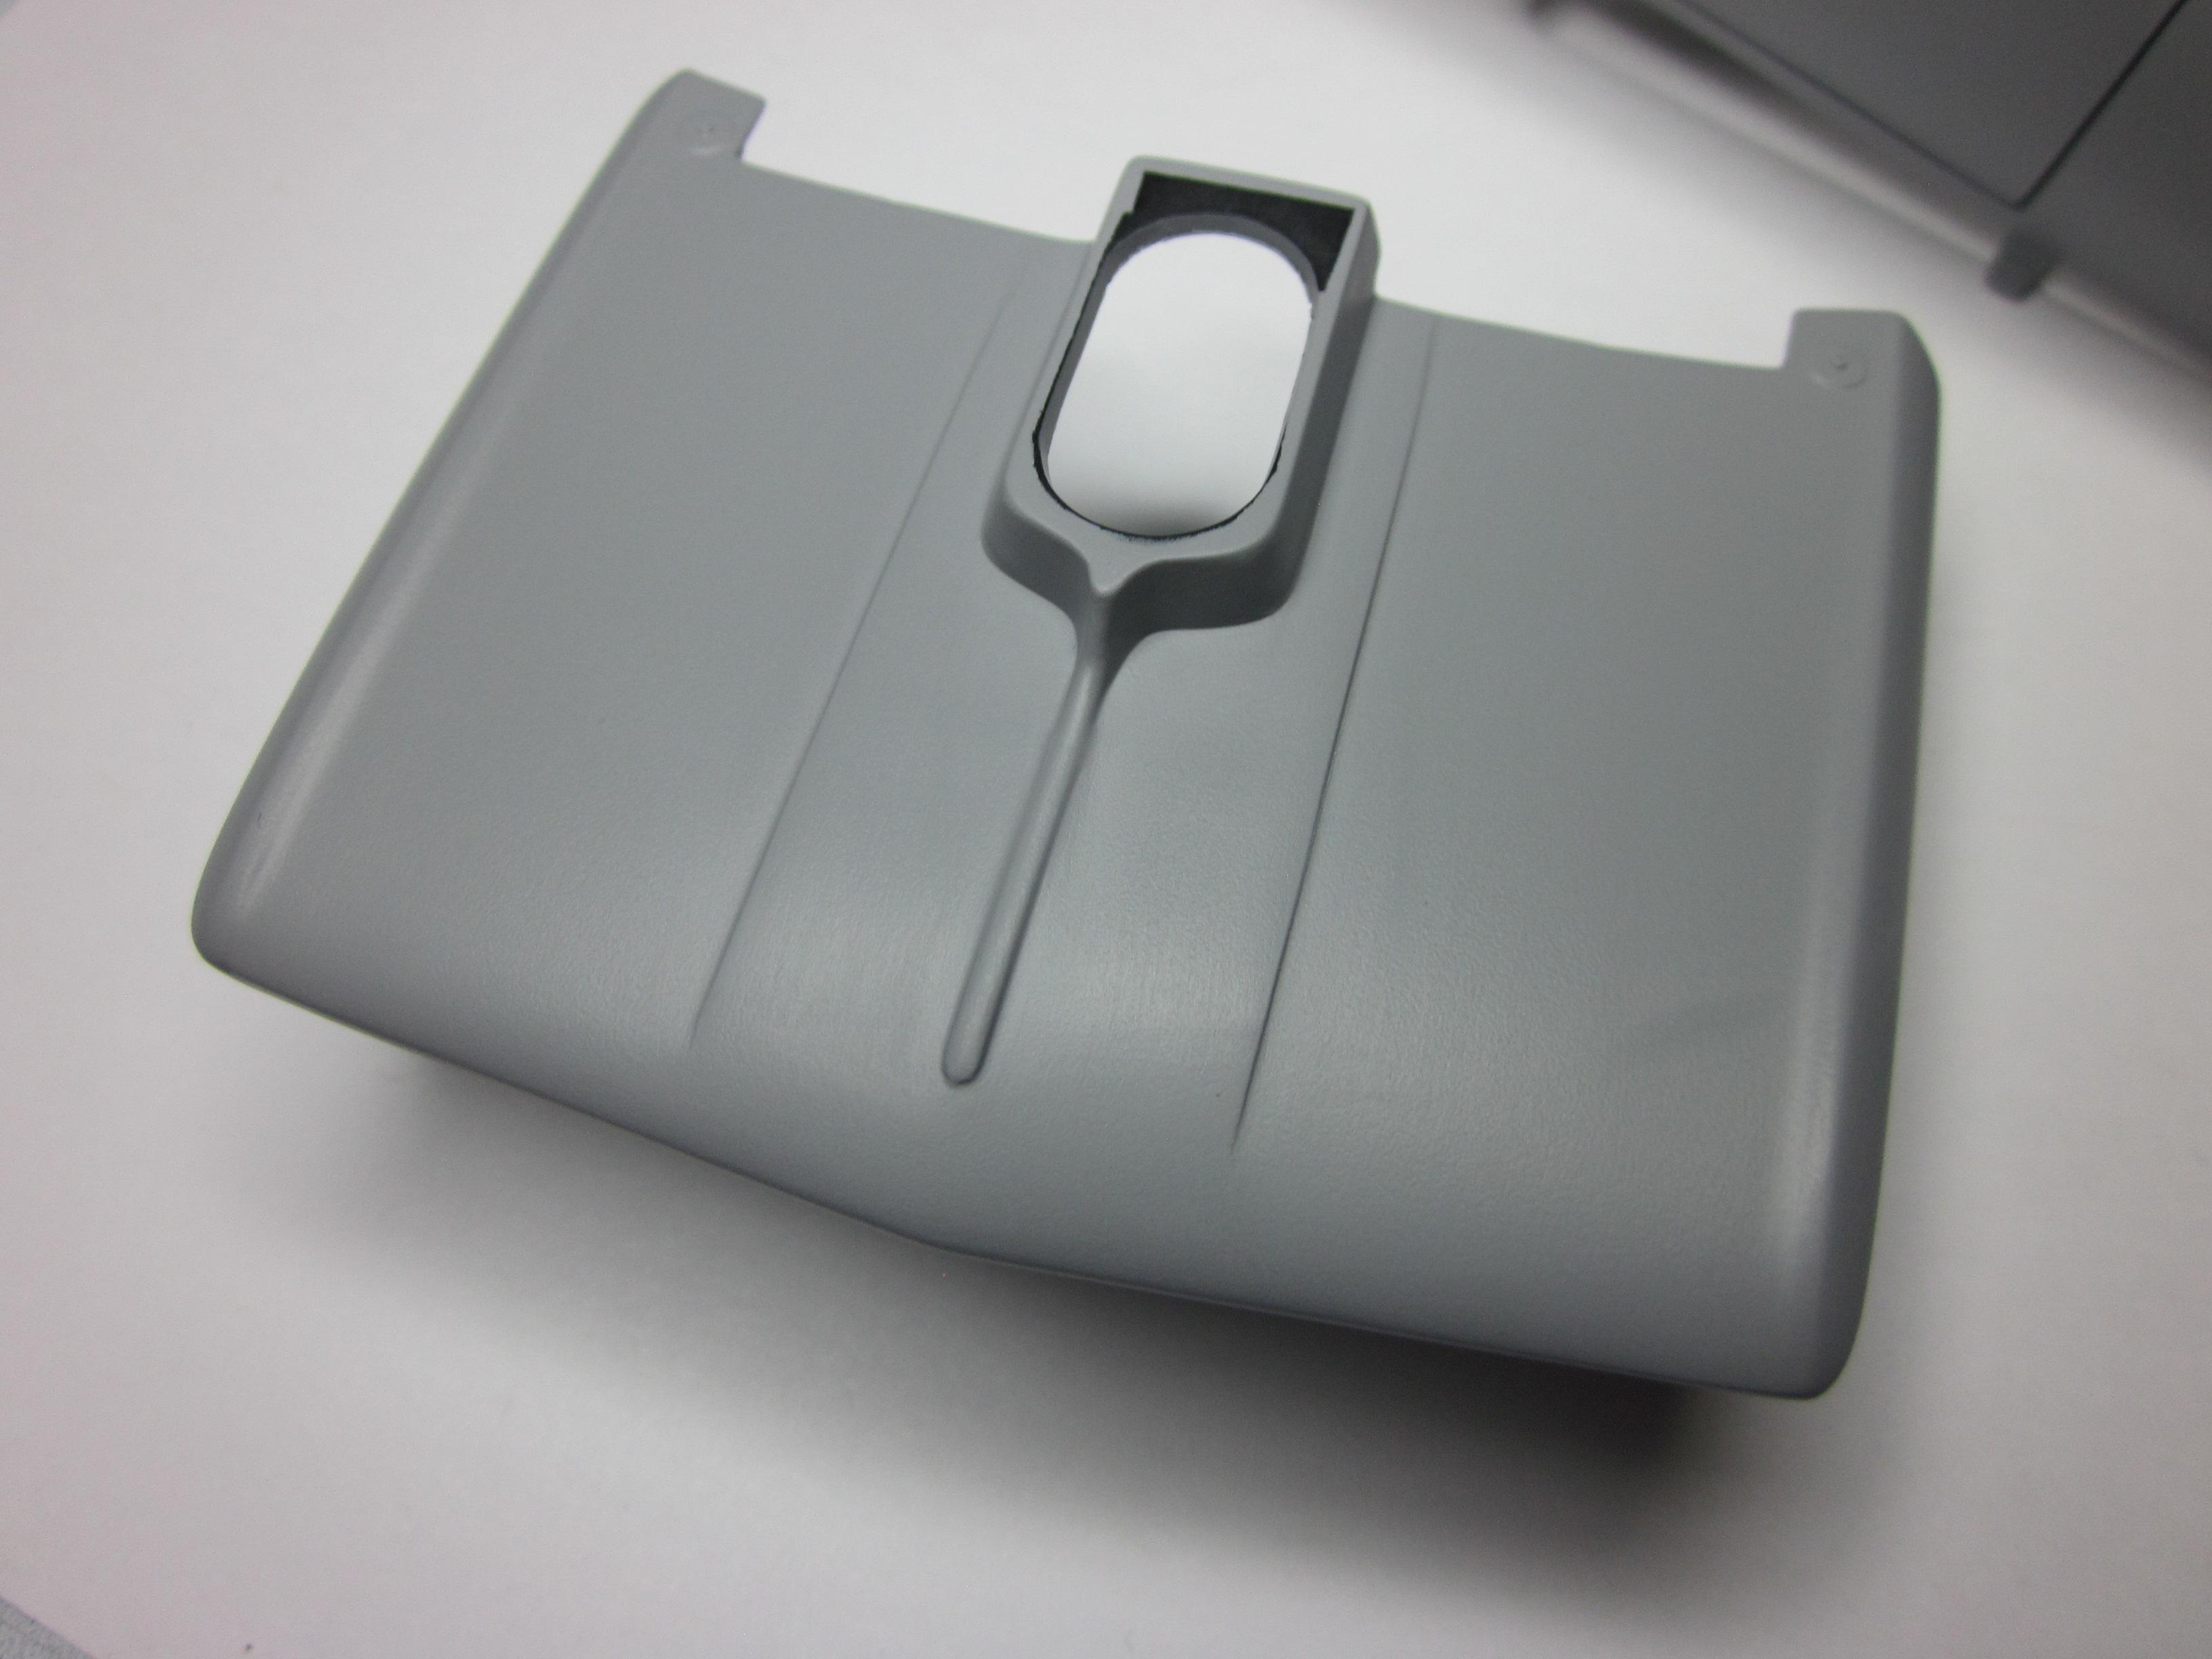
This update is what I'll call my backwards update..................... Here is my list: 1. So I put the alclad on the front and rear bumpers. The front came out better than the rear. I'm thinking I put too much down and it got a little silver looking. Thought I'd try and buff it after it dried. Well that didn't work out to well. So I ended up stripping the part and starting over. The part was primed and I decided to work on the front end. I was laying in some black on the grill when I made a mistake. Naturally I went after it to see if I could repair it but ended up making it worse. So ended up stripping it too! At this time I have the parts resprayed with the alclad gloss black and drying before I try and ruin them again (hope not) with the chrome. 2. On the back wall of the interior bucket I decided to put this decal I found in my stash. The decal is in the form of a chevy emblem. Looked kind old but still might work. Figured I would try it, I mean what's the worst thing that could happen. Its just a decal! So I put it down and it looked good. Did not see the need for any setting solution at the time. Put when the decal started drying, It got these white areas like the decal wasn't sticking. So on went the setting solution. 15 min later I checked it to see how it was doing and it had crinkled up and looked terrible. So I used some tape to pull the decal off with. But it was to late. Just look at the picture. Figured I would just but some embossing powder on the back wall to cover it up. I left some tape on protecting the package tray and when I pulled it off their was nothing that resembled a straight line. Now I have to redo that! Not too hard to fix. It's just that it happened. My Fault! 3. Decided to start some assembly and check some clearances around the engine. When I did the spark plug wires I ran them behind the cylinder heads to go under the headers. Well, I went to put the engine in its place and it would not go in because the plug wires were stopping it from going all the way in. They were hitting the firewall. Had to pull them up around the head to get the engine in place. Now I get to redo the wires so they go over the valve covers which is what i did not want to do. I missed this during mockup and when I was fitting things. This can be fixed but not at this stage of the build. The firewall recess needs to be set back to give more room between the engine and the firewall. There is room to do this mod. You can see how much room that there is to work with the firewall recess if you wanted to do that And of course the engine getting it wires ripped out................................ This bits!! I hate going backwards! But hey... I'm having fun now! And that's all that matters Speedpro
-
Thank you Rob. Glad this will help you out.
-
Thanks Mark, I can assure you its dry. Thanks Chaz and thanks for looking..........................
-
Sharp looking duster. The underhood detailing is very well done. Alot of effort there! The first thing that caught my eye though was those caltrac traction bars in the rear. Nice touch!
-
Been getting some more done on this build and things are coming along. I have been working on the front bumper/grill and rear bumper. Having some original parts from a first run kit i chose to use them as the details are so much better. Mind you these parts are still no way perfect. The chrome was stripped off the parts. The two openings at the bottom of the front bumper were opened up. That added a lot of life that part. Also had a sink mark on the front bumper that had to be filled and then it was primed. Alclad is next. As for the engine, I assembled a few parts and added plug wires using a gofer racing distributor kit. I ran the wires under the headers. Not much room to work with coming from the top. Some parts on the engine are just mocked up for a photo. I'm not really planning on any more detailing of the engine but we will see. On the interior i got the dash almost done. Did some bmf and added some decals from the revelle 66' wagon kit. Had to cut down the speedo decal to make fit but still worked out well. For some reason the steering wheel is for a 67' as noted having 3 spokes. I made it into a 2 spoke. Still not completely correct but i'm using it anyway. The body is done and waxed. Applied bmf to front and rear windows and the wing windows......... Going to start assembling what i can and work on the front and rear. More to come and thanks for looking...........
-

Pro touring 70 1/2 Camaro (Dutchboys 2015 SEMA tribute)
Speedpro replied to Steve H's topic in Model Cars
Look's amazing! Quite the project to take on and then to follow through and not let it end up being a box queen is commendable. Turned out beautiful and your effort show's. Great job steve. Speedpro -
gasser inspired 72 GMC Stepside
Speedpro replied to bogger44's topic in Model Trucks: Pickups, Vans, SUVs, Light Commercial
I really like this. Nice clean build. Very well done! -
Finally got this one done! 1959 Buick.........Updated Pics!
Speedpro replied to MrObsessive's topic in Model Cars
Beautiful! Those body line look pretty straight. Paint look's Great. Very nice.... -
Great looking build! Nice detail work too!
-
Boy that turned out nice! I like the weathering on the chassis. Great color too.
-
Very nice! Beautiful paint and the details all are so well done. My guess is this is 1/12 scale.
-
Very nice!
-
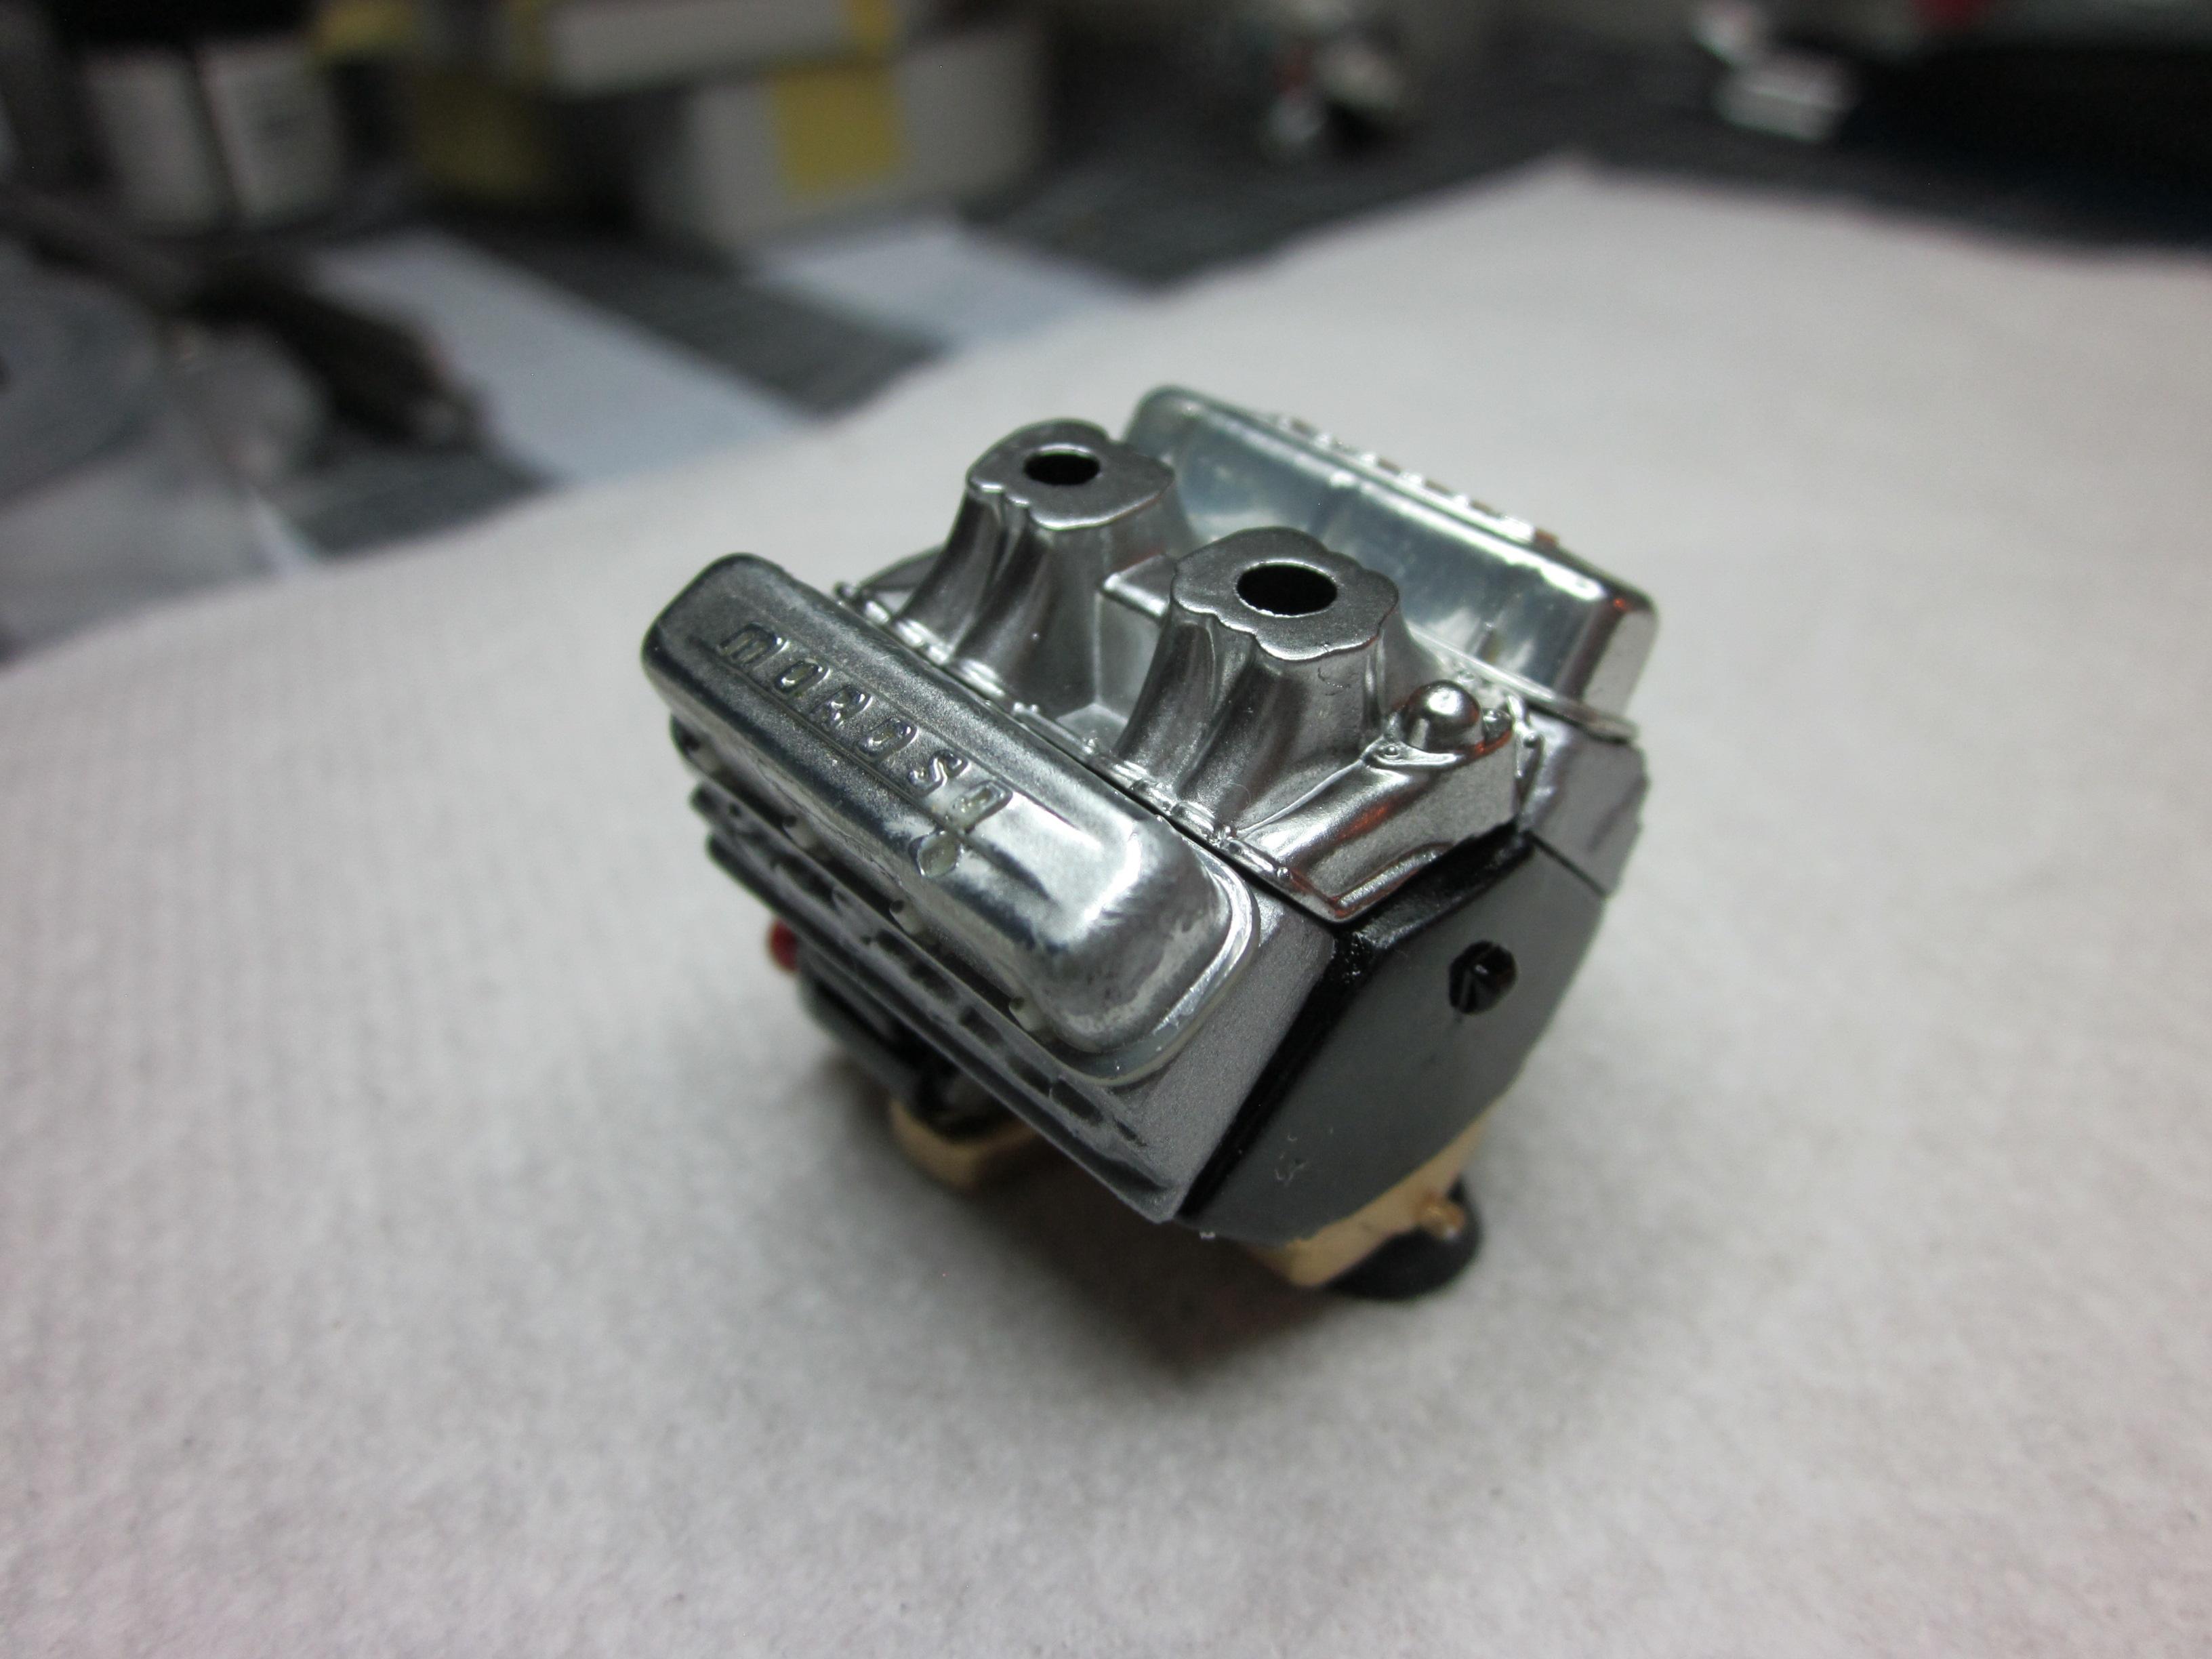
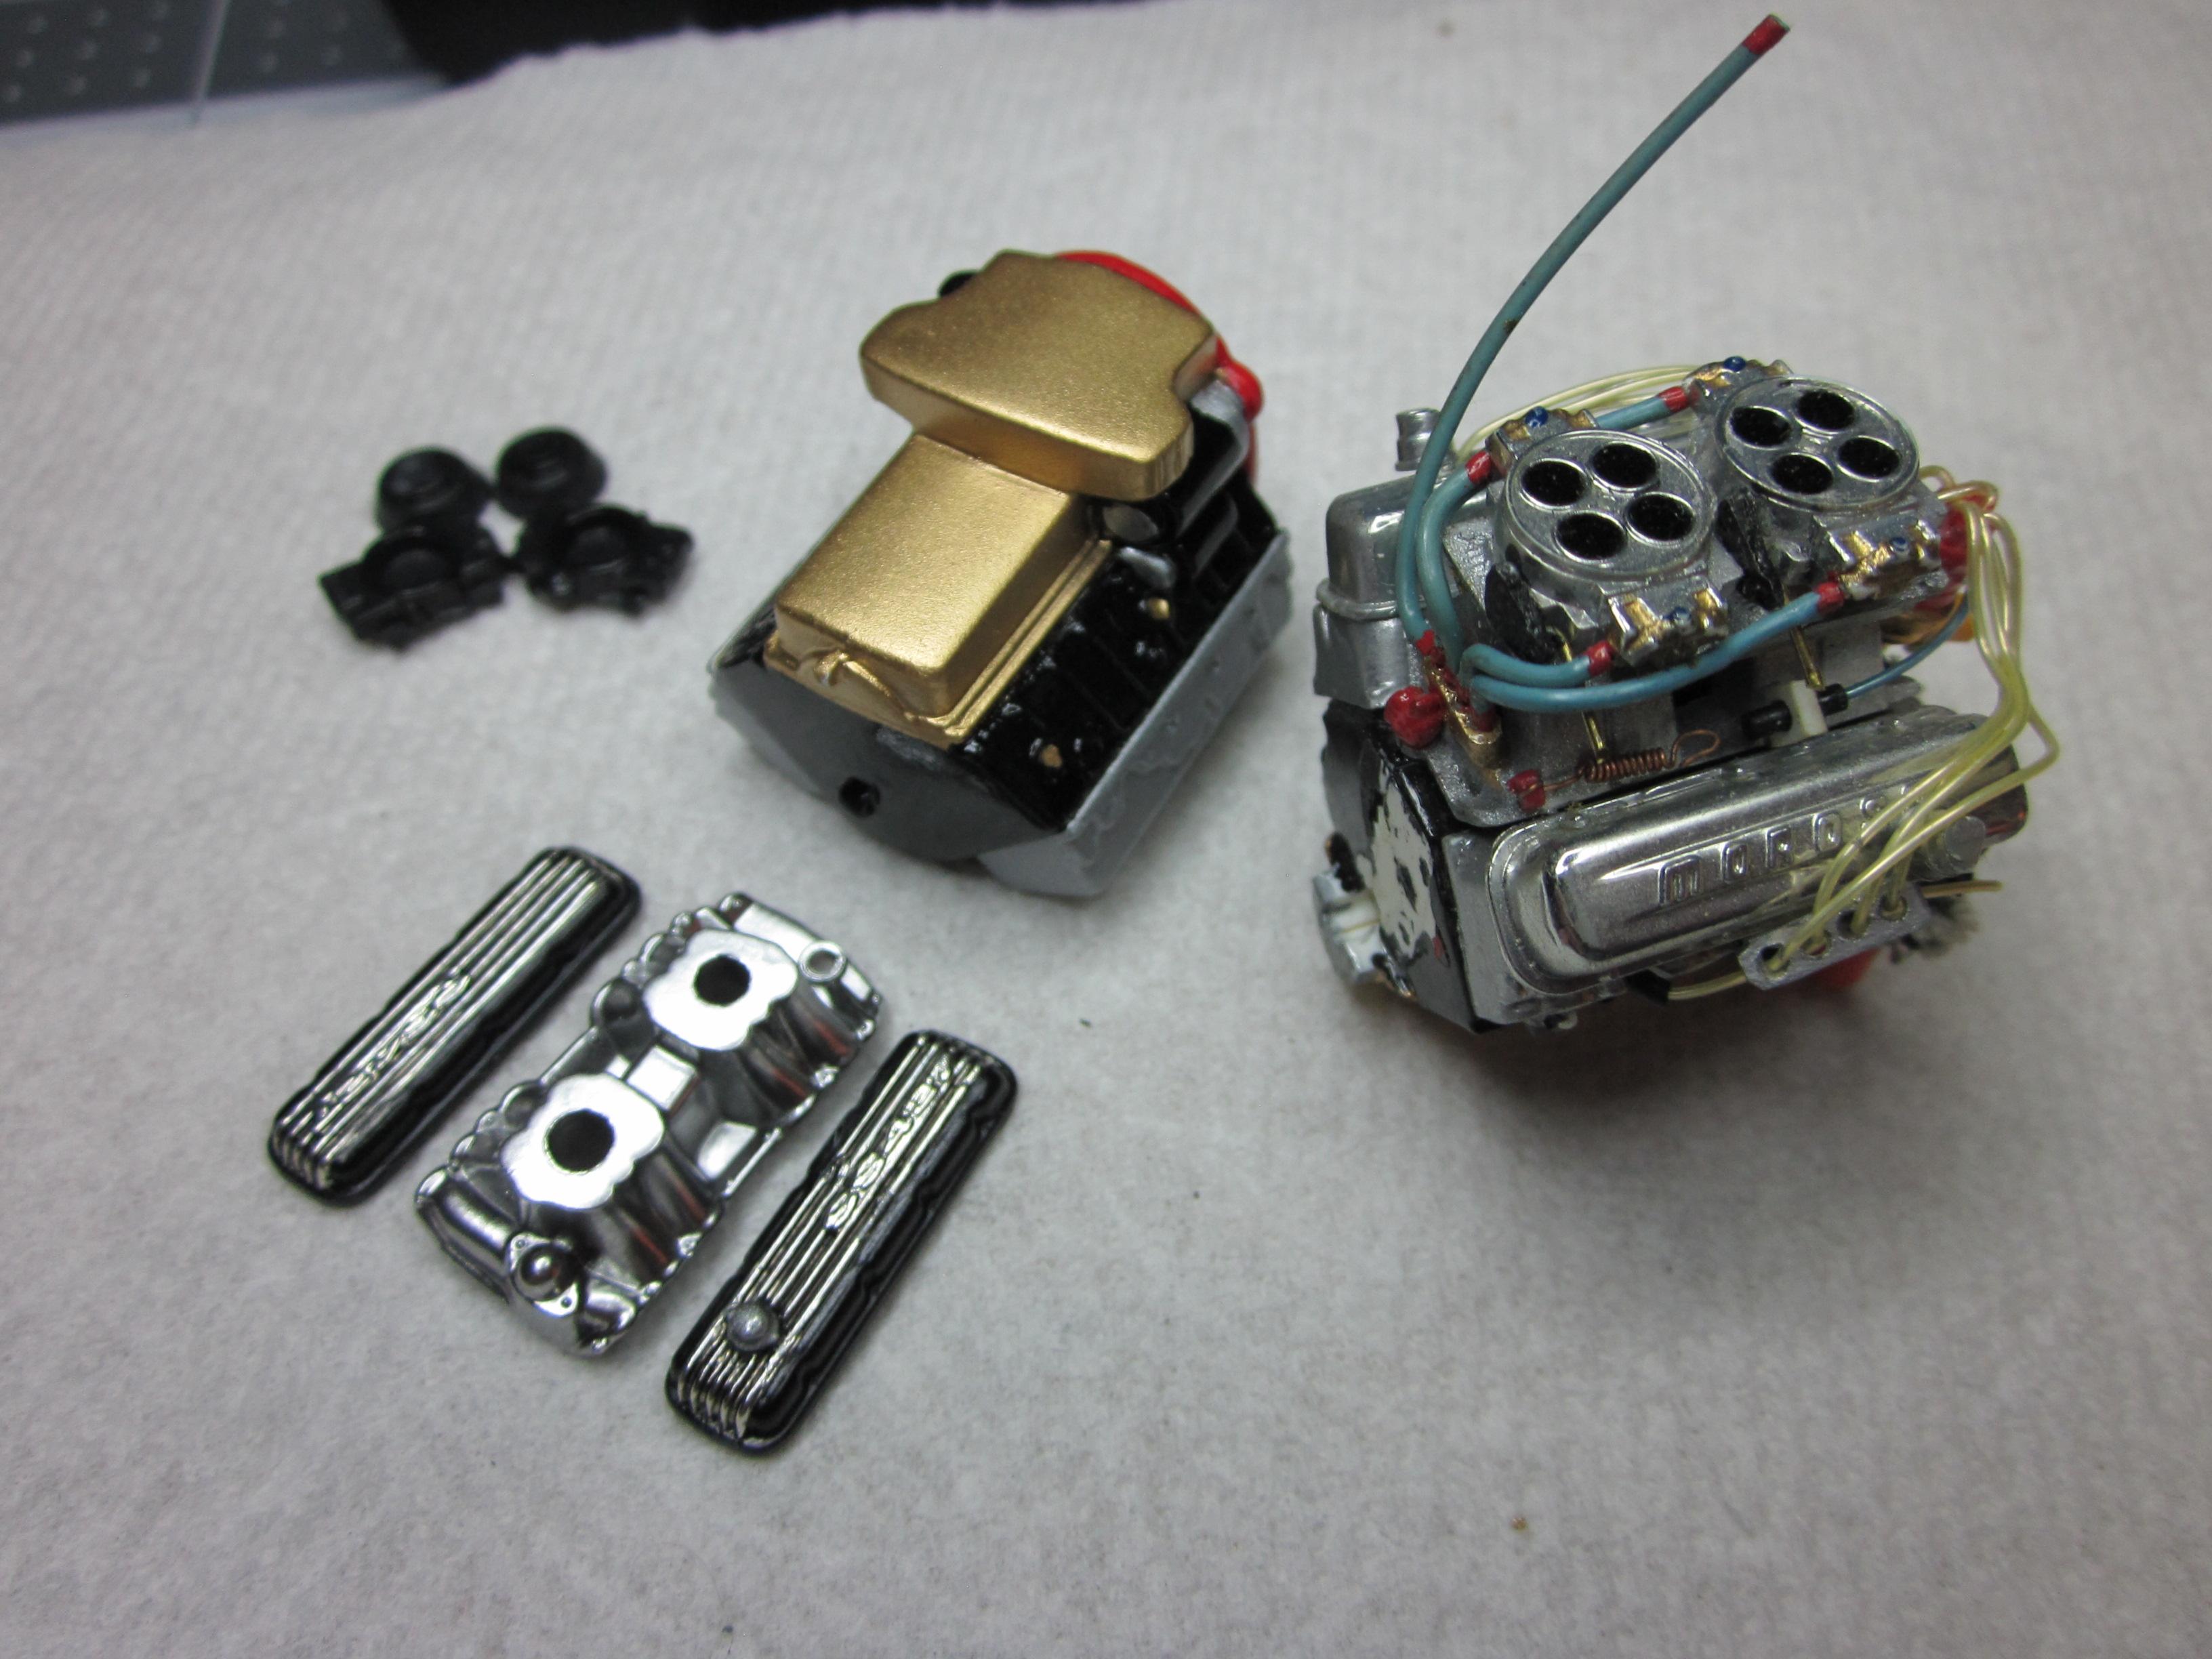
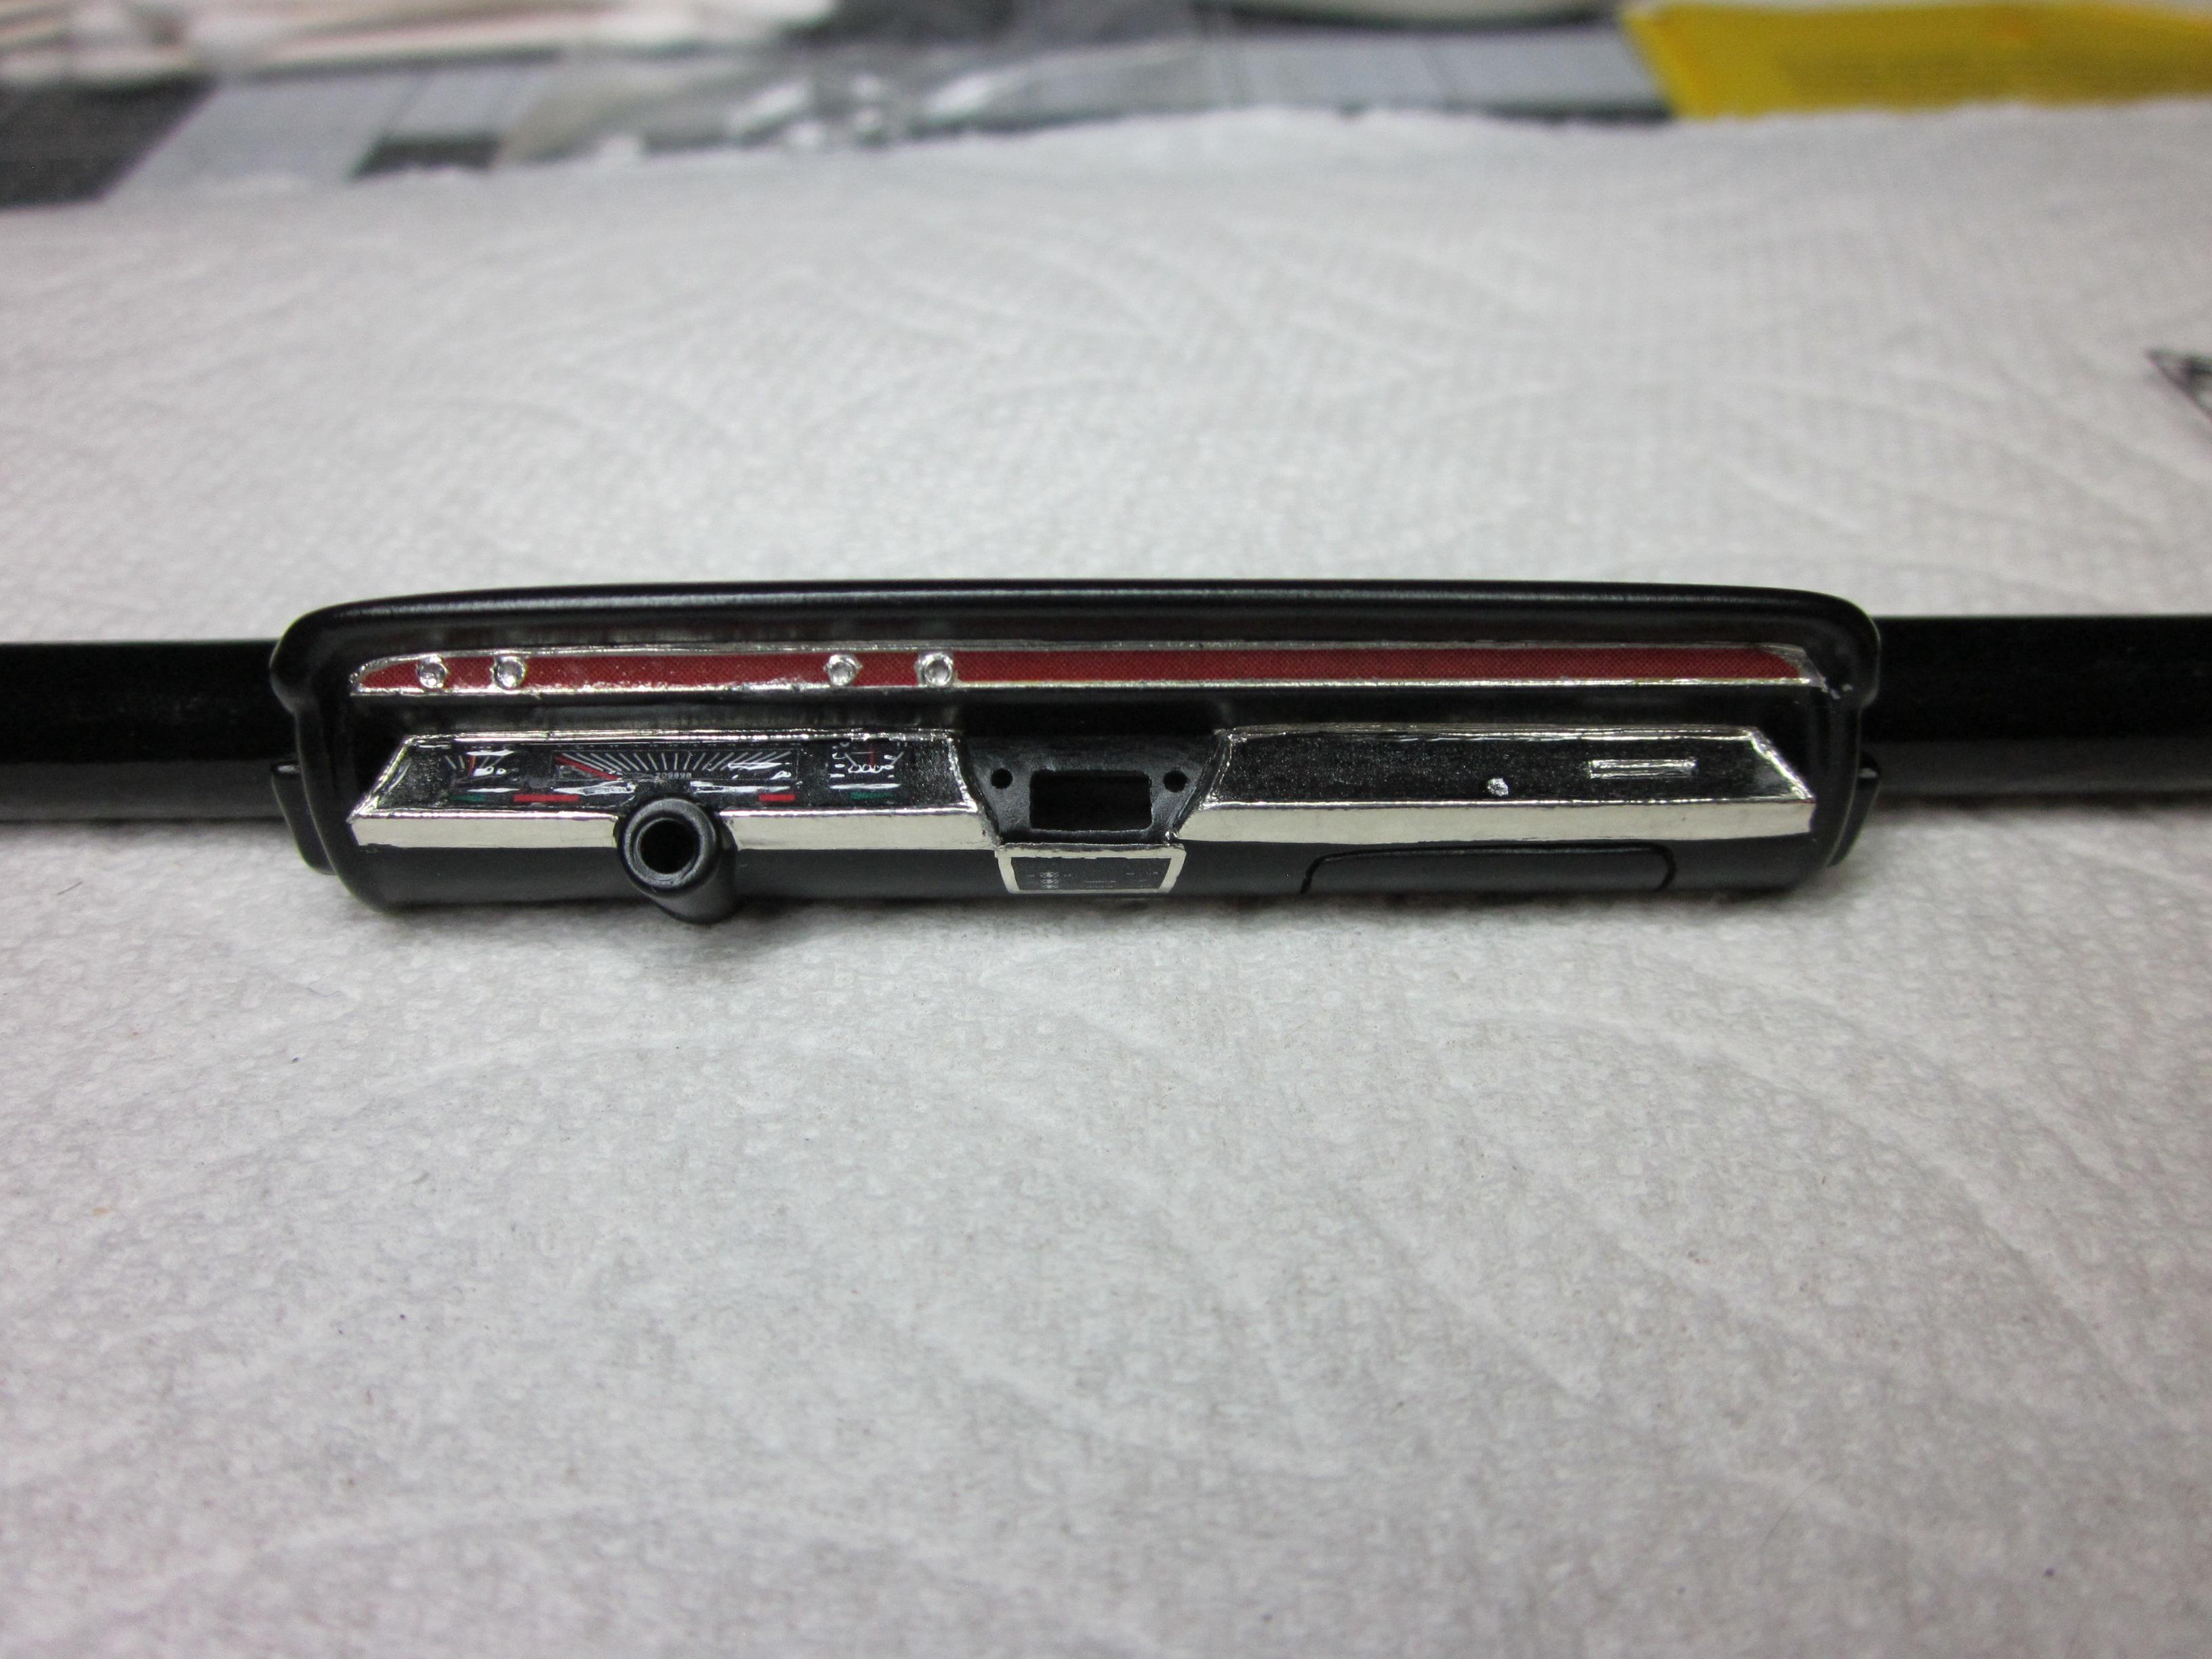
As always, Thanks everyone for your comments and thoughts. Here is a little of what I'v got done recently. It was time to do something with the engine. I put the long block together and primed it with mr hobby surface primer. I airbrushed the engine black, red, and gold. The heads were brush painted aluminum. After it dried, I mocked it up to see how things looked. I had put some time into the kit valve covers and wanted to see how they presented them self's. I quickly realized i wasn't liking them. Went to my parts and found an old pro stock engine with some moroso covers. Was lucky to get them off with little effort and tried them. As you can see, i chose the moroso's. They were stripped and alcladed along with some other stuff. Also got the paint on the body wet sanded and polished. No wax yet as i still need to do the bmf and i want it to stick. At this point there is still the interior to finish. Everything is painted but needs some details finished. Putting some embossing powder on the floor also. Things have been going great and I cracked the windshield. Don't think I can use it now. Thanks for looking and more to come............ Speedpro
-
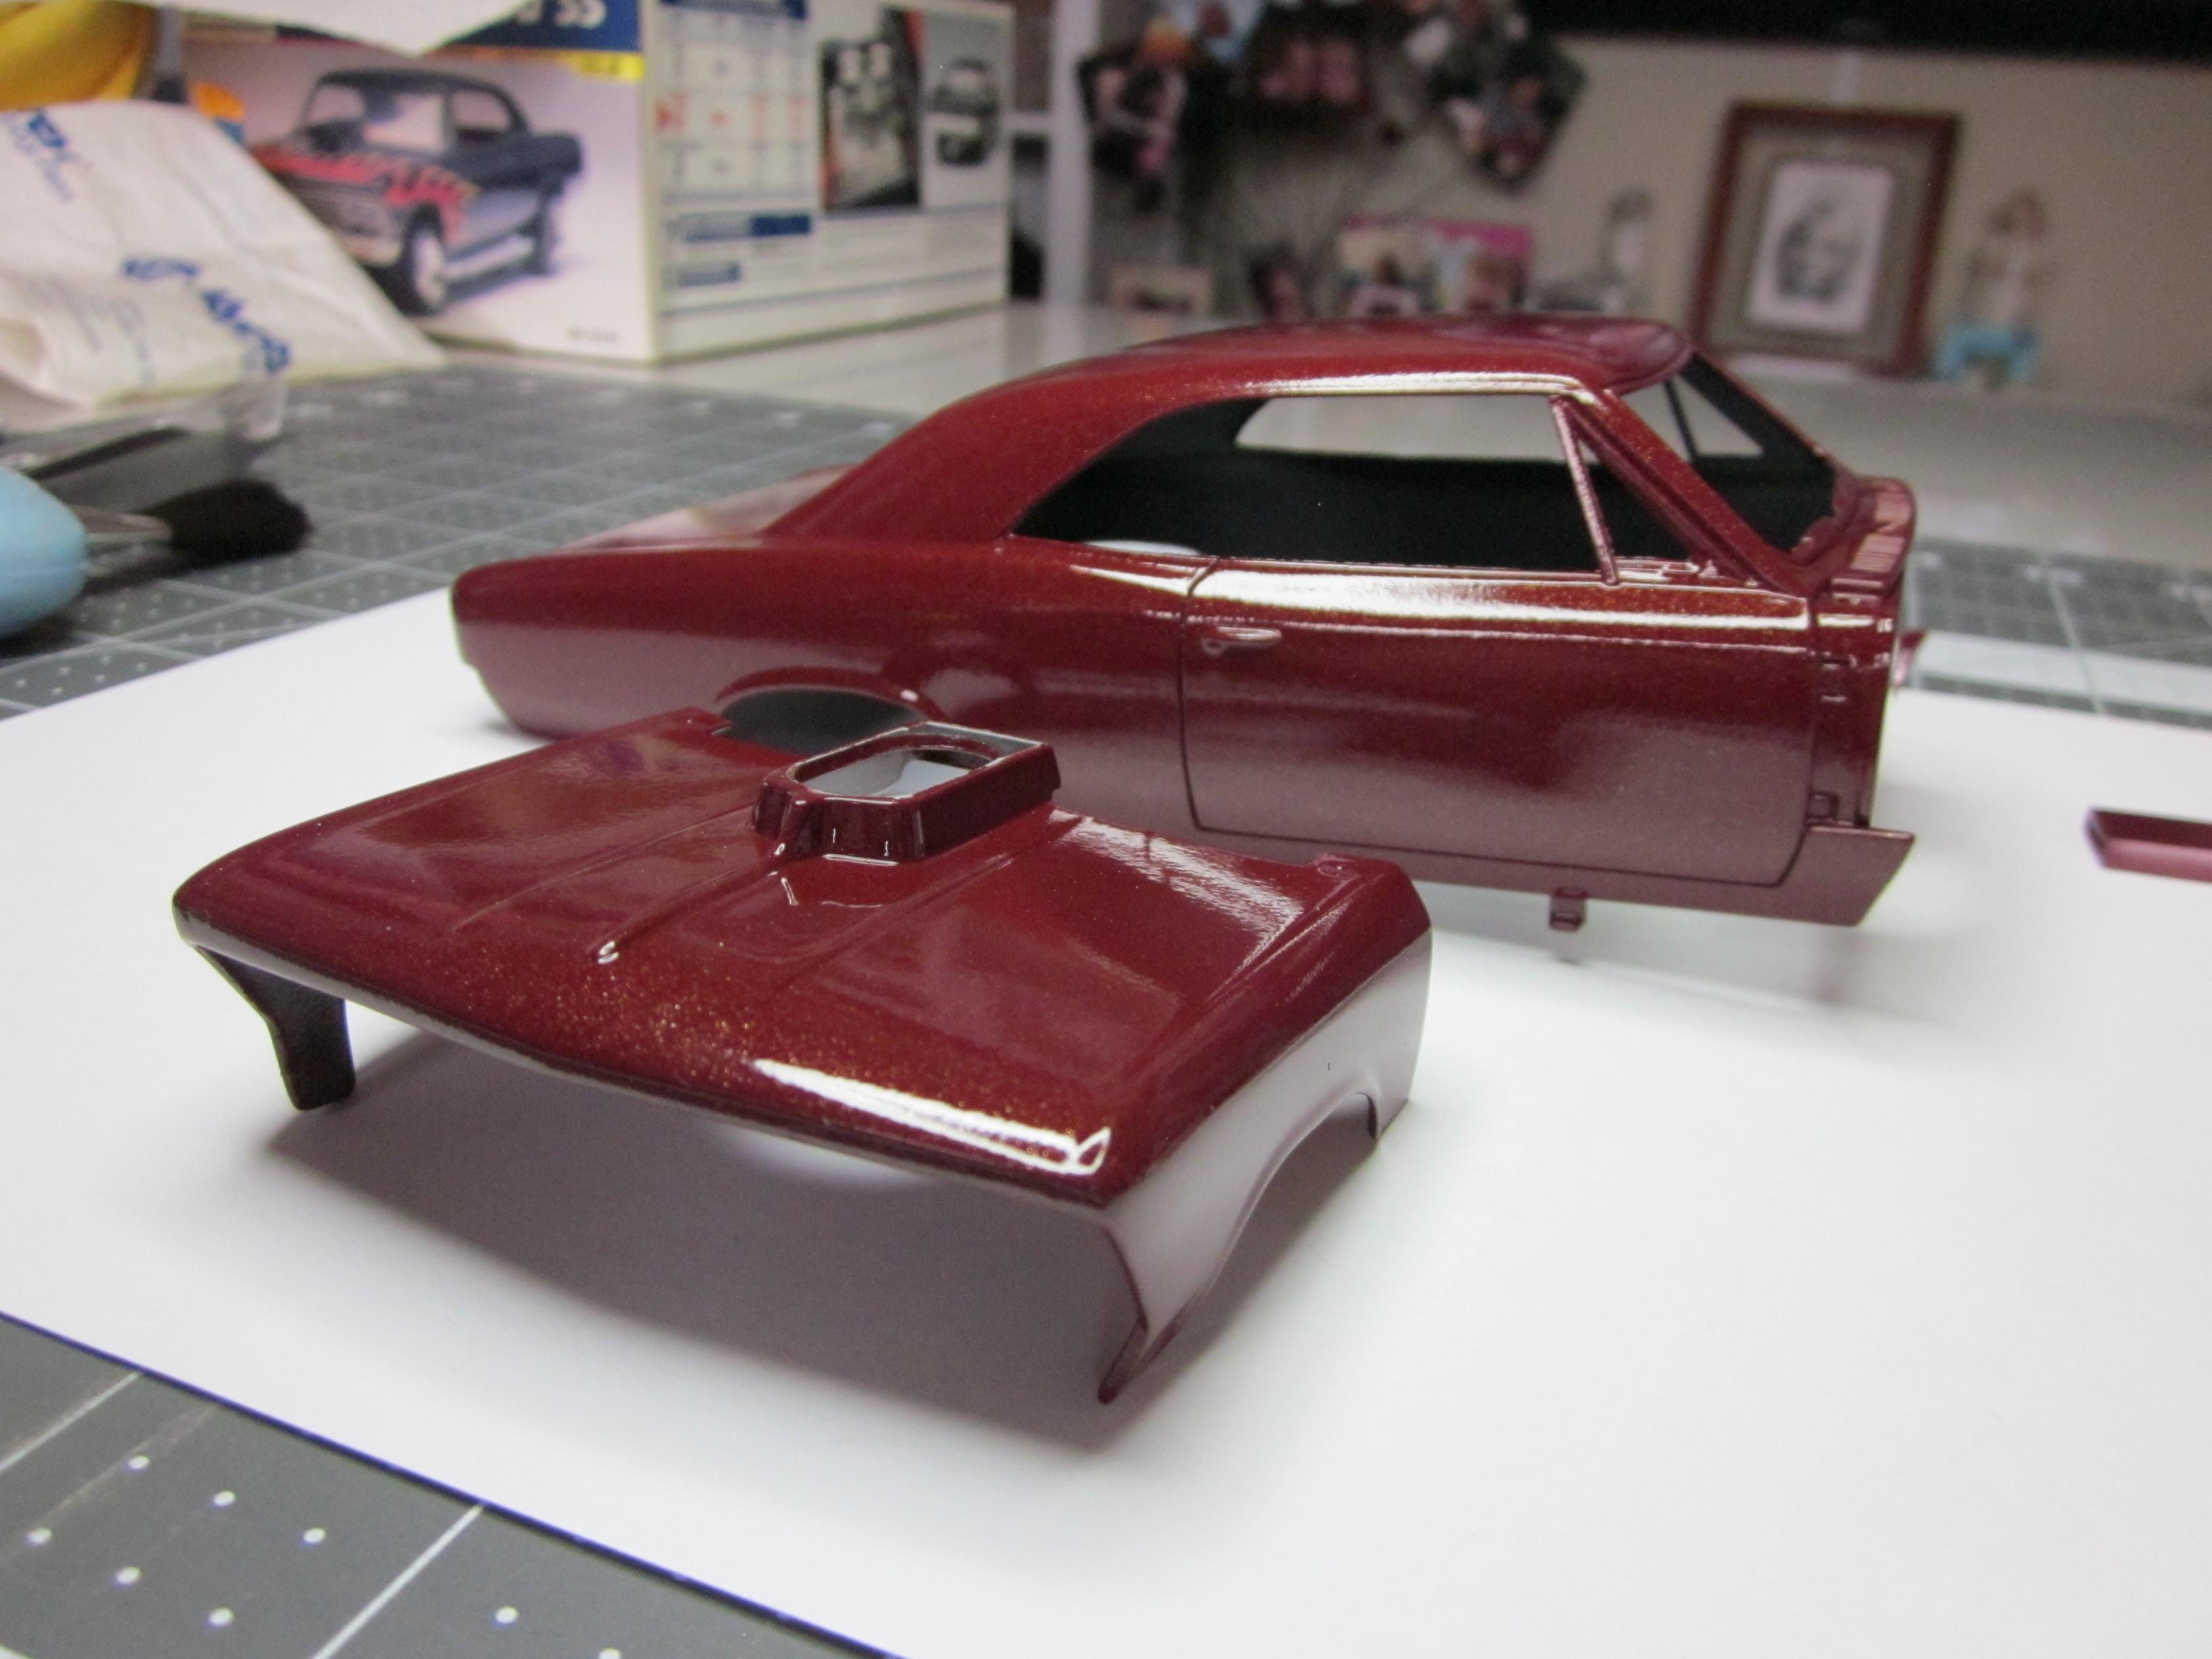
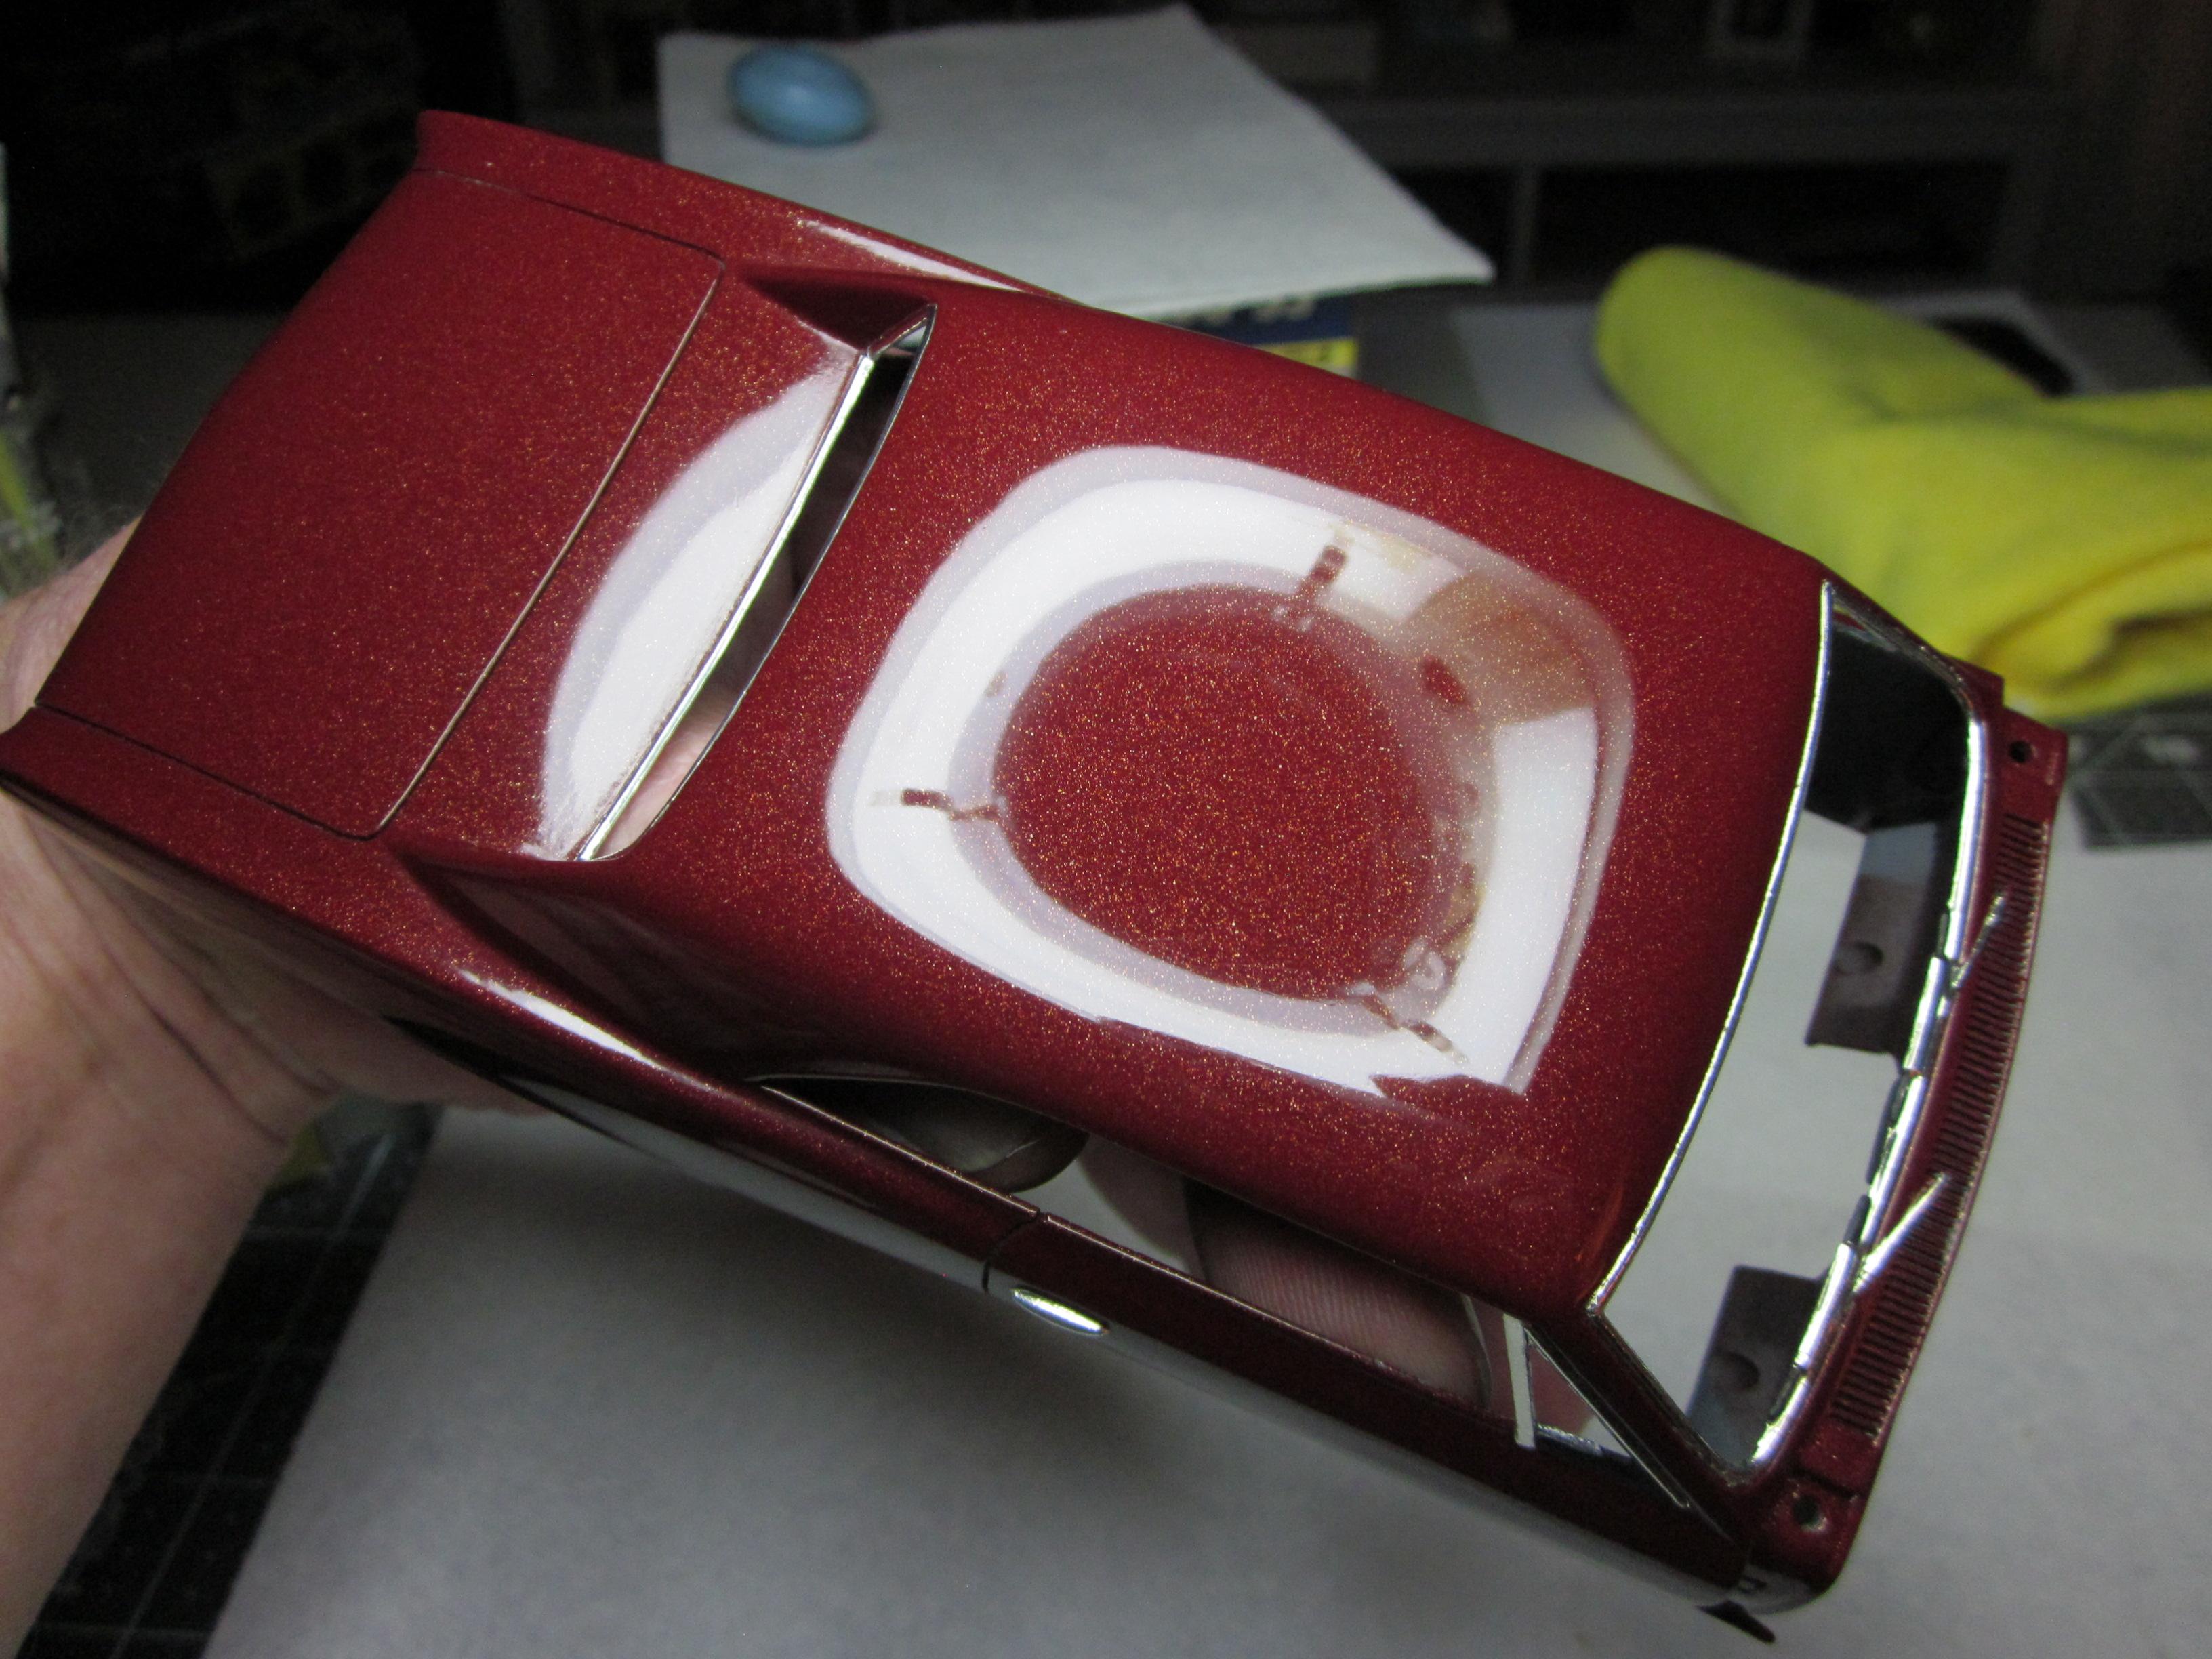
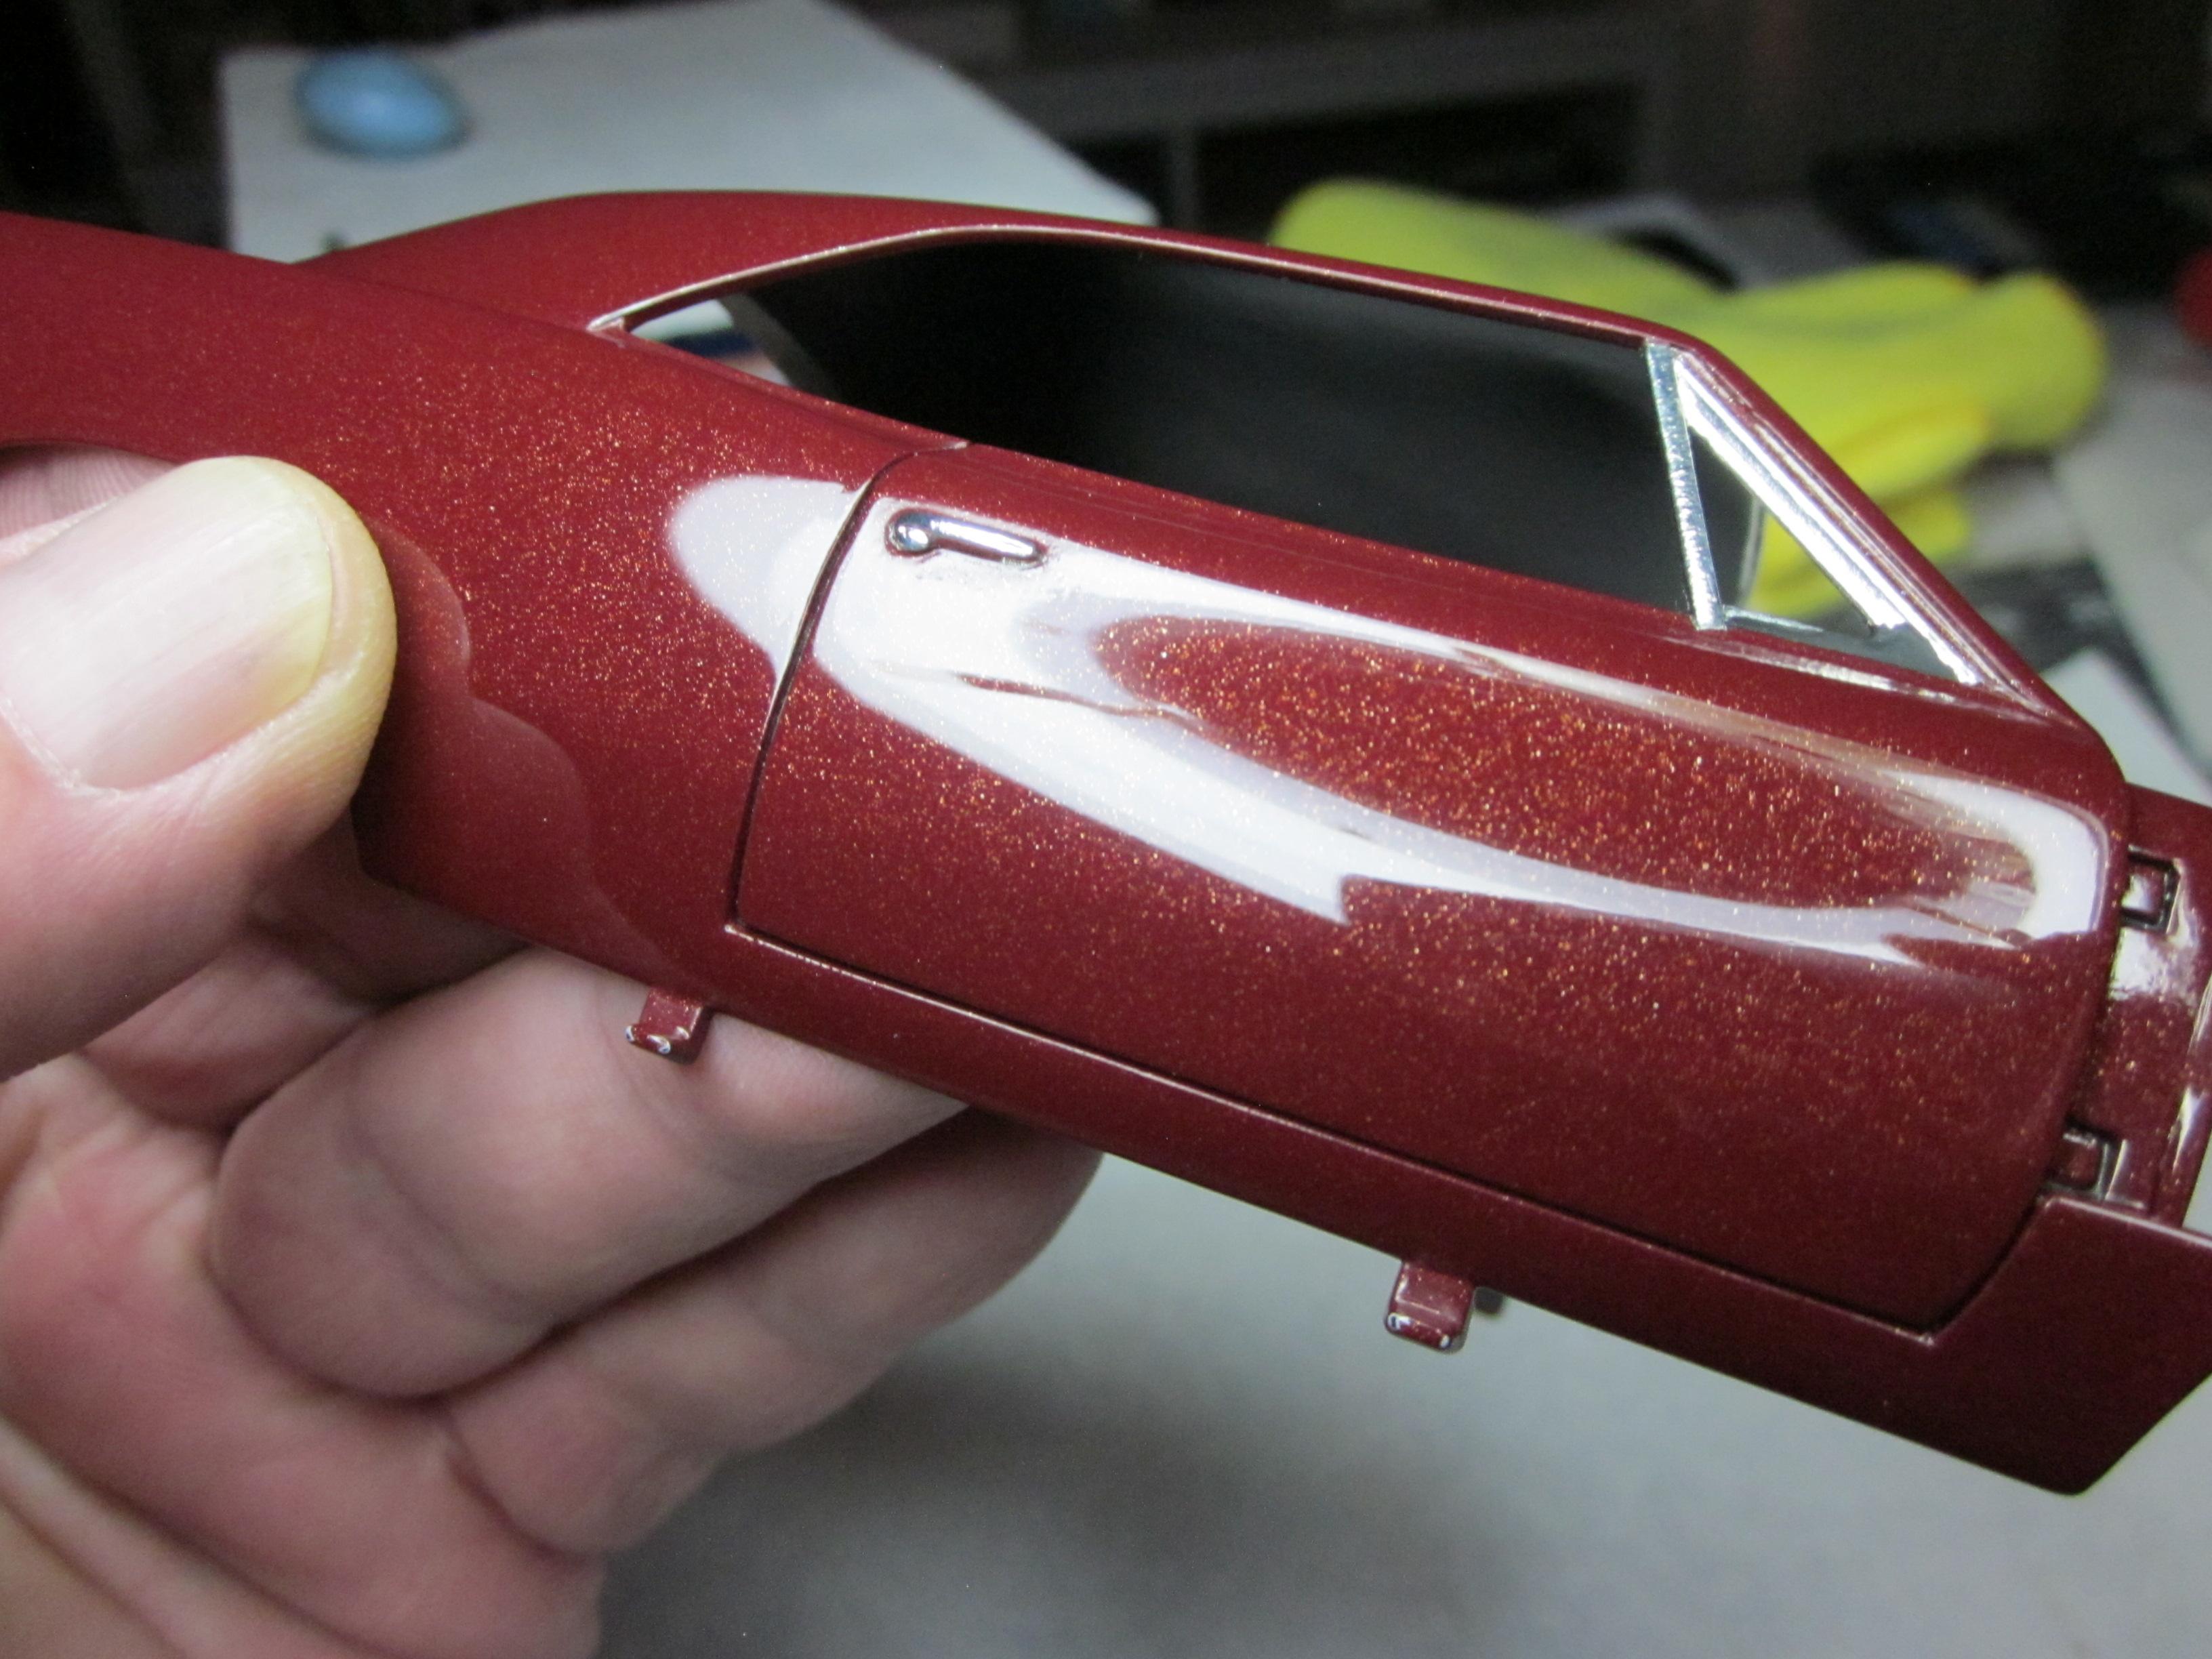
After helping a friend with one of his projects for a few weeks, I made it back working on the chevelle. Spent the last couple weeks painting a lot of the misc parts, finishing up any loose ends on the body and getting it ready for some color. Also did a little alclad chrome on a few parts. Still a lot to do but at least it's coming along. Some of these parts are not finished yet. I'll get to them The body got some mr. sufacer primer on it. It was then sanded. I managed to go through the primer here and there so it will get one more coat of primer and then very lightly sanded again. I put many hours into this front clip. This side will be body color The inside of the body was painted semi-gloss black The body was finally ready for some paint. I chose to paint the body testors mythical maroon extreme lacquer. Not sure yet if that was a bad idea. The metallic flake's look kind of big even on this 1/24 scale body. First i sprayed two light coats and then one color coat. Then i sprayed five coats of mr. super clear. I will let it sit for a week or so and then cut and buff. I'm hoping for good results. In 1966, One of the colors you could get on your chevelle was madera maroon. I was shooting for close to that. But with that custom look with the metallic. That's it for now. Thanks for looking. Speedpro
-
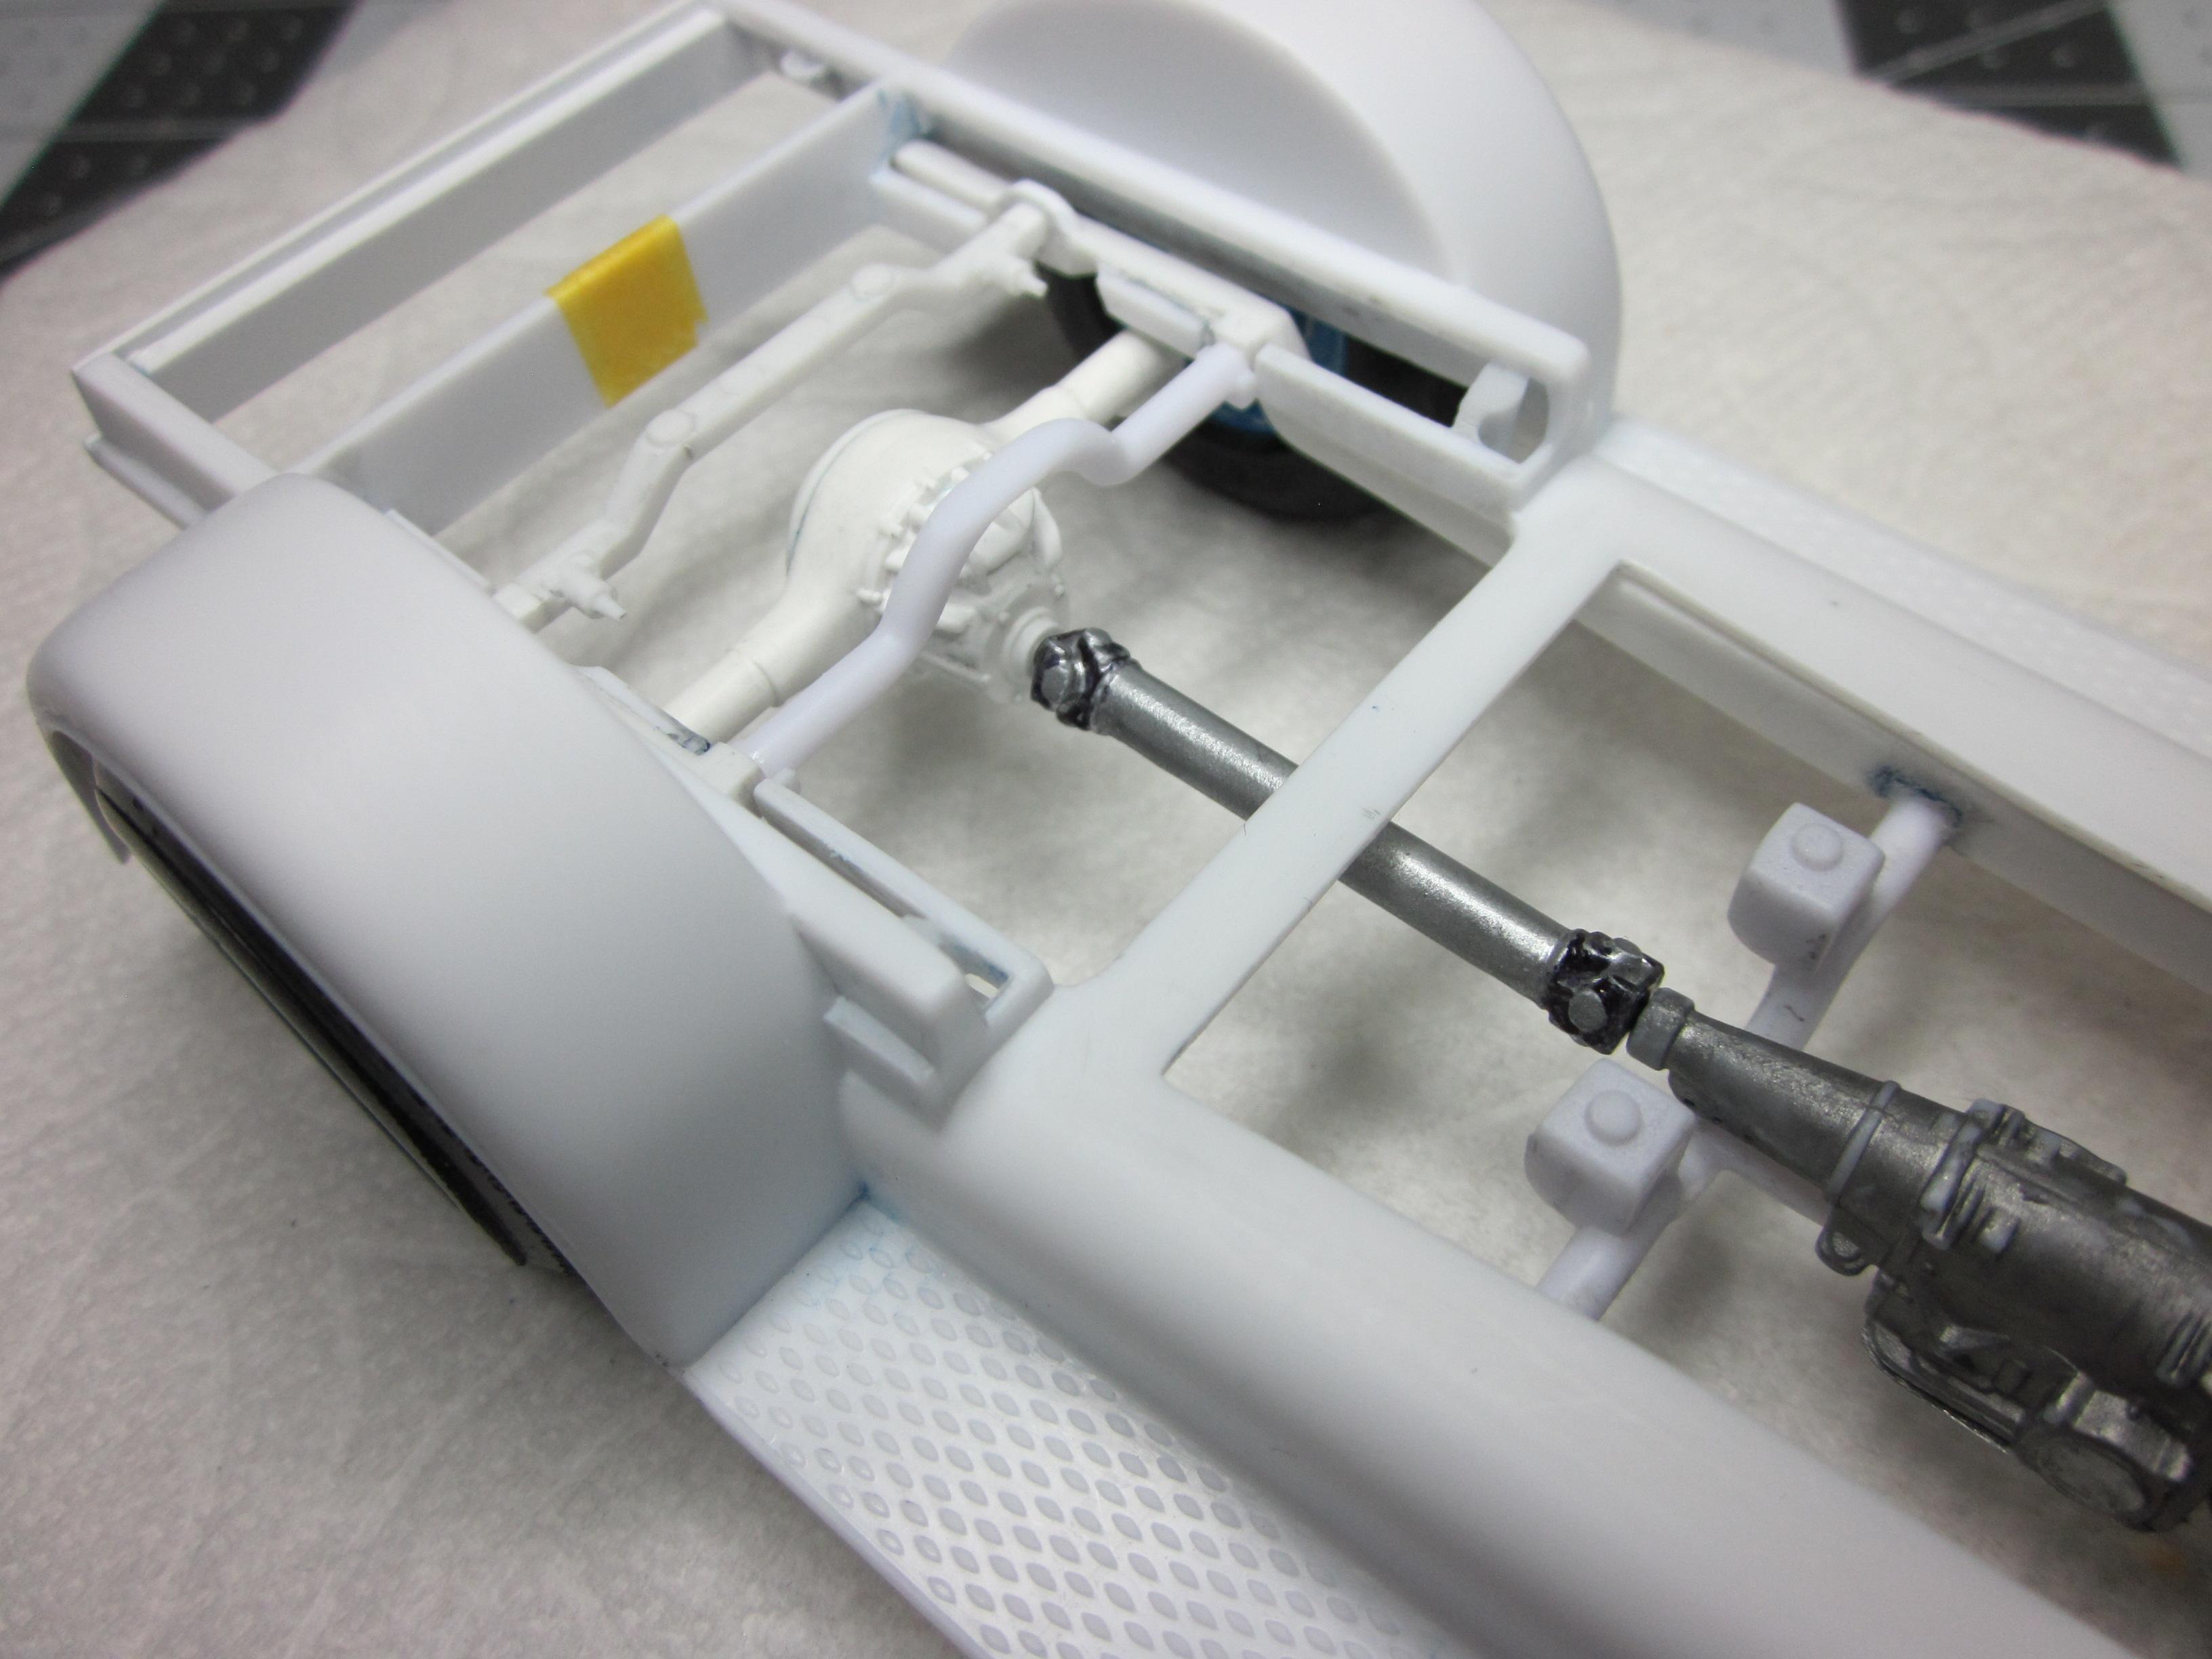
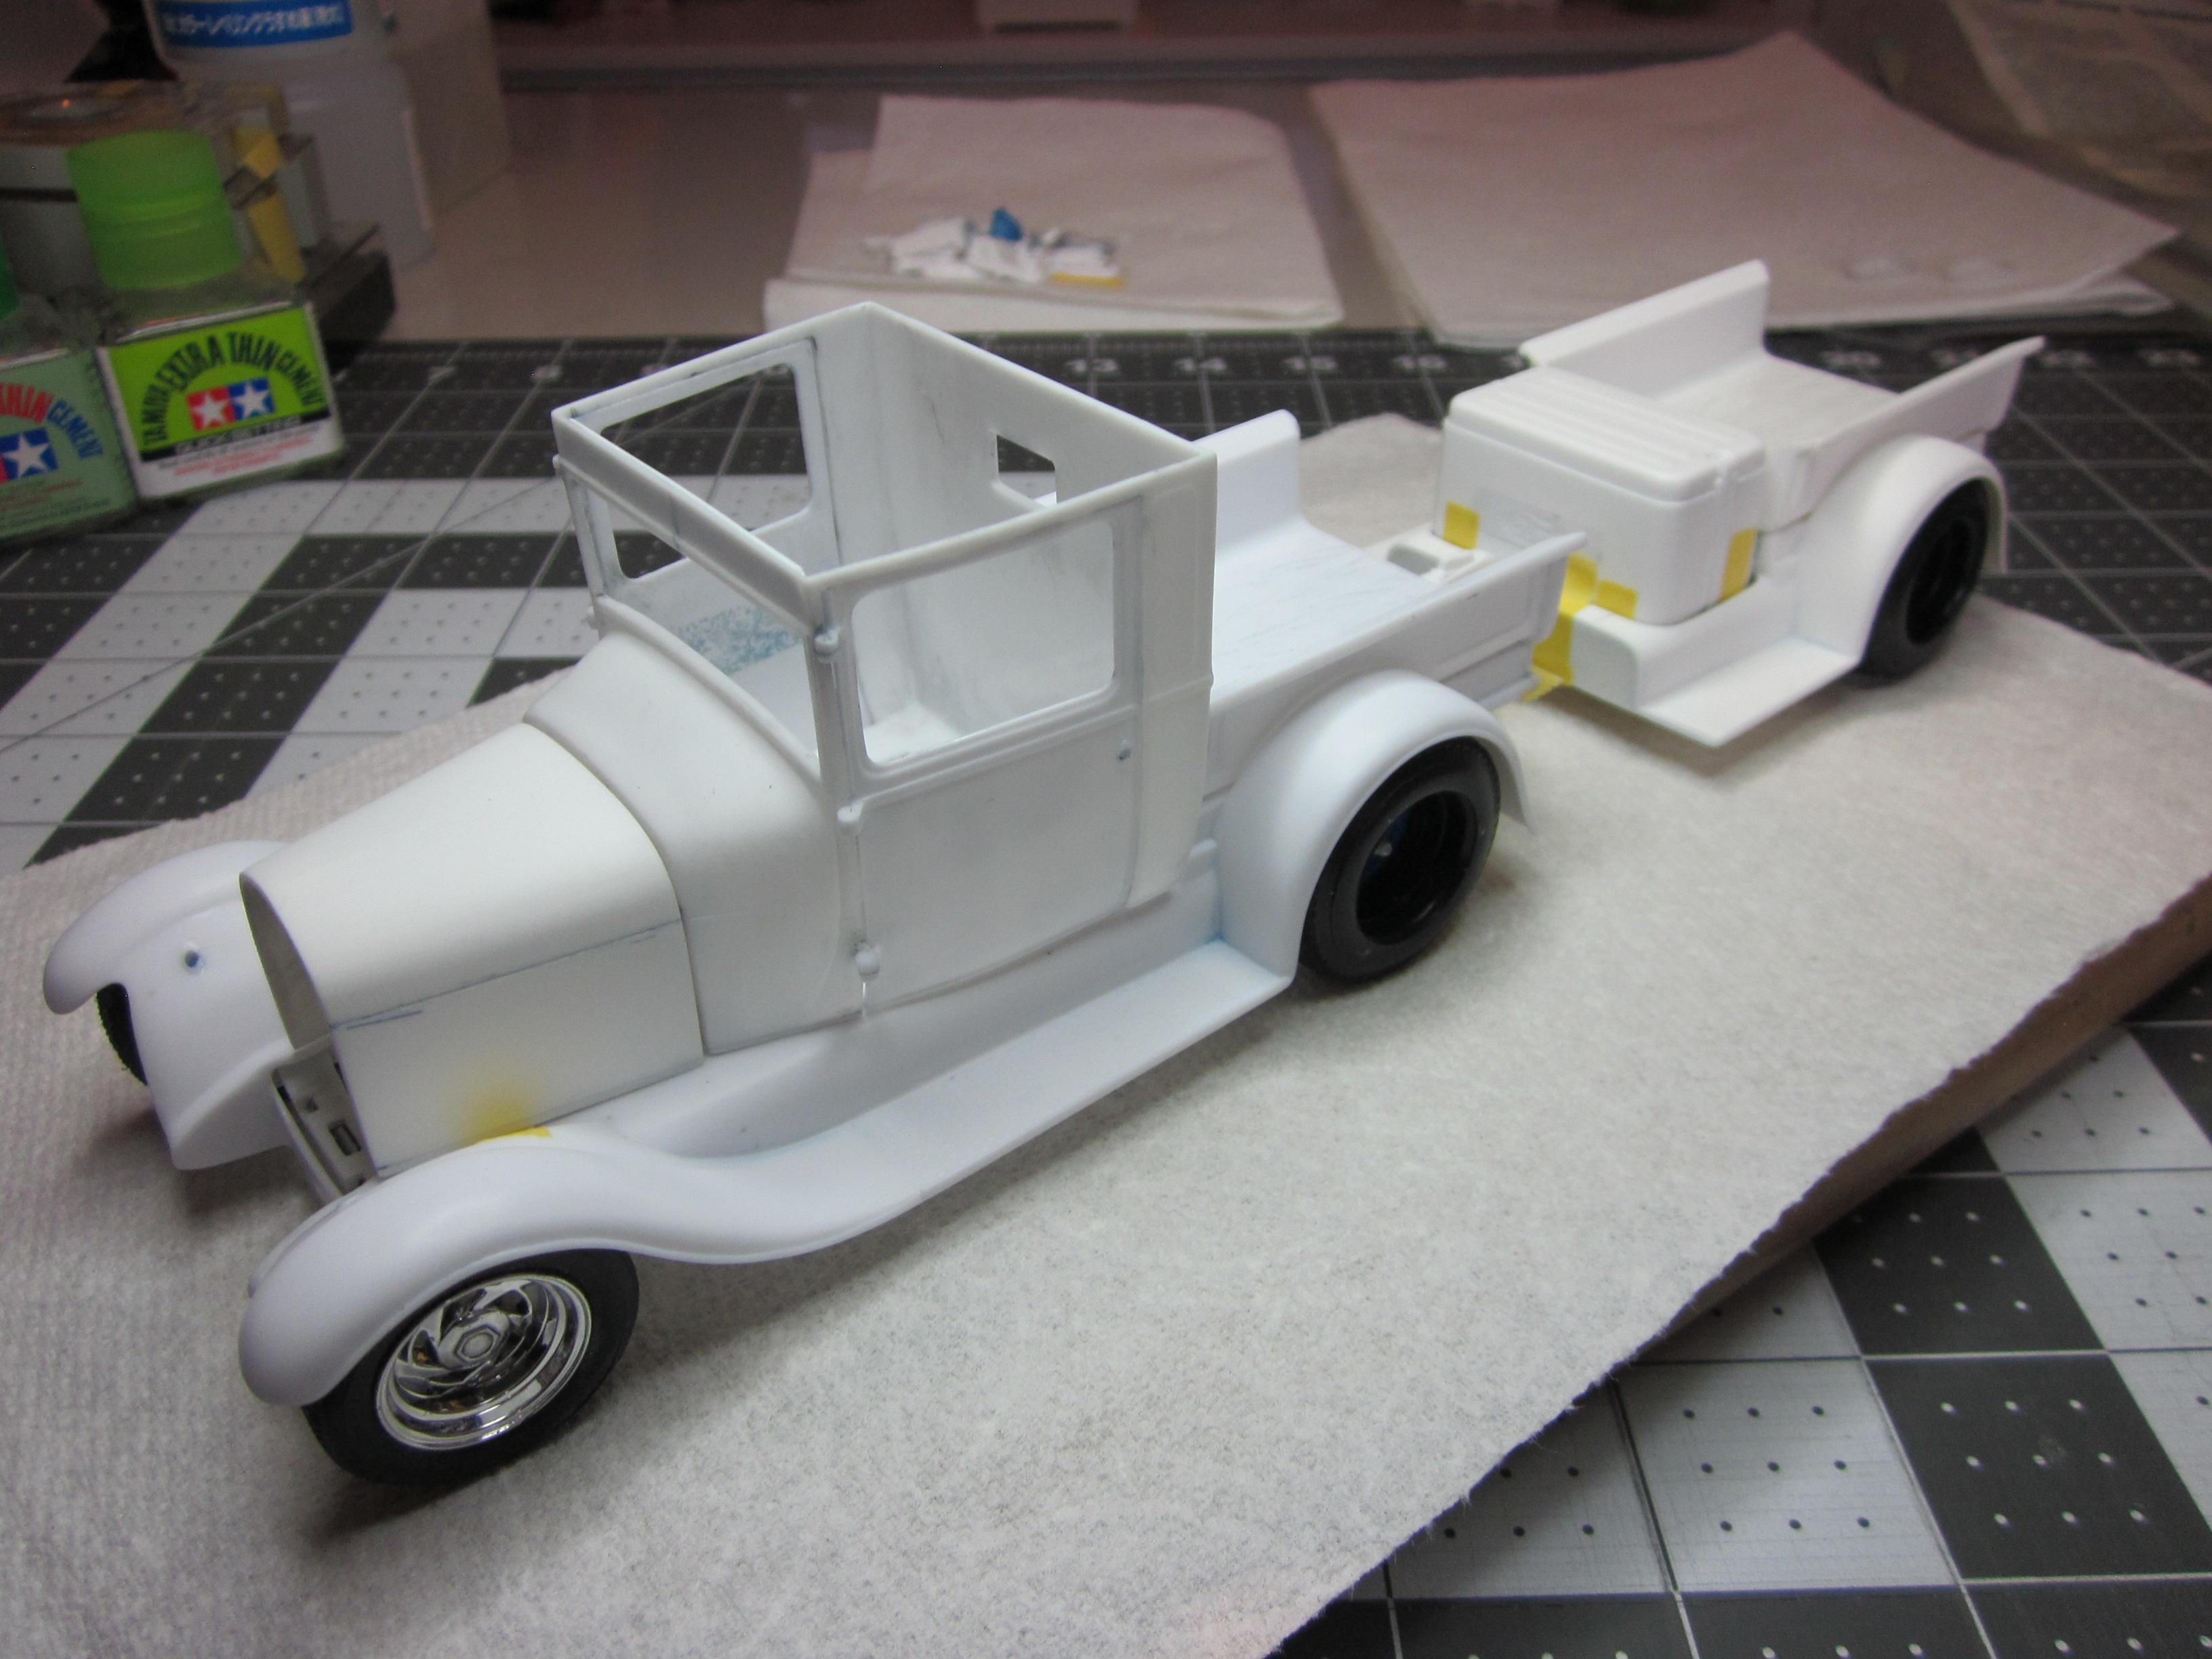
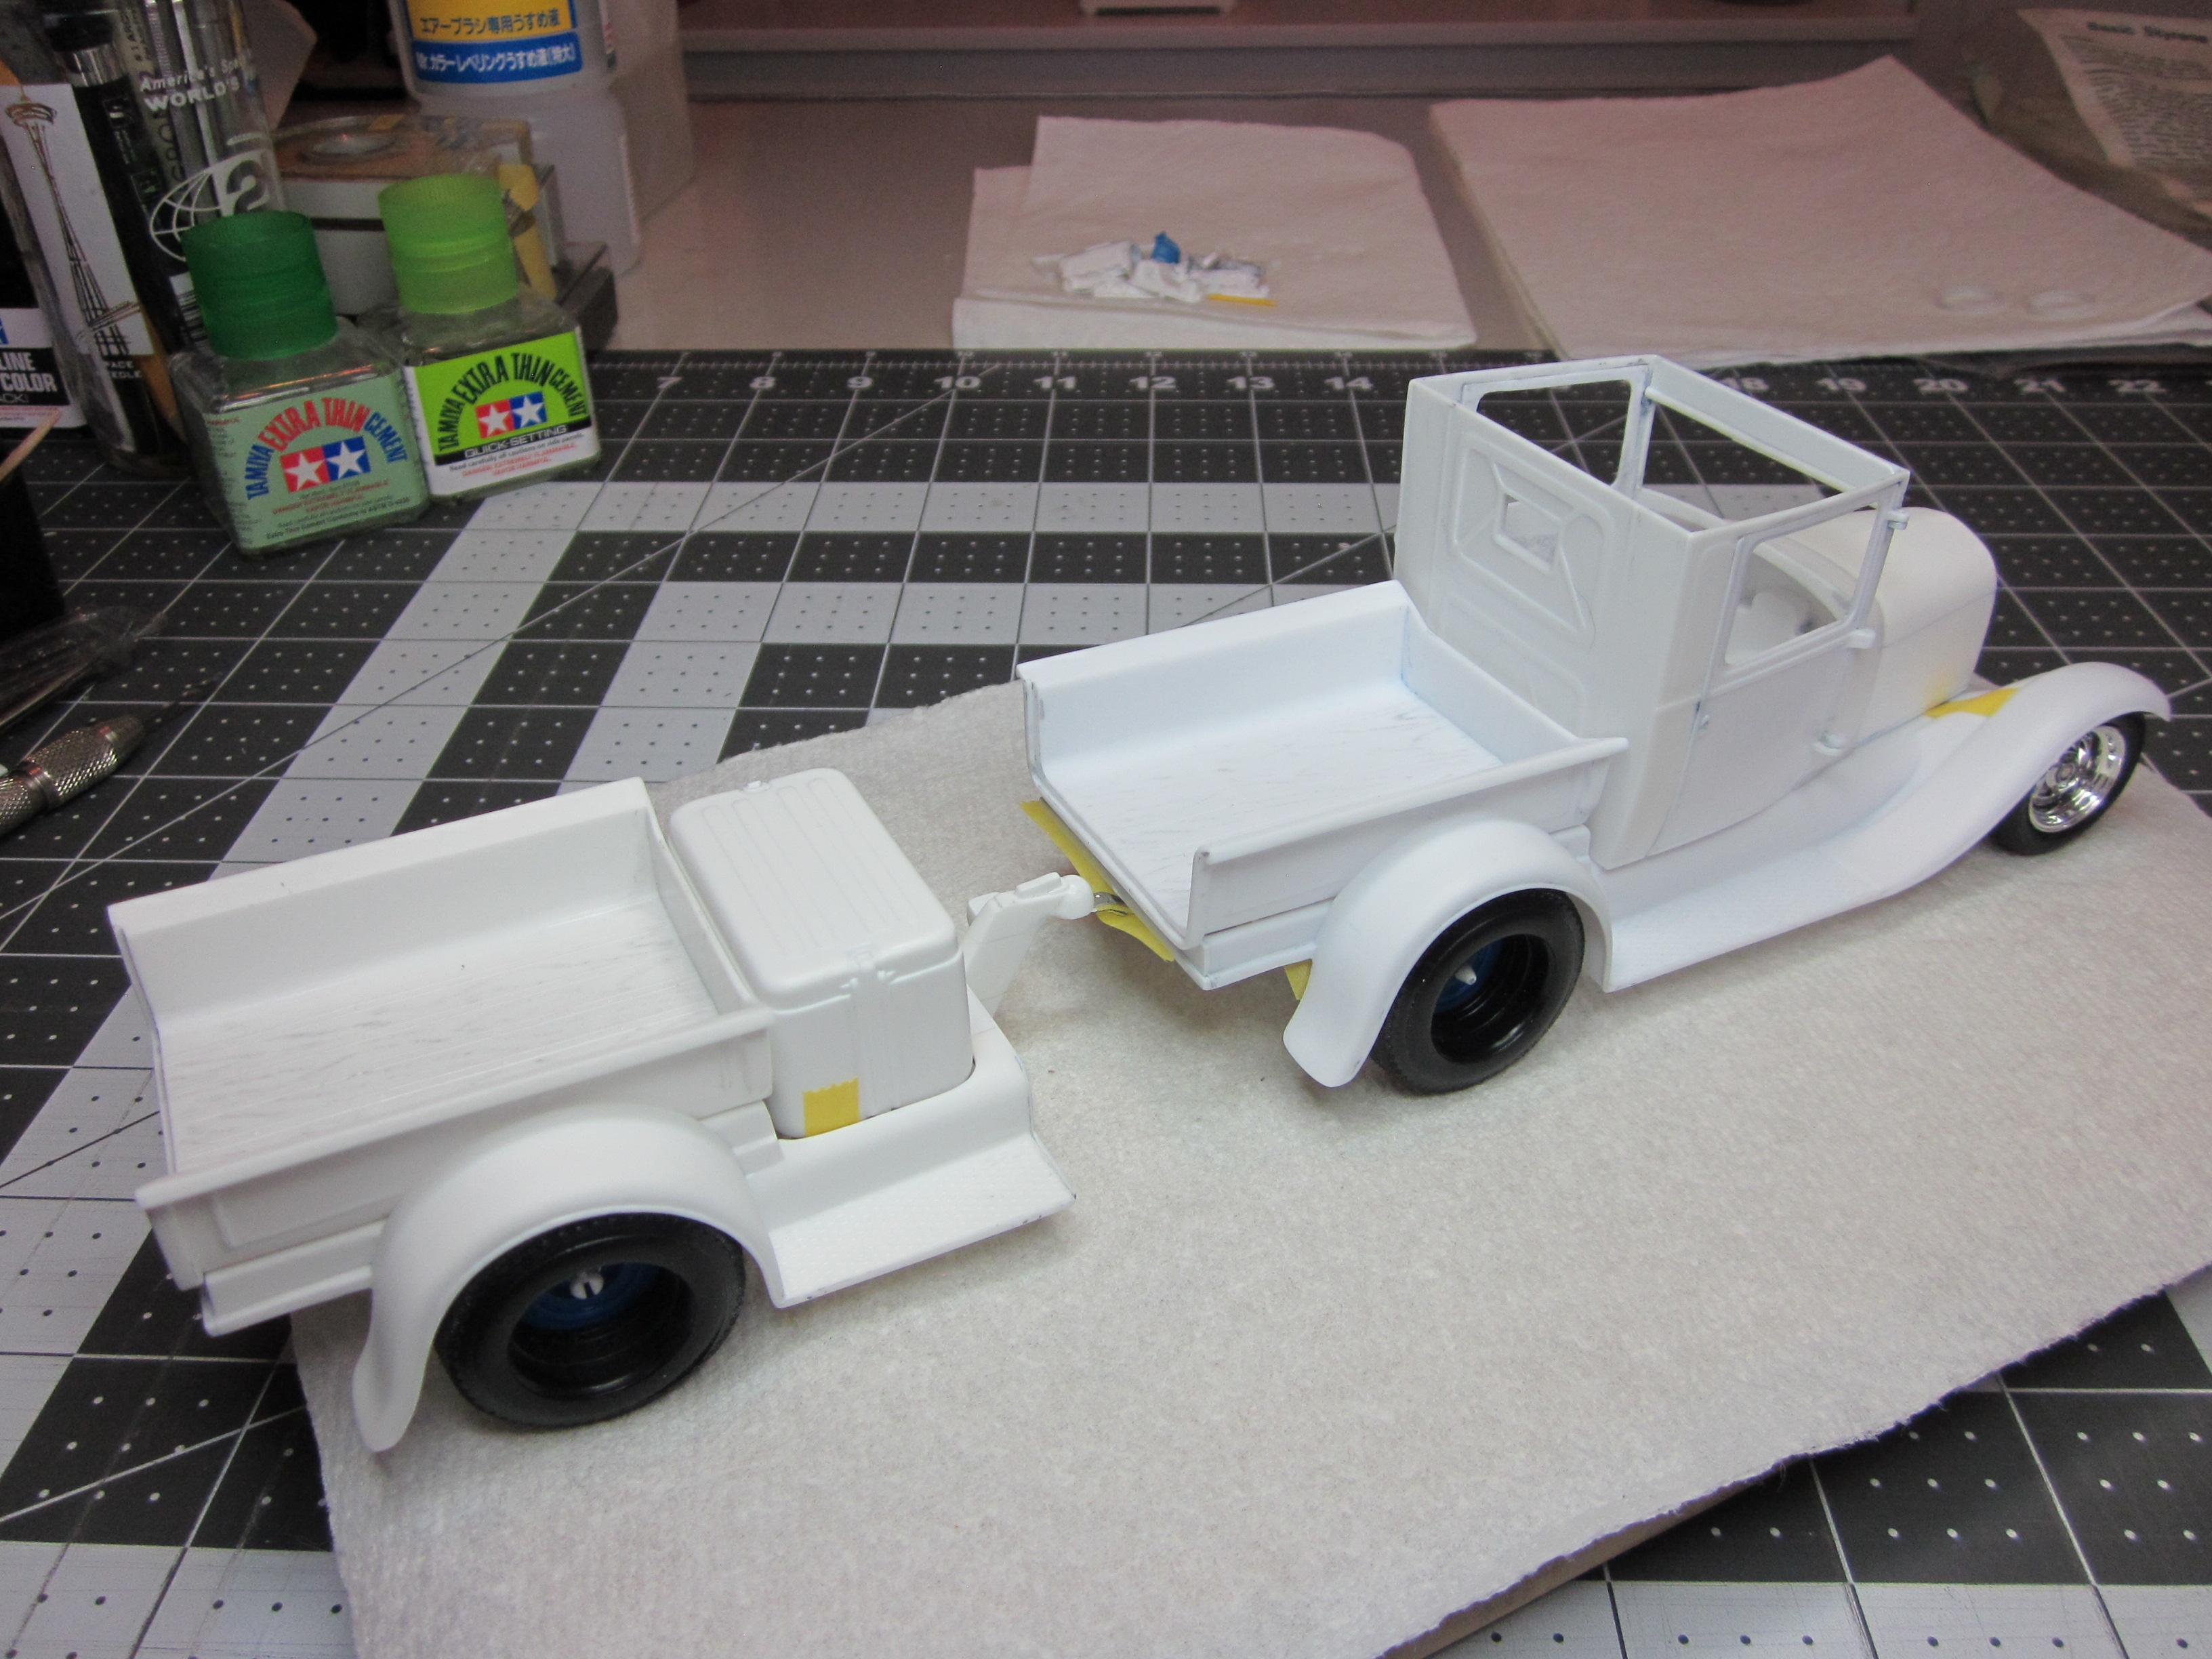
After working on kits 29' ford truck for the last few weeks, It is at a point where it's ready for some primer on all the parts. Bummer is, It's real cold right now here in kalispell and i'm going to wait till it warms up a bit before i try to put down any paint. Don't want to have a paint failure getting in a big hurry. Here is a little of what's got done ............................ Worked on the frame replacing the frame cross member above the rear differential. The replacement cross member used is out of the 29' roadster kit with everything shaved off of it. Added the upper shock mount. Figured the shock length and cut them down to fit. Figured and added a pan hard bar. With the suspension out of the way, Both the body and trailer were completely massaged and any fit issues were taken care of along the way. I just have to say, kit did a amazing job building the trailer. It's a model all in it's self. Also, the engine was taken apart and stripped of paint. It is currently in pieces. All in all, everything looks good. Can't wait to see some color on everything. I'll update when things start moving along again. Speedpro
-
That is one crazy nice gasser! Super build. Thanks for sharing.


.JPG.b87e88c9e43d2cbf3f146ffafed08ae8.JPG)
.JPG.ff9e5ed6313508cb61ccc8e93caaf0e6.JPG)


.JPG.d5da6068724819dd1e1fc8bdca8b291d.JPG)