Speedpro
-
Posts
842 -
Joined
-
Last visited
Content Type
Profiles
Forums
Events
Gallery
Everything posted by Speedpro
-
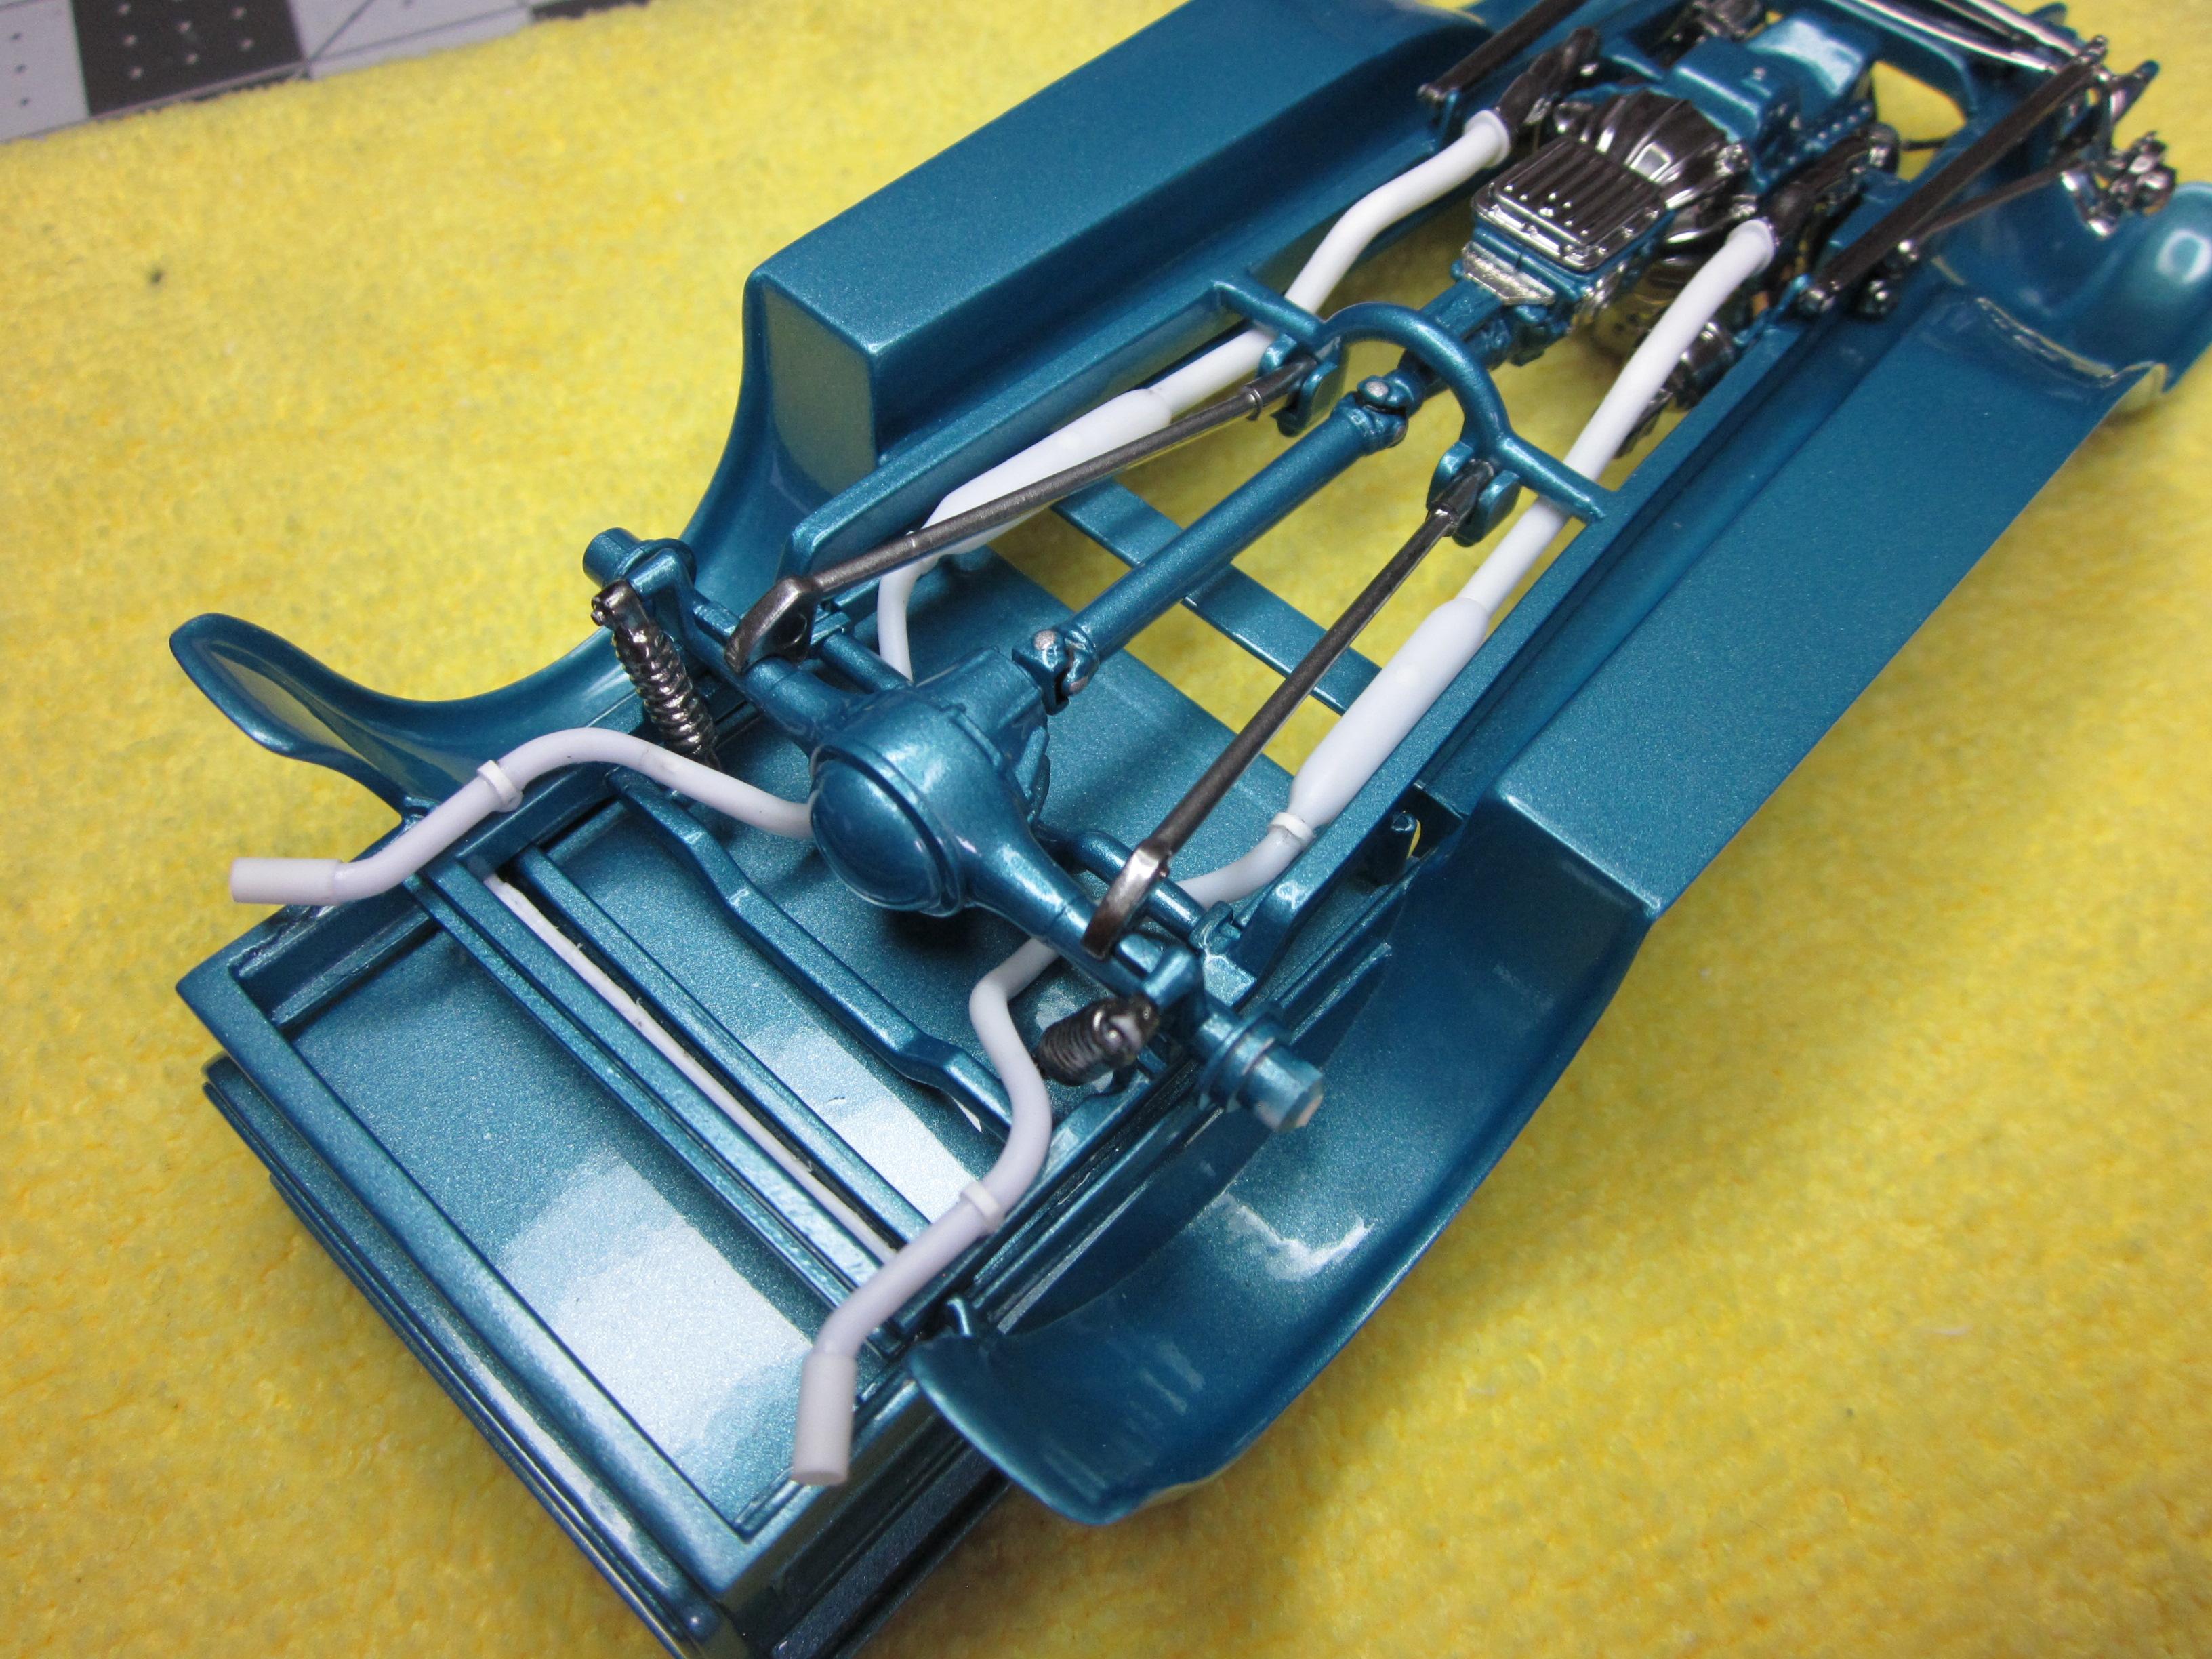
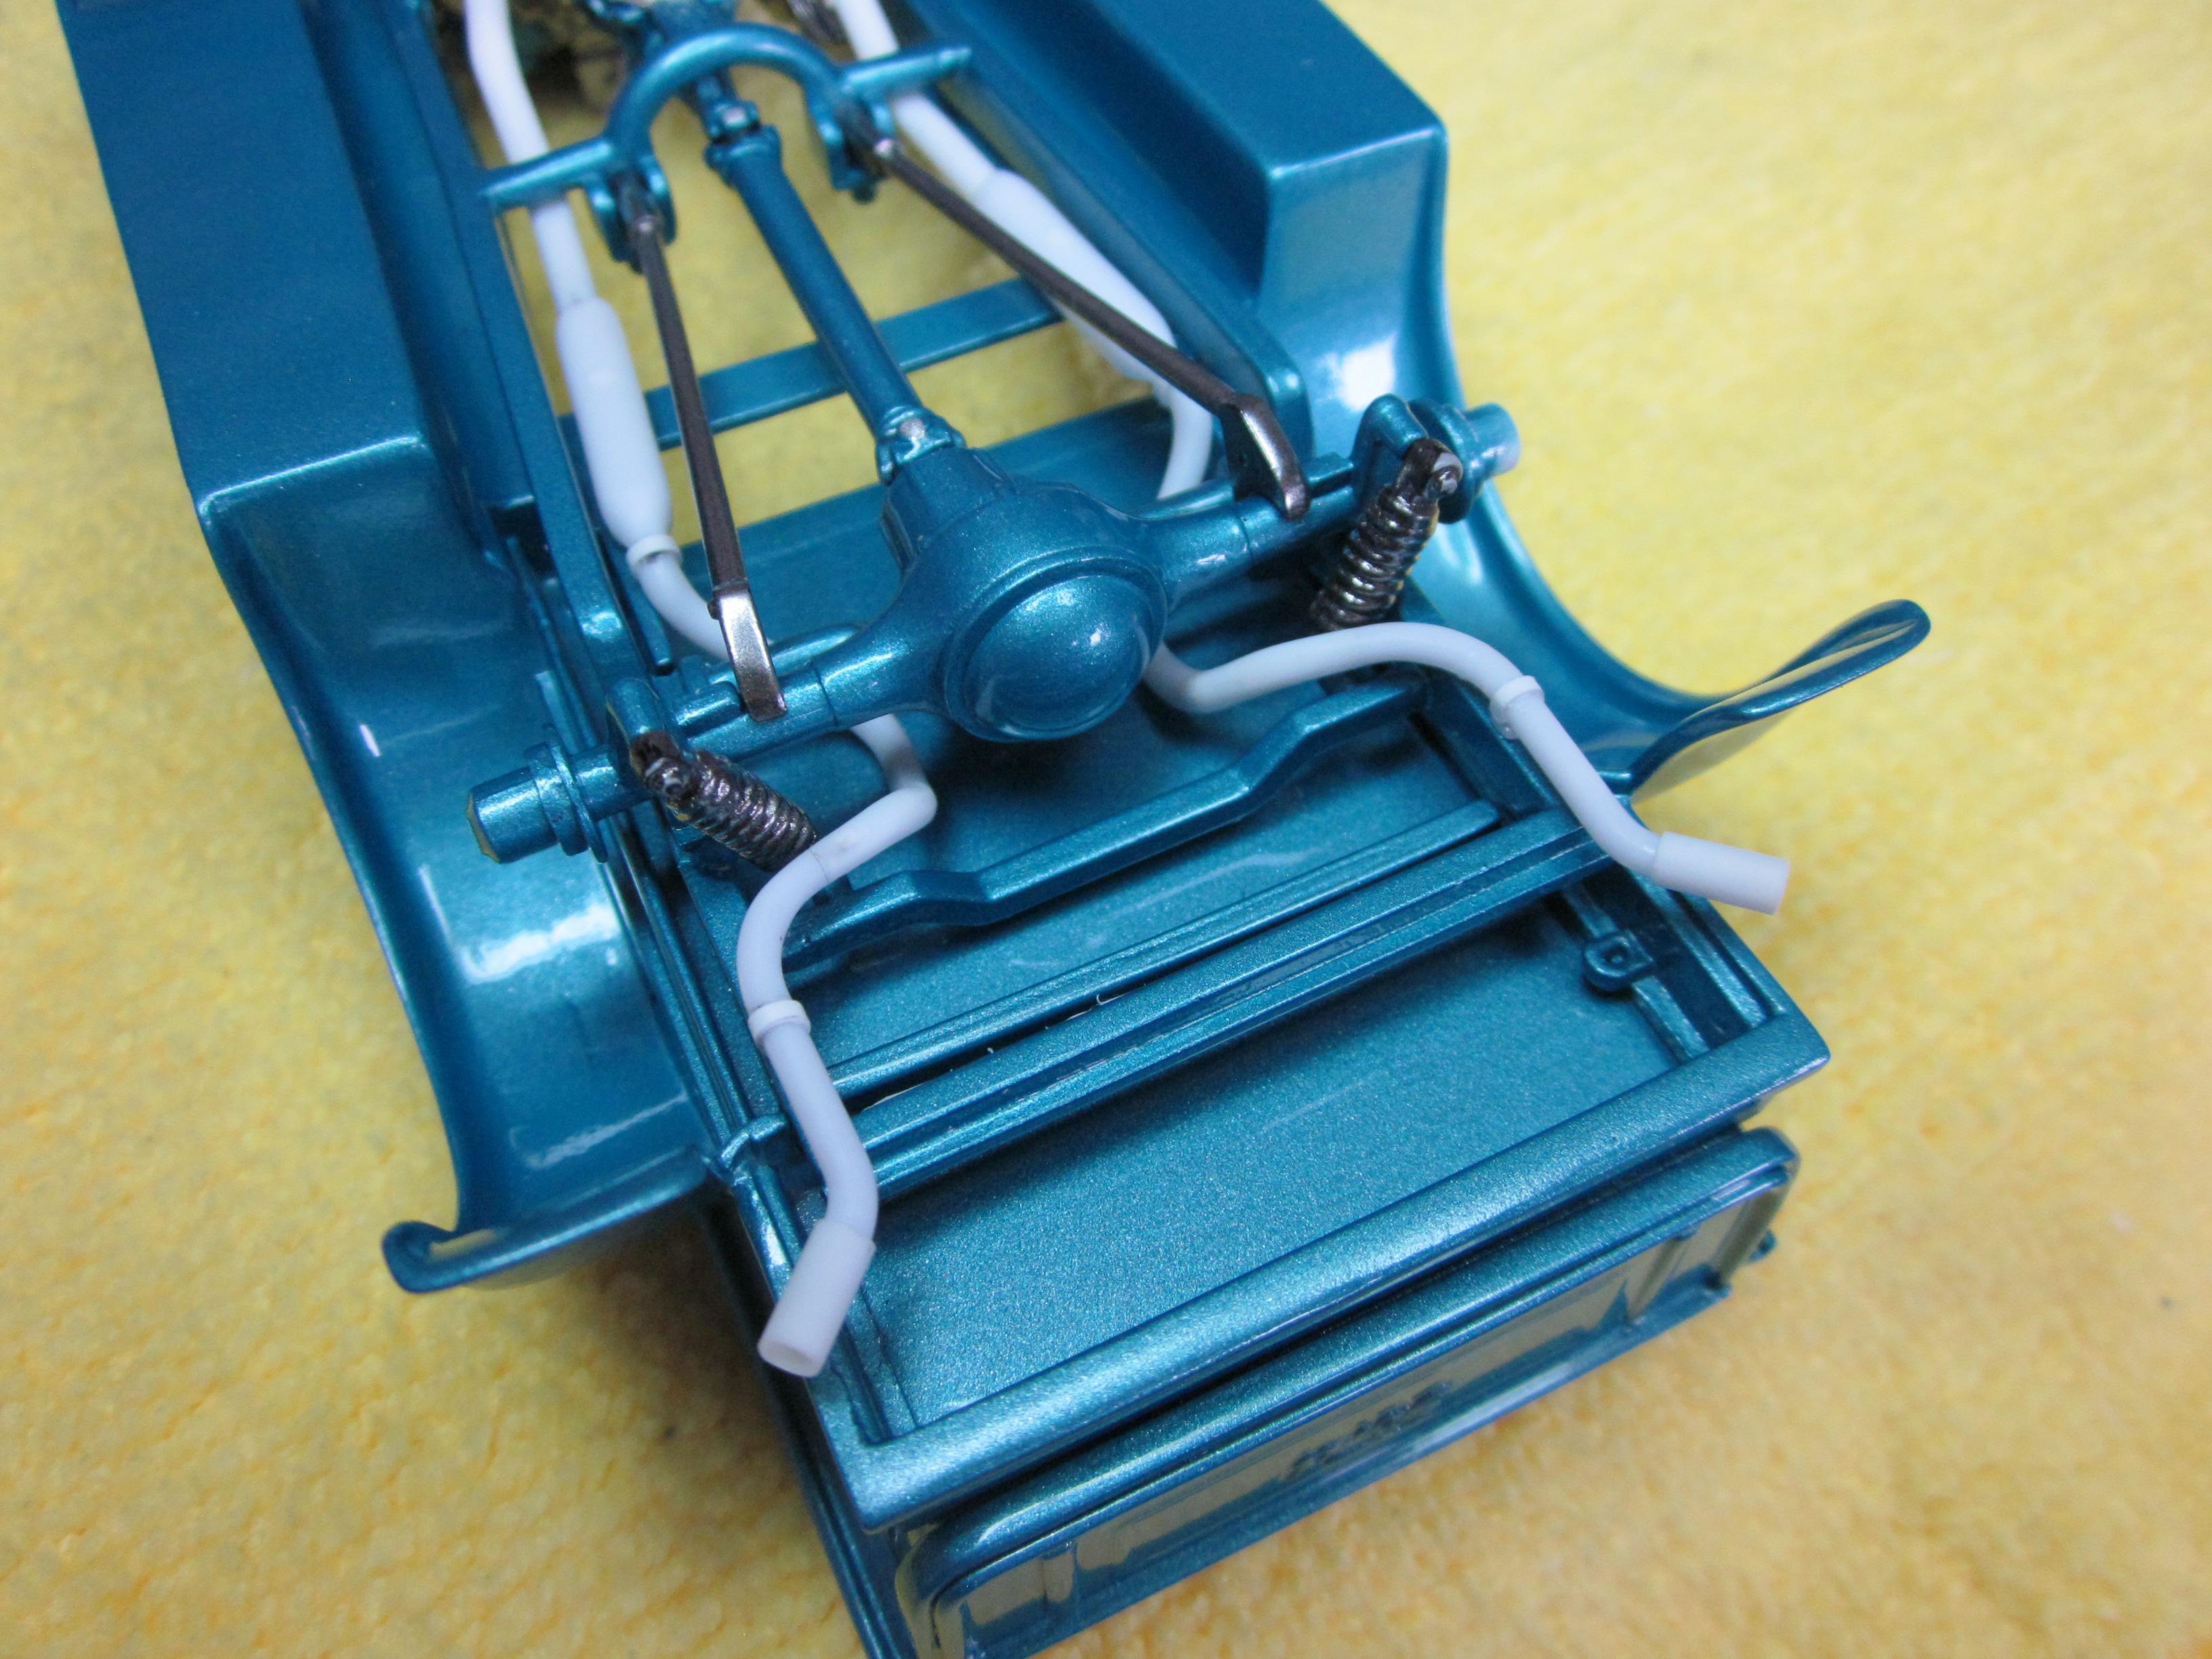
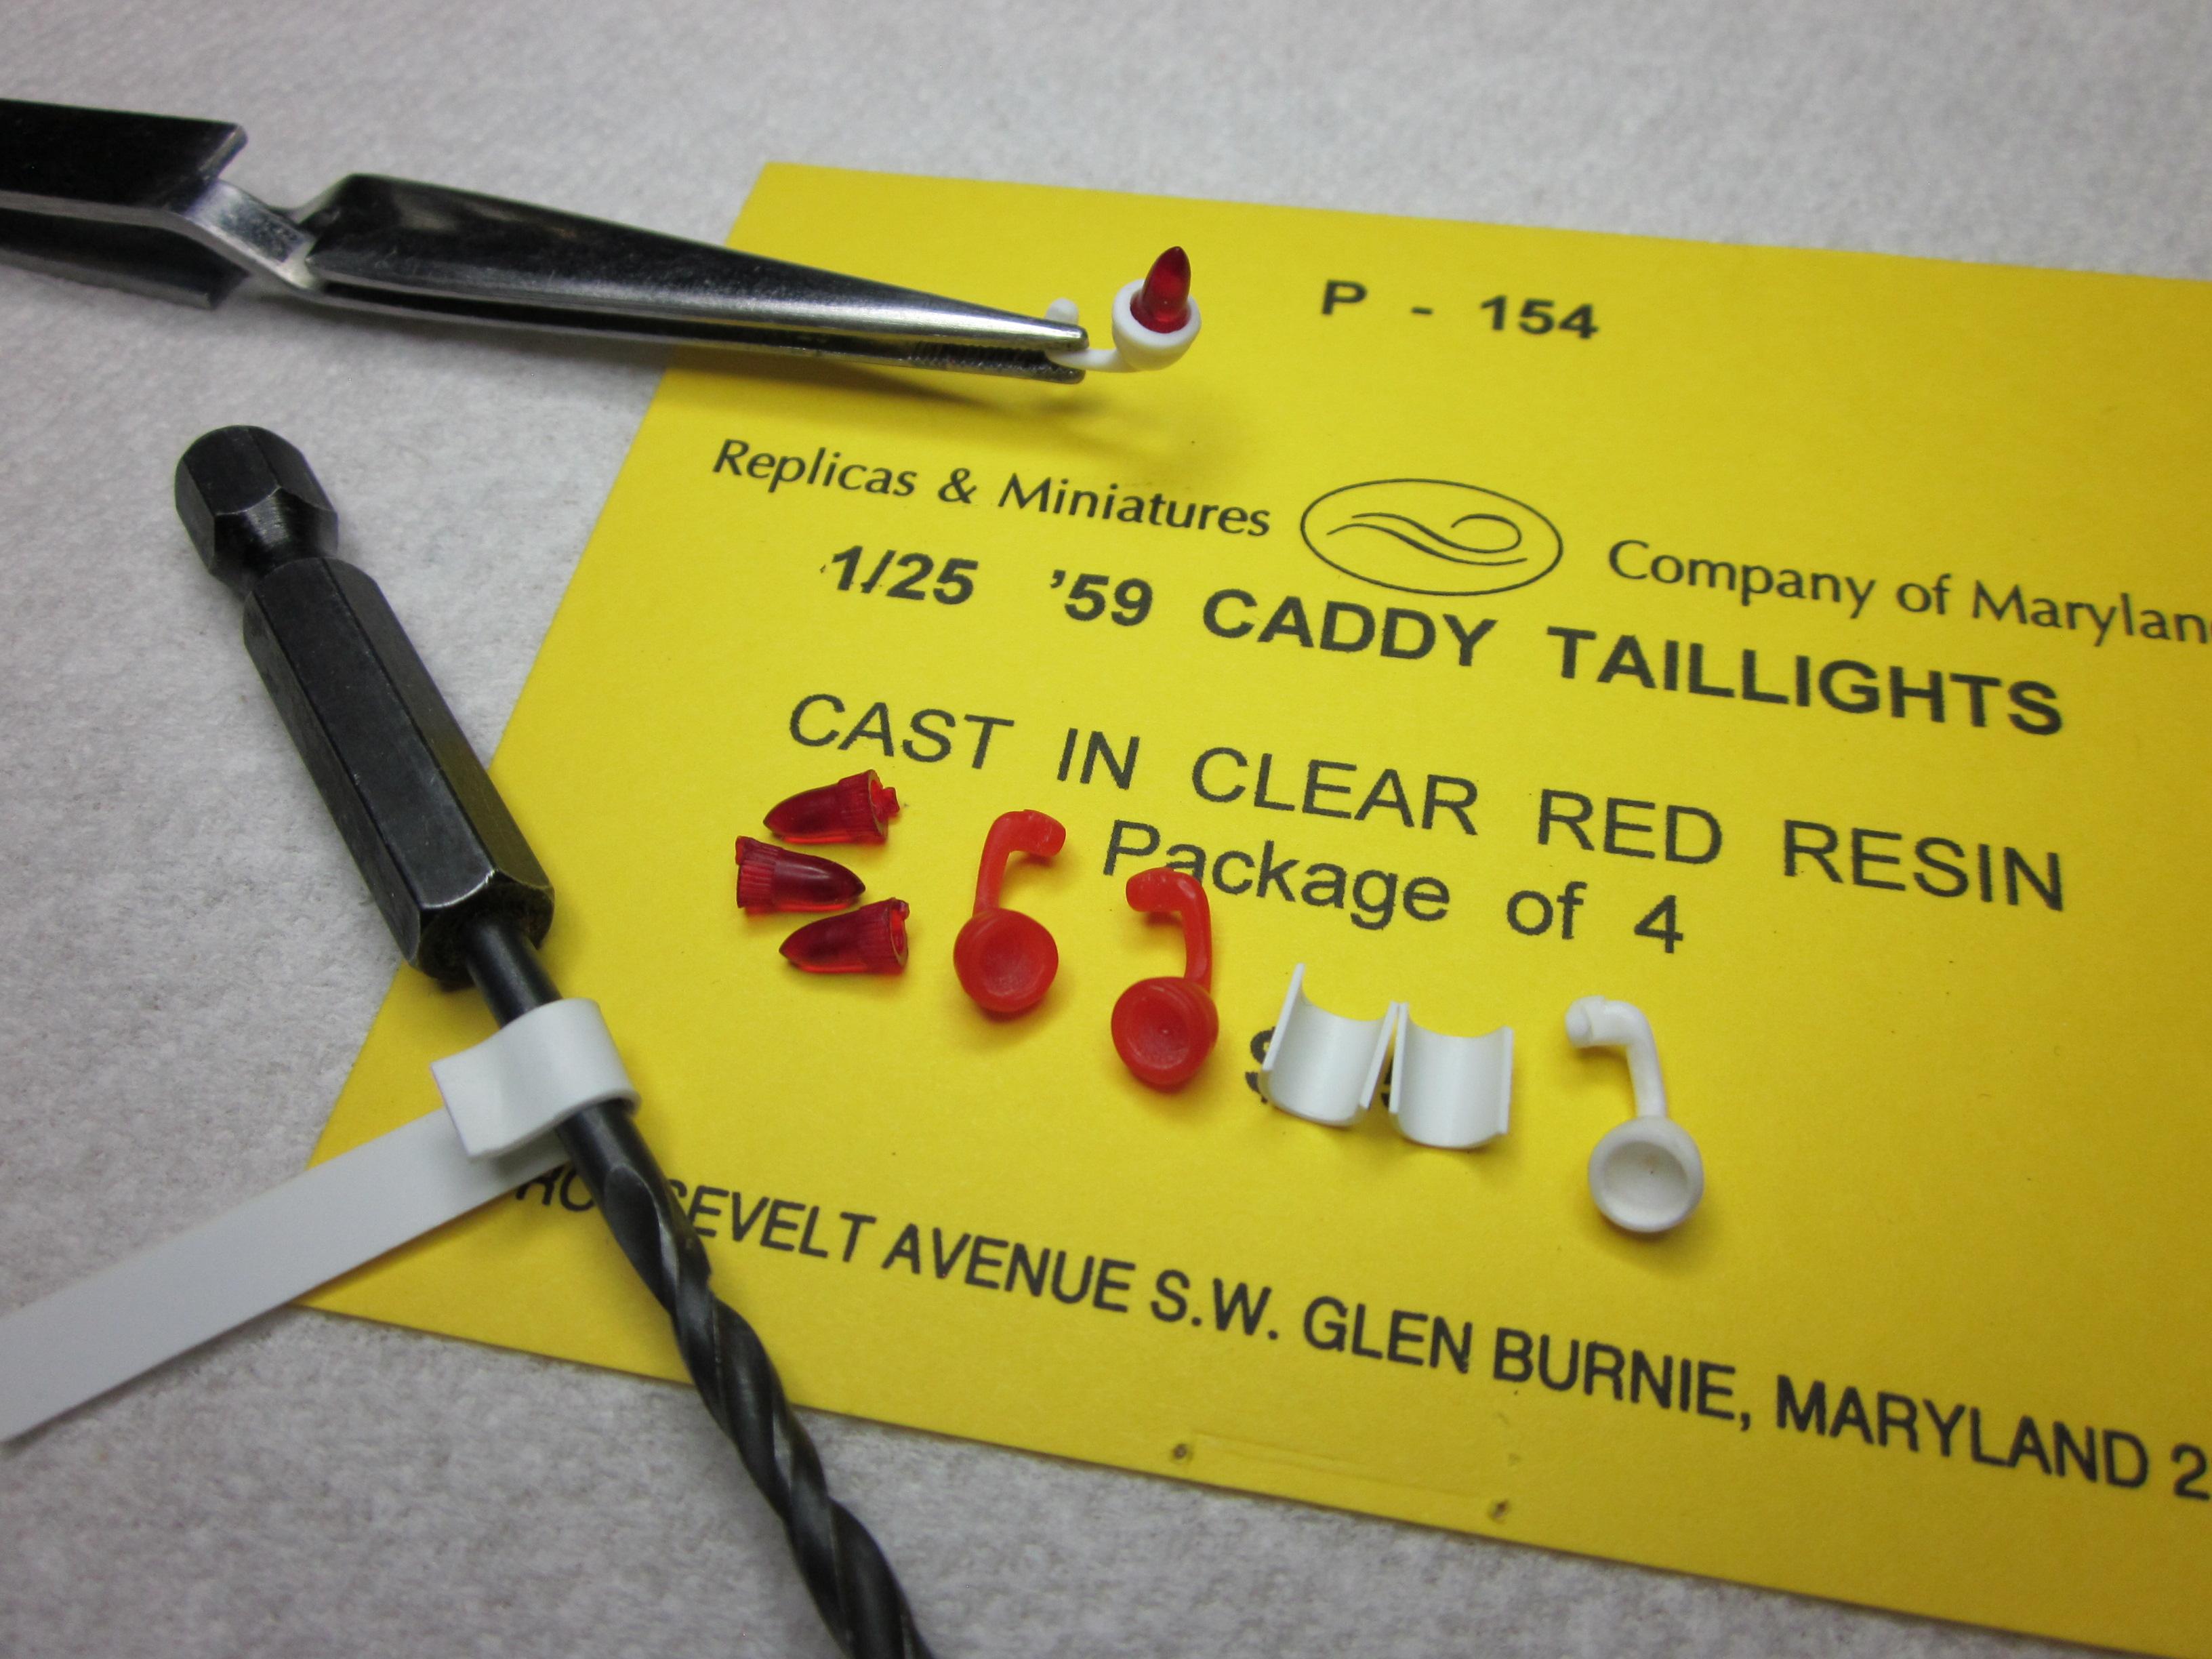
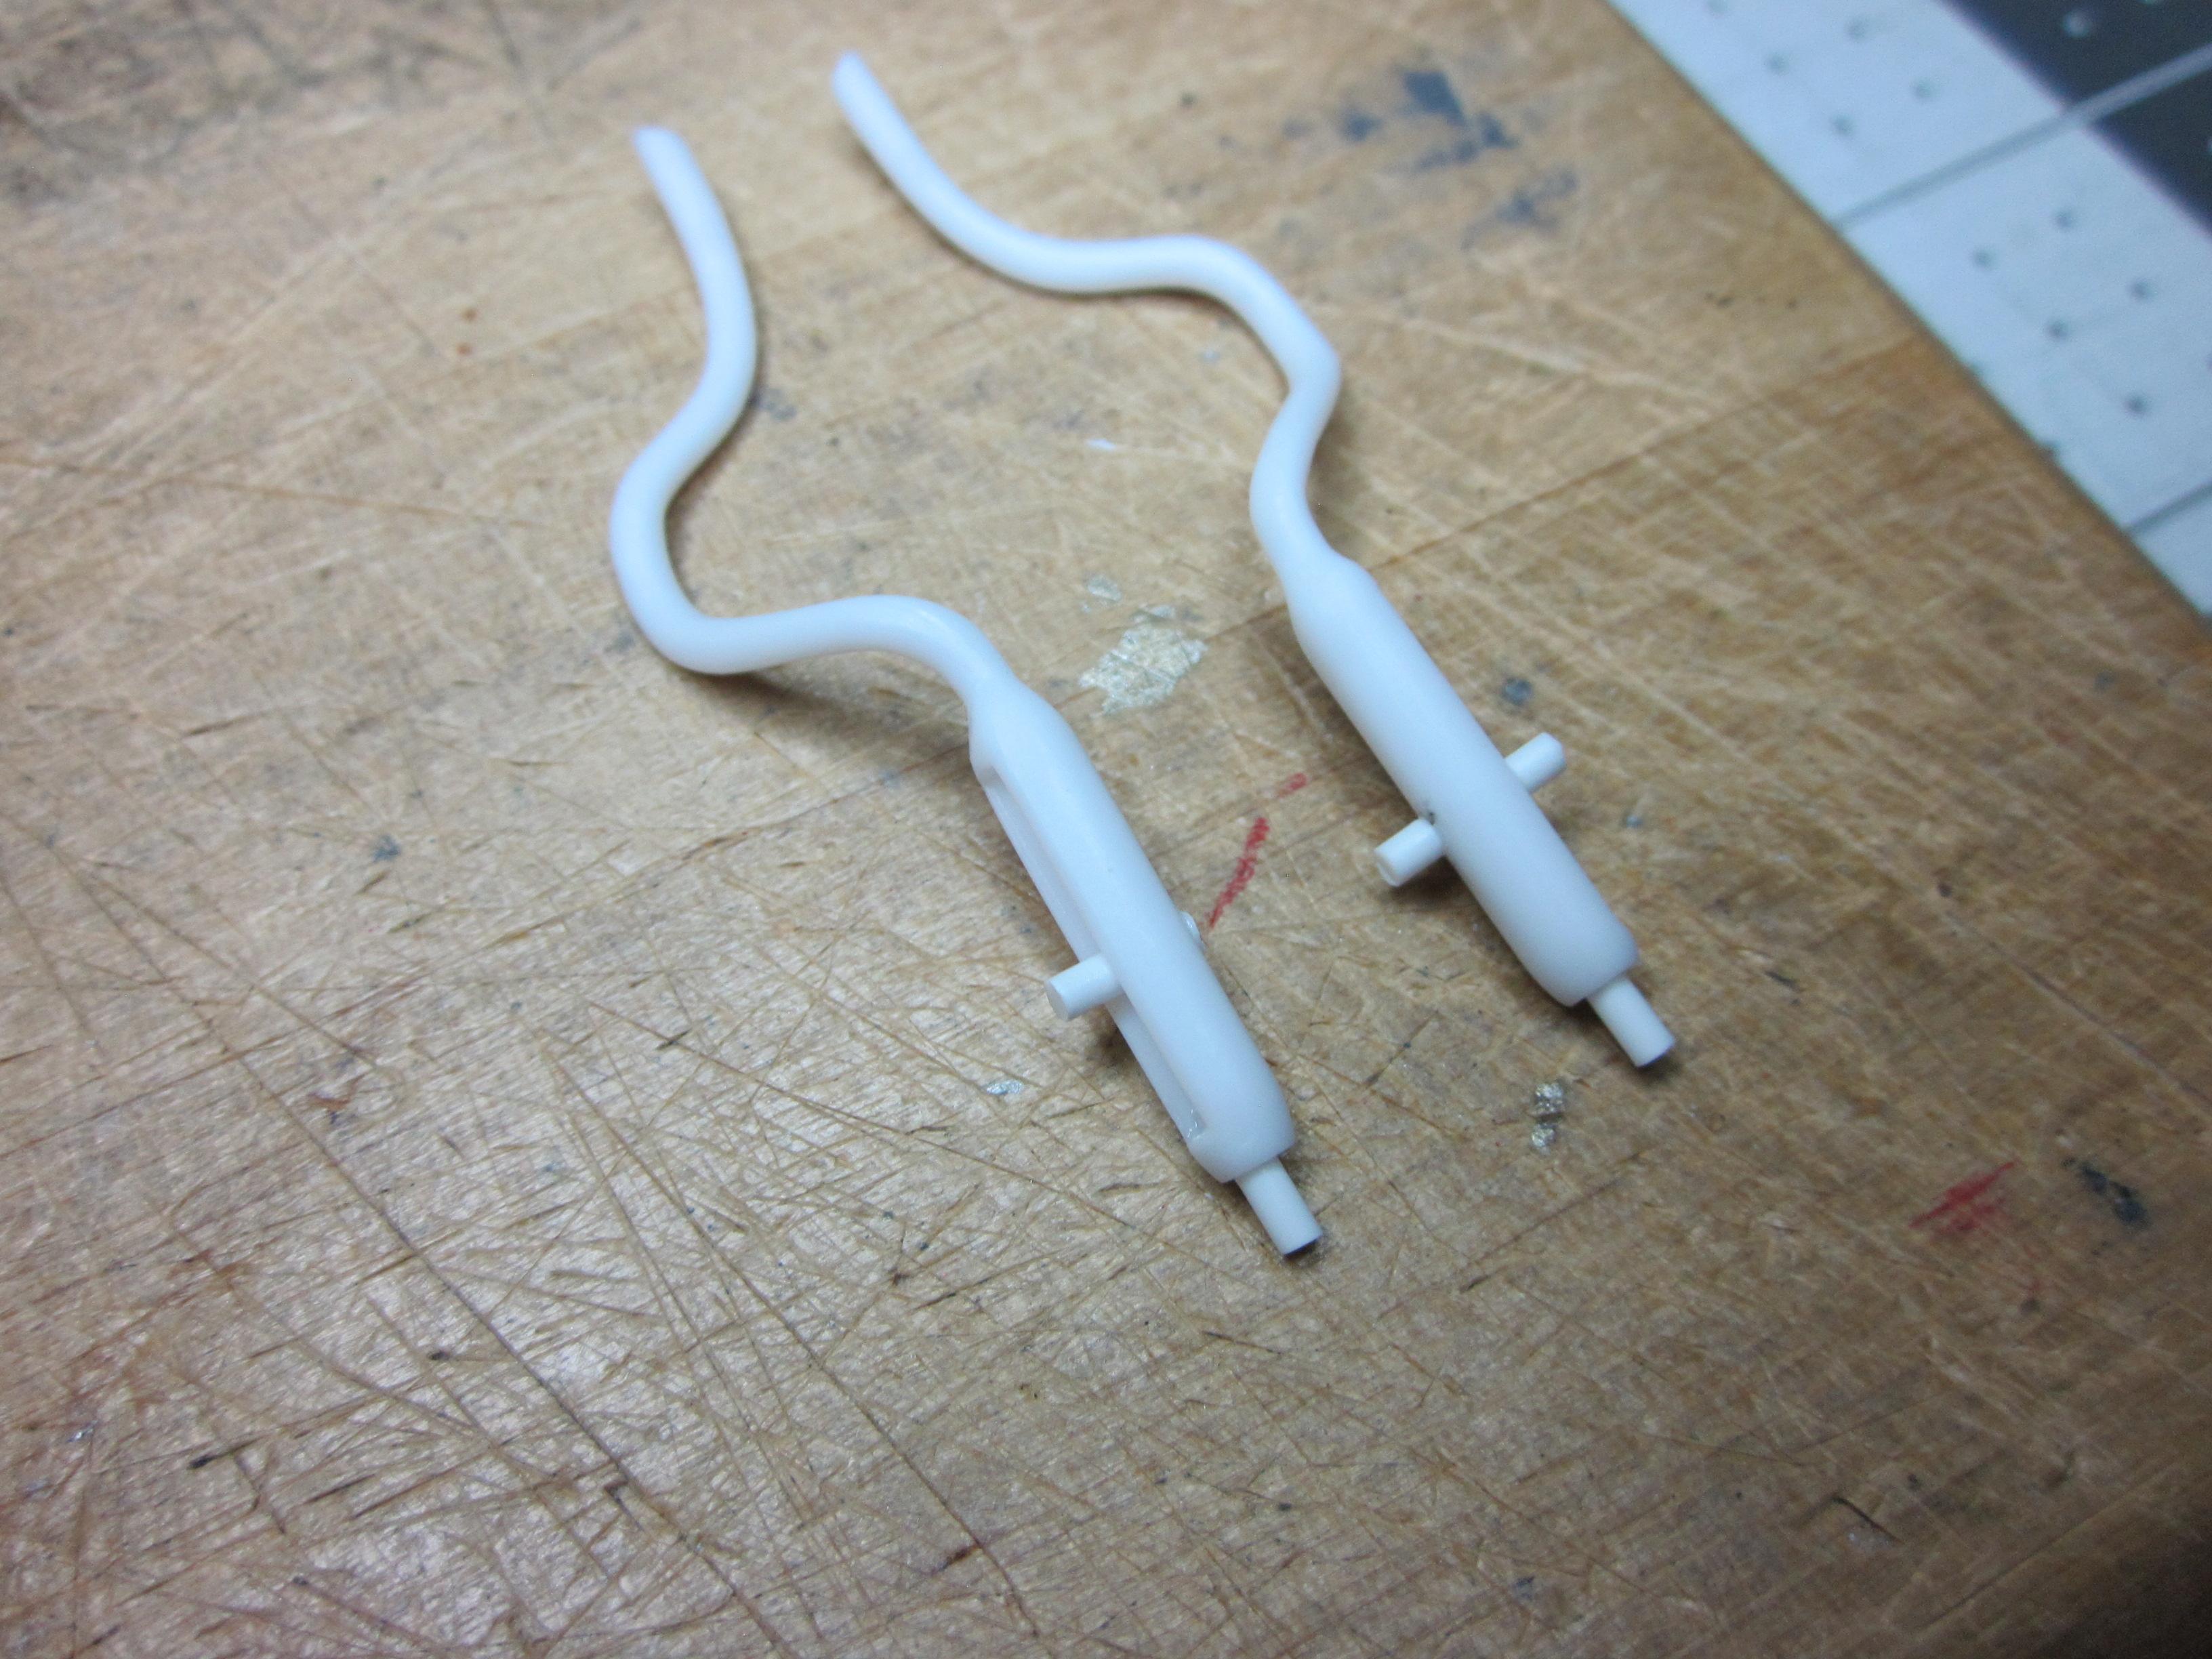
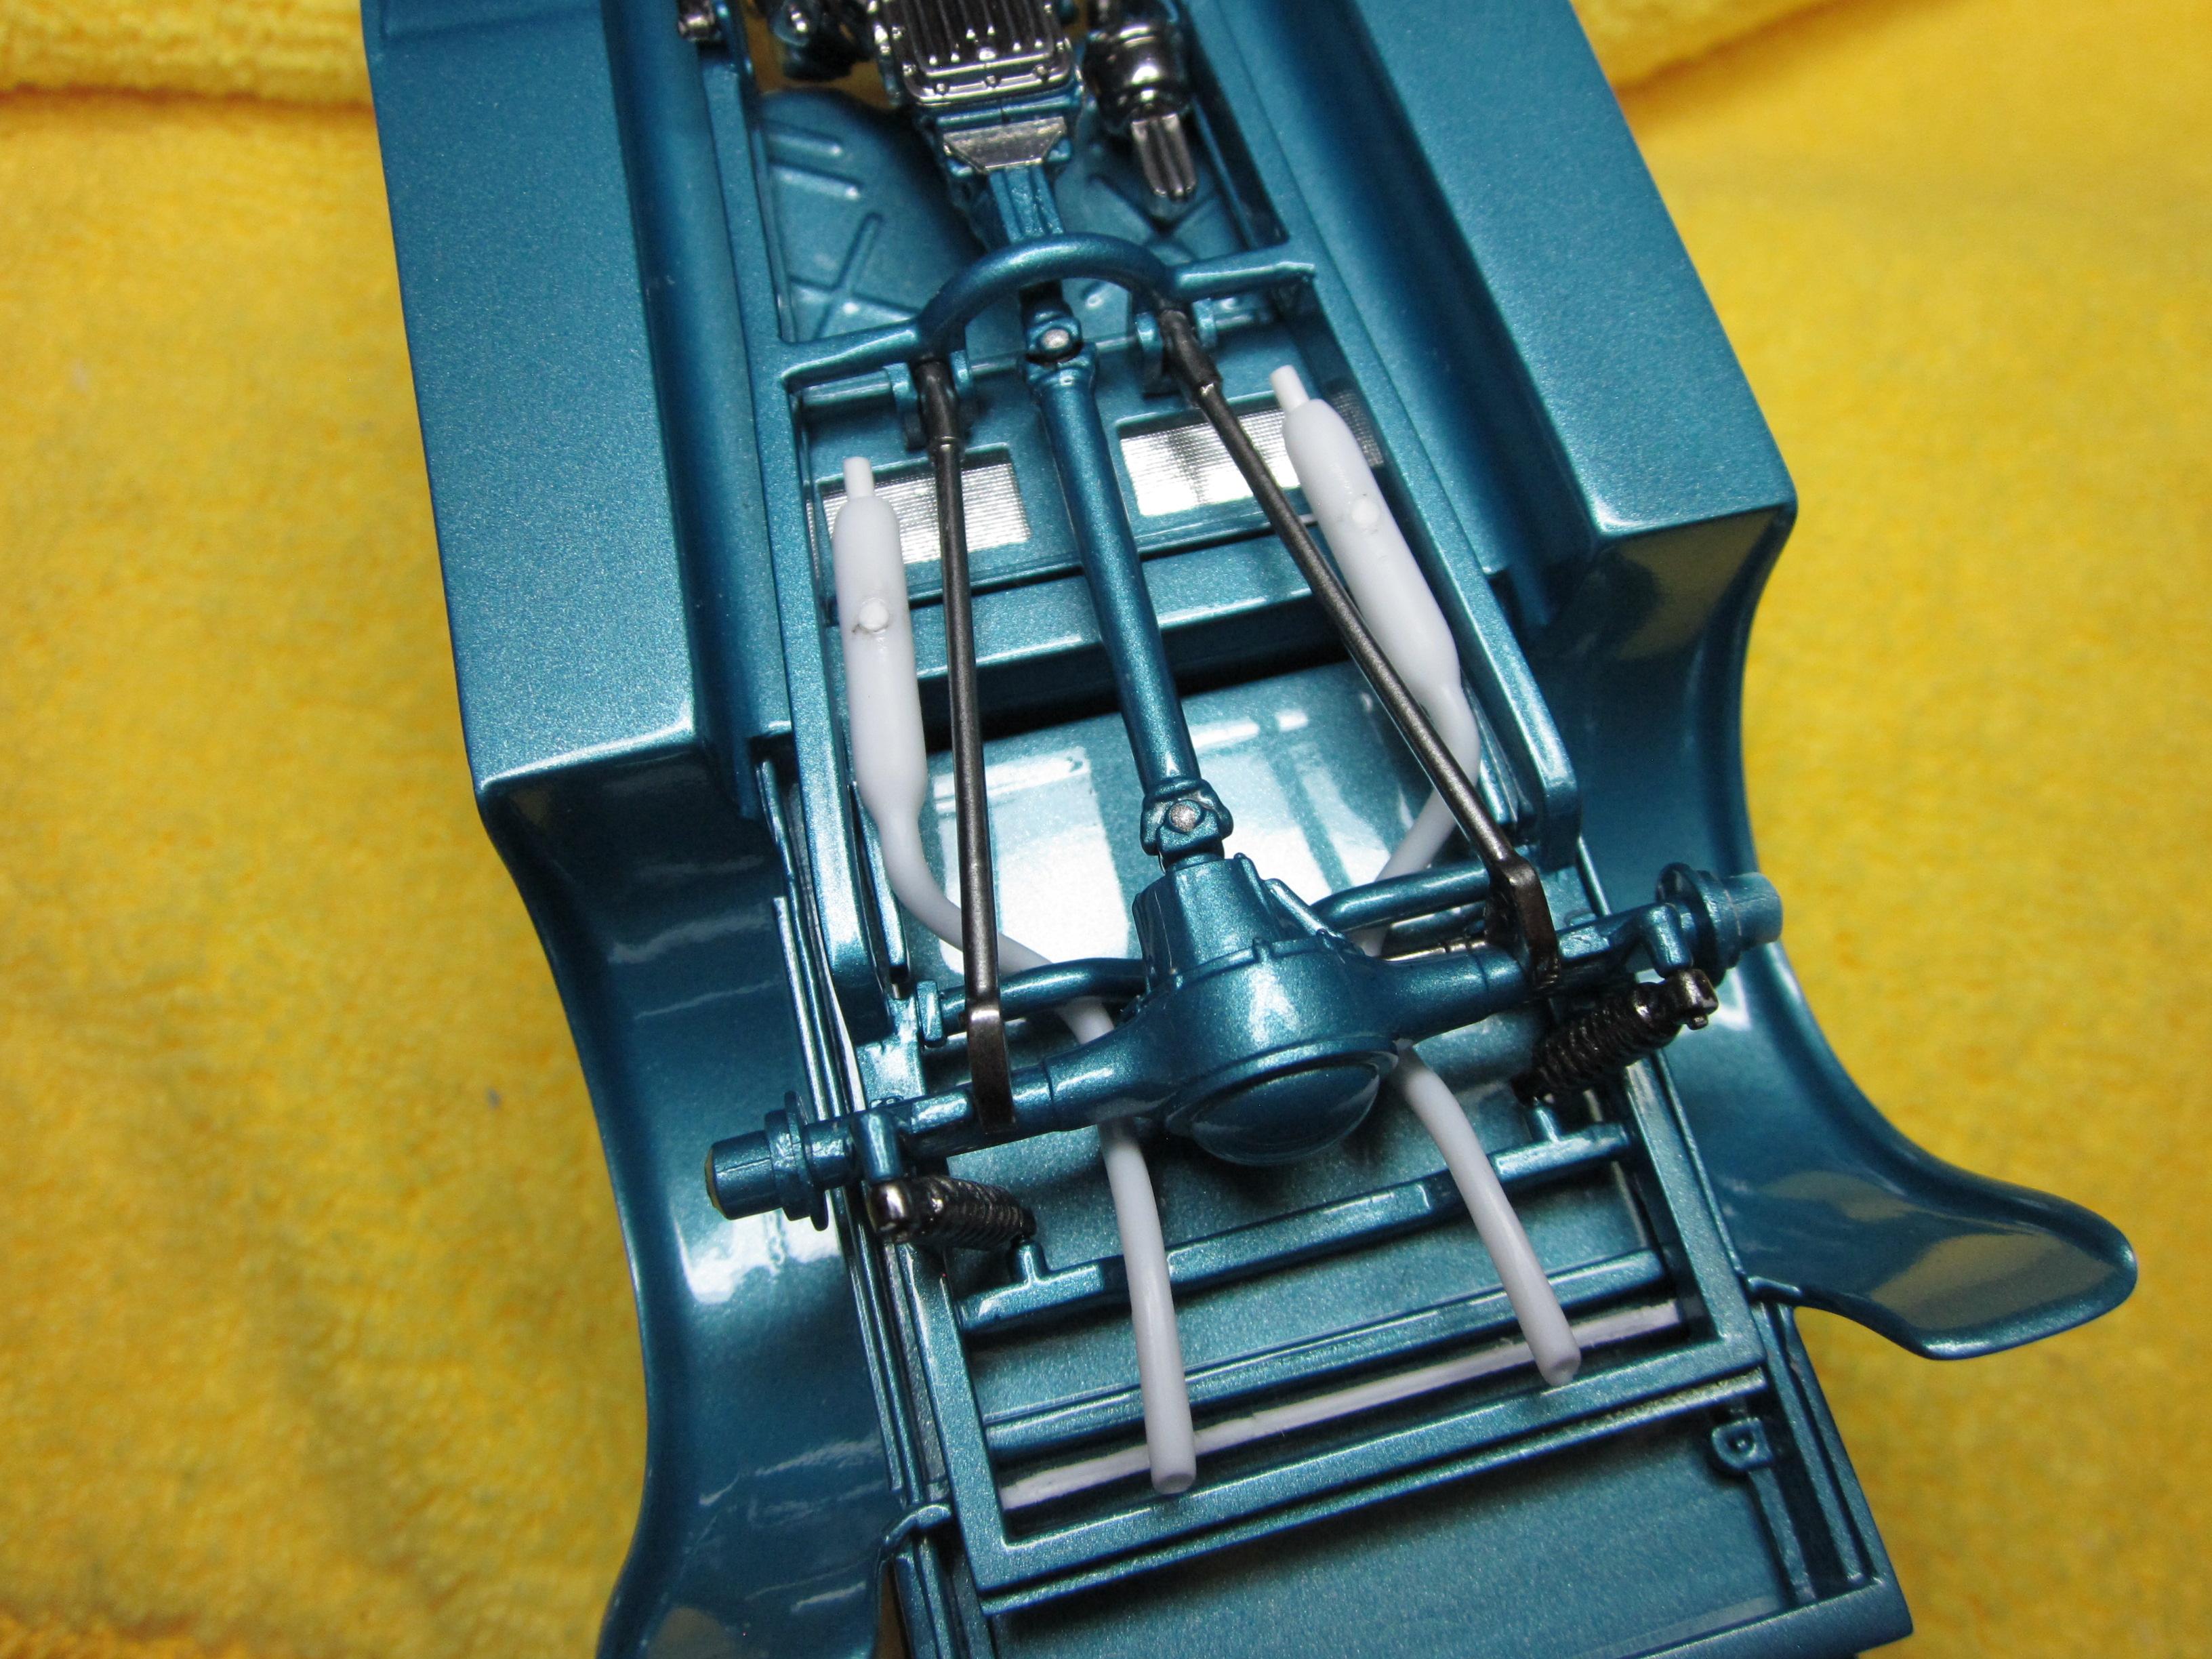
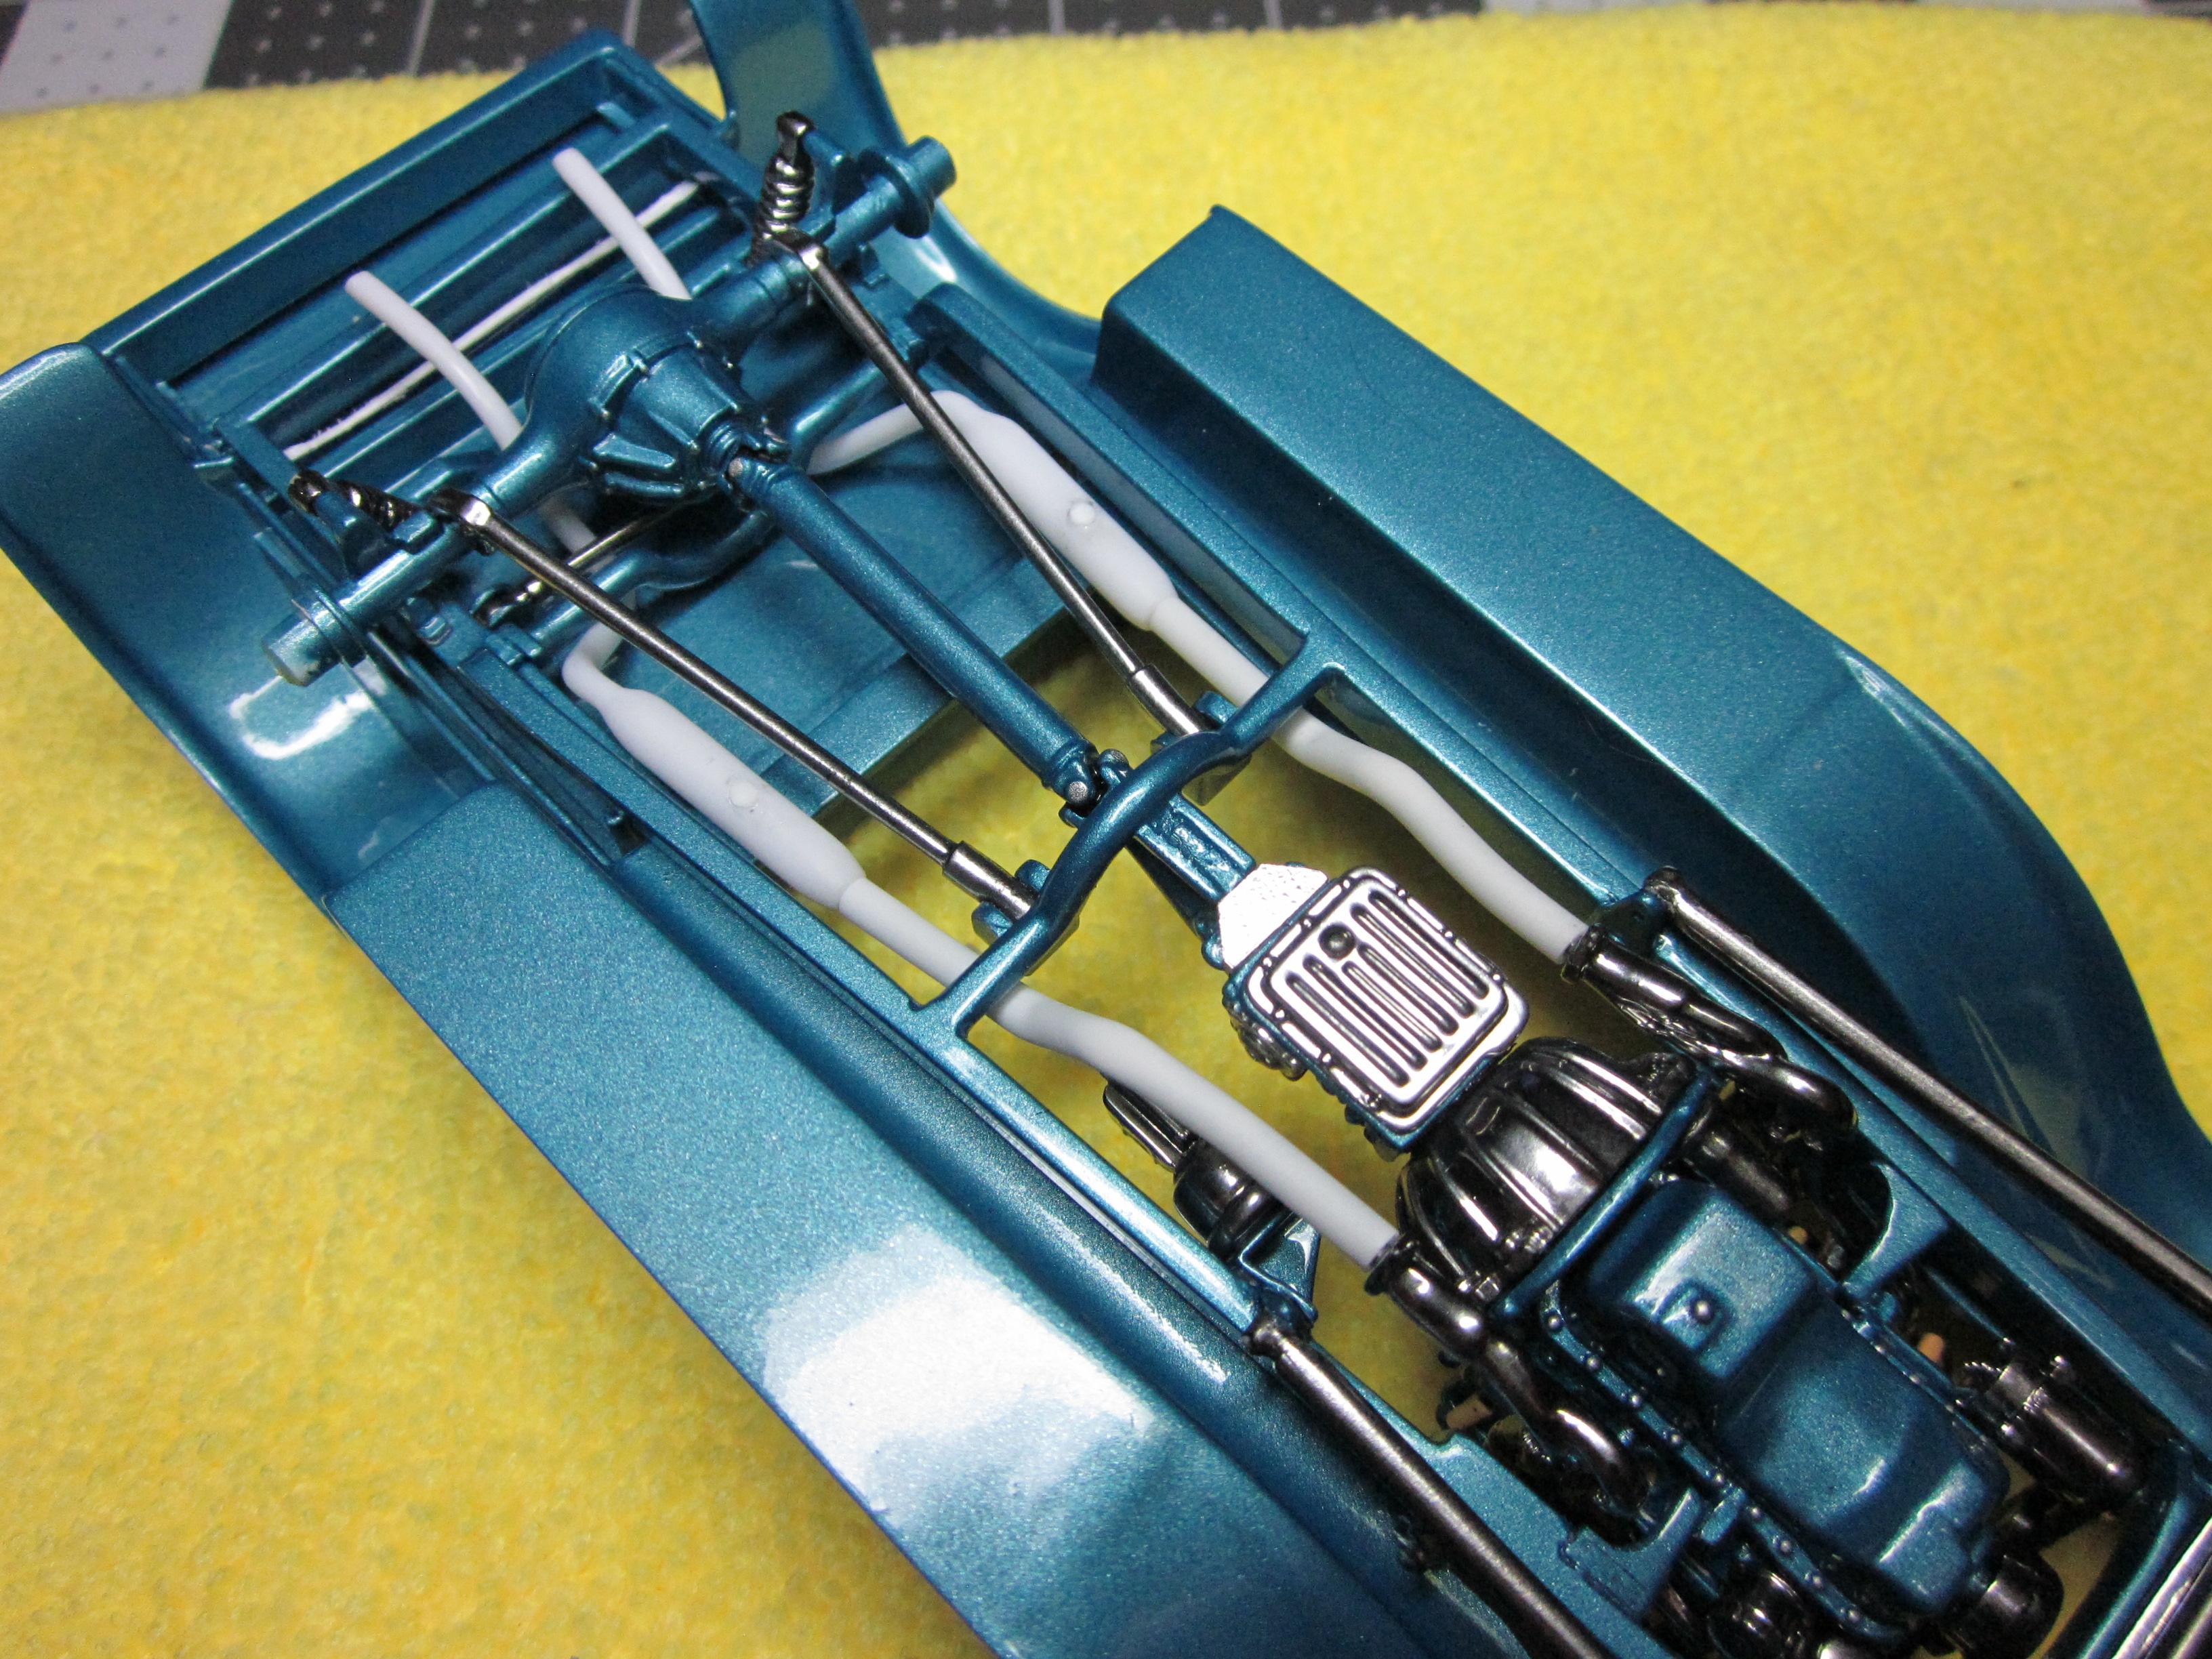
 I think I got the exhaust squared away. Having it go over the gas tank wasn't working, So I worked it around the gas tank instead. To get the pipes that are coming out over the rear end going in the right direction was pretty easy, but did take some time working very slowly using only my fingers. Using the left over exhaust from a '29 roadster kit I was able to get it to clear the tank and exit where I thought it would look good. The pipes were joined together with pins and super glue. Having to massage the corners of the gas tank that was recently alcladed was not something I wanted to do but was necessary to fit the tail pipes. So I get to redo that again. Thinking the exhaust will be alclad stainless steel. I'm glad this is done. Big shout out to MCW paints as there was alot of test fitting going on and the paint held up very well. As for the tail lights, I'v been playing with the idea of '59 caddy lenses in the '29 housing. Will have to wait and see where this goes.. I'll check back in when I get some more done........ Speedpro
-
Very Nice! Ya, I like the IRS, the extended cab, the ford V6 and more. But the RH drive conversion is cool. Was that easy to do? The trailer and pedal car look perfect. Great work!
-
RRR, You are such a talented builder. And it blows me away how fast you put a pile of parts together. Always looking forward to what you are going to build next. Beautiful job on this one. I think your choice of color really makes the car. And the engine details finish off under the hood nicely. I like this alot! Speedpro
-
Beautiful build! I really like the engine details and those wire wheels. Well done Speedpro
-
Very nice clean build!
-
Wow! Very nice, Very clean. I can here the cackle from here! Speedpro
-
Nice digger! Really like the paint work on this. Thanks for showing this. Speedpro
-
I agree with everyones comment about building this on the '56 body style. It too is my favorite out of the tri-five line. Excellent paint and detail work. Outstanding build. Speedpro
-
Alot of effort put into this build. The engine detail is very convincing. The interior is really well done and is a unseen highlite of this build that is not seen after assembly. Excellent paint work everywhere. Super build right down to the weights on the driveshaft! Speedpro
-
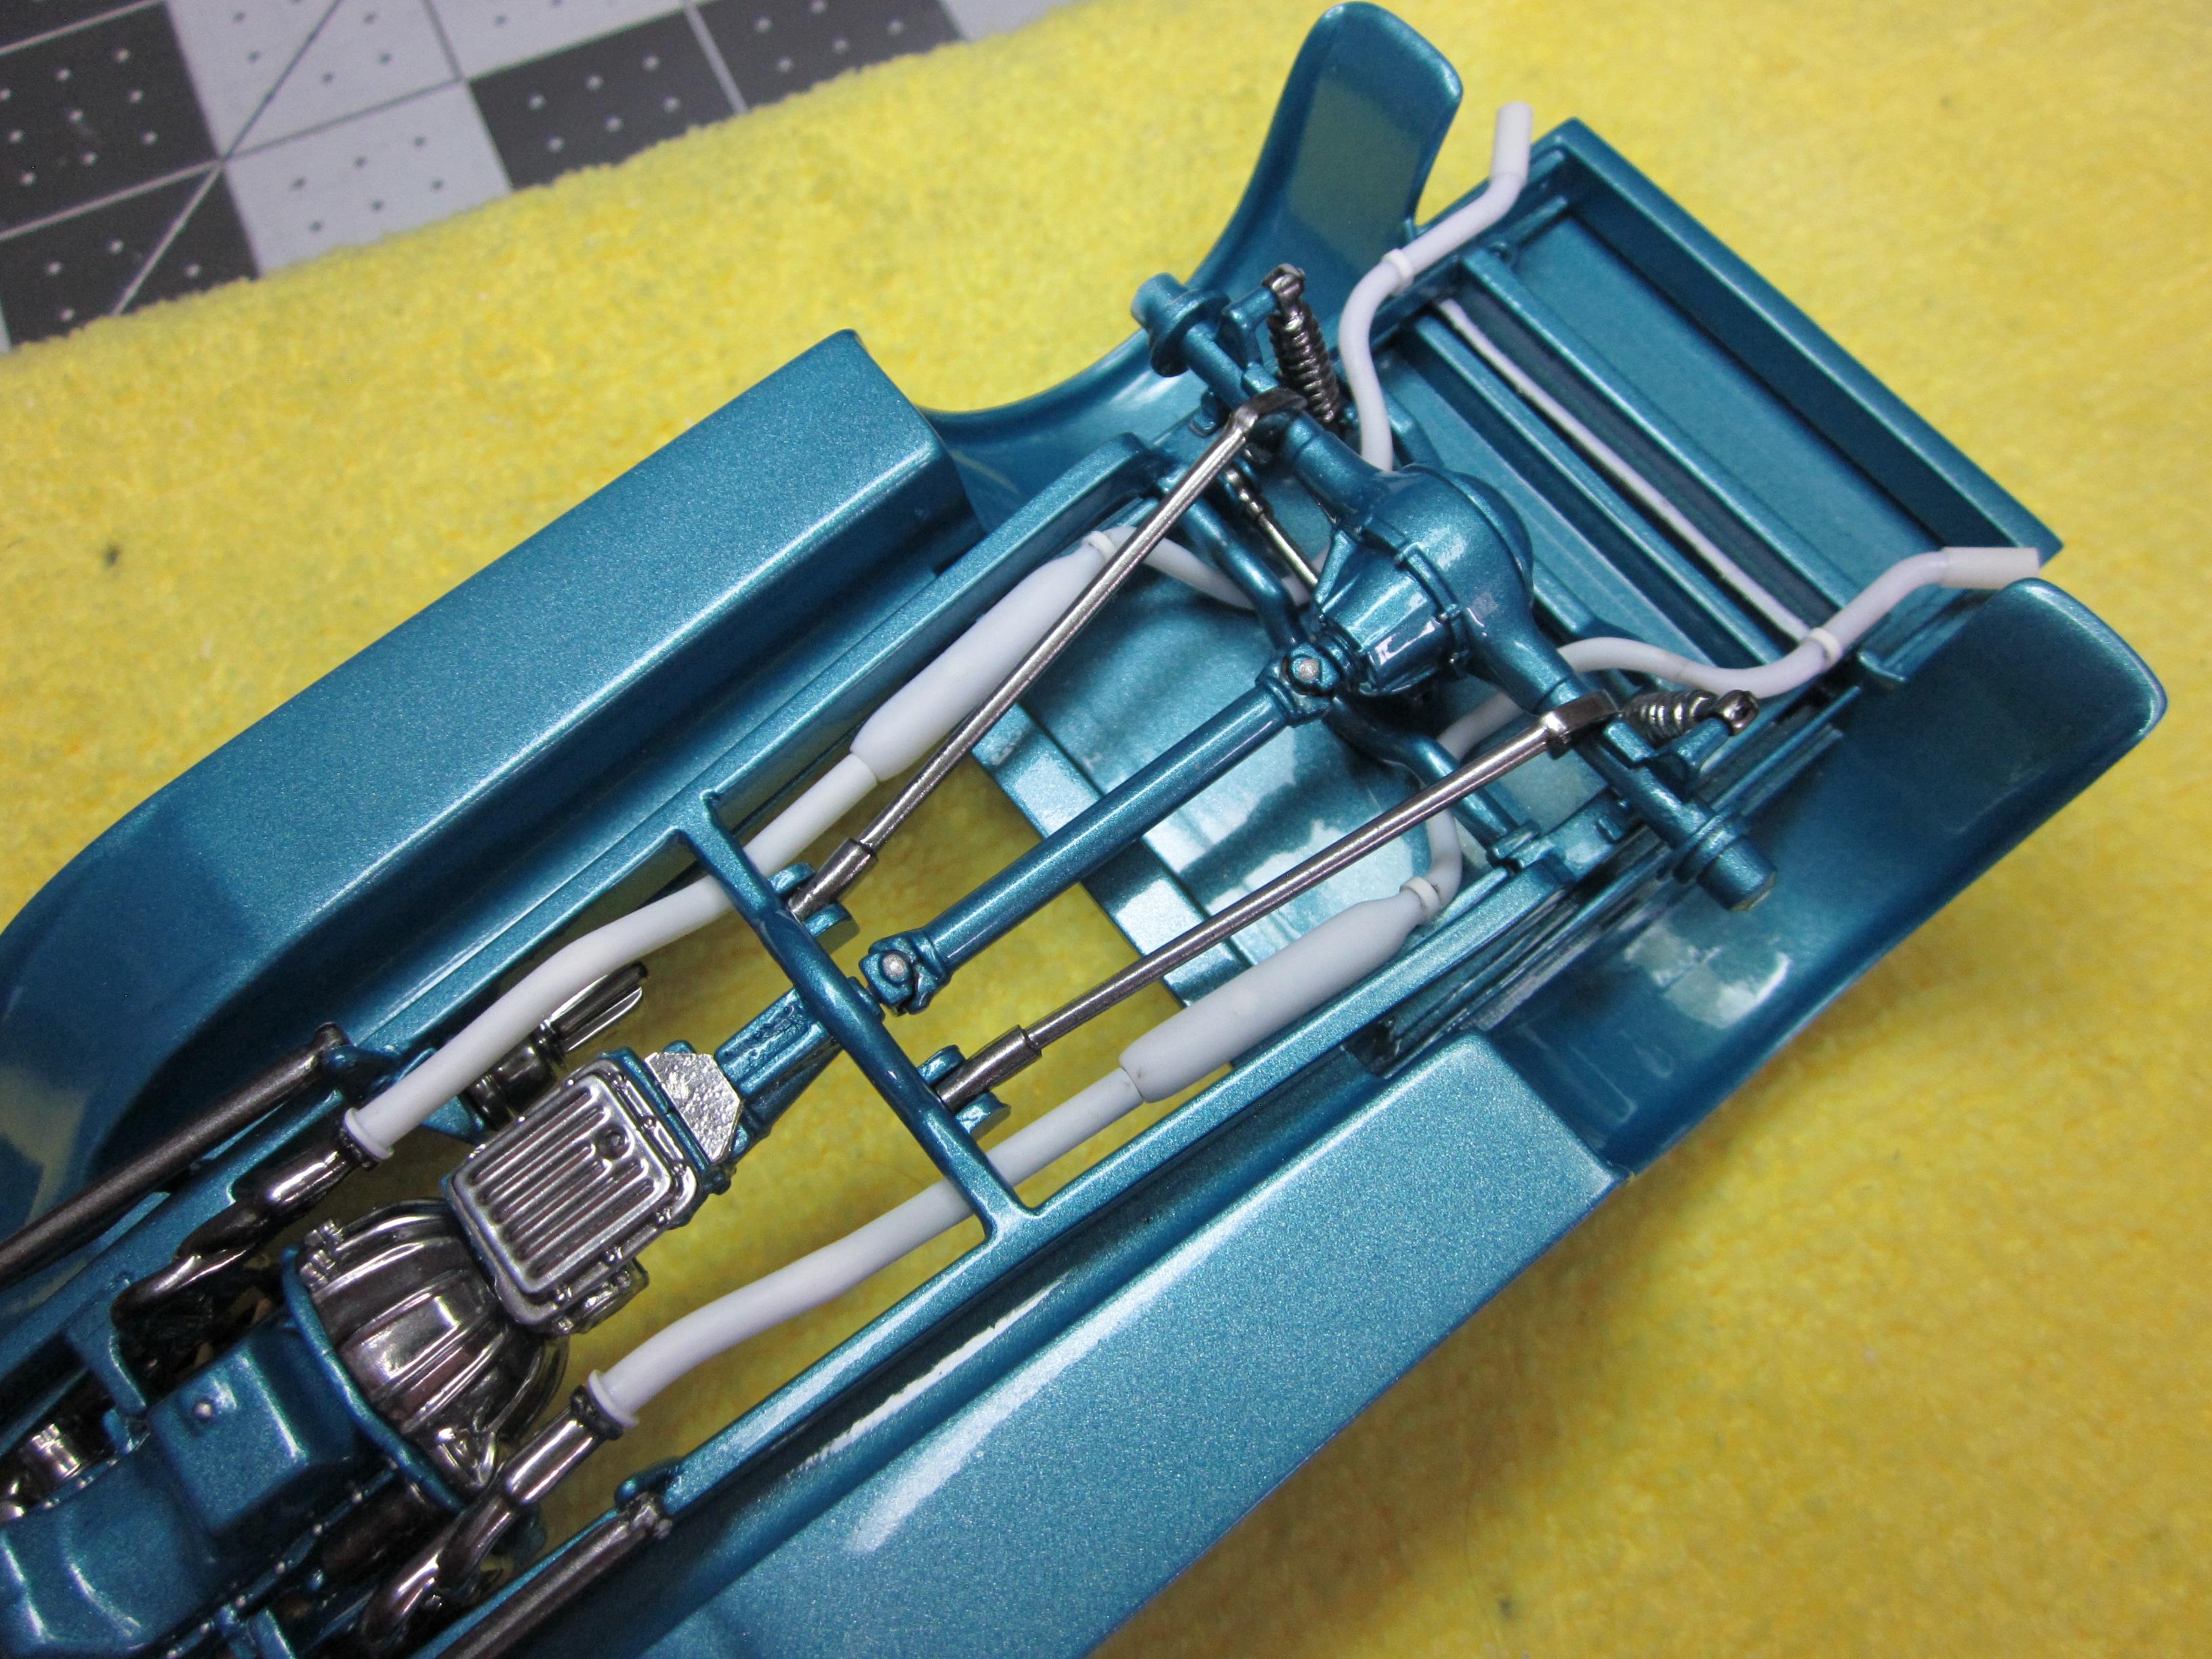
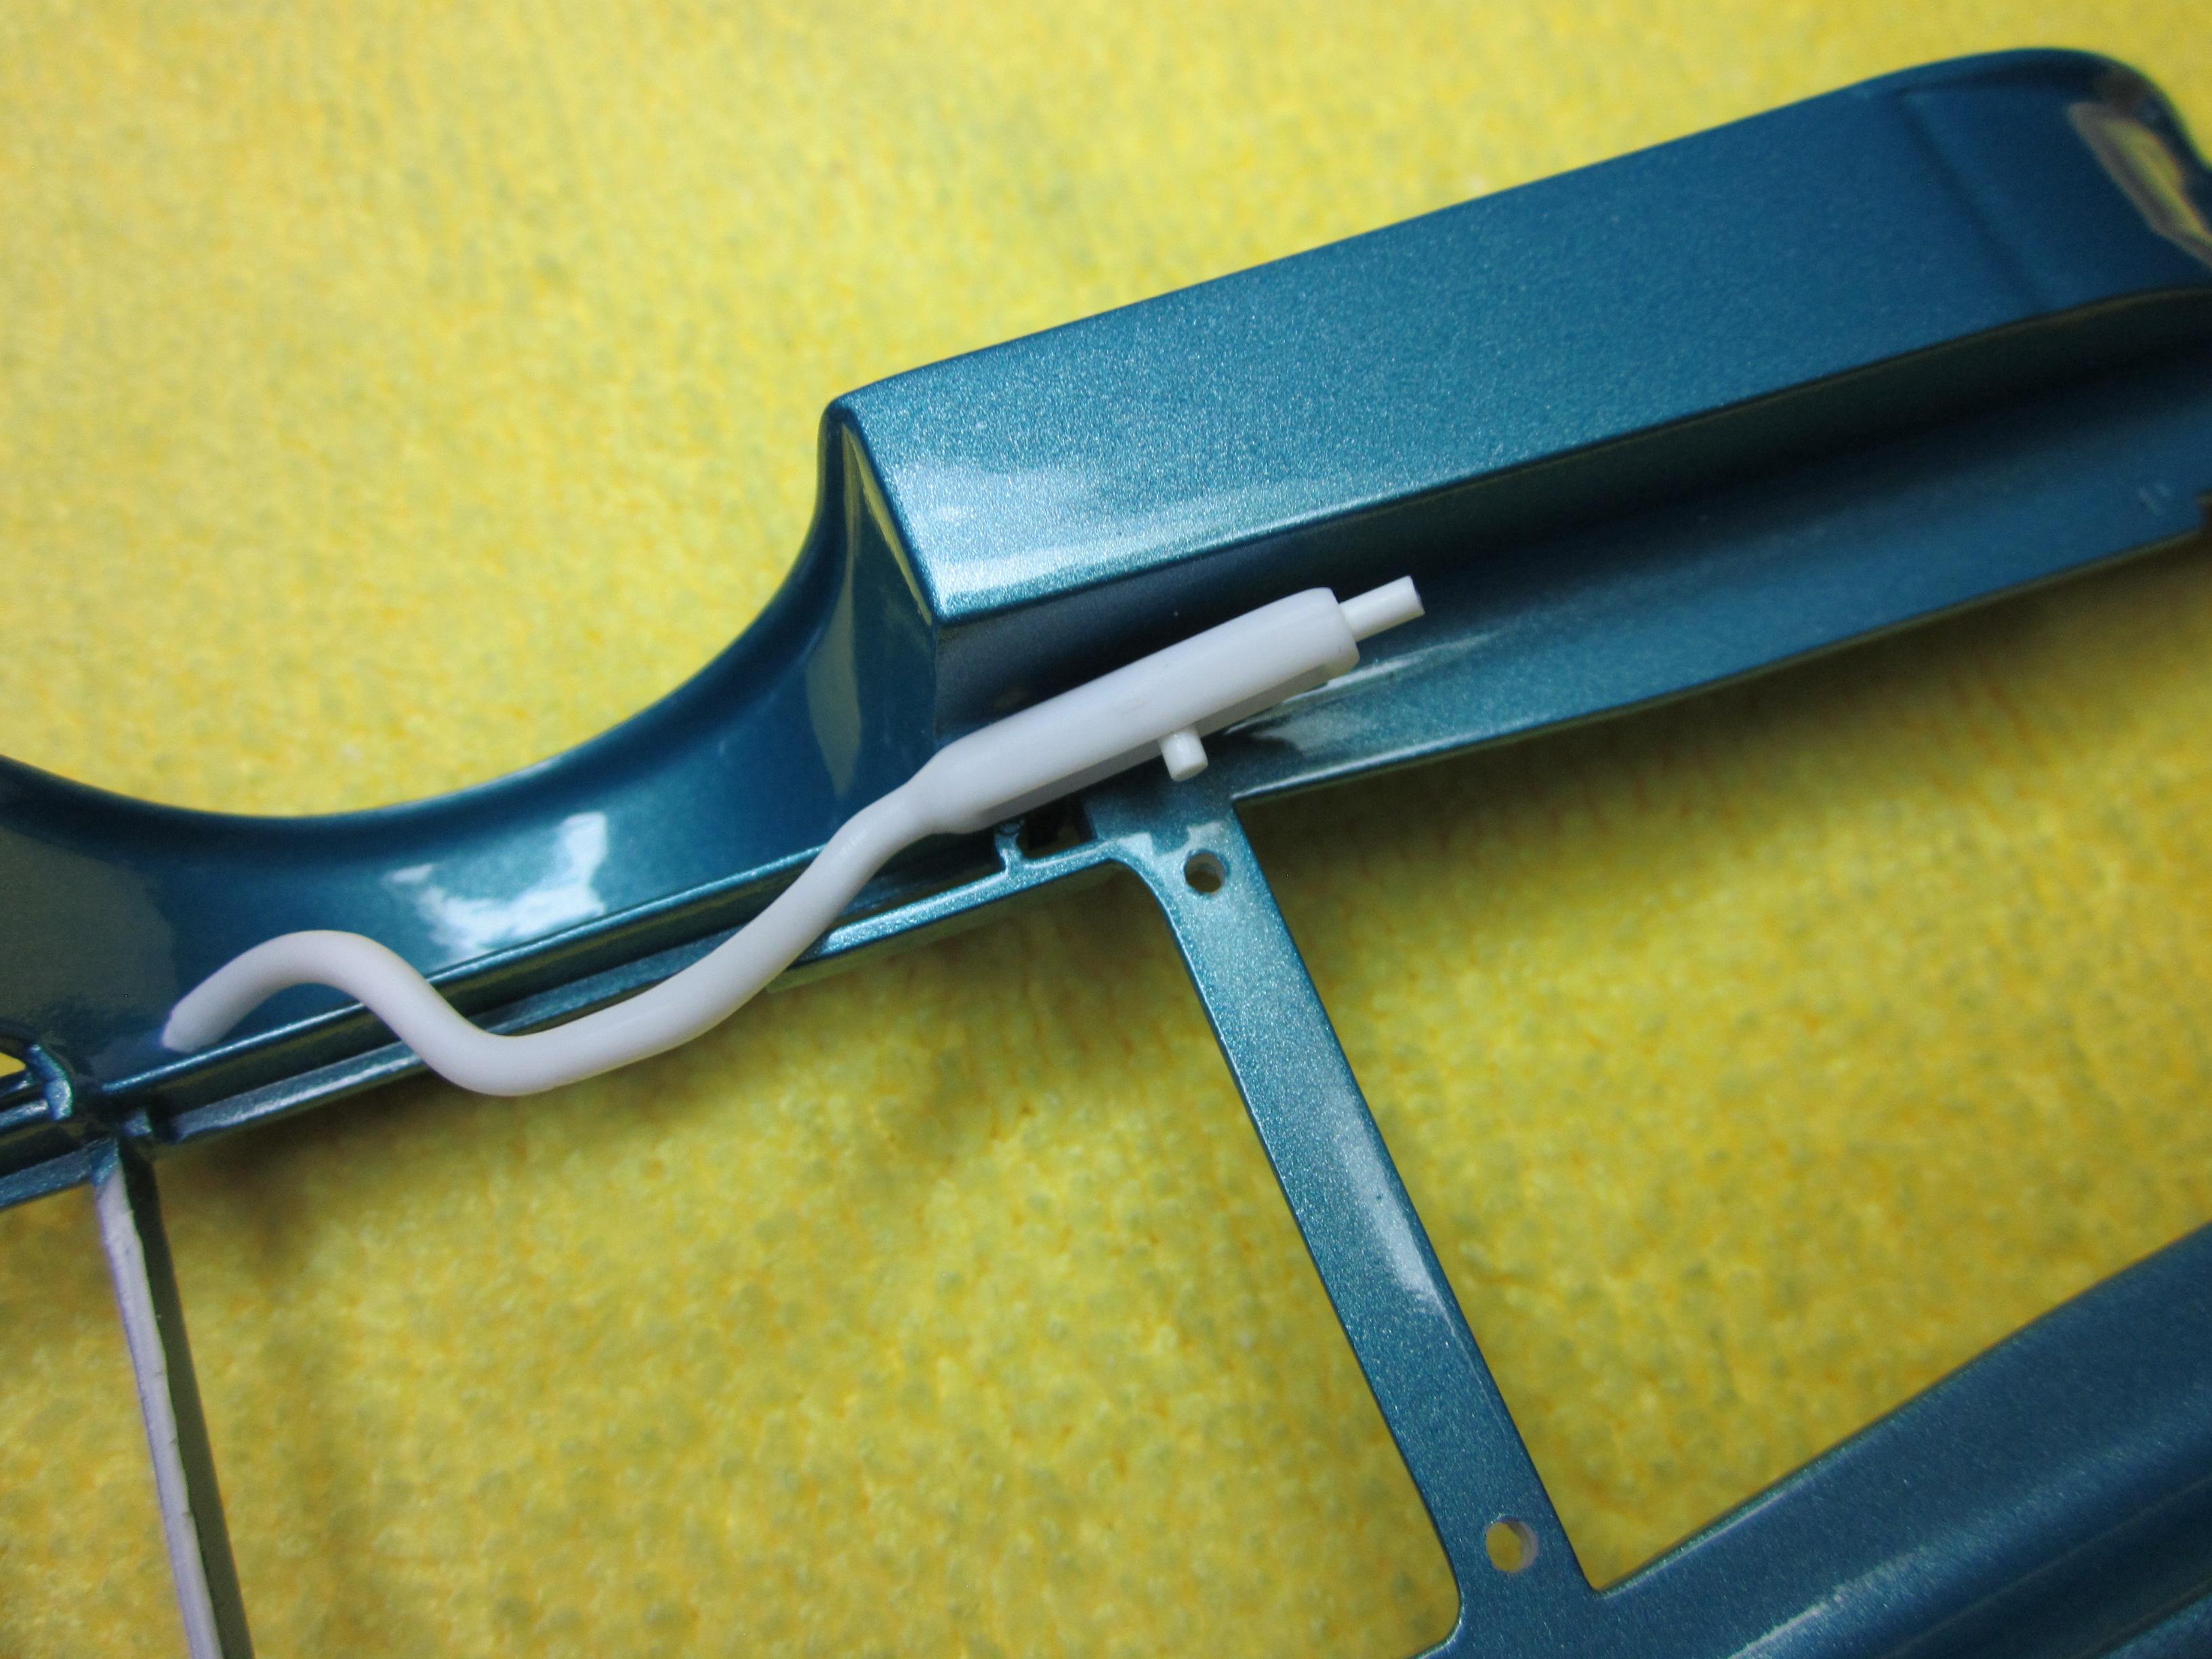
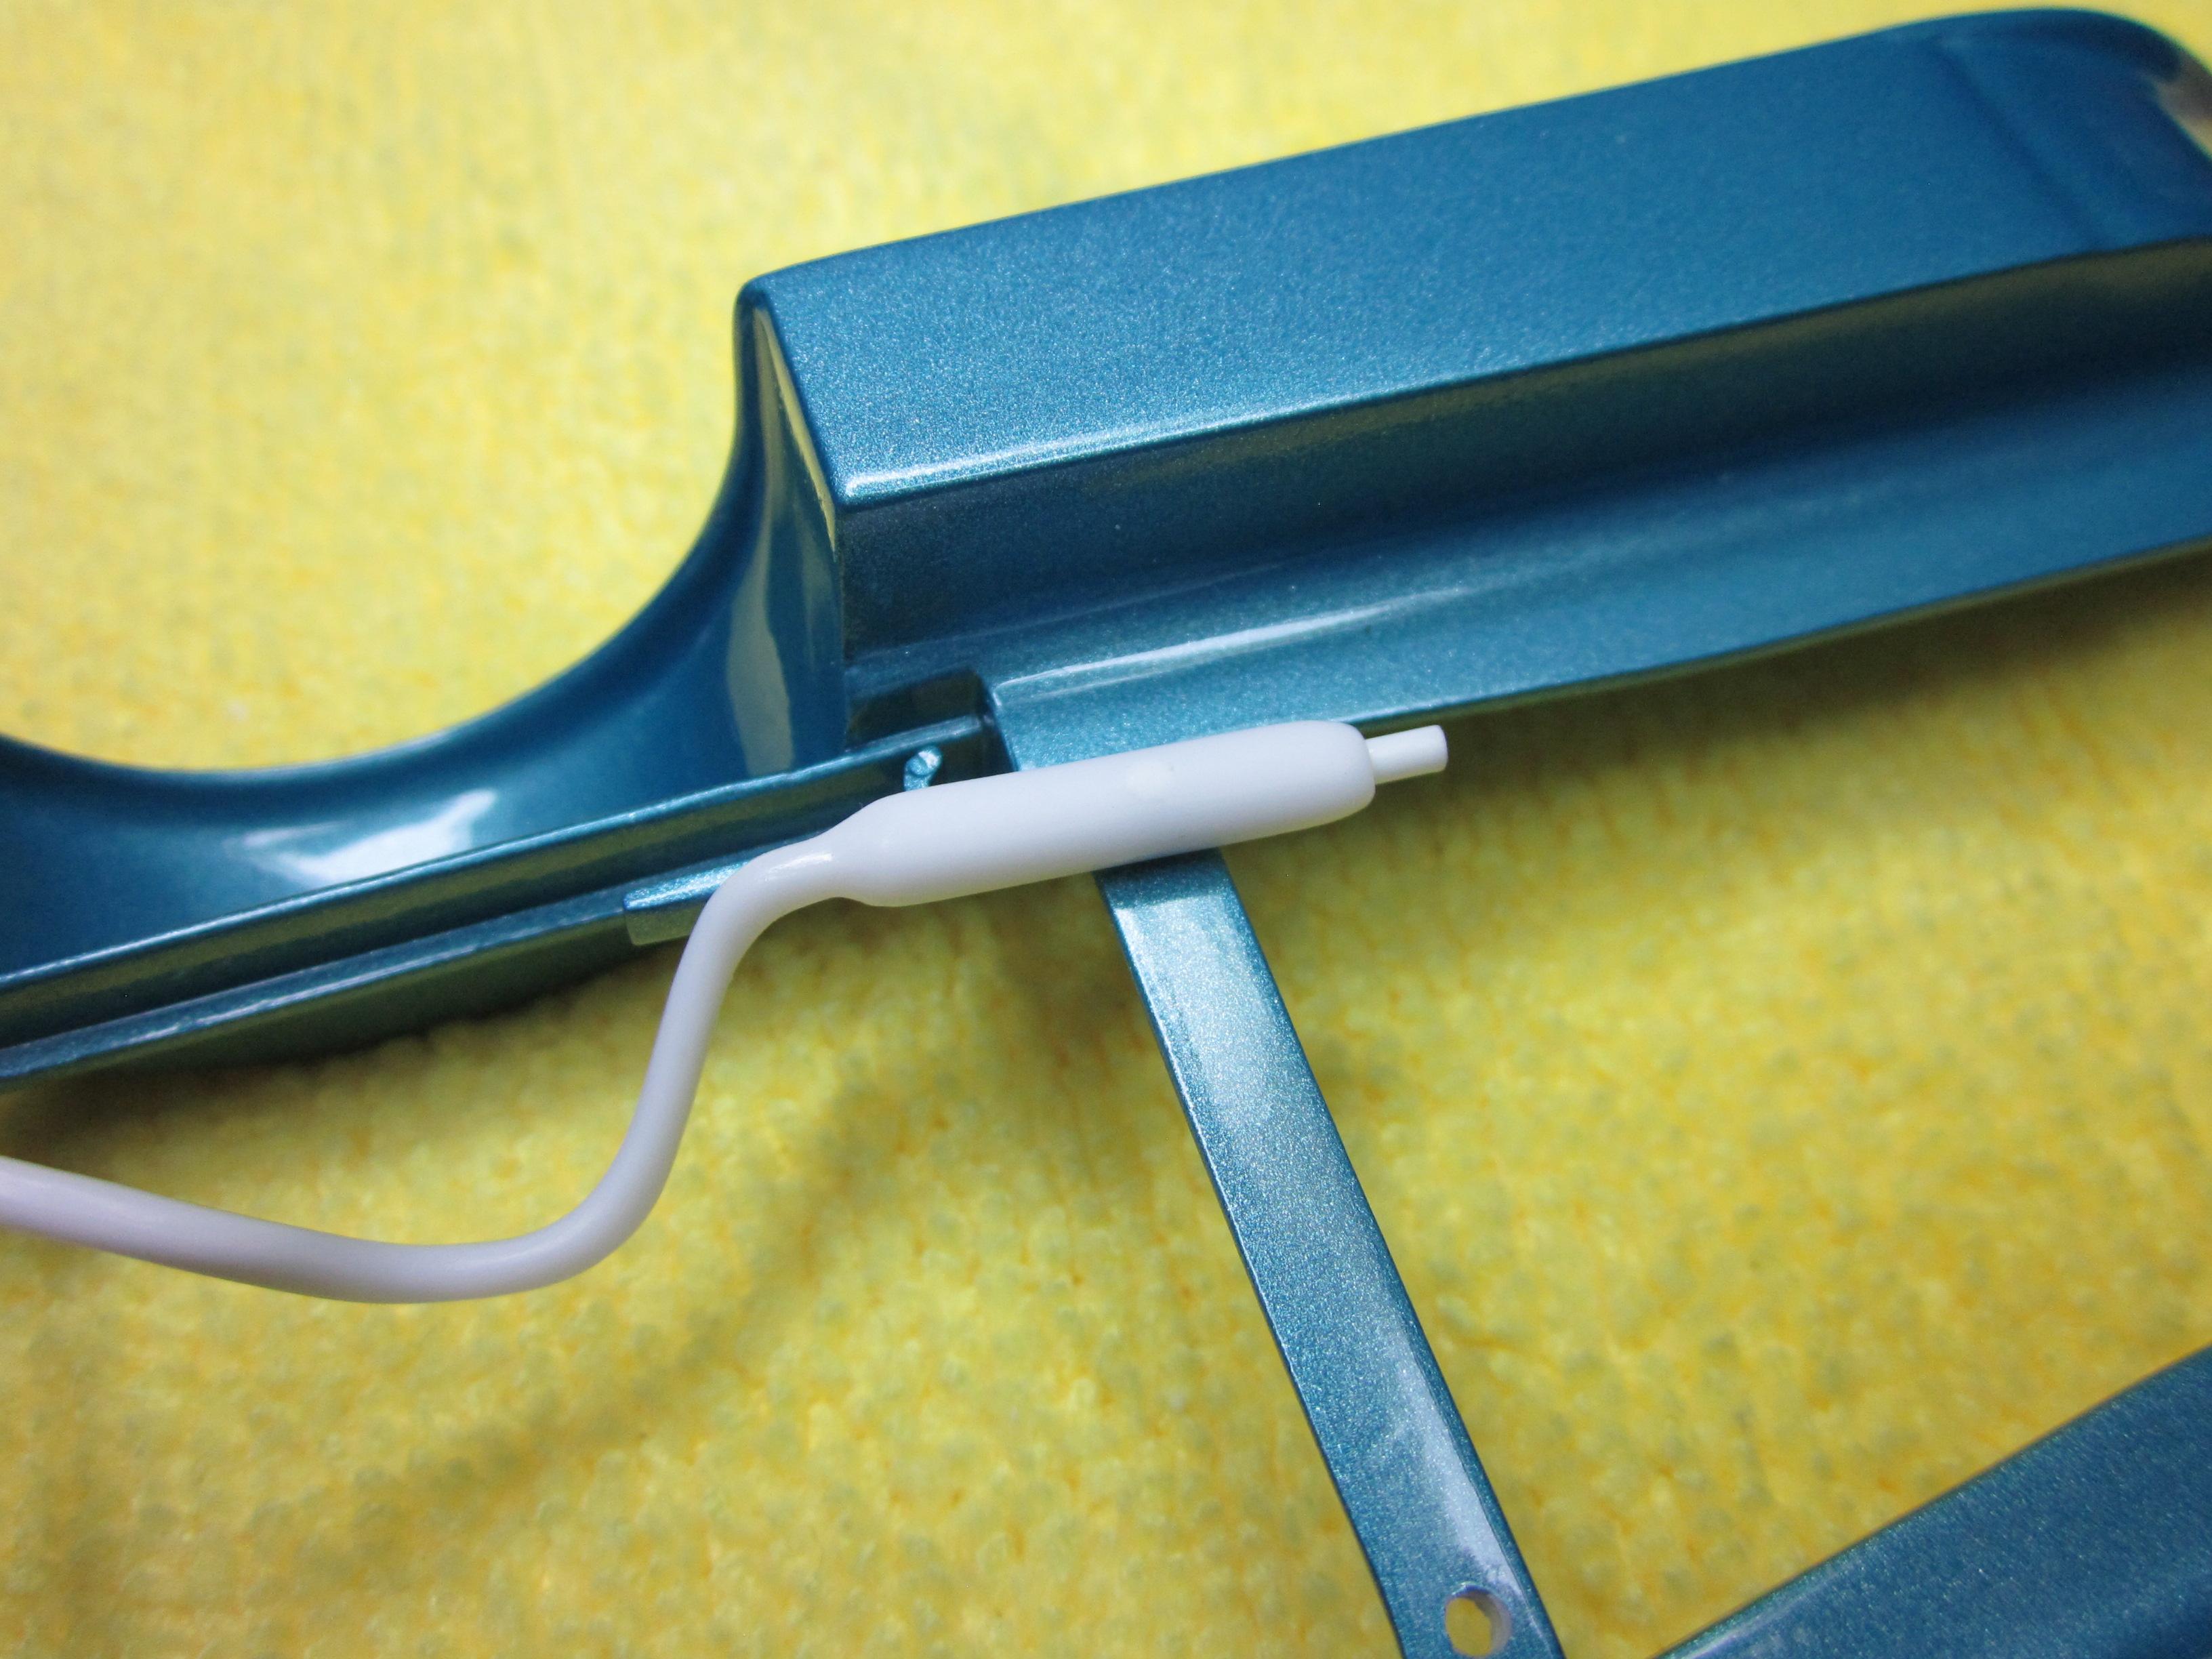
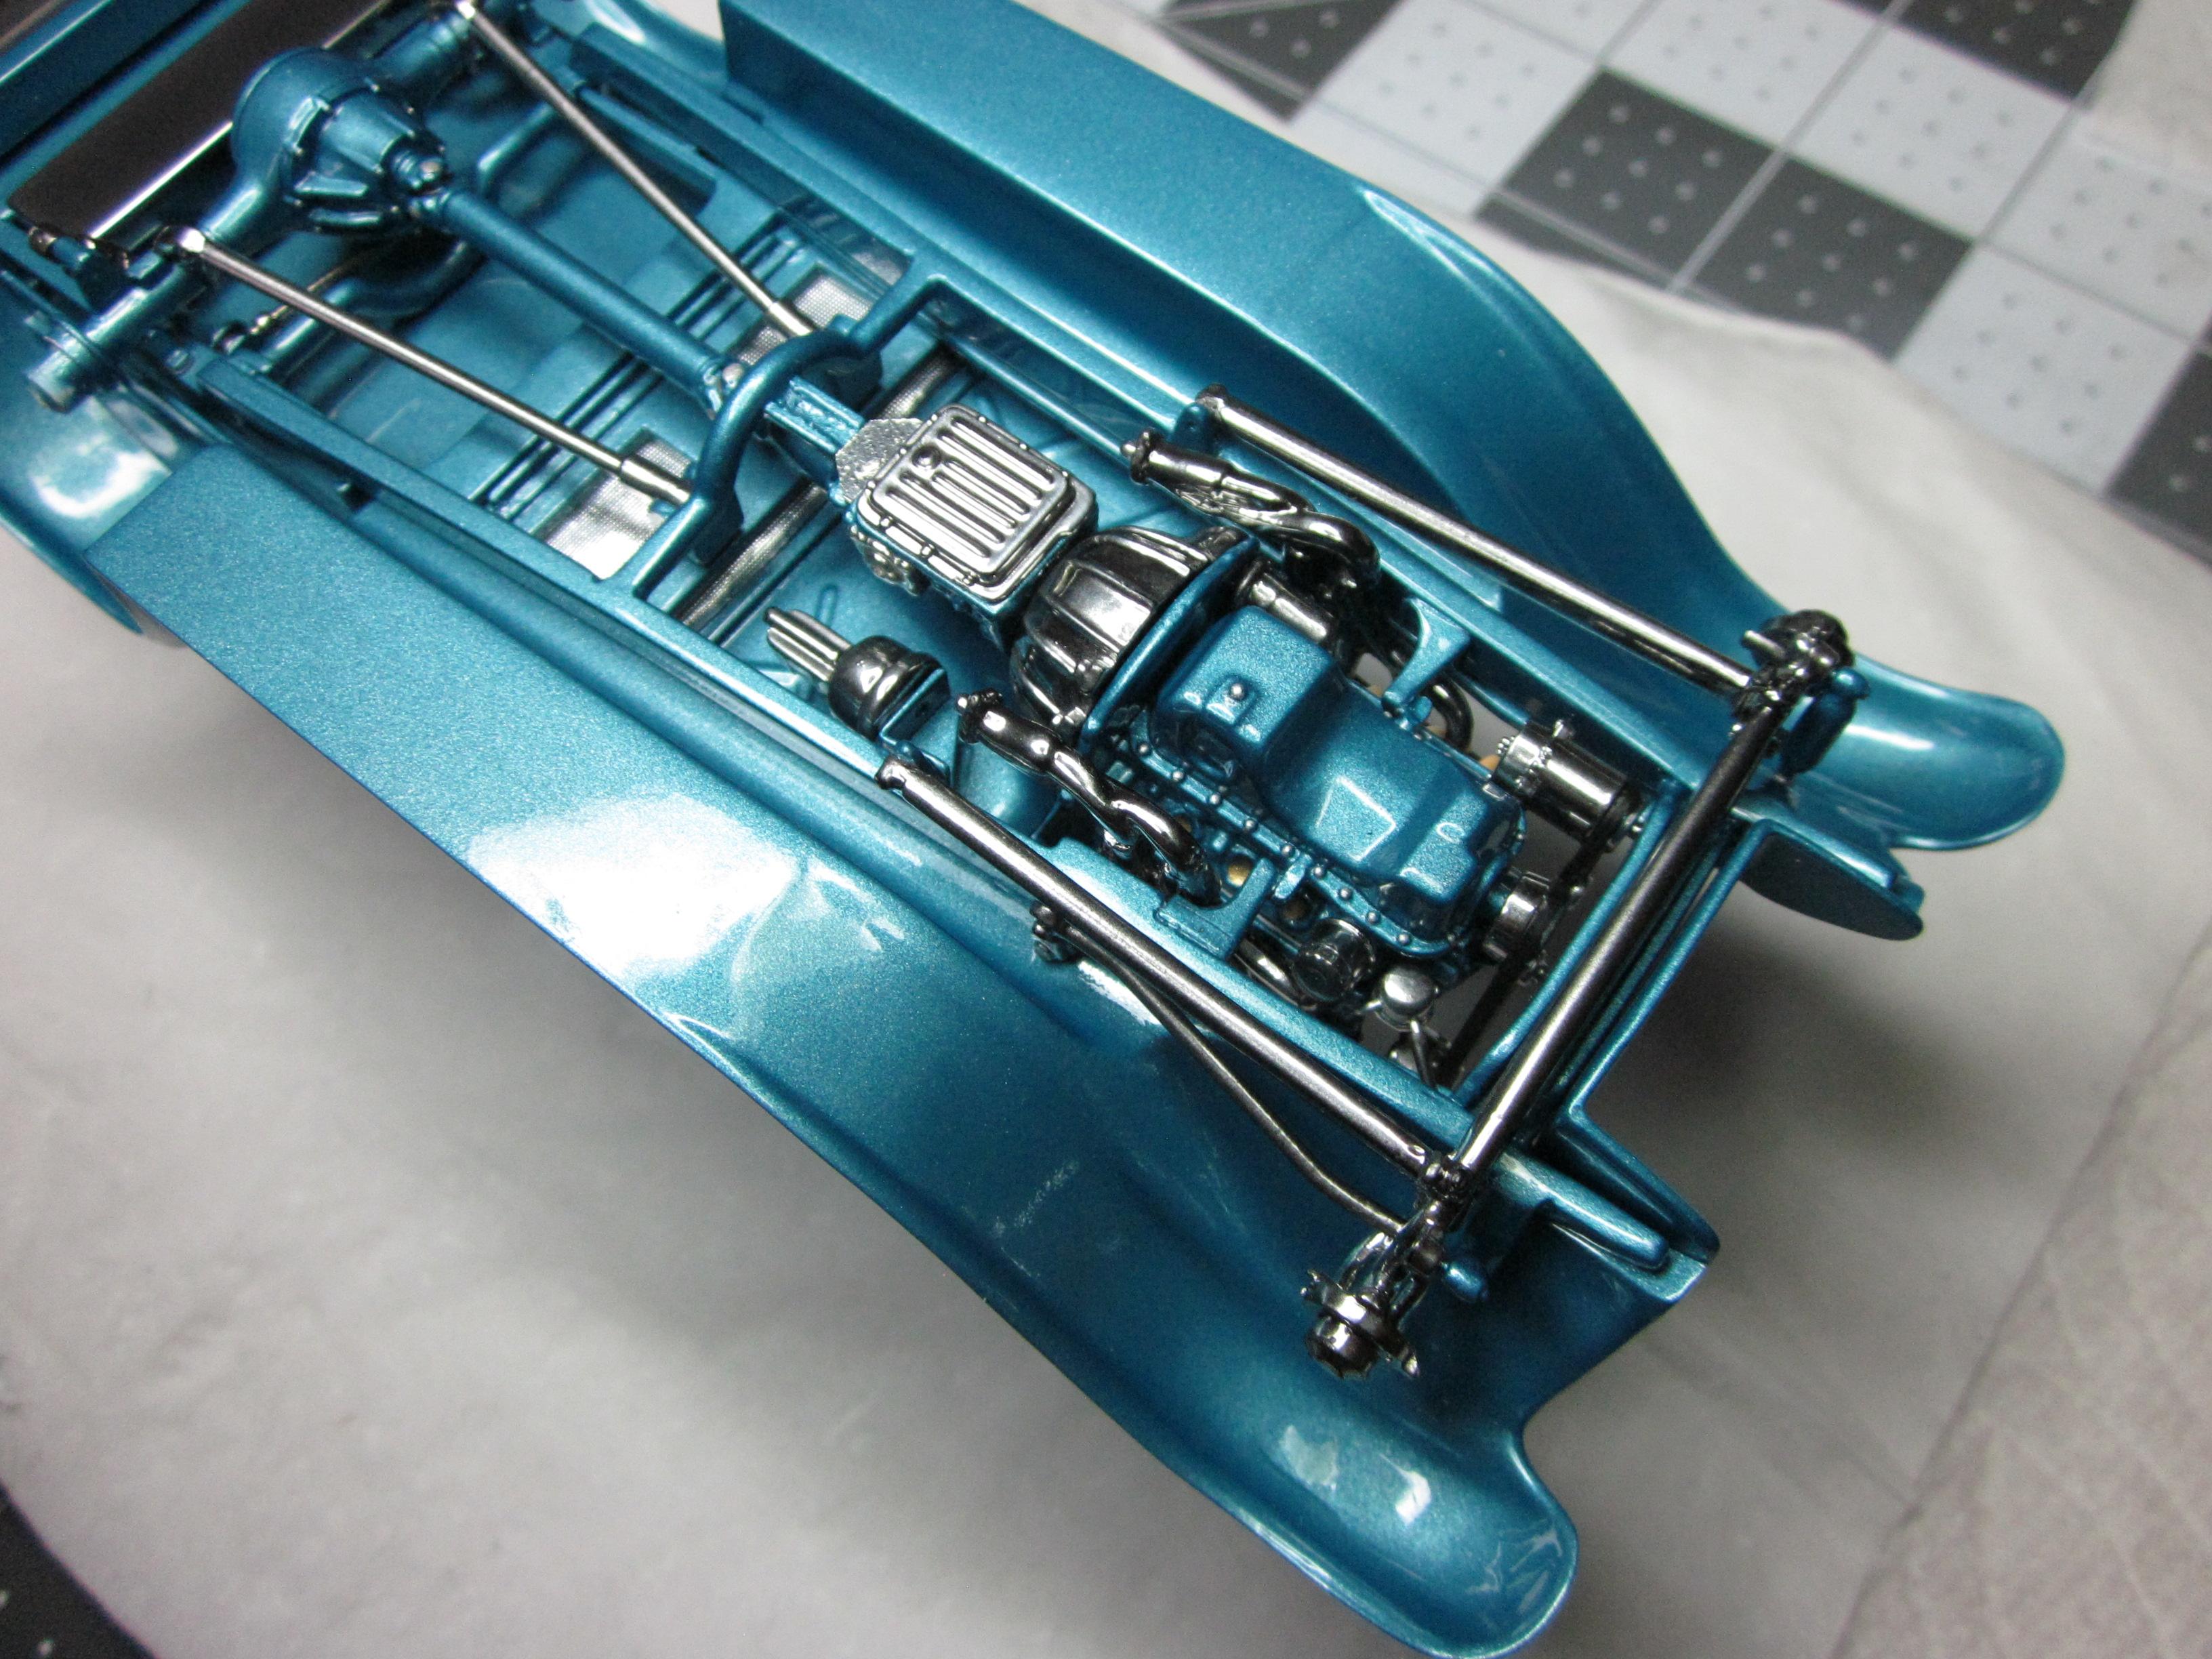
Still chipping away at @Kit Karson's 29. I have been working on the exhaust. Have to say it's been somewhat of a challenge. First thing I did was cut the head pipe off the mufflers. The mufflers were then drilled for a 1/6" rod as that is what the new head pipe will attach to. Initial test fit looks good. Before making the head pipes, I needed to have the mufflers in a more permanent location. The mufflers were drilled and fit with a 1/6" locating pin. Holes were drilled in the support on the bottom of the fender assembly. Now the mufflers will always be in this location. Started making what turned out to be a few sets of head pipes trying to get it them to fit just right. Then it was on to the tail pipe and the gas tank to all work together. Still not sure what is going to happen with the tail pipe yet. But this is what i'v got so far. Another item I took care of is the head lights. I had already painted the part so it just needed the details. The inside of the head light buckets were first covered in BMF. Then taking a very small piece of pop can, a very small bulb was fashioned and glued in place. A small dab of amber paint was applied to represent a turn signal bulb. Put the lenses in place and found it to look very convincing. On to the tail lights and finish getting this exhaust figured out............................. Speedpro
-
From one finlander to another, welcome aboard to you and your son. Looking forward to seeing your builds. Speedpro
-
1932 Ford 3-Window With 427SOHC From The Newest MCM Issue 216
Speedpro replied to Dennis Lacy's topic in Model Cars
To see this in the magazine and then to see it here gives more appreciation for what you have built. Excellent craftsmanship through out. Congrats on your award. Well deserved. Speedpro -
Very nice! I like the color.
-
This is one of the best pro street builds I have seen recently on mcm. Excellent paint work and craftmanship really make this nova stand out. Speedpro
-
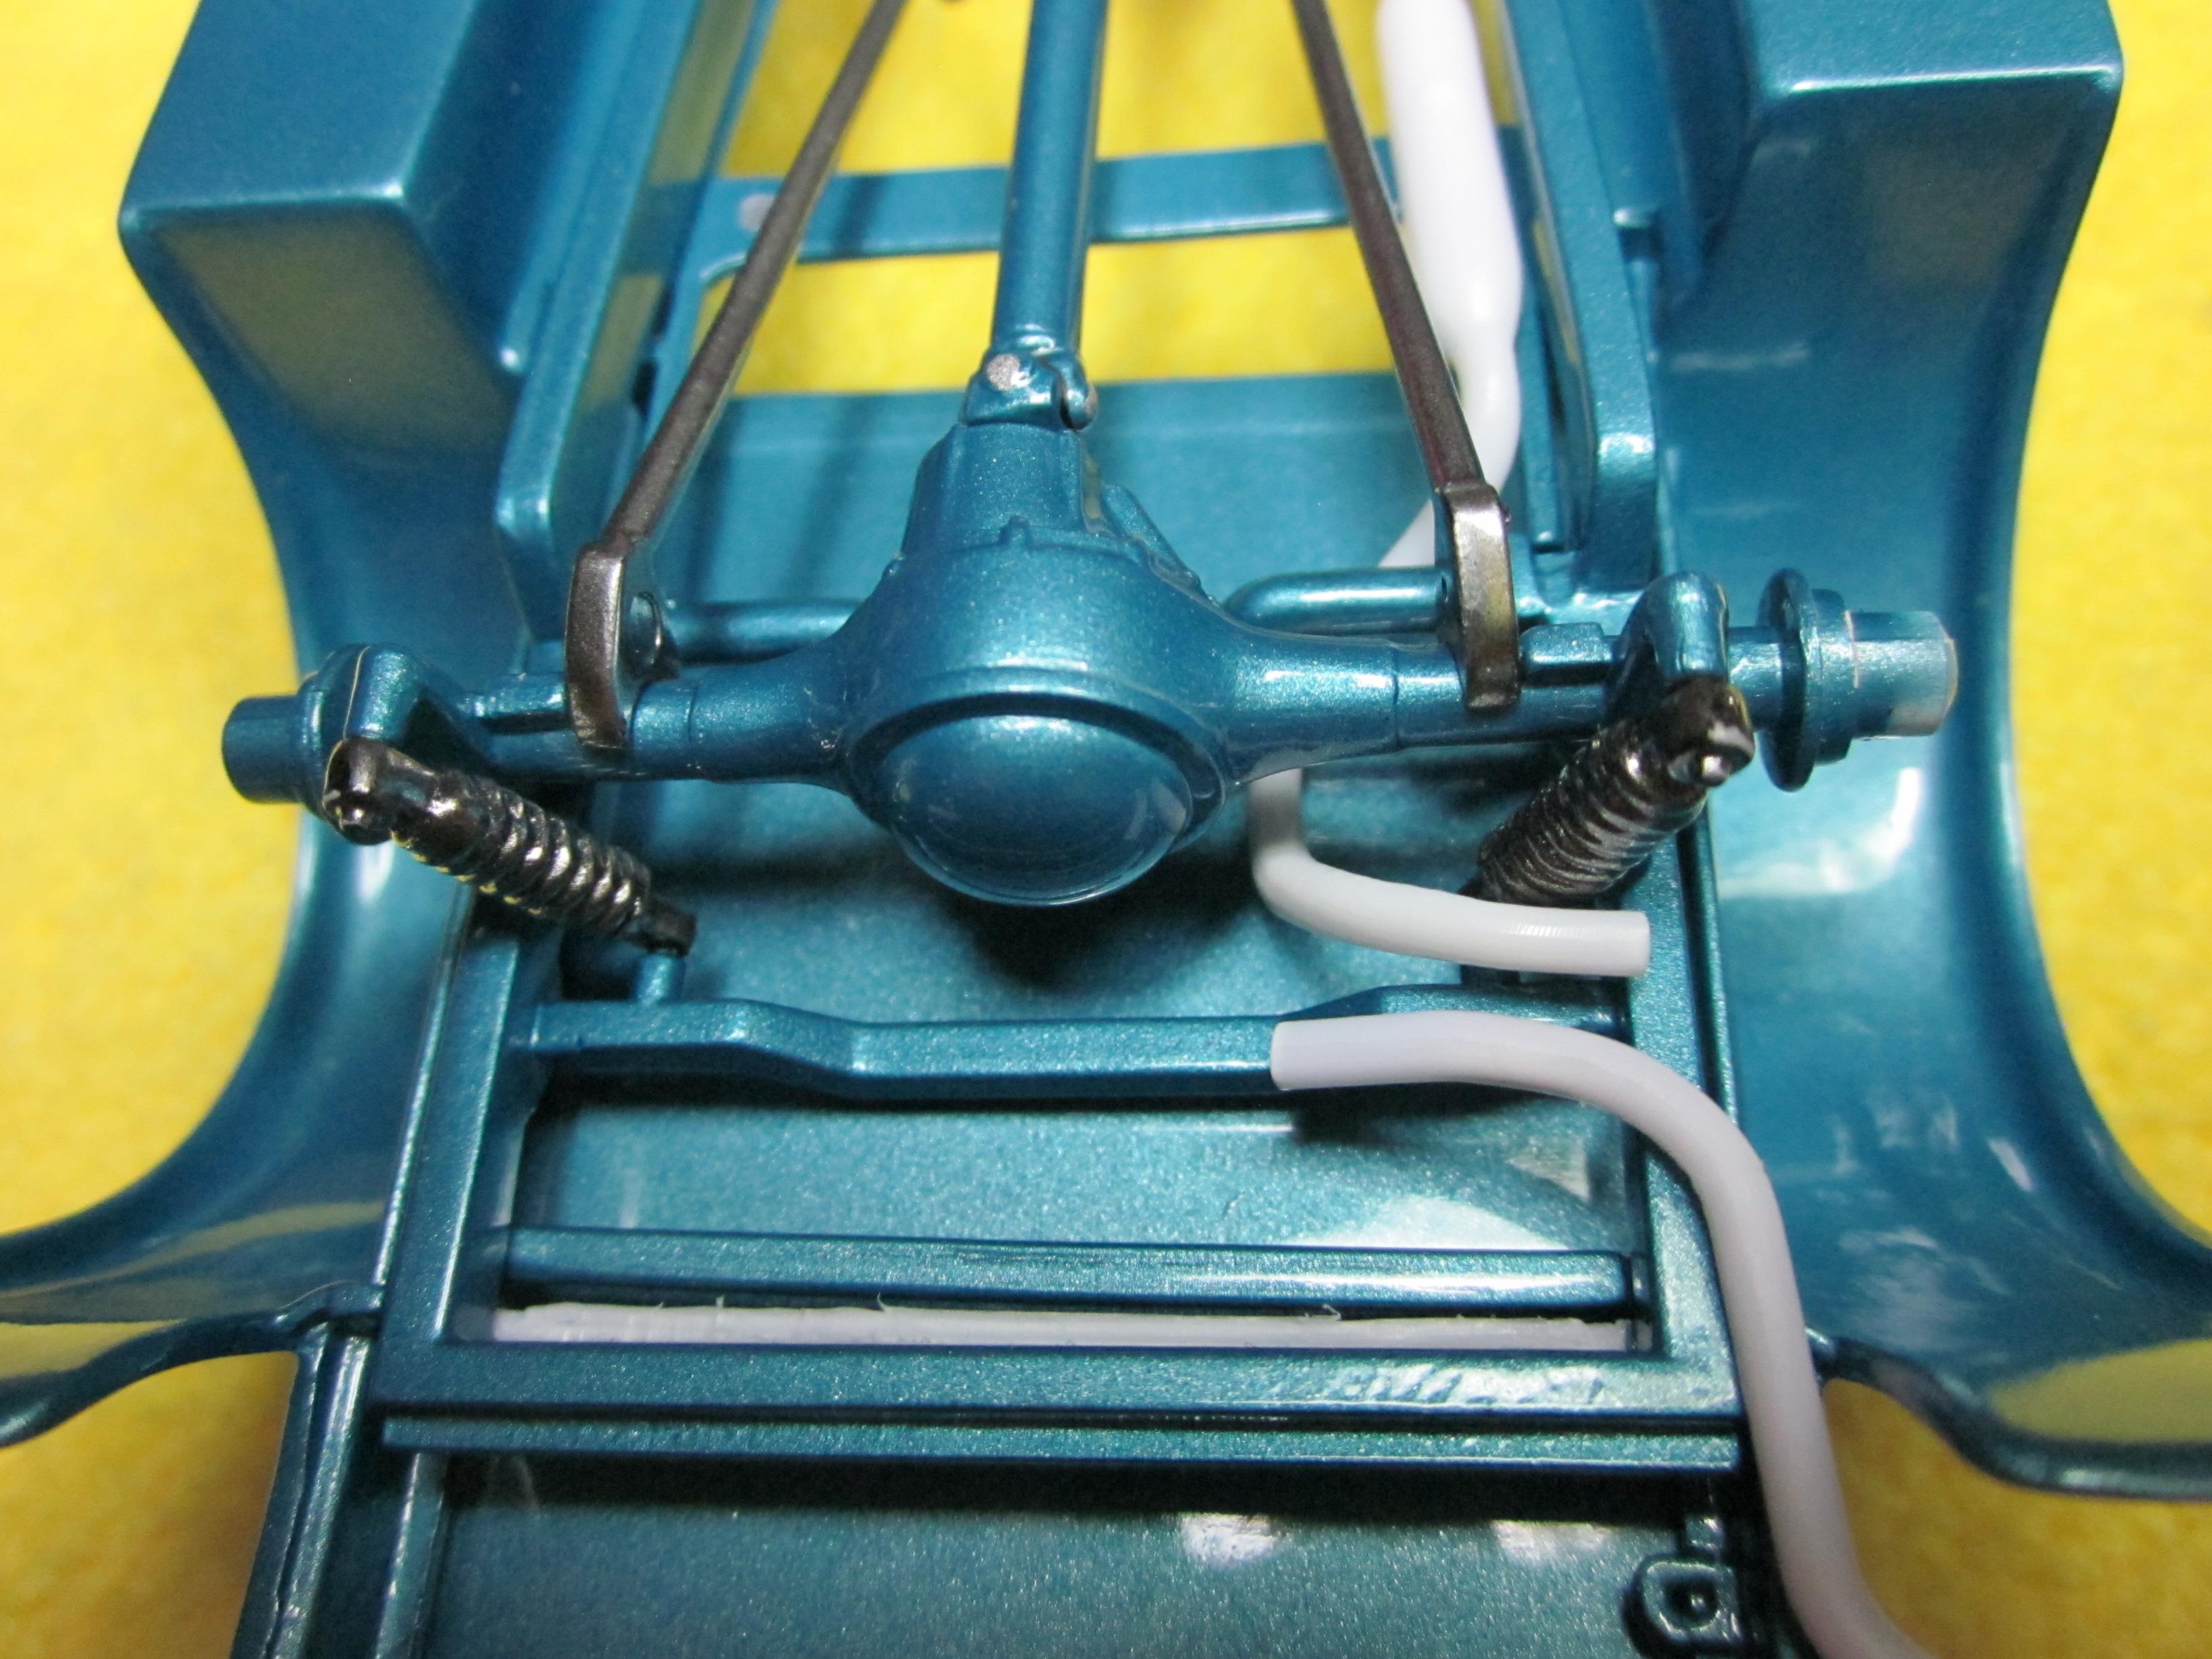
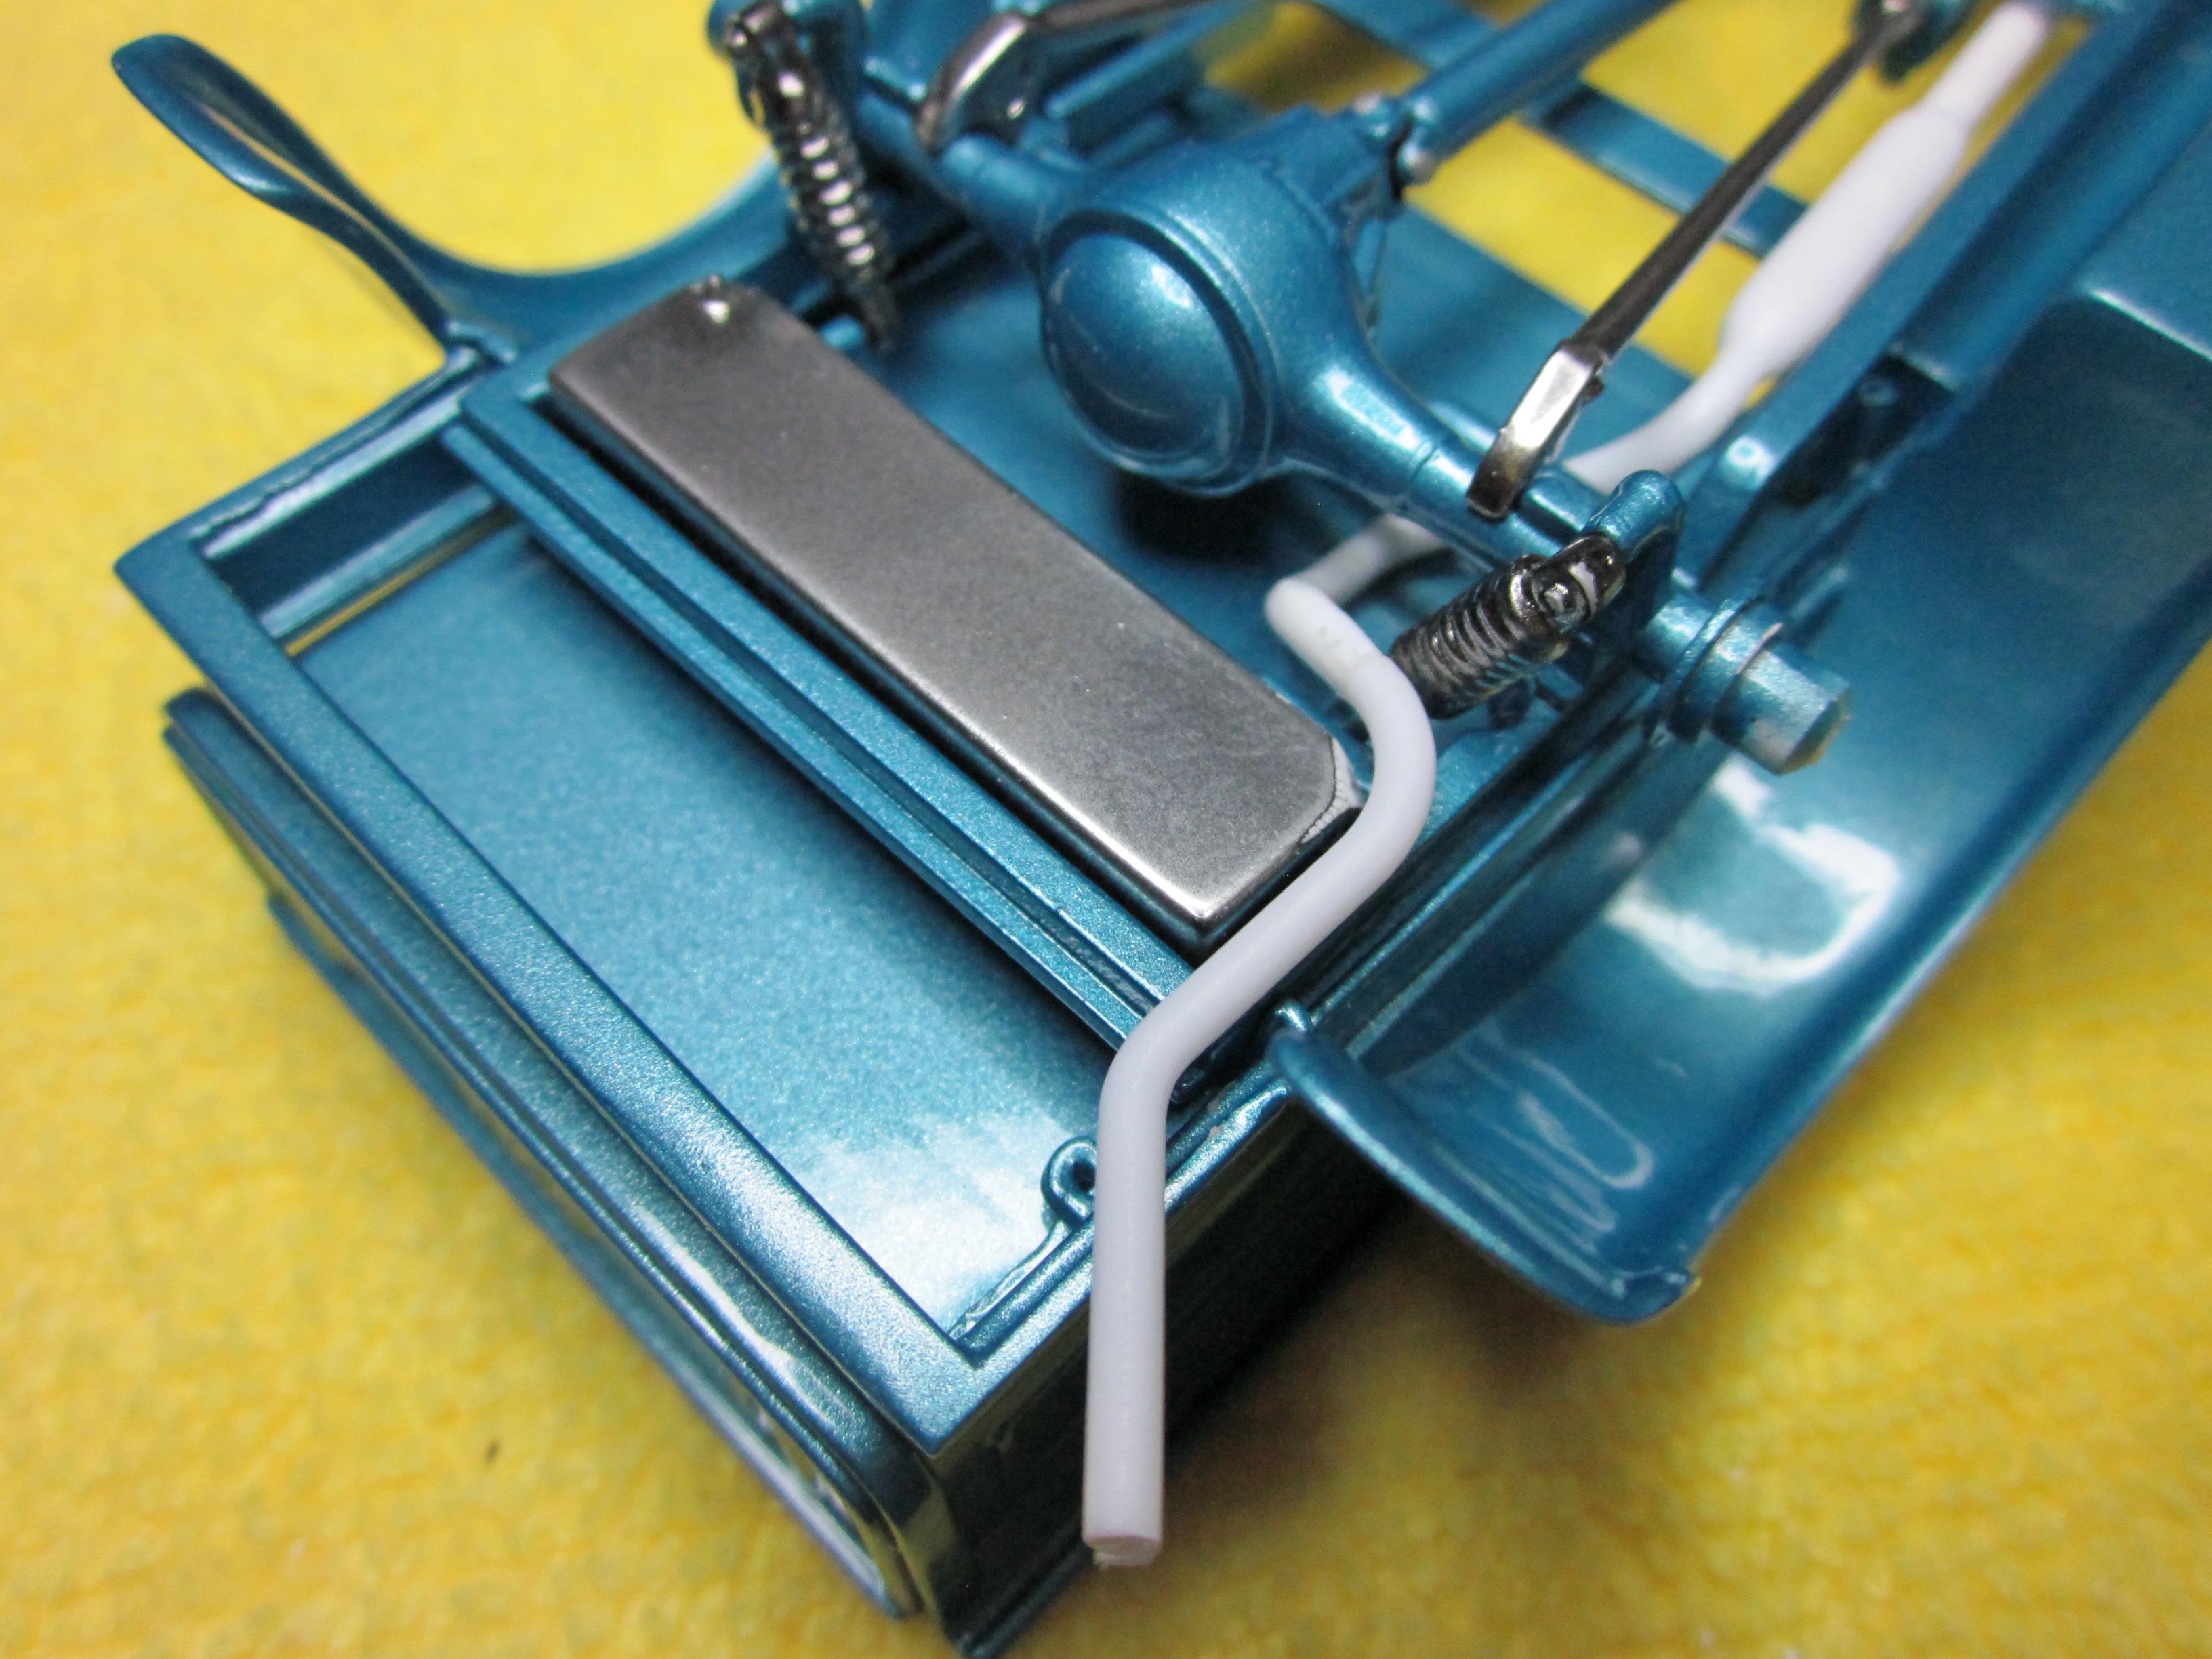
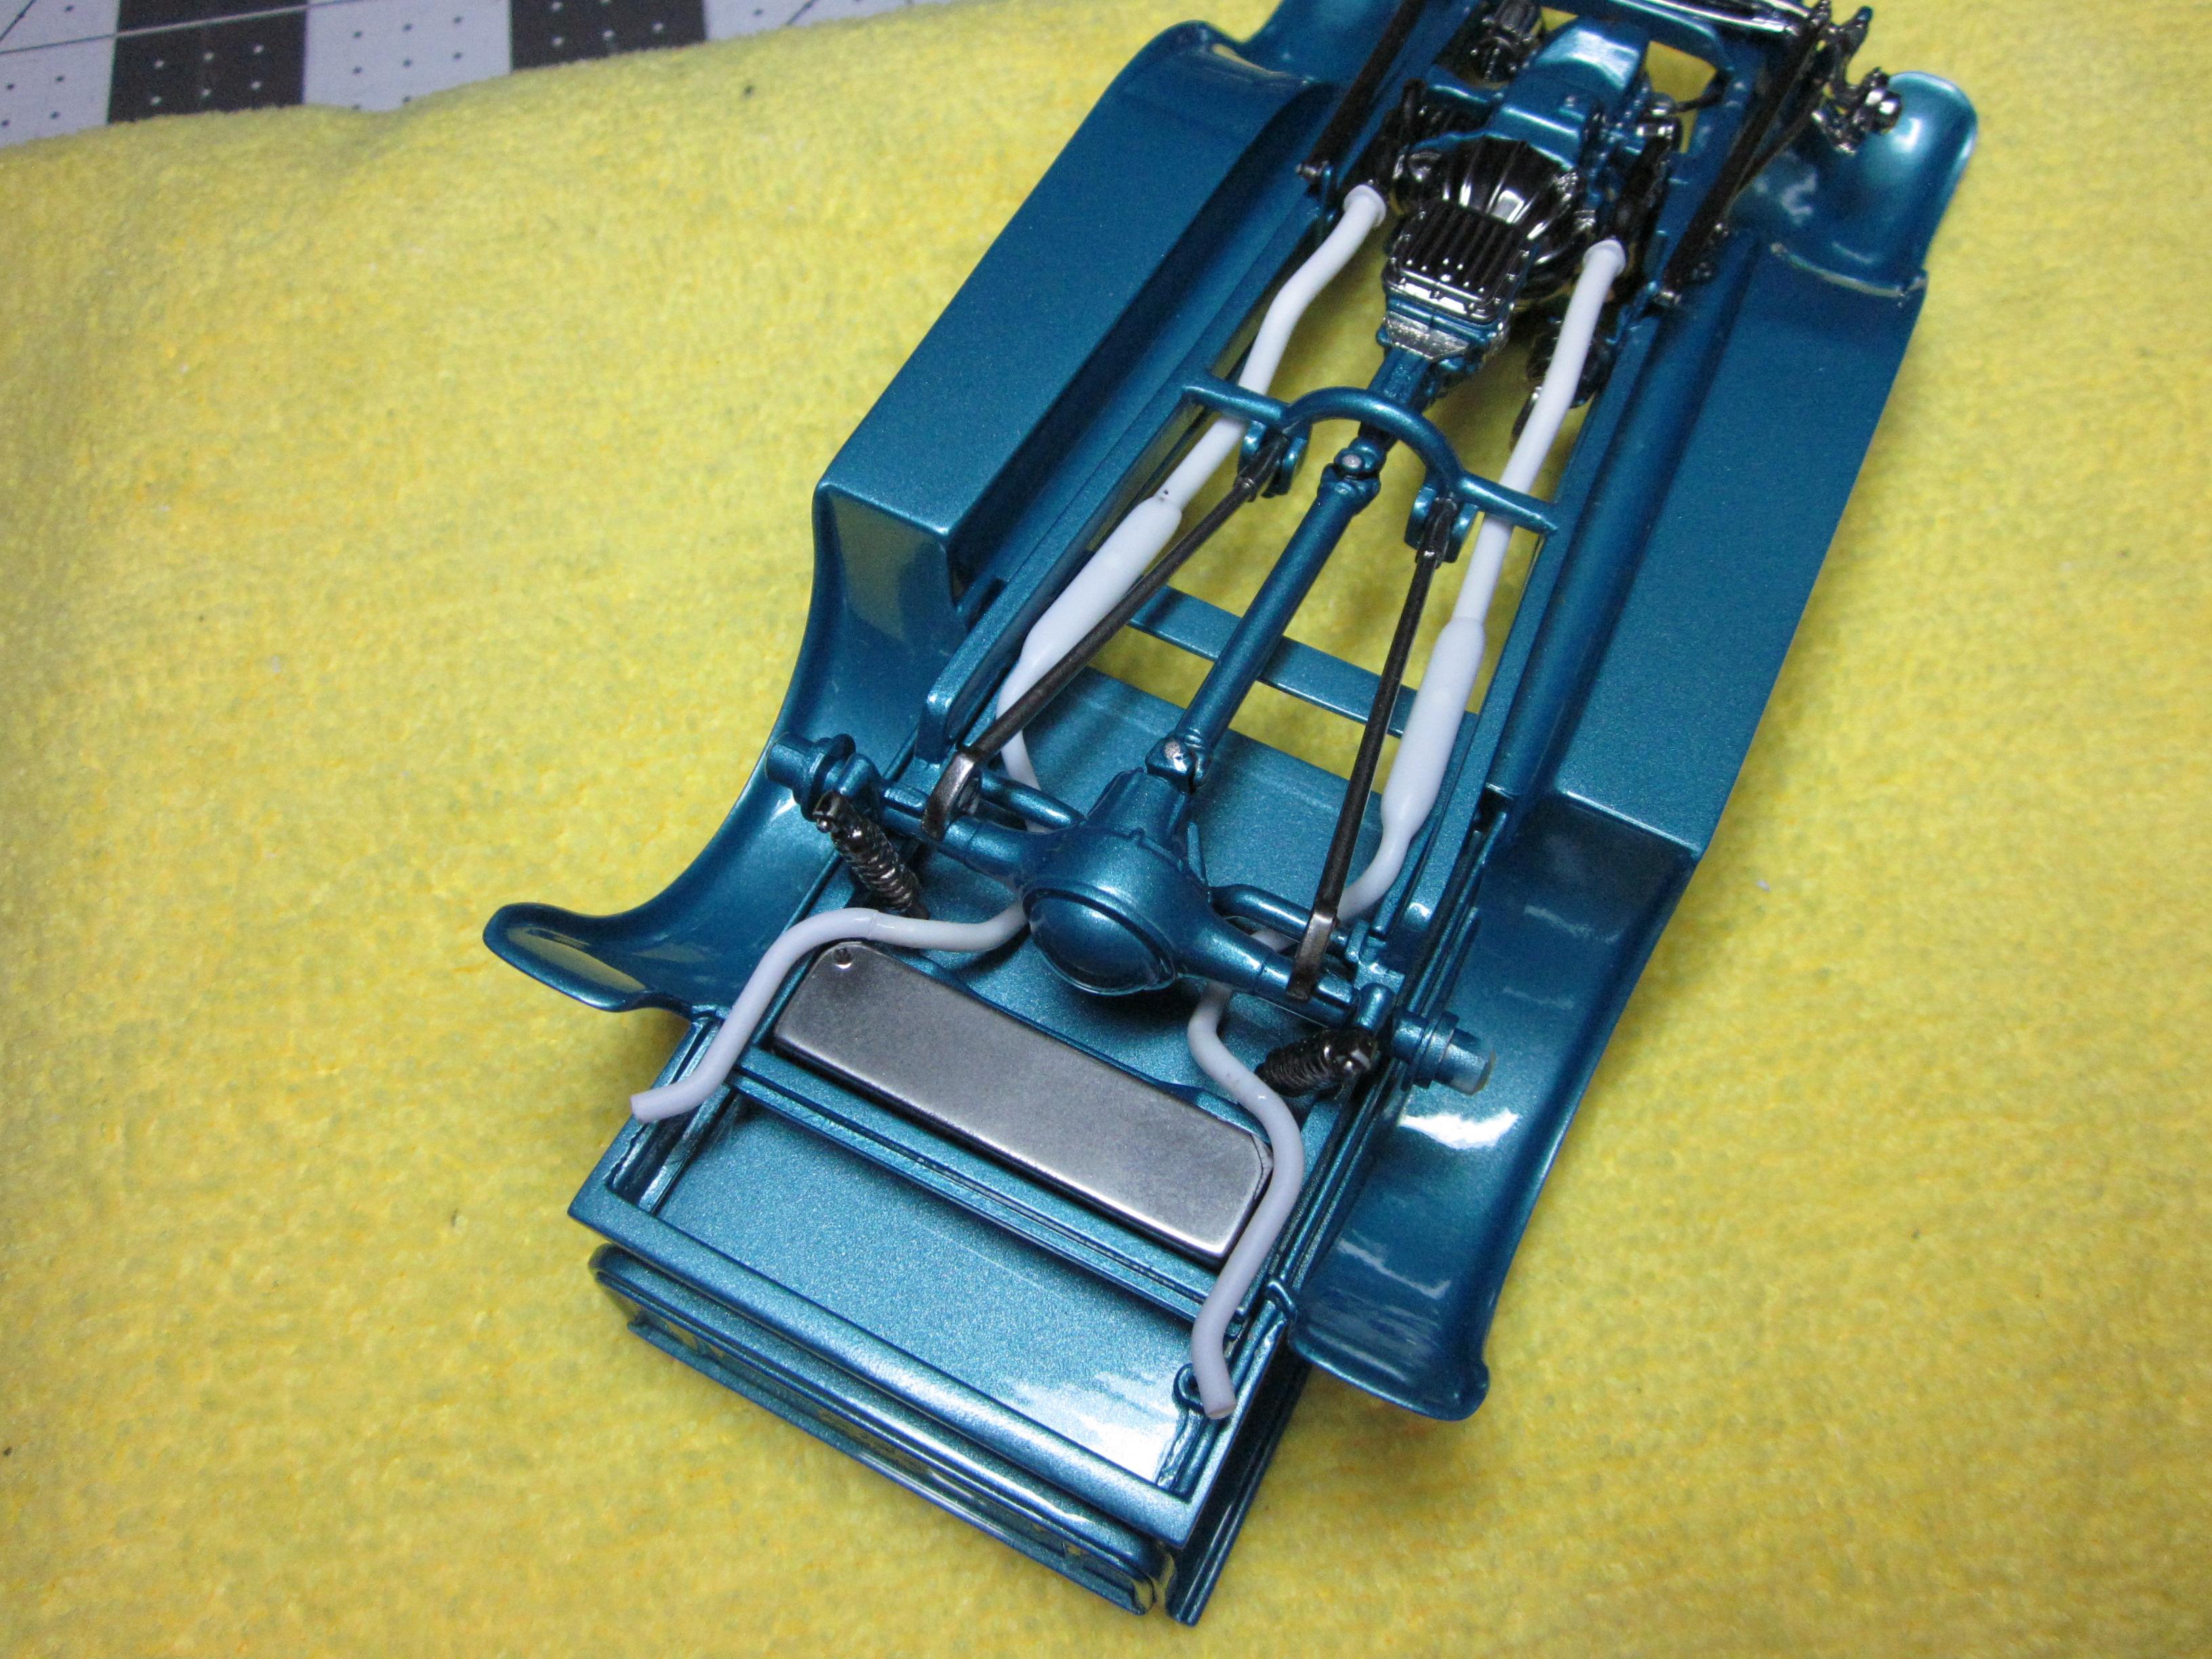
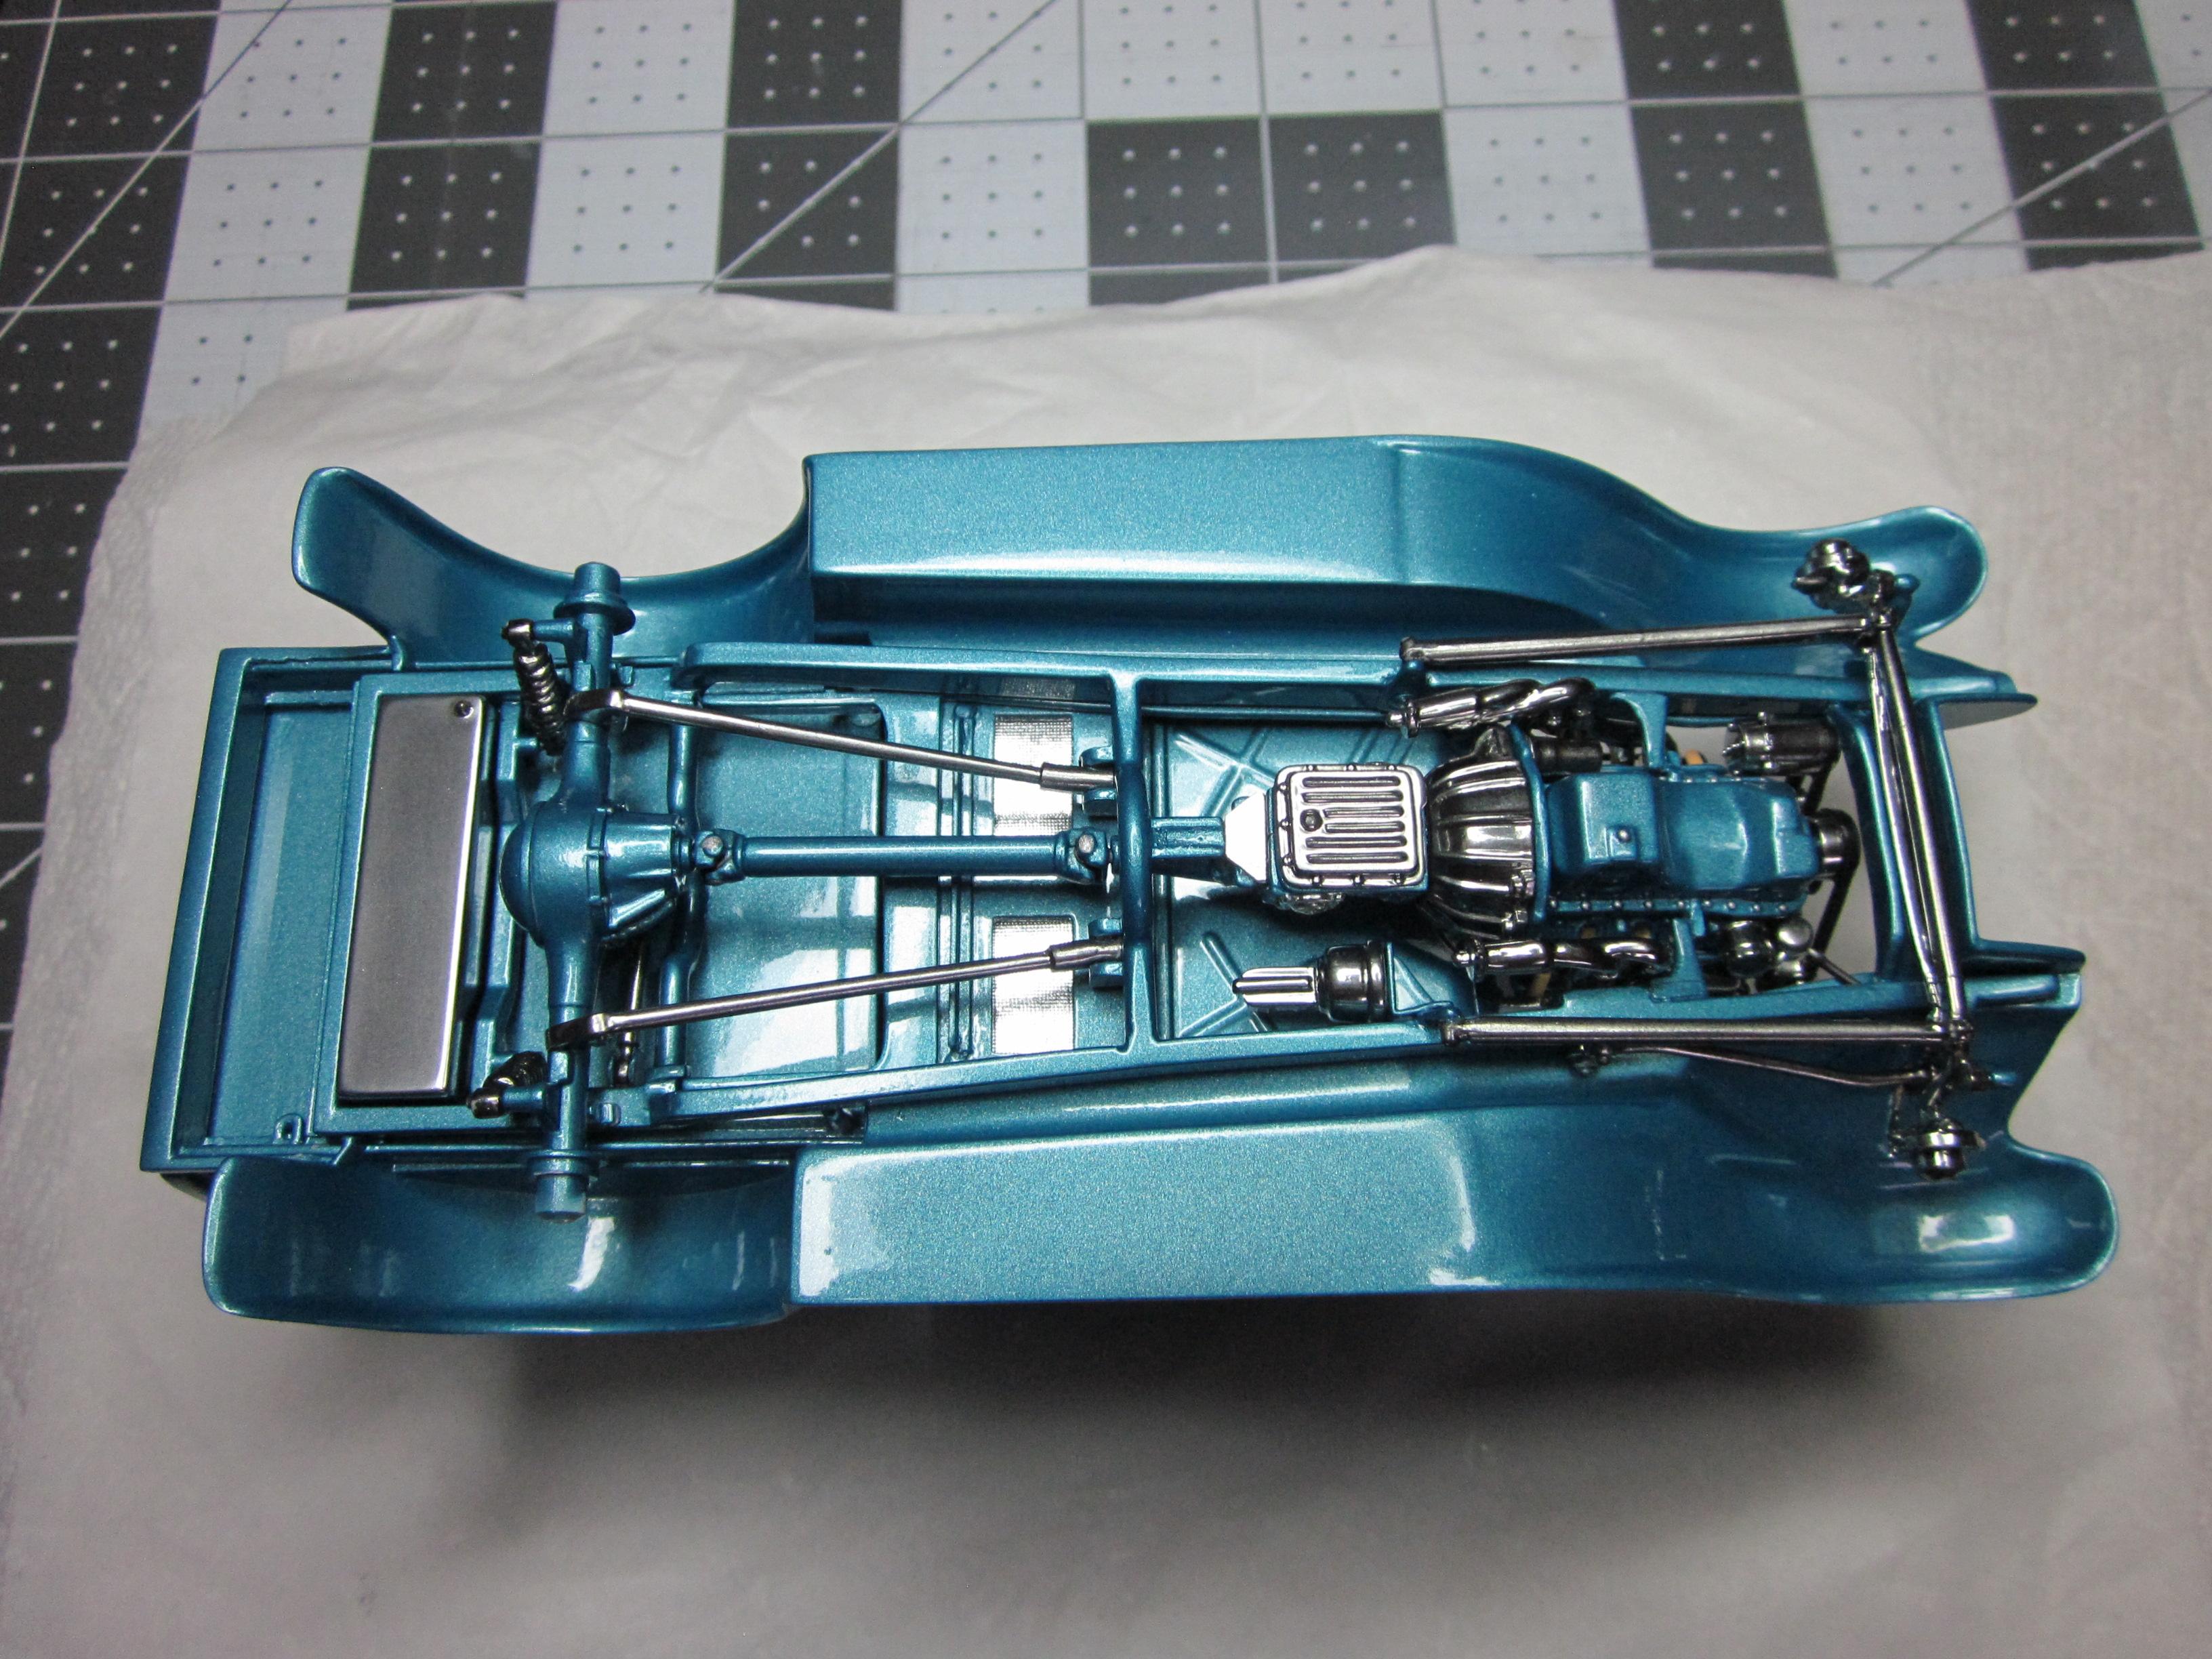
Today was a good day. I was able to finish up a few things on the chassis and drive train on @Kit Karson's truck. Got the brake booster installed, Did some touchup painting(3 things), Test fit the painted headlamps and mocked it up with the gas tank. Another thing I worked on was the bottom side of the cab. I recently was looking at @Dennis Lacy's roadster pickup build and thought what a great idea he had filling in the two square holes on the bottom of the bucket. I was thinking to myself, I should have done that! But then it turned into "What can I do" to fix those two square holes in the bottom of the cab of this truck. So what I did was pretty simple. Using a piece of foil from a cigarette pack, I cut a piece to fit between the cab and the chassis. I brush on some clear tamiya paint to glue it down with. The foil has a perforation to it that resembles heat sheilding. Worked perfect. Thank you @Dennis Lacy for the inspiration to work on that area. Everything is done and it's ready to get the exhaust(which I have no idea what to do yet) going. Here is a few photo's.................. Speedpro
-
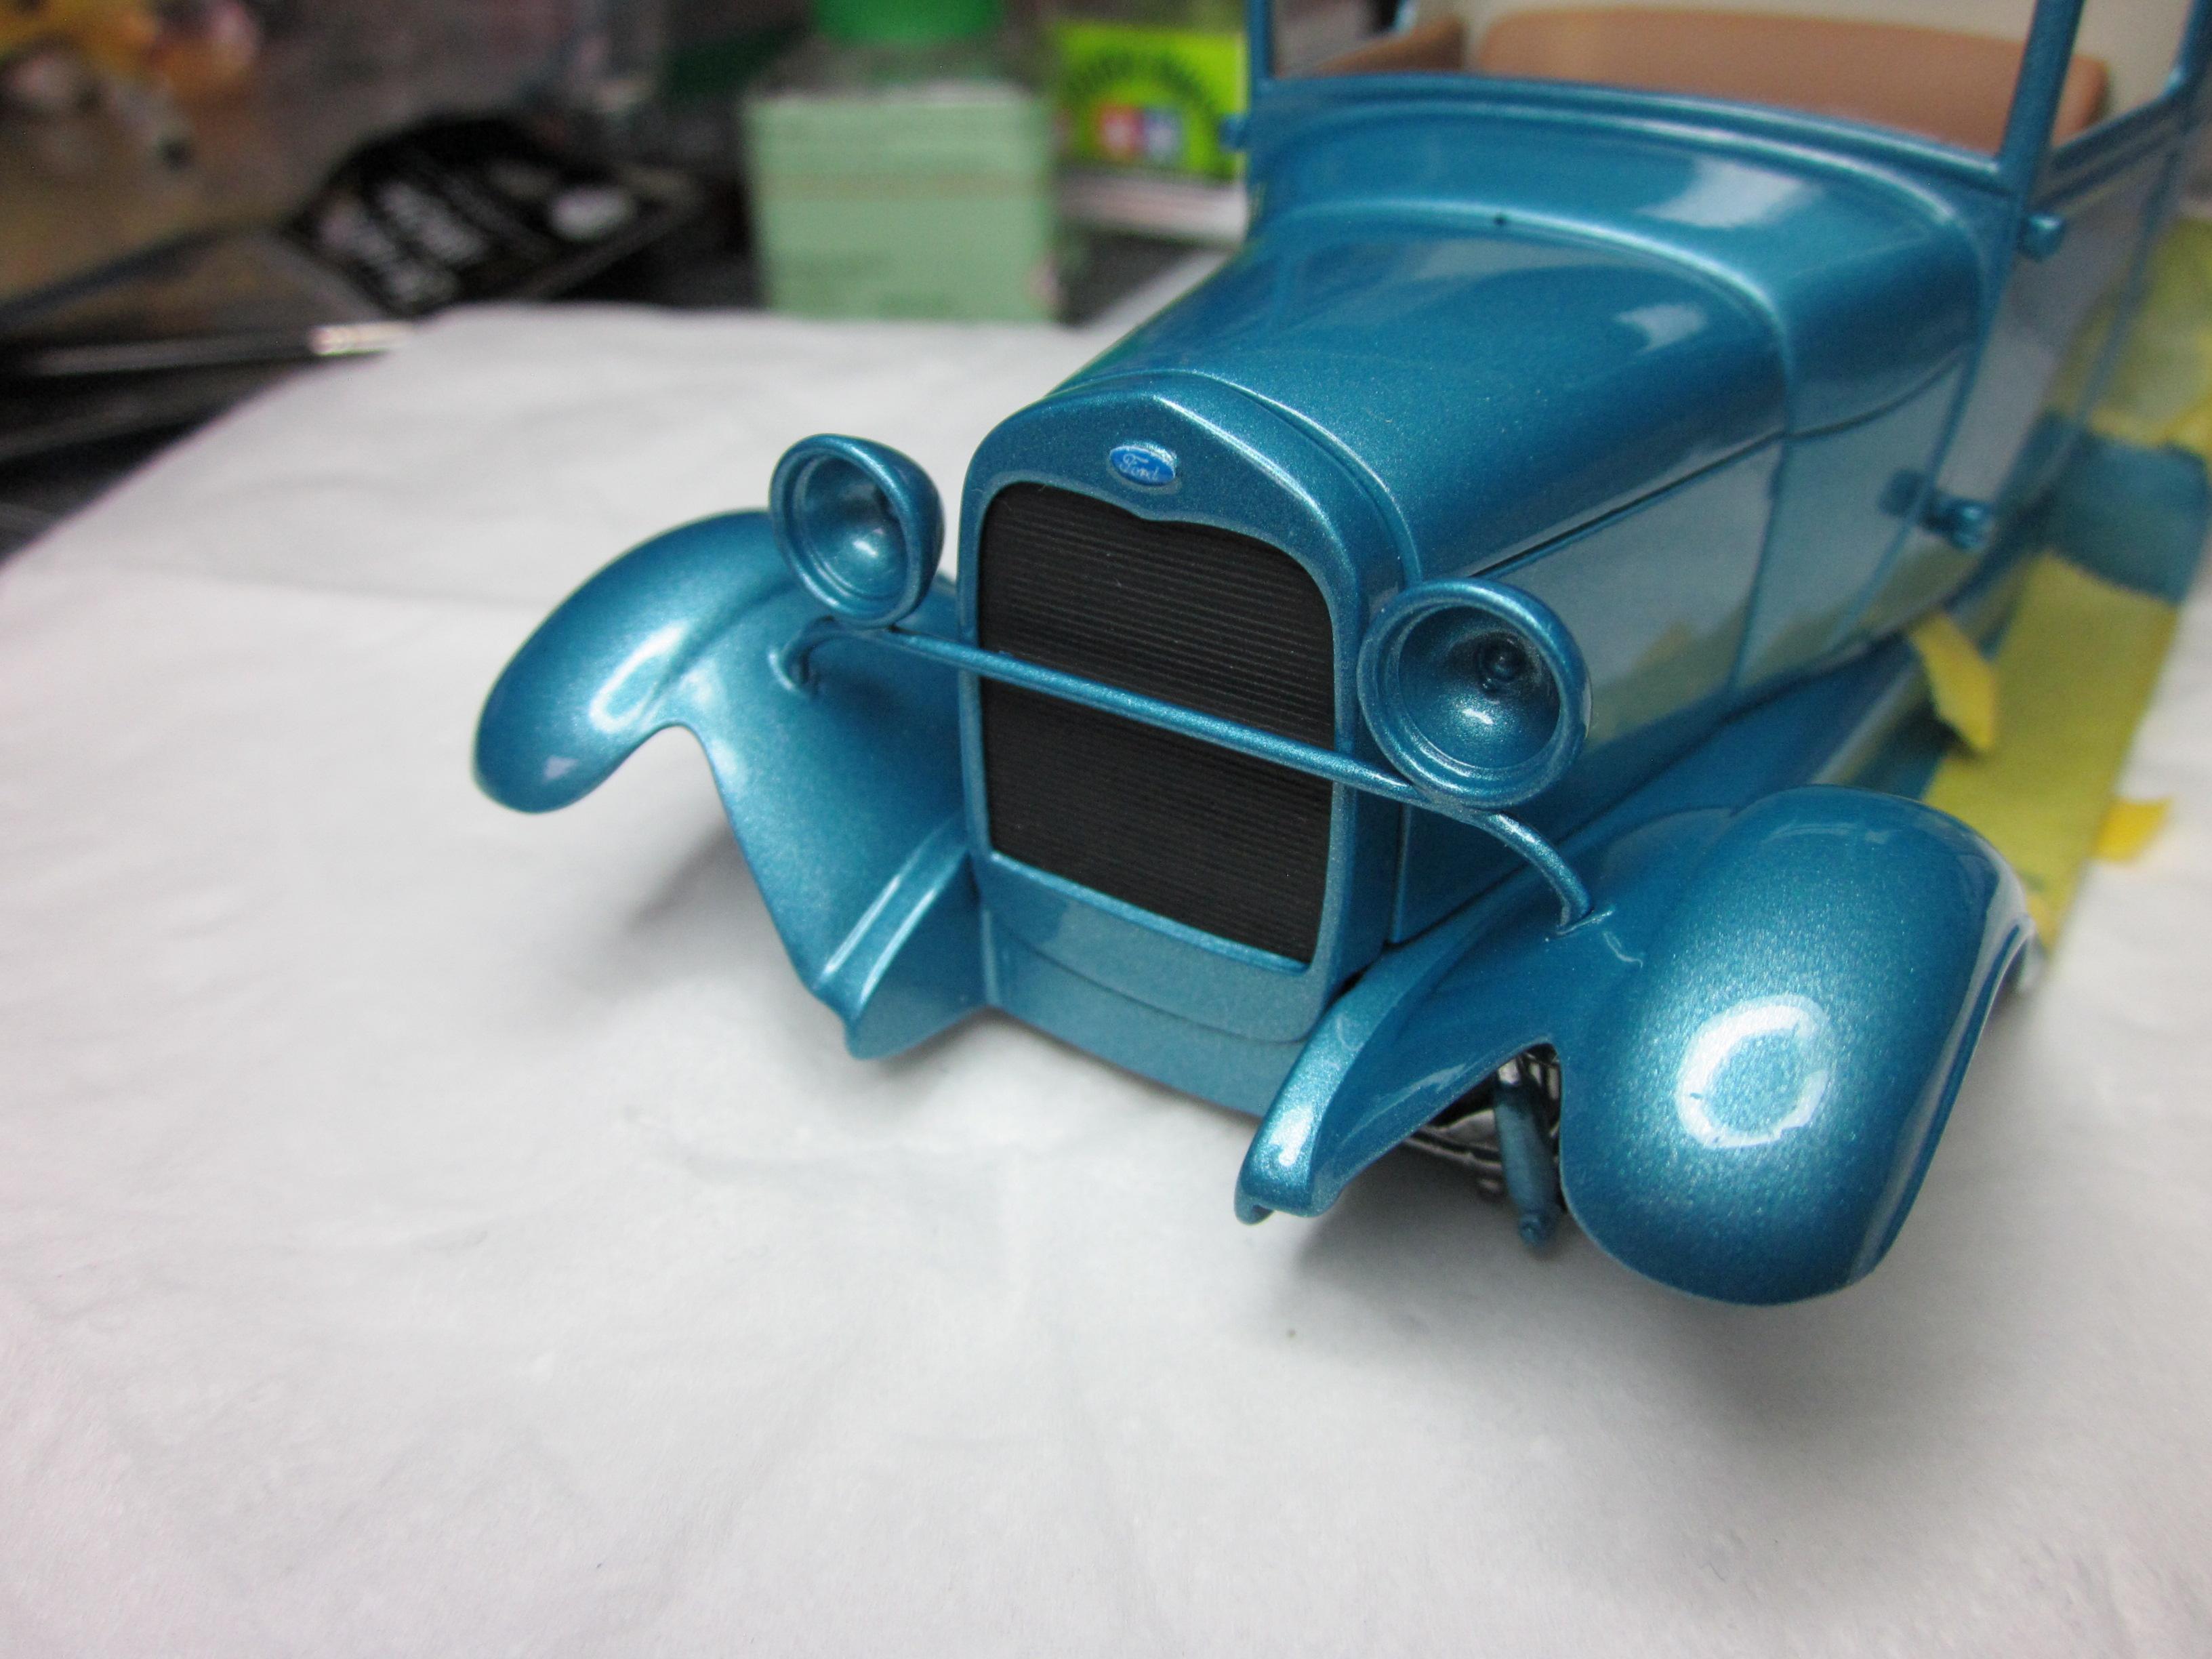
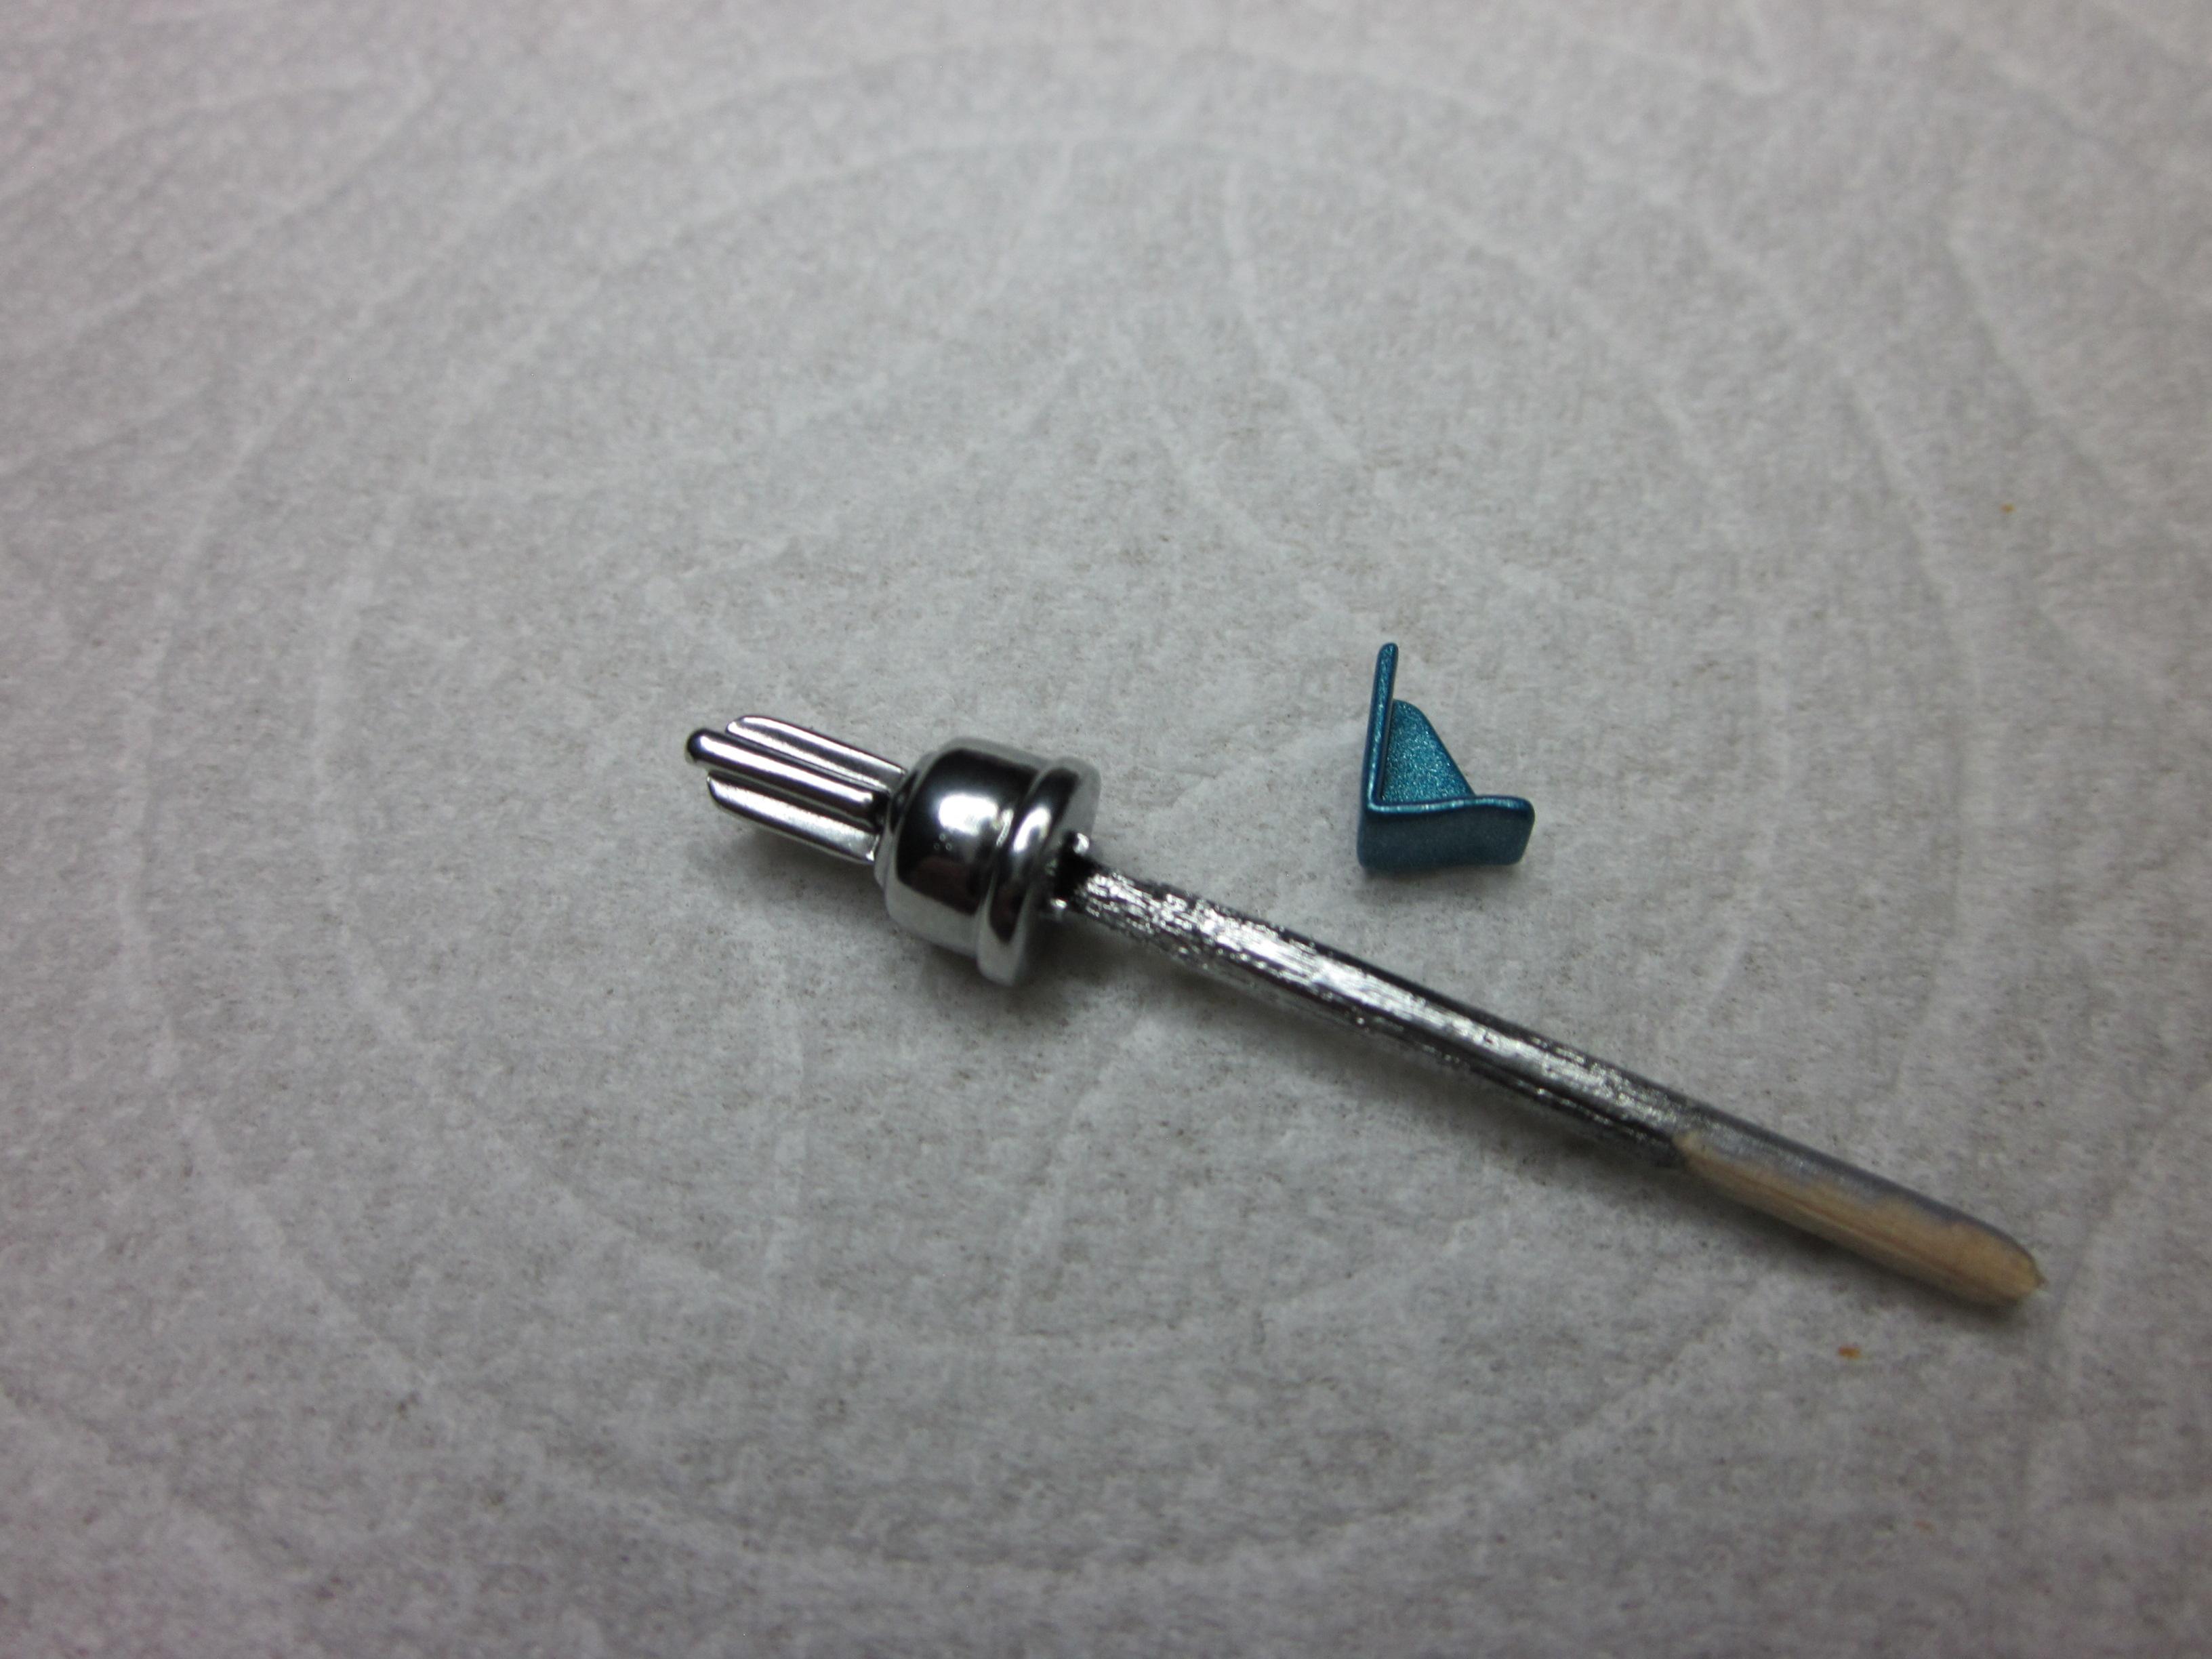
Just a small update on @Kit Karson's truck. Got the headers in place. Was going to get after the exhaust but realized there was a couple things that needed to be done before that could be done. First it needed to have a brake booster and master cylinder. I'm going to use the booster that was sent with the truck. A mount was made to mount it to the frame. It was painted the same color as the frame and the booster was sprayed with alclad chrome. Next up was the fuel tank. After figuring out where it was to be going, One was built out of some sheet styrn and fit with a drain made out of a steering column shift handle. It was also sprayed with alclad. Another thing that needed to be done was the headlamps. Decided to paint them body color. The chrome was stripped and shot some paint on that part. After the tank and booster assembly are installed I can start on the exhaust. Thats it for now. Getting close but I'm sure that I'll find more. Speedpro
-
Very nice custom! Interesting exhaust placement. I take it those are show only?
-
1966 C10 “ truck “
Speedpro replied to Immortal Chips's topic in Model Trucks: Pickups, Vans, SUVs, Light Commercial
Excellent build! Really like the color combo. And the paint looks so smooth. Very nice! -
Revell '37 Ford Pickup with surfboard
Speedpro replied to ATHU's topic in Model Trucks: Pickups, Vans, SUVs, Light Commercial
Great looking build! -
Great looking chevelle. I like the color and the engine details. Speedpro
-
Real nice custom! That paint looks super smooth. Very well done. Speedpro
-
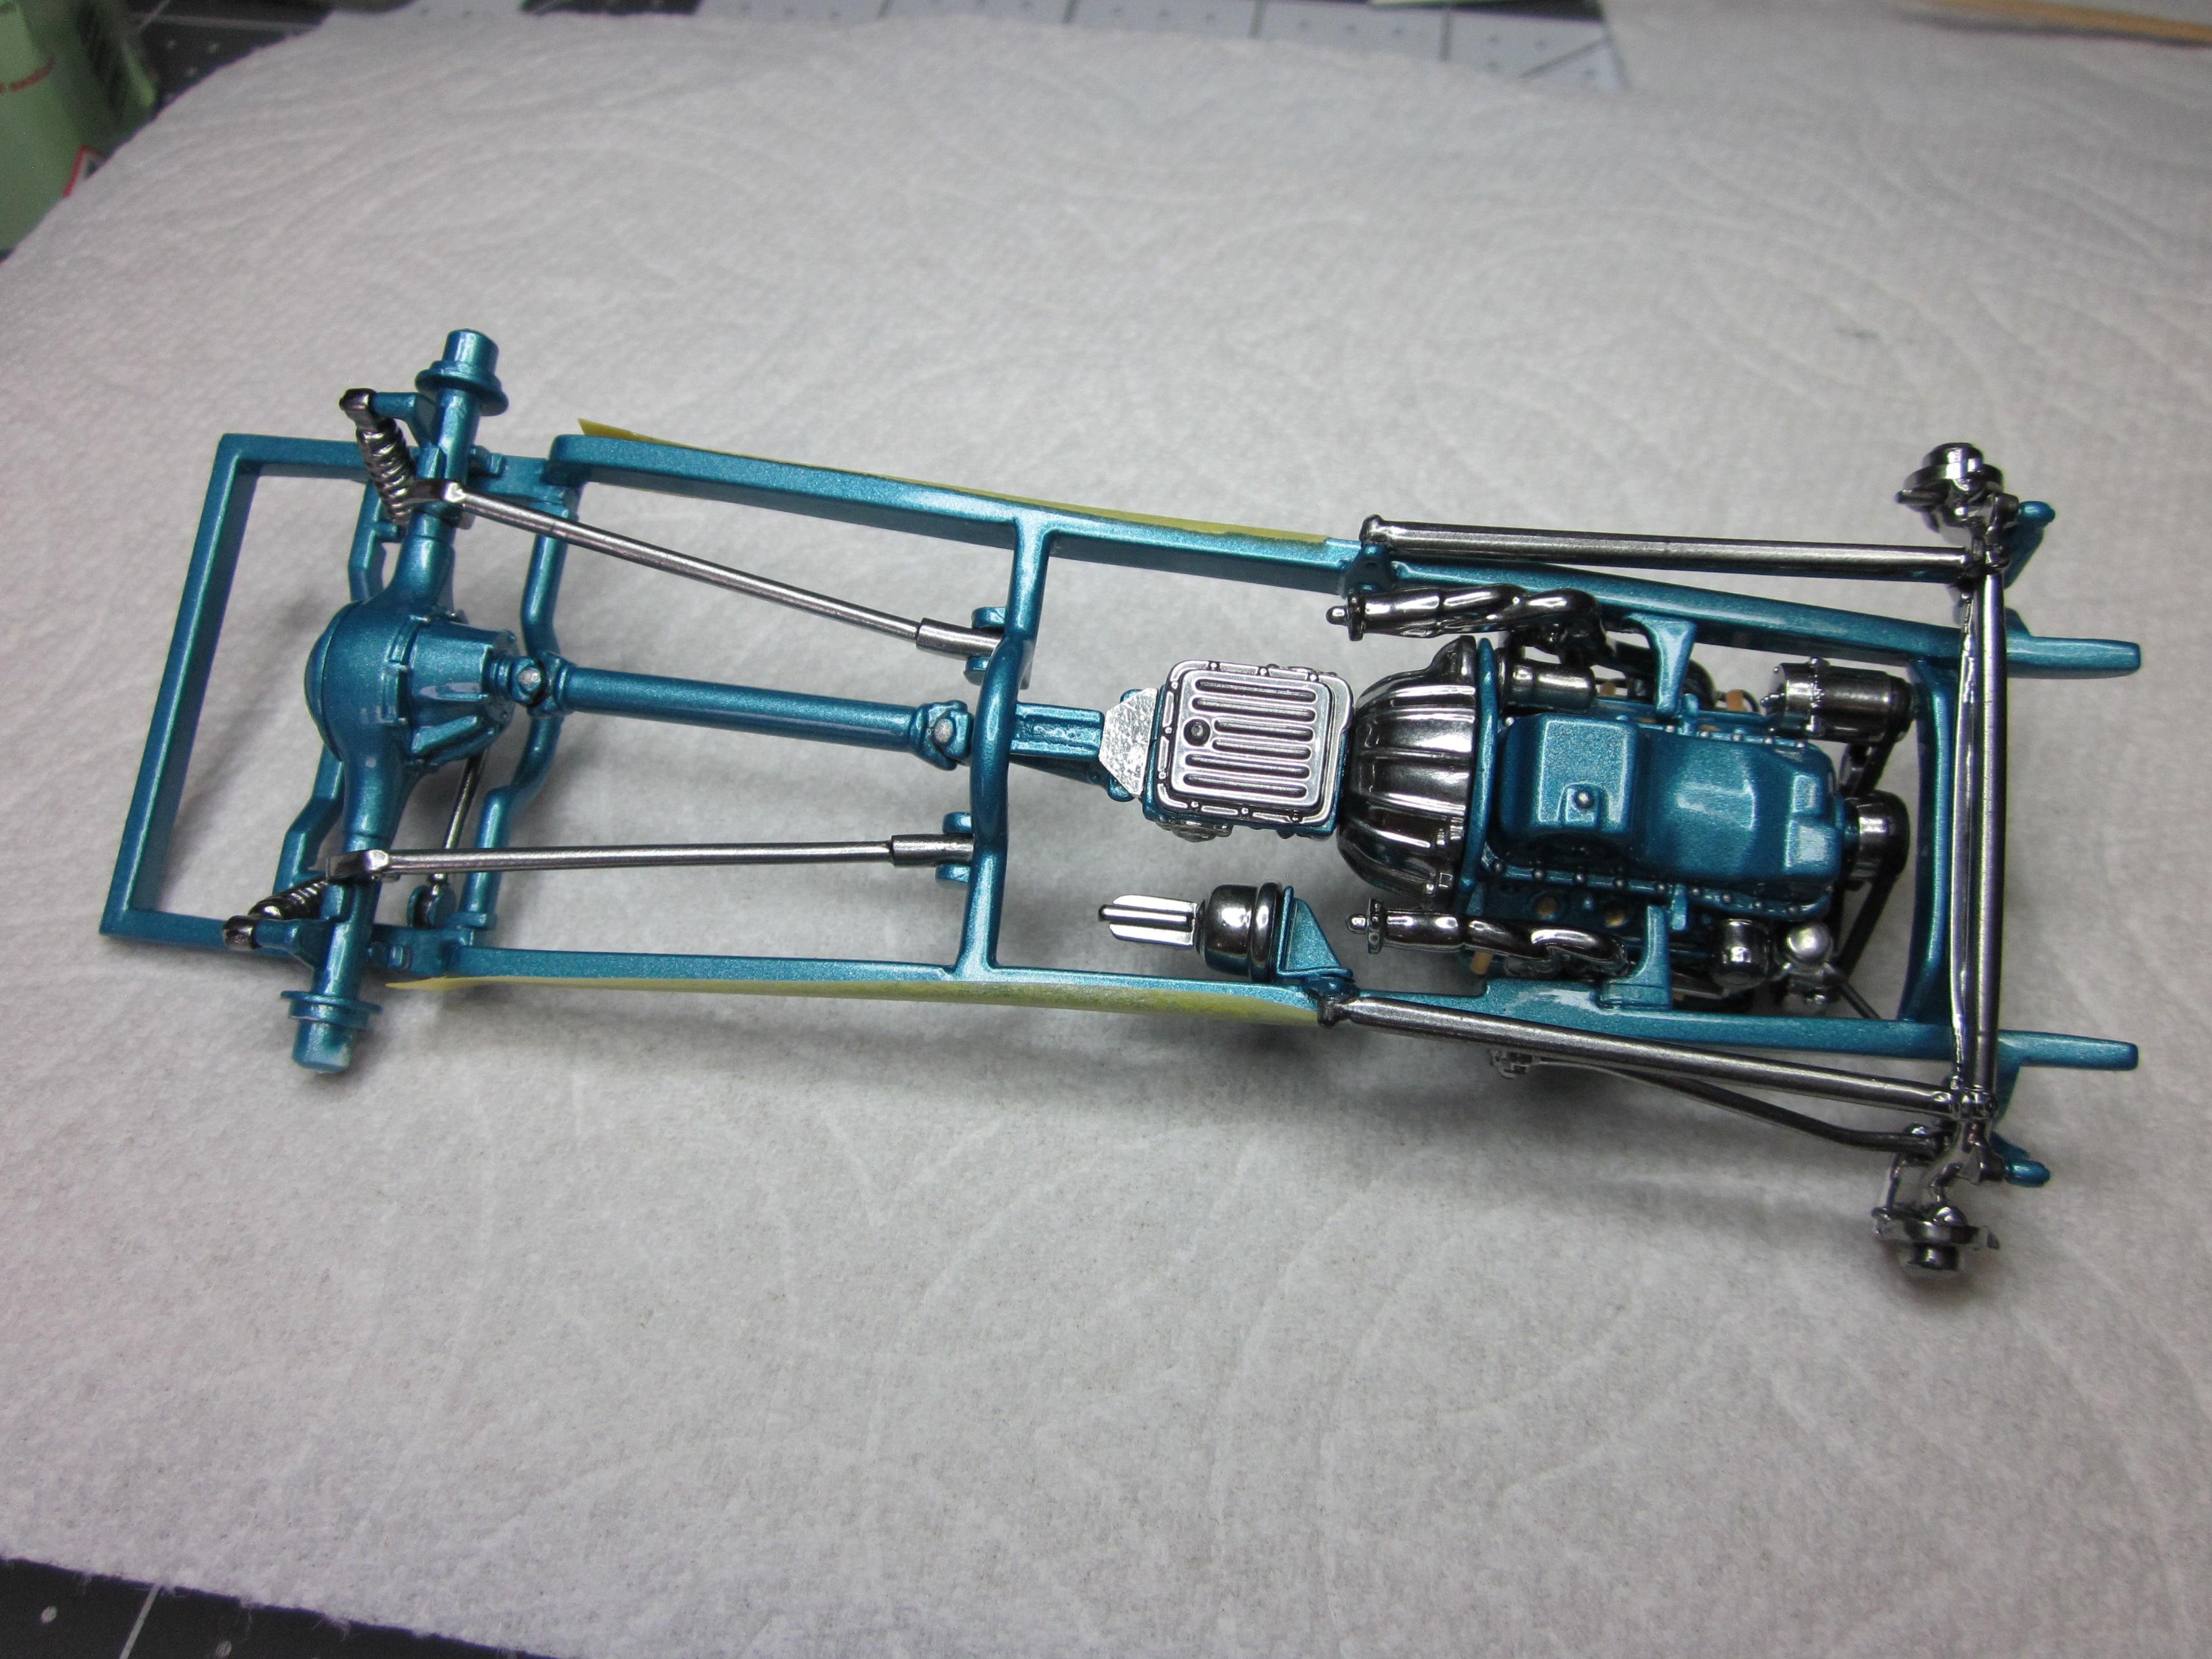
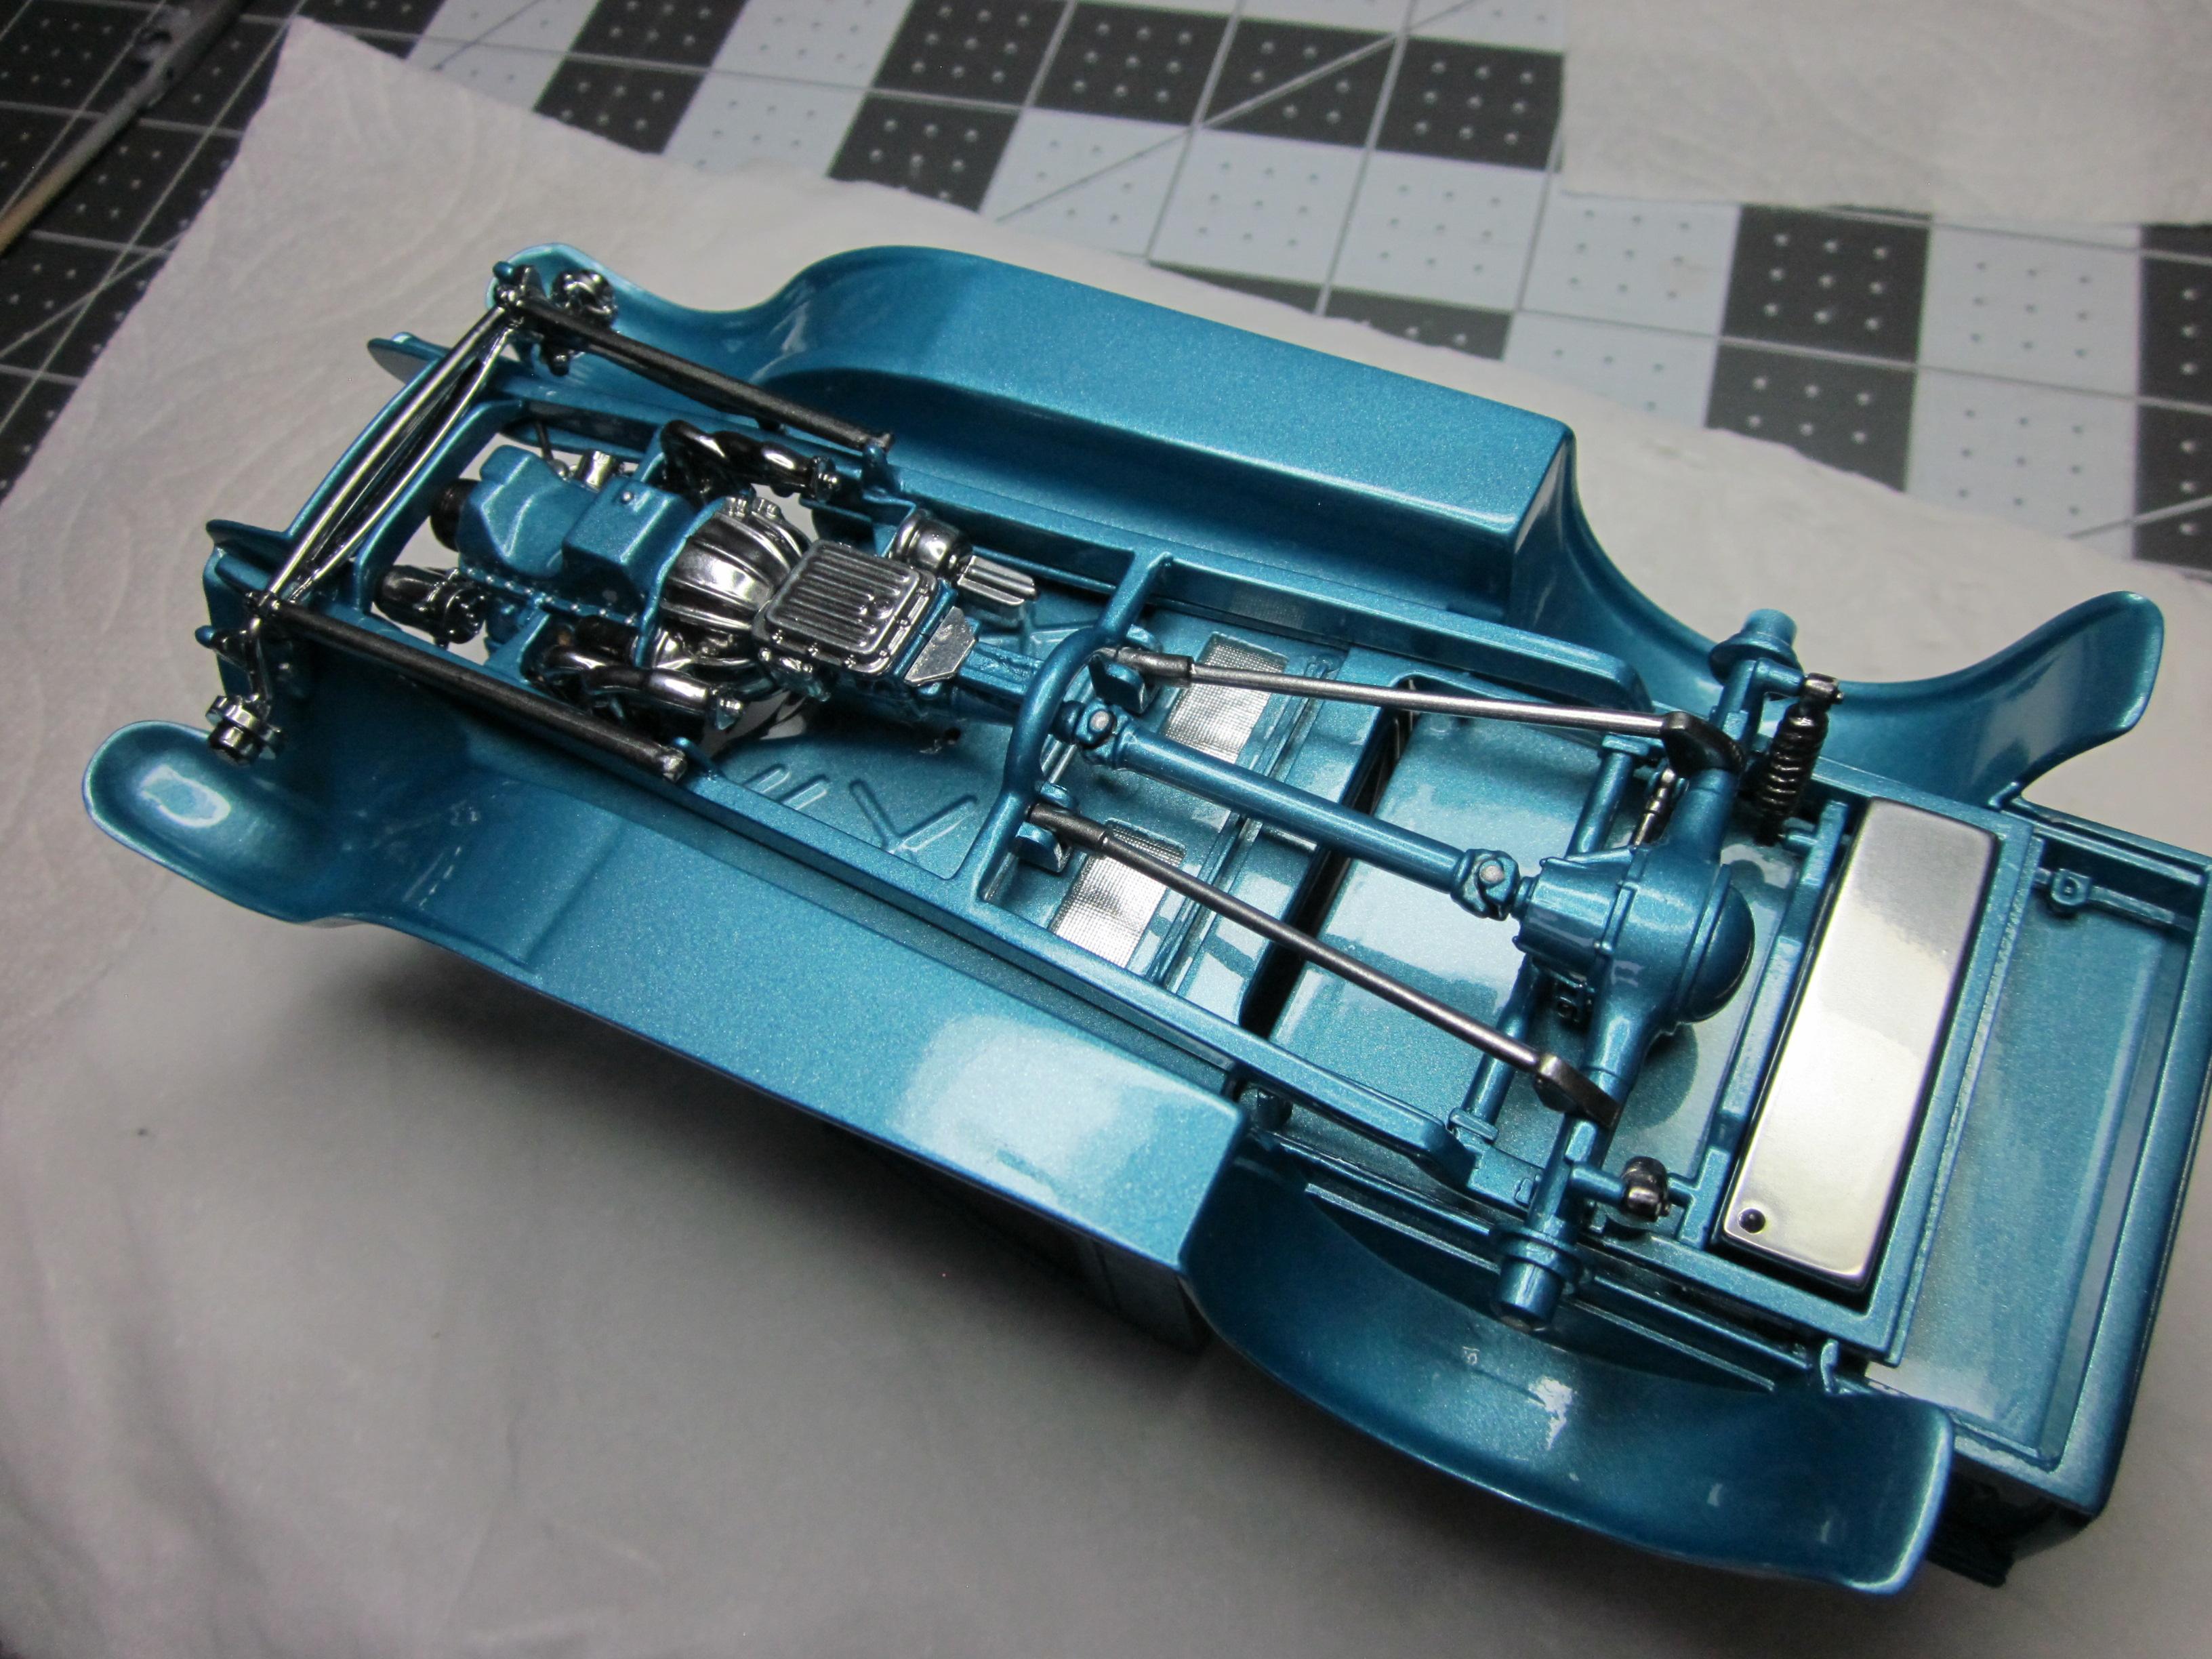
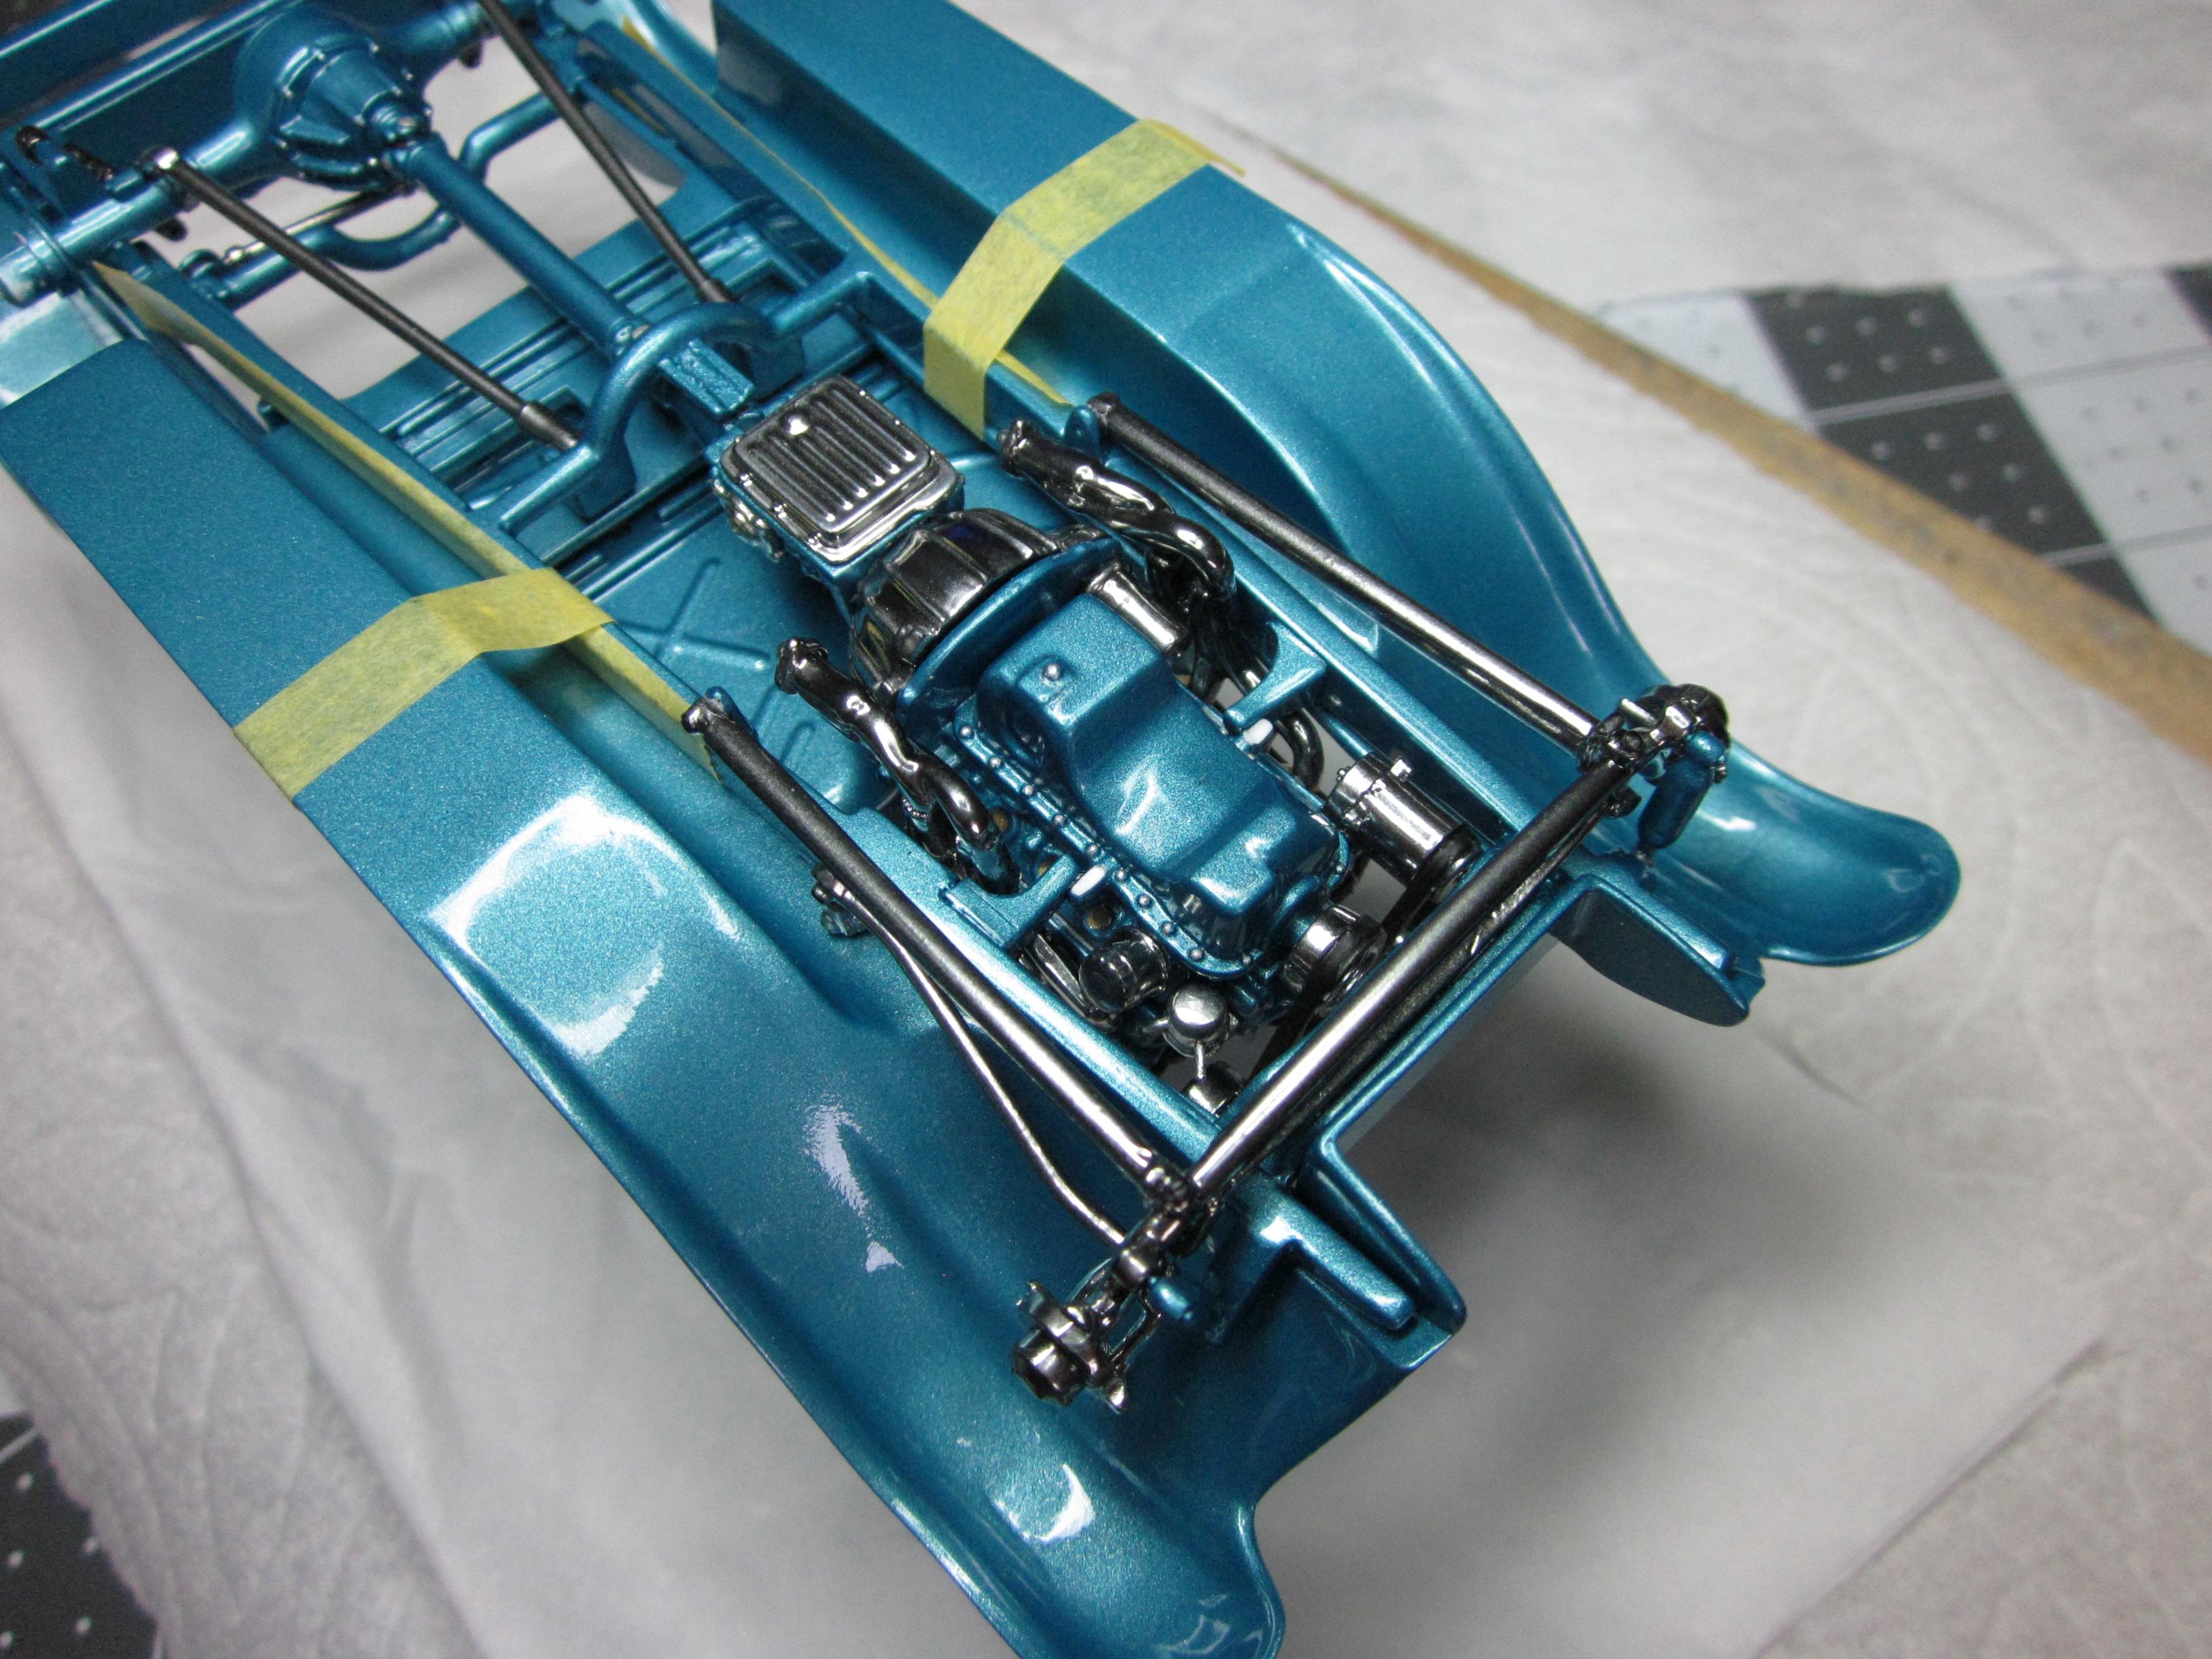
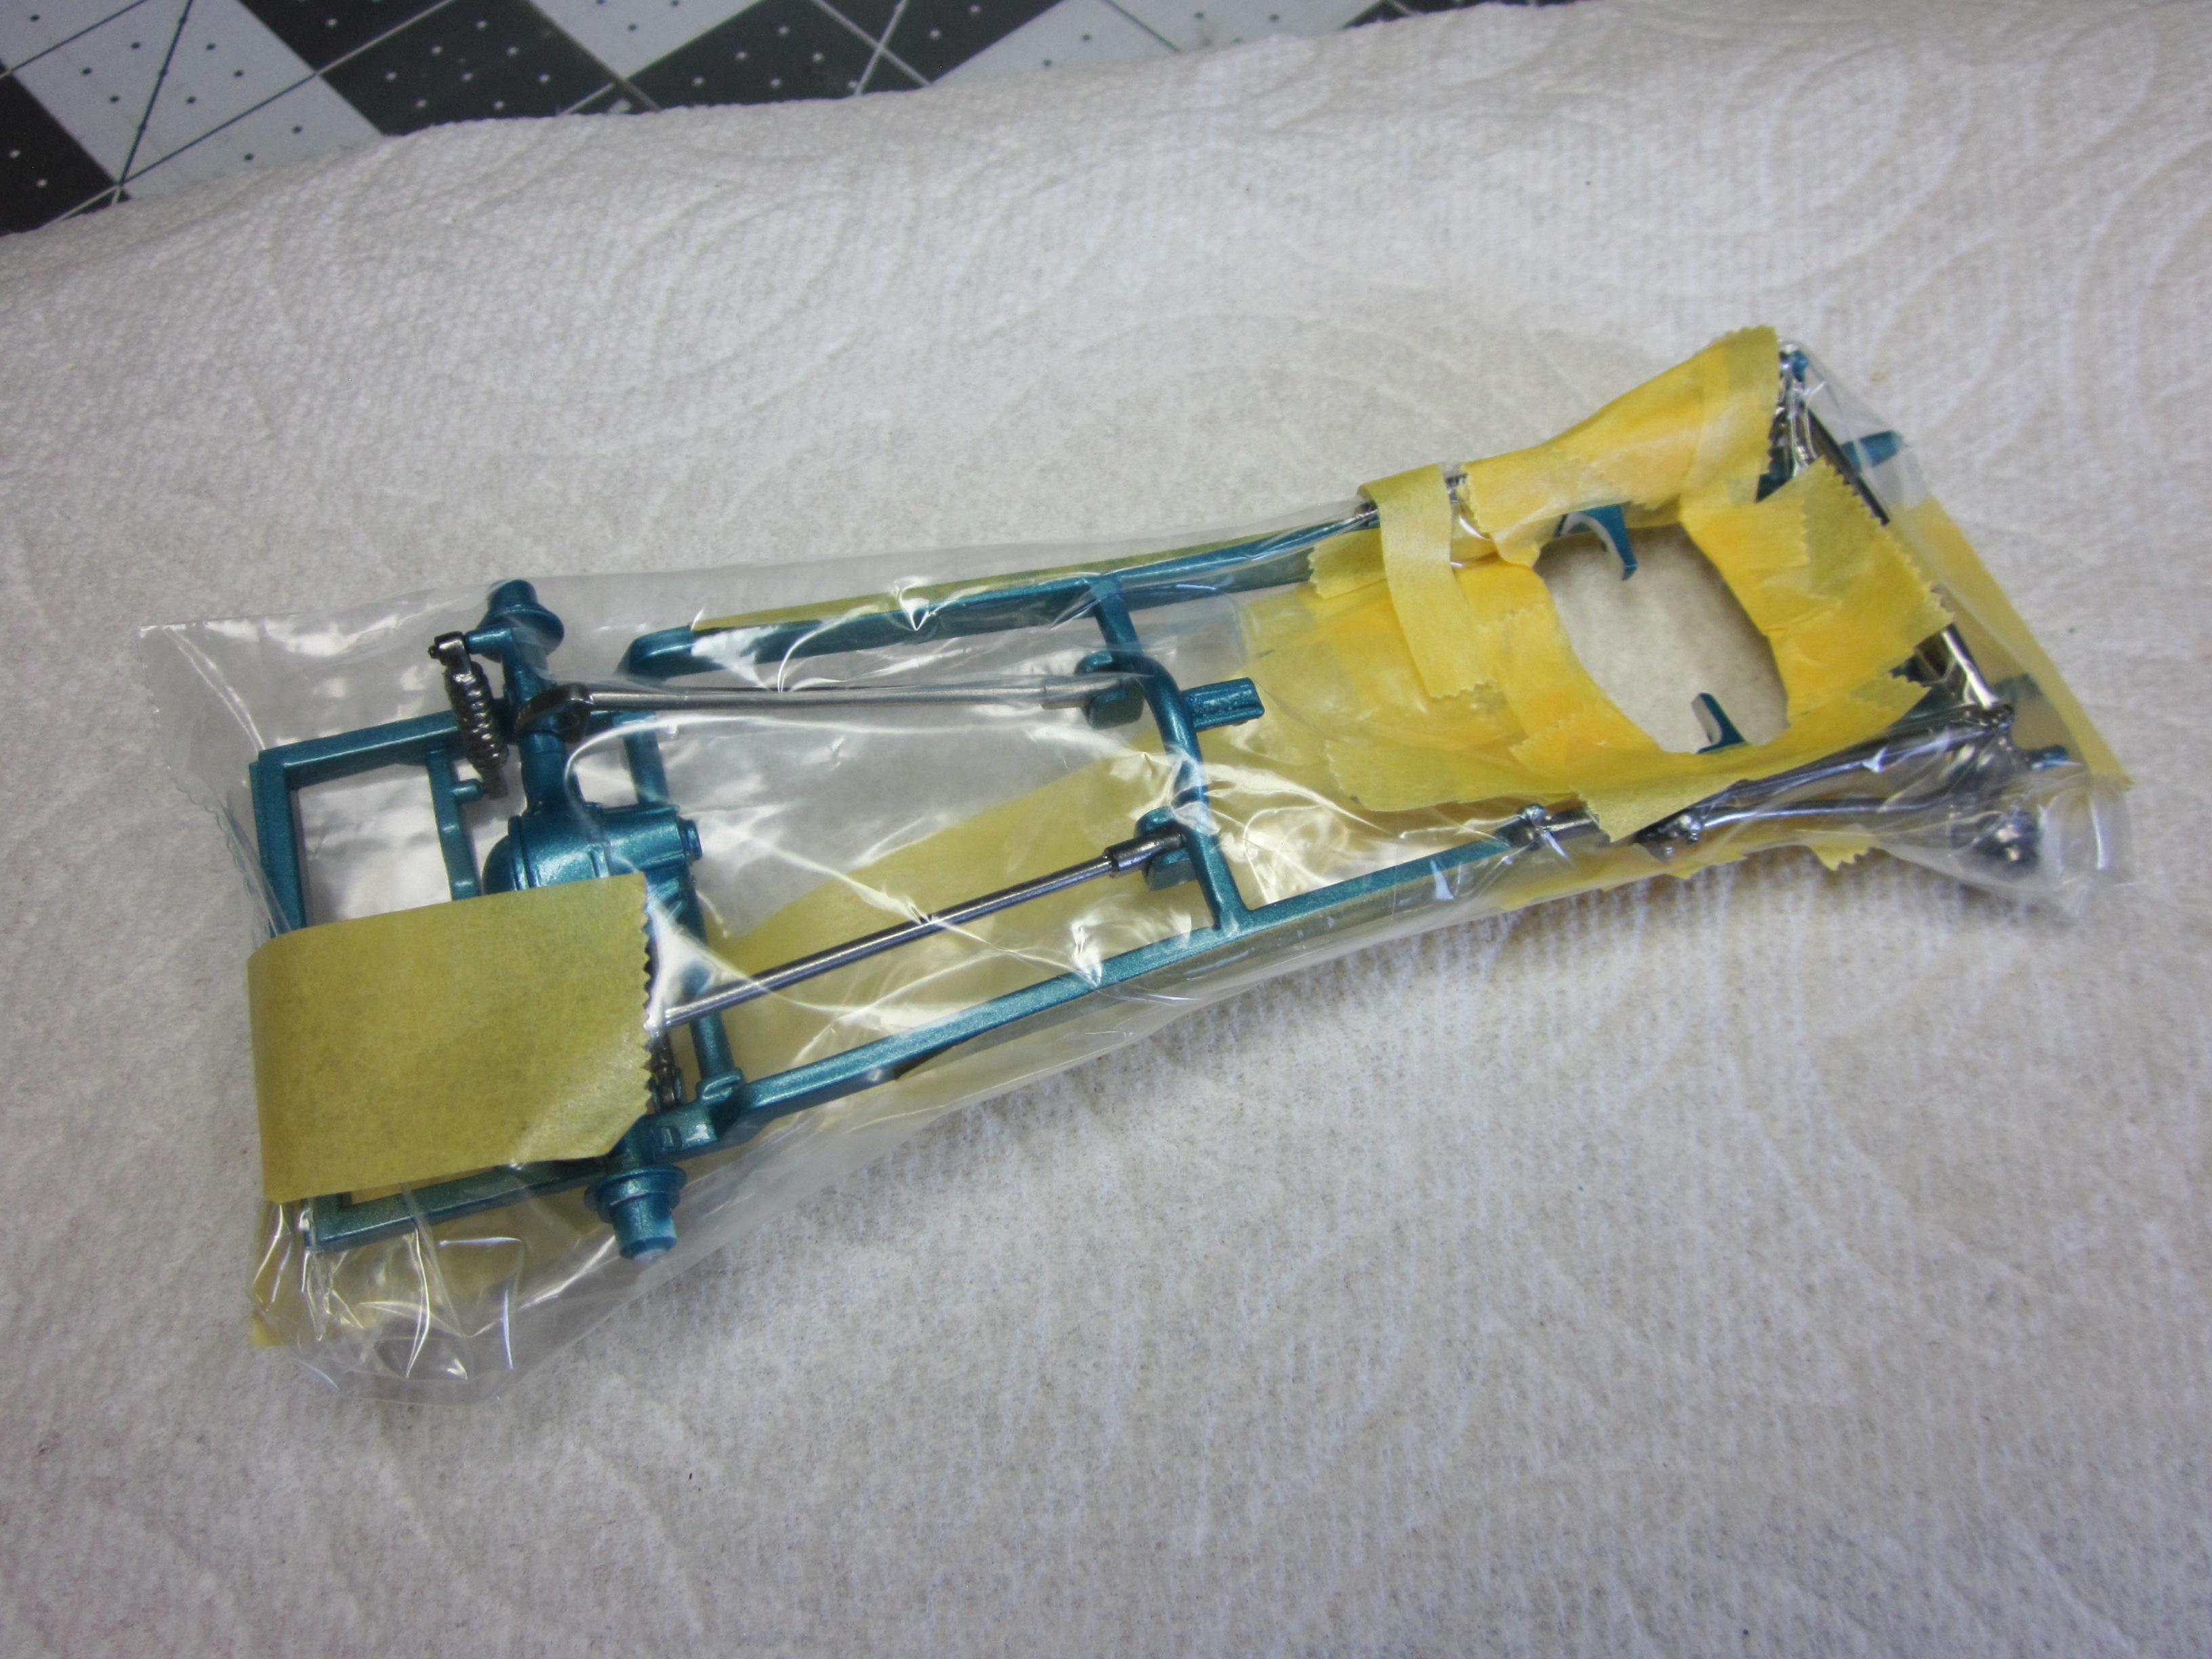
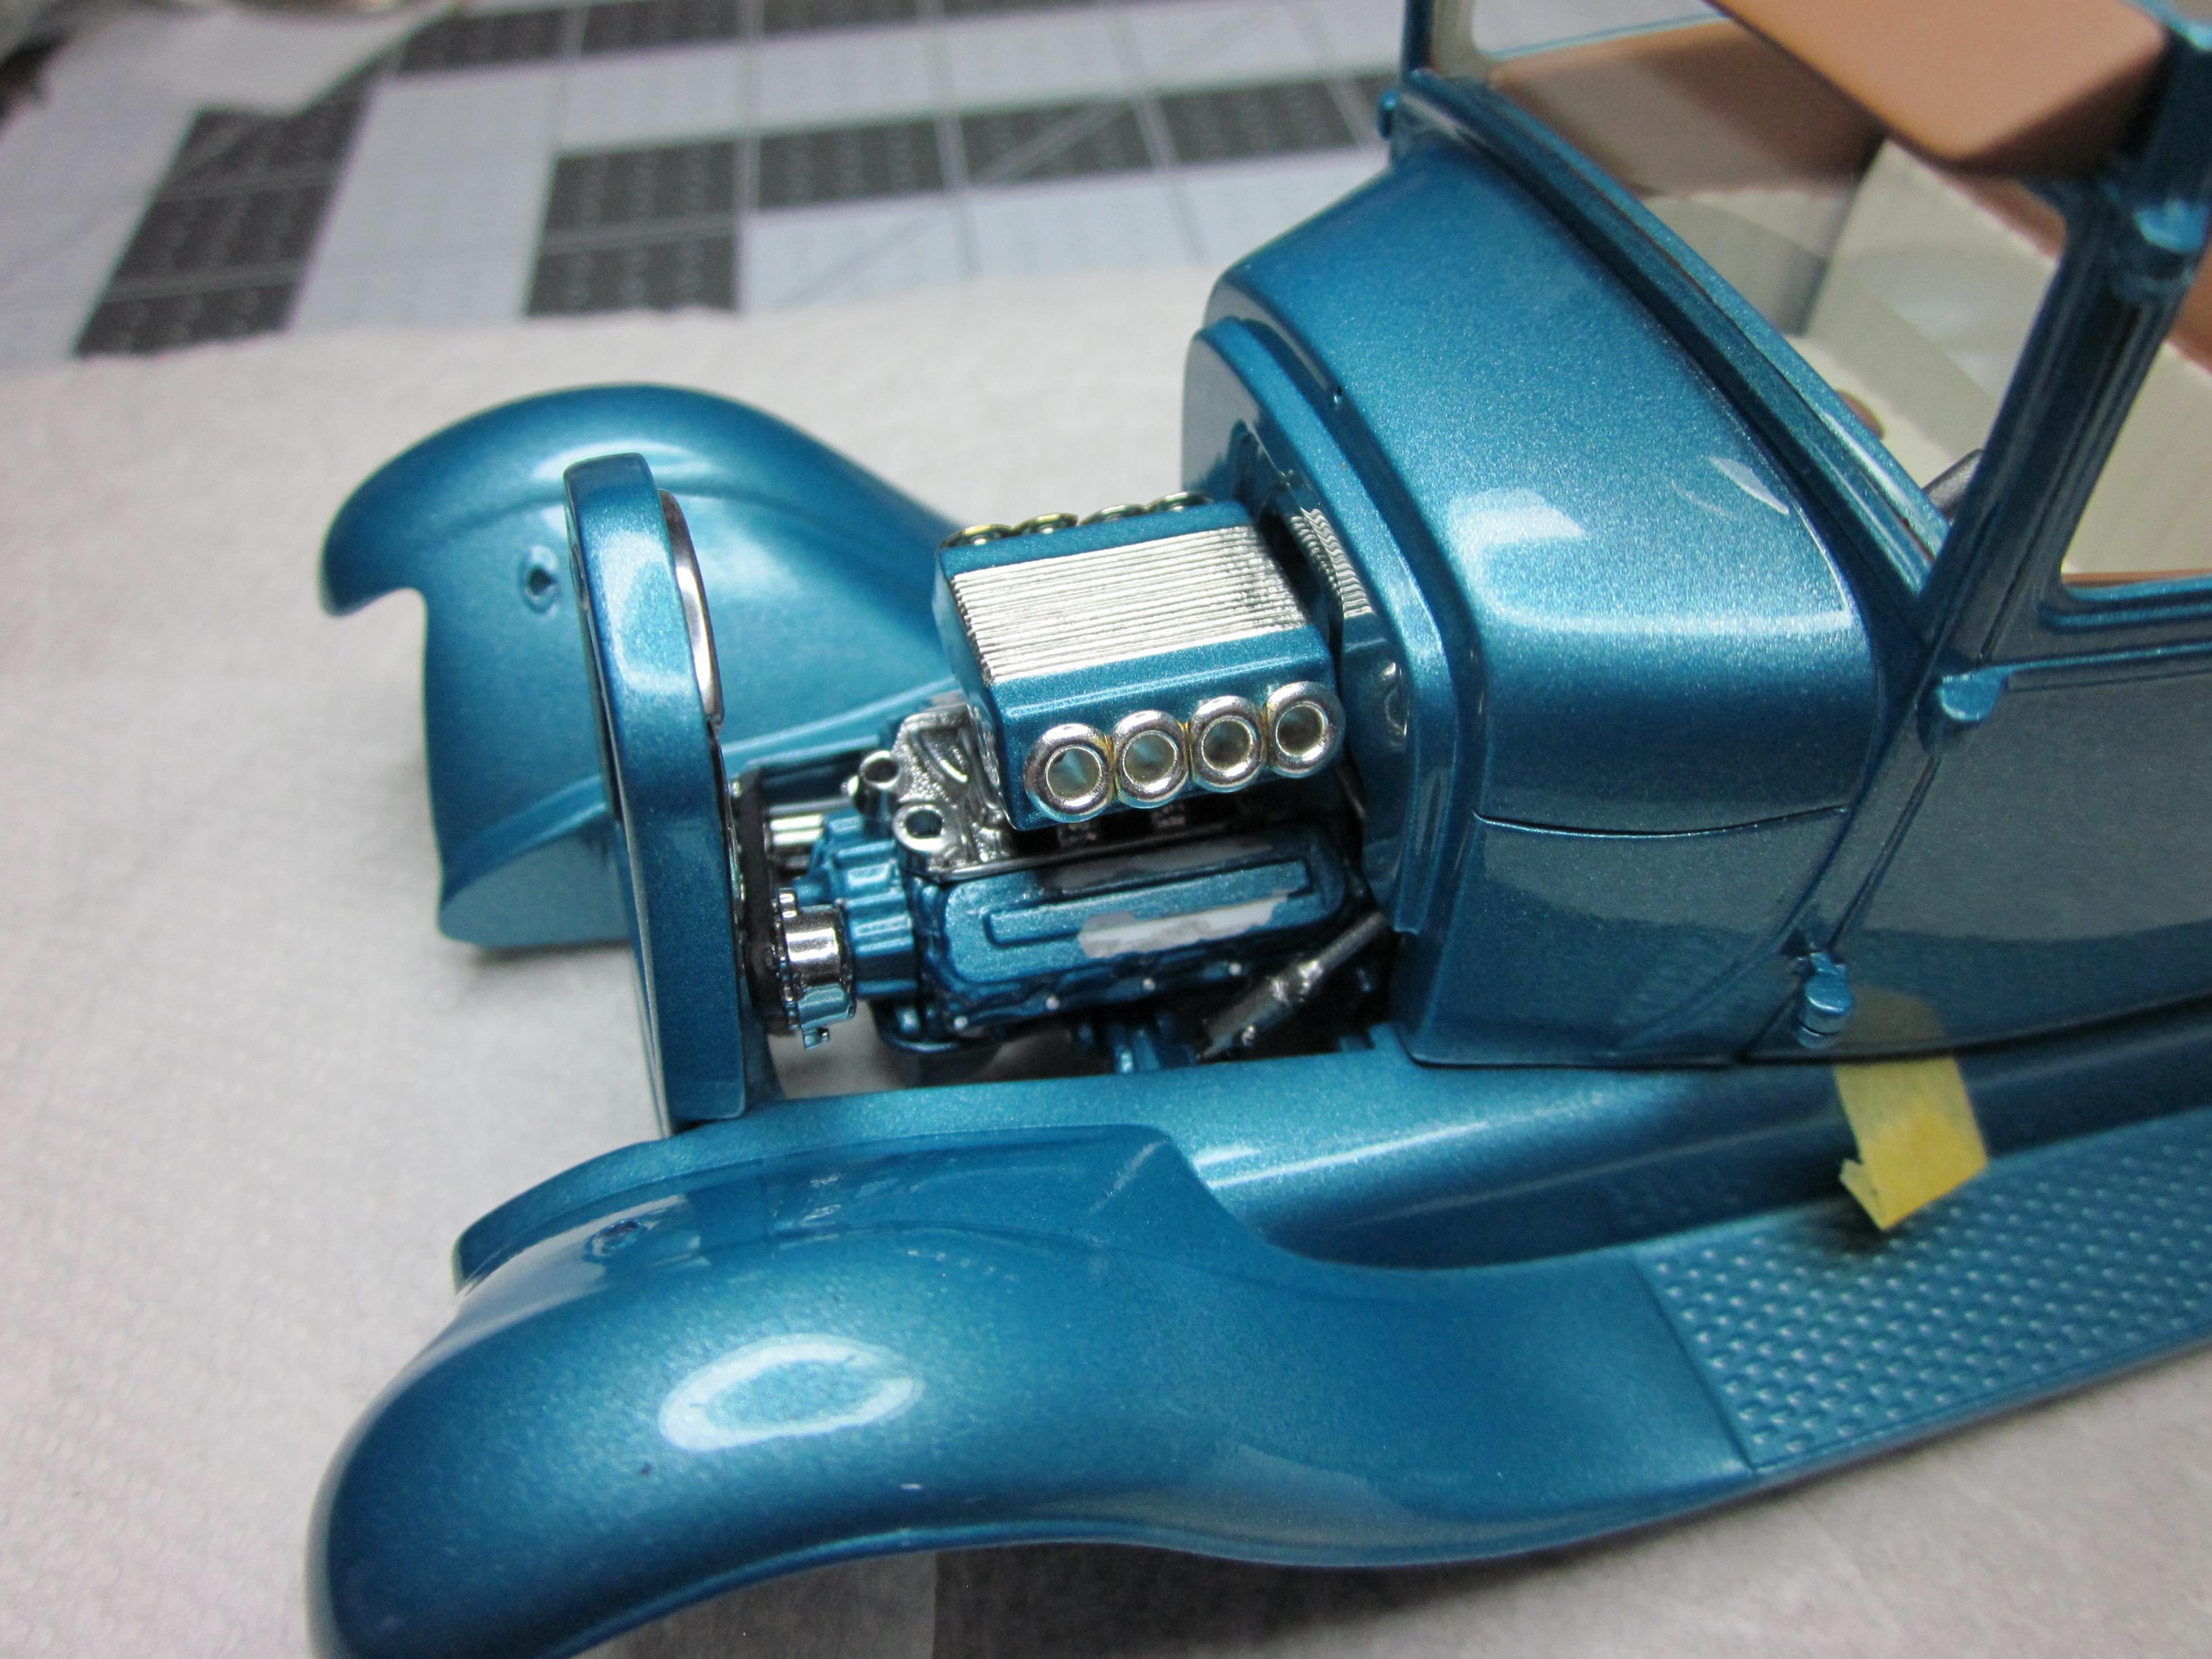
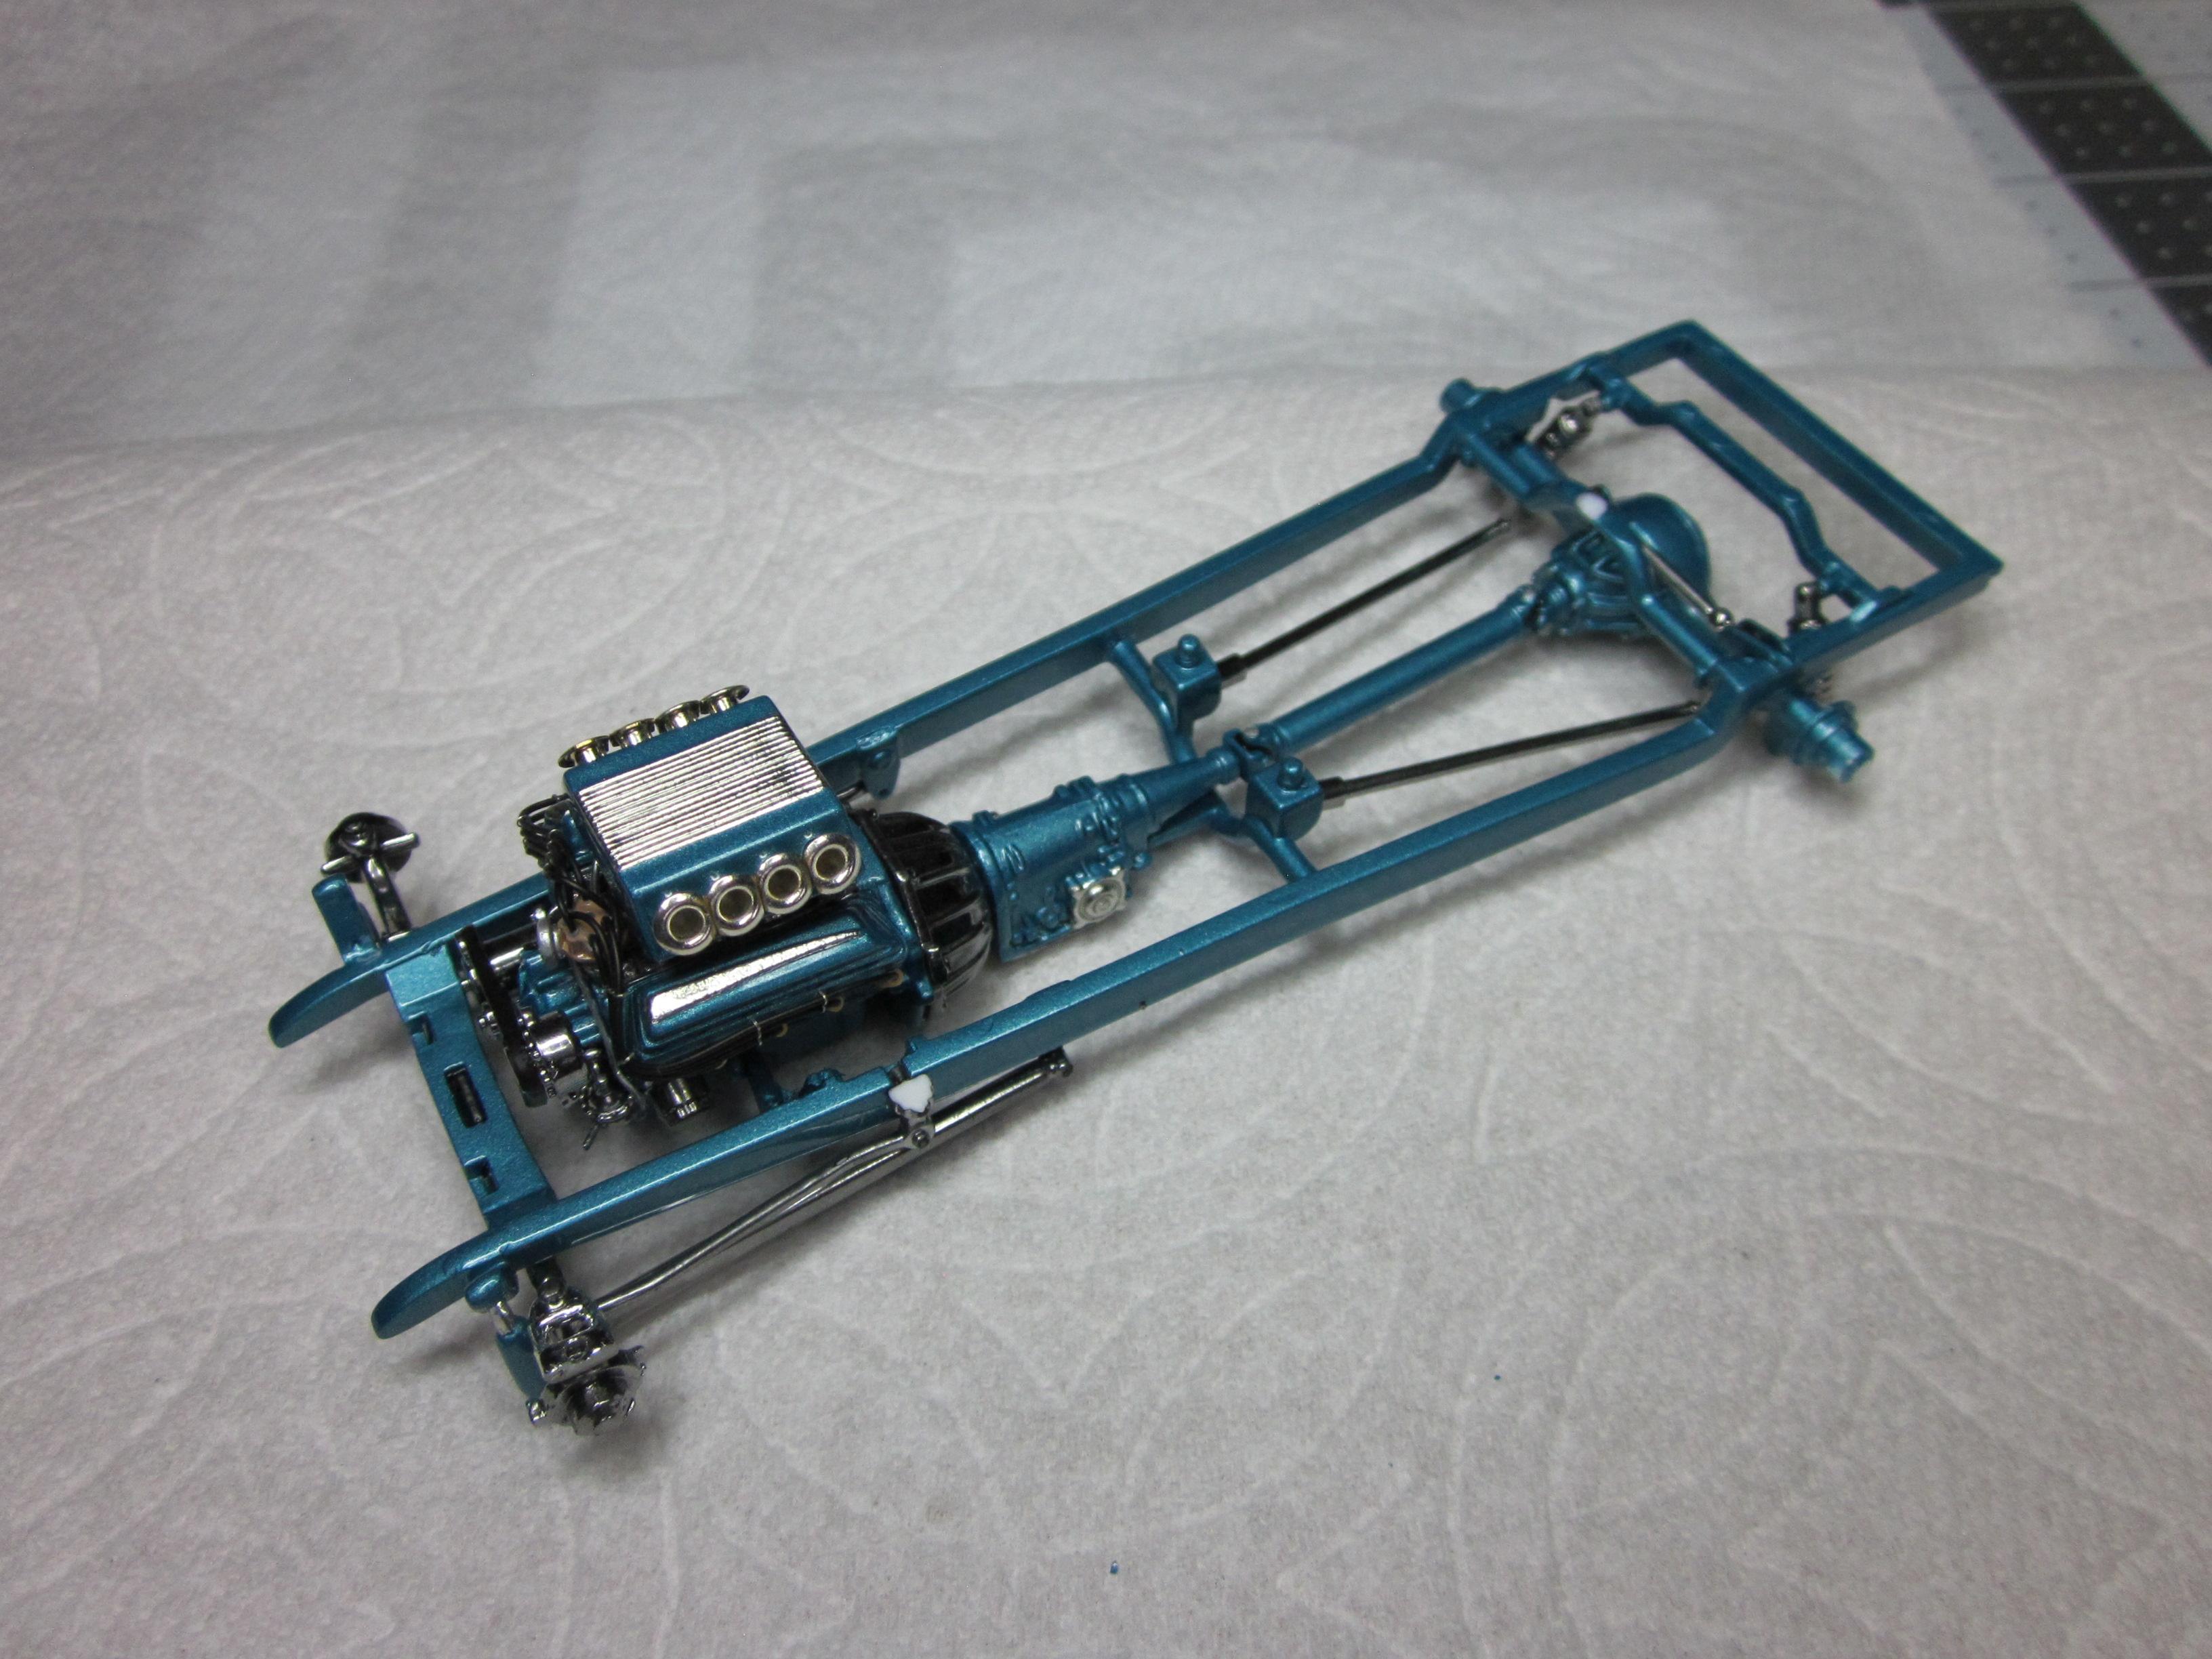
Finally getting close on @Kit Karson's 29 truck that has been in the work's for almost a year now. When I left off, I had just finished correcting the engine placement in the frame so the engine would clear the firewall. But the frame needed some touchup paint done so it was masked off and I sprayed it. Also, After fiddling with some of the alcladed parts a little to much, they ended up having to be redone. Everything was mocked up to make sure things will now fit. This stuff never ends! The engine is pretty much completed. Did some plug wires and a fuel pump and line. Not much more. Put the engine in the frame. Now the exhaust can be done. Still have some touch up to do here and there. But it's coming along. Have yet to do a full mock up. Thats up to @Kit Karson. After all, It is his truck. I'm just making sure it will all go together for him. Speedpro
-
'65 Nova Pro Street Update 11/14/22 Completed Chassis Photo Pg. 5
Speedpro replied to Plowboy's topic in WIP: Model Cars
Nice work so far. Paint and color look perfect. I find the hood somewhat distracting though. Interior came out great with your choice of parts used. Very clean workmanship. I'm enjoying watching this come together. Speedpro -
Paint color is spot on and well done. Really makes the car I think. Sits just right and thats a great looking engine. Speedpro
-
Nice work! Has that 70's vibe to it. Great details and paint. Speedpro