Straightliner59
-
Posts
5,805 -
Joined
-
Last visited
Content Type
Profiles
Forums
Events
Gallery
Everything posted by Straightliner59
-
I am having a blast, with it! Mine's becoming an Altered class racer. Enjoy!
-

What did you see on the road today?
Straightliner59 replied to Harry P.'s topic in General Automotive Talk (Trucks and Cars)
I saw a Wienermobile driving on NB I-225, in Aurora, CO.? -
Who doesn't love a mock-up? Let's see yours!
Straightliner59 replied to Belairconvertable's topic in WIP: Model Cars
Front looks good! Back needs lowered, still, but, I reckon you know that!? -
Like you said, in spite of its shortcomings, I think it's one of the coolest kits, ever! I'm working on one, right now, myself. Nice job!
-
WonderWagon Vega Kammback Funny Car 1/25th
Straightliner59 replied to magicmustang's topic in Drag Racing
Nice work! Especially making that body look like an actual funny car! -
My J/SA 62 Pontiac 421 SD & H/SA 427 Impala SS
Straightliner59 replied to Maurice Henderson's topic in Drag Racing
(Minnesota??)Nice! -
Thanks! I appreciate that!
-
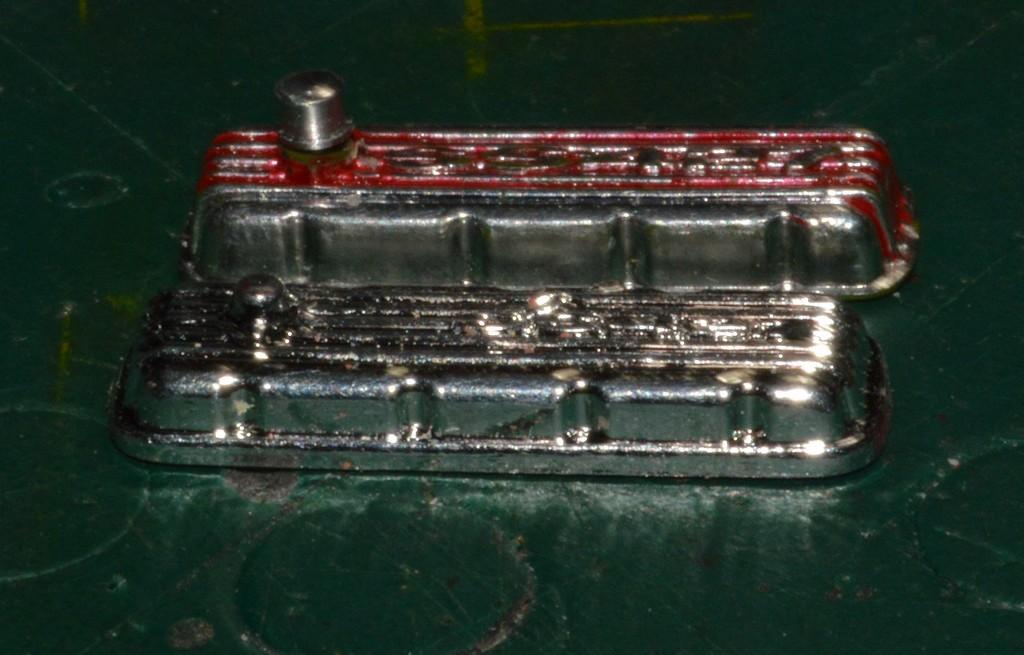
A couple of things I've been fiddling around with. I got the valve covers done, mostly. I turned a new breather cap, and used a loop of Detail Master detailing wire to make a grommet. The new one, alongside an original (albeit not quite the same, as I'd always assumed they were). Thinking maybe I should have just left it alone!? I also made some aluminum spacers for them, to allow for more "rump-rump"! I also got started on the, well...starter. Thanks for looking!

-
Thanks, Les! I kind of thought there might be some shared lineage, along the line. Kit bashing isn't a deal-breaker, at all! I'll be looking for the Revell/Italeri Escort, too, then. No idea when I would get around to it, but, since the idea crossed my mind, I figured somebody here would know! Revell USA did a JPS car, back in the late '80s-early '90s. I don't recall if that was a Mustang or a Capri. I knew they were making crazy horsepower, with those things. To think it was almost 40 years ago!
-
That's cool! But, I was thinking of the earlier GT Mustangs (Ford, Miller). I think they had Zakspeed fours, in them.
-
What’s your favorite glue or adhesive?
Straightliner59 replied to slusher's topic in Model Building Questions and Answers
I always have a bottle on the bench. It works fine for plastic to plastic (styrene). It's a little slow. I like to speed it up a tad by mixing it with Weld-on 4, but, it's fine, by itself. -
Has anyone considered and/or tried one of the engines from one of the Monogram IMSA Mustang kits? I would look for myself, but I don't have any of the Mustangs, on hand. I was thinking of maybe a privateer, or a weekend racer/badass street car. Any input would be appreciated, before I spring for a Mustang--although, I have been keeping an eye on them, anyway.
-
Clearing Alclad II Lacquer
Straightliner59 replied to Modlbldr's topic in Model Building Questions and Answers
I concur with the above. If you're "duplicating" virtually any natural metal surface, clear coats are generally detrimental to the finish, and best avoided. Although flat coats work well in the case of cast metal finishes. -
Holloman & McKinney 1957 Chevy C/MP circa 1964
Straightliner59 replied to R. Thorne's topic in Drag Racing
The best part about the decal film, is you can keep at it, until you're happy with it! I think I drew this with a pencil, first, then used a brush, and some One-Shot enamel. -
Same, here!
-
Holloman & McKinney 1957 Chevy C/MP circa 1964
Straightliner59 replied to R. Thorne's topic in Drag Racing
Yessir! And, they'll get better and better! Did you do the hand lettering on the car, or on some decal film. If the former, try getting some clear decal film, and letter on that. It's much easier than doing it on the car. That's how I did the "Conrad's" on this dragster (the "Engine Service" was done with model RR lettering from Microscale.).
-
Love these little H-bodies! Also like that you did something with the wheels. I've seen so many nice models, over the years, where the wheels look like an afterthought--just stuck on the model, with nothing done, to them. Good job, by you!
- 11 replies
-
- 1
-

-
- pro stock
- grumpys toy
- (and 1 more)
-
Spoons are a good way to test paint compatibility, but, you should test paint on the sprue from the kit, to be sure the paint's compatible, with that. I have successfully used Krylon clear over just about everything. It's fine over the Testors lacquers, so, it's probably safe over Tamiya's, as well, but a spoon test would be in order, to be sure!
-
Nice! Body looks excellent! Great tip with the model RR windows, too! I have used a ton of railroad modeling items, over the decades. HO handrail stanchions are still my go to, for rod ends/heim joints. Nut/bolt/washer castings, too.
-
What’s your favorite glue or adhesive?
Straightliner59 replied to slusher's topic in Model Building Questions and Answers
Man, I use all kinds of stuff! For bonding styrene, I use Weld-On 4 (straight), the same, cut about 50-50 with Testors liquid cement, and straight Testors. I use them differently, depending on the situation, and working time needed. I use both thin super glue, and gel super glue from Loctite. I prefer contact cement for gluing sheet metal (but, most have no need, for that). I also recently started using GS Hypo Cement. It's clear and non-fogging, and can be used for "glass". -
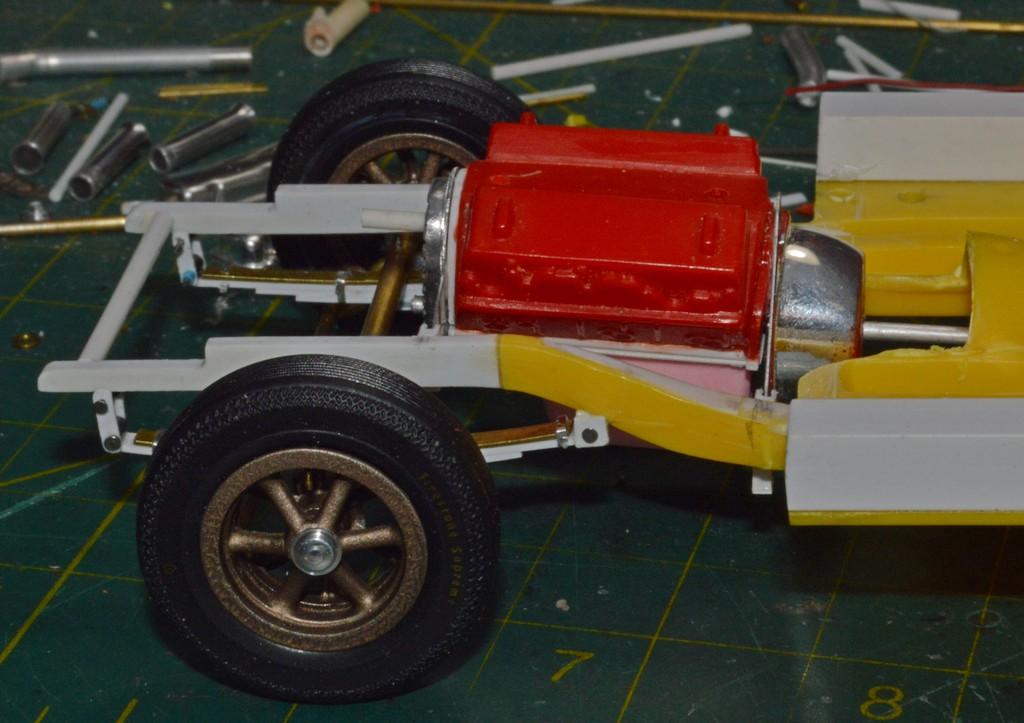
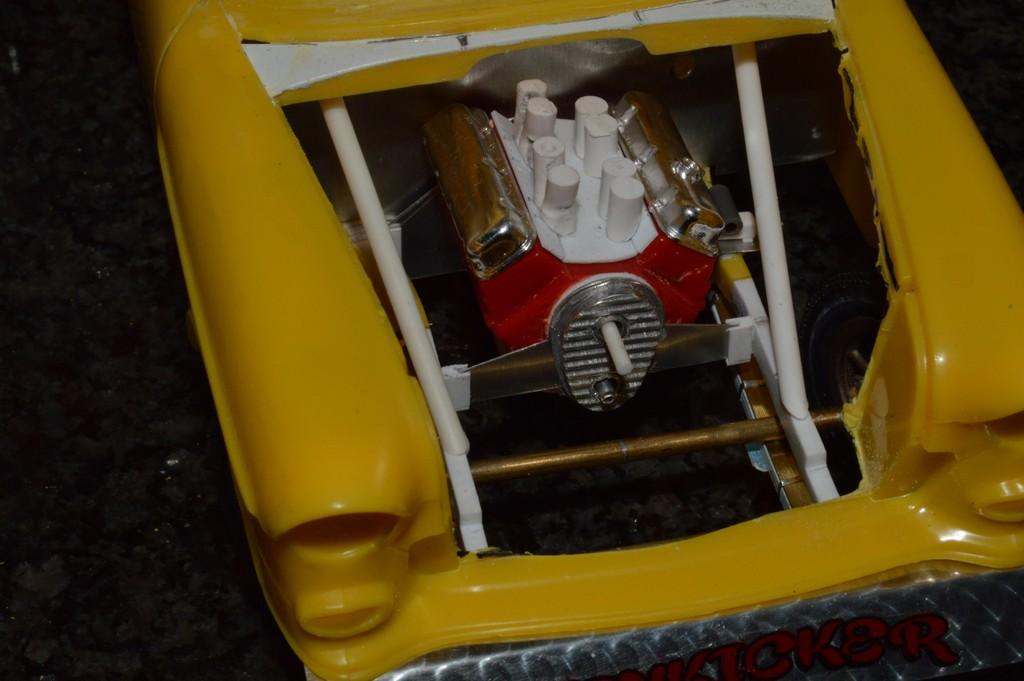
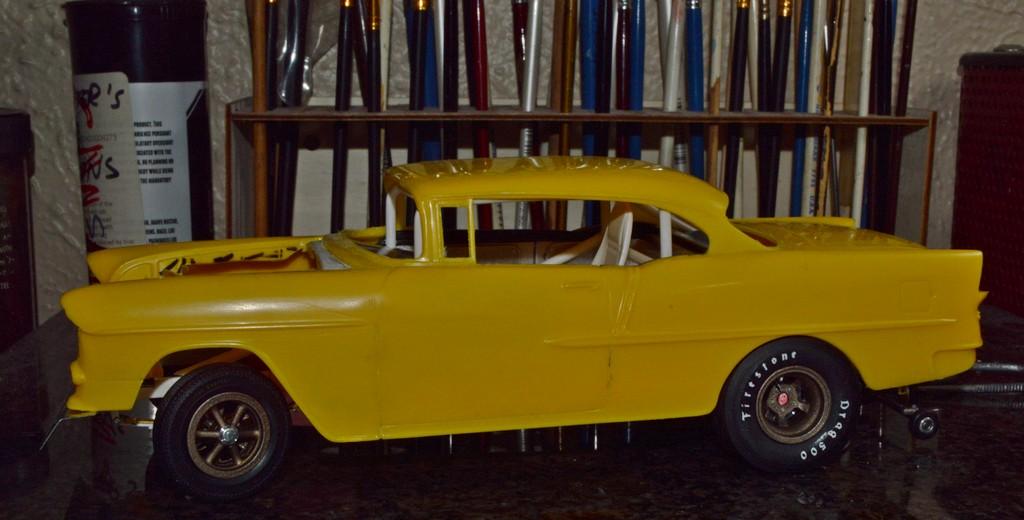
Finally got the motor mounts sorted out. Tacky-glued everything back together. Everything seems to be playing very nicely, together! Front shocks and mounts, next. Then after a couple of final items, I can take it apart one last time, and clean it all up and paint it. I think.? Comments and questions are always welcomed. Thanks for looking!
-
This kit has a nicer chassis than any of the other H-body kits. I have always preferred the MPC bodies. With their promo roots, they're very accurate!
- 39,066 replies
-
- 2
-

-
- johan
- glue bombs
- (and 1 more)
-
56 Chevy Junior Stocker circa 1960’s
Straightliner59 replied to R. Thorne's topic in WIP: Drag Racing Models
It's frustrating when things go badly, like that! I've had more than one project end up on "the shelf of doom" (RIP, Snake), because of stuff like that. The black looks fantastic, anyway! -
This is looking really great, Ian. Excellent work! And, I'm sitting over here, struggling with a dang Badman!?
-
1962 Pontiac 421 SD F/SA circa 2024 edition
Straightliner59 replied to R. Thorne's topic in WIP: Drag Racing Models
You have a bunch of cool projects in the works, Ron! Every one of them is interesting. Keep up the great work!