stitchdup
-
Posts
7,137 -
Joined
-
Last visited
Content Type
Profiles
Forums
Events
Gallery
Everything posted by stitchdup
-
 Nice save, and you've given me an idea for a chevy body i have that got hacked up
 -
dinner time can mean lunchtime or evening meal in scotland
-
tonight the light of love is in your eyes, wait, no, its a train, RUN
-
so it really is mind blowing then
-
The Pig Rig
stitchdup replied to Nosferatu's topic in WIP: Model Trucks: Pickups, Vans, SUVs, Light Commercial
I'm loving this already -
i was meaning at the factory, the drivers do take care of them. 3/4 million miles isn't unusual with these engines
-
Very nice work, theres more time and care gone into the model than the real thing gets
-
Prepping 3D Print Body
stitchdup replied to DoctorLarry's topic in Model Building Questions and Answers
why not just use more resin? get a 5 buck uv light for doing nails and simply brush resin over the cracks, shine the light and its job done. -
Kit Form Services
stitchdup replied to Bugatti Fan's topic in Truck Aftermarket / Resin / 3D Printed
they are also good for scratchbuilding materials. -
worry them with enough bad news and eventually they'll believe anything
-
Prepping 3D Print Body
stitchdup replied to DoctorLarry's topic in Model Building Questions and Answers
the ripples are the layer lines from the print process. i tend to sand them back a little and do a couple of rounds of sanding and filler primer. usually for a resin print 3 rounds of filler primer is enough but some take more. once you are happy with how it looks in filler primer you can just paint it as you would any other kit. make sure to wear a mask,the dust is nasty stuff -
Paint Strippers - What to Use?
stitchdup replied to pbj59's topic in Model Building Questions and Answers
pick through to your primer spots in a few places and try again. if the stripper can get to the primer it should eventually peel off. it will take a bit longer but if you poke at the areas you are through to the primer with some scrap plastic occaisonally you can speed it up a little. have you tried ipa also? its been my go to for a few months now. -
Radwood Ready... Tamiya Mercedes 500 SEC Lorinser
stitchdup replied to jaymcminn's topic in WIP: Model Cars
the paint looks great, very suitable for this -
the item on the left is a hook for holding your eyes open during zoom meetings but usually comes as part of a pair, and can also be used for fishing in the office goldfish tank in hanger prevention emergencies. works best with longer hair
-
I wouldn't normally post something i've printed myself in here but i'm pleased to finally have a 37 lincoln. its scaled down from a multi piece rc body by macone1 on cults. i've got some parts printing again but thats down to me and not the files. there are seperate trim for the headlights, and the hood, fender trim and rear lights are included with it. some parts didn't come out 100% but if this was a damaged plastic kit we would fix it so parts that could be used will be repaired instead of dumped. i could have done this as a rag top also but for now i want a coupe. i've got independent suspension already printed for this and since i dont have a lincoln v12 yet i'm using a merlin ls7. oops, this isn't a build thread, can you tell i'm excited lol

- 39,159 replies
-
- 8
-

-
- johan
- glue bombs
- (and 1 more)
-
my windows swing out from the side. to get it to work i'd have 3 sides to block and the less said about my neighbours down the street, the better
-
that would be ideal but the landlord wont like me cutting holes in the window
-
i'd glue some thin sheet to the bottom then fill it
-
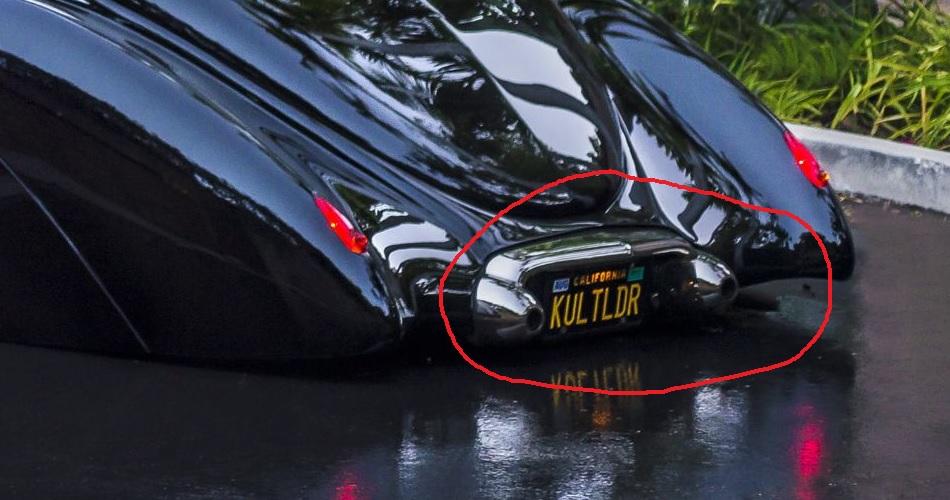
I'm lining up parts to make my third attempt at a 37 lincoln and i'm hoping to find something similar to this as its something a lot of my fav lincolns have. I've read through every feature i can find and none mention where they are from. the one pictured is obviously all custom but the others have a more stock look which is what i am hoping to find. my trys at scratching some haven't turned out nice enough to use in the past. i didn't have a clear pic of the more stock appearing part so the pic is just an example
-
i just need a west or south wind so i can open the booth window. when its in the north ot east it blows through the vent pipe and defeats the purpose of the booth
-
wind power began the industrial revolution but coal sped it up
-
this one prints out nice, maybe more of a detroit show car style though but it simple to narrow if you shorten the drive shaft and lower brace in the slicer https://cults3d.com/en/3d-model/various/billet-irs-jag-rear-end-with-quick-change-centre
-
Cyber punk ‘88 Dodge Daytona/Mercedes C9 kit bash
stitchdup replied to Steve H's topic in WIP: Model Cars
i love the out of the box thinking on this, it kinda reminds of the old thunder saloon race series over here in the uk, where a vauxhall viva might really be a lola can am car or a bug might be more f1 car -
What Did You See In Your Yard Today?
stitchdup replied to Tim W. SoCal's topic in The Off-Topic Lounge
the only other birds of prey around me are hawks and owls but they are smaller than folk think. the seagulls are bigger than most of them. its impressive to watch them hunt though they miss more than nature documentaries would make us believe, lol -
i've edited it for you