.jpg.824284940001fc5c6a34b939f1986bb3.jpg)
iamsuperdan
-
Posts
7,689 -
Joined
-
Last visited
Content Type
Profiles
Forums
Events
Gallery
Everything posted by iamsuperdan
-
I'll have to get some new pics, as they're all on a usb stick somewhere, but I rebuild guitars. I'll find some cheap beat up guitar on Ebay or Kijiji, then gut it, strip it, rebuild and hot rod it. I've also done a couple of kit guitars, which were a lot of fun. And during Covid, I tore apart and rebuilt our deck, and added a pergola. And it's still standing.
-
.thumb.jpg.d0926de2d8346363976c7c0a63bd15d7.jpg) I'm in Stony Plain, a small town roughly 3.5hr north of Calgary. Just west of Edmonton.
I'm in Stony Plain, a small town roughly 3.5hr north of Calgary. Just west of Edmonton. -
Any Aussies here? More specifically, any Aussies here that can help me source some parts from an older Holden? Actual vehicle parts, not model parts!
-
What is your favorite sports car?
iamsuperdan replied to WillyBilly's topic in General Automotive Talk (Trucks and Cars)
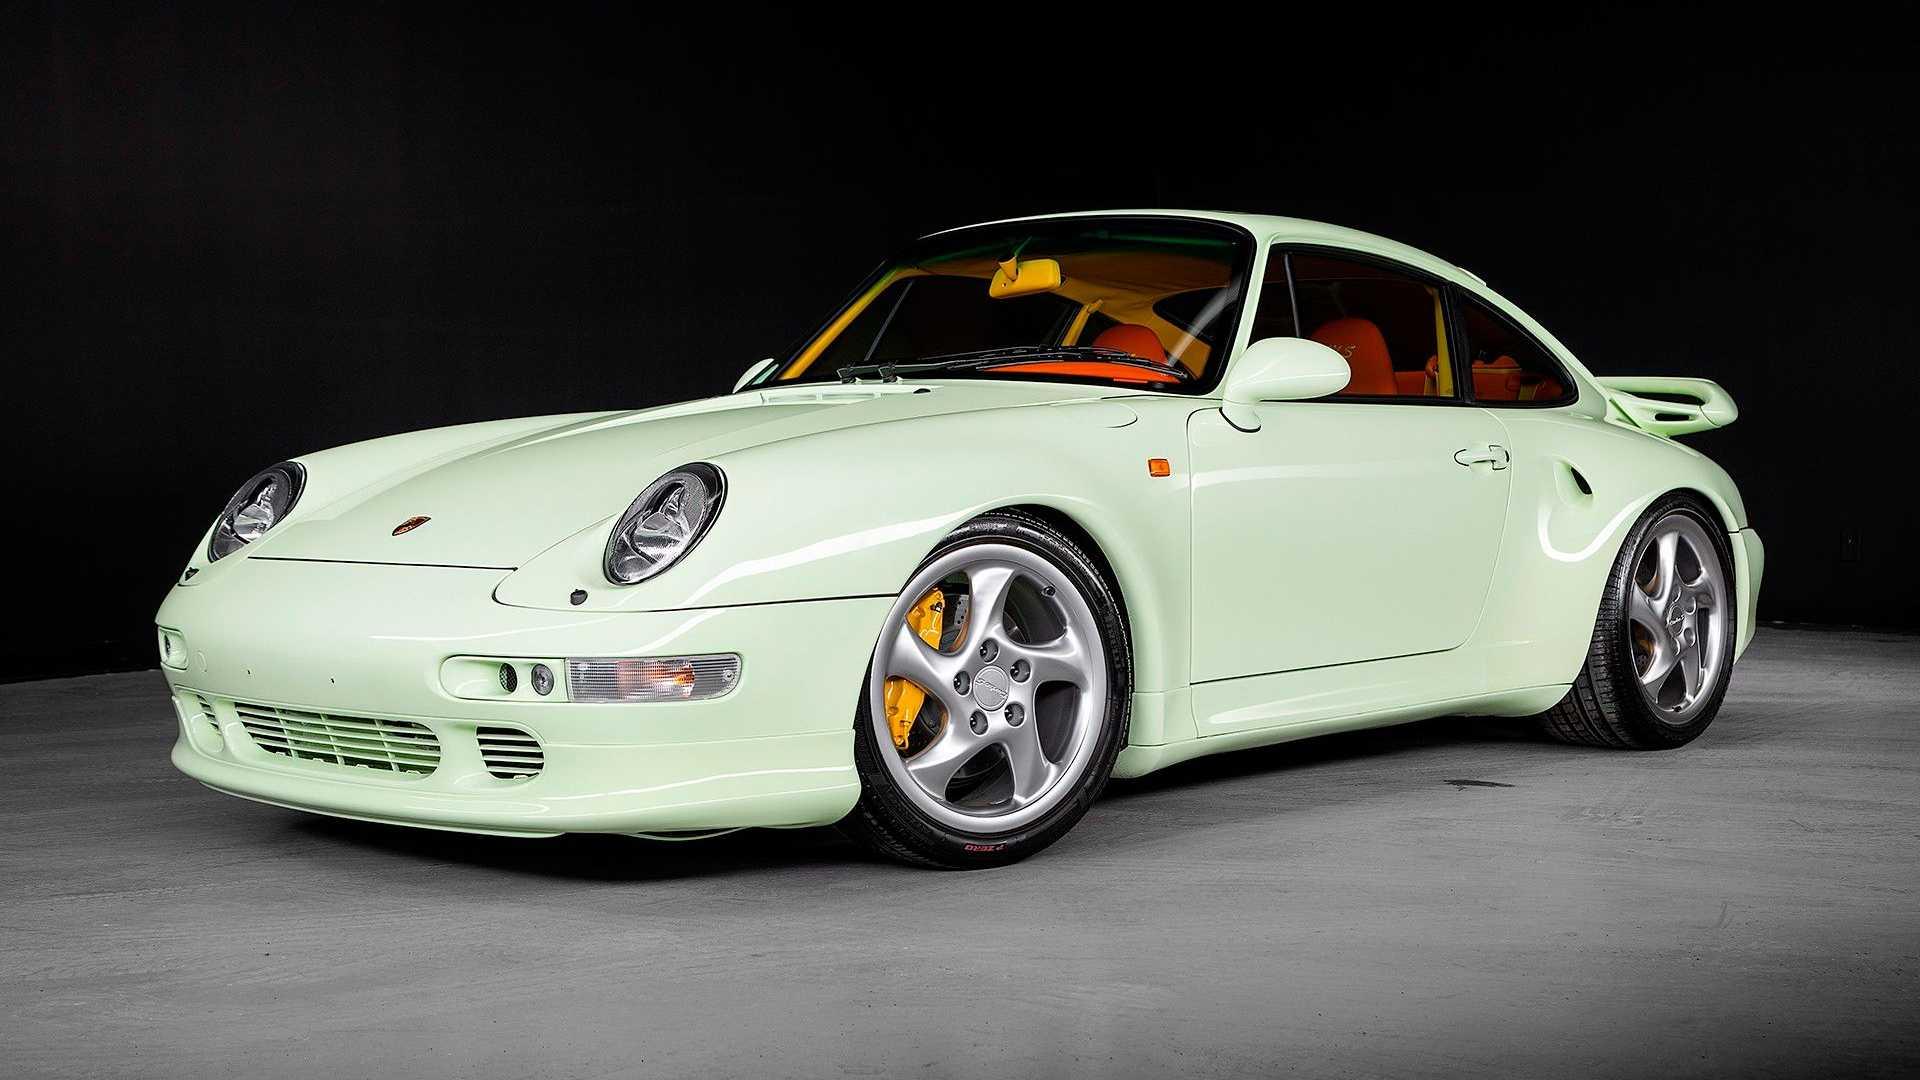
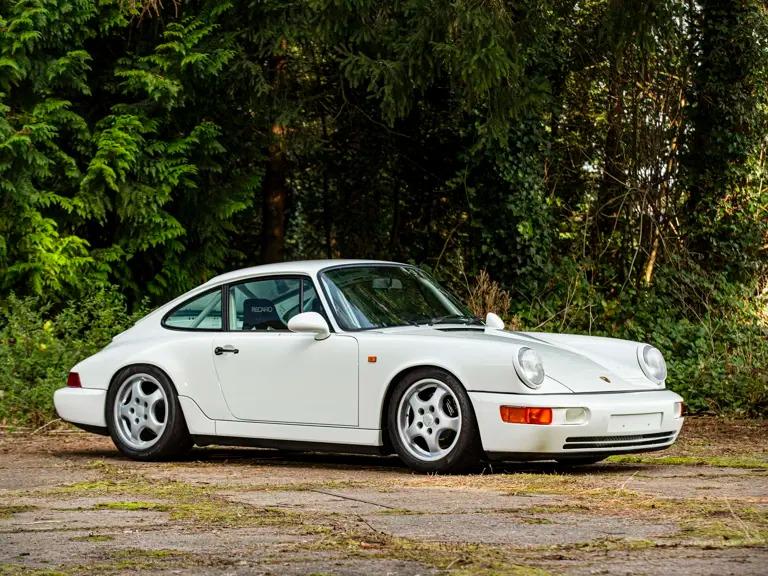
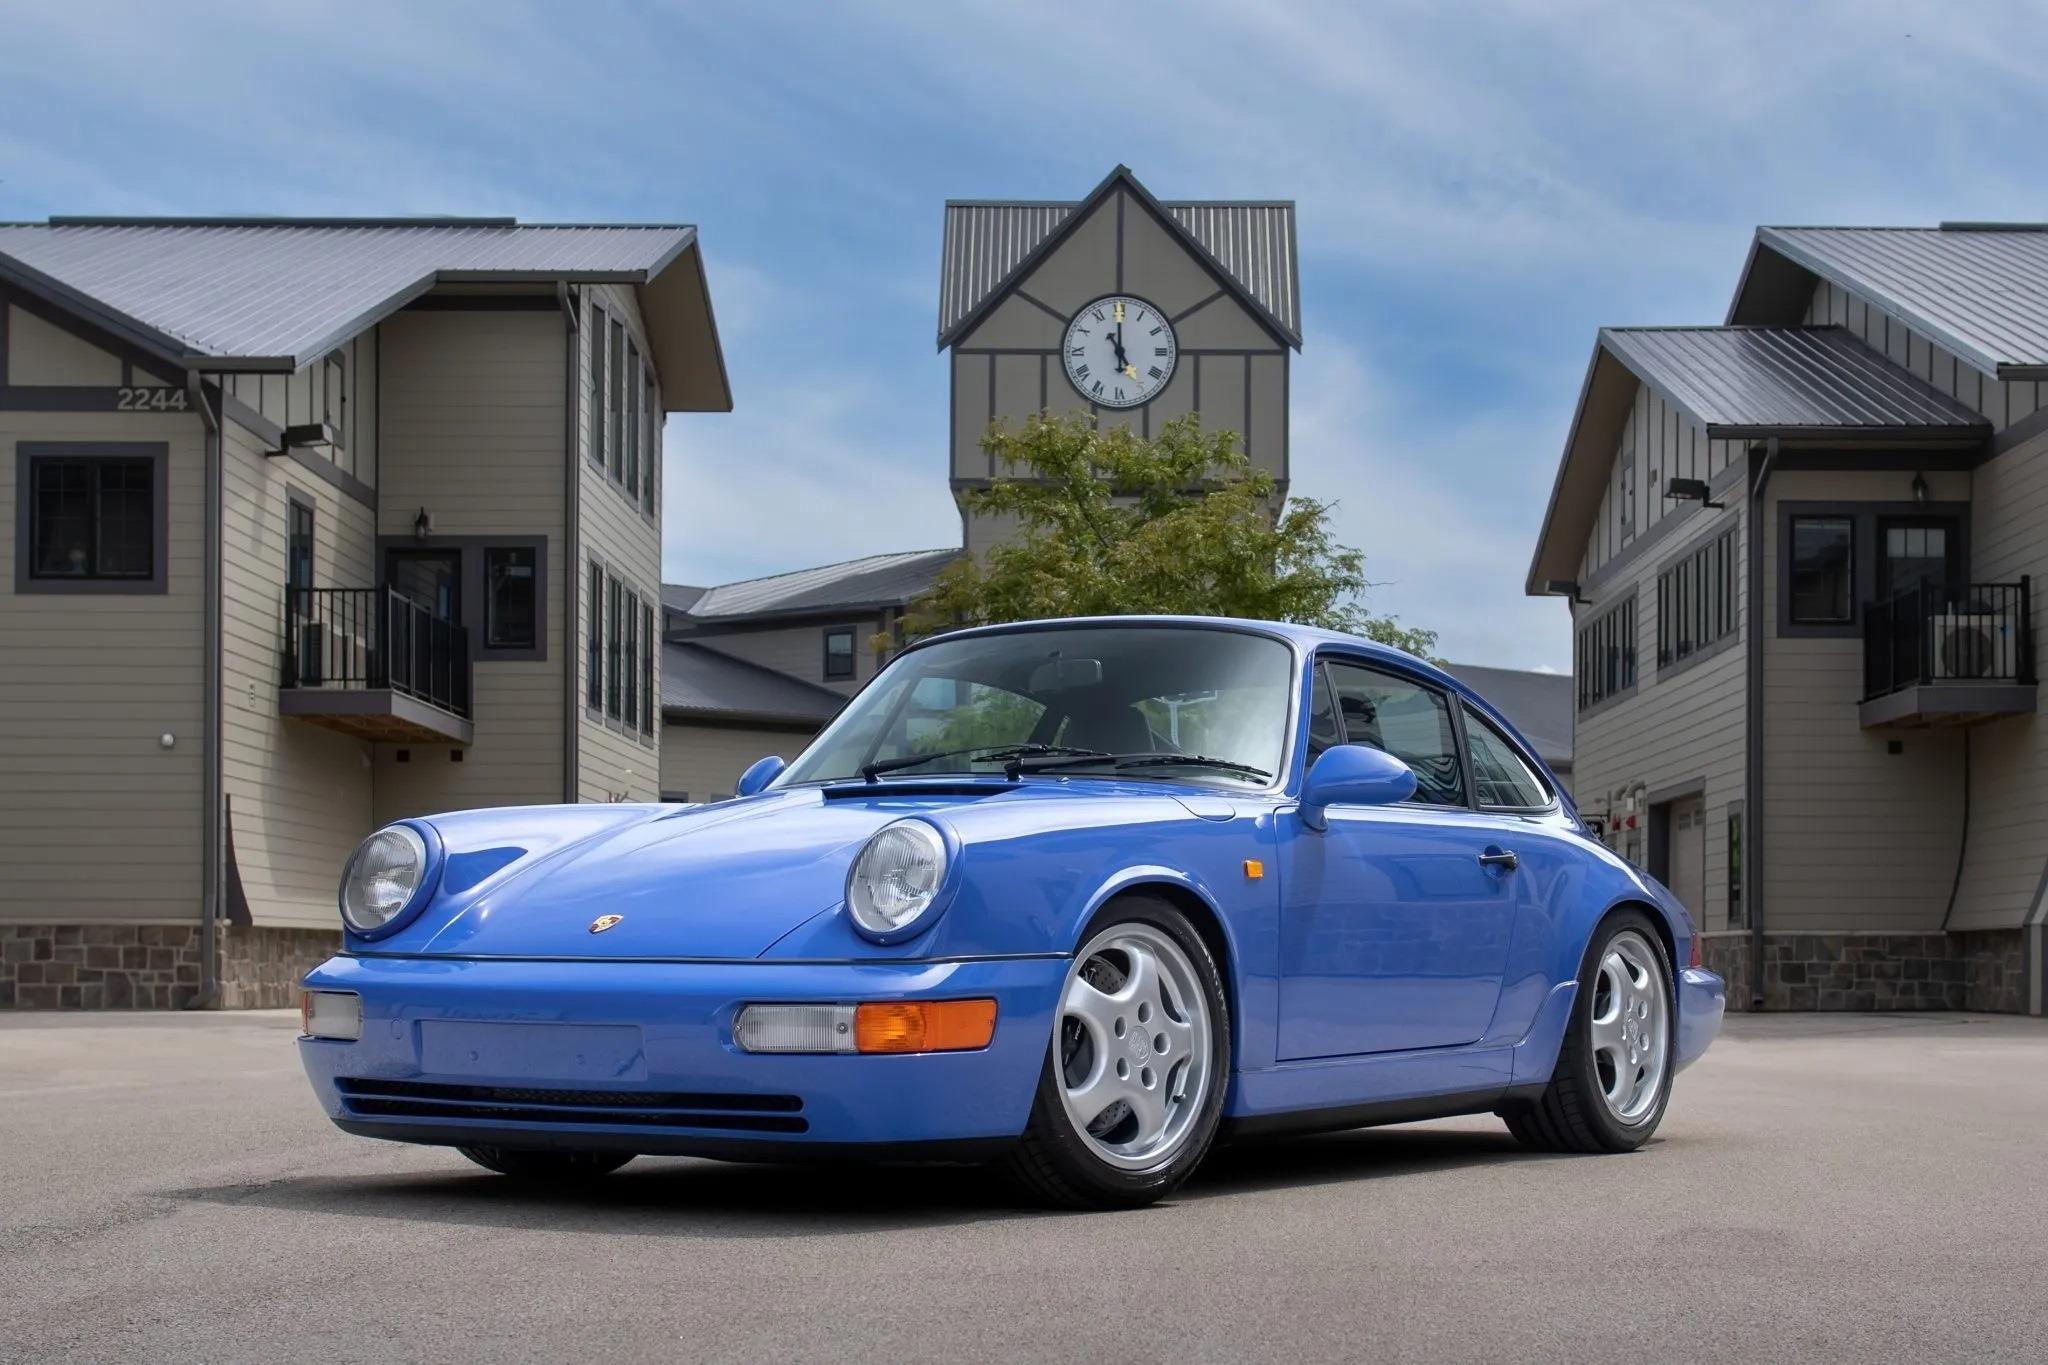
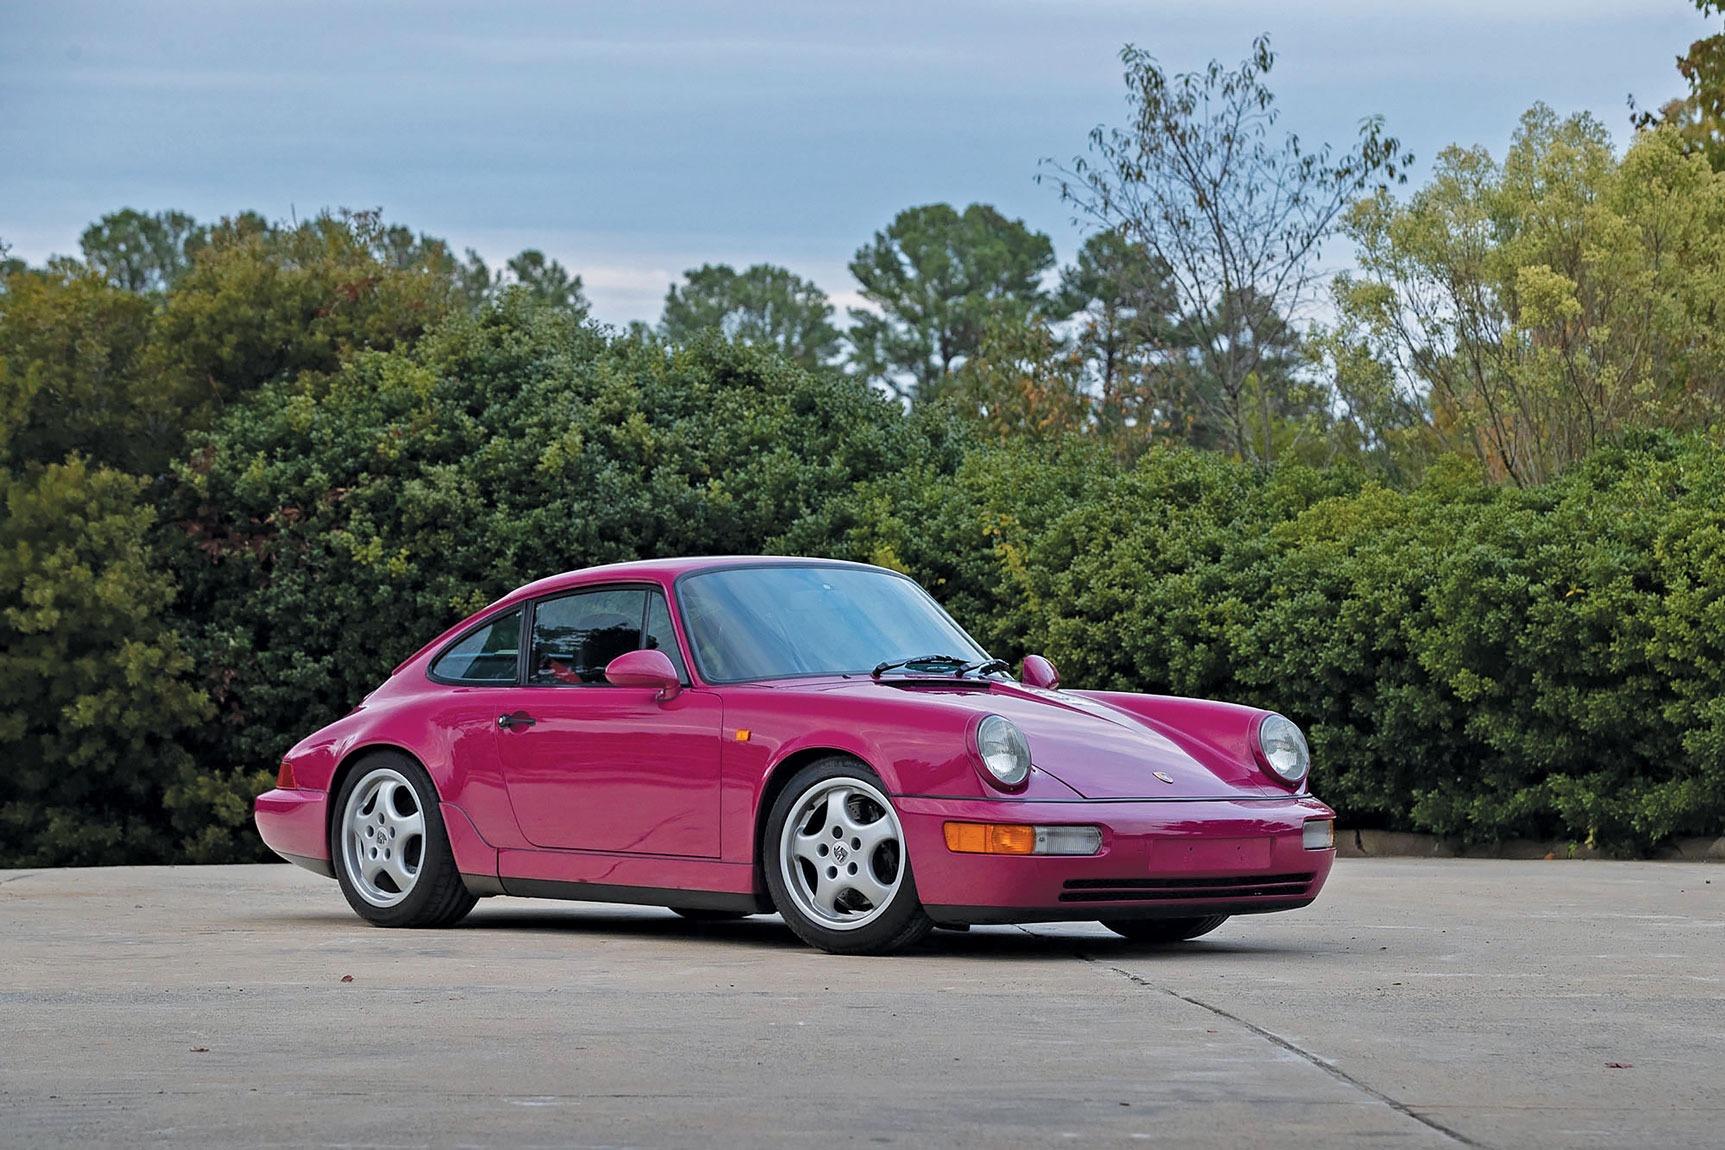
That's an easy one for me. My fav sports car is also my overall fav car / dream car/ lottery win car / etc. https://www.stuttcars.com/porsche-911-carrera-rs-1992-1994/
-
Getting wet typically won't destroy a car, so I have no idea what these guys are thinking. I should have shot some video. Guys were literally panicking, running around like destruction was imminent. Getting peopel out of the way, grabbing covers from their trunk, yelling at wives to help them get the cover on. It was ridiculous. And I remember from my days working for Porsche, there were guys like this. If it looked like rain, they wouldn't drive their car.
-
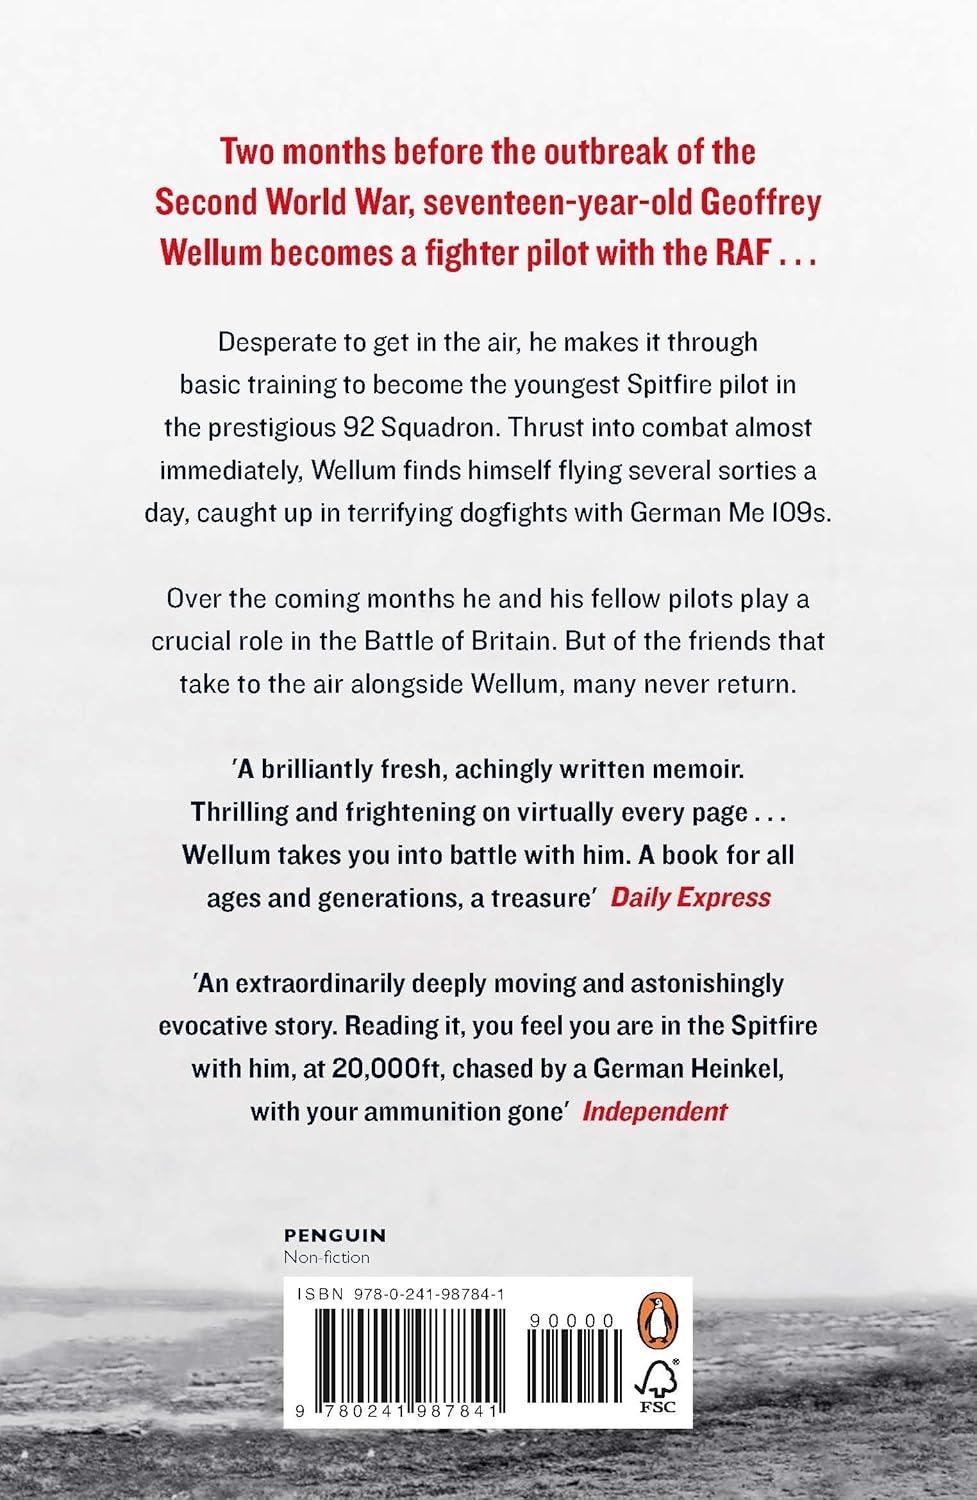
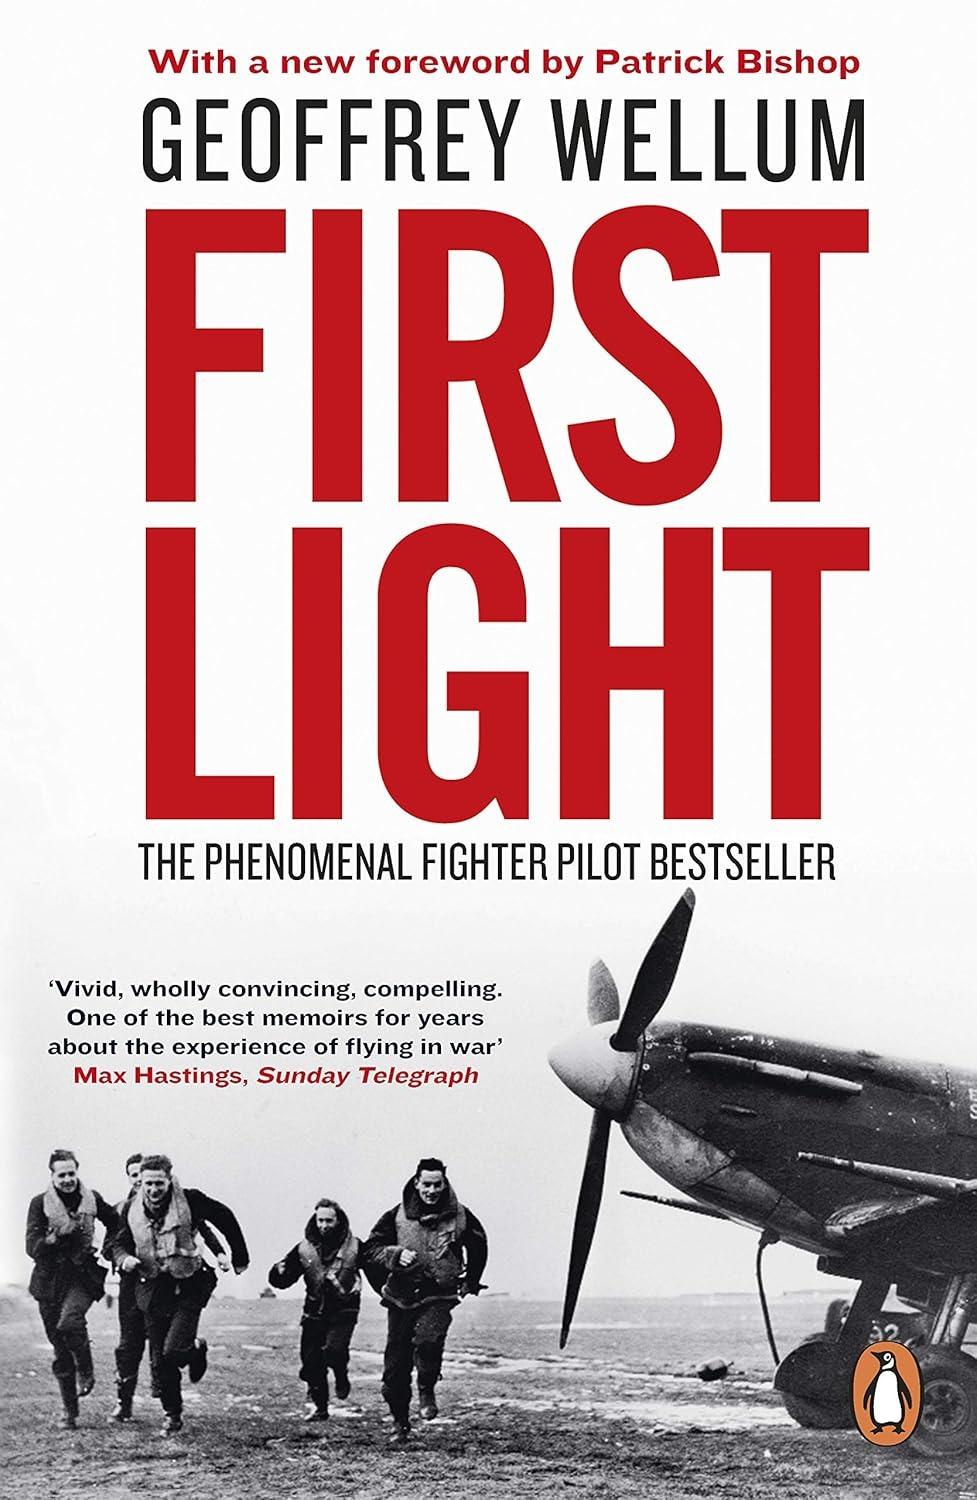
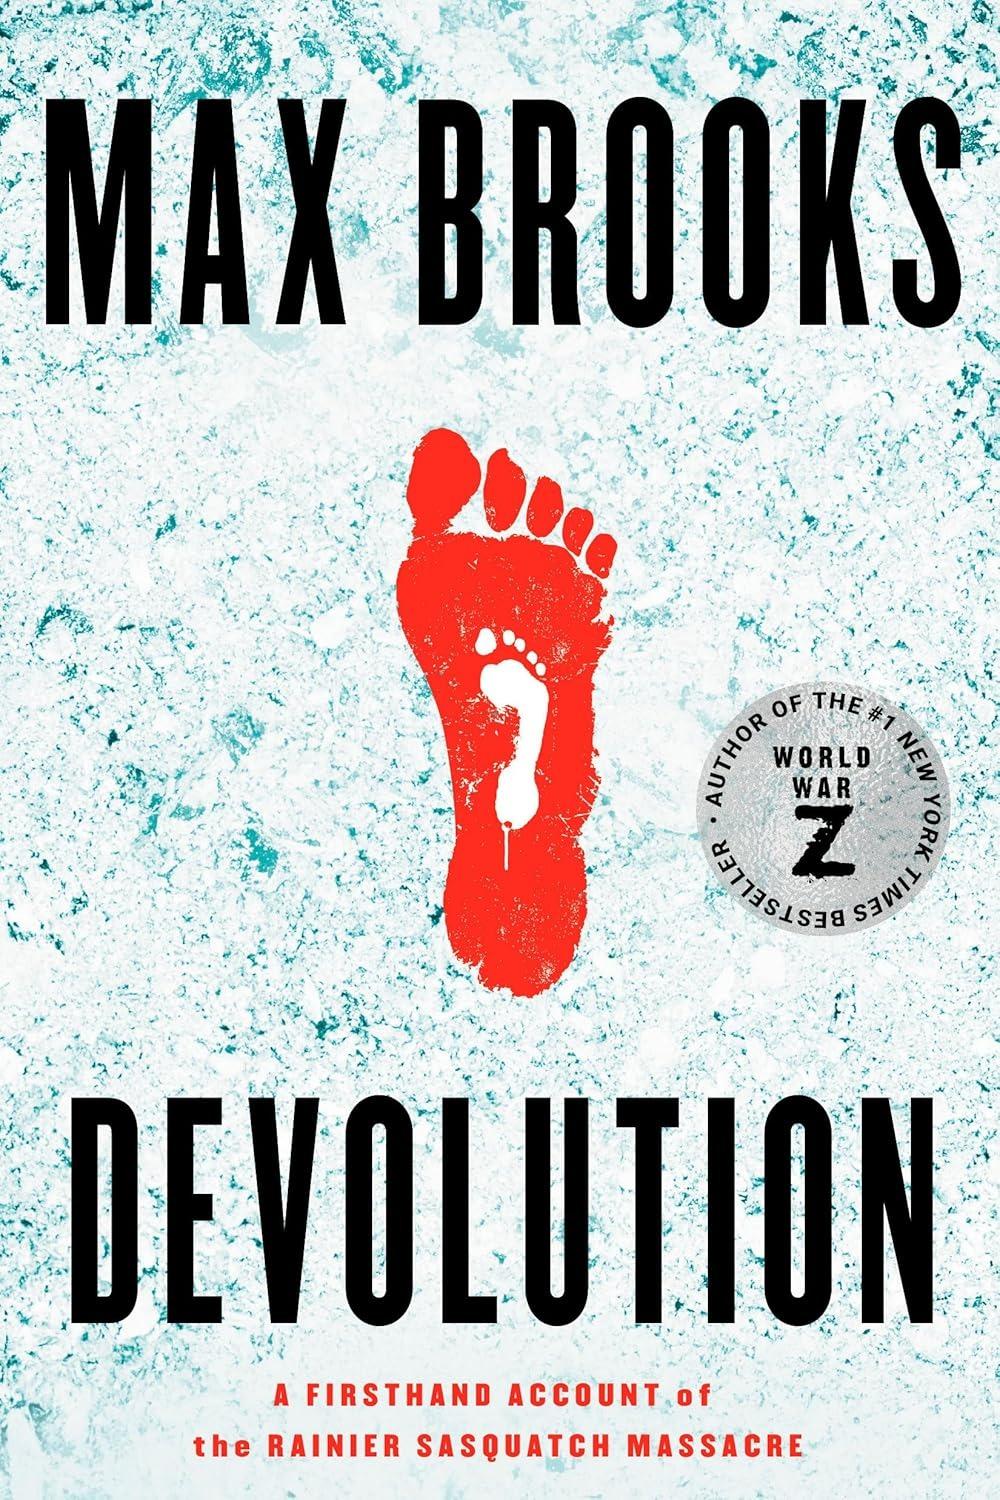
Recently finished something that is a bit of a departure for me. First Light by Geoffrey Wellum It's an interesting read. I read a lot of cryptide fiction though. Werewolves, Bigfoot, etc. A really excellet book is Devolution by Max Brooks. Would love to see this made into a mini-series.
-
I've had mixed success on eBay. Msotly, things have been fine when purchasing. Arrives as described, and usually arrives quickly. Like others have said, pay attention to the buyer and their rating/reviews, and trust your gut. But I don;t use them much anymore. Selling has been an absolute farce, and I'll never try selling on there again. Two bad experiences. One as a buyer, one as a seller. I purchased a kit from a seller in the UK. Seller and Ebay say it is showing as delivered. My tracking number shows it as undelivered. It never arrived here, but EBay said too bad, so sad, it shows as delivered. So I'm out $100. Then, I sold a slotcar to a buyer in the UK. Tracking number shows it is delivered. Buyer says he never received it. Ebay says the buyer never received it so I have to refund him. So I refund him $120, and I no longer have that slotcar. And you can't argue it or discuss it with anyone. So I avoid EBay for the most part these days. There are other places to buy from.
-
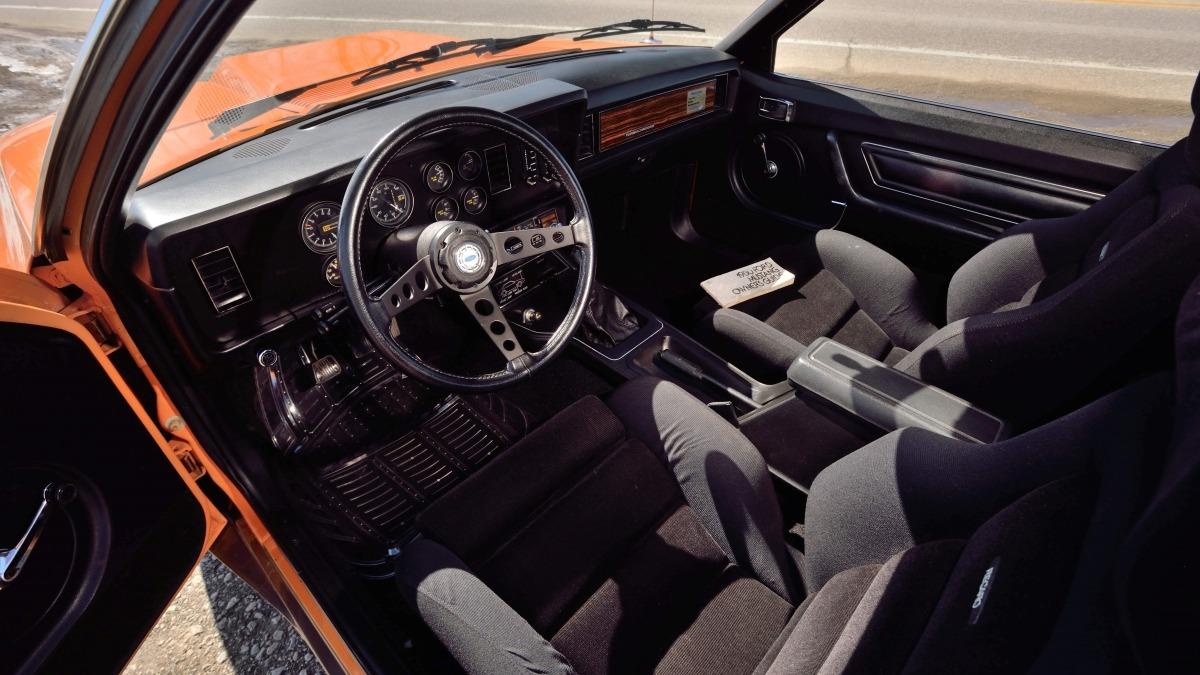
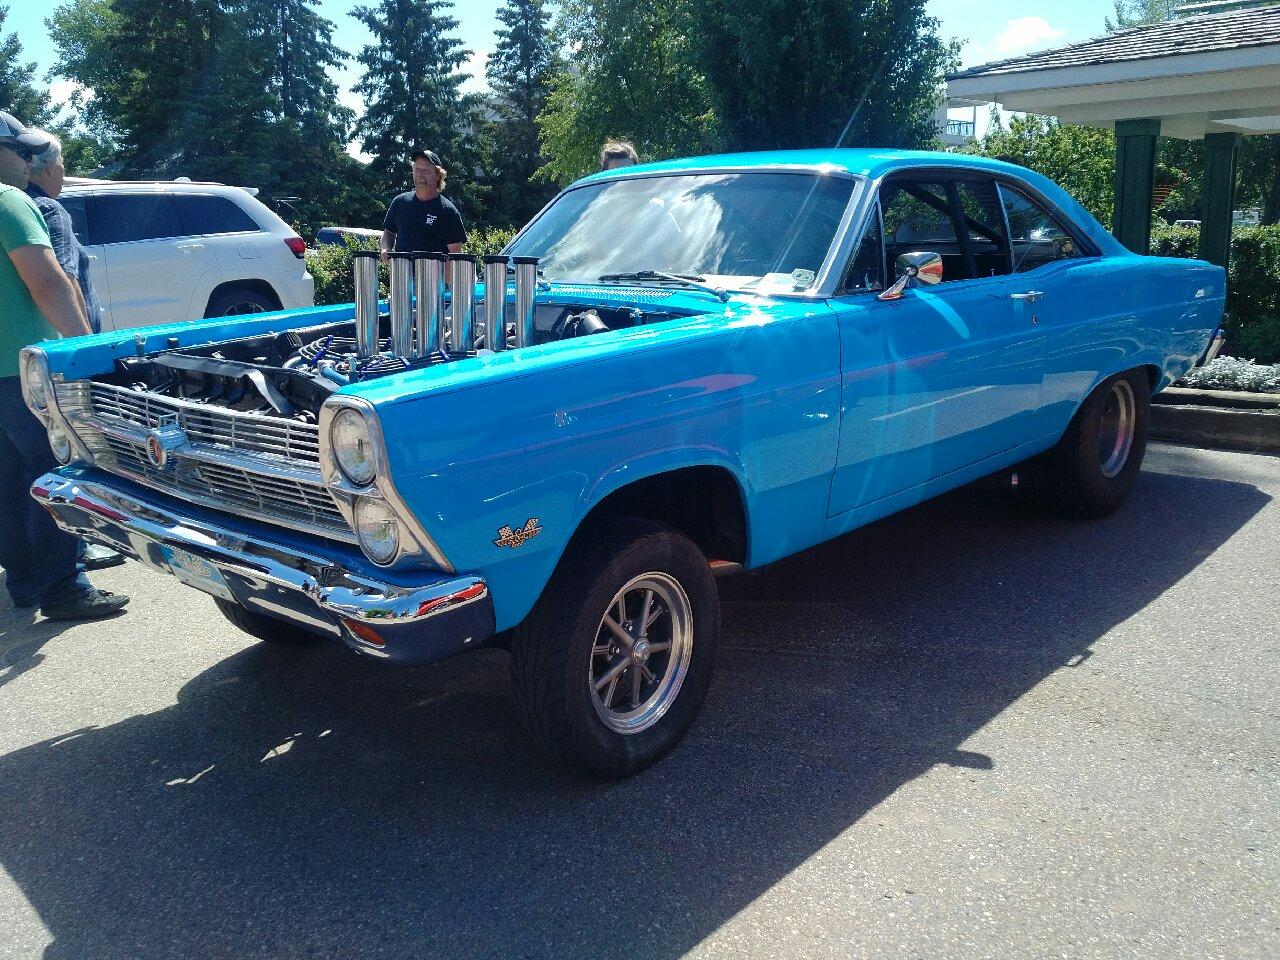
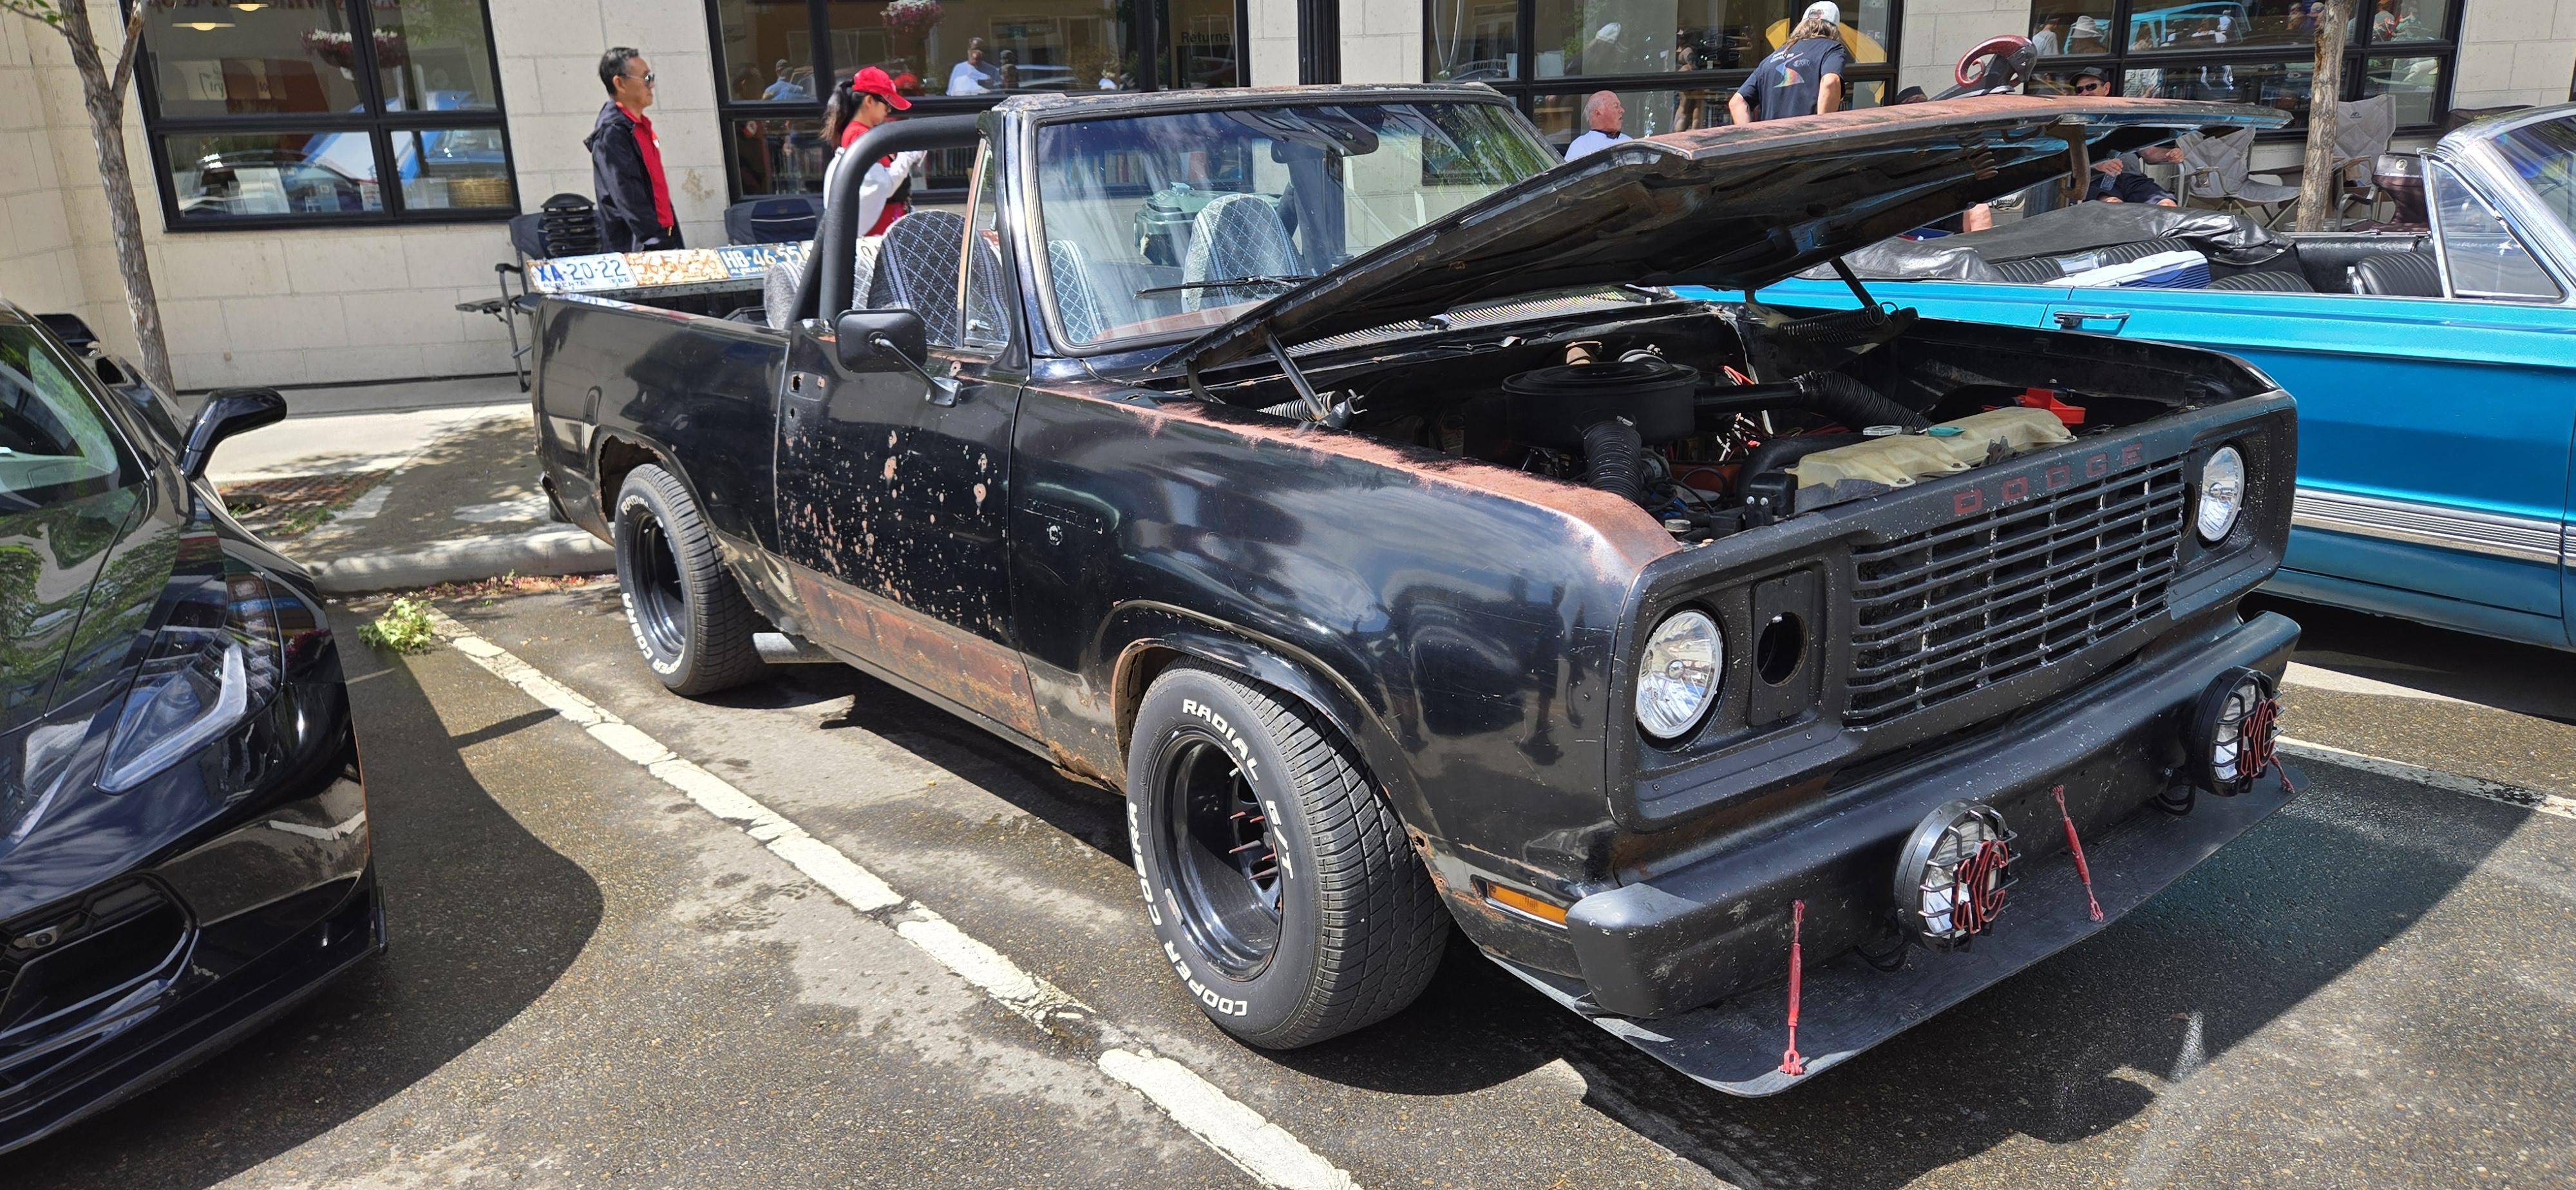
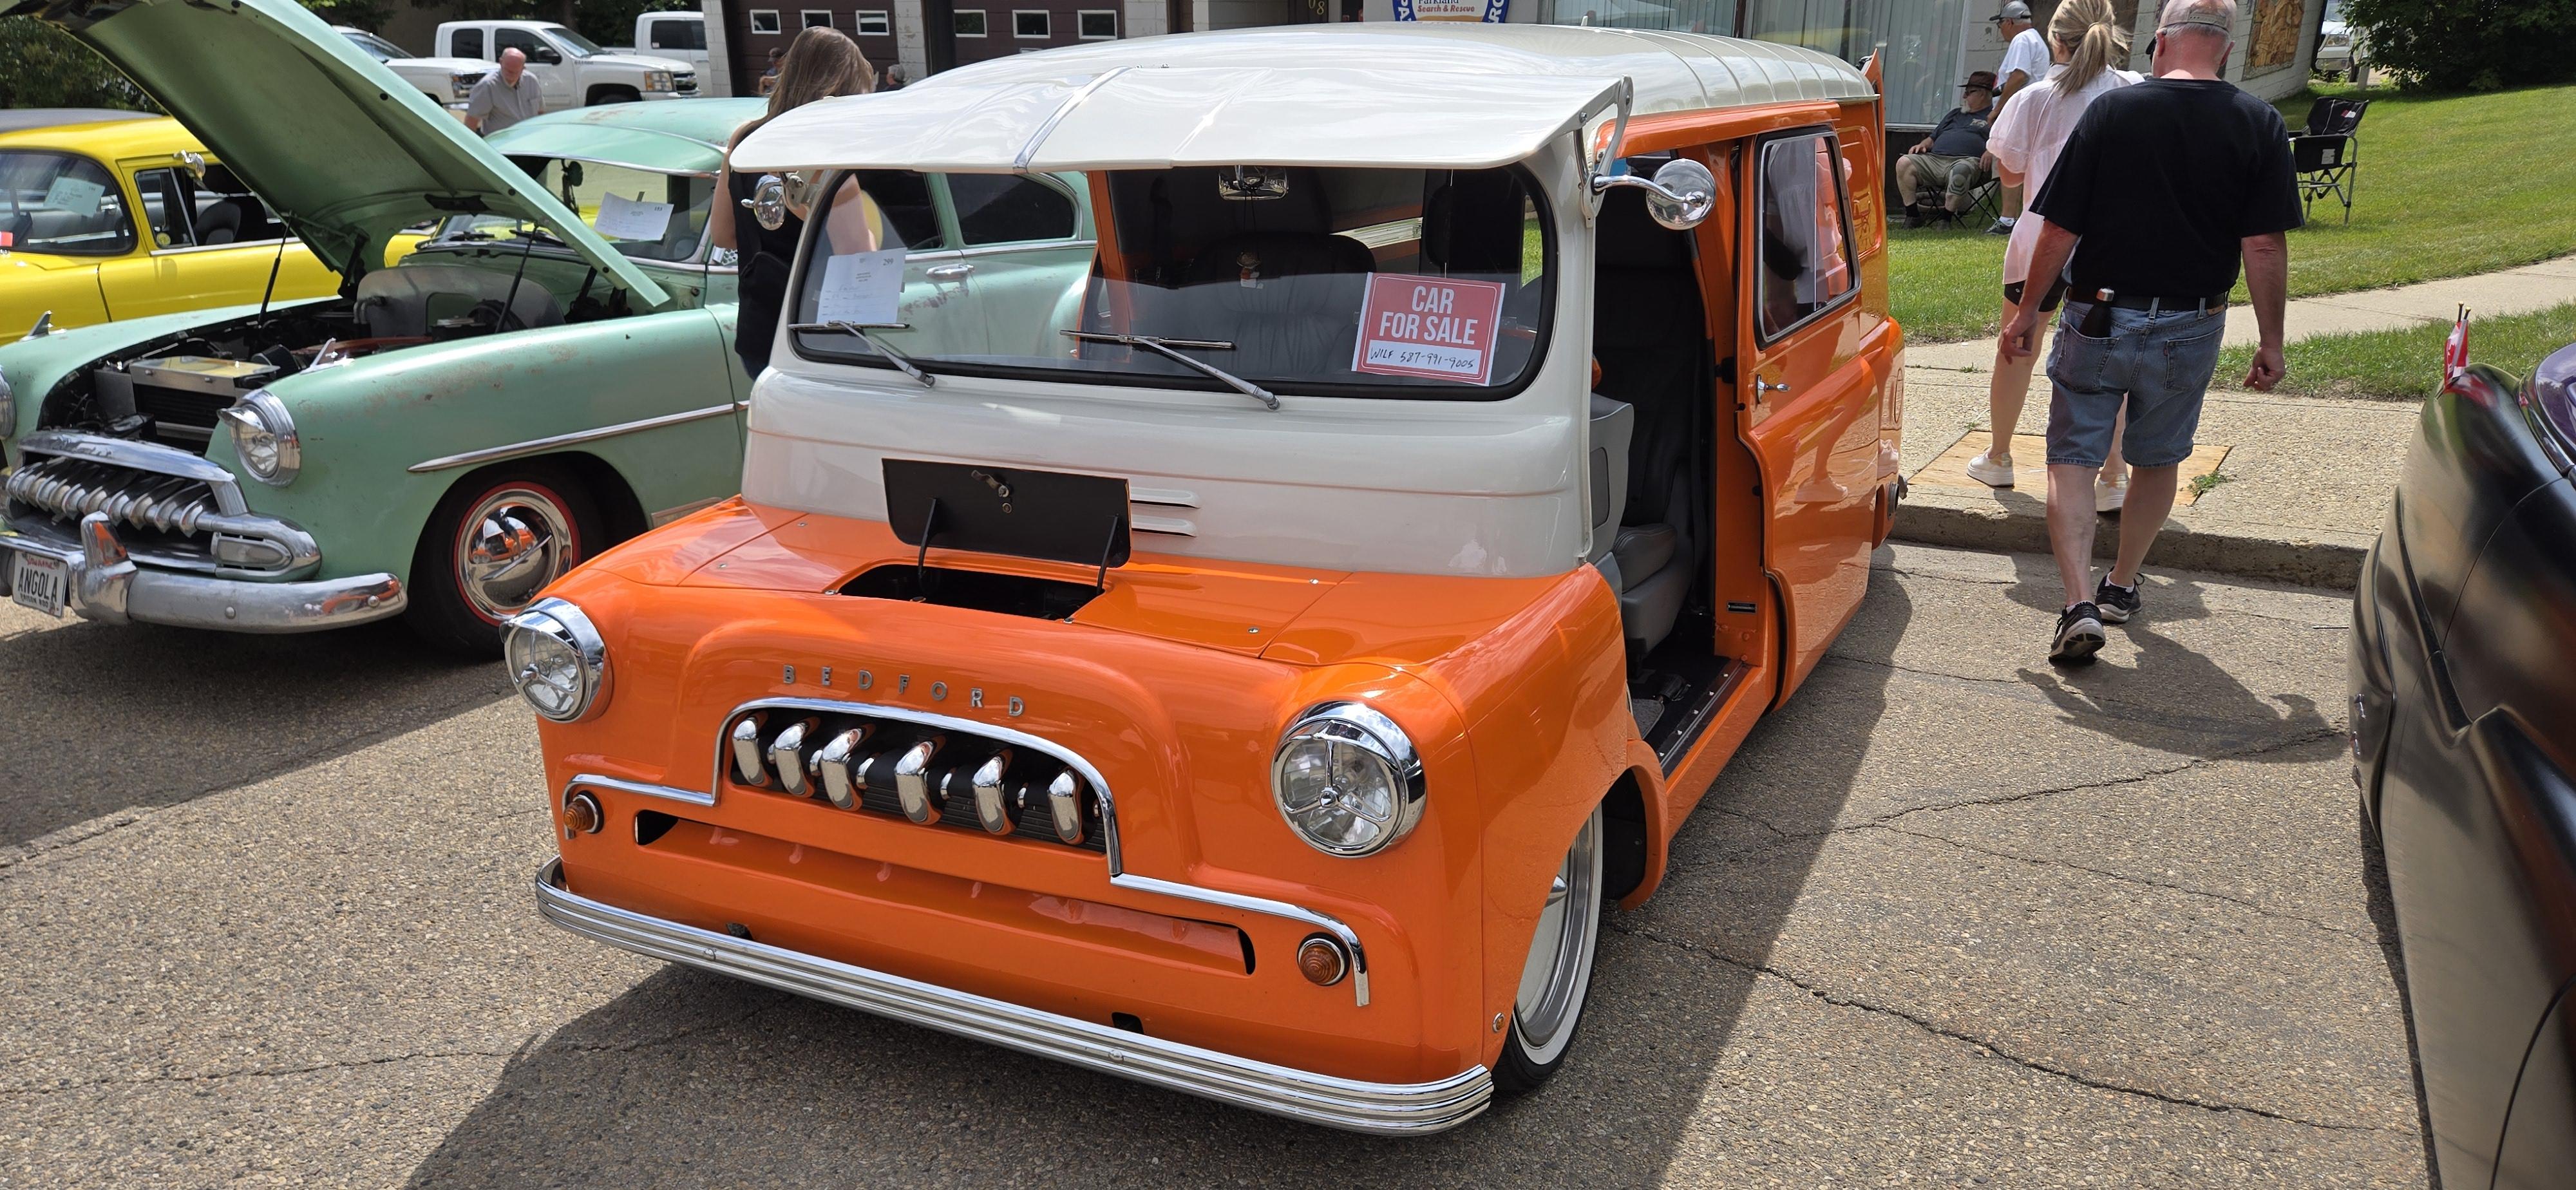
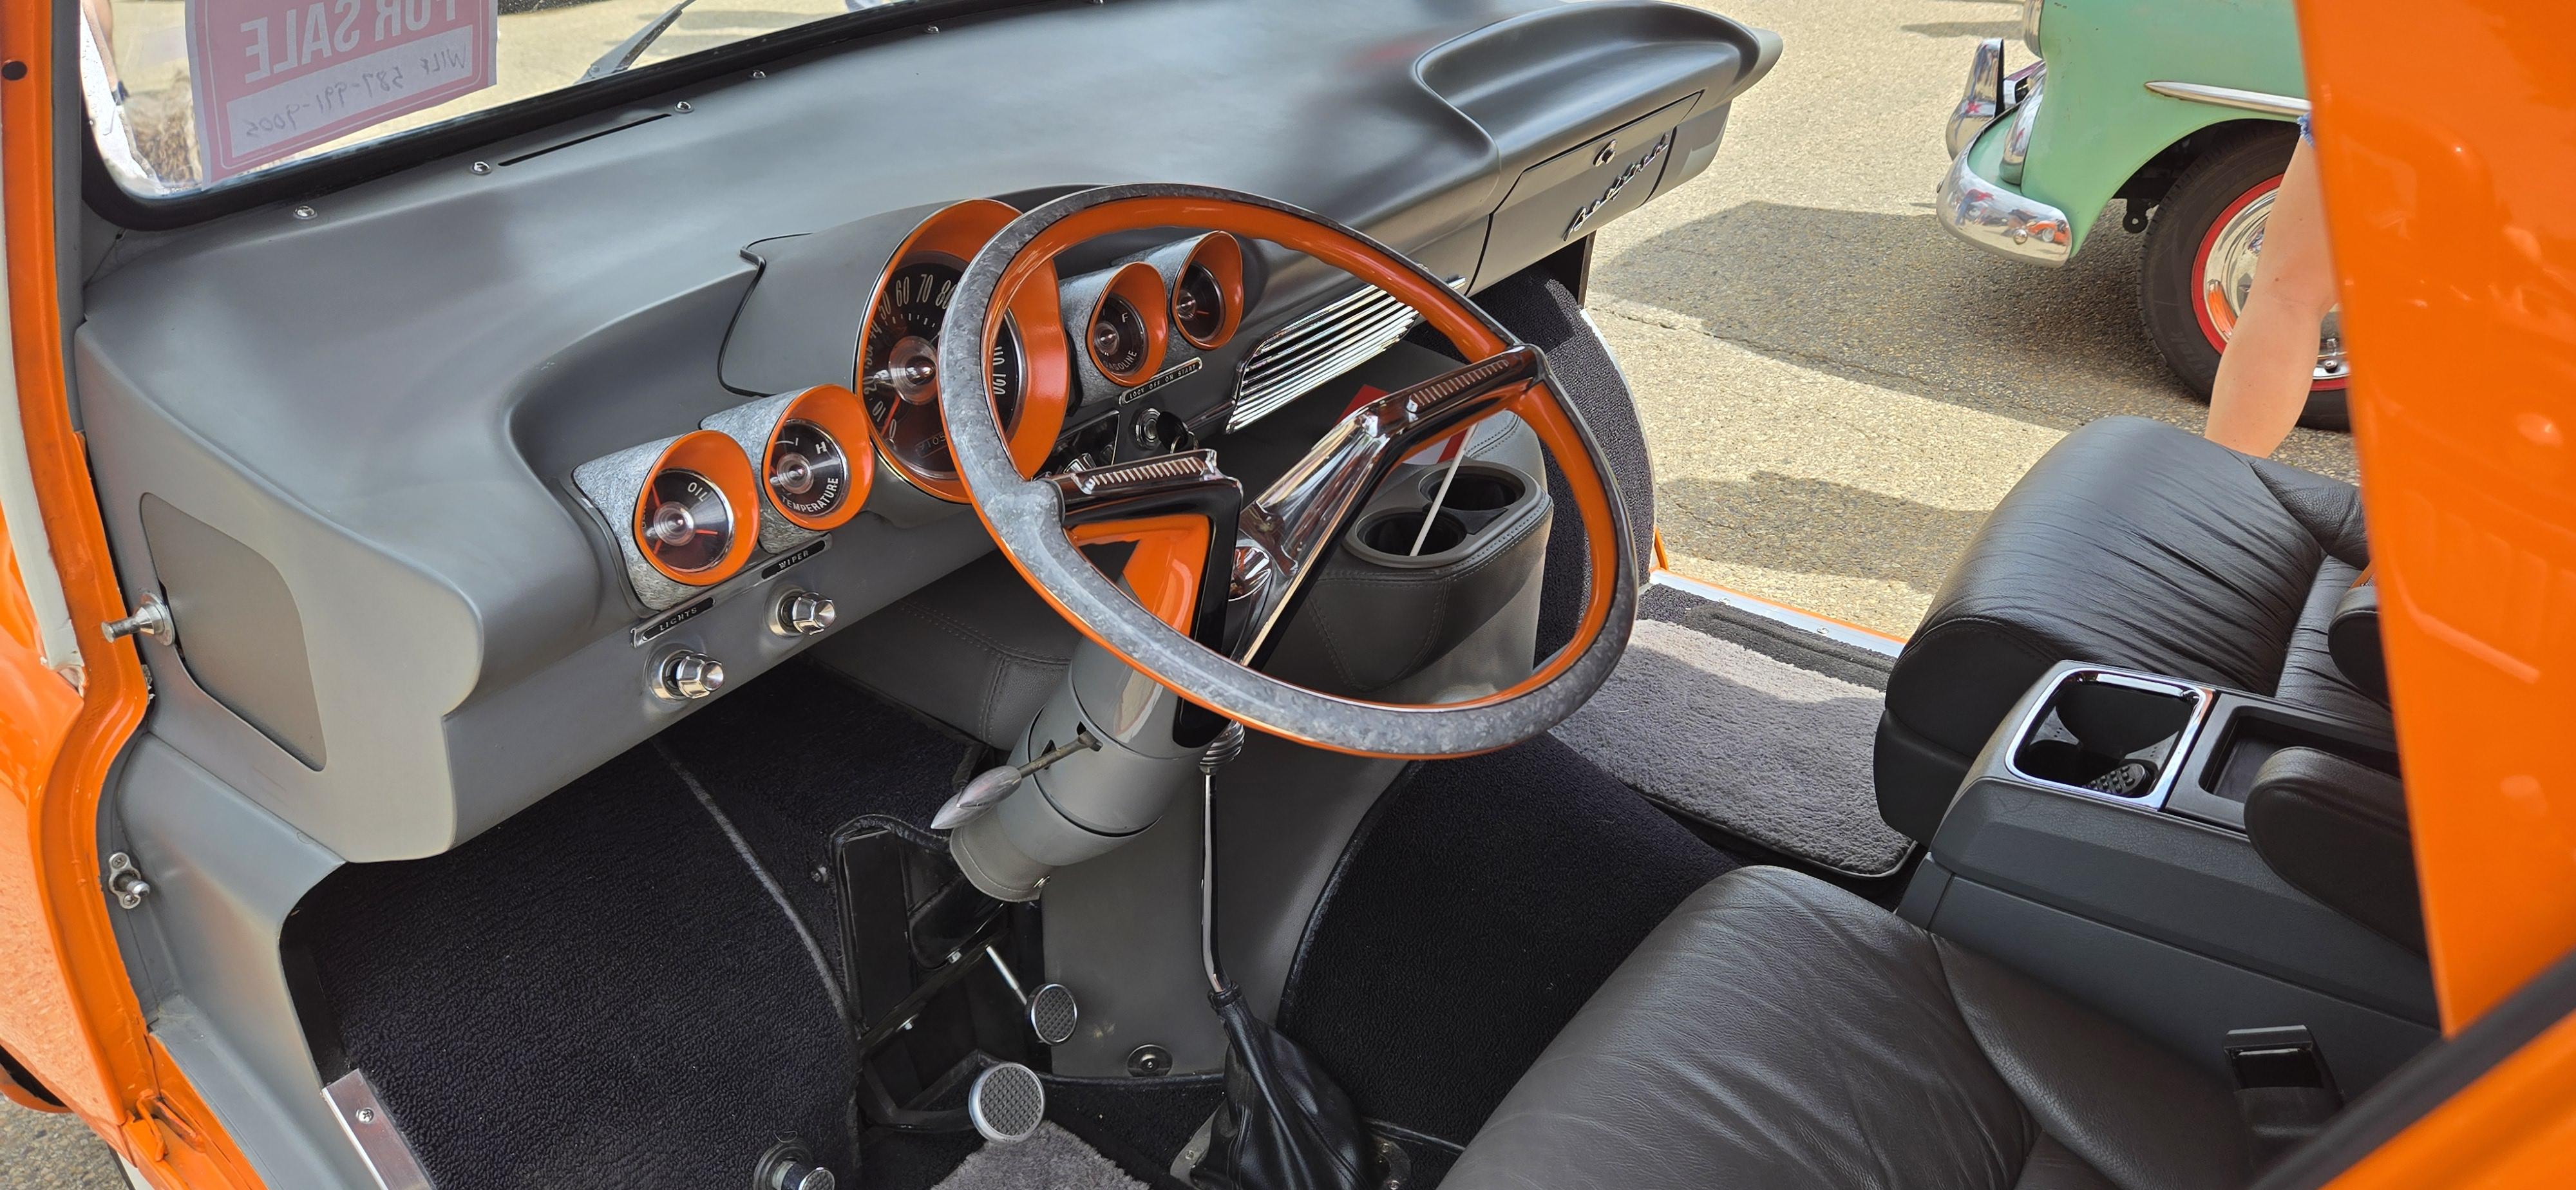
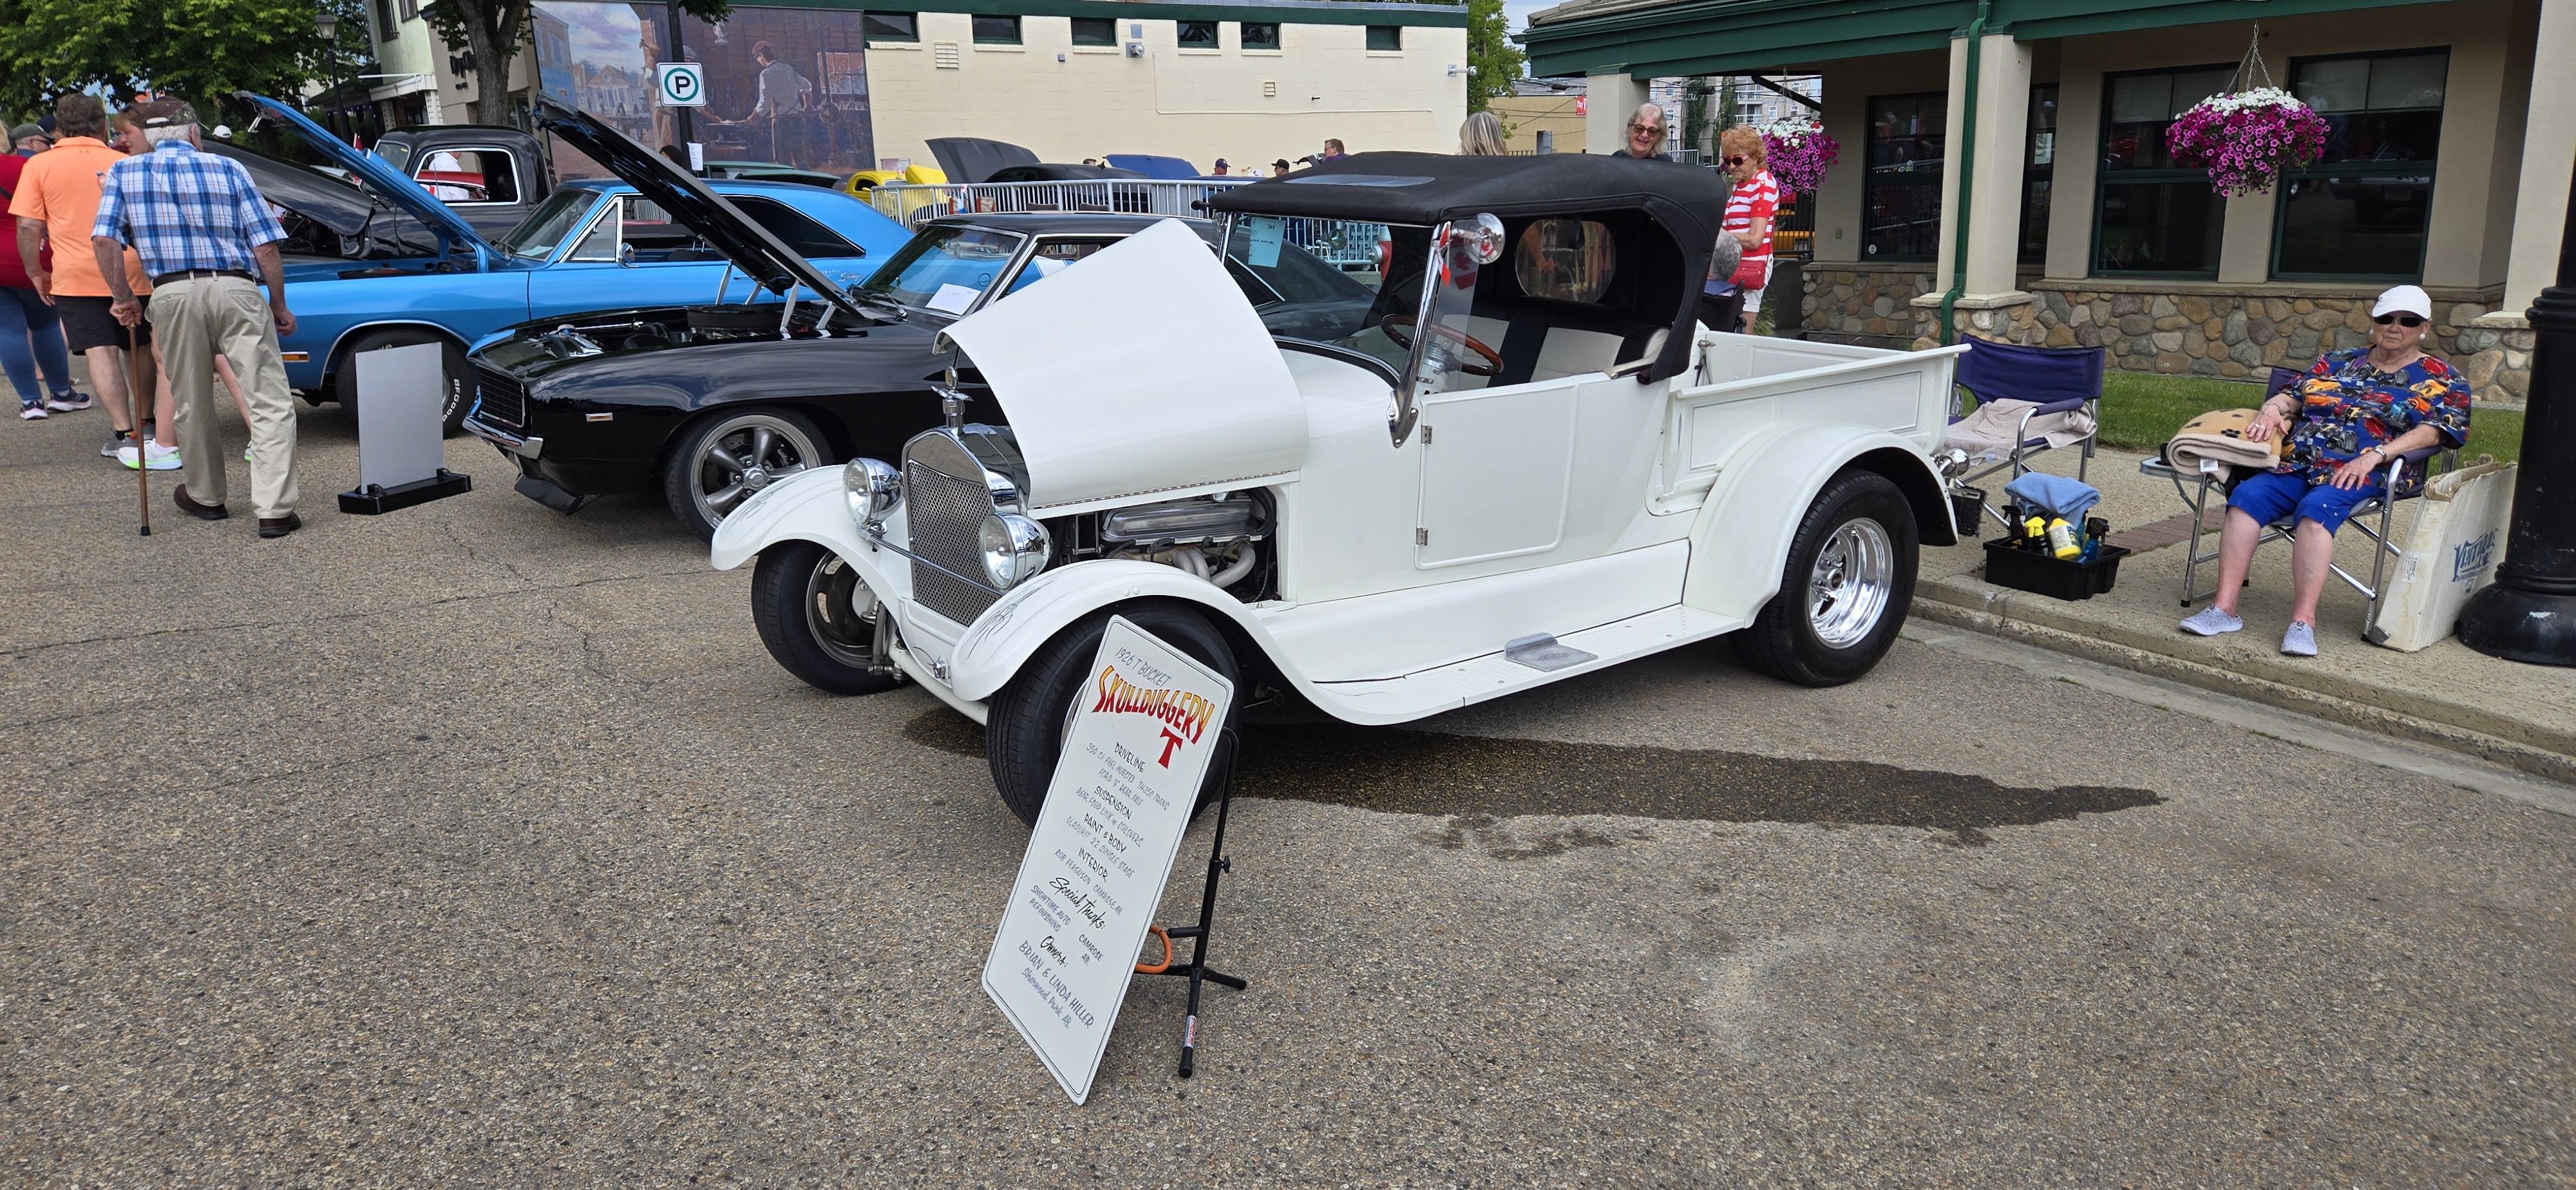
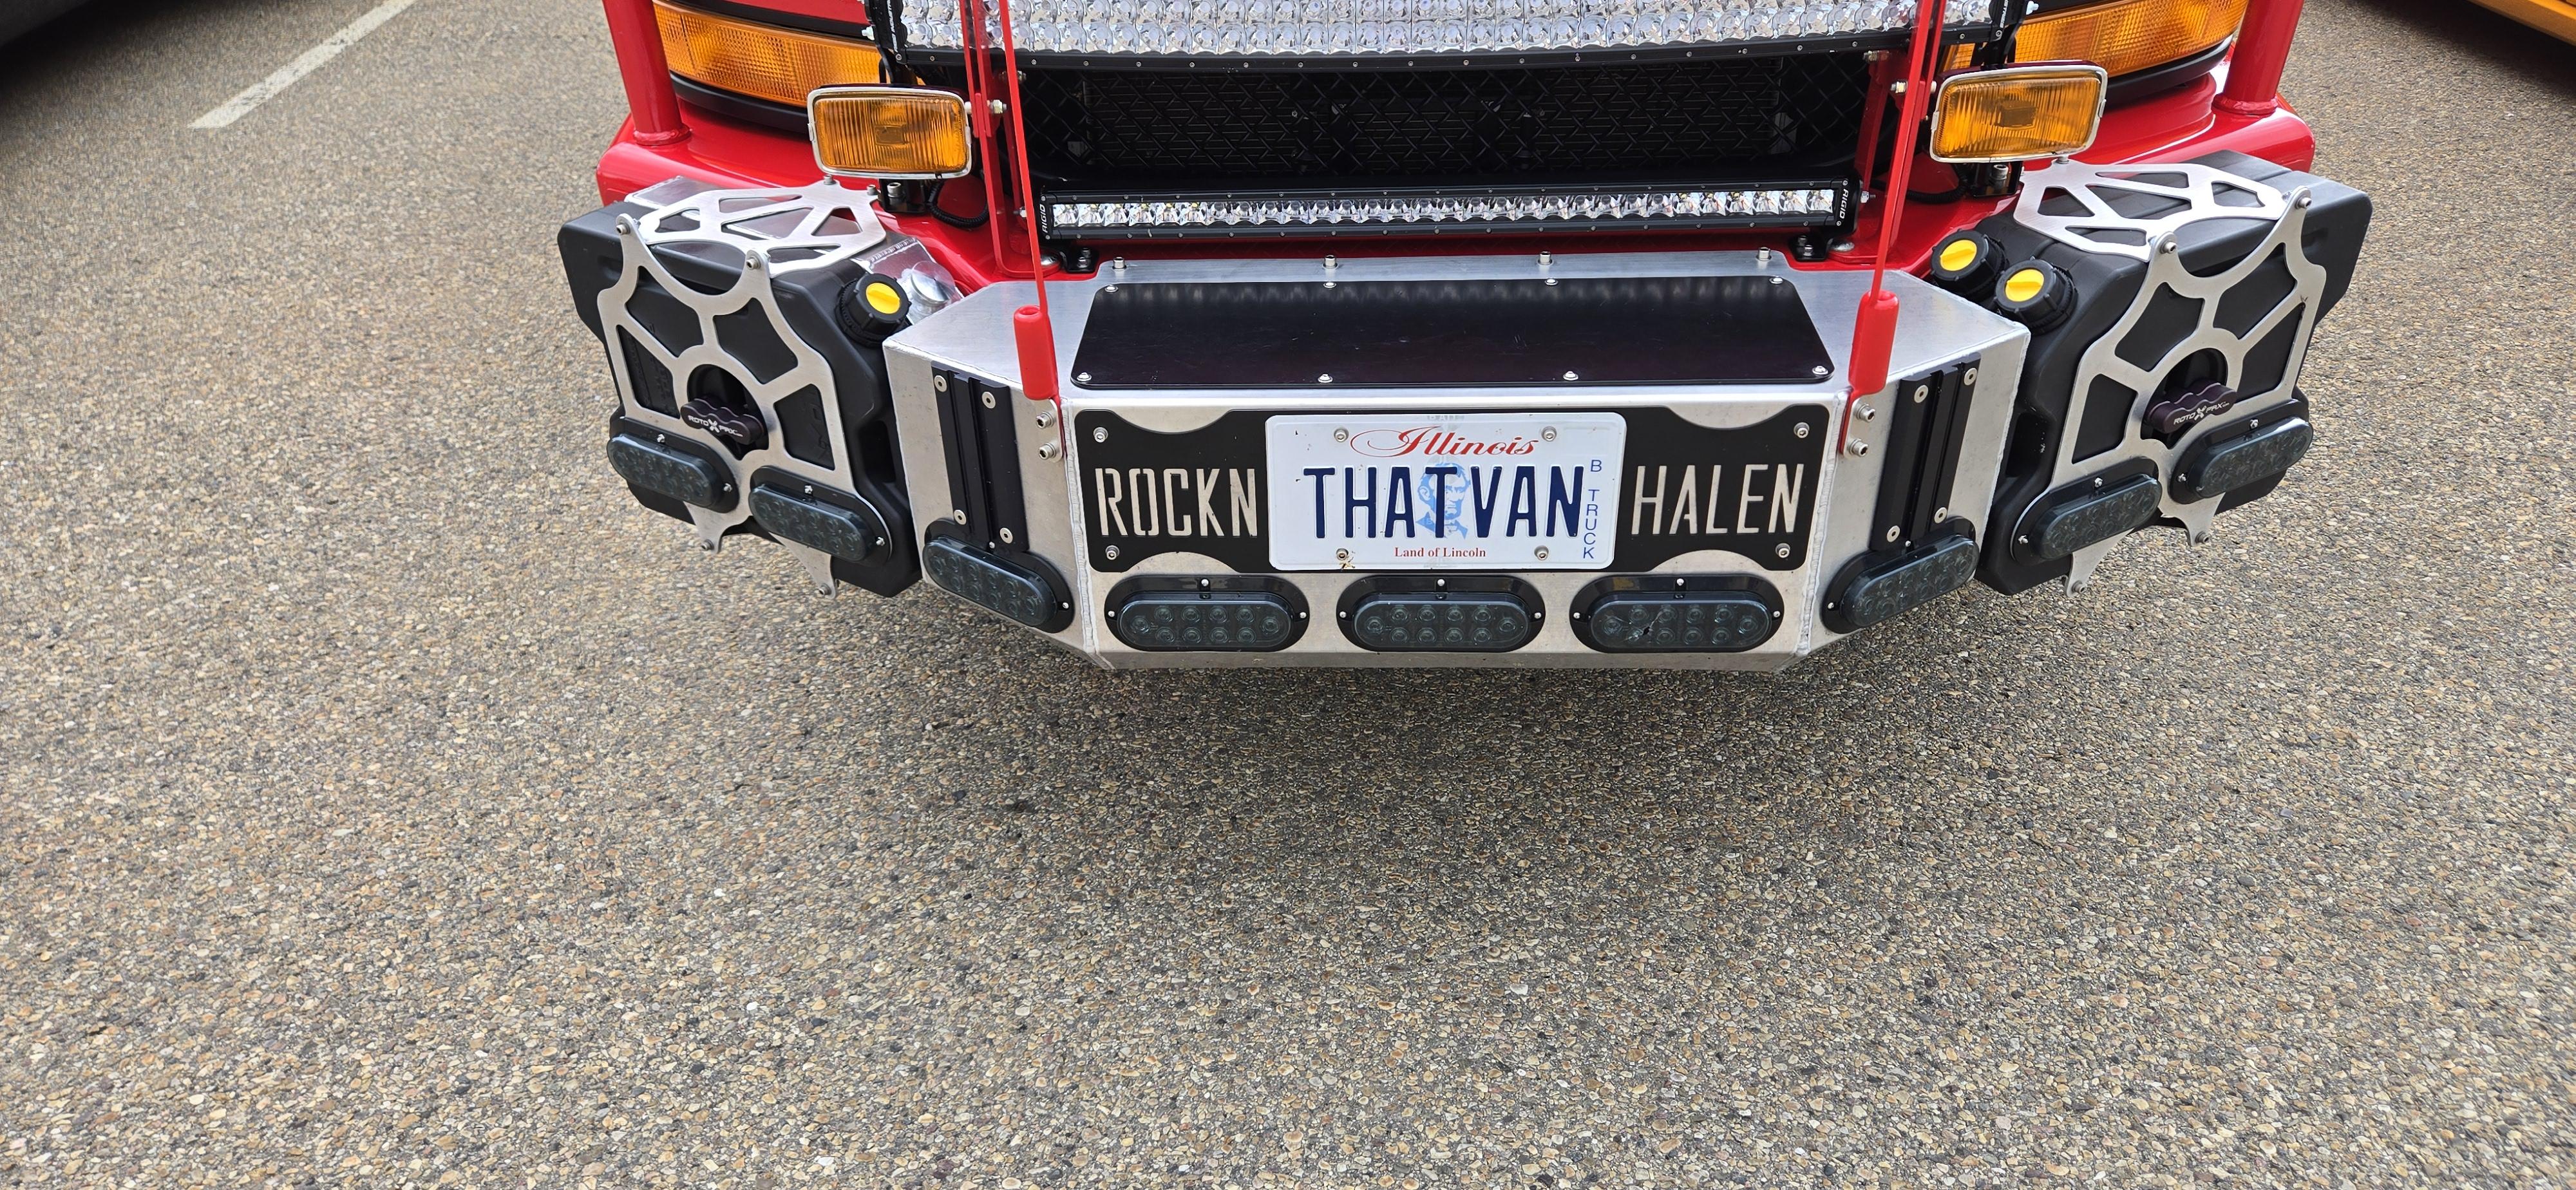
The front splitter is made from plywood, with hardware store supports. The center console is also made of wood and looks it. The rear spoiler is made from old license plates. It's kind of terrible, and all kinds of awesome! Close. It's Stony Plain. I didn't see it at this show, but there's a white hardtop that is usually at all the local shows too.
-
Round 2 July 2025 Product Spotlight
iamsuperdan replied to Tim W. SoCal's topic in Car Kit News & Reviews
Jump to 6:28 for the lone model release. '97 Mustang Cobra reissue. -
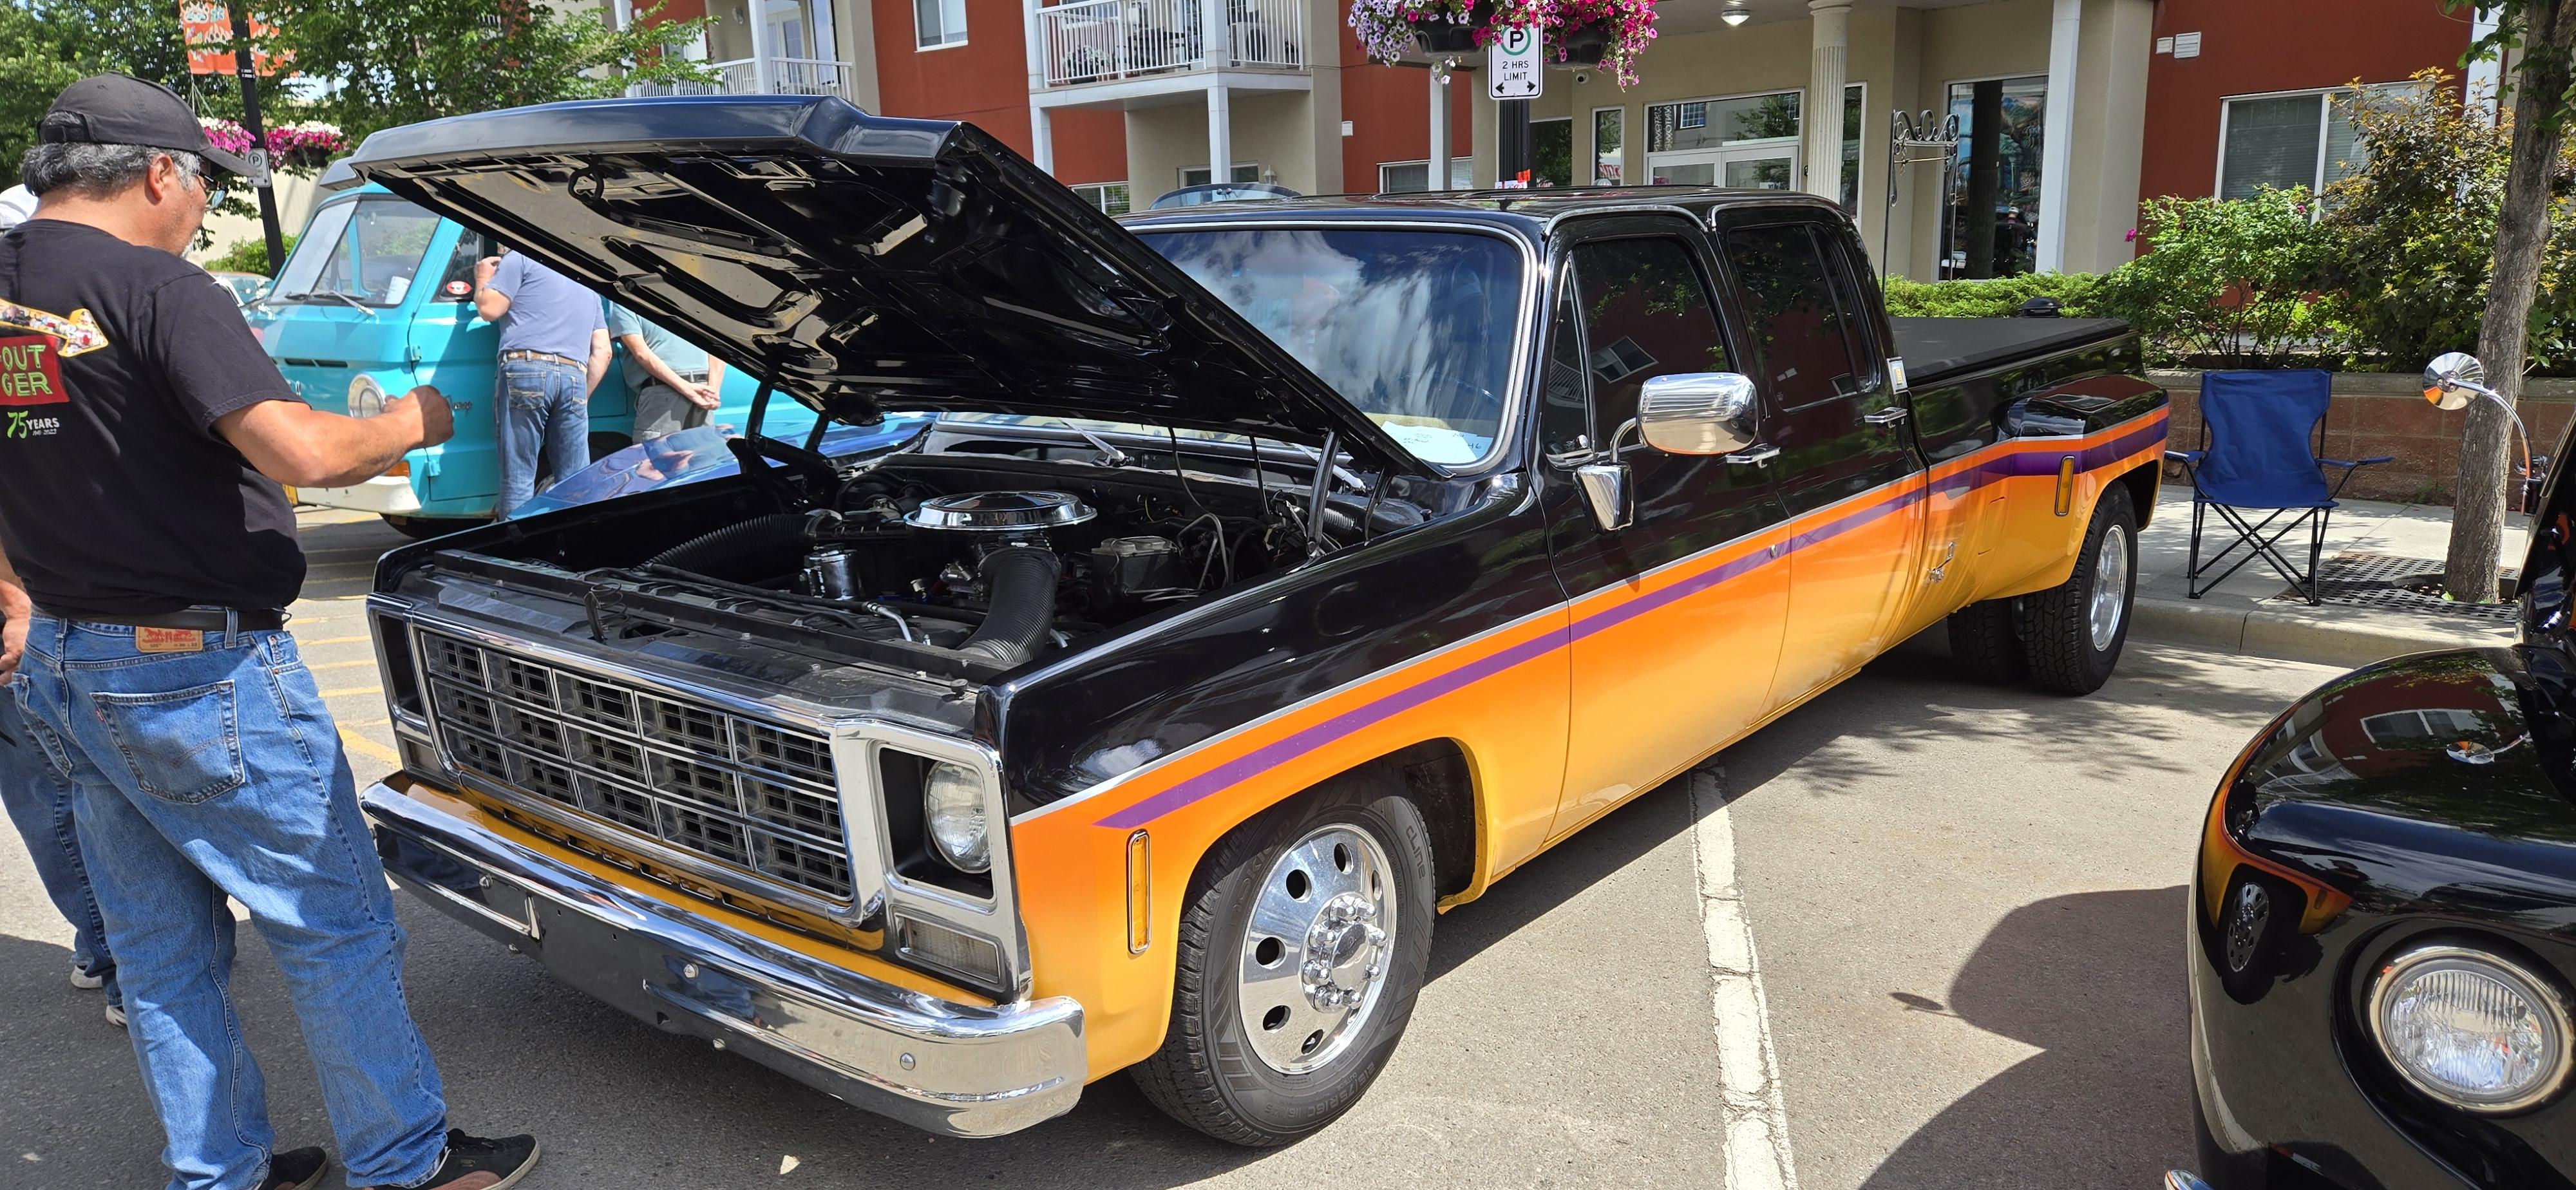
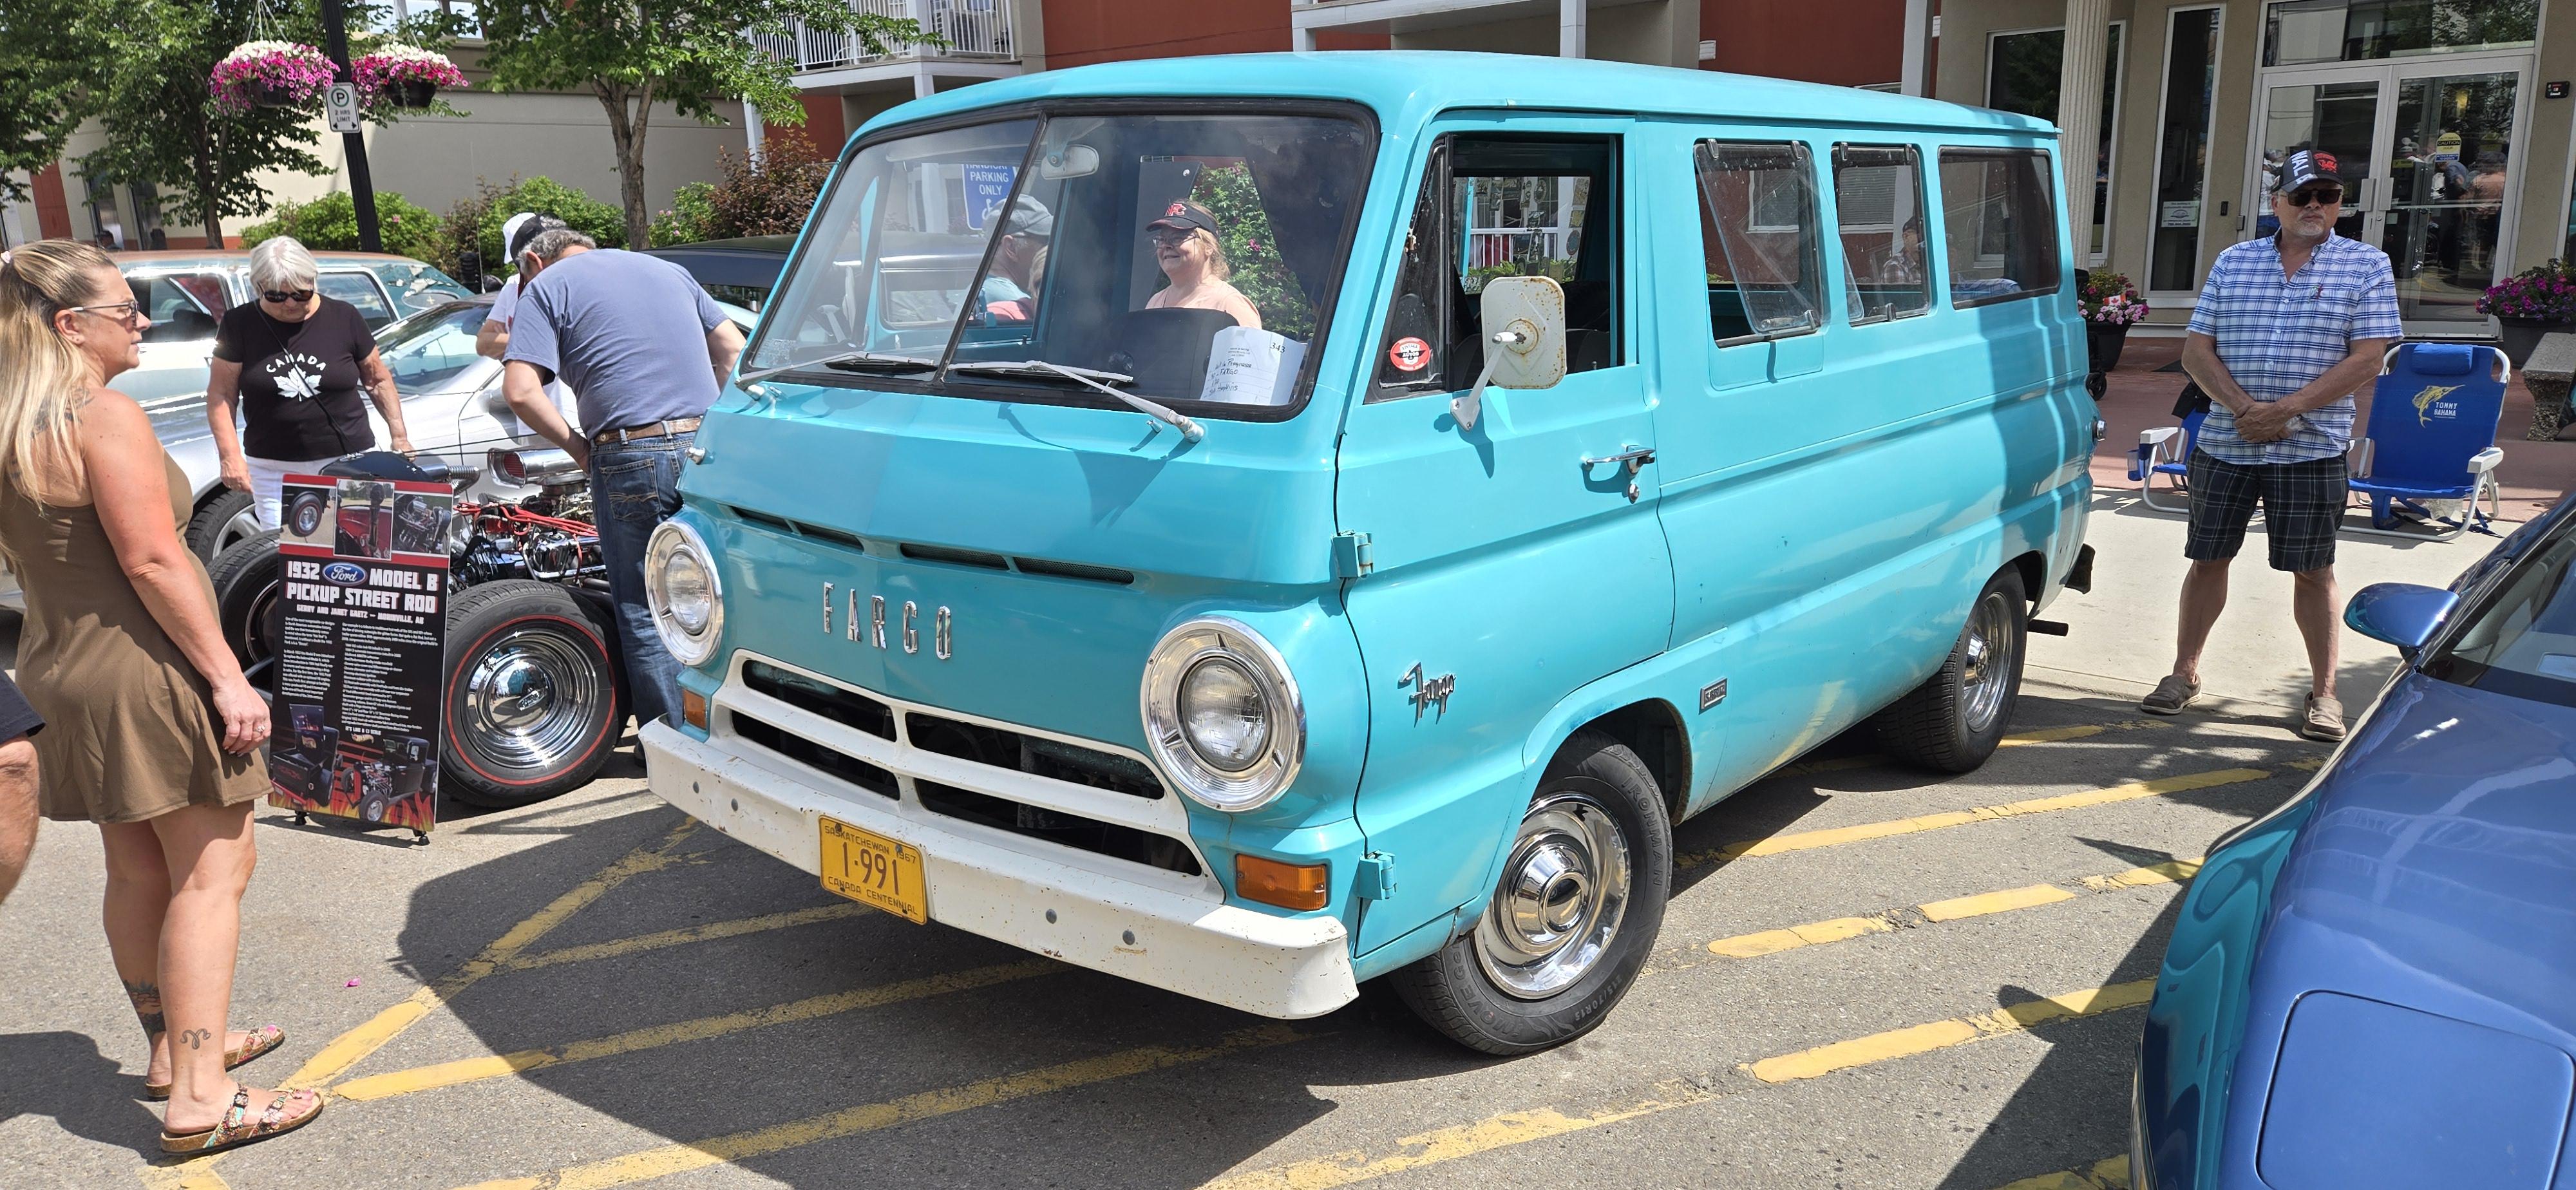
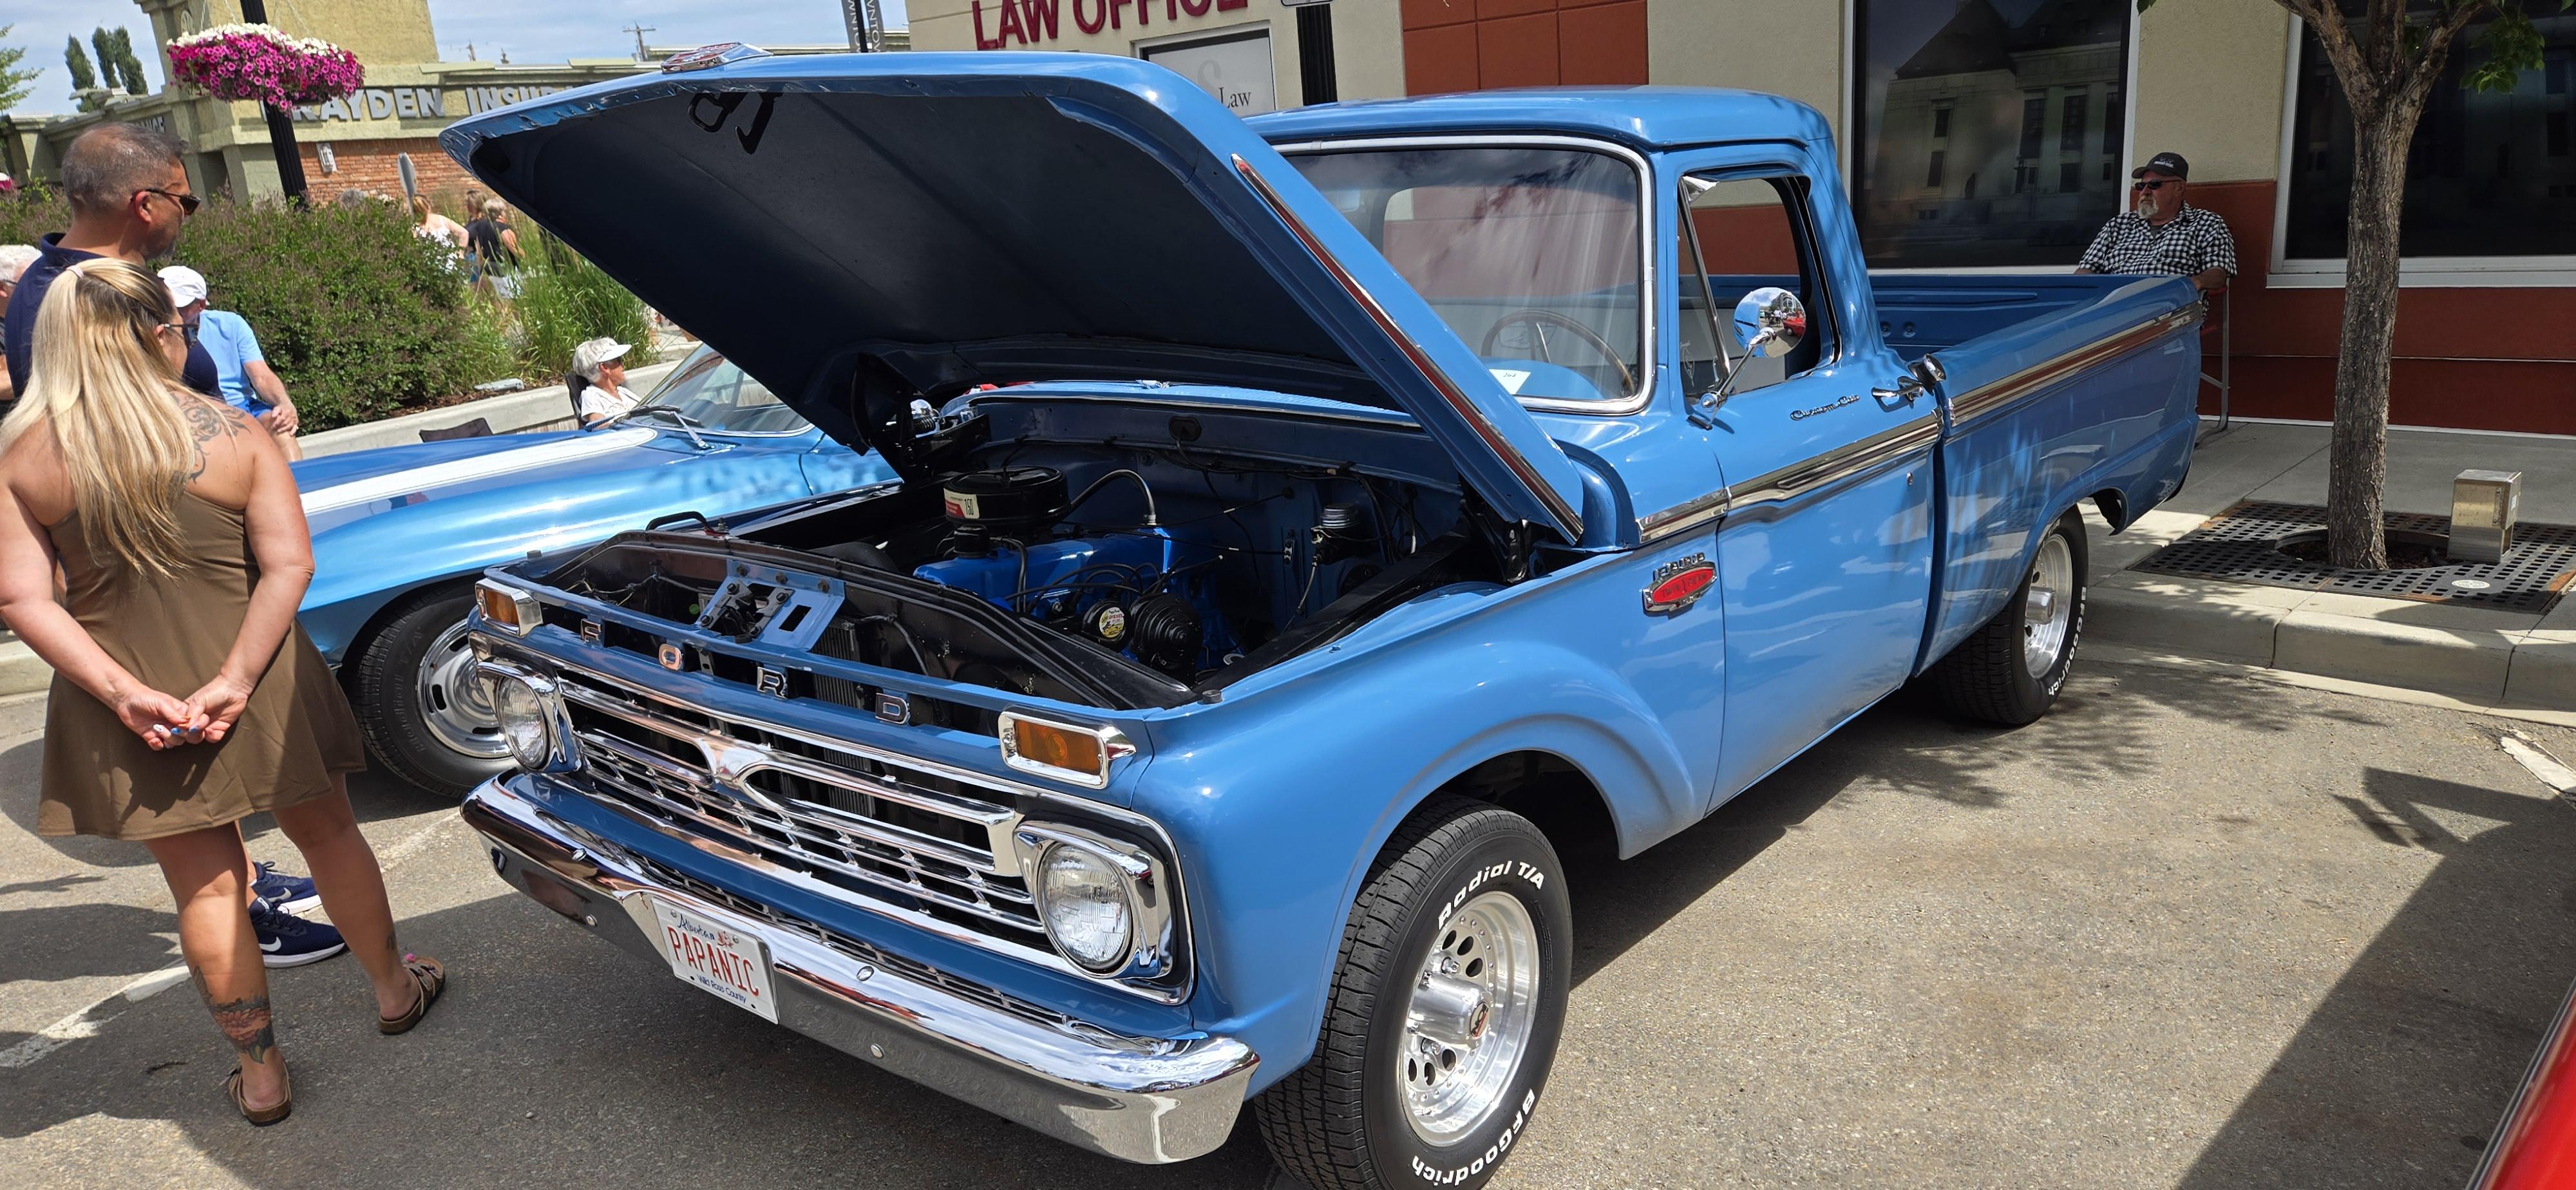
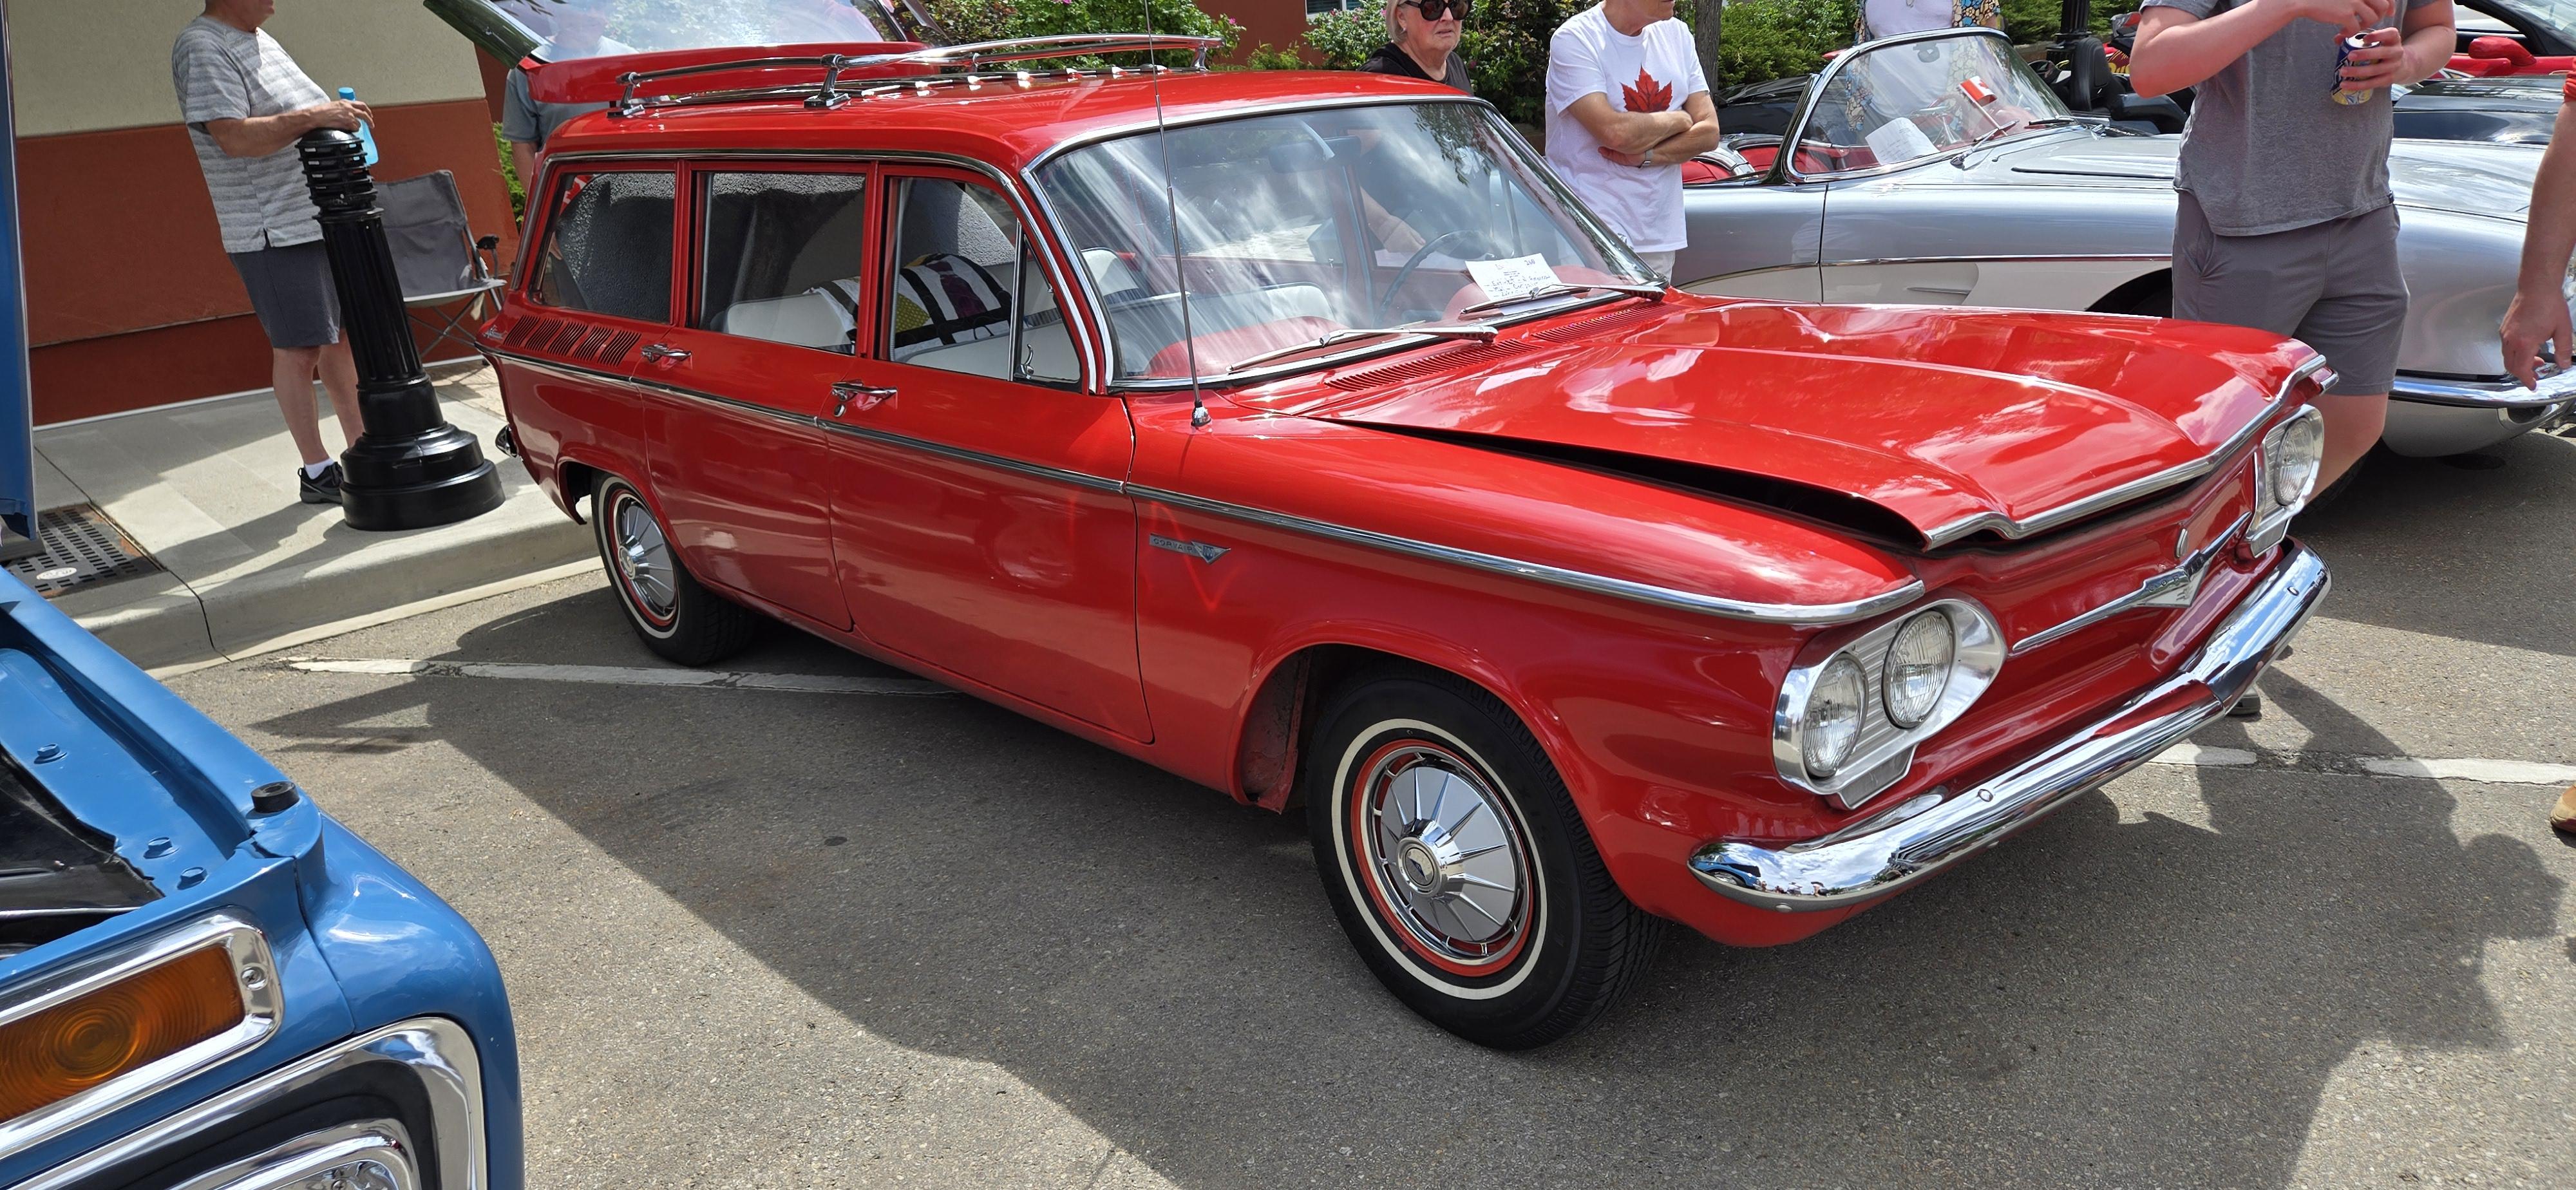
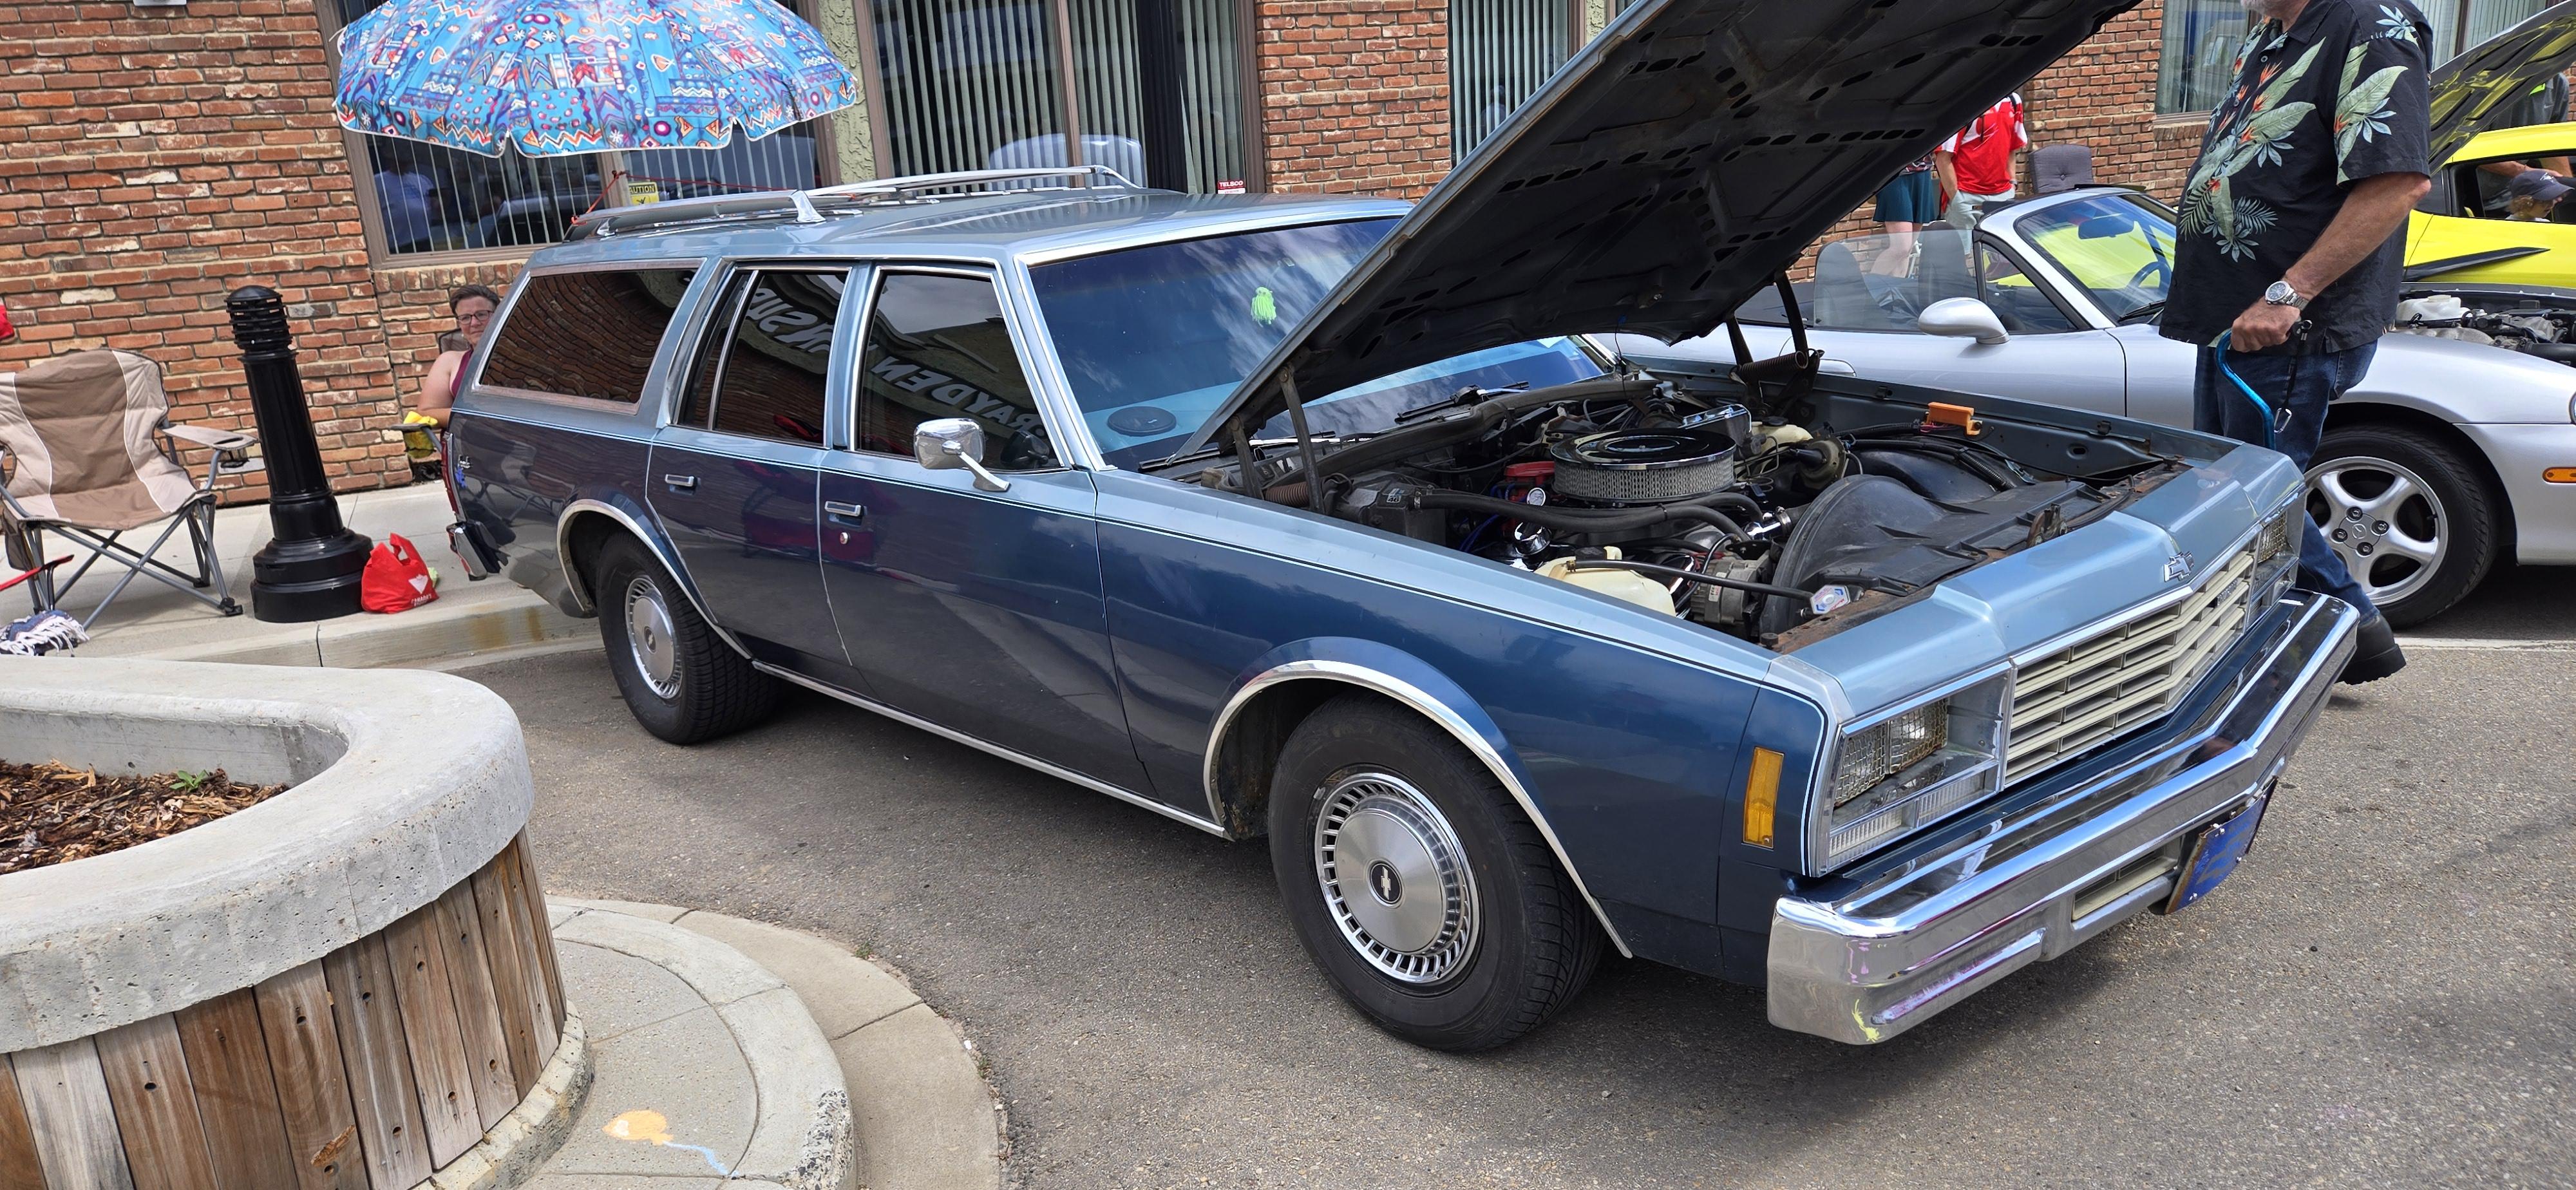
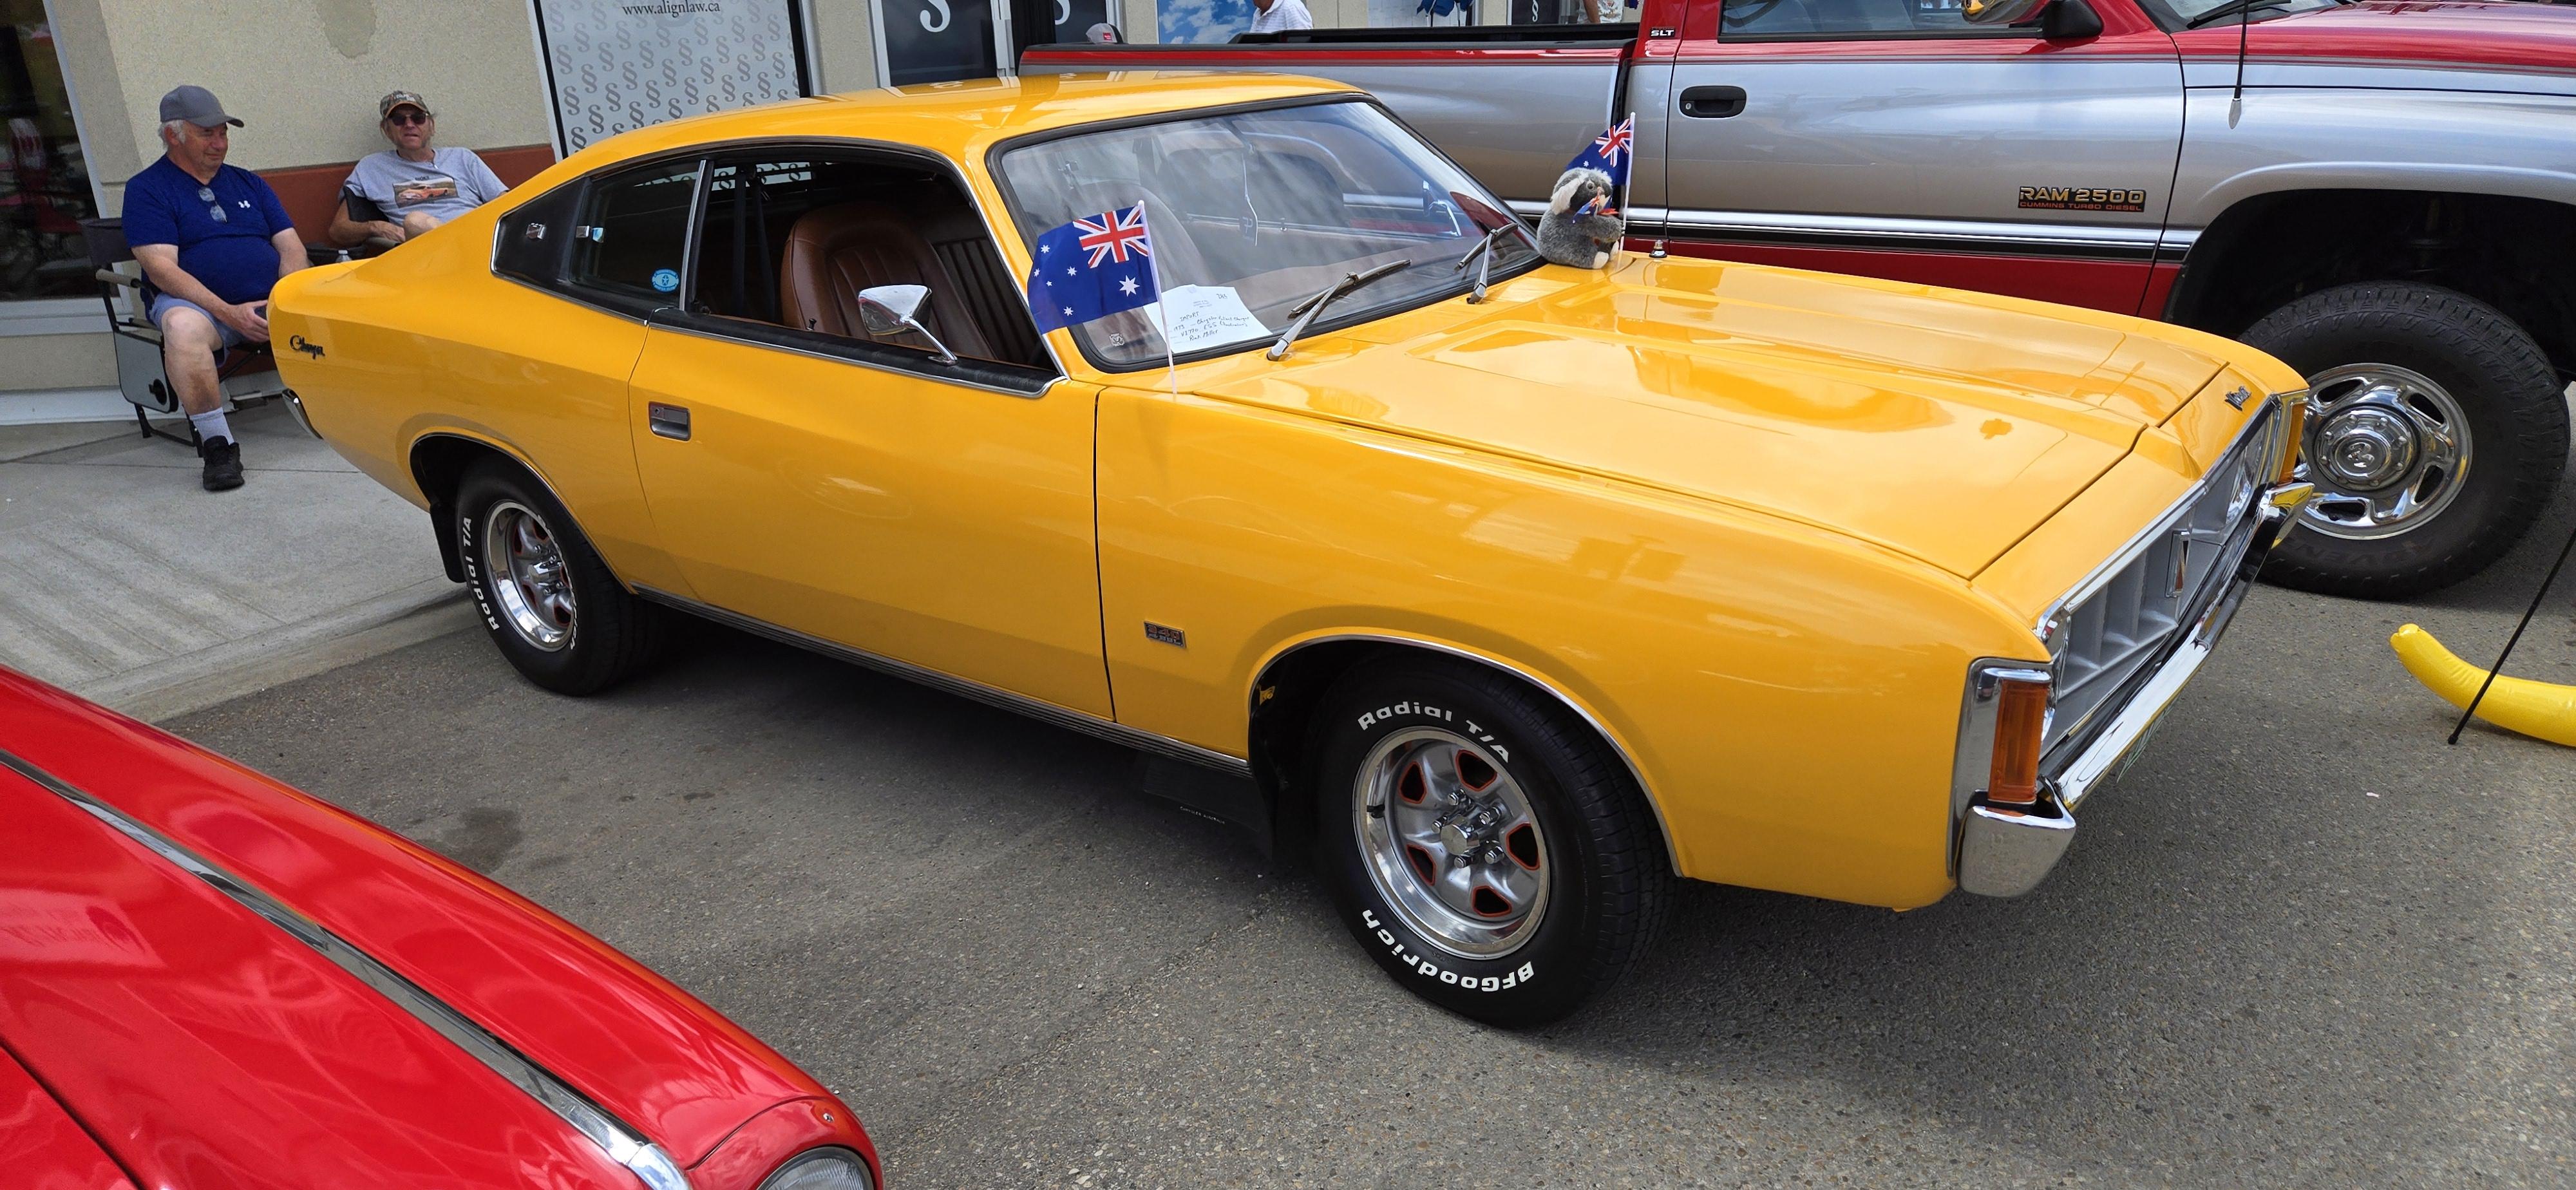
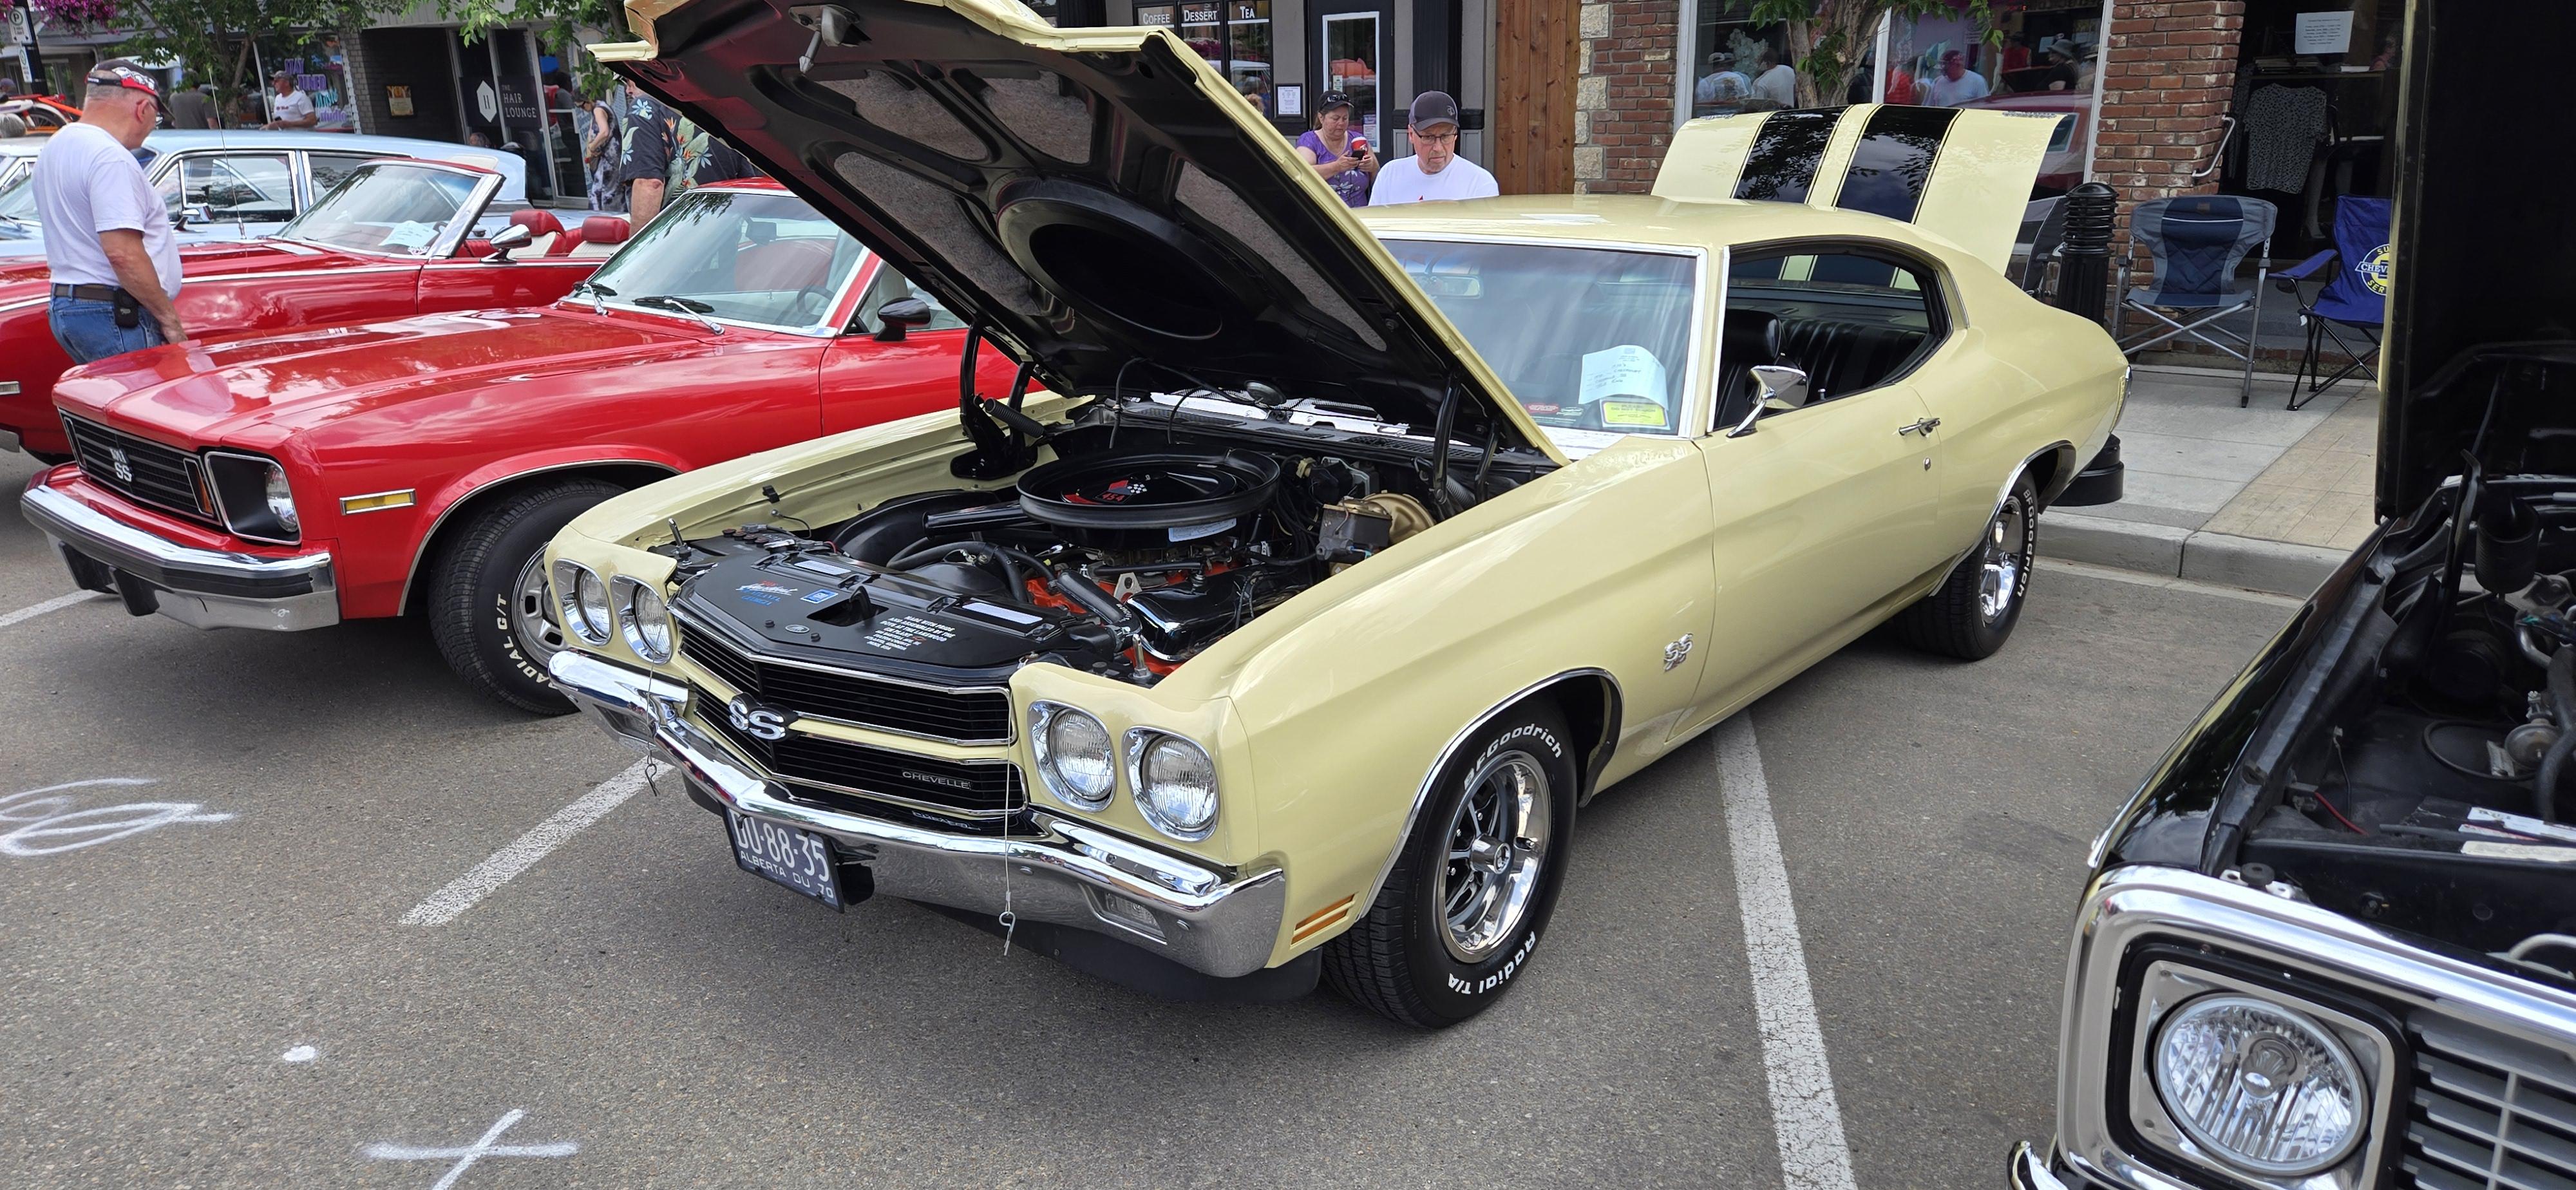
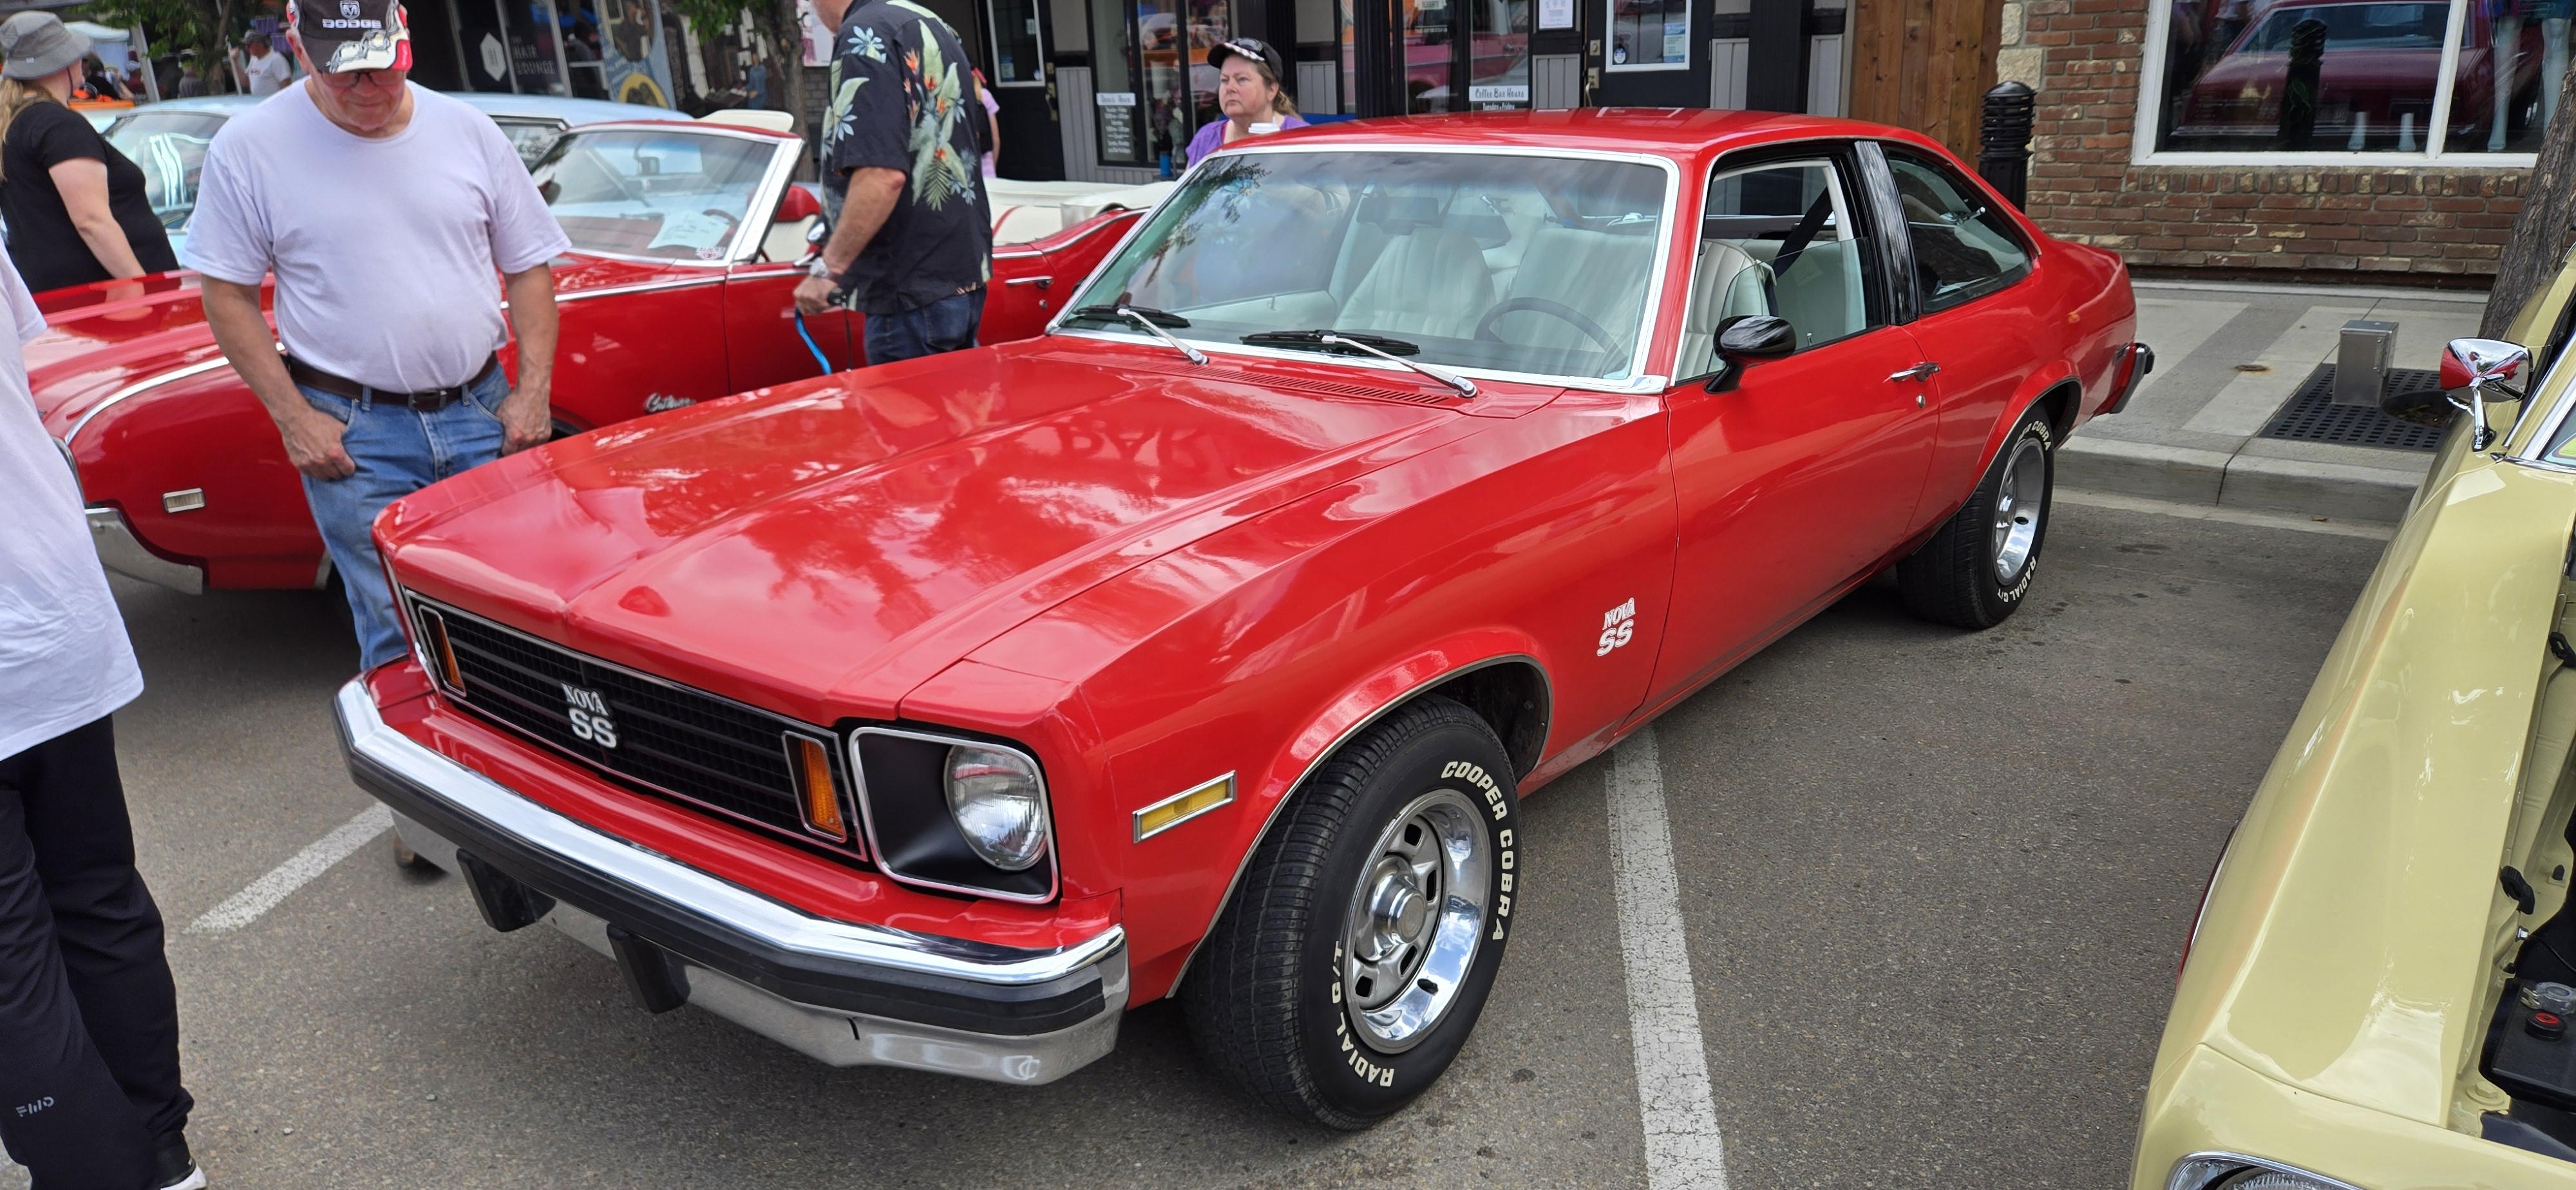
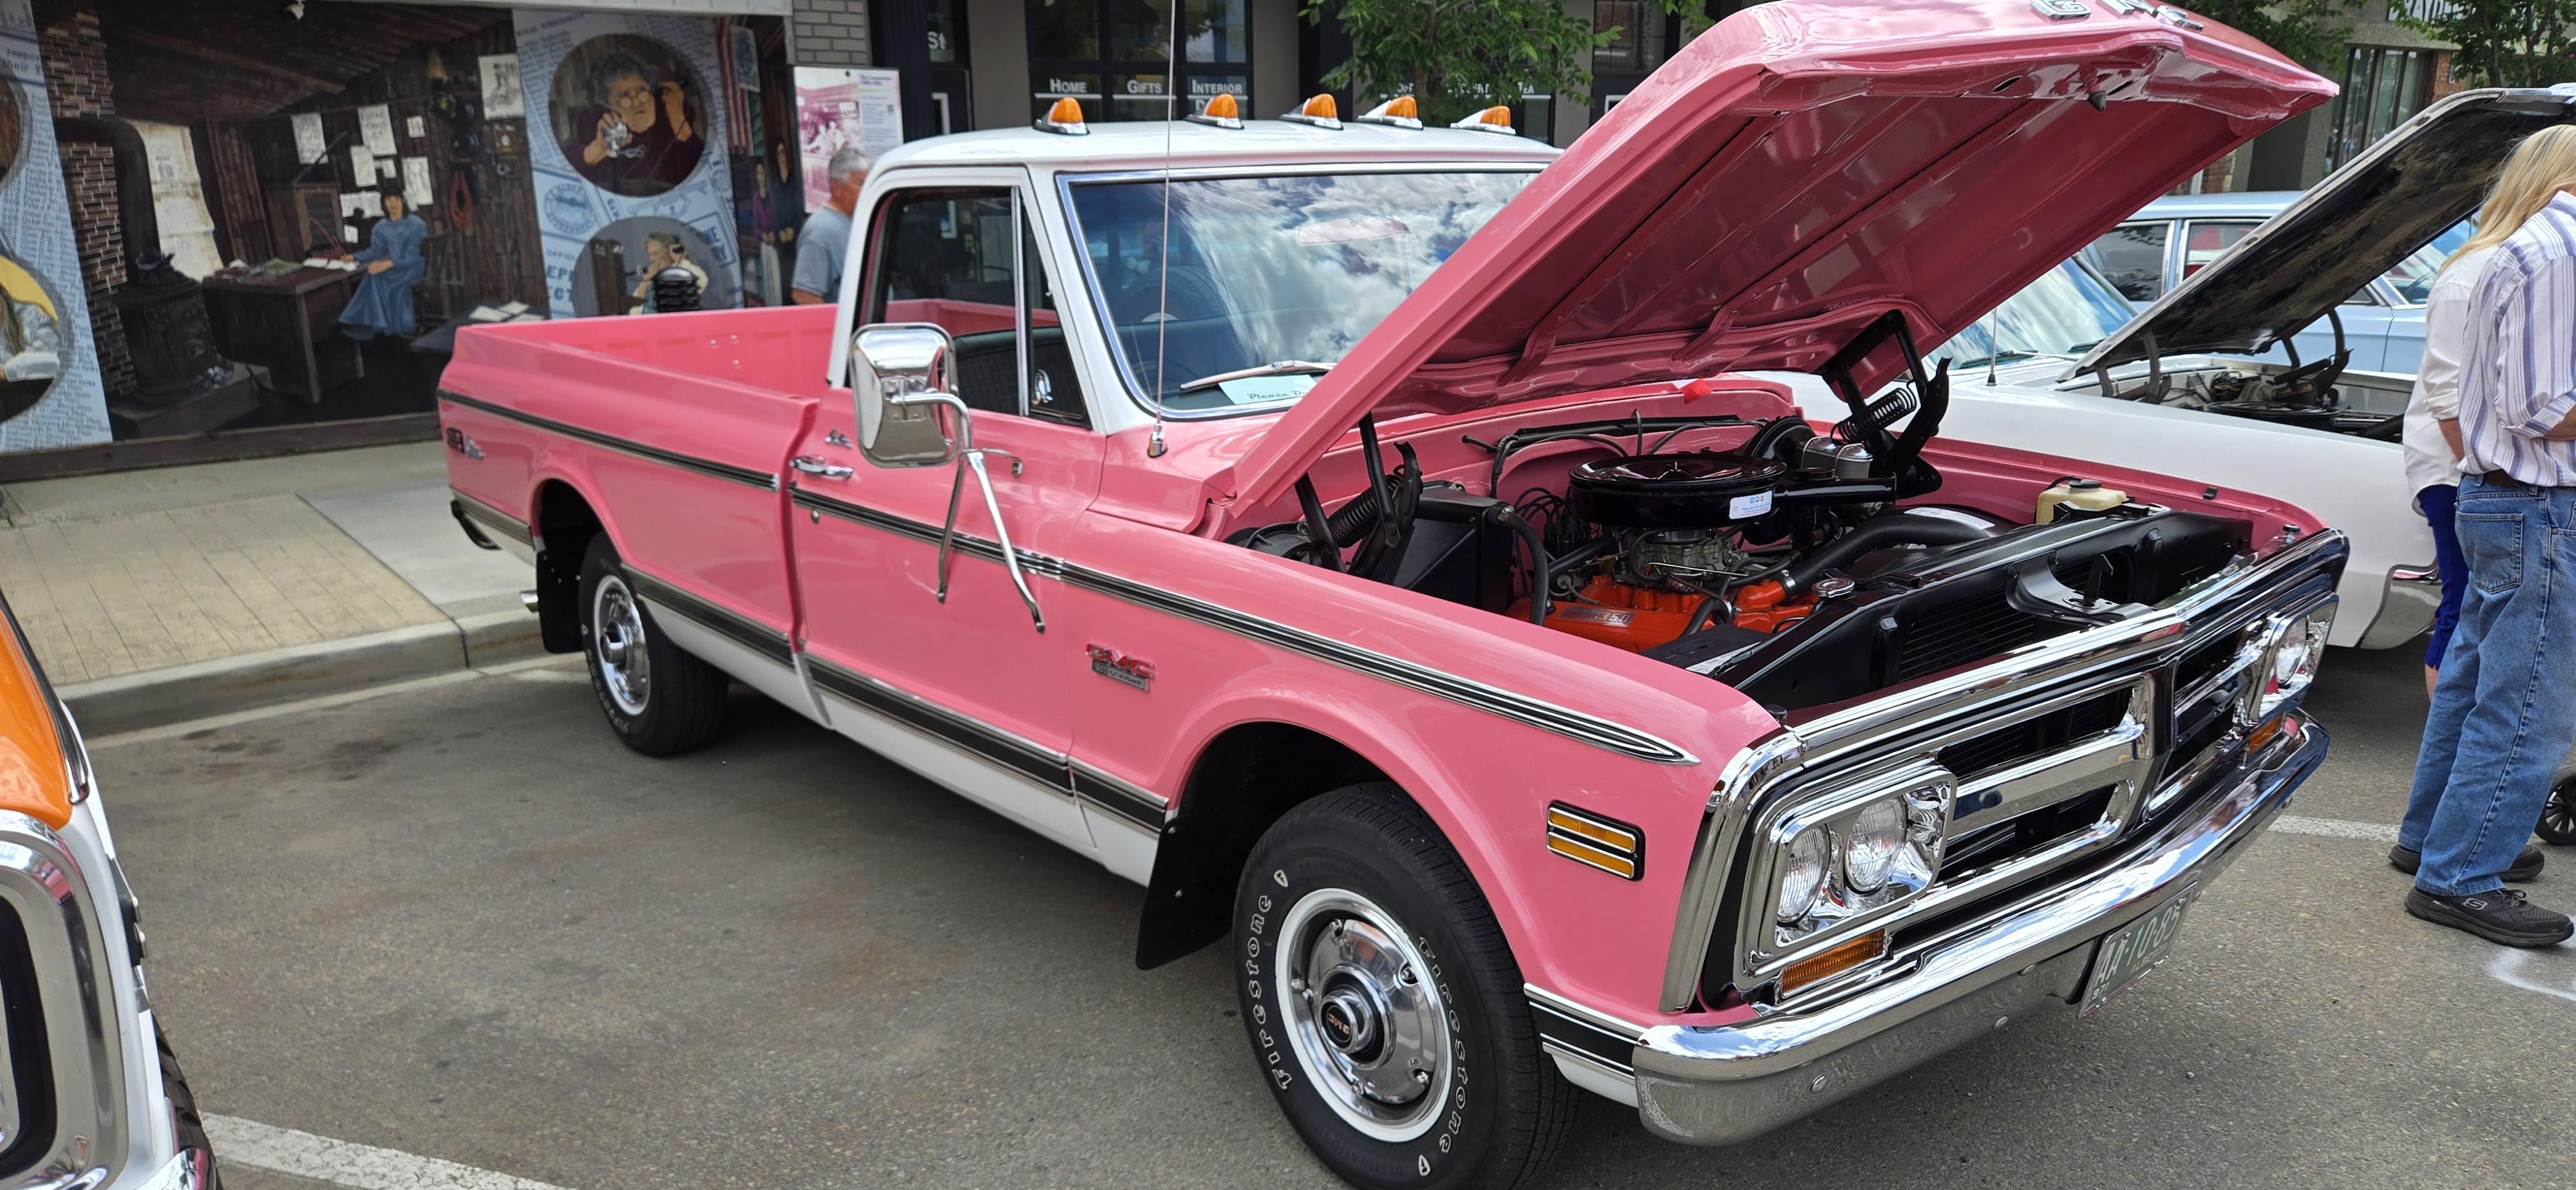
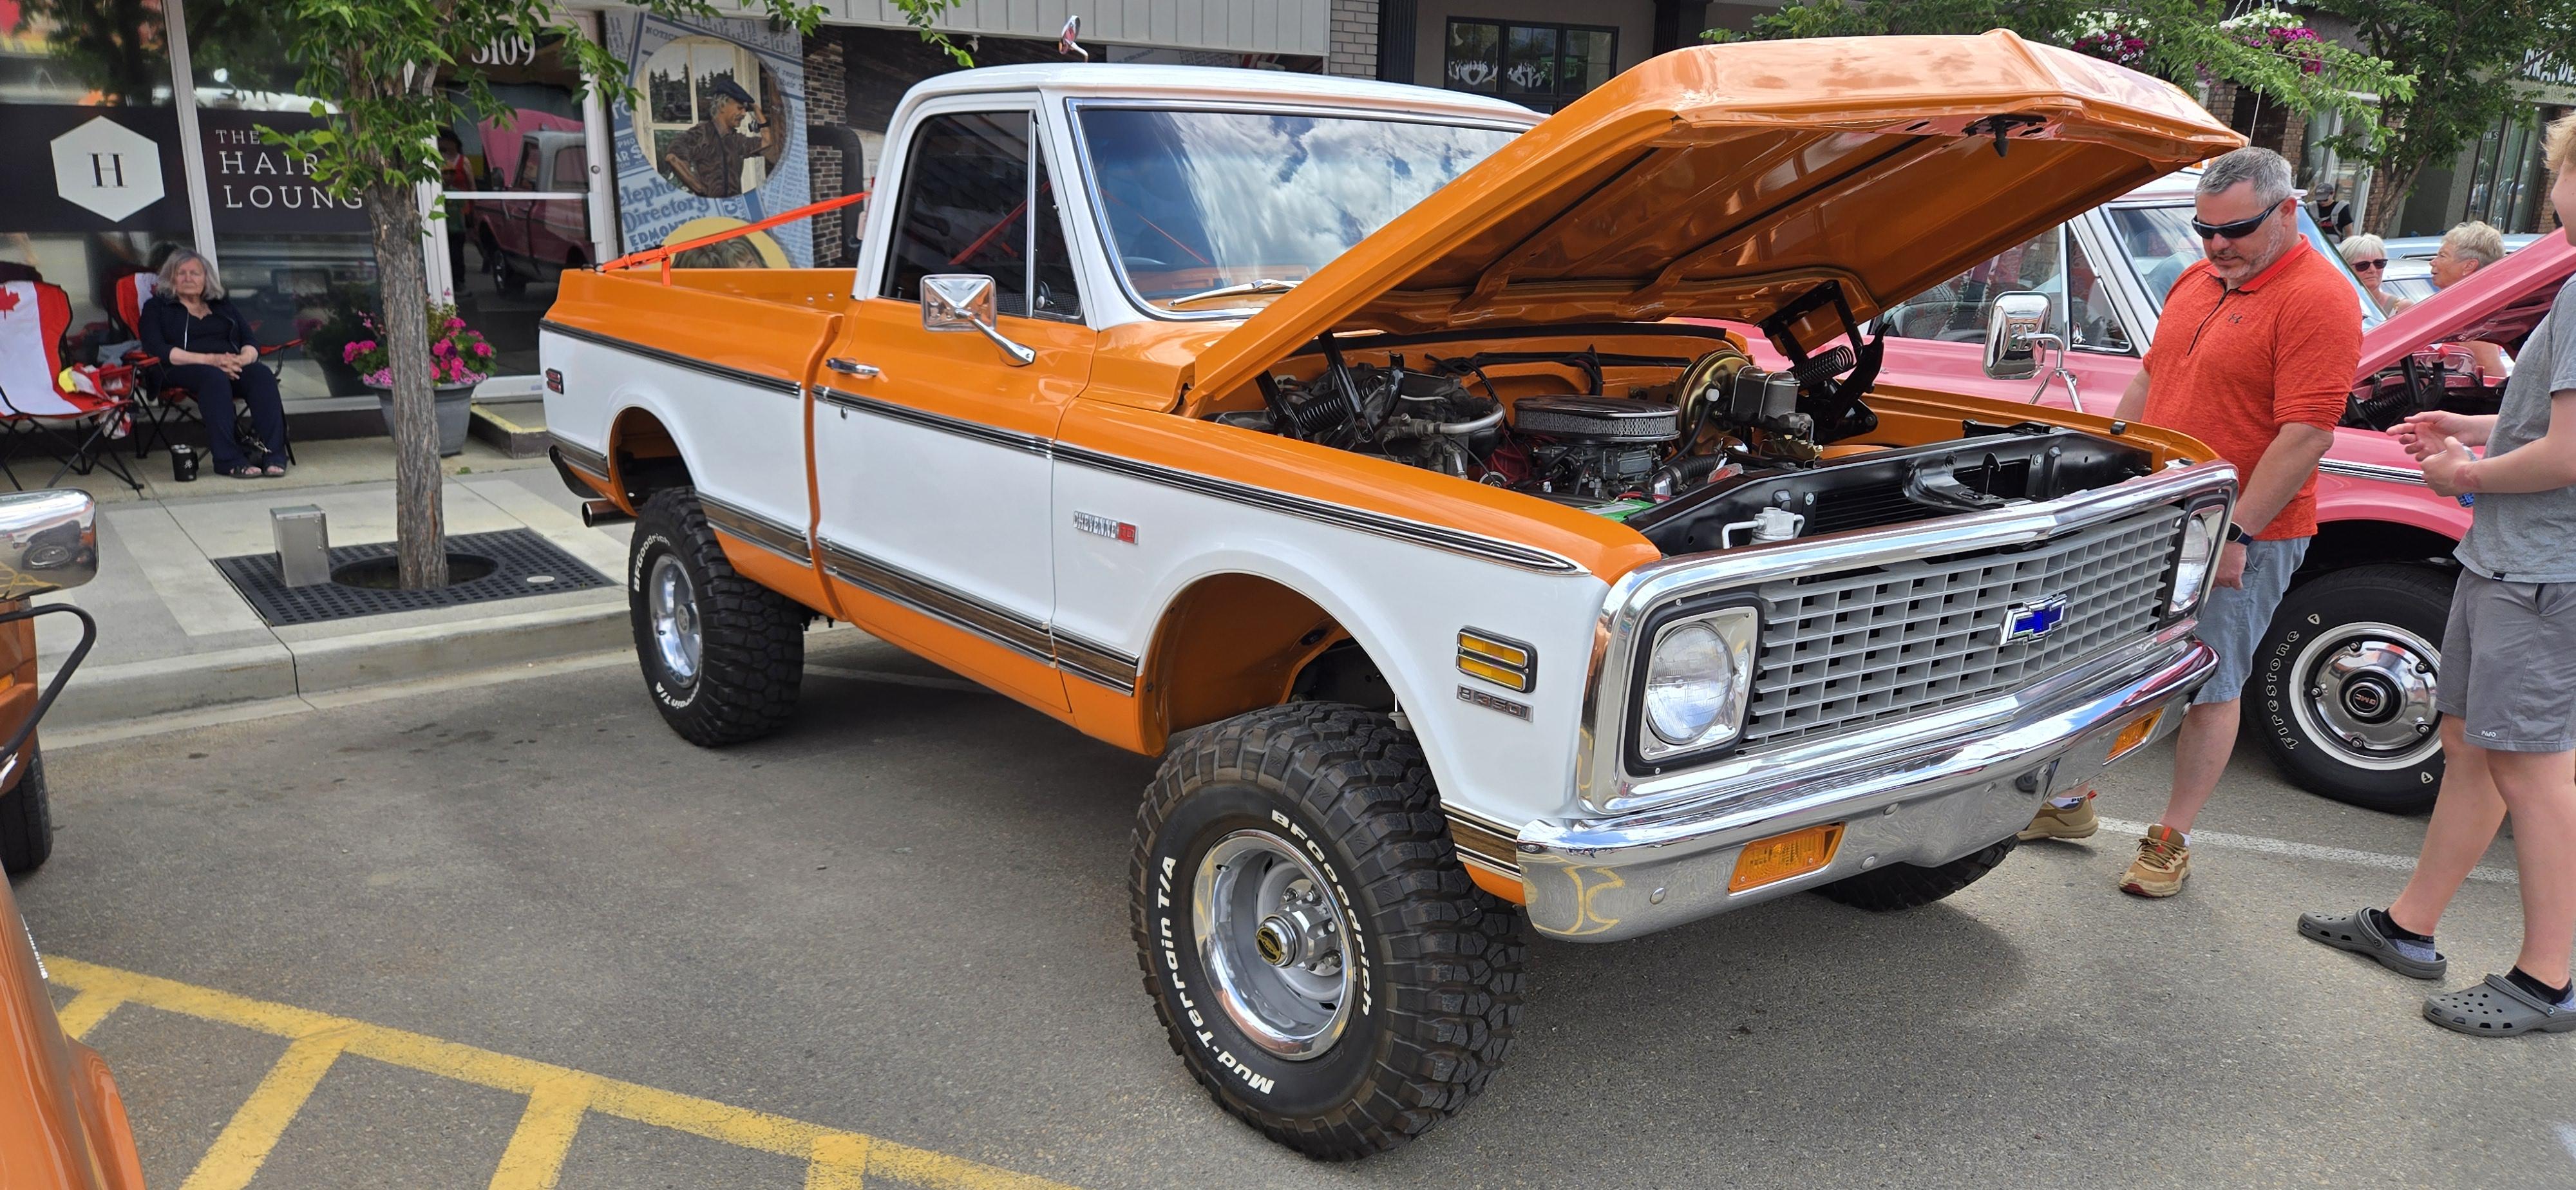
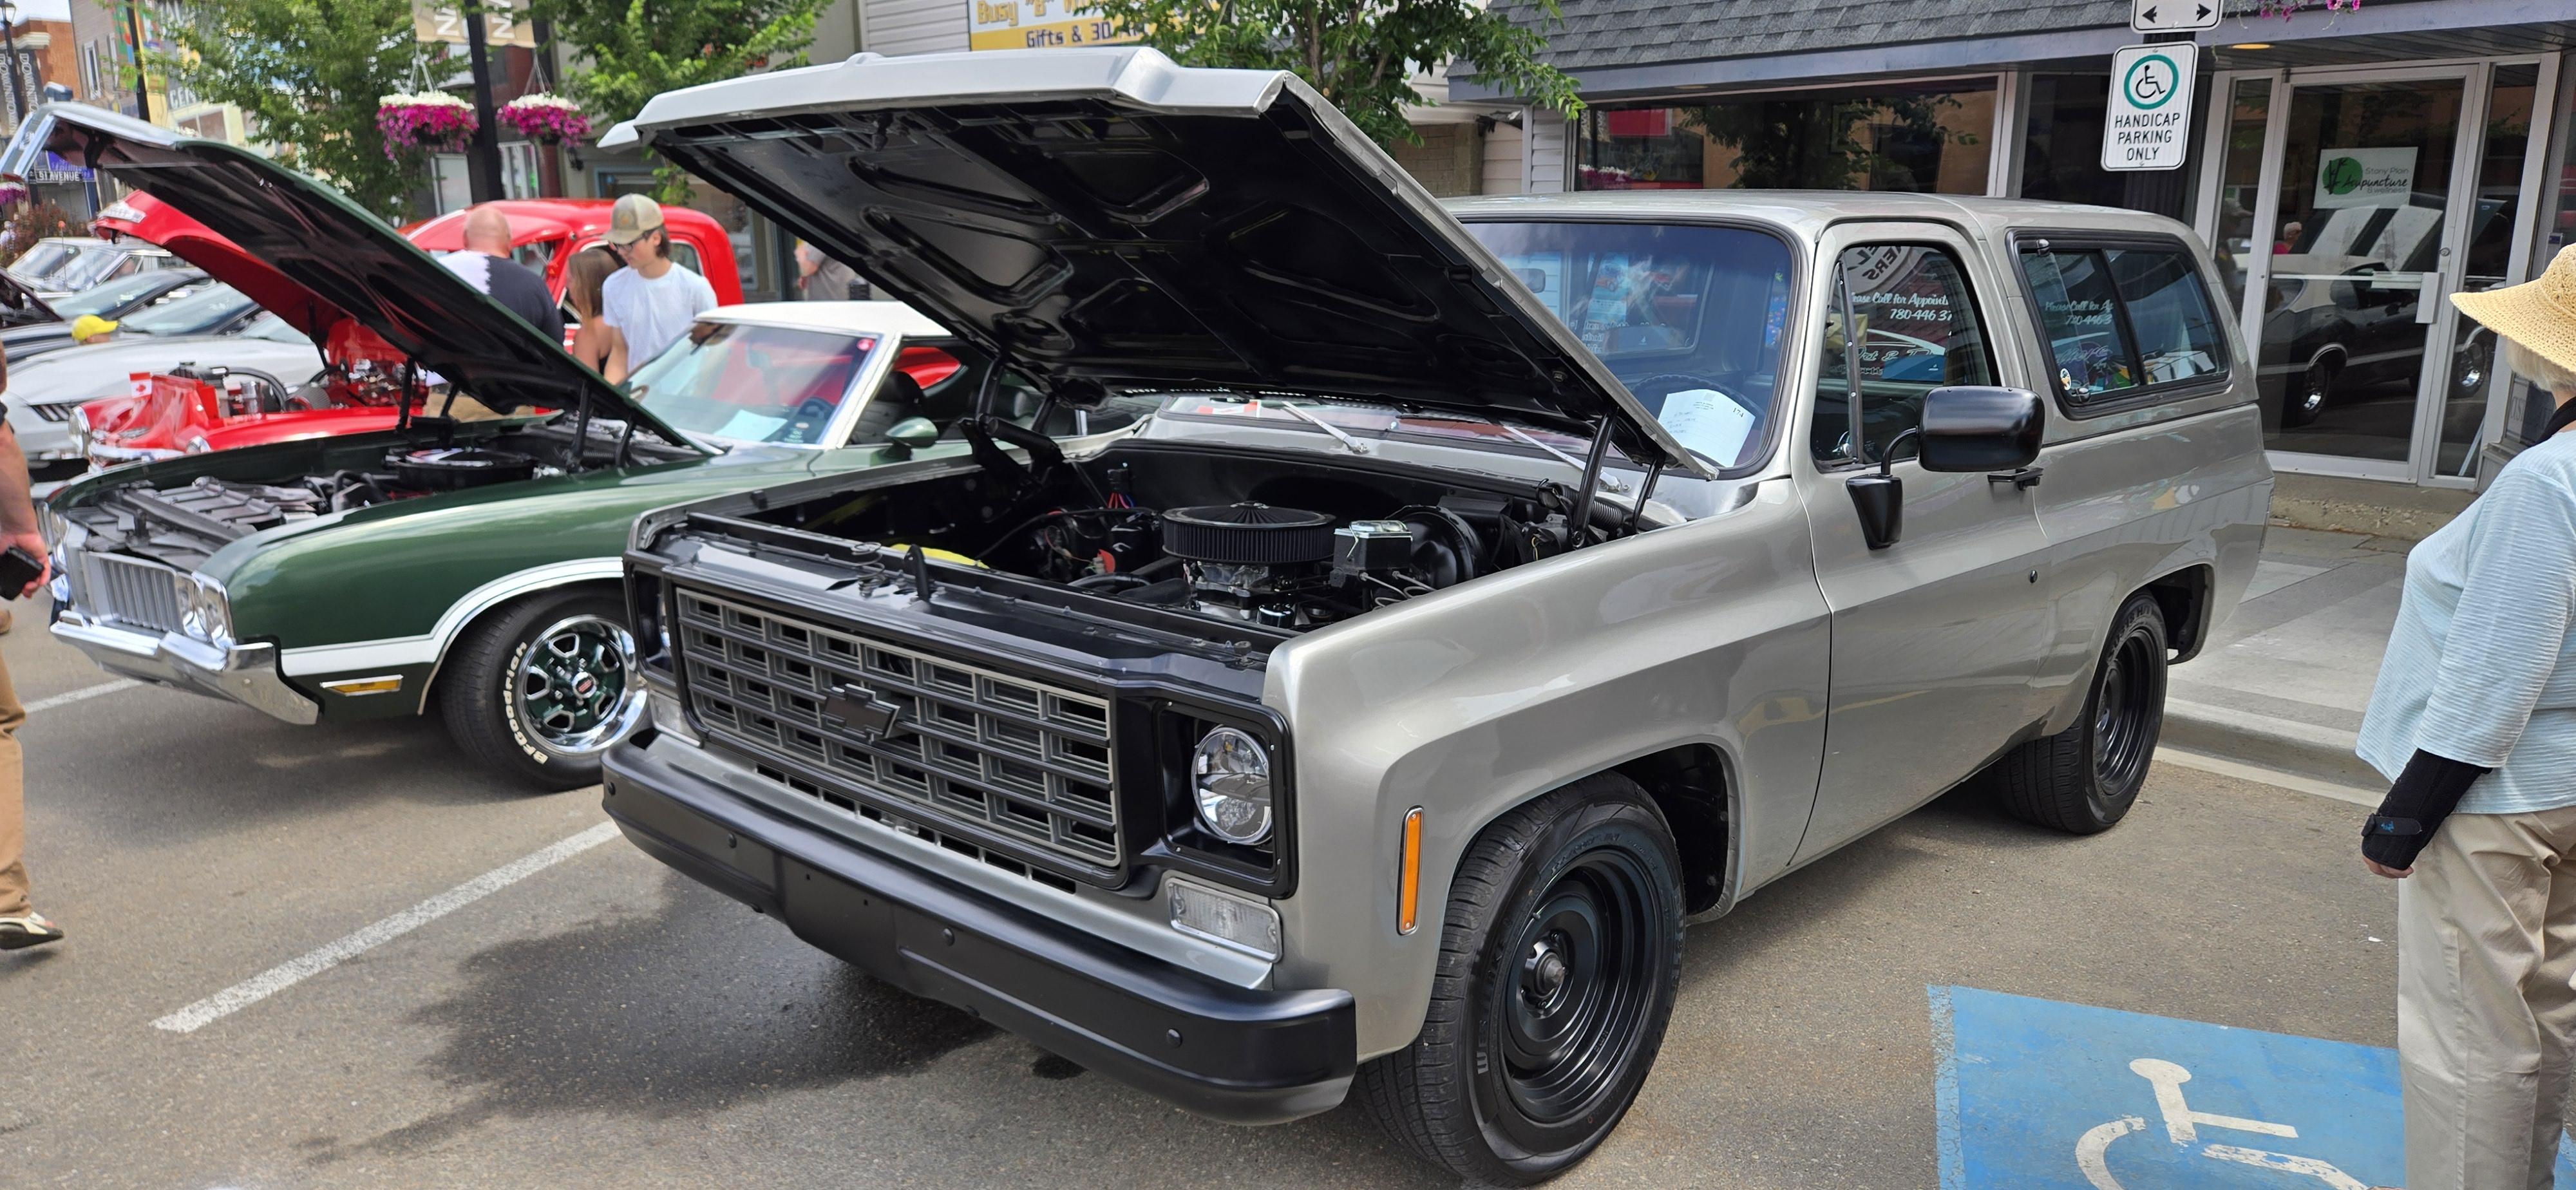
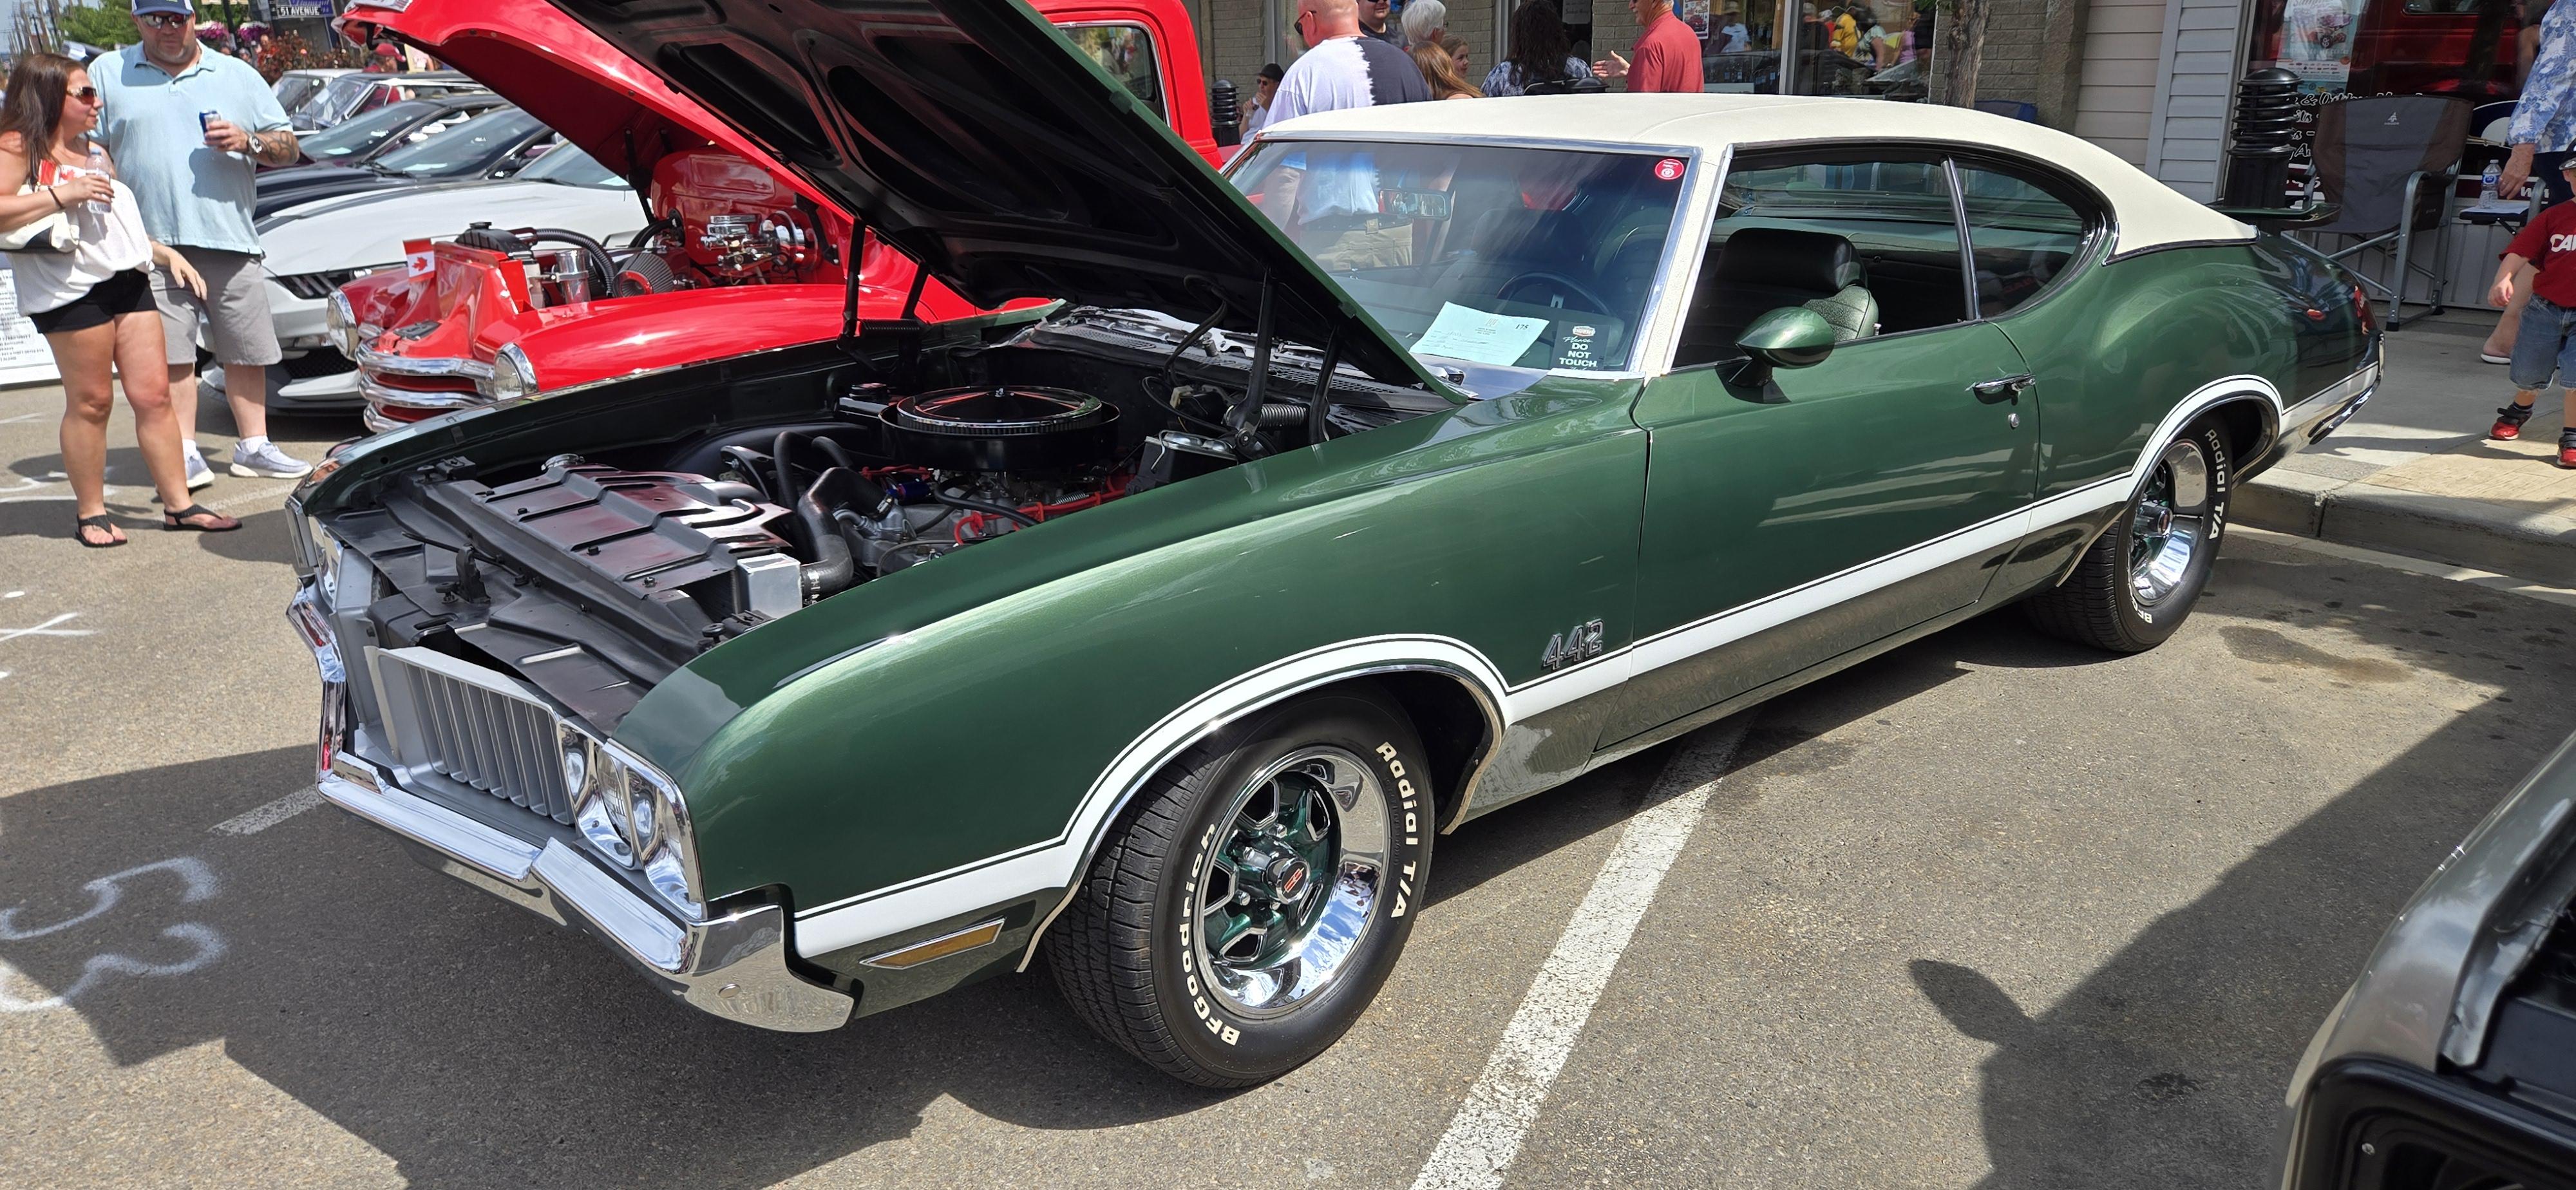
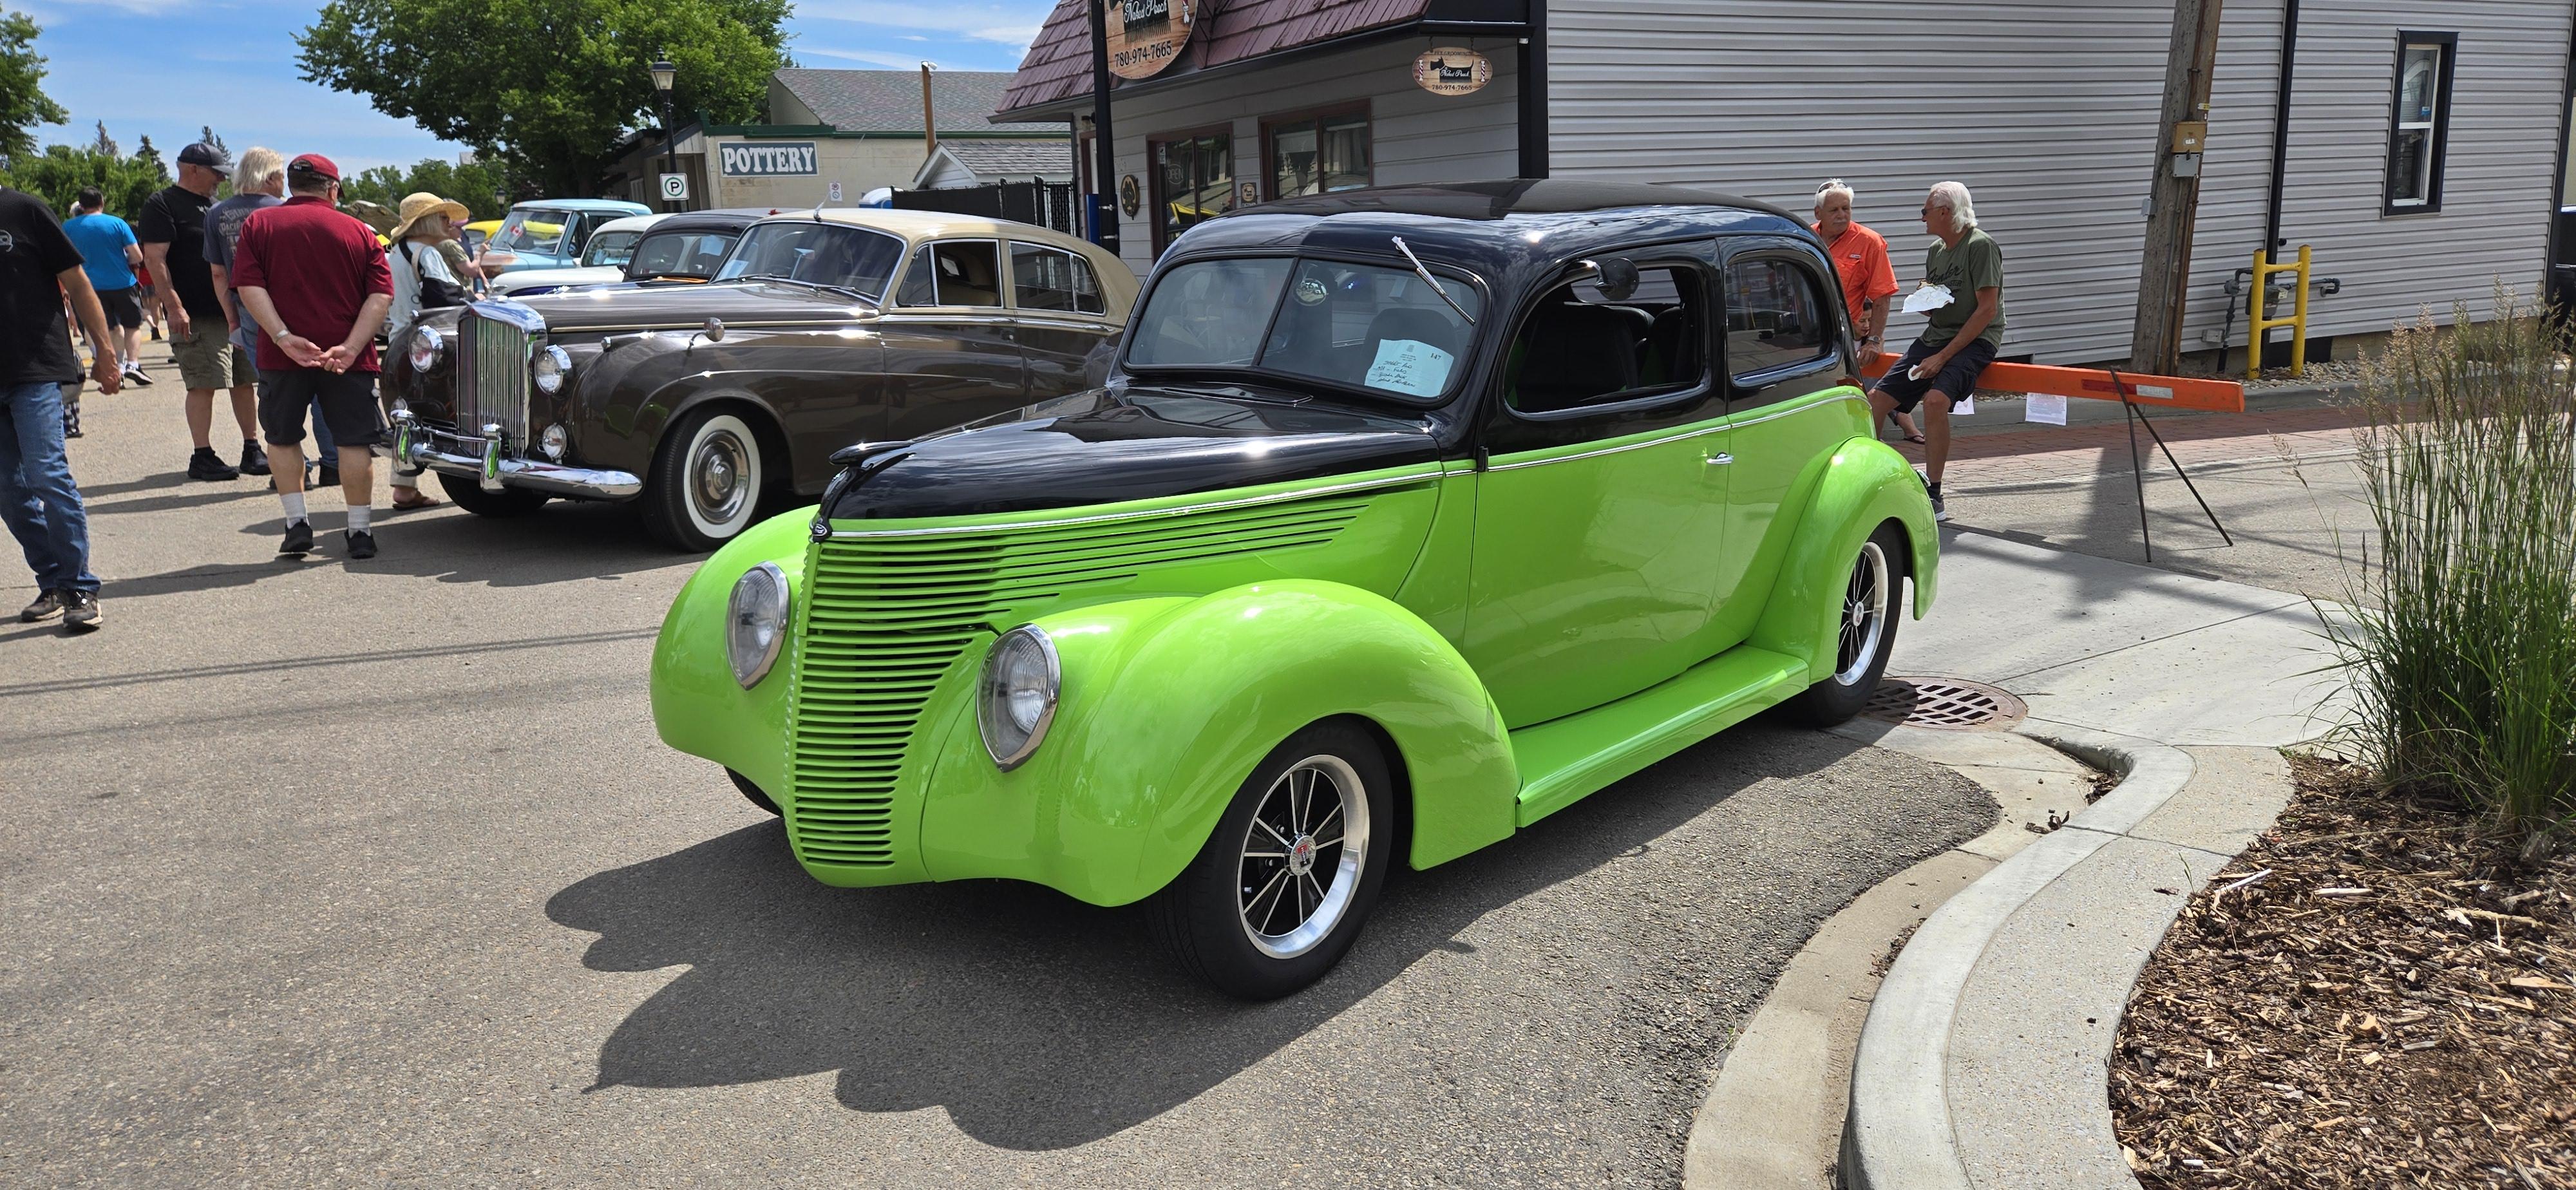
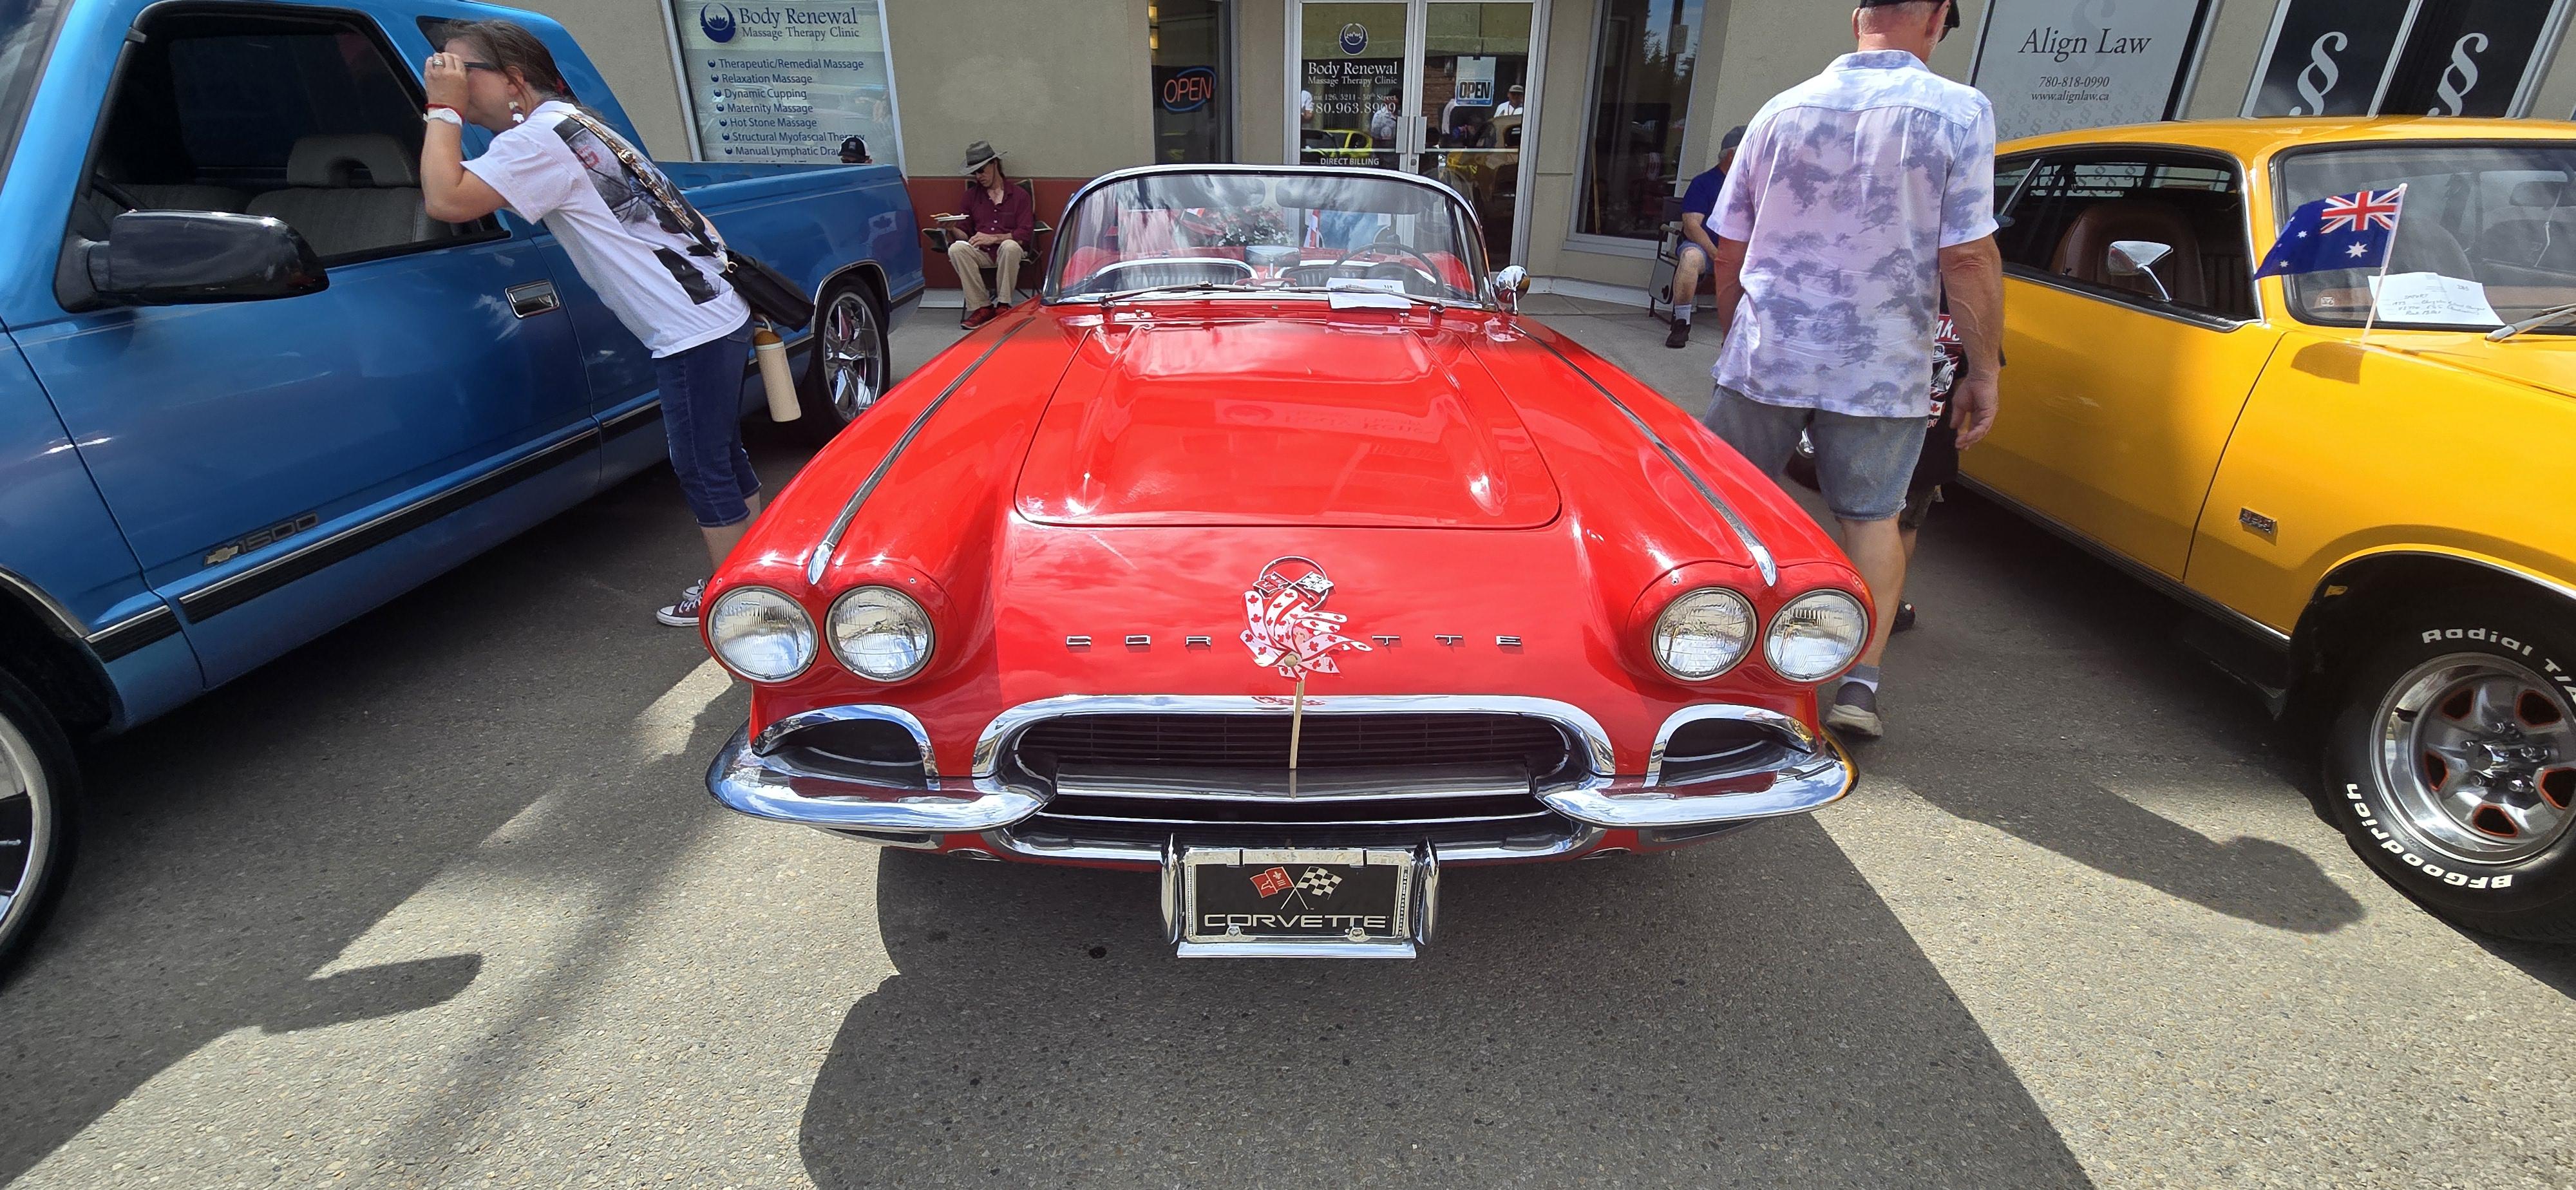
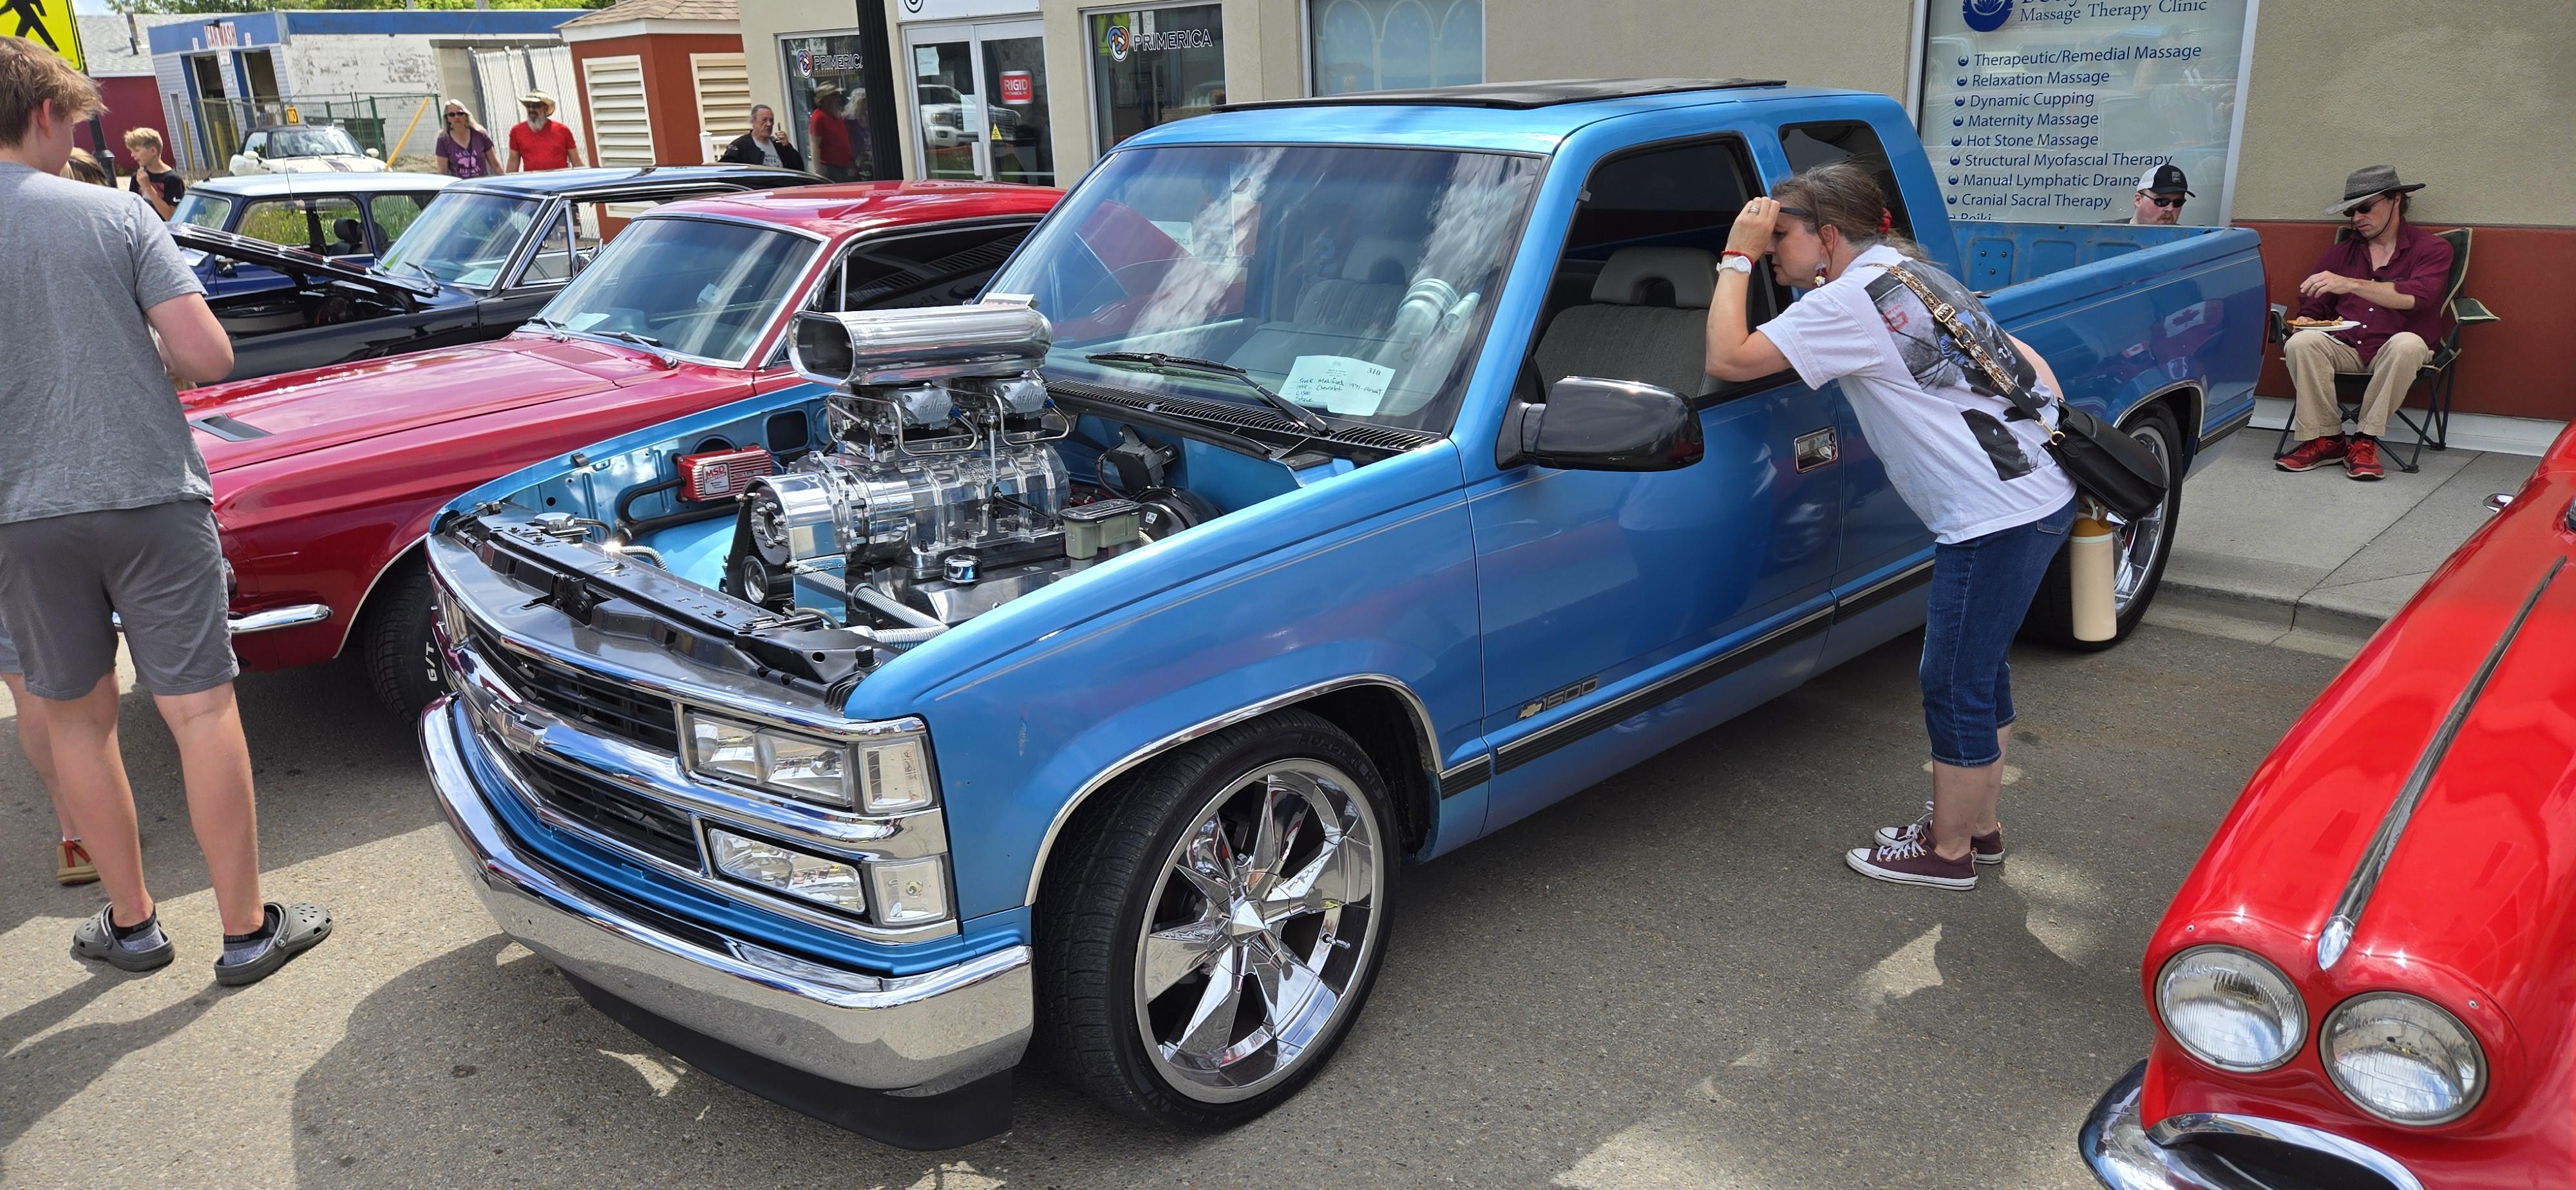
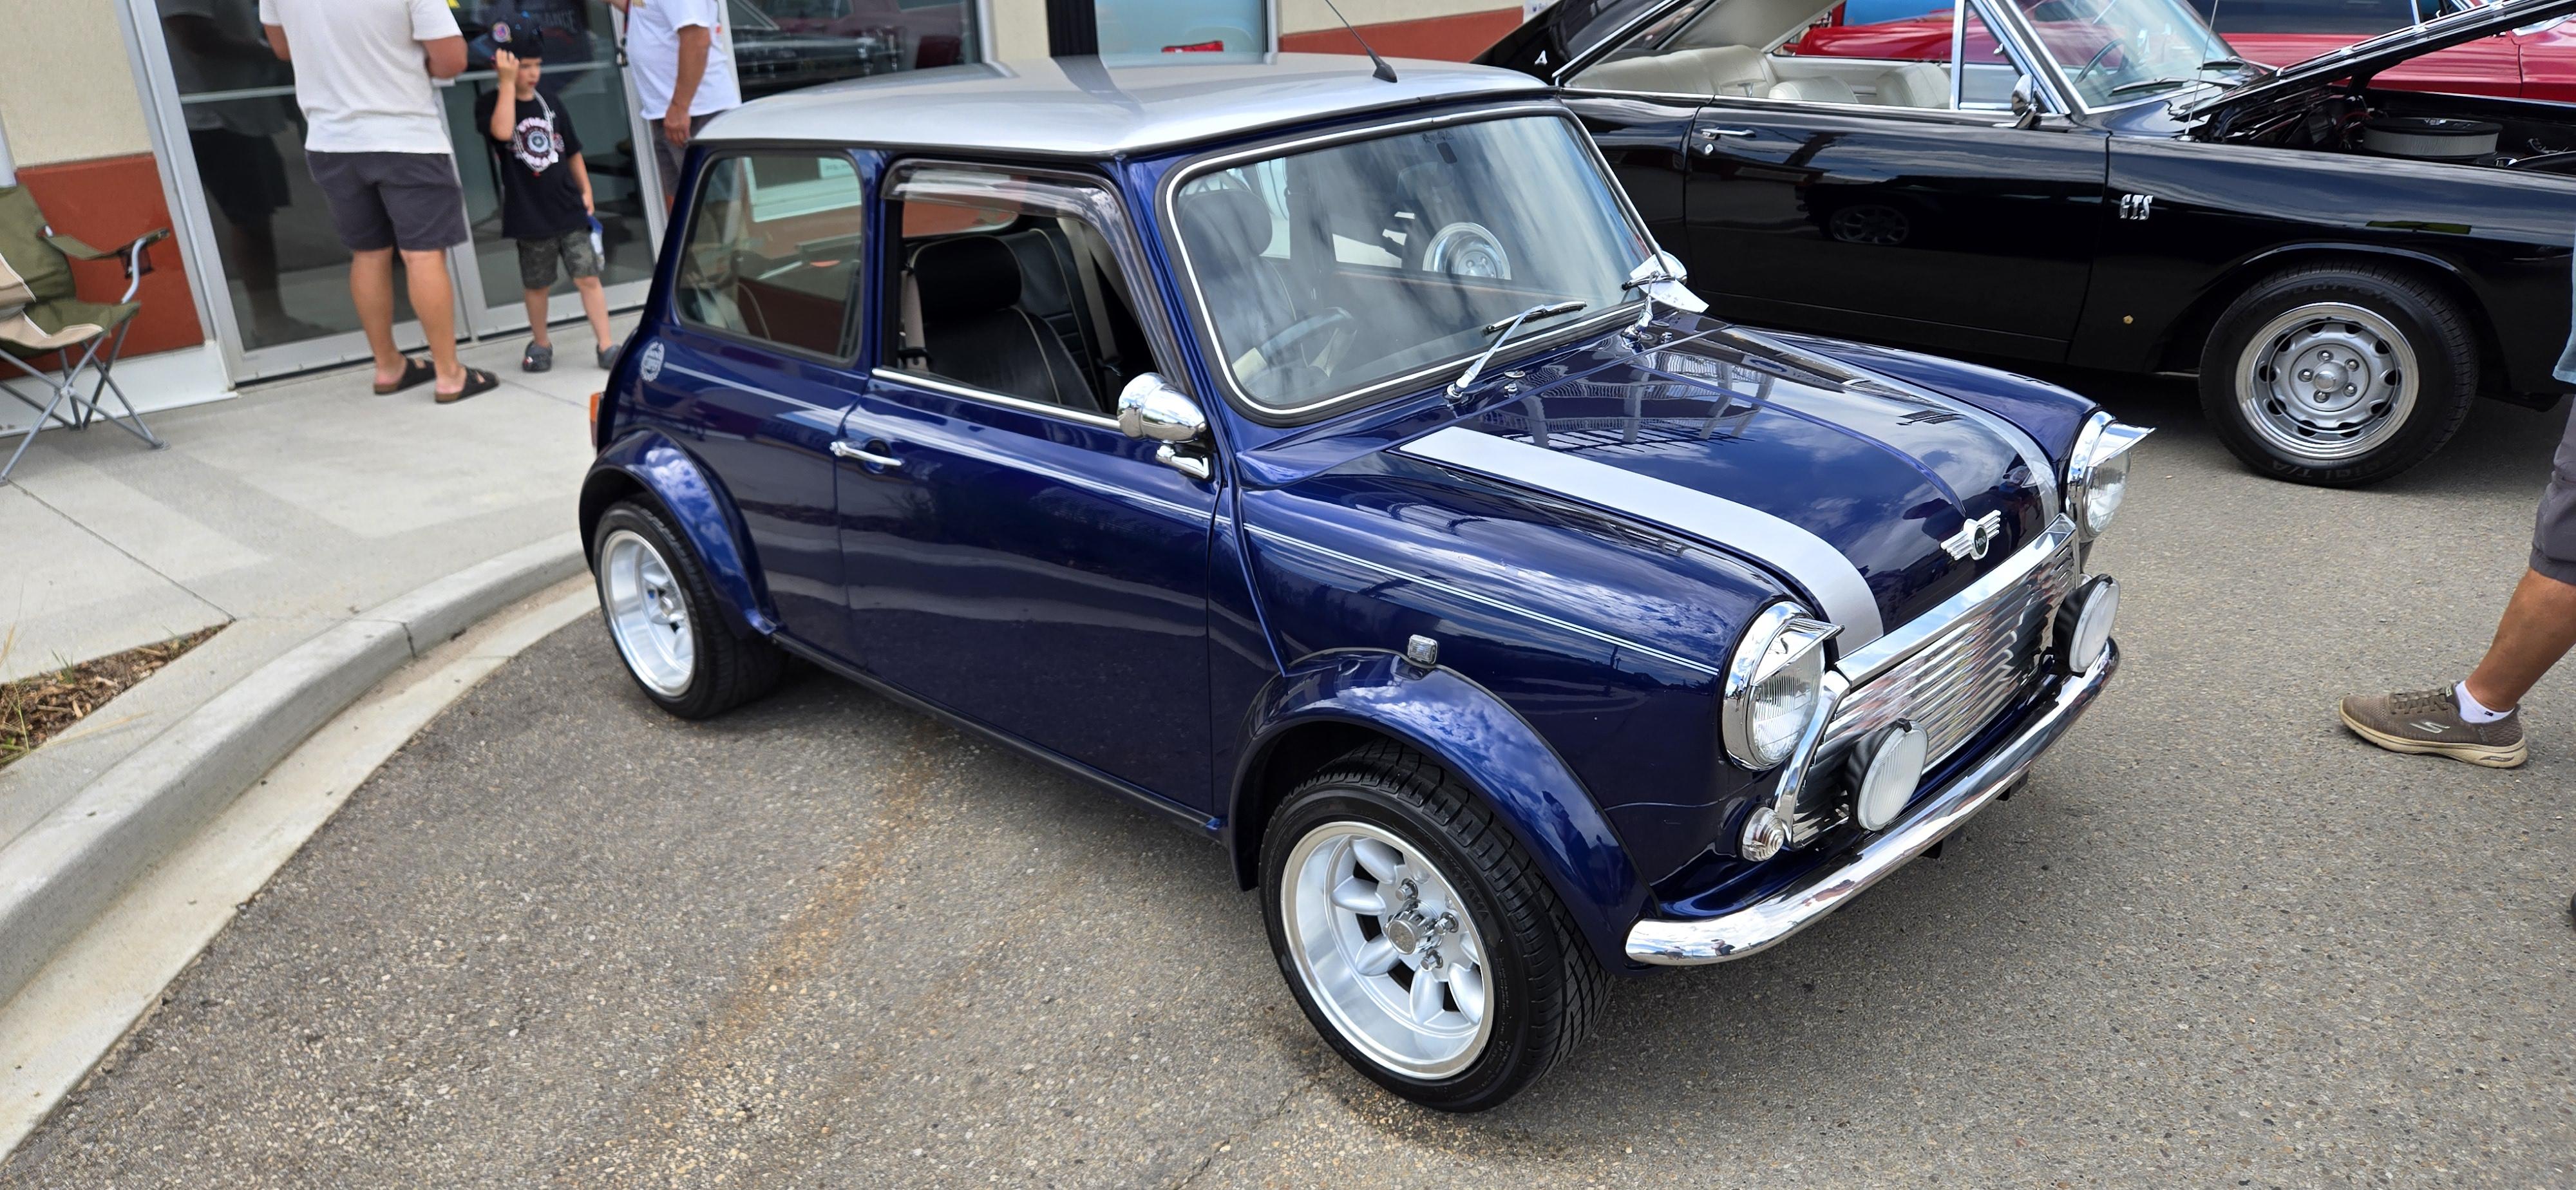
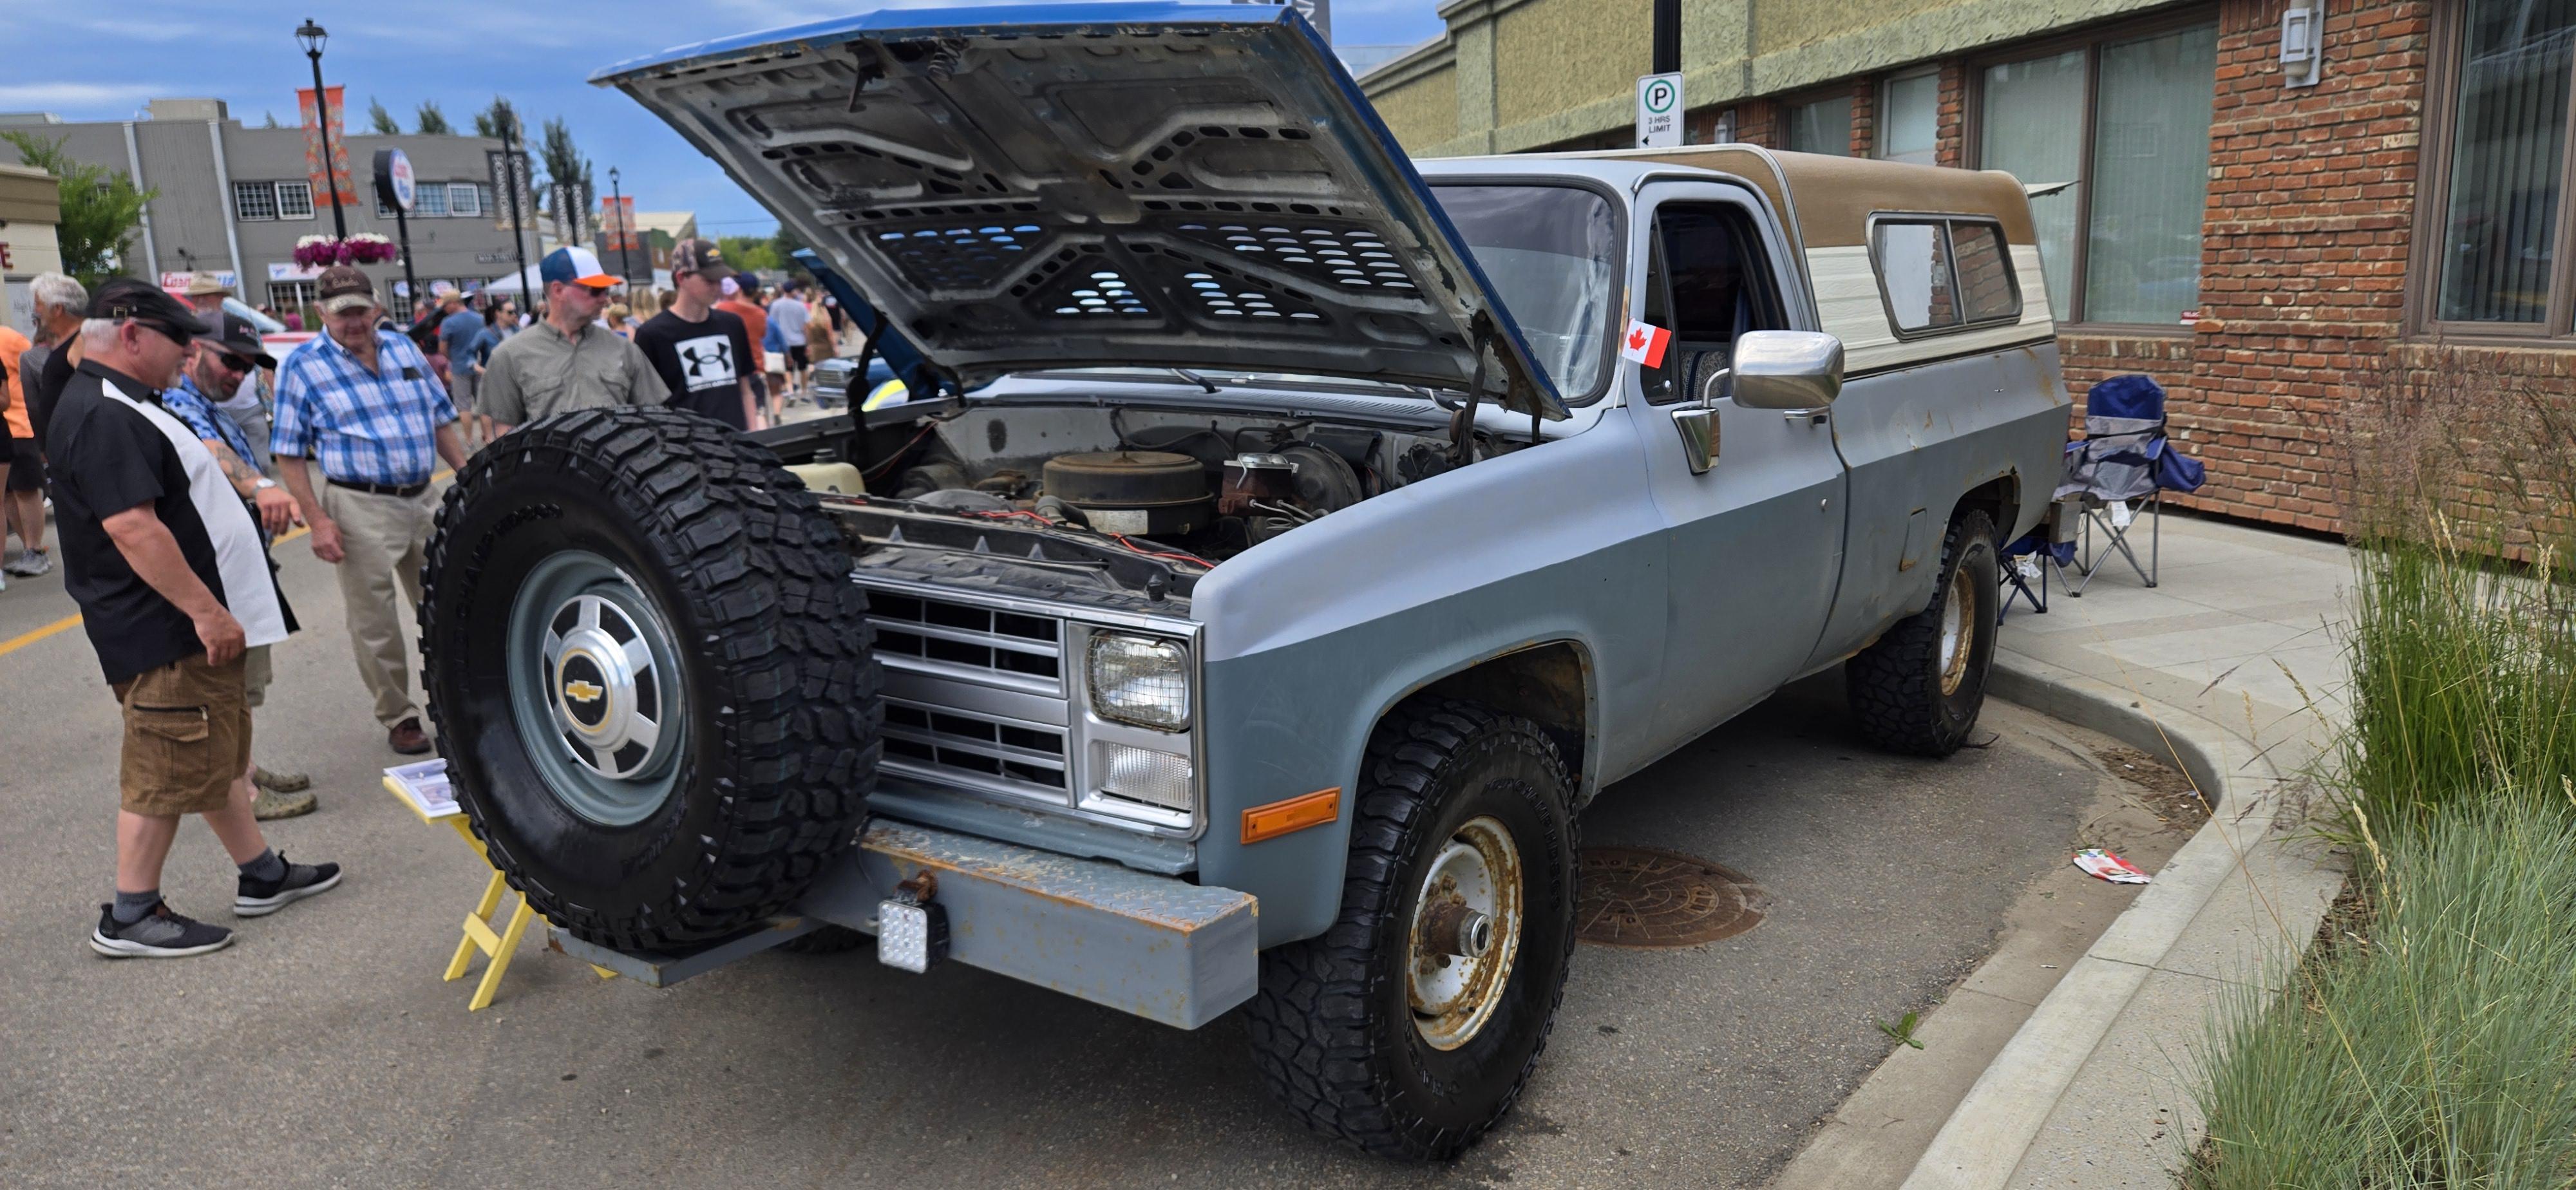
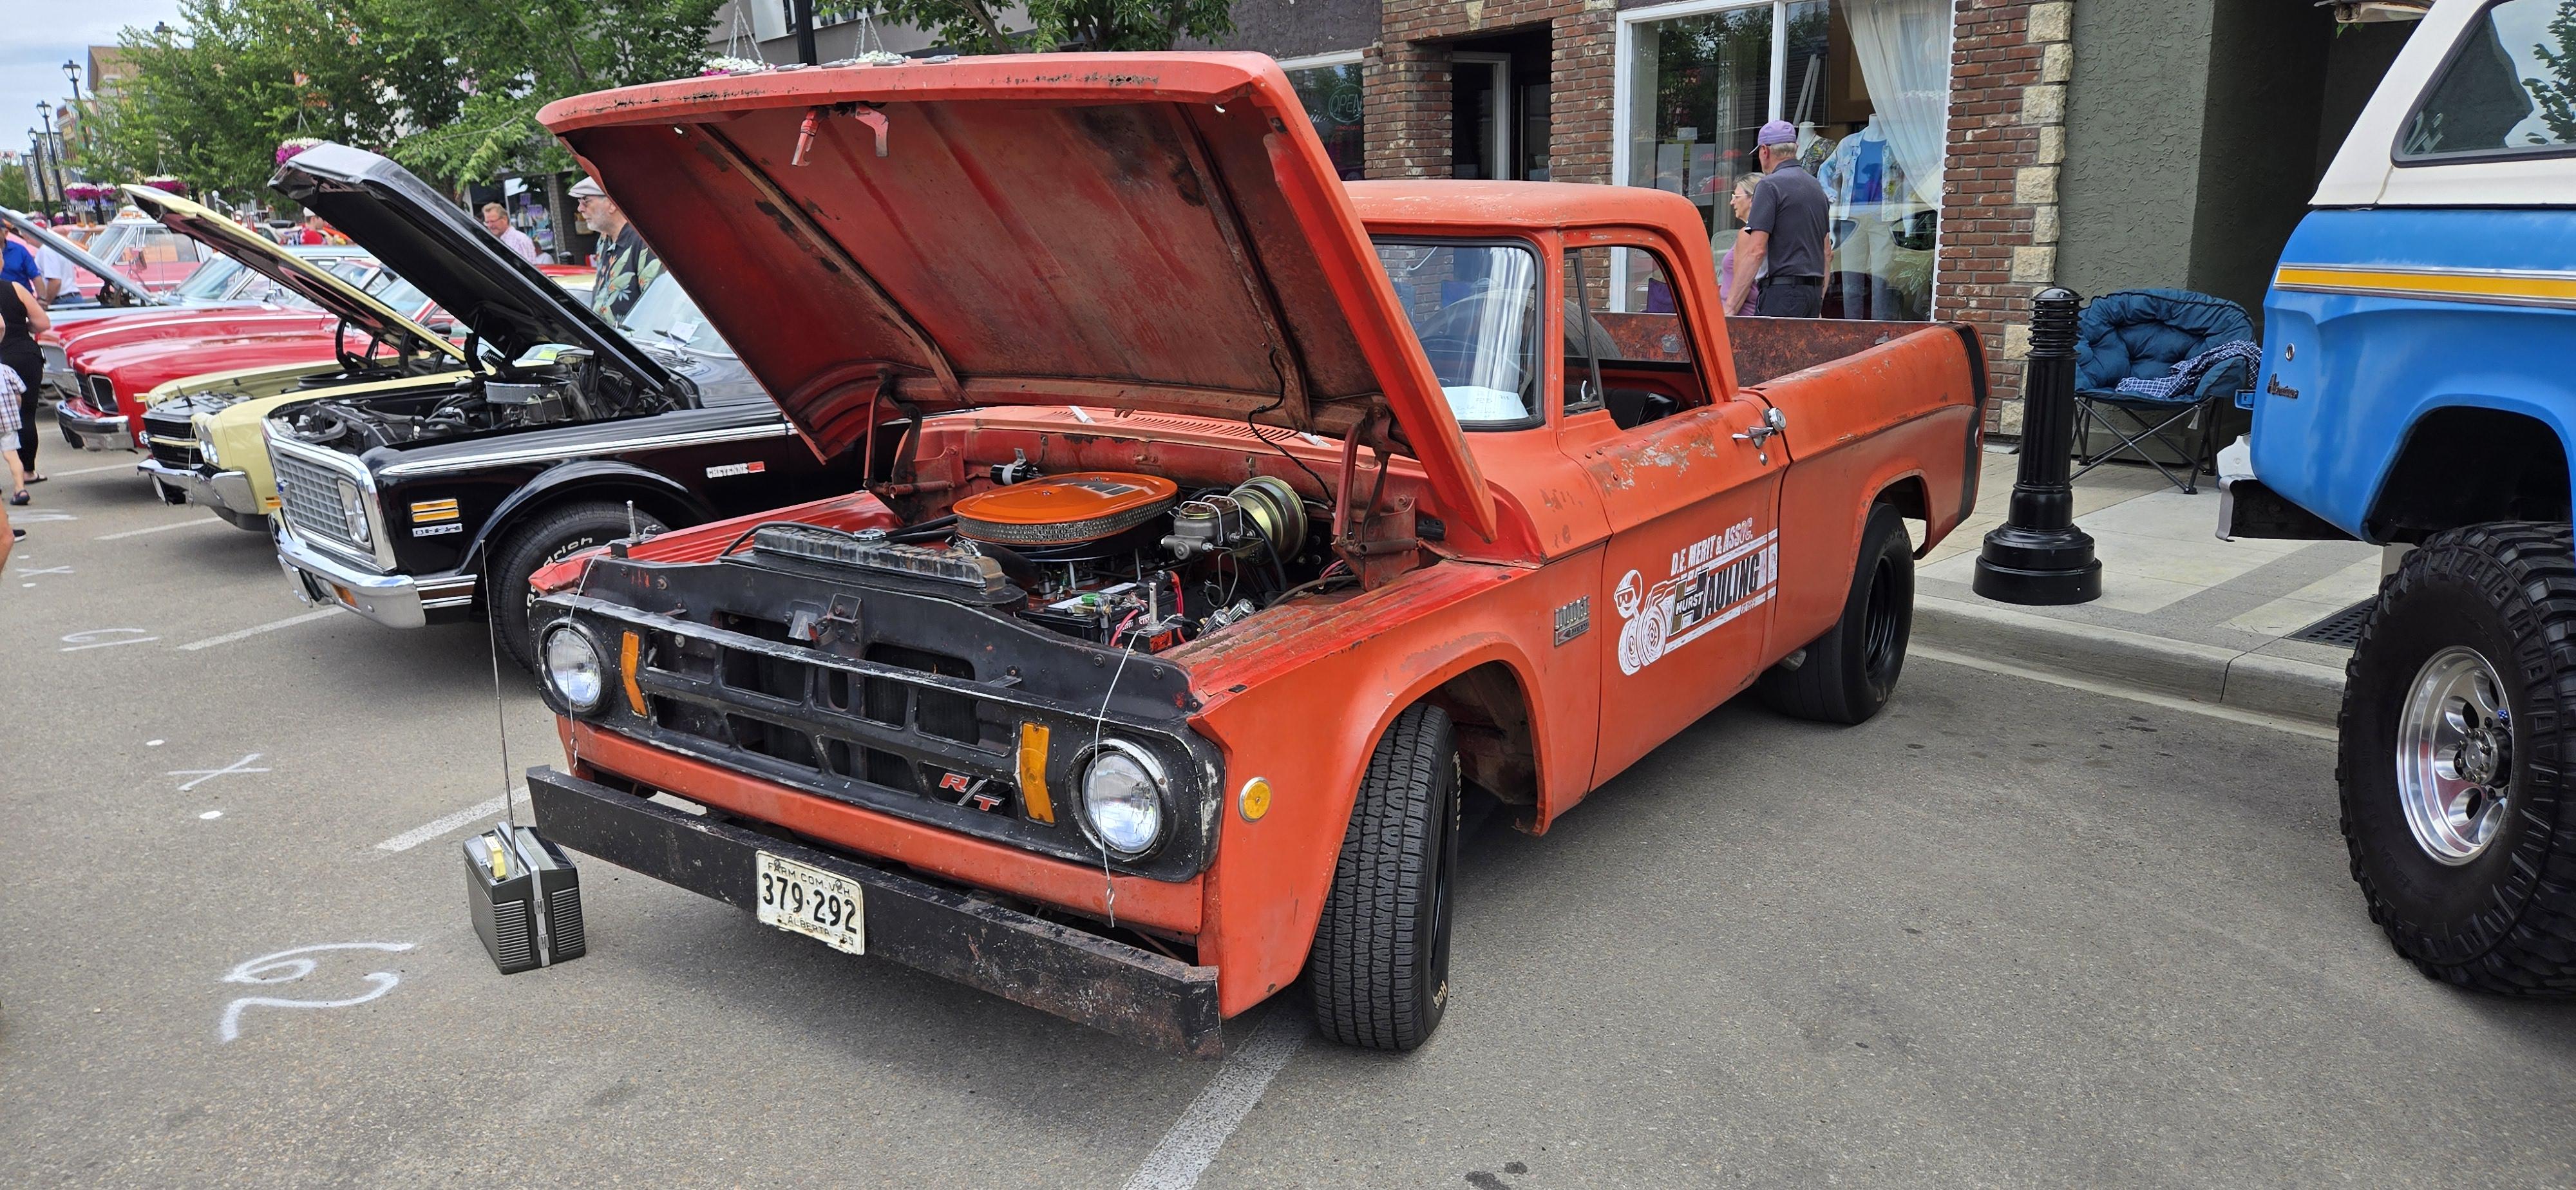
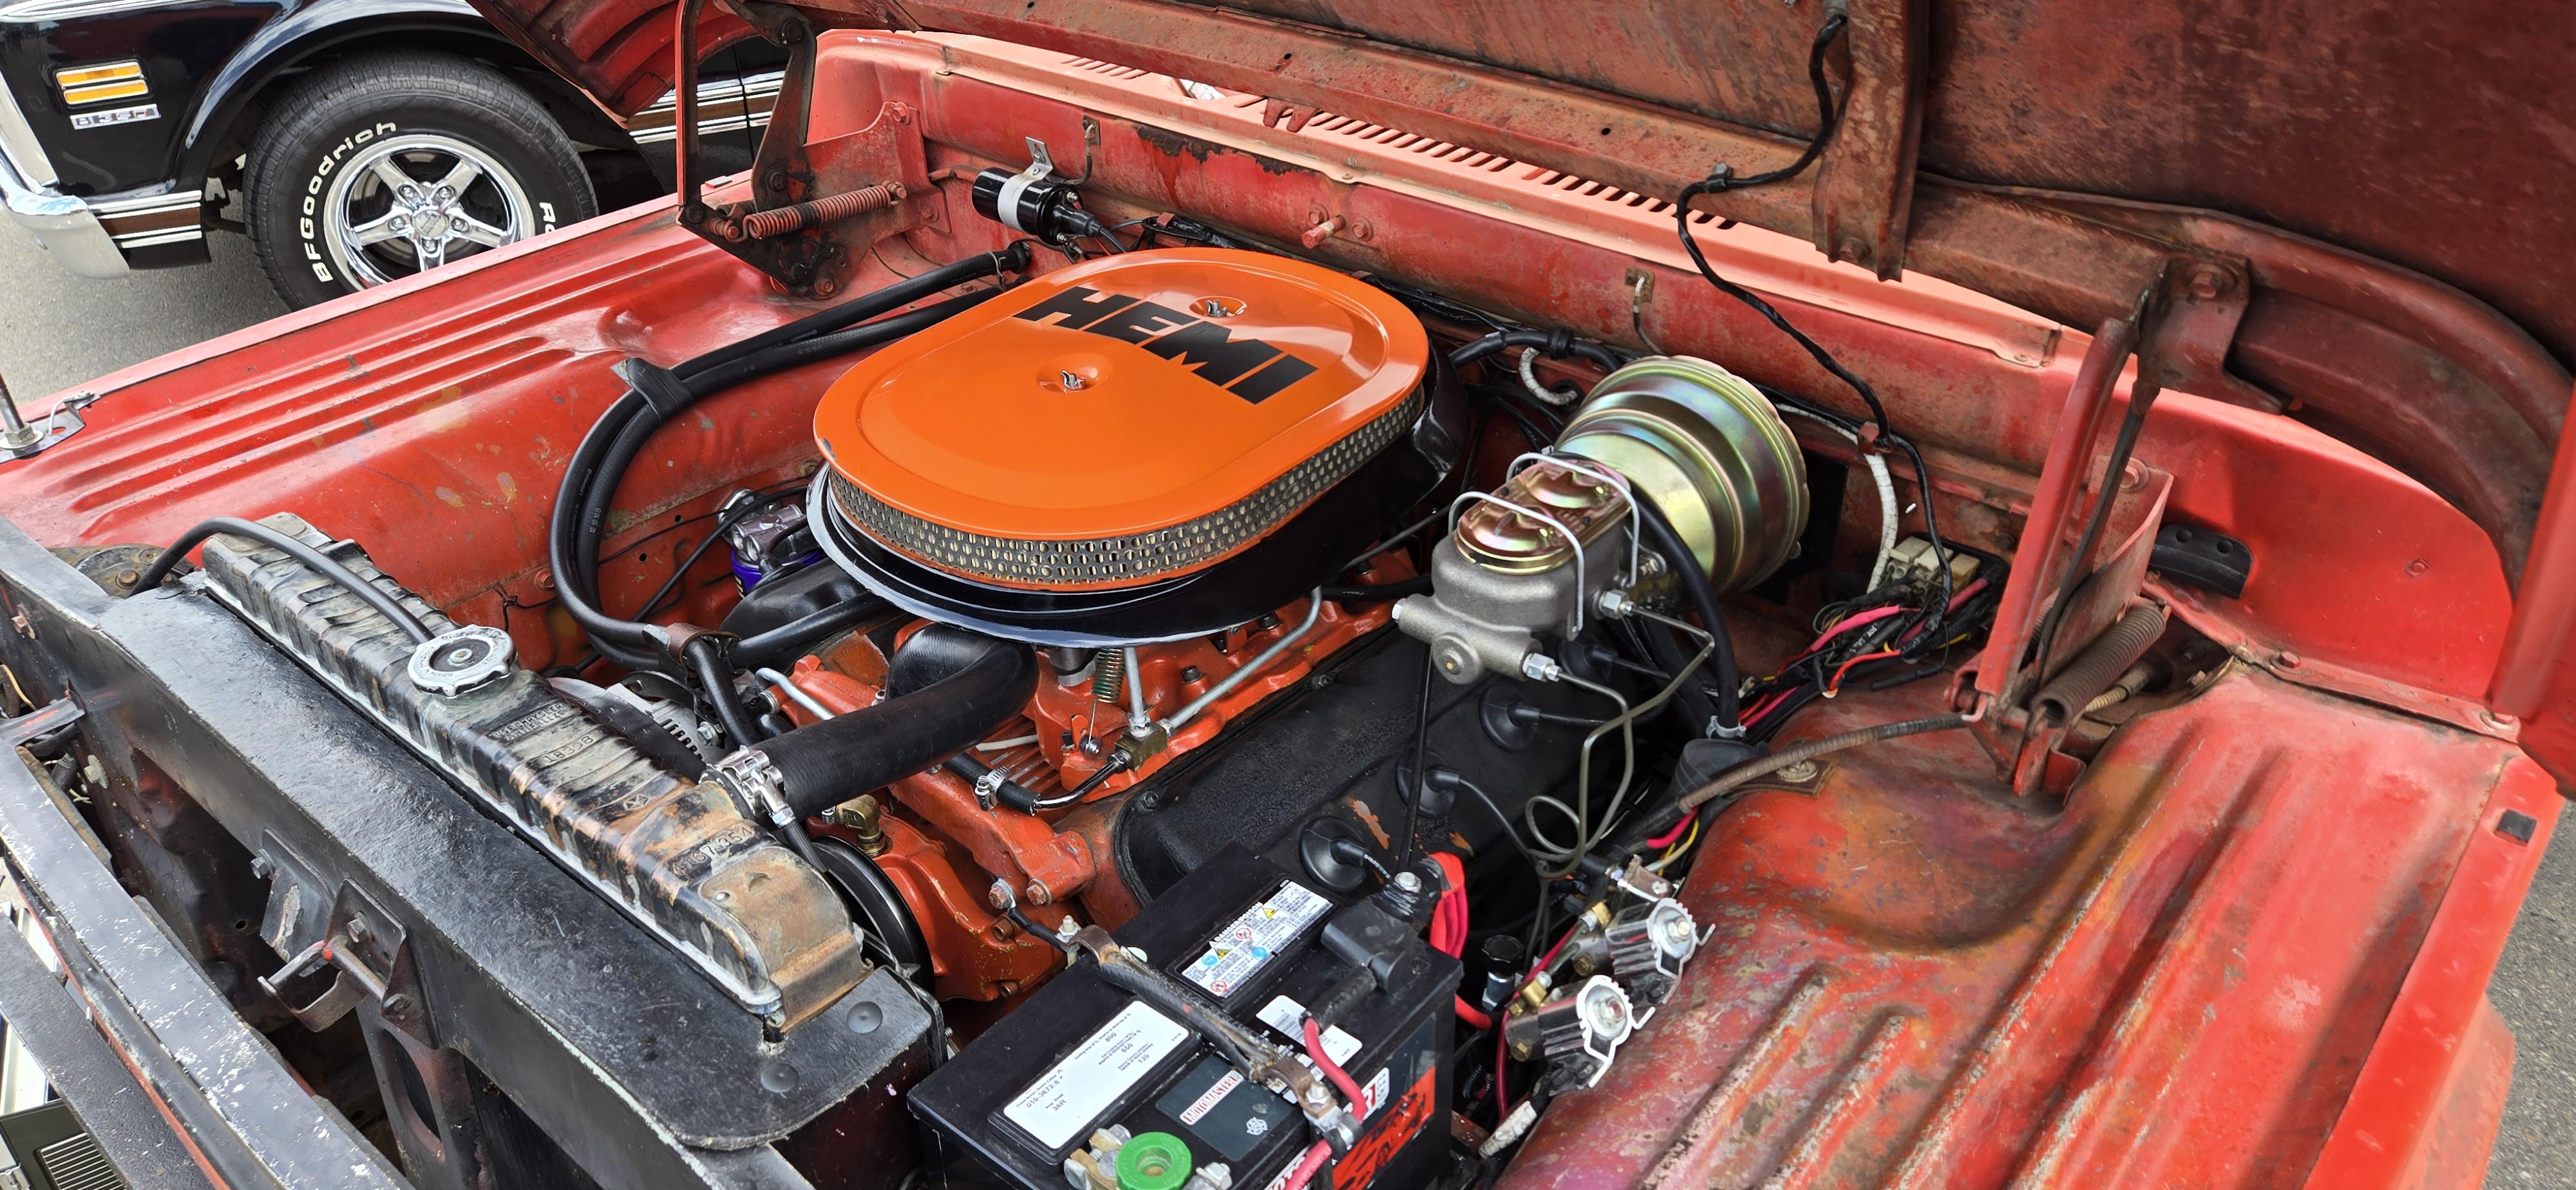
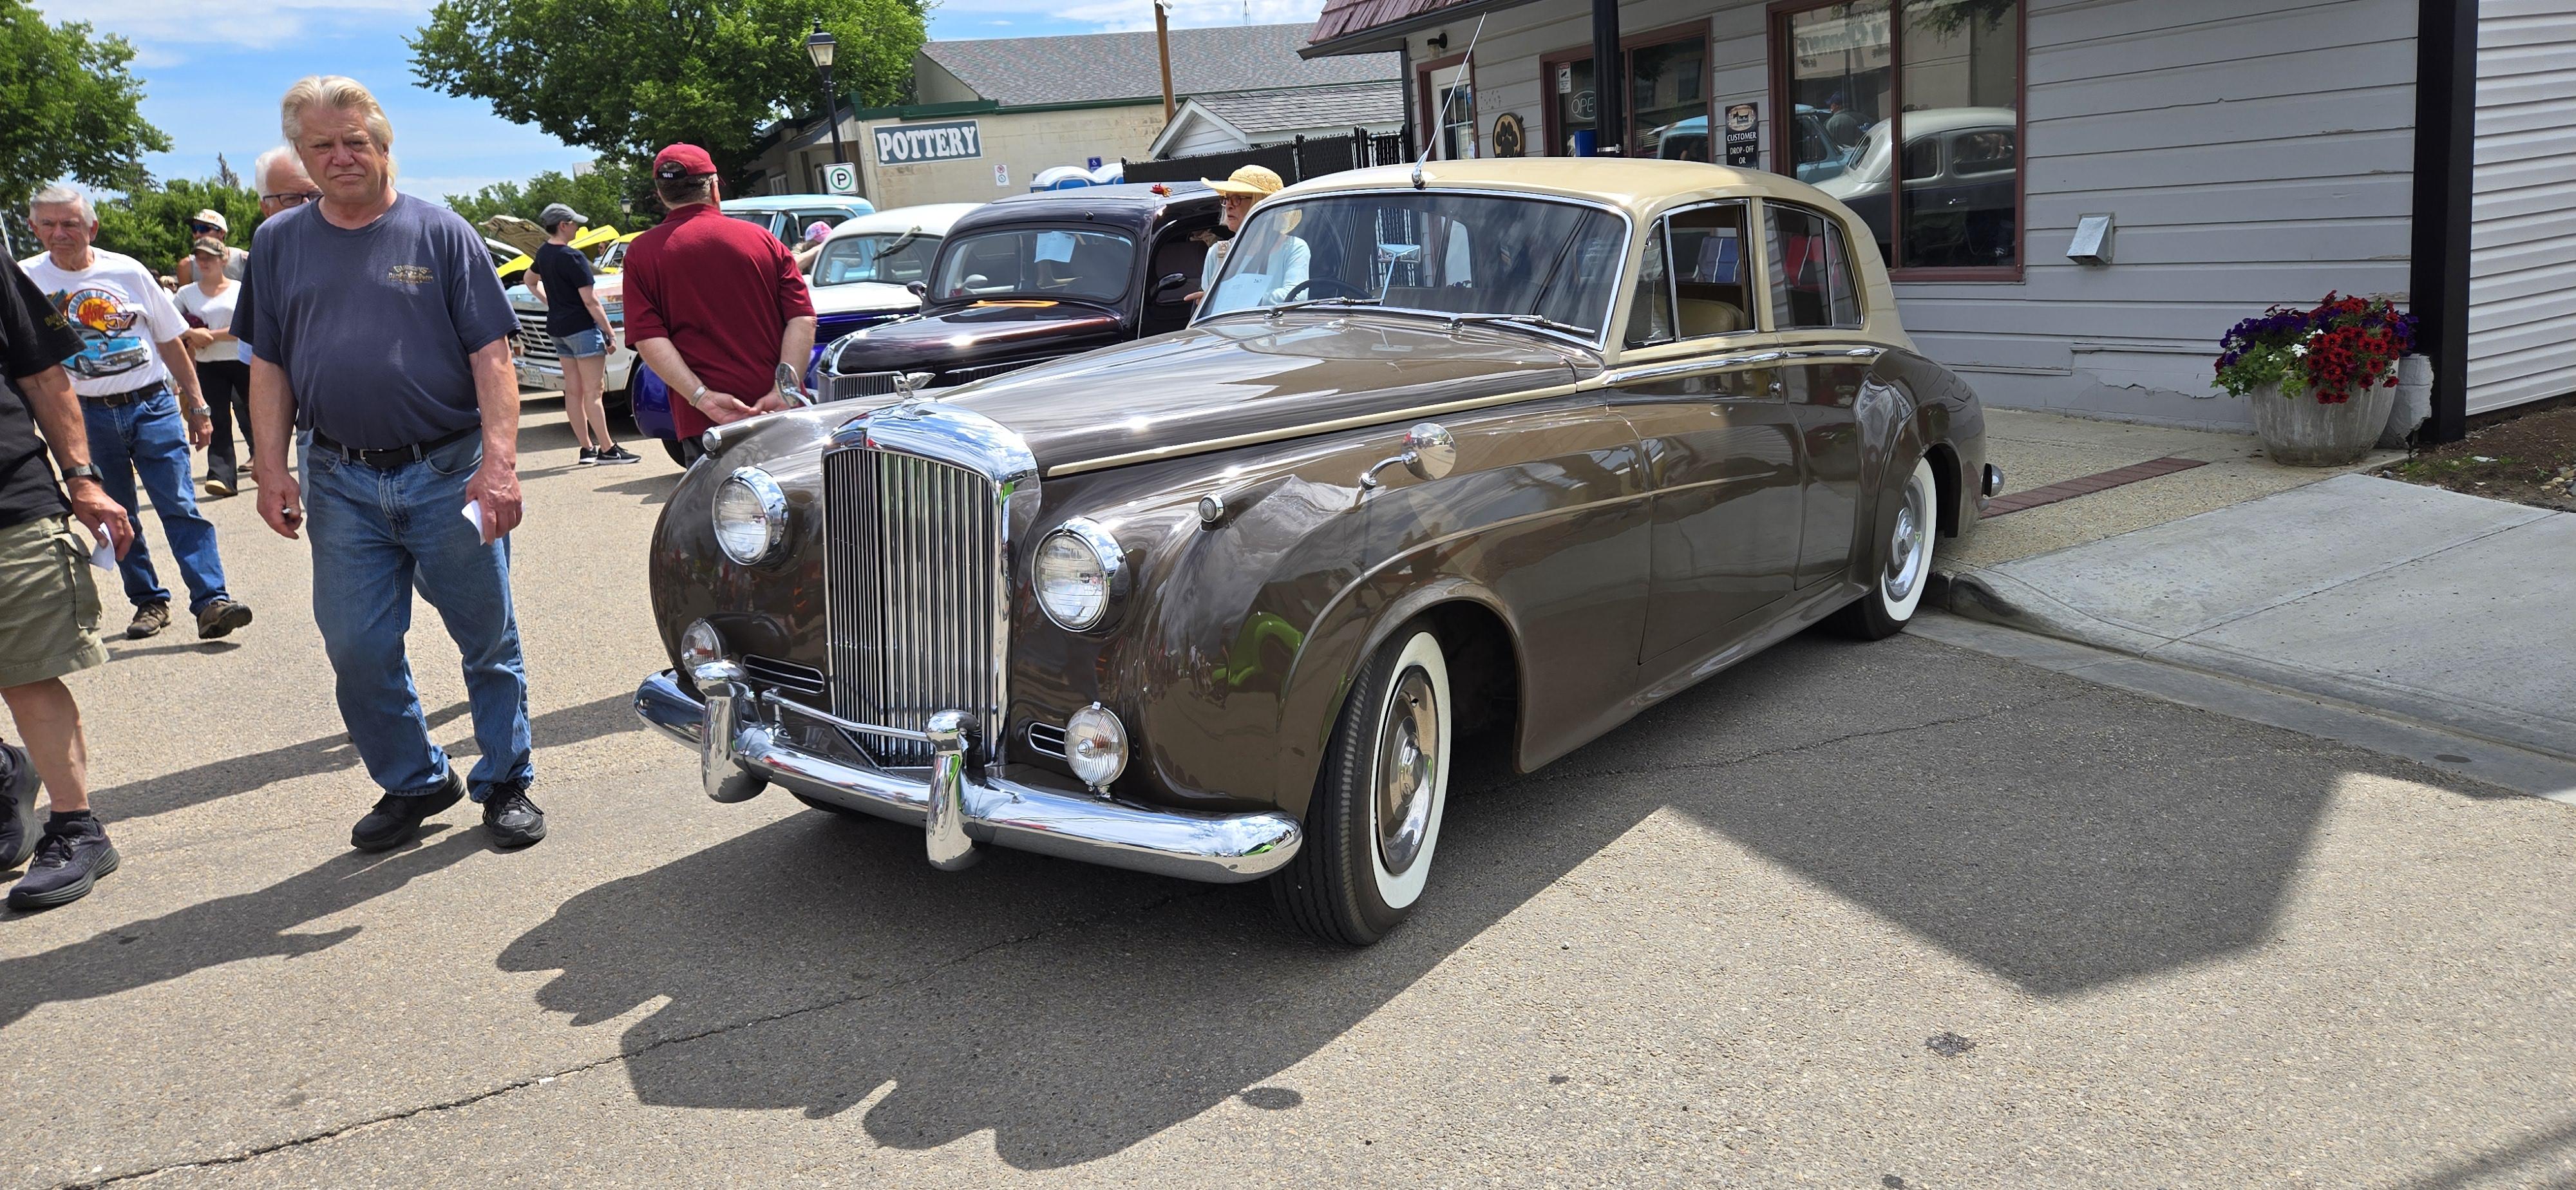
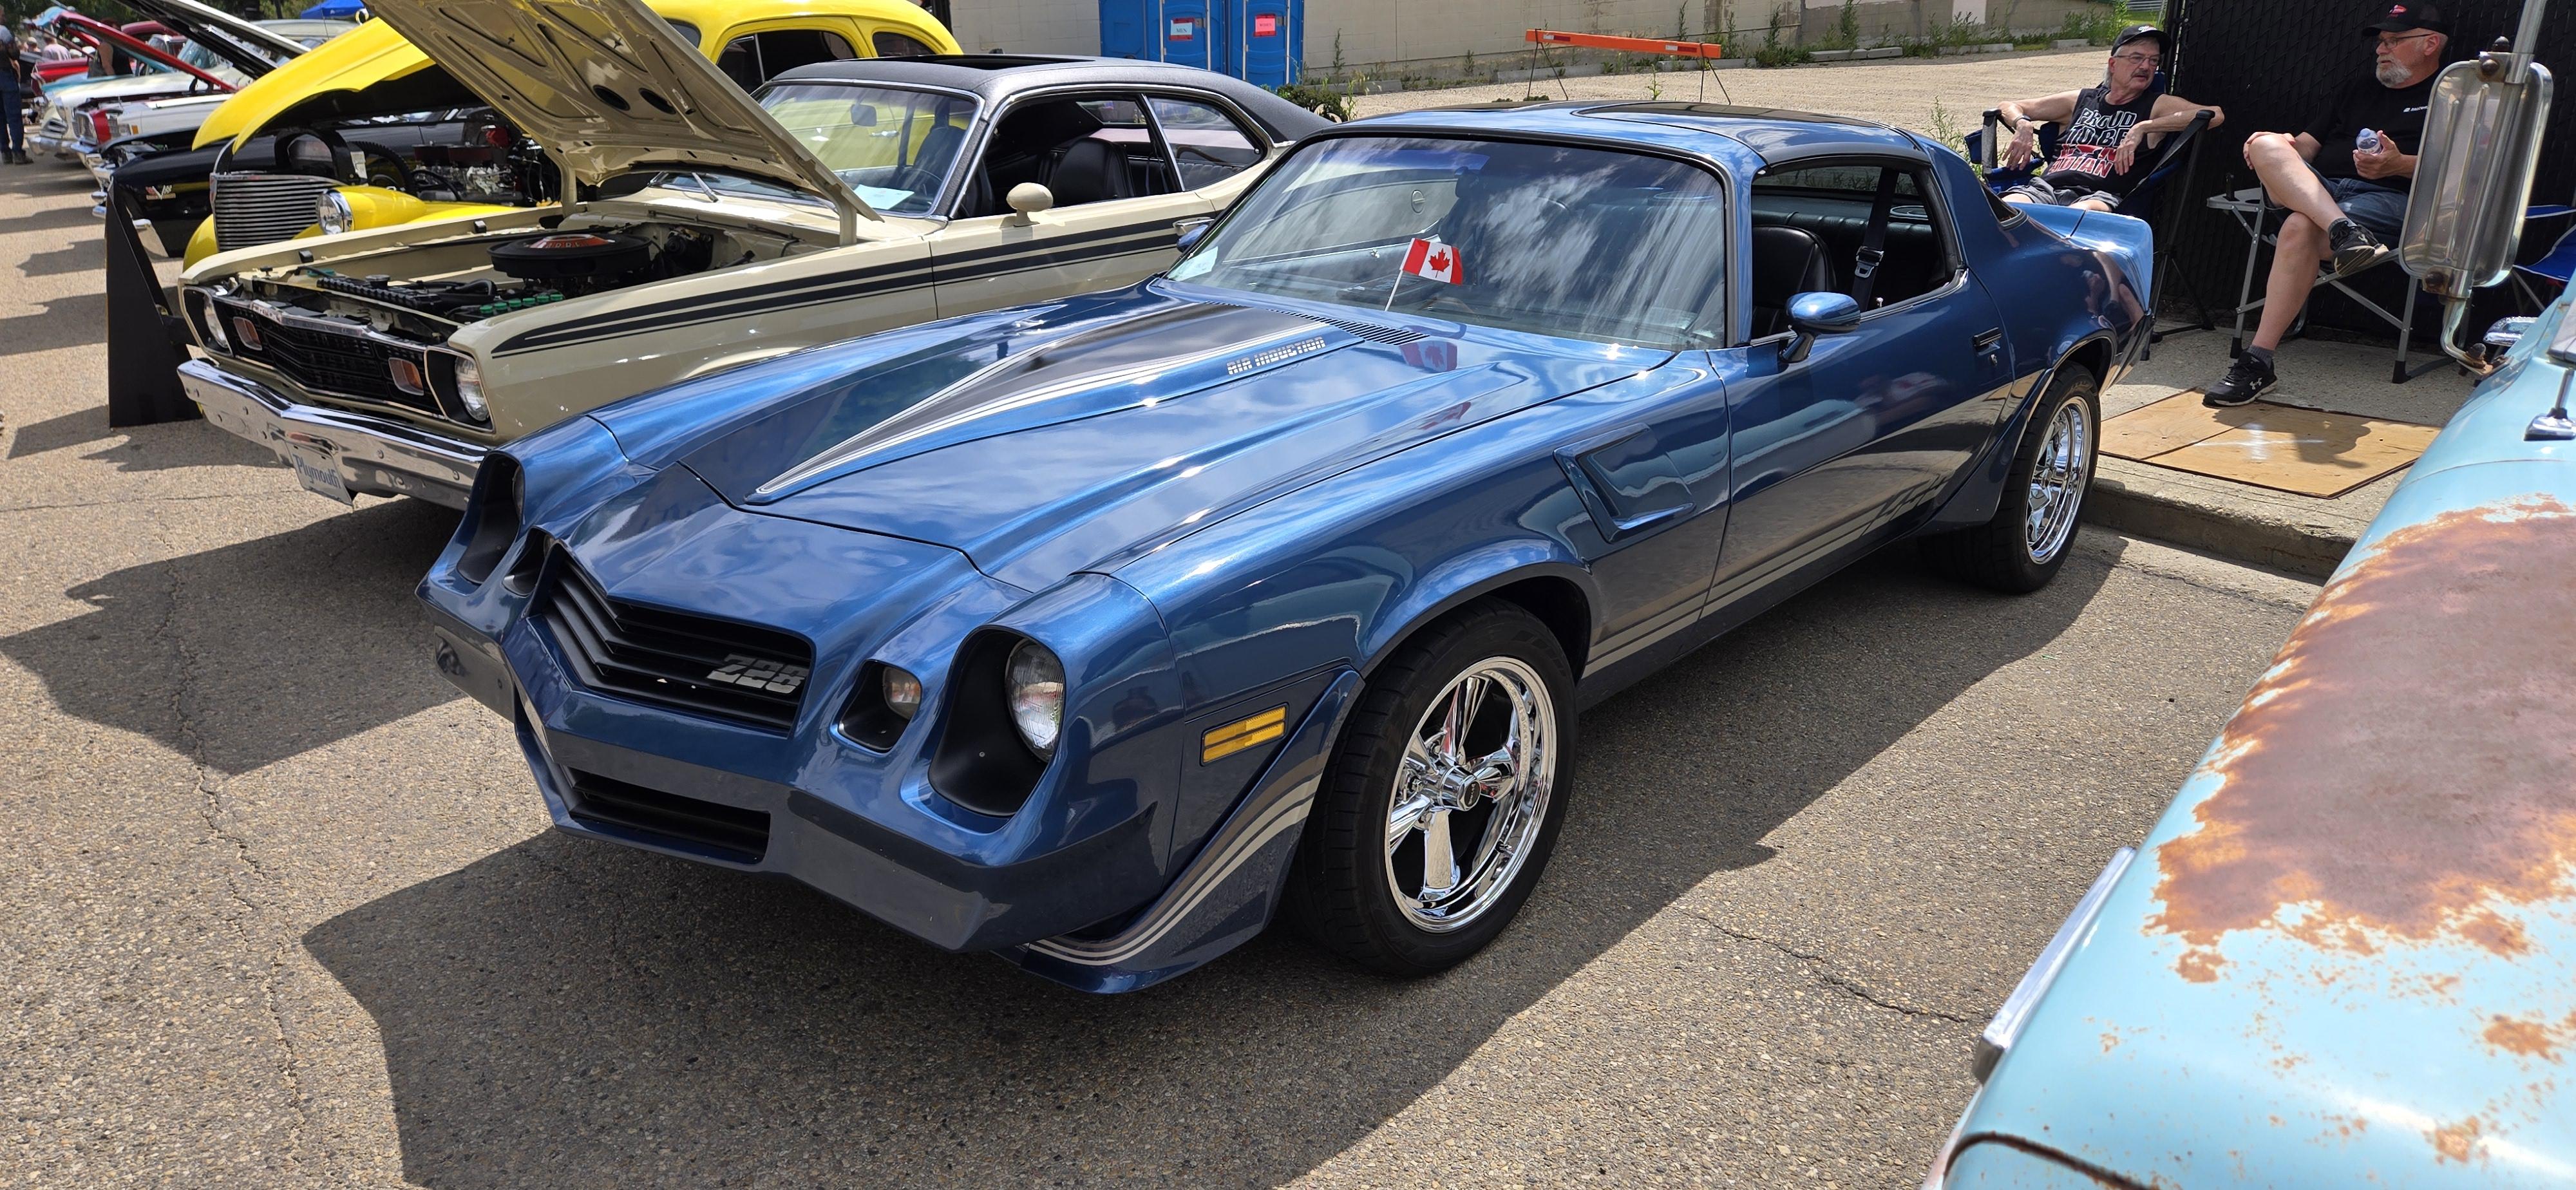
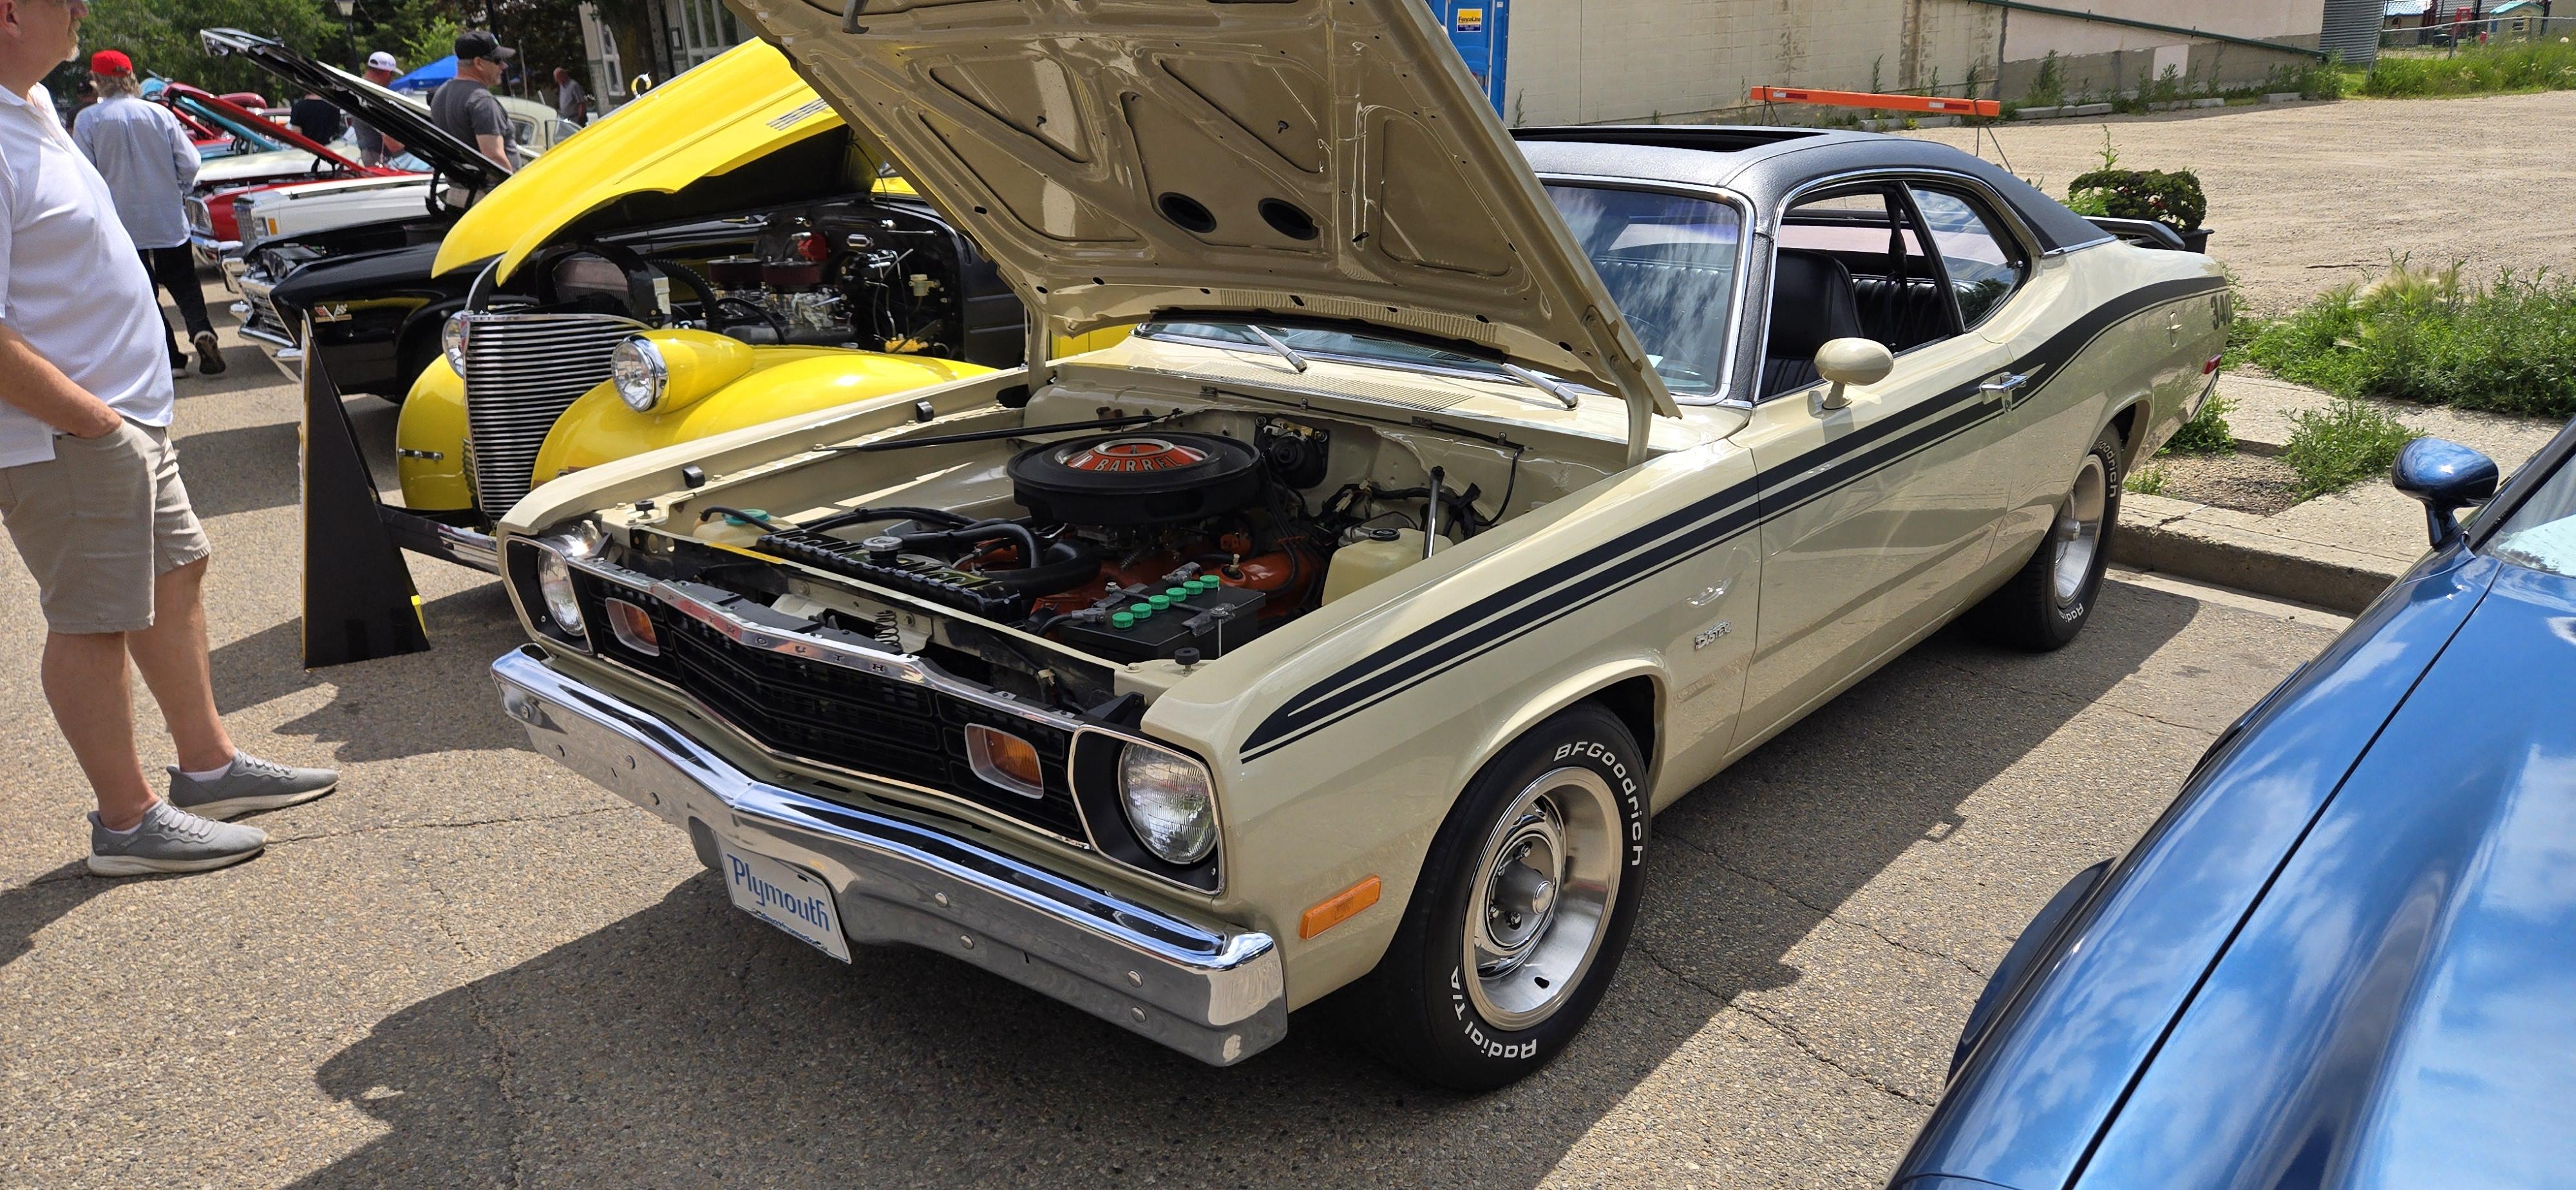
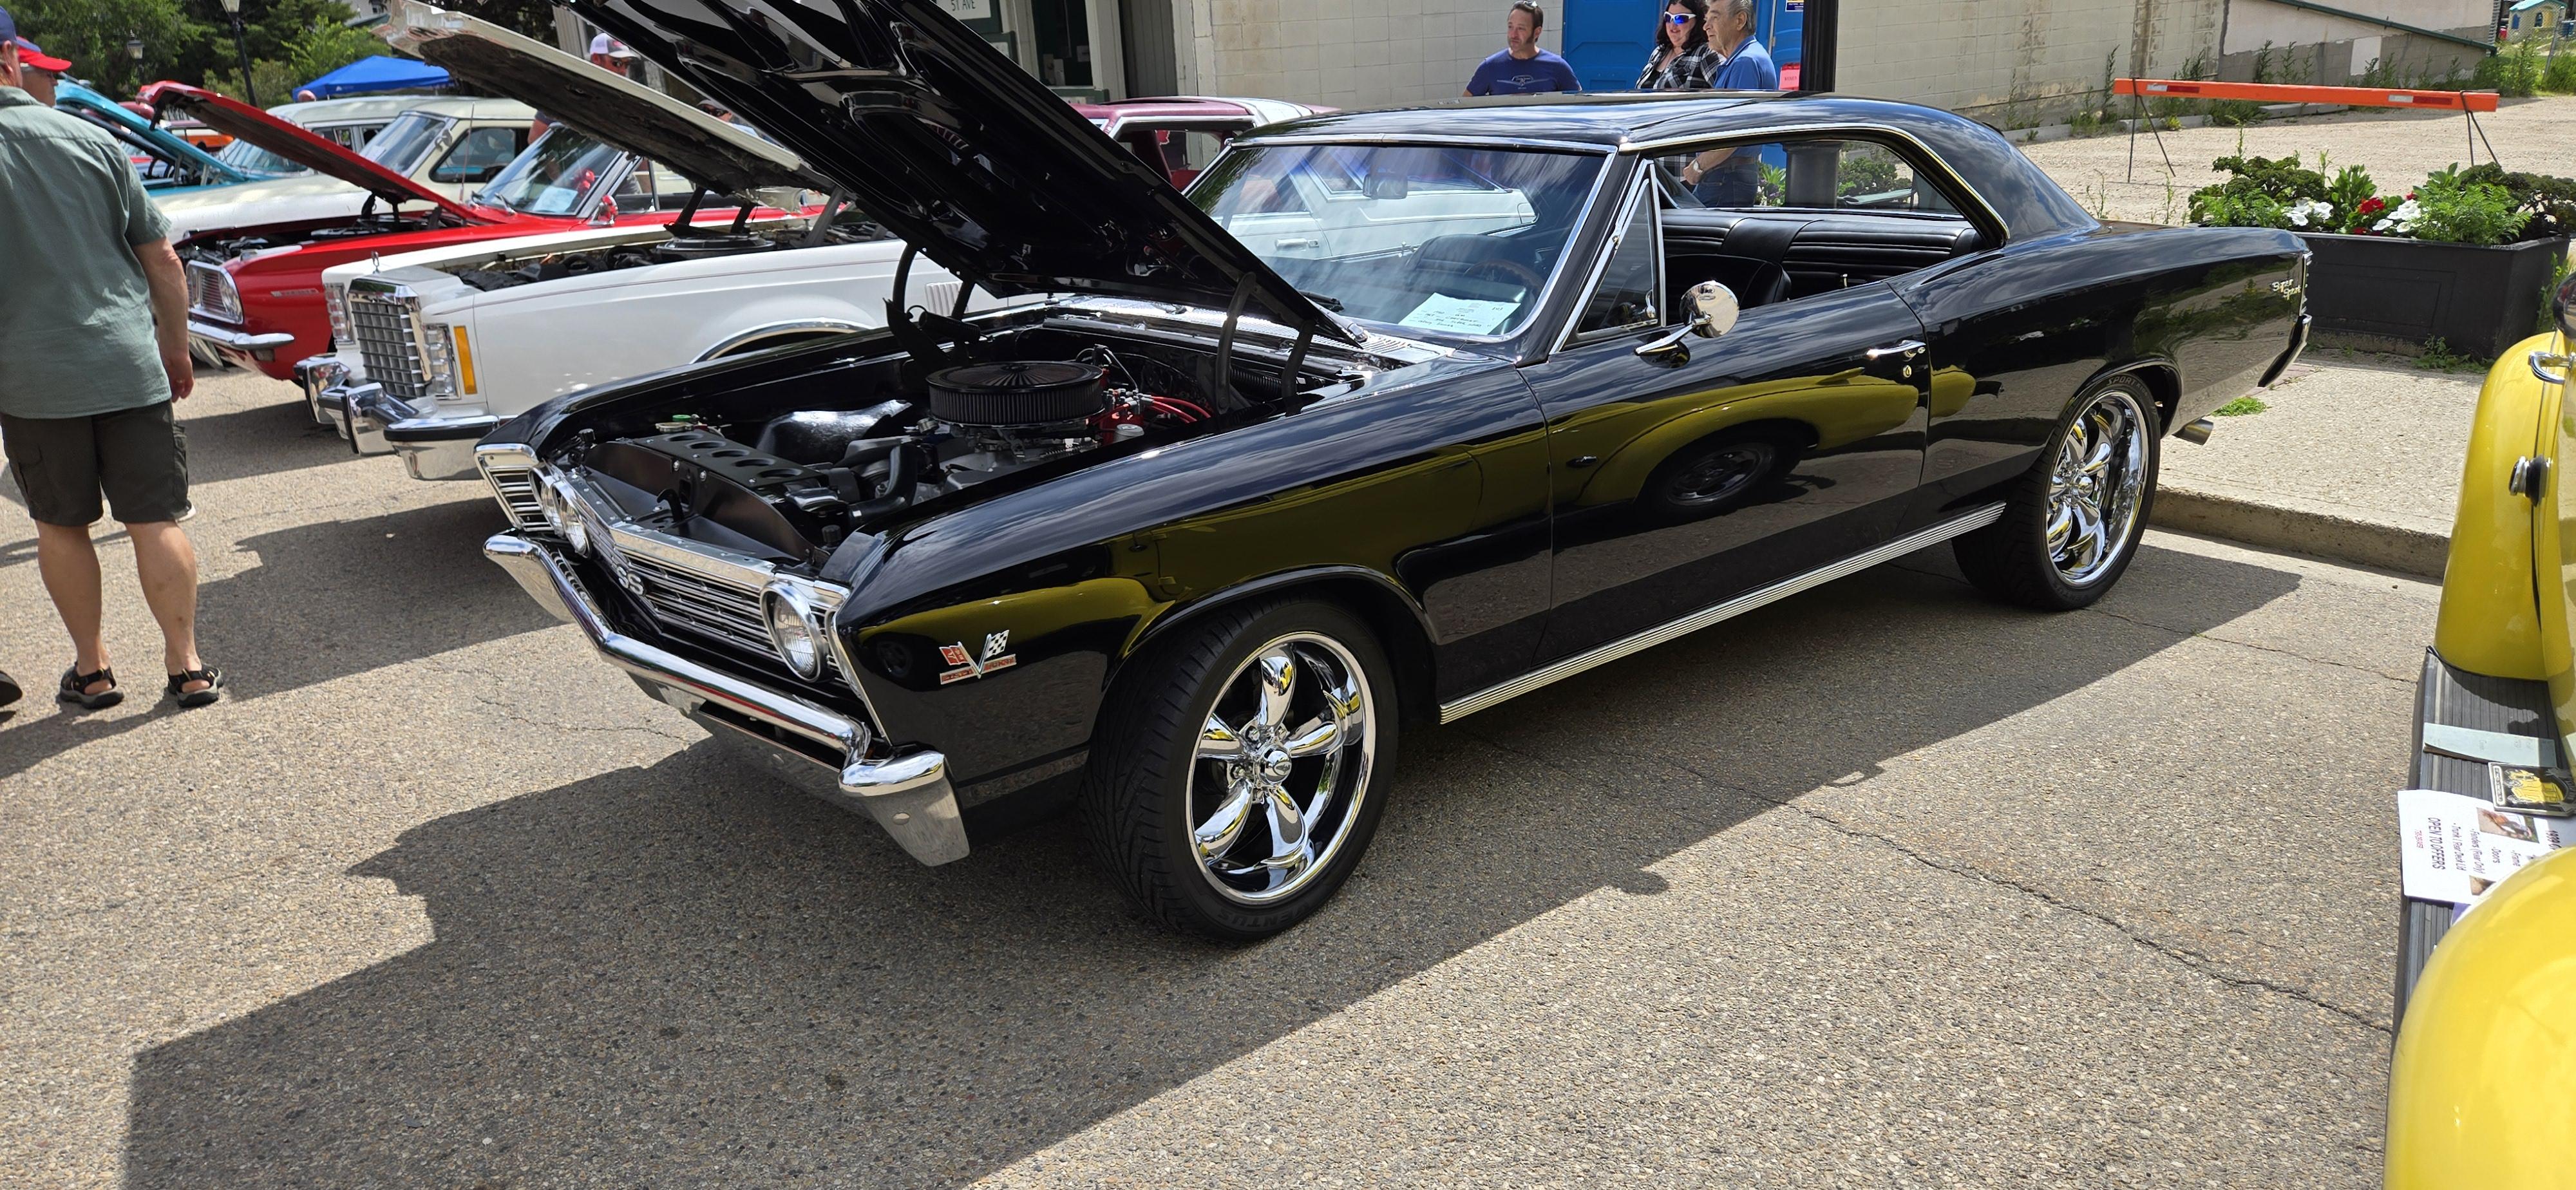
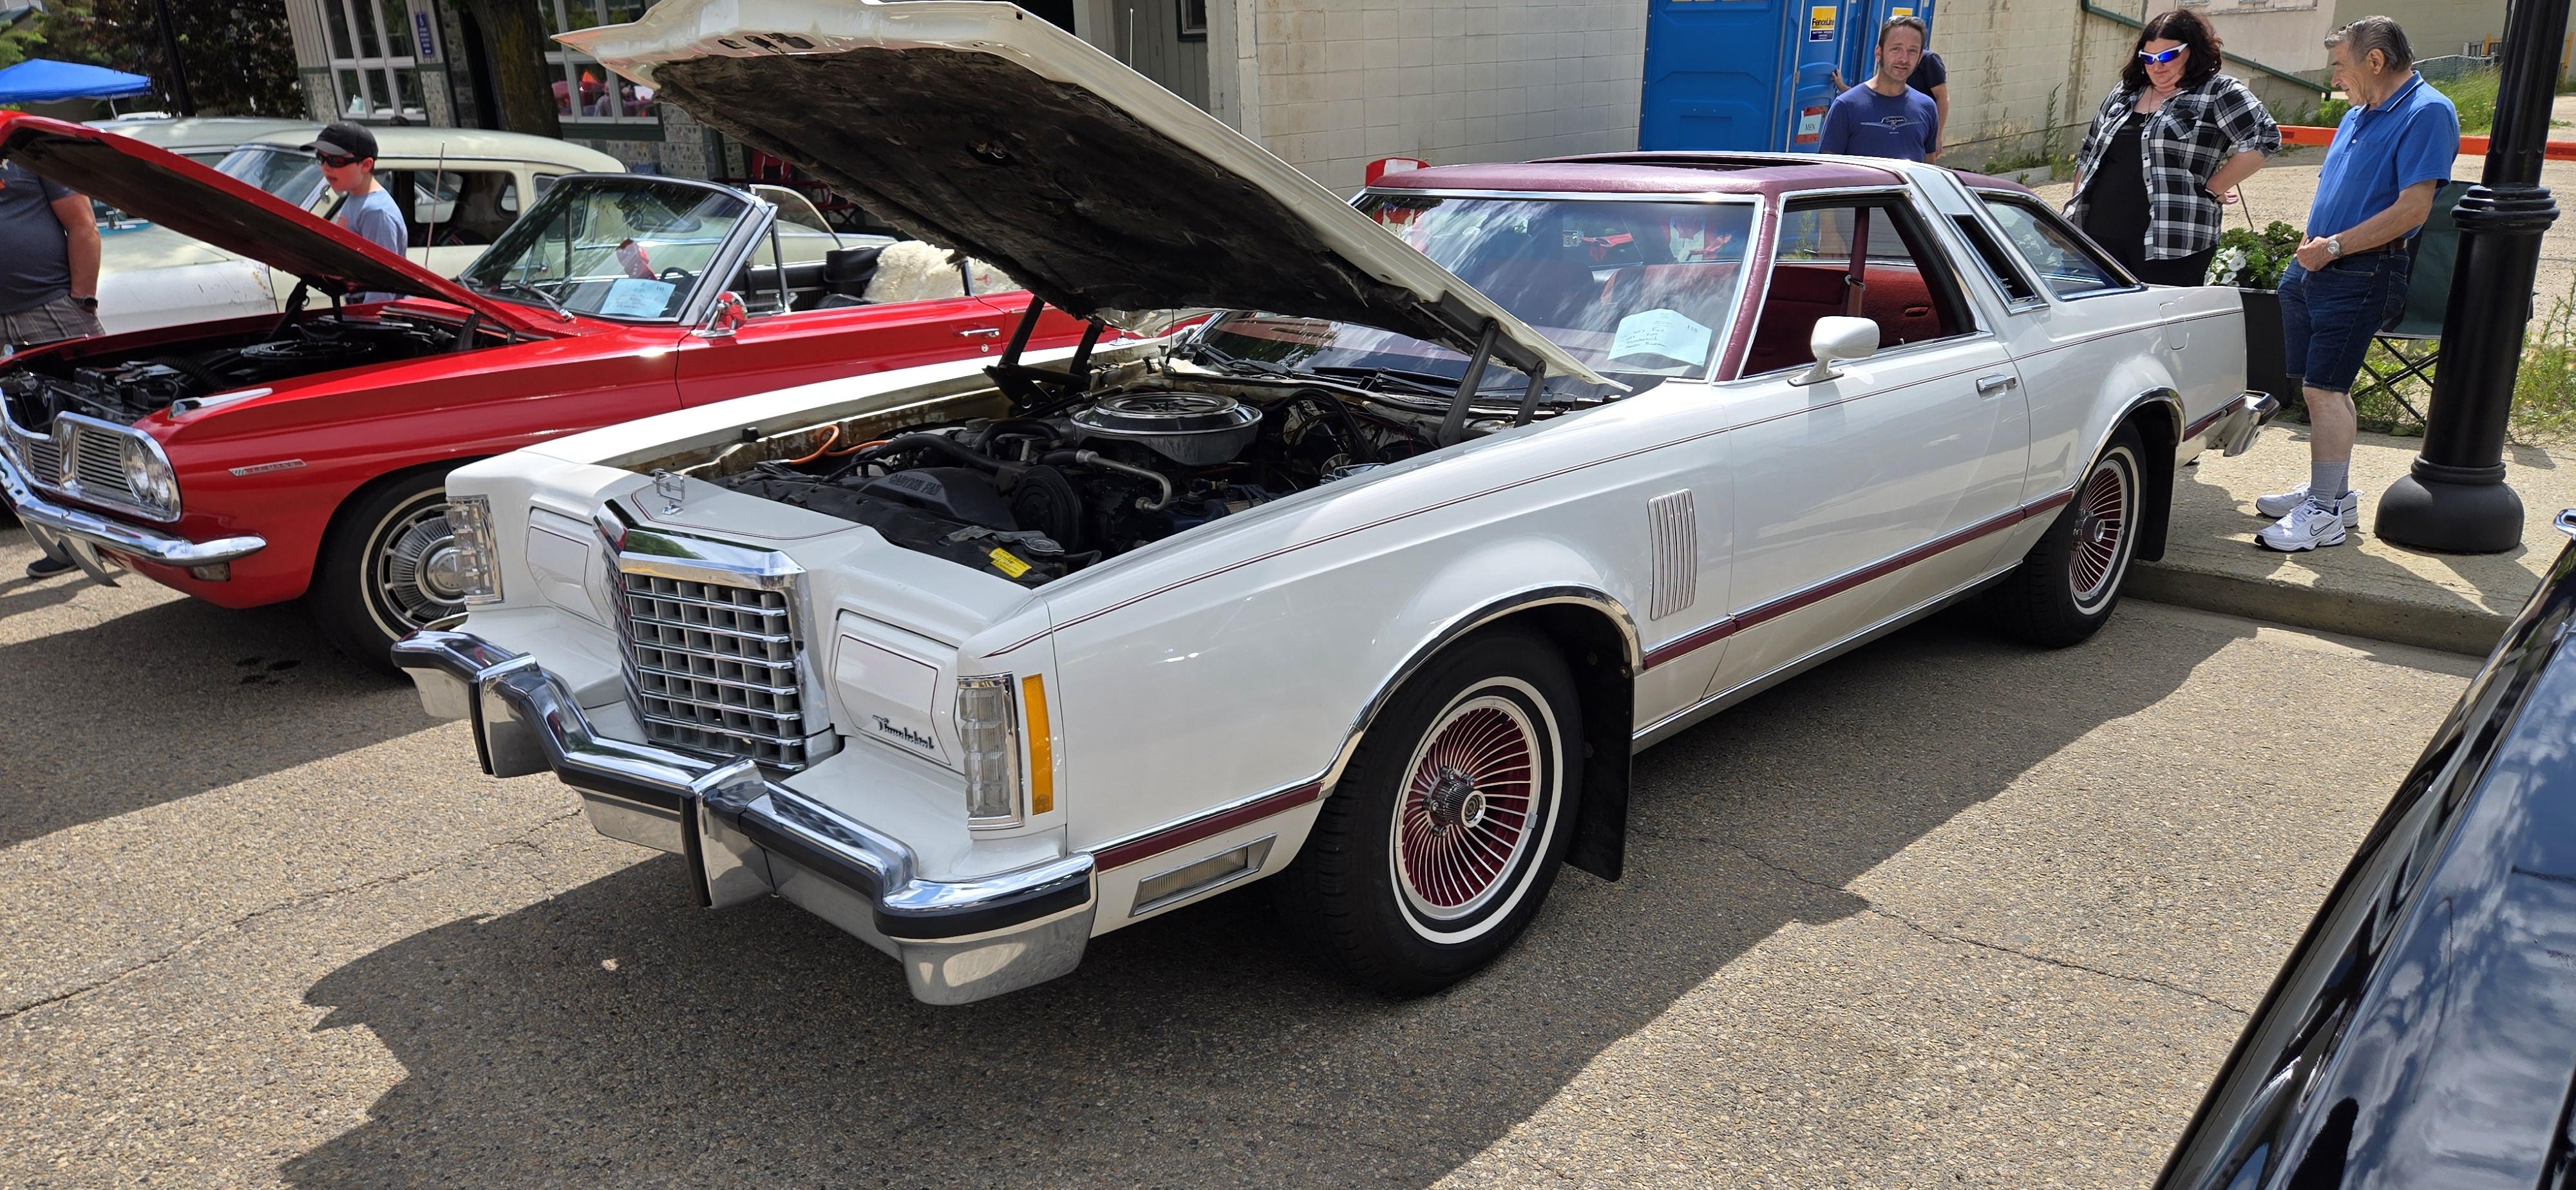
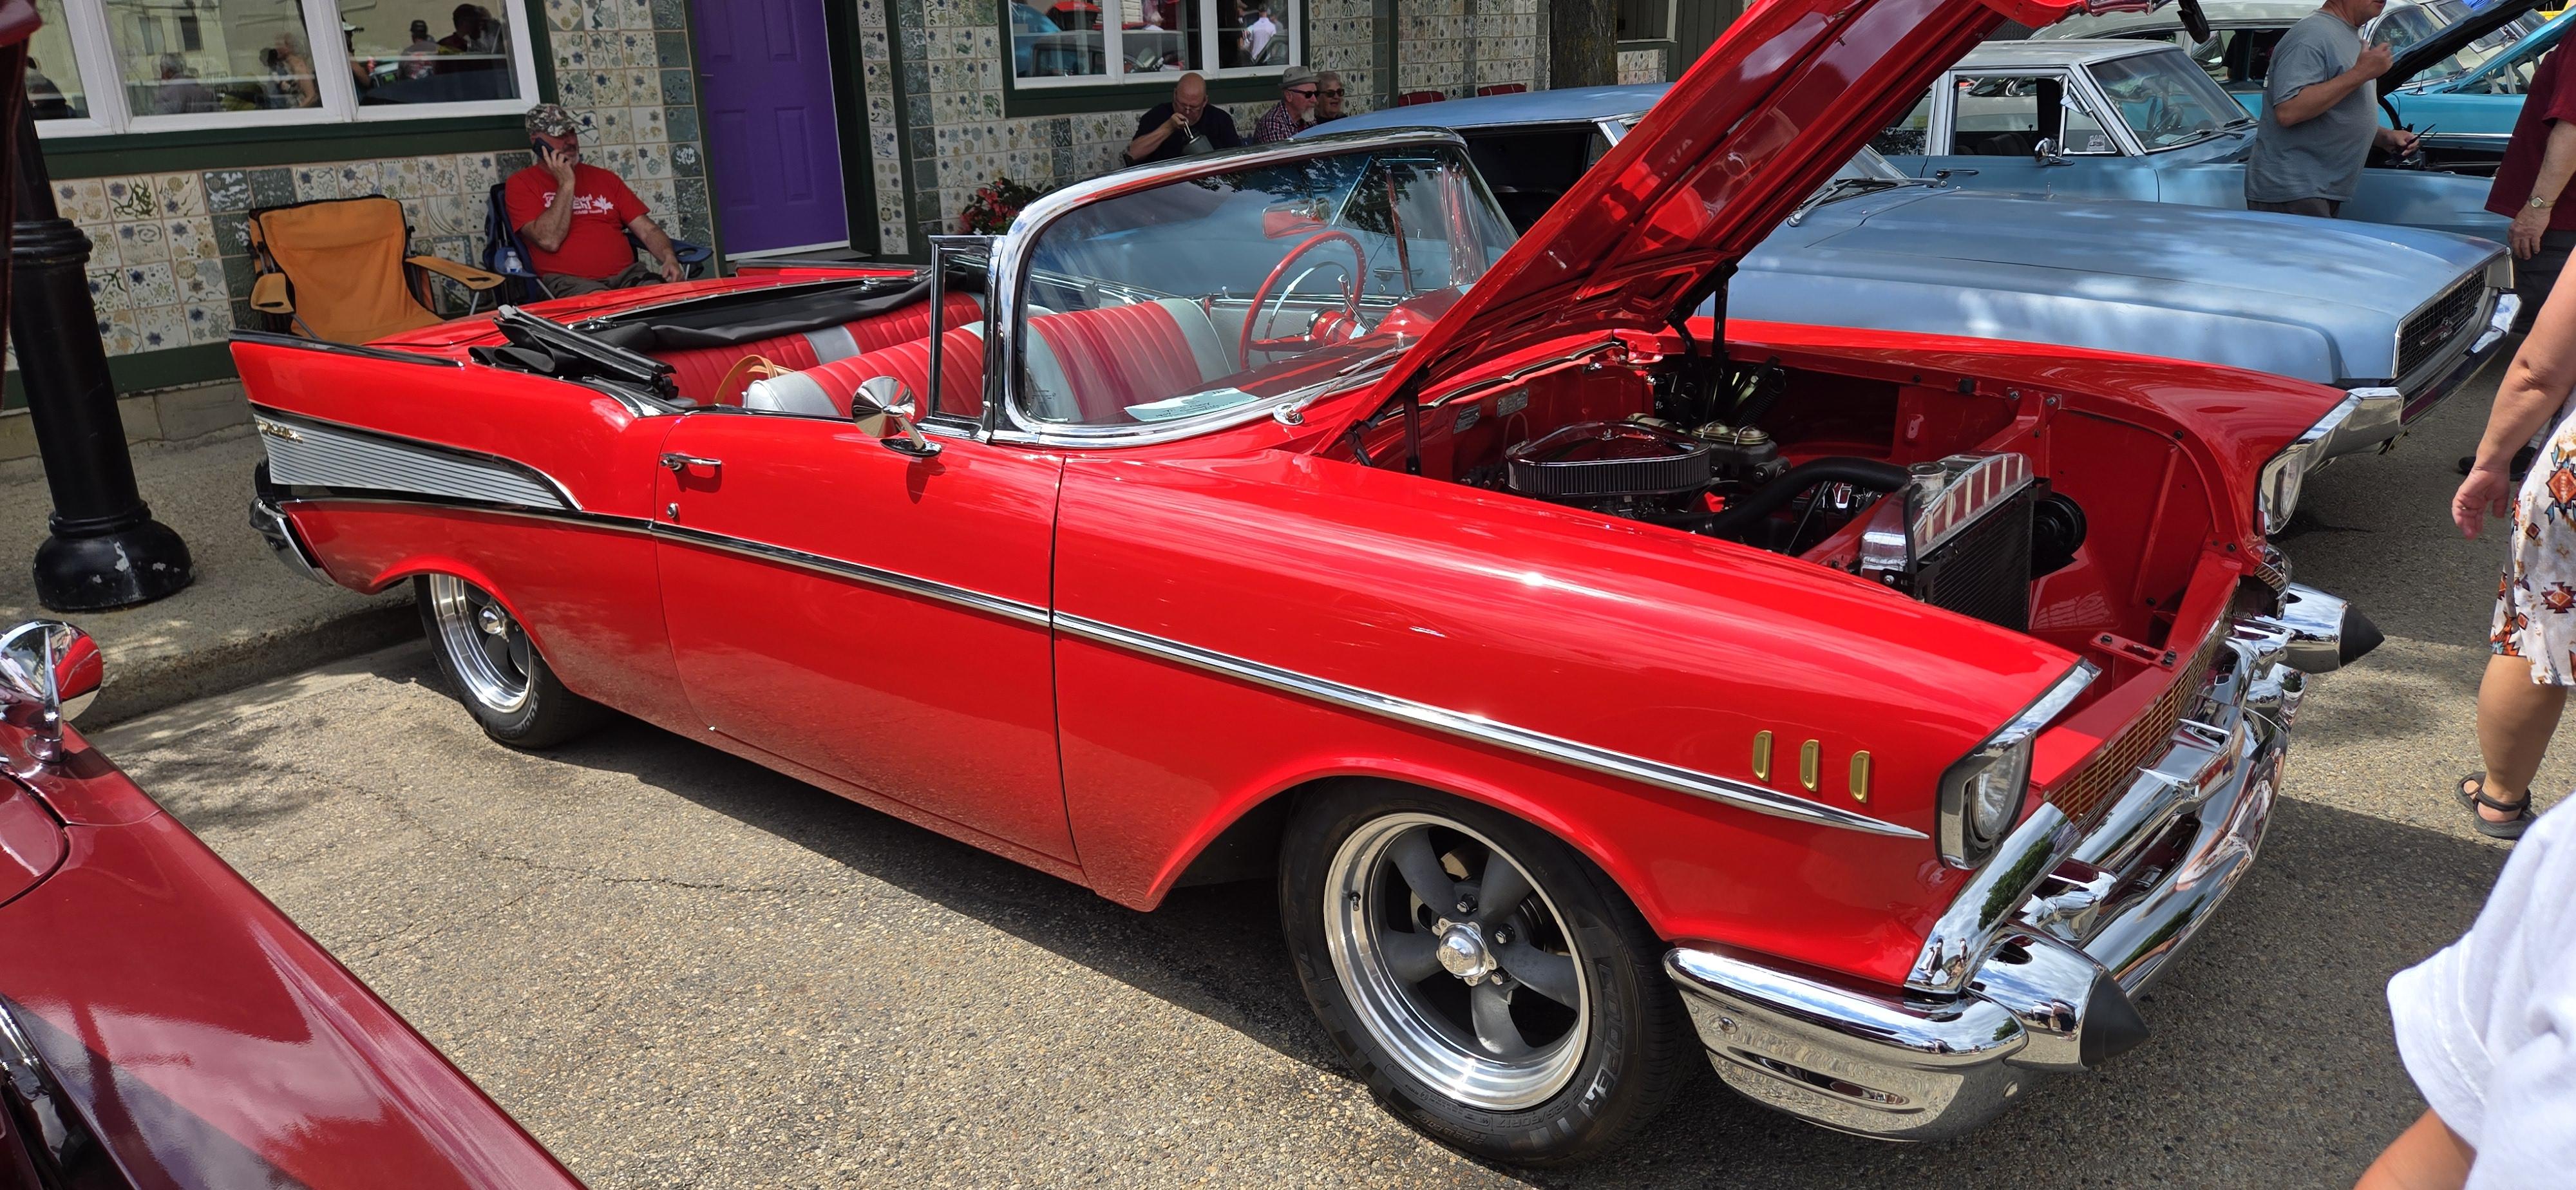
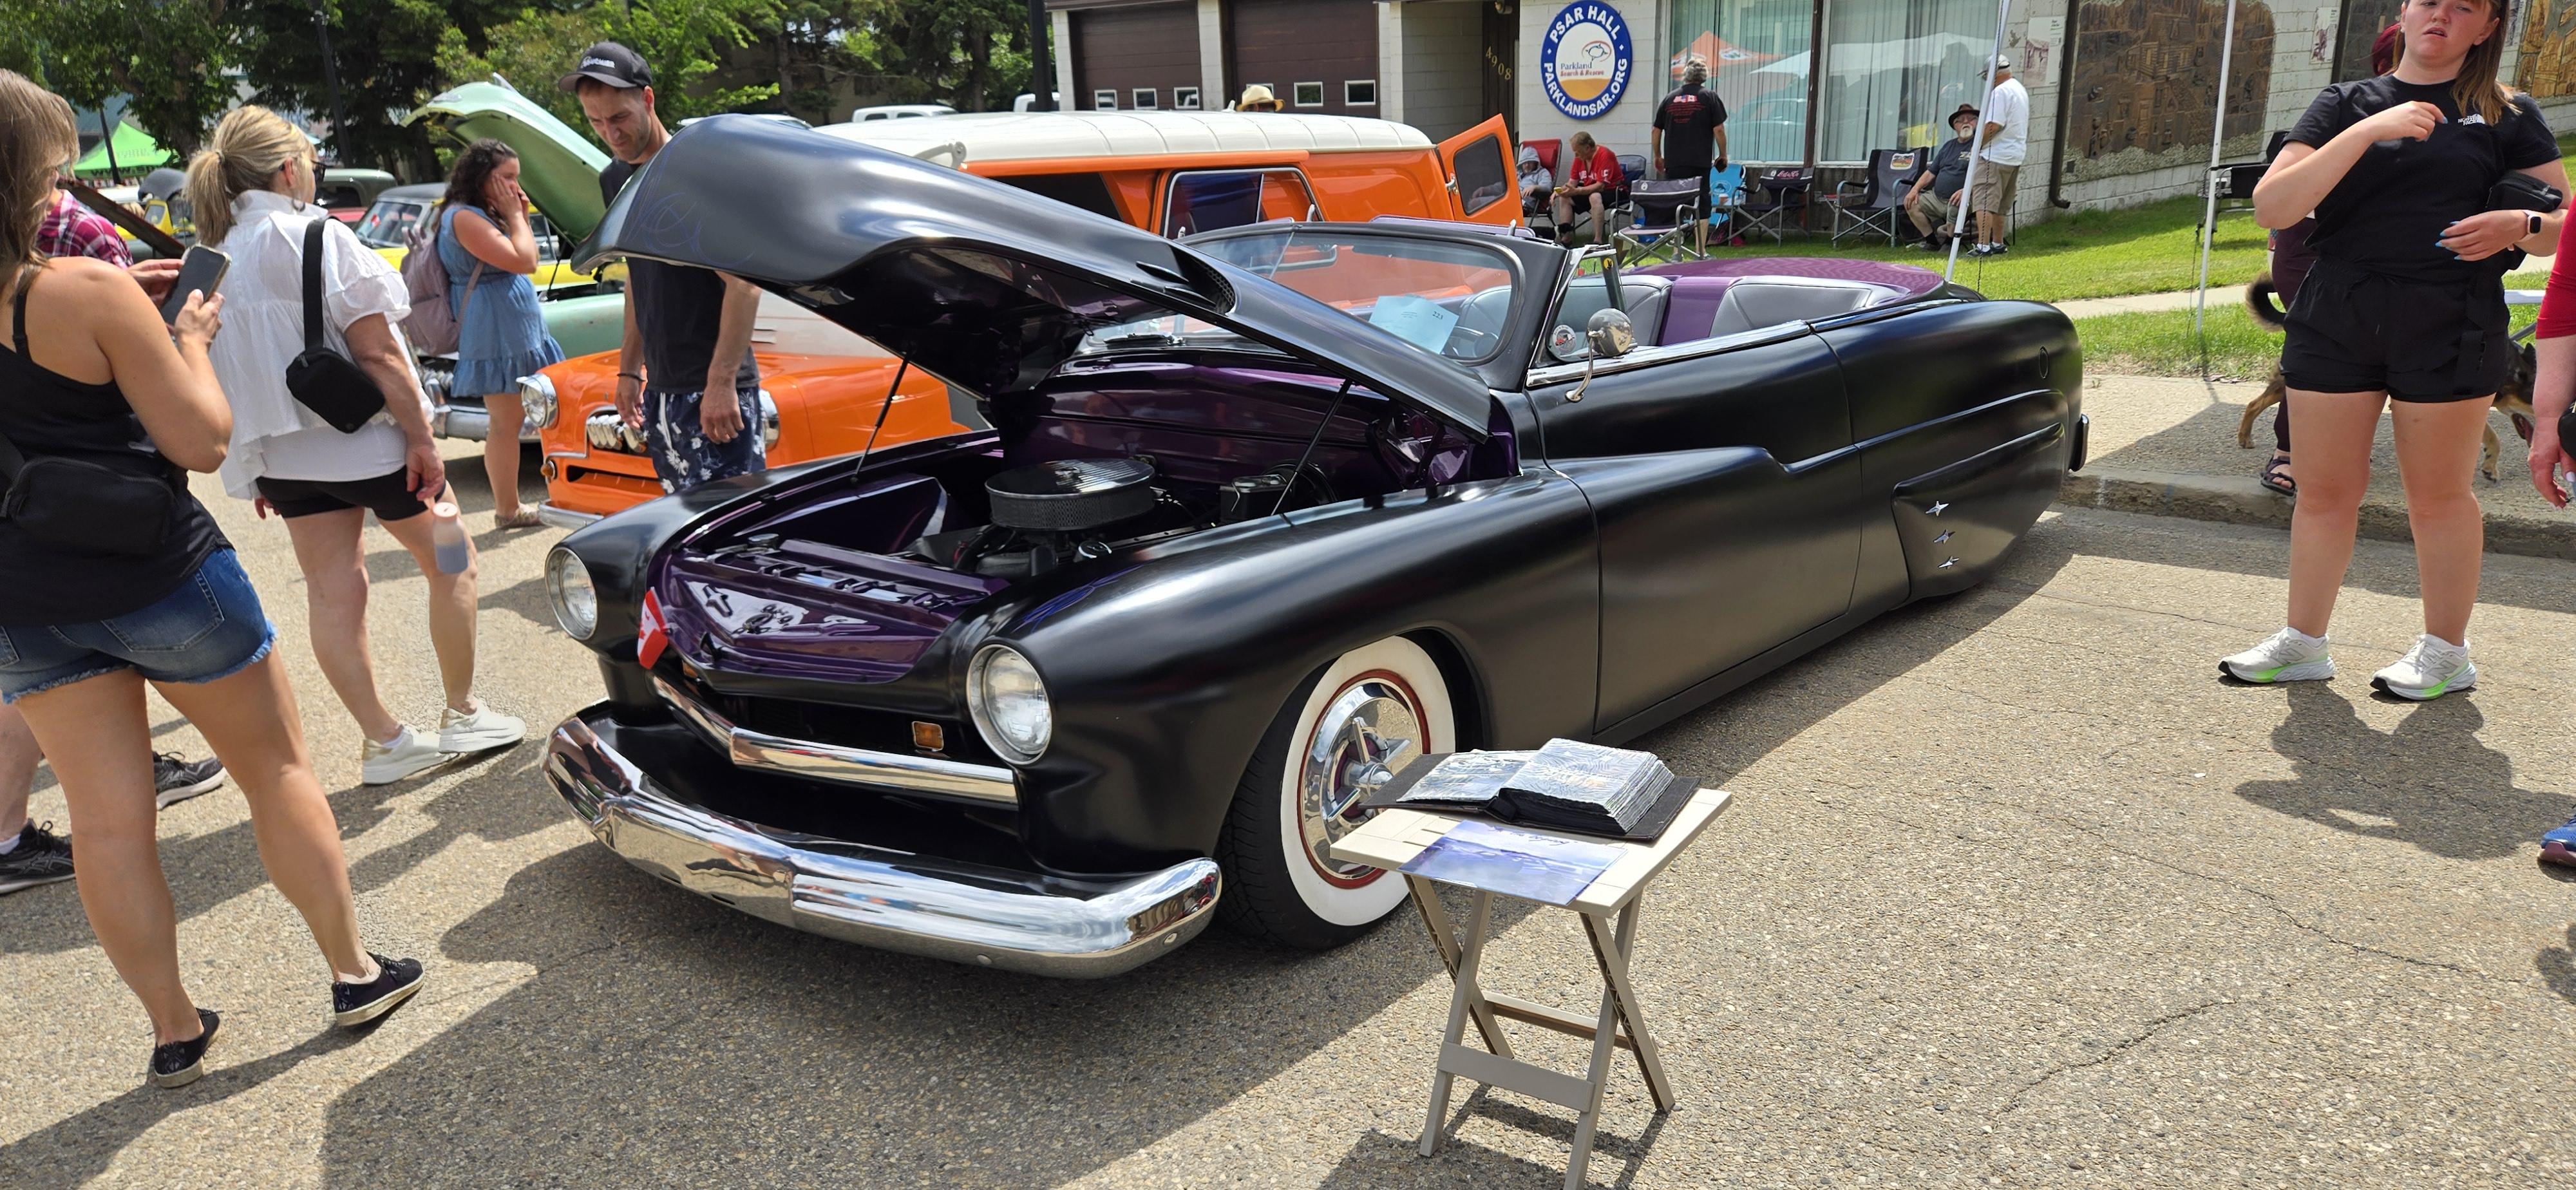
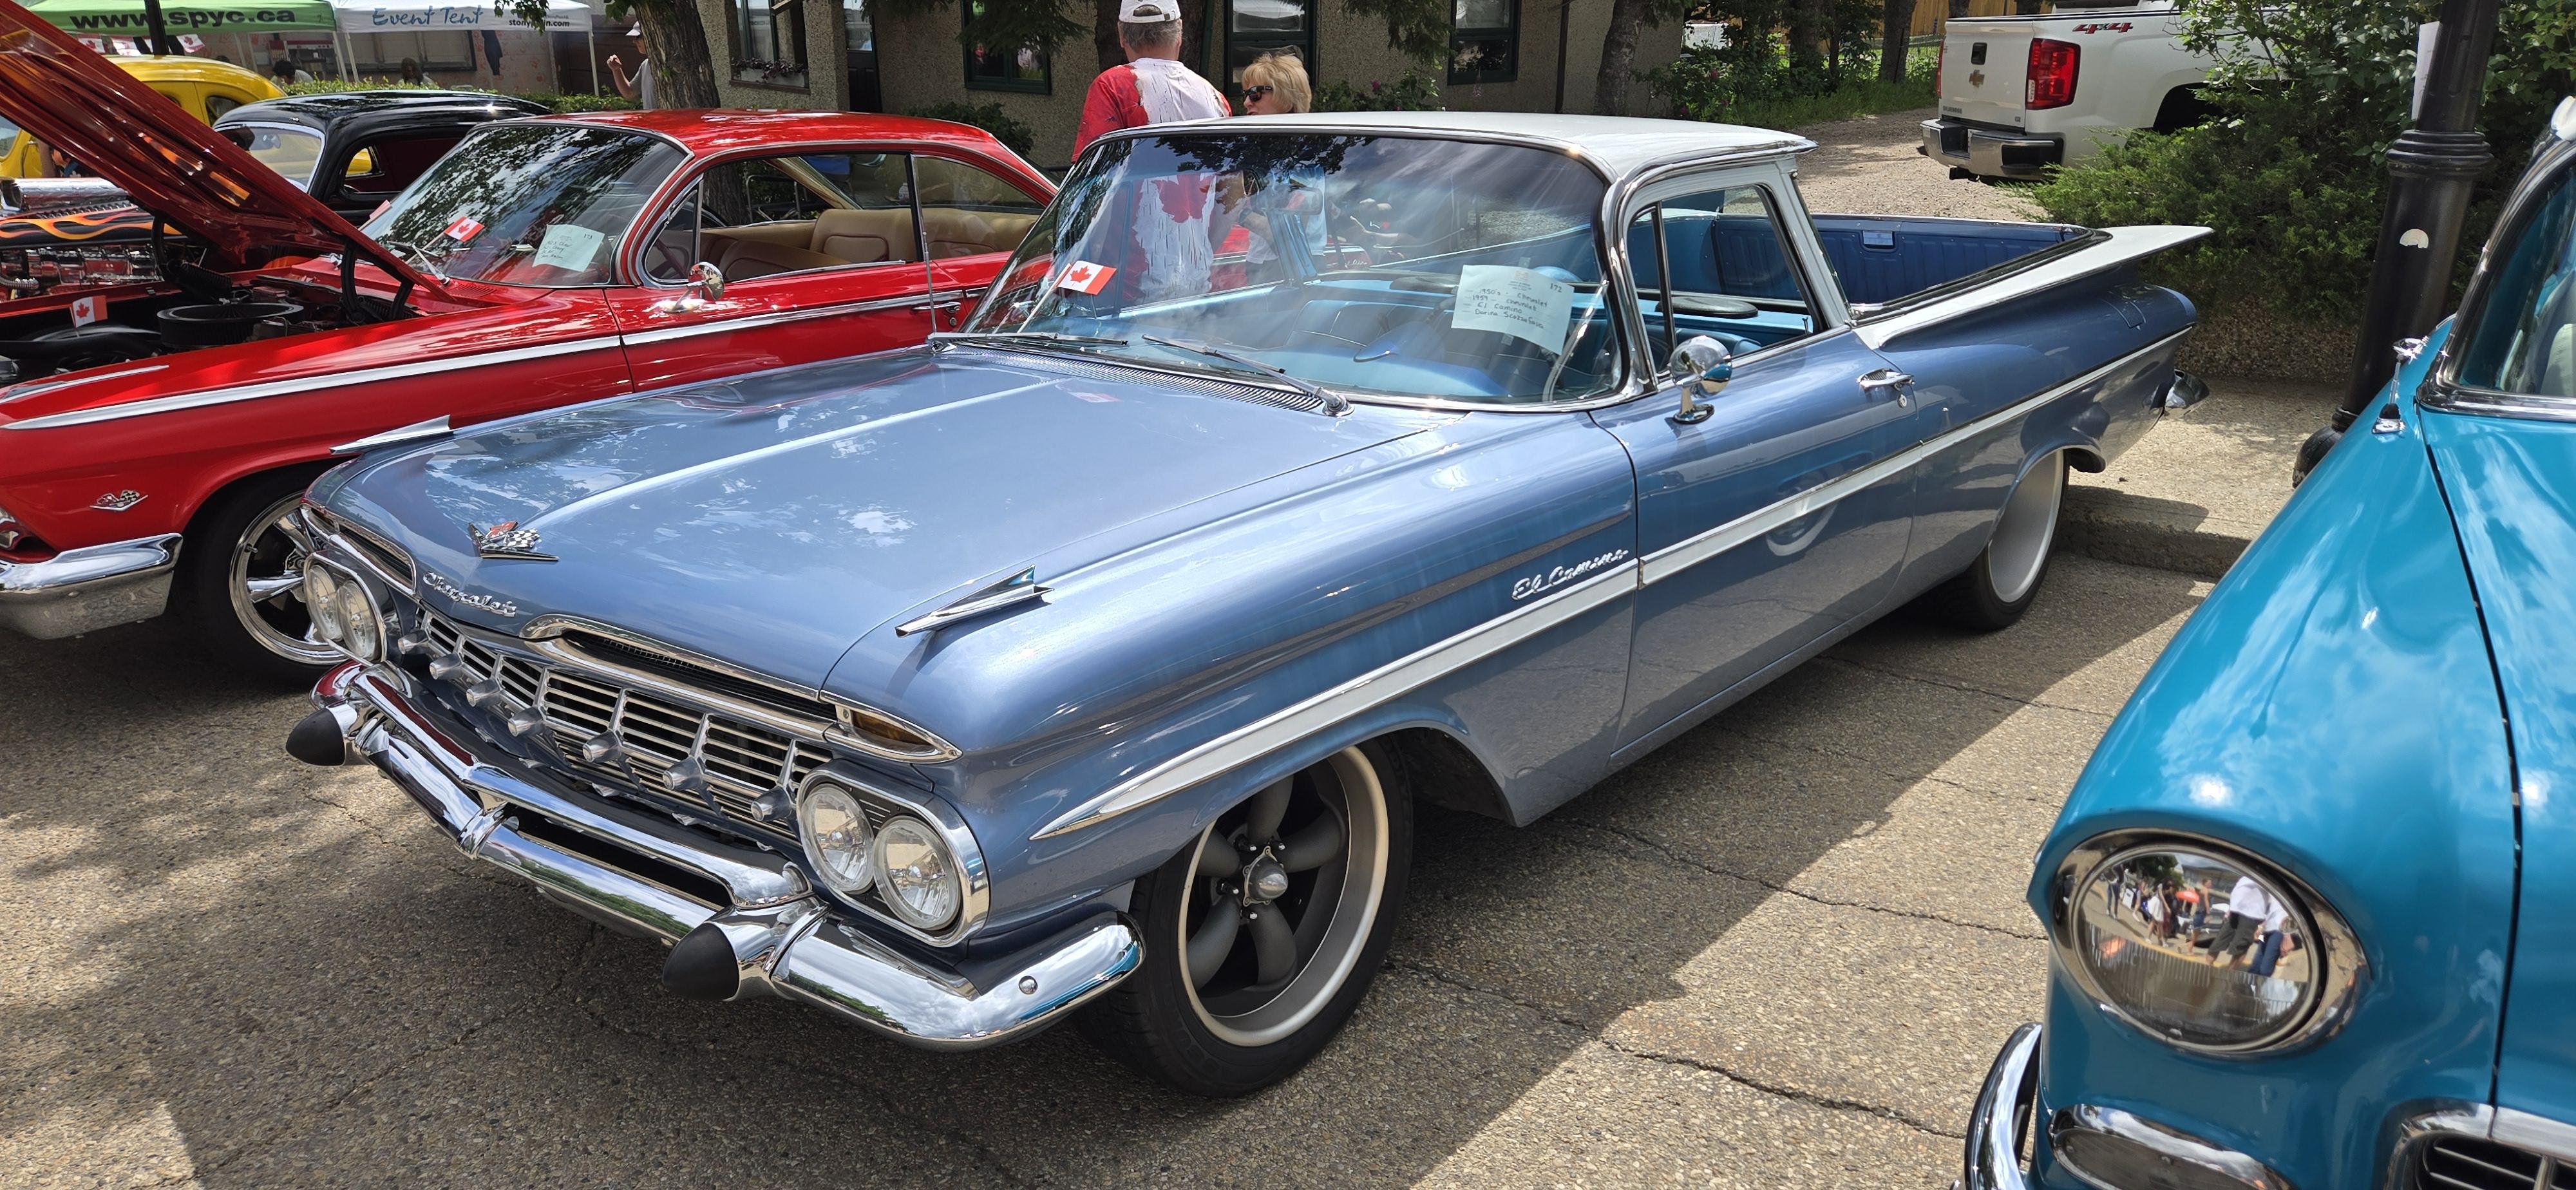
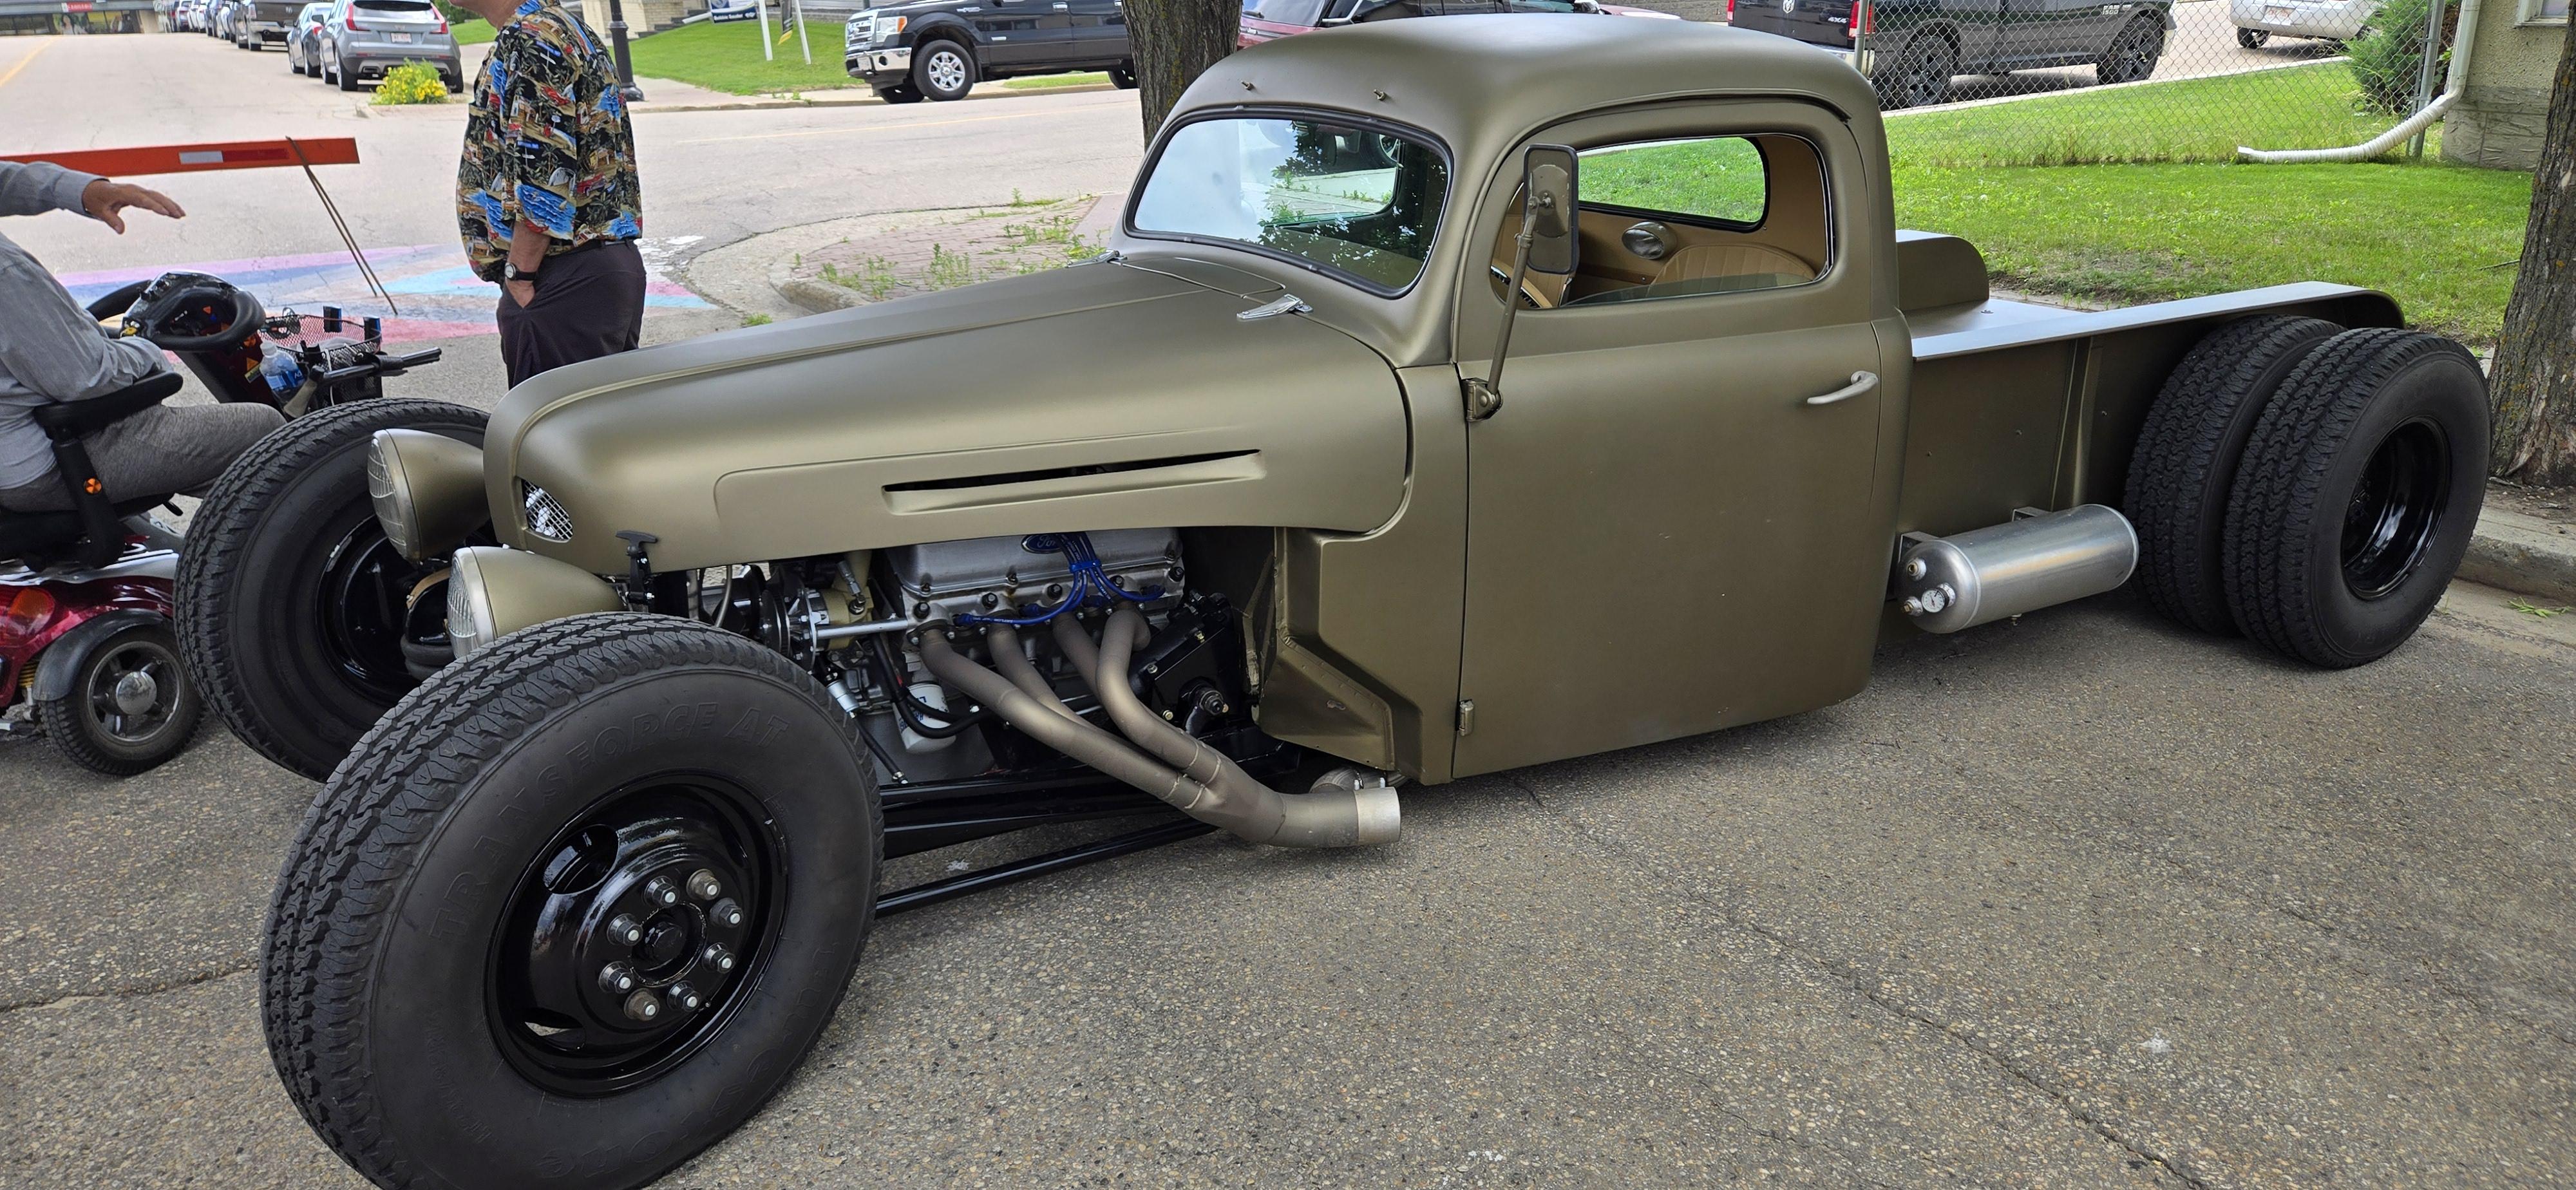
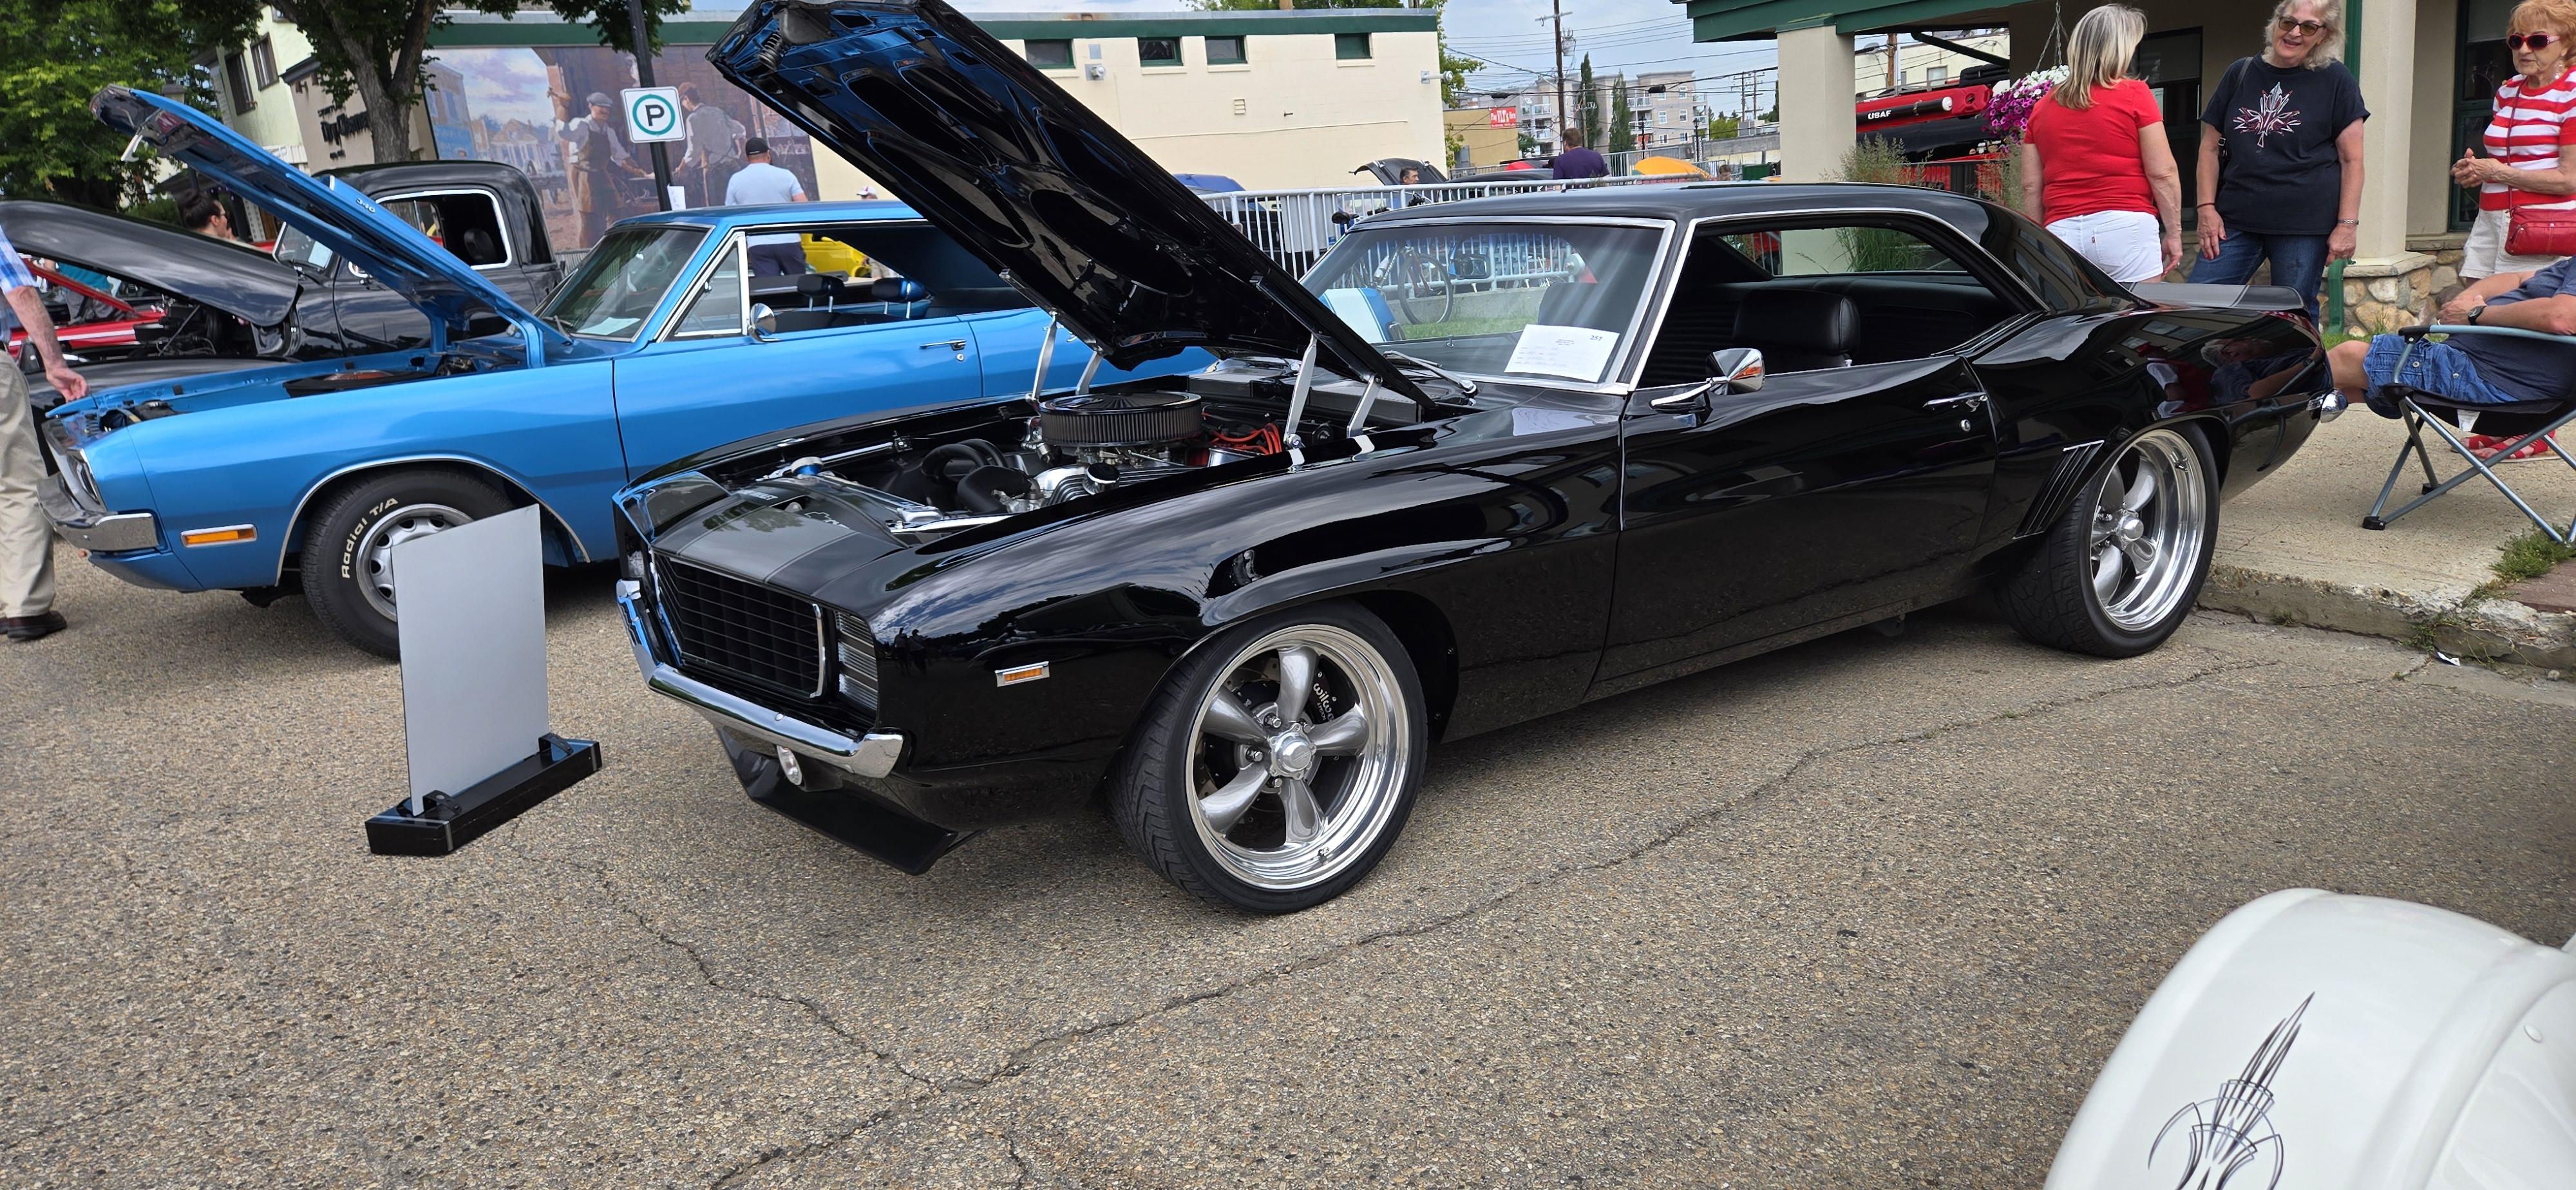
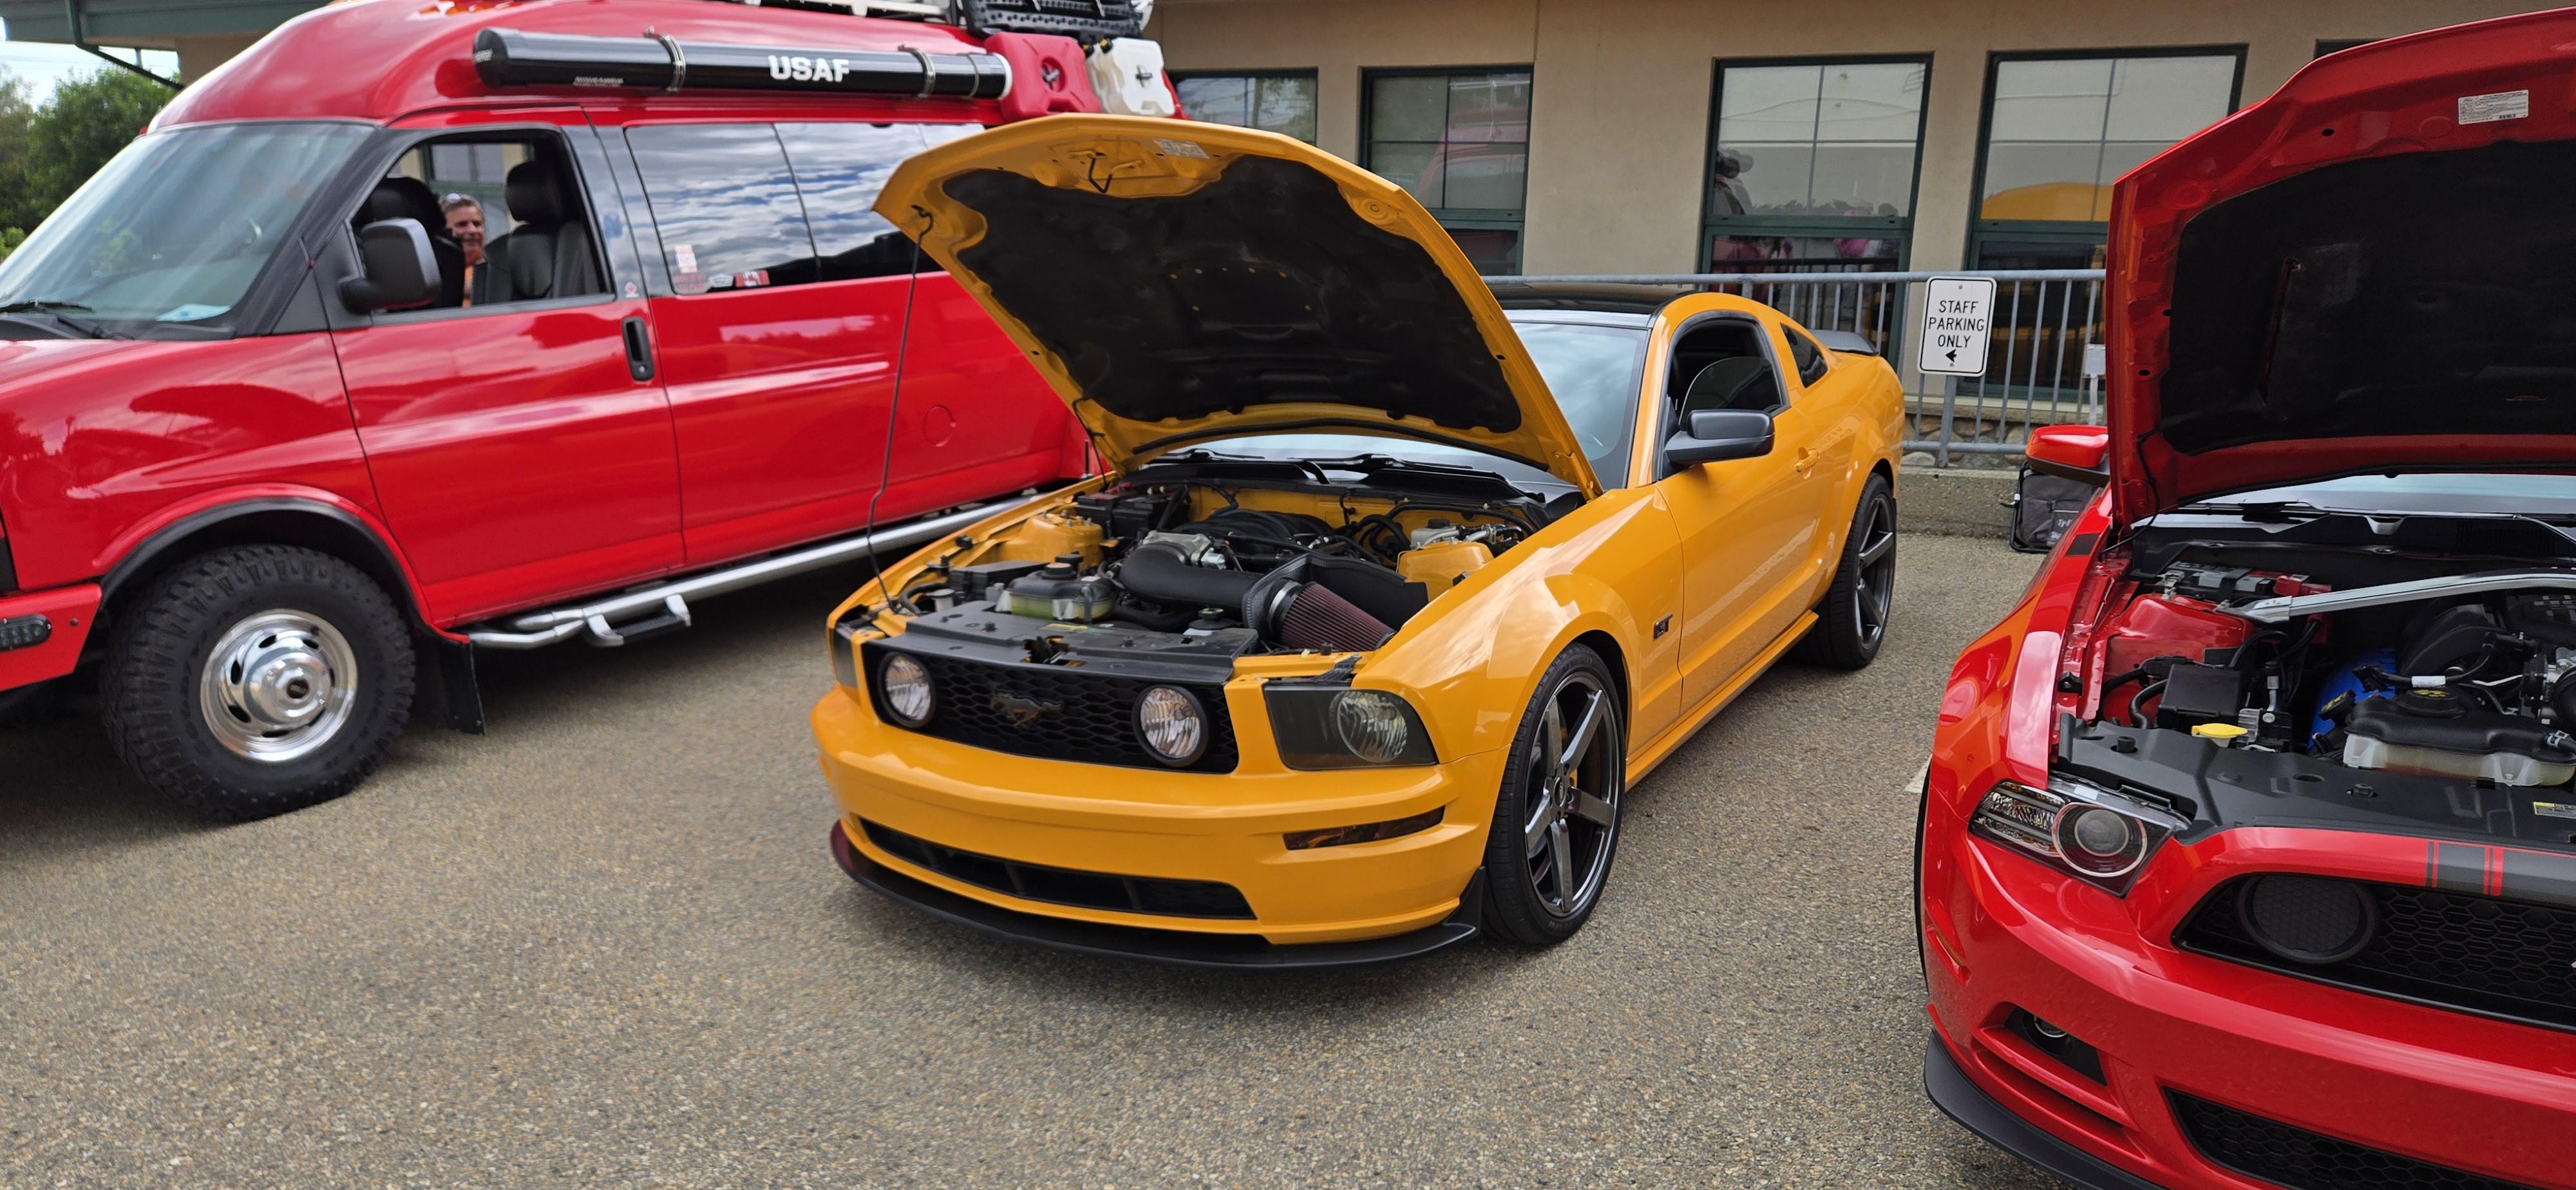
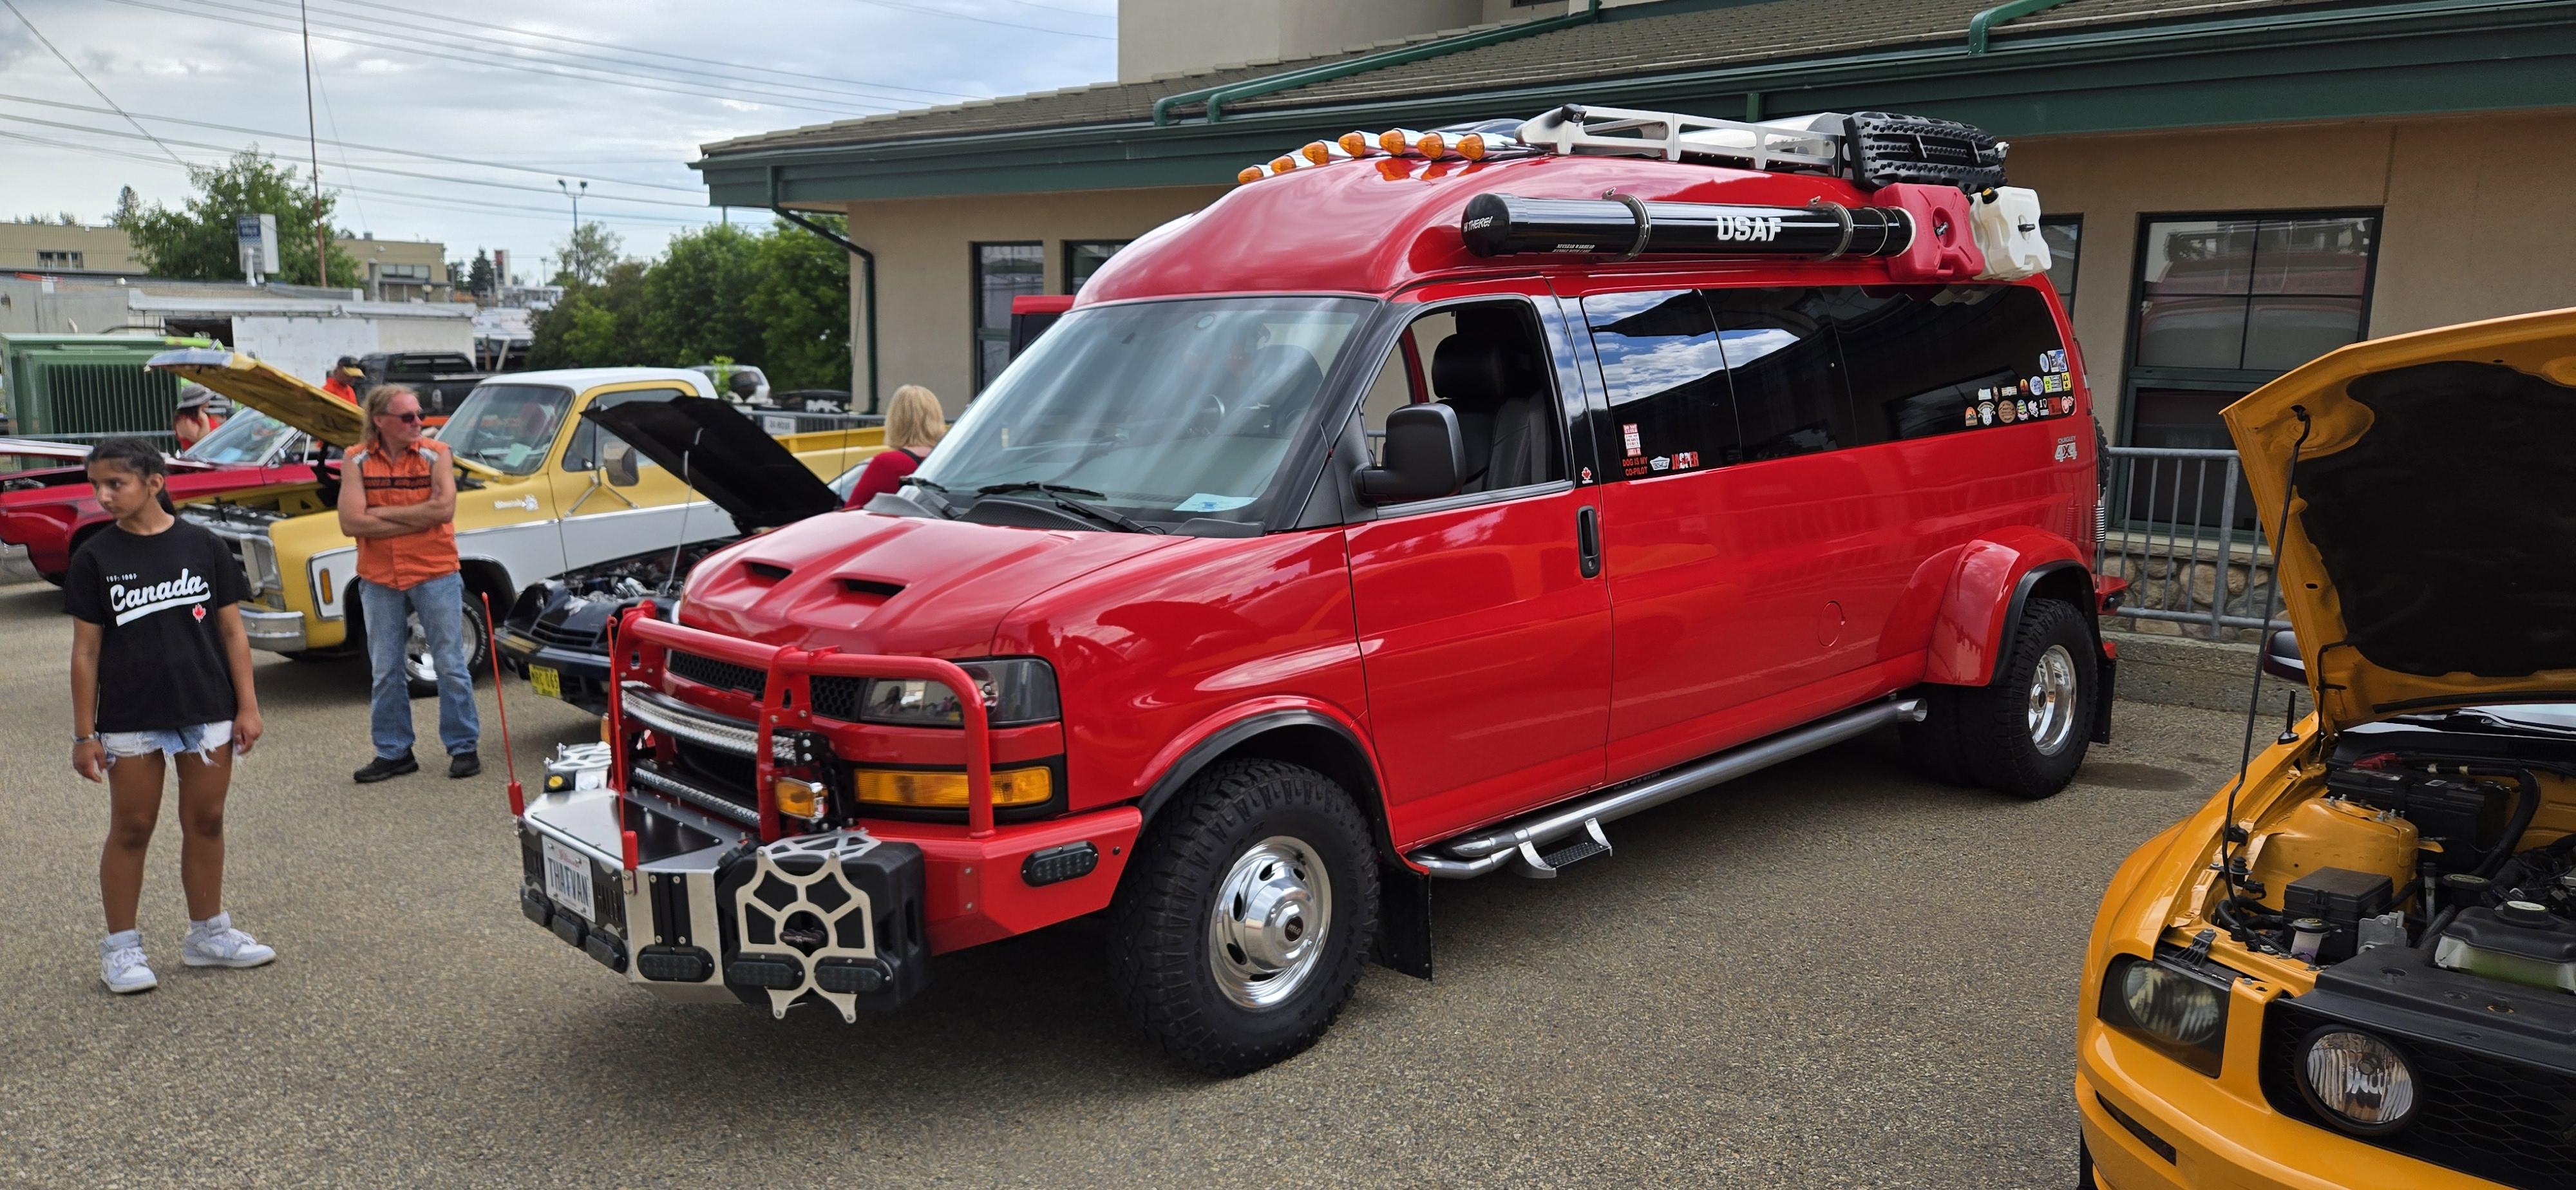
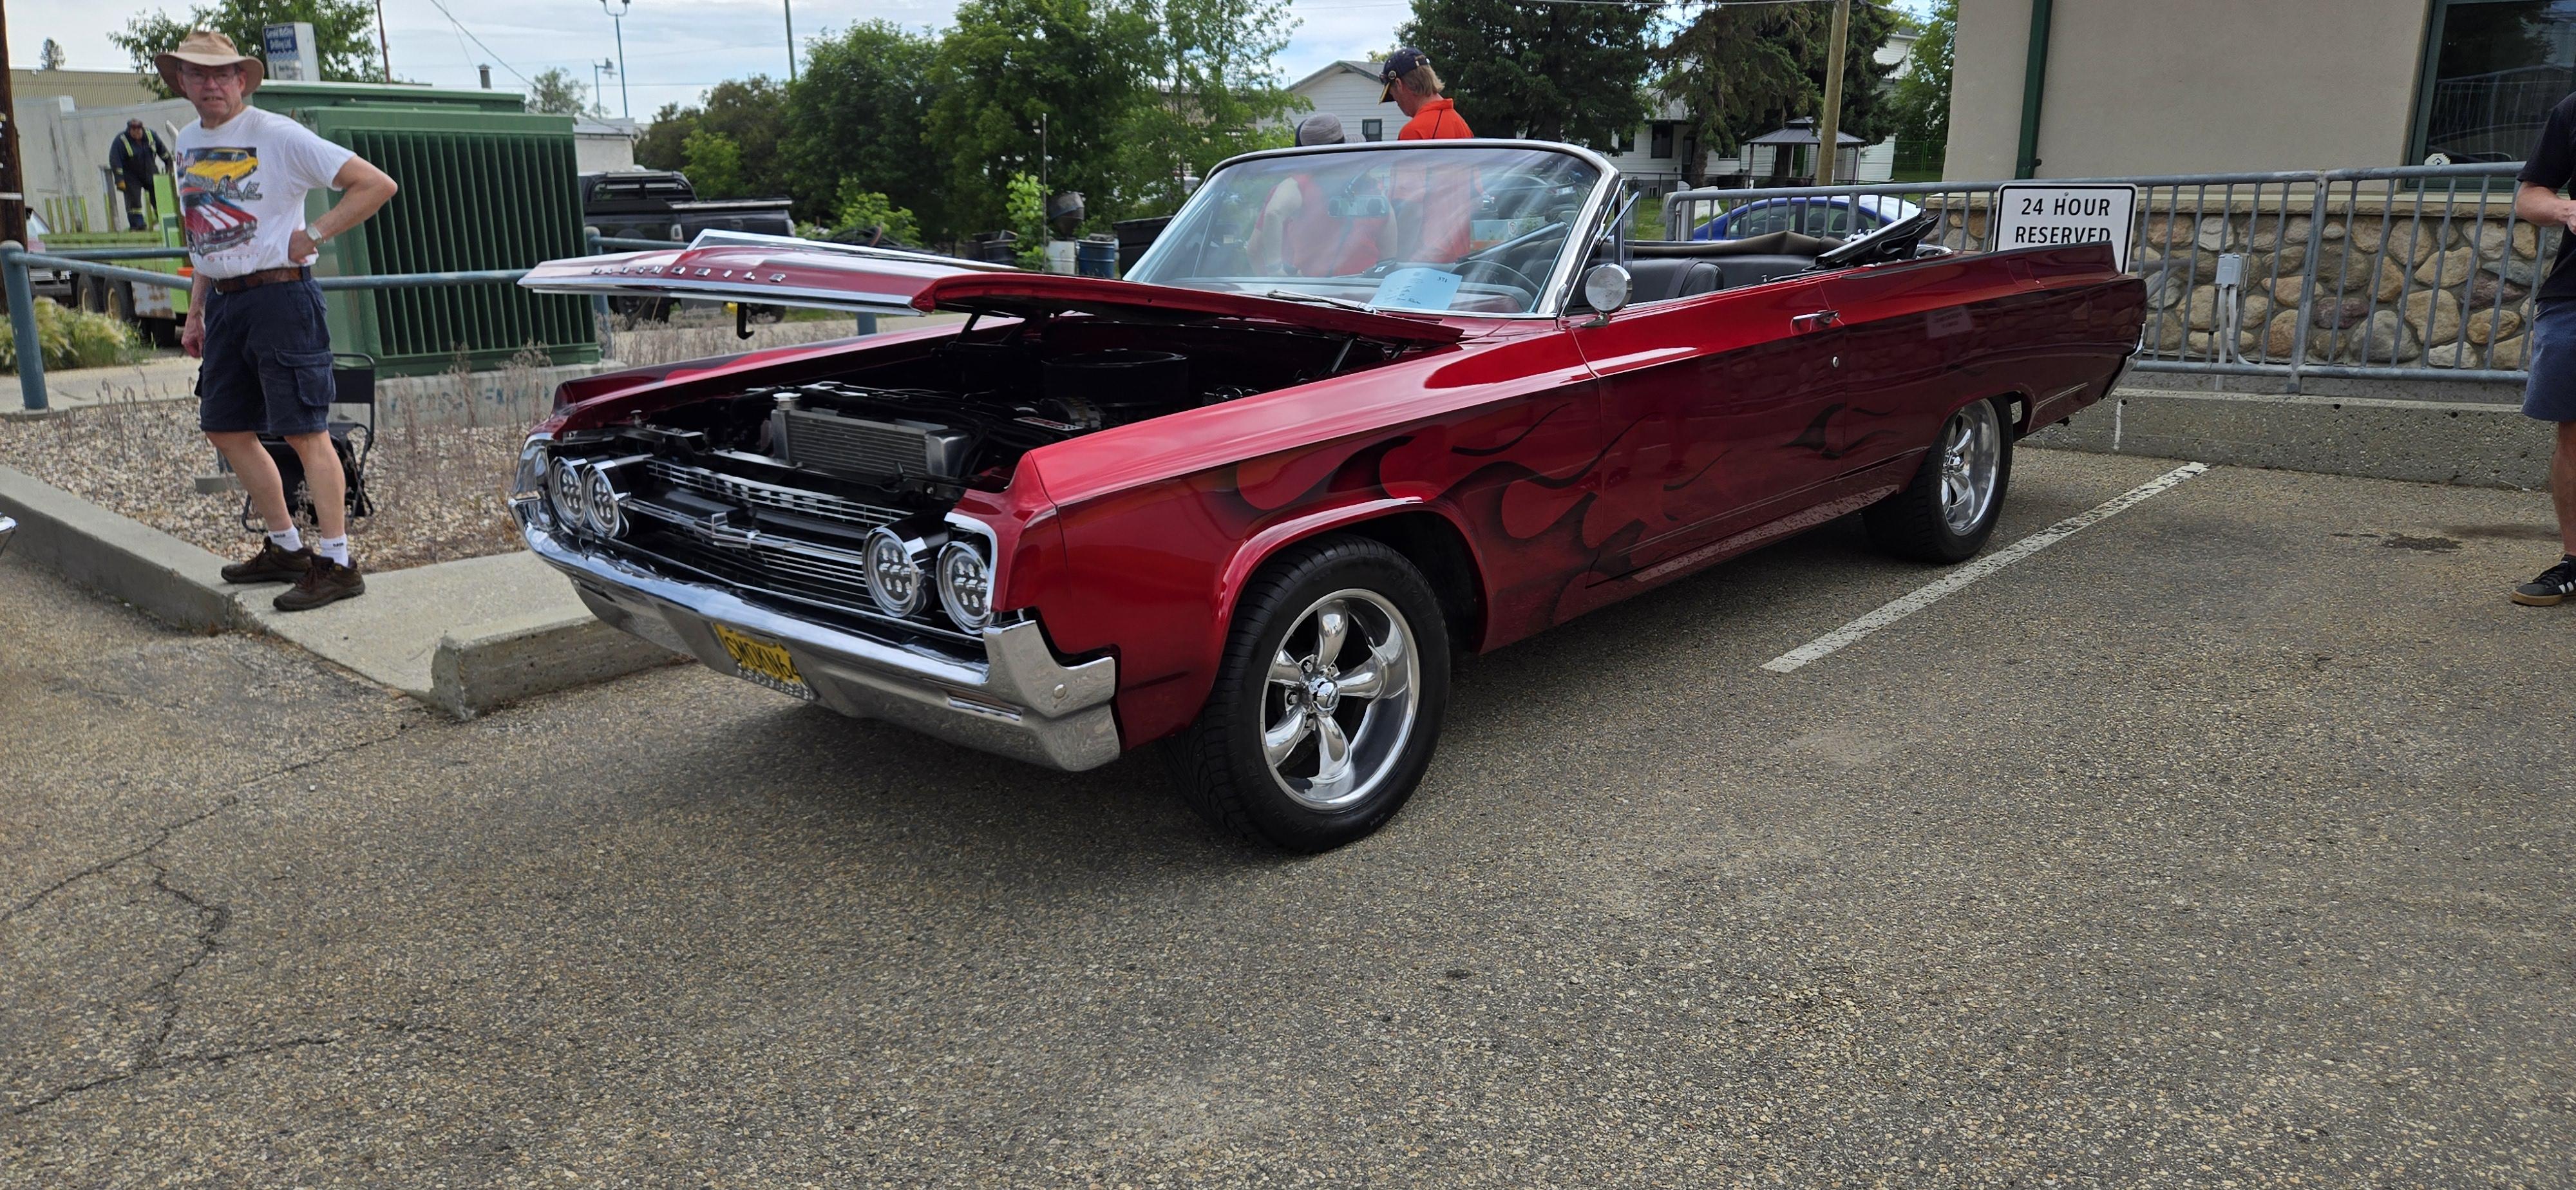
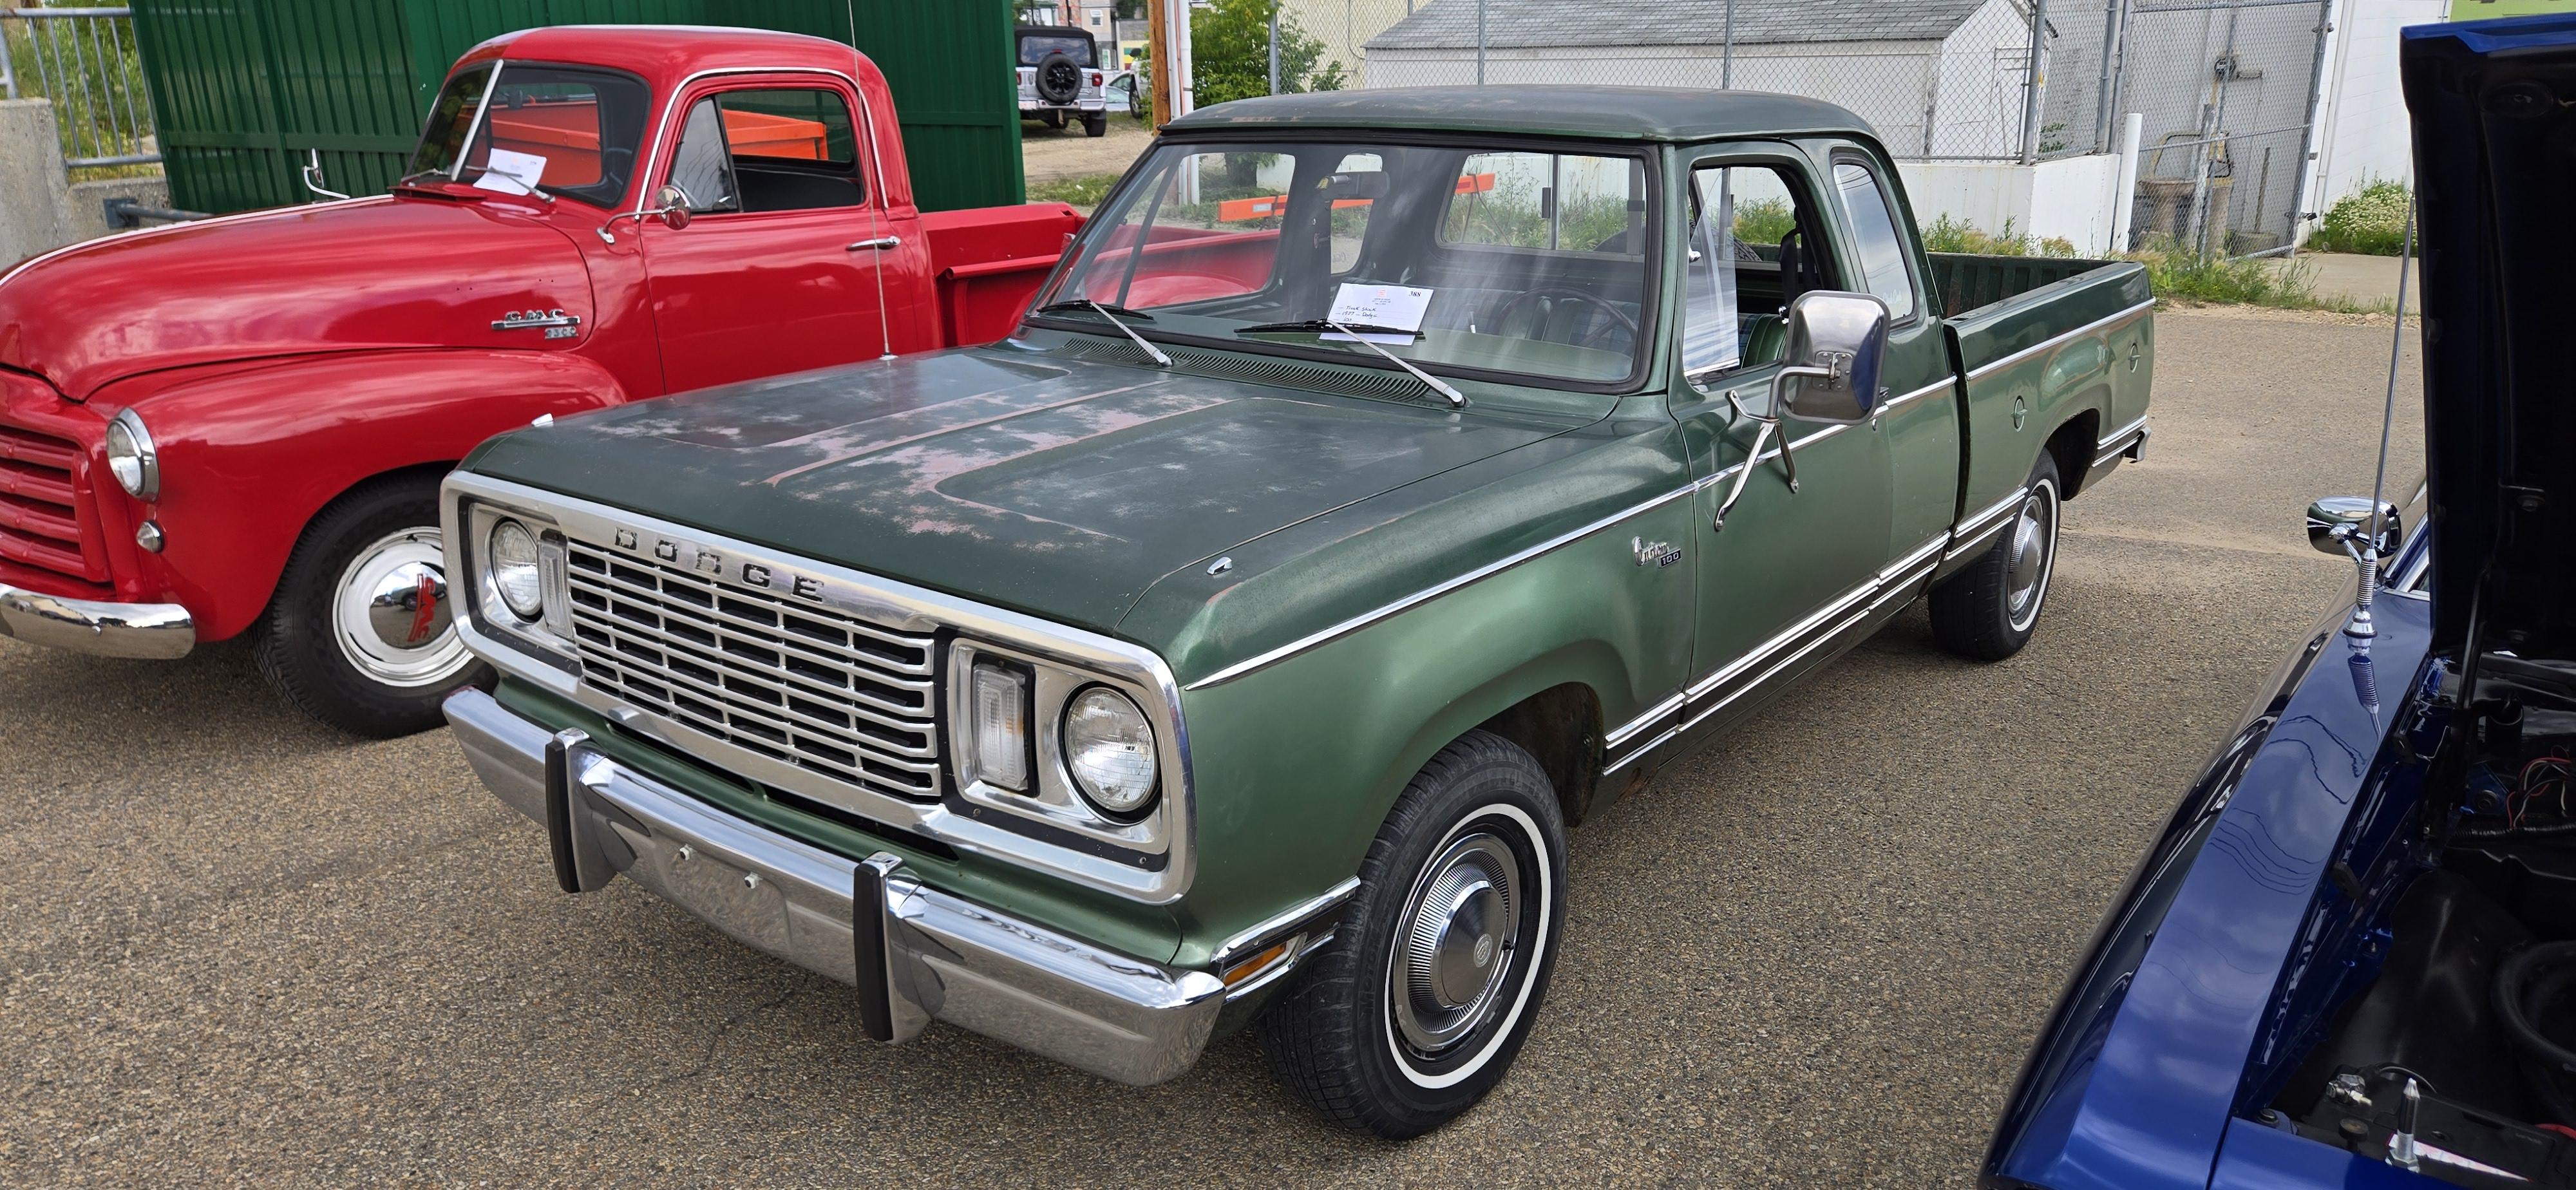
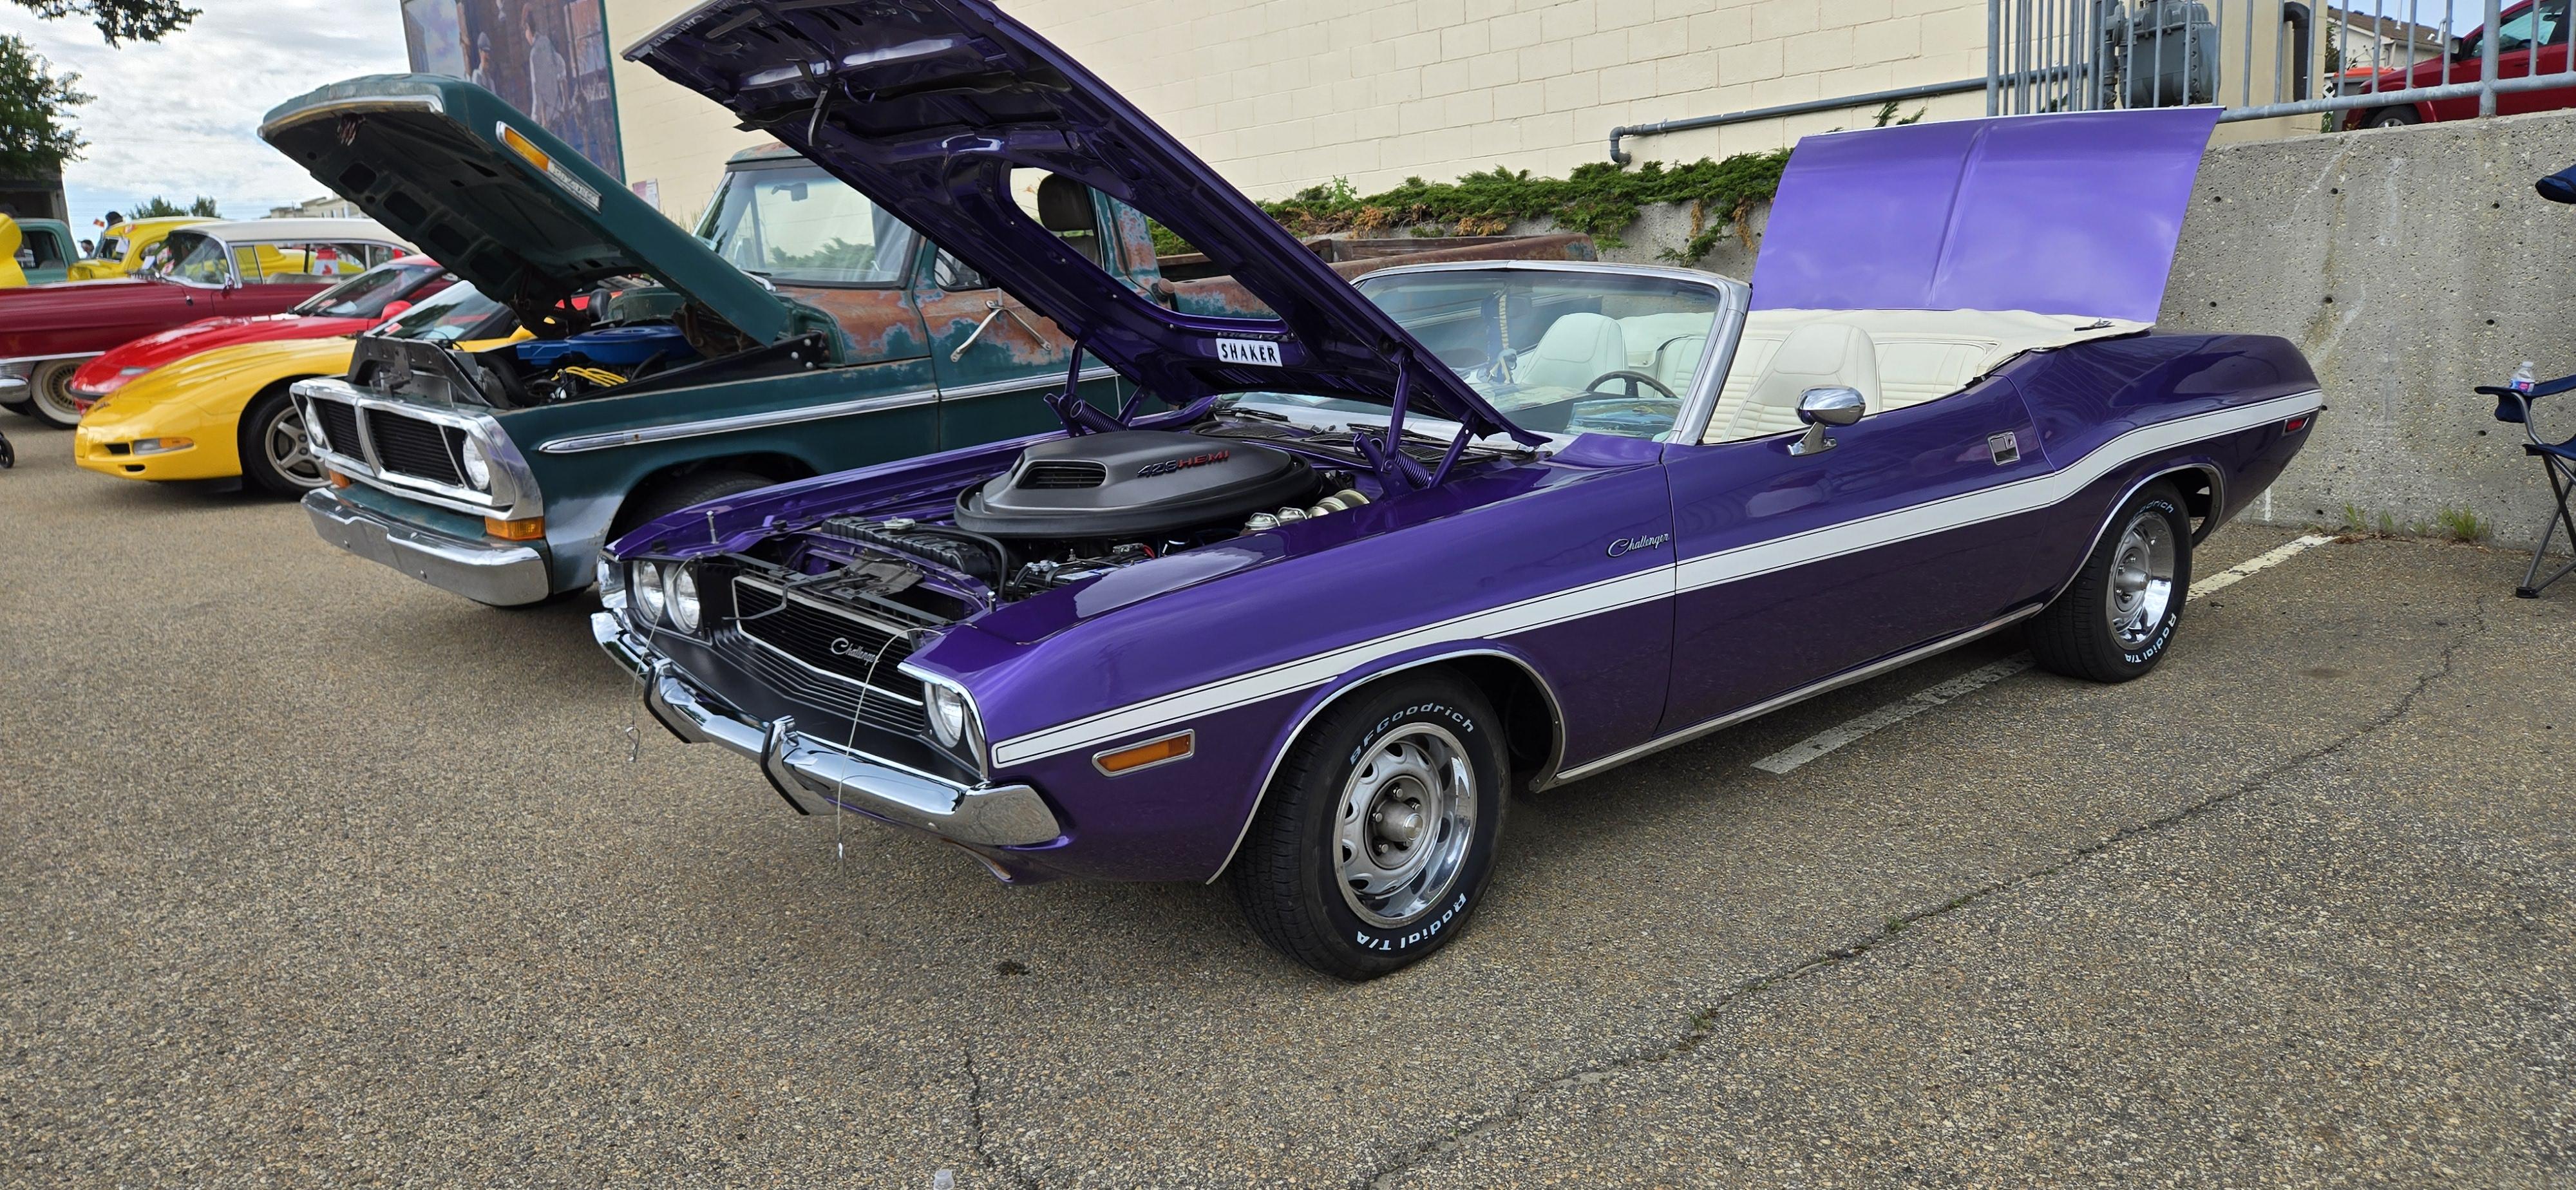
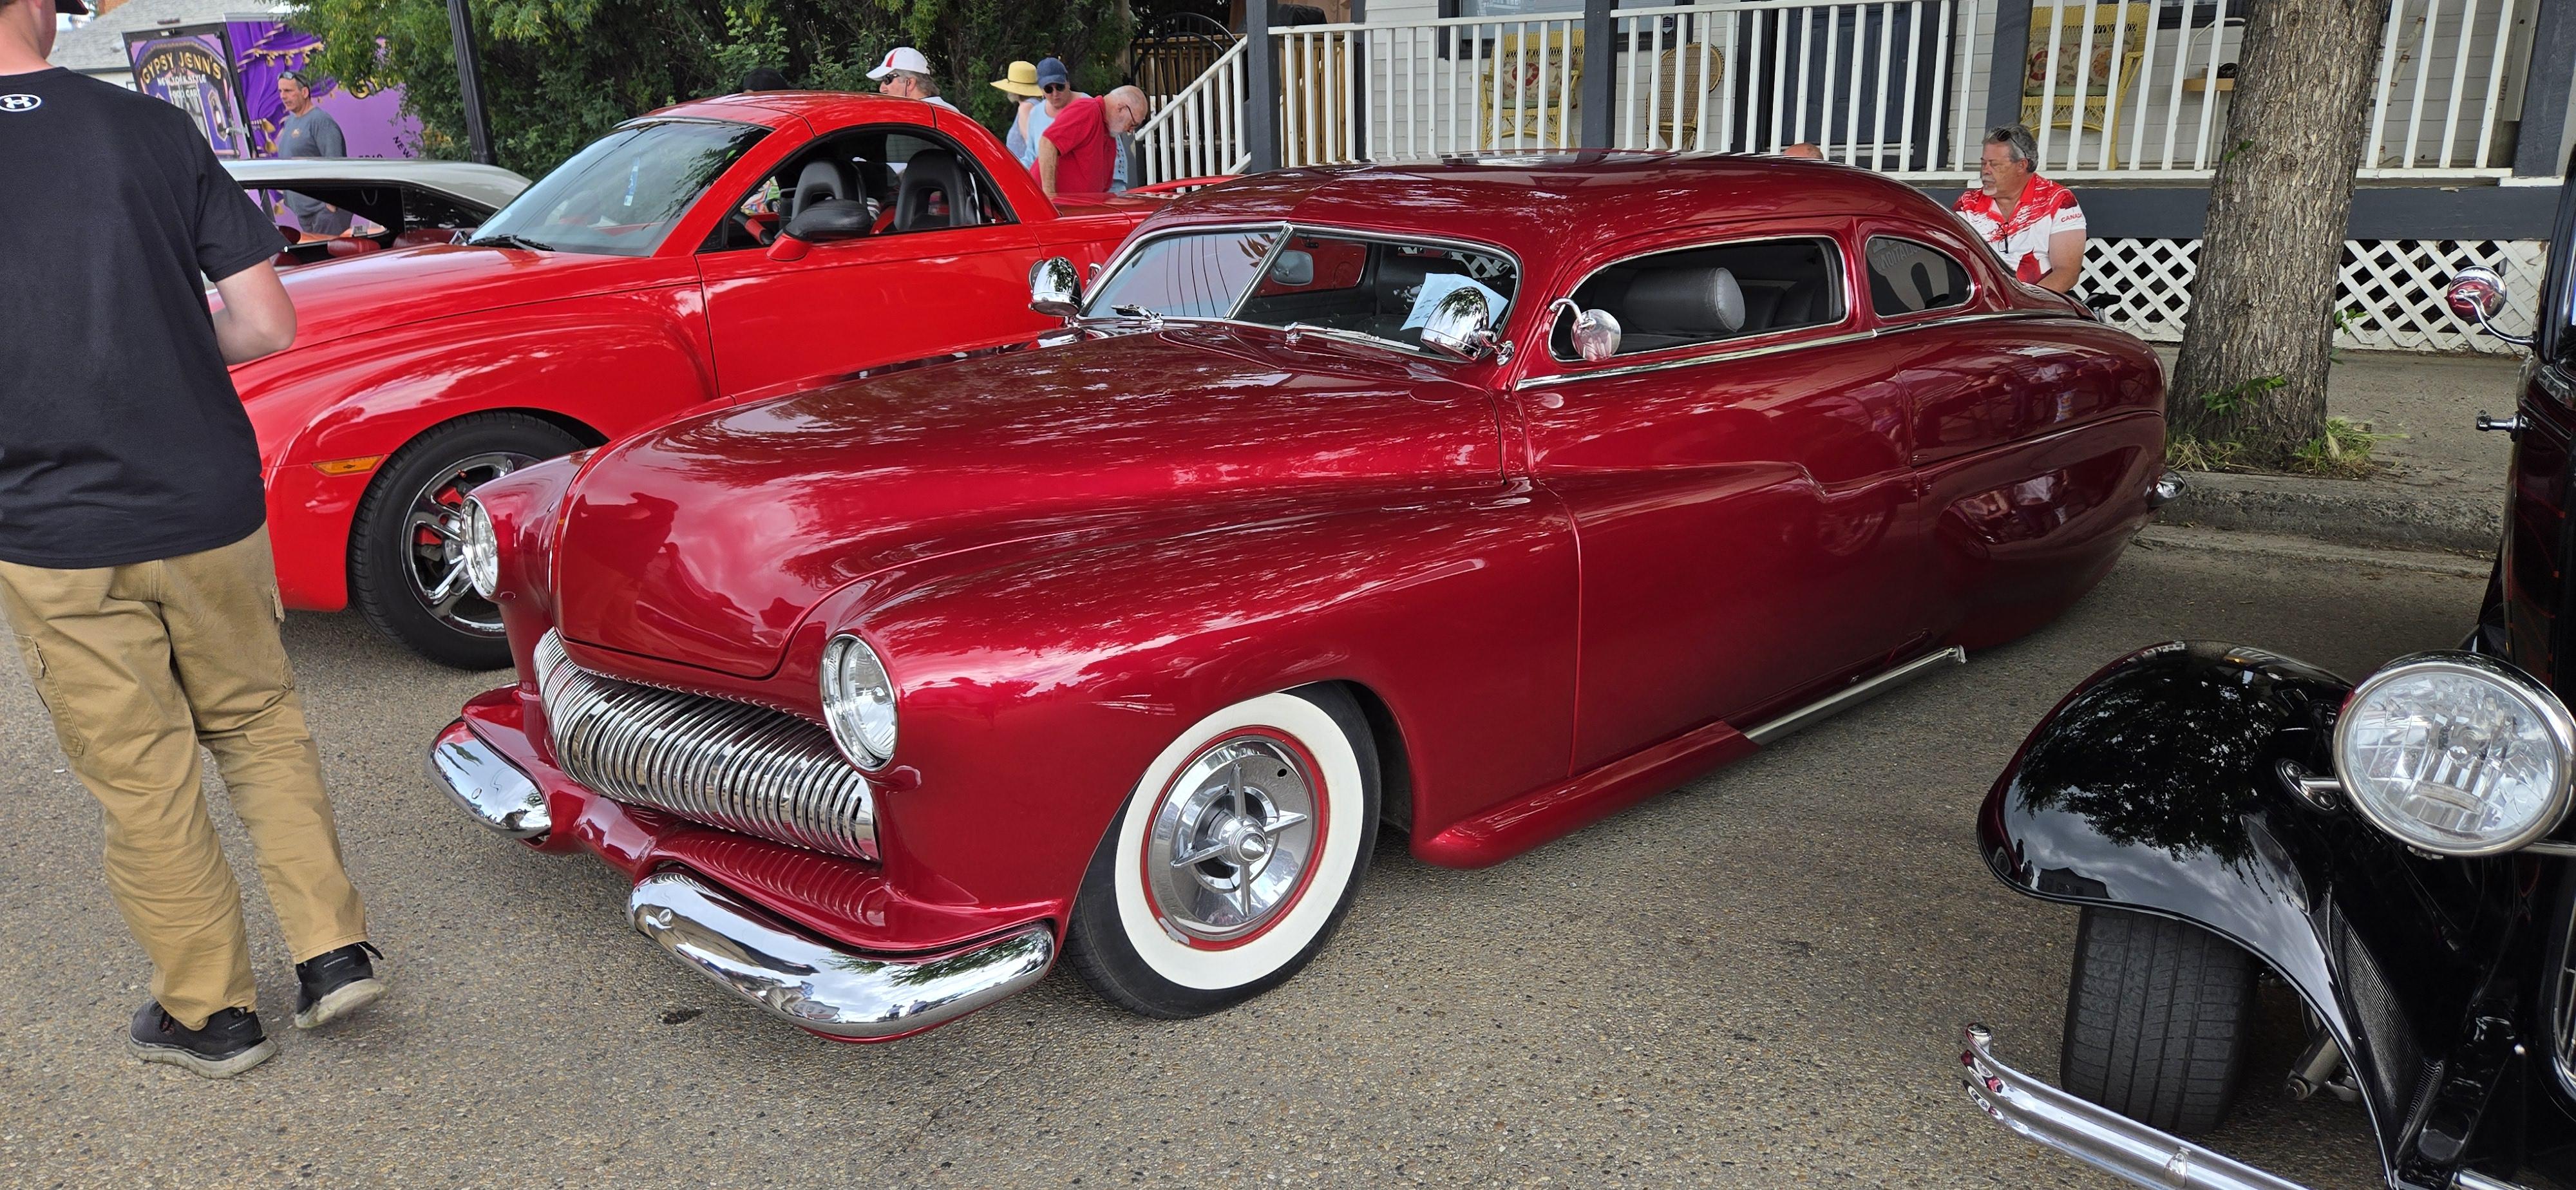
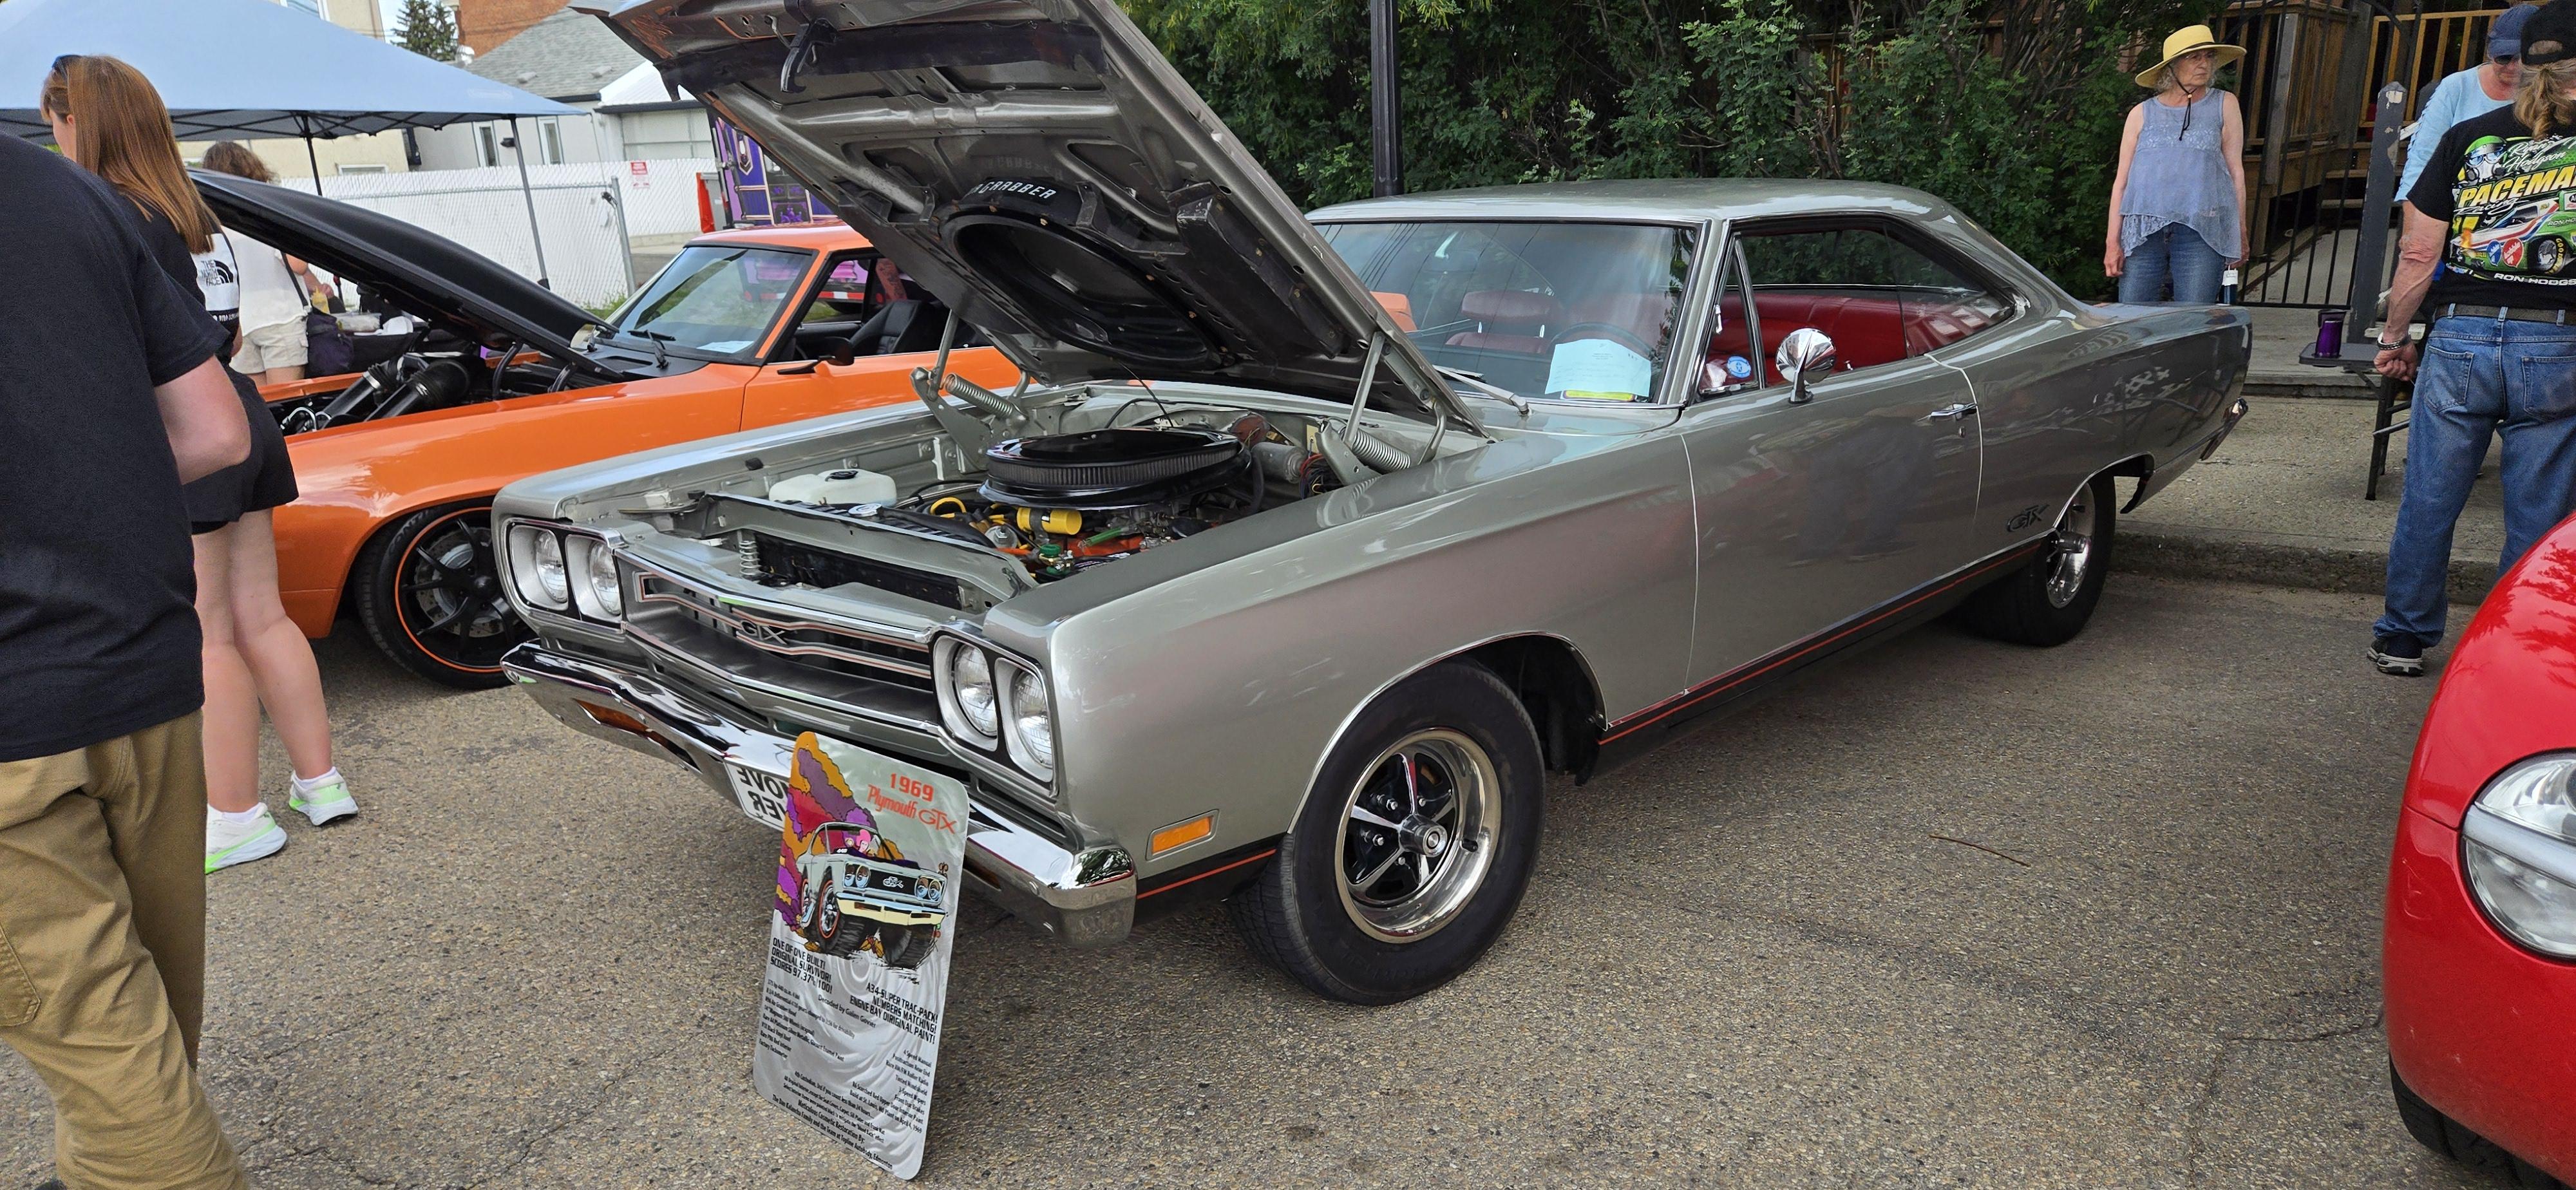
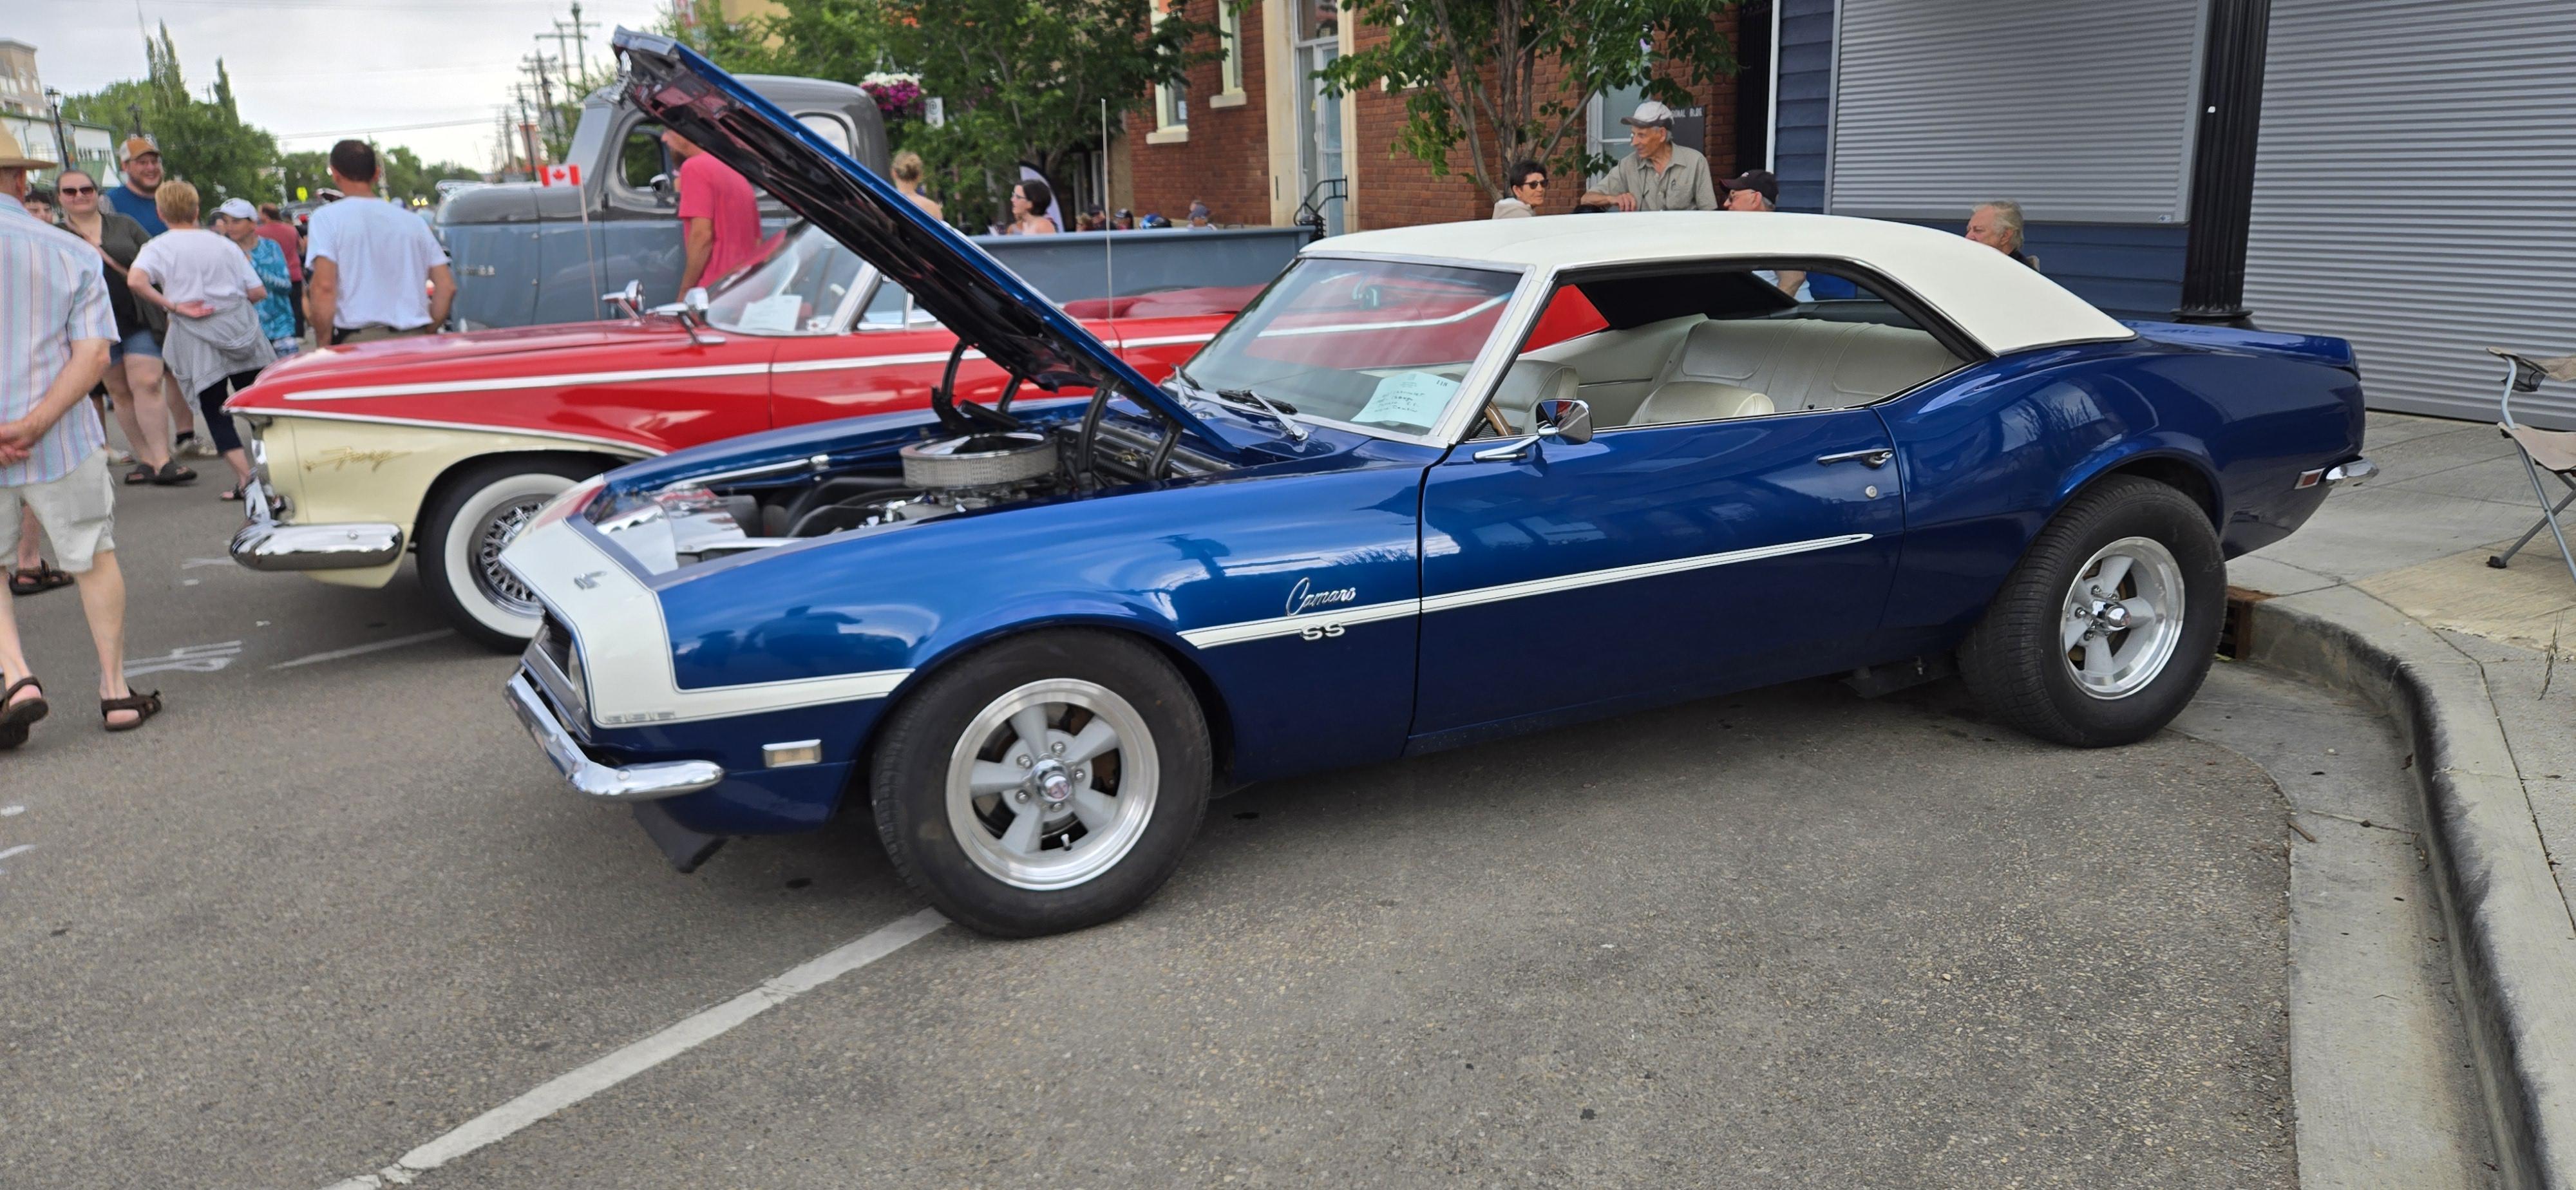
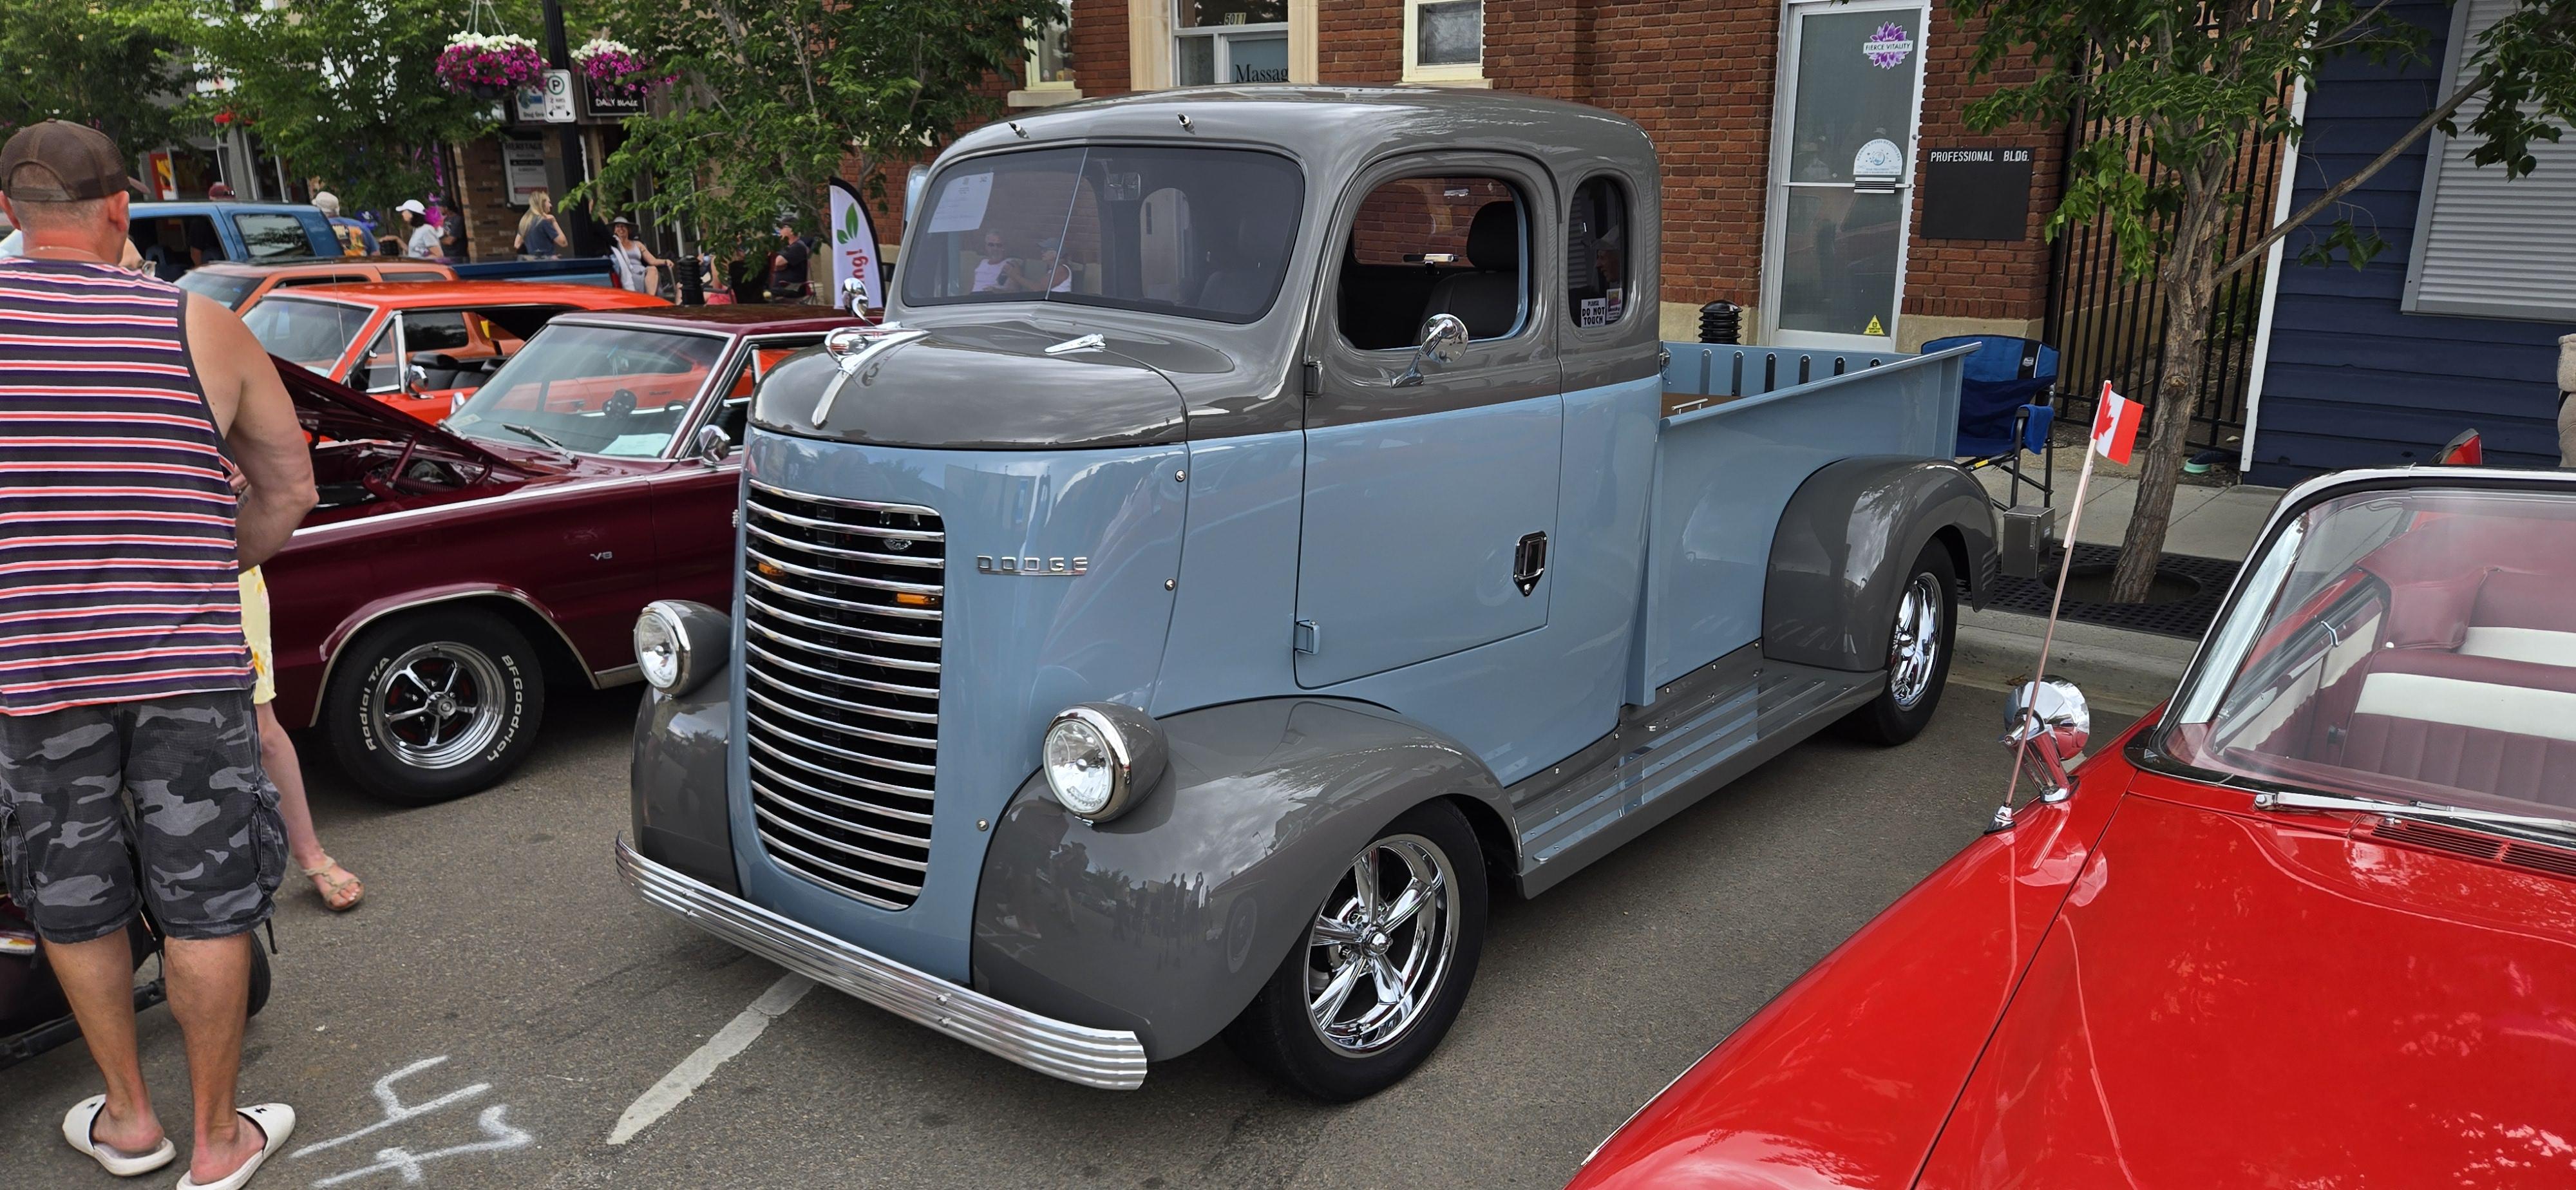
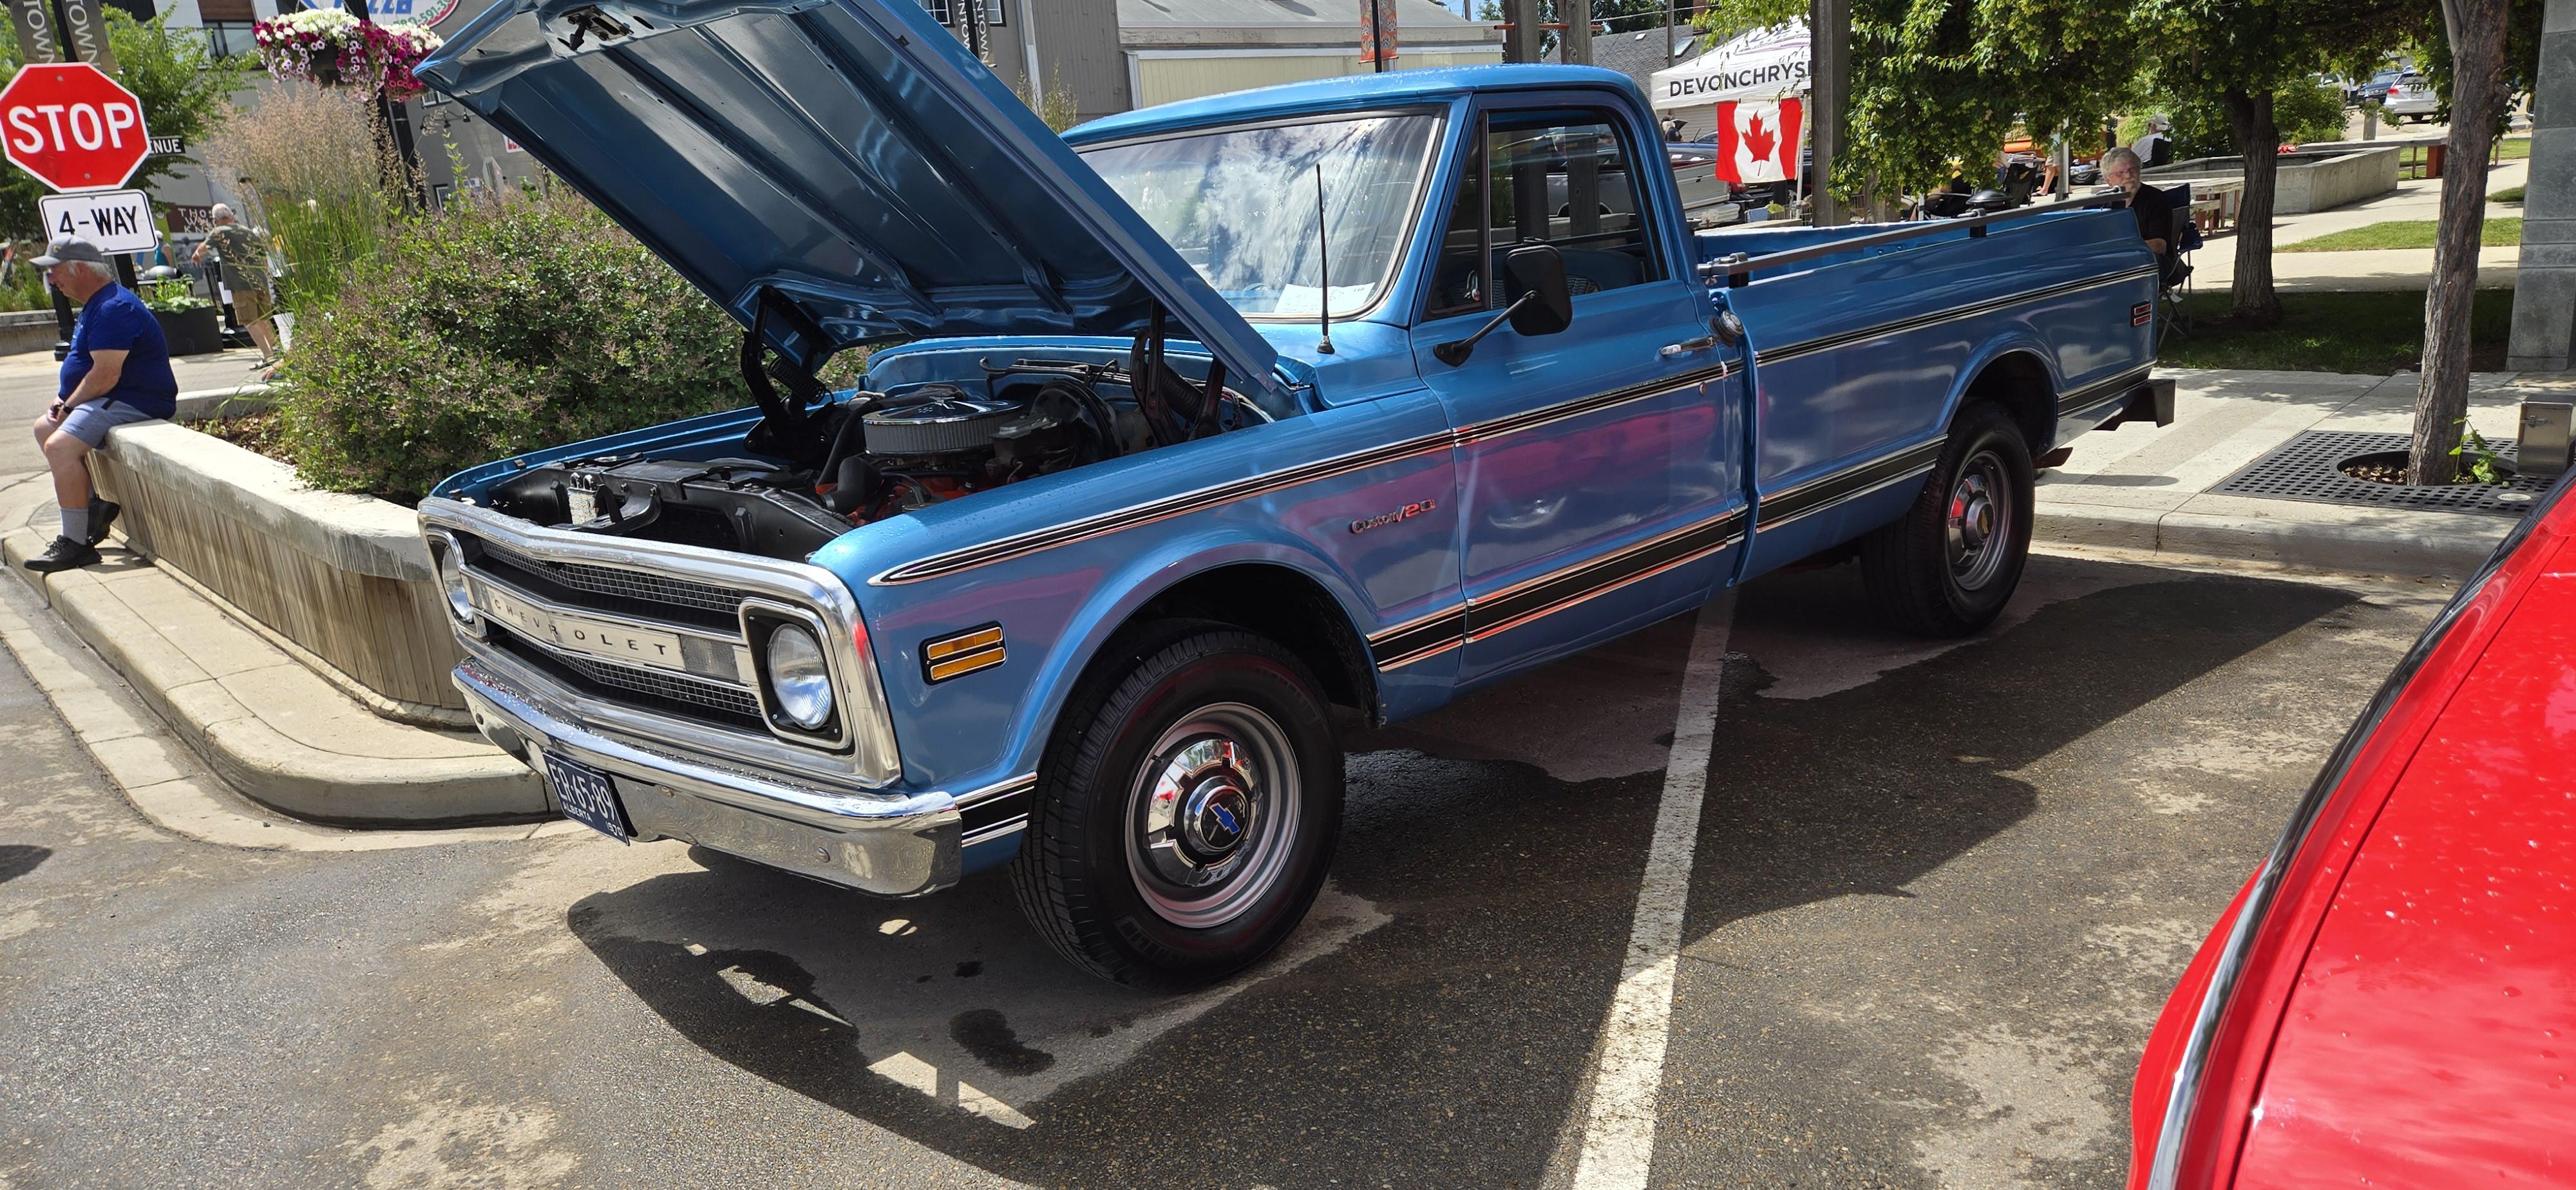
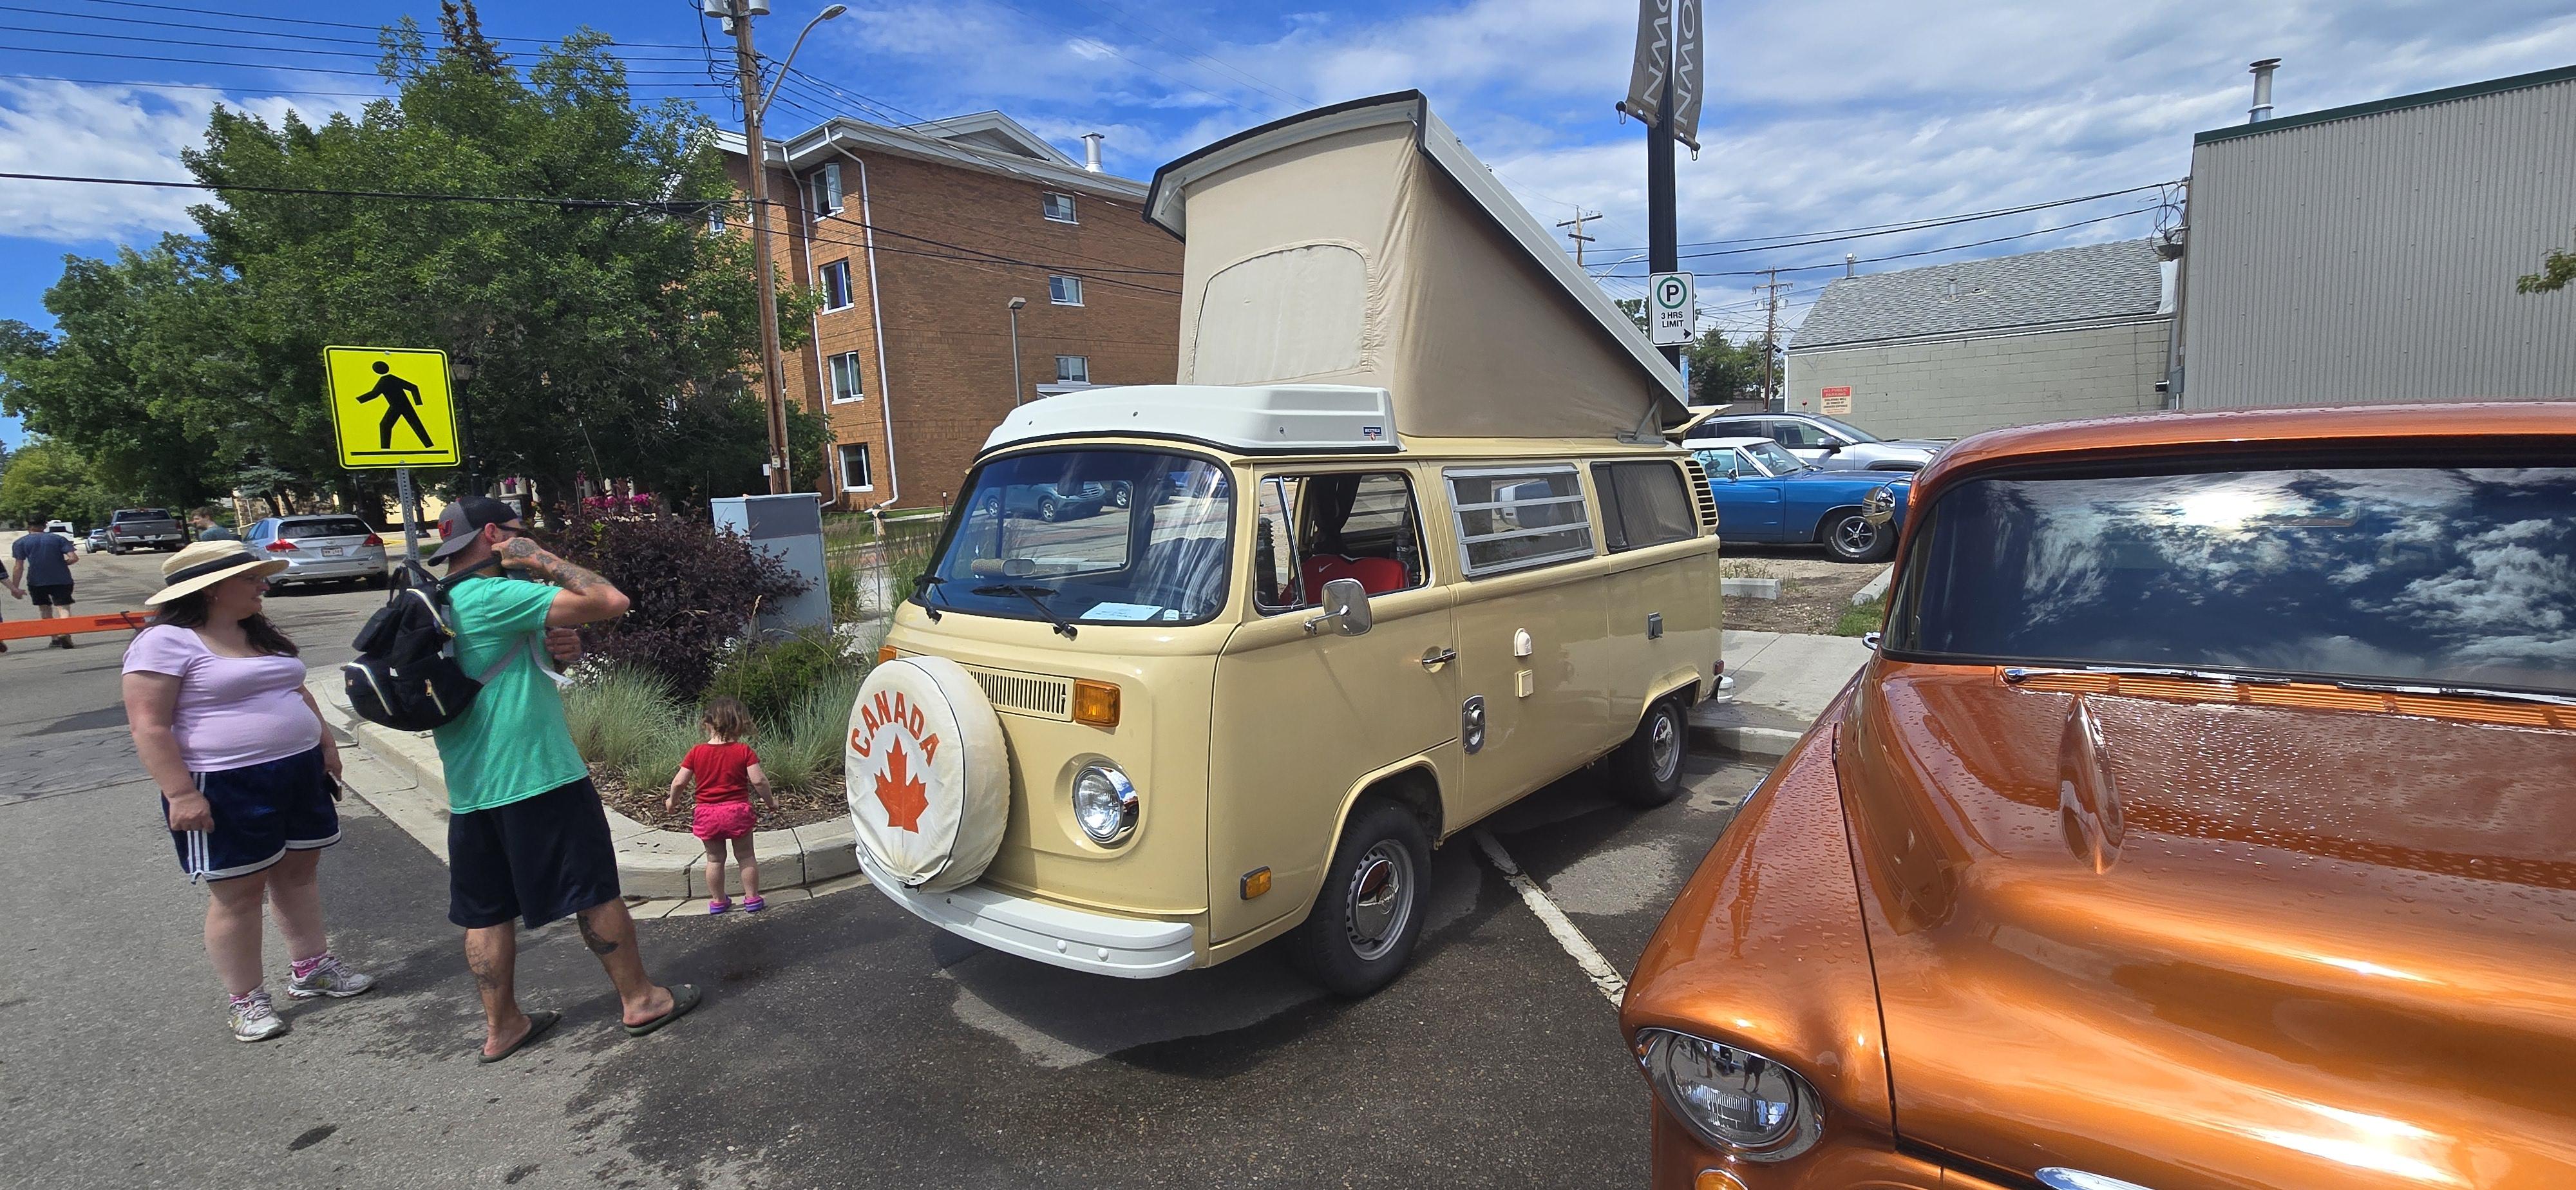
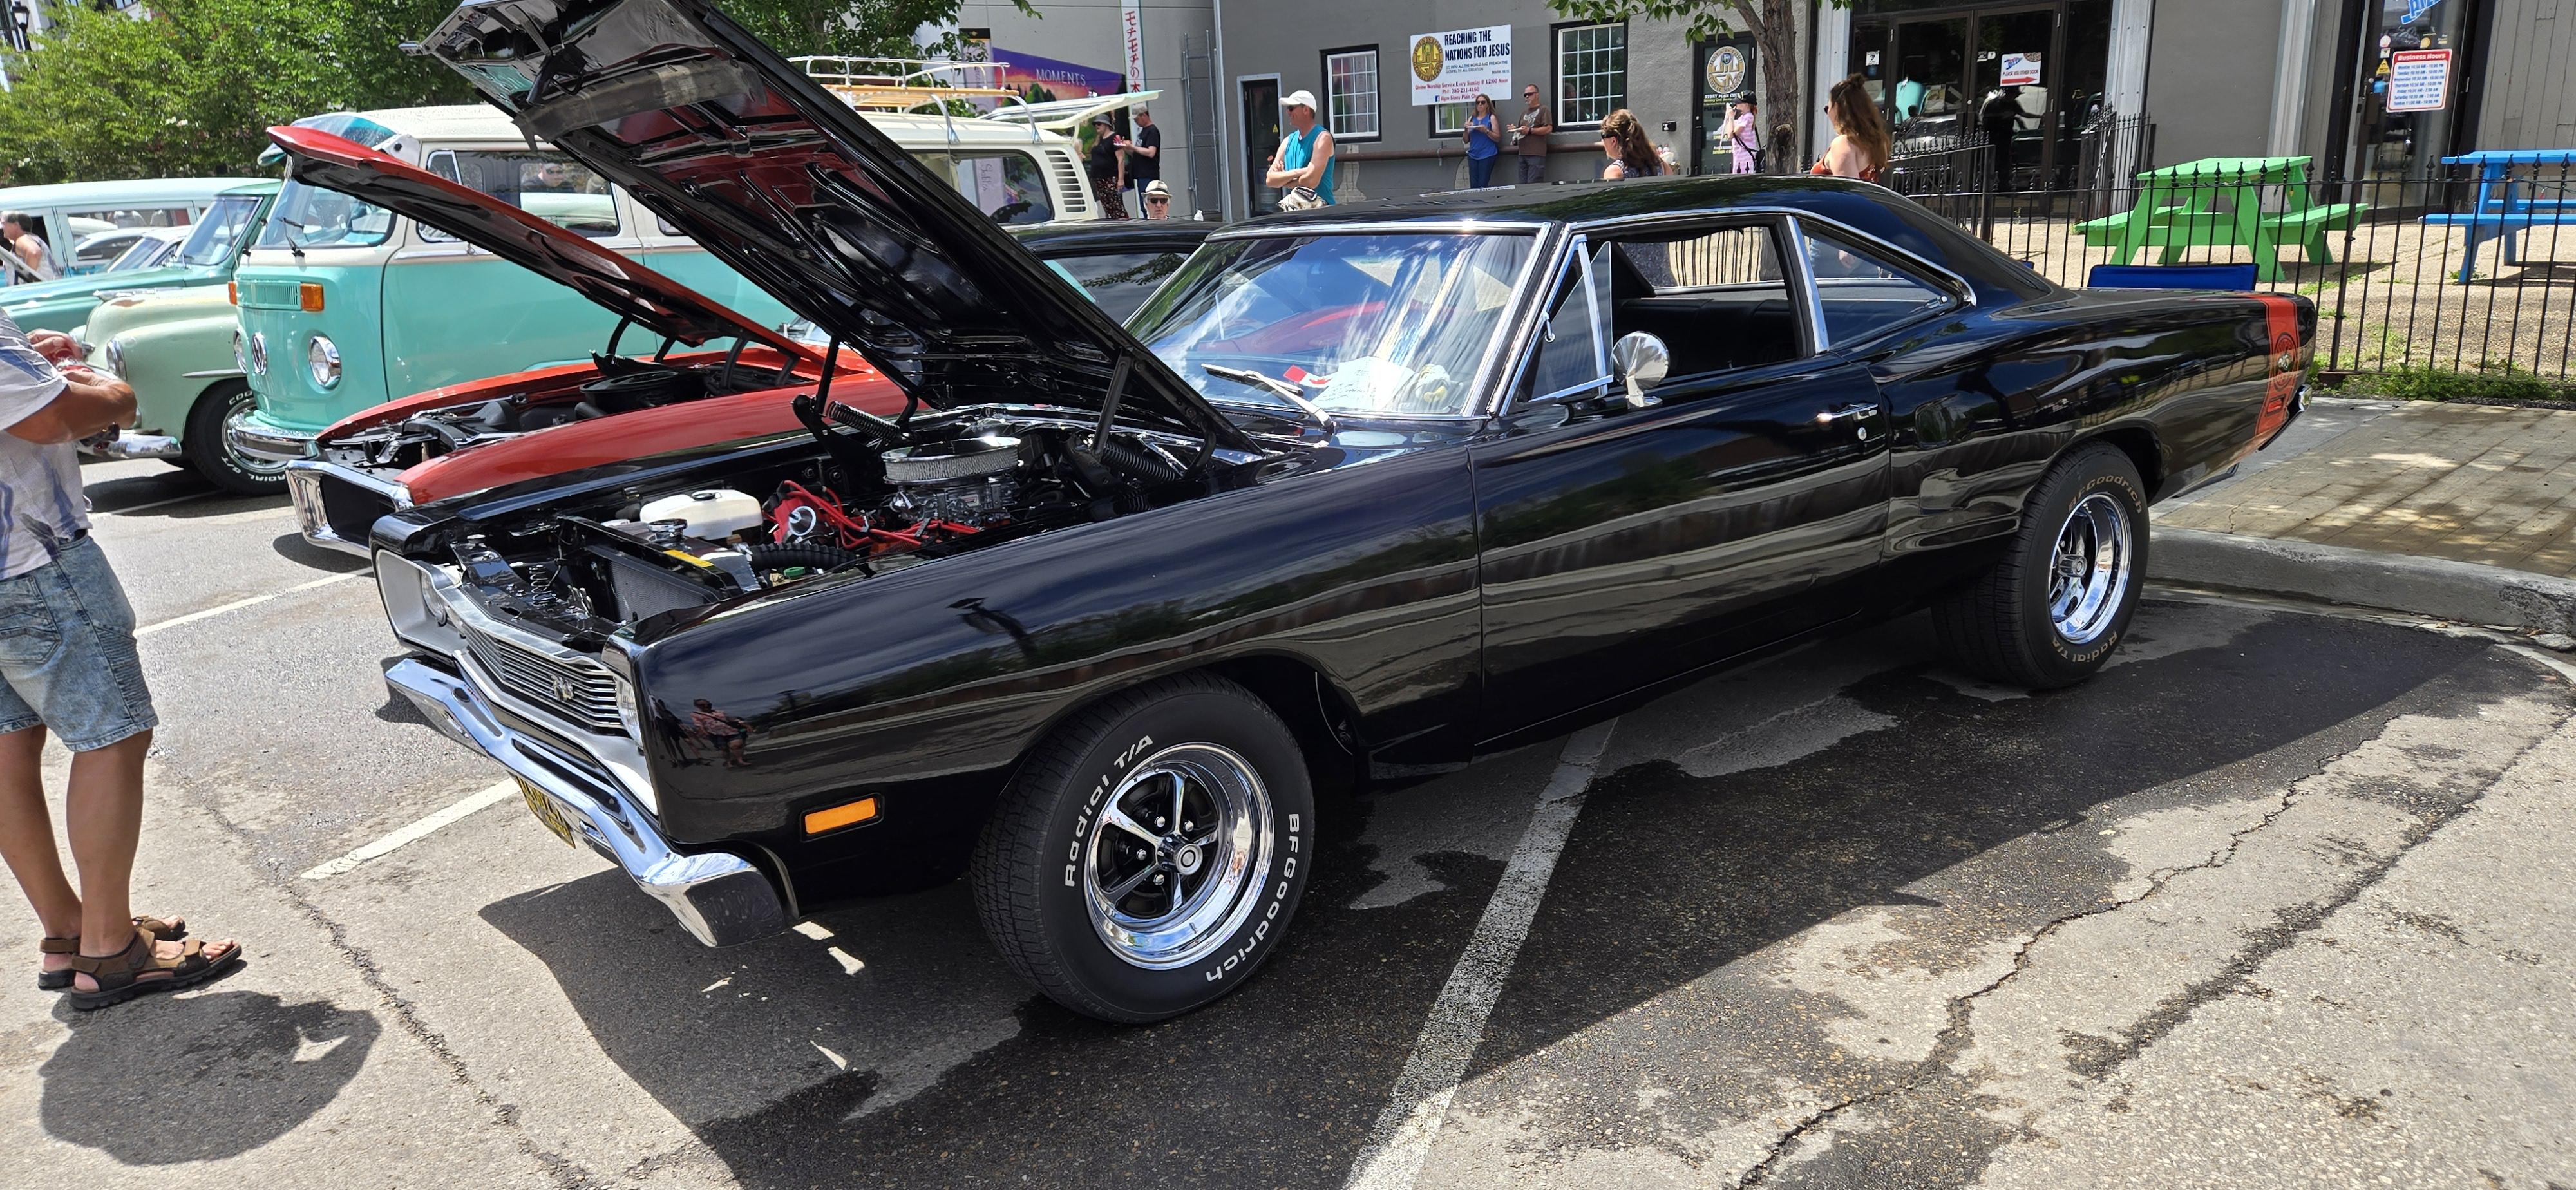
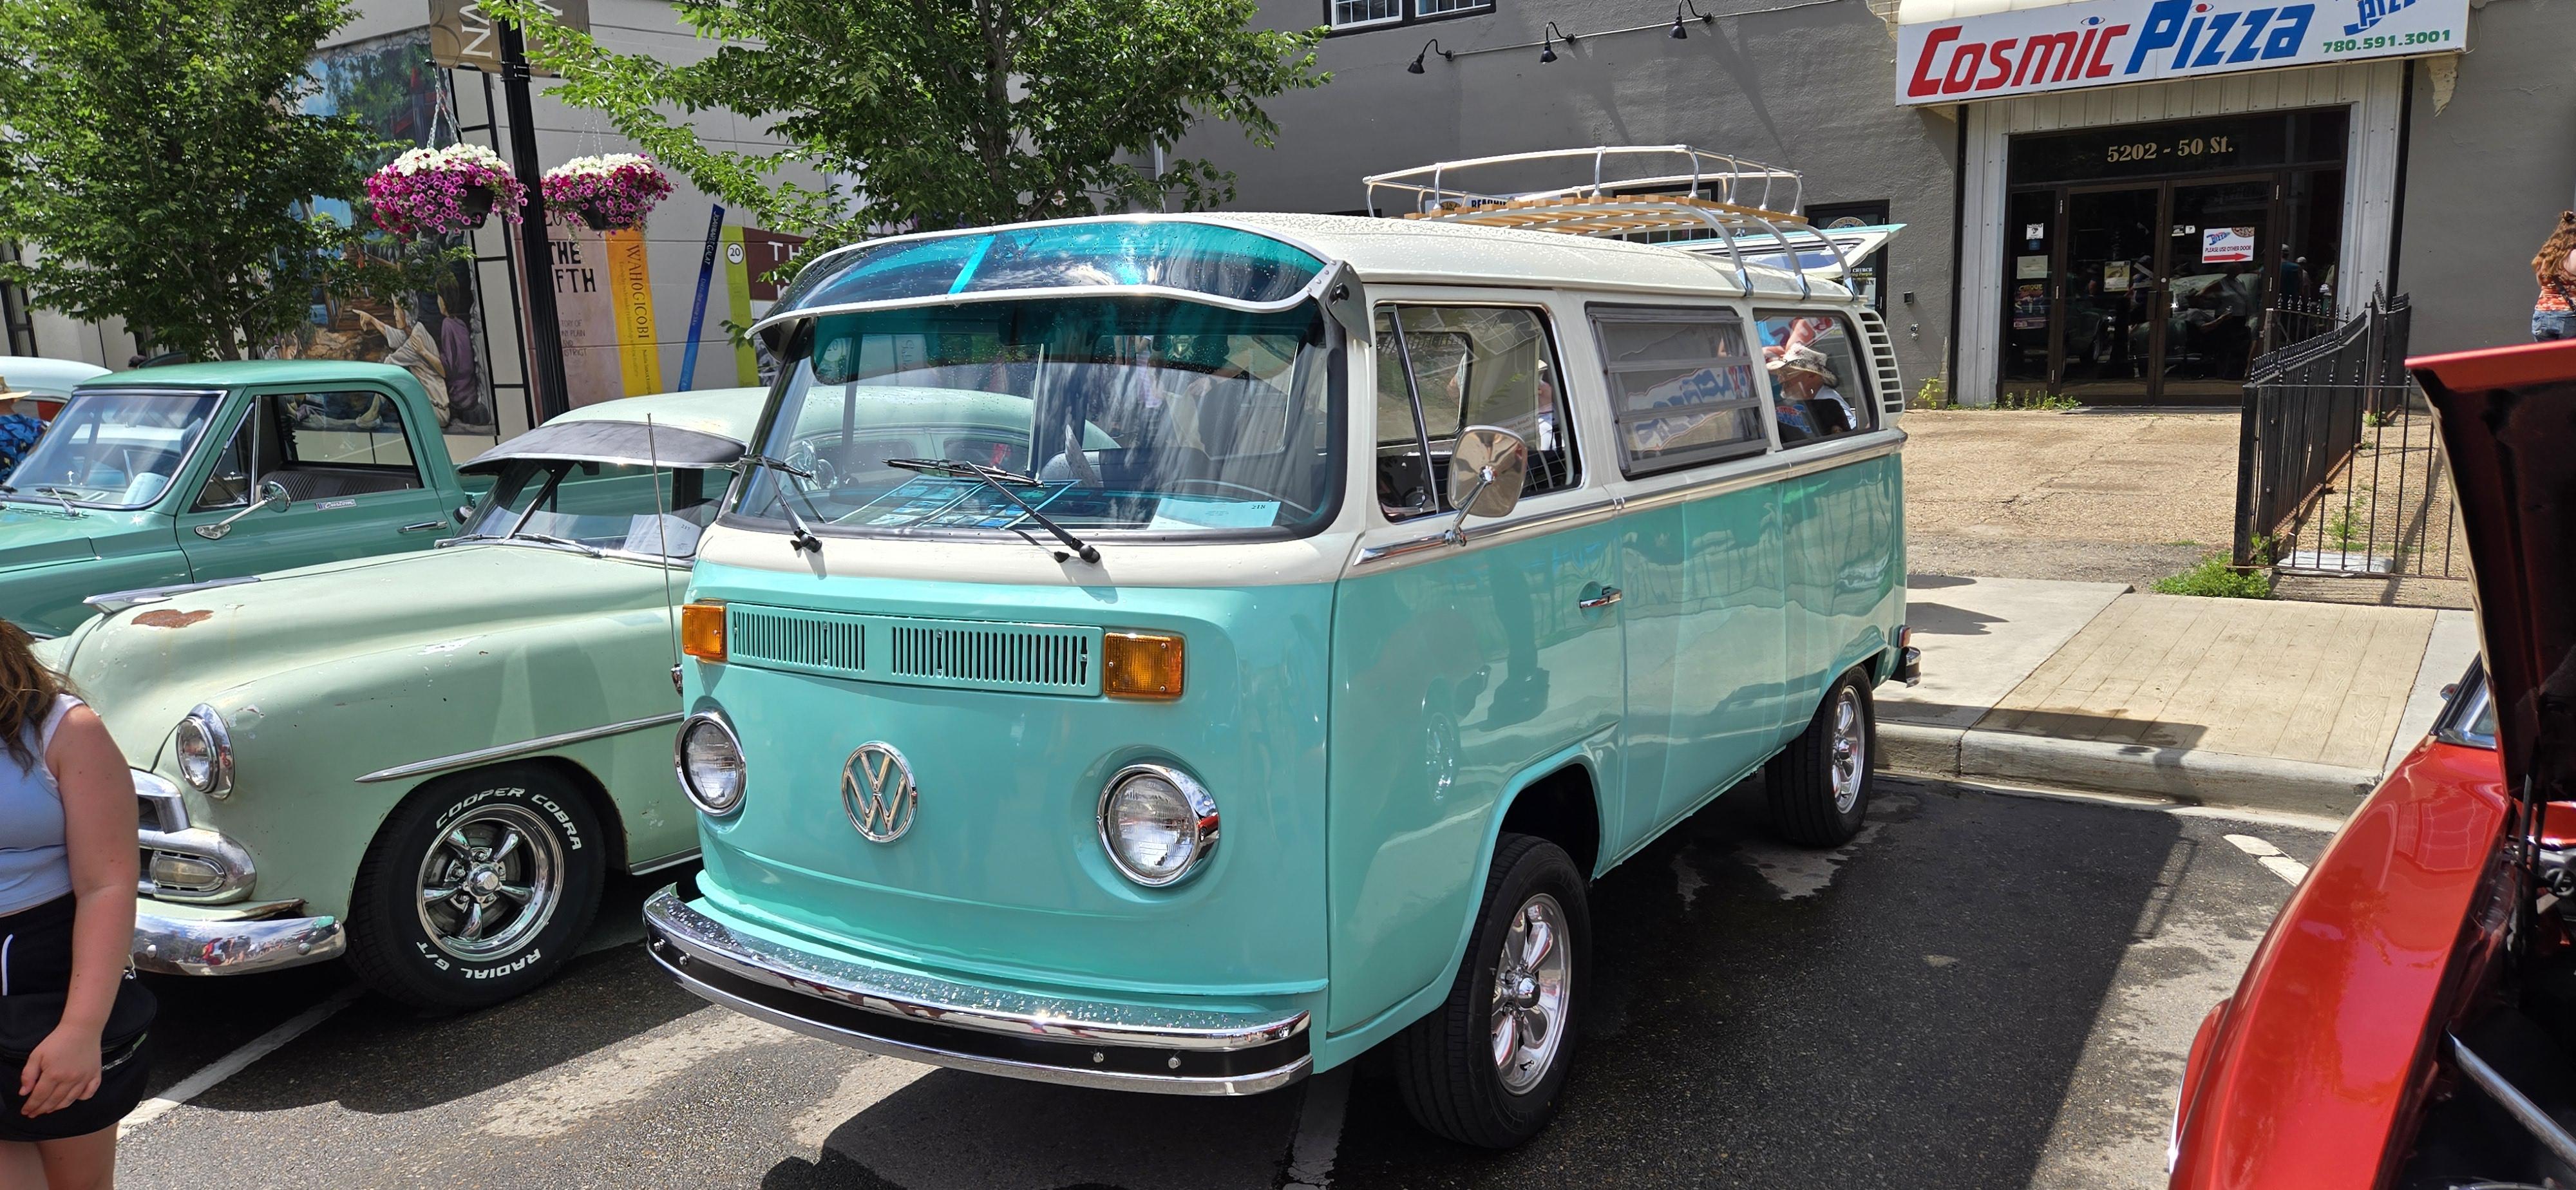
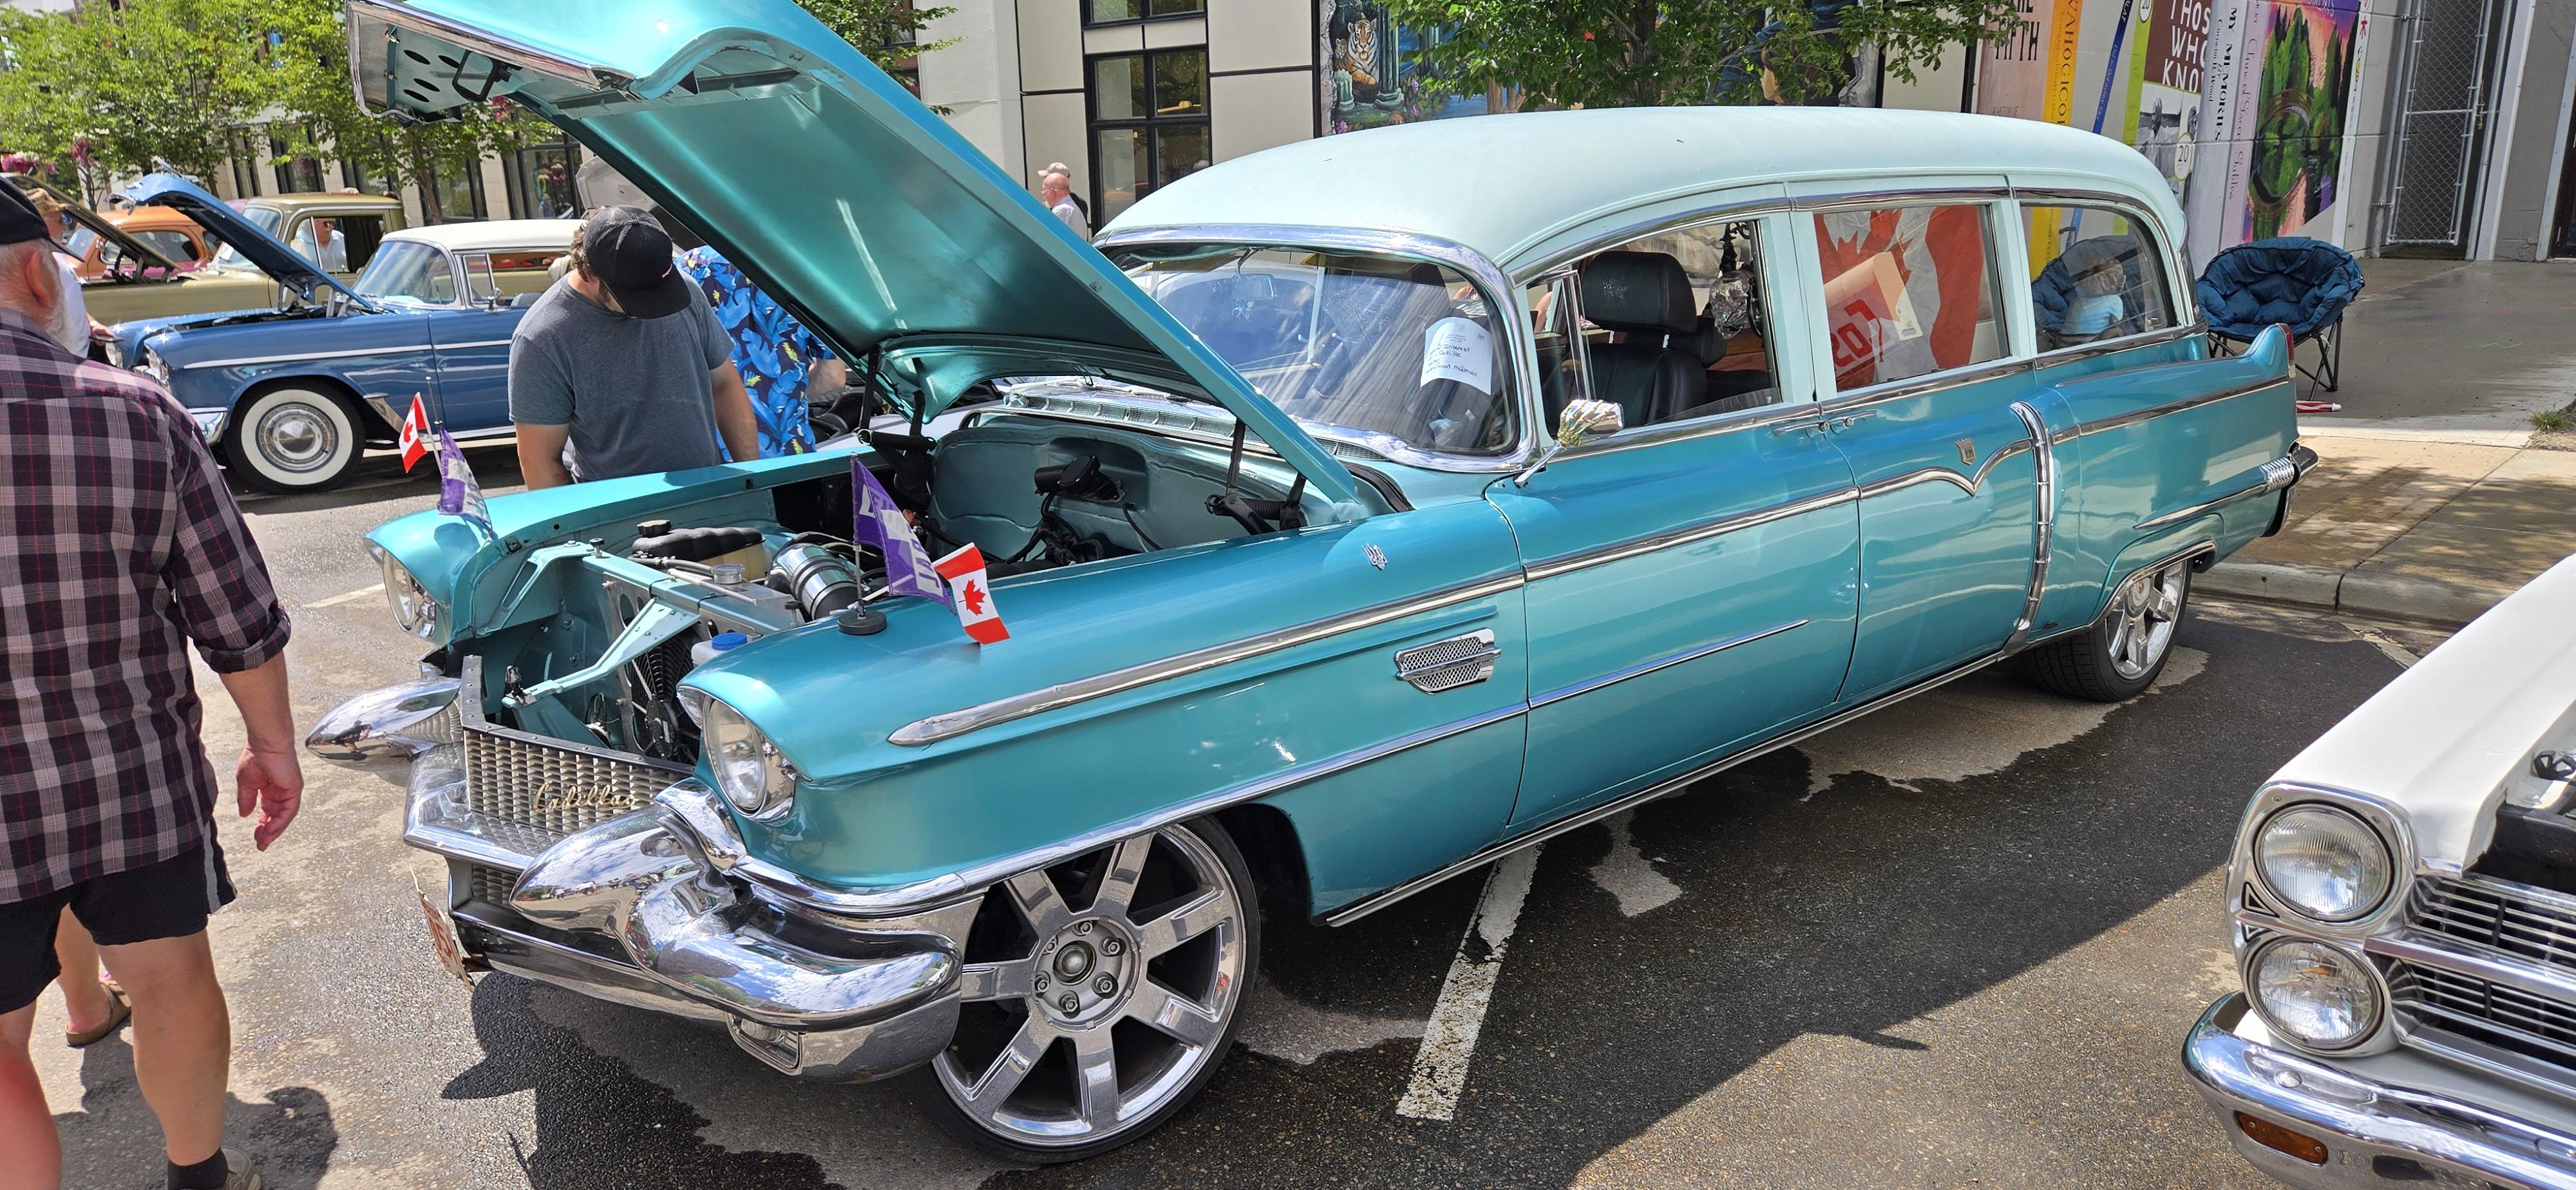
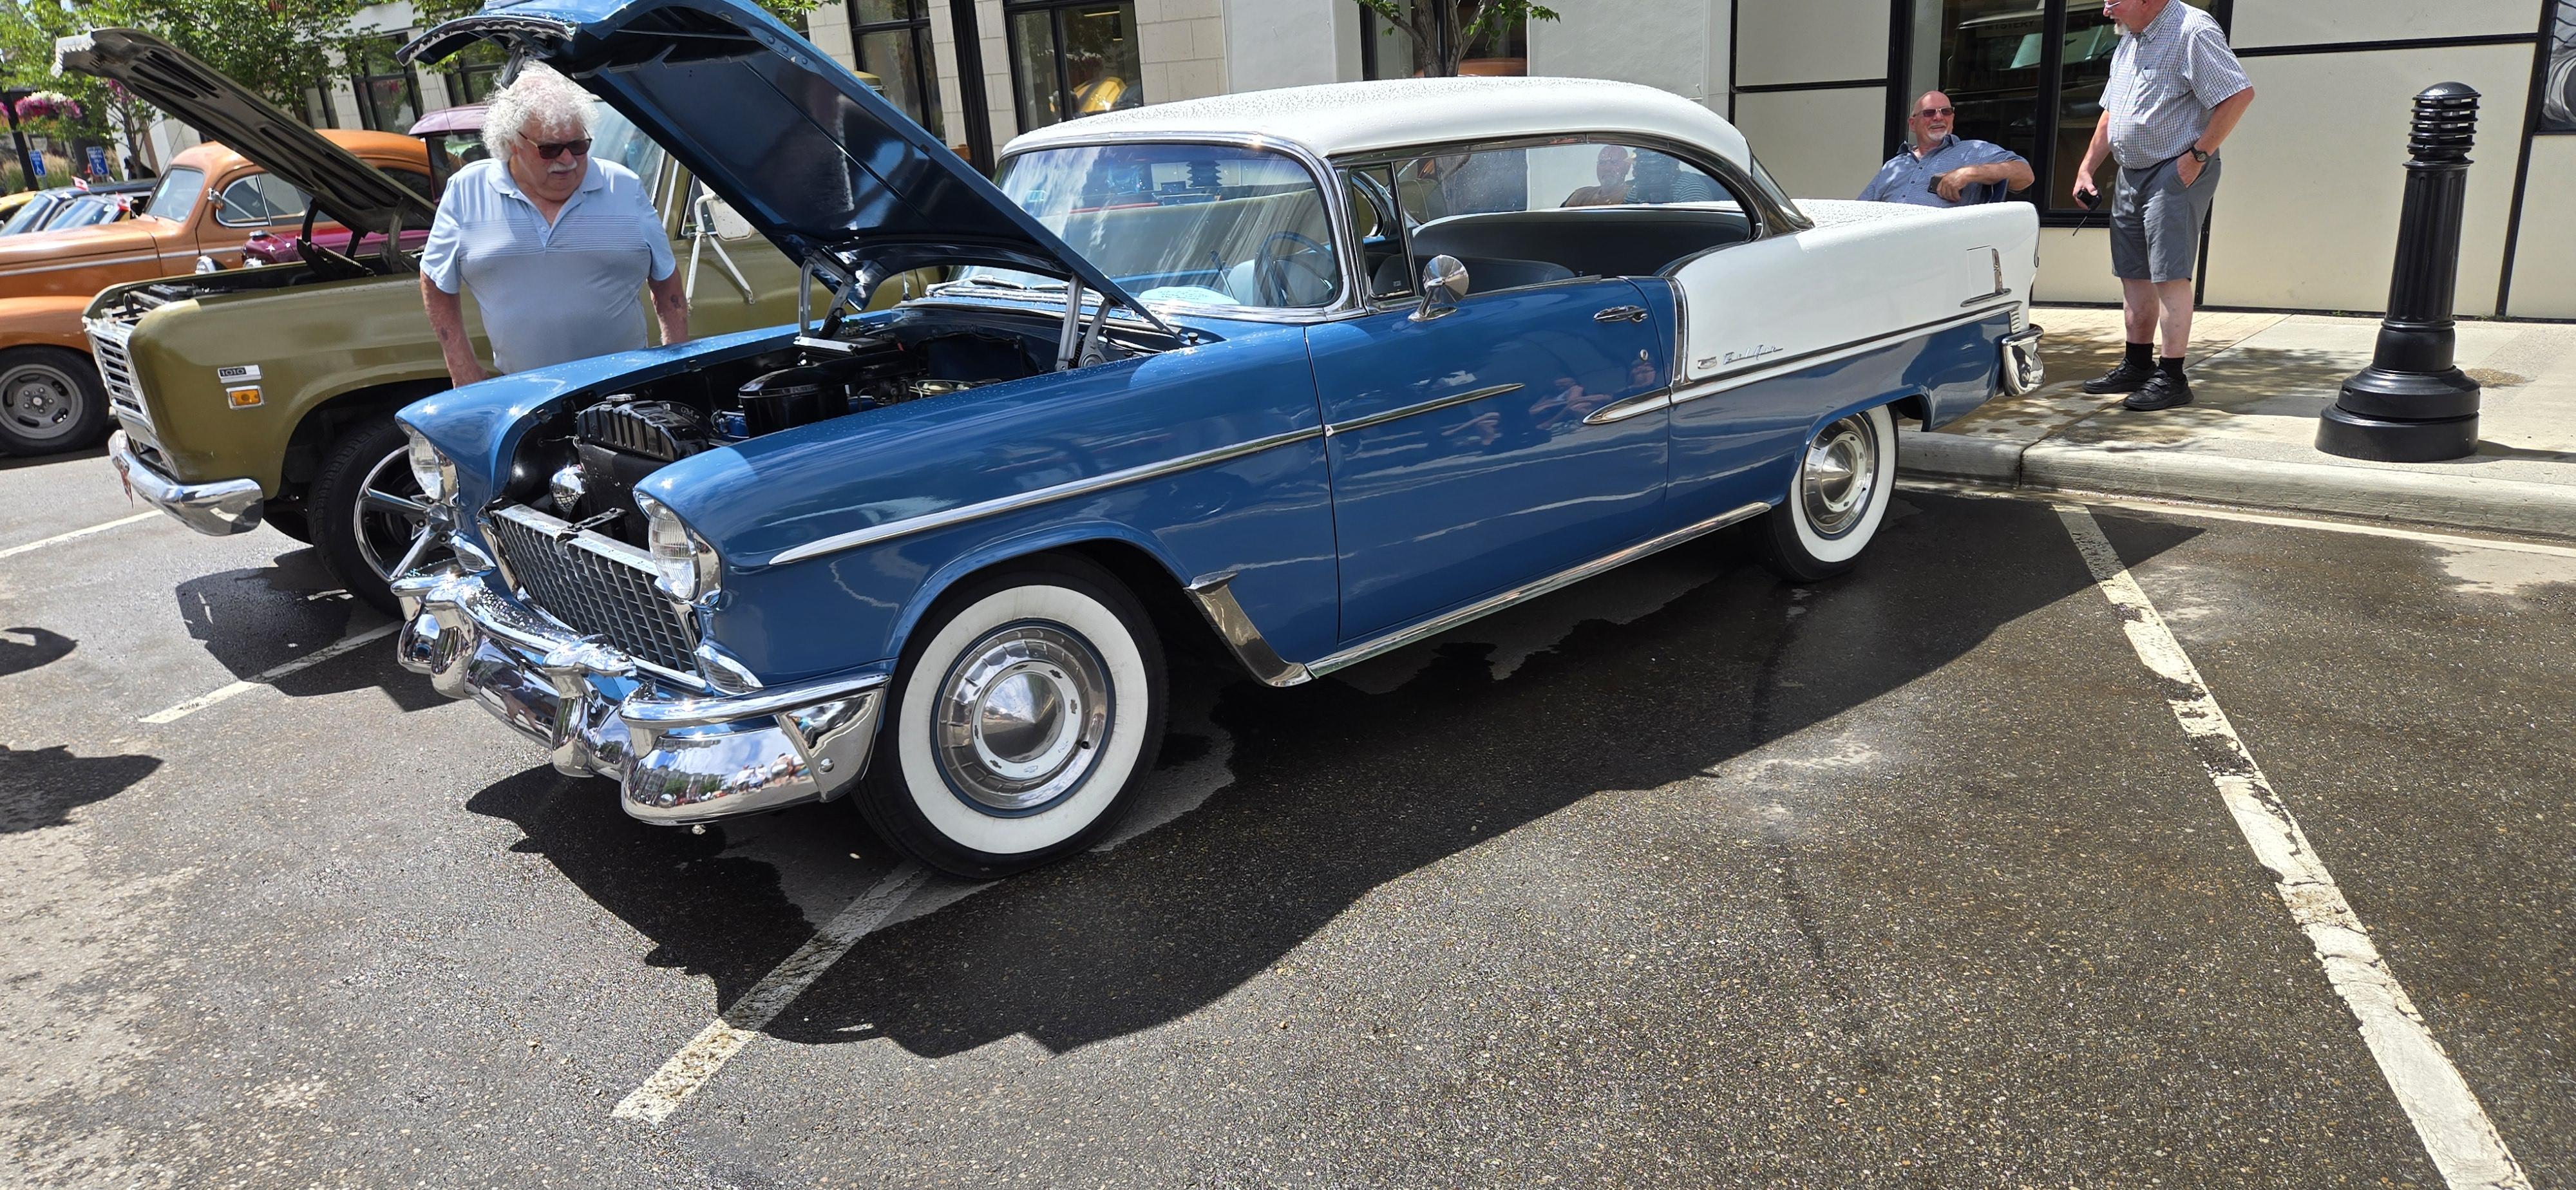
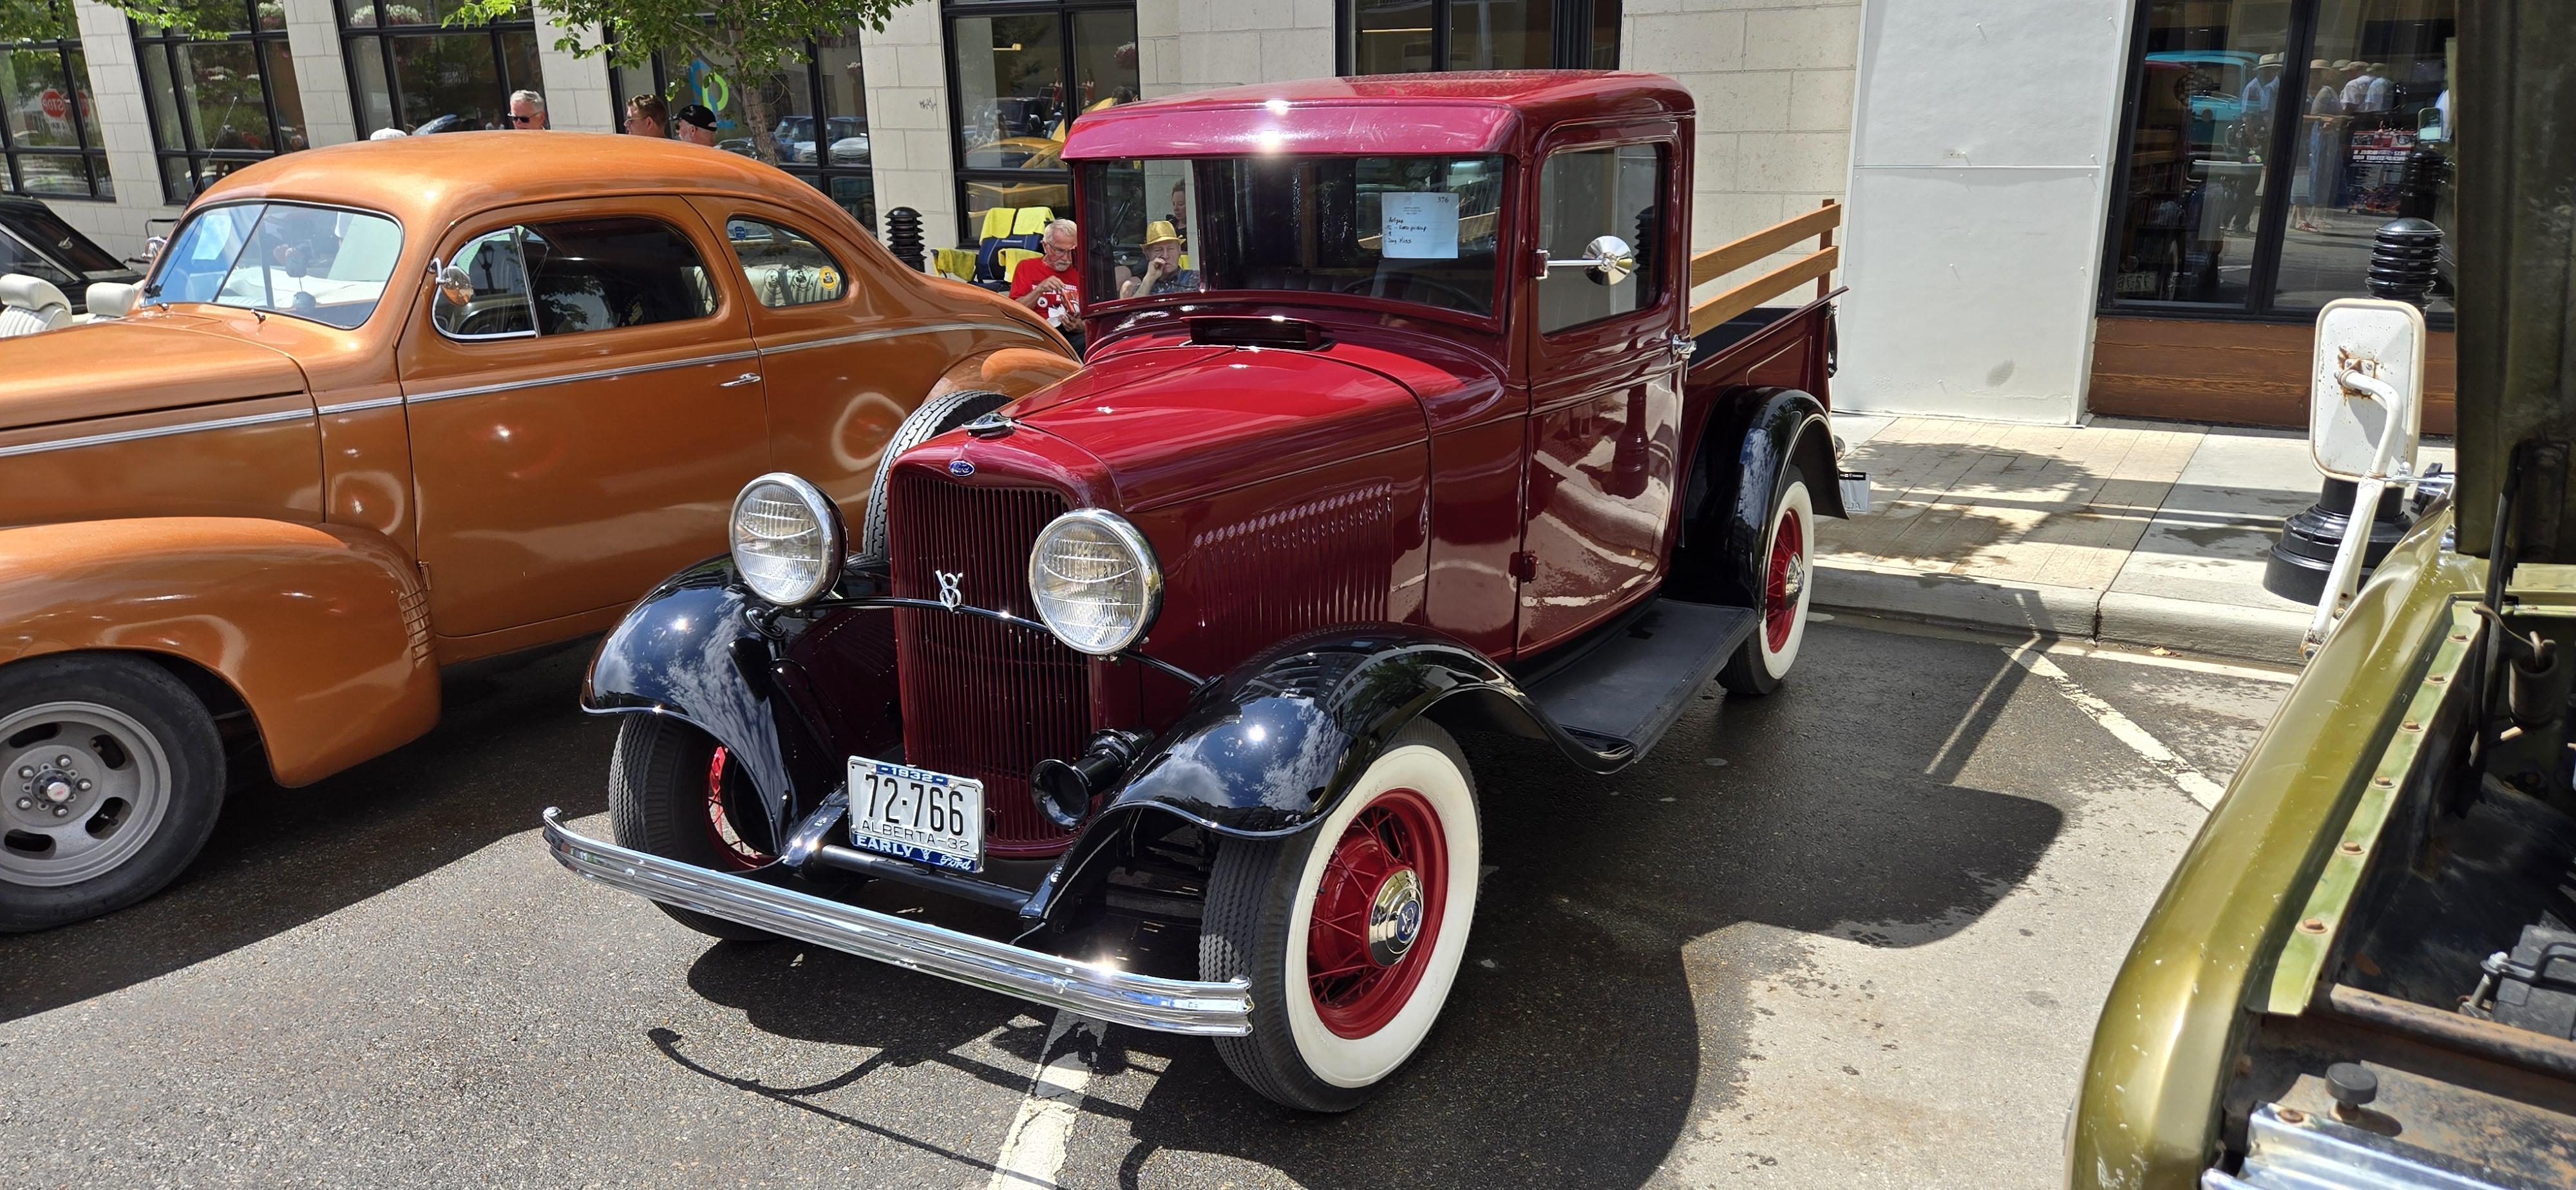
Every Canada Day, my town hosts its annual car show. Hundreds of vehicles show up and take over the downtown area. Weather was awesome, one cloud rolled over though and soaked everyone for a few minutes. It's funny seeing the difference in car people. Some guys were in full panic station, and rushing to cover their cars. Others rushing to get their tops or windows up. And others could not care less. Sat in their chairs and visited, then wiped the cars down after. Funnily enough, the nicest cars, and possibly the highest value cars had the owners who didn't mind a little water. Anyway, here are a few pics.
- 17 replies
-
- 10
-

-
I have one that I want to get rid of. What have you got for trade? I'm into euro subject matter.
-
In the background of the blue Buick, there appears to be an odd VW Vanagon Westfalia, that has maybe been turned into a trailer or something. Would you have any pics of that thing?
-
If you have access to a 3d printer... https://cults3d.com/en/3d-model/game/1-24-16x7-17x8-5-enkei-wheels-set-for-nsx-na1-type-r https://cults3d.com/en/3d-model/various/1-24-scale-18-honda-nsx-r-oem-style-wheels I've always liked how the original NSX looks. Not that exciting to drive though.
-
What wheels are on this Porsche 911?
iamsuperdan replied to Hawk312's topic in General Automotive Talk (Trucks and Cars)
Those appear to be the standard Turbo S Exclusive wheel, as found on the new 911 Turbo S. There are files available for 3D printing. https://cults3d.com/en/3d-model/various/porsche-911-turbo-s-rim-keychain-rc -
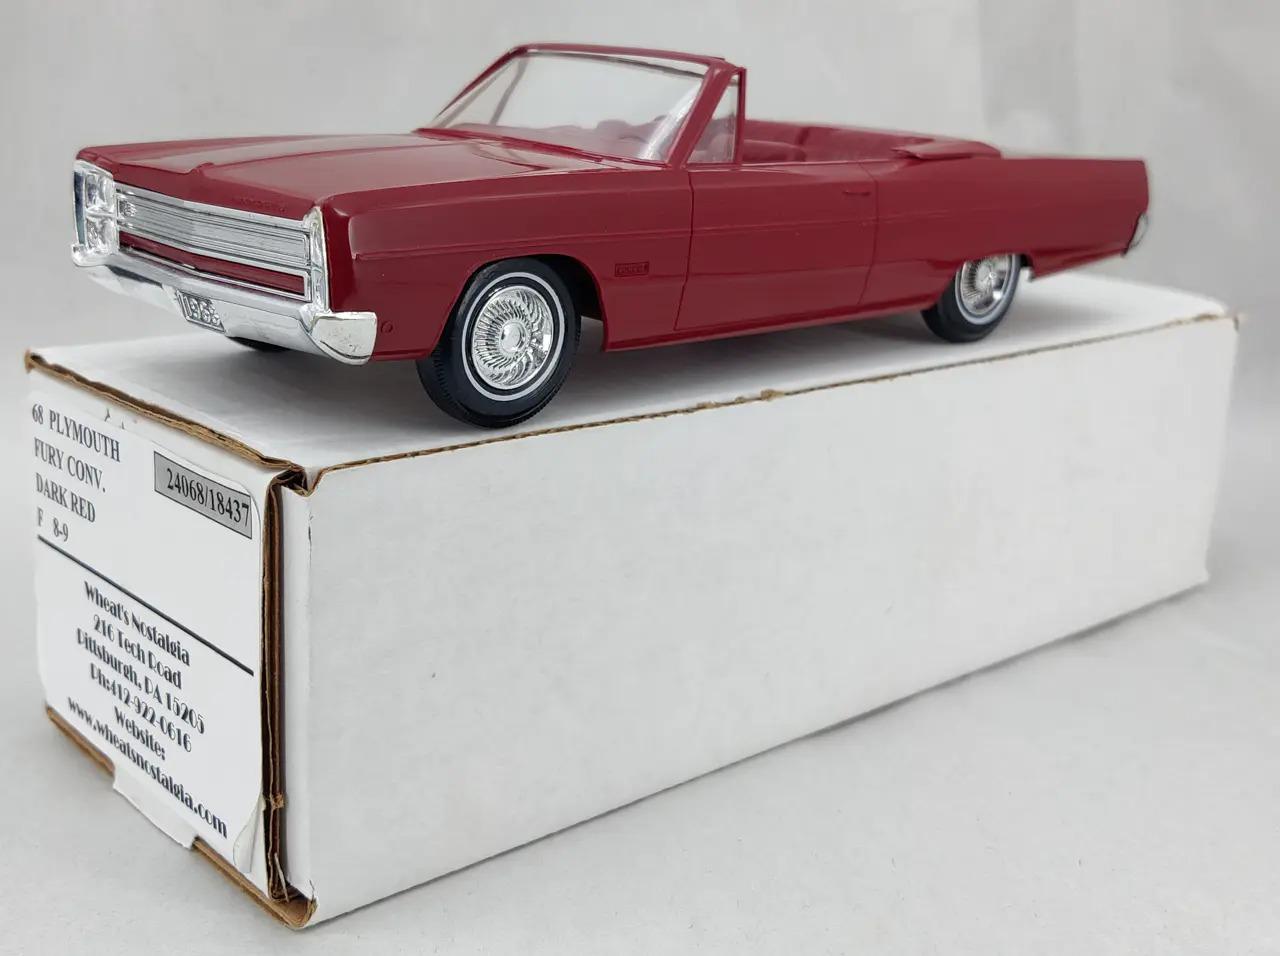
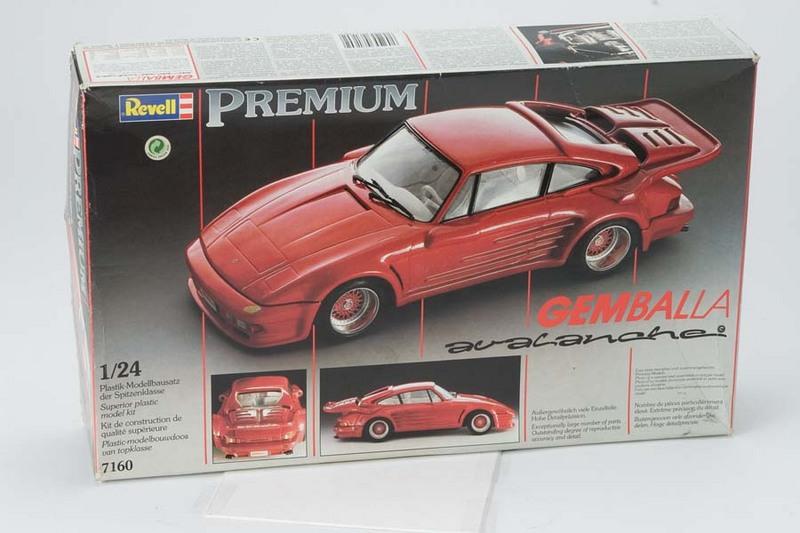
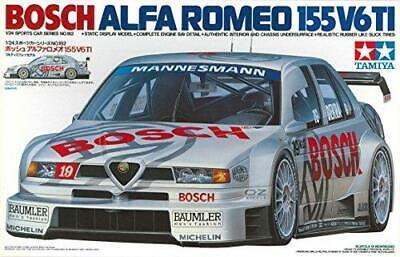
I have a couple that seem to be pure unobtanium. Tamiya Alfa Romeo 155 - Bosch version. ALthough I hear this is being reissued, so I'll be picking that up. Then I'll have all of the Tamiya 155s. Revell Mercedes 230TE. I think it's a rebox of the Fujimi kit. Revell Gemballa Avalanche. Have seen them pop up on eBay, but pricing is always mental. Johan 1968 Plymouth Fury III Convertible. I know of the promo, and I thin kthere was a kit available. Have never found one for sale.
-
Do You Keep Pictures For Future Builds?
iamsuperdan replied to oldcarfan's topic in General Automotive Talk (Trucks and Cars)
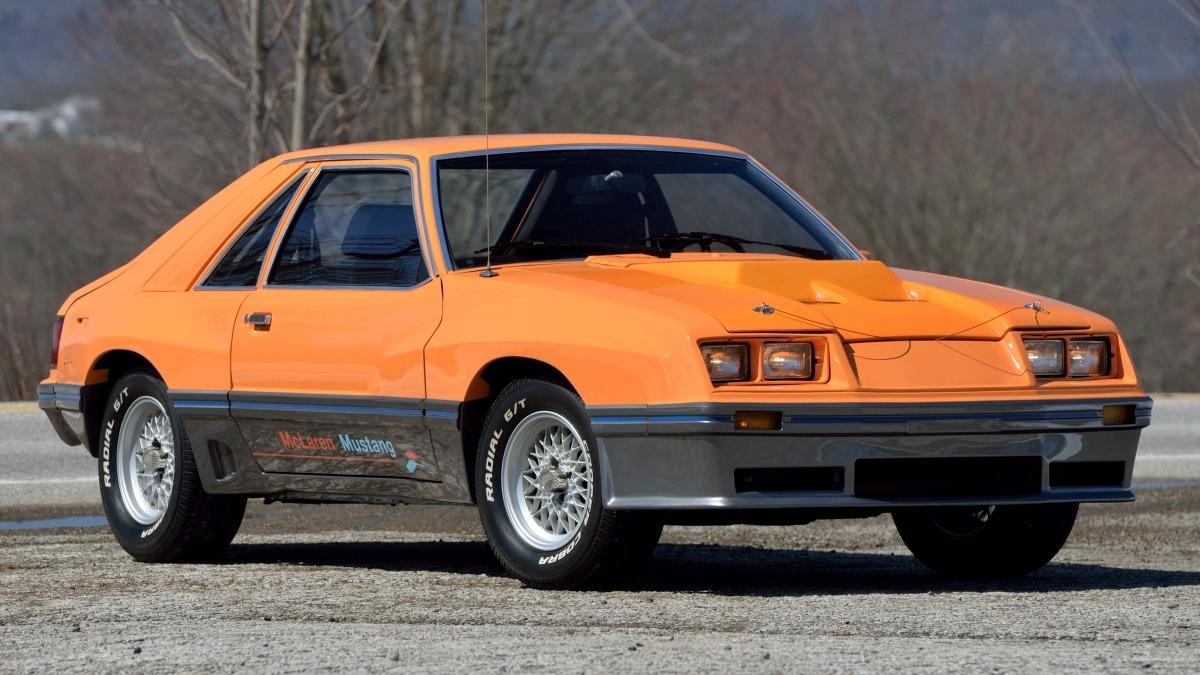
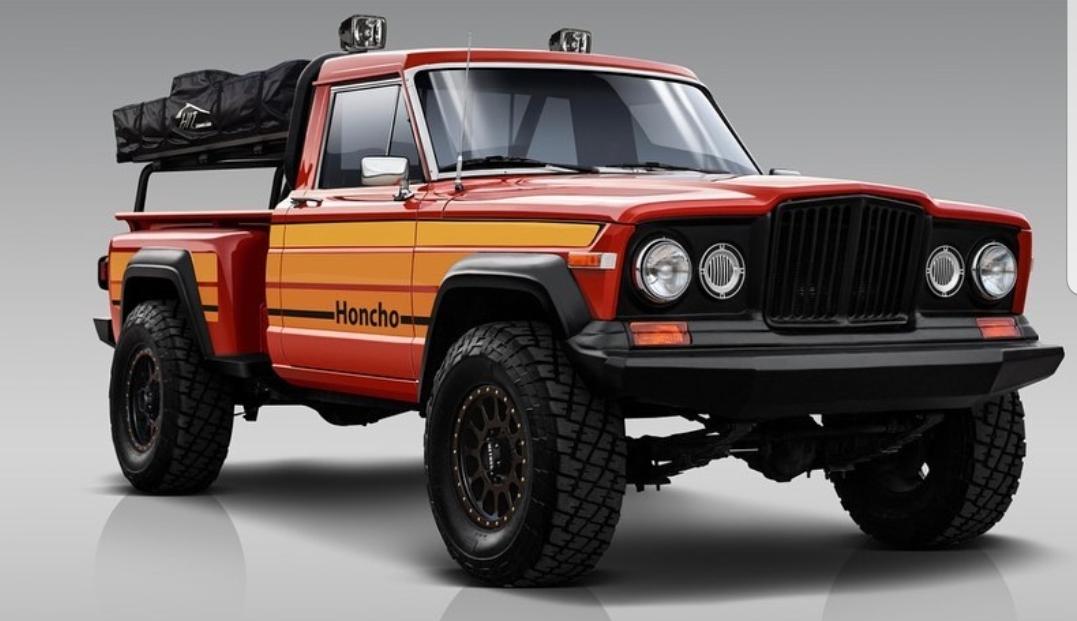
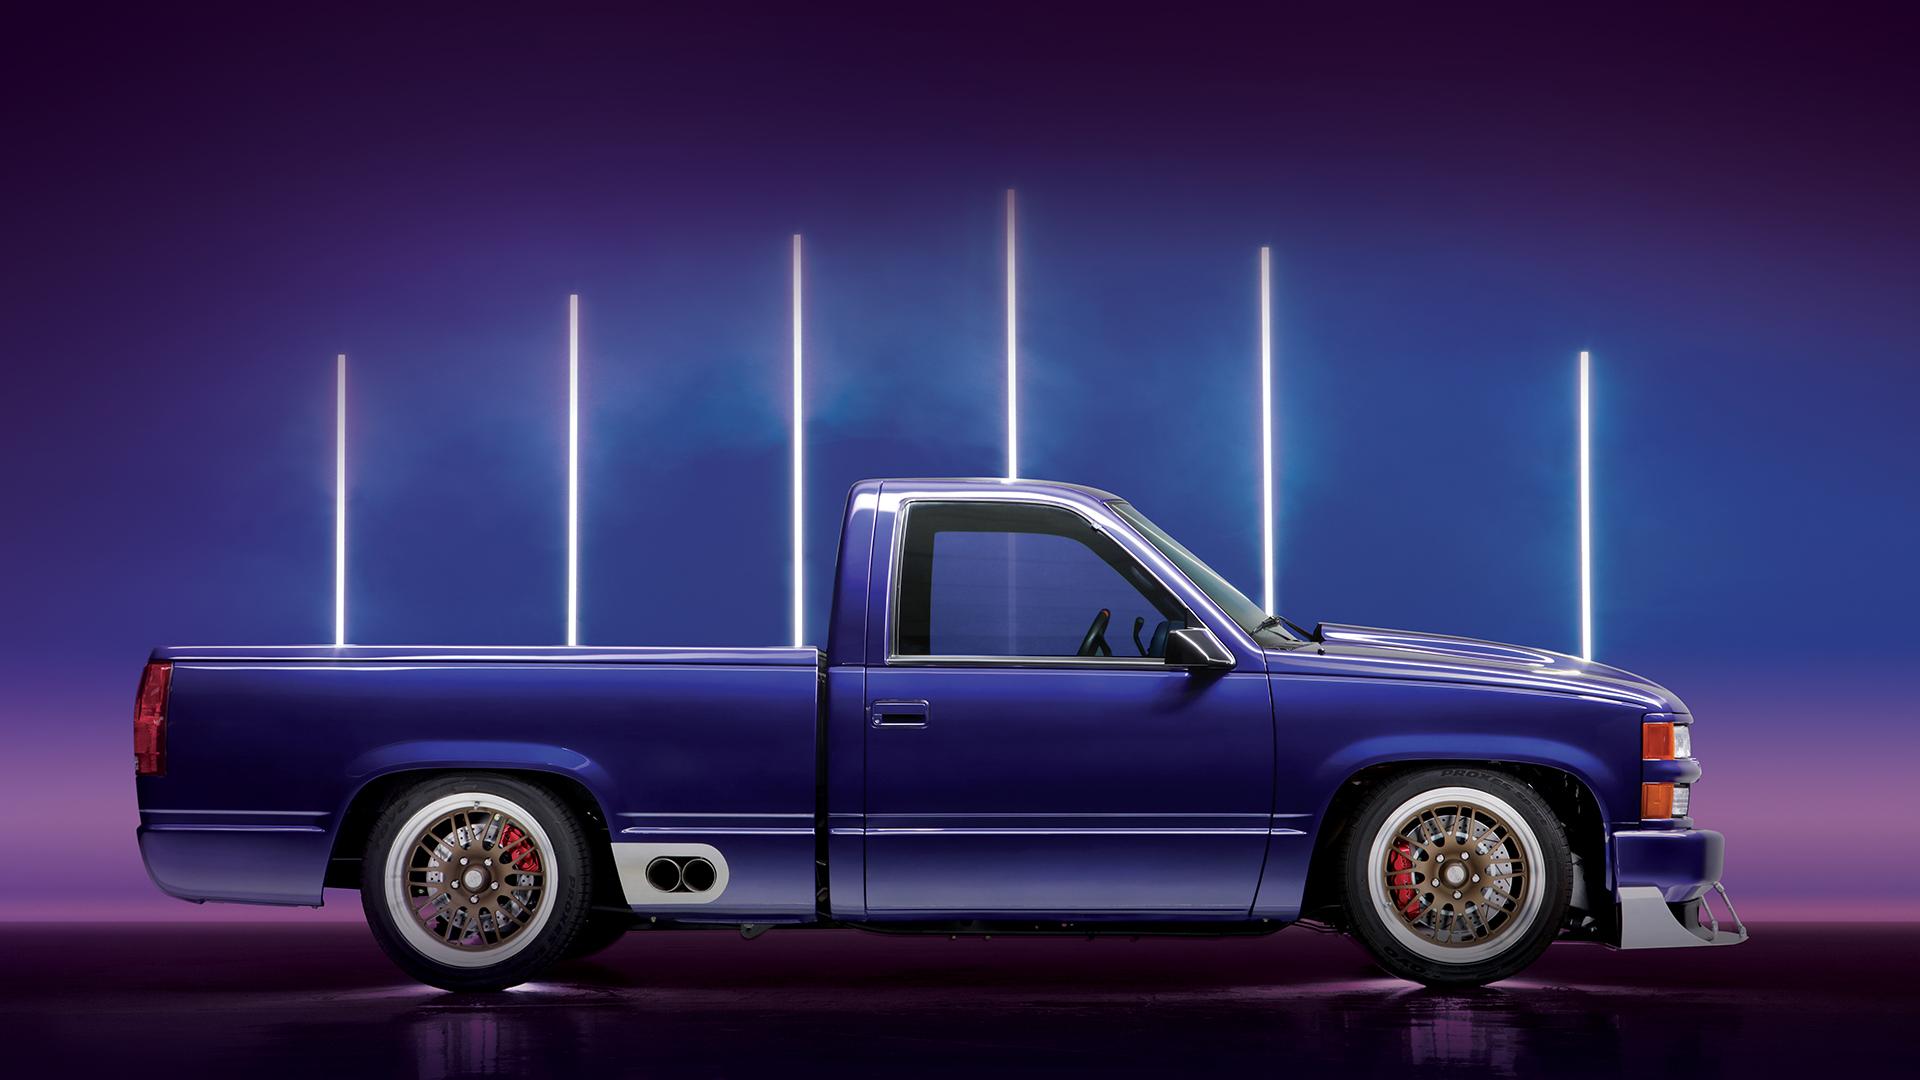
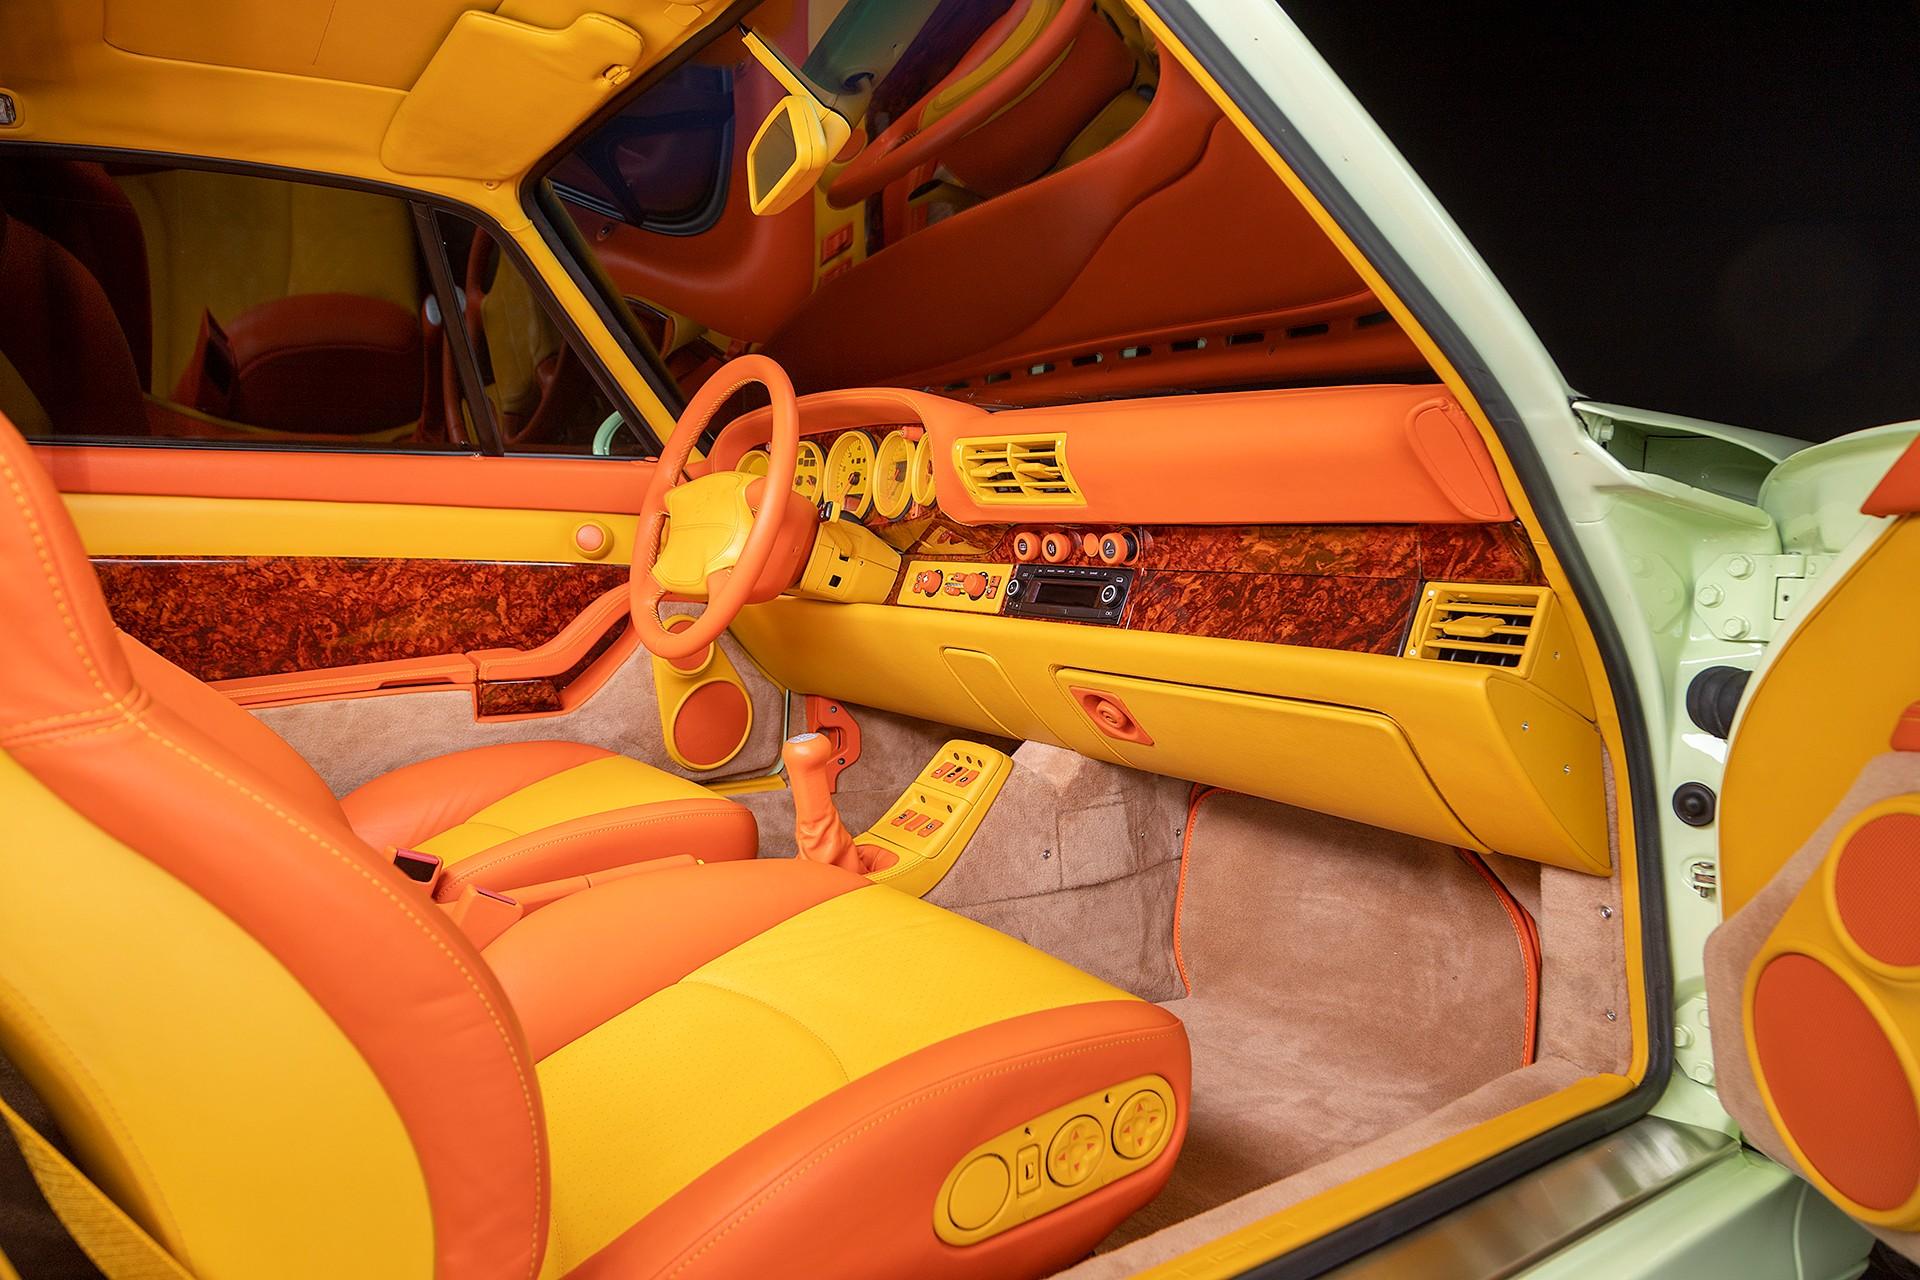
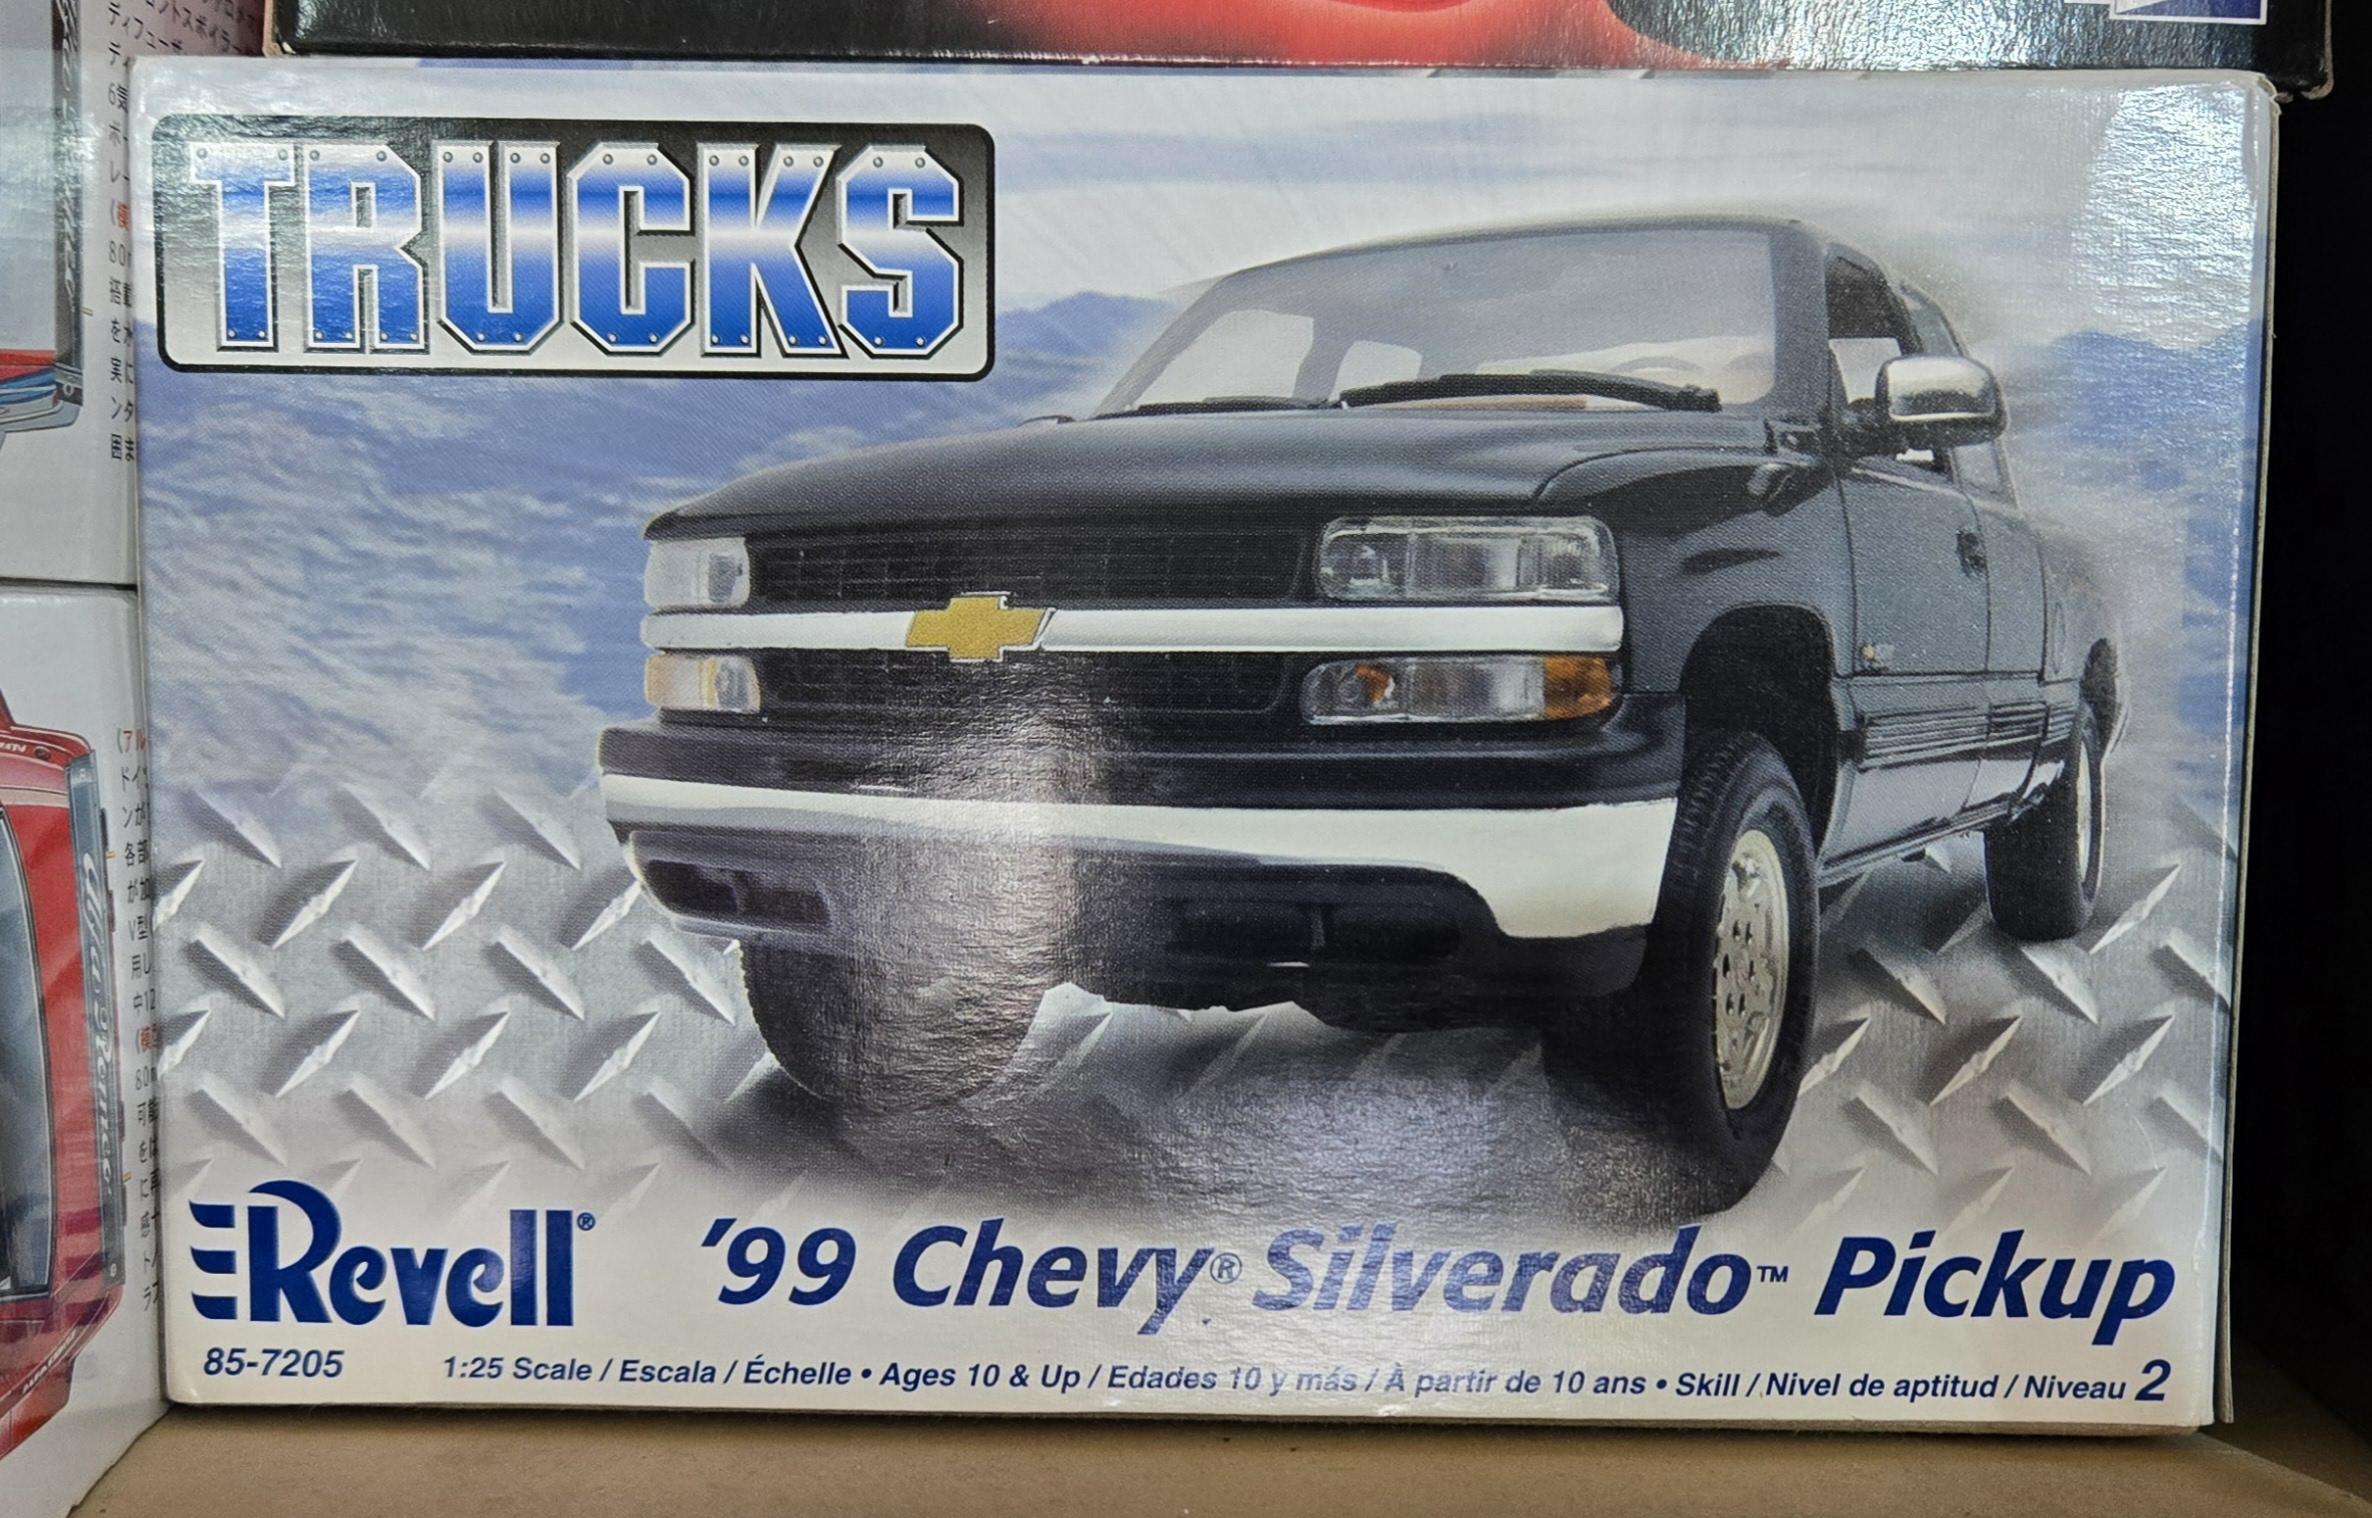
For just about every kit I have, I've saved some pics for inspiration. Sometimes it's of an actual vehicle so I can get the colours and details right. Sometimes it's because I like the colour combo, or it has the right wheels, or it's just got a cool look. Here's a few.
-
Ford GT Liquid Blue by Revell
iamsuperdan replied to Technics's topic in WIP: Other Racing: Road Racing, Land Speed Racers
Excellent work so far! -
What do you drive?
iamsuperdan replied to gasman's topic in General Automotive Talk (Trucks and Cars)
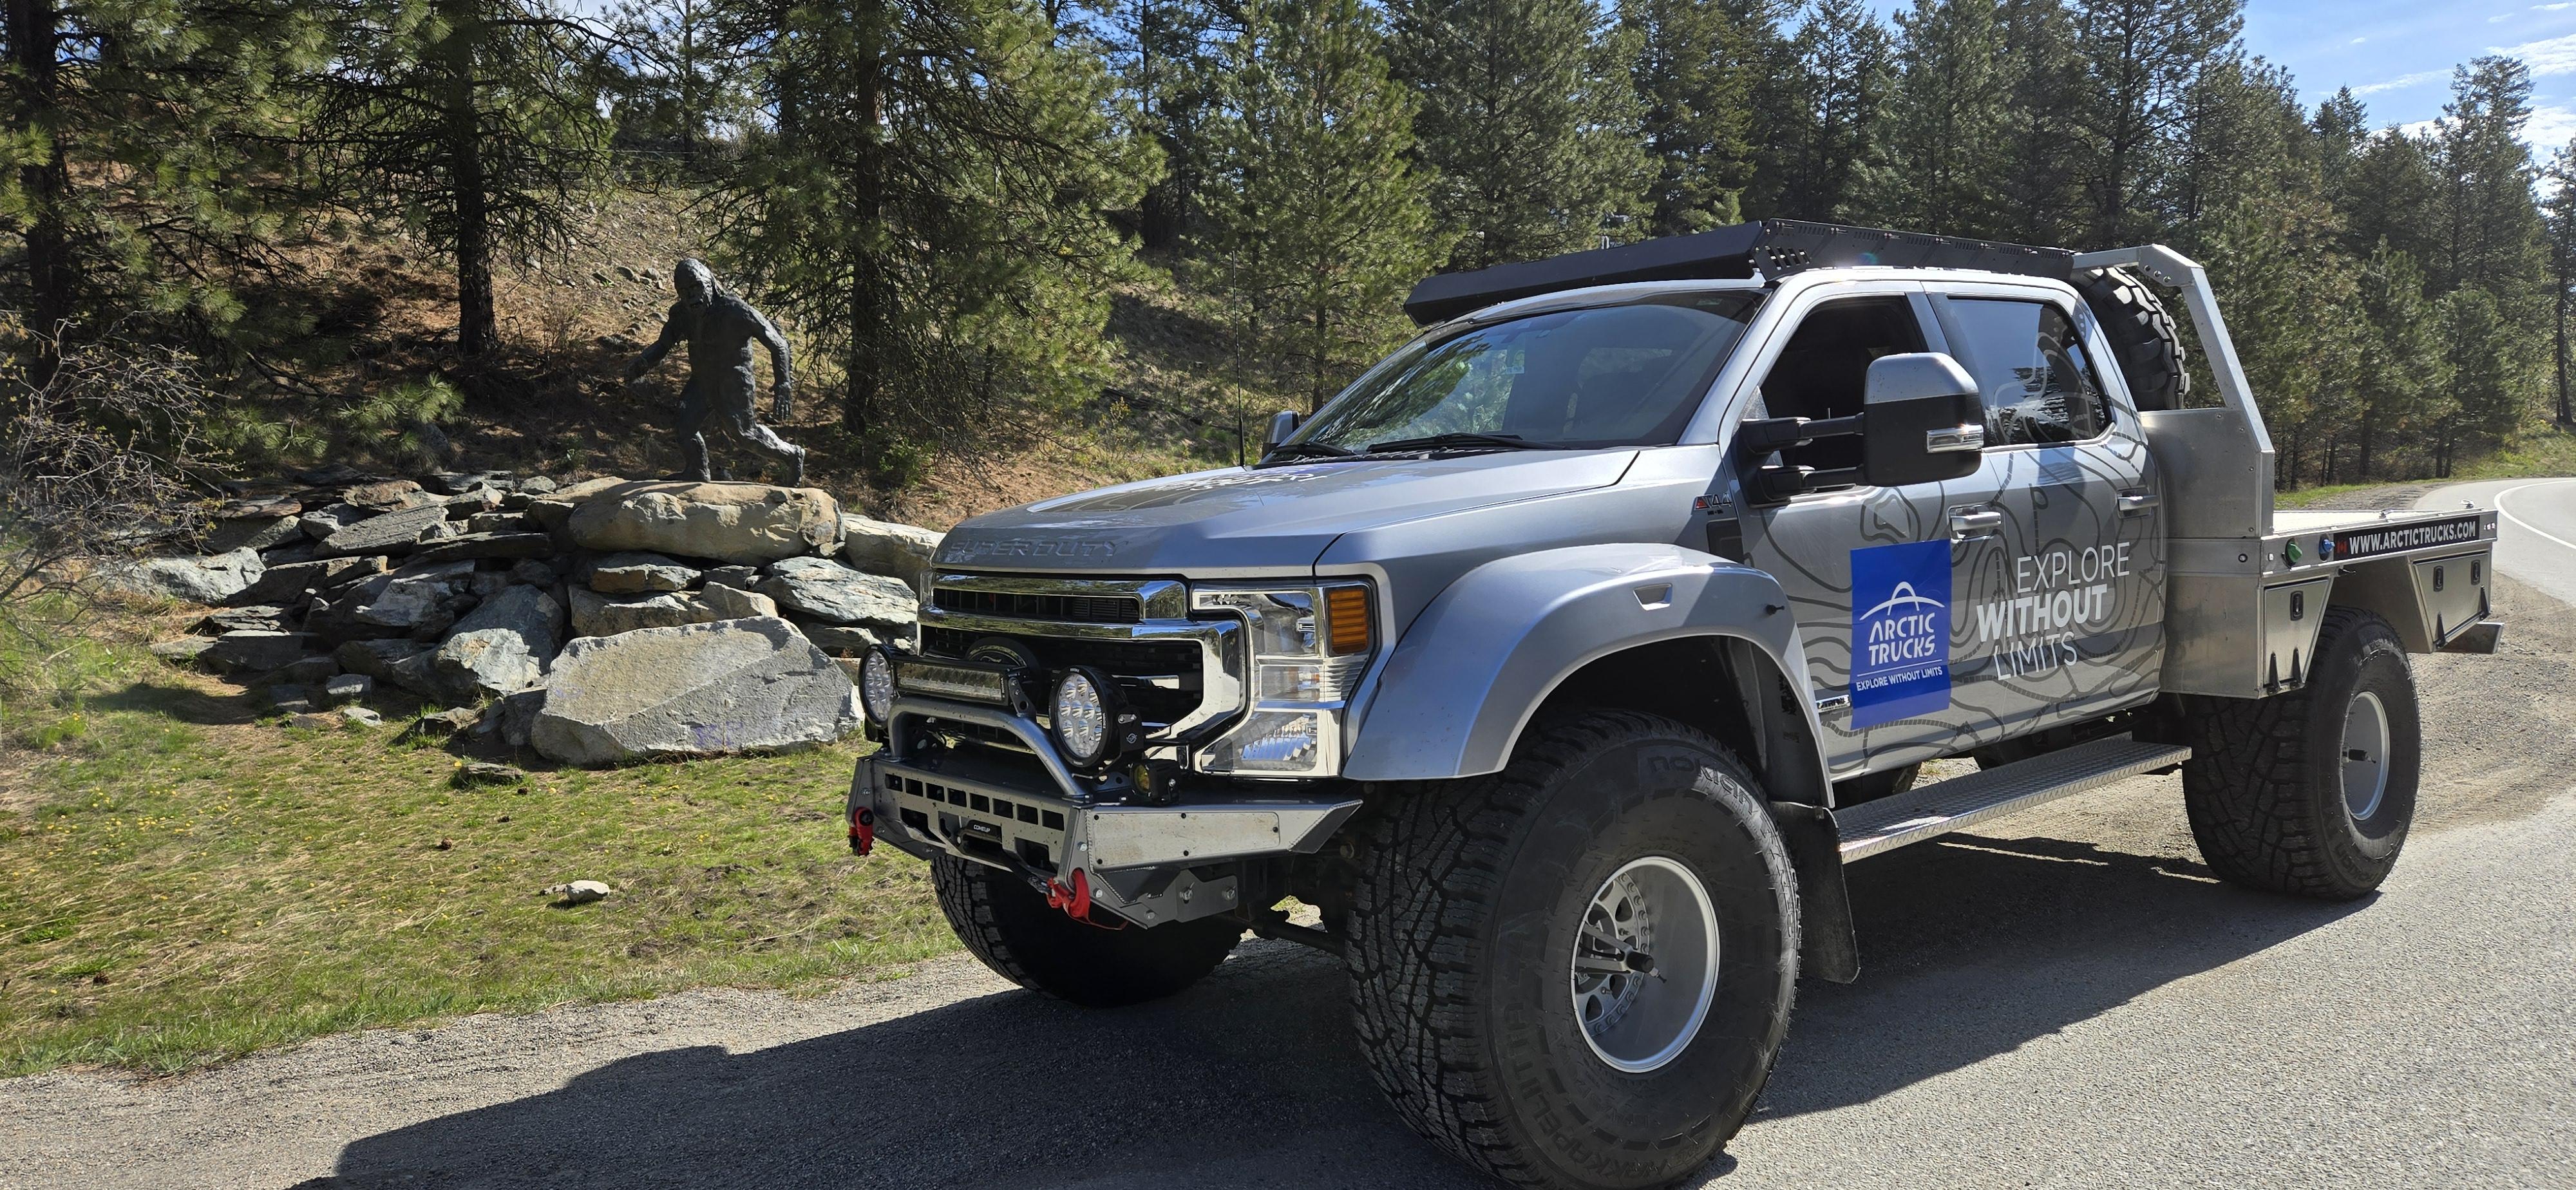
Actually...yes! Just outside of Osoyoos, BC you will come across Sasquatch Trail. They put up a statue of one of the local residents. A lot of the roads in this area have statues of the things they're name of. Cougar Court, Waipiti Road, etc. It's just down the road from Anarchist Place. -
1/20th Revell Fendt 728 Vario Gen7
iamsuperdan replied to Luc Janssens's topic in Truck Kit News & Reviews
It's funny. As soon as I saw this, I immediately thought they should get on board with a Clarkson special edition, much like the Stranger Things kits they have. Could do a series. A Lambo or two, Kaleb's Klaas, the chrome Massey, etc. -
I like it! Integrating the Caddy tail lights. 👍
-
Your friend's green Newport is awesome. I wonder if it's a corporate thing for A&W to have stores host these weekly events. There's an A&W here that shares a parking lot with a big retail store, and hosts a show every Saturday night from May through September. If the weather holds, I shoudl try and get to it this weekend.
-
That BMW 8-series is stunning. I have wanted an 8 for years. Awesome. And that red C8 Corvette. Already has his boomer sign signifying how rare it is. Lolz.
-
What do you drive?
iamsuperdan replied to gasman's topic in General Automotive Talk (Trucks and Cars)
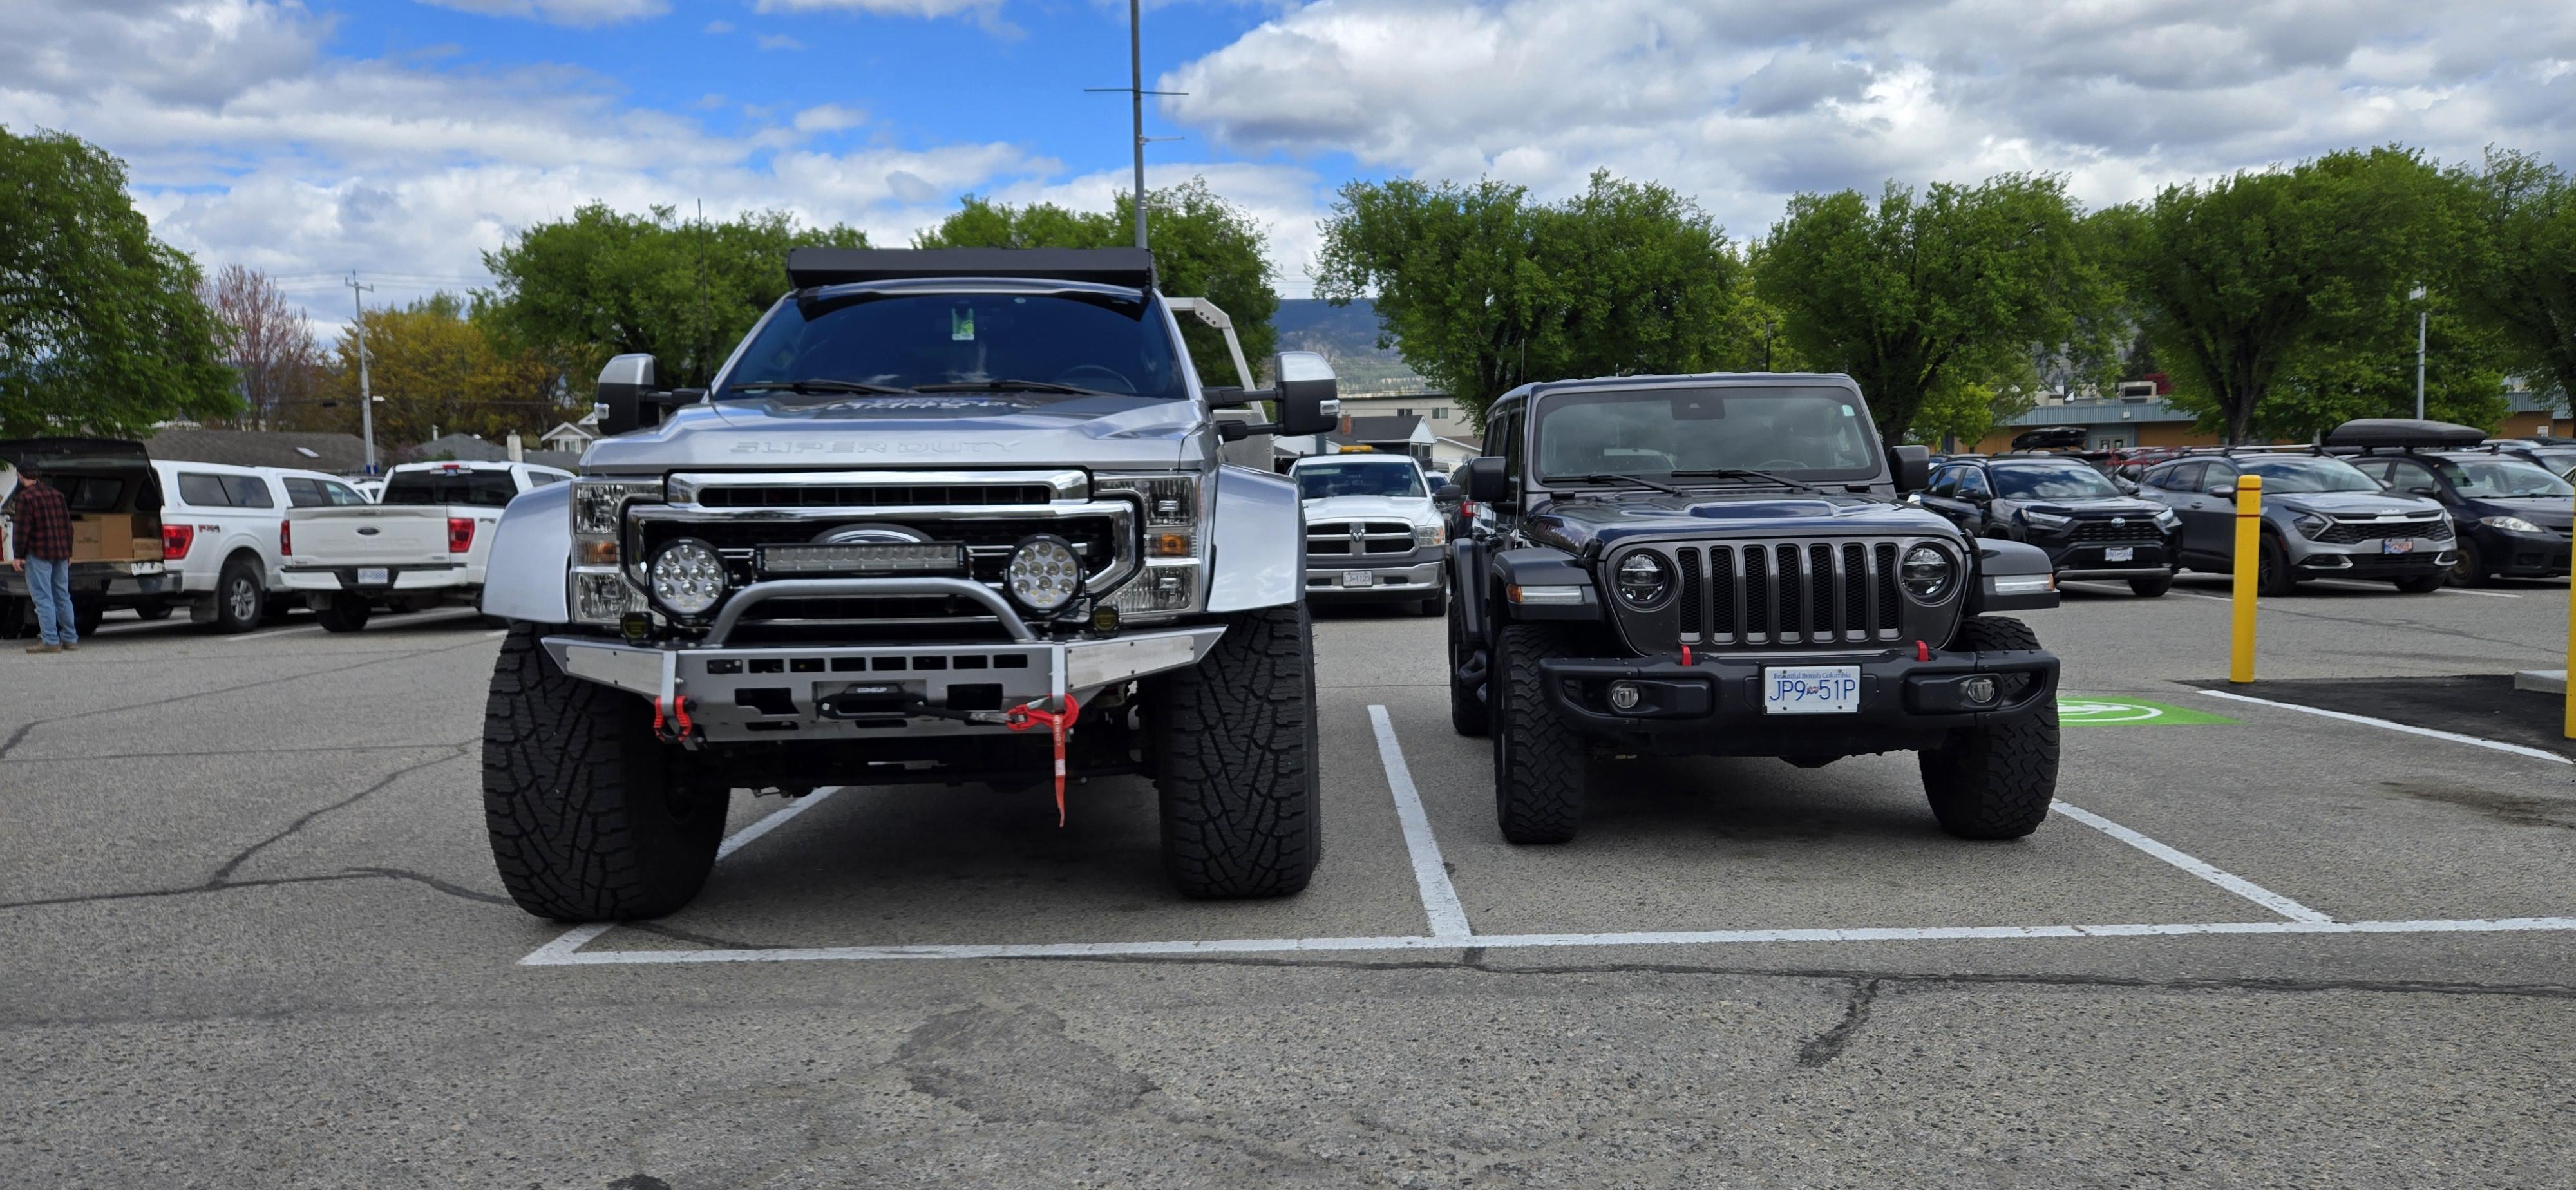
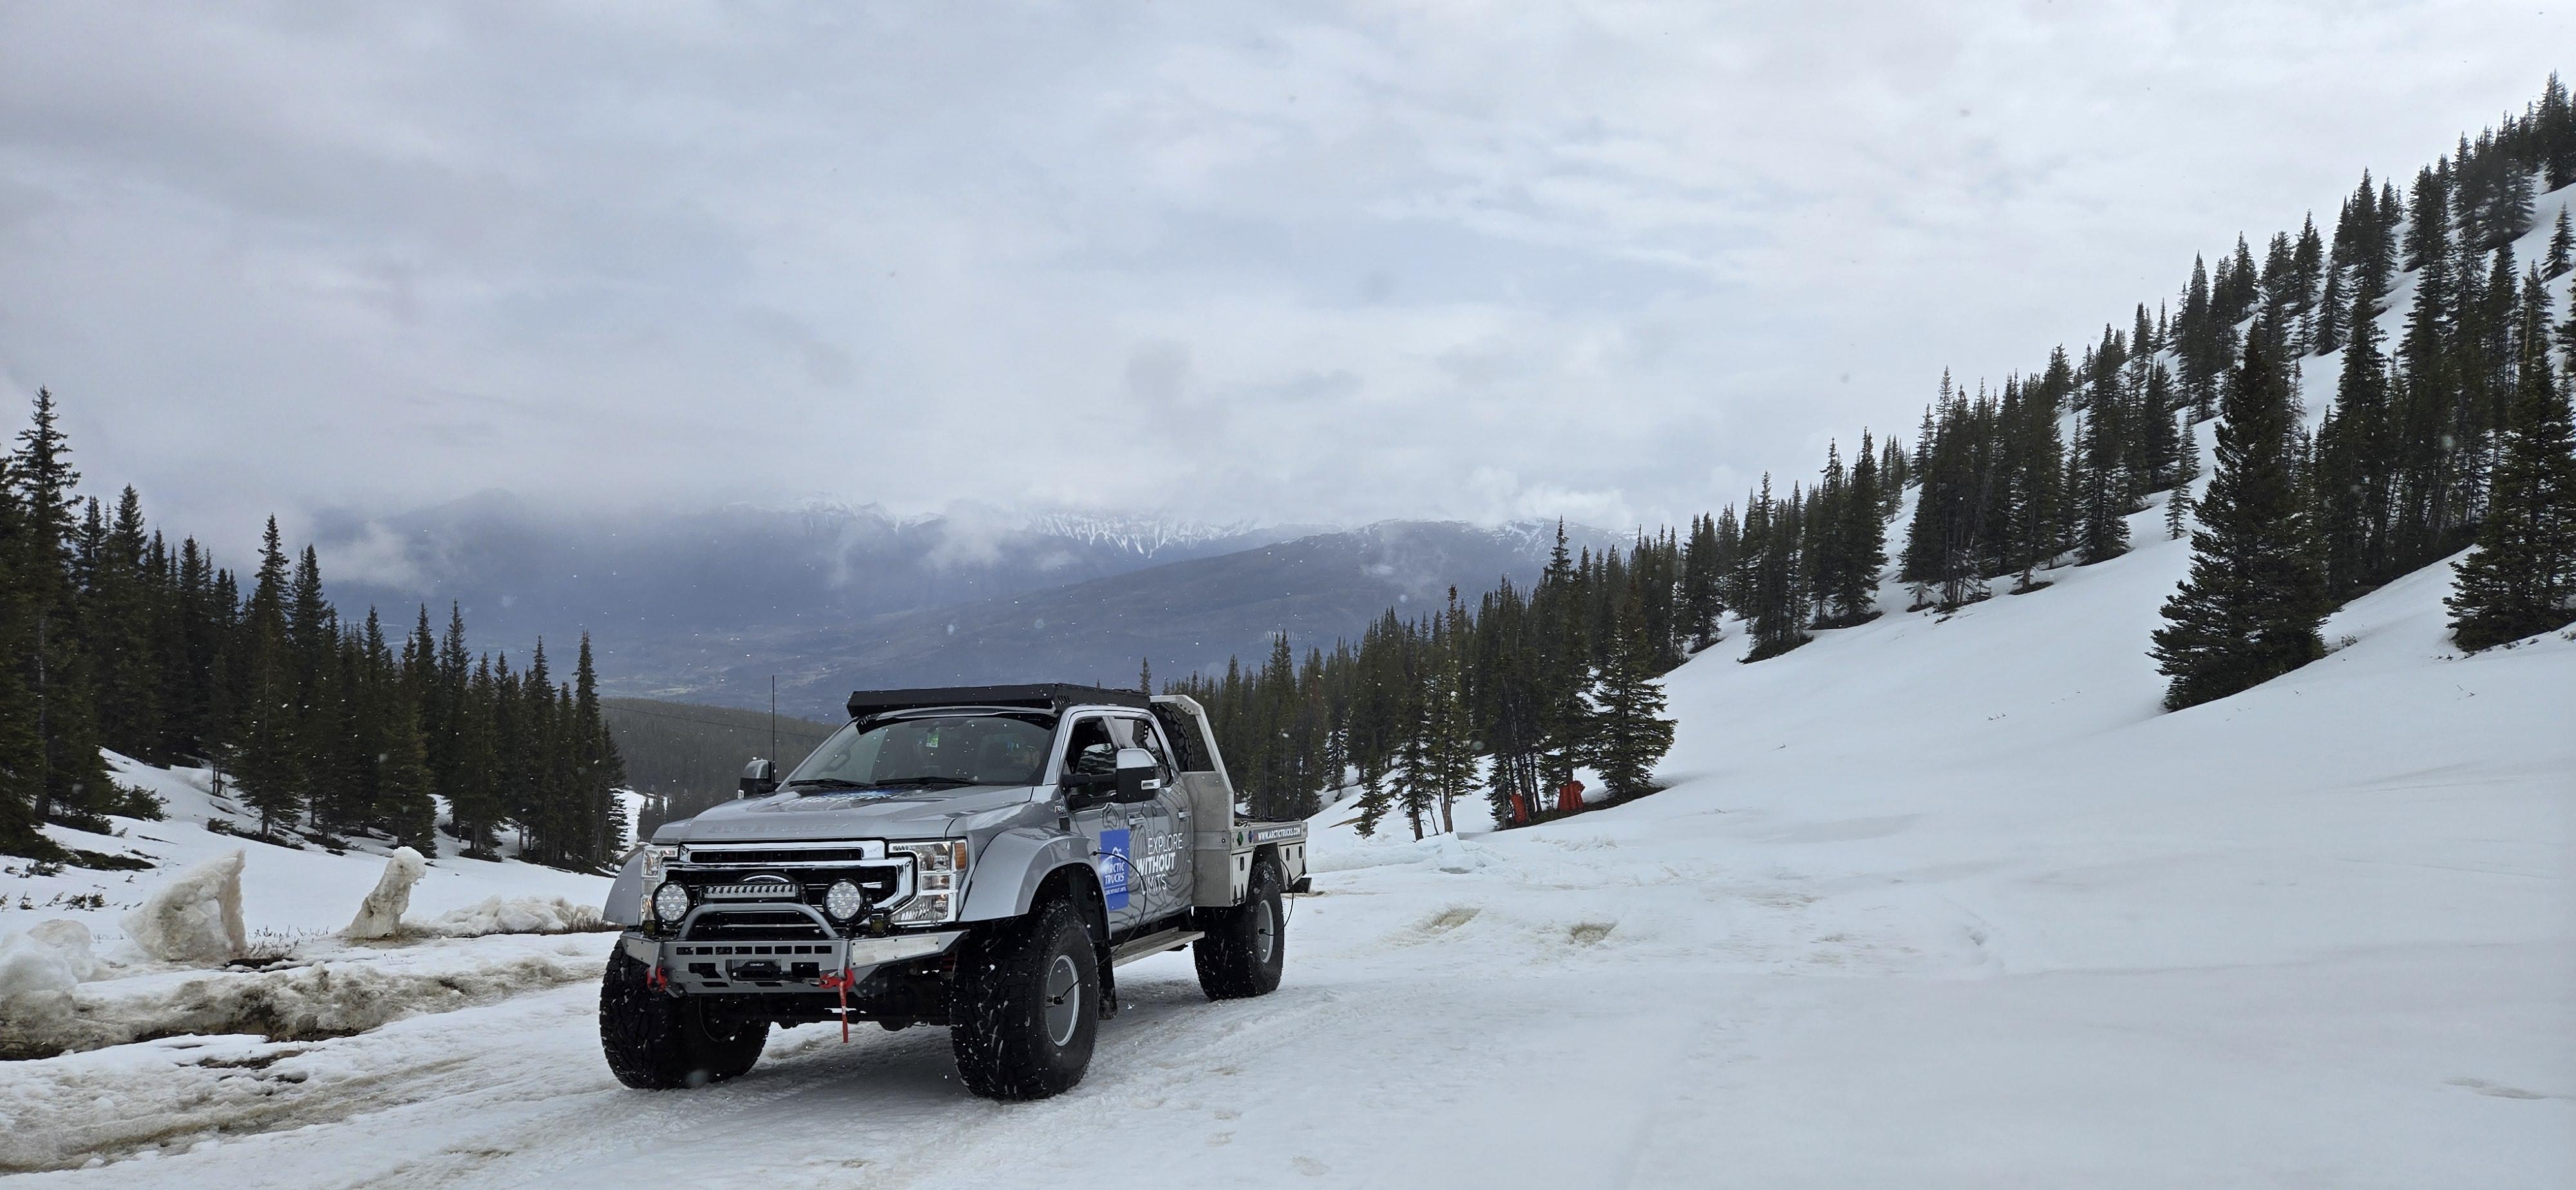
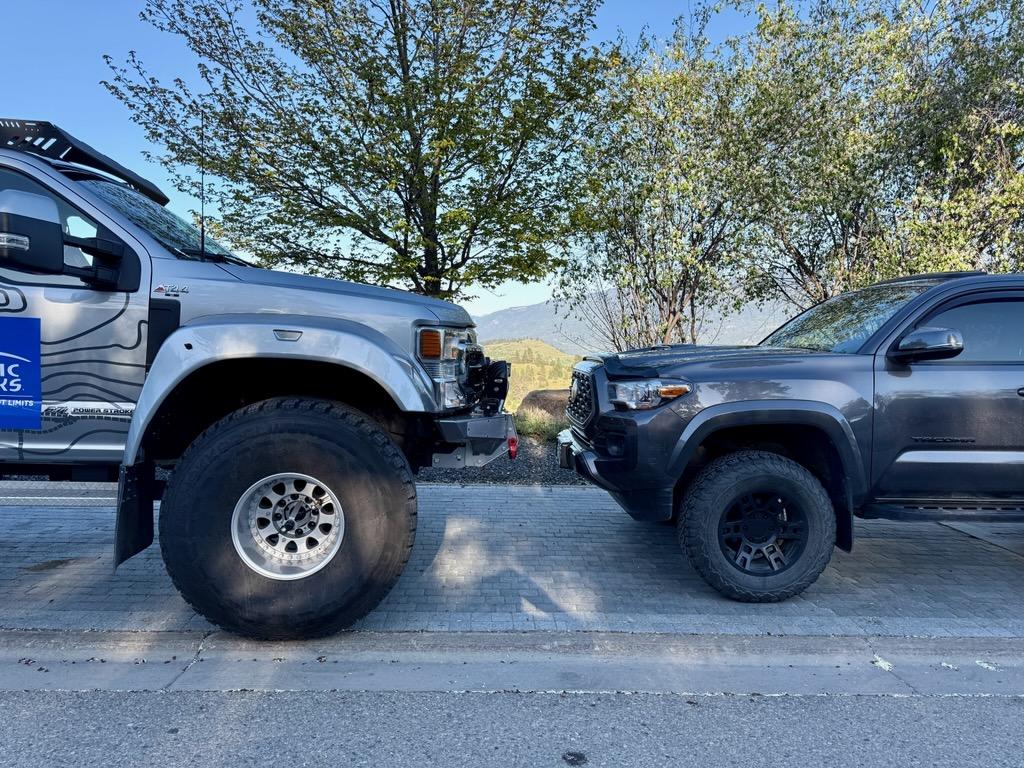
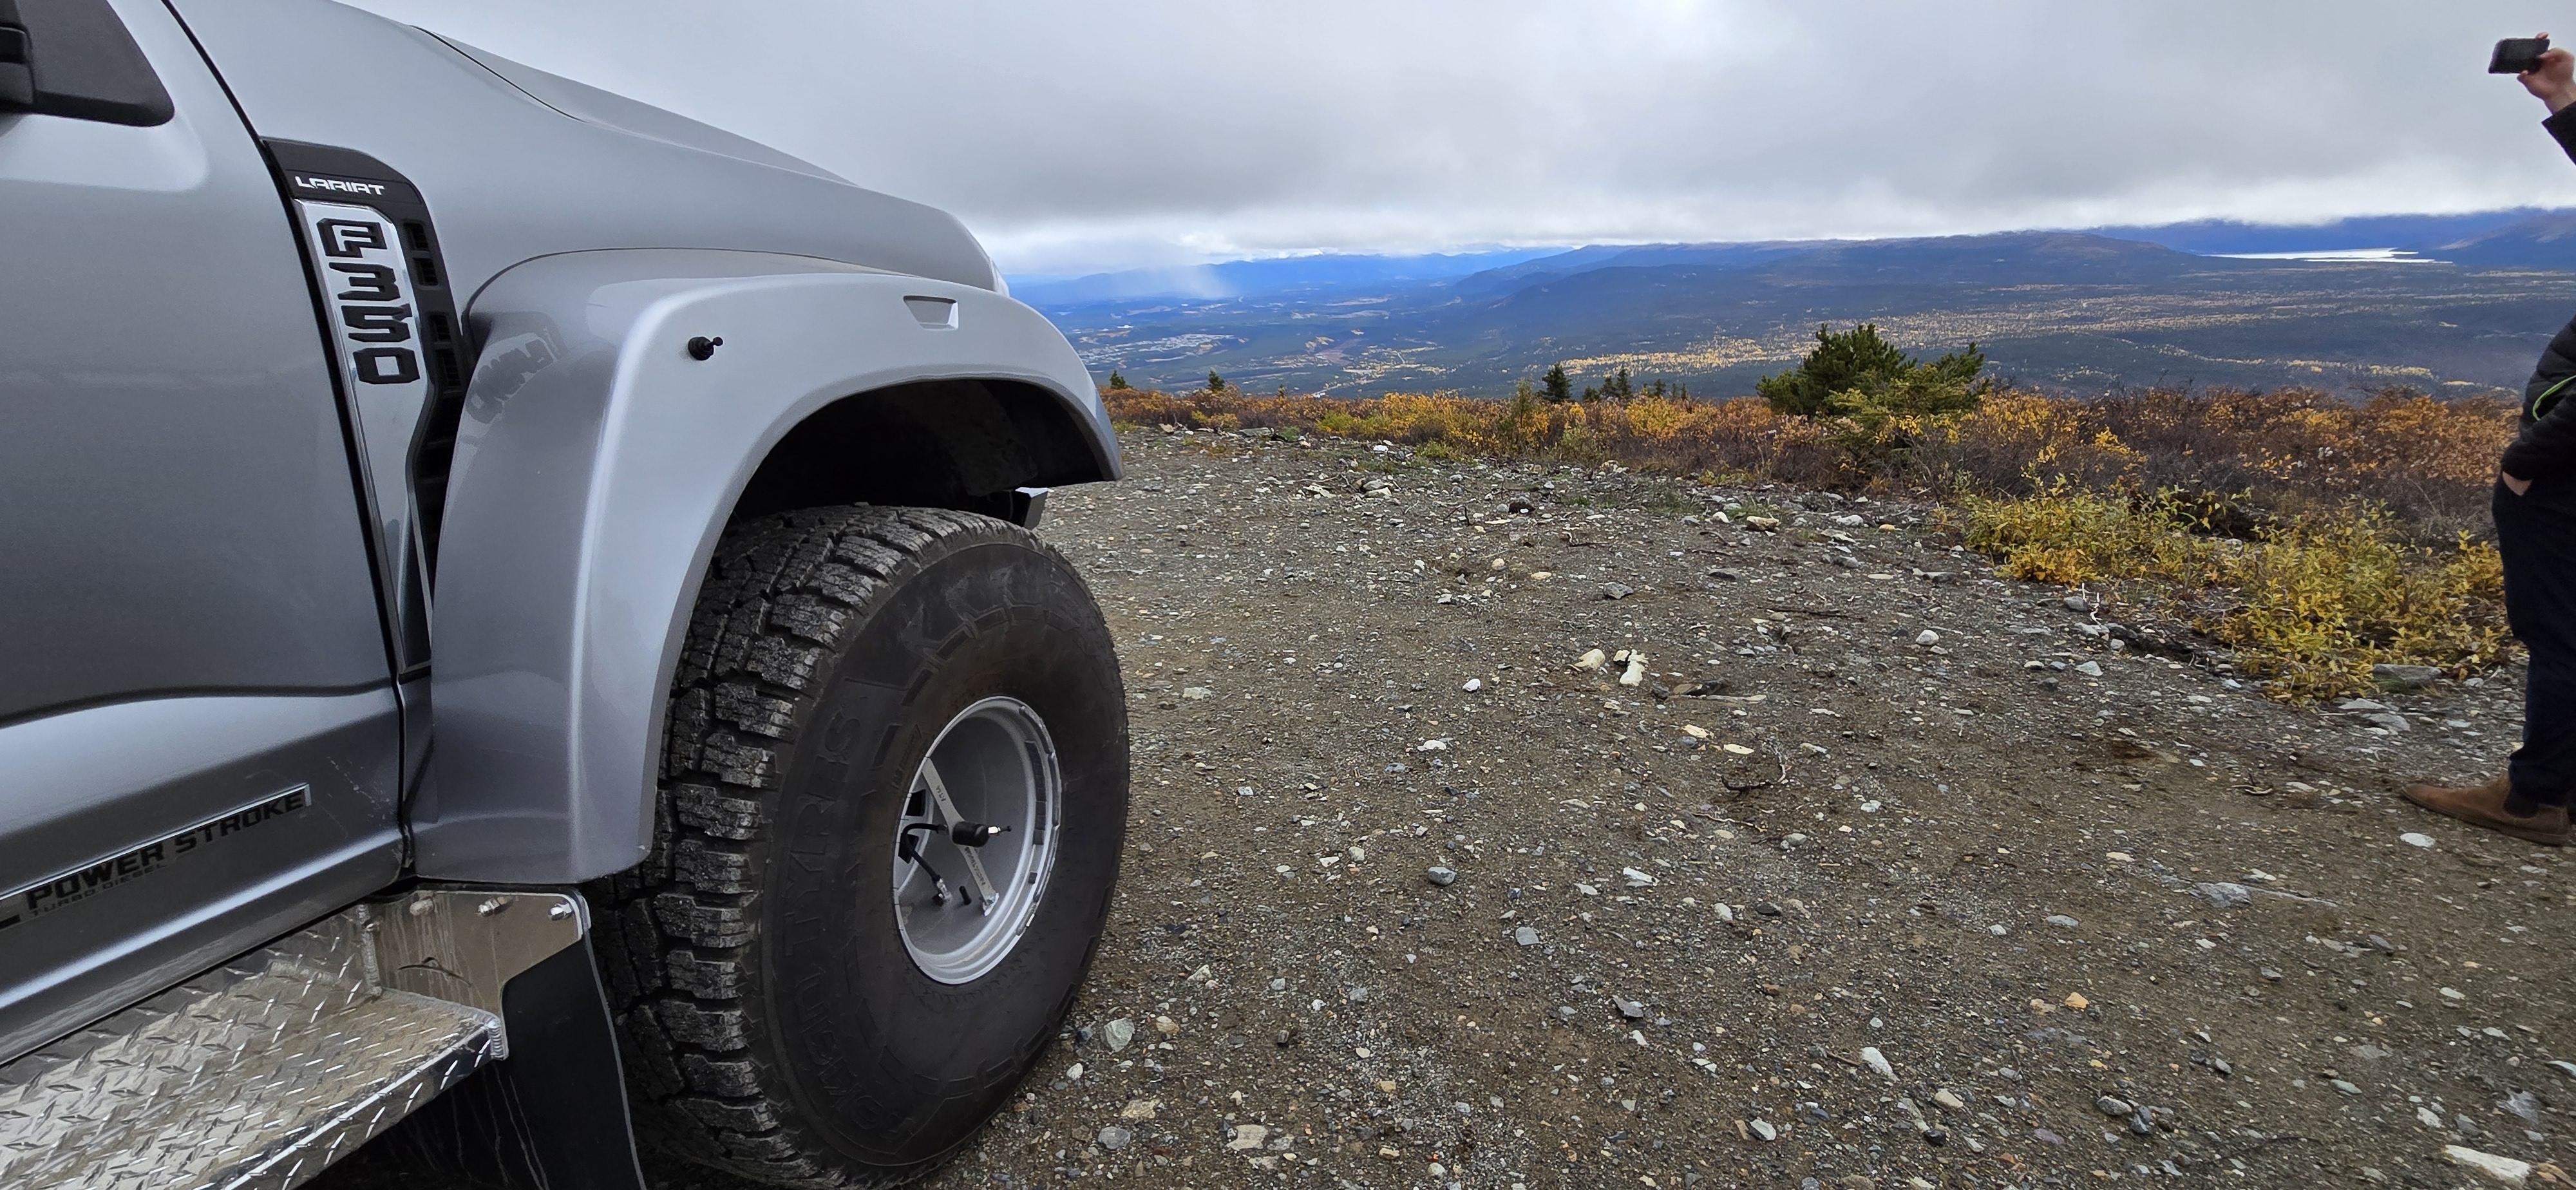
Yes, I do drive this beast daily. And when I want to fit in a parking lot or use a Tim Hortons drive thru, I always have our old trusty '06 Volvo XC90. Or the '99 Thaoe LT project. Wifey currently driving a2016 Kia Soul. The boy has a 2004 Lincoln Aviator. Our daughter just got her license, so she'll probably inherit the Volvo. Or we'll sell the Volvo, give her the Kia, and then wifey gets a new vehicle. Fun times.
-
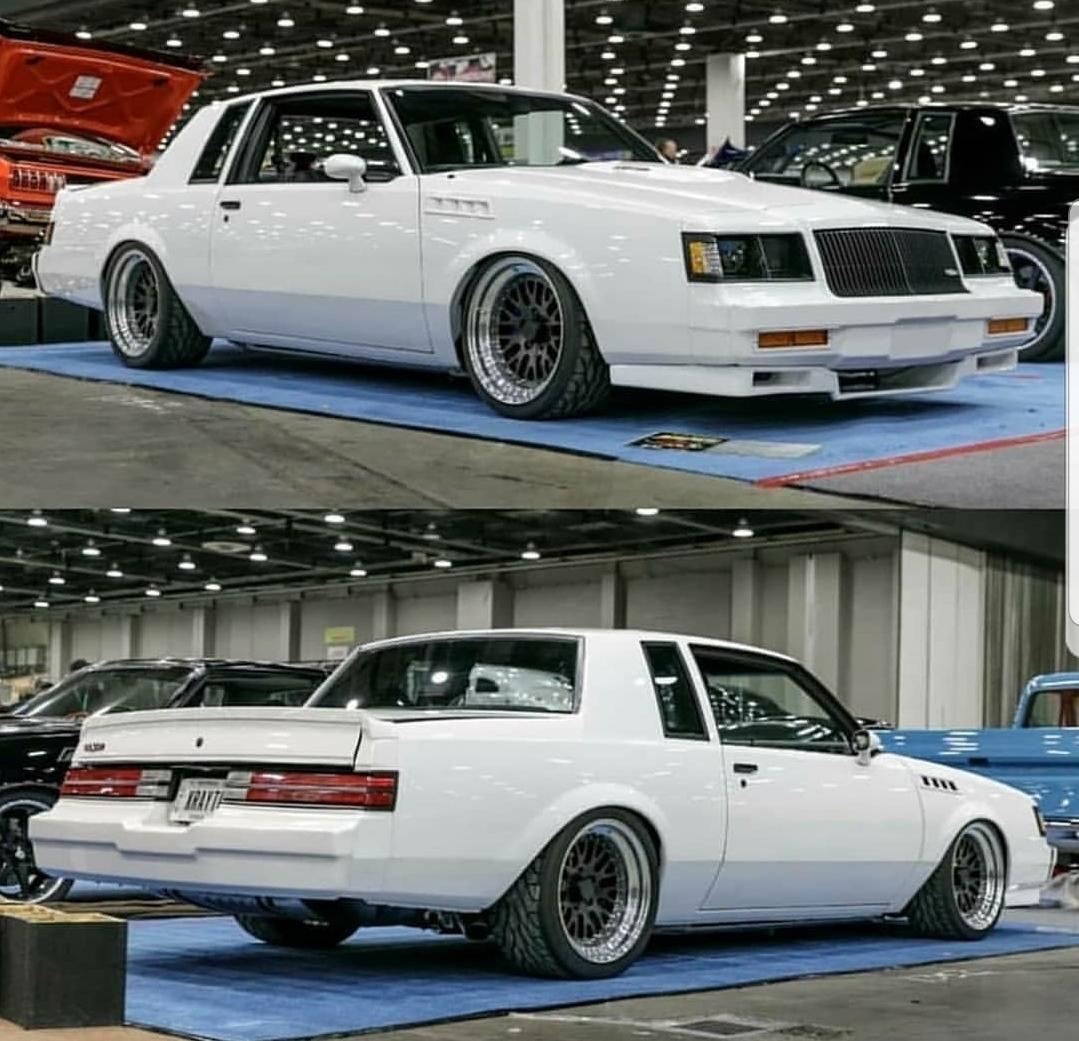
Excellent colour choice. I kinda dig the white wheels. Having said that, the white wheels would go really well with white rally stripes. I can't believe I typed that, as I generally dislike stripes of any kind on anything.
-
What did you see on the road today?
iamsuperdan replied to Harry P.'s topic in General Automotive Talk (Trucks and Cars)
All of those British Fords from the 80s just rusted apart. My cousin had a Fiesta XR2, orange of course. When it rusted apart, he switched to VW GTIs and still drives them to this day. An old Ford Sierra would be awesome too. I don;t even need the Cosworth. I'd like a Sierra Estate.


.jpg.01e682662b572840c008086f75d5f6fd.jpg)
.jpg.015adba92a11a8c4f5b86fb082335a6c.jpg)
.jpg.b420b9d55d4a098934c4de02059af6a5.jpg)