Dragonhawk1066
-
Posts
3,932 -
Joined
-
Last visited
Content Type
Profiles
Forums
Events
Gallery
Everything posted by Dragonhawk1066
-
Nicely done! You may have just inspired me to pick up this "junk" kit next time I'm in Hobby Lobby for my next kit purchases.
-
That's a great looking paint job! One of these years I may get the courage to try something like that myself, LOL.
-
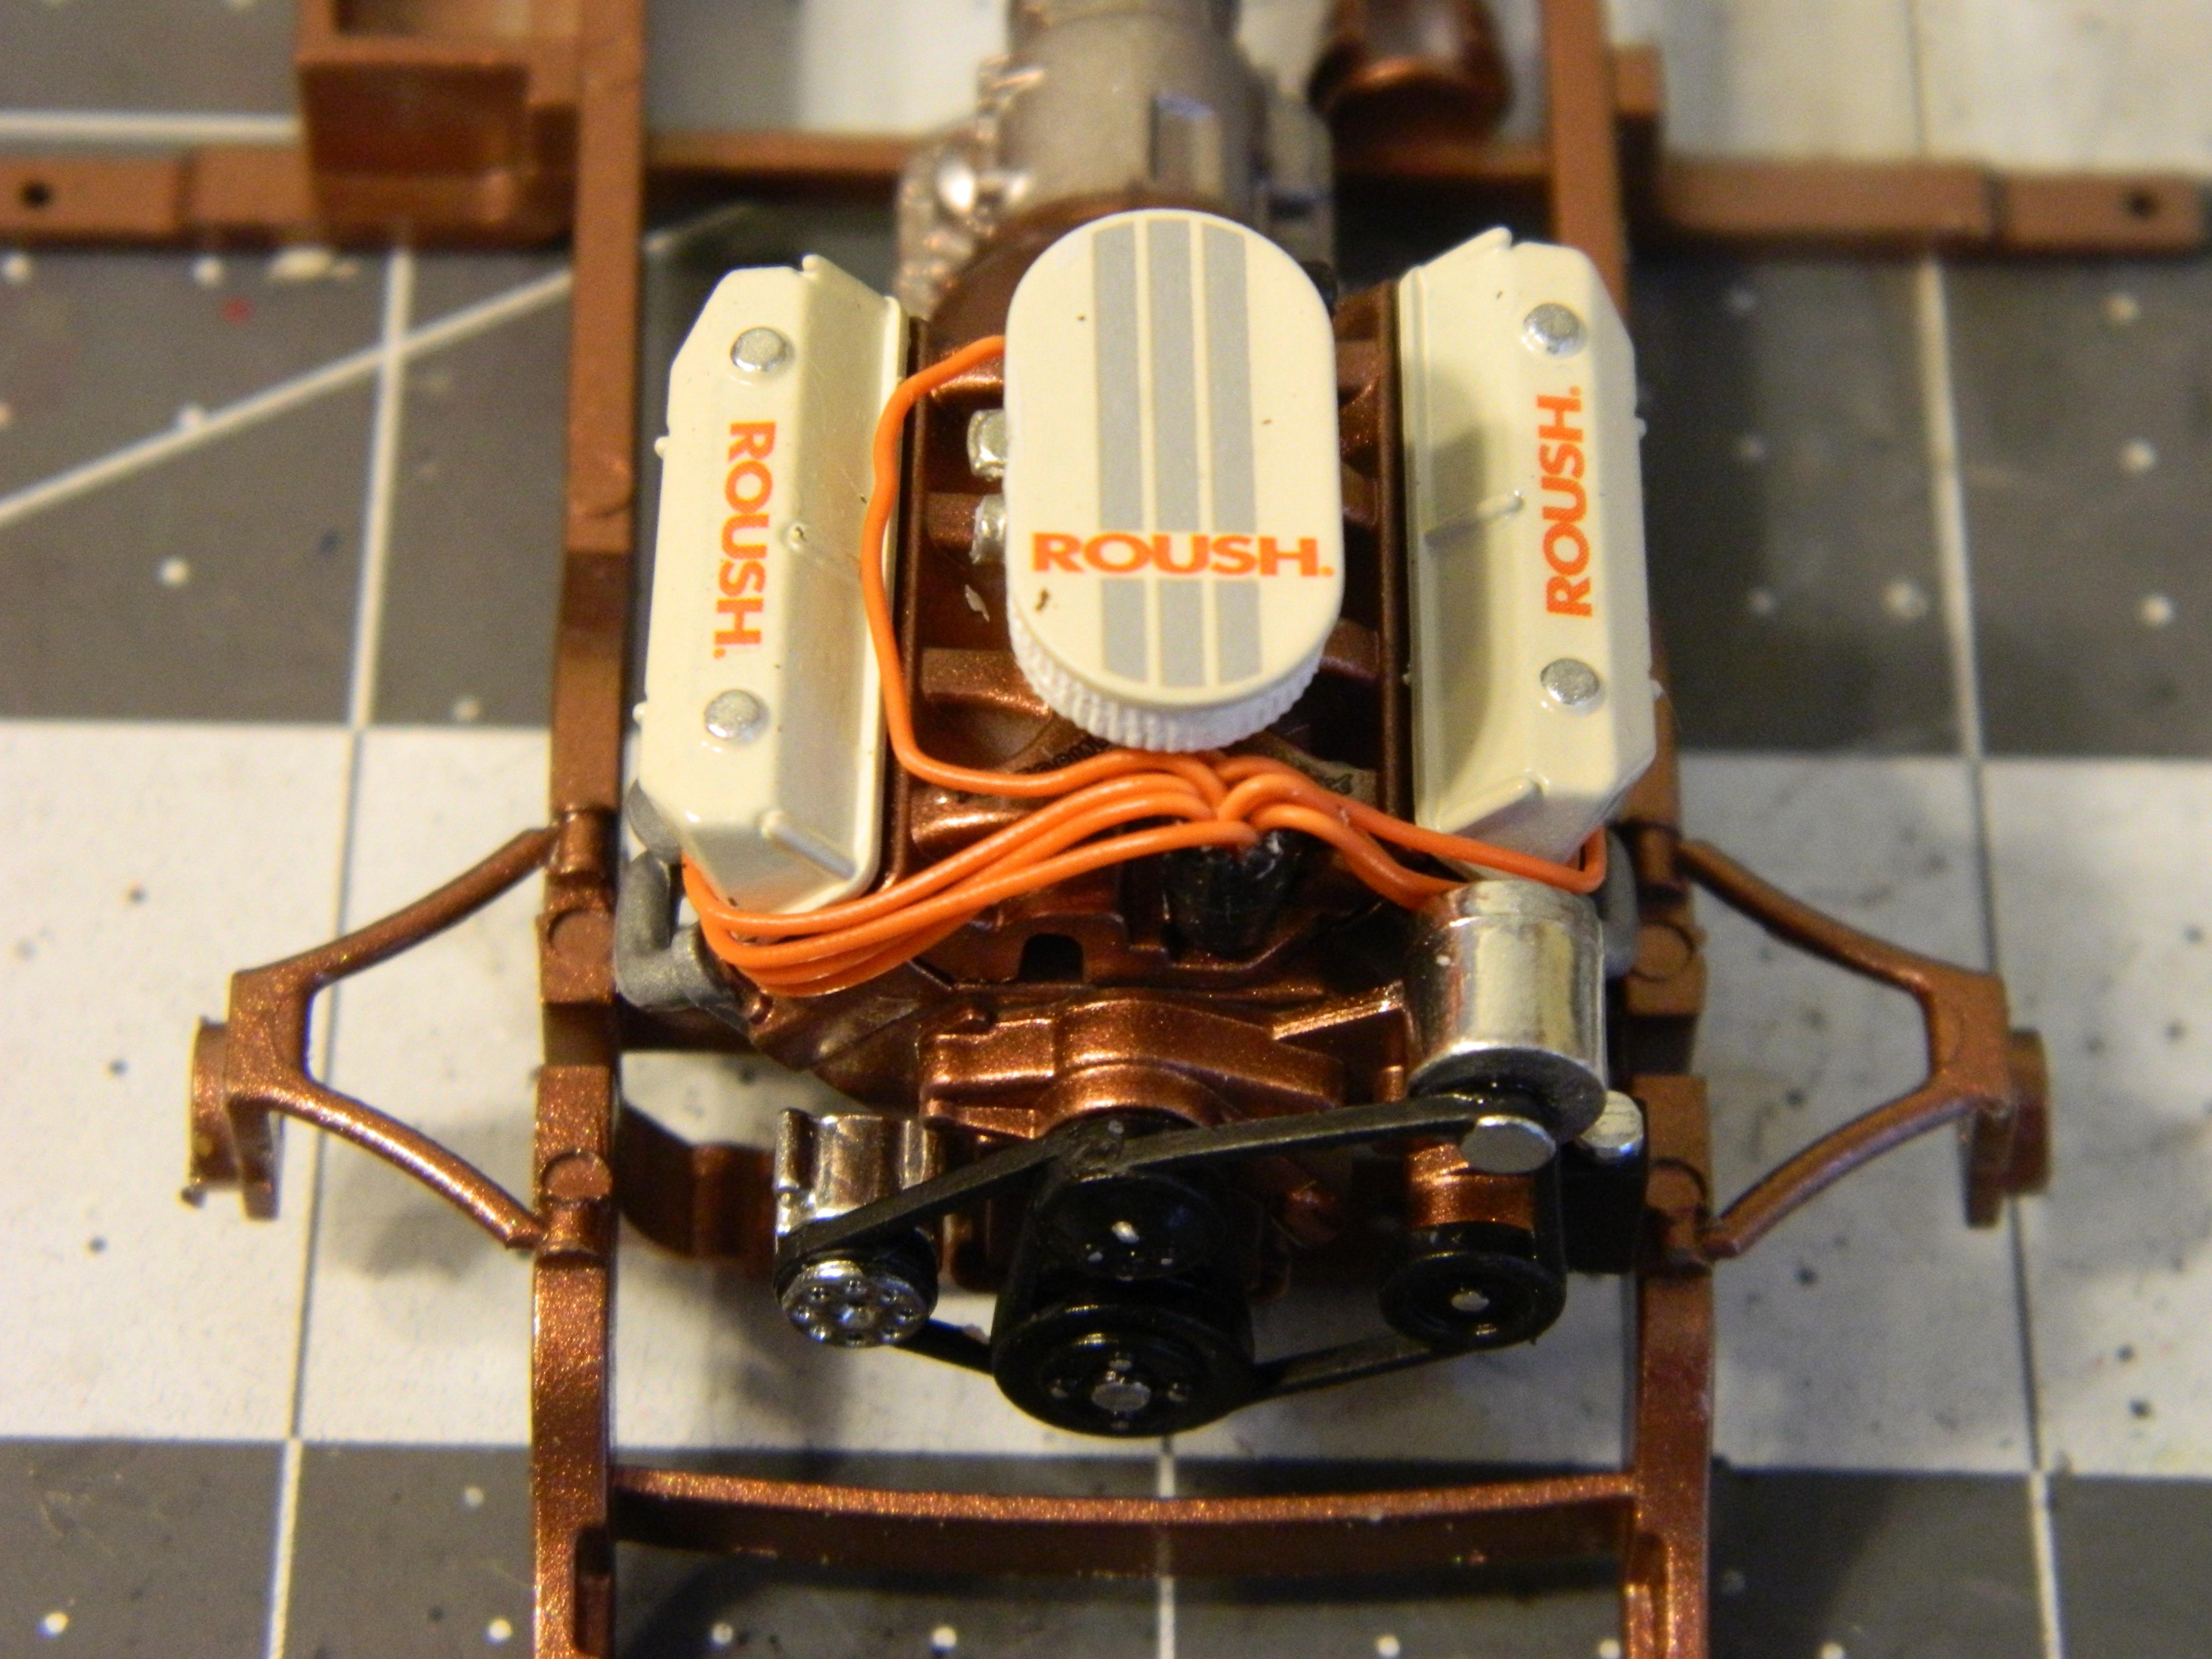
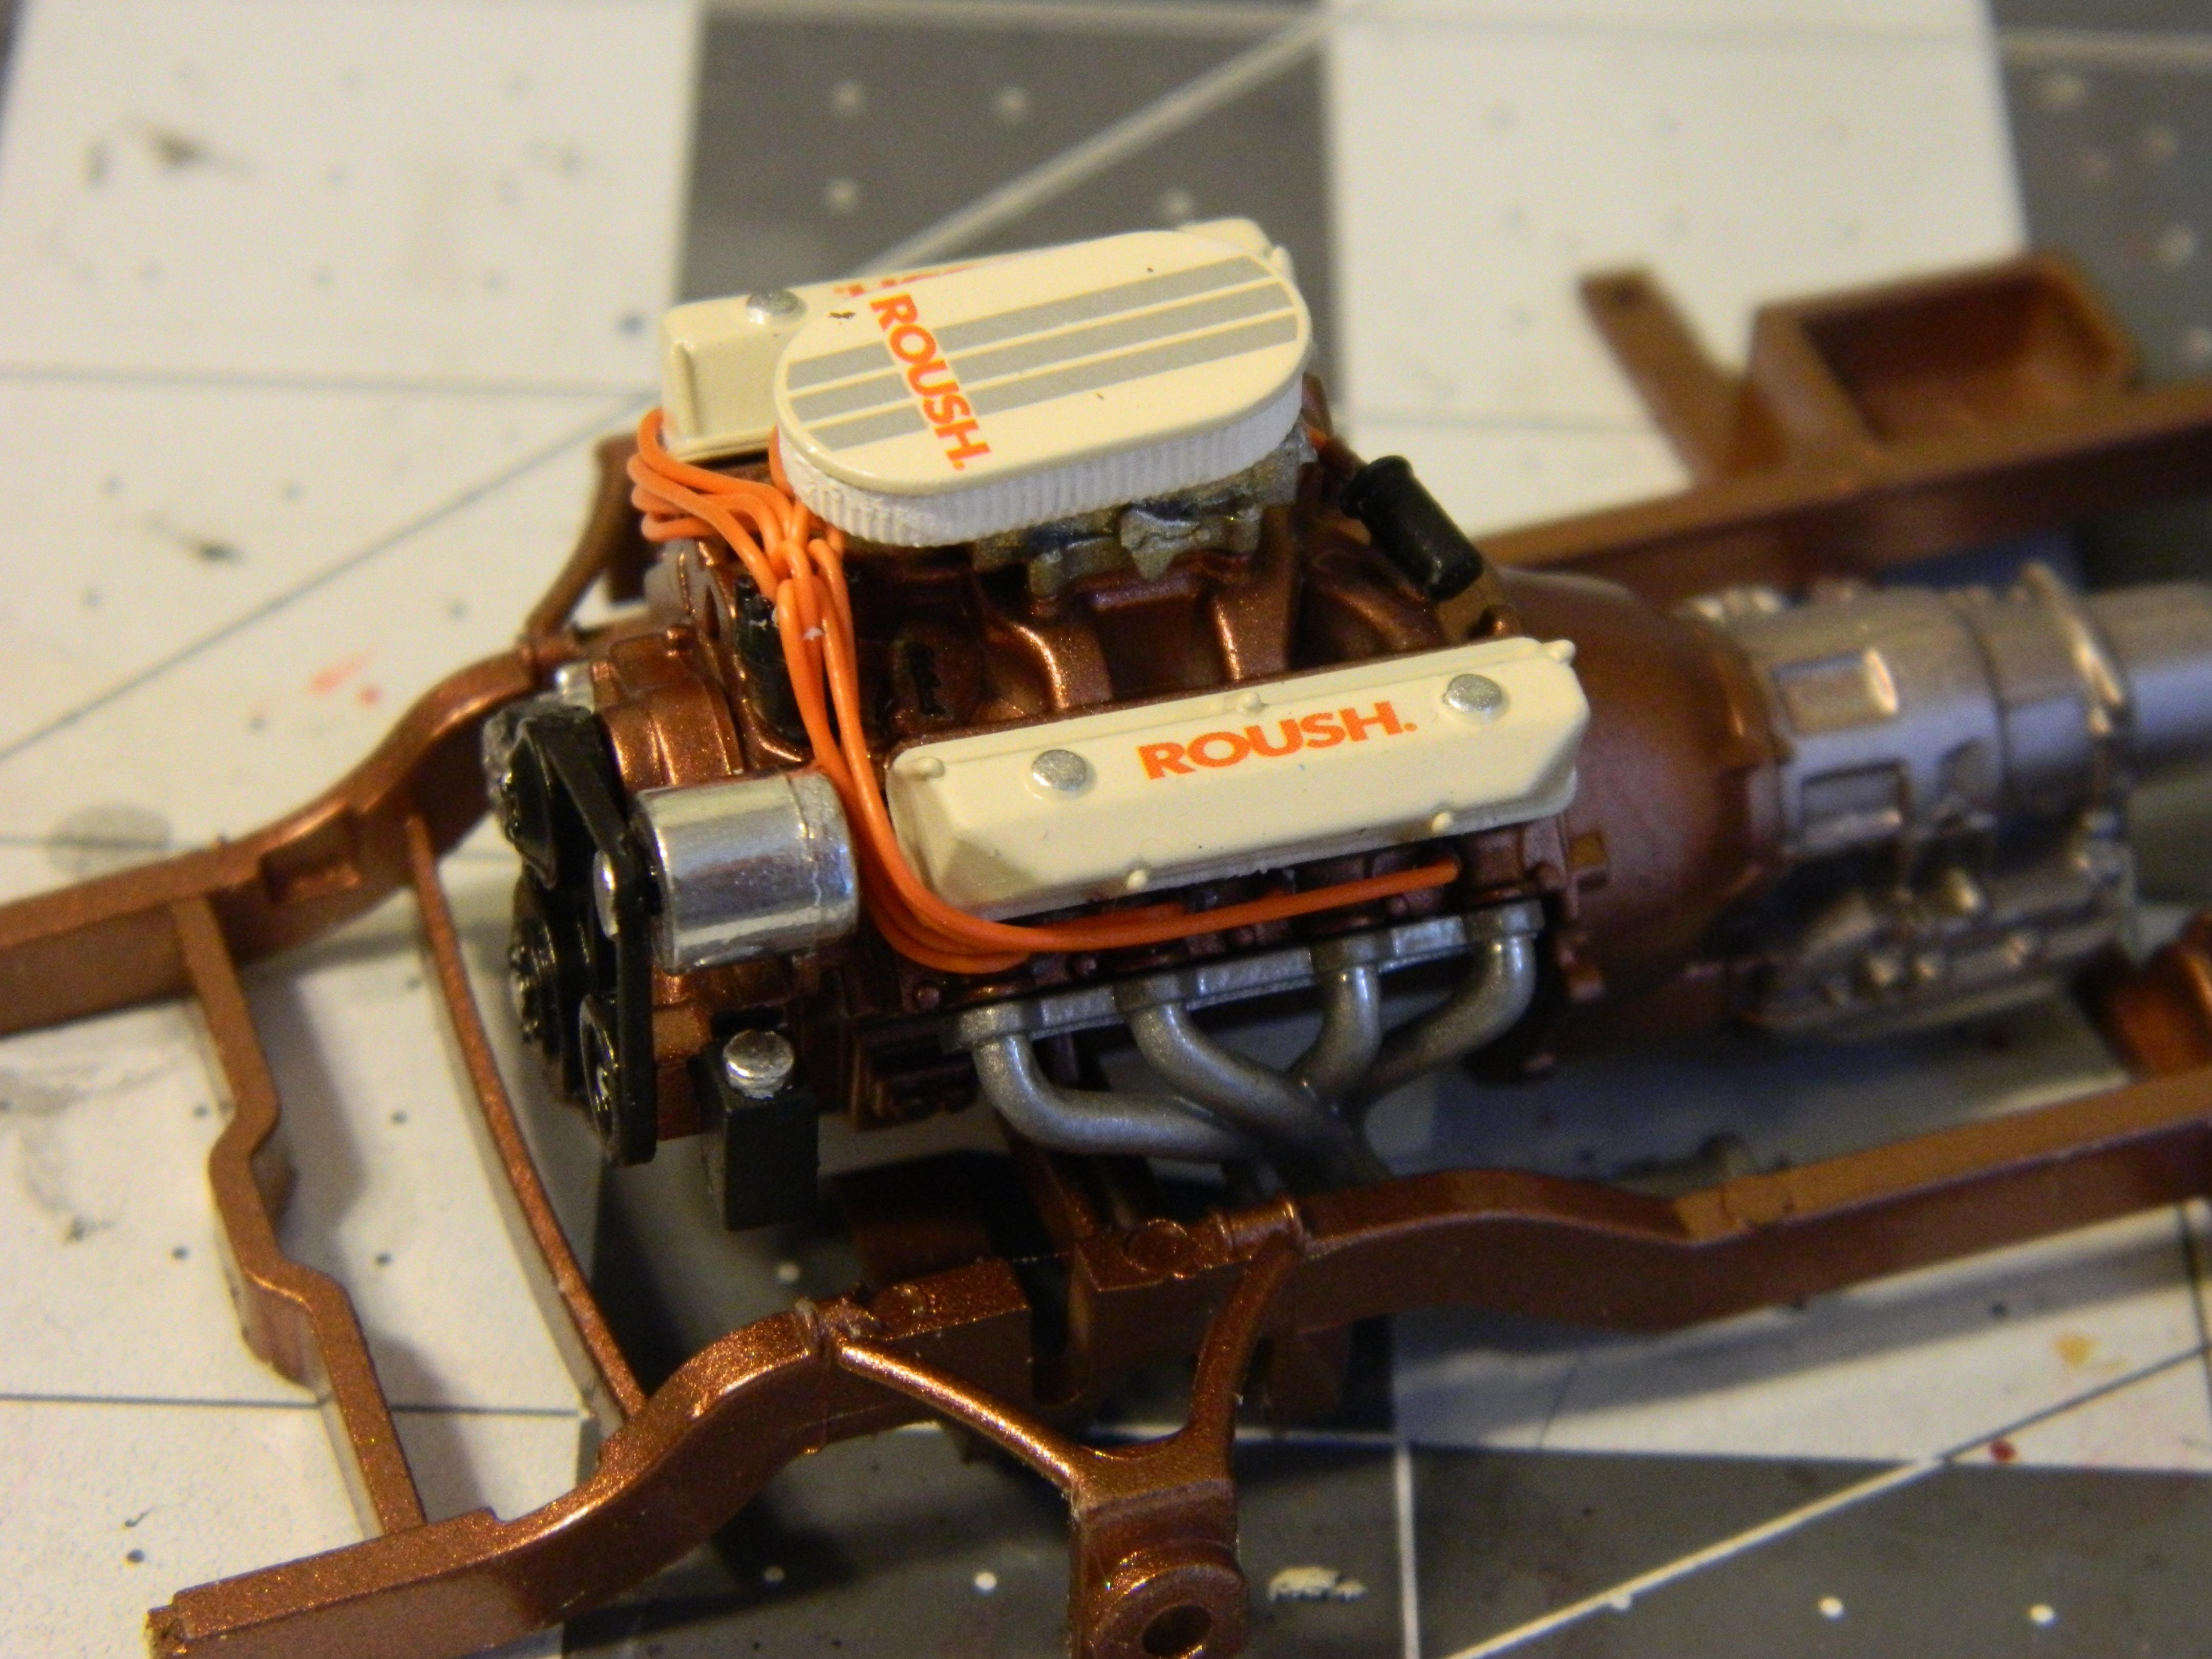
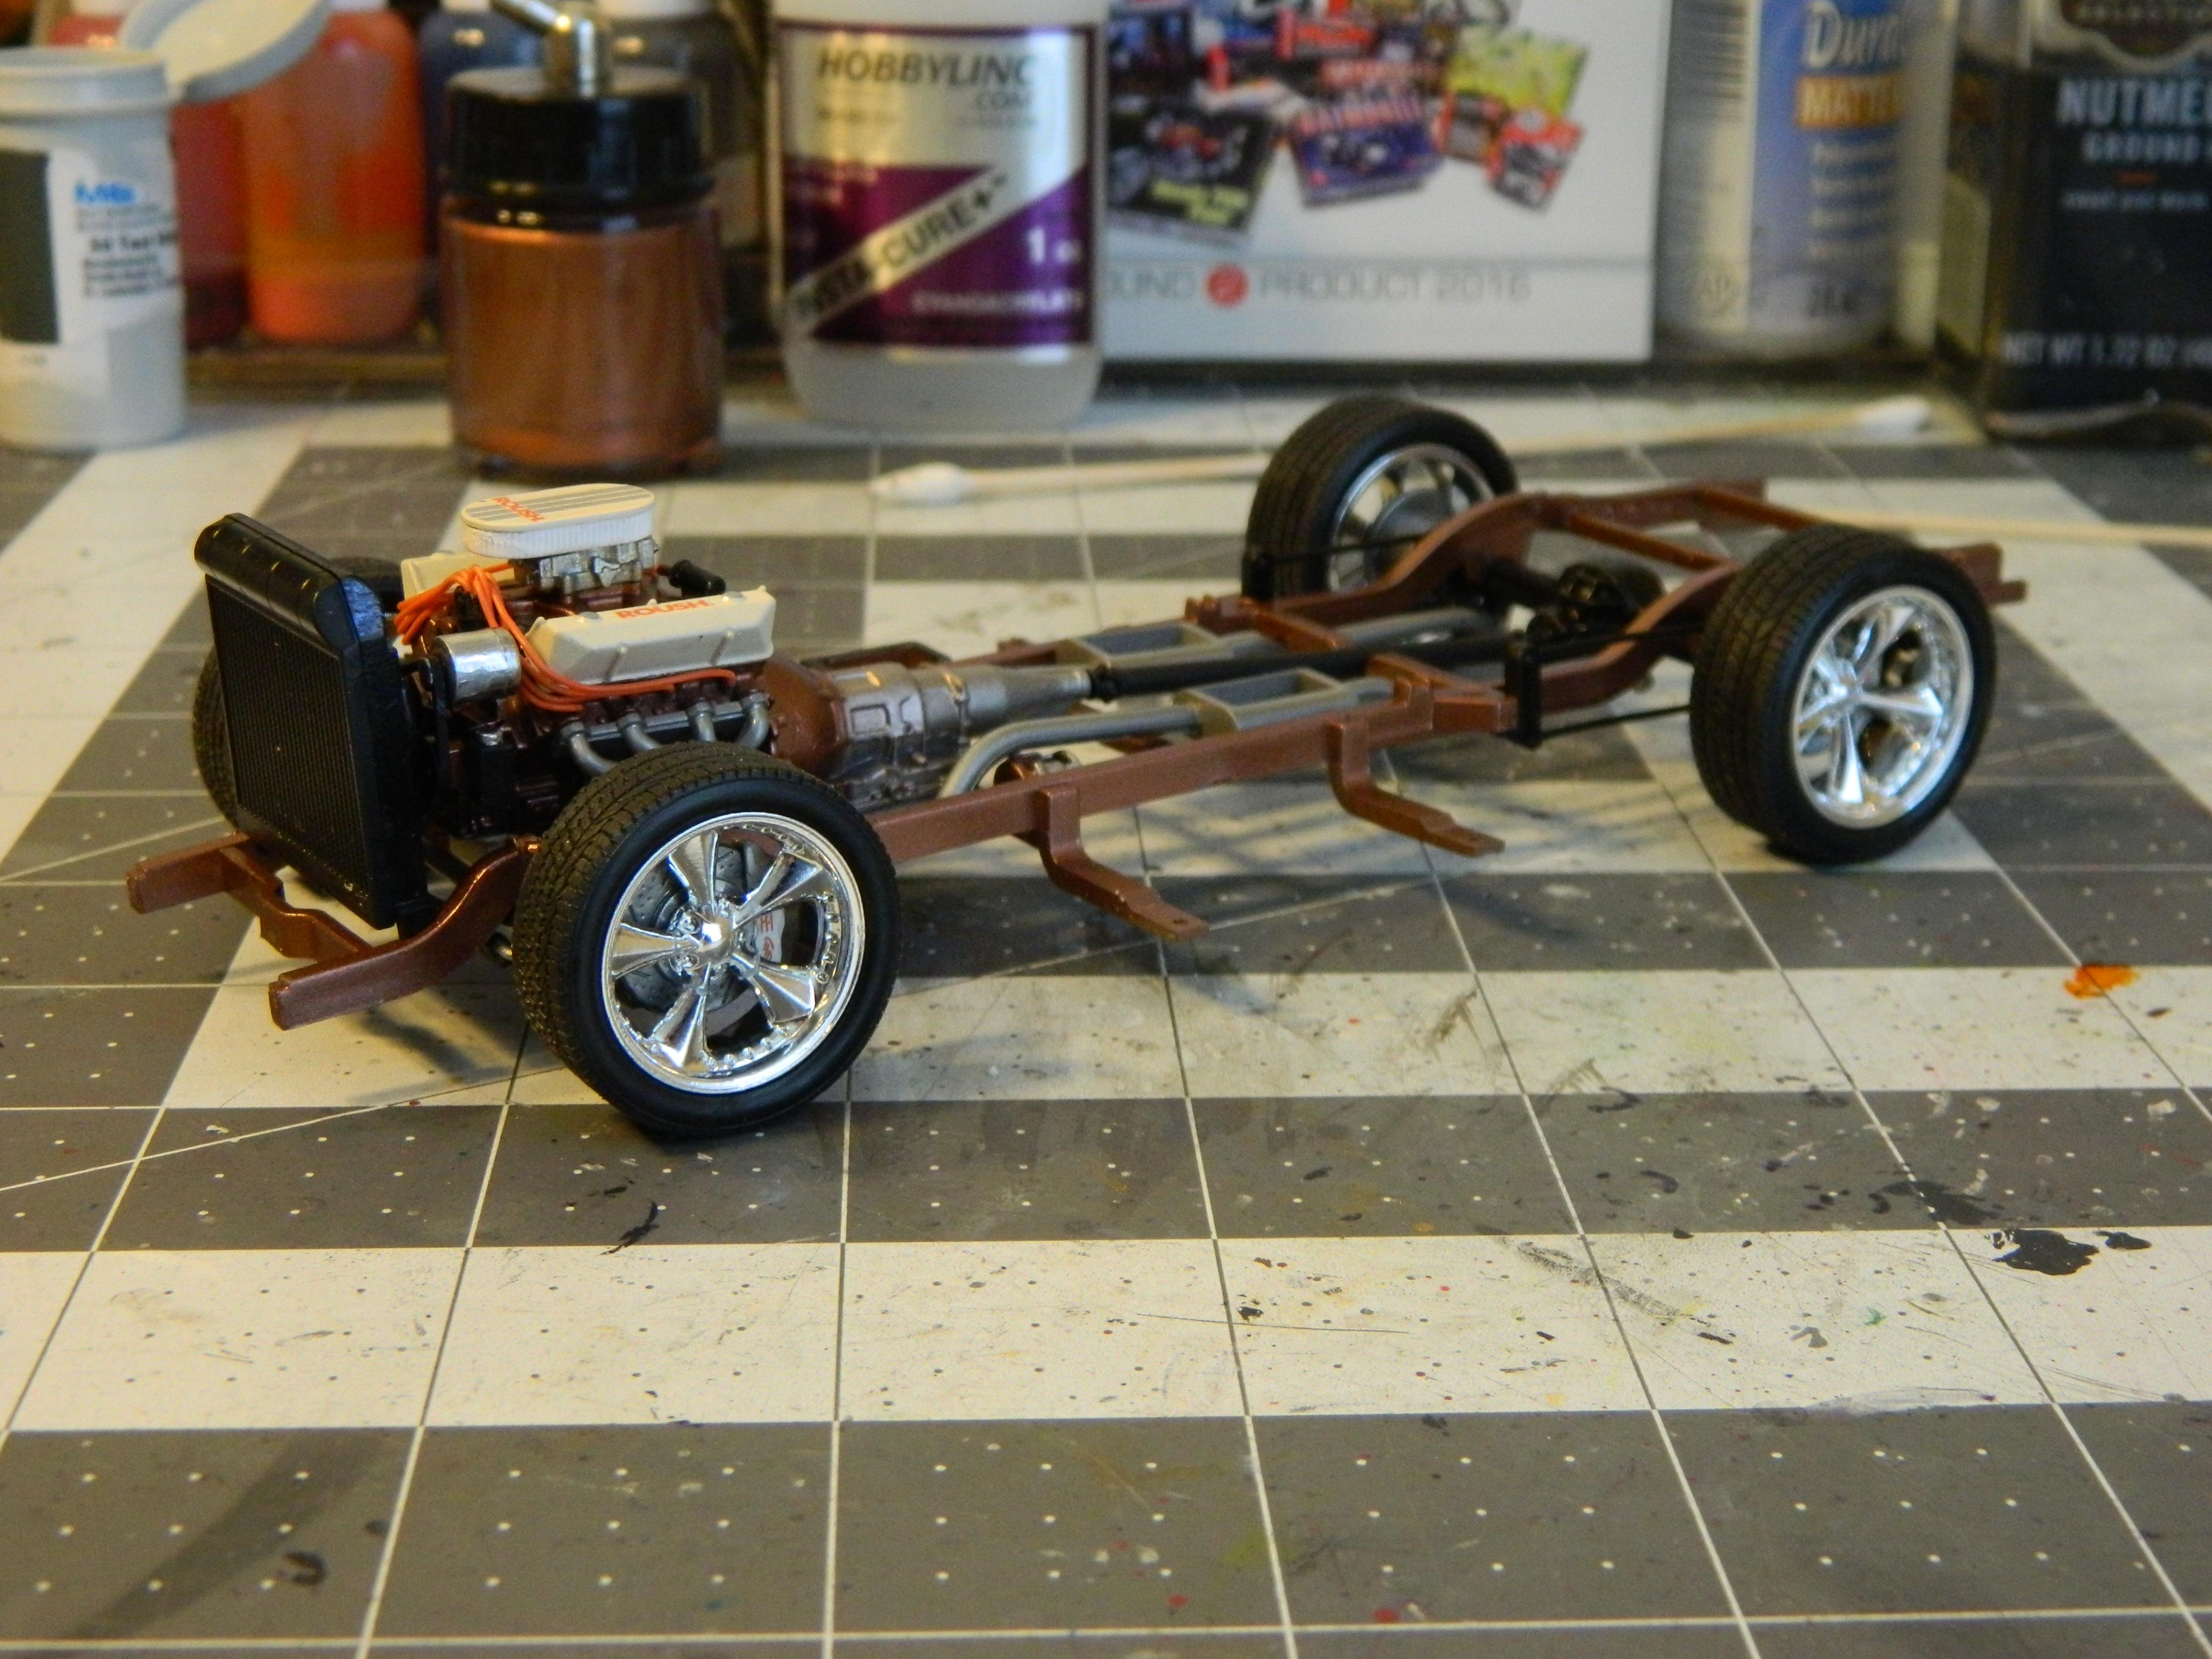
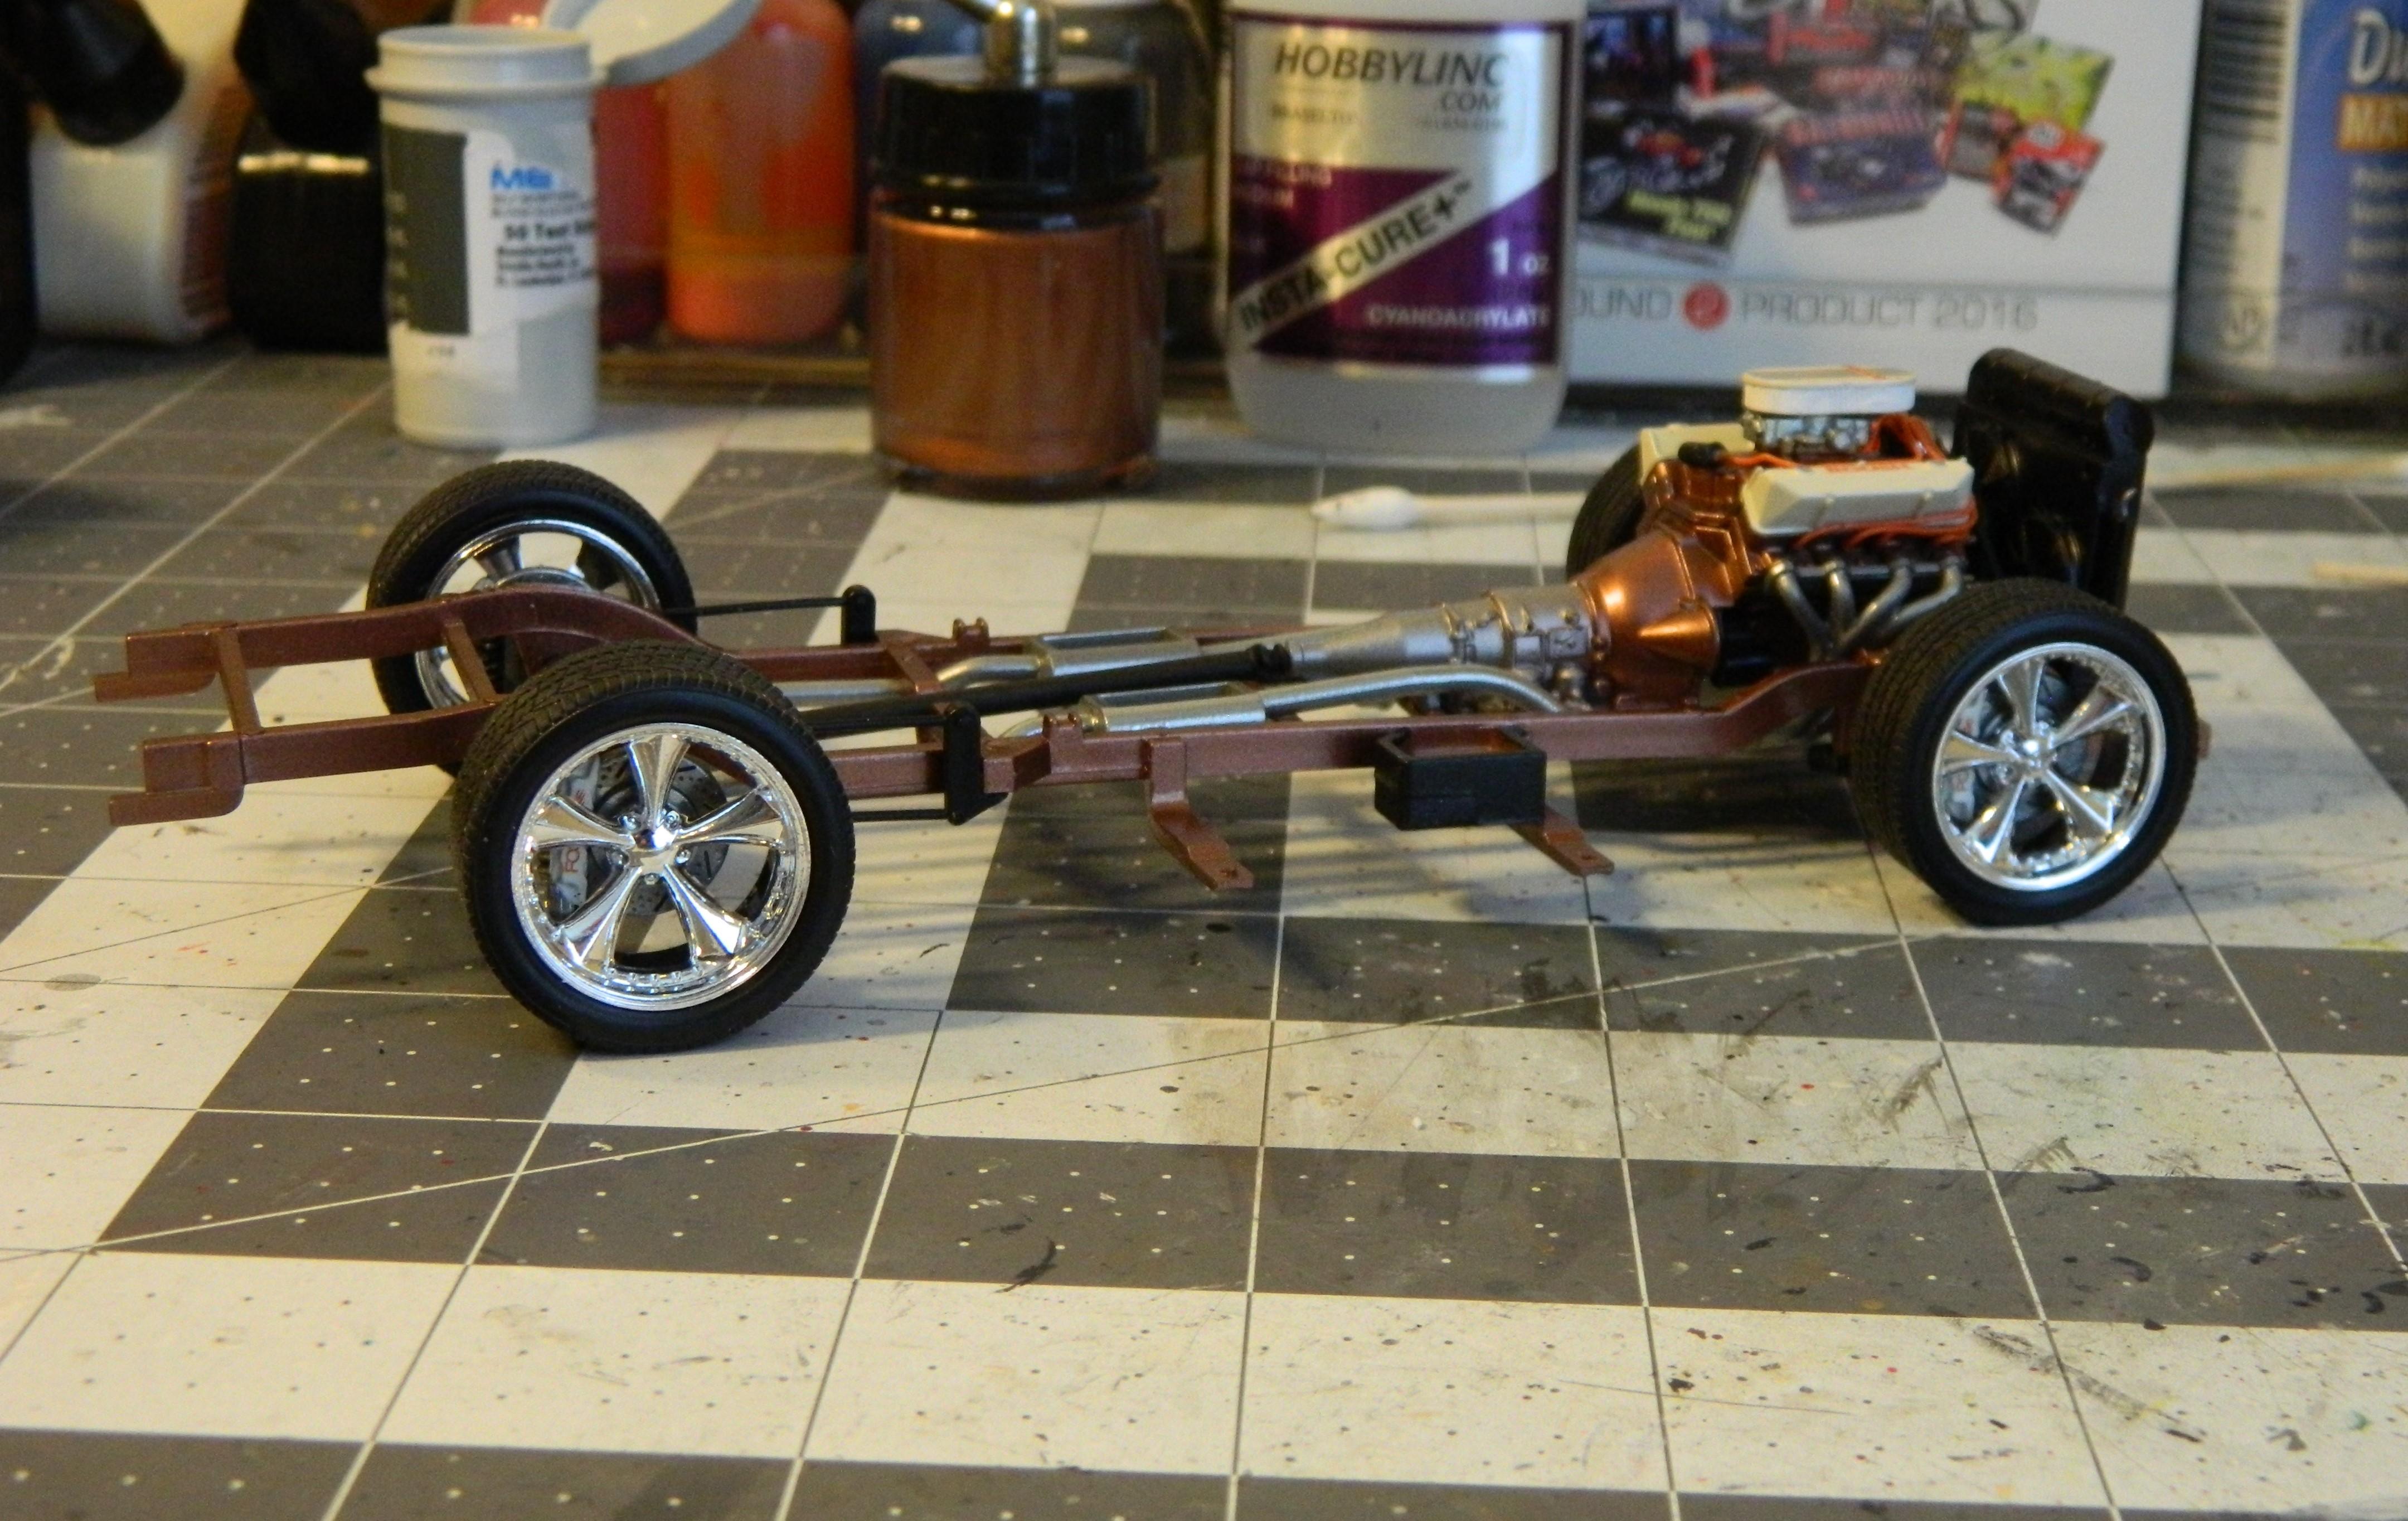
 Yesterday saw the engine assembly finished and today was spent on the chassis/suspension area. With the engine installed, I now have a rolling chassis. I'll detail the wheels with some Tamiya Black Panel Line Accent and the kit center cap decals tomorrow.
-
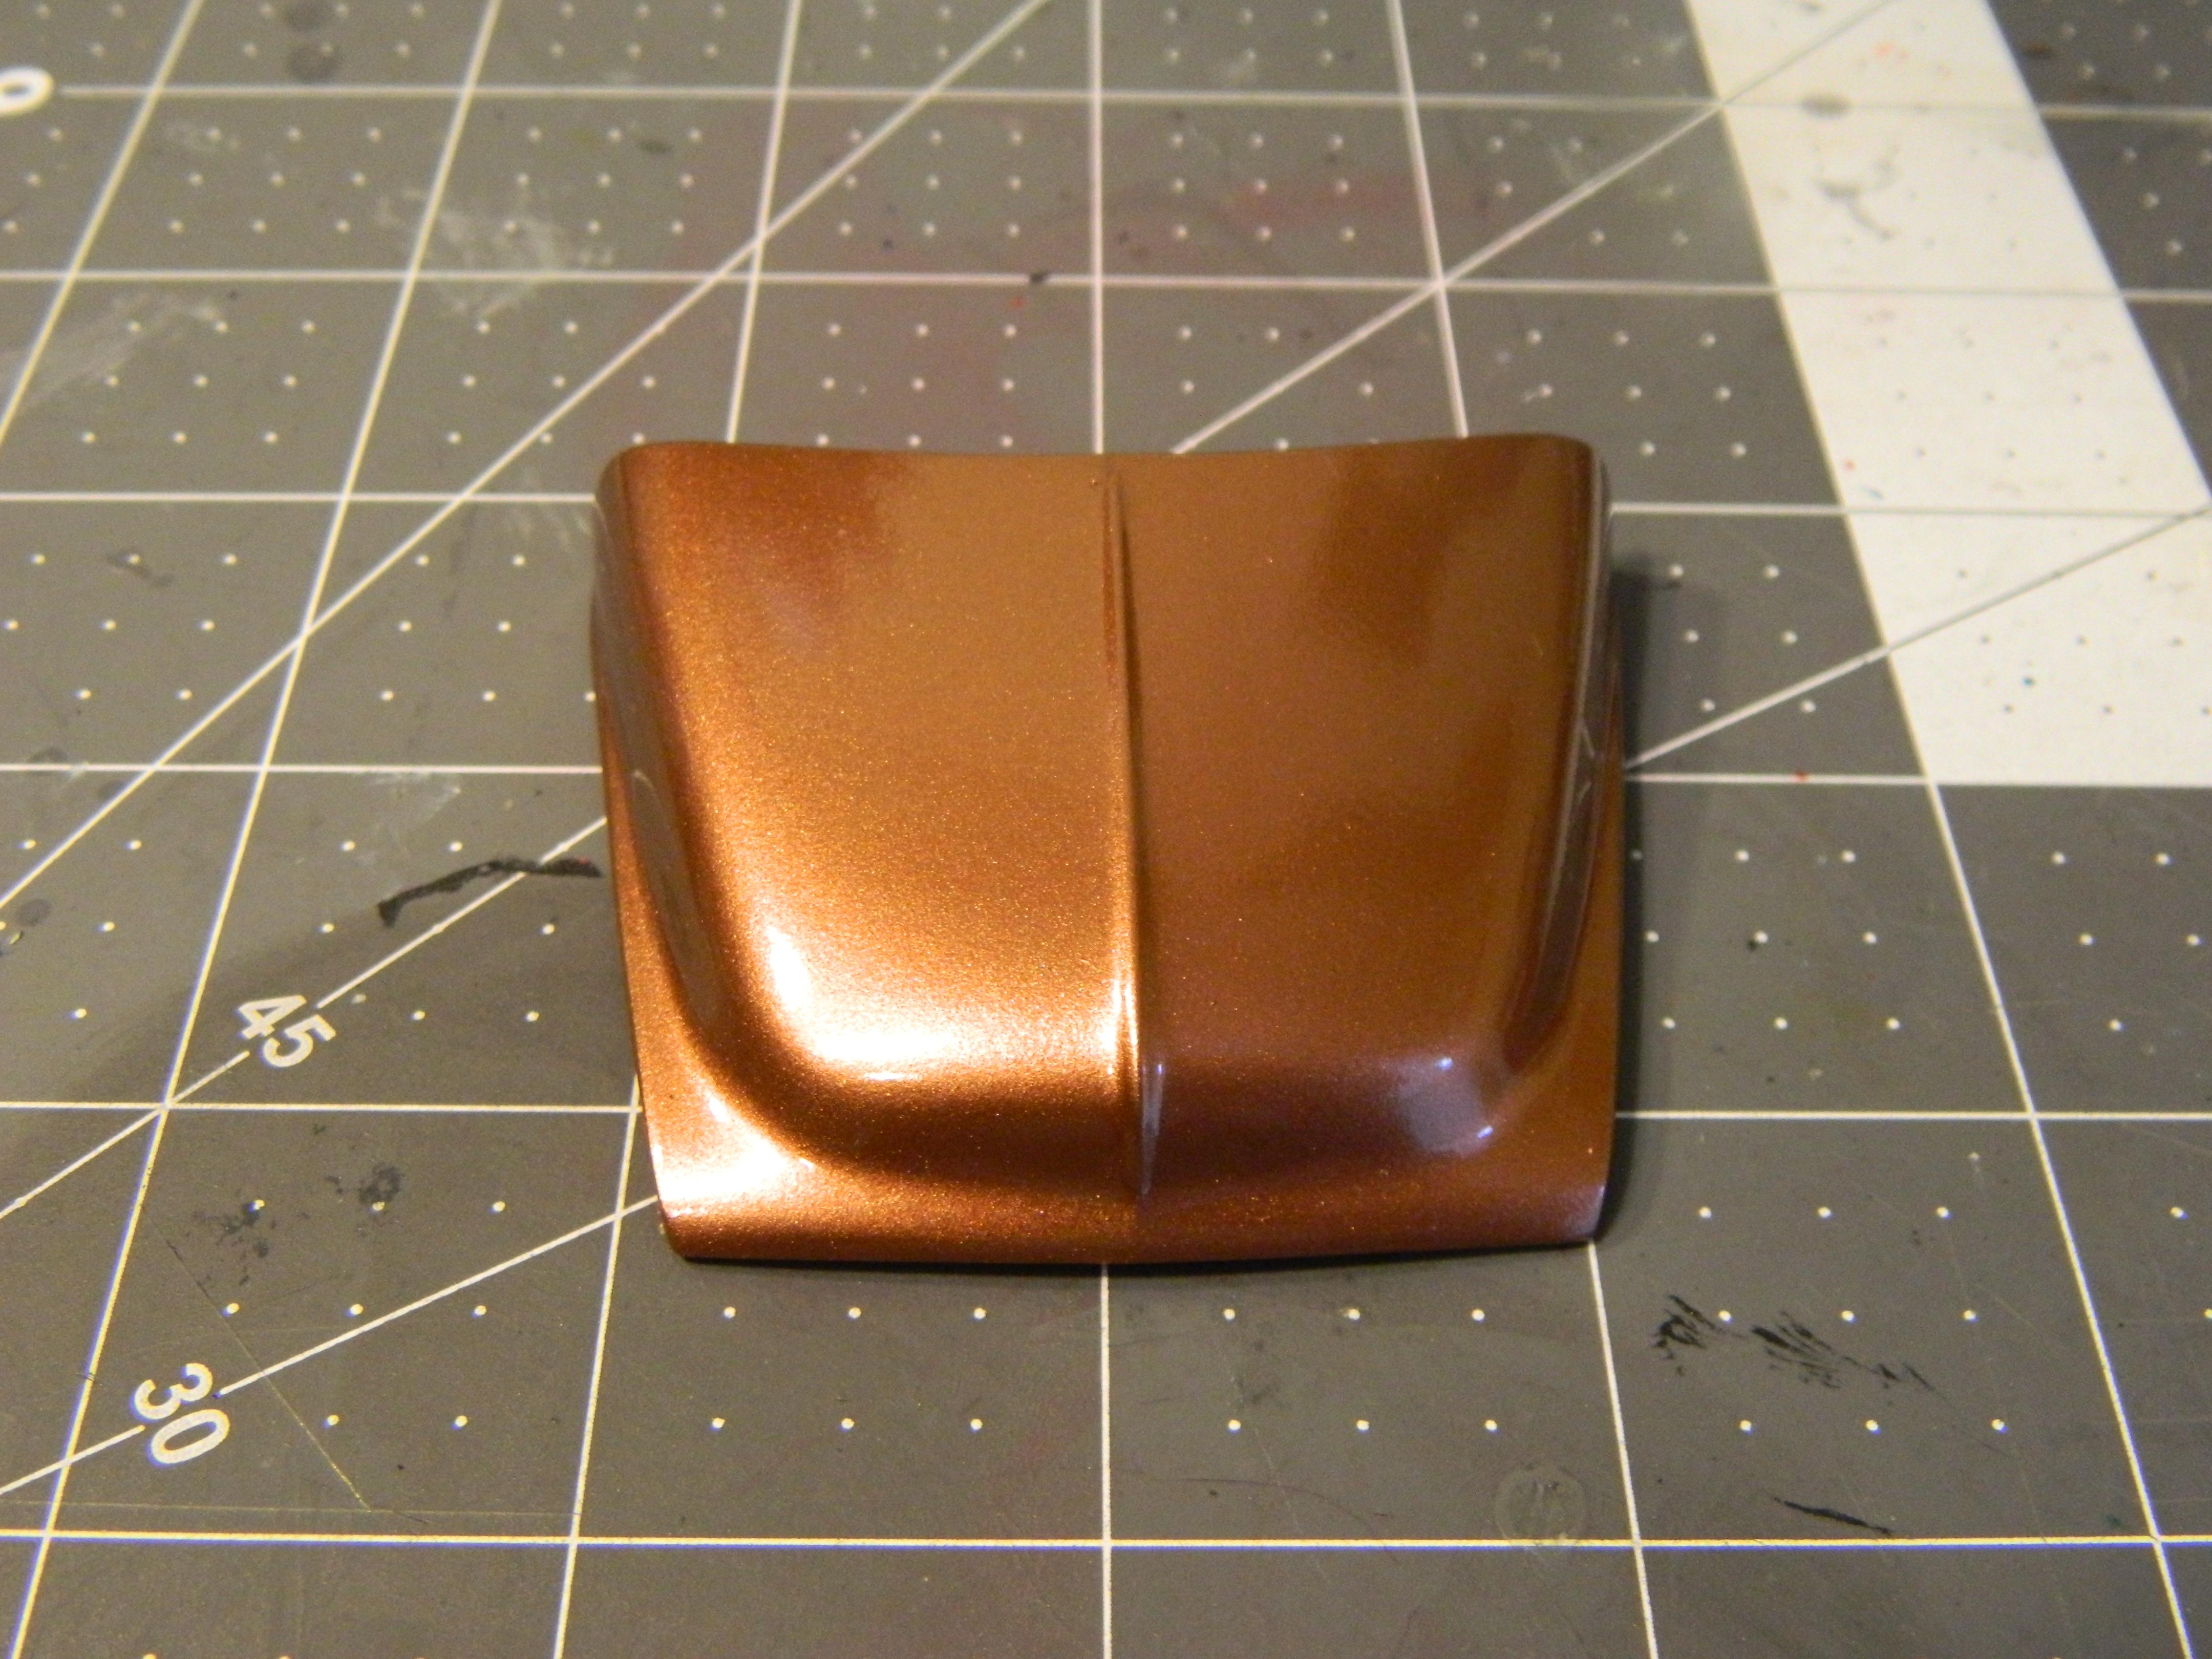
It has rained about every other day here in Michigan lately, but with a nice day yesterday, I got the Krylon Short Cuts Gloss Clear sprayed on straight from the can. I have to say that for the price I really like this clear. It's not as good as Tamiya TS-13 (My experiences so far haven't left as smooth of a finish as Tamiya, but not bad either), but it does wet-sand and polish out nicely. I'll probably get to the wet-sand and polish stage on Saturday.
-
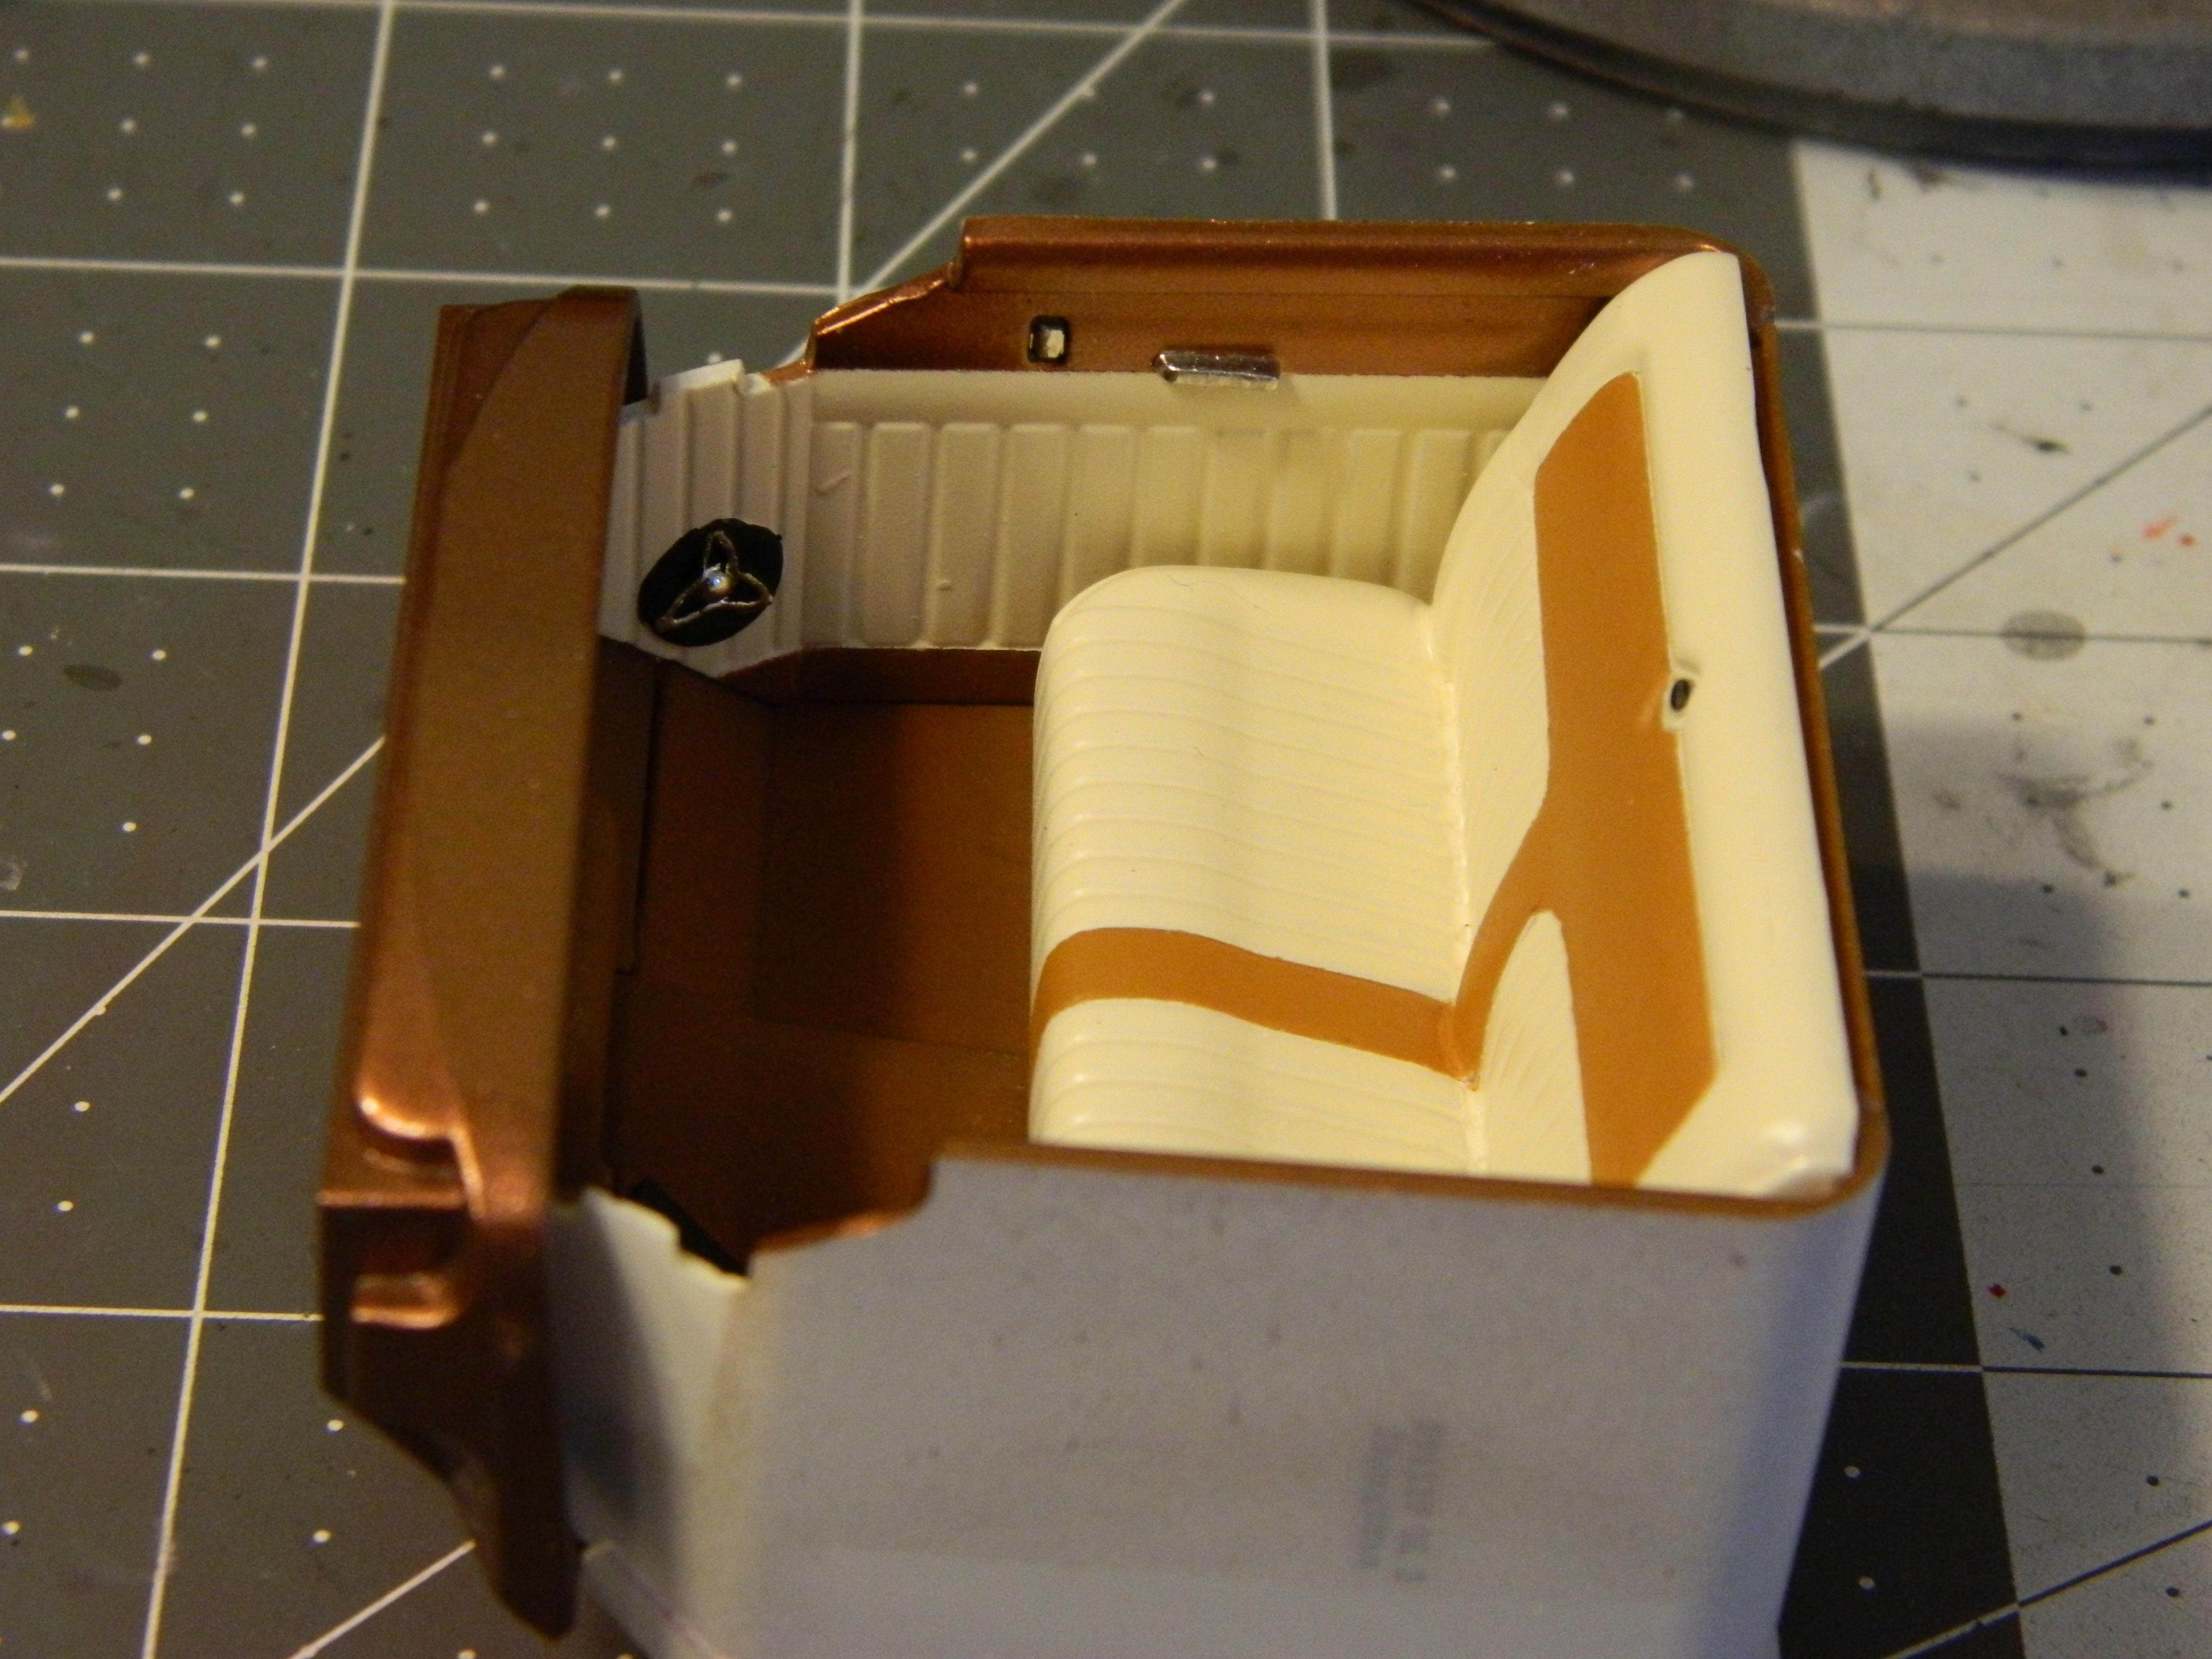
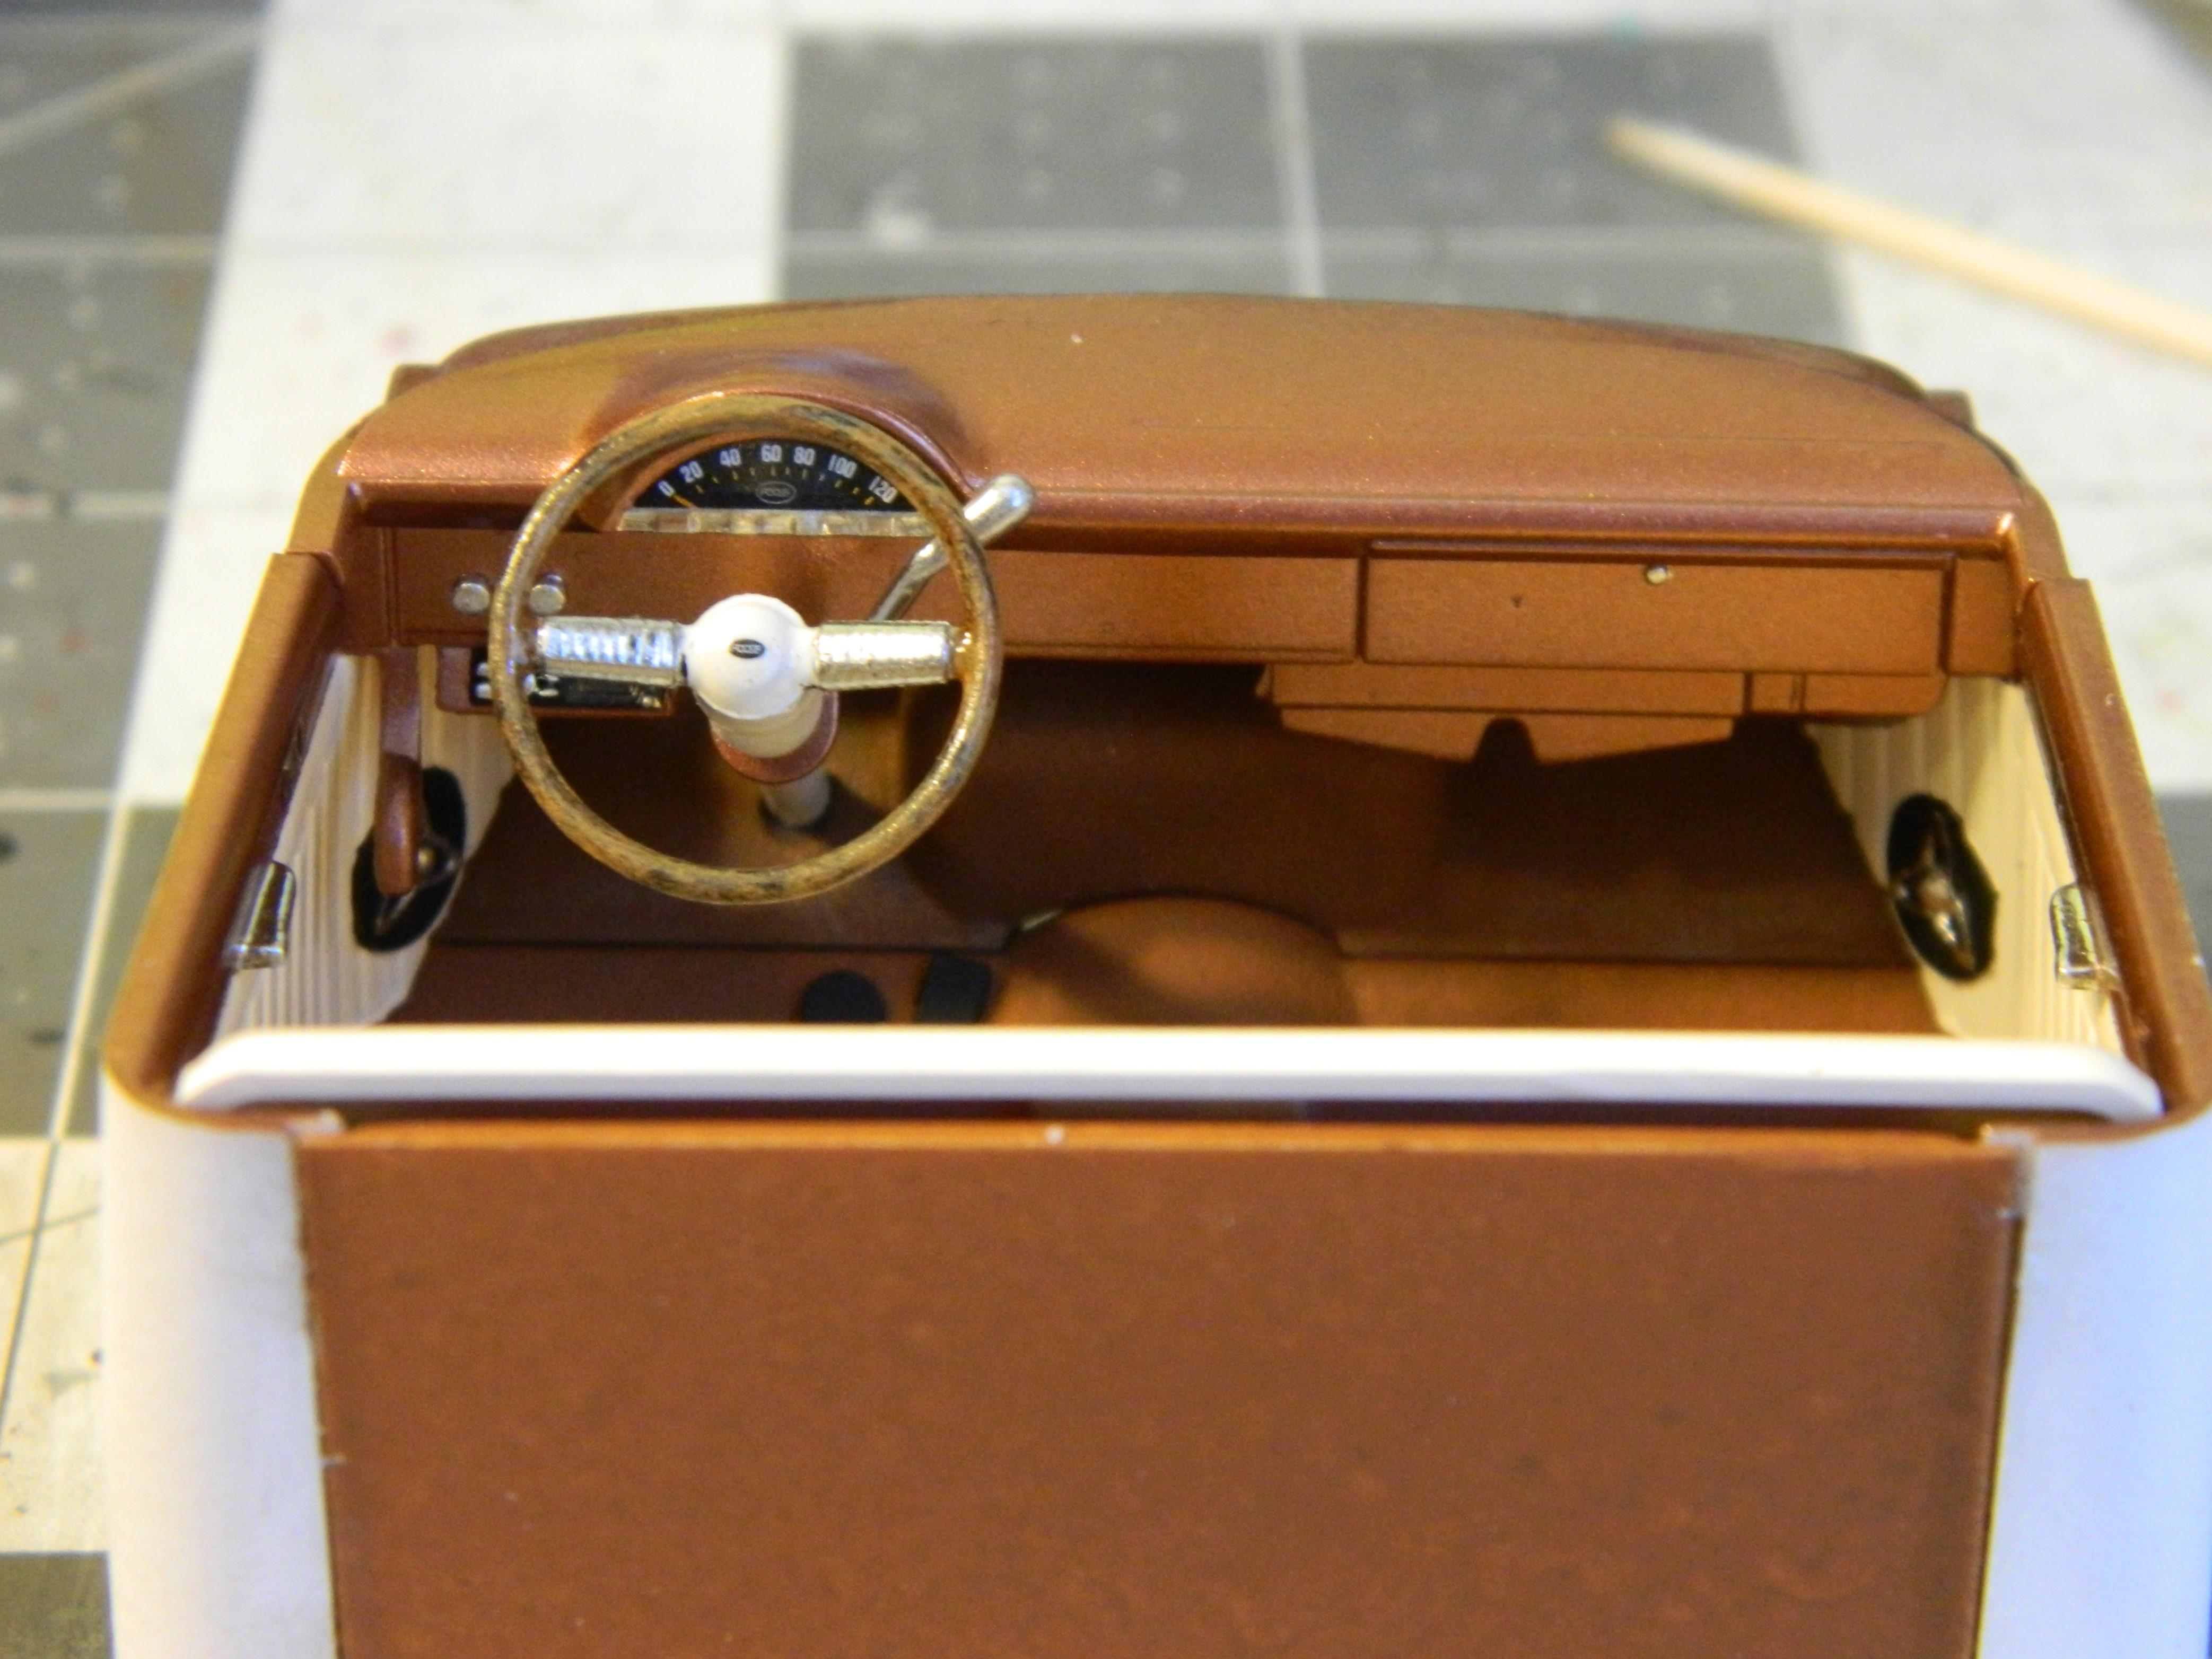
For the interior, I taped off the seat insert and airbrushed it in Apple Barrel Honey Brown, and I brush painted the carpet area with Apple Barrel Nutmeg Brown. I used Molotow Chrome for details on the door panels and dashboard, and added some of the kit decals before assembling.
-
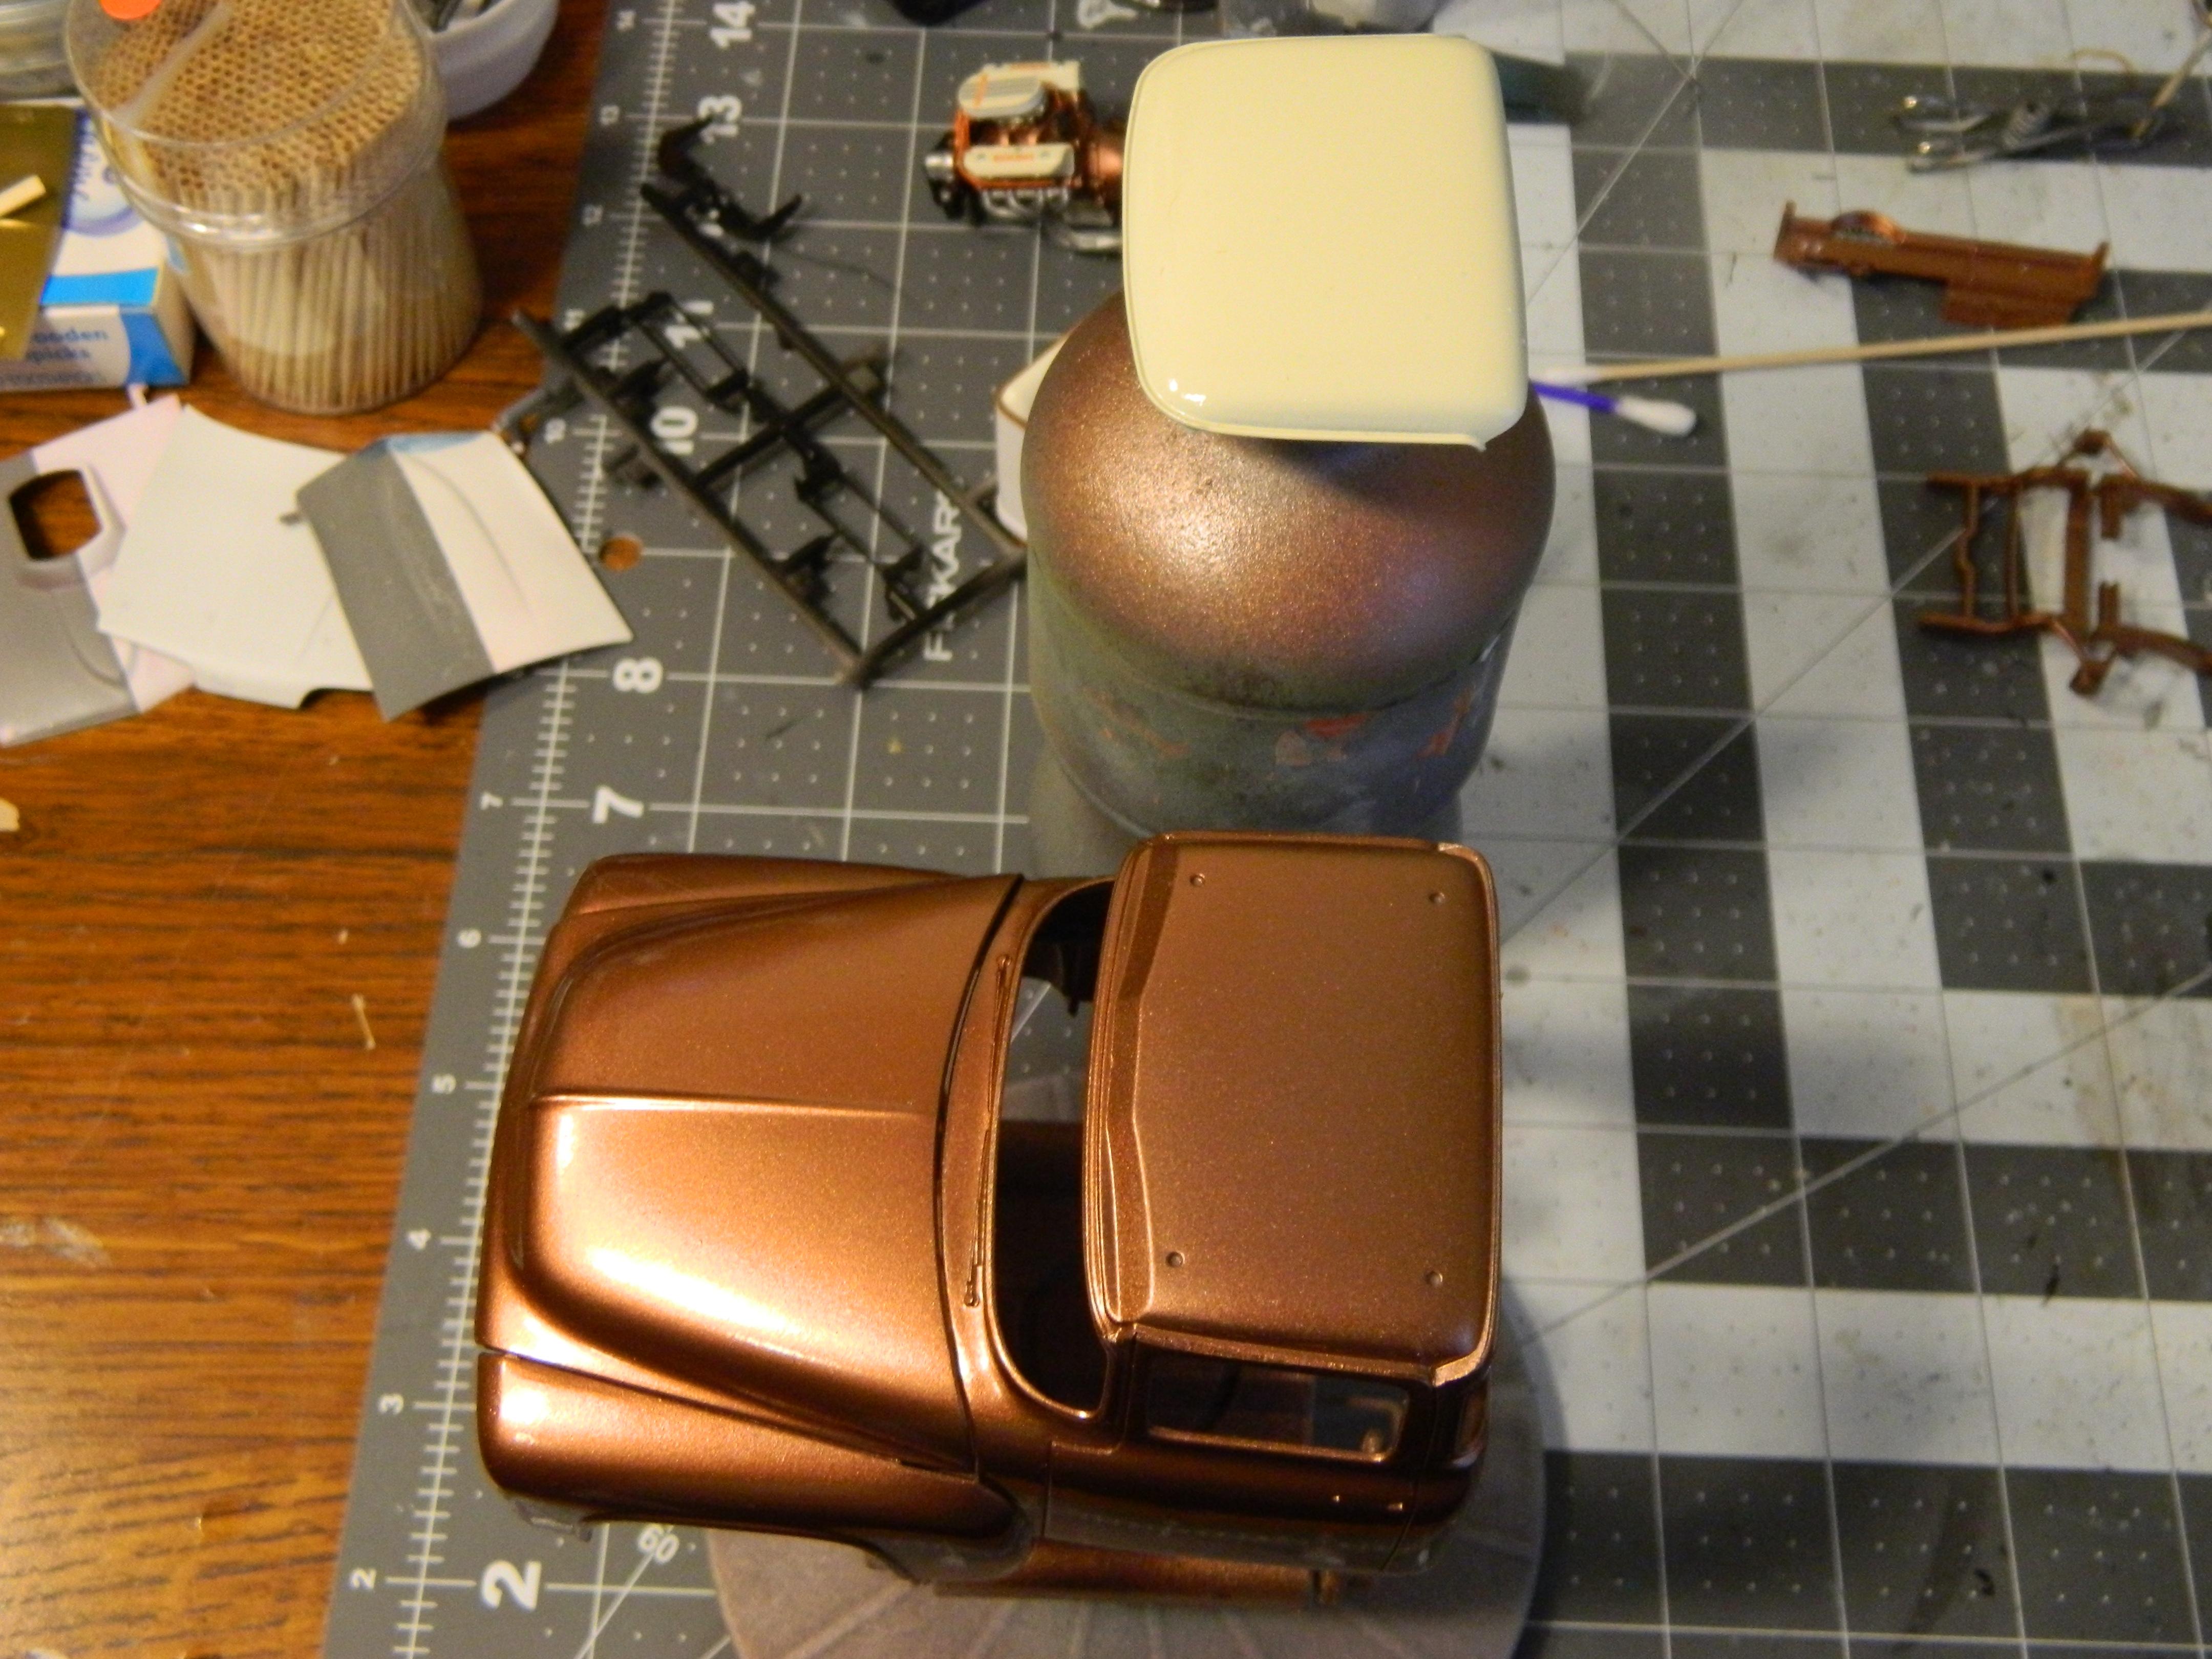
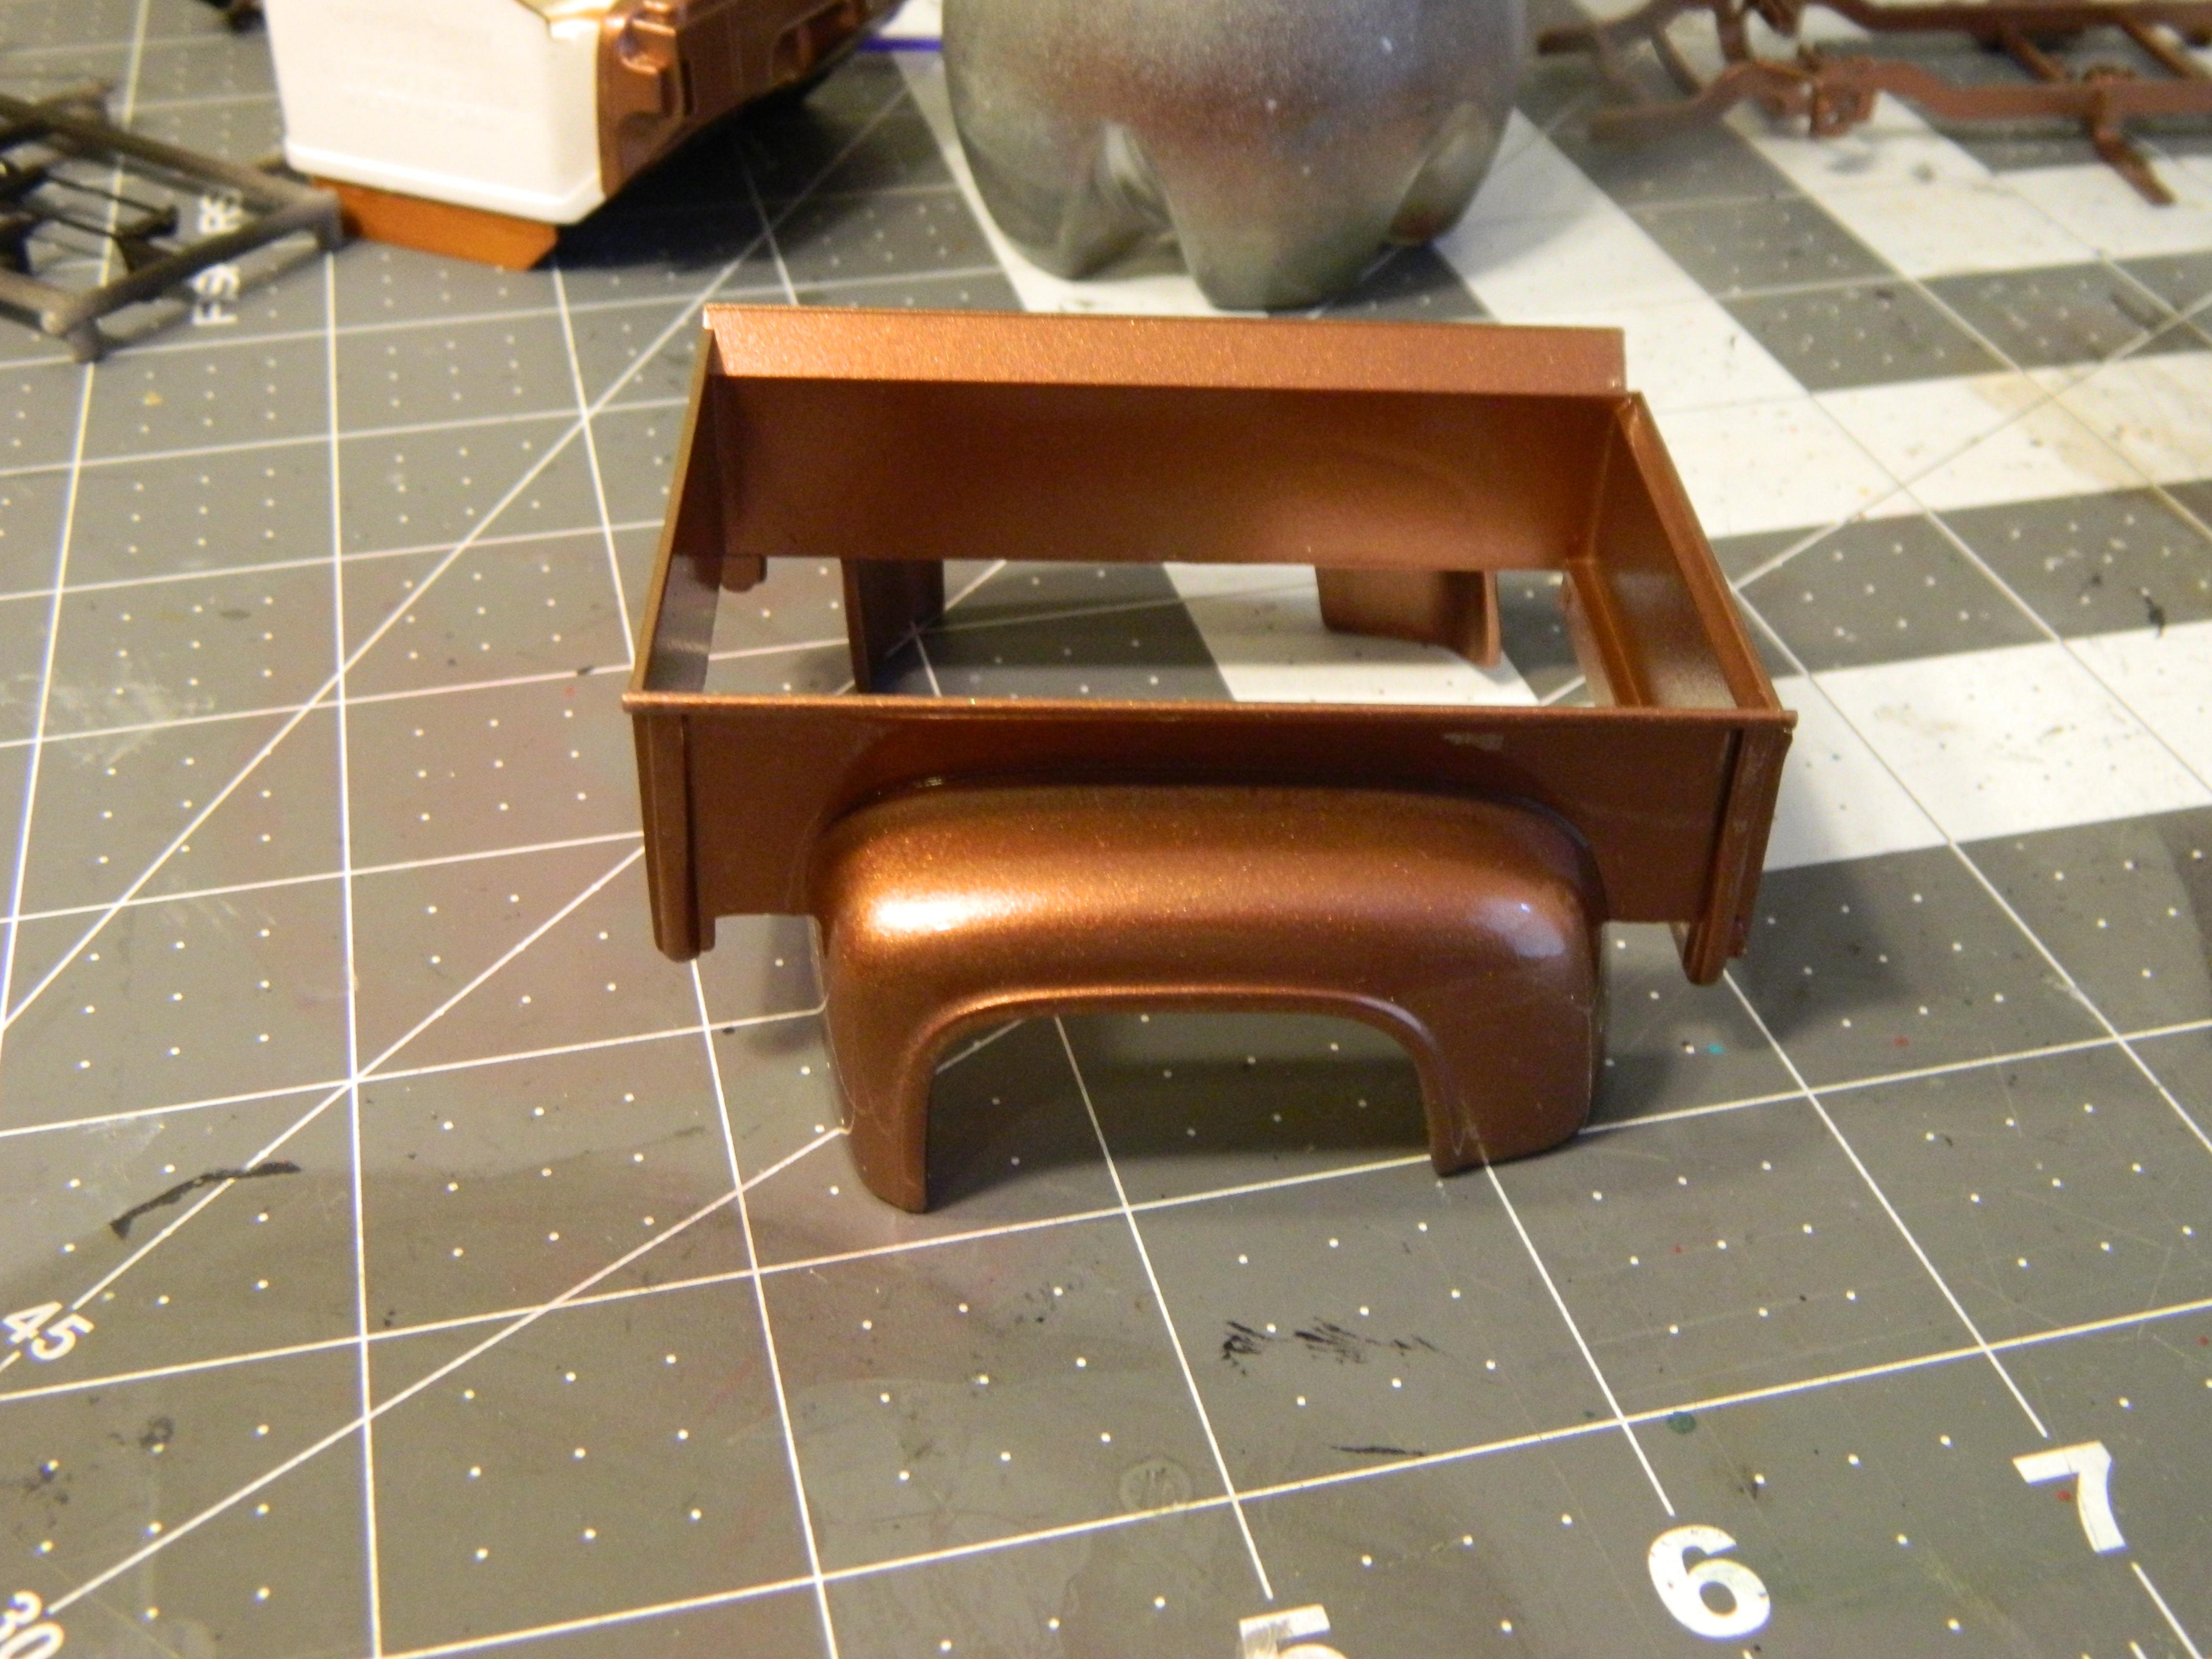
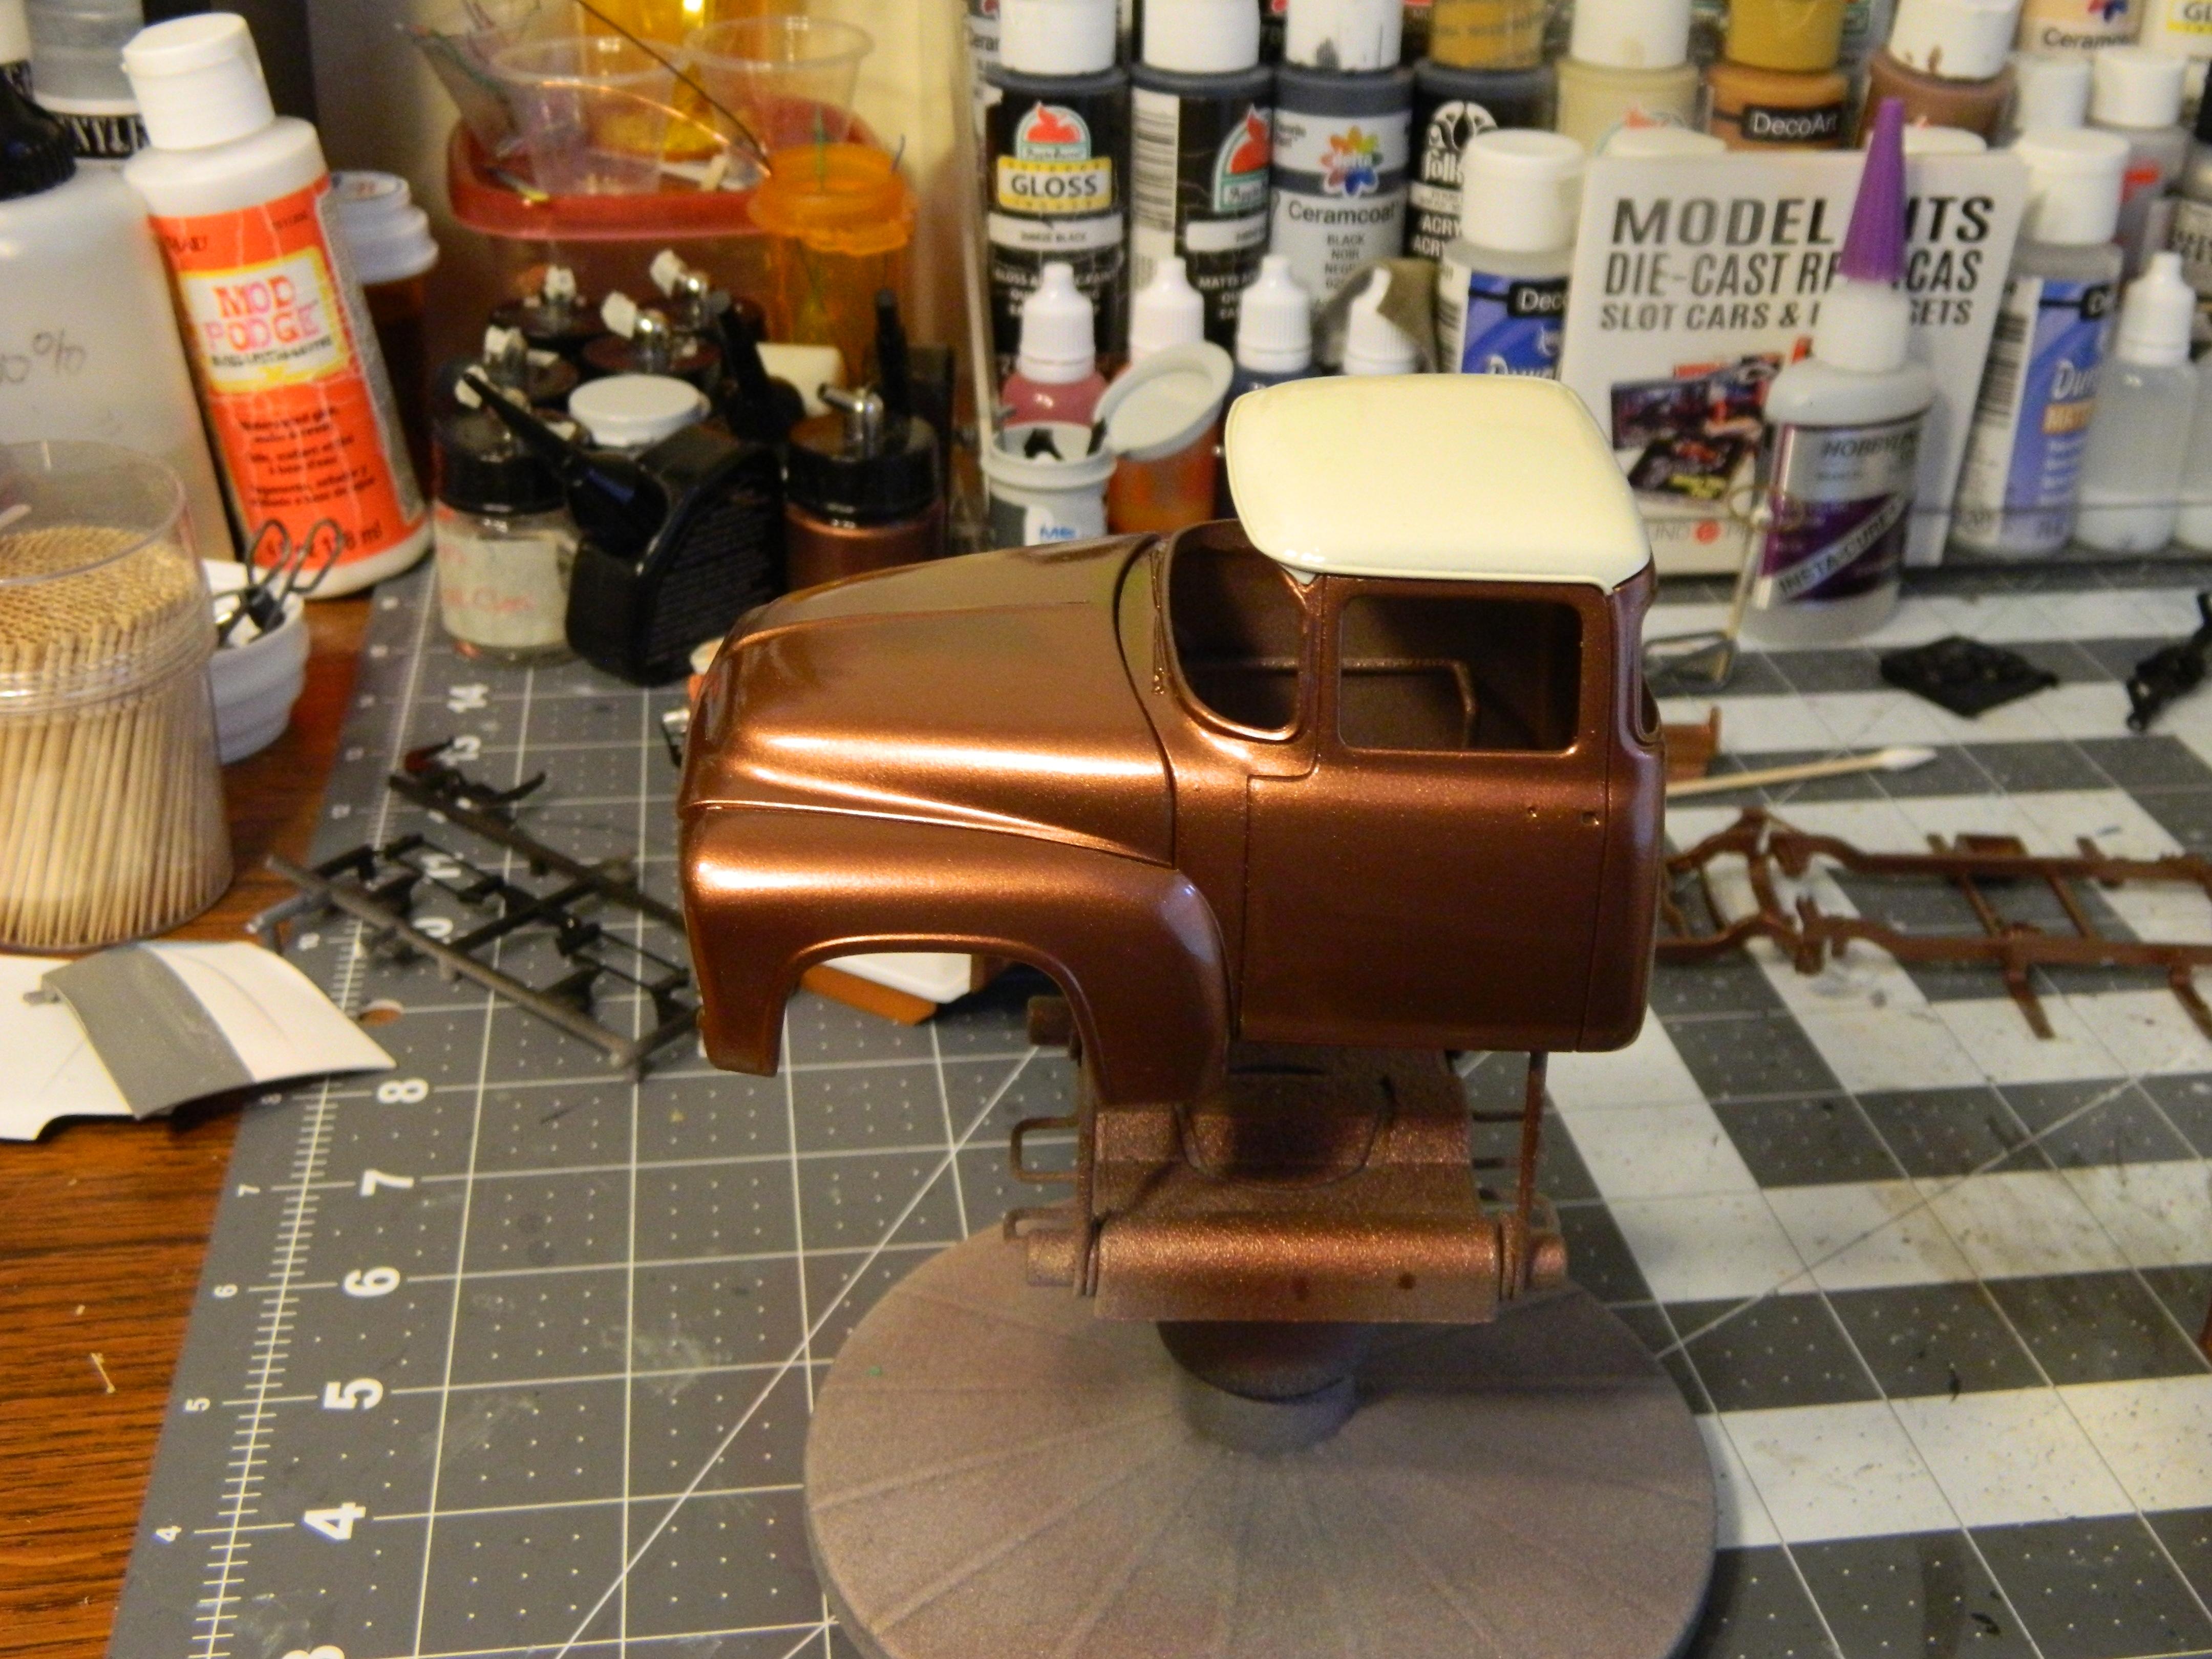
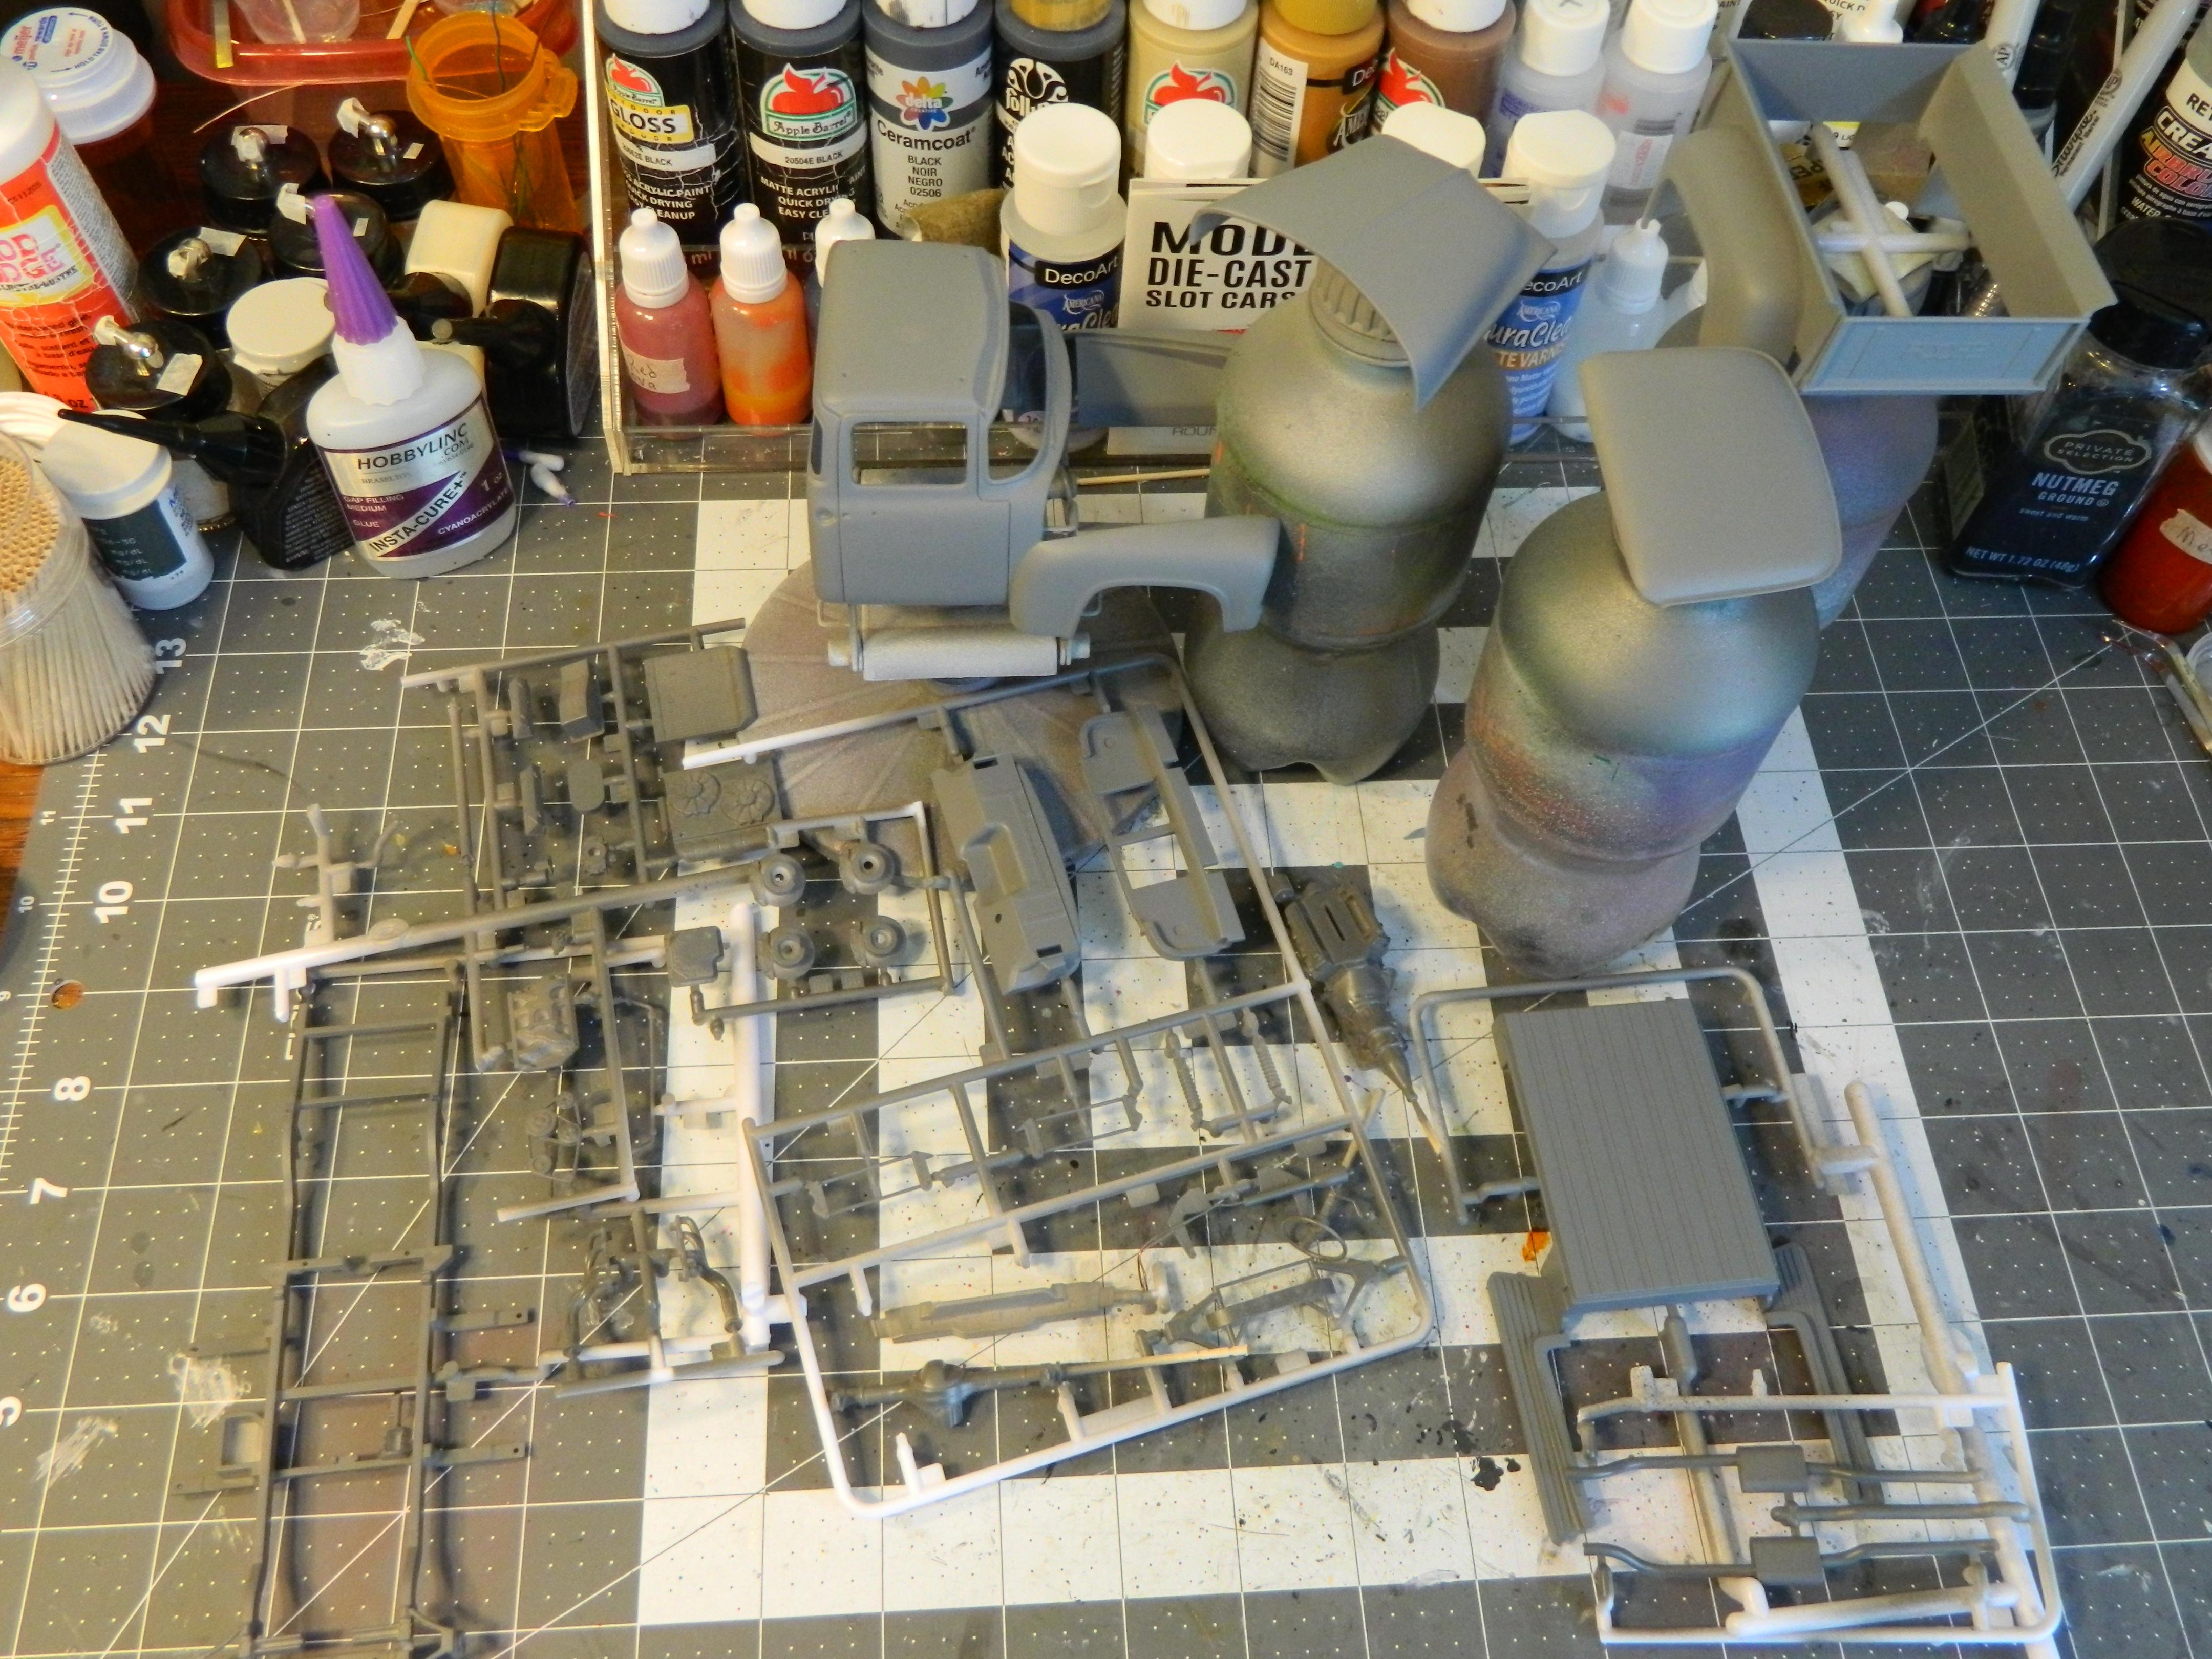
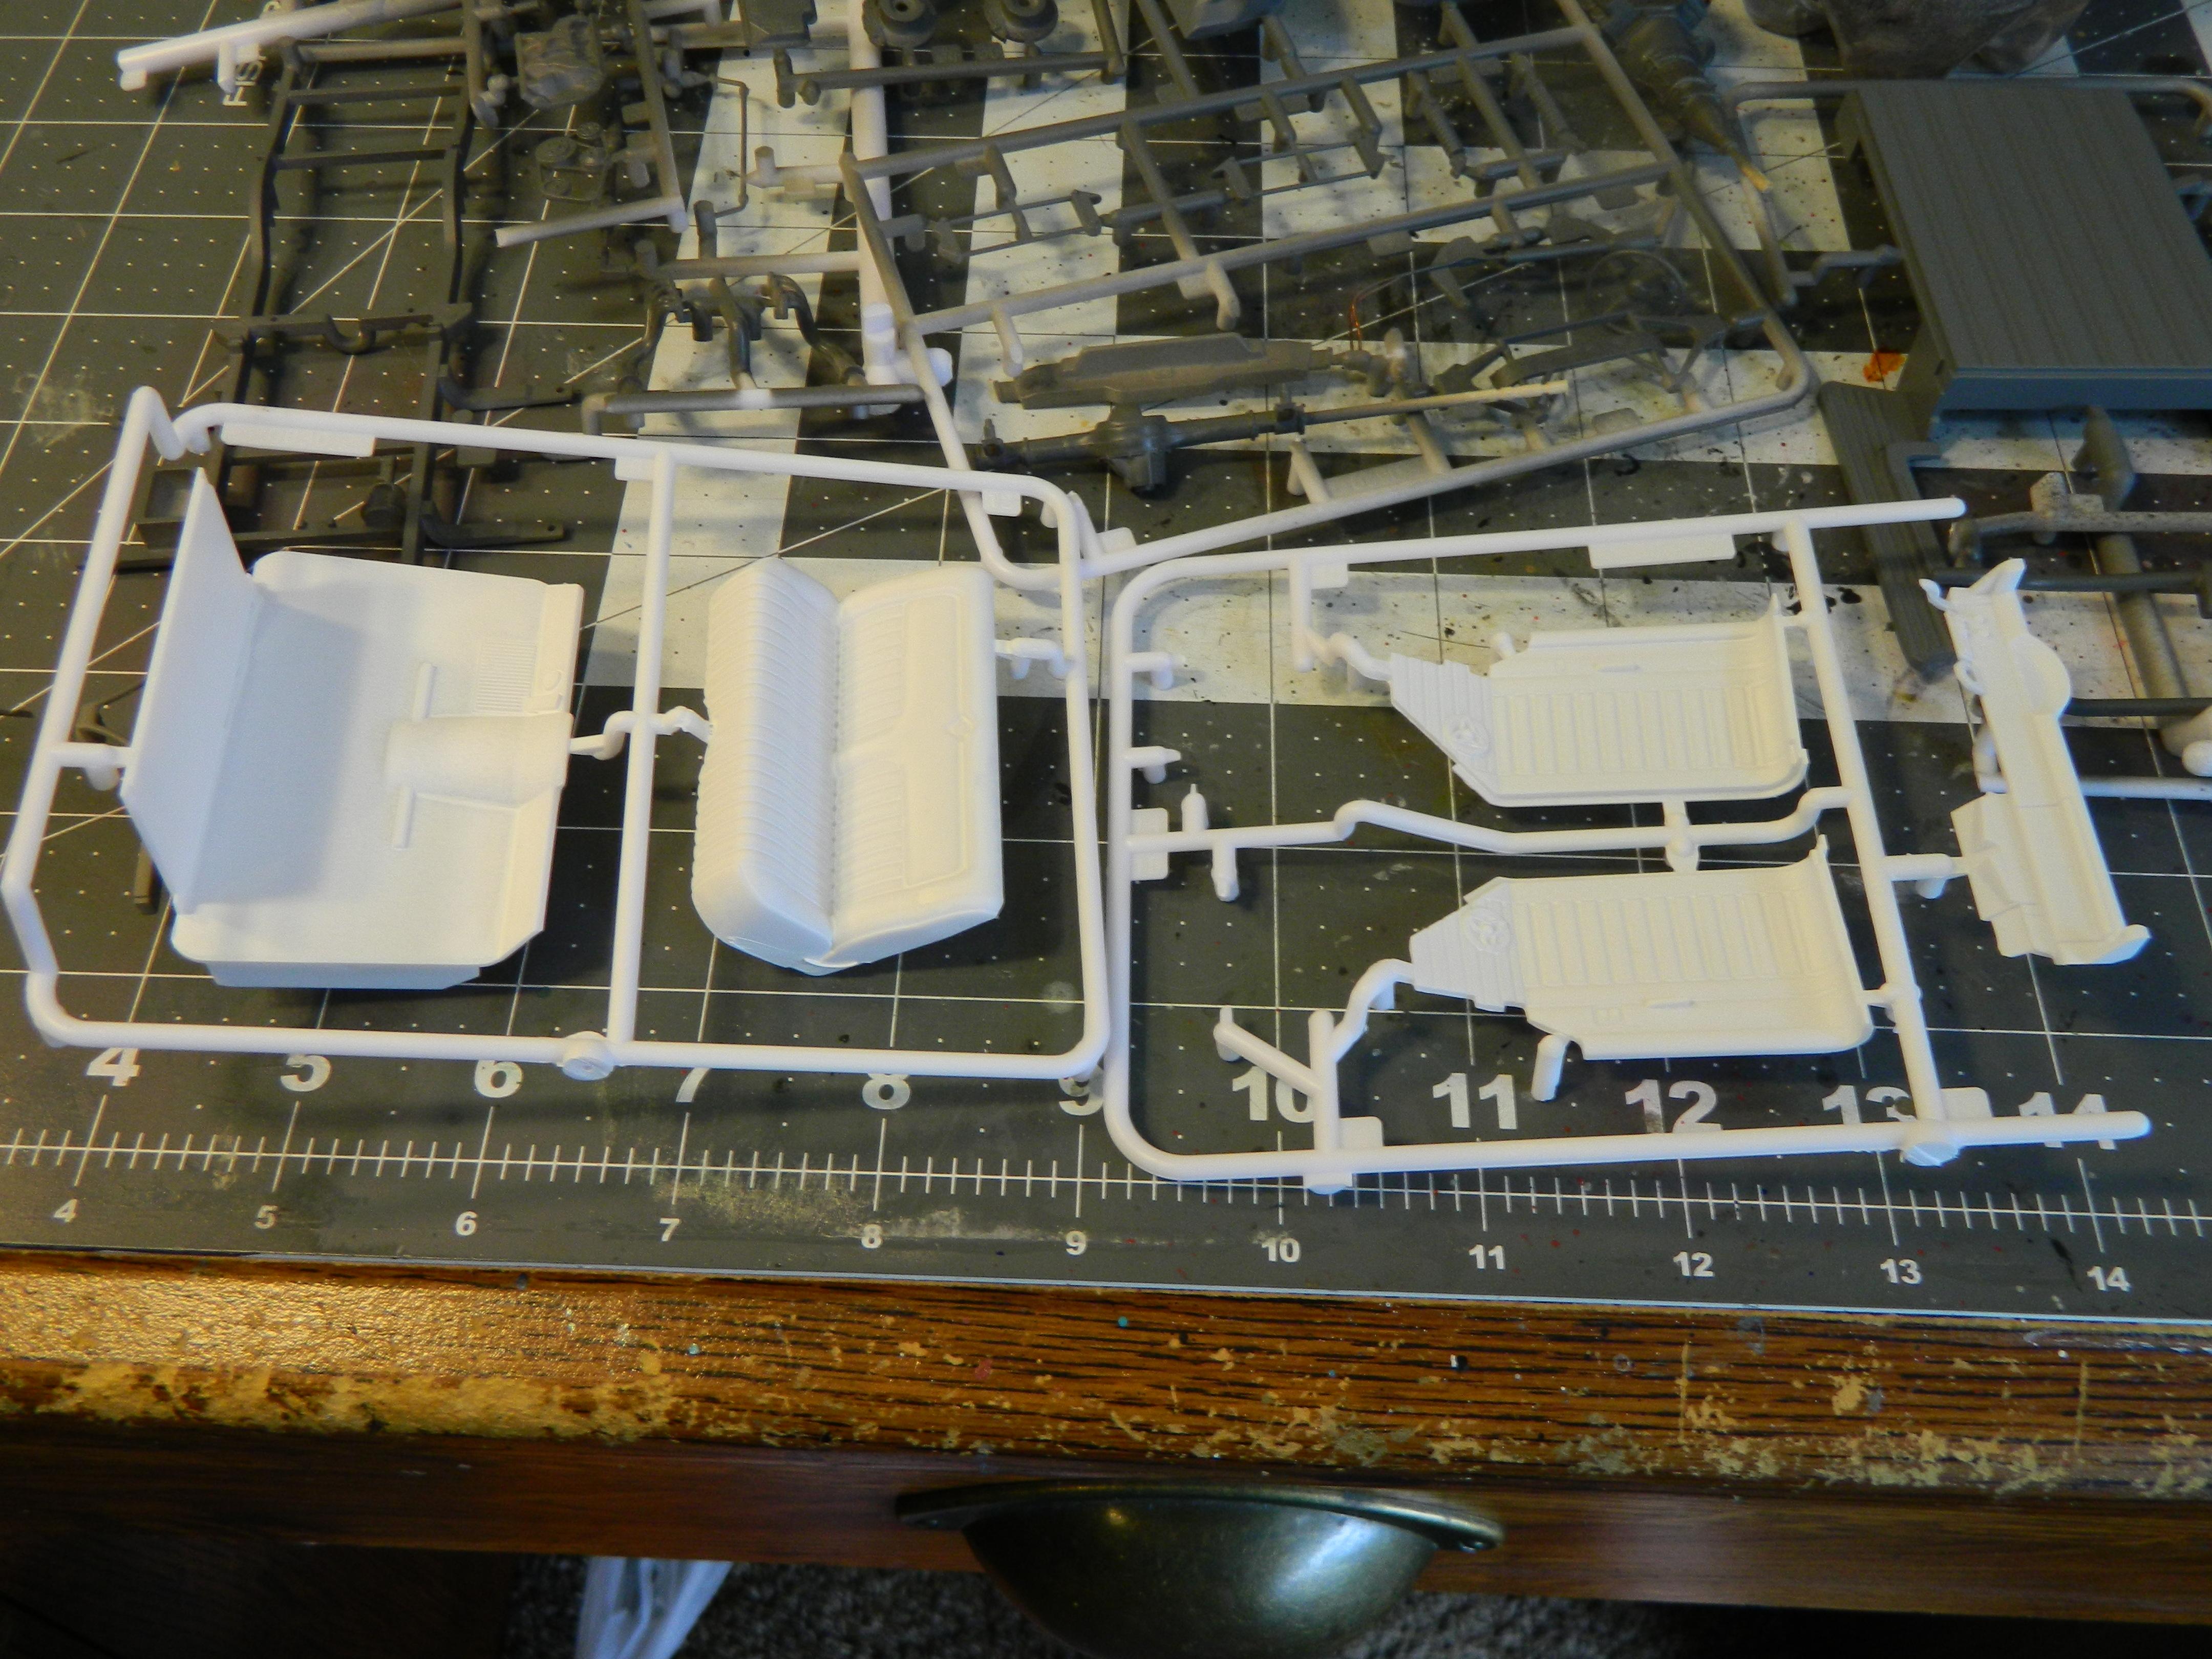
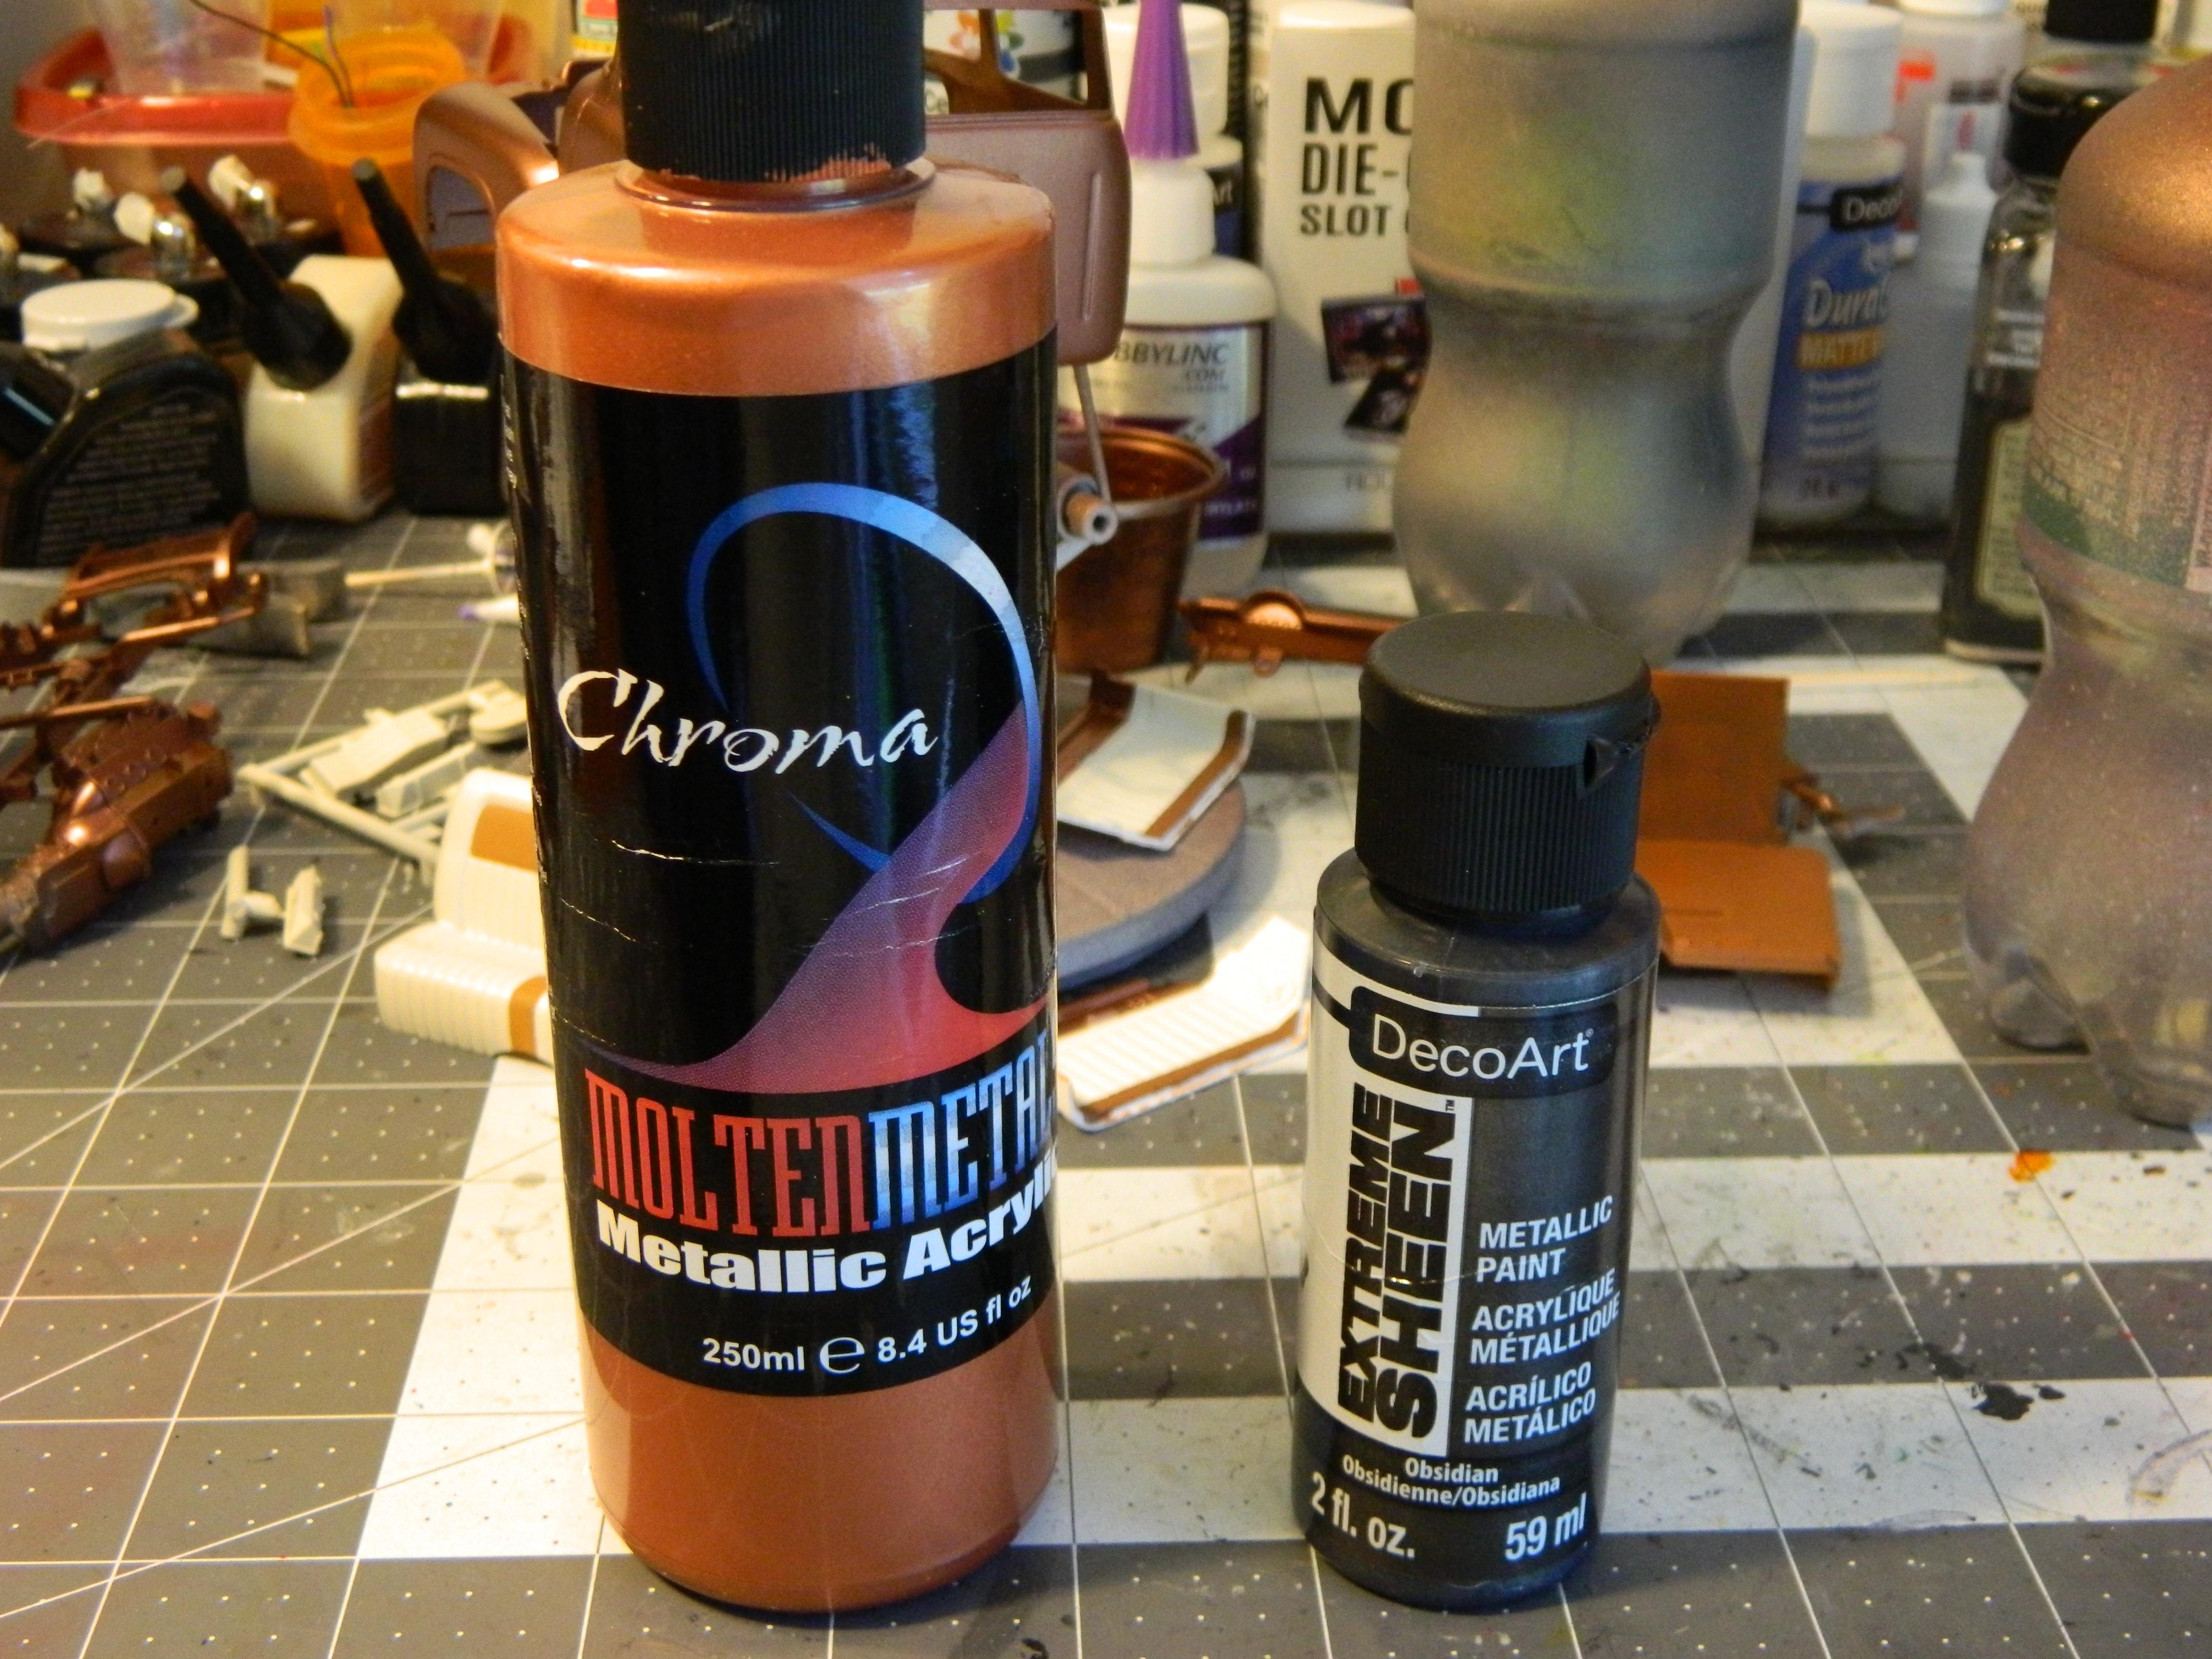
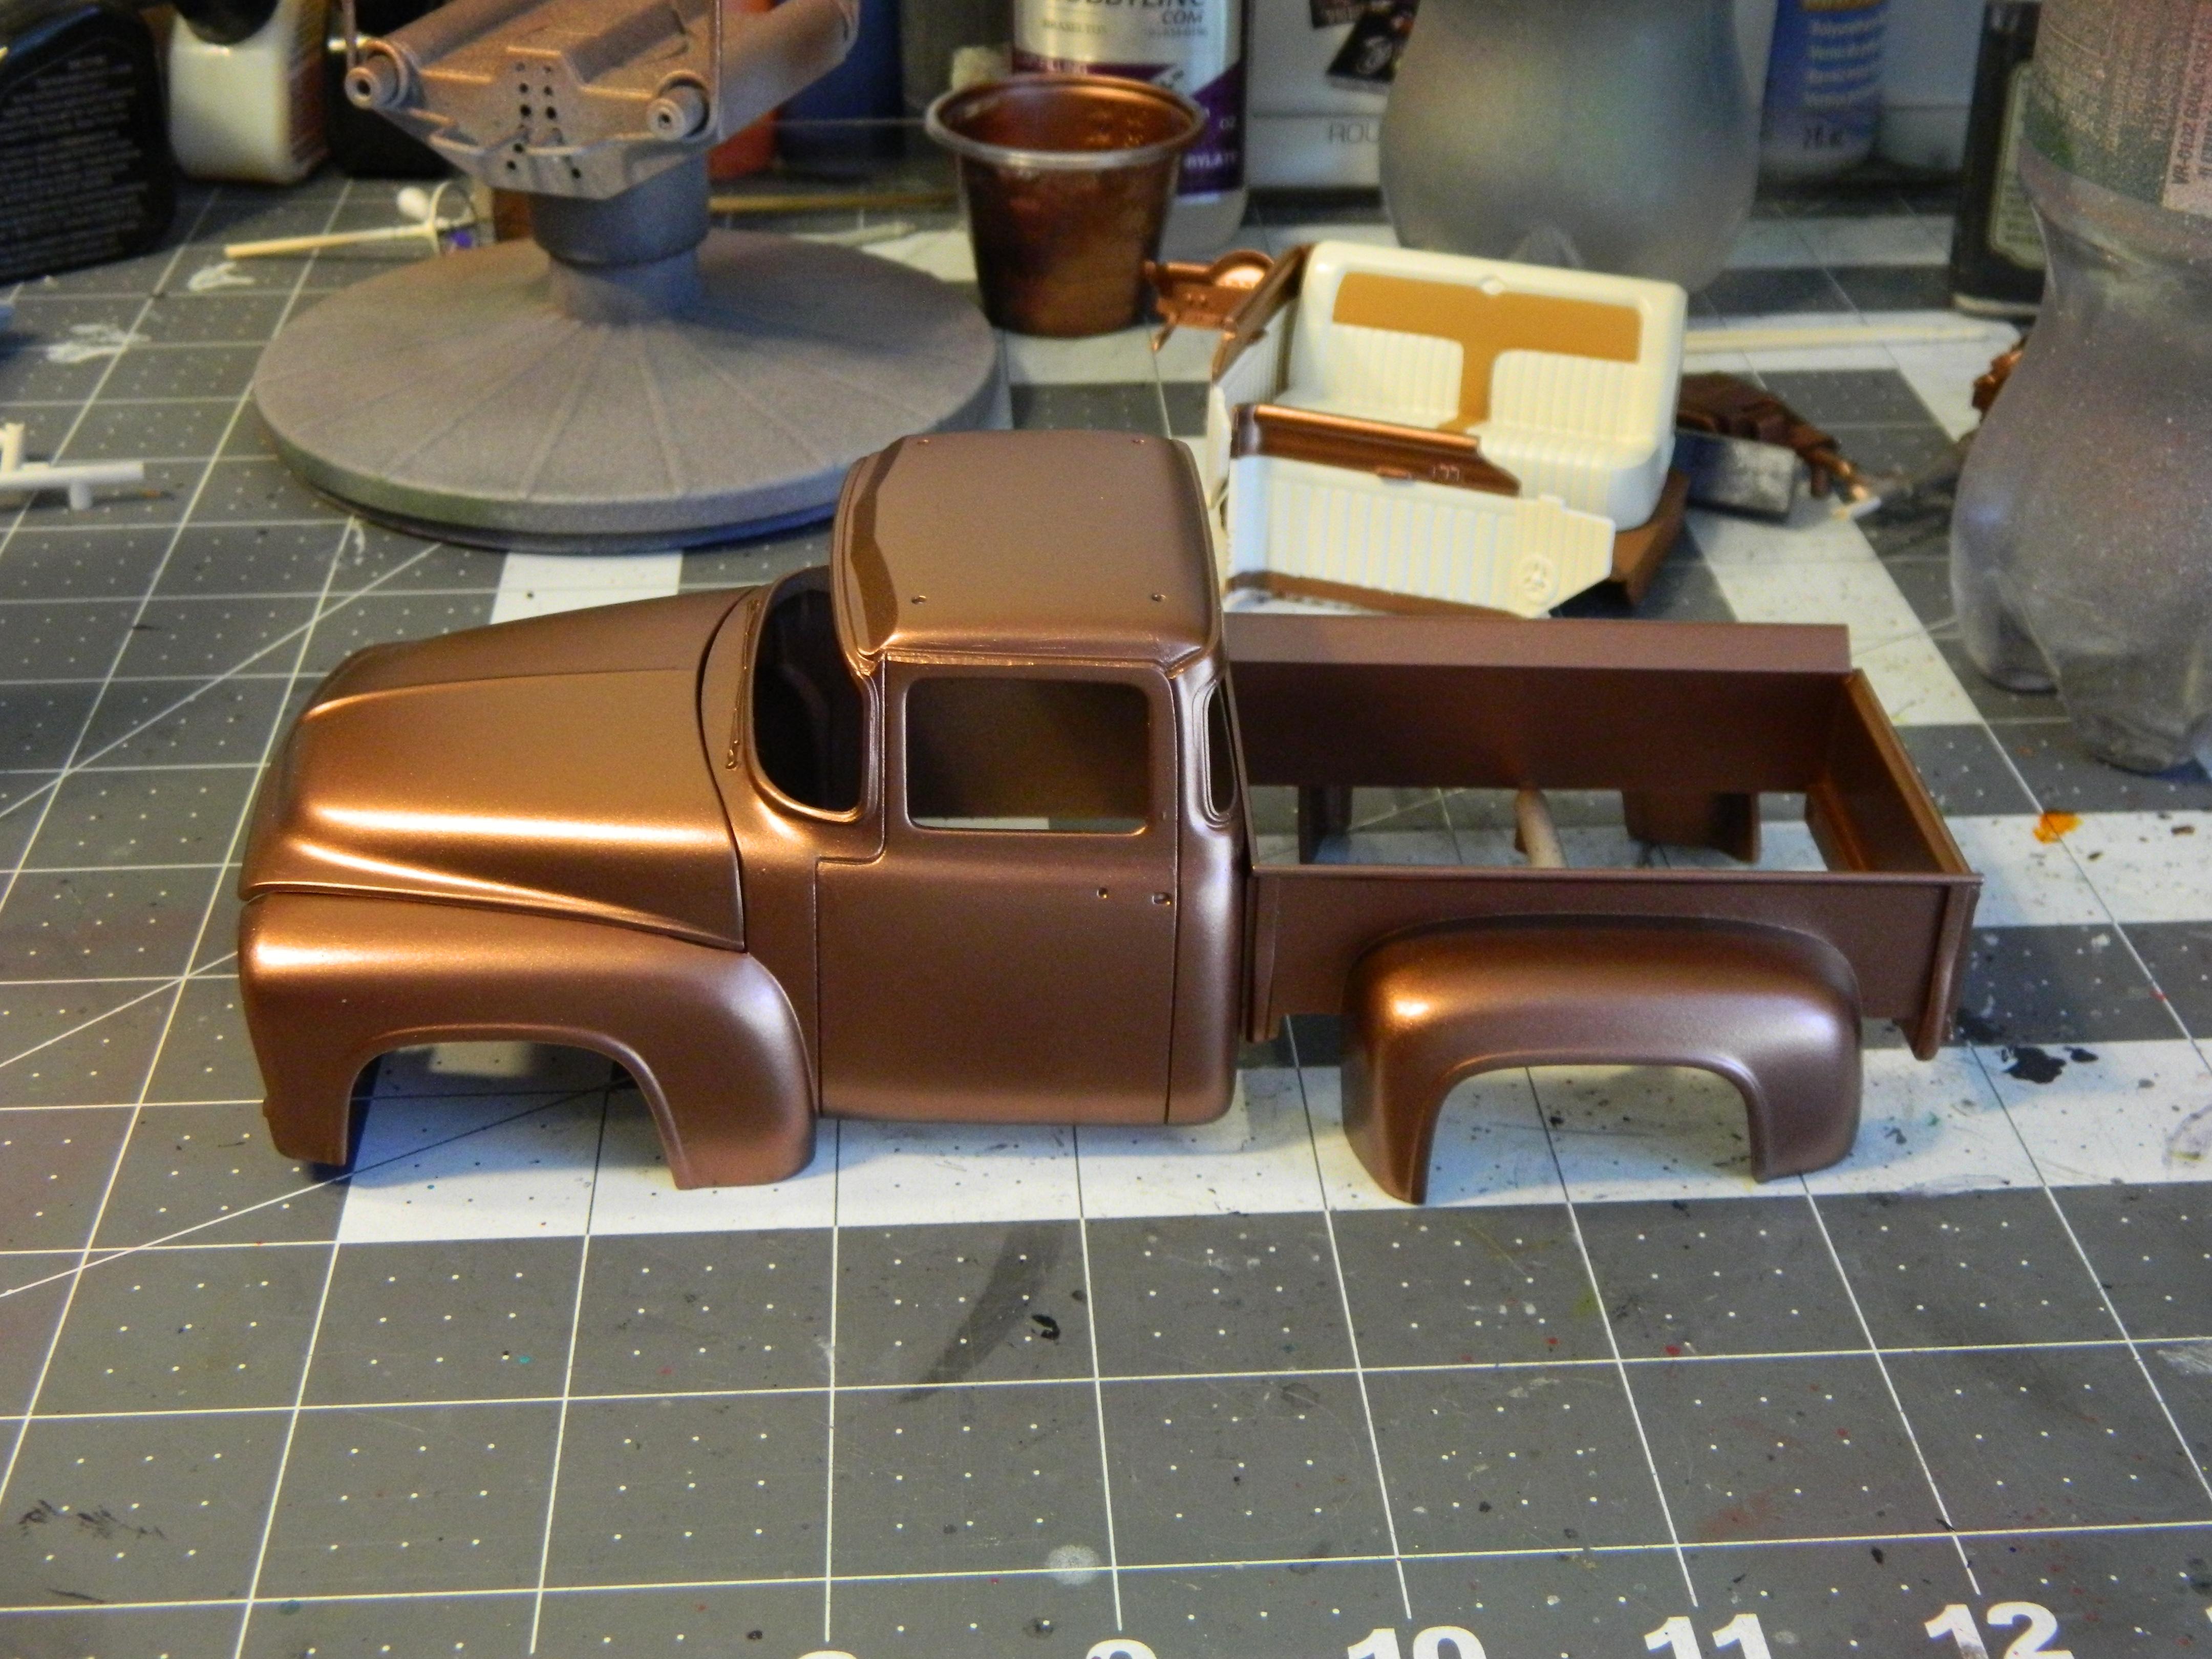
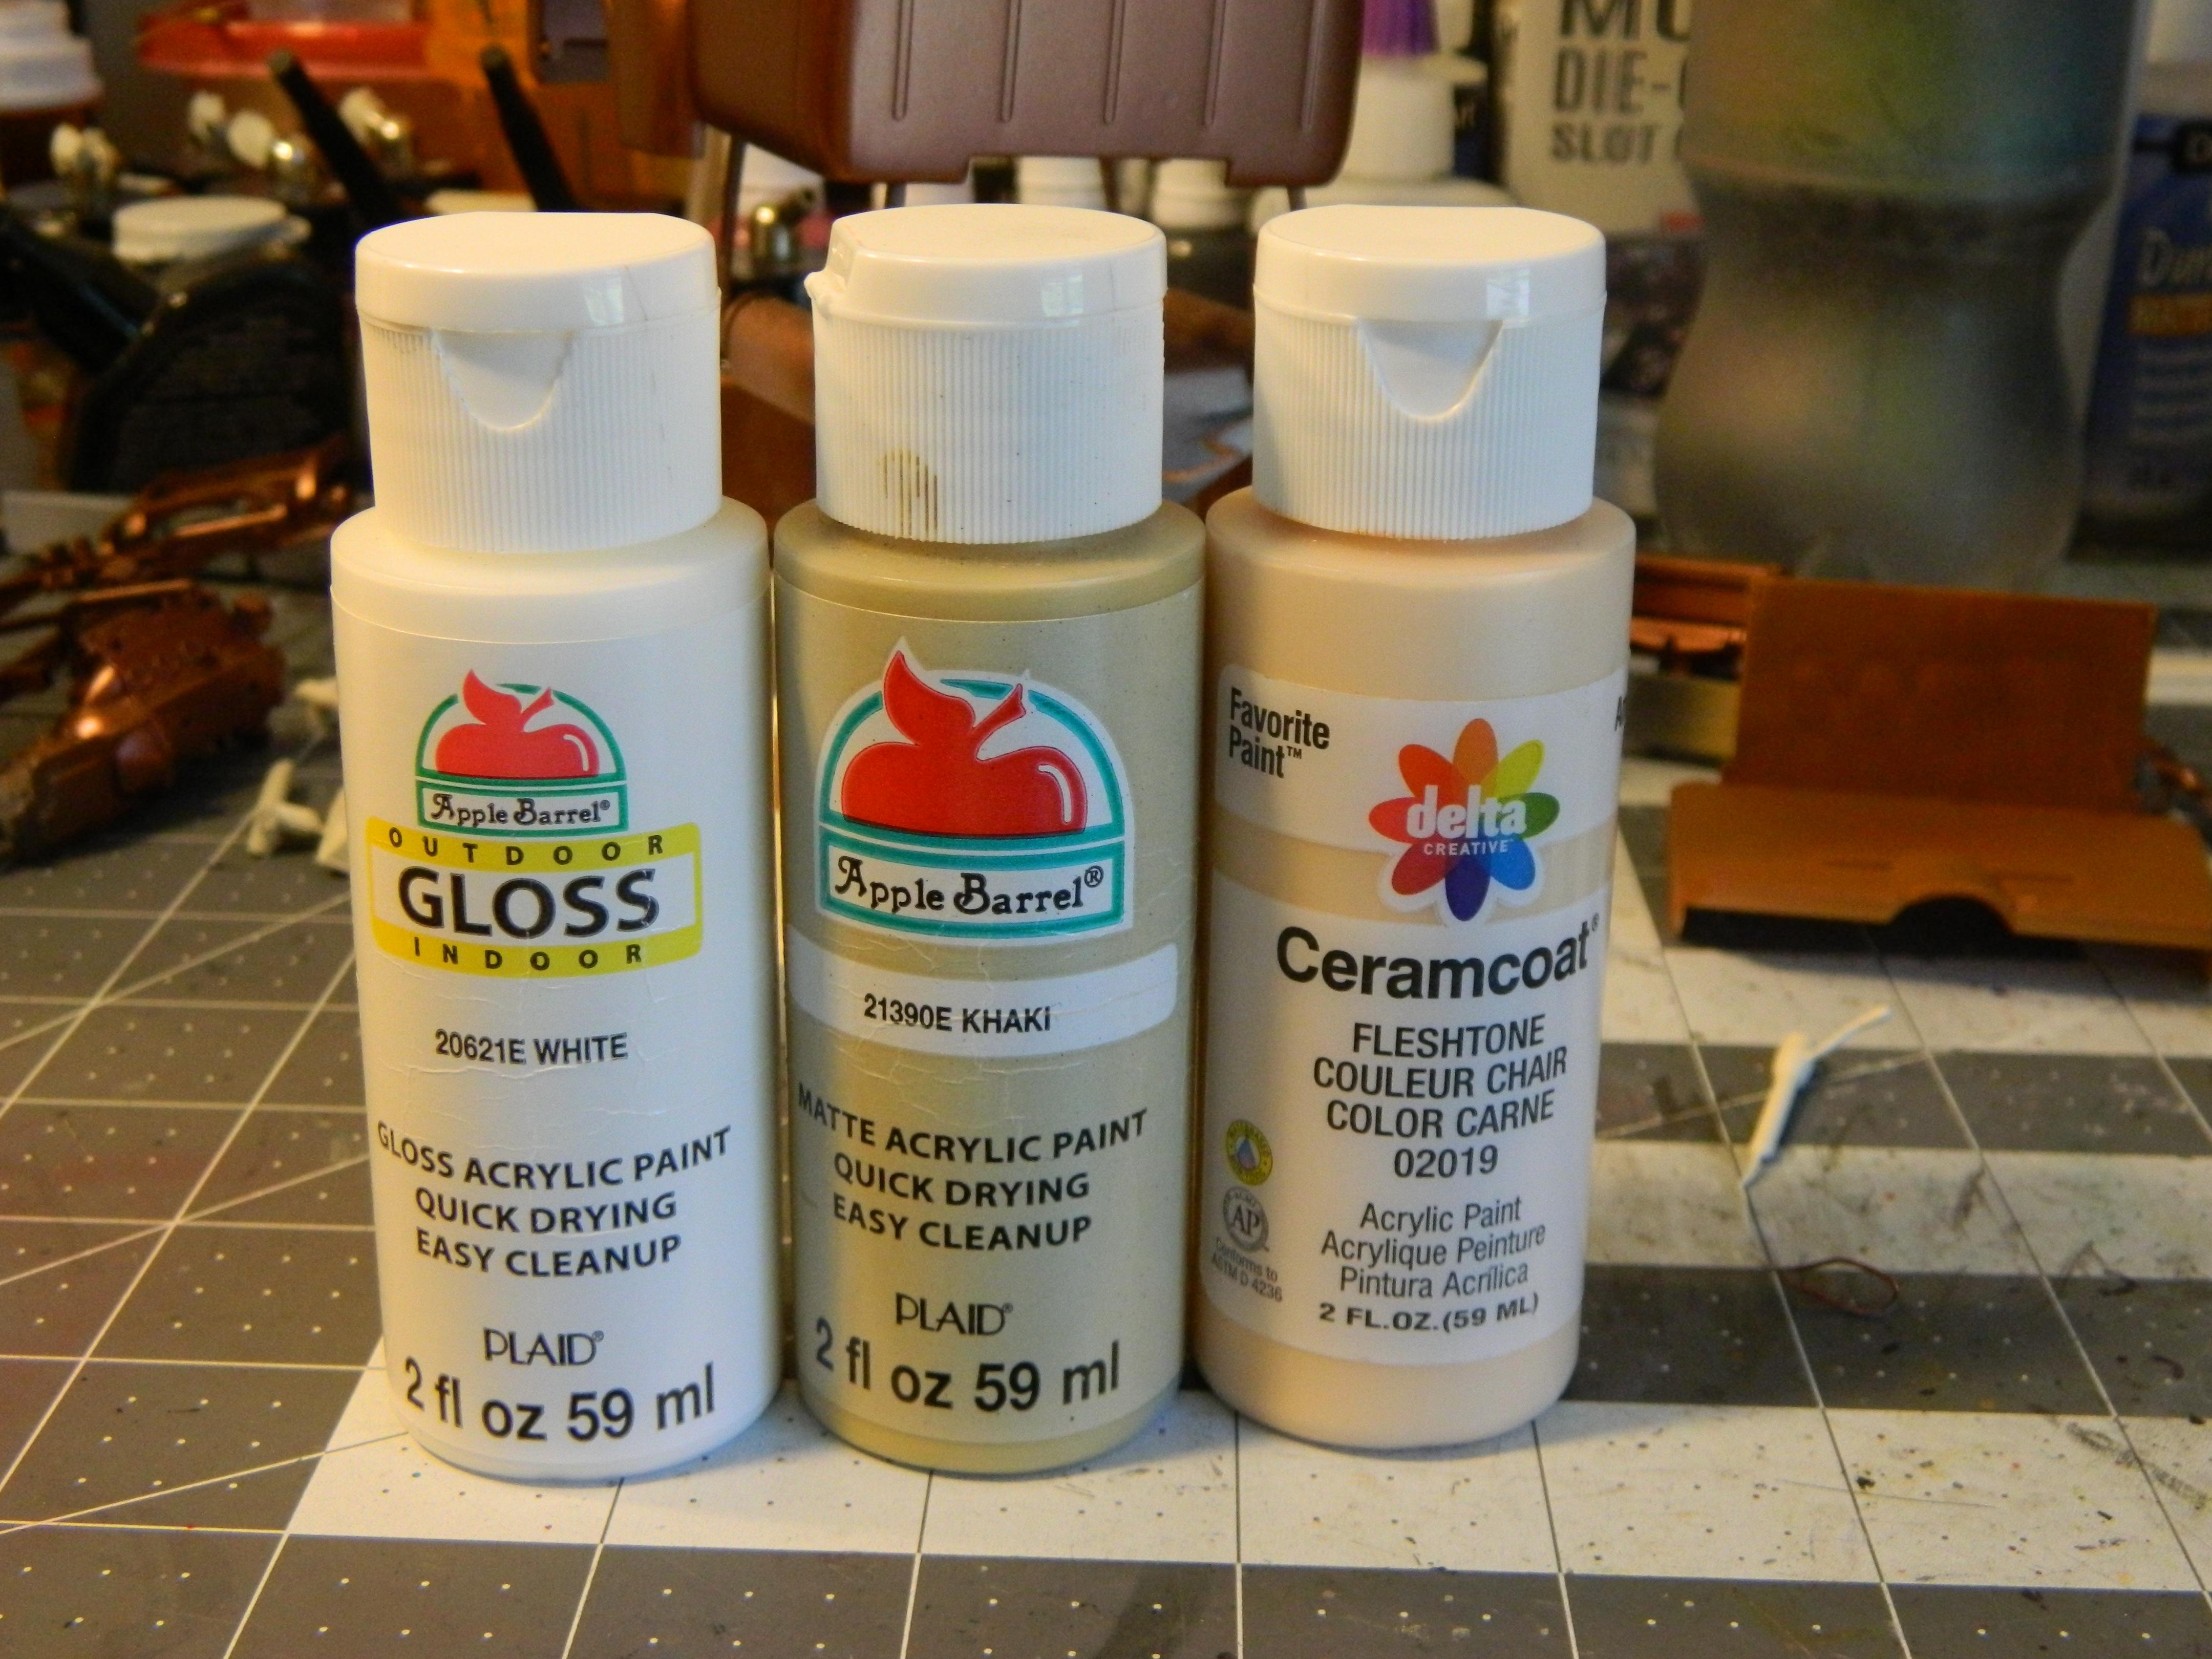
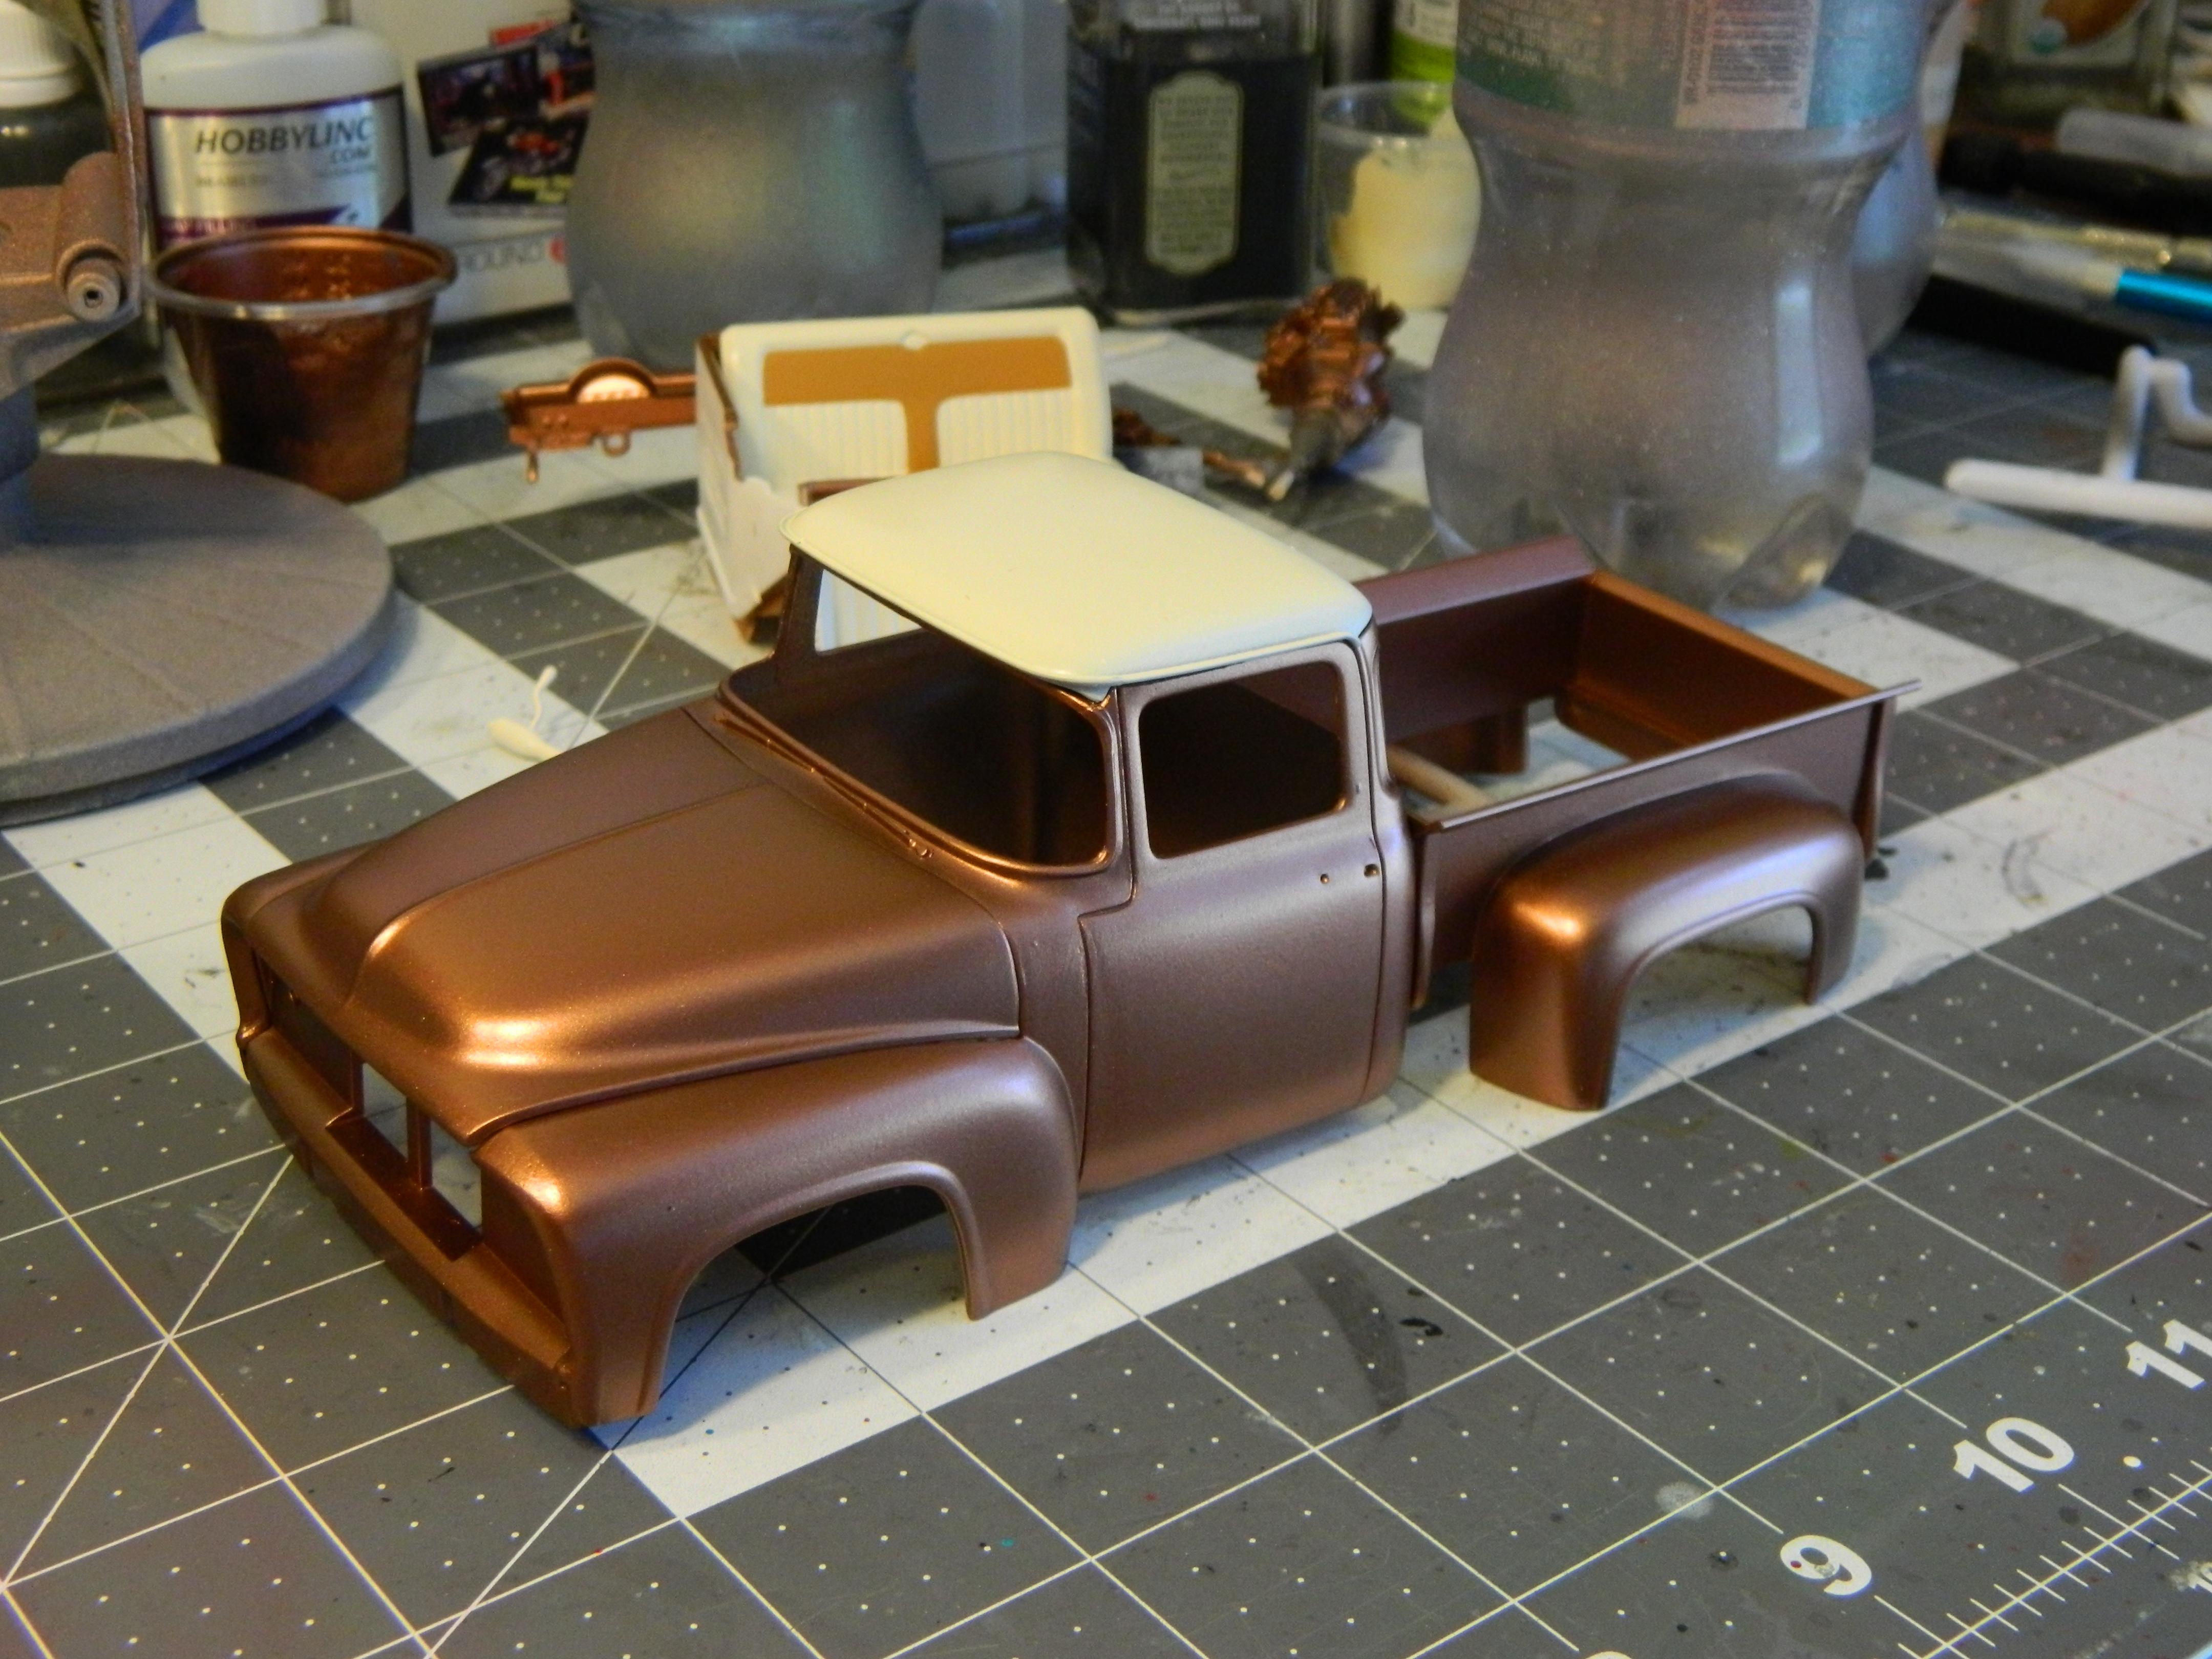
Fresh off of finishing the Foose Custom Cadillac, I started on the pickup. I started it last week with a particular color combo in mind, Dark Copper with a Black top and accents. Upon seeing the color my wife suggested a Cream color instead, so I went with that. After the usual body and parts prep and wash, everything got sprayed with Stynylrez Primer. The new bottle of primer sprayed nice and dried real smooth, so I didn't even wet-sand the primer coat before paint. I mixed up the Dark Copper by mixing some Decoart Extreme Sheen Obsidian into some Chroma Molten Metals Copper, about 75/25 Copper to Black. I added my acrylic thinner and sprayed it on at about 25 psi. A couple of light coats, a couple of medium coats and a heavy coat did the trick. I also mixed the Cream using Apple Barrel Gloss White, Apple Barrel Khaki, and a couple of drops of Delta Fleshtone, mixed with my acrylic thinner. I sprayed the interior parts and top at the same psi. I then taped off the door panels for the Dark Copper.
-
Very nice work! I like the colors!
-
That's looking mighty fine so far!
-
Nice looking Caddy!
-
Well done, that's a nice tribute to the 1:1.
- 13 replies
-
- 1
-

-
- resin
- chevy malibu
- (and 2 more)
-
1960 Corvair (SMP) restoration -- a replica of my first car
Dragonhawk1066 replied to Steve Geer's topic in Model Cars
Nice work, and a pretty cool story! -
Very nice!
-
Looks good, and a nice color choice!
-
Well done! I like the color!
-
Looks excellent!
-
Thanks guys! Thanks! Actually all I did was buff it with a cloth to remove my fingerprints after gluing it all on.
-
Very nice looking Cobra!
-
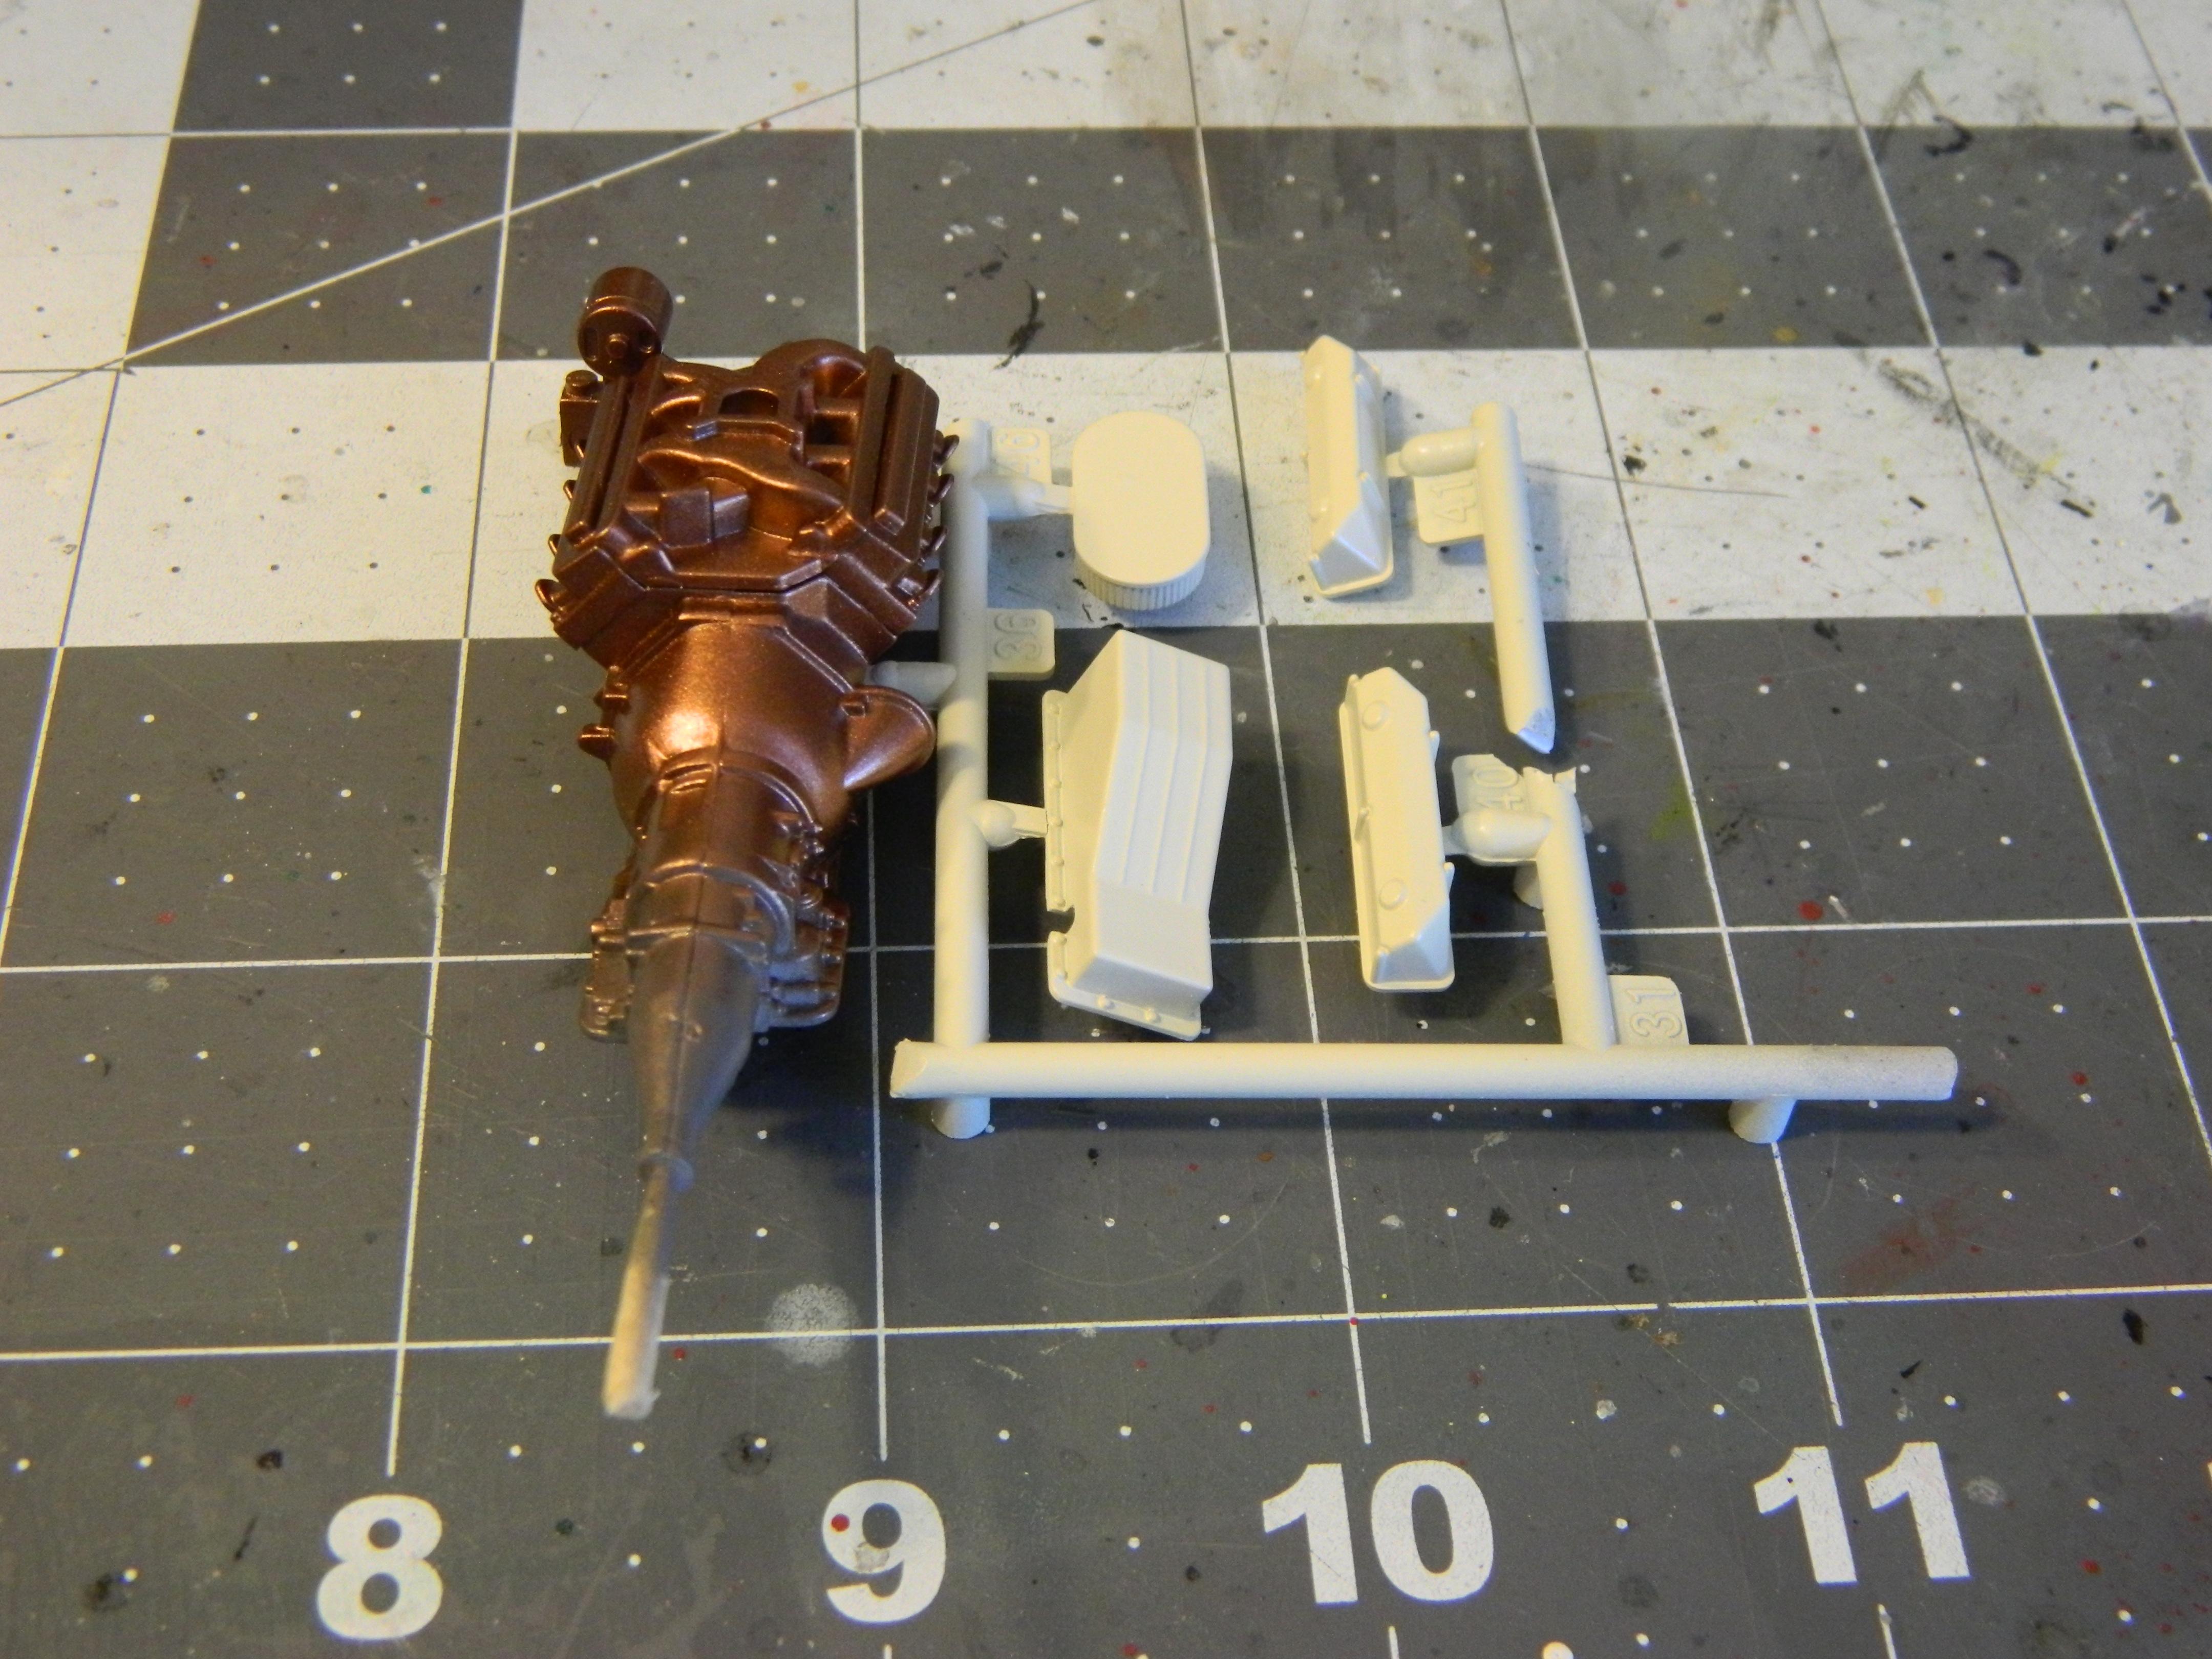
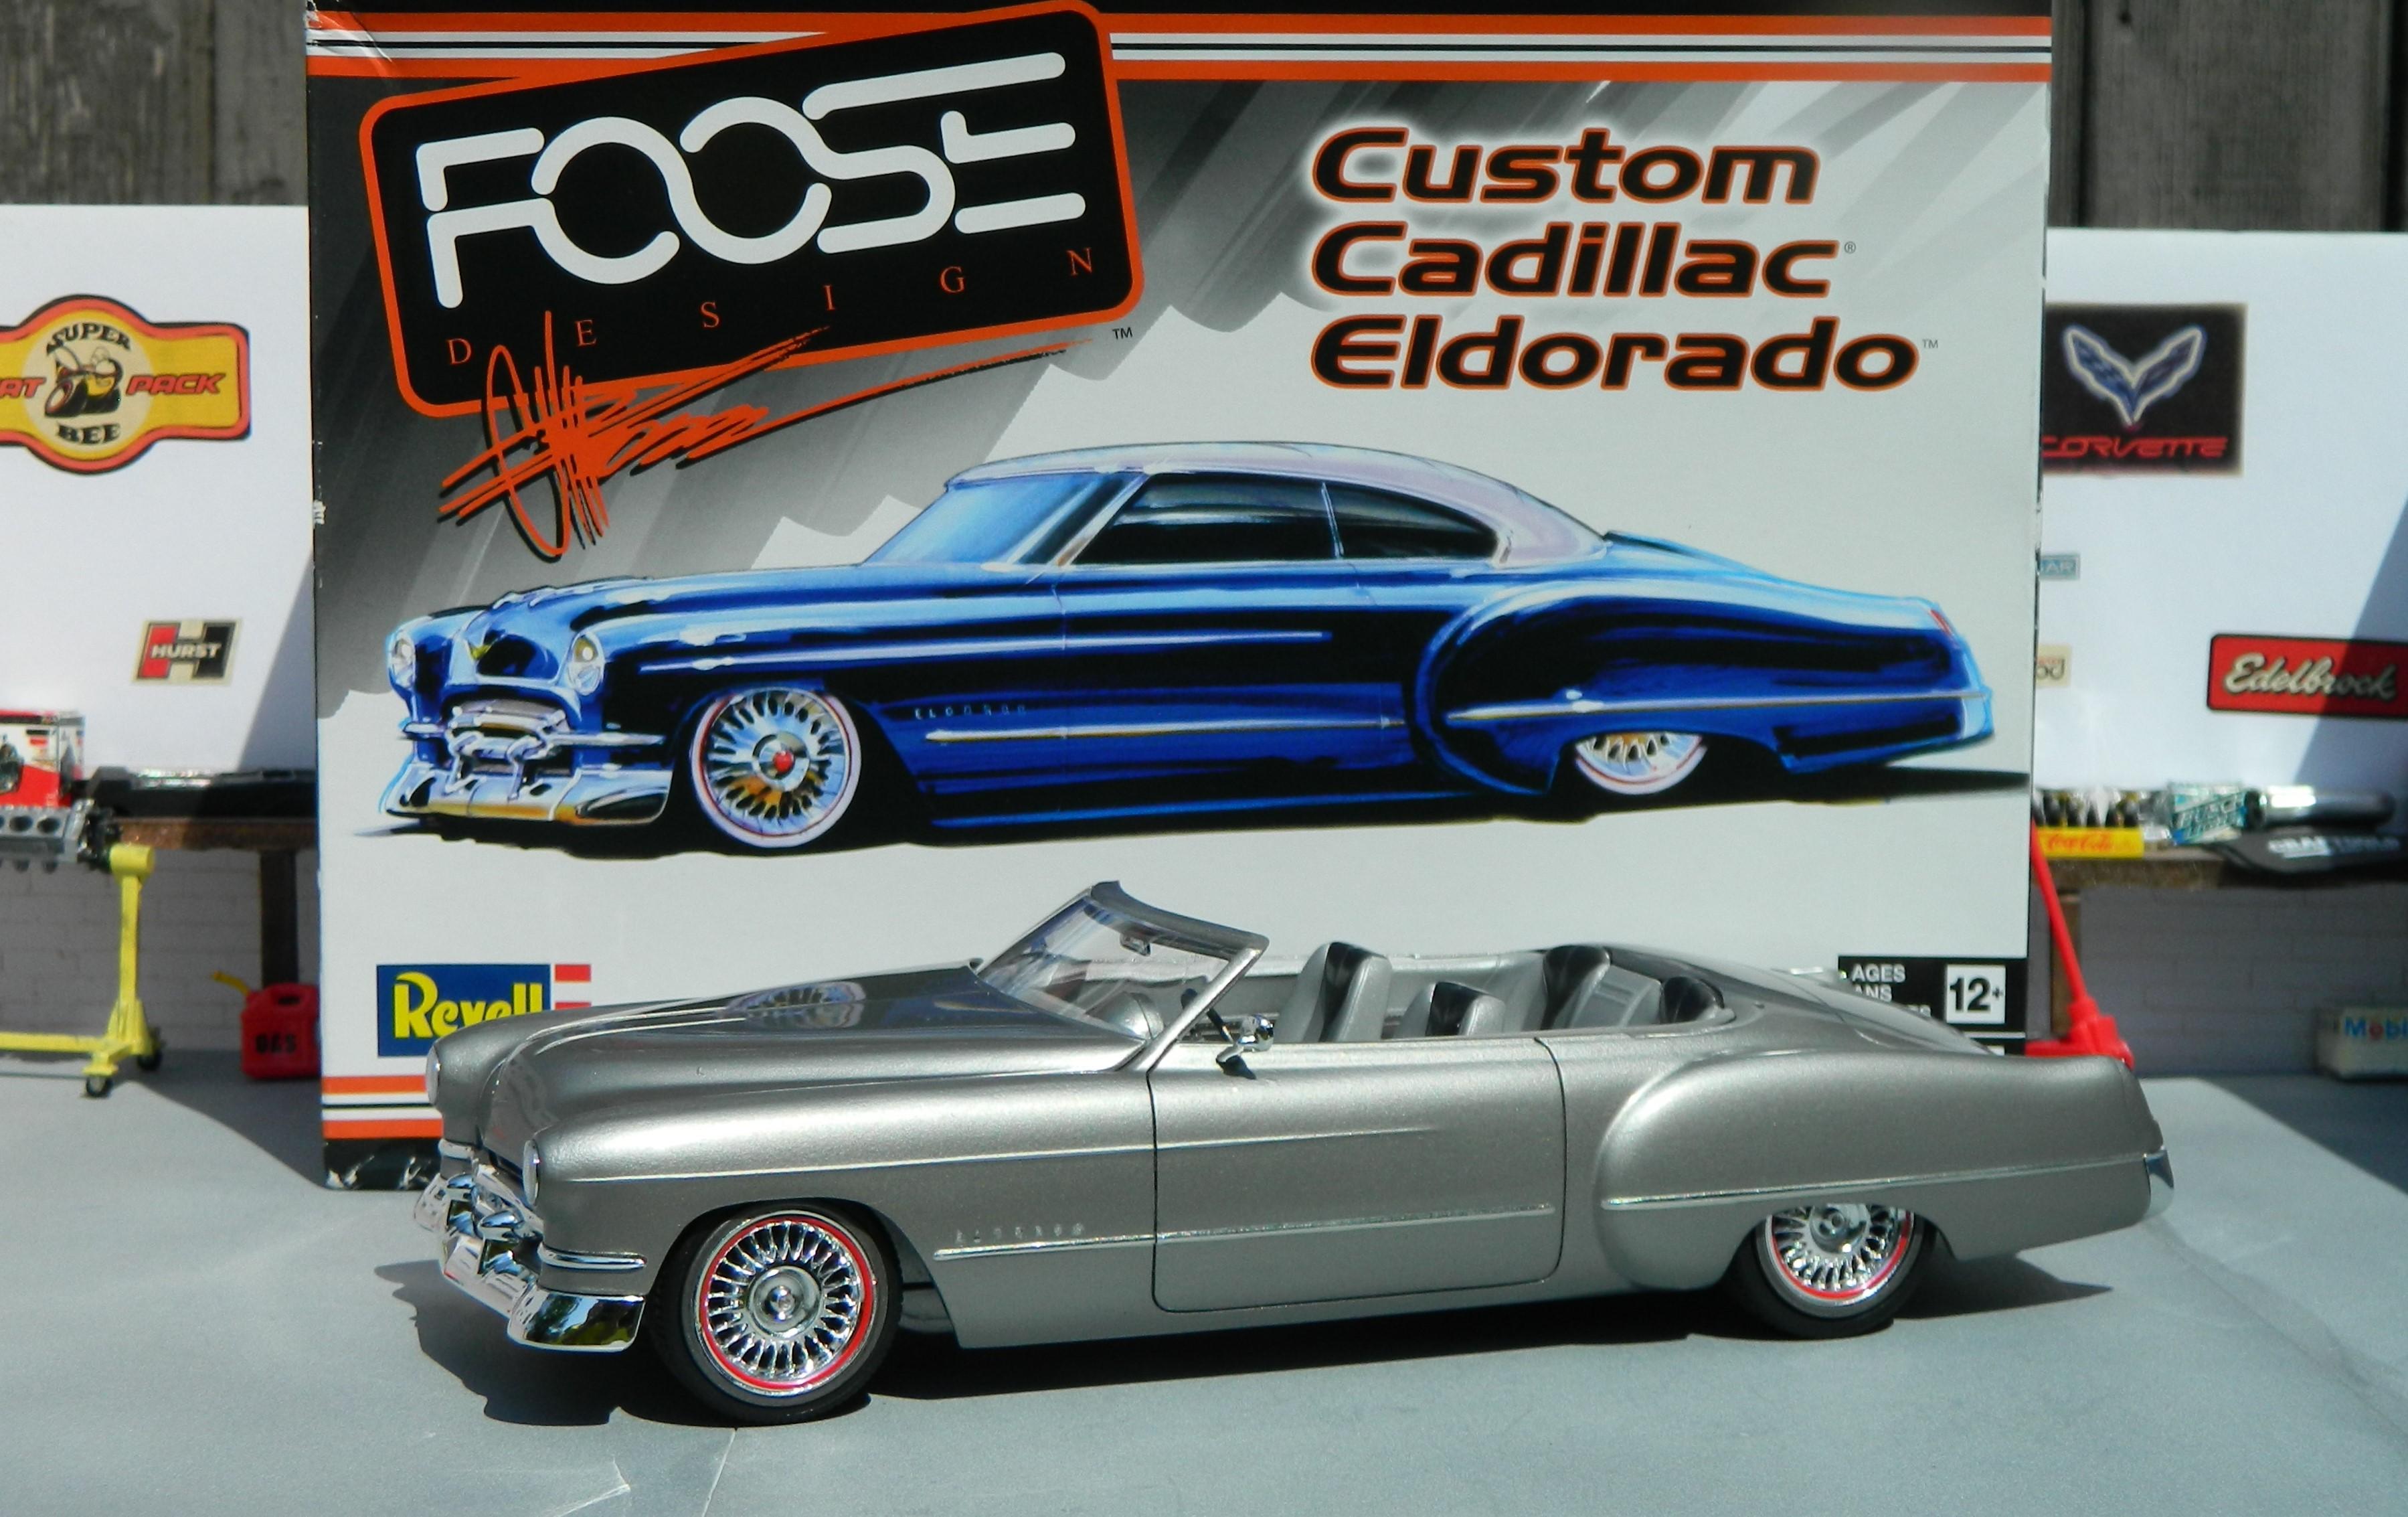
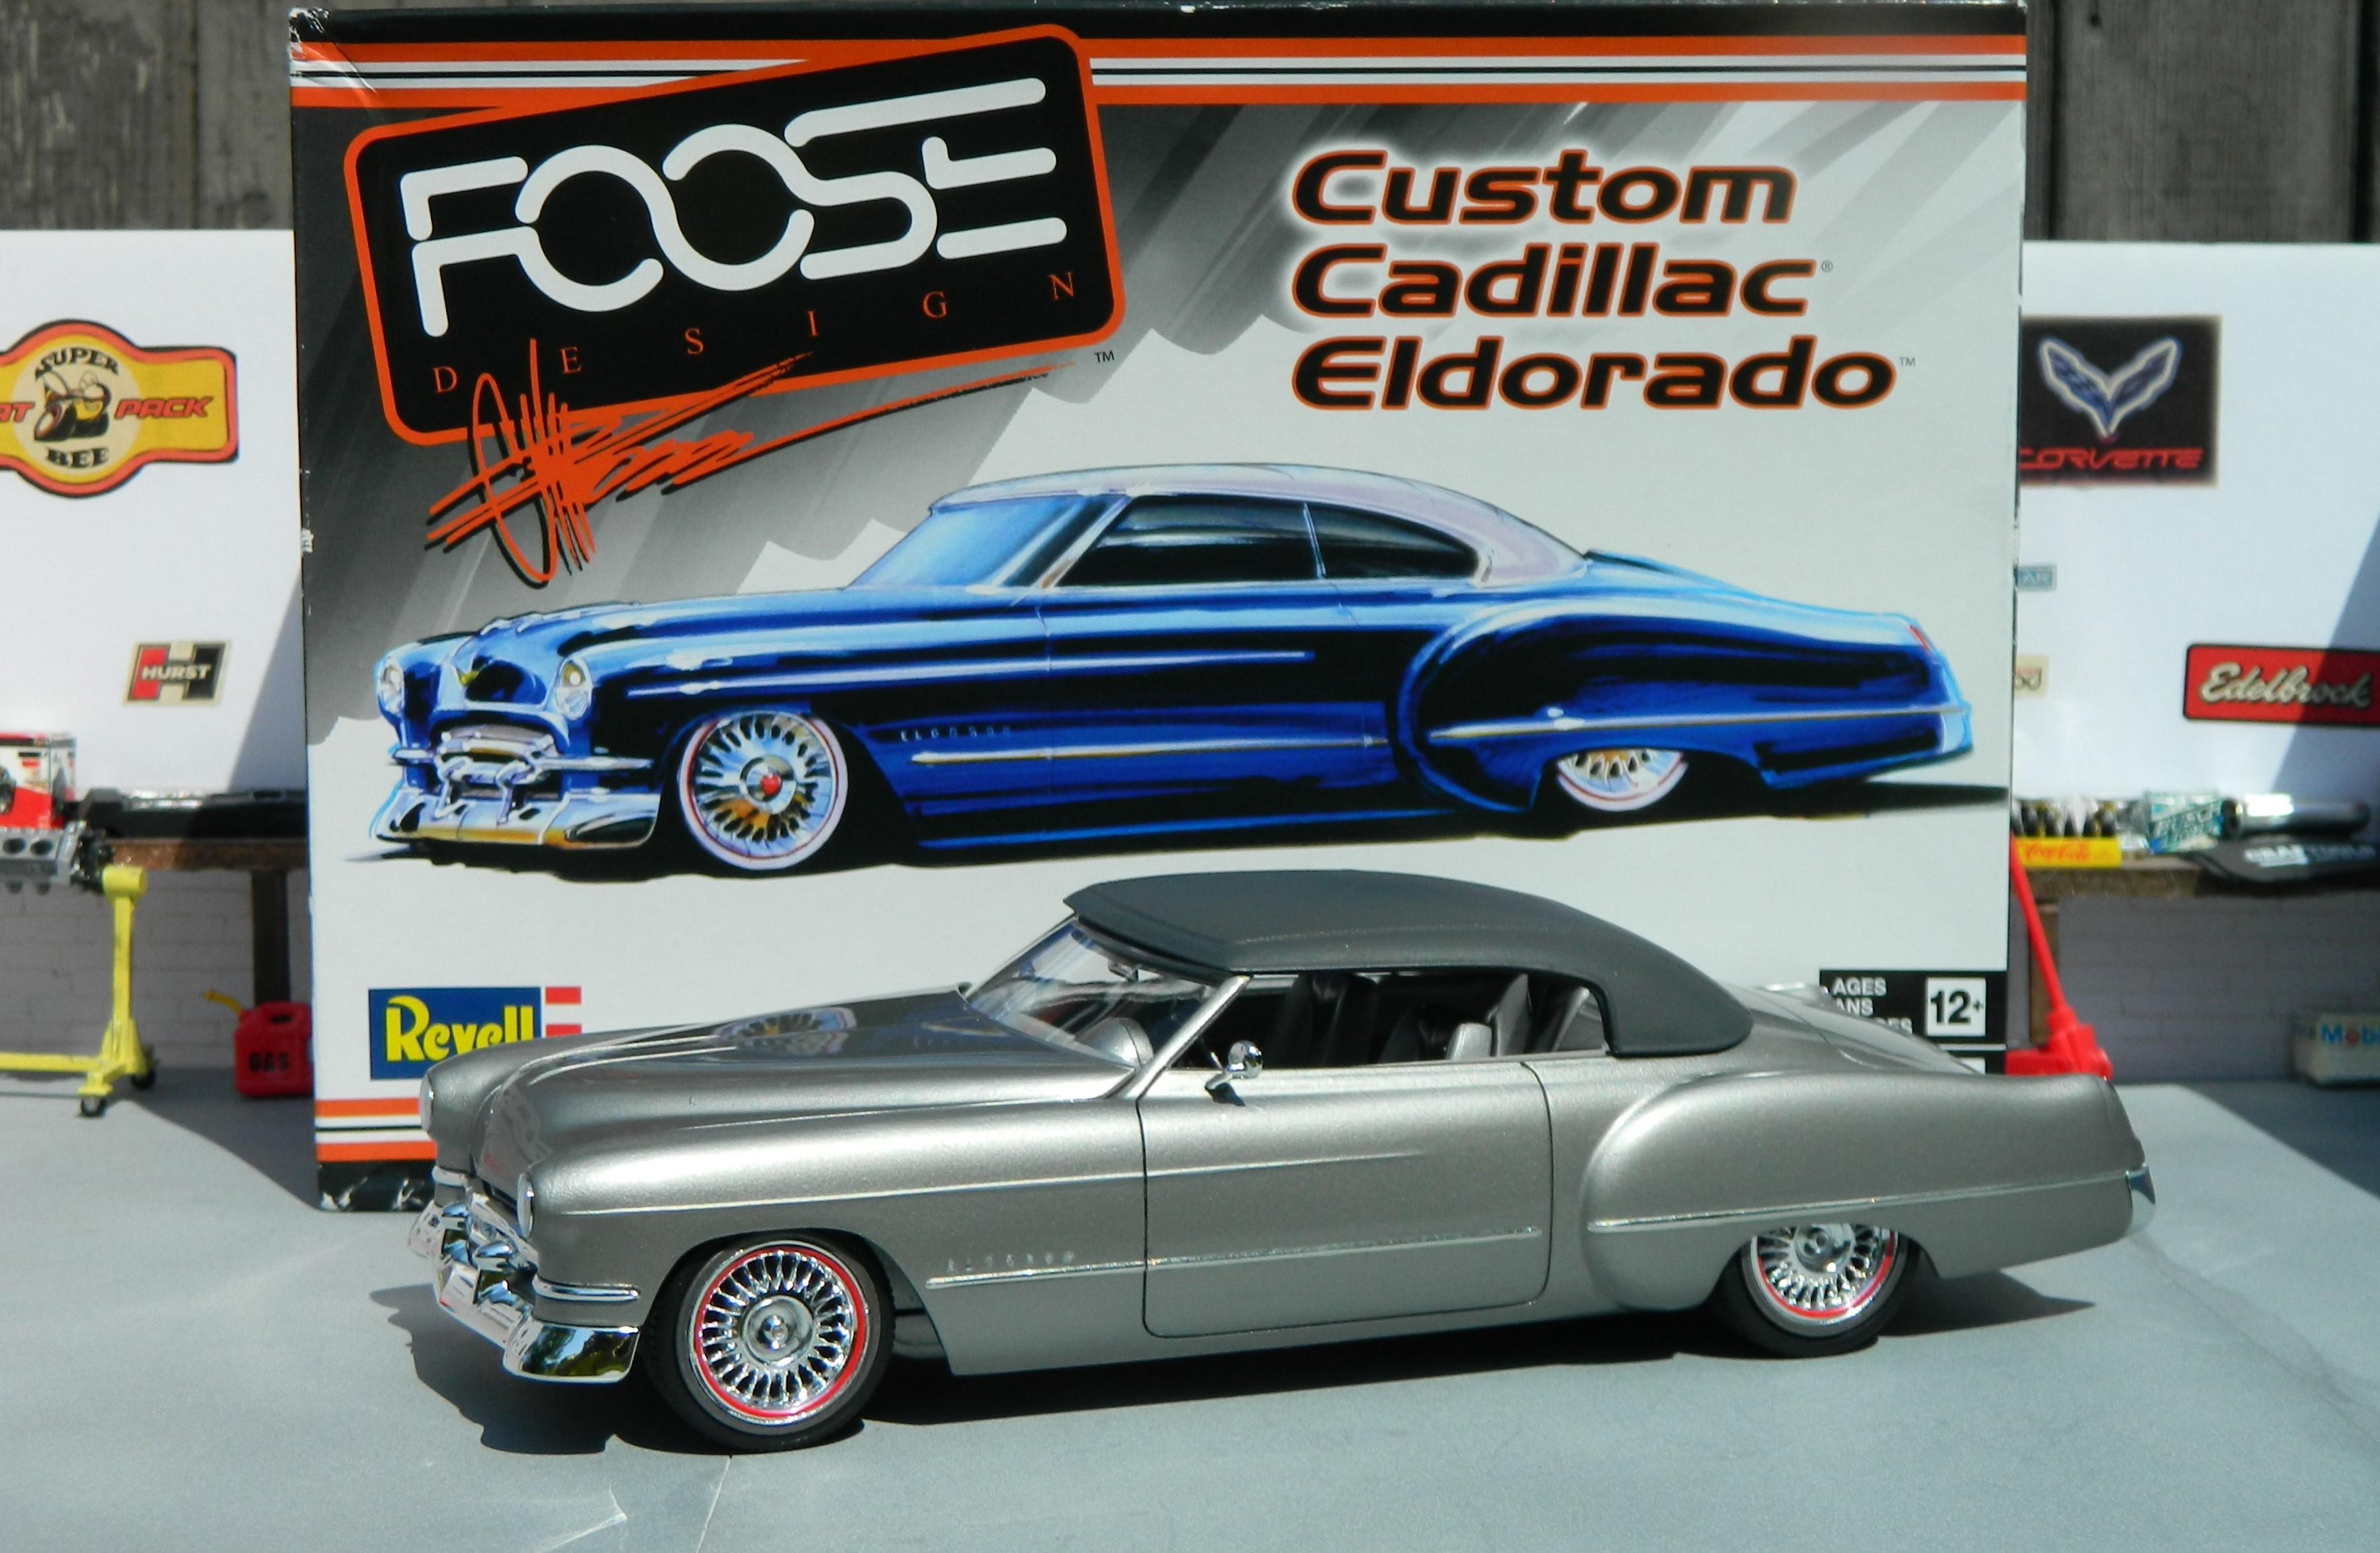
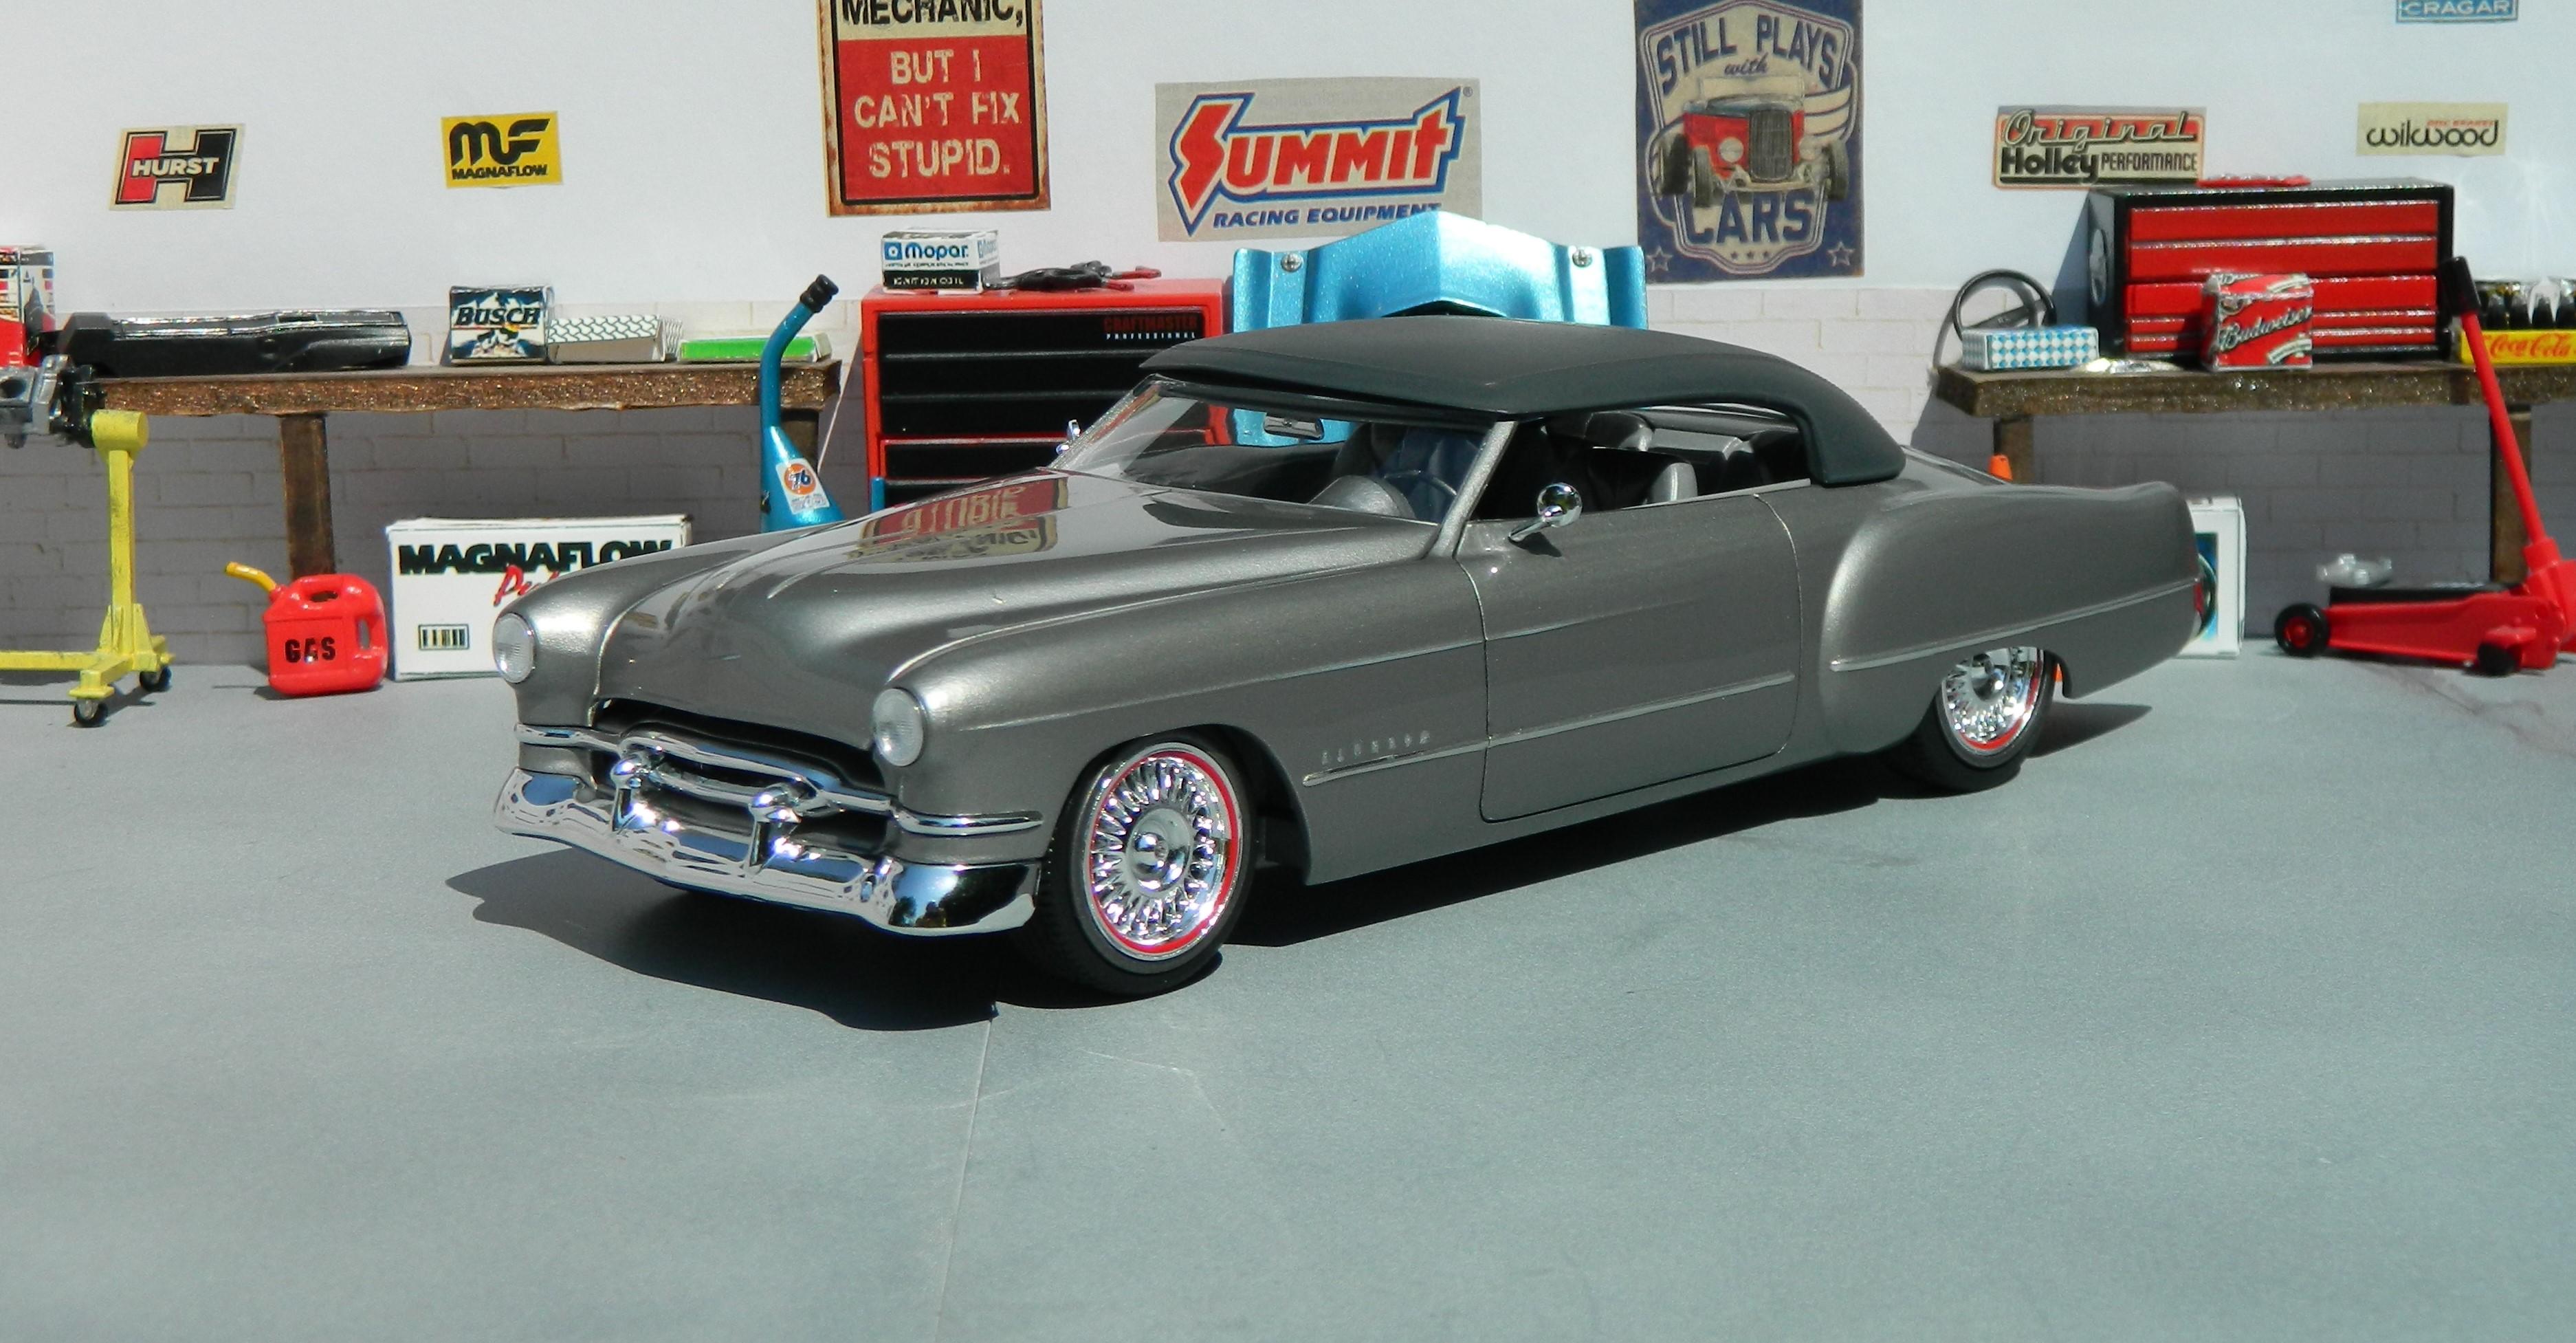
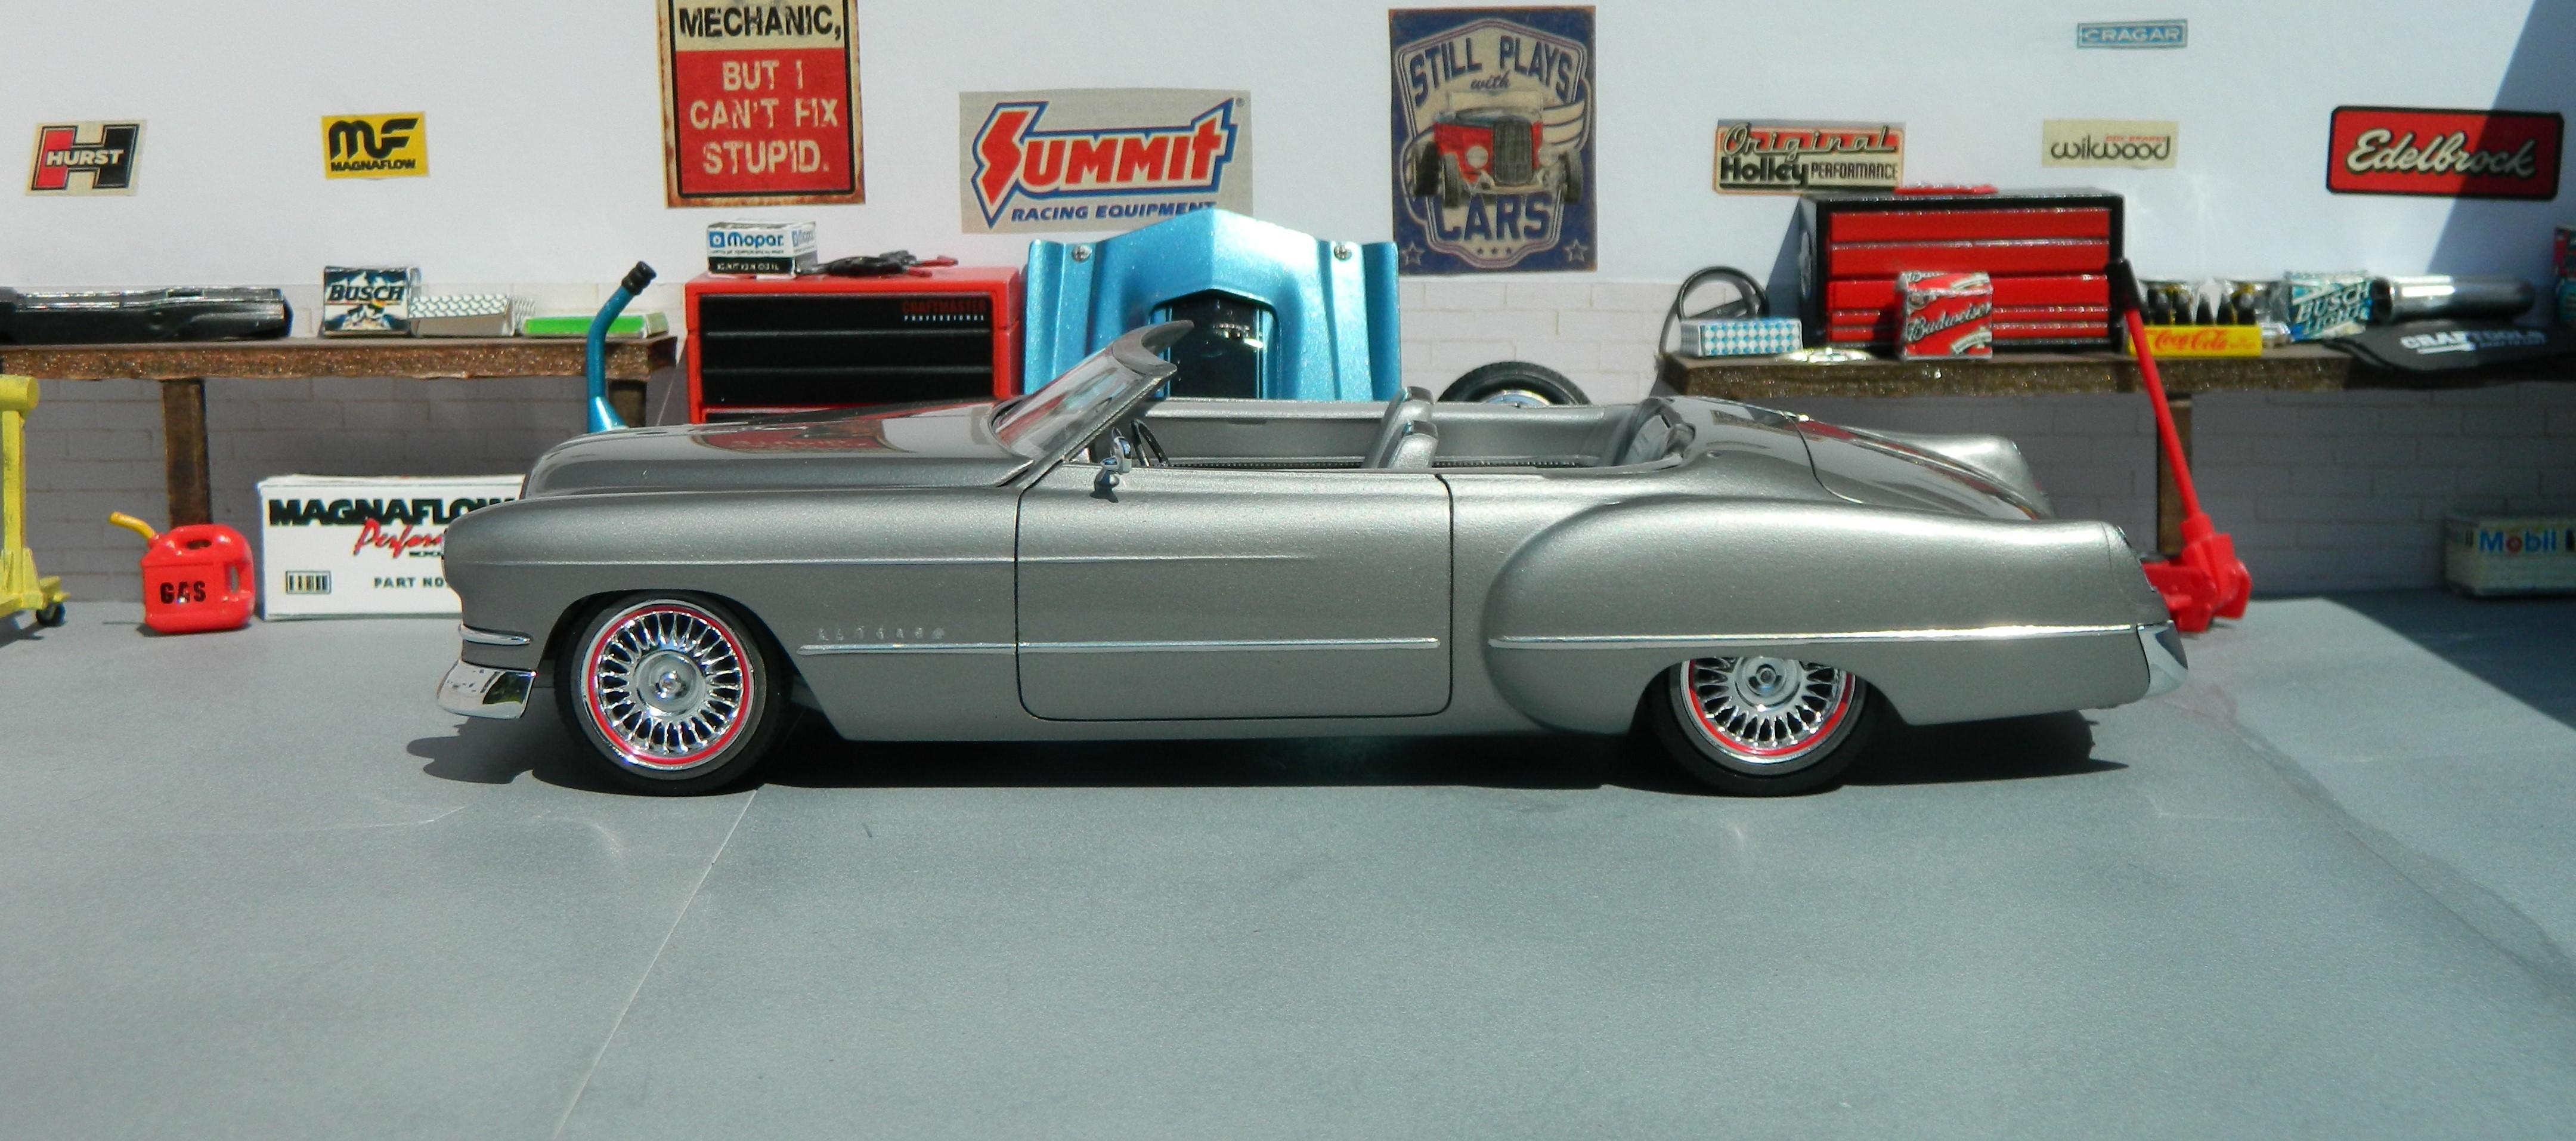
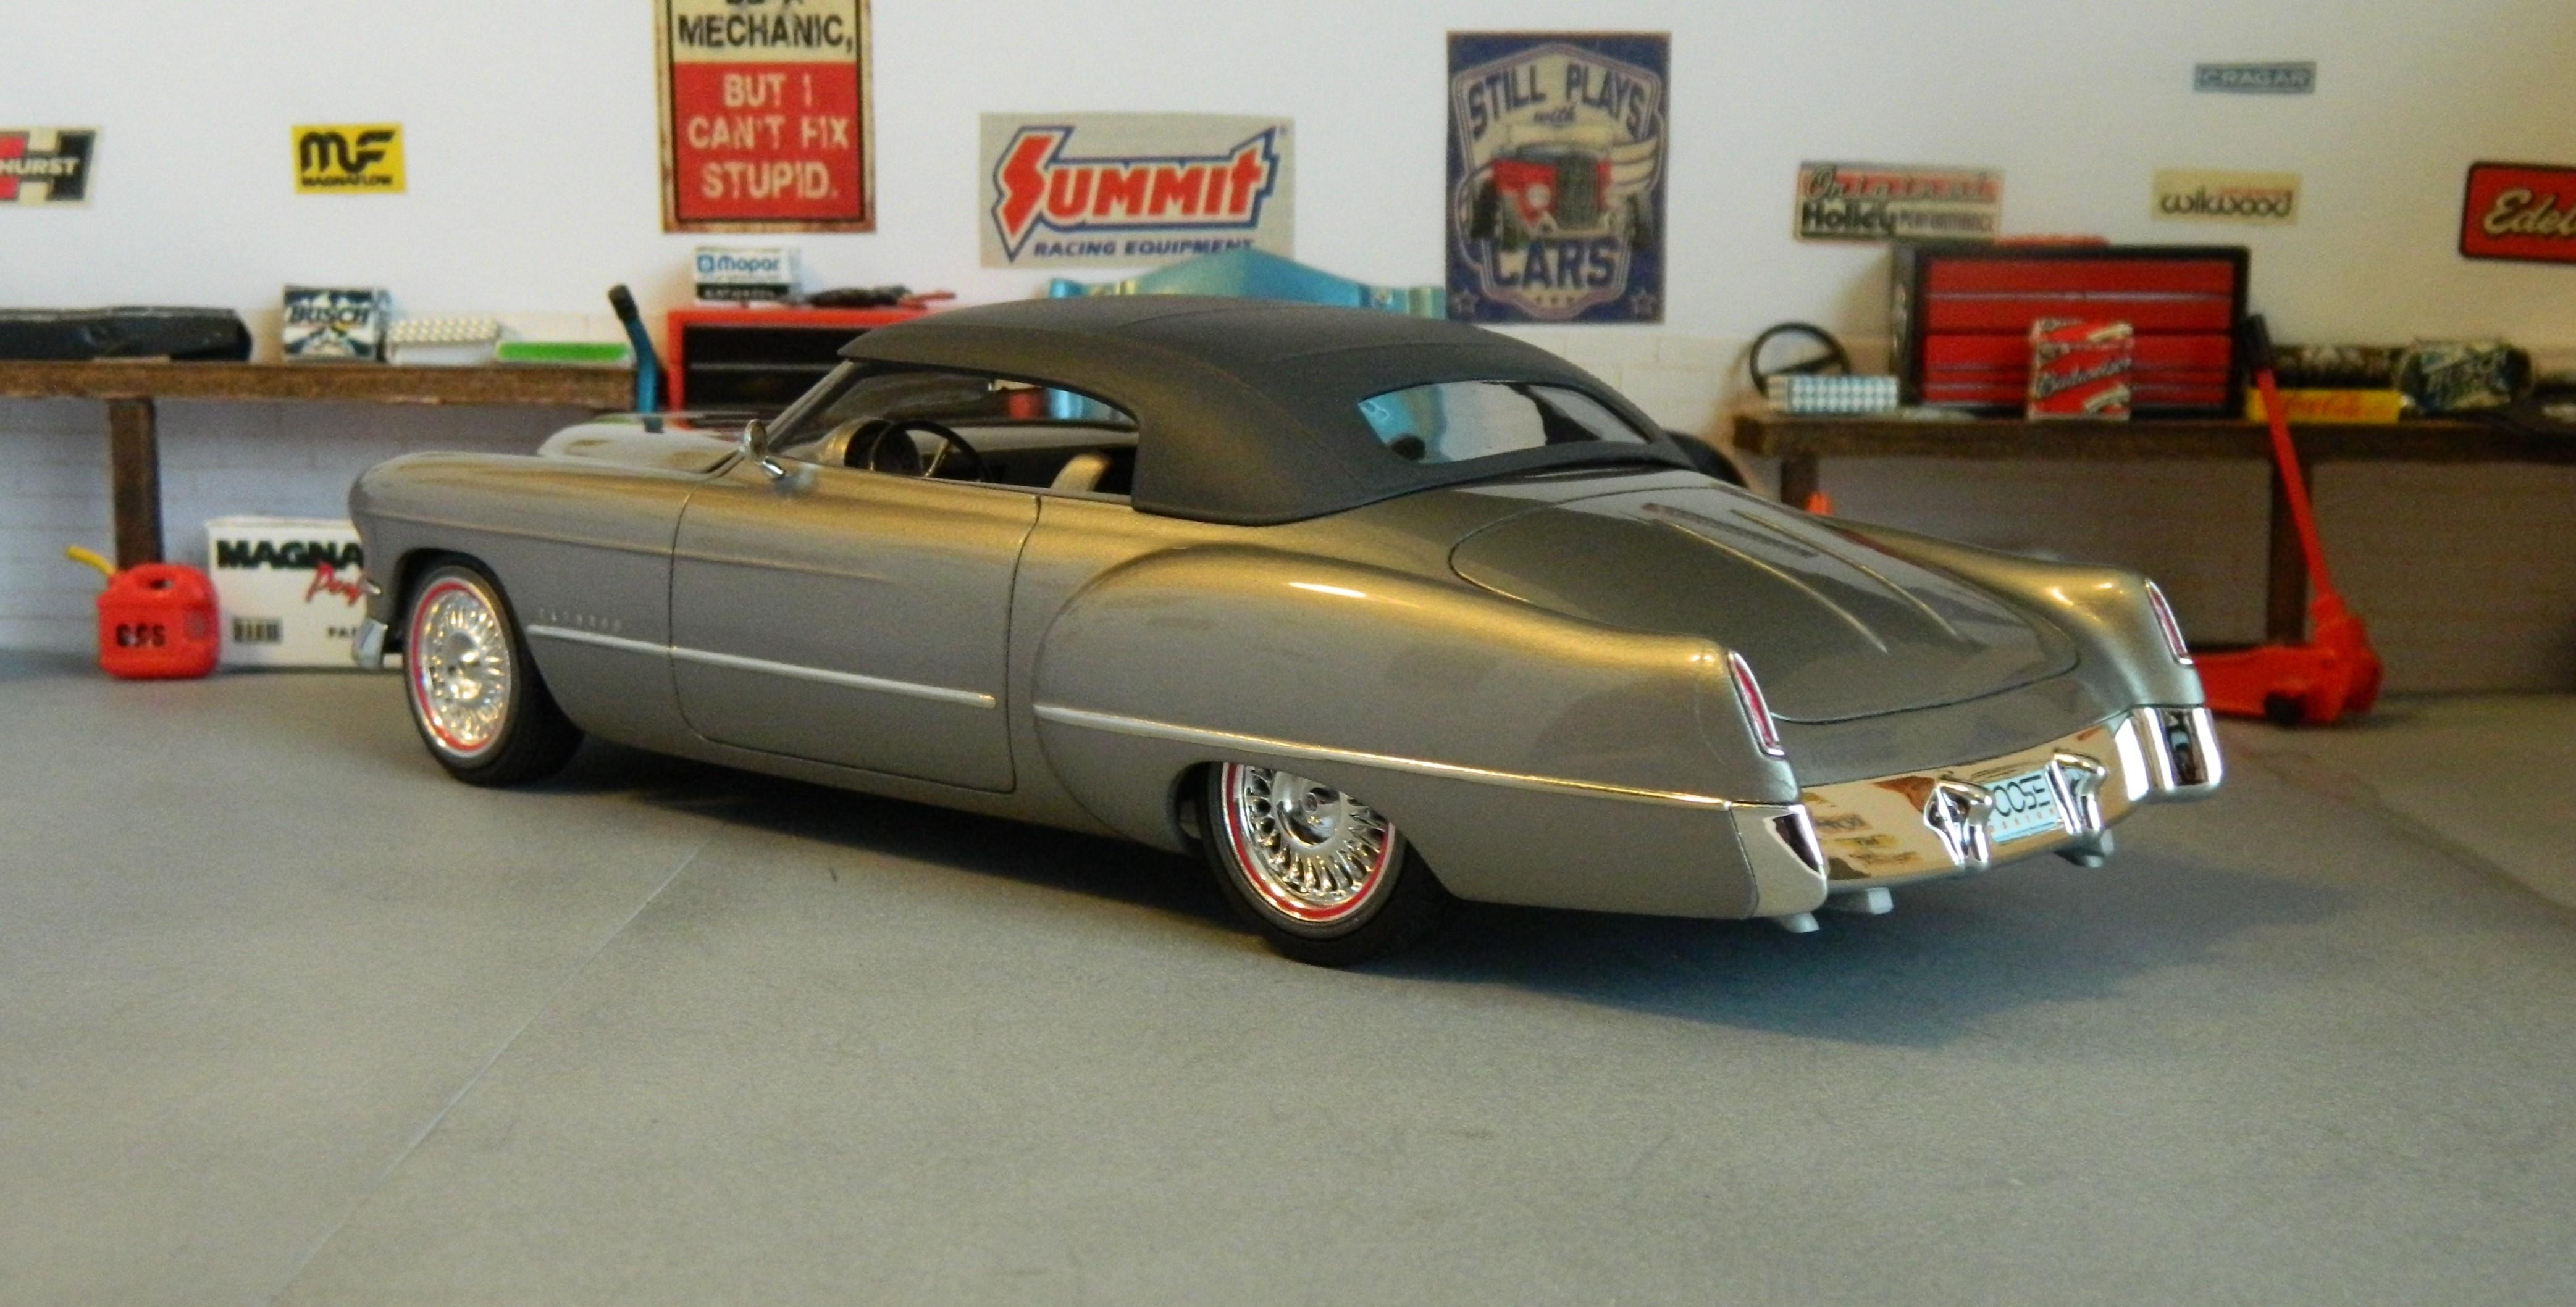
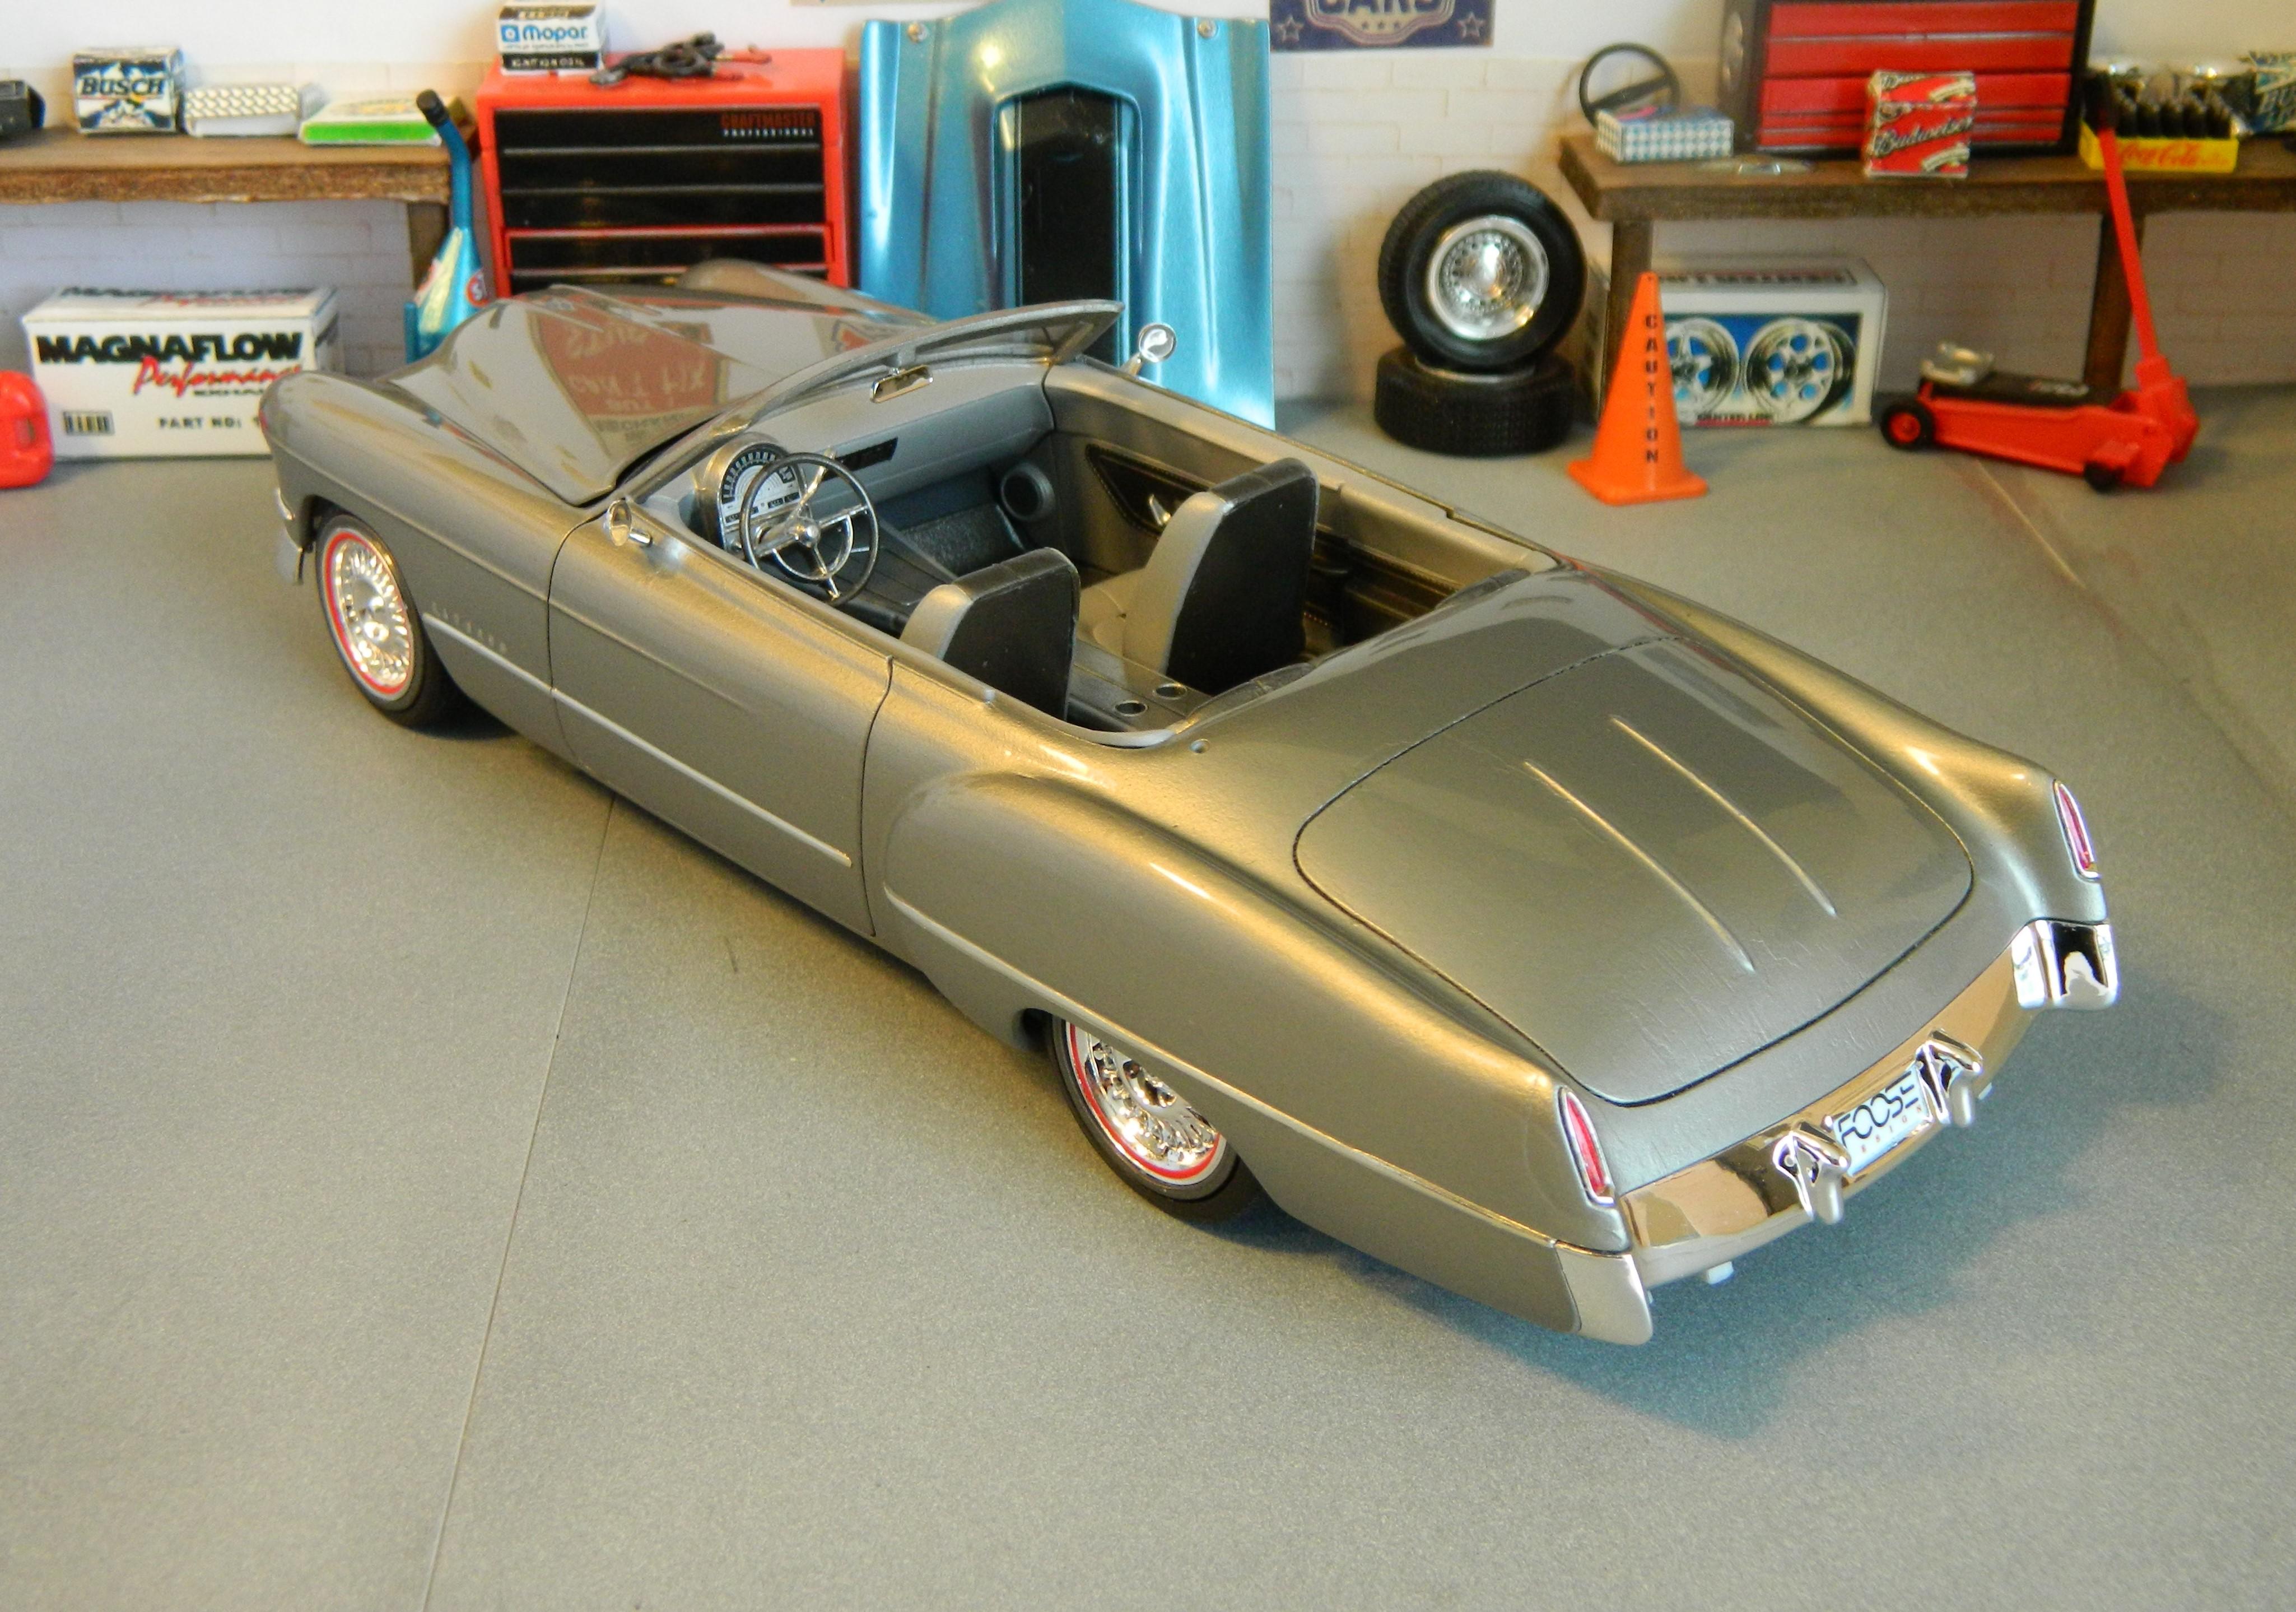
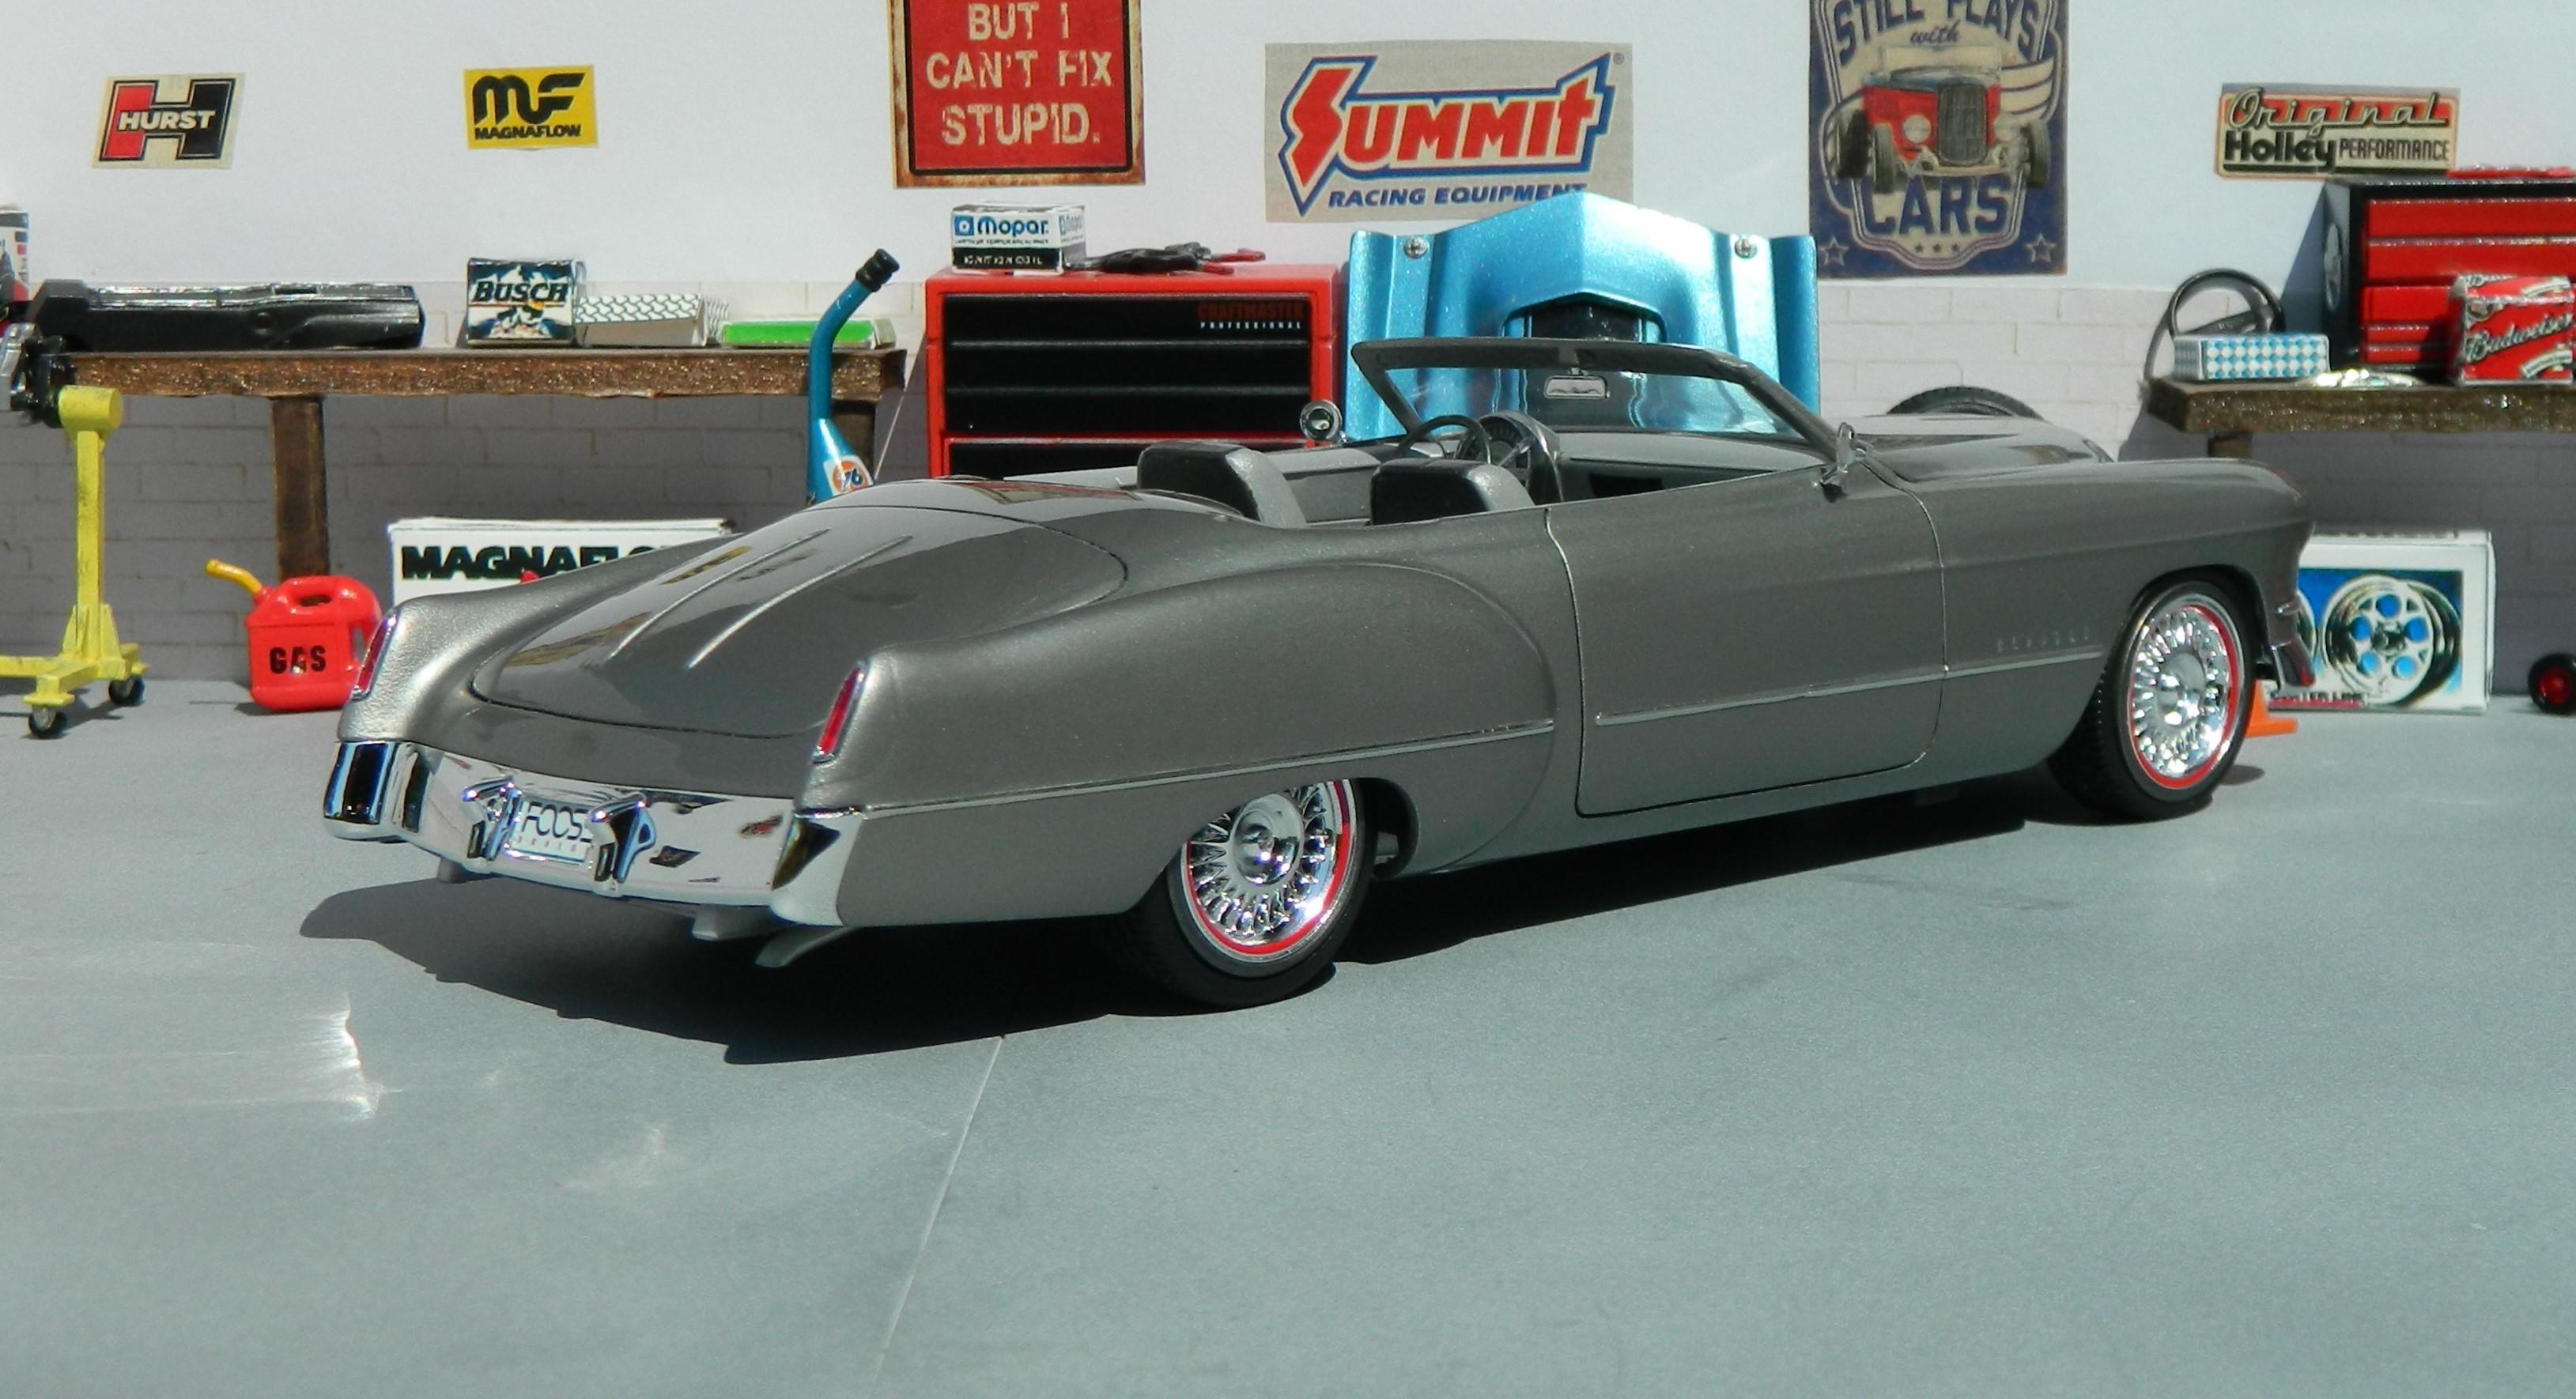
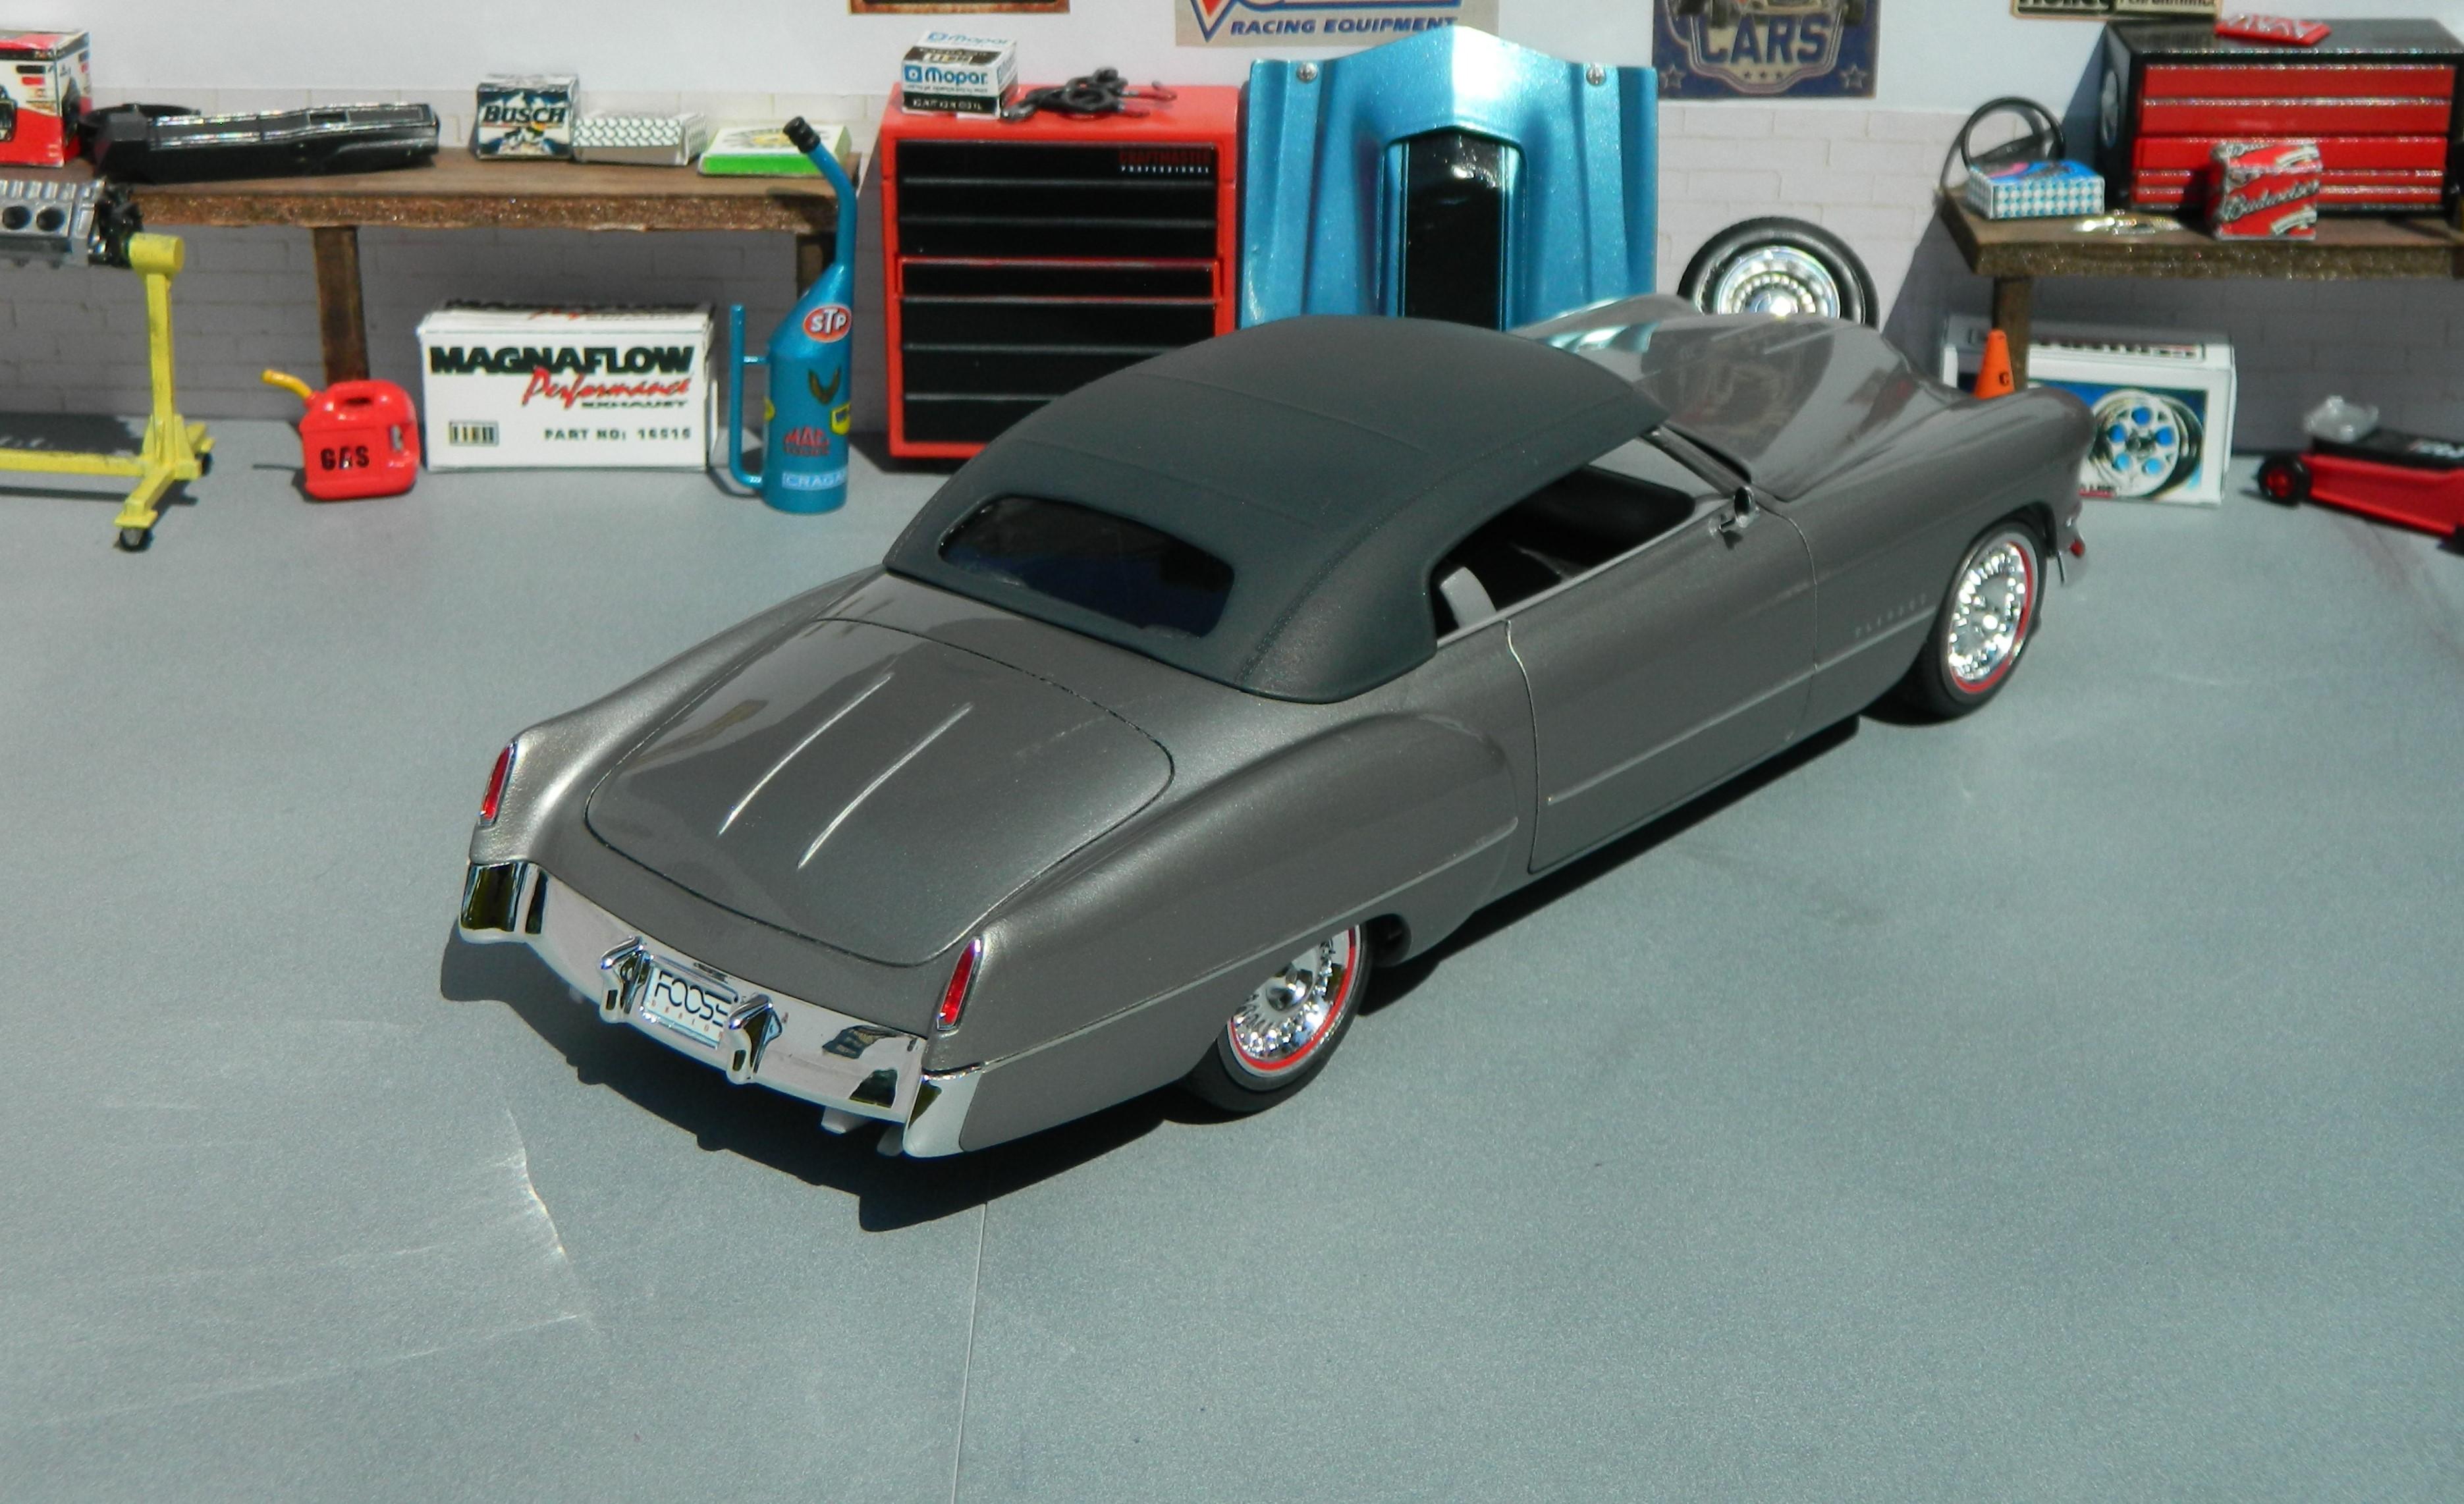
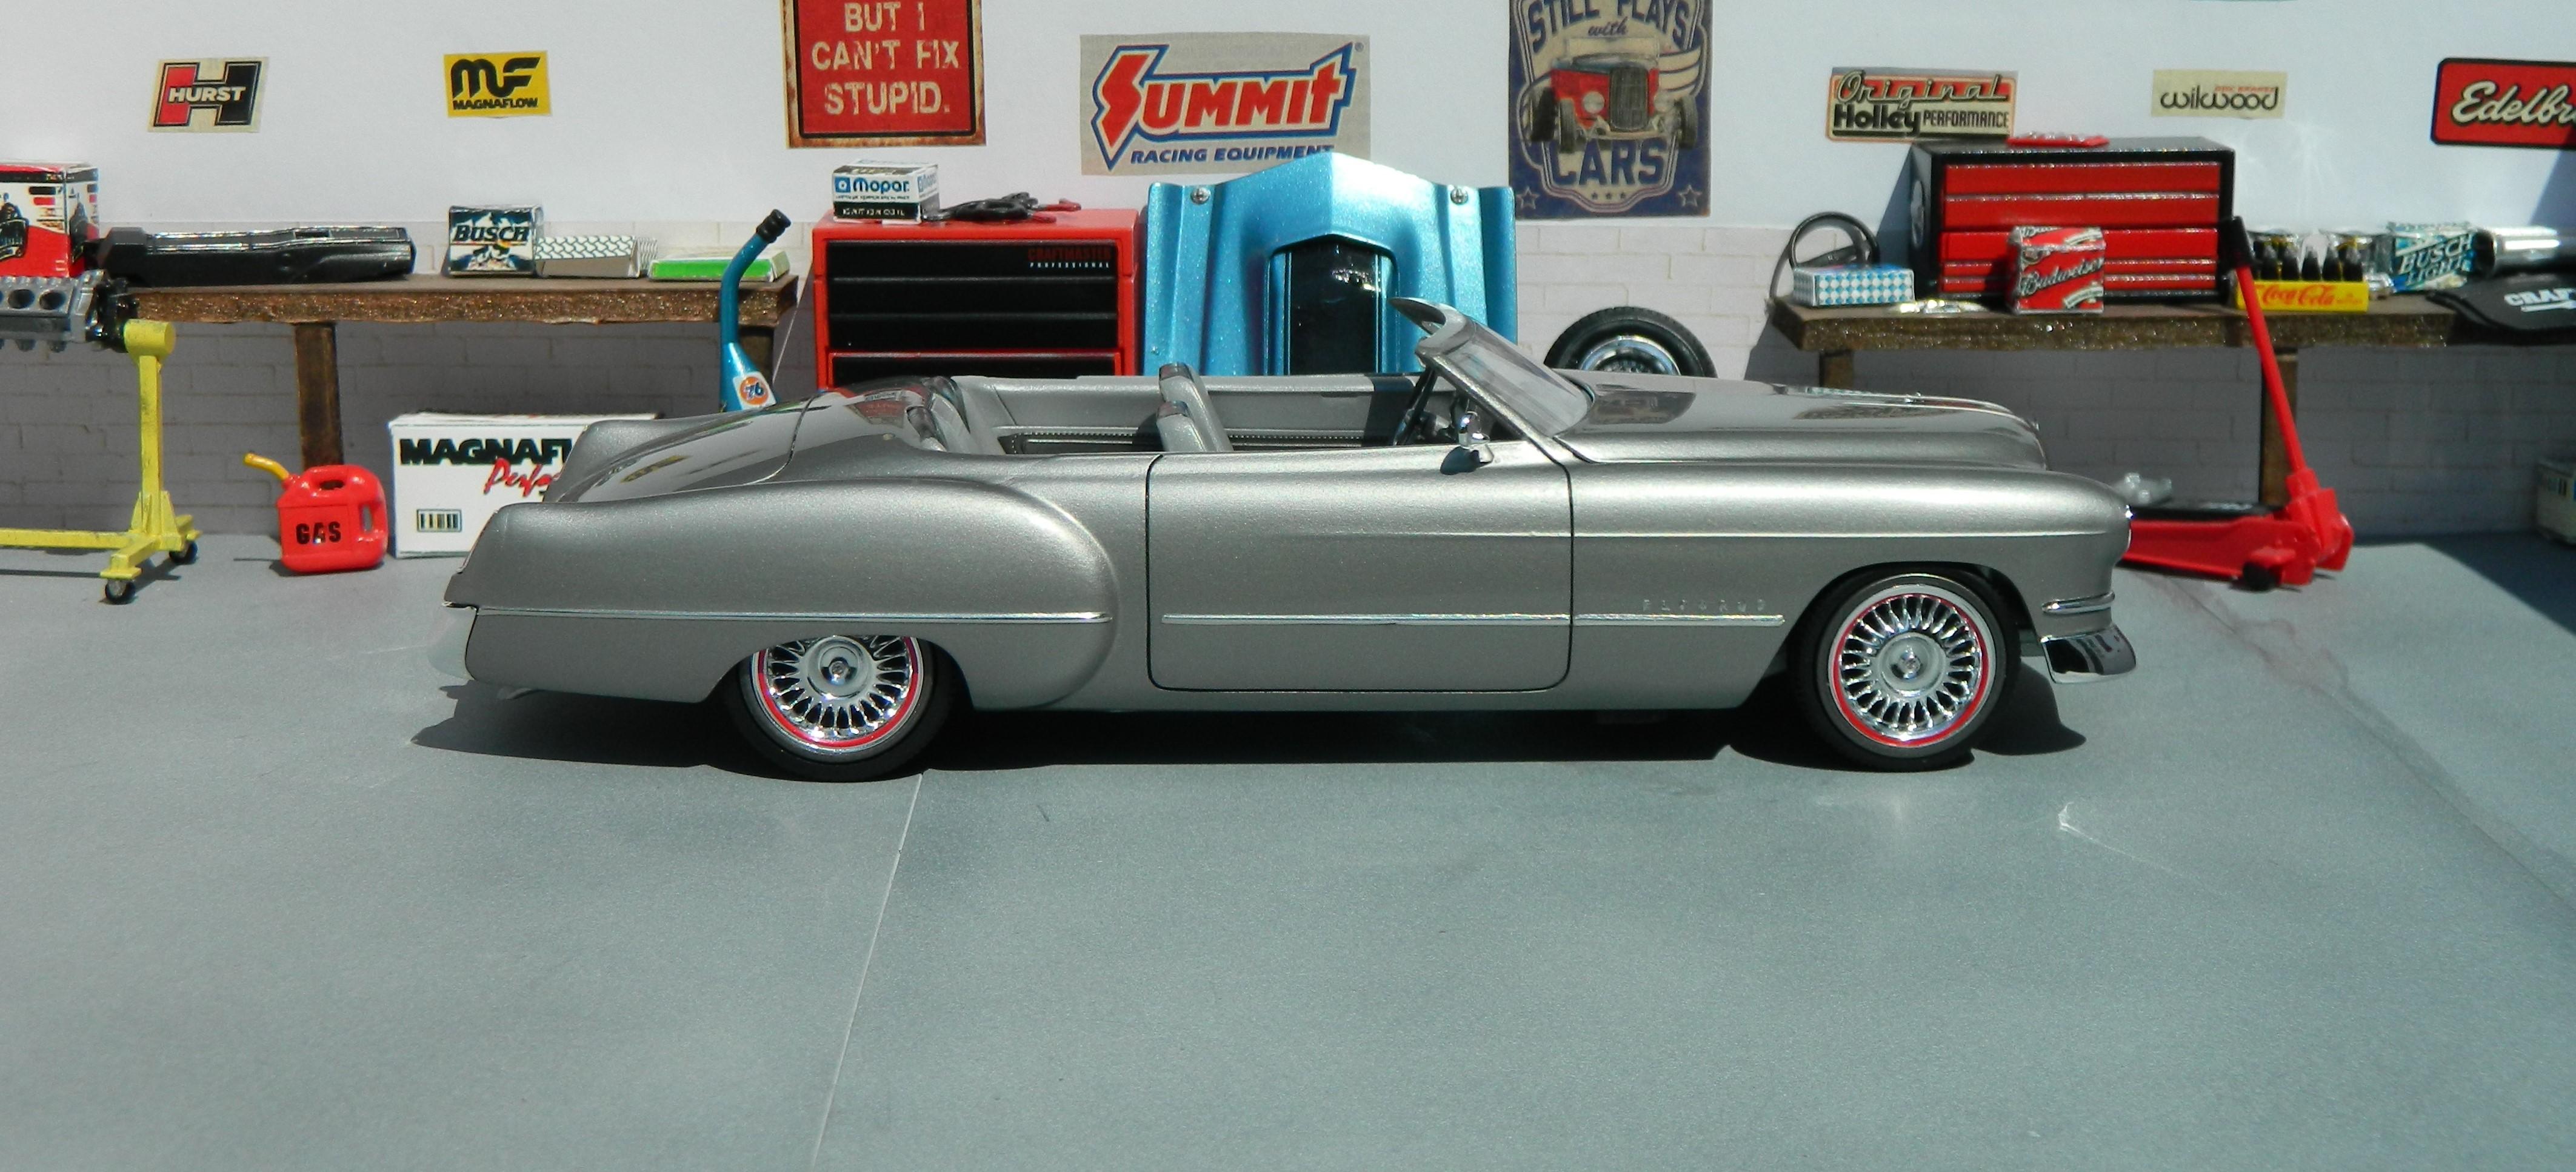
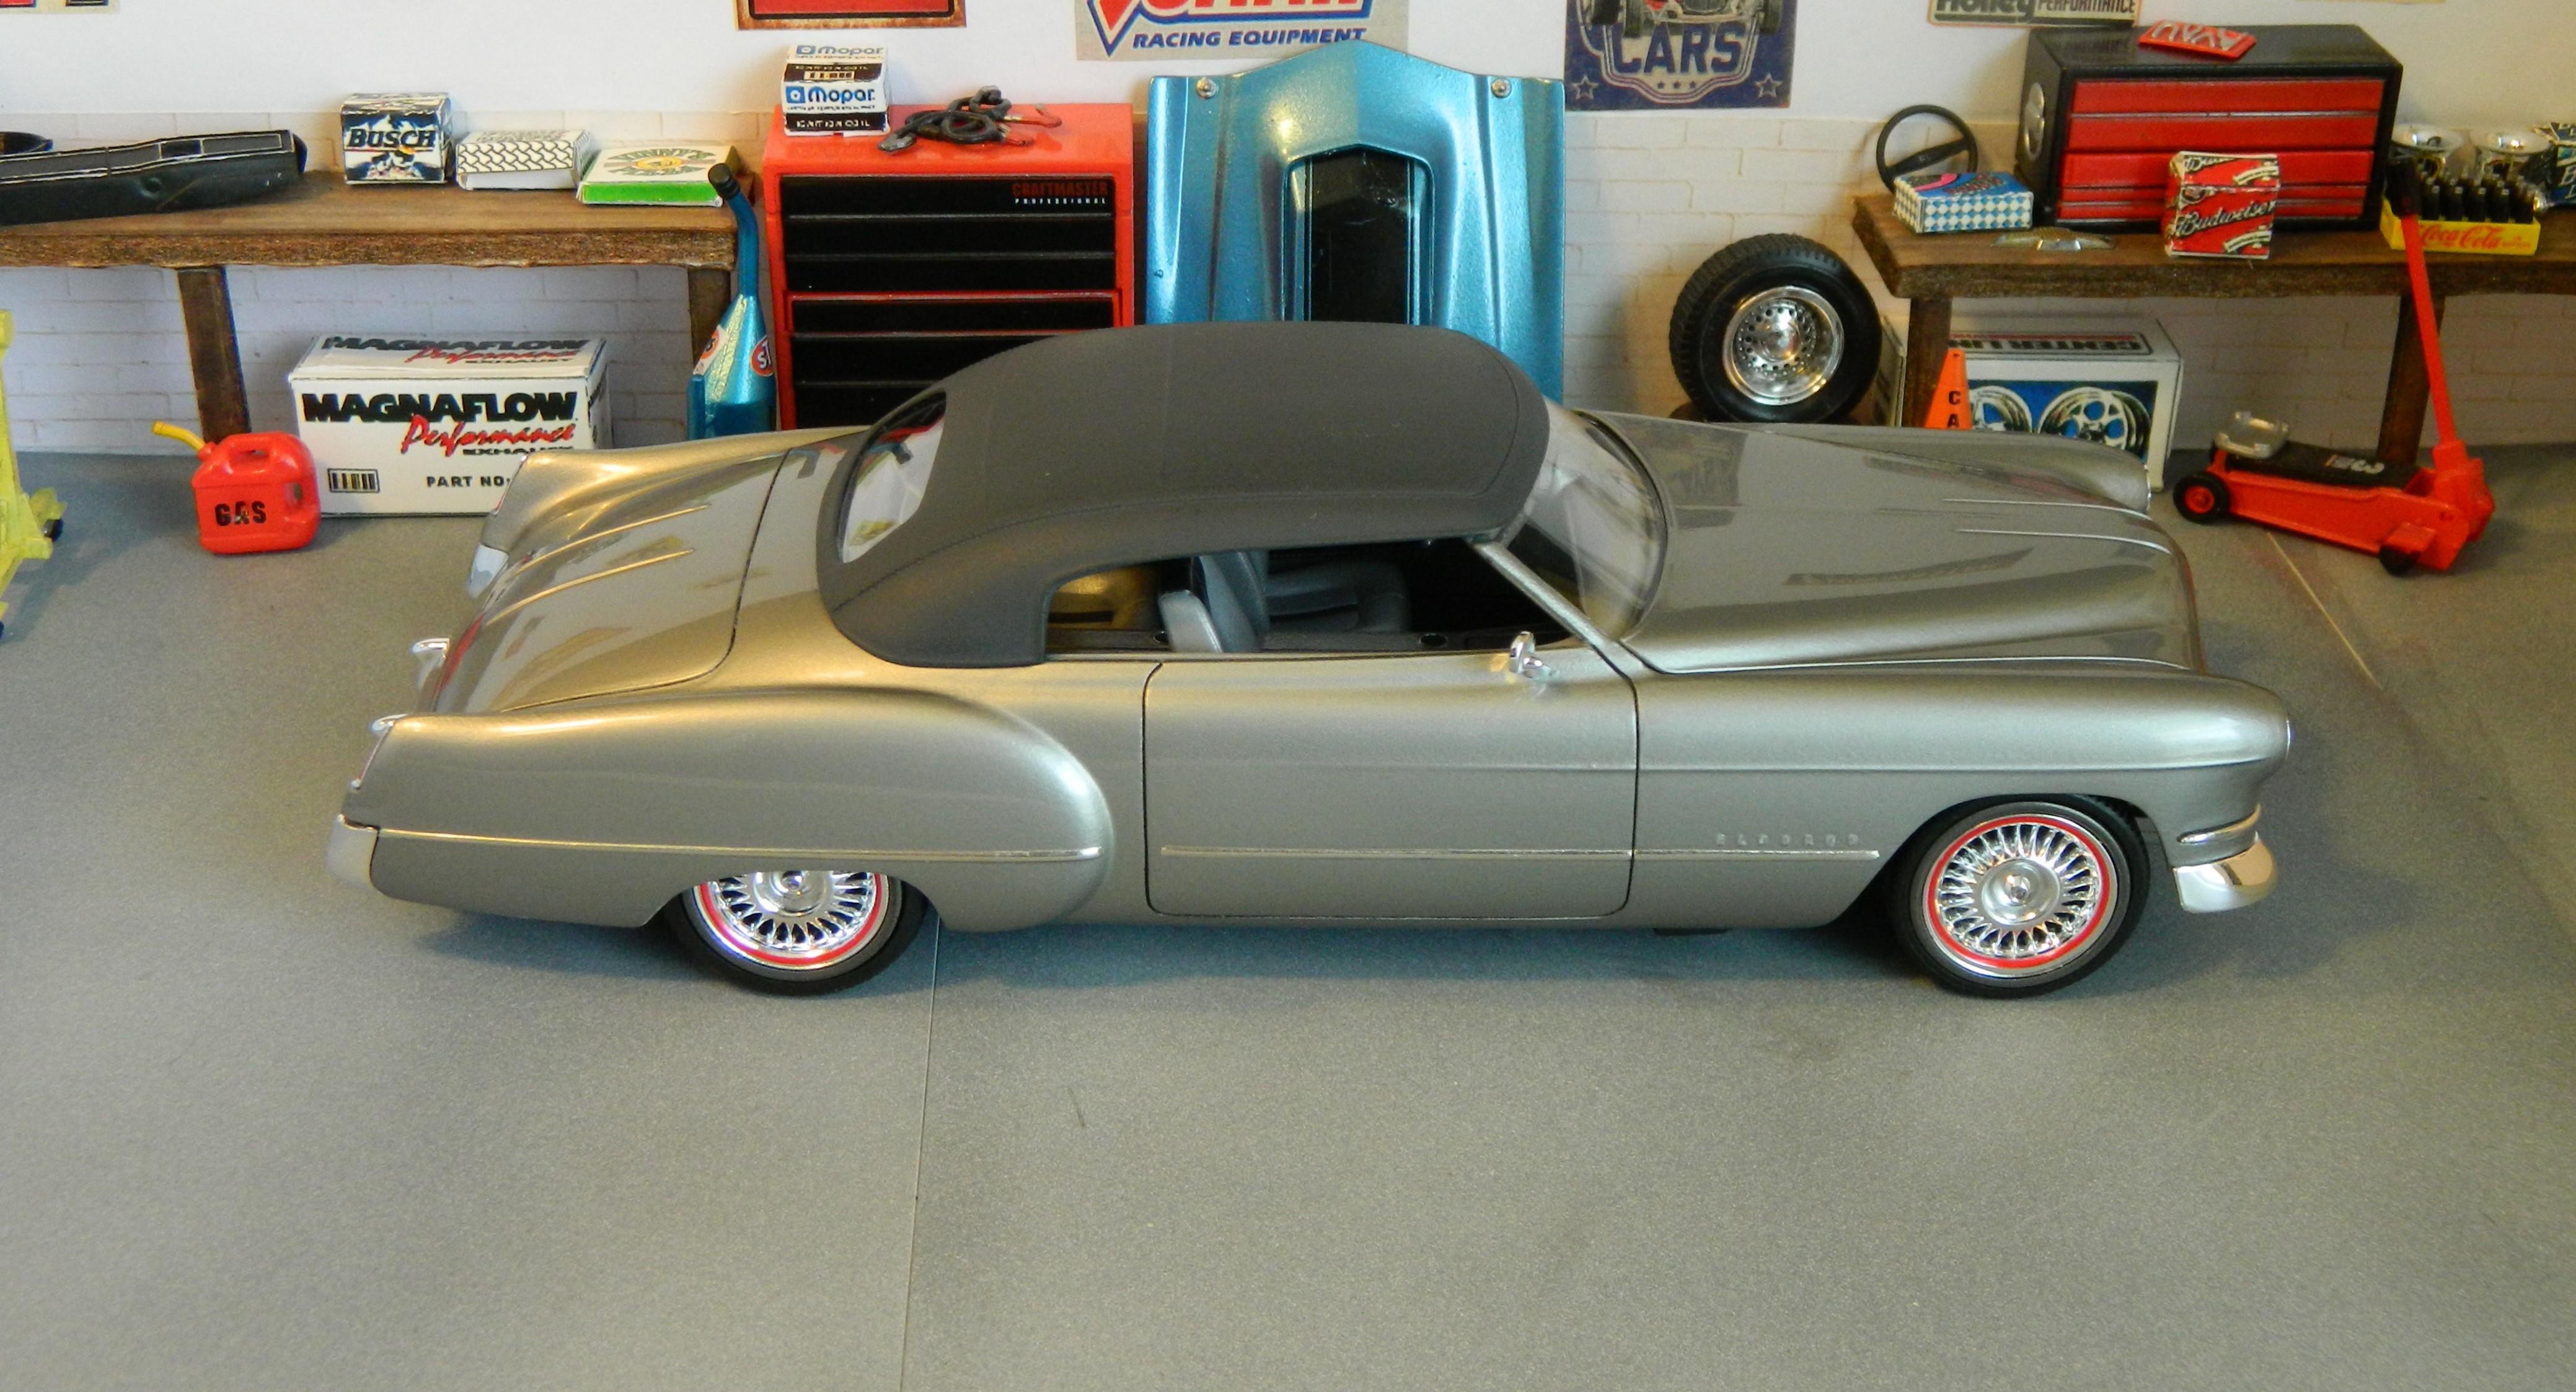
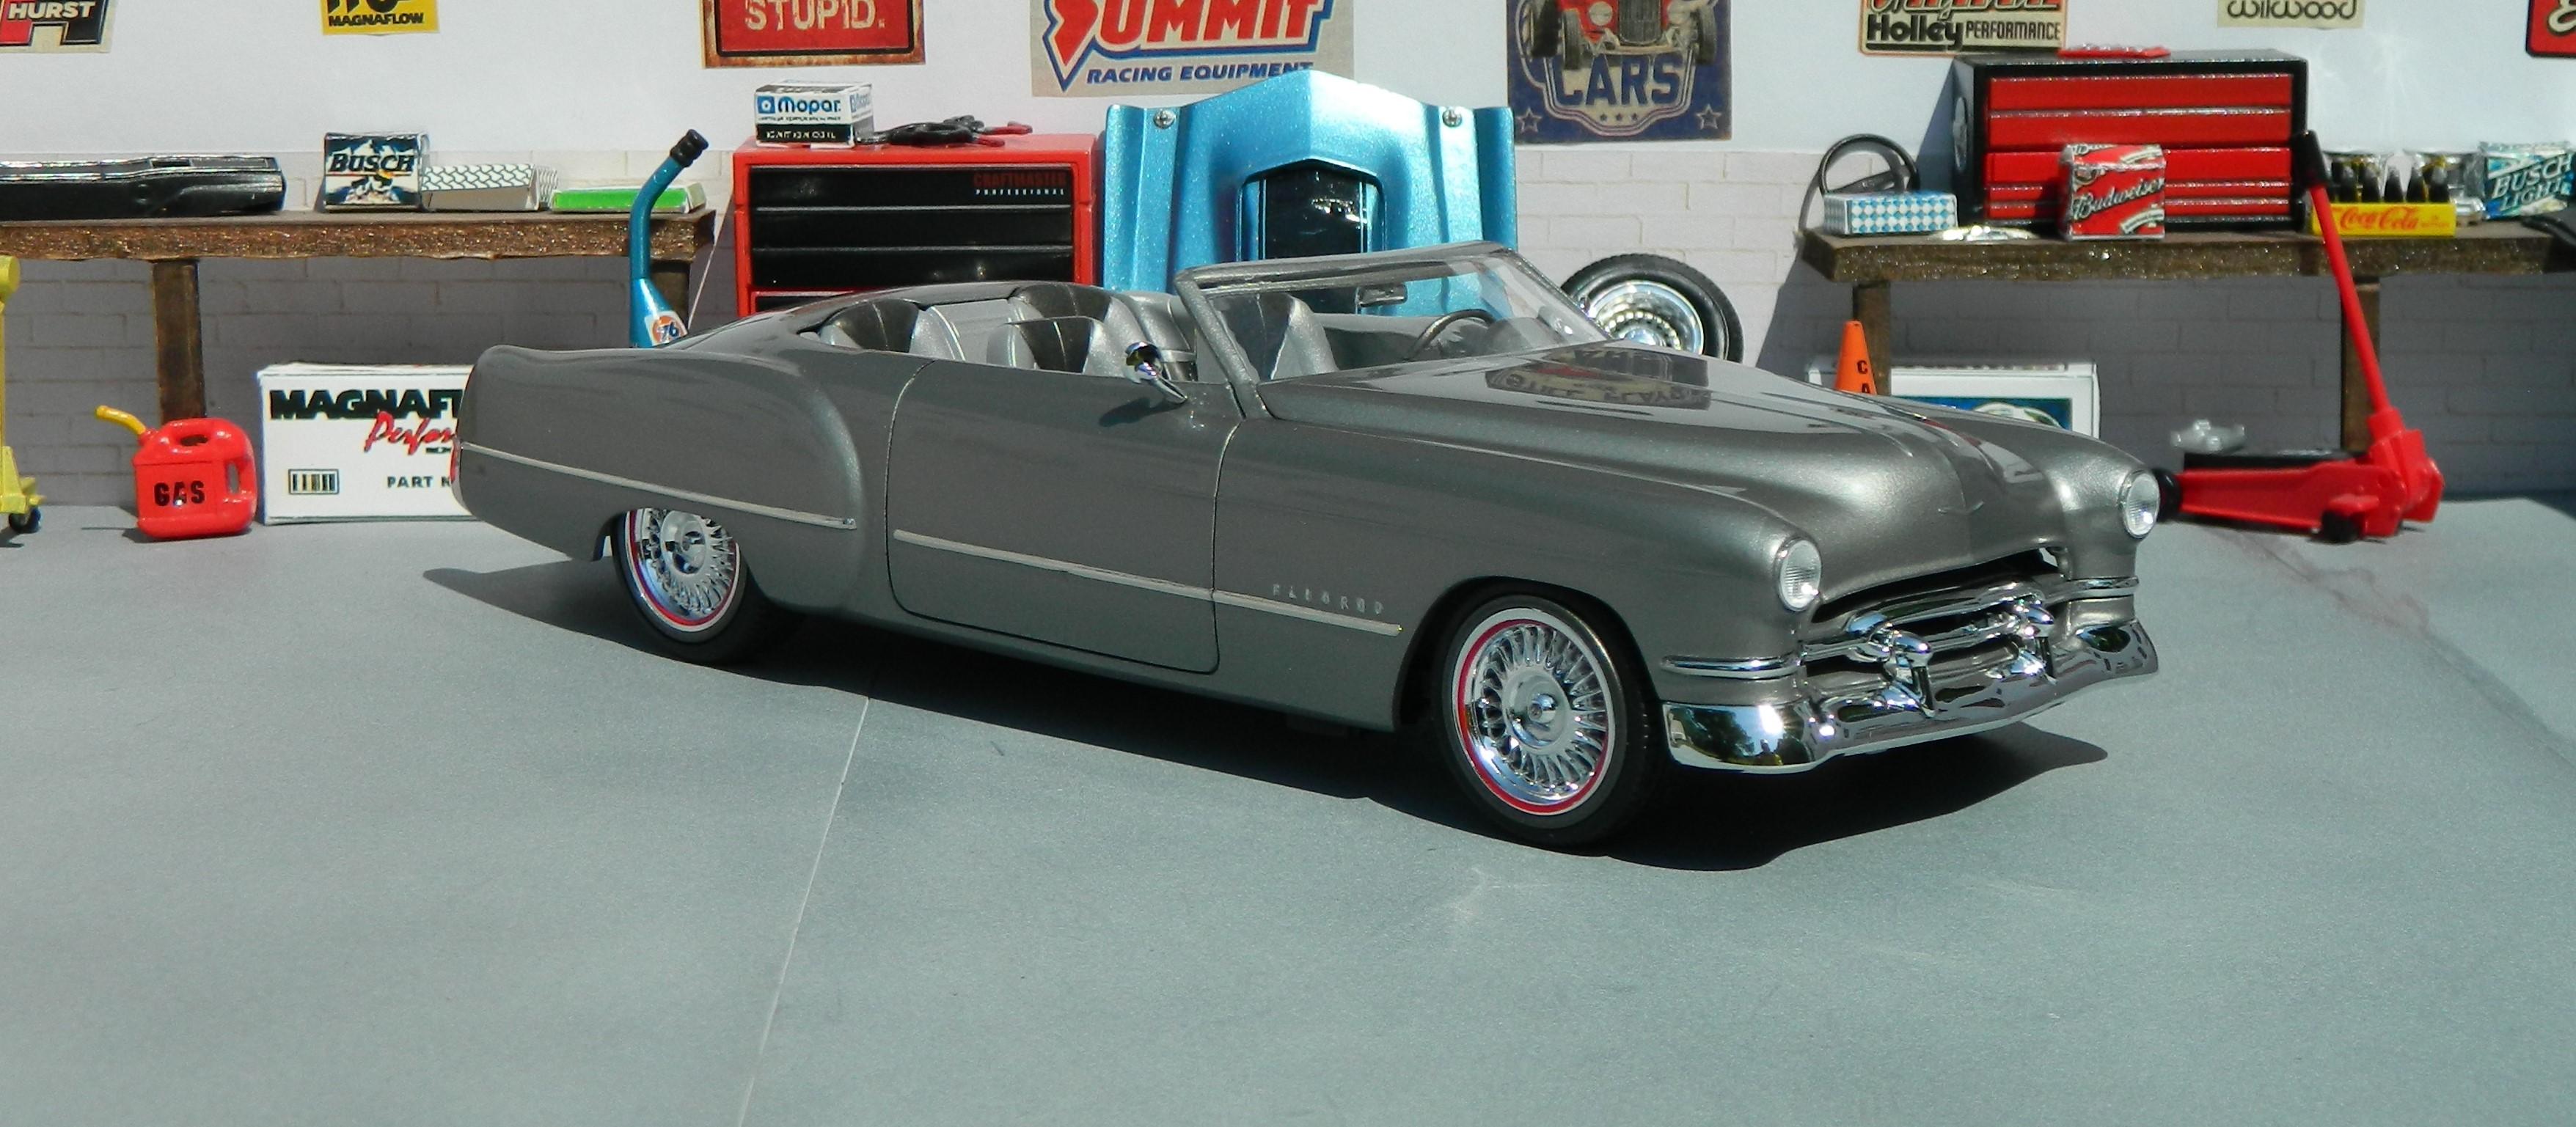
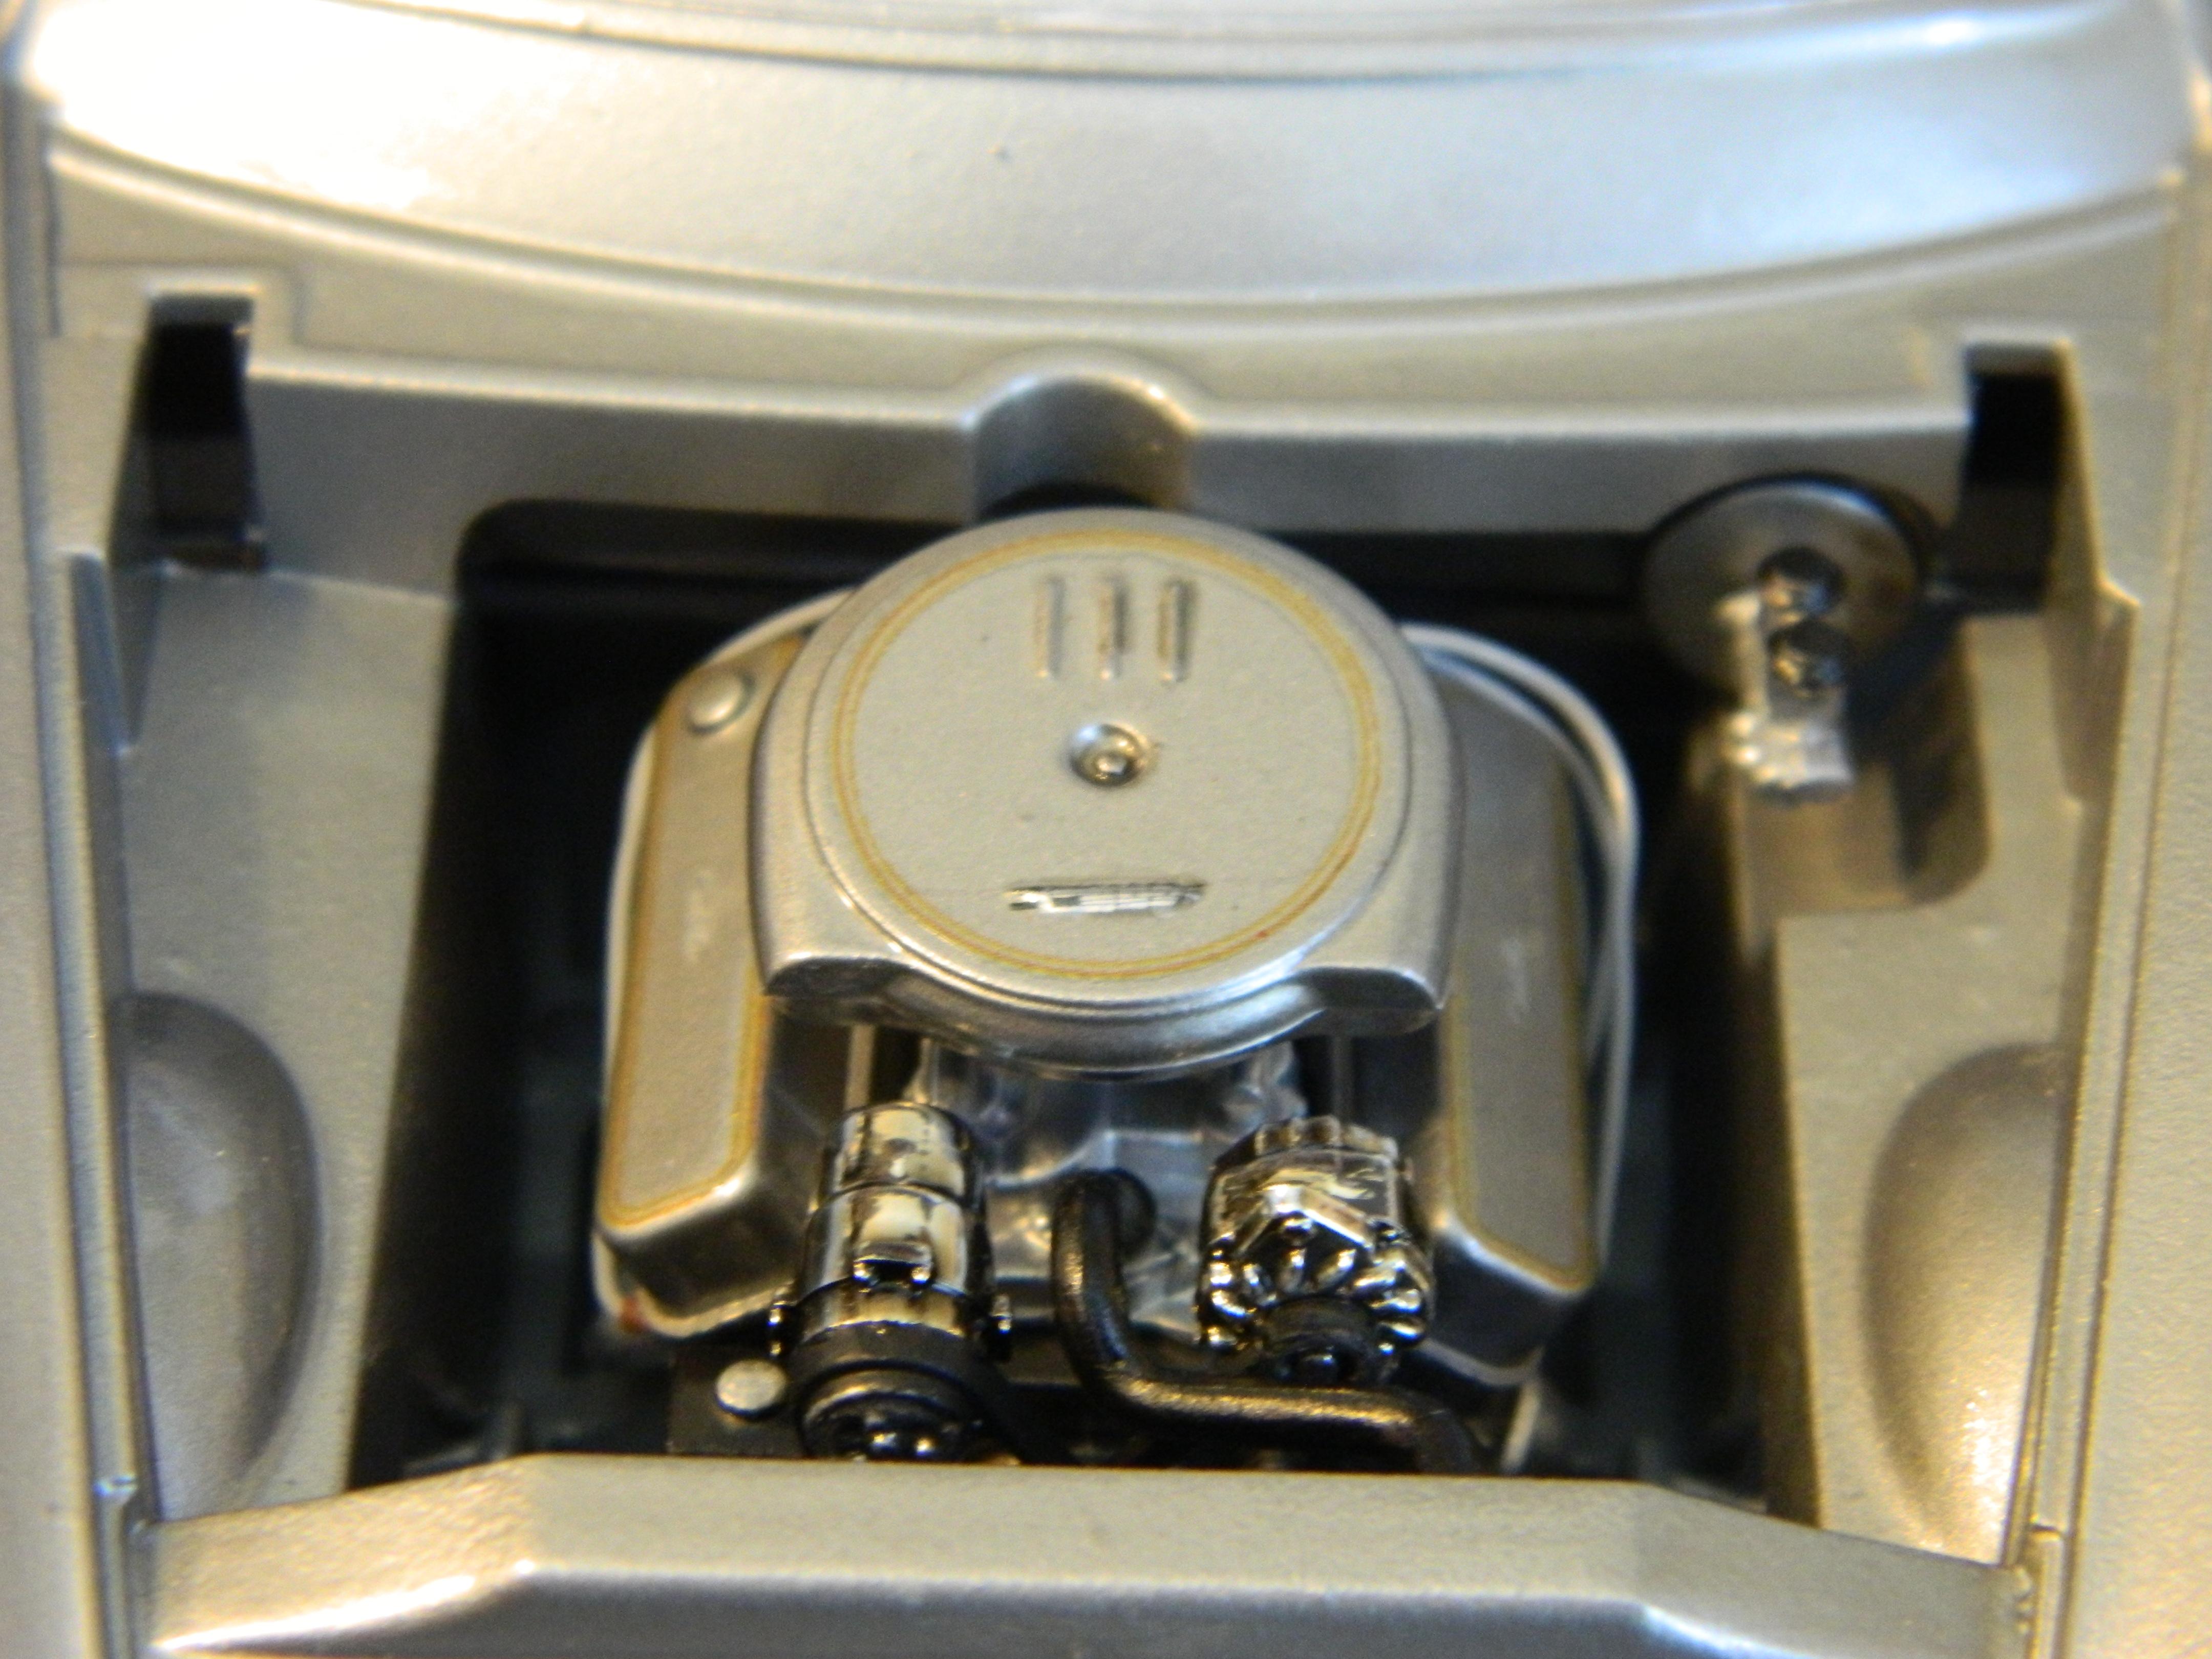
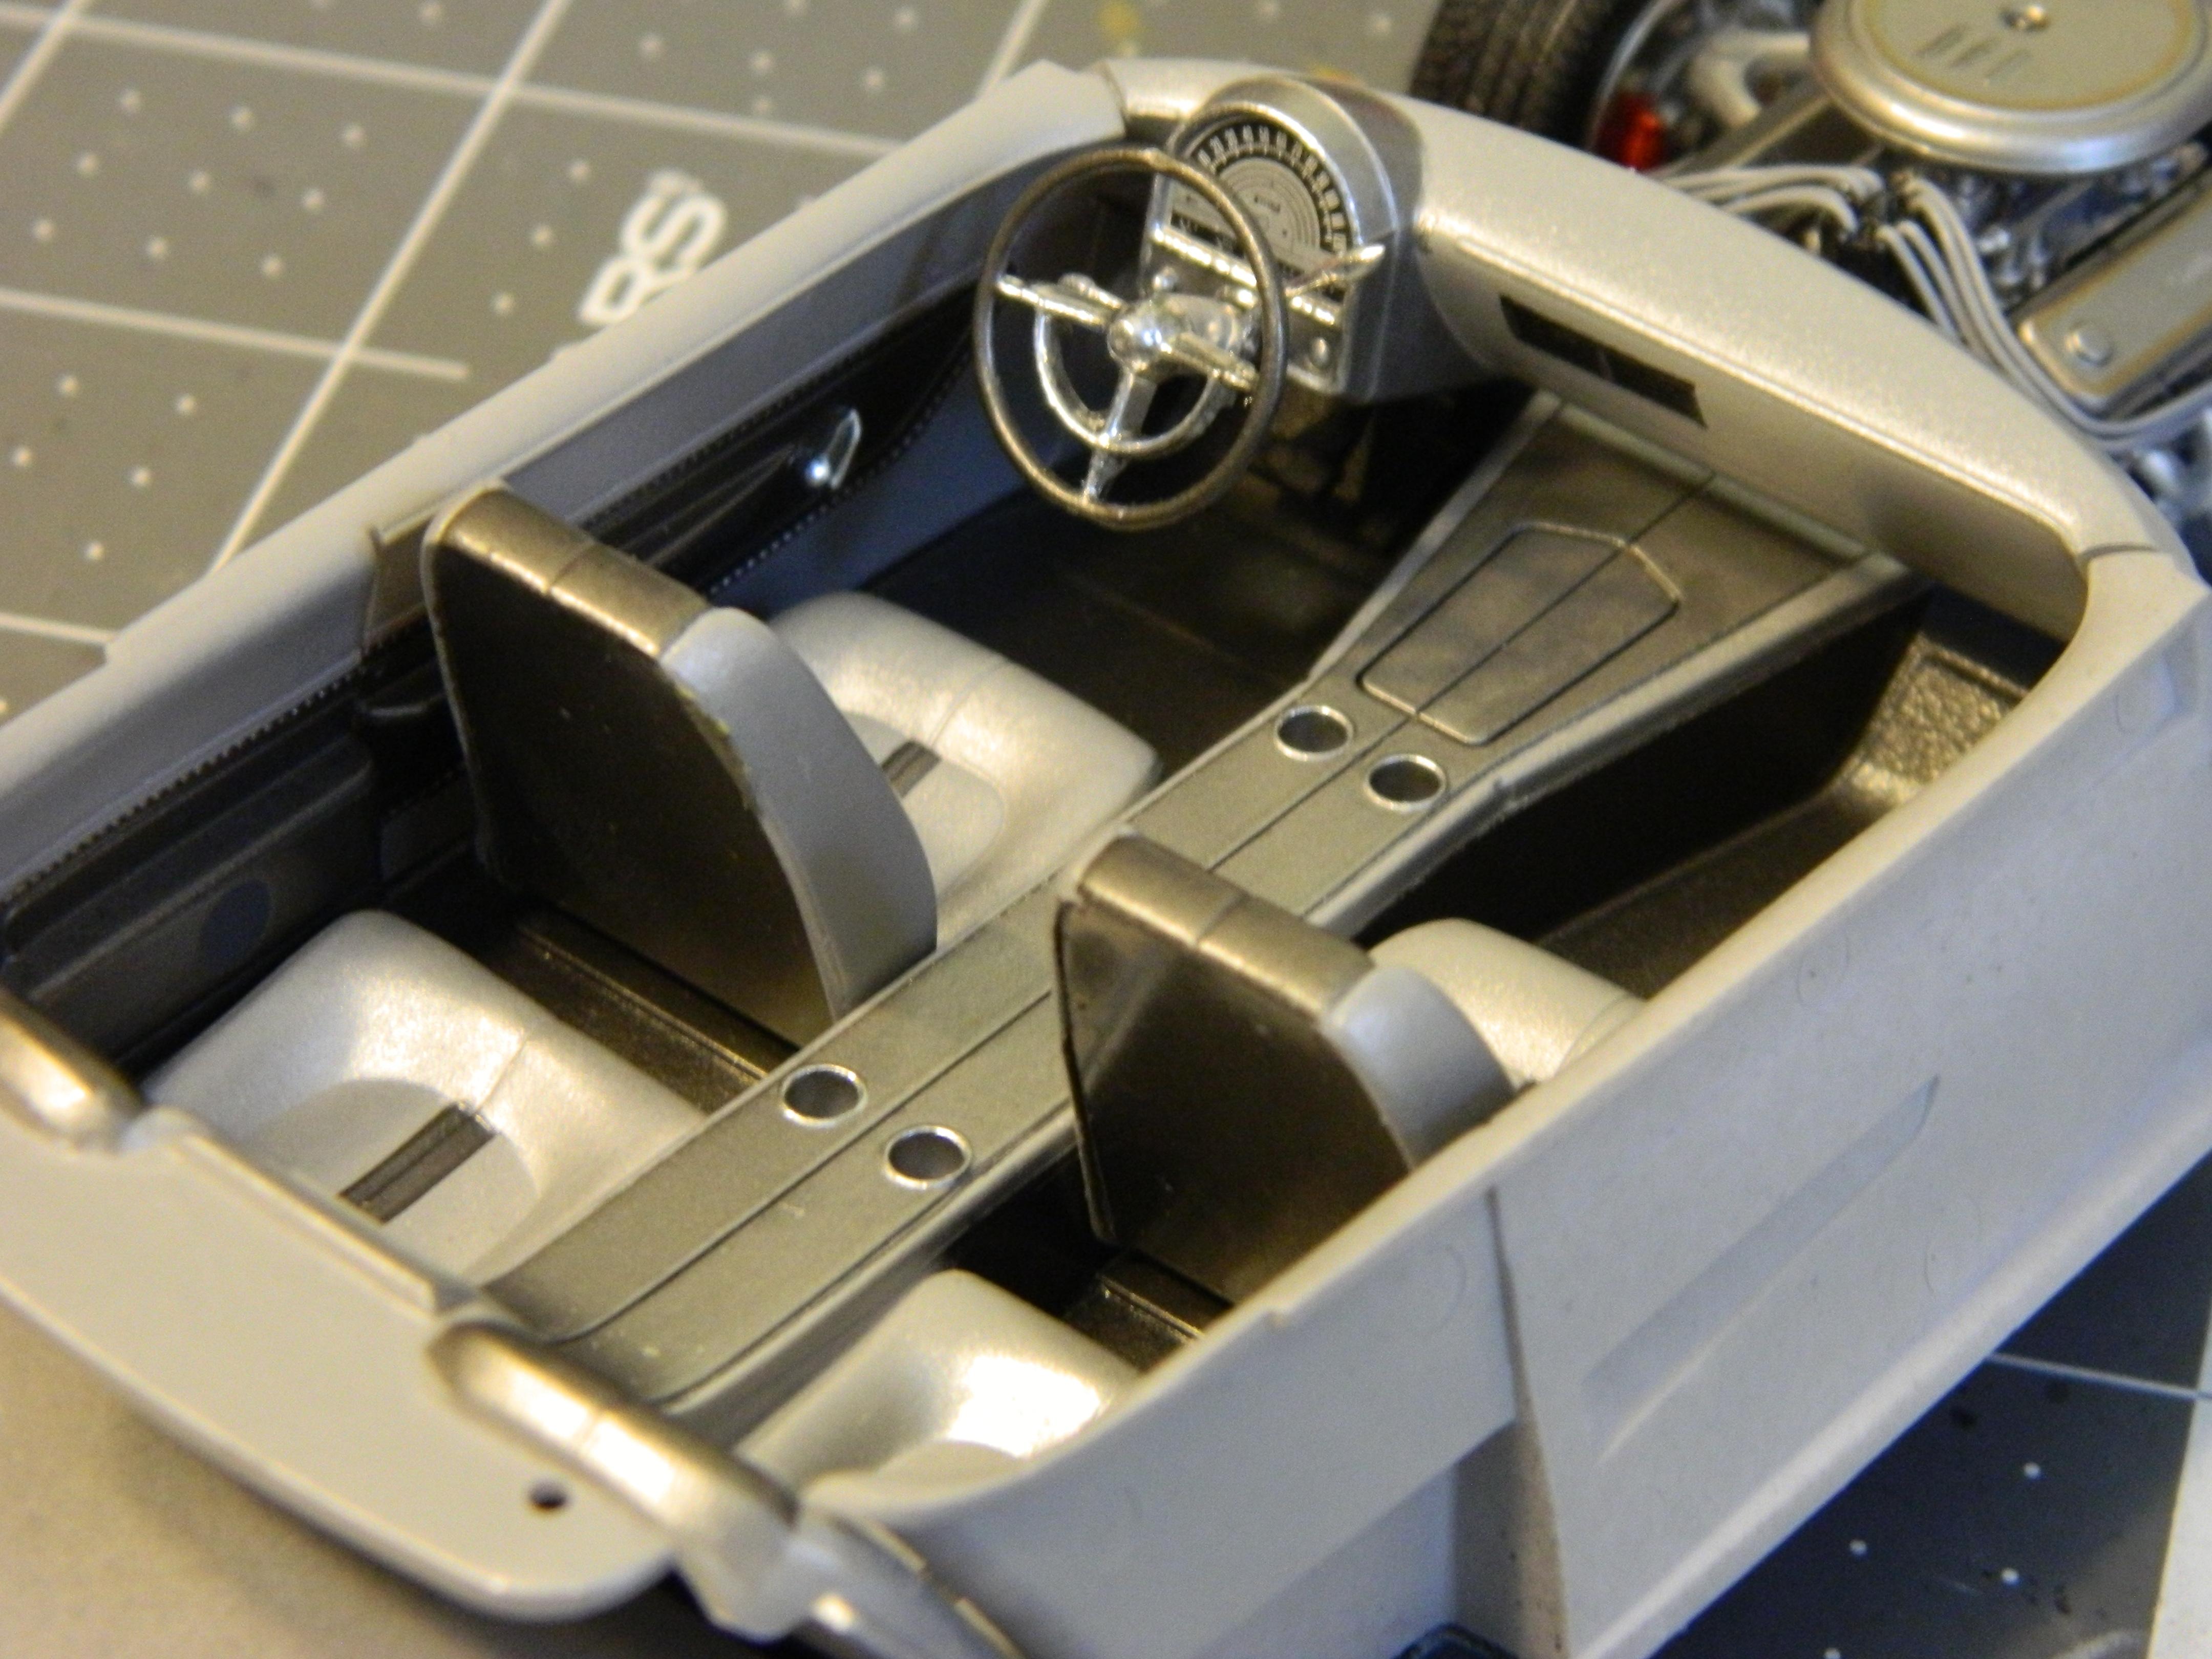
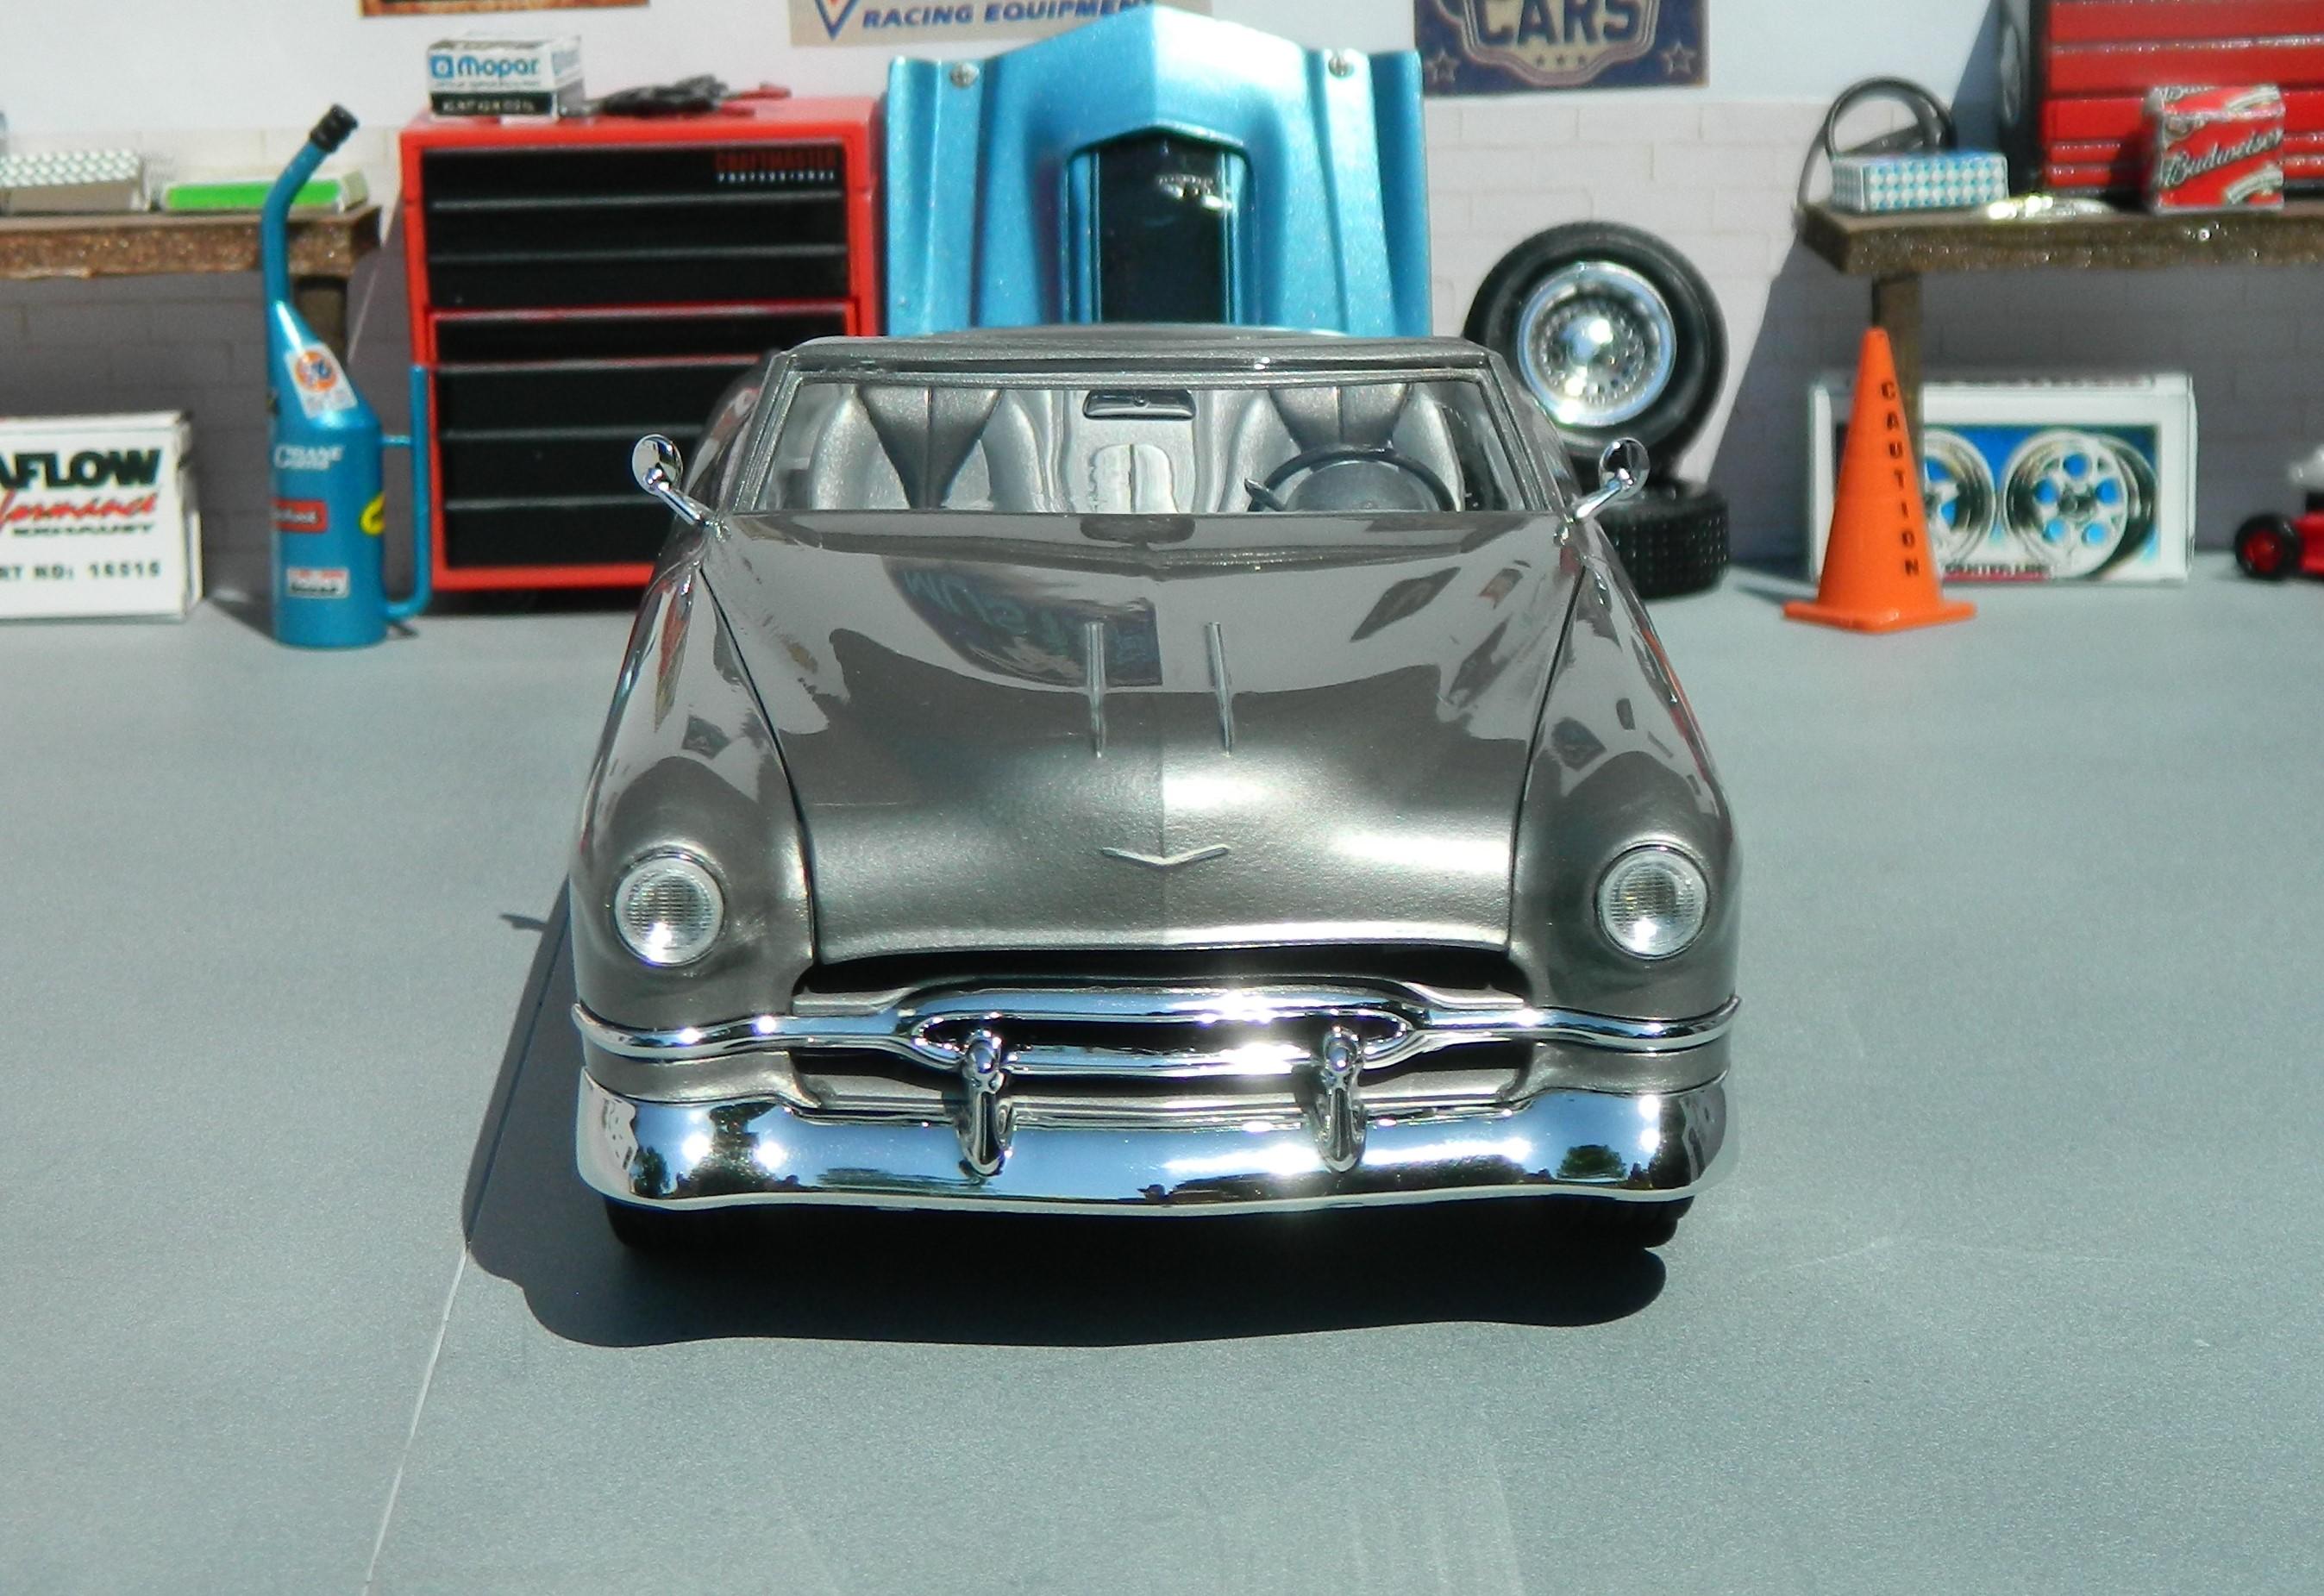
Here's my outcome of the Revell Foose Cadillac Eldorado kit. I painted it with Anita's Metallic Galvanized Tin through my airbrush, and cleared it with Krylon Short Cuts Gloss Clear from the can. I then wet-sanded, polished, and waxed the finish. The top is a custom mixed shade of gray also using craft paints through my airbrush. The interior was airbrushed Mission Models Aluminum, with a darker mixture of the Galvanized Tin airbrushed on the inner seats and door panels. The body color was airbrushed onto the top of the console for more contrast, and the carpet area is the same color as the Convertible Top. I did the chassis in various shades including Mission Aluminum, and different shades of the Galvanized Tin, all through my airbrush. I used BMF on the side trim, and added plug wires on the engine for added detail. My frame, convertible top, and interior platform were slightly warped causing a few issues at final assembly, but nothing a few well placed clamps and clips couldn't overcome, except for the top. Otherwise this was a very nice and good fitting model kit, and a very enjoyable build. As always, thanks for looking!
-
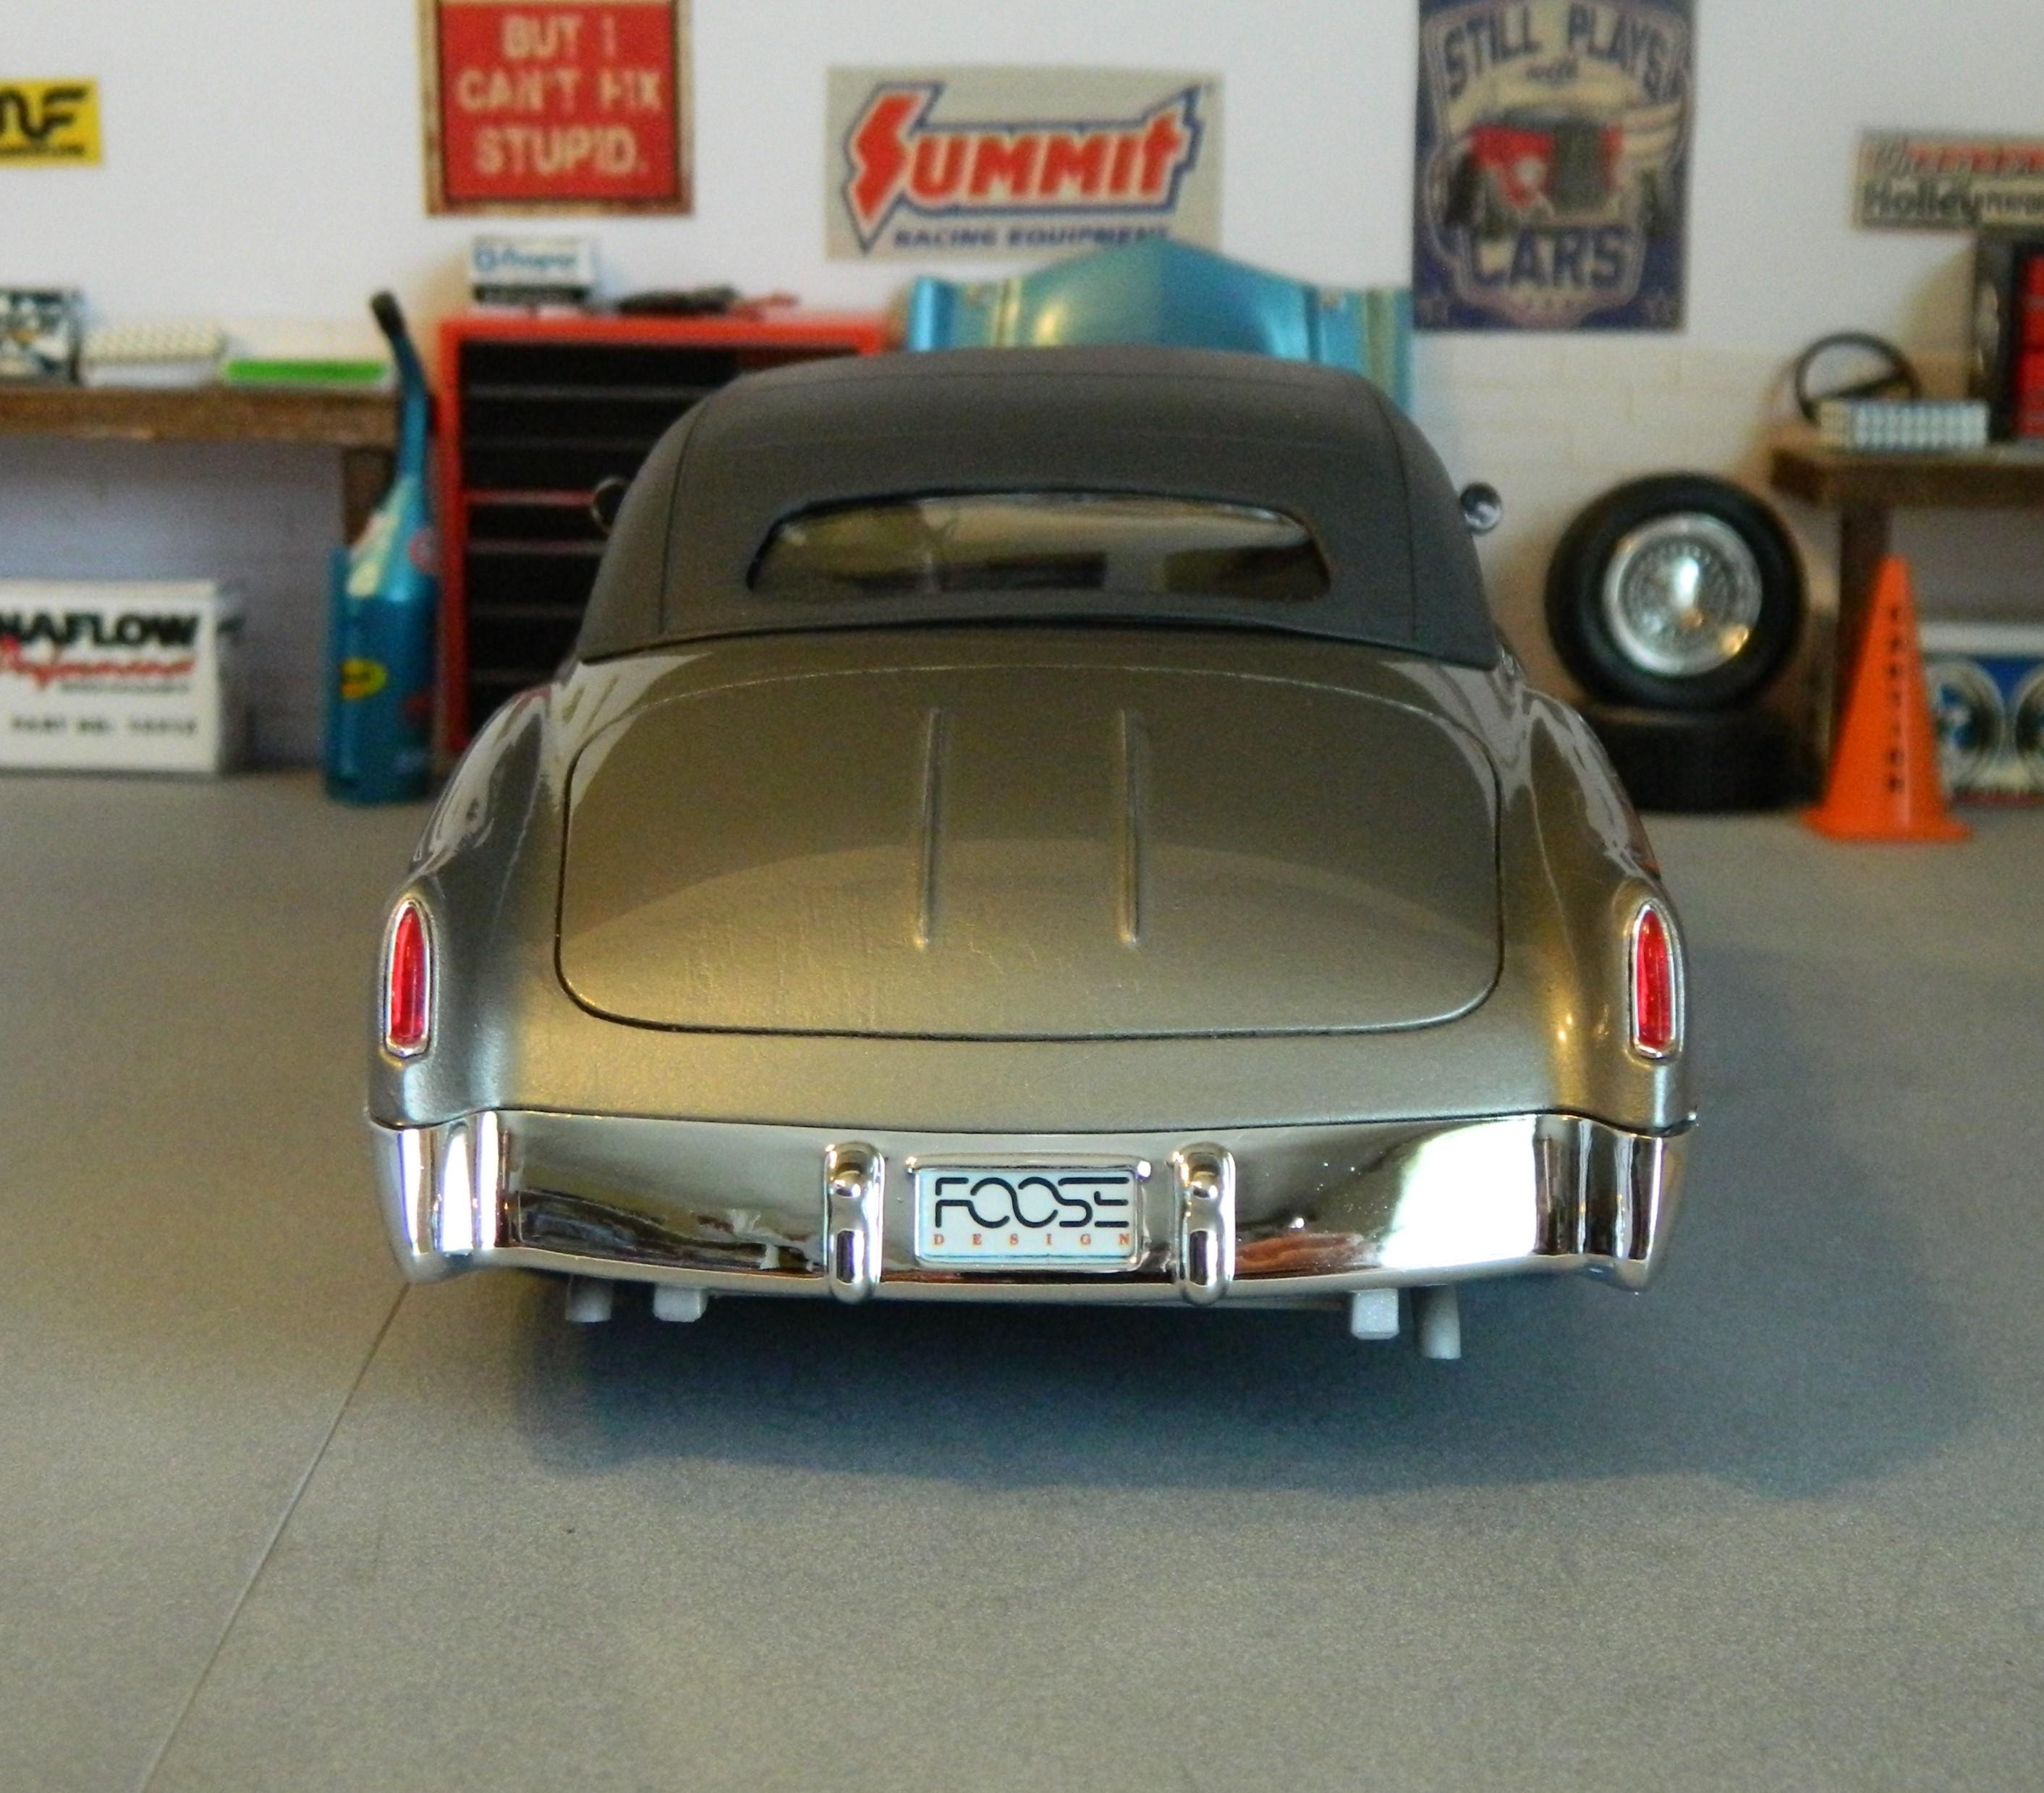
All that was left was final assembly, which went fairly fast and smooth. I did end up having to use a chip clip to hold the front end down while the glue dried when gluing the chassis to the body due to some frame warpage. I ended up having to perform that task twice before the glue finally held. I also noticed some warpage/dis-formation on the convertible top, but all-in-all a pretty nice kit. you can see the frame peeking underneath the bumper in the first pic.
-
Nice work! Great detailing on the light and with the wire. The decal was a bit of a bugger for me, but like you said, it held together nicely while being moved around.
-
Looks pretty good!
-
Looks good, I like it! I'm partial to any Olds Cutlass though, owning a '72 and a '74 in my younger days.
-
Very nice!
-
Very nice!
-
Very cool, well done!!