NOBLNG
-
Posts
10,233 -
Joined
-
Last visited
Content Type
Profiles
Forums
Events
Gallery
Everything posted by NOBLNG
-
+2... I haven’t touched my Iwata eclipse since I got the Paasche.
-
Nice car, and that engine detail is fantastic!
-
Looks a lot cleaner. I like it.
-
 Nice! When I look at that, I see the same thing I see when I go to my actual local junkyard....lots of good rebuilders.?
 -
By all means...dig it out! I would love to see one of these built up.?
-
I agree. Get rid of the rear side window and lengthen the door and door window to fill that space would look nicer and make entry a lot easier.
-
Yep! Another good line from that movie...”Them syreens did this to Pete. They loved him up and turned him into a horny toad.”?
-
One of my favourite movies! “Well ain’t this place a geographical oddity.”
-
Cool looking “Ute”! I searched this after reading Alan Barton’s post in the Church Truck thread. Has anyone built one of these? It looks like it would be a fairly easy conversion if no kits are available.

-
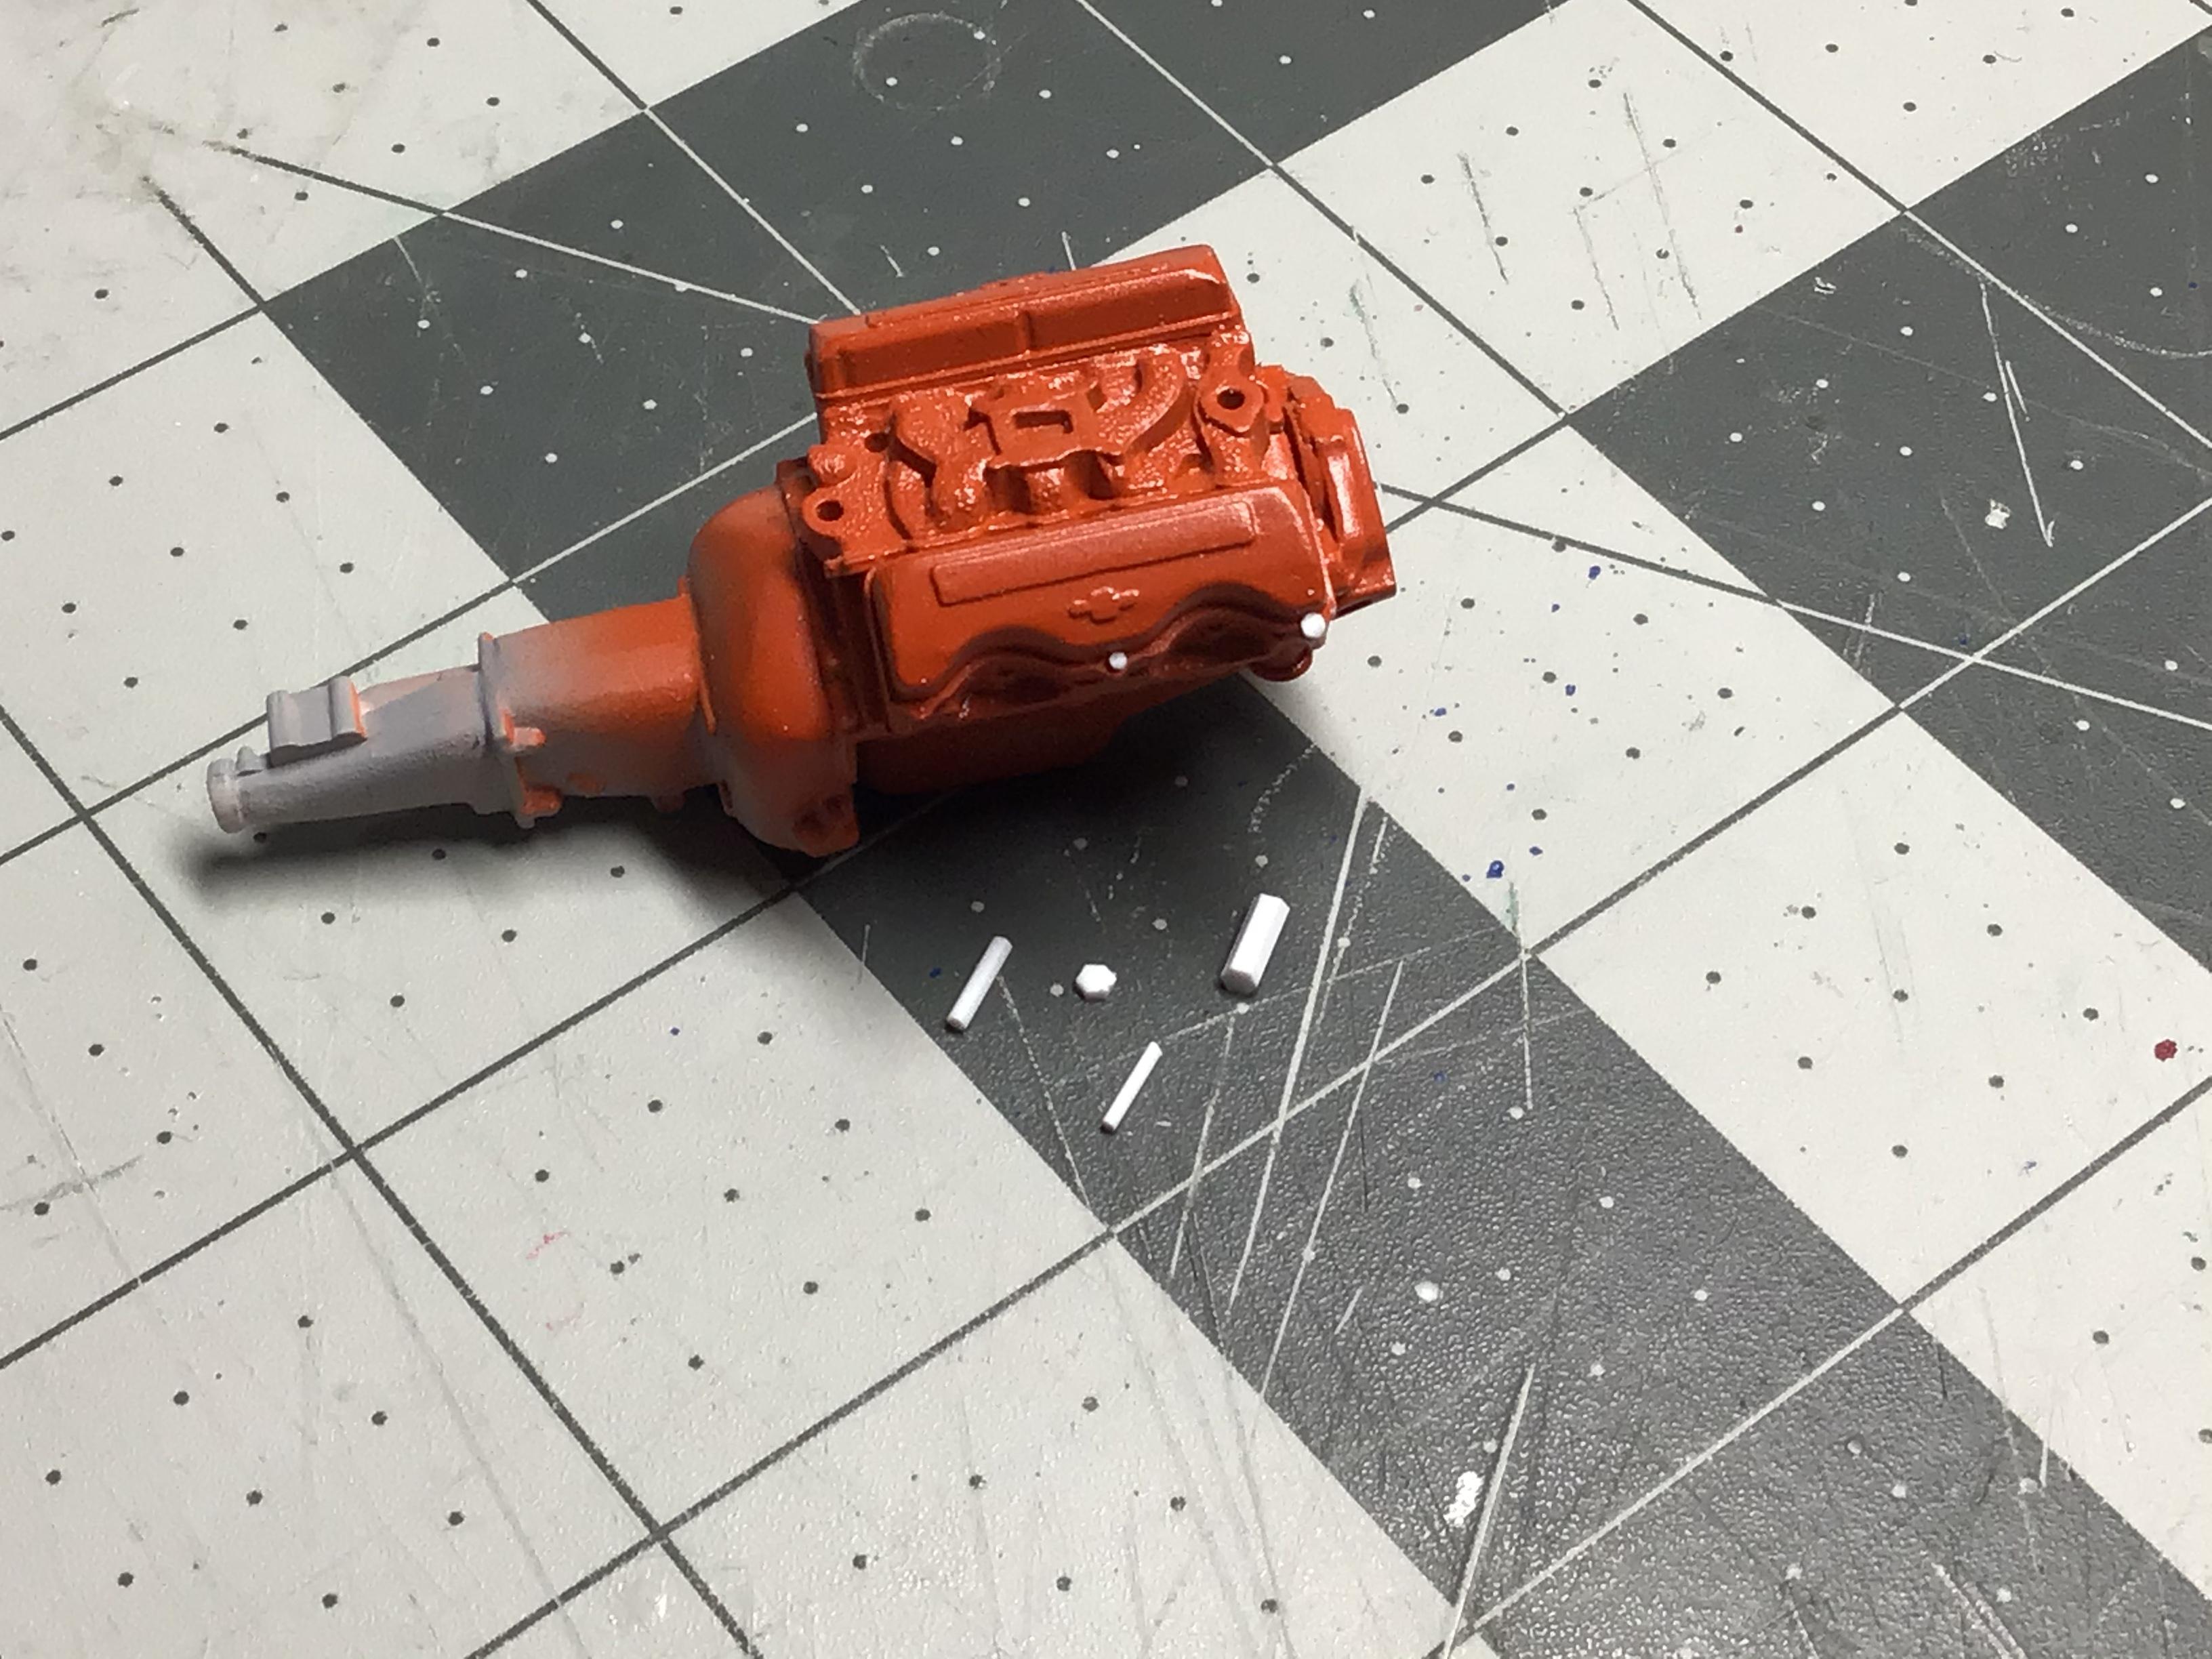
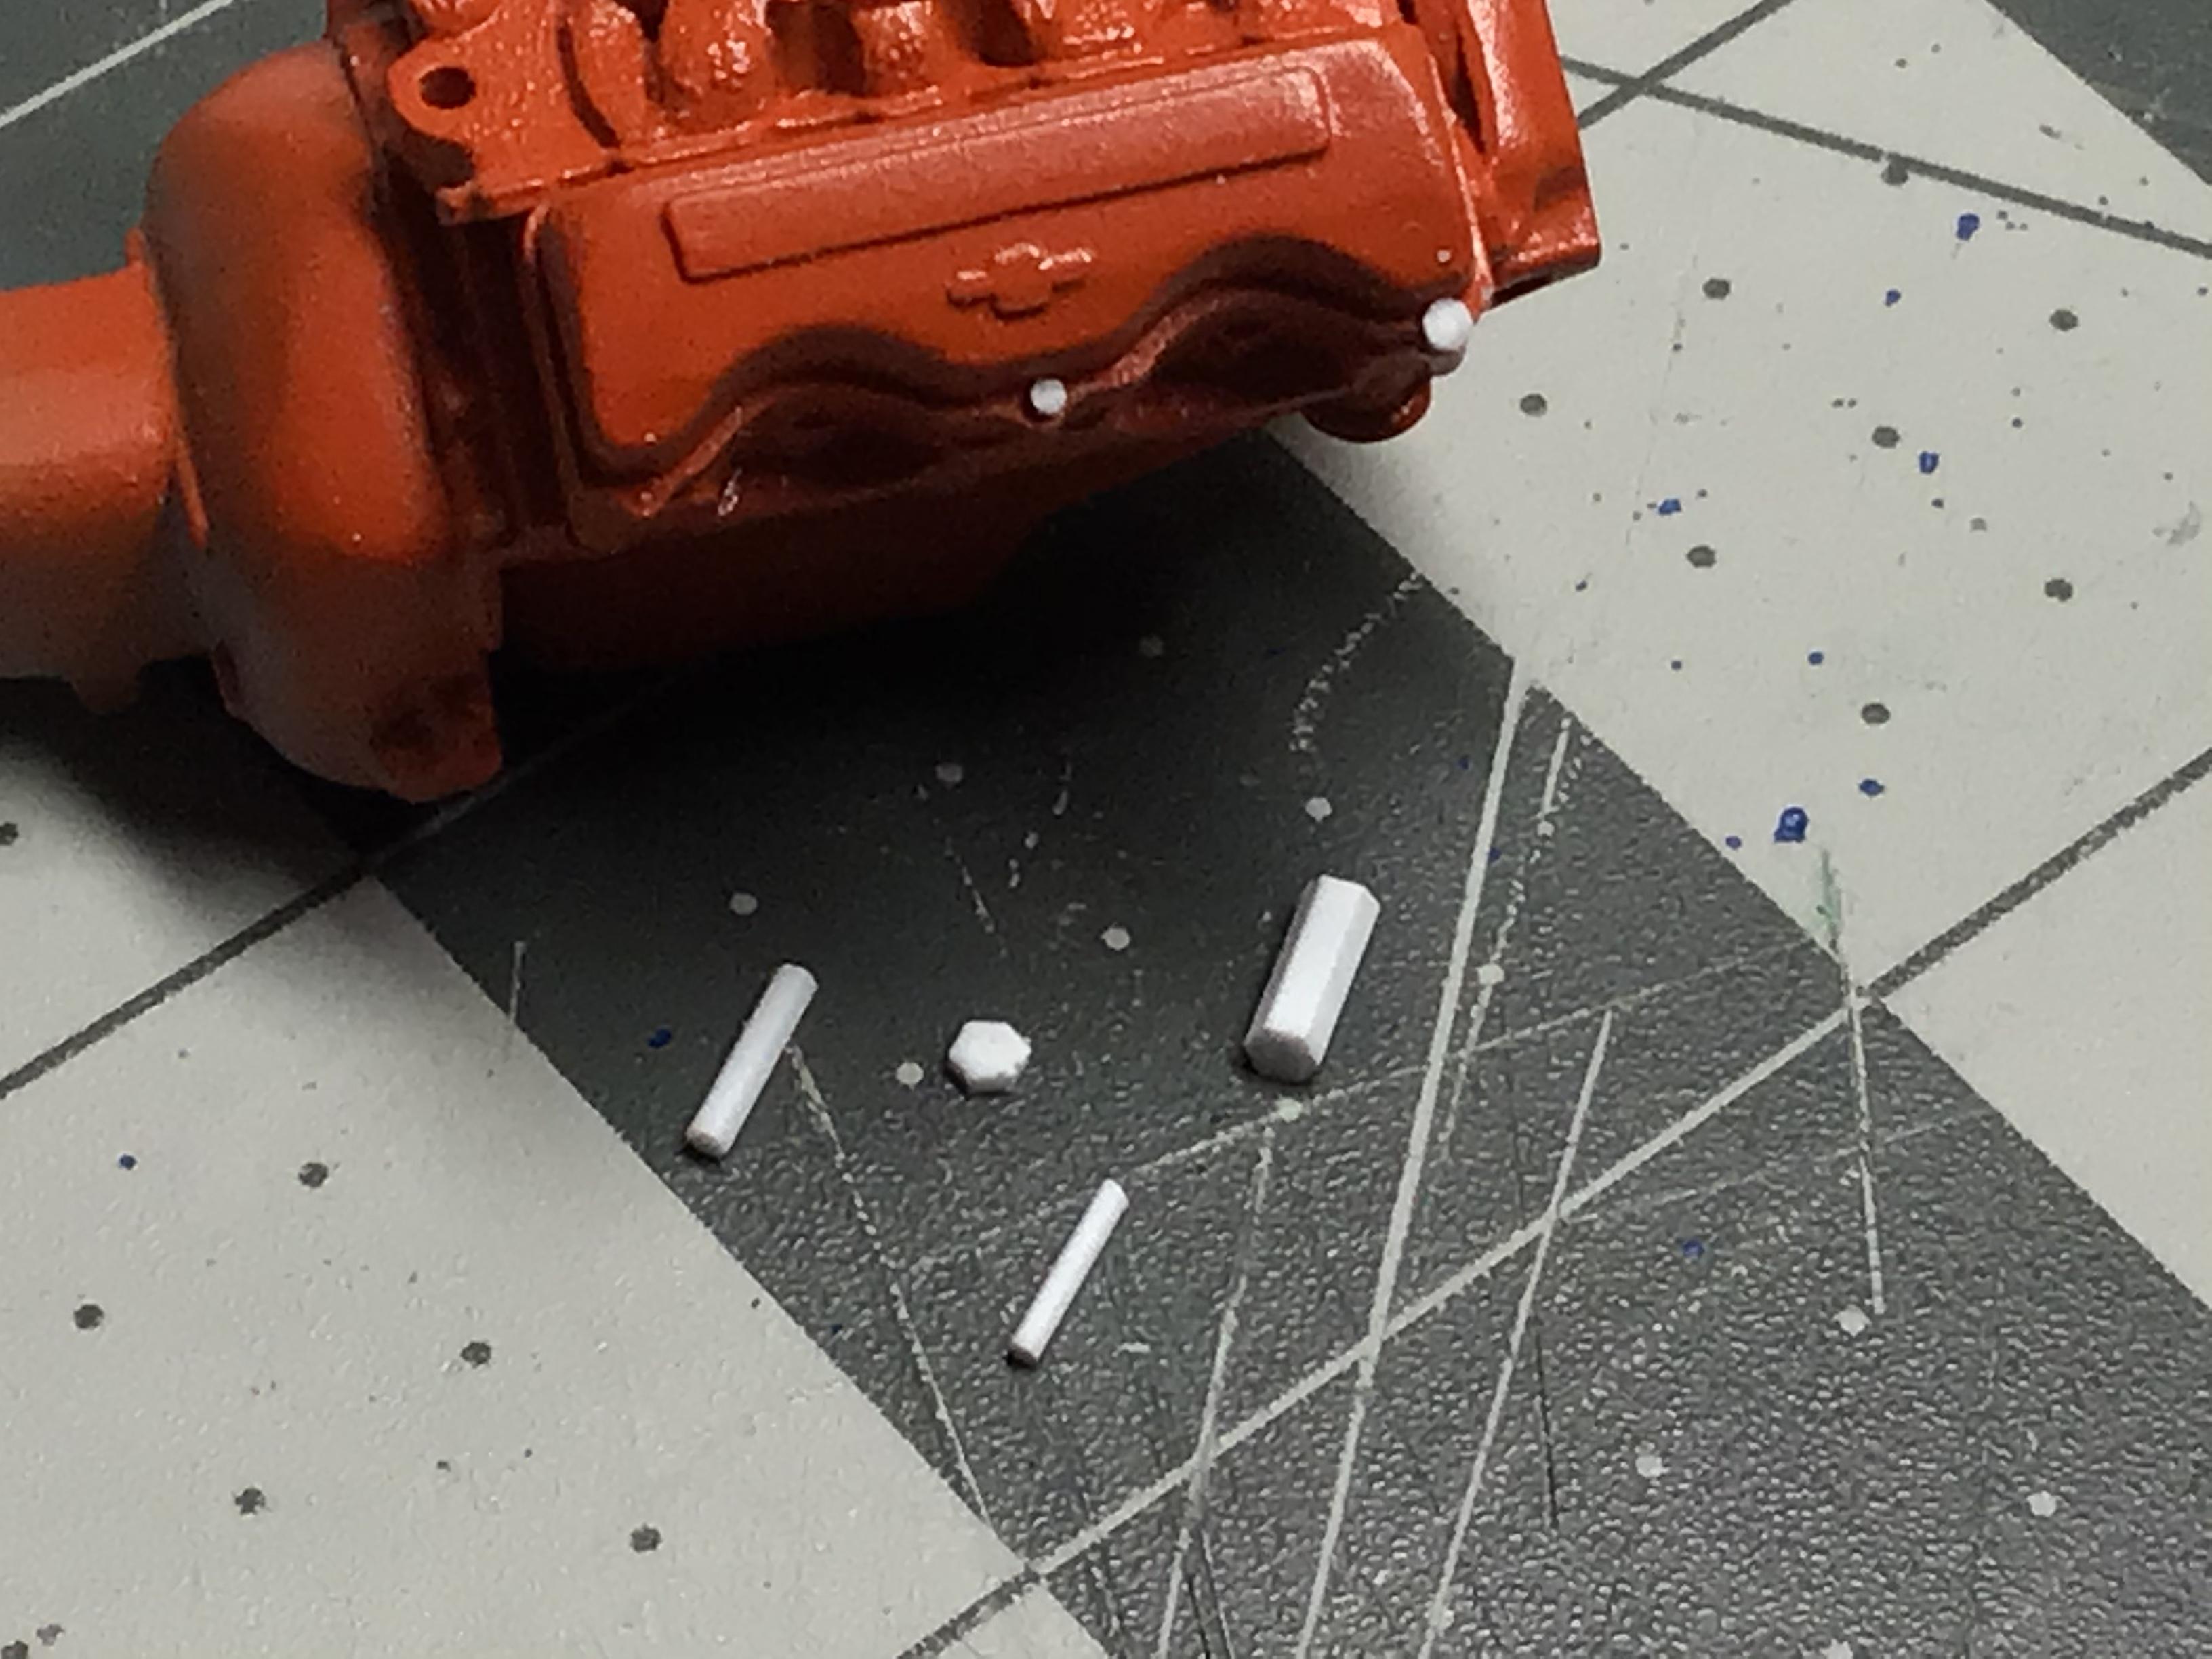
I agree the plastruct rod is not easy to work with. This is a 1/25 scale engine. The slice of hex at the center of the valve cover is .030”. The one at the front is .040”. The one on the cutting matt is .060”. And boy was it fun getting those tiny things off the tweezers due to static electricity. And by naked eye I can’t tell that the .030 is hex.?
-
A couple of close variations... “El-Comino” or “Ol-Comino”?
-
Straight (not tapered) Round Files?
NOBLNG replied to PHPaul's topic in Model Building Questions and Answers
Can’t help with the straight files, but you can wrap sandpaper around an appropriately sized drill bit to do the final finish on the fishmouth...but you probably already know that.? -
Cool project! Looks like He makes some pretty nice stuff...and You do also!
-
The Ugliest Corvette Ever?
NOBLNG replied to stavanzer's topic in General Automotive Talk (Trucks and Cars)
It started off good....then the smell of fiberglass resin took hold.? -
St John Jeep
NOBLNG replied to Tom Geiger's topic in WIP: Model Trucks: Pickups, Vans, SUVs, Light Commercial
It’s coming along nicely Tom. Did you find any paint that colour? It looks like the driver made himself some tube doors in the second photo and also a cushion to sit on. I don’t blame him cause that seat sure looks un-comfy....and we all know how smooth a CJ rides. ? -
Excellent surgery you’re doing on this. It’s gonna be nice!
-
It rained/snowed a bit here last week. Now it’s -32C....-41C with the windchill! ???
-
-
Is this the stuff you’re thinking of? https://www.3dhubs.com/knowledge-base/pla-vs-abs-whats-difference/
-
I don’t throw any small containers out. The wife always asks me if I want containers or jars of any kind before she will toss them in the recycle bin too.
-
1975 Chevy Blazer
NOBLNG replied to Bullybeef's topic in WIP: Model Trucks: Pickups, Vans, SUVs, Light Commercial
Those look like nice projects Bil. I like the Blazers. I have the older amt Crew Chief kit that I hope to get back to someday. -
‘54 Willys P/U
NOBLNG replied to NOBLNG's topic in WIP: Model Trucks: Pickups, Vans, SUVs, Light Commercial
Thanks Tom! It IS a Jeep thing...most people don’t understand it. -
Very nice looking truck, and a great conversion.?
-
‘54 Willys P/U
NOBLNG replied to NOBLNG's topic in WIP: Model Trucks: Pickups, Vans, SUVs, Light Commercial
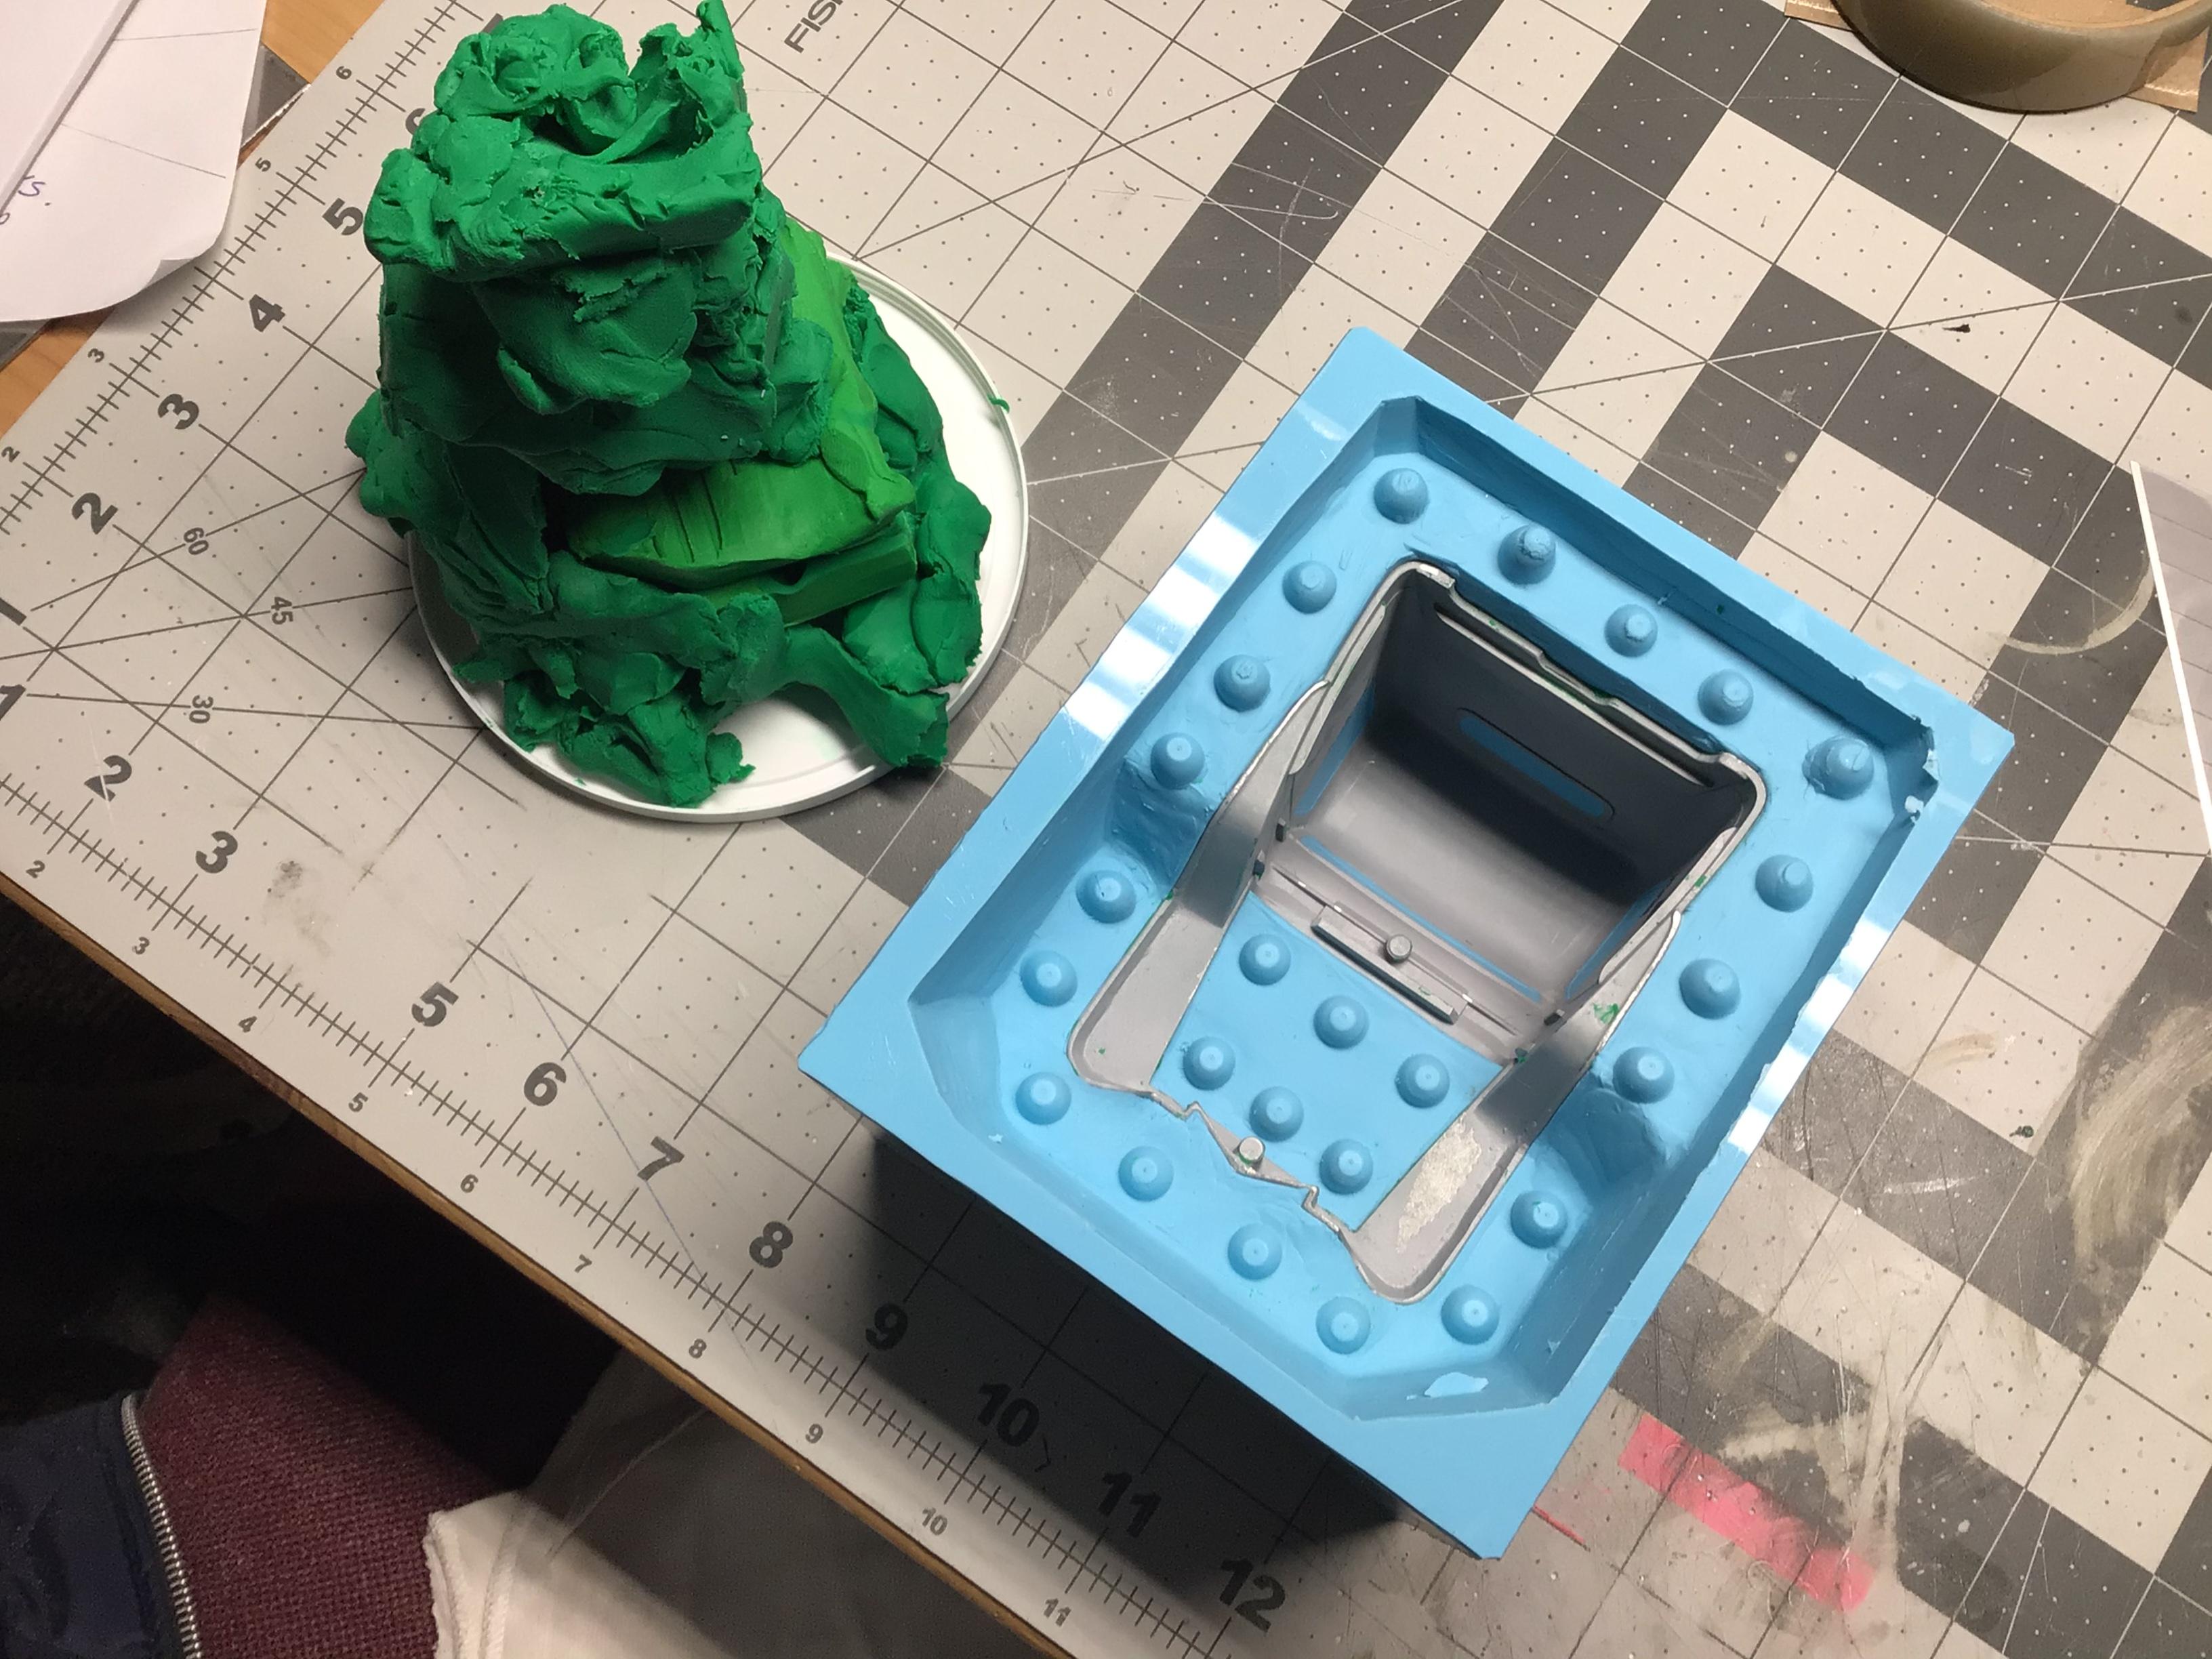
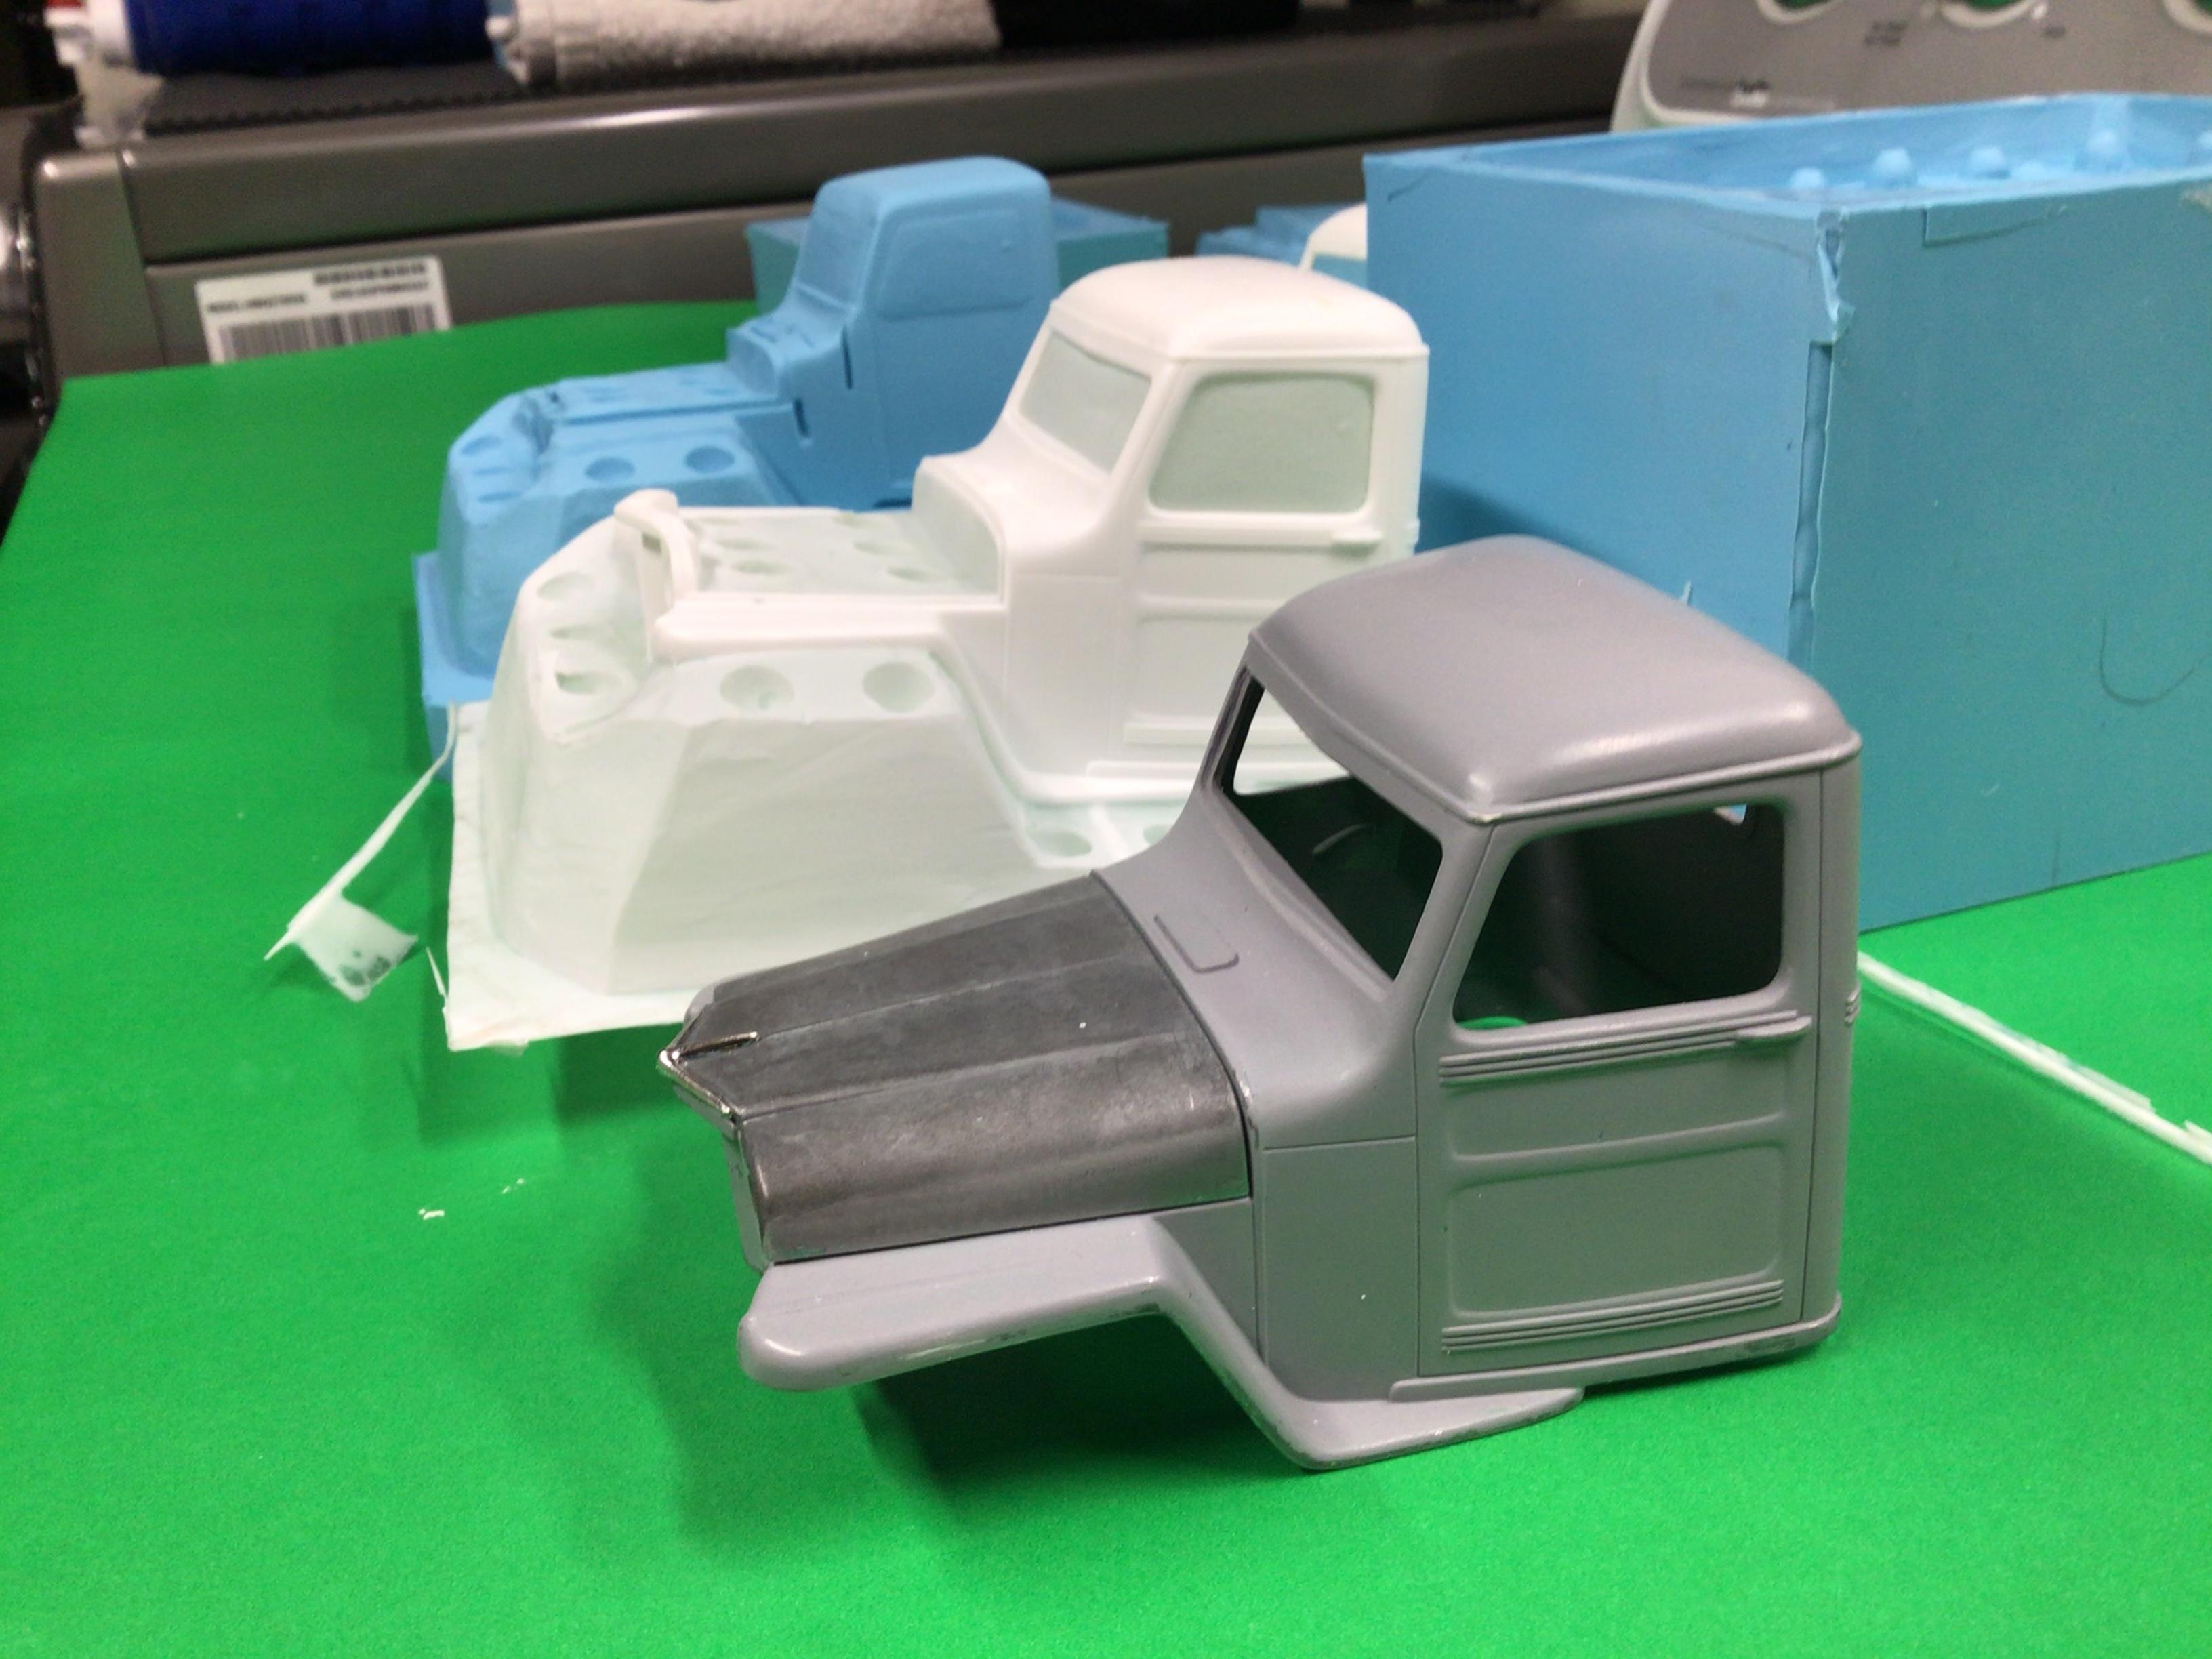
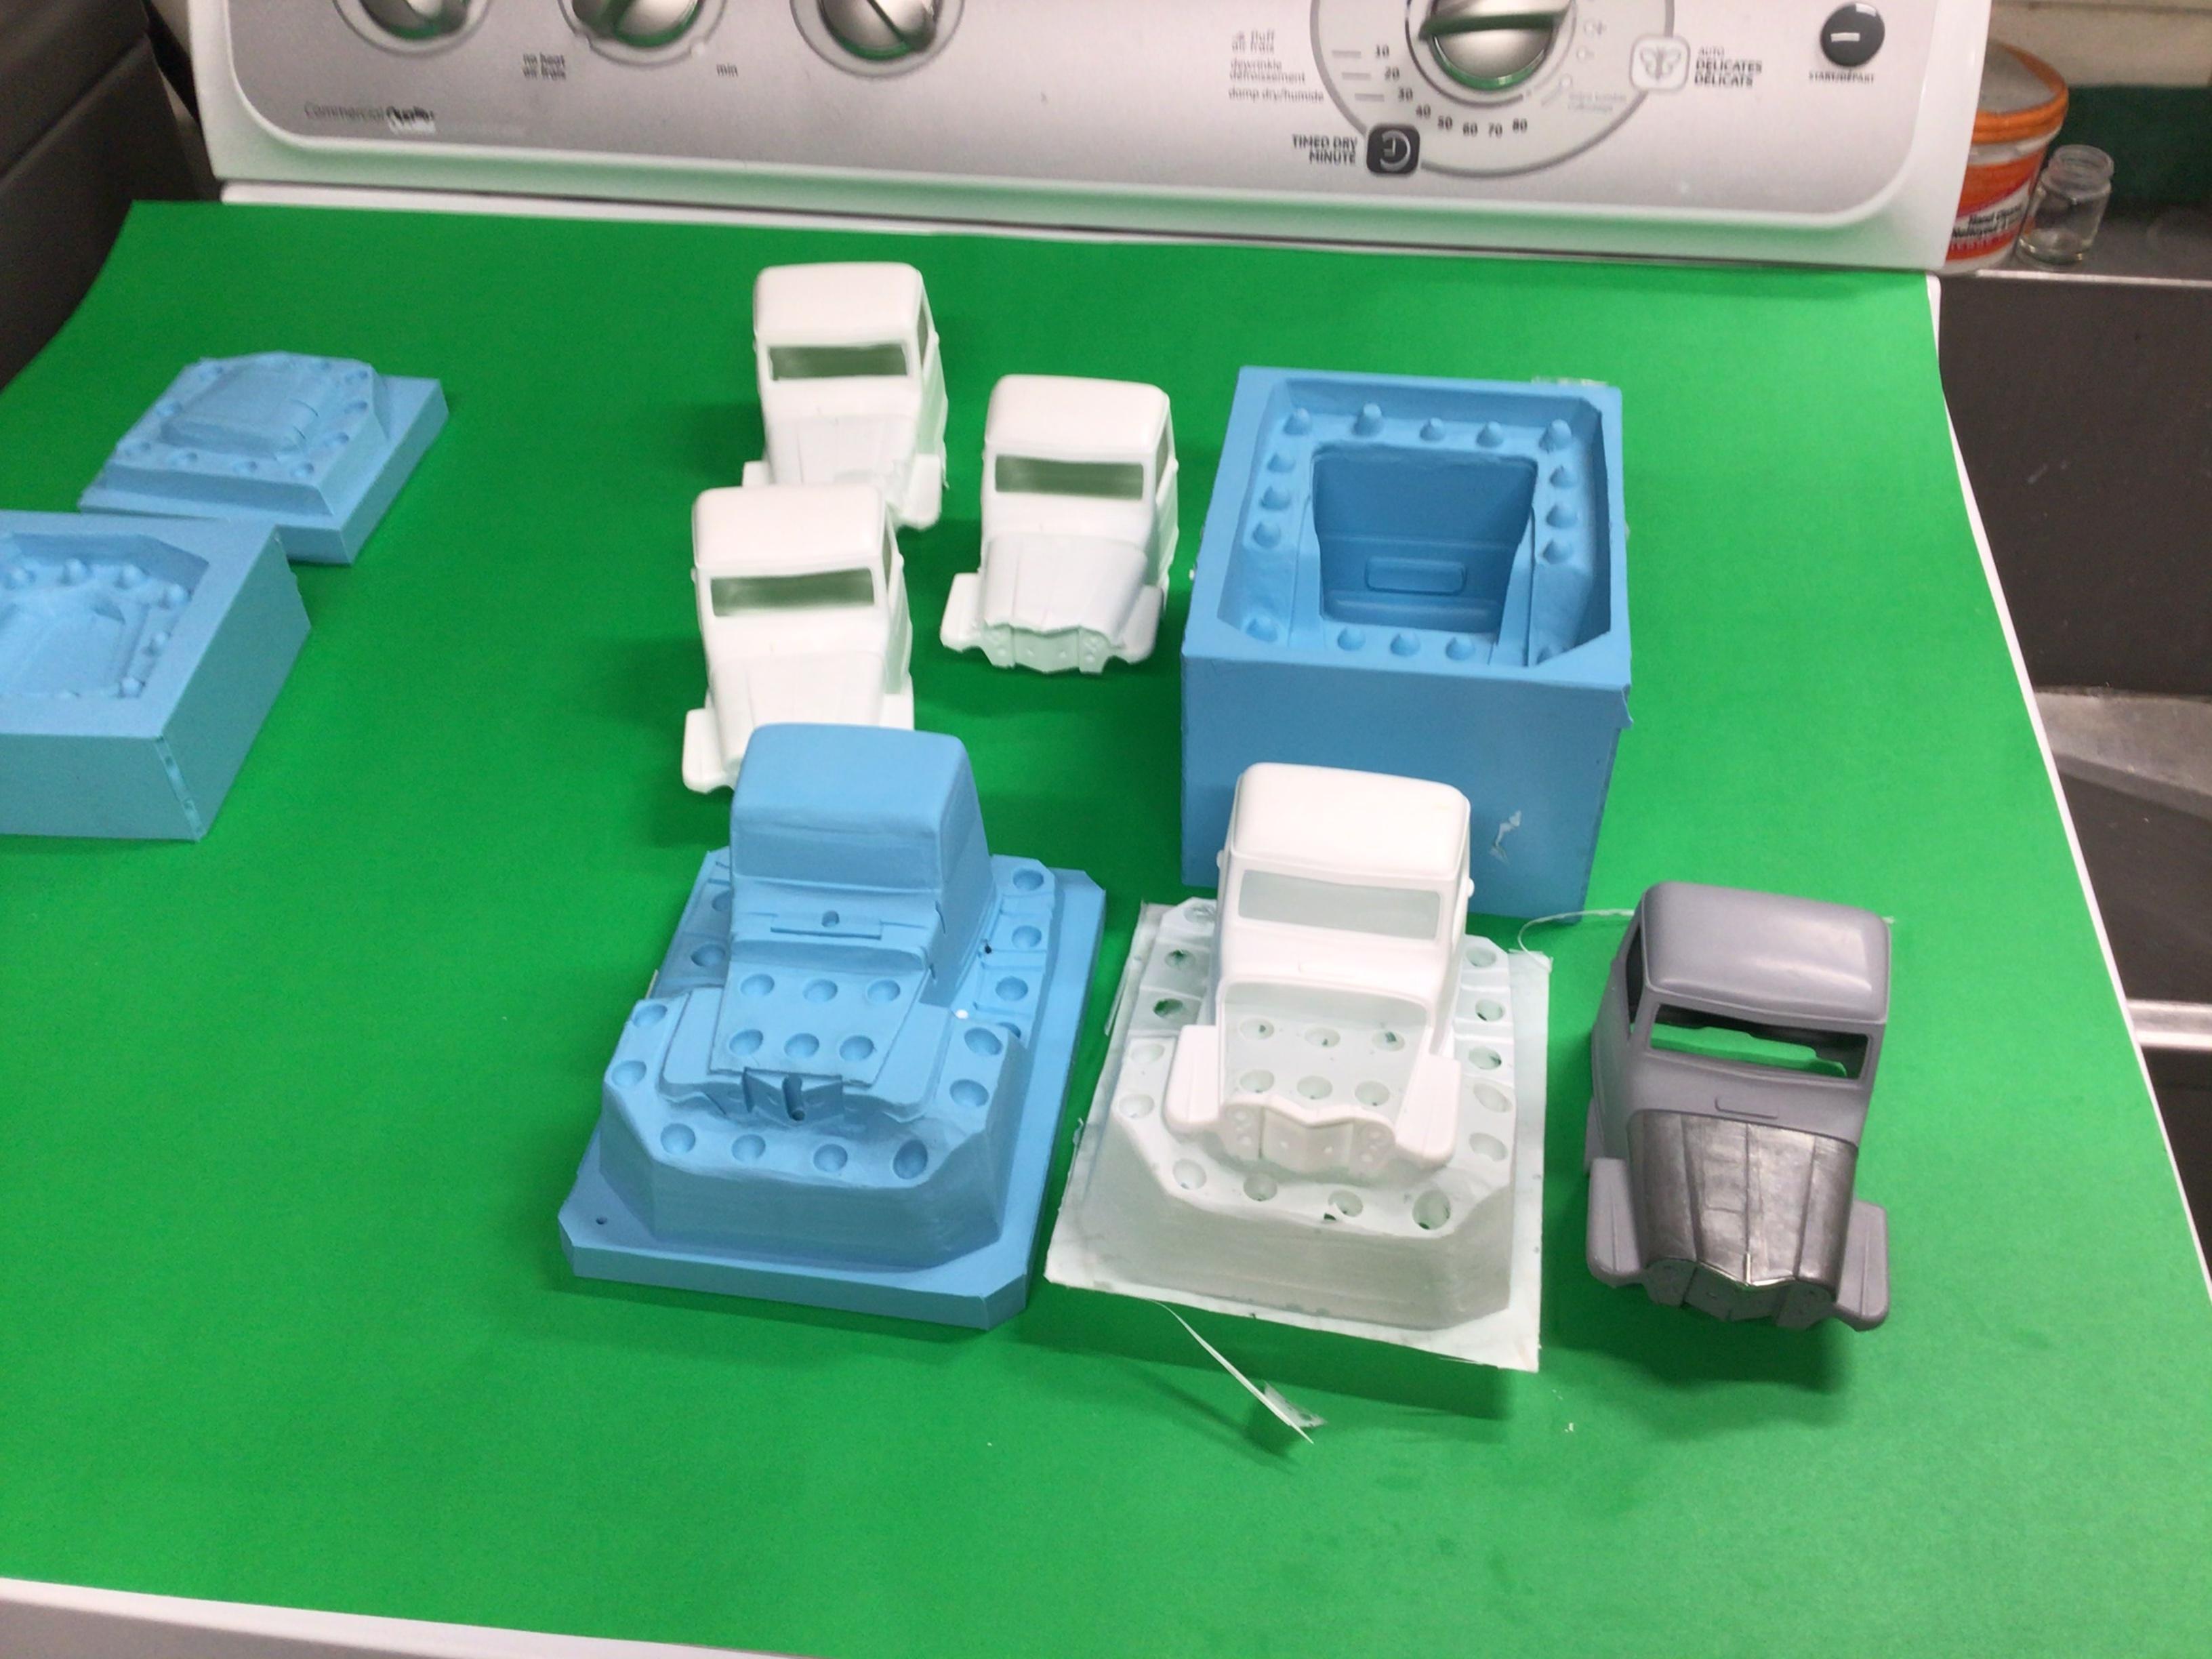
It took me four tries to get a cab that is almost flawless. There’s still a couple tiny air bubbles on the fender edges that can easily be filled. The first three castings have voids in them. There is an inner and outer skin with an airspace between. Two of them are fairly minor so I injected some resin into the void and they may be salvageable. This so far has used up the last of my year-old open bottle of resin...so hopefully fresh stuff will work even better.?
-
‘54 Willys P/U
NOBLNG replied to NOBLNG's topic in WIP: Model Trucks: Pickups, Vans, SUVs, Light Commercial
I re-made the hood mold and will likely redo the floor pan also once I add some body mounts to it.