Bainford
-
Posts
5,194 -
Joined
-
Last visited
Content Type
Profiles
Forums
Events
Gallery
Everything posted by Bainford
-
Cool project. Good work so far.
-

What is your oldest unfinished W.I.P
Bainford replied to Sam I Am's topic in General Automotive Talk (Trucks and Cars)
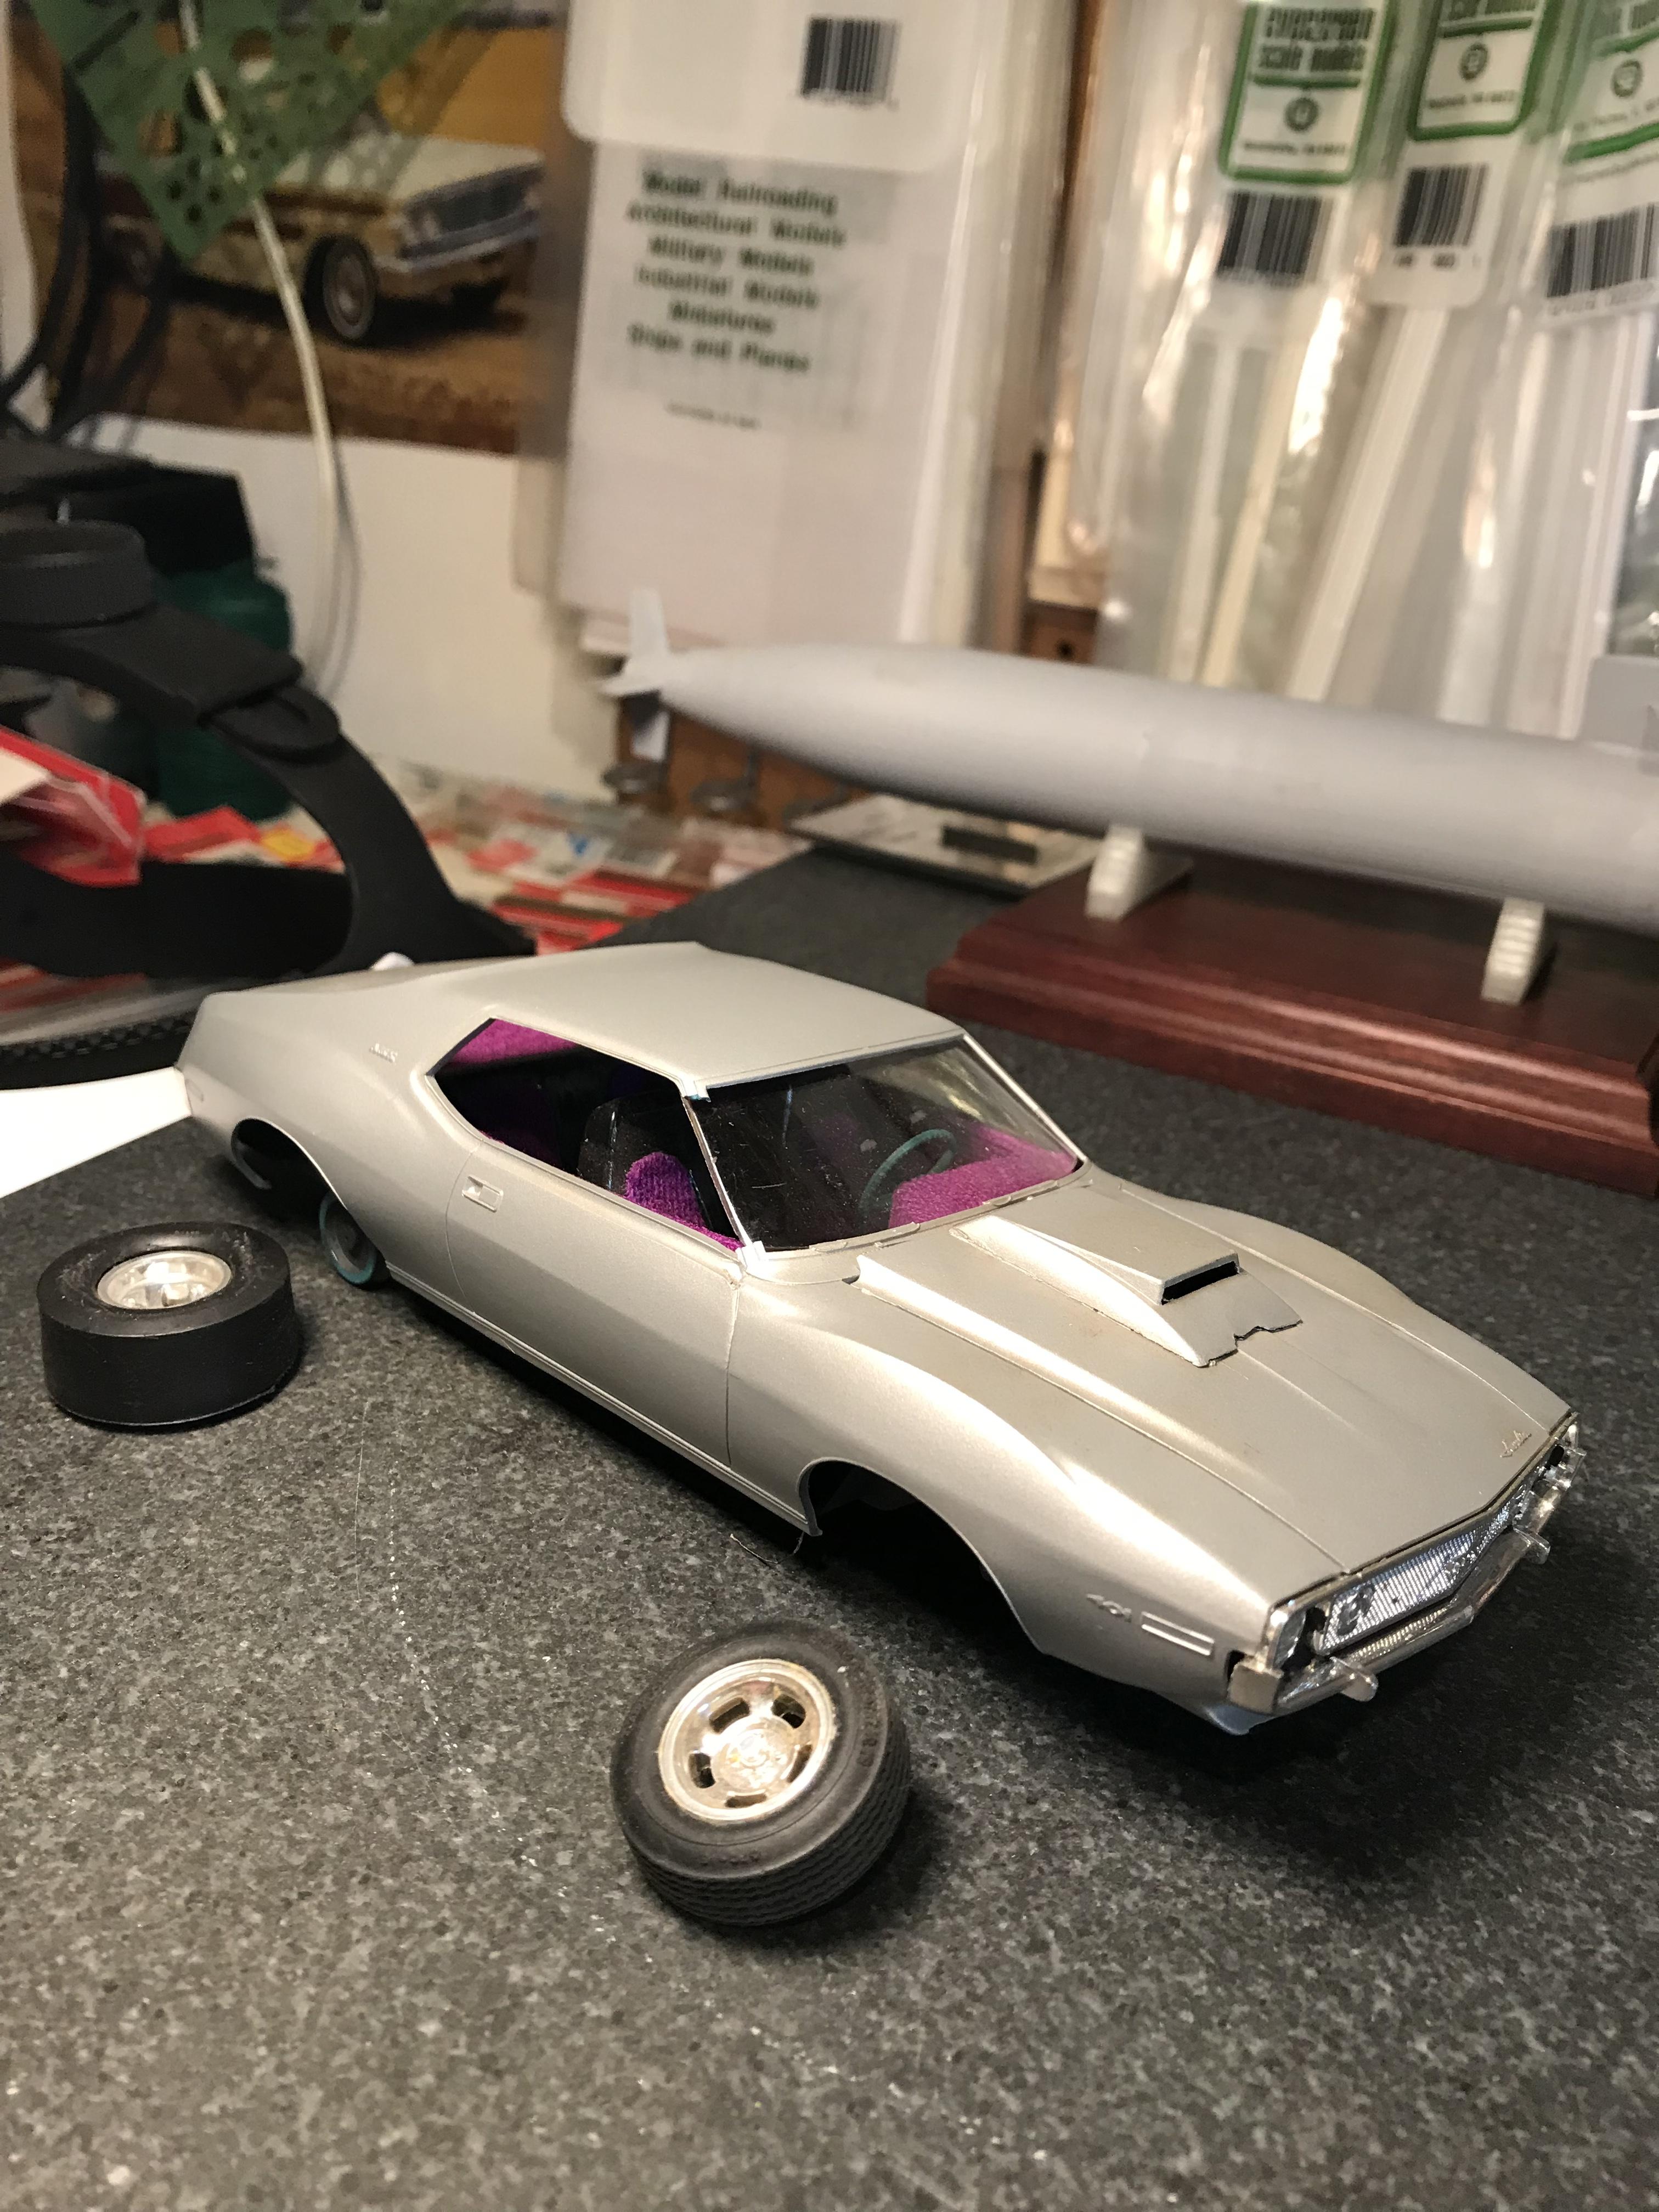
A JoHan Javelin, a JoHan Mustang funny car, and an MPC Pinto, coincidentally all started in 1984. The Pinto went back in the box when ambition out paced talent & knowledge in my attempt to scratch a four link rear suspension. The Javelin, because I didn’t like the direction it was going (your eyes don’t deceive you, that’s purple shag in the interior). I quit the Mustang because I couldn’t find any satisfactory decals (pre-Slixx era, of course). I see now its lost its engine somewhere along the way.
-
Reminds me of when I was living in the Northwest Territories, going to work in morning with temps below -40. The tires on the truck wouldn’t lose their flat spots until I was almost there. It was particularly annoying when the flat spots all synced up.
-
I glue ‘em. The original reason was to ensure the wheels are straight and wobble free. Years later I began to employ the ‘flat spotted tire’ technique which, of course, necessitates glueing the wheels from rolling. I was in my late teens when I hit upon the idea of glueing the wheels solid, but it felt like cheating at the time. To satisfy myself that it wasn’t, I would build to make the wheels roll, then hit them with glue afterwards. No silly pretence nowadays, I just glue ‘em.
-
My favourite Mopar. Looks cool. Cool period stance. Nice clean details. Well done. A word of advice, if I may. A little black wash on the wheels would really wake them up. It can transform the look of the whole model. Cheers
-
Nice conversion. A lot of good work there. I imagine it’s not easy to stuff the large new-Camaro into the little old-Camaro body. Very cool!
-
1963 Lola GT
Bainford replied to Gramps46's topic in WIP: Other Racing: Road Racing, Land Speed Racers
The Lola is looking great, Gary. Coming along beautifully. -
1970 Pontiac Super Stocker
Bainford replied to Zippi's topic in WIP: Other Racing: Road Racing, Land Speed Racers
One of my favourite series of car kits. I grew up on a steady diet of asphalt late-models, and these MPC kits emulate them nicely. Looking forward to seeing this one come together. -
The paint is looking very nice. Bummer about the 2" drop (4 feet, in scale), but you recovered nicely. I've been casually keeping an eye out for one of these kits for a few years now. I had no idea they were getting that dear. I do hope they reissue this kit sometime soon.
-
Welcome to the forum, Jim. The Comet is wicked cool. There is a lot of information on the site about working with resin. Any specific questions you may have, try a post in the 'Question & Answers section of the forum. Cheers.
-
3D Printed Wire Wheels
Bainford replied to MrObsessive's topic in Car Aftermarket / Resin / 3D Printed
Bill, that is some crazy impressive work. I continue to be blown away by what you and others have made possible with 3D printing. -
The engine bay really looks the business, Bill. Nicely done.
-
Very cool, Jim. Digging the wild paint. I am intrigued by the vinyl number on the window. Is this stuff a thin self-adhesive vinyl? Is it available in other colours, especially straight chrome-look without the colour tint? And did you make the number with a cricut, or something similar? I have a 70s stock car project I'm gathering stuff for, and have yet to find a solution for the chrome-look numbers on the doors and roof. I was aware of chrome-look adhesive vinyl, but figured it would be quite thick, but yours seems very thin. The cutting of the number looks very clean, too.
-
Impressive project.
-
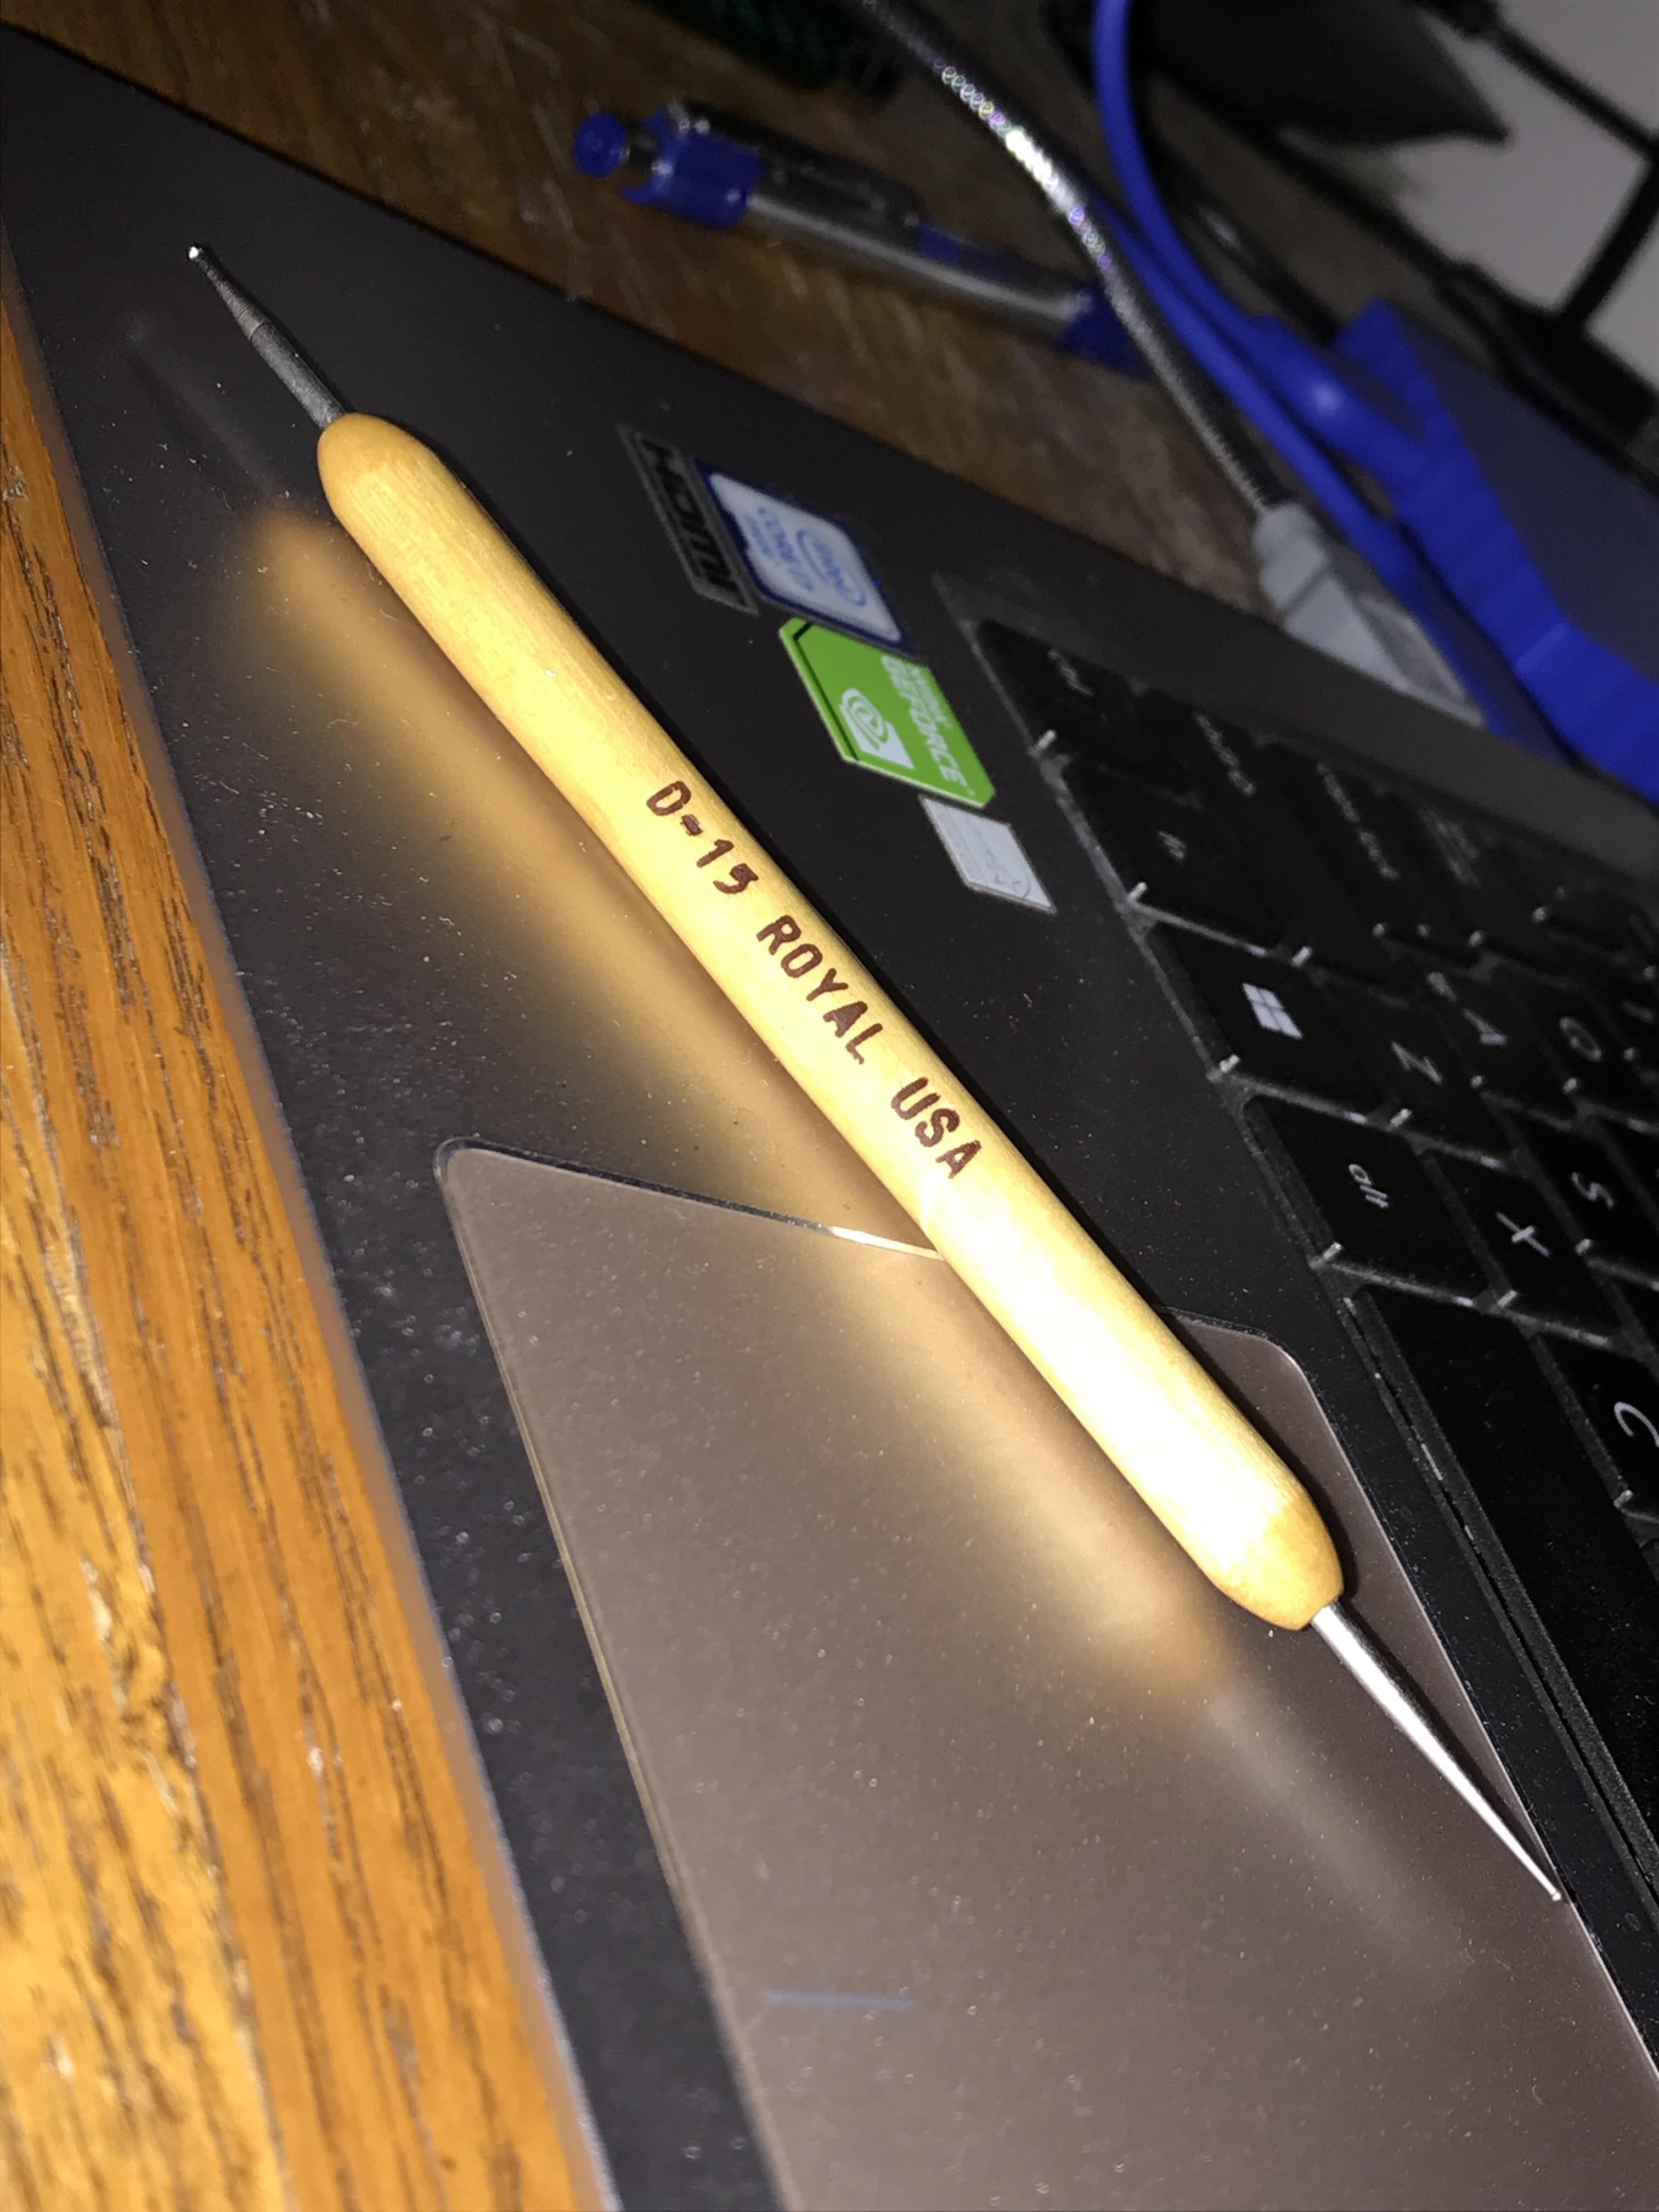
Cheers Gary. I have something similar to that, purchased at an art store. Actually, I unwittingly bought a second identical one a few years ago, so I have one I can dedicate as a paint/glue applicator.
-
Solder exhaust system advice needed
Bainford replied to Monty's topic in Model Building Questions and Answers
Like Greg says, solid core for sure, and be sure to use lead-free solder. CA or epoxy for glue. I use CA. For a stock sixties car, I would use 2 mm (.080") solder, which is equivalent to a 2 inch pipe. For a modified street car, go for the 2.5 mm. -
Great idea, Gary. The box trick looks very handy. What is the end of the finger nail stick like? Is it a brush of sorts?
-
Very nicely done, Lee. A beautiful build of an old and challenging kit. I attempted one in my teens but never finished it. I have another in the stash, and someday hope to conquer that kit. Yours is an inspiration.
-
1941 Chevrolet Panel Truck
Bainford replied to Sam I Am's topic in WIP: Model Trucks: Pickups, Vans, SUVs, Light Commercial
Cool project. The ‘41 looks great as a panel. Nice work on the floor. -
Ford J car
Bainford replied to 65slotcar's topic in 1:1 Reference Photos: Auto Shows, Personal vehicles (Cars and Trucks)
Cheers Rex. I didn't realise both front ends were provided in the kit. -
Nice little Pontiac, Ismael. Nice clean work in small scale.
-
Ford J car
Bainford replied to 65slotcar's topic in 1:1 Reference Photos: Auto Shows, Personal vehicles (Cars and Trucks)
Nice J Car, Rex. Beautiful. I didn’t realise the kits were released in both pickle fork nose and conventional nose. Mine is not the pickle fork version. I thought I read once that the MPC kits were available in both clear body and white. Is yours white body? This is one I got a few years ago in a box of built 60s & 70s kits. Instructions and decals too, though the decals are looking a little spotty.
-
Thanks for that Jason. I just had a look. It would cost me $184 CDN to get it to my door. Unfortunately ordering kits in the US has become a no-go for many in Canada due to the exorbitant shipping costs of the last few years. Sites like ebay are pretty much off limits now, as everything is at least $40-$50 to ship (not to mention the hefty export charge ebay has taken upon themselves to charge everything coming to Canada). I think that inadvertently turned into a bit of a rant. Anyway, I will be keeping an eye out for one of these kits, though. The Citroen is a cool machine, and I've been anxious to try an Ebbro kit. Cheers.
-
'65 Shelby GT350...
Bainford replied to Mothersworry's topic in Other Racing: Road Racing, Salt Flat Racers
Very nice Shelby. Great original, mostly-unmodified look. Love it! -
The Sizzling Duck! Named, of course, for its blistering acceleration of 0-100 km/h in 54.5 seconds. Cool build of this interesting, limited production model. Nice clean work. You nailed the look. Well done.