-
Posts
2,961 -
Joined
-
Last visited
Content Type
Profiles
Forums
Events
Gallery
Everything posted by randyc
-
Doggone it - have to dig mine out now... Maybe some lesser tires/wheels though... or maybe not. NICE!
-
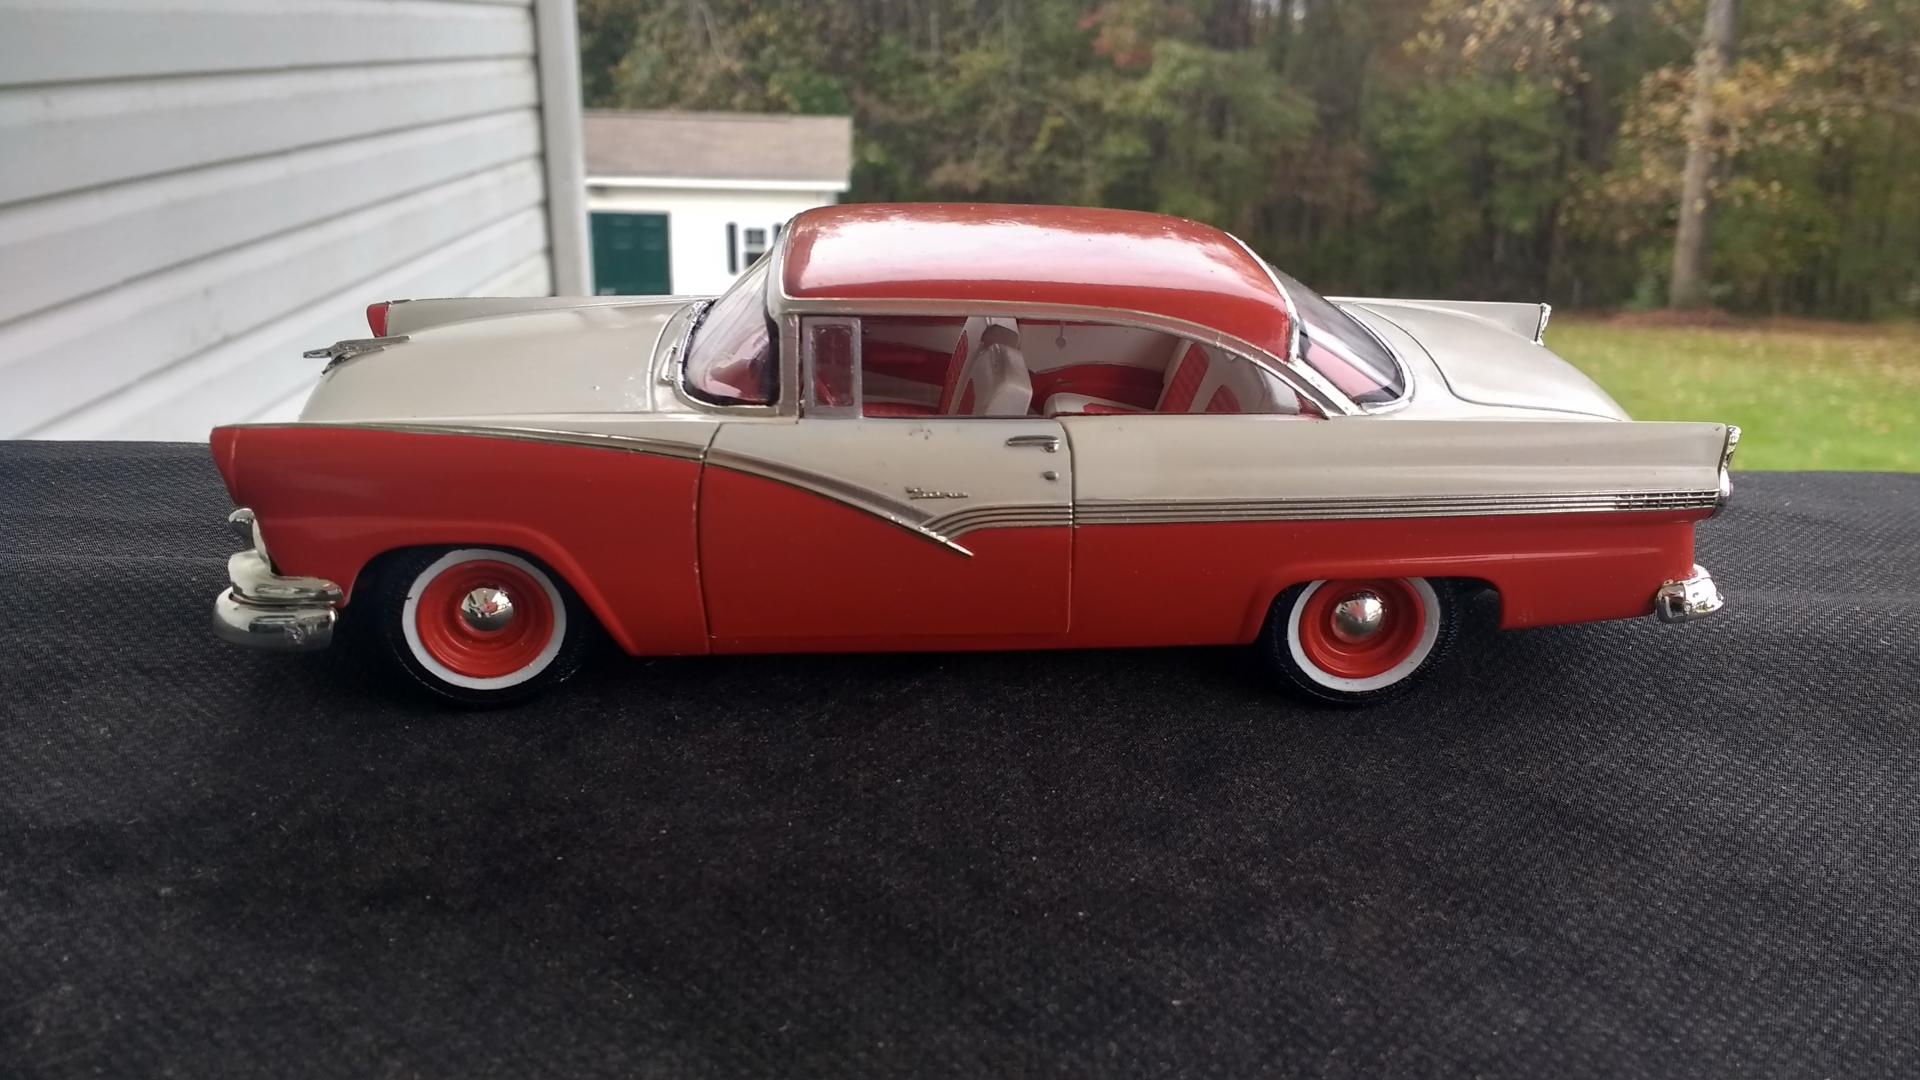
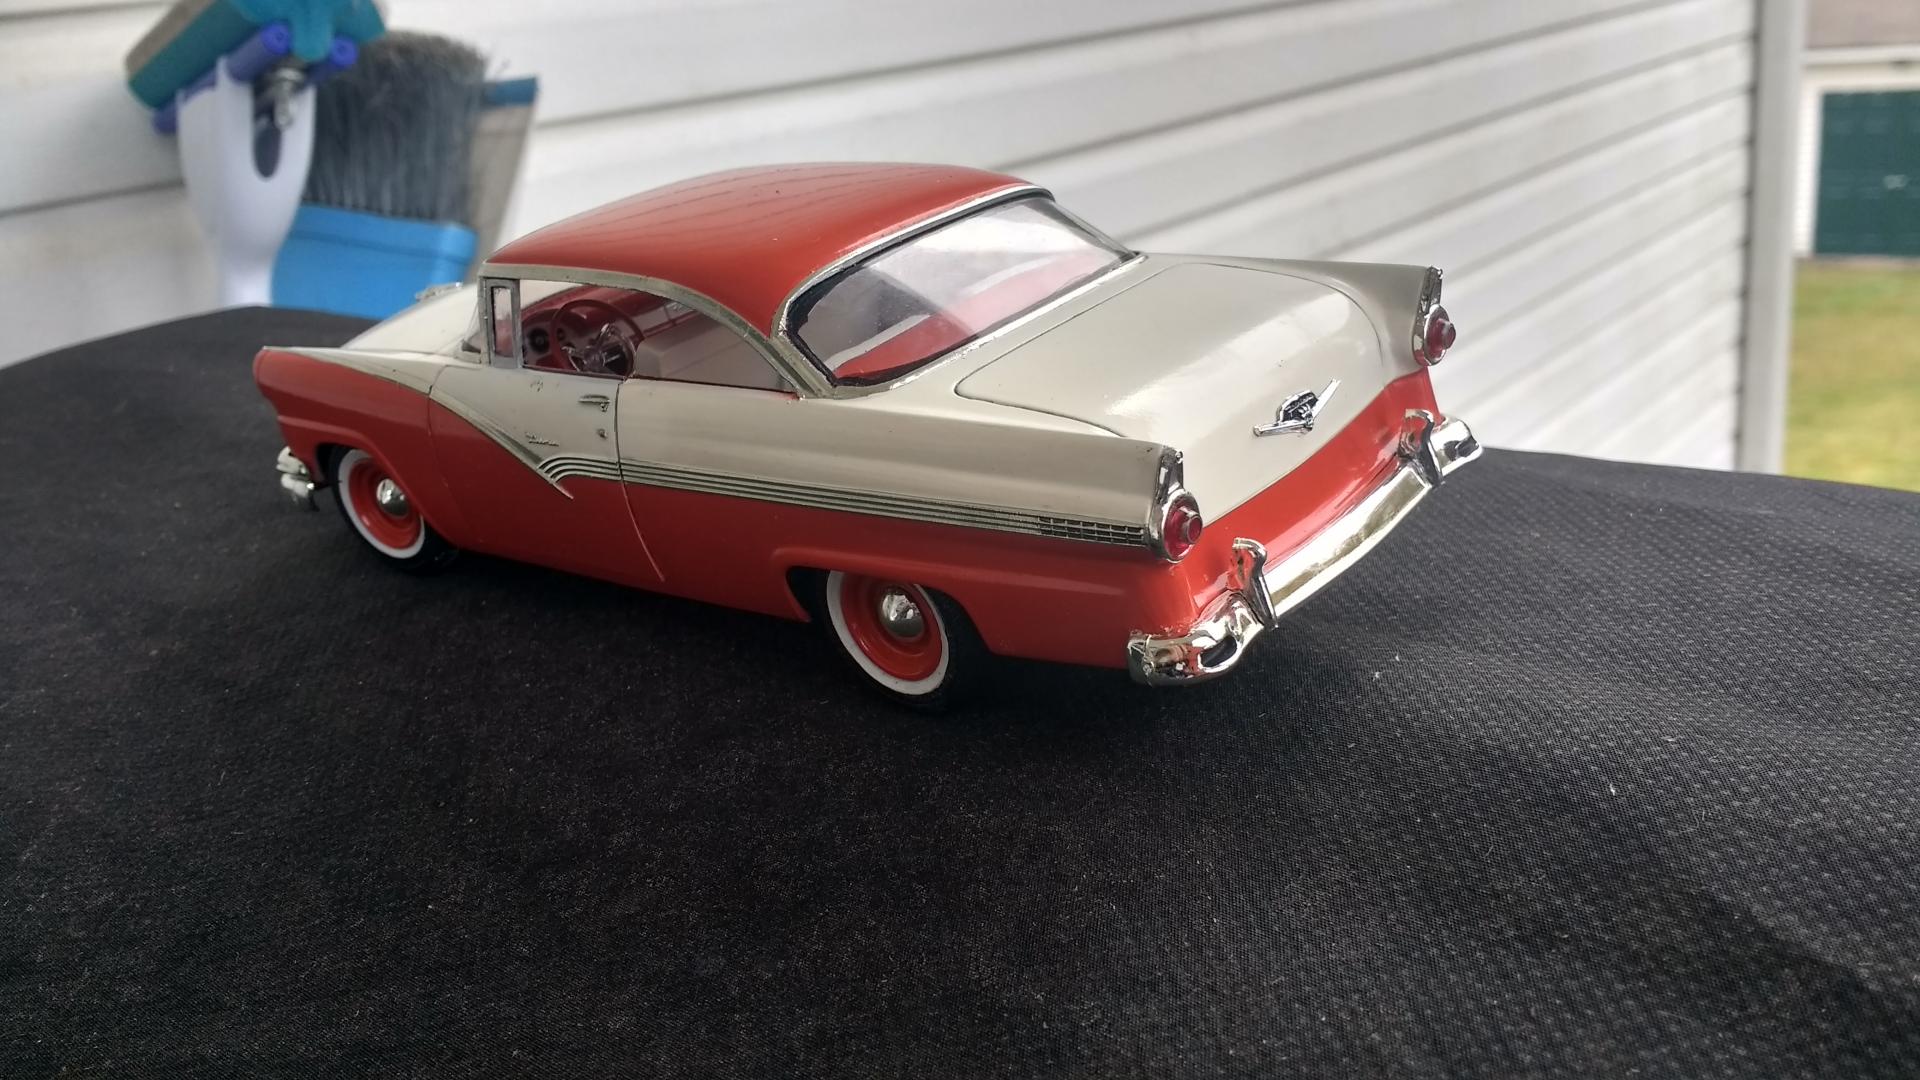
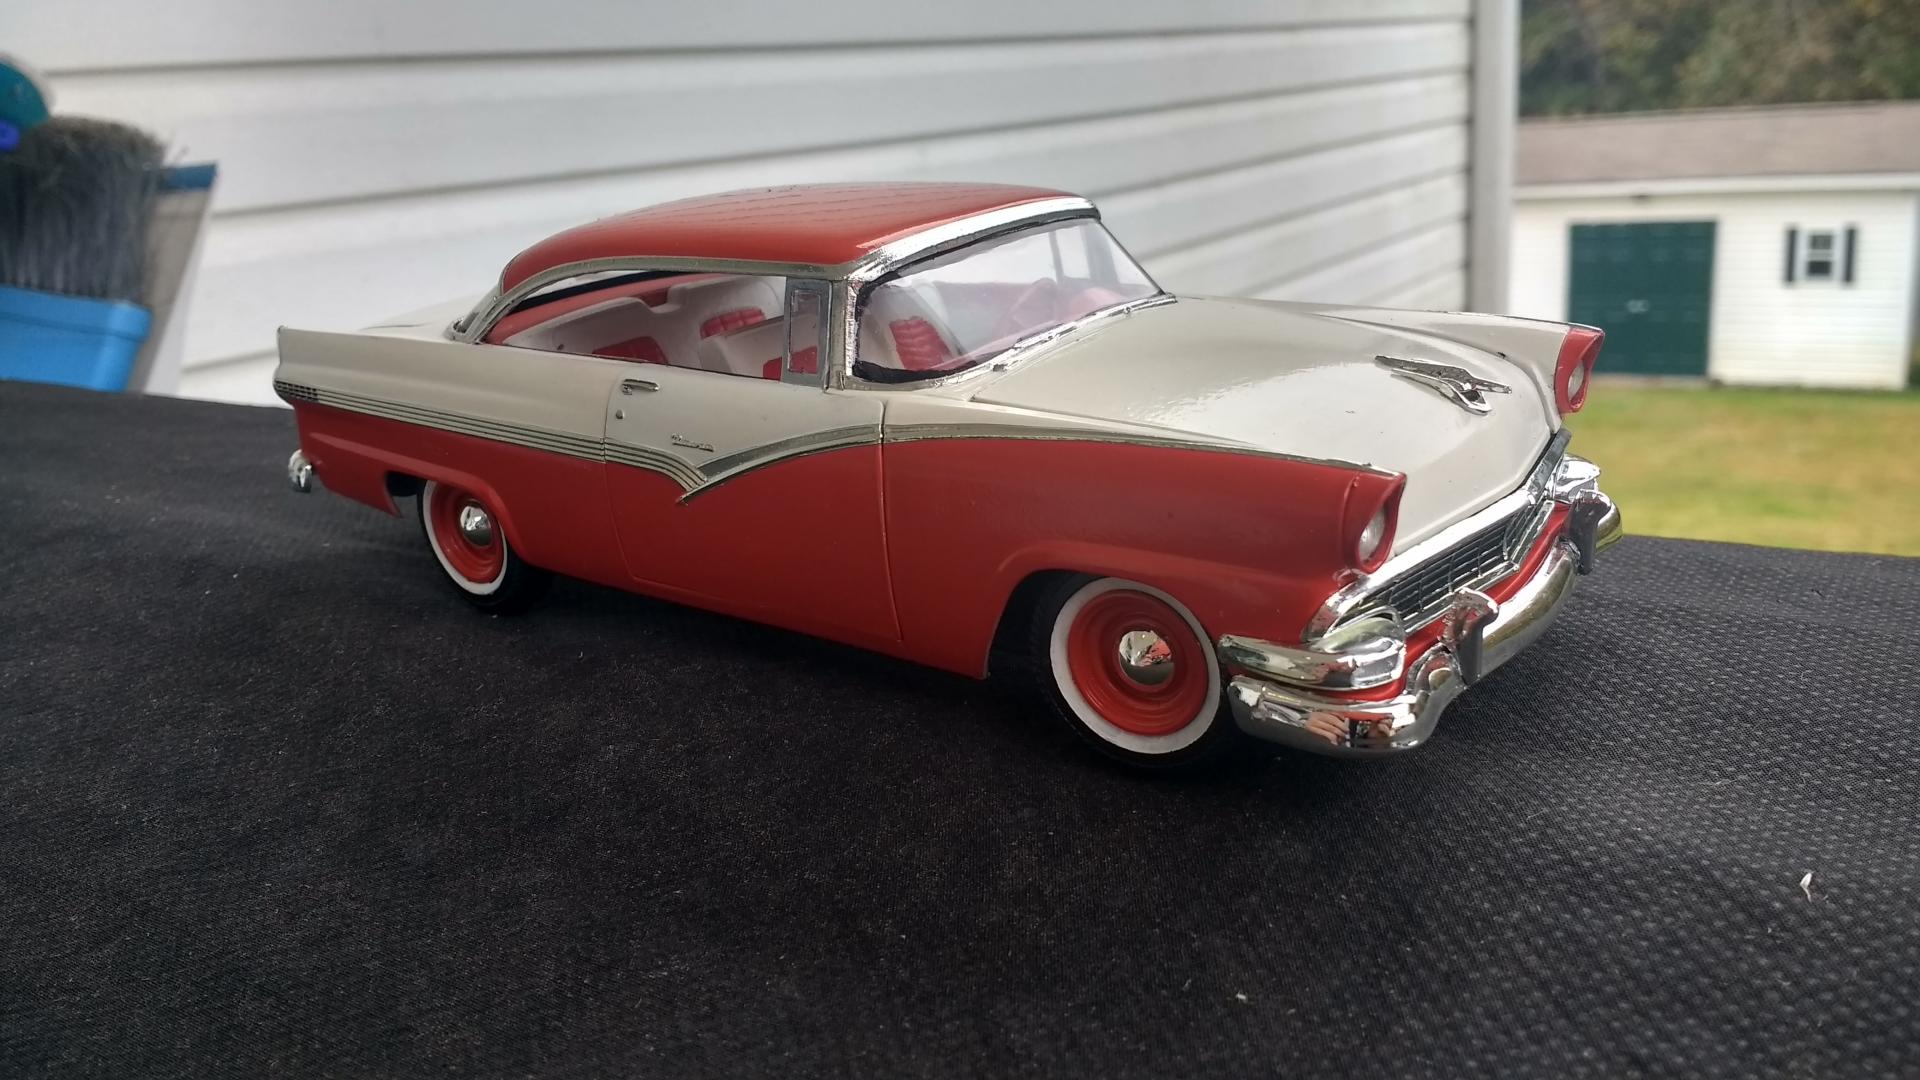
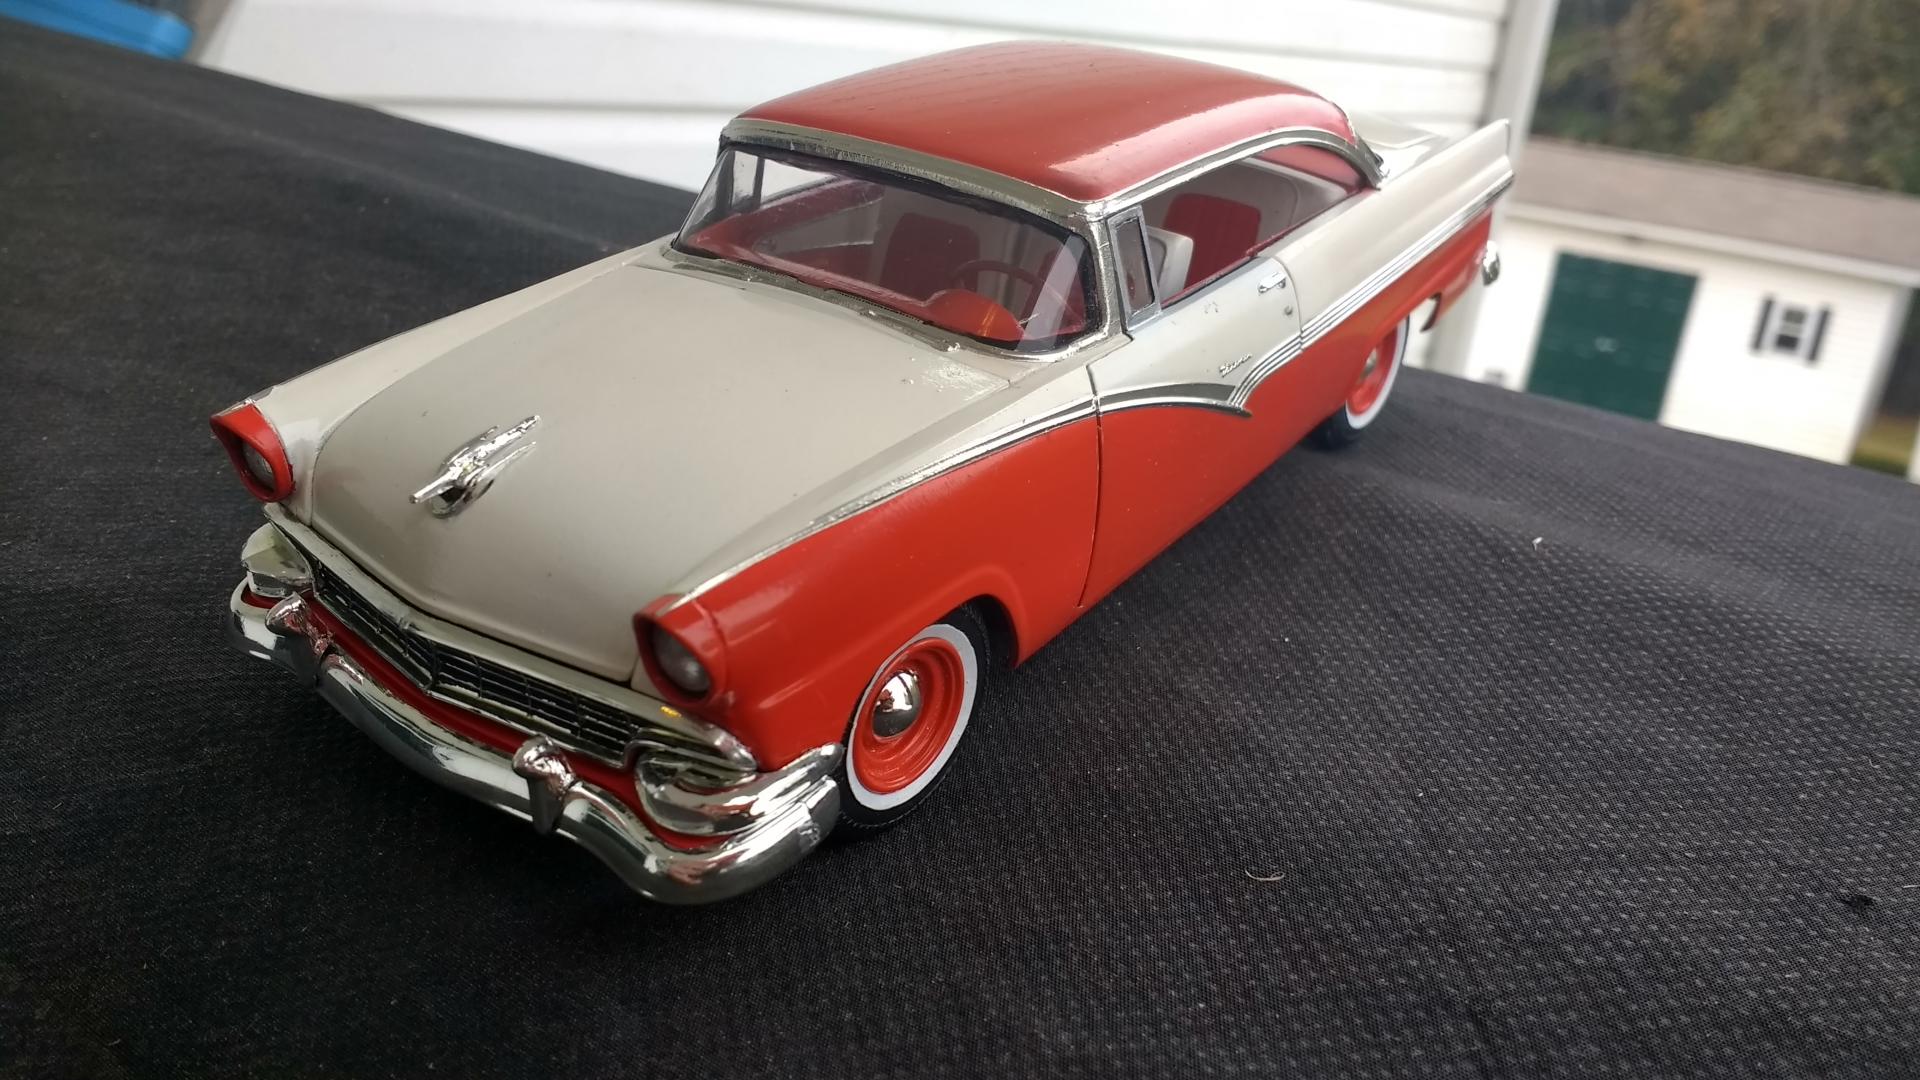
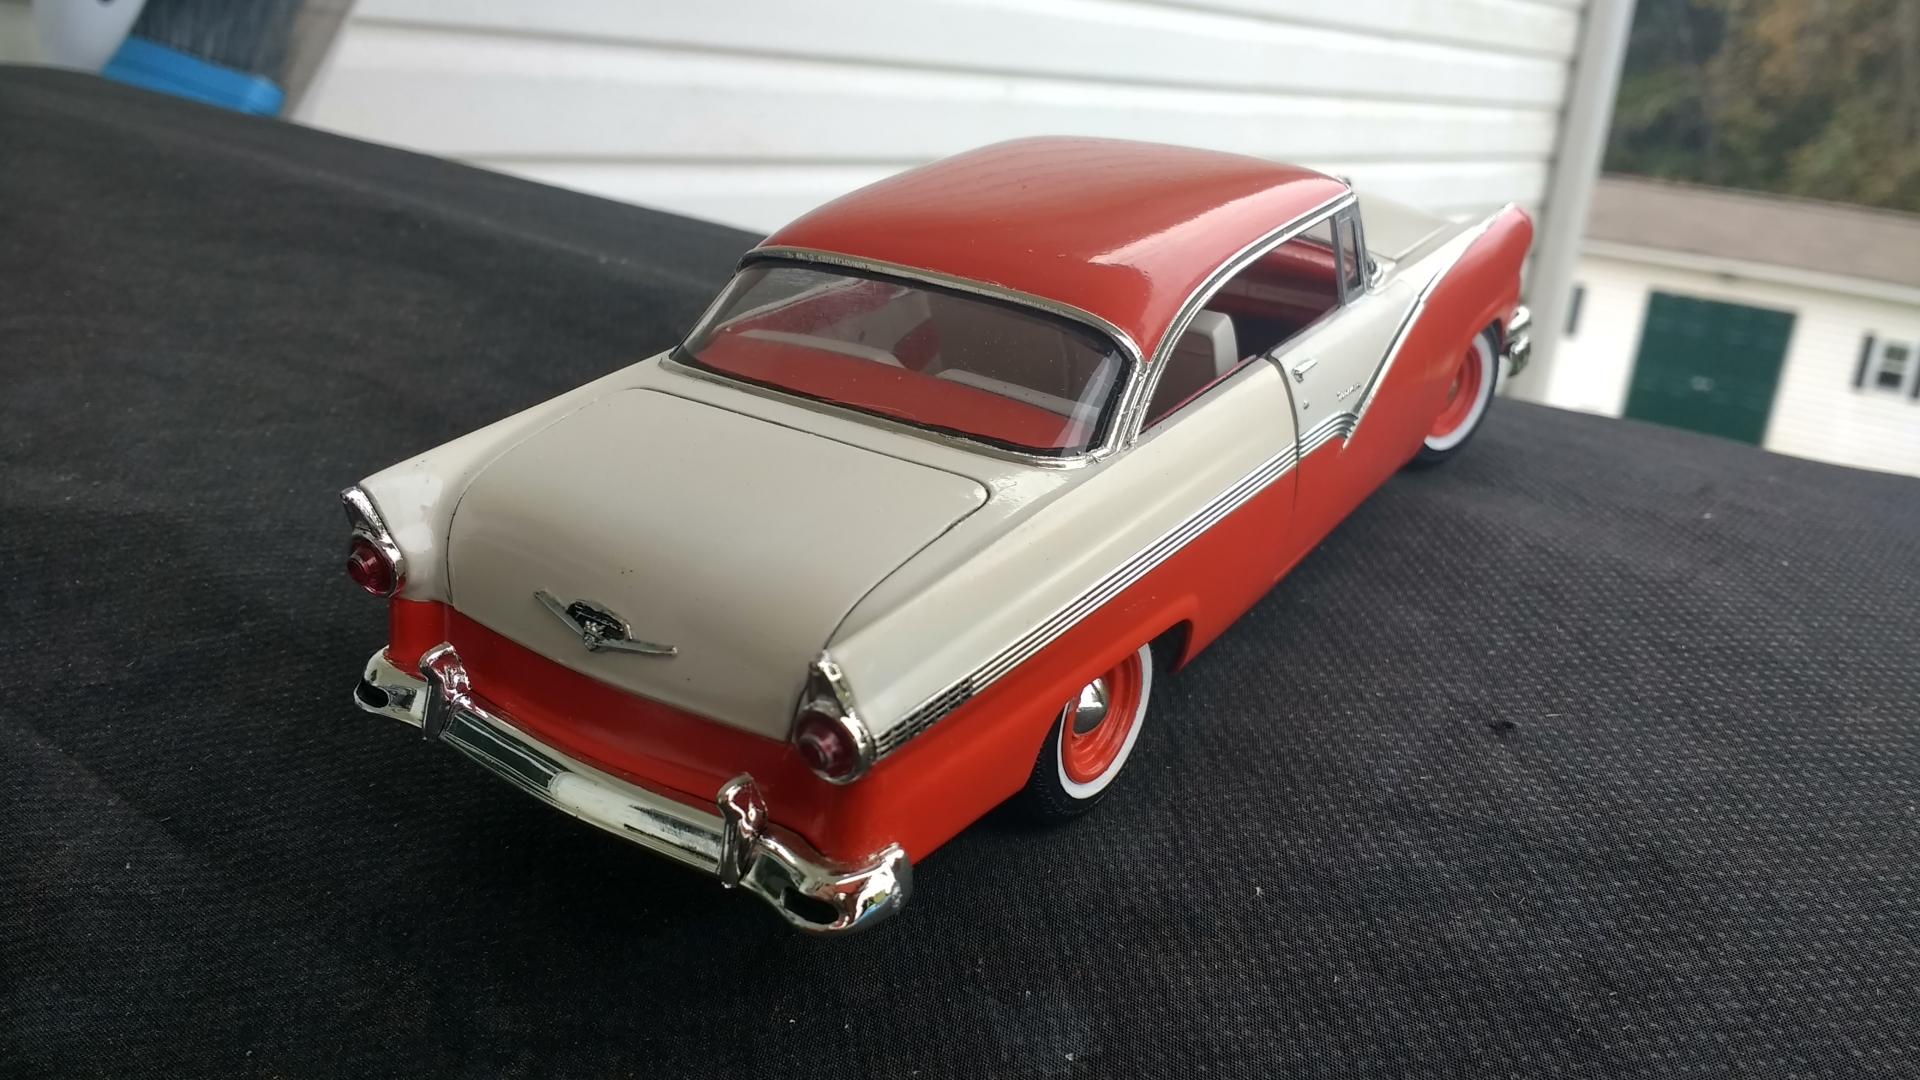
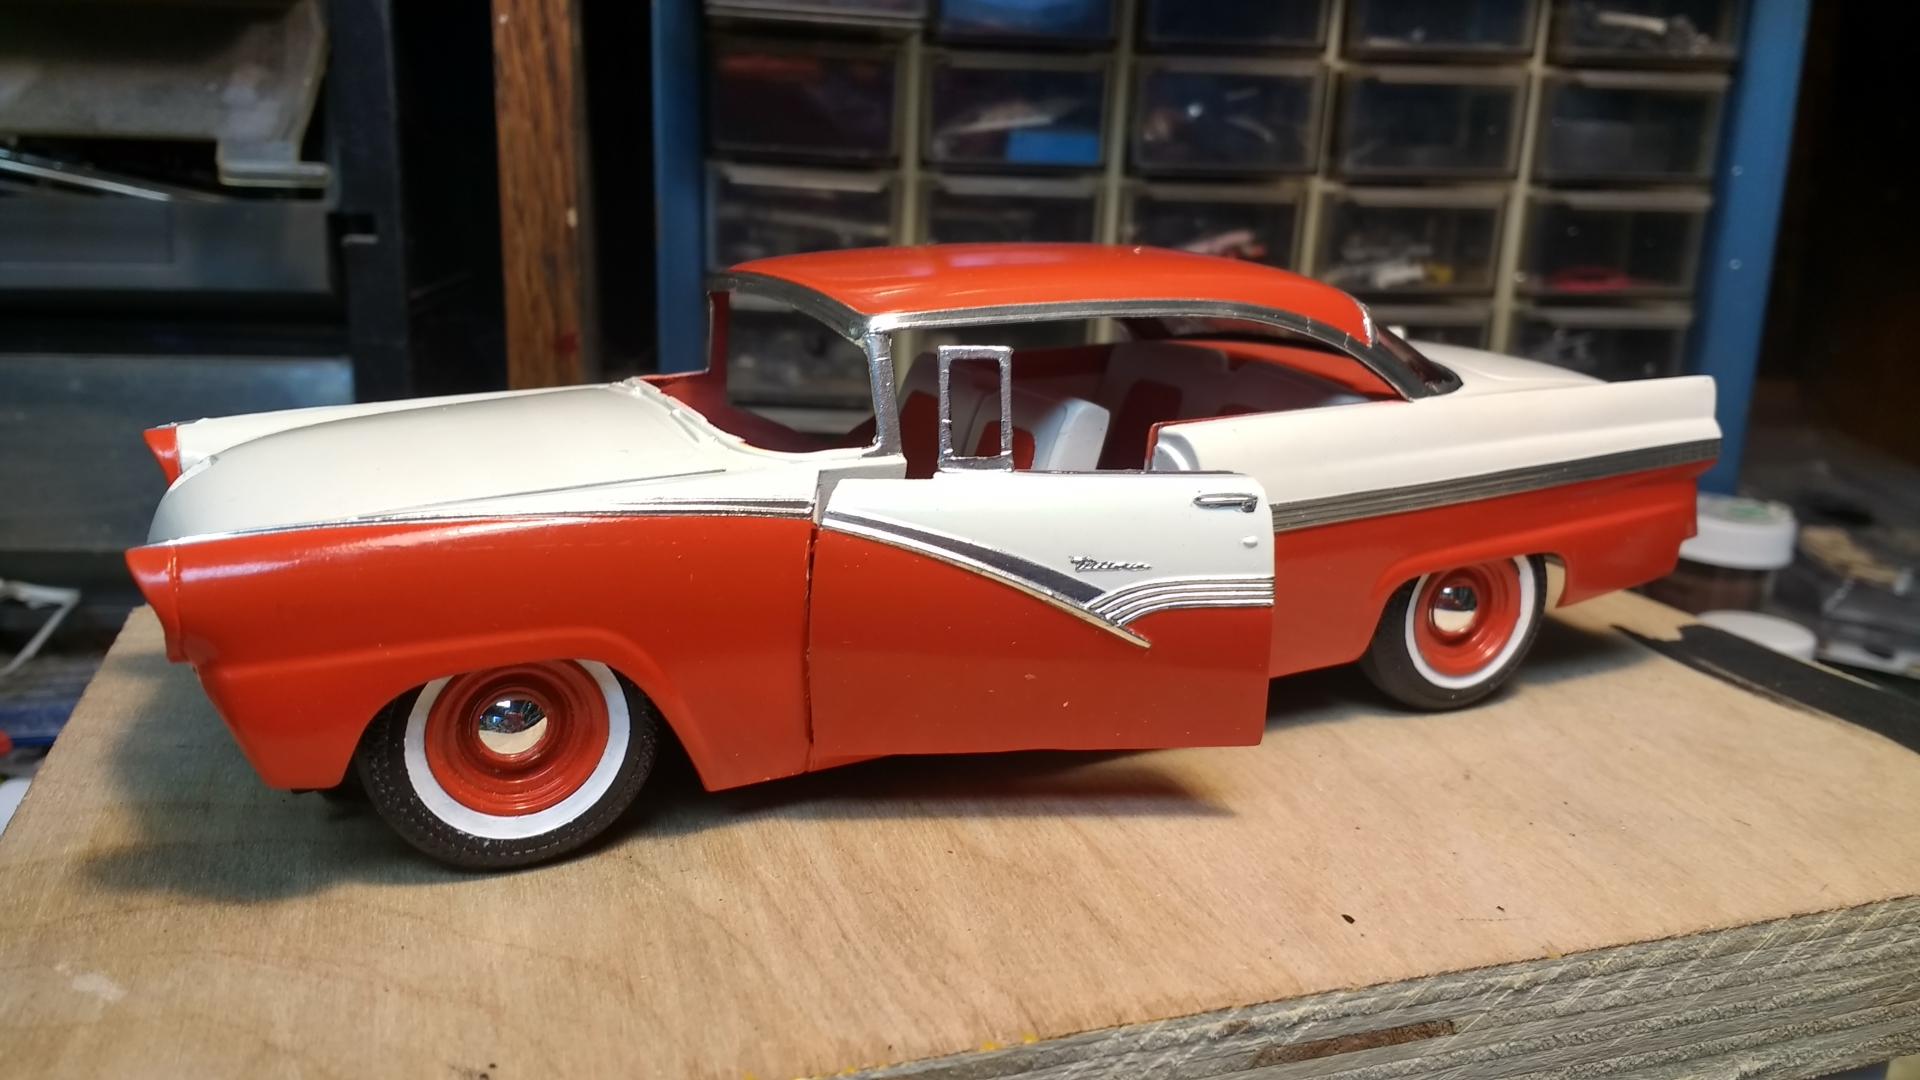
Well, it's finished. this is the one I posted about dropping in the Workbench area. It's a curbside now. No big deal - engine is still in there, just hood glued shut after hinges busted in drop. Doors glued shut for same reason. But all in all I like it and my wife loves it from her viewing distance. I really mucked up the black trim around the windows. But it was pretty visible in the car I used for reference. I had previously started this car and smoothed the hood and front fender emblems. It was almost a gasser, but I do have lovely Gasser wheels for something else now... And I used the stock kit wheels on the Dadillac. So it's a "Day 2" car. A little rake as well. Looked good when I mocked it up, so I kept the rake. Thought about some other add on parts, but in the end, Just did this. Very beautiful cars in 1:1. And I thank Tulio for inspiring me to get this one on the bench again. His Ford work is pretty spectacular.
-
When AMT came out with their NASCAR stock cars, they ran a full page photo ad in SAE of their "new" NASCAR car. It was obviously the old Monogram kit used for the photo. A very annoying time as a builder. I also owned the LHS at the time and ordered a case of those Daytonas thinking they had updated the chassis to the newer RoadRunner and such, as pictured on the box. Then opened it to find that old kit. Grrrrr. I also got suckered on the 74 GTX. I fell for the box art on that one too and was sadly disappointed that there were no stock decals.
-
IF paint isn't properly mixed, it may clog the openings. SHAKE properly. THe pigments and such will clog. IF it will spray at all, clean the openings with lacquer thinner. I keep lacquer thinner on spray table in a short fat salsa jar. I can turn a fat spray can upside down and it will fit in the jar. DClean as best you can and shake shake shake. Or use a mixer of some sort. I use my sawzall with the can taped to the blade til I get some shose clamps. USE ON LOW SPEEDS! And make sure can doesn't hit hte foot of the saw. IT will shake a whole lot better than you can manually. I brought a can back last weekend by shaking it up and cleaning the can opening and the nozzle. I have also seen folks drill or puncture a can and pour the paint out. Doesn't seem safe to me with my skill set, so I have not tried it. Lots of unsafe things on the 'net... LOL
-
Why the Createx? Availability? Doesn't matter really. Seems like it is rarely used here, so you may be the one that learns and teaches us all. You have to experiment with airbrush and paint to find the combination that works for you. Don't get discouraged - I've been doing this for 30+ years straight and 40+ altogether and am still often discouraged by my results because I don't always get the results I would like. I was resistant to acrylics for a long time. but I have come to accept them for brush painting. Haven't tried much airbrusing yet, because last time I tried it, I made a huge mess of my airbrush because of compatibility of paints I was using. May try again, but I have a huge stast of enamels and Duplicolor paints. Good luck. Get that kit out of trash and strip it. Start over. Repeat until you get better. And finish that first kit. keep it to be able to see your progress as a modeler. this isn't a hobby that is developed overnight. First kits are often a rough place. My first kit from 1974 is probably still soft in a landfill somewhere because of all the tunbe glue I used on it. One kit=one tube of glue, right? LOL
- 22 replies
-
- createx
- wicked colors
-
(and 2 more)
Tagged with:
-
Embossing Powder and heat
randyc replied to Back after 50 years's topic in Model Building Questions and Answers
My undestanding is thaqt heating it causes it to melt into a shiny solid, instead of the fibrous appearance we are after for "carpet". I apply it to paint or clear glue. Heavy paint application, then dump a bunch on there - use a model kit box to catch it all. Mash it into the paint. Set aside and let dry. Then dump the excess into box, pour excess from box back to original container. use again later. Do not halde or rub the powder or flocking too much after done or it may come off. And plan. Don't use this or flocking before you airbrush or spray paint in same room on same day. The particles will get in air and eventually find their way into your fresh paint. Found that out the hard way. -

AB issues,, still a struggle
randyc replied to aurfalien's topic in Model Building Questions and Answers
I haven't done a lot with acrylics through the airbrush. But I use the cheap BLAH_BLAH_BLAH_BLAH lacquer thinner from the hardware store, so long as it mixes with the paint - you can usually tell pretty quick. I can still mix and lay down an acceptably smooth paint job with my old Paasche VLS. Same airbrush since 1991. I have replaced ALL the internals at least once - like George Washington's axe. The body is the ONLY original part. I use the #3 parts. I have used high pressures and am experimenting with lower pressures now, but think I still like higher pressures best. Probably 4 - 6 inches from the body. At 2", I'd be blowing the paint into puddles with waves - maybe you're too close? Takes experience to find the sweet spots in all of this. And sometimes, the paint has to have time to flow out. I have no idea what ratios - I just mix it til the paint "feels" thin enough - like Bill said, it can't be solid in the jar - has to be translucent or it's not thin enough. Can't be too thin or it turns to a "wash". Unles you go realllllly slowly and build it up. But that just doesn't seem to work right. Most paints out of spray cans are pretty close to sprayable right out of can. Even if they feel right, I usually add a few drop of lacquer thinner to help it dry quicker. I gave up on polishing to glass a long time ago. For me, what's the point? Takes too long and too much chance to mess it up completely. A factory paint job on a 1:1 or even diecast or whatever is never perfectly glass smooth. And I don't compete, so takes that out as well. If it's too stressful, relax your standards a bit to where it becomes fun, or let someone help you that is an expert painter in your circle of friends - do modeler's have friends/?? A lonely pursuit in my area. Good luck finding that"right" combination. Use some old bodies to practice - you're going to wear that body out stripping and painting. : ) -
I have the white Road Legends in 1/18 and a red Road legends (Yat Ming) in 1/43. Would love to have a "mint" or Kyosho version. And yes, those will stay with me forever, unless a 1/24-25 comes out in plastic that is better. Never happen.
-

"Too Many '69 Camaros and '32 Fords!"
randyc replied to Casey's topic in General Automotive Talk (Trucks and Cars)
I bought a full set of Brookfield Collector Guild Chryselr promos. a NEON challenge race car, a 4 dr Neon, a 2 dr Neon, A Dodge Stratus, Chrysler Cirrus, and a Viper GTS coupe. All curbside promos, but they were out there. I have a diecast body Chrysler LHS from Brookfiled as well. I could only afford one of the set at the time. I missed the first gen Aurora but they are still available on ebay. I sold the cloud cars to Faust on this board. I miss them, but they went to live with a better family. LOL. Brookfield was doing some contemporary cars, but I think they got bought by Action or someone to make more NASCAR stuff, which was huge at the time. Someone also mentioned the Cherokee - Tamiya (?) did a Grand Cherokee back in the day. Aoshima? did a nice Pathfinder and 4Runner as well with the tires that were sold as Satcos at that time. I think Satco was the Aoshima importer or something like that? I bought all of those as well. Just things that were out of the mainstream, plus I was into 4x4s at the time and hated the Monster truck kits. I put the Revellogram bass boat behind my 4Runner. Wouldn't it be nice to see a B-O-P version of the tri-5 chevies? Would break up the constant -
I've read that putting in freezer can break glue joints. Might be worth a shot. OR..... find a place you can get an xacto blade under hte edge and pry them off? Or leave it - not a lot of folks will know the difference if you can live with it...
-
Amen to that. Back in 2000 ish, the gold box top kits at Walmart were $4.99. I owned an LHS at the time and had to compete with that. BUT, AMT would let me buy direct, so I could price it properly and price match if someone asked. I can not hardly justify kit prices anymore. I did pay $20 for a new 76 Torino last week. And have paid $20 probably for my last handful of kits. But a reissue would have to be pretty spectacular for me to justify it anymore, especially when I still have LOTS of kits to still build and have built most all of them already when tehy were eiter new or earlier reissues. If you can justify and afford,that's cool. But I have more things I need. Plus display space. I have 300 cars in cases in boxes in my building that I have nowhere to display. Eventually will get them on ebay to sell. Or I'lll die first and family have to sort through it all. I havae a LOT of "toy cars". Have moved on to $6 1/64s. Nice enough to display a LOT in same space as a 1/24 or 1/18 and often come with a case of their own.
-
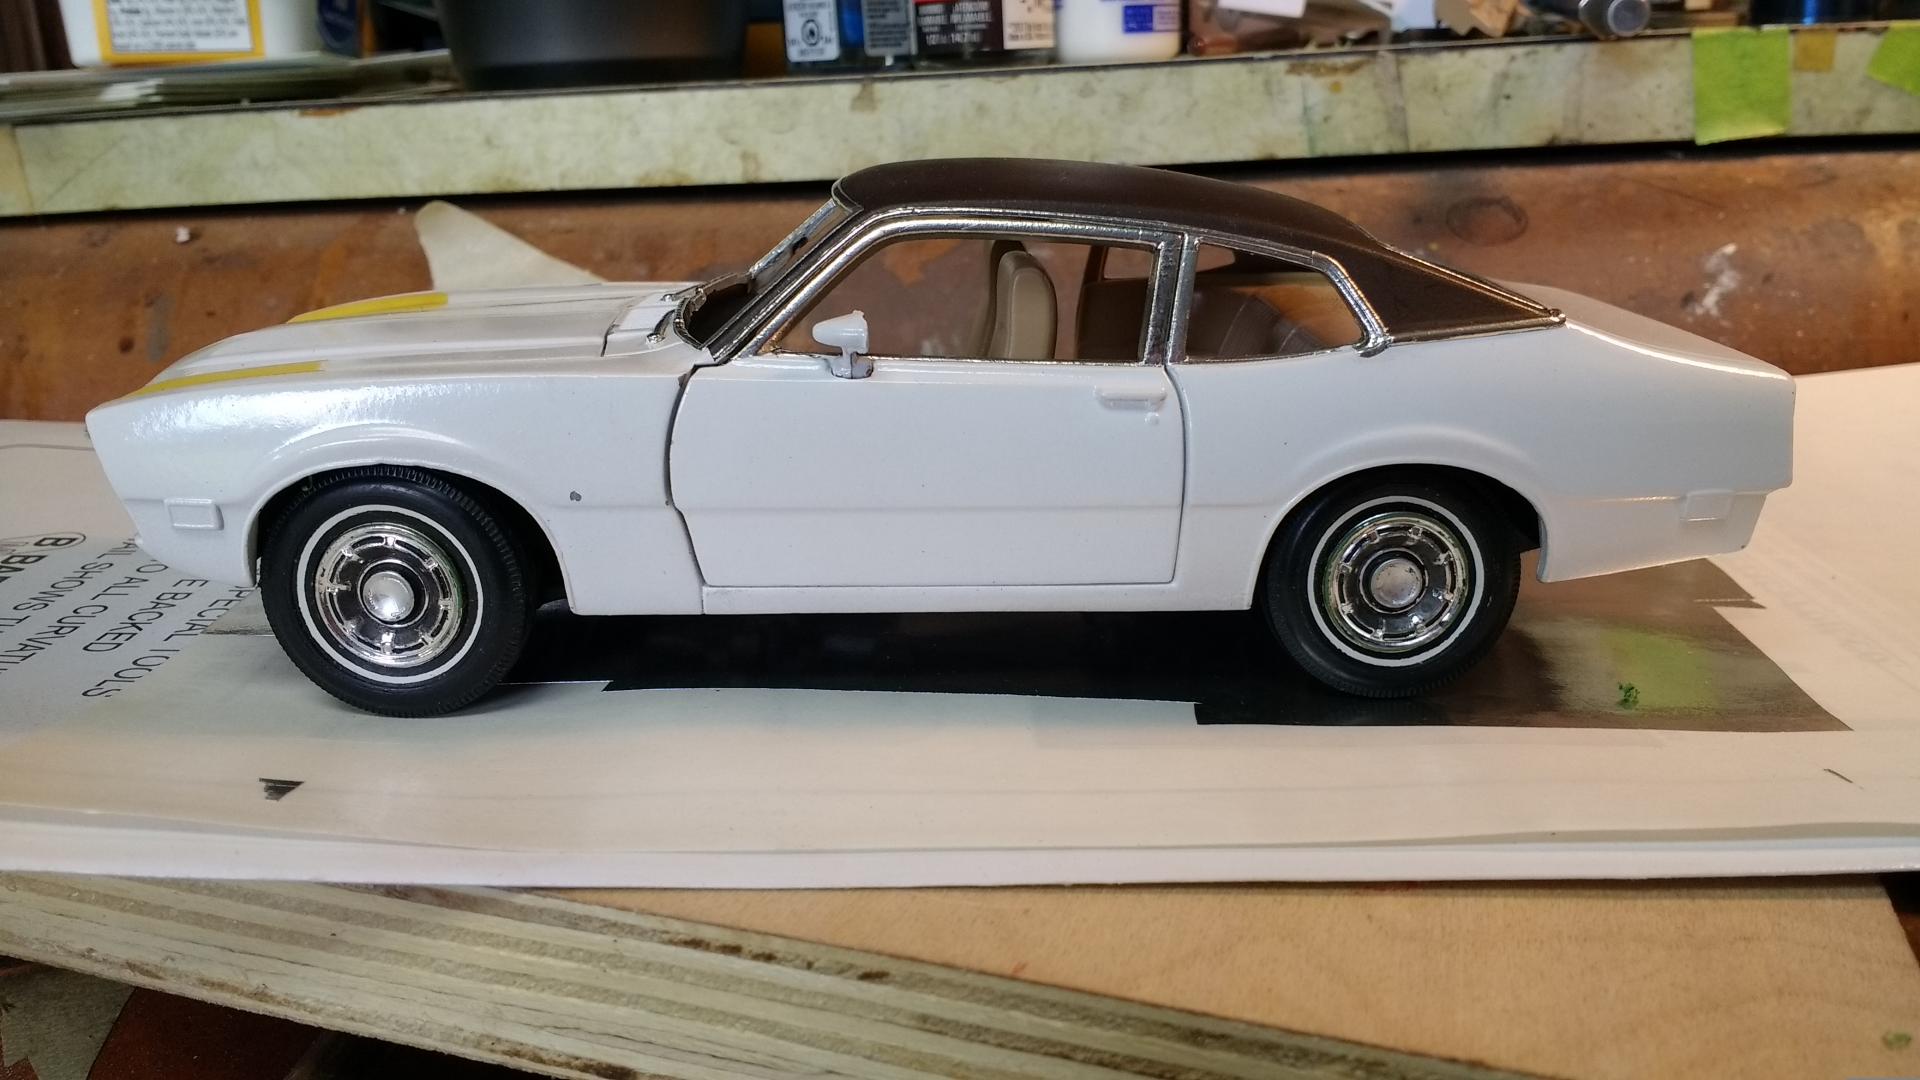
Here's my 74 in progress with the wheels you sent. Yes the top is incorrect, but it was a tribute to wife's first car, and it was 4 door. She and her mother loved it.
-

56 Ford Arggghhhhh - ever dropped one? Of course you have.
randyc replied to randyc's topic in WIP: Model Cars
See? As part of the title - we have probably ALL lost a car at some point. Kids, butter fingers, whatever. It's all good. Only took a couple hours to get it all back together. I'll probably finish it this weekend. Just got to trim it out. I'm not all that upset about it now. Was disappointed when I did it, but got it all back together and moving on. It will be a nice enough shelf model. My wife can't see anything wrong with it and she's my #1 fan. She says this one needs a good place to display because it is so nice. She doesn't see it like we do on here, where we see every little mistake we made. I'll be done with this soon and onto my "mainstreamer" 76 Torino tribute to my mom's torino from my childhood. -
Glad to know there are still a few of us in the world that remember them. I got to see them as a club act after Fee had left. Did manage to snatch the set list off a monitor after show and get everyone's autograph though.
-

56 Ford Arggghhhhh - ever dropped one? Of course you have.
randyc replied to randyc's topic in WIP: Model Cars
Thanks folks, it's back to appearing as it did. I just adjusted my plan and will get it done. Won't have opening doors and hood now. And the broken leaf spring is a section of sprue just to hold the rear up. Let's call it "curbside"... No big deal - wife still things it looks good. Can't tell it came aparat really other than the lack of opening doors and hood and no one sees that but me. It will probably be "under glass" next week. The take away from all this when someone sees this thread 100 years from now is that things happen and we have to fix it or move on... AND BE CAREFUL handling your models... it's all good. -
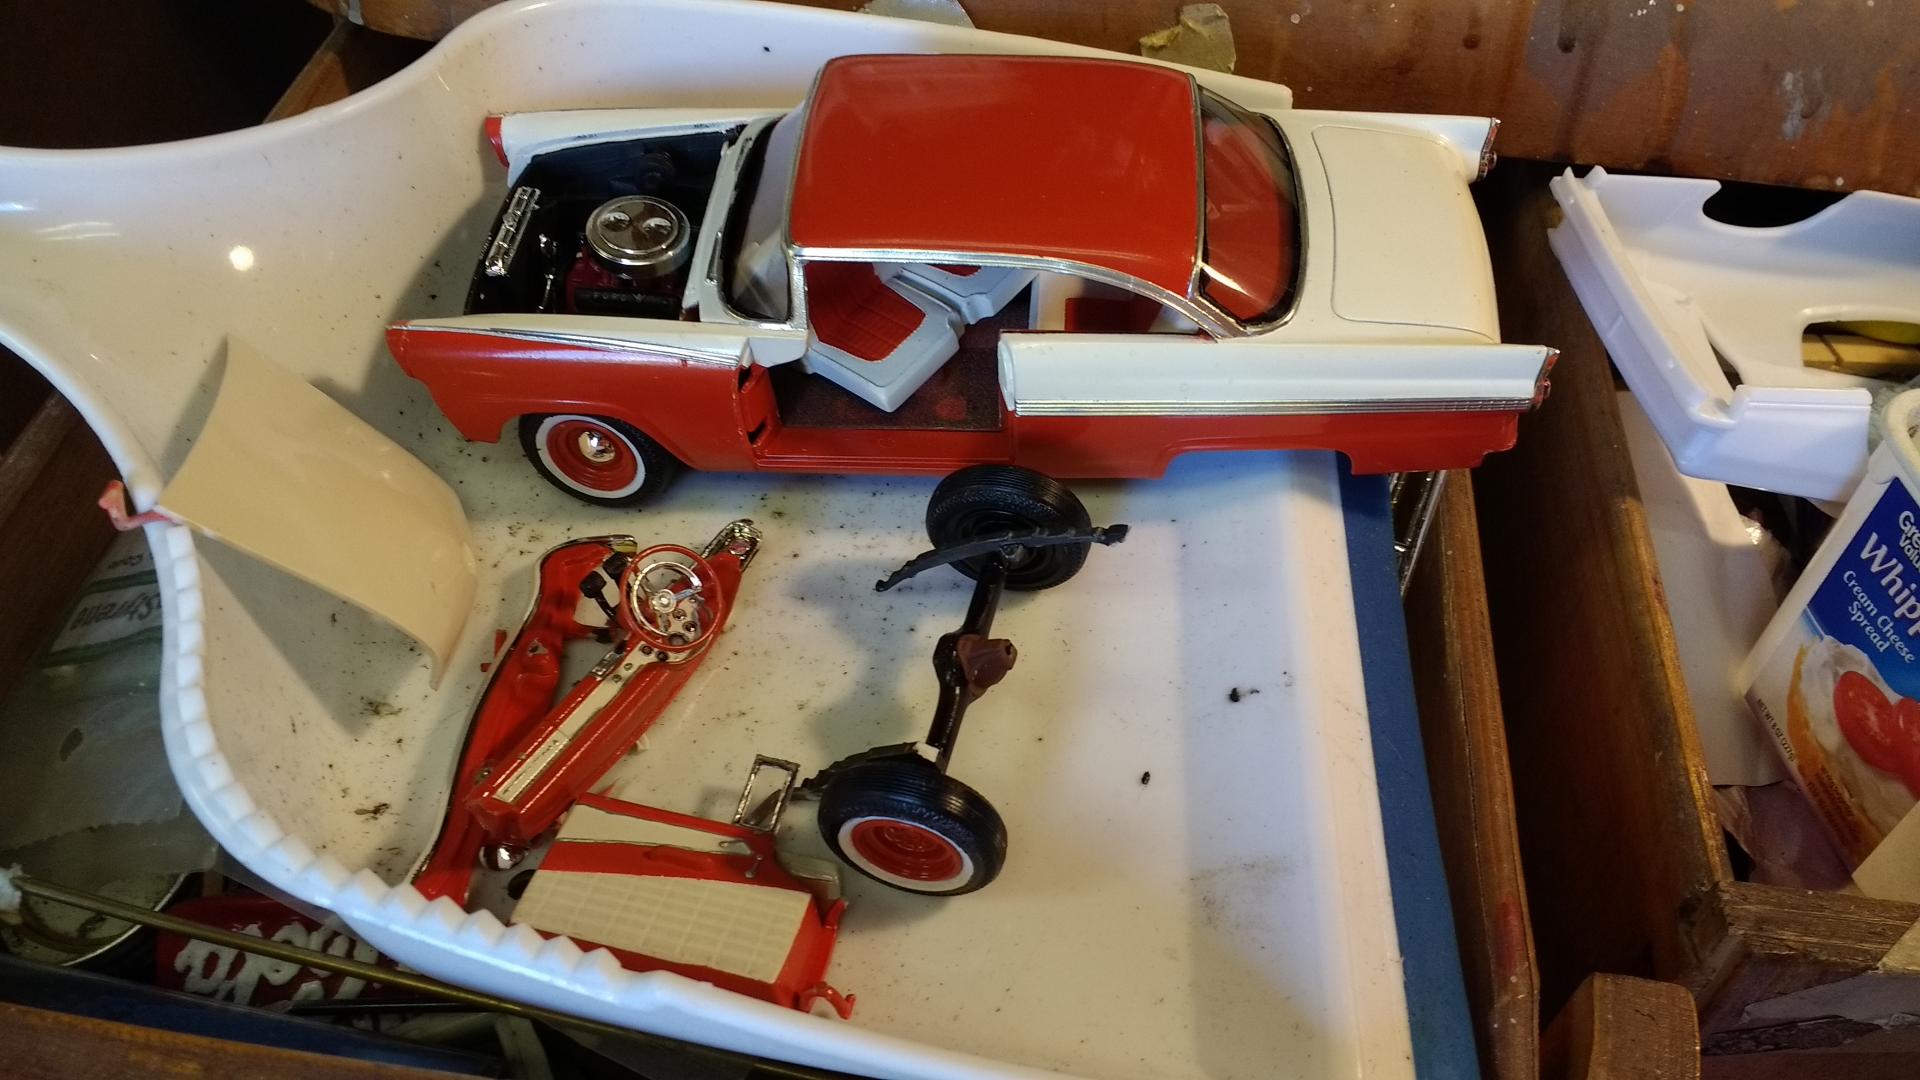
So.... I've been working on a 56 Ford. Found a great color scheme and been plugging away. My wife always wants to see pics of my progress and I showed her the one attached on Saturday morning after my session. She said she wanted to see the paint colors for real next time I worked on it. Sunday I went down and worked for a few hours and got ta point where it looked pretty good. Glass and bumpers on, final body install, etc. Just had to trim it up. Only a few more hours til finishing. So I was going back to house and in the process of opening the door, I jarred that car out of my hand. I did all I could to catch it but missed and watched it explode on the deck. ARGGGGHHHHHH. I just went on in and left it there. The other pic is the After shot. My wife was very sympathetic. She's a great supporter of my hobby. I wanted this car to turn out so nice and it had potential. But I really screwed up the black on the windows. The doors are wonky as usual for these. And a few other things are working against me. I did go back later and fix it back to the point I was at when dropped. But had to glue the doors shut. Went ahead and glued the hood down too - not all that great. If I need the engine, I know where it is. I'll finish it next week, but it won't be as nice as I had hoped. Even more of a day 2 car now. Just don't check the carfax cause it will show a bad report.... lol
-
A modeling acquiantance used to make hoods by heating sheet plastic and draping it over the existing part. No vac forming. This is a fairly simple shape and that method may work? If just using sheet plastic as snake recommended.
-

Post your crazy IMSA cars...
randyc replied to aurfalien's topic in General Automotive Talk (Trucks and Cars)
I've got this one built up somewhere. https://www.worthpoint.com/worthopedia/24-fujimi-dome-rl-dome-zero-hasegawa-133345116 -
I think so. I didn't use anything special on it. I am 90% sure that was the piece I used.
-
That's pretty cool. I have a 1/18 Beanstalk die cast of the Gulf scheme from when it was new. And I think I built one of these.
-
The one in my pictures is using the kit-supplied roof piece. I don't remember doing anything special to the doors. But that roof section was used. It's been several years ago. Memories fail me at this point.
-
That grille looks even better with that sdpace out of it. I always thought the headlights were too far apart.
-

Oooh, I might have an issue
randyc replied to The Junkman's topic in General Automotive Talk (Trucks and Cars)
Use Cobraman's suggestion of painting around them to make them a llittle smaller. -
Beautiful! I hope to get some foil this week to continue on mine. I ran out and haven't found a good foil adhesive locally yet. You have inspired at least one person to finish this kit!

