Modlbldr
-
Posts
6,885 -
Joined
-
Last visited
Content Type
Profiles
Forums
Events
Gallery
Everything posted by Modlbldr
-
 Not too bad. Later-
-
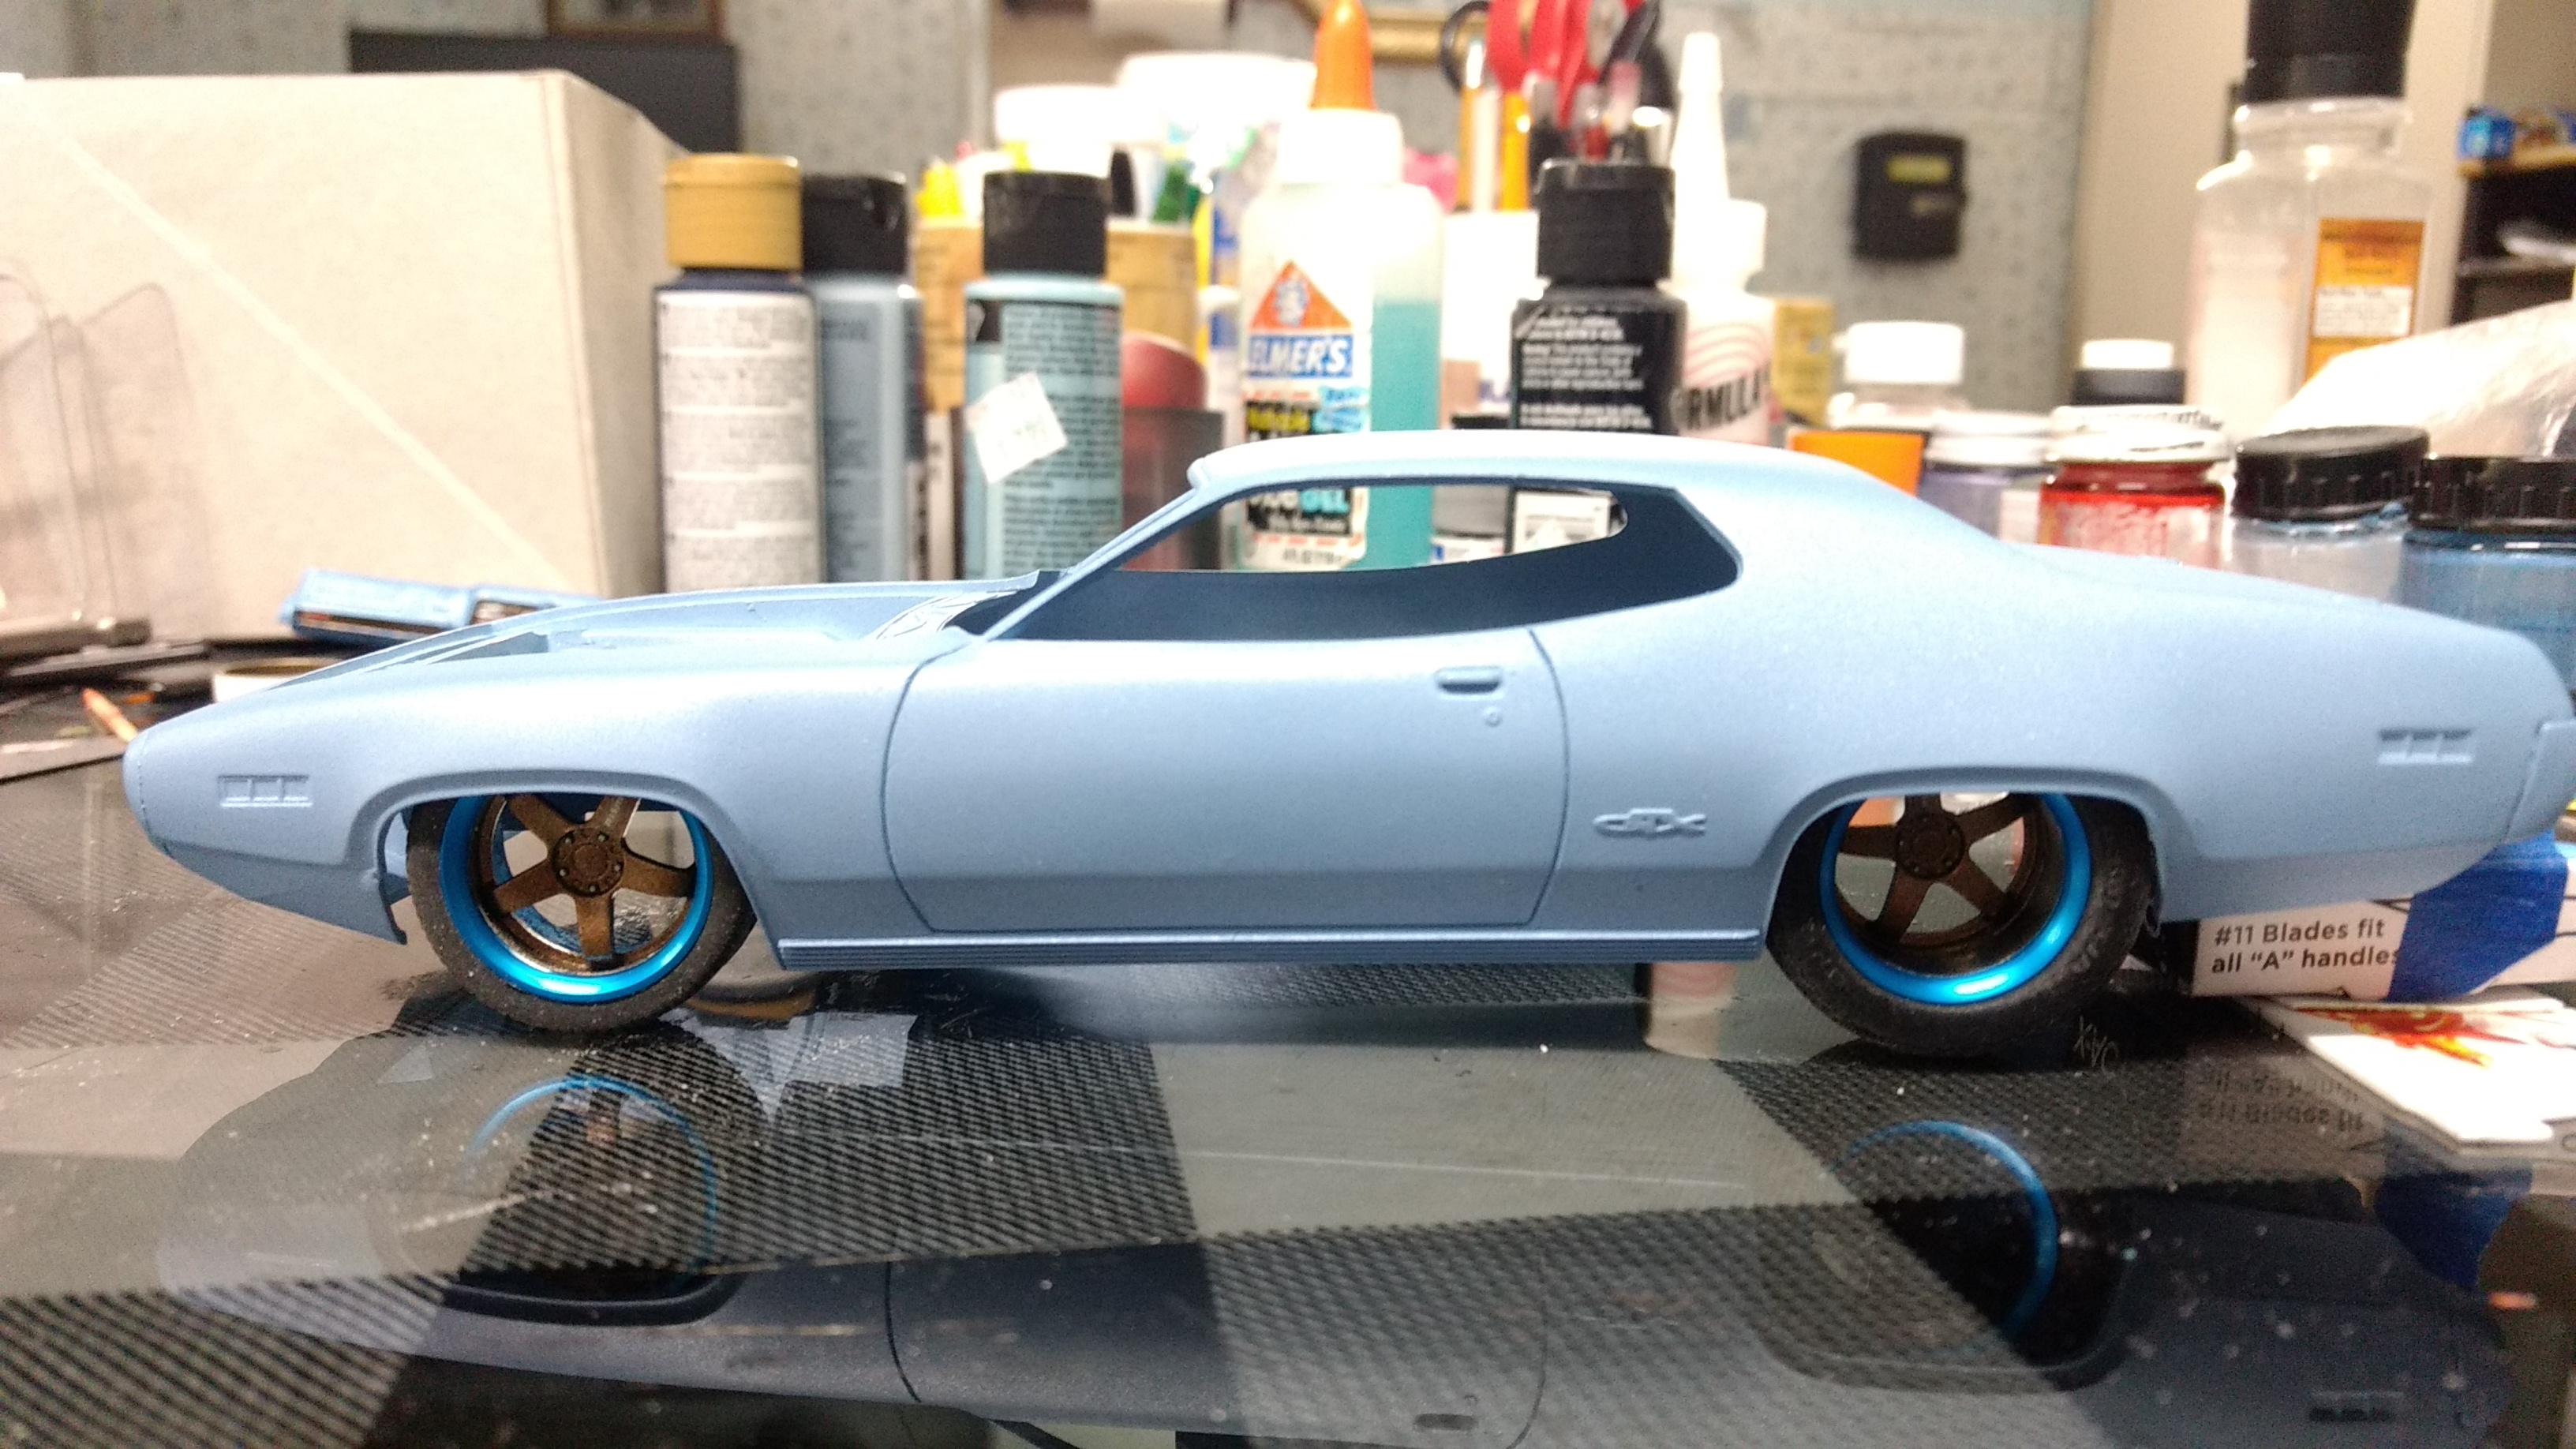
Thanks guys! Here's where I lose some of you. Here is the rolling stock for my build. Lots of sanding and fitting to get these to work. Although the "woodgrain" in the interior looks close to wood, it is actually the wheel accent color, Testors Bronze. Later-
-
I think the interior will suit it well. Later-
-
I think the interior will suit it well. Later-
-
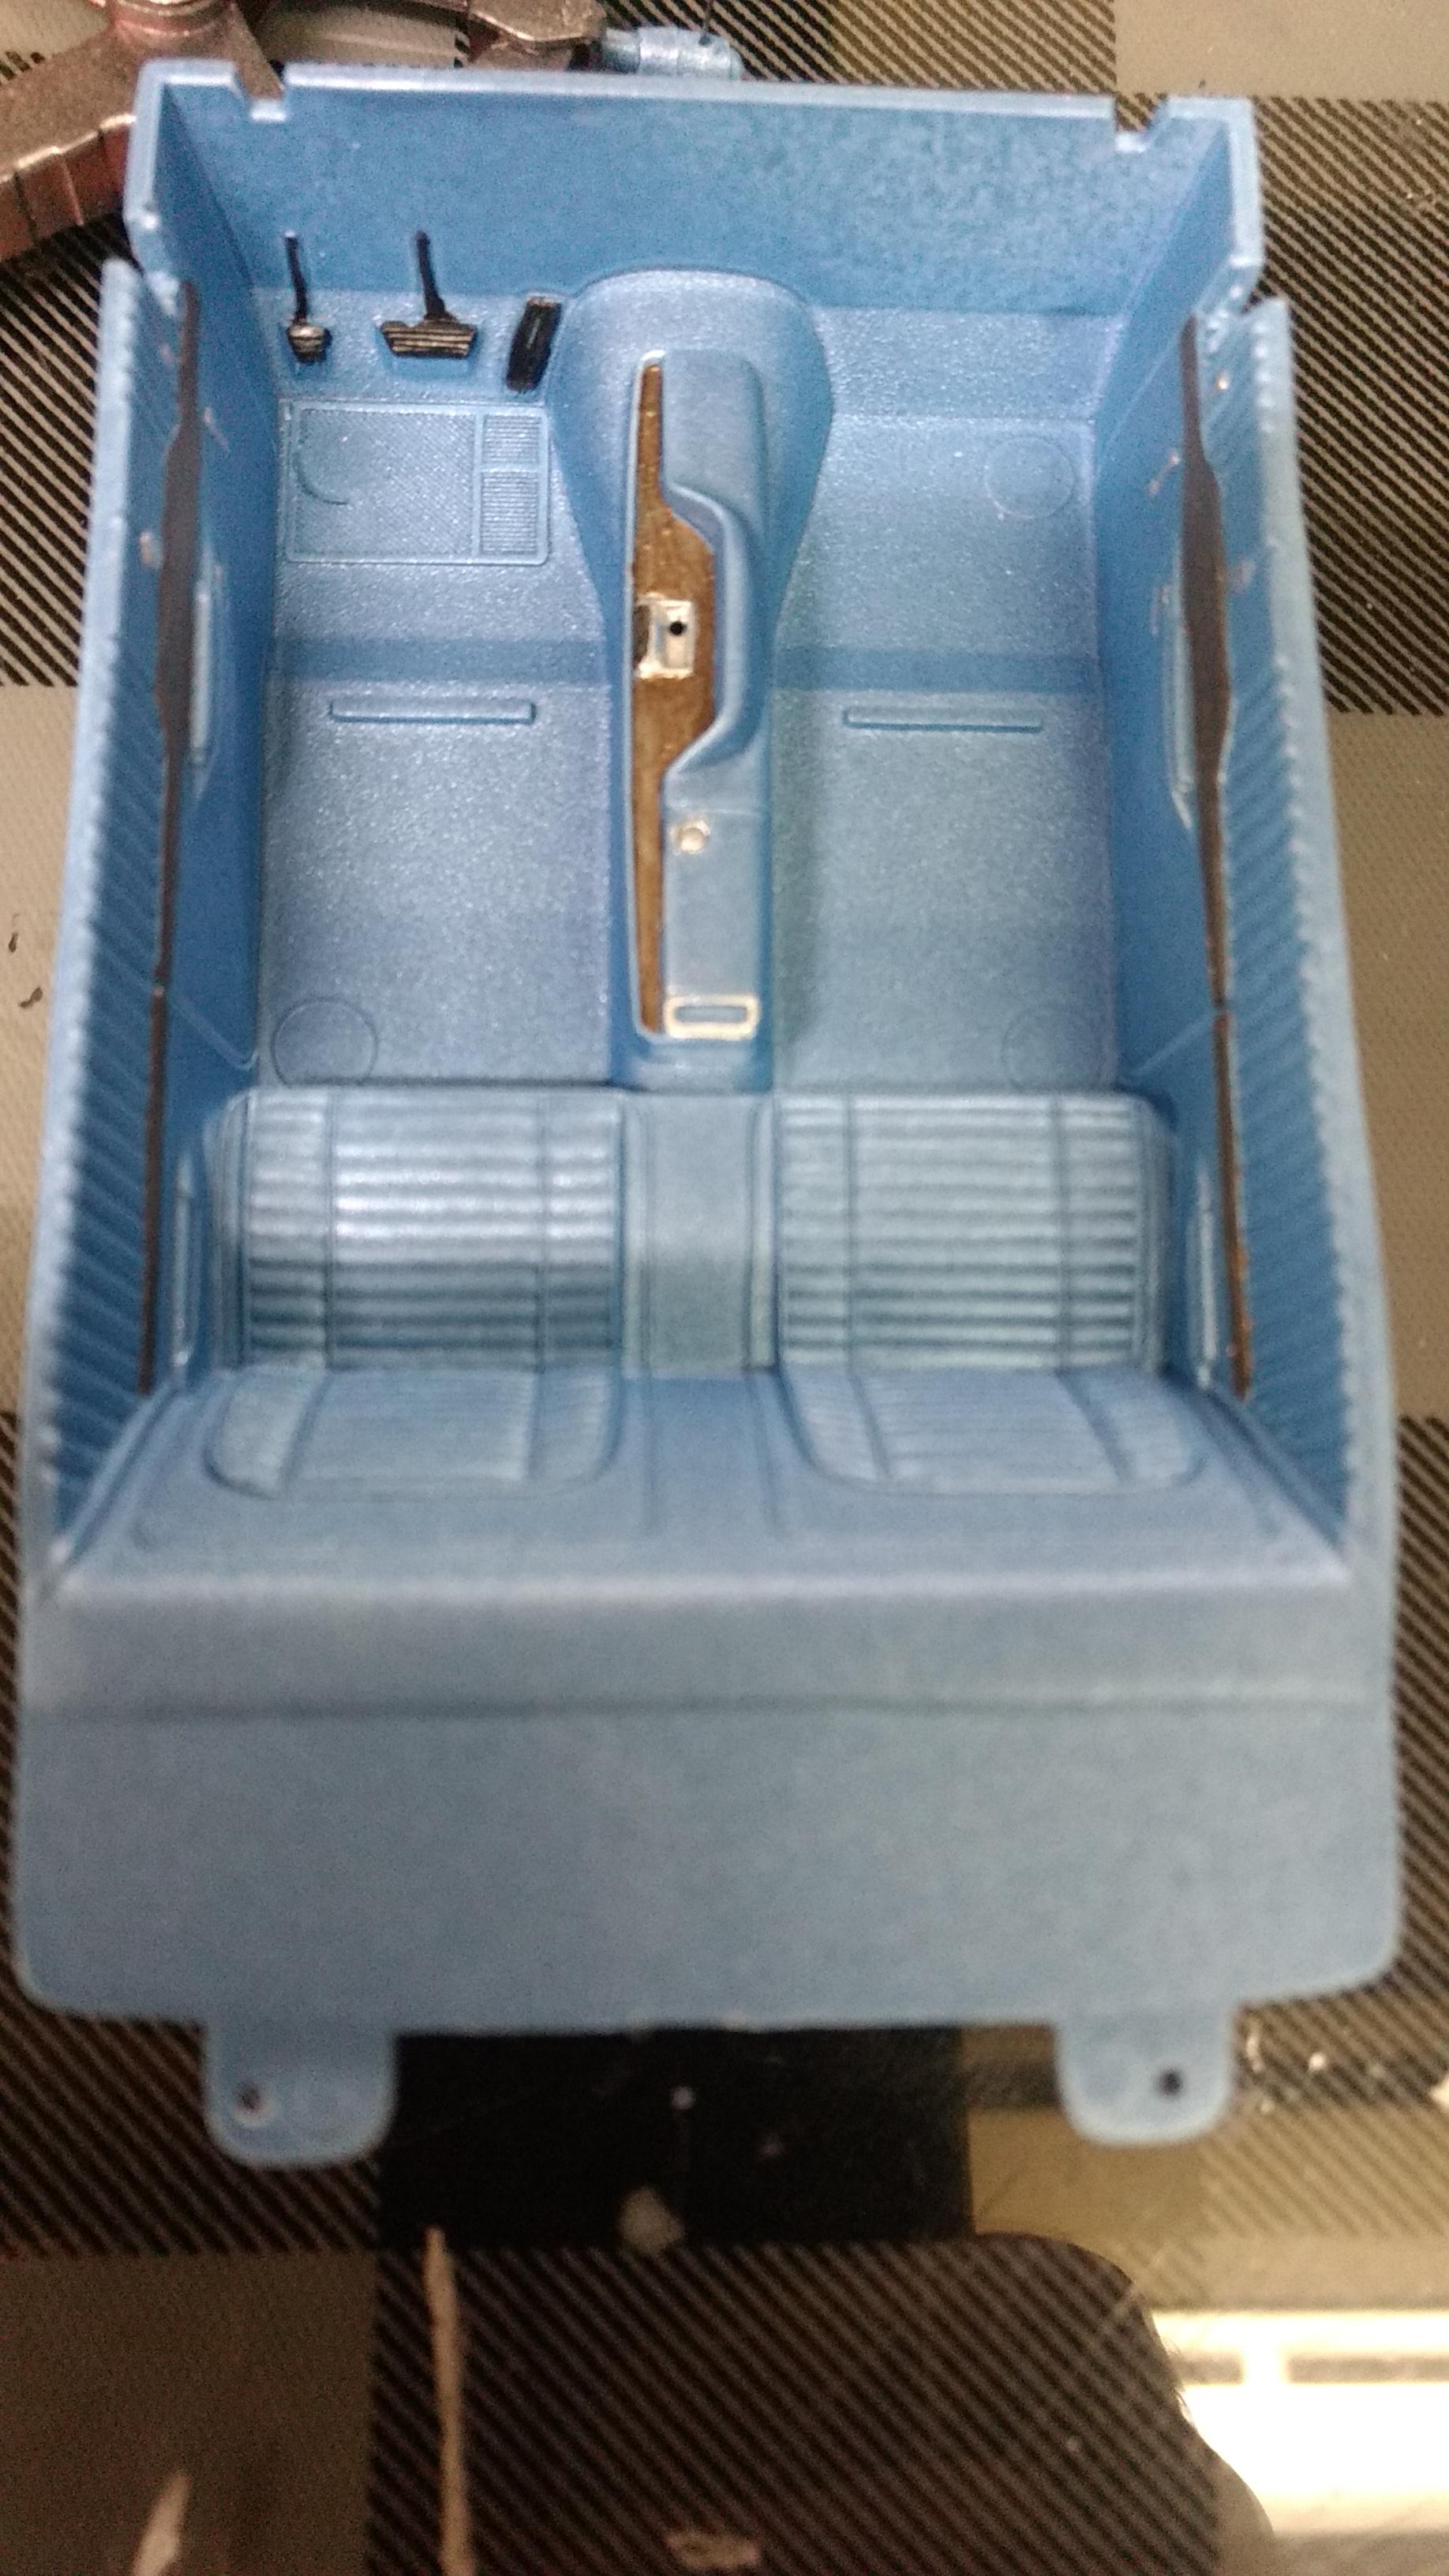
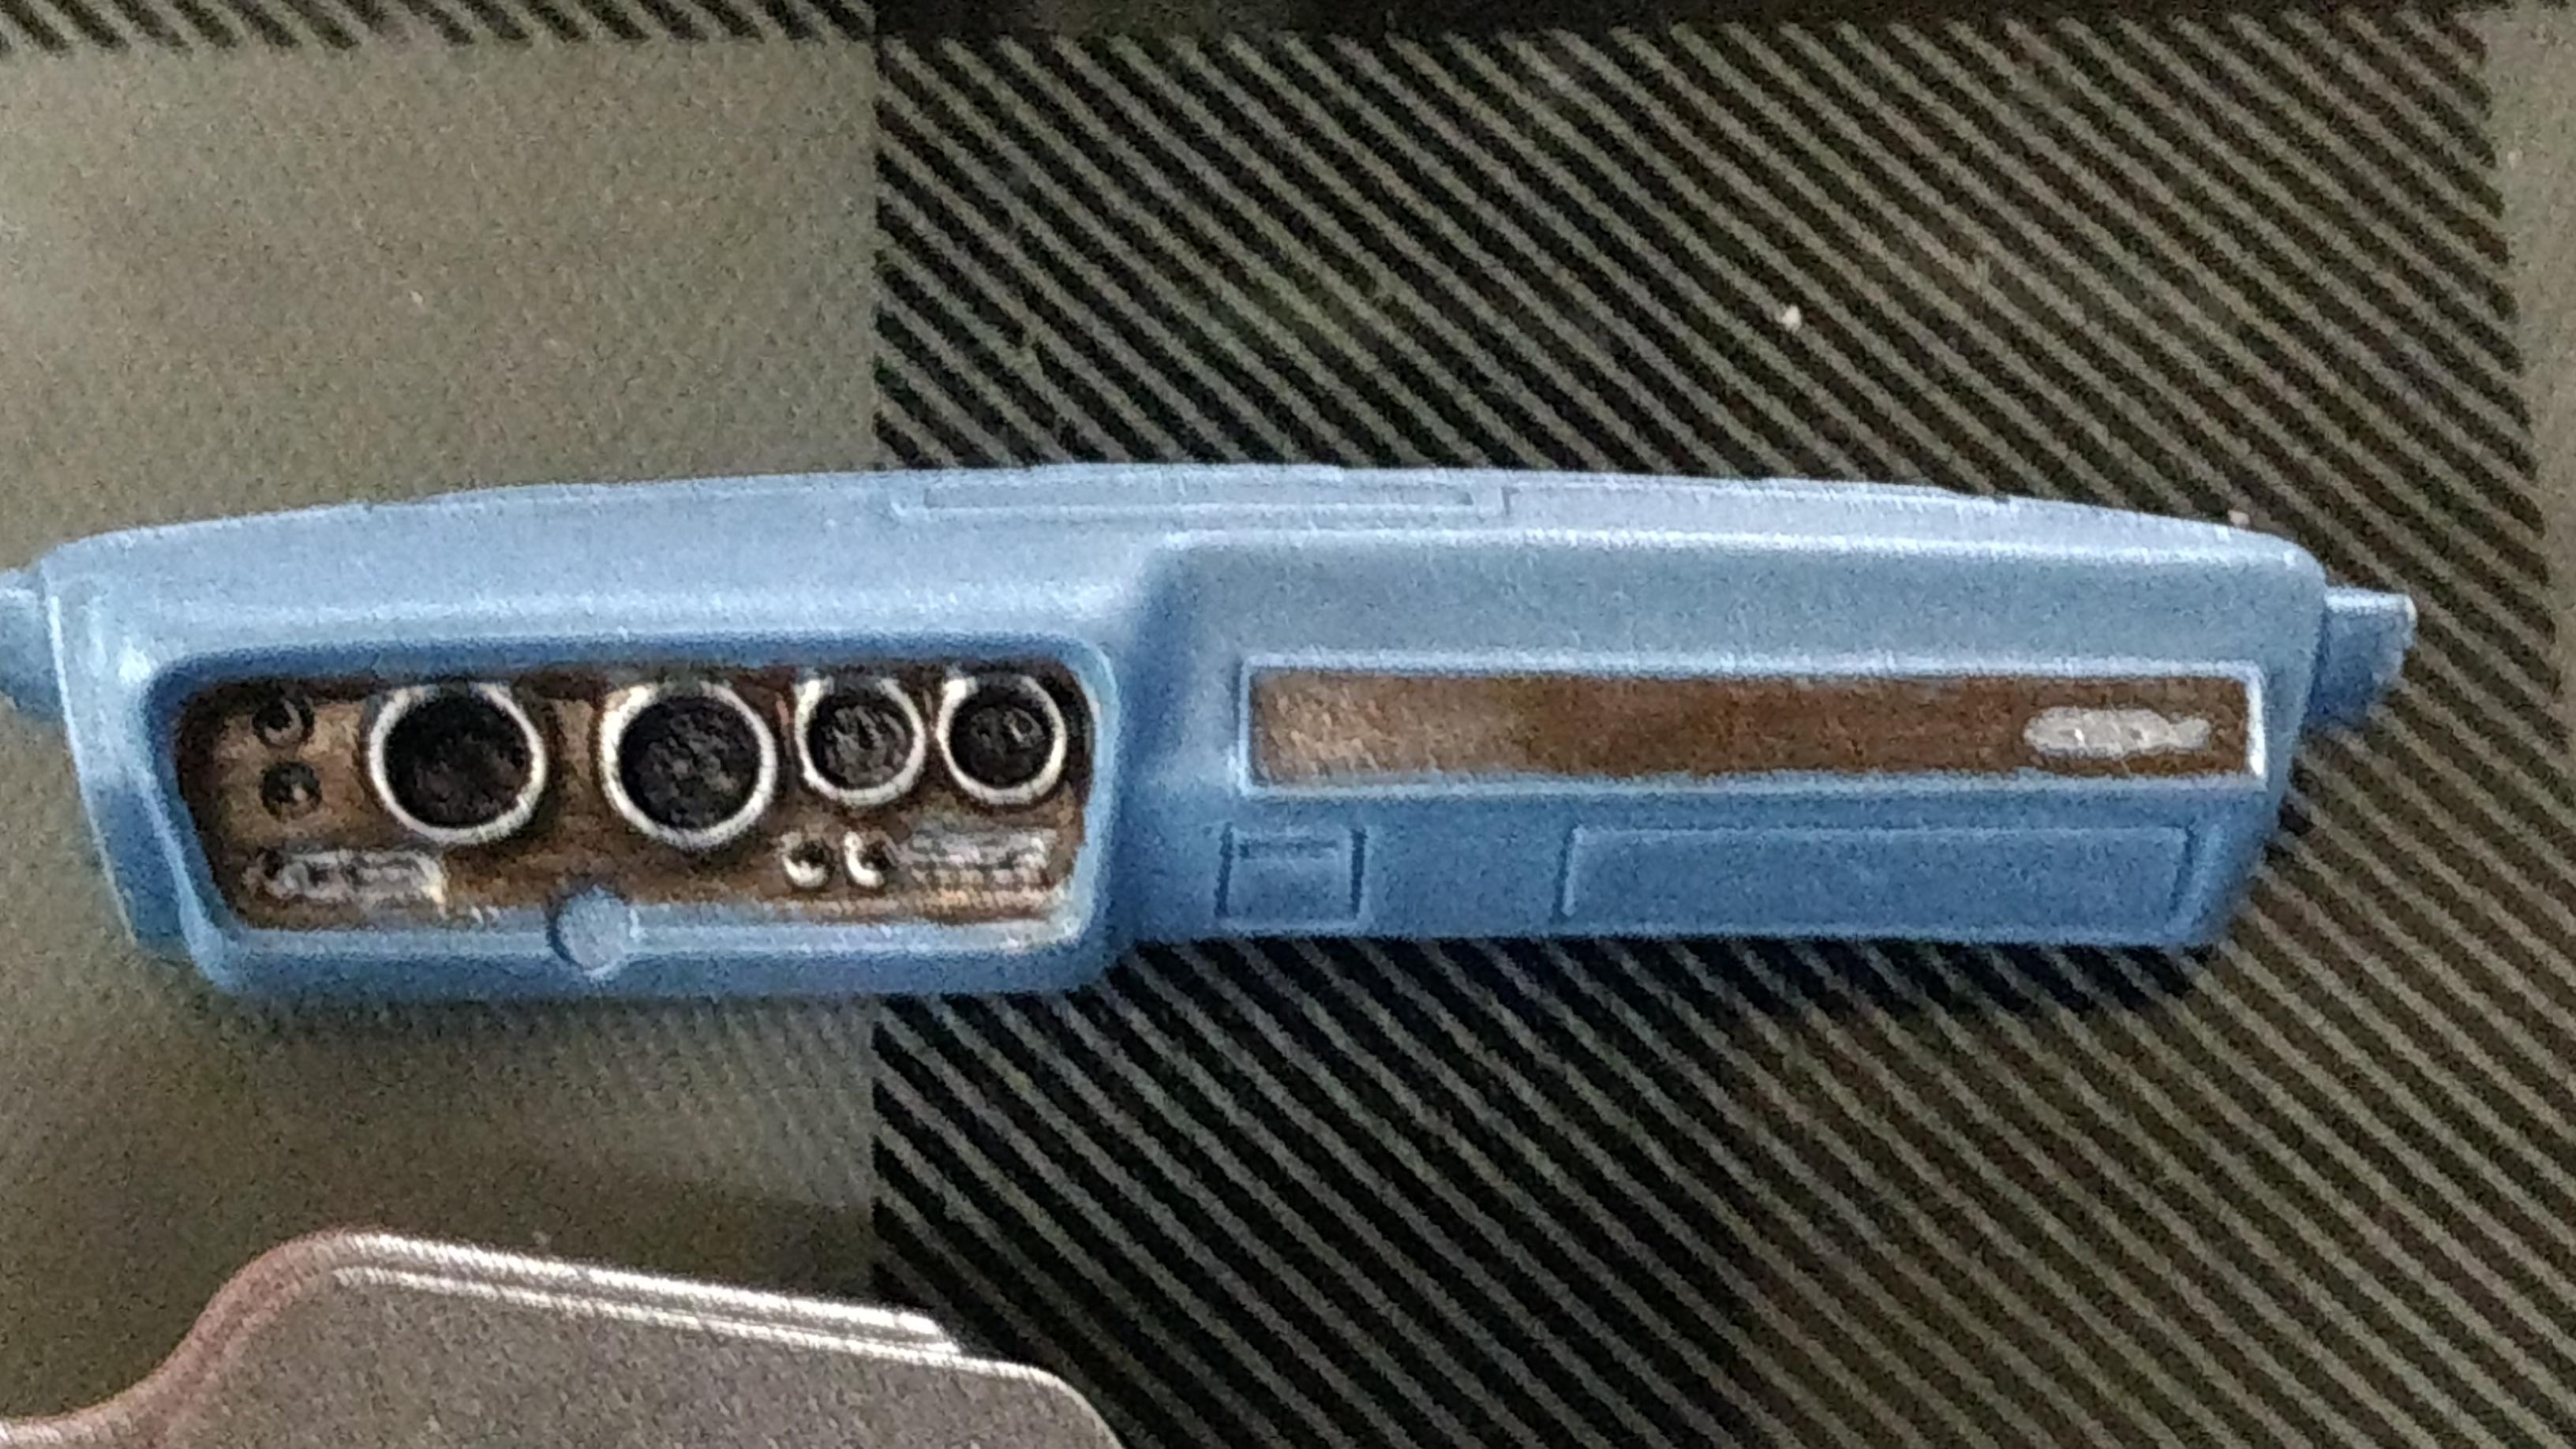
Got some more craft paint mixed and sprayed the interior this morning. Looks a little like the blue vinyl for B5 blue cars. Been cleaning the glue off of the grille. That didn't work as smoothly as I had anticipated but it will clean off fine. Should have my wheels waiting for me tonight when I get home. Of course, I have to work late tonight. Later-
-
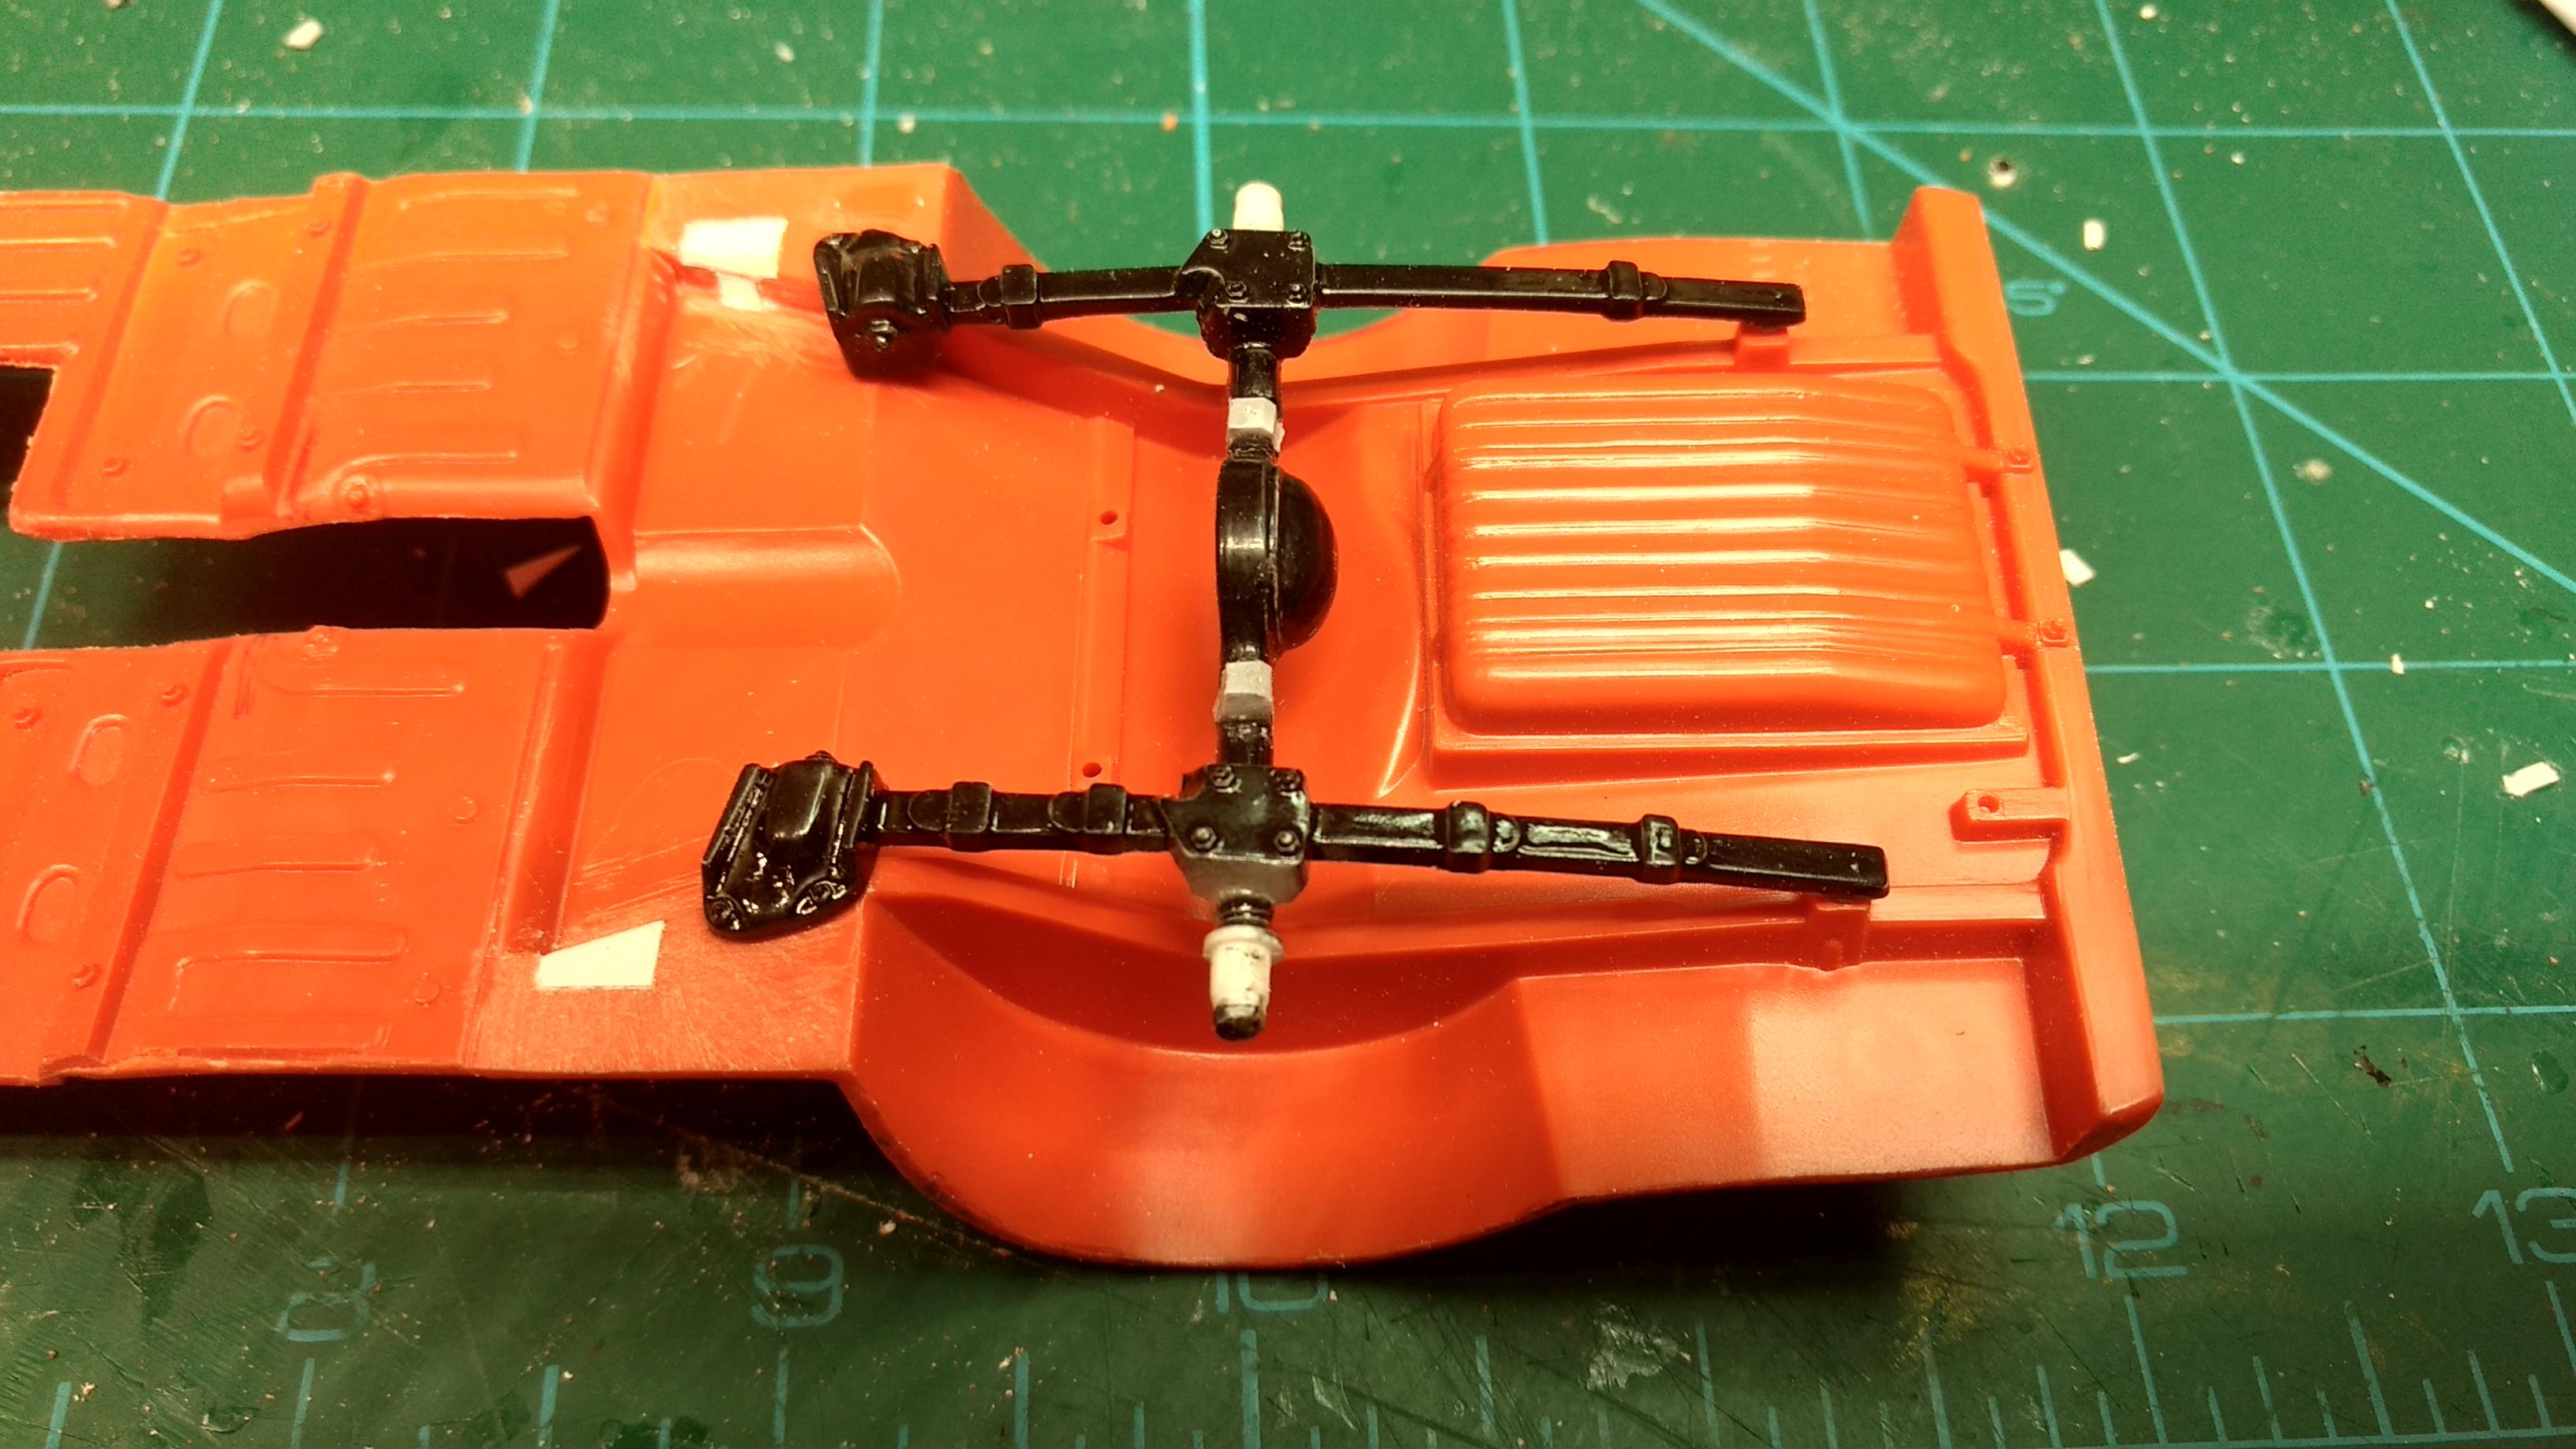
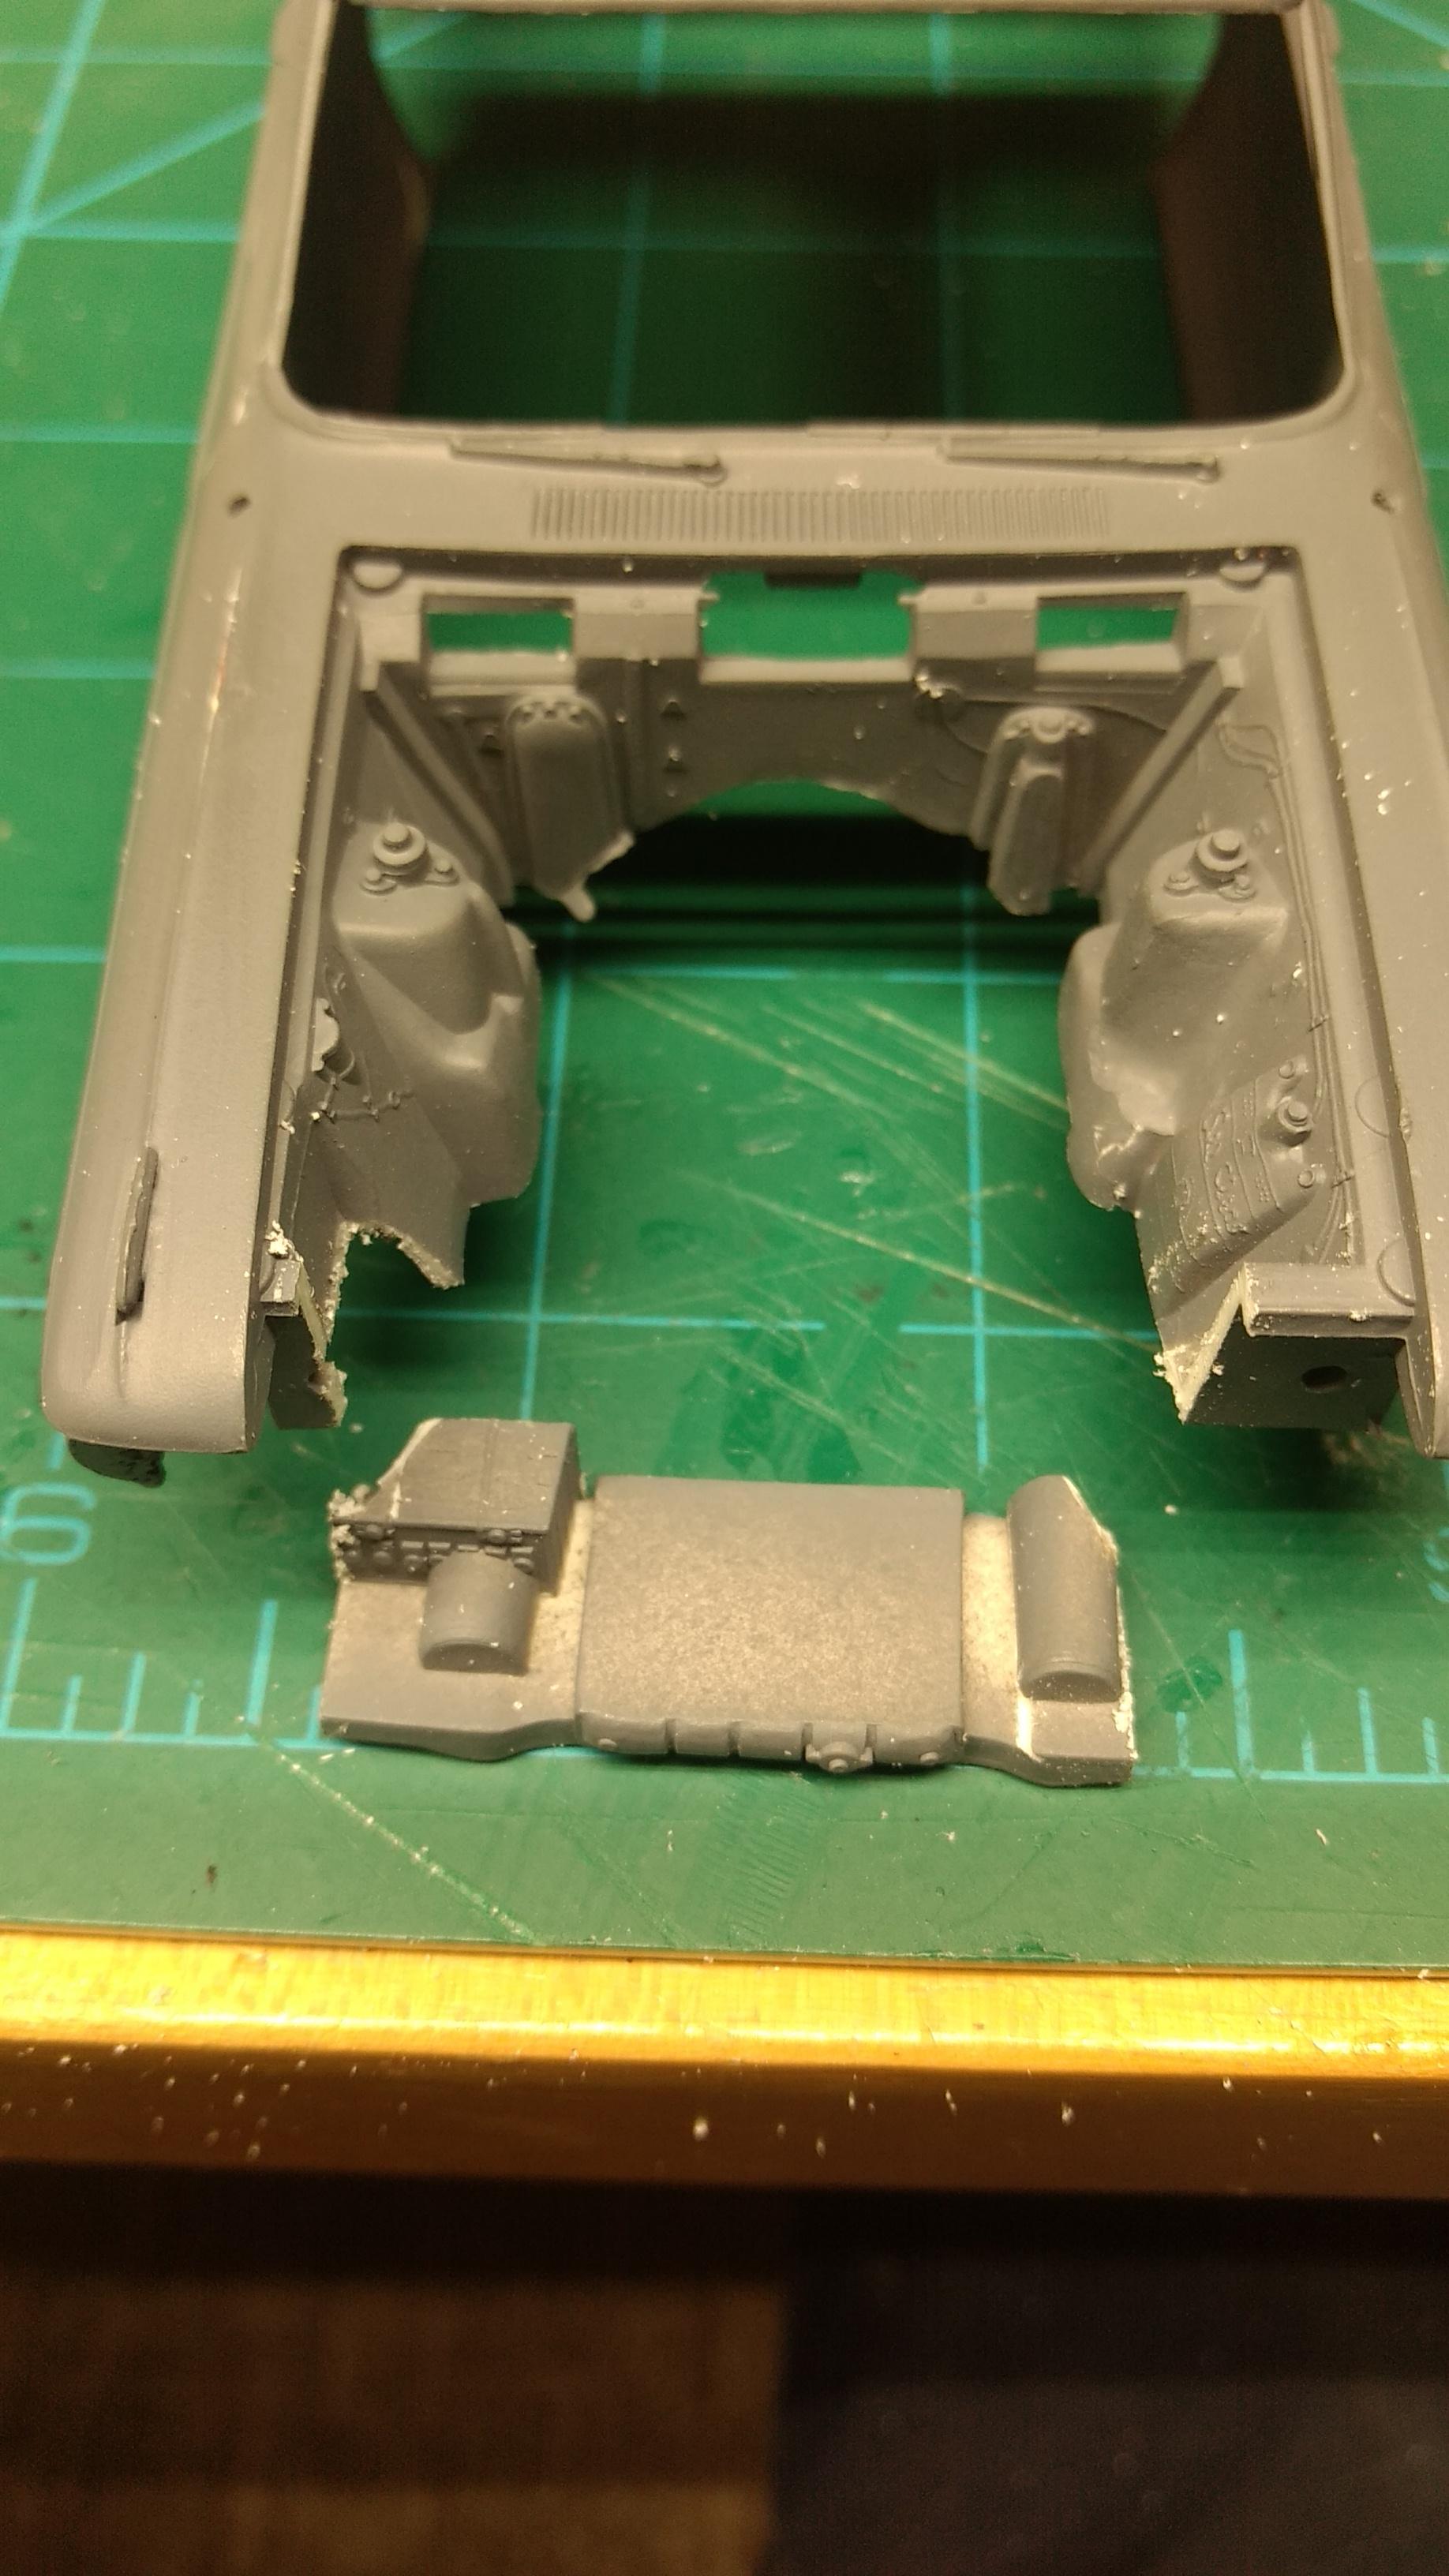
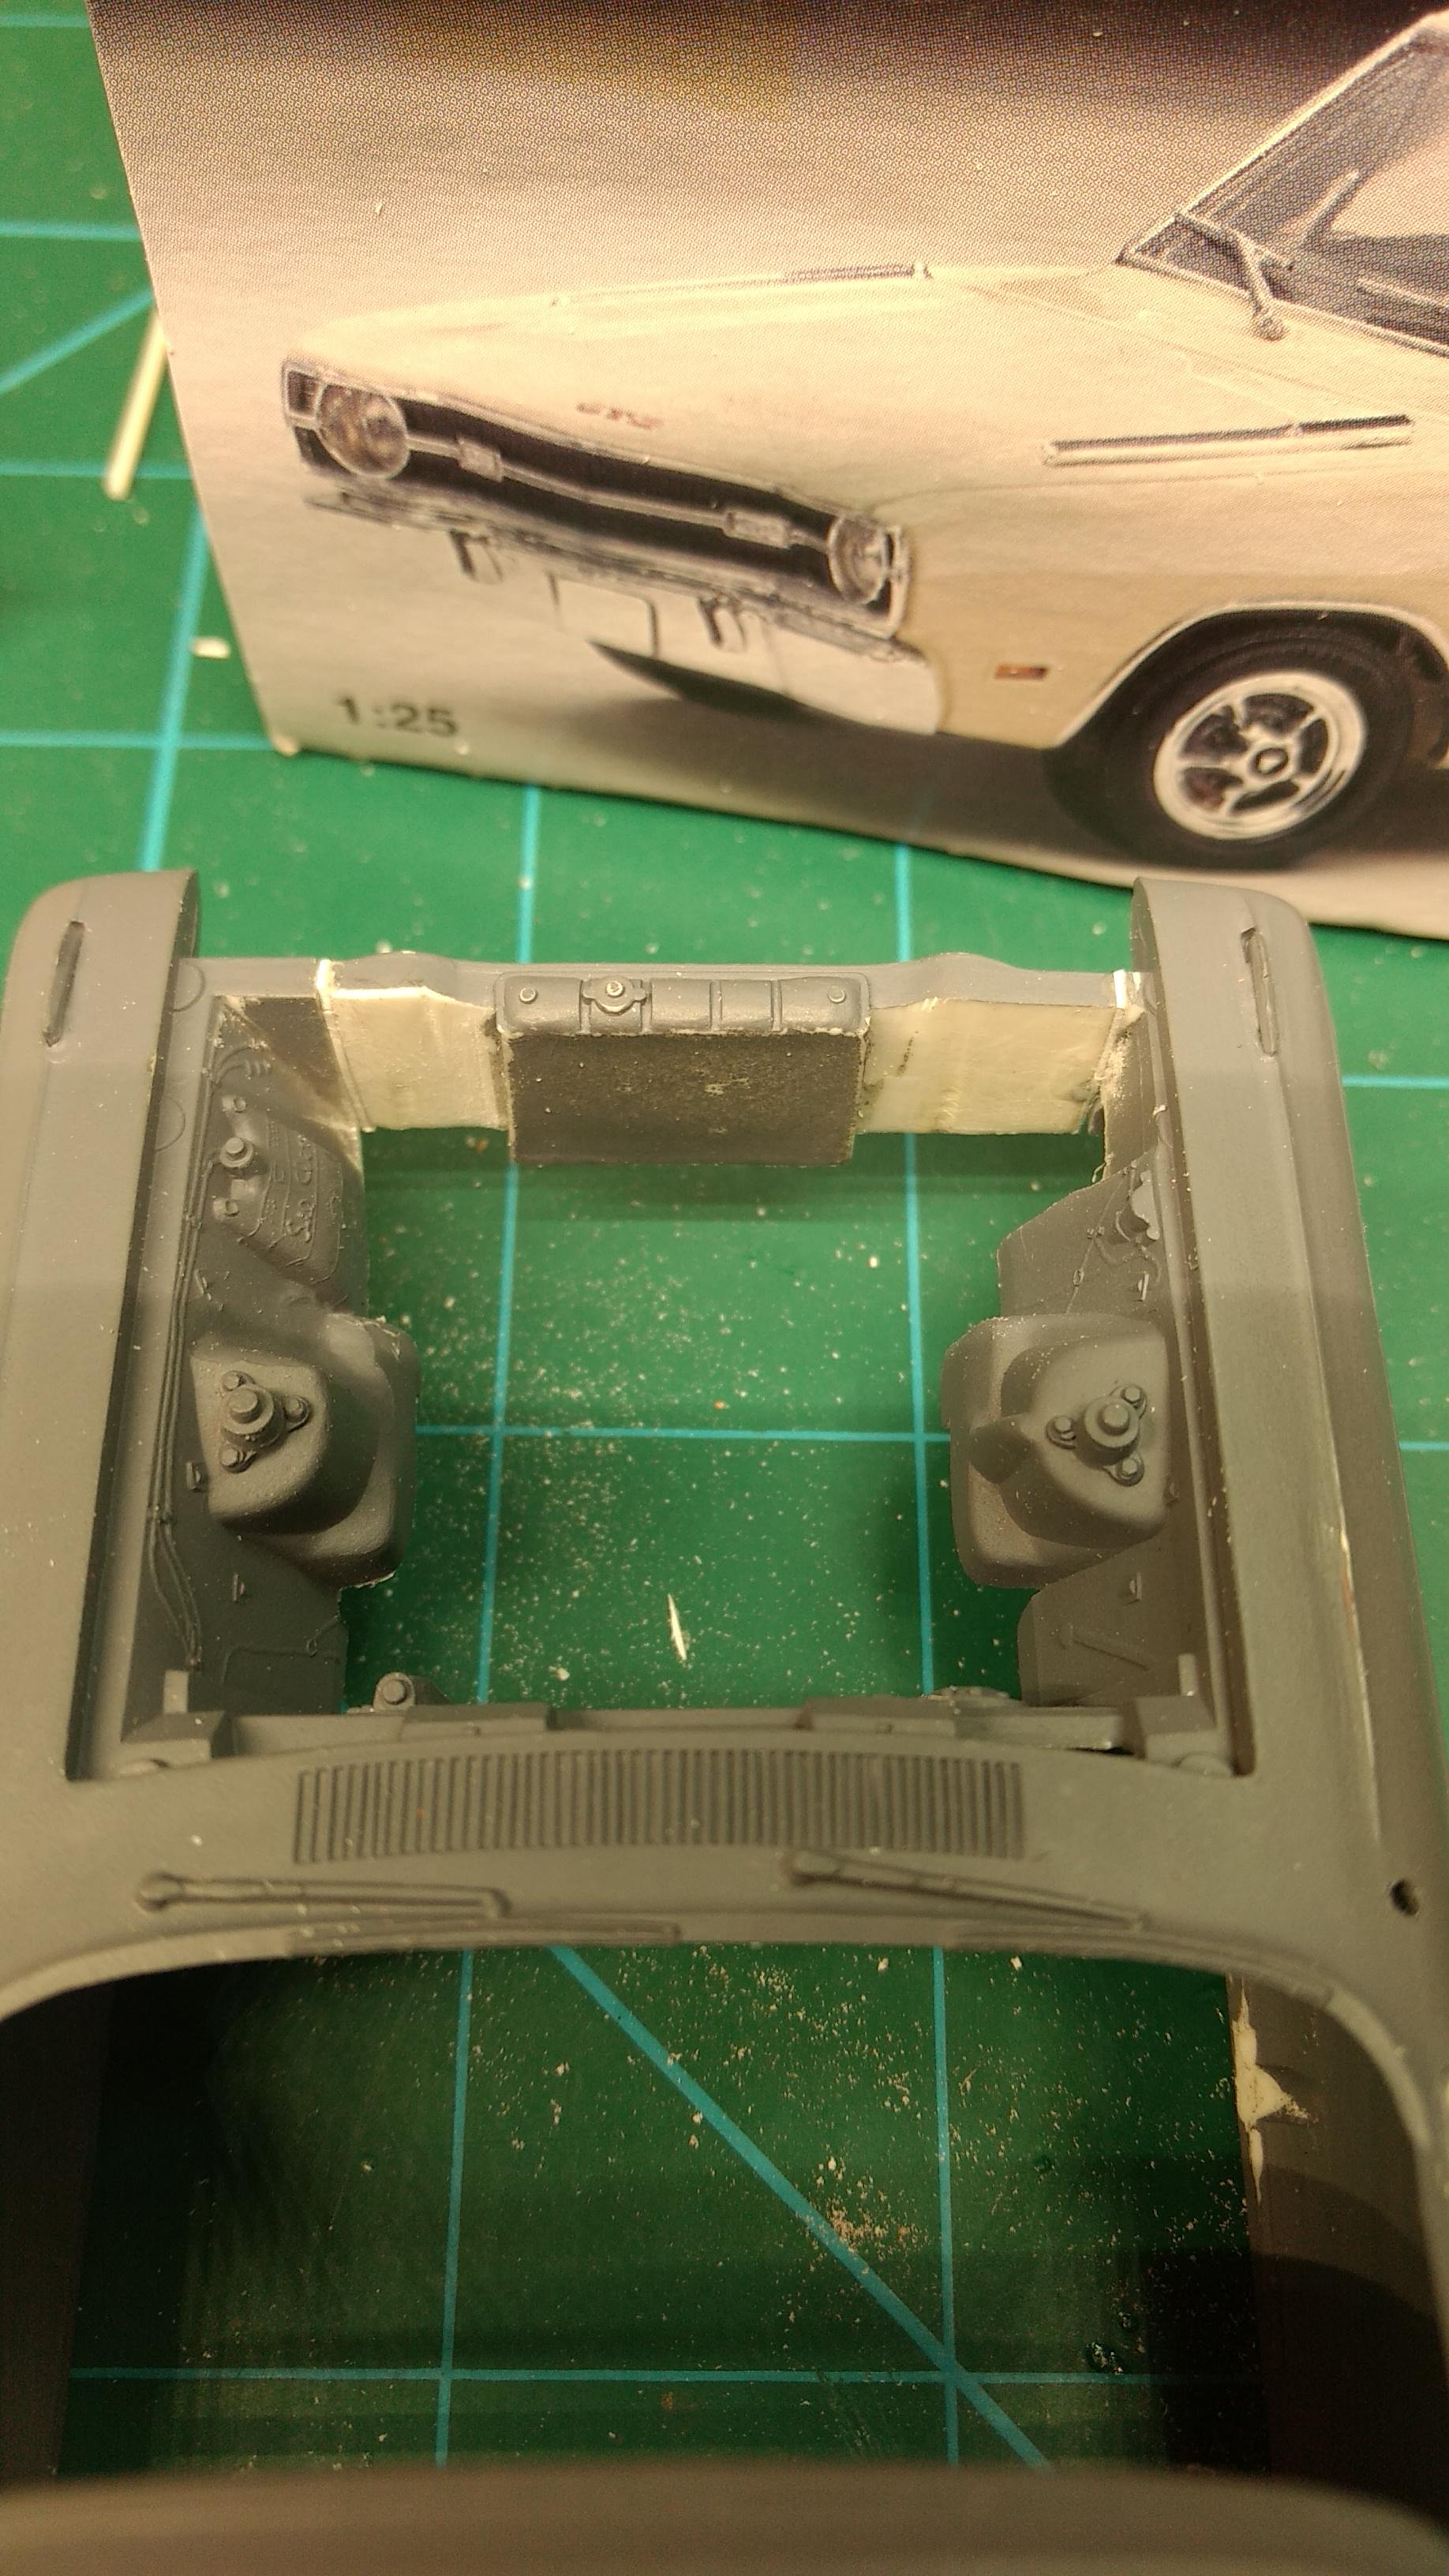
Working on this again tonight. Just some quick progress shots. Proof of life shots, you might say. Hakan- thanks for all of the input. I appreciate it. I decided to not use the traction bars but I'm keeping the Tbolt rear end for simplicity sake. Al- after looking at the radiator wall and radiator I decided to cut out the offending screw bosses. I found that the easiest way to clean it up was to cut out the wall and battery, perform the surgery and reinstall the wall and radiator. I will need to find a new battery to replace the molded in one. Still some clean up to do but I realized that I don't have any putty at home. Later-
-
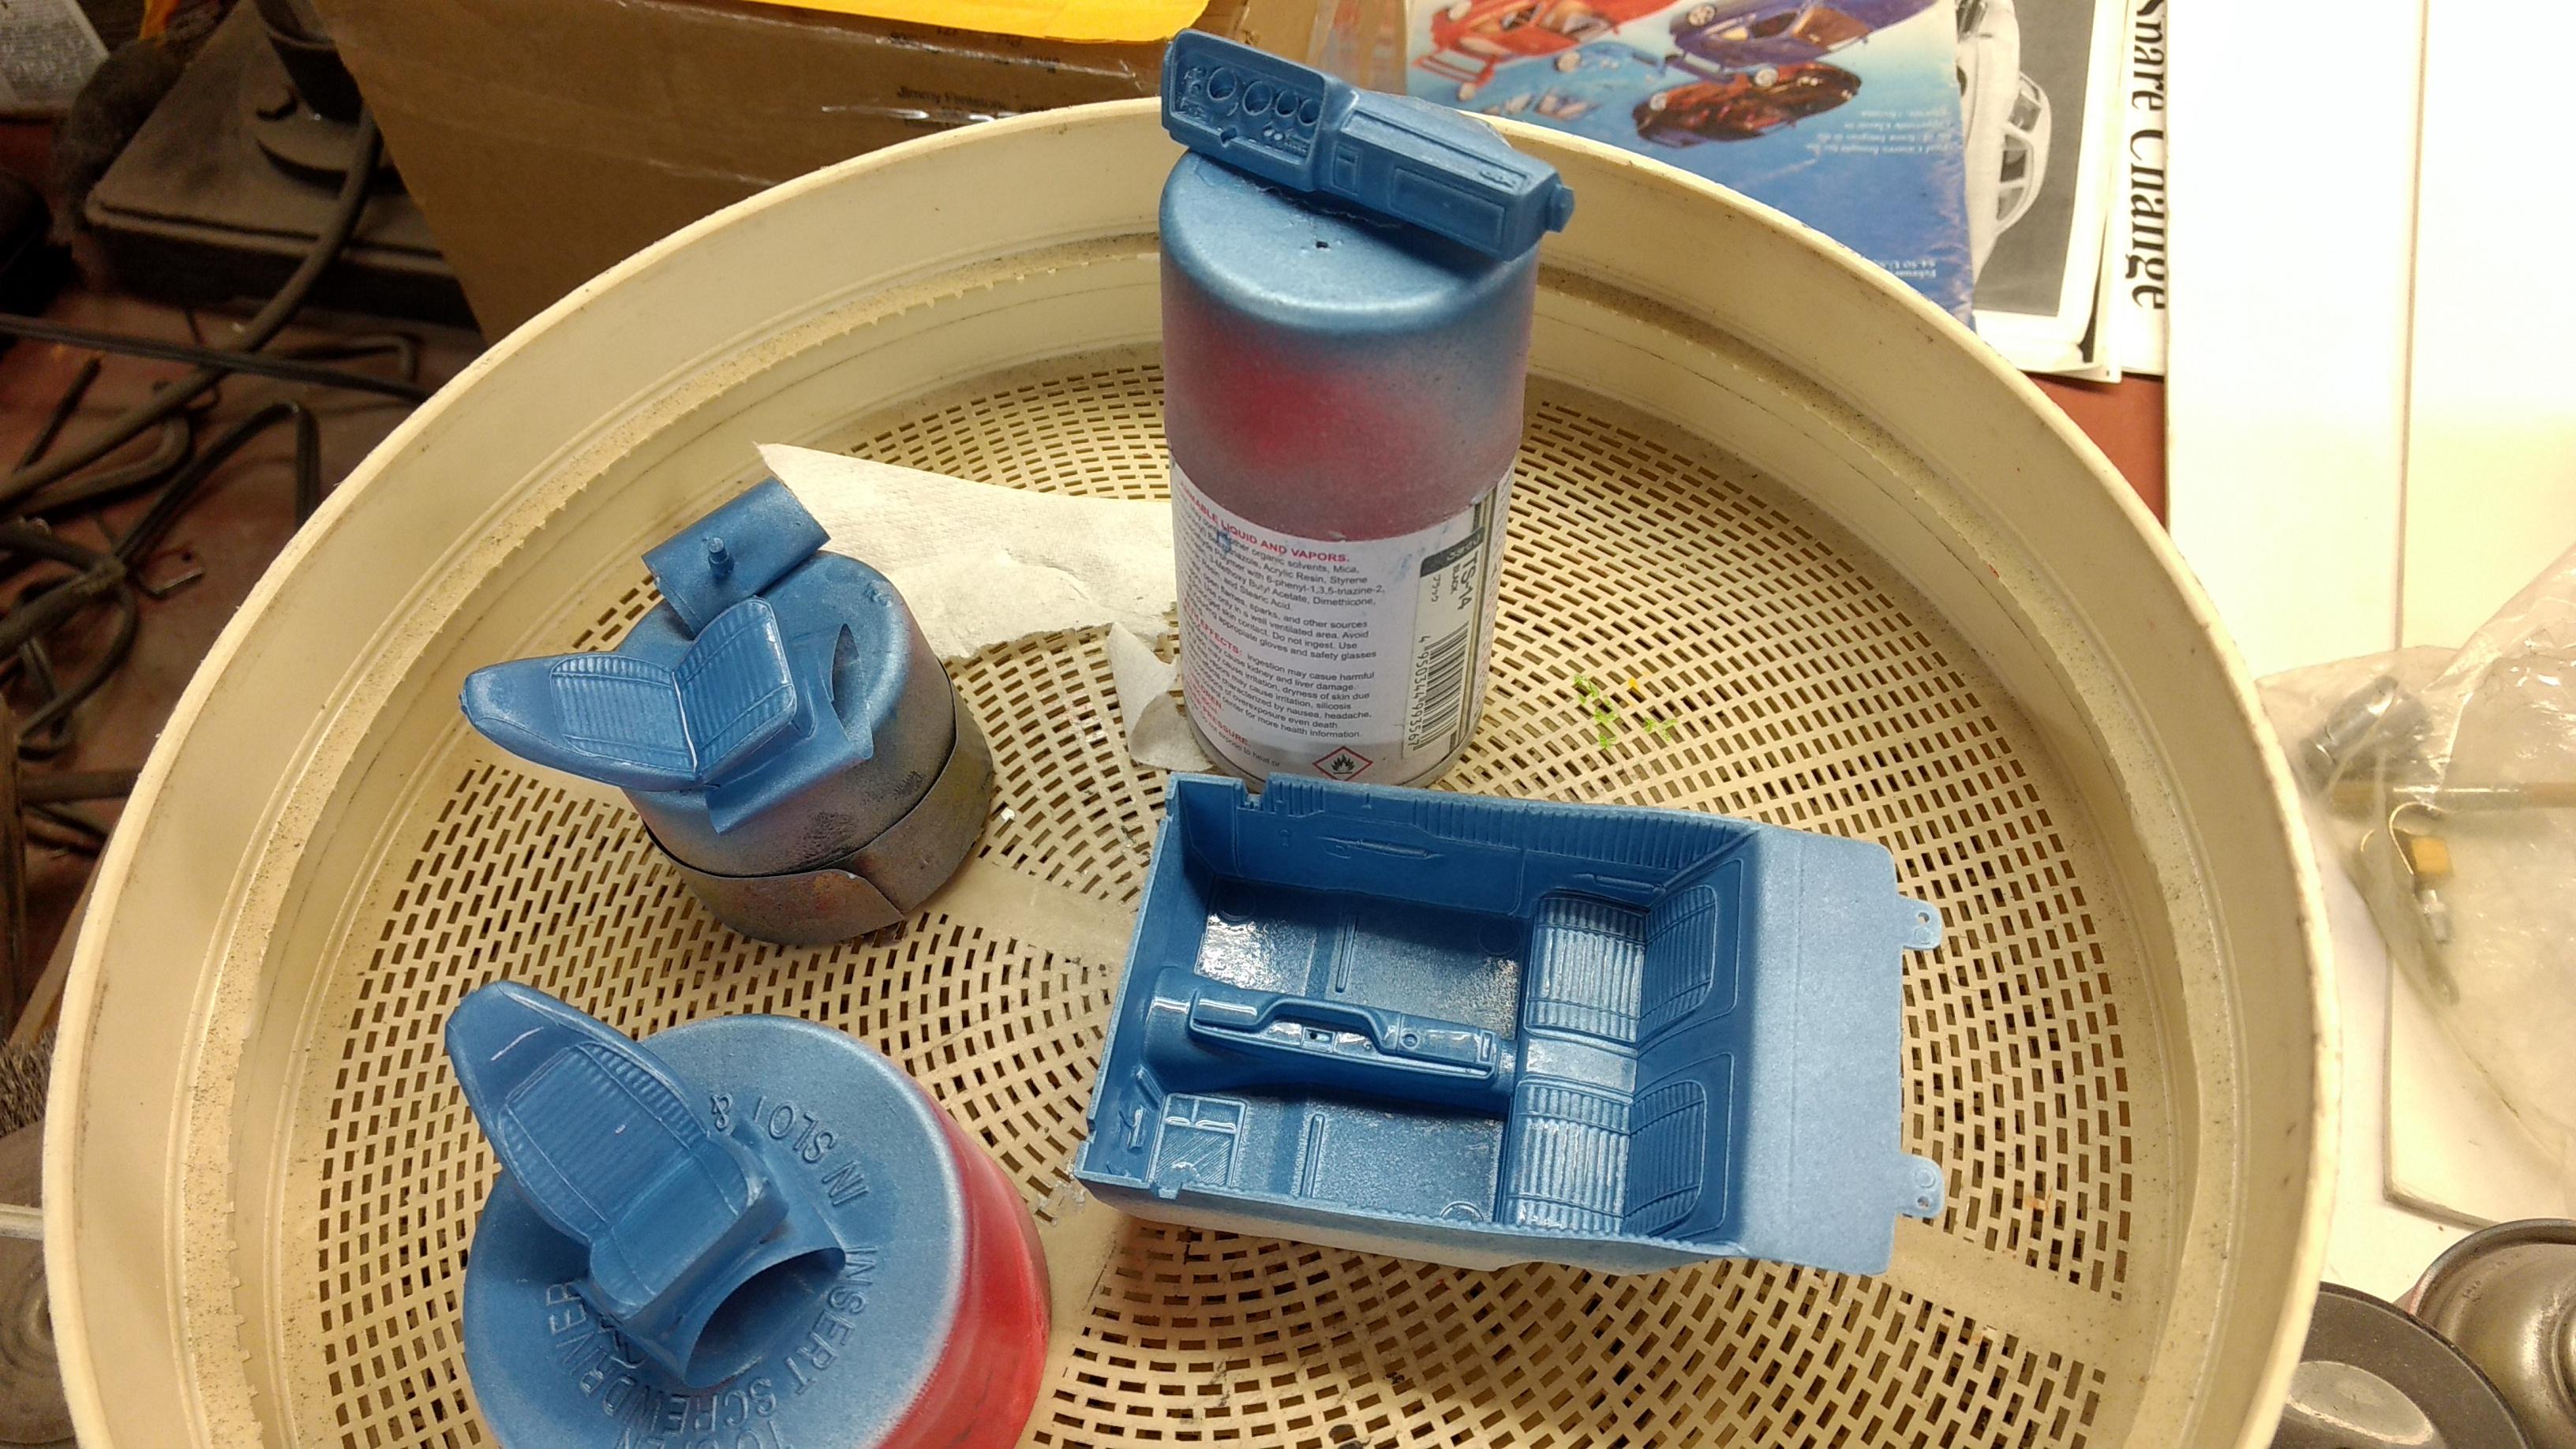
Thanks guys! Still learning how to mix the paint correctly every time in order to spray. Last time I did it on my 63 Tempest interior it went smoothly. This time it fought me quite a bit. But, the good thing is, you can just wash it right off before it dries and start over. Unfortunately, because it was a custom mix and I had to fiddle with getting it to spray right I ran out before getting the top of the hood sprayed. I had to mix more up and hope I got it to look the same. First examination looks like it will work. If it's not exactly right I made enough the second round to hit the body with a quick overcoat and maybe it will work out. Later-
-
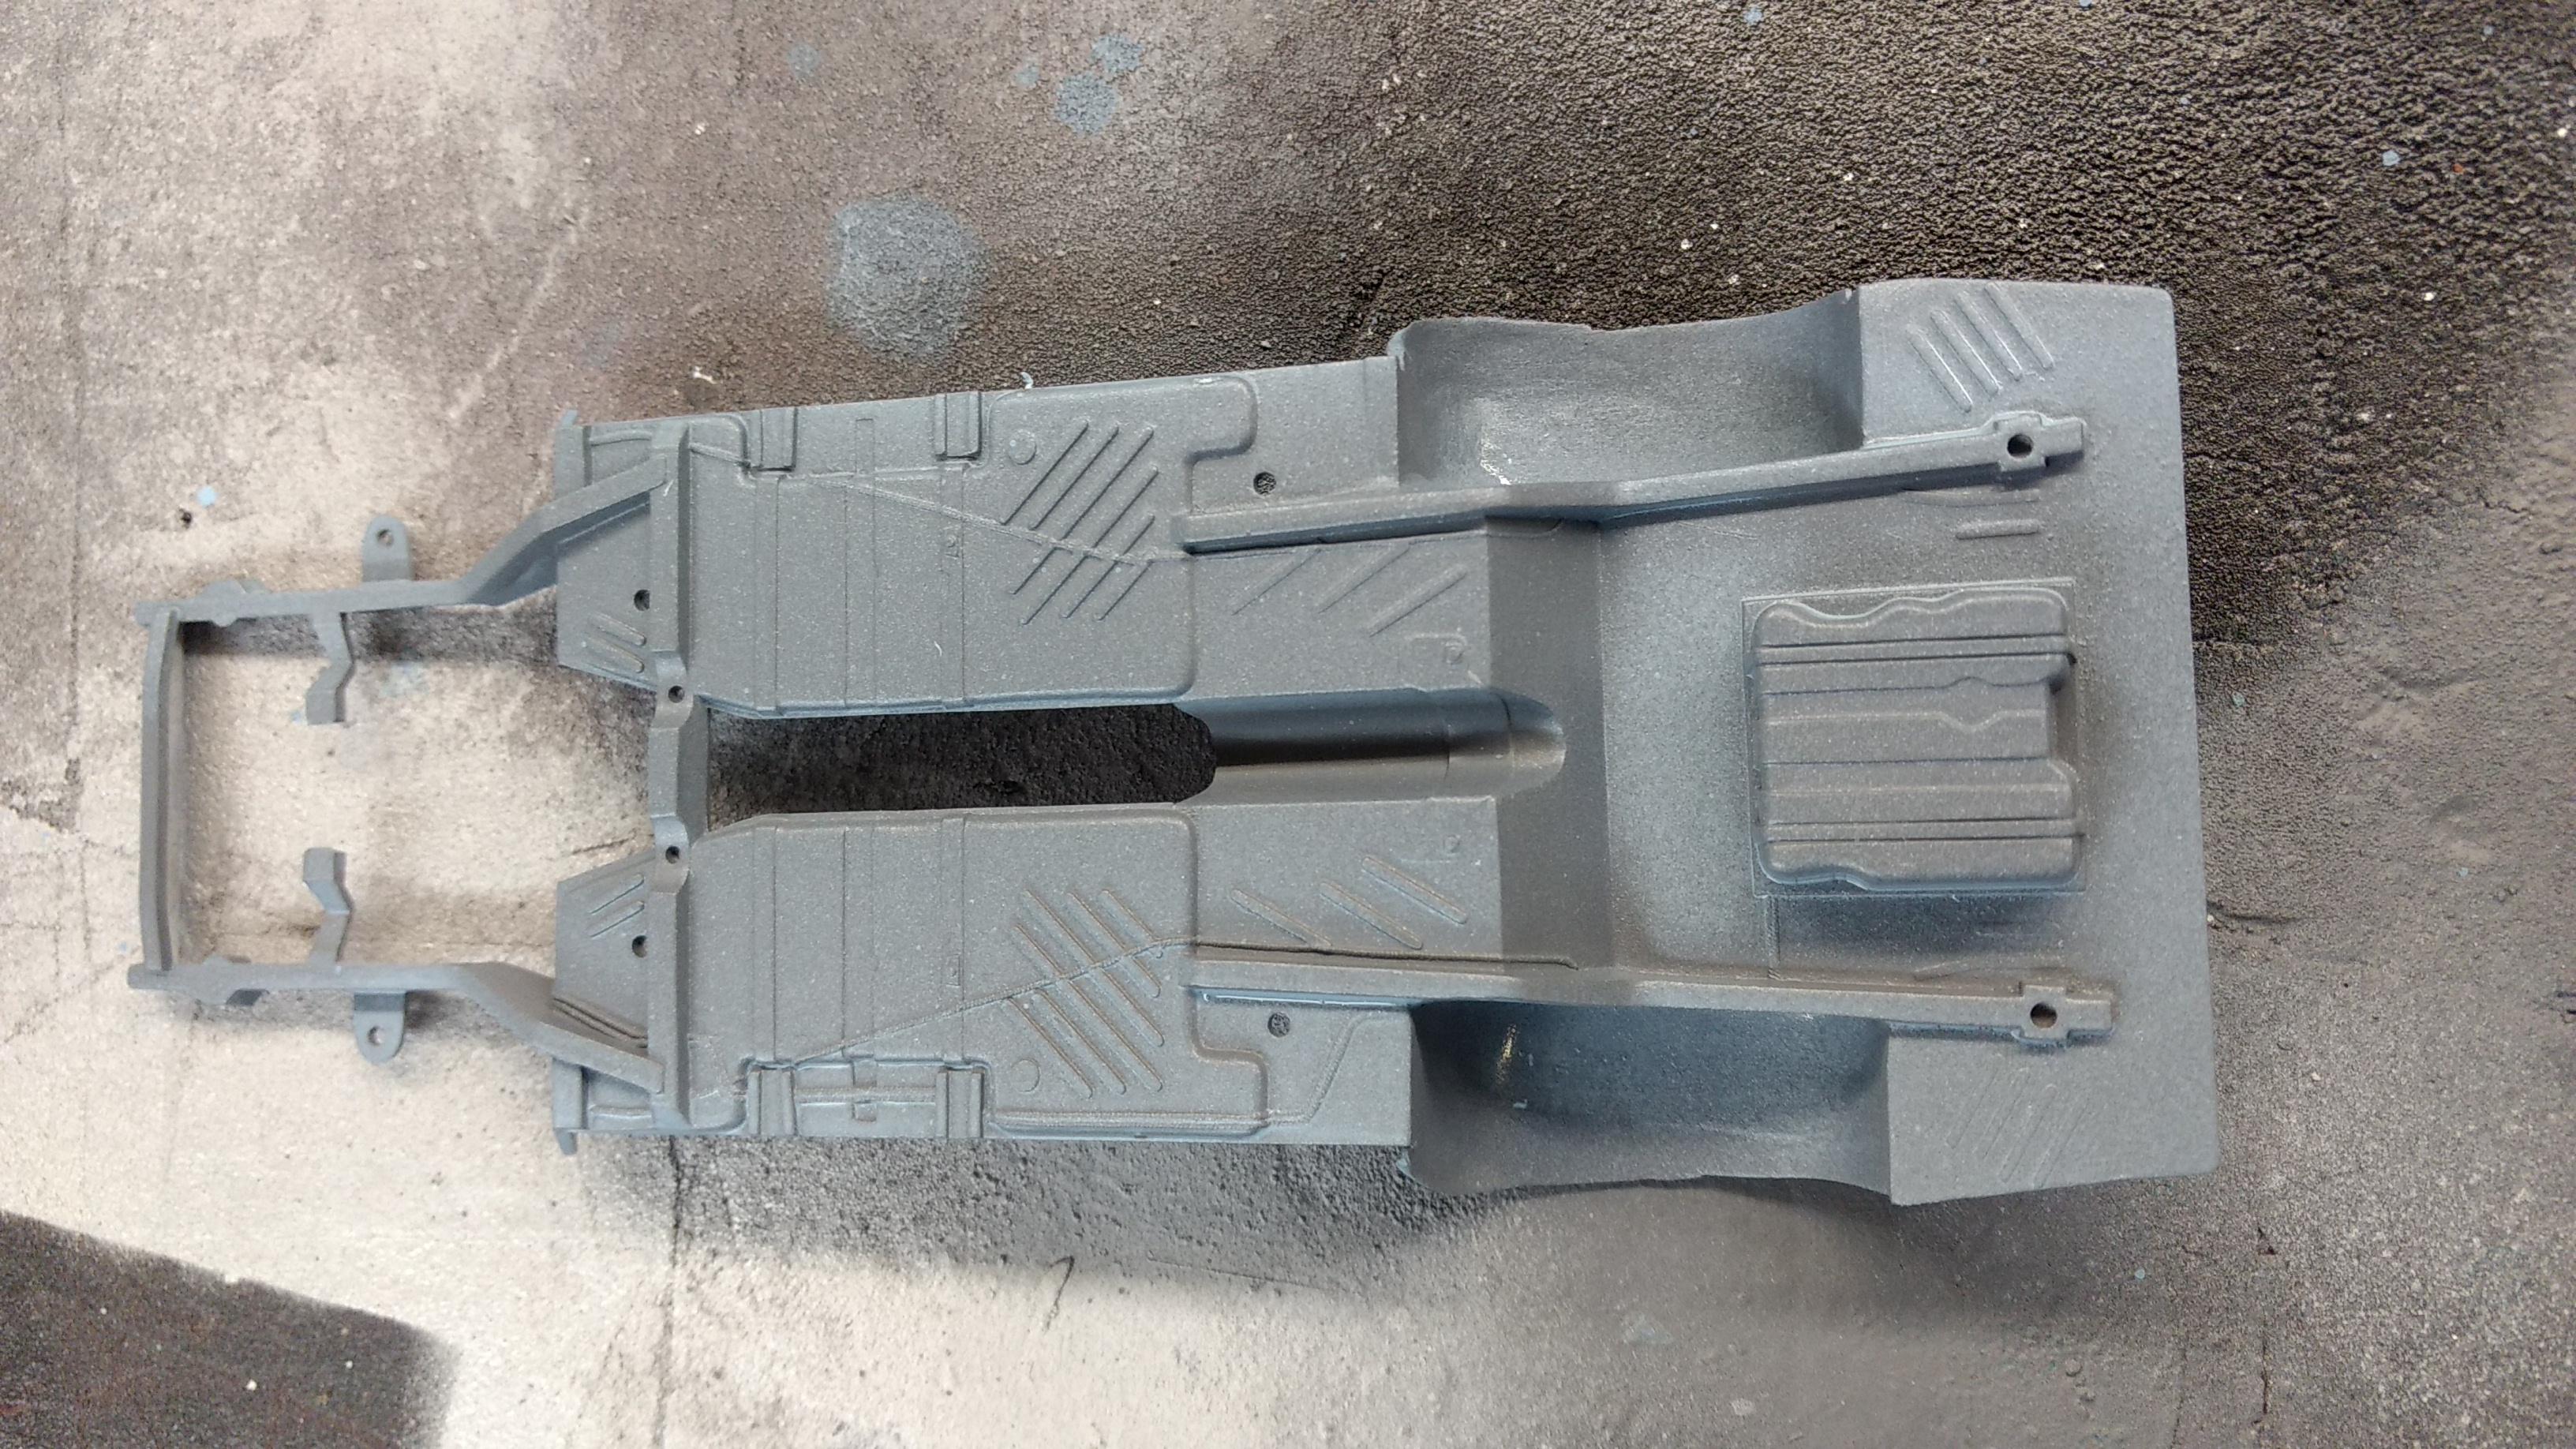
I started this earlier this week as a build off with a buddy in Detroit. I widened and raised the rear wheel wells in preparation for the larger diameter wheels I have coming in the mail. Next step was stripping the paint off of the rear bumper and the front grille surround in preparation for body color. I brushed Elmer's glue gel on the grille itself to protect the chrome. It should wash or peel off later. I mixed up the custom craft acrylic paint using three colors. I used mostly Slate Blue with a bit of Ice Blue and a few drops of Prussian Blue. It has a bit of flake to it, but isn't obvious. I'm sure it will pop when it gets cleared and polished. I think this will be a build that you will either love or hate. We will see. Later-
-
A co-worker came into the shop yesterday and handed me all of this. Paasche VL (nice and clean ) and two air hoses. Said he's had it sitting around unused for several years and has a couple others that he uses off and on. I already used it this morning for my next paint job! Later-
-
97 gmc sonoma
Modlbldr replied to Jared Roach's topic in Model Trucks: Pickups, Vans, SUVs, Light Commercial
Beautiful model! The Pegasus wheels are a nice custom touch with the lowering. I like that you painted it a stock color. The pickup has a nice subtle, yet custom, look to it. Makes me want to build the F150 I've got in a similar vein. Later- -
Beautiful build! The body color and choice of wheels really set it off. I used those Volk TE37's on my Skyline build and I'm looking to put another set on another. Tamiya kits are a real pleasure to build. You did a great job on this and it will look nice on the shelf. Later-
-
Man, that is low and wide! Nice work! Later-
-
That turned out great. Especially with the addition of the grille and exhaust tips. Nice, flawless work. Later-
-
The same can be done with flocking. I used two colors of flocking on a build years ago and it came out with a similar appearance. Just make sure to mix it before applying and use a tea strainer. It gives the best mixing outcome. Later-
-
1966 Chevrolet Chevelle SS Hardtop in Lemonwood Yellow
Modlbldr replied to Tommy124's topic in Model Cars
It looks gorgeous! Love the color too. I've been wanting to build this one for years, but it keeps getting pushed back in the pile. Your build makes me want to get on it. Nicely done! Later- -
That is just COOL! Definite Fi-Attitude! Later-
-
Thank you Carl. Later-
-
Michelle, That has a nice look to it. I like the decals and the subtle color. Job well done! Later-
-
2014 Ford Raptor
Modlbldr replied to Modlbldr's topic in Model Trucks: Pickups, Vans, SUVs, Light Commercial
Thanks Fellas. The shade of paint really turned out just as I wanted. I'll have to use it on another build someday. David, The tires are very nice and really add to the build. I'm sure your build will be amazing. It's a fun kit to build. Be sure and post a WIP with lots of pictures. Later- -
Thanks Fellas for the nice comments. The carpet is two colors of embossing powder mixed together (red and black) in a cup and then sifted through a tea strainer over the area that I brushed with white glue. Later-
-
Thanks a lot. The taillight panel was on the build when I bought it. I assume it was the custom option in the kit. I say this because there is a similar cross hatch pattern above the grille bars. Later-
-
I like that a lot! Glad you went more the stock route than adding the flares (not that I dont like them). It has a great look to it. Is this the kit with the brown car on the box? Been thinking of getting that kit. Later-
-
Nice looking build. I like the black paint job. It shows off the curves very well. Later-
-
Wow! Beautiful job on both of those. I like the touch with the vinyl tape. That must have been a chore. Very nicely done. Later-
-
Thanks alot guys! Later-