Alan Barton
-
Posts
2,113 -
Joined
-
Last visited
Content Type
Profiles
Forums
Events
Gallery
Everything posted by Alan Barton
-
This is going to be so different that I still don't think I can anticipate exactly what it is going to look like! I will be watching! Cheers Alan.
-
That is stunning! I love these kits and have built three of them already but this is by far the cleanest build I have ever seen of one. That colour is so sharp, smooth and even and I think the clear lenses do a lot for the front view. Nice job! Cheers Alan
-
Like it a lot! Not sure that I have ever seen a Vette in this shade of orange before but it really suits it, especially with the decals you used. Cheers Alan
-
Mate, you nailed it! I had to laugh, as I looked at your photos I thought "I will have to tell him about the hood scoop inserts!" and now as I read down I see you realised it! All good. Thepartsbox.com does beautiful models and I am good friends with the guy who did some of the original masters that thepartsbox then massaged and improved to what you have today. You have done a superb job on the XB GT! I believe there are quite a few in the States these days. These are a very expensive car in Australia these days and COVID tax has pushed the prices way up. They regularly sell for between 100 and 200 thousand and that's for an average one, not an outstanding one. About thirty years ago I had the opportunity to buy a clean six cylinder one for $1400 - shoulda, woulda, coulda! Cheers Alan
-
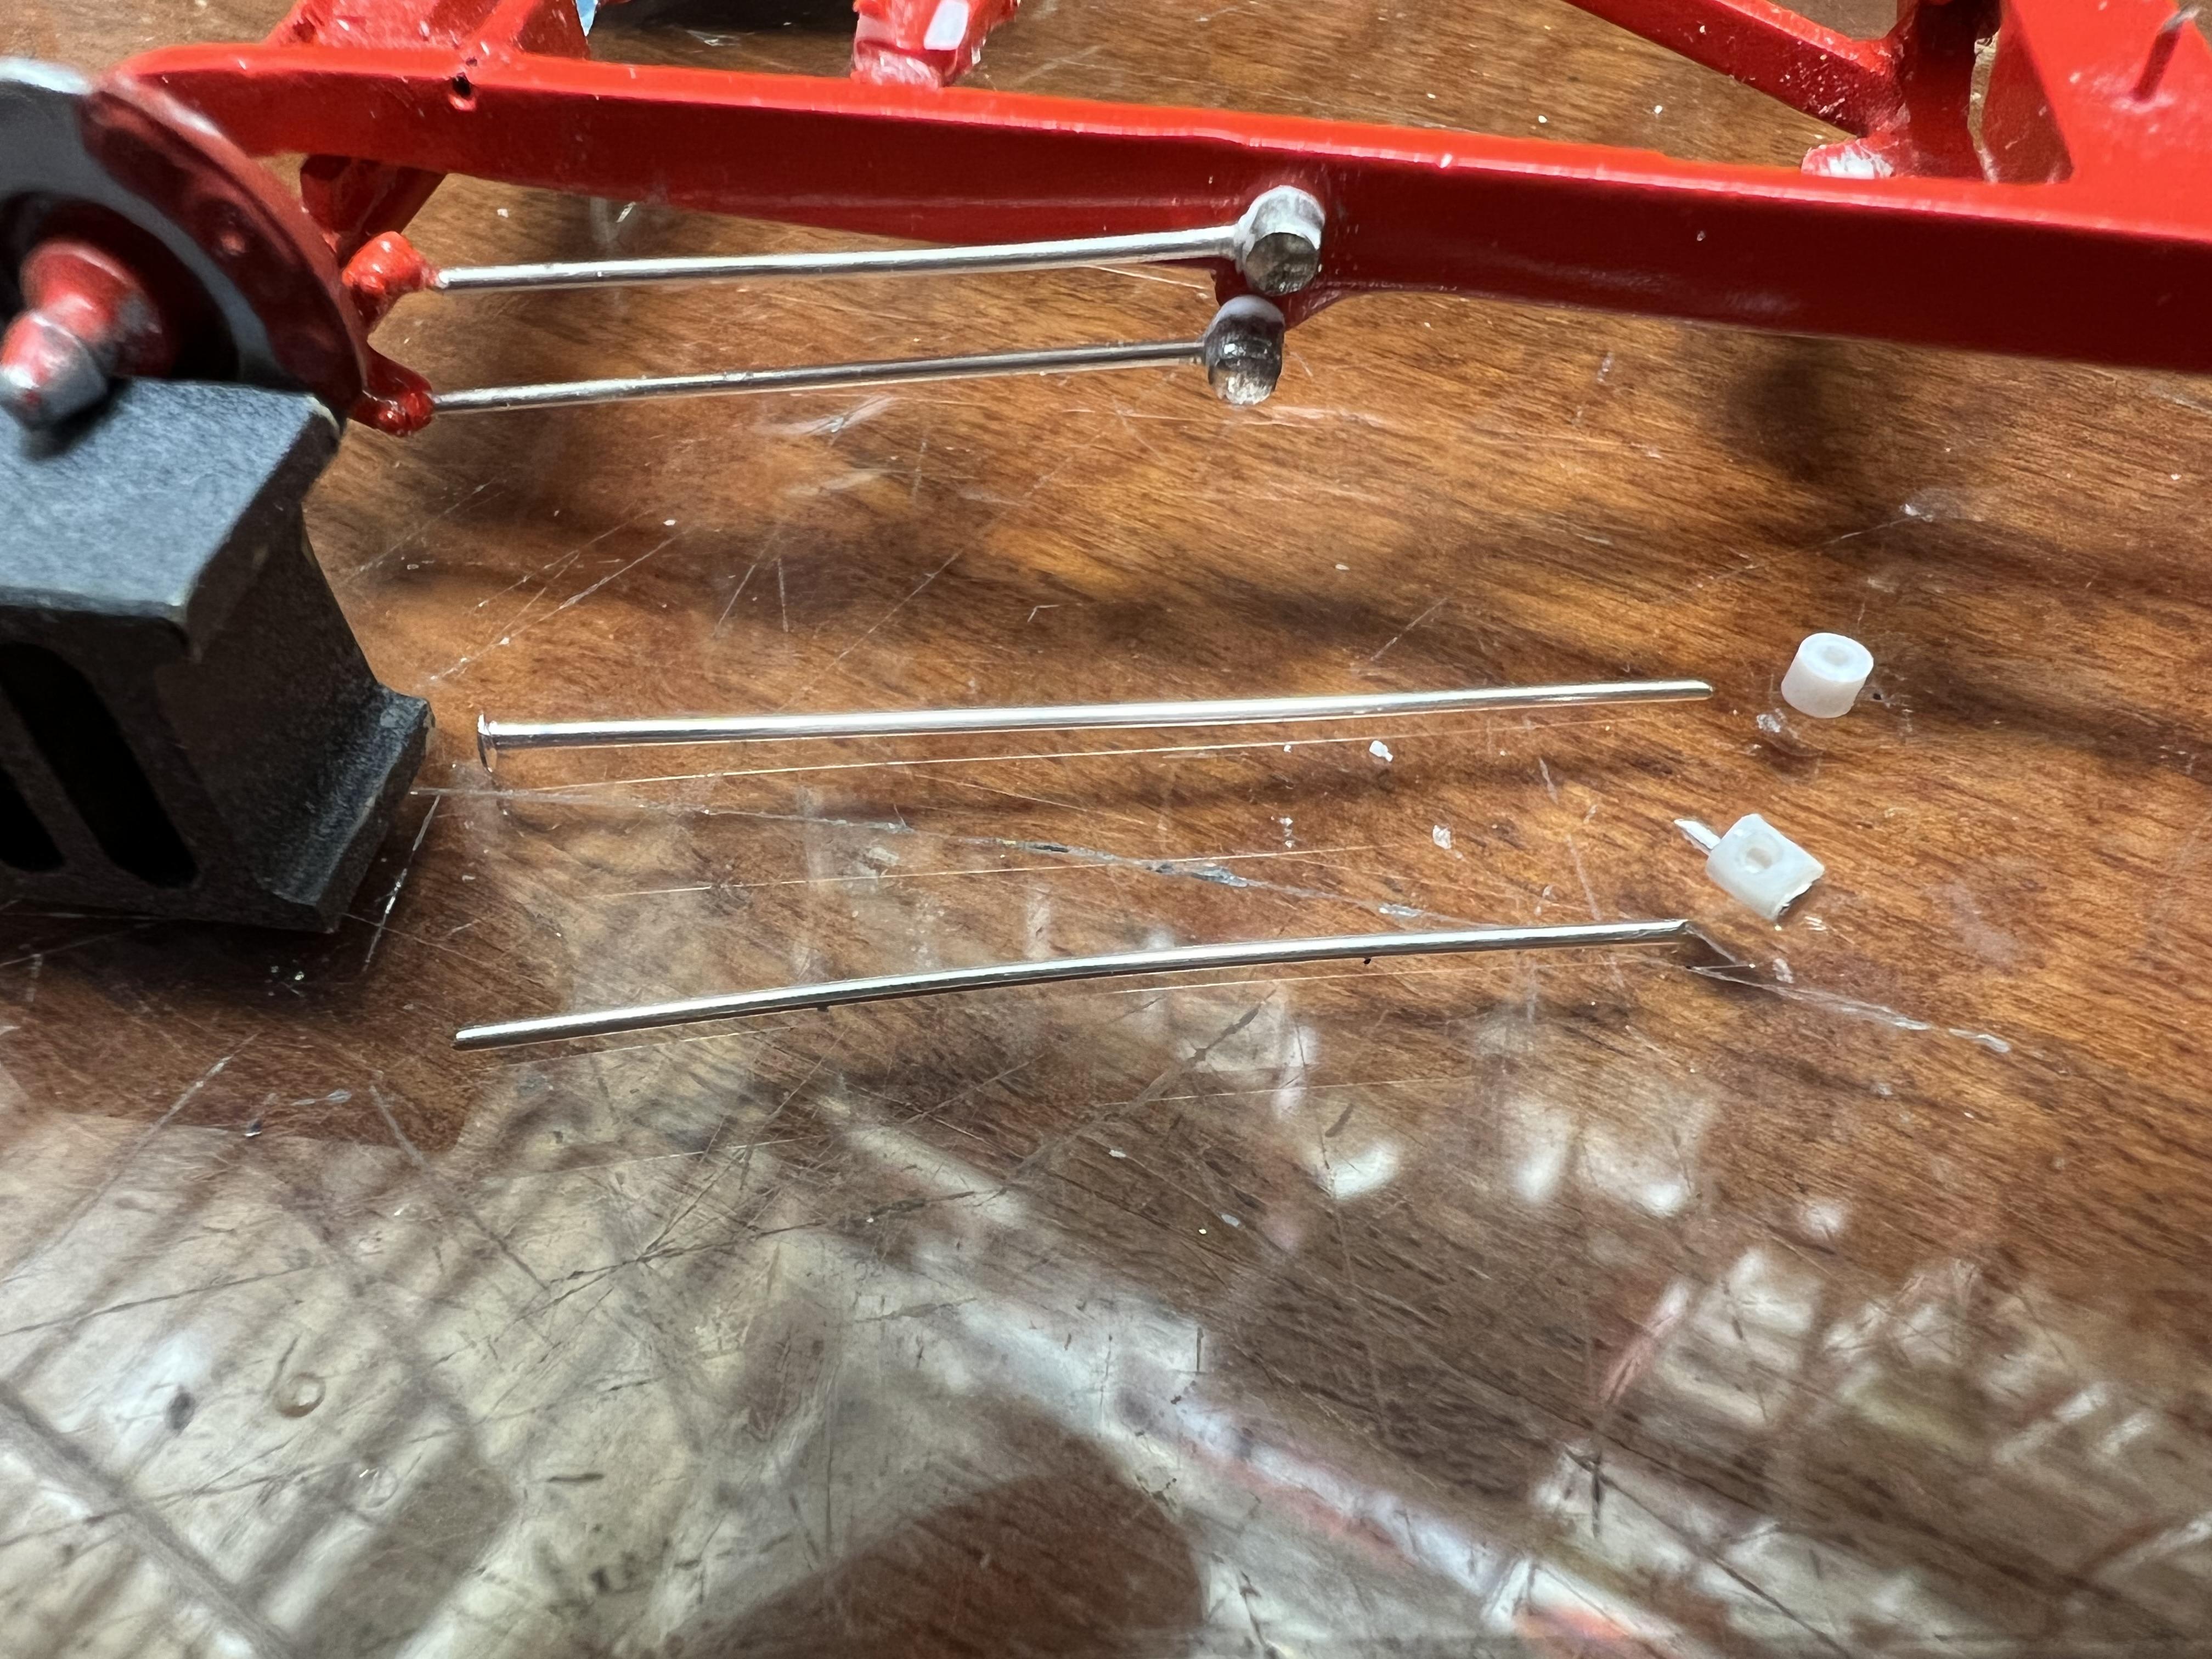
Thanks Carl! Thanks for the re-assurance Bob. It can be a bit overwhelming at times, when you put a lot of heart into a car and it bites you. Anyway, all good now. Got the four bars finished last night. I drilled a small hole into the centre of some Evergreen #222 and then cut small slices off to make bushes. Then drilled another hole at right angles. I found some thin aluminium pins at a craft store. The ends with the heads make the bolt going through the bush while the long shaft obviously makes the four bar. I few drops of superglue and they looked fine. I am going to leave them shiny because although this is a monochromatic car, a little bit of bling never hurt anyone! Exhaust is next. Cheers Alan

-
Glad you could join us, Tim! That flathead is righteous - I would never have thought of drilling out all the headbolts - talk about dedication. With that trick flip front hood and cut radiator shell, this could have easily been built in the eighties so it is a perfect fit with the whole theme. The more the merrier! Cheers Alan
-
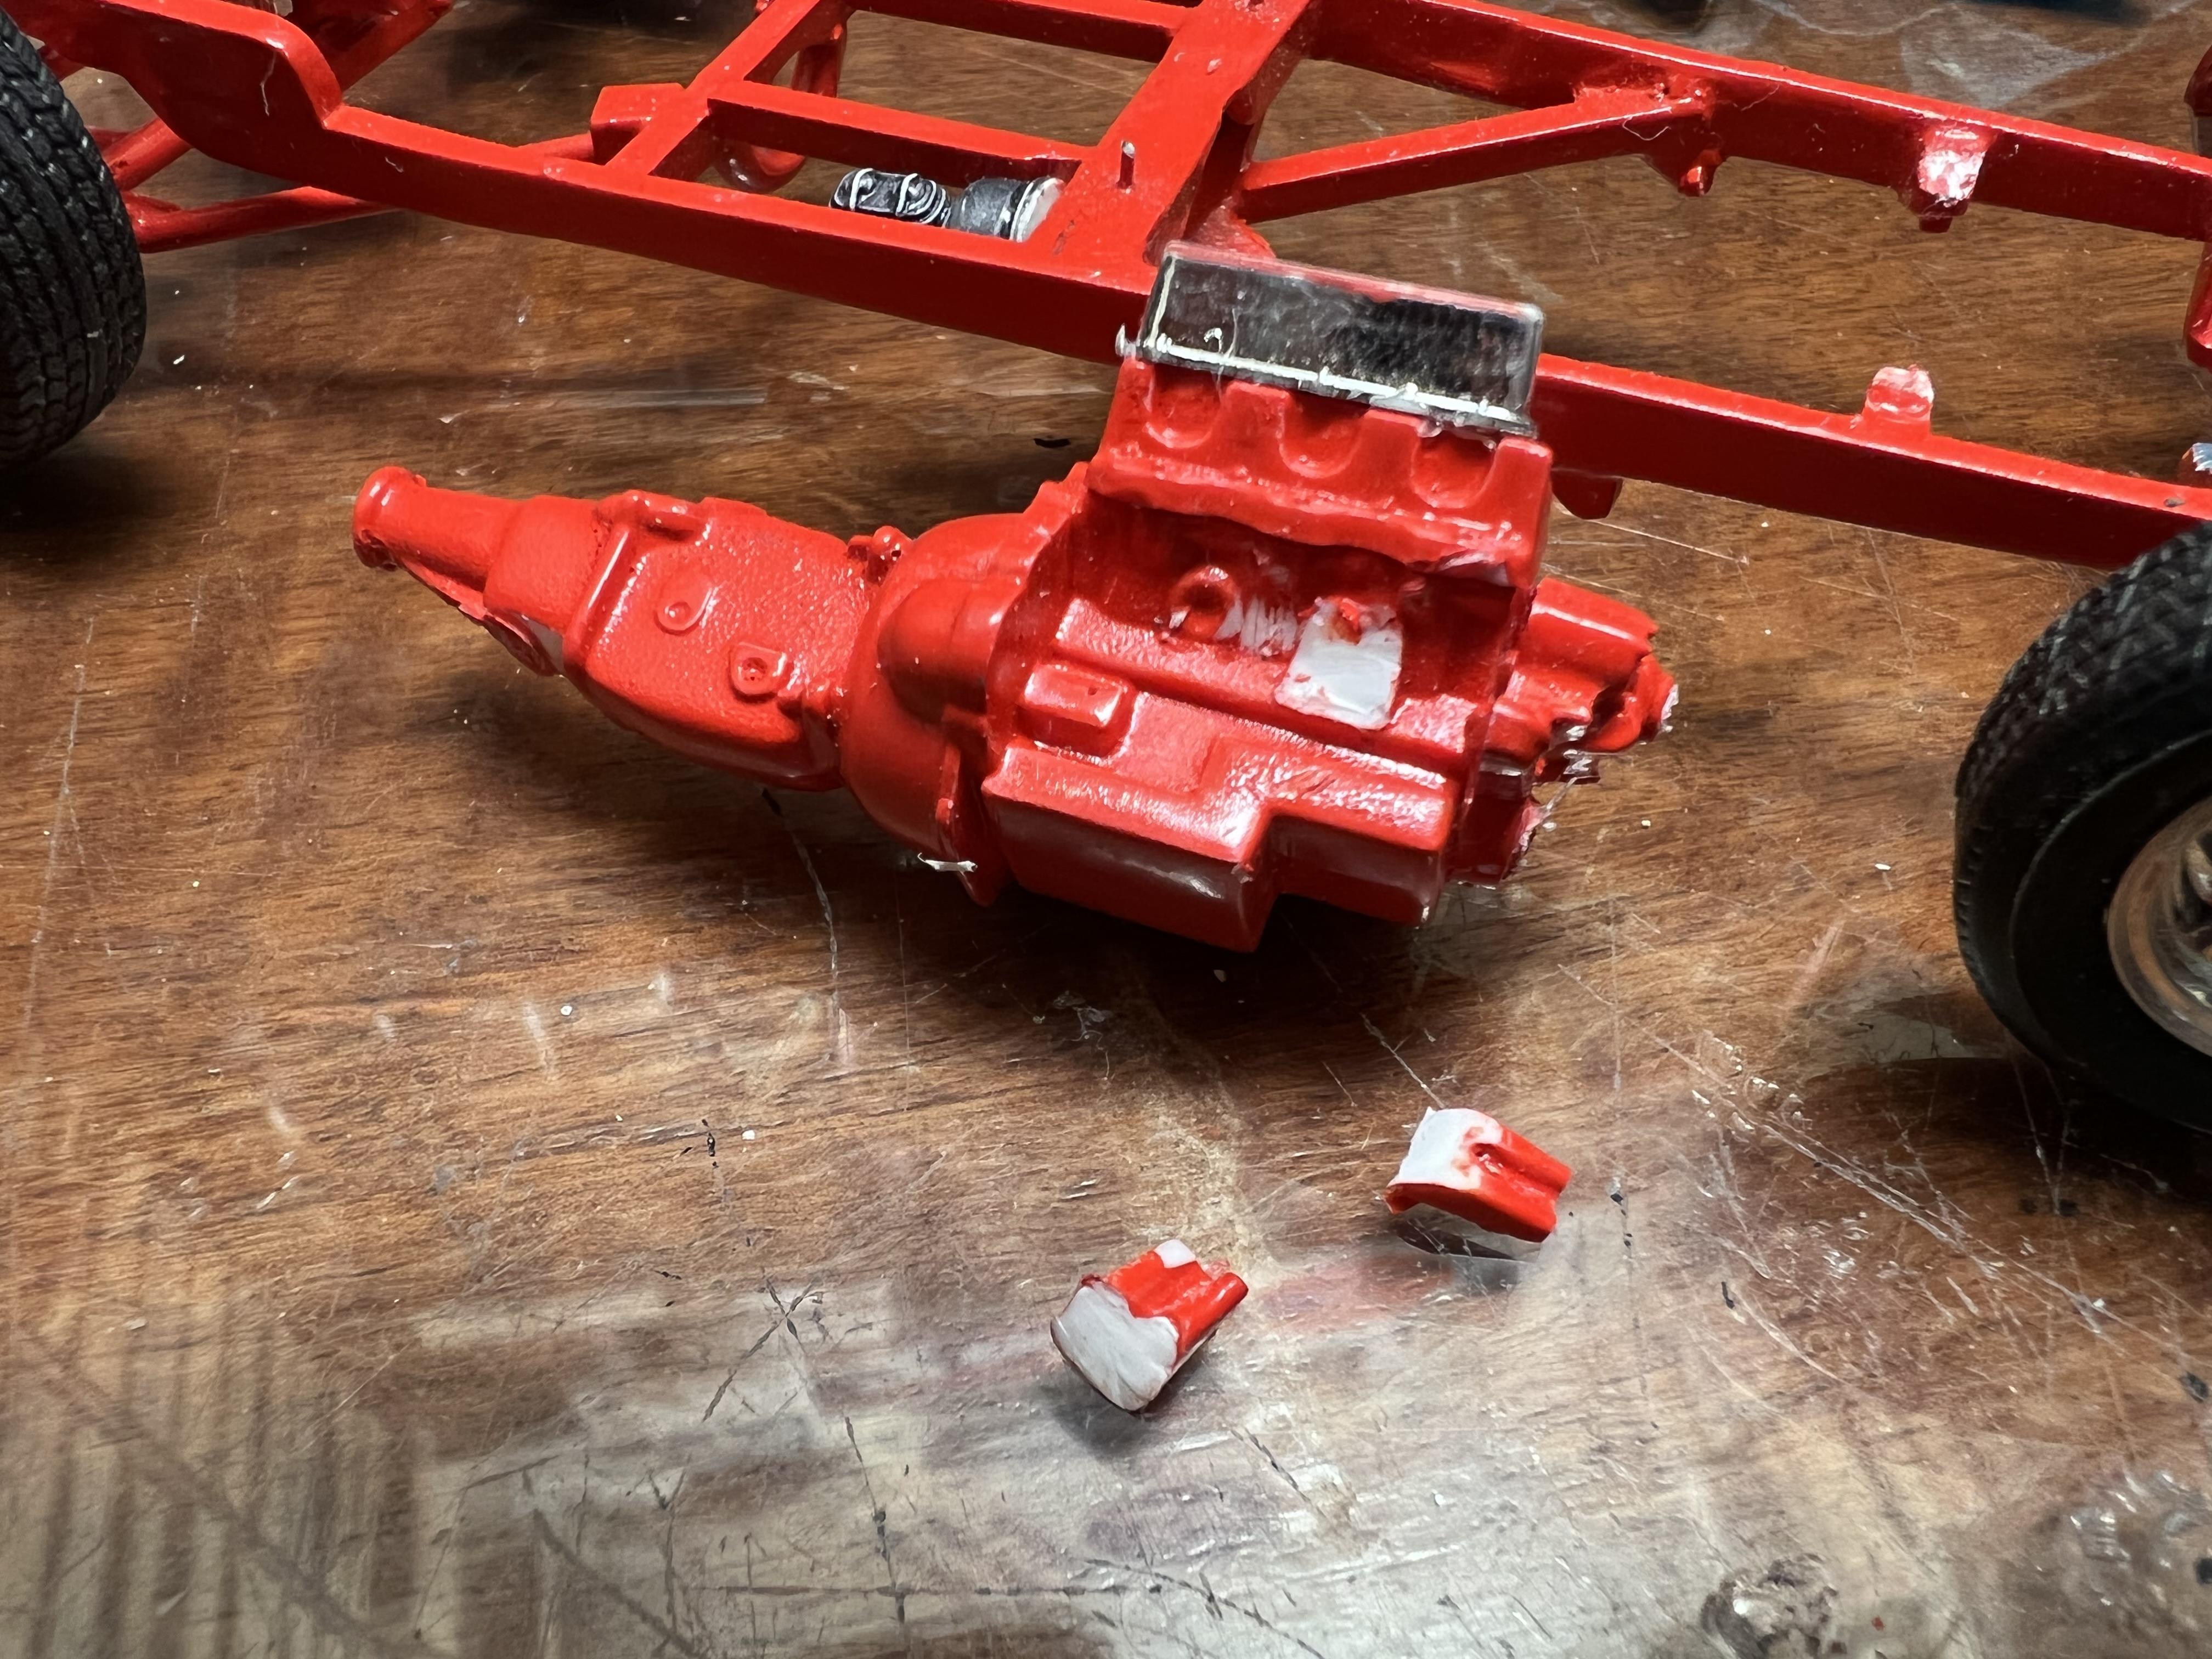
It was January 1 when I last posted, and I thought I was nearly finished. Then I went backwards! First, I had somehow mounted the engine too far rearwards. The injection would not clear the firewall. Who thought you couldn't fit a V6 in a Model A? I have done more test fitting and planning than ever before on this model so it was a bit depressing. The engine mounts took quite a bit of doing so the idea of dismantling the chassis, moving the engine mounts and repainting everything had my lip dropped significantly! So I thought I would leave the chassis for a while and get the doors hung. That's when I found out that the armrests on the Buttera door panels interfered with the dash. AAAAAAAGGGGGHHHHH! I put it away and got on with other things. In the meantime, I retired from work and having just experienced out hottest summer in record, sitting inside under the air con and building models was just what the doctor ordered! I have built seven since January and last night decided it was high time the pickup came back to the top of the list. It dawned on me that it would be a lot easier to move the engine mount on the block rather than the ones on the frame, and a lot easier to repaint as well. I got out a fresh blade and sliced as carefully as I dared. I also made a new gearbox mount which will lift the extension housing a tad to give a better angle. Mock-ups showed that I would have to lower my injection as well so they came out and a smidge was sectioned from the uprights to get better clearance. The engine is now outside with fresh paint drying. It's good to be back! Stay tuned for regular updates until this puppy is finished. Cheers Alan
-
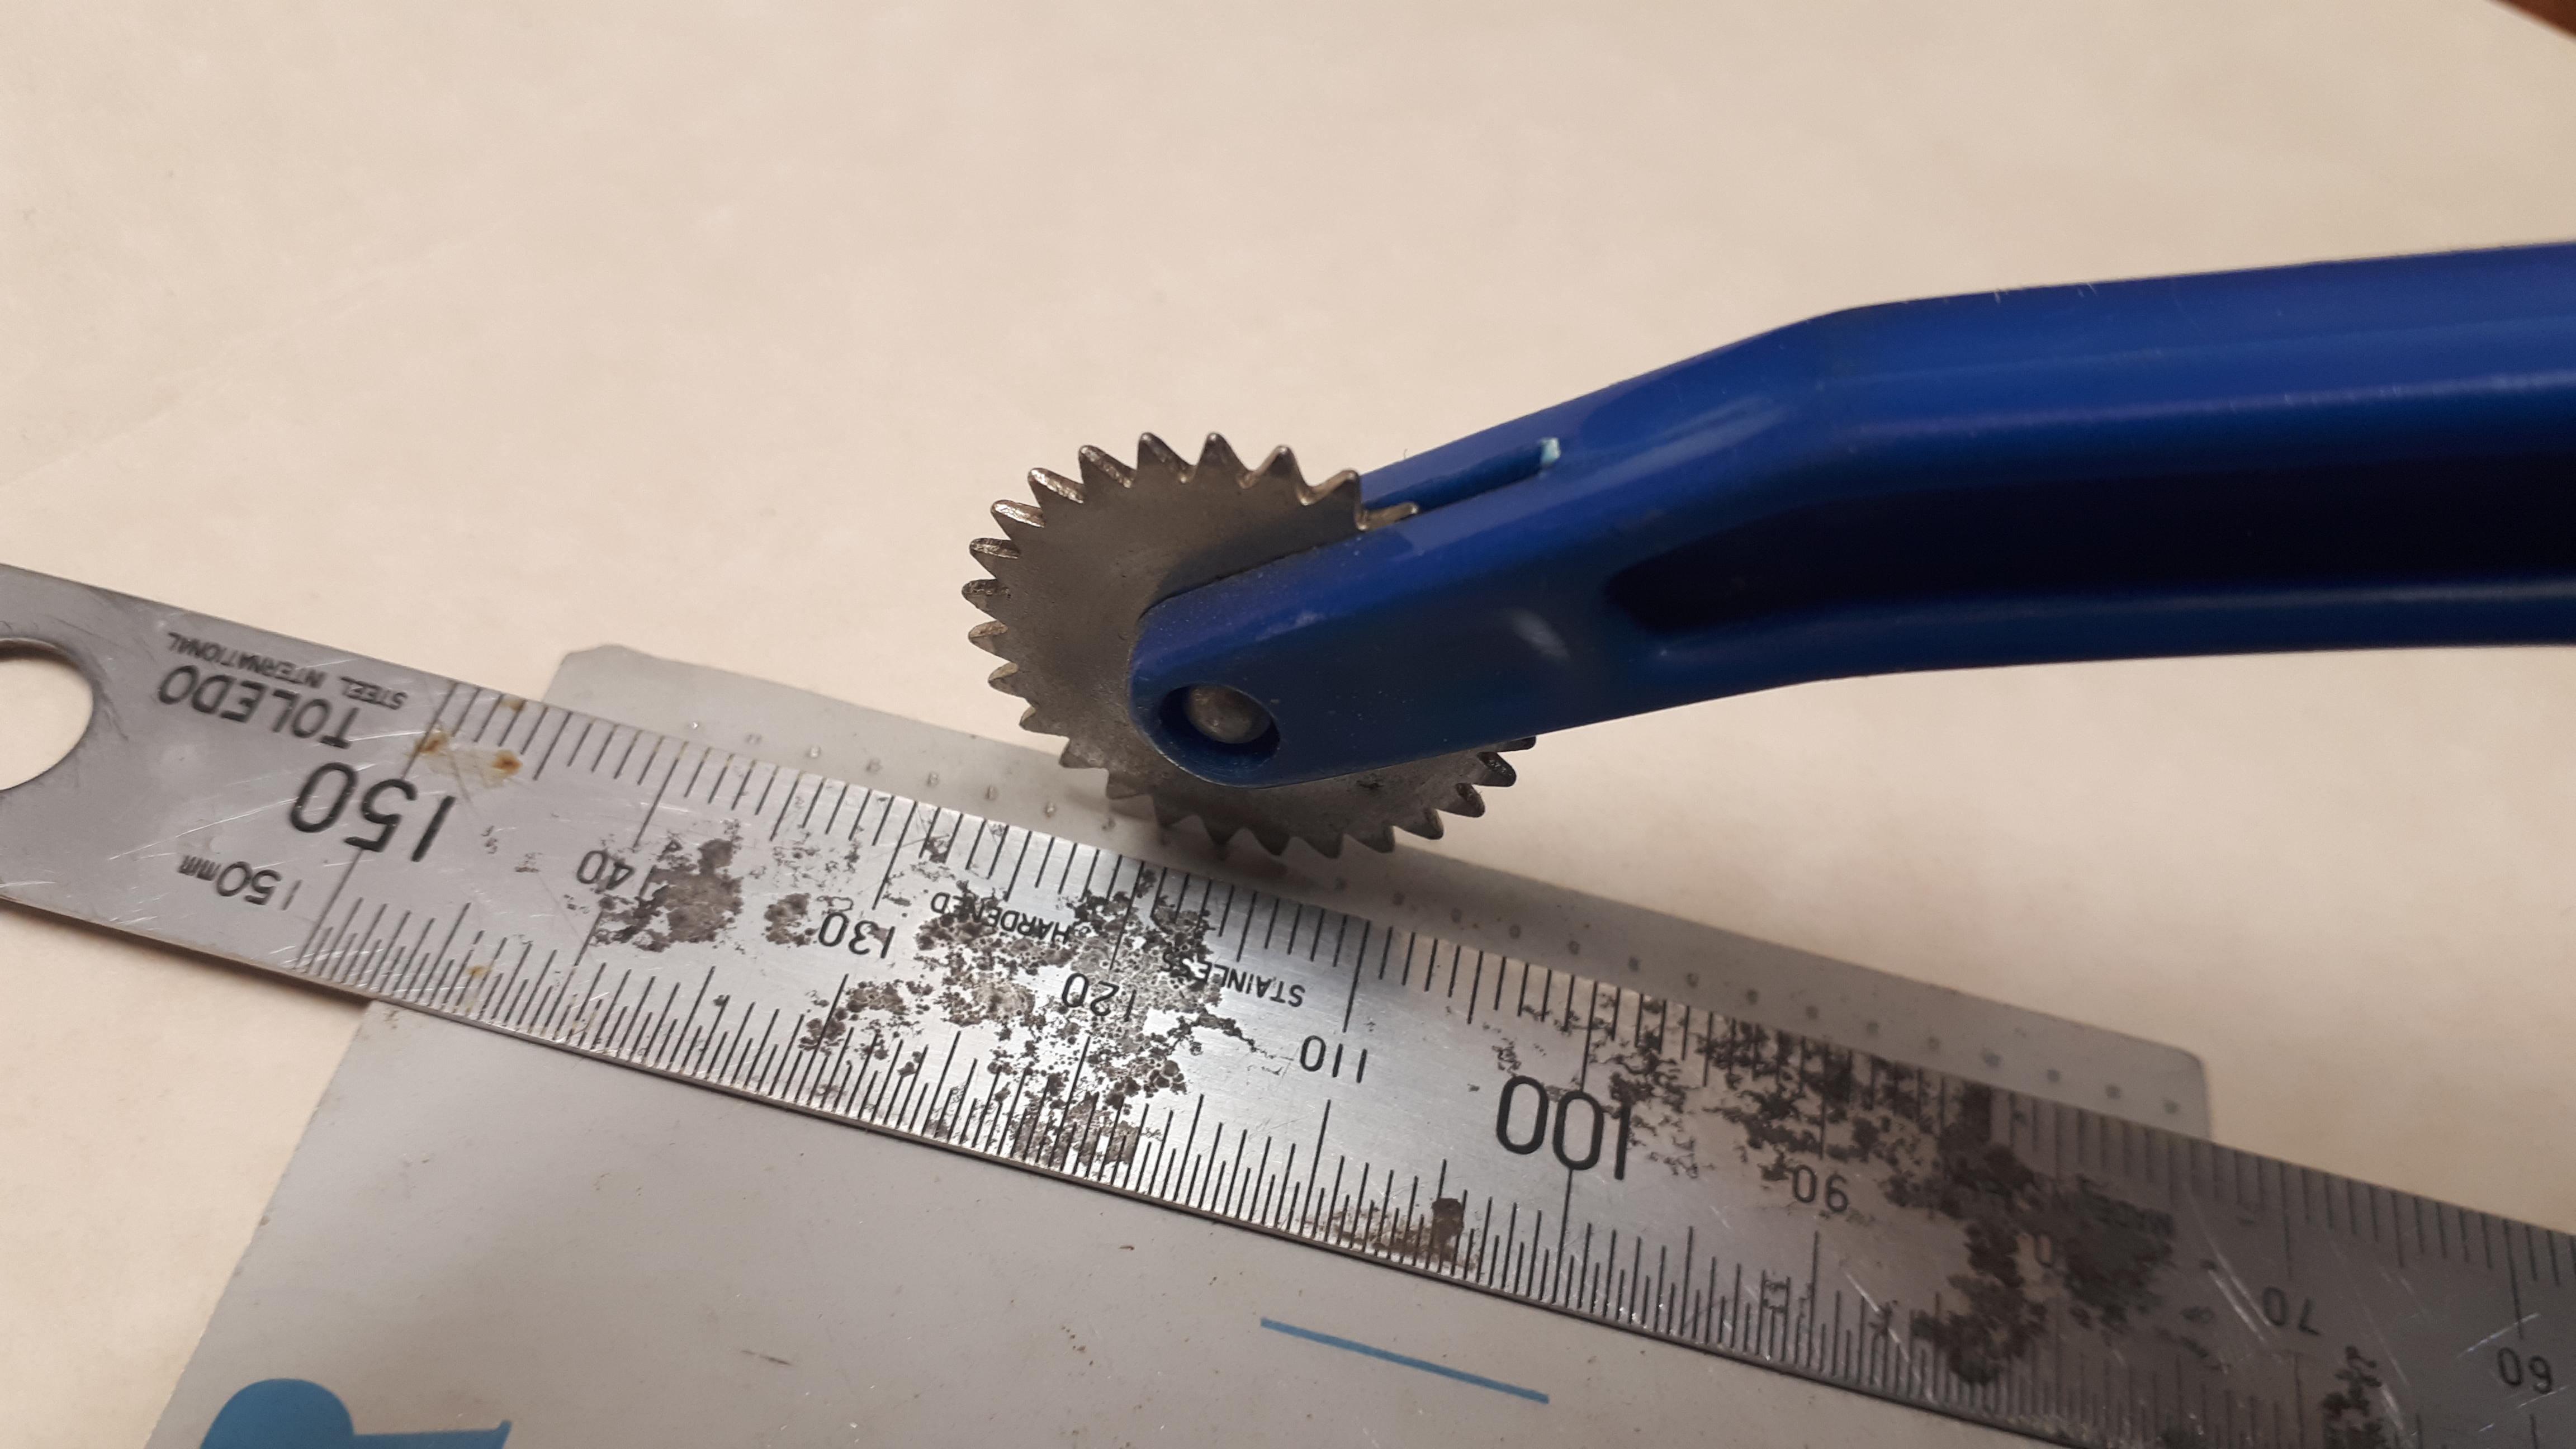
I am continuing to enjoy the amazing amount of detail you have put into this supermod, Dan. It is absolutely superb. The radiator screen is simply stunning. When I build supermod wings, I use a technique that I got from a model magazine many years ago. You can get a pouncing wheel from fabric shops, I imagine Hobby Lobby, Jo-Annes or Michael's would have them in the USA. They are used for transferring paper patterns onto fabric. I also have one that came with some leatherwork equipment. The plastic one in this photo cost around a dollar many years ago. You simply place a ruler where you want a line of rivets, and run the pouncing wheel alongside with reasonable downwards pressure. Presto - instant rivets! Hope that helps any future projects you have on the drawing board. Cheers Alan
-
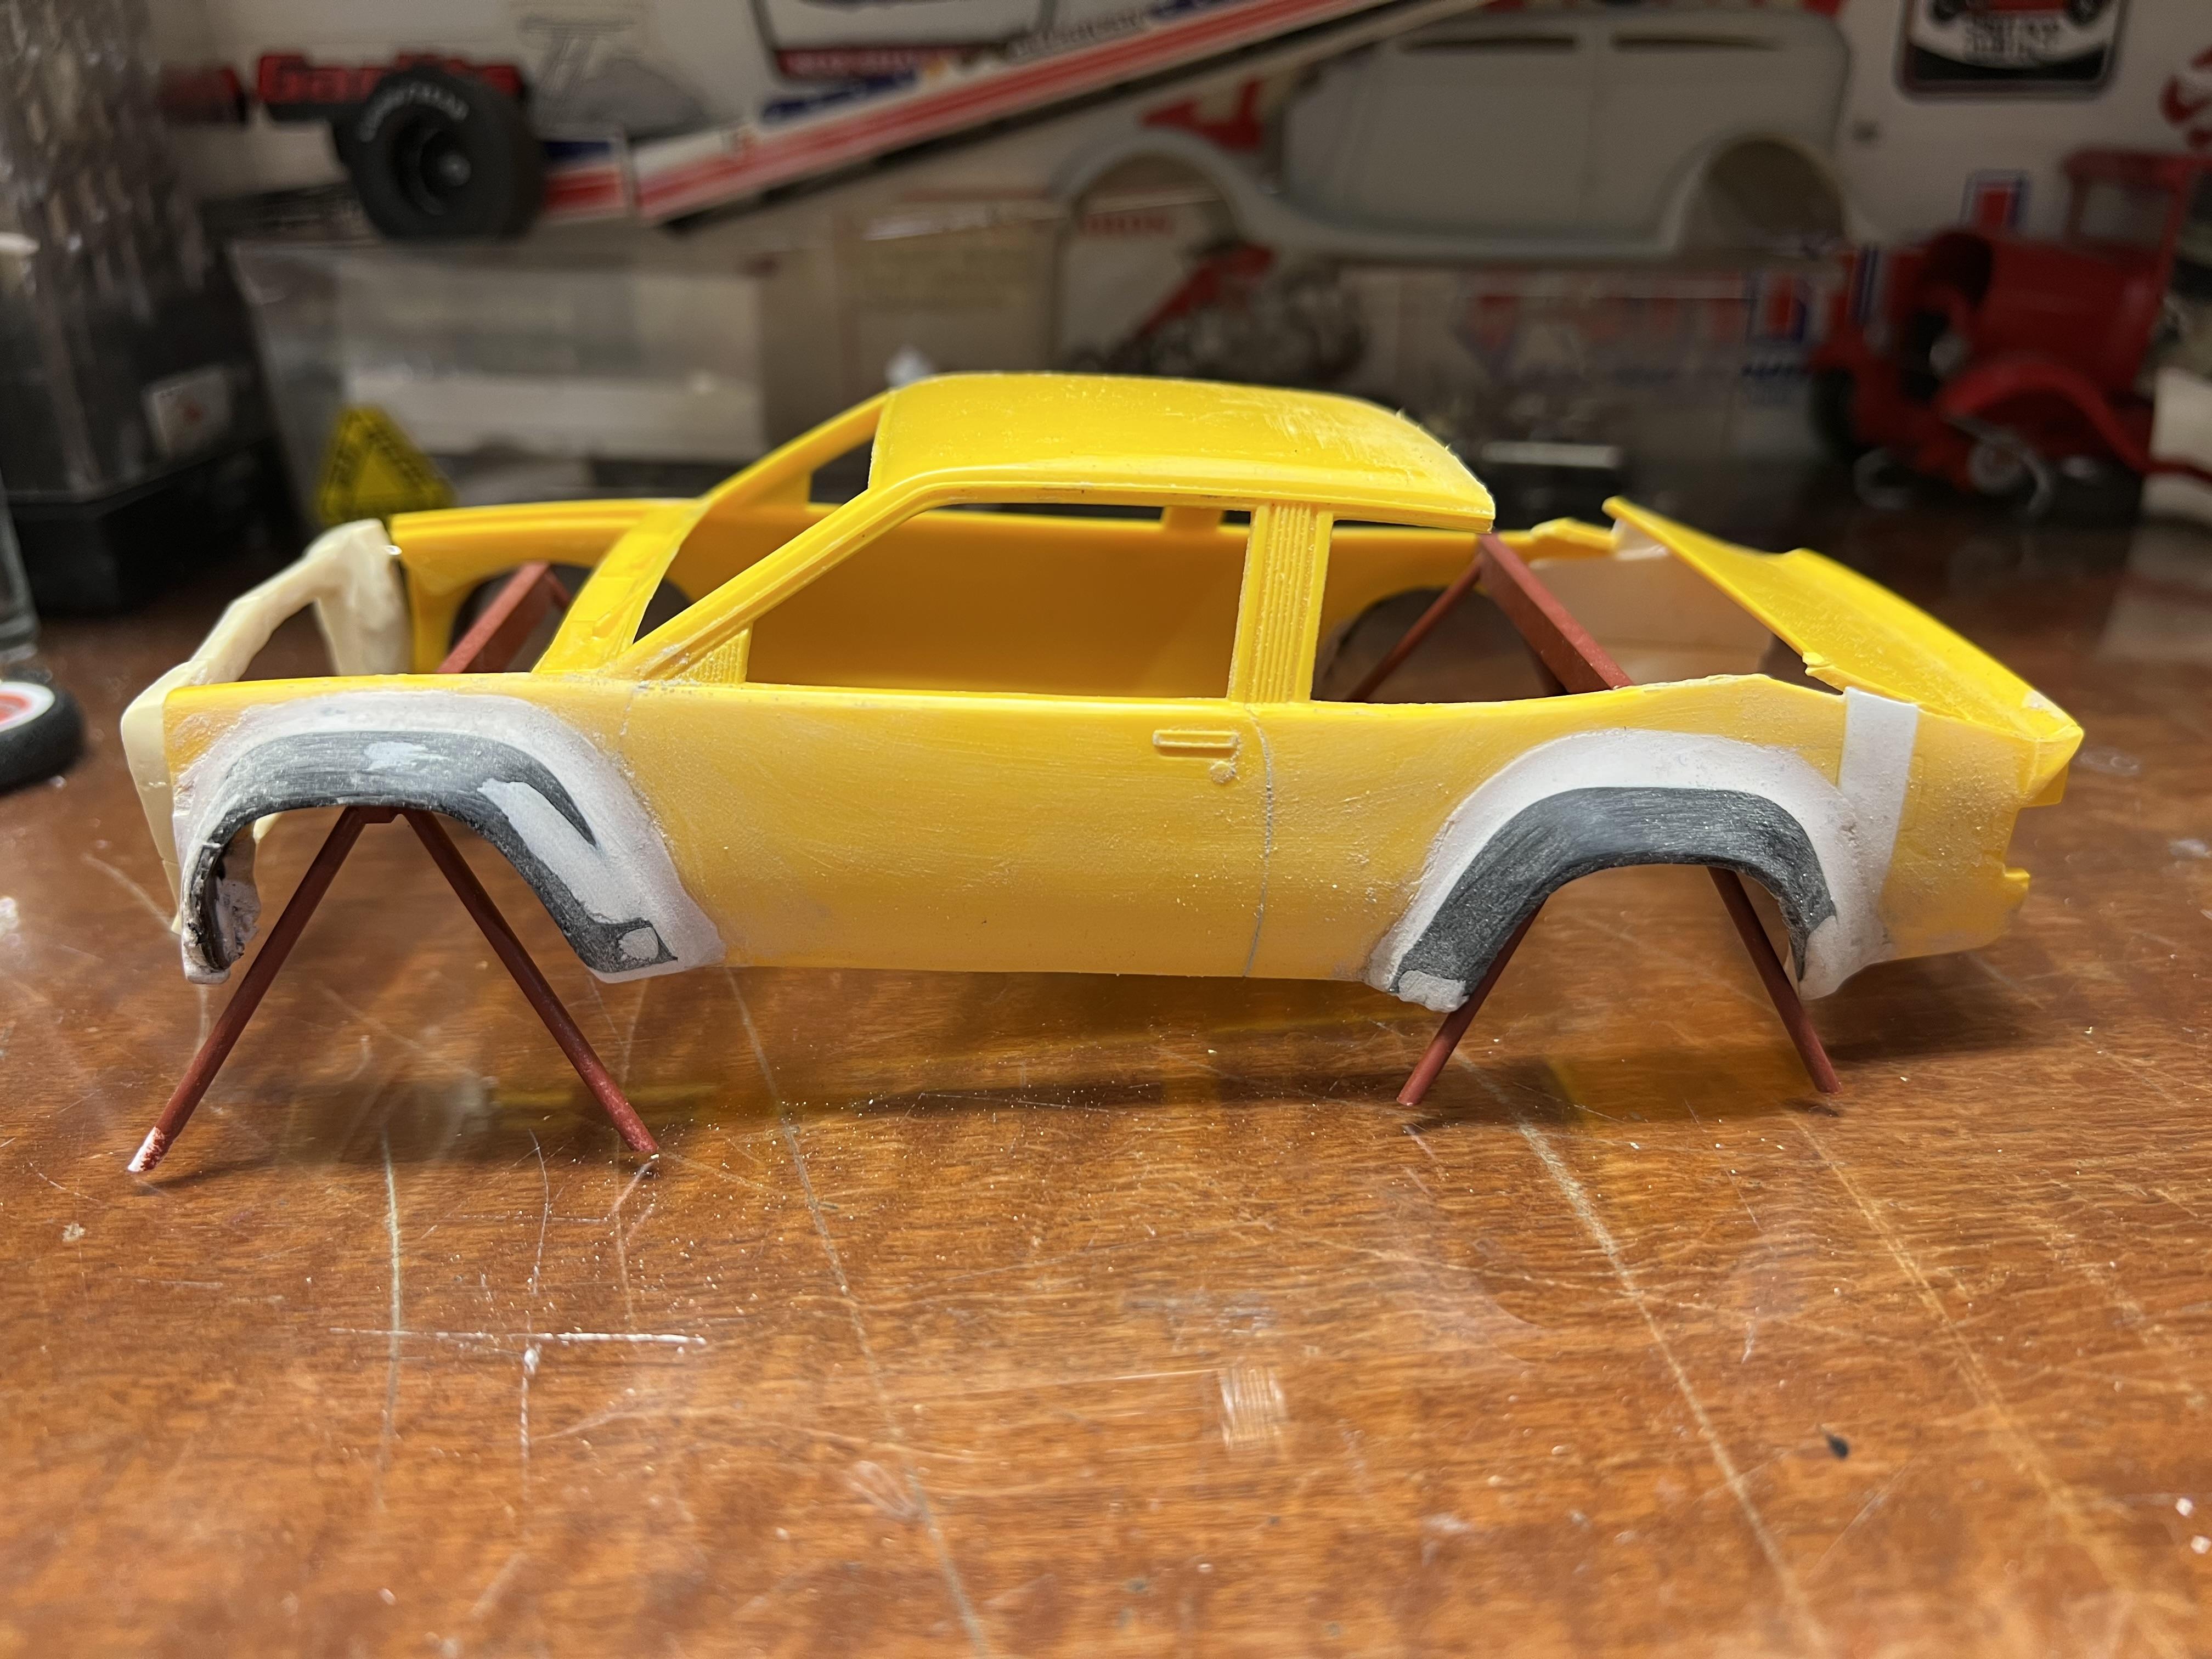
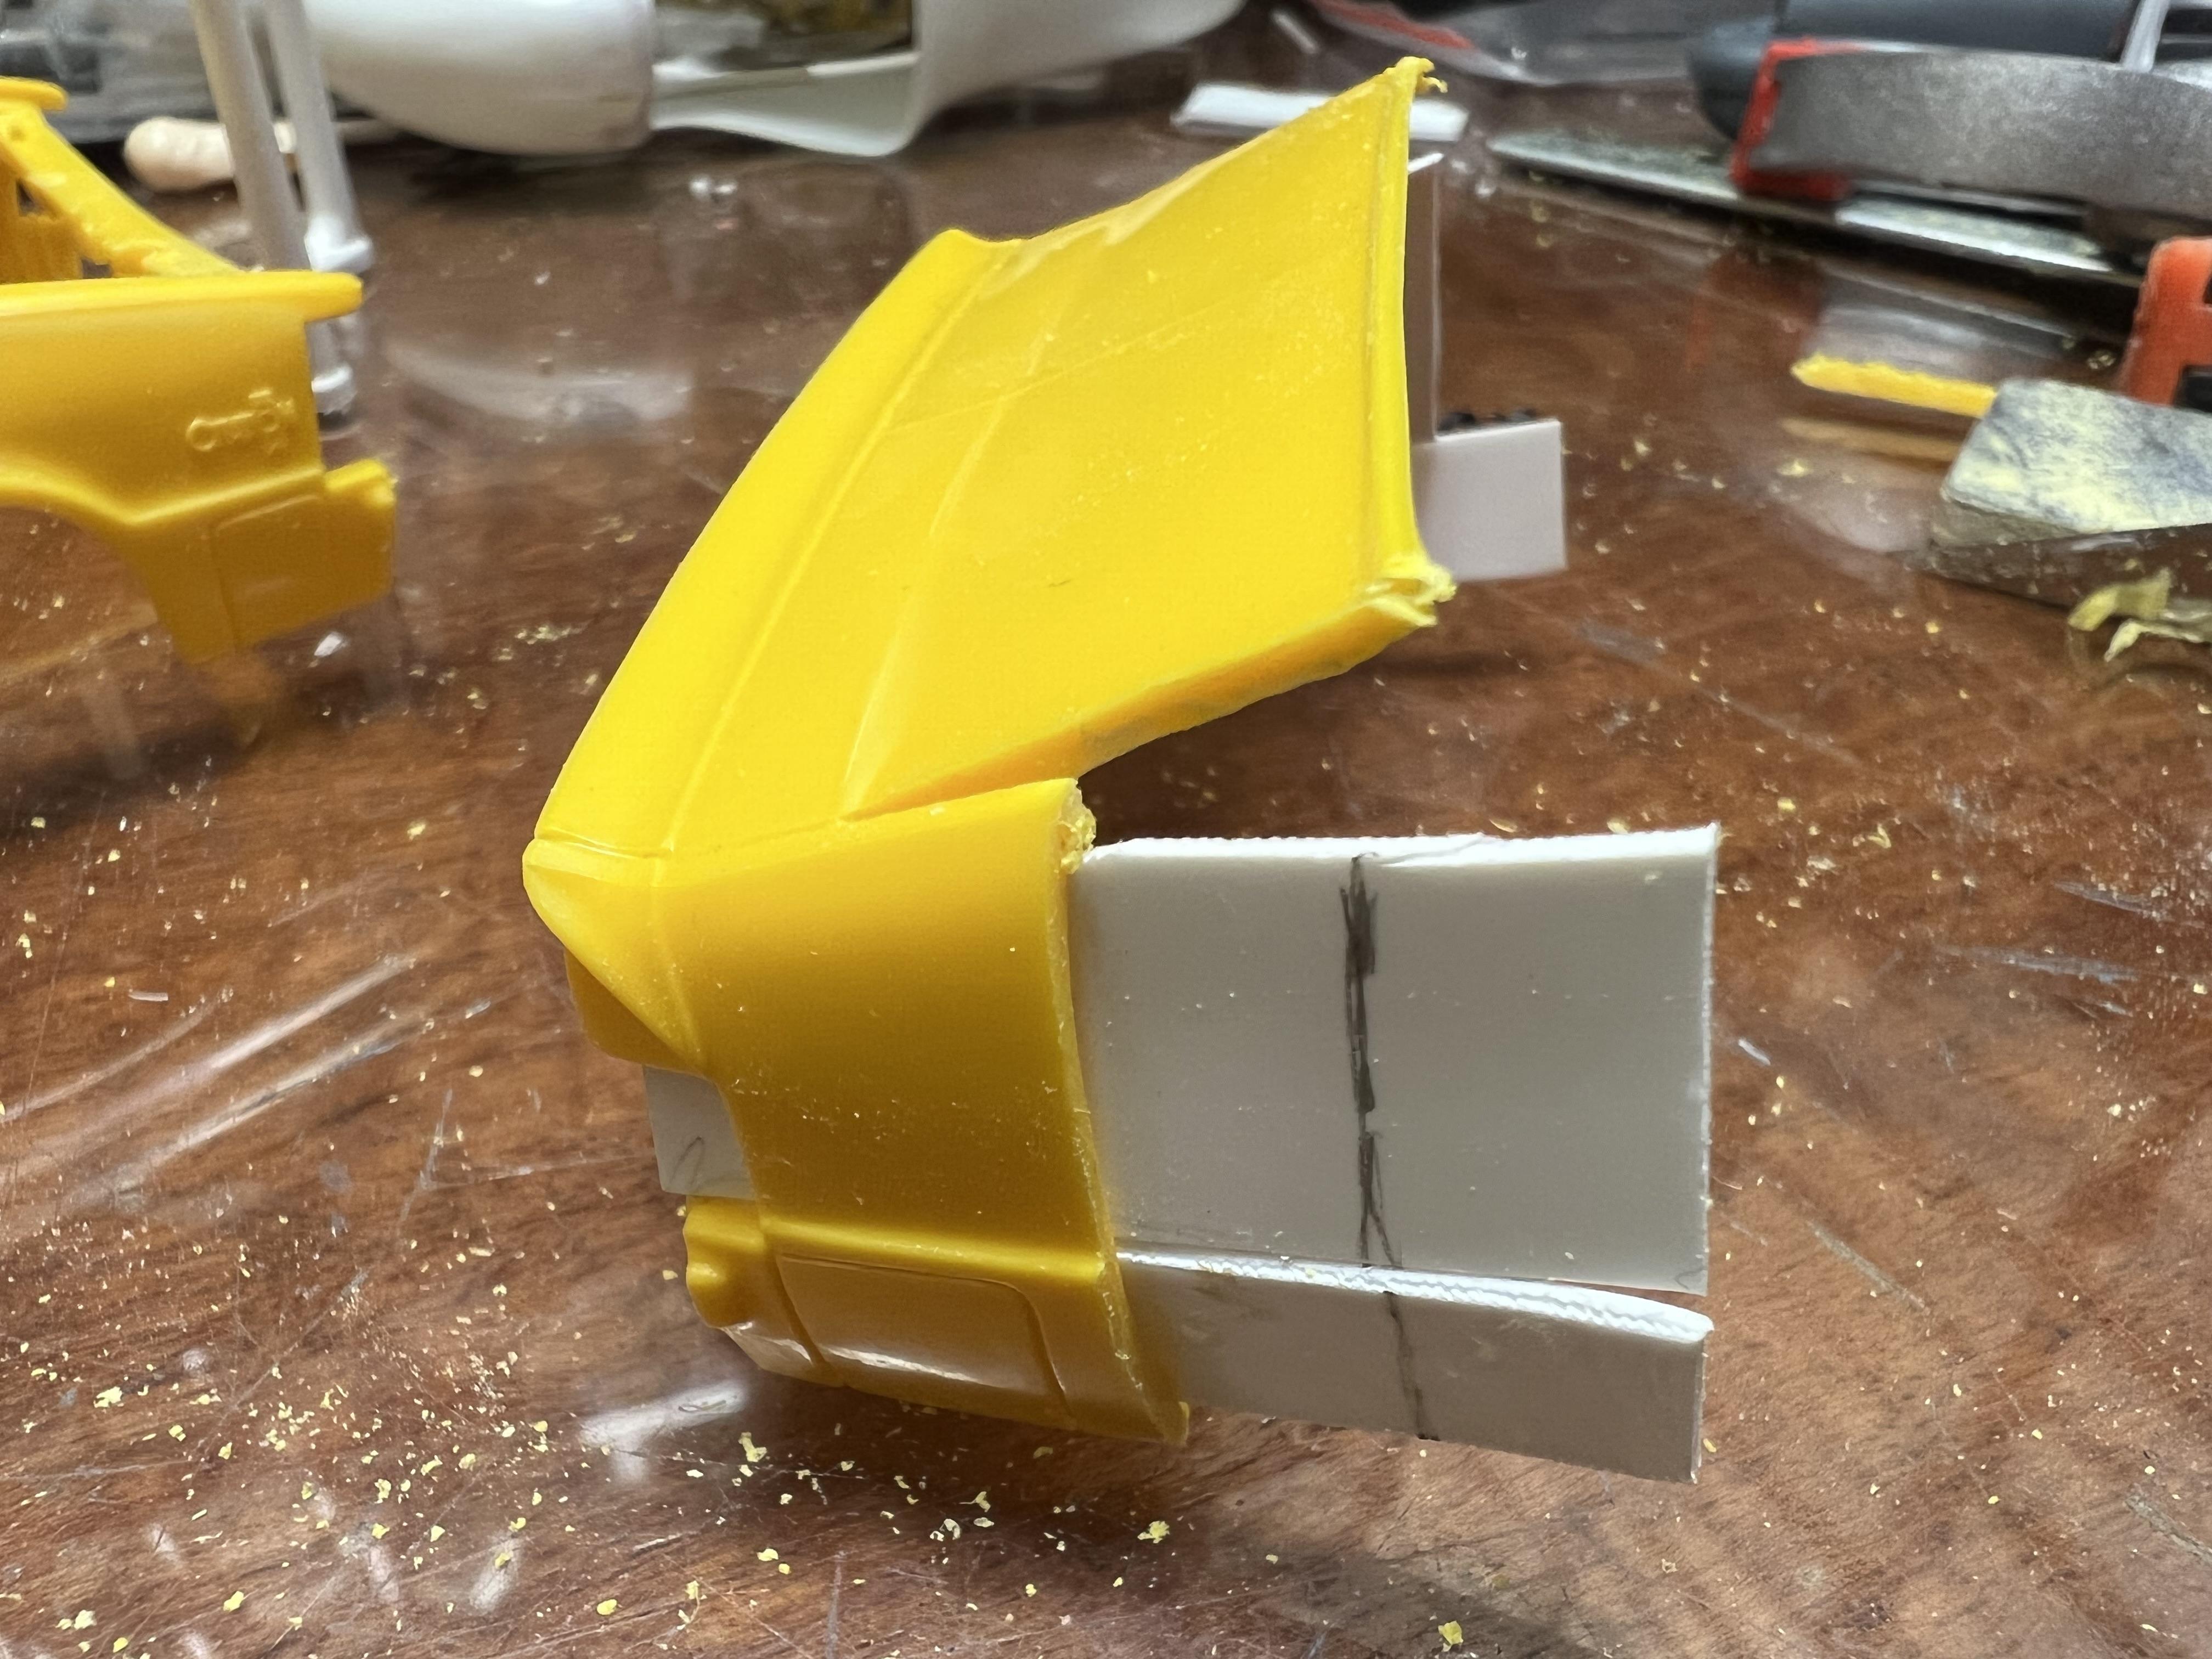
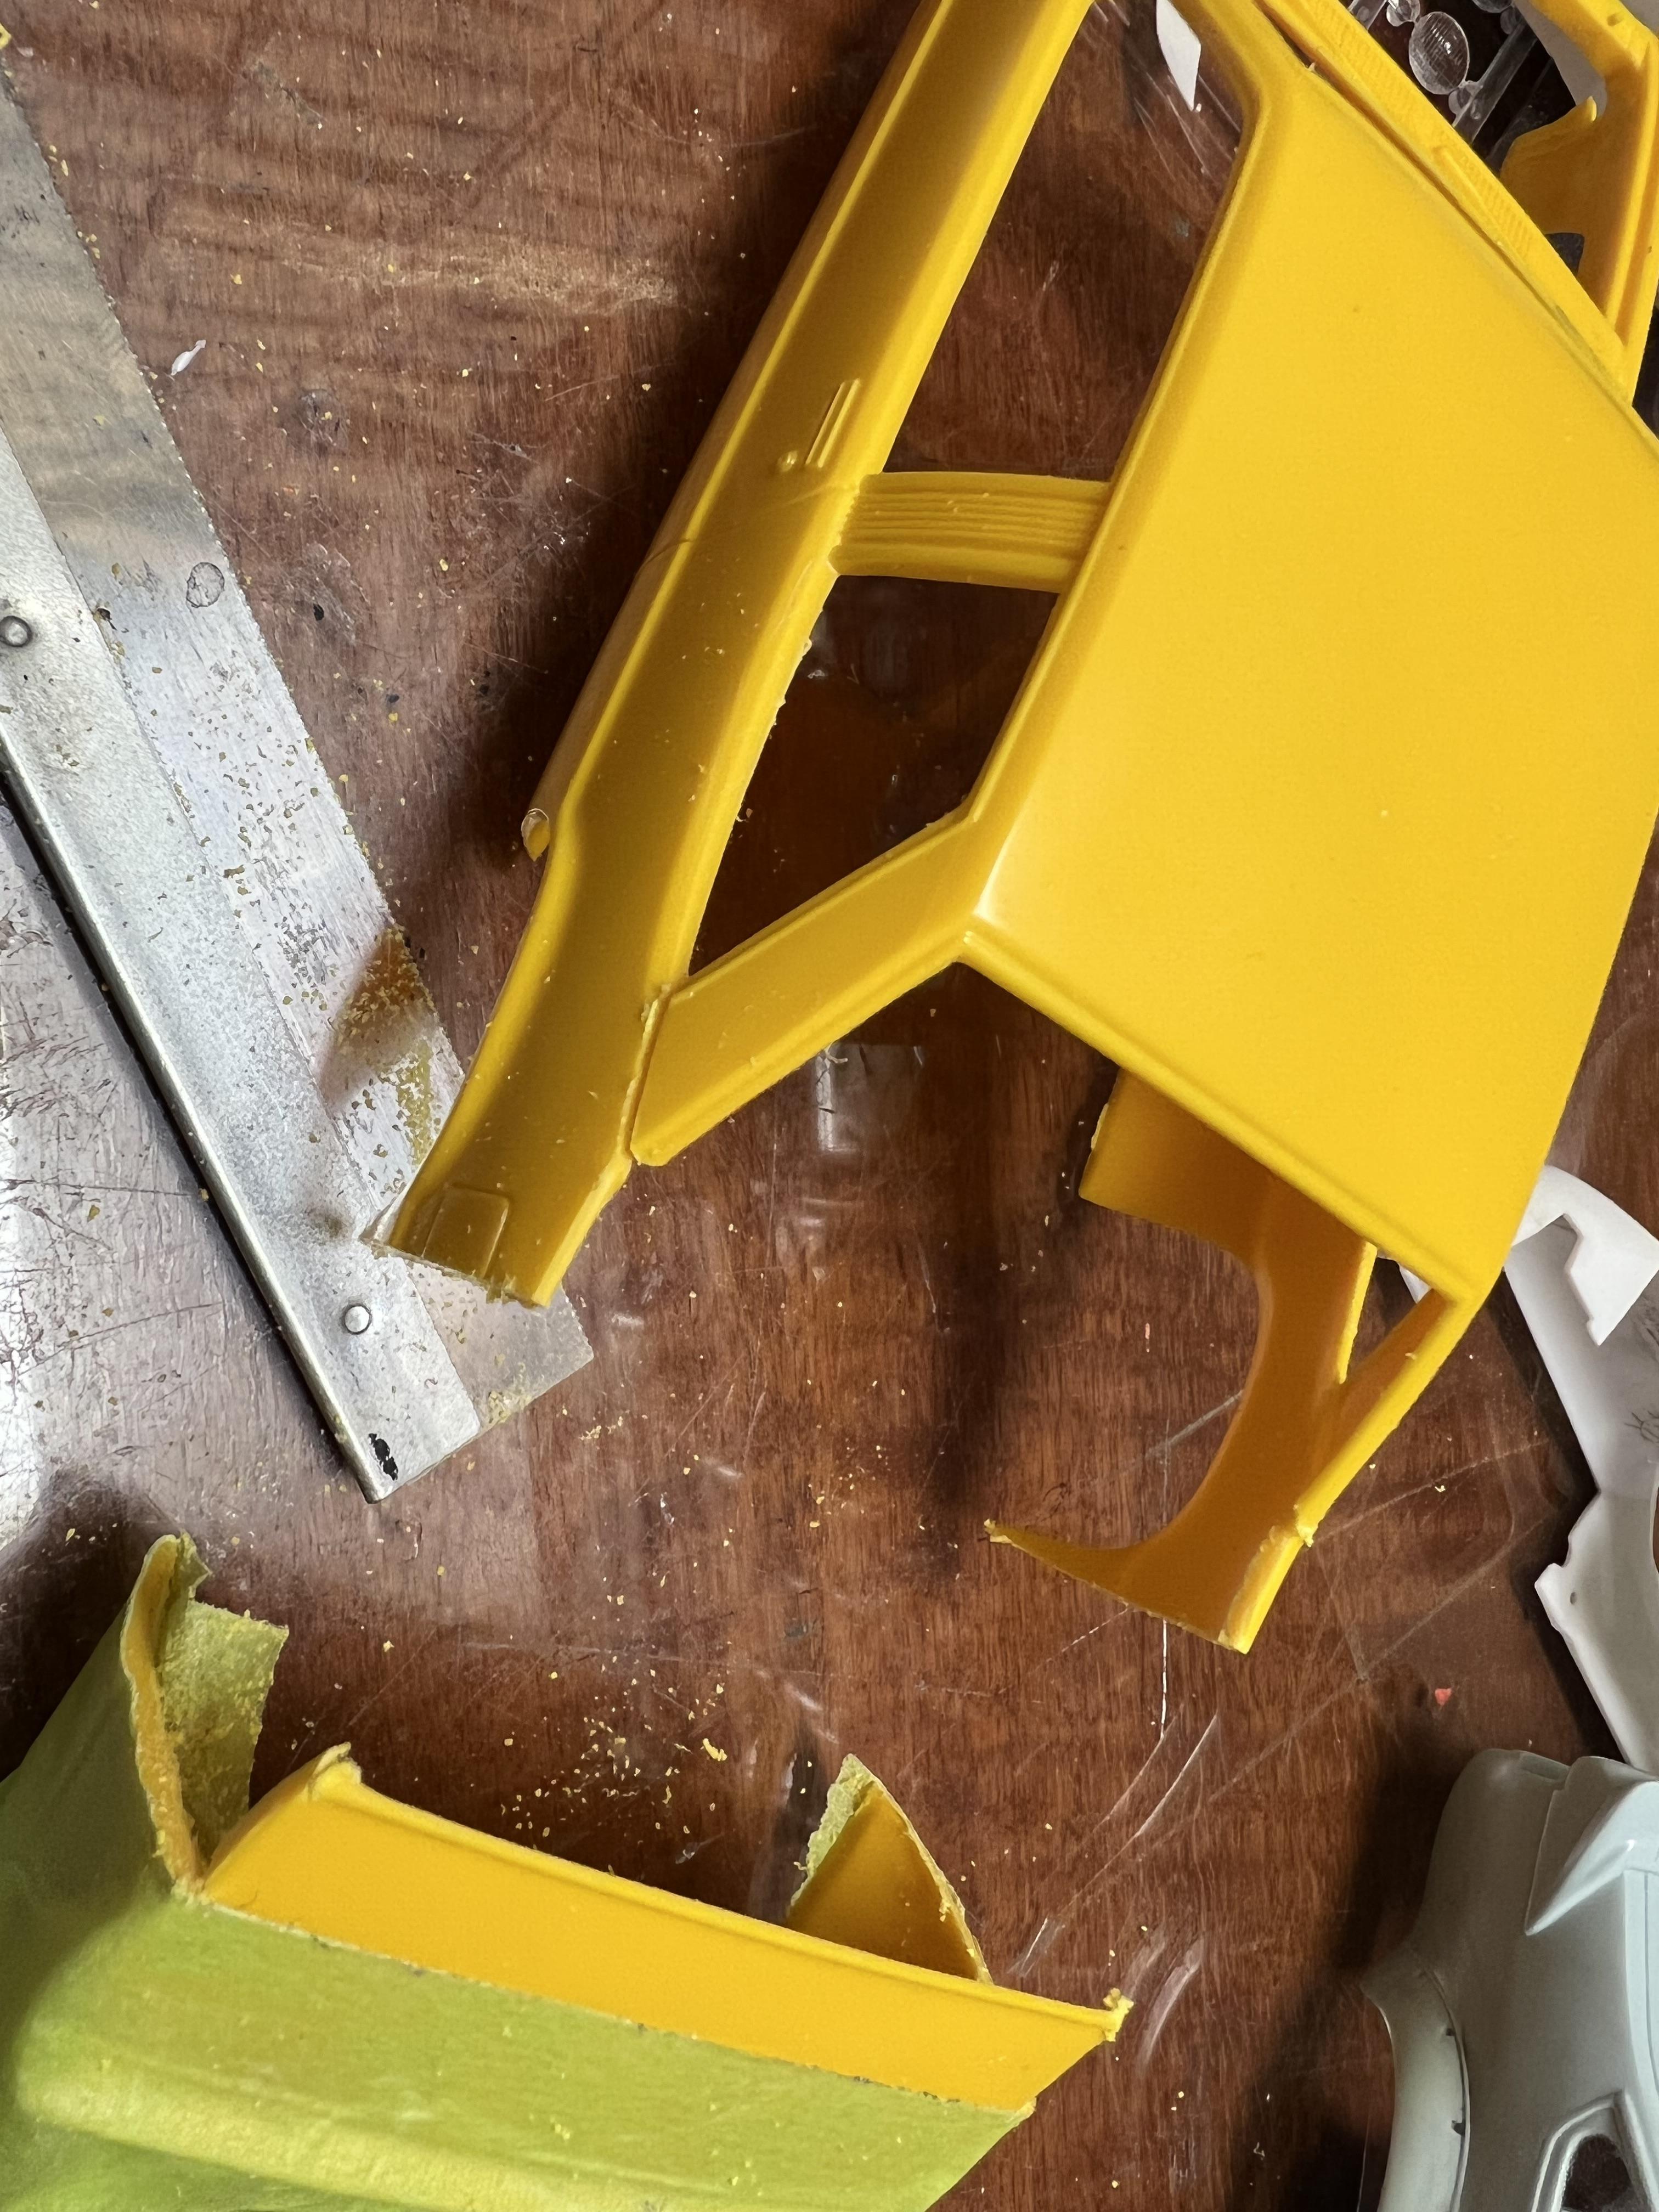
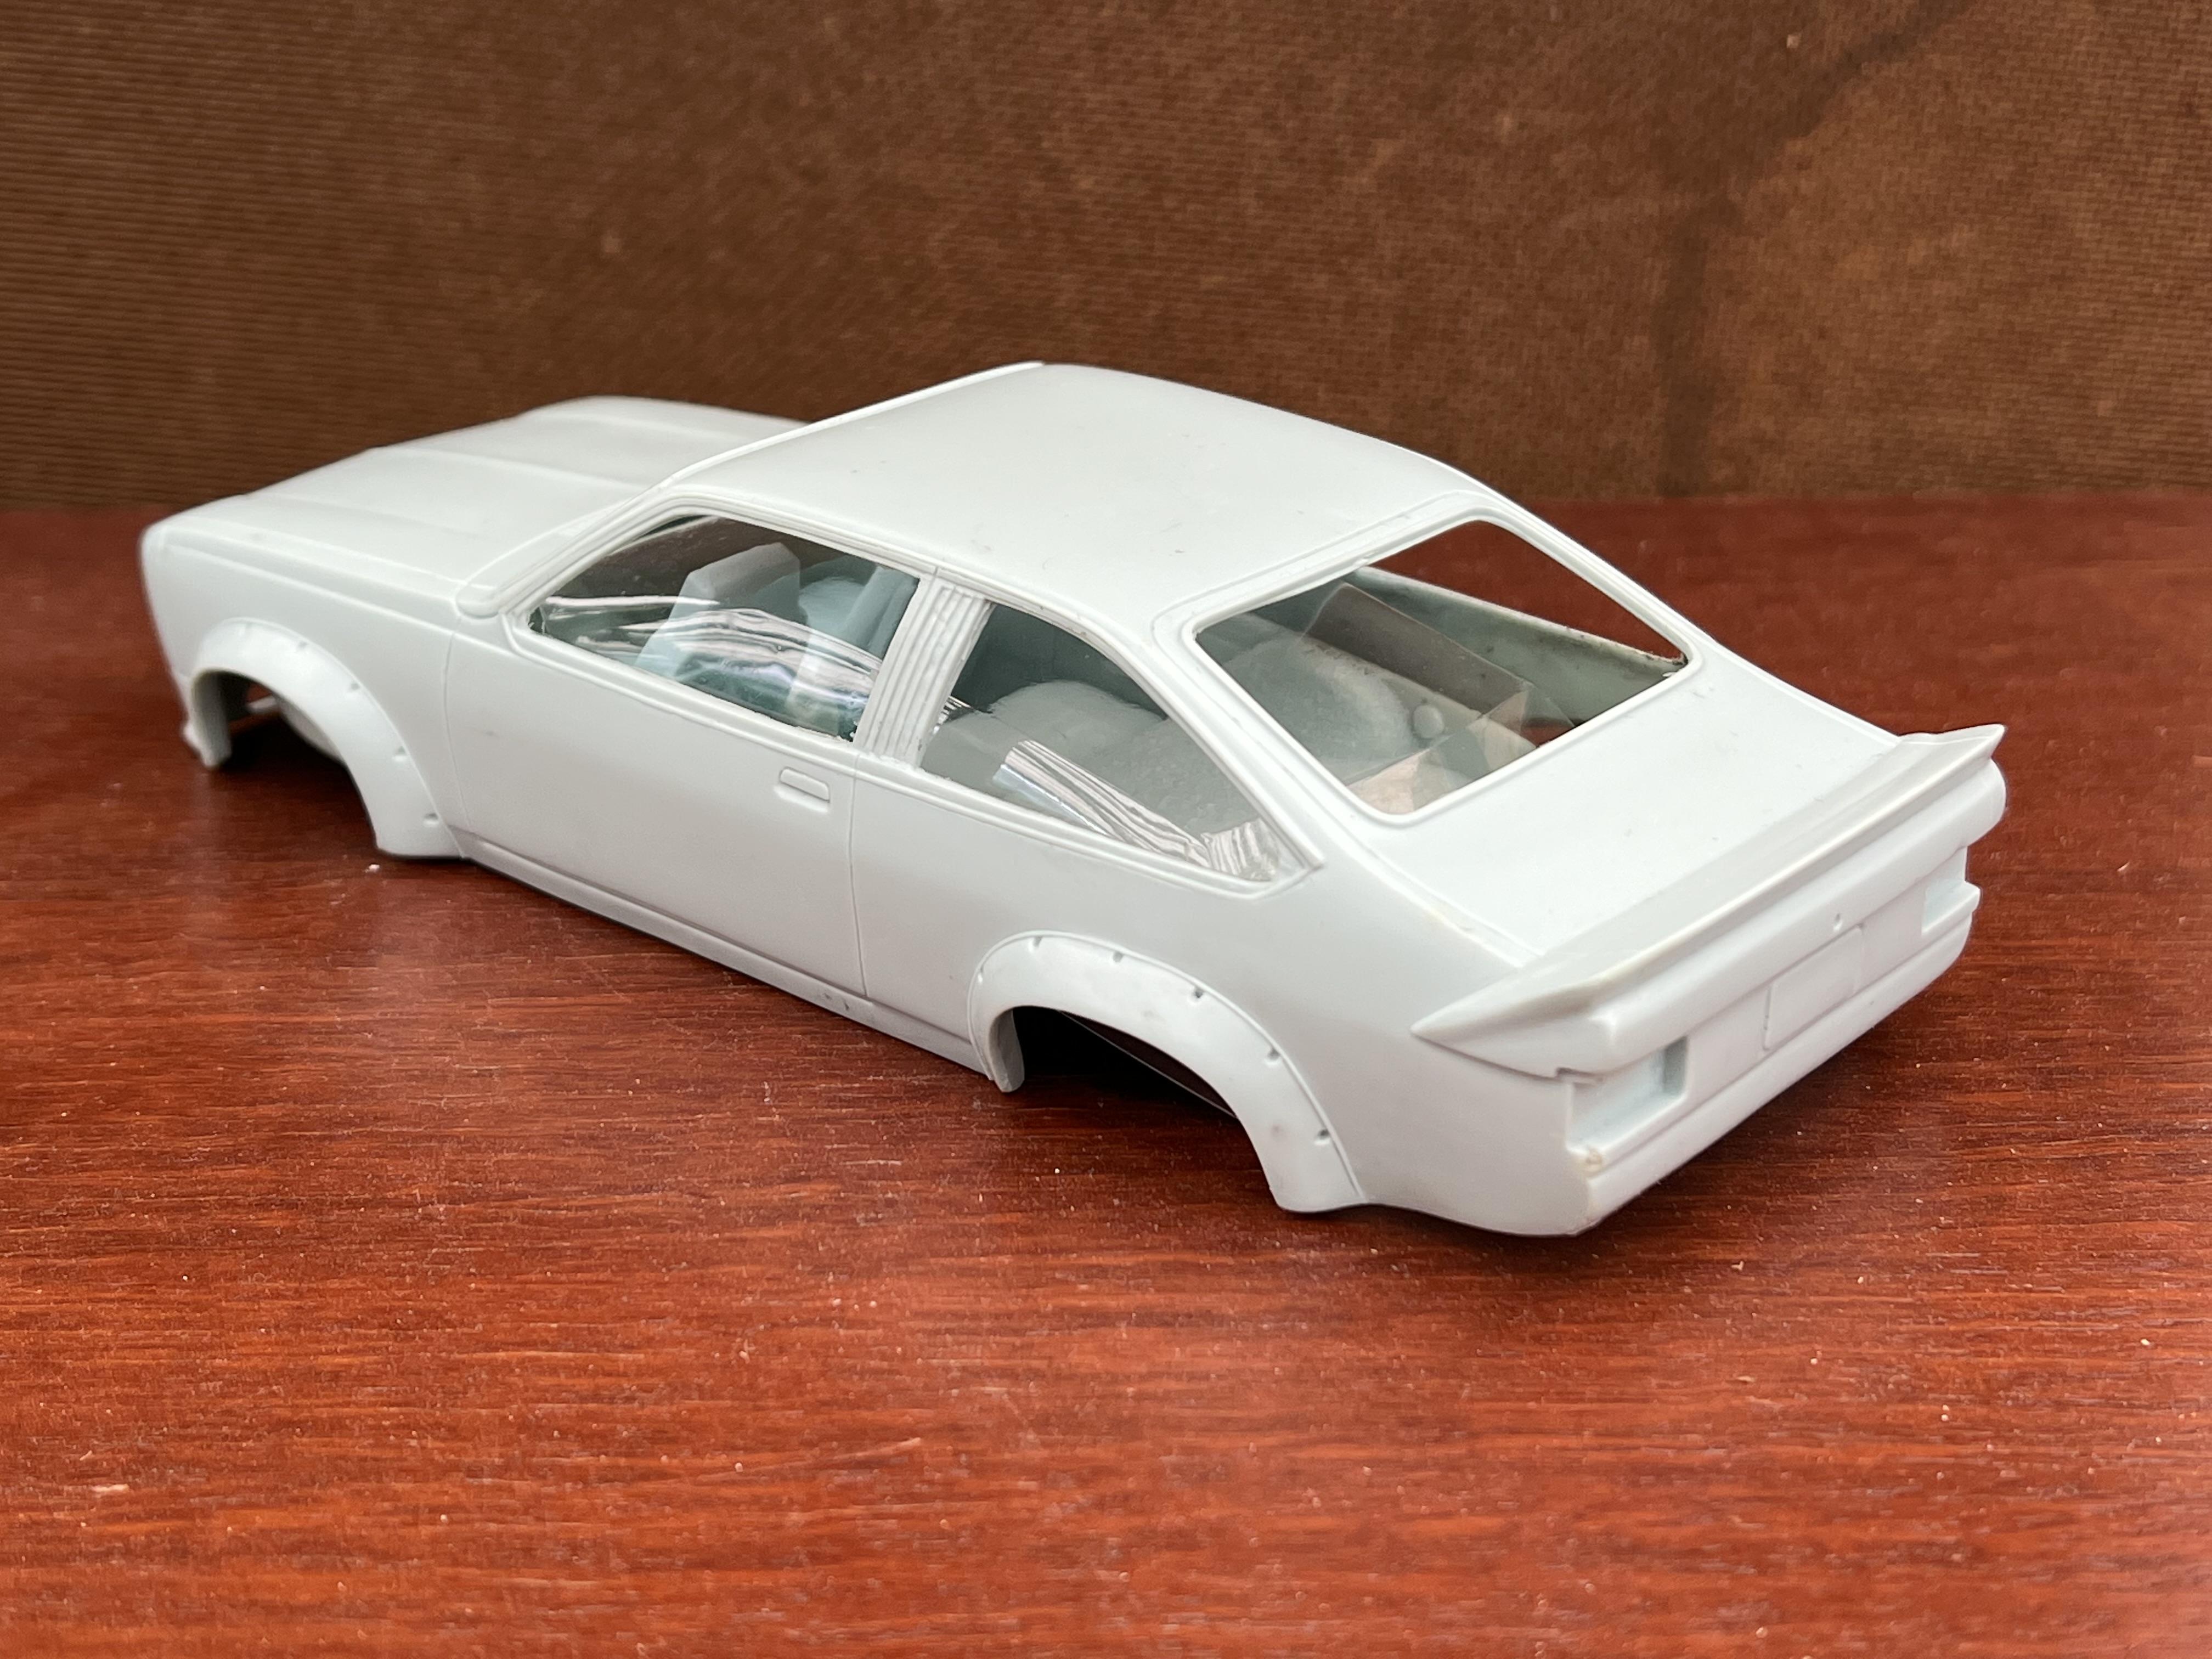
Thank you Pierre and Trevor. I made a fair bit of progress today although sometimes there was more error than trial. However we are heading in the right direction. First order of business was to get the flairs on. I am trying to do as much bodywork as possible below the waistline before I tackle removing and relocating the roof. First, a word on Aussie flares. Until about 1982, The Australian Saloon Car Federation, the governing body of speedway sedan racing, insisted that tyres not protrude from the bodywork. As wheels grew ever wider, so did the flares. In most forms of racing, the flare is made from either fibreglass or sheetmetal. In speedway, the flare is produced by shaping pipe to the suit the wheel opening, welding that securely back to the pipework already reinforcing the body and then filling in the resulting gap with sheetmetal. In Australia, we didn't "rub", we slammed! Therefore, any model of a car from the era will feature prominent flares. In the past I have created flares authentically by first rolling some K&S plastic coated wire to suit the shape and then filling in with sheet plastic and bog. But many years ago I found a very dead diecast Bburago 1/24th scale Fait rally car that had a set of plastic flares as you can see in the photo below. These flares were very similar in shape to those on the A9X and L34 versions of the Torana, but larger and that was exactly what I required. They took very little work to fit to the Torana body and then the fillet was filled in with bog. Finally for this evening I began to fit the Torana nose. Some years ago I had a small quantity of Pinkysil and casting resin and I produced a slush cast copy of the Cavalier Torana nose cone. It took quite a bit of trimming but the shape is good. In the photo below it is just mocked up to see how we are going. The car still looks a bit dorky at this stage because the roof is still way too forward on the body. In the very last photo you can see that I have also begun flattening out the lower window line on the rear quarter. Cheers Alan
-
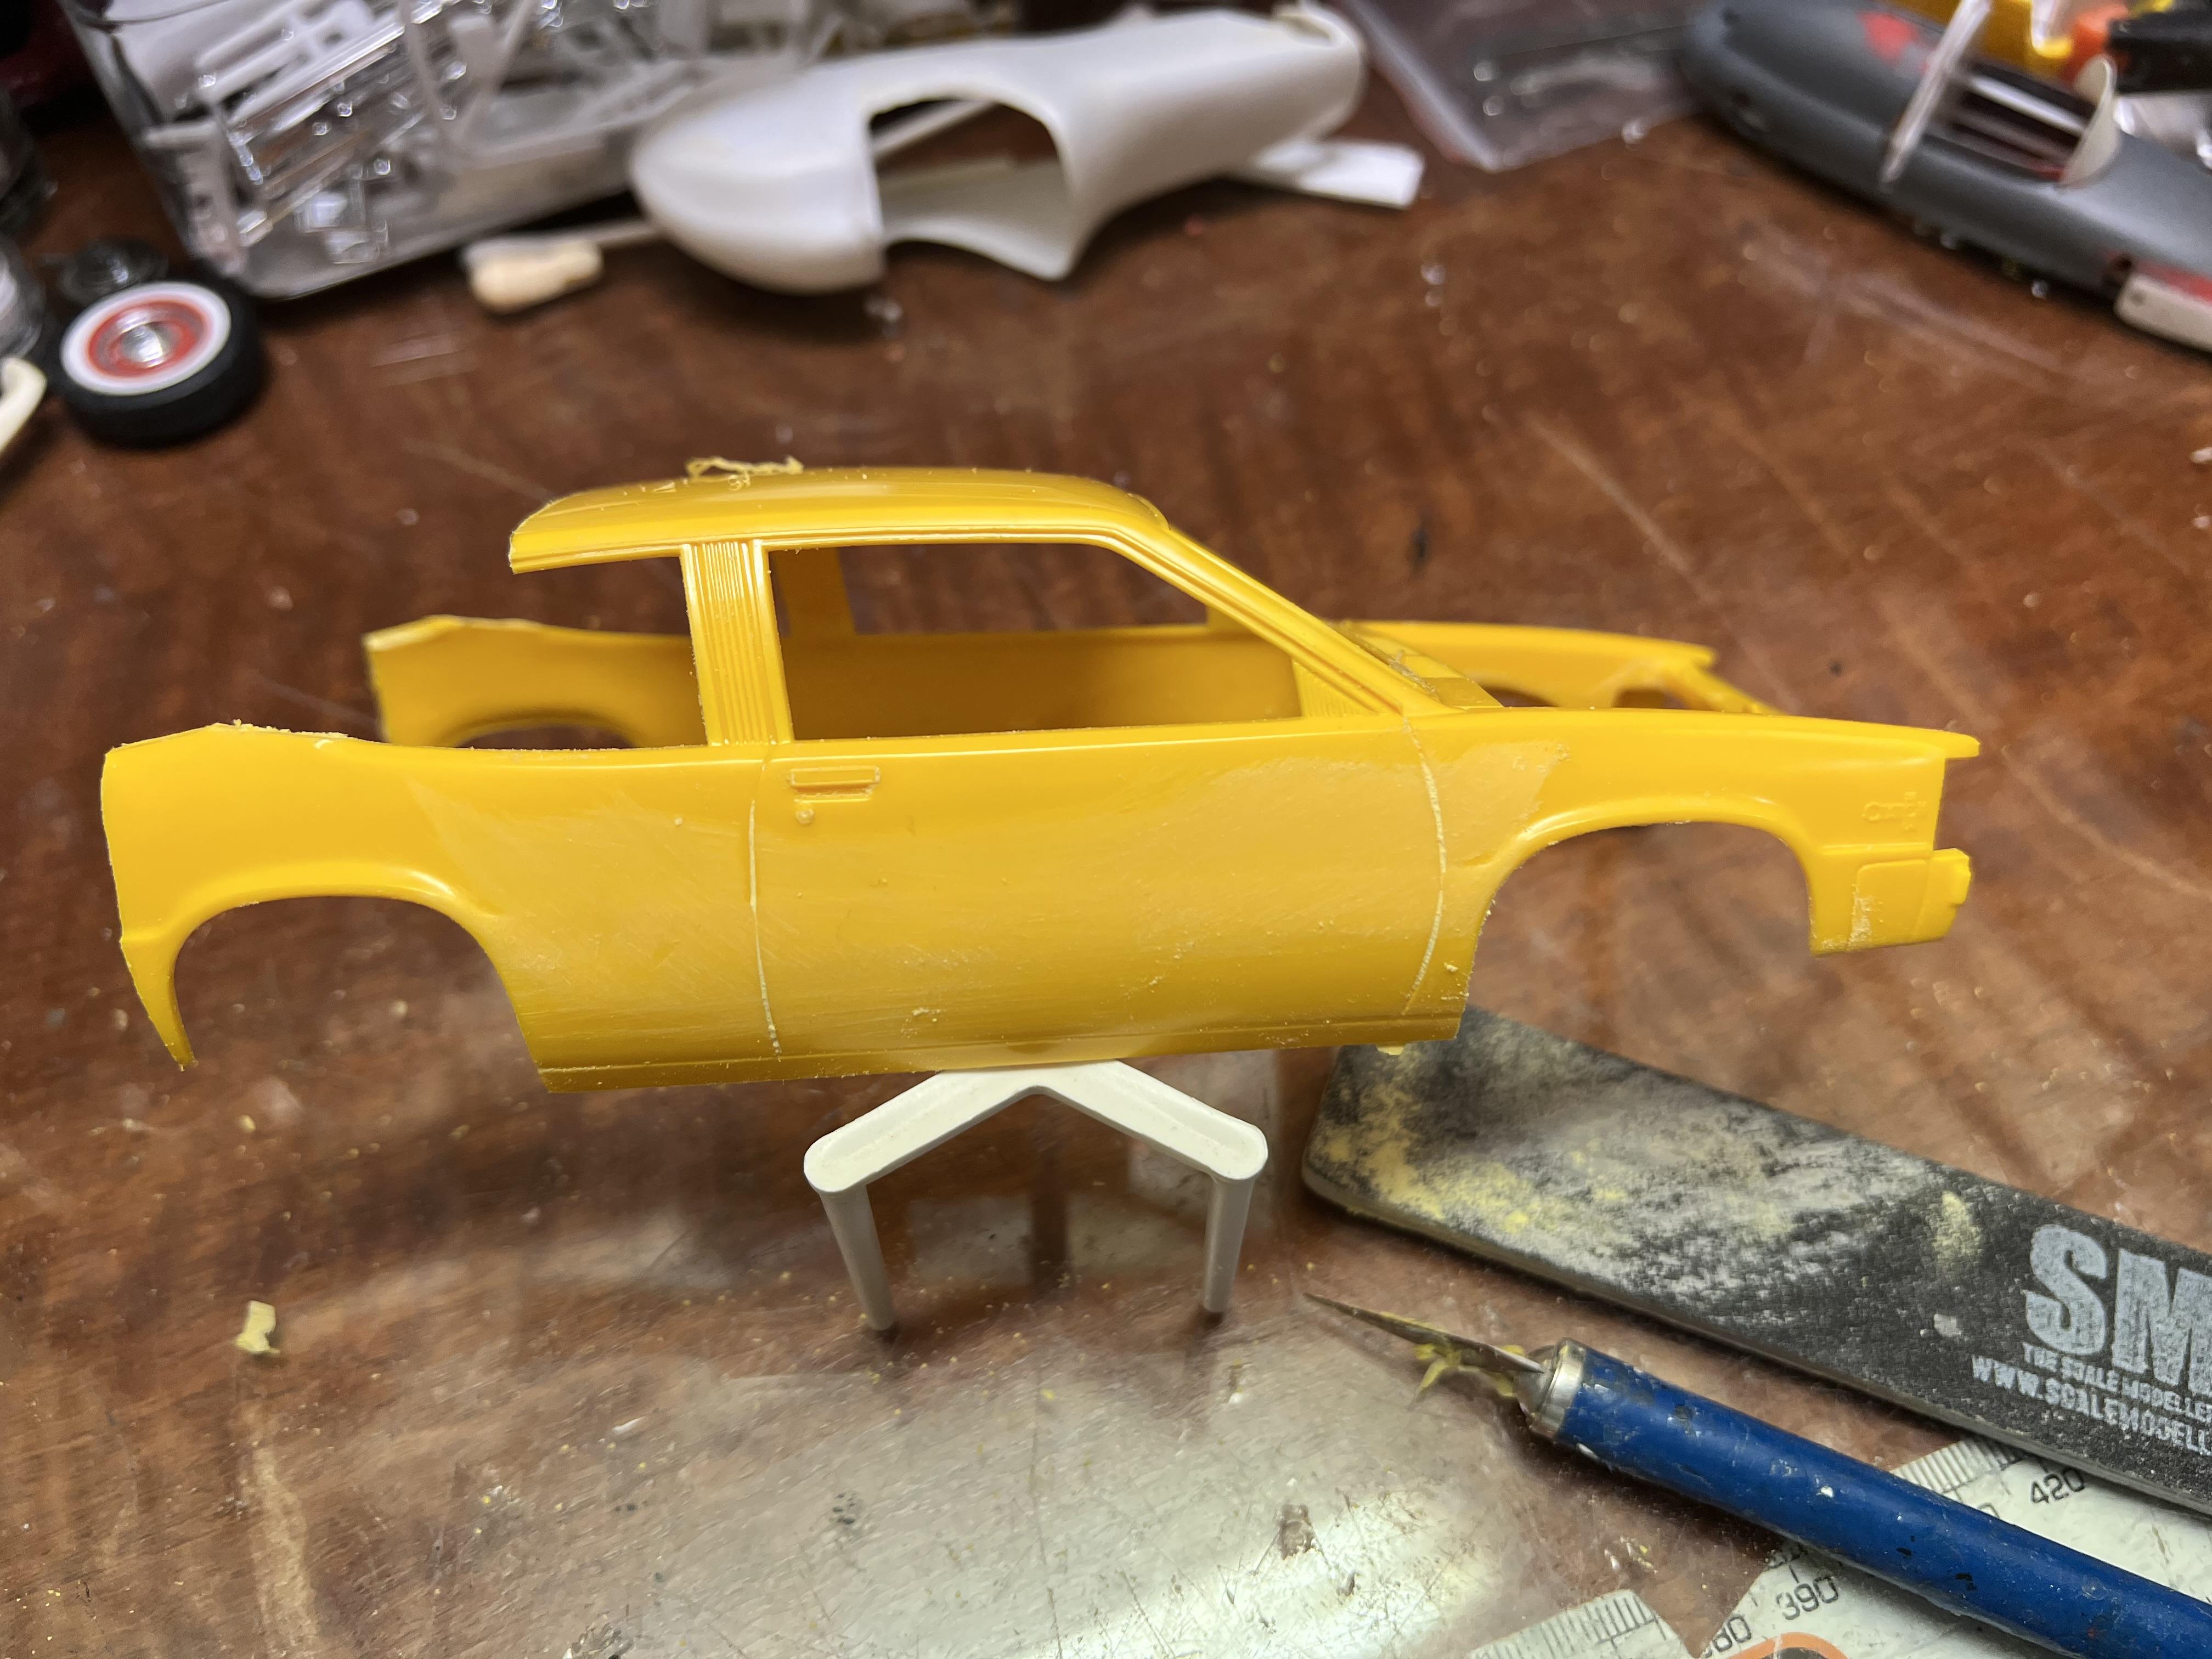
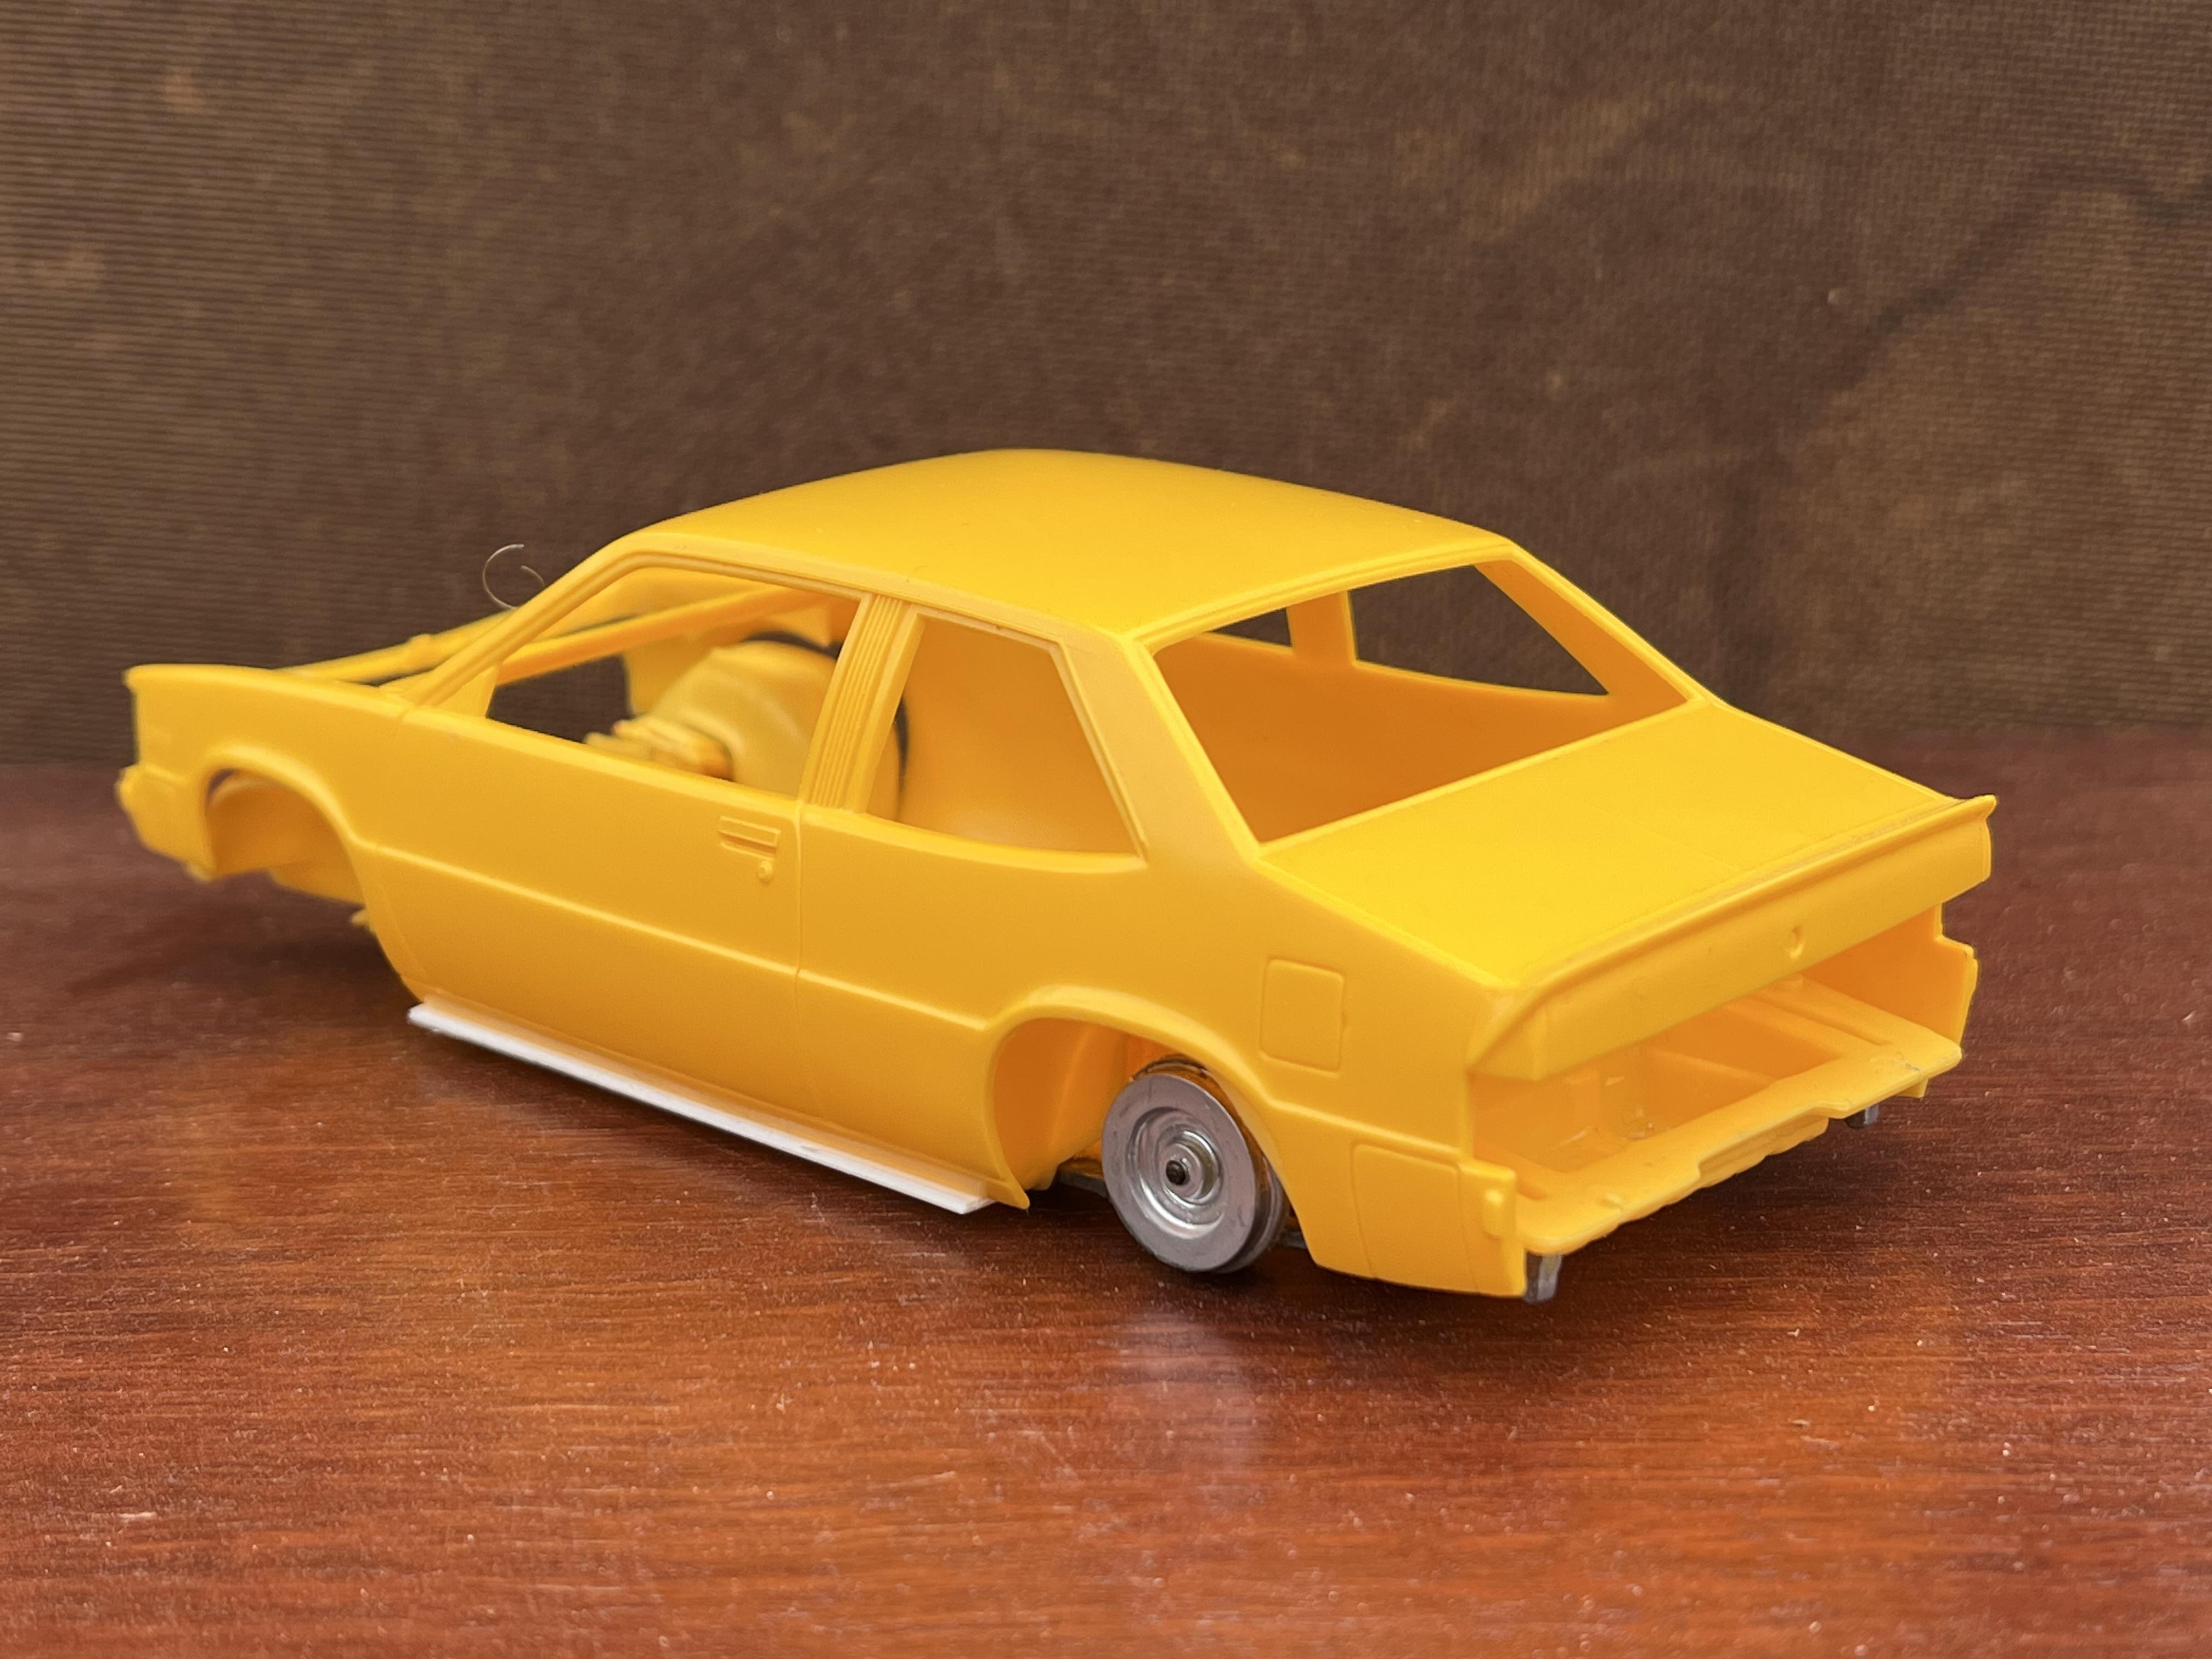
Glad you're on board AFX but don't expect daily updates - they will just happen when they happen! I am on a bit of a roll right now and was pleasantly surprised with how little time was spent getting to this stage. The next step however, is to shorten the roof. The Citation roof was seven mm longer than the Torana which conveniently included the C pillars. I marked out the cut line and then removed the rear section of the roof. I wanted to leave the entire trunk intact as this would help in fabrication the Torana's hatch later on. Some more measuring showed that the Citation was about 5-6mm taller the through the sides than the Torana. Sawing off the sills with a razor saw took care of that little issue. Next, I glued scrap pieces of flat styrene to the rear section and then glued them onto the body with a seven mm gap. It is now all clamped up and drying and that will be where I leave it for tonight. Cheers Alan
-
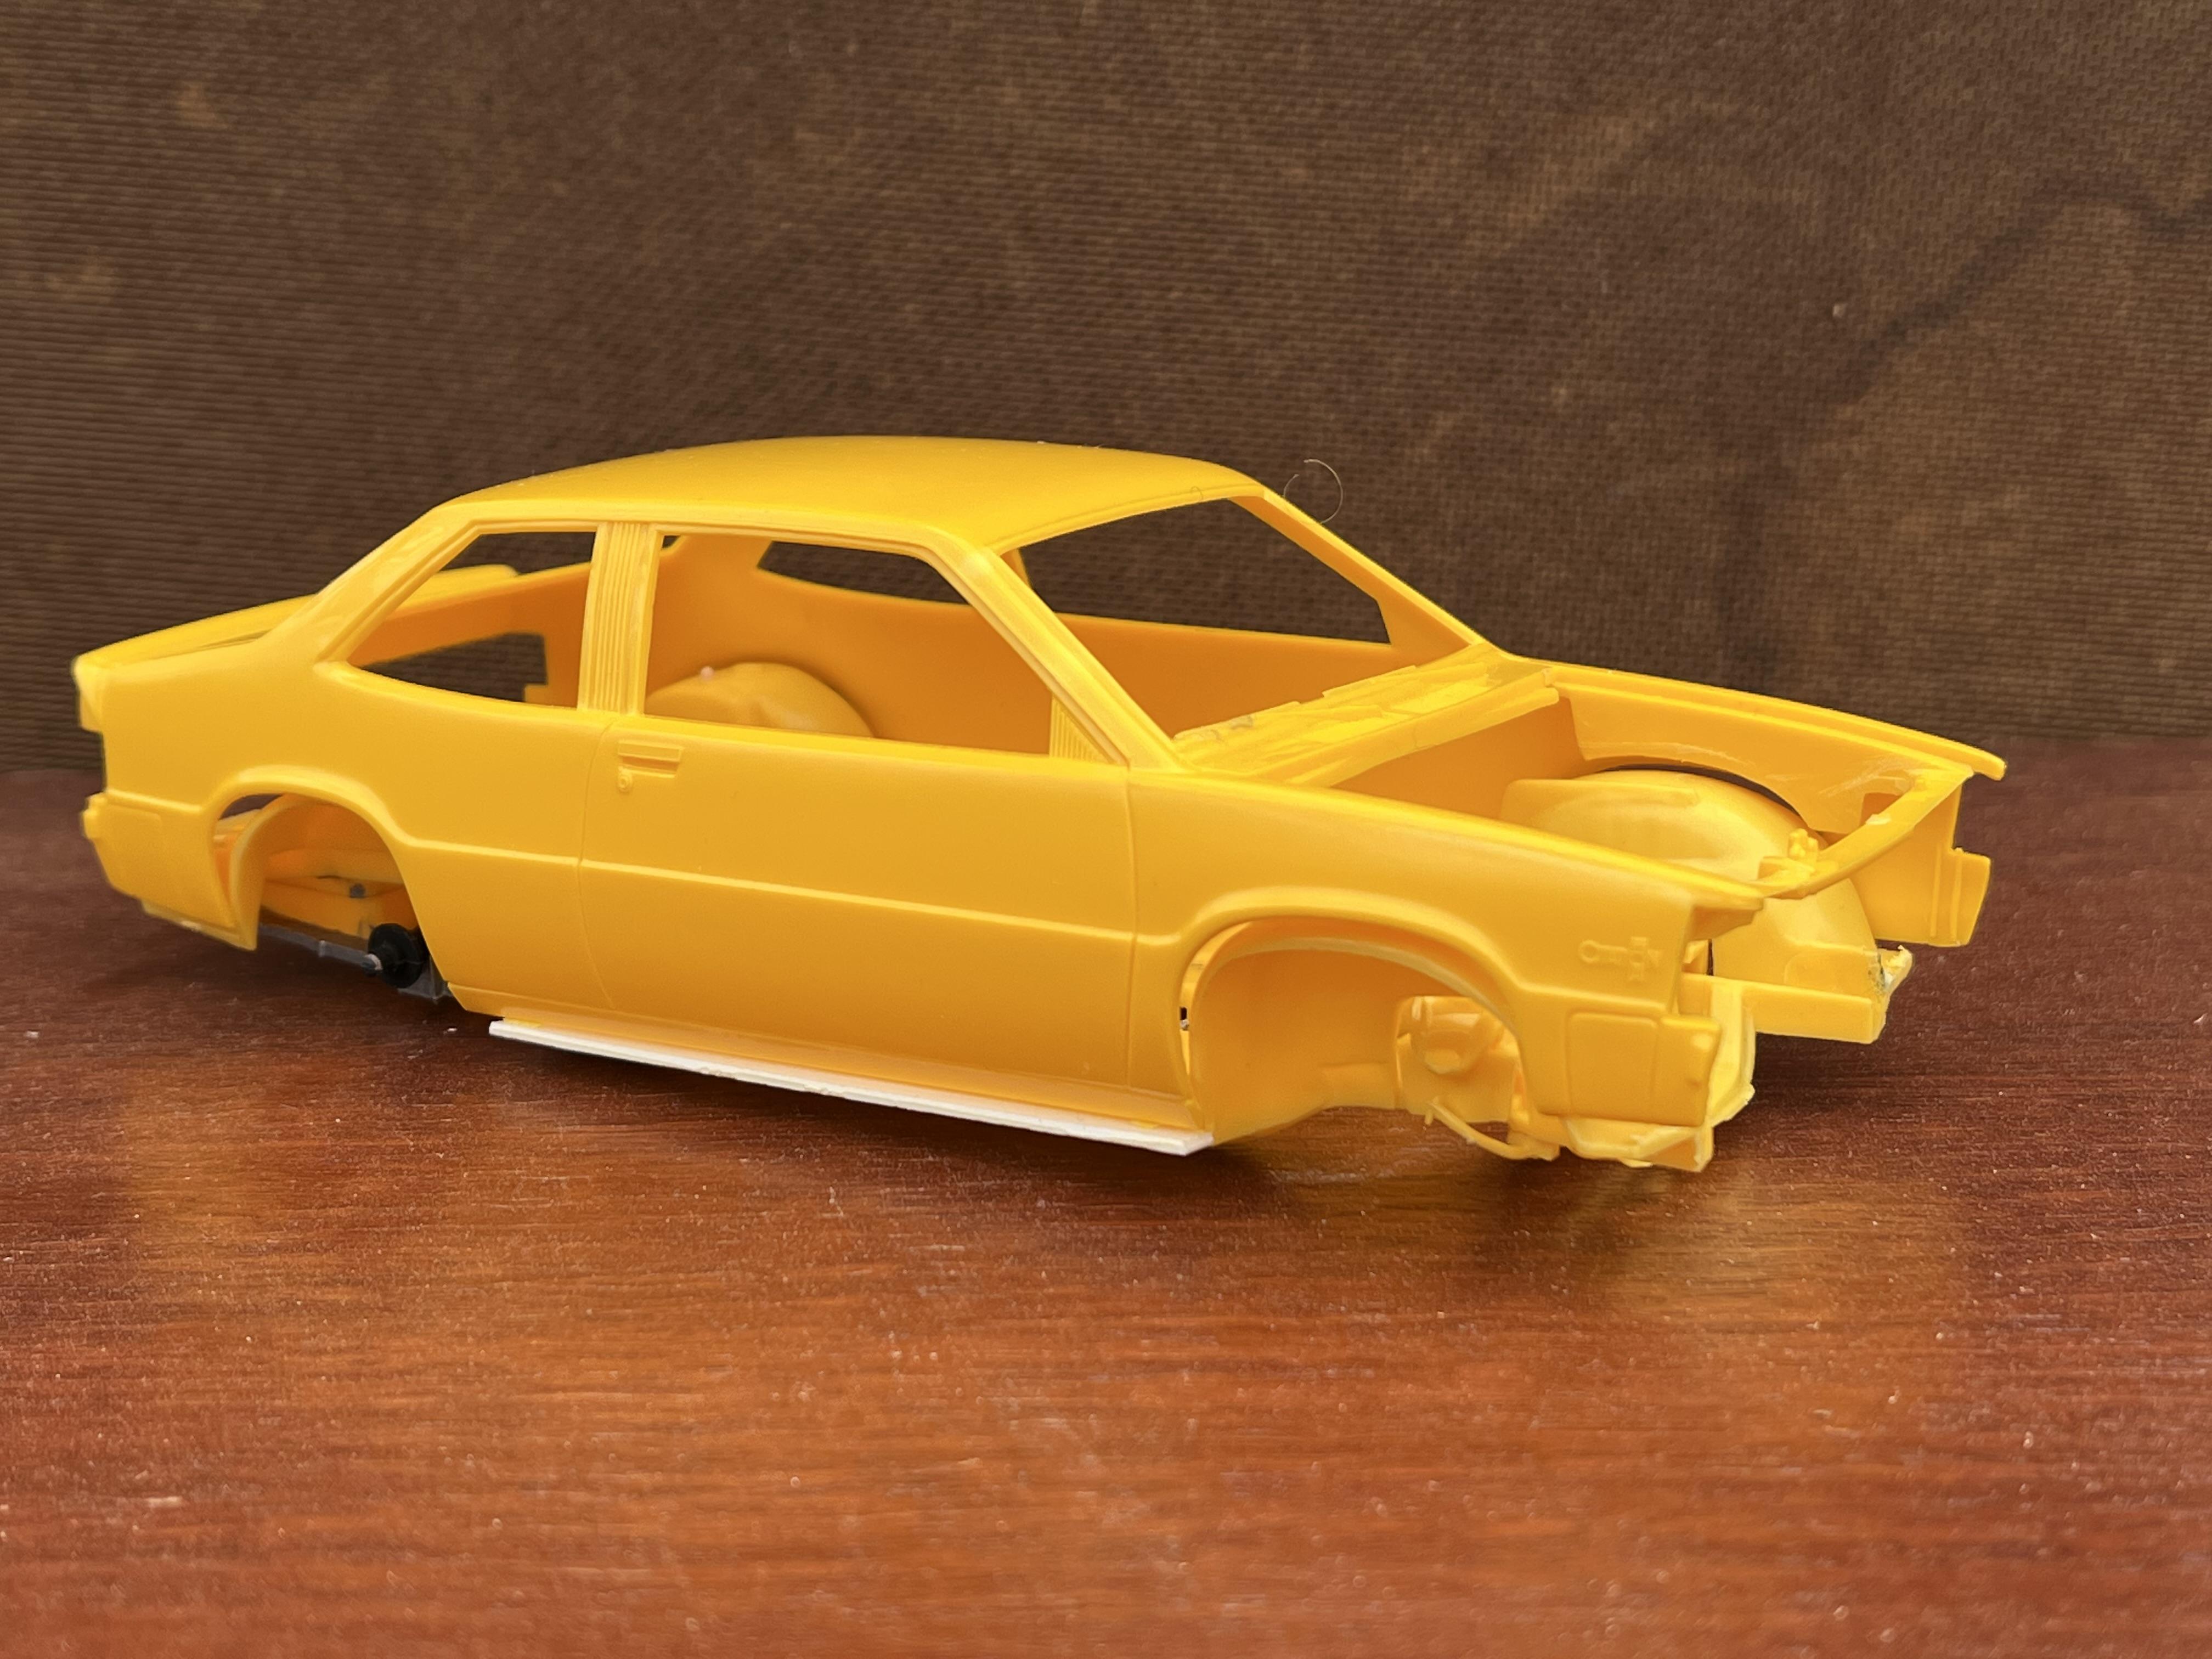
The first good news is that the overall length width and height are very similar between the two cars, as is the wheelbase. There will be need for quite a bit of re-configuring, however, because the Holden is a rear wheel drive inline V8 while the citation is a front wheel drive transverse V6. This means that the entire green house is in the wrong place and the Citation has more front overhang and less rear overhang than the Torana. This will need to be rectified. The Citation had a heavy character line down the length of the side that needed to be scraped and sanded smooth prior to making any cuts. This only took a few minutes and produces sides that are very similar in contour to the Torana. To extend the rear quarter panels, I made a vertical cut just behind the rear wheel opening. I then cut down from the window opening to the vertical cut to allow the removal of the entire trunk as well as the rest of the quarter panels in one unit. Next, I used a wide jawed pair of pliers to gently bend the trunk lid upwards to suit the slope of the Torana hatch.
-
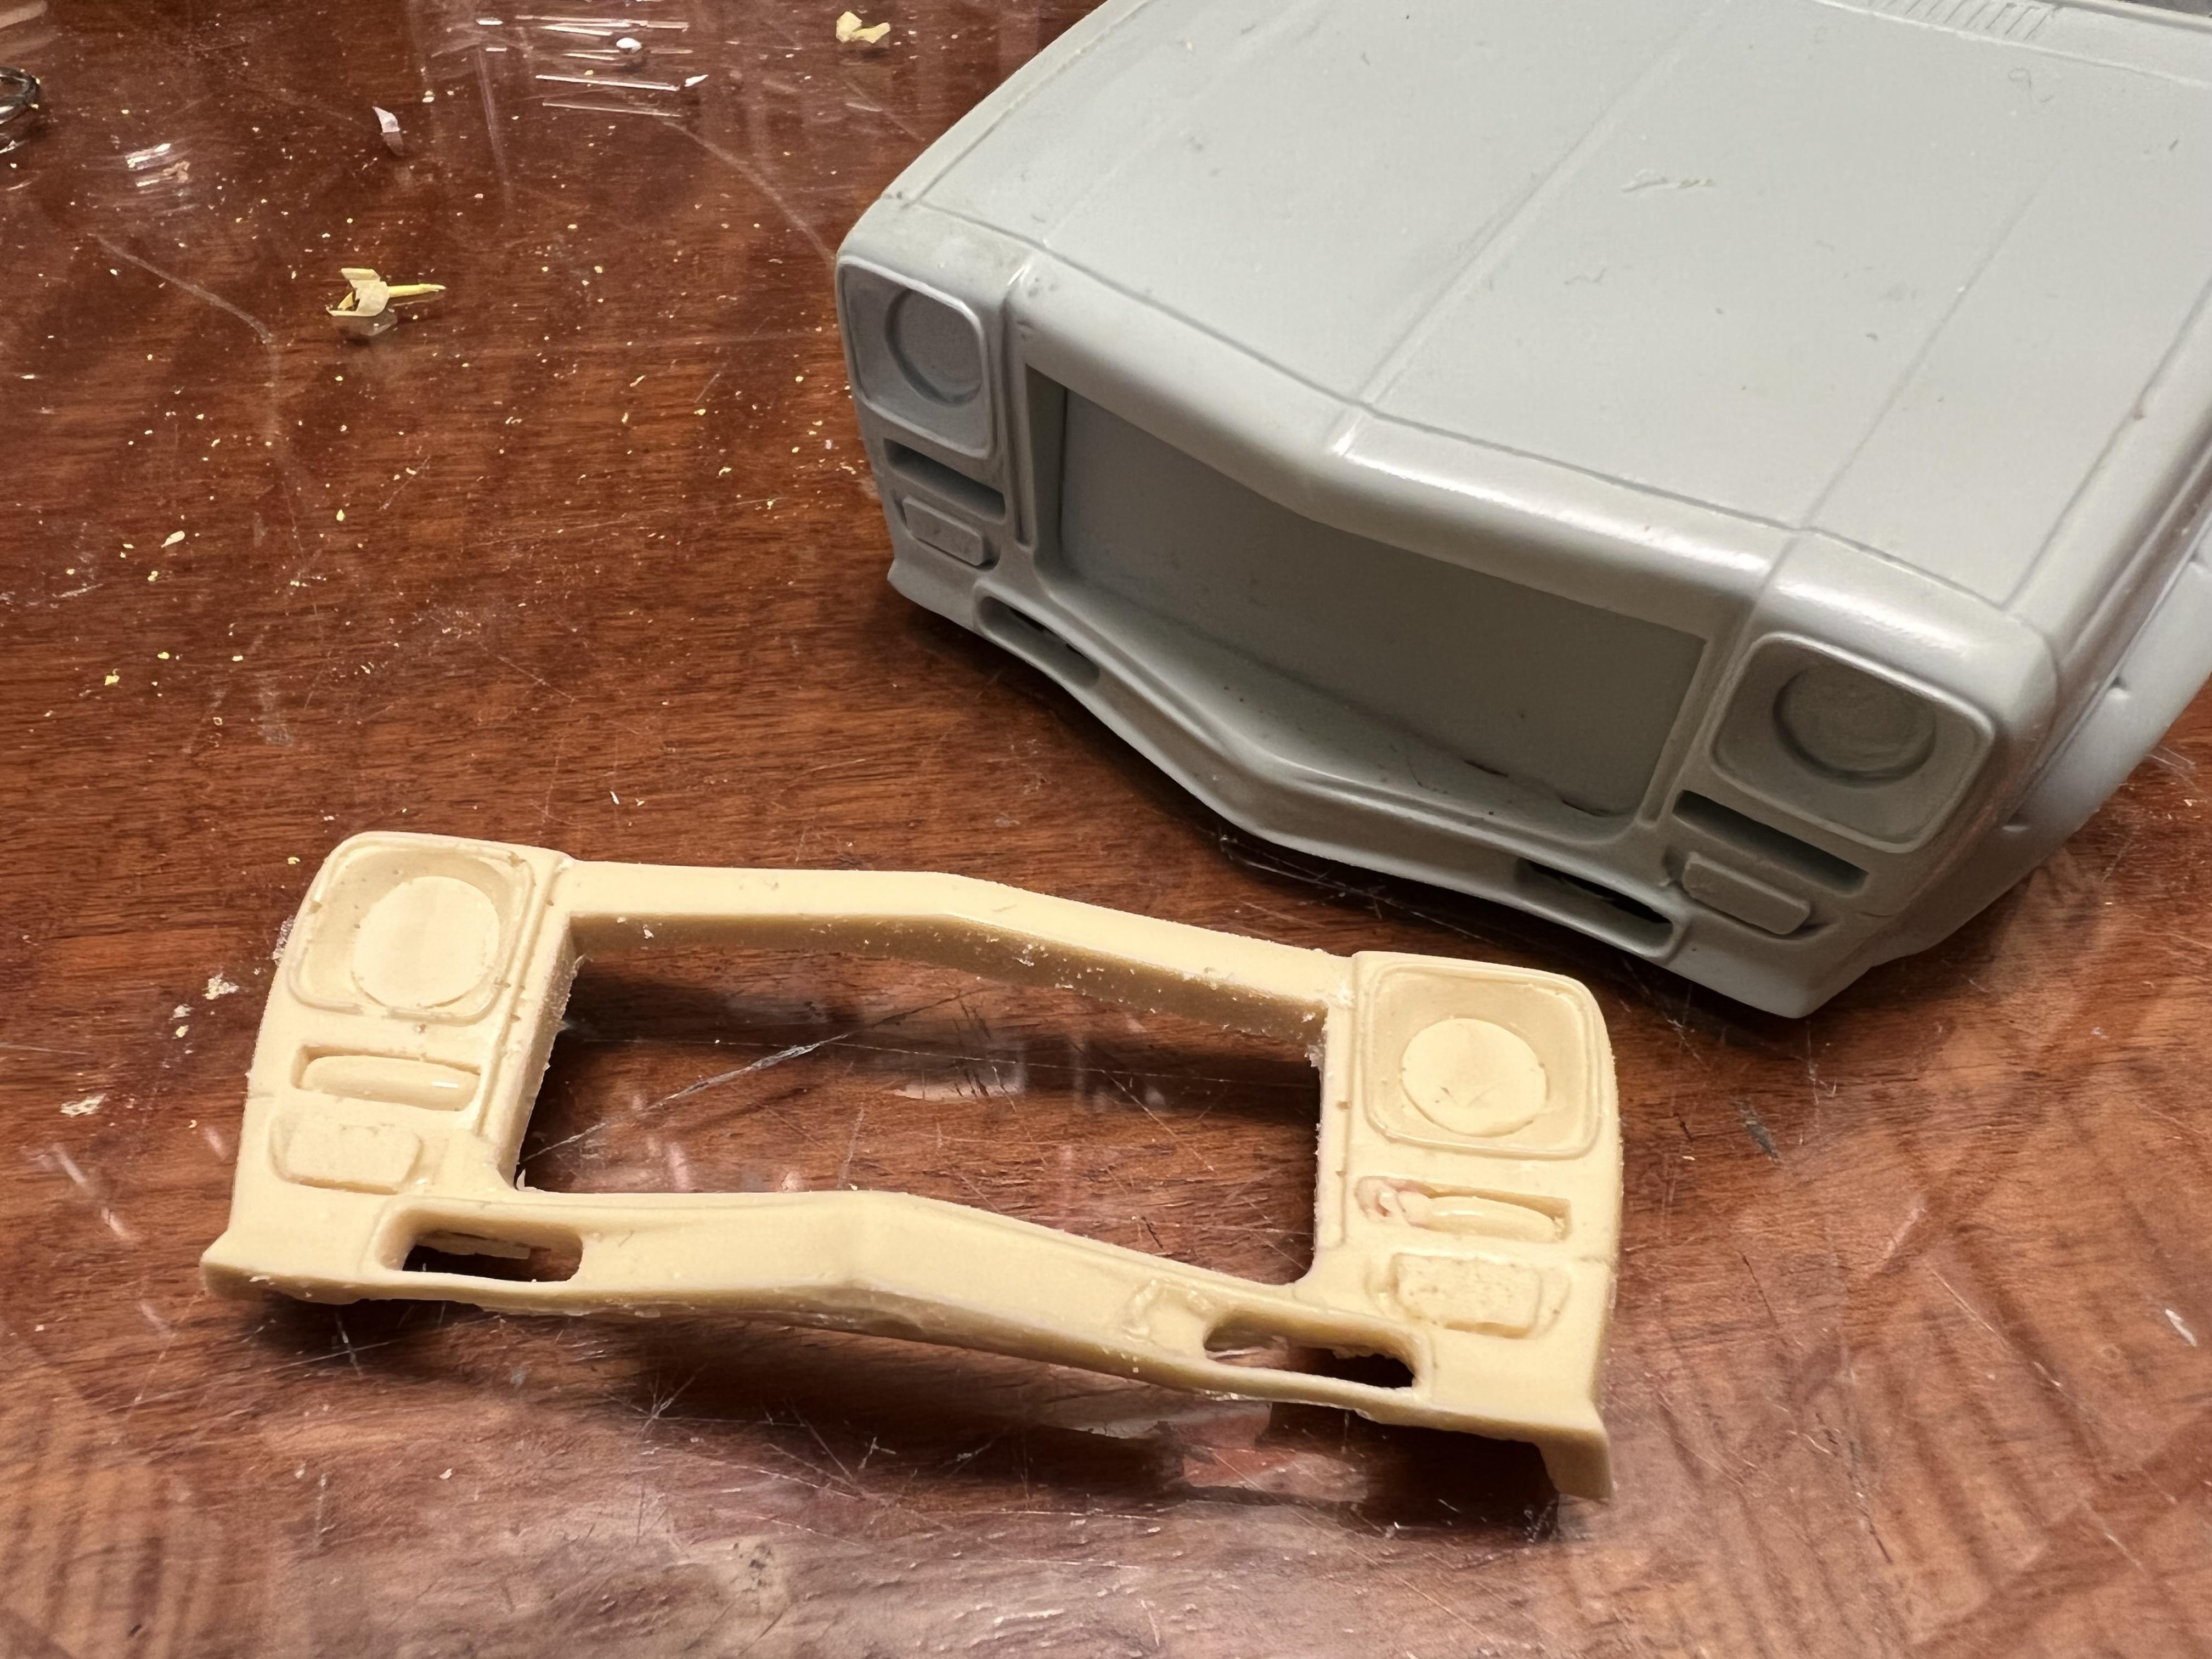
So tonight I started on a new project, as distinct from the long list of W.I.P.s waiting there turn. I figure if I don't get the basic fabrication under way they wont be ready in time. The Holden Torana hatchback was the successor to the wildly successful LC and LJ Torana GTR-X-U1 of previous years. Unlike the earlier models, the LH and LX of the mid seventies did not take to dirt like a duck to water but every track around the country would have had at least one of them so I needed to add one to my collection. Now the easiest way to do this would be to purchase a high quality Cavalier curbside resin model of the Torana. Problem is, they were very low production when they were originally on the market, so even rarer now, and were kinda spendy - $60 each when a typical AMT kit was probably round $40. It's O.K., I've got one. But. I can't bring myself to cut it up. By the time a stockie had done a few seasons it only bore a passing resemblance to the original car. The Cavalier kit is far too nice for that. I do however, have a Citation. One of those models that only Faust could love. I bought it dirt cheap to get the V6. holding it at arm's length I could see that it had a passing resemblance to an LH Hatchback, as long as I wasn't scared of a little cutting. So here is the Cavalier Torana body and the Monogram Citation body to compare.
-
Most of you know that hot rods are my first love but when it comes to motorsport' speedway is my drug of choice. Speedway in Australia is what Americans refer to as dirt track or short track. It is closely associated with American dirt track racing but has its own idiosyncrasies. One thing that is different is that for the most part Aussie speedways run a mixed card - it is perfectly normal to see sprintcars, midgets, street stocks and late models on the same programme. Back in the sixties, seventies and eighties you could add solo bikes and sidecars and supermods to the mix. It makes for a very entertaining evening of racing. This year the local classic speedway club is running a big exhibition in October and we have been invited to put on a display of classic speedway models. Along with several friends we will probably be displaying about 200 models between us. Now in the seventies, the most popular class by a landslide was sedans, or stockies! These were hardcore racing machines with high revving small blocks, fuel injection, quick change diffs, disc brakes and the like but for the most part were built from unibody sedans and did not run a separate chassis. They were heavily barred out to compensate for the lack of strength of a monocoque car. Not always pretty, they employed the fabricatio0n technology of your average car trailer but they did haul! Nearly every make and model of Australian muscle cars and a few American cars as well, fronted up to these races. It was glorious time and as a teenager I loved every minute of it. I have about ten sedans already built but have at least another ten under construction and decided that this year's display would be the incentive to get 'em done. This will be an ongoing post as I tackle my projects and I won't promise any sort of chronological progression. I am not a highly disciplined model builder. But if you have an interest in Australian racing, you might find something of interest here.
-
'57 Vette old skool custom (maybe?)- just for fun
Alan Barton replied to mr moto's topic in Model Cars
Magic! Like I said, the corduroy wouldn't make it any better but would have been typical of the models in photos back then. I for one am glad you didn't use it! That dashboard you have pleated is a work of art. Cheers Alan -
Model Car Muse with Doug Whyte
Alan Barton replied to OldNYJim's topic in General Automotive Talk (Trucks and Cars)
These videos that Doug produces are so easy to watch. He has such a pleasant manner and can give you all the information you need. I have never met Doug but it feels like I am listening to an old friend. Doug is living proof that you don't need to go off like a frog in a sock to make an entertaining video. I can't wait for the next one! Cheers Alan -
'57 Vette old skool custom (maybe?)- just for fun
Alan Barton replied to mr moto's topic in Model Cars
Didn't I see this in a contest review in Model Car Science around 1963? About the only thing that would make it more era perfect, but not necessarily better, would be corduroy interior with fur carpet. What a great piece of eye candy! Cheers Alan -
No wonder I relate so well to your models! Having retired early this year I am spending a lot more time at the bench, and getting long term projects finished is one of my main goals. And yep, there are a few thirty plus years type projects in amongst them! Your pickup looks perfect. We sometimes forget that while hot rod magazines (remember them?) focussed on the latest, greatest trend setters, thousands of guys went ahead and built a hot rod to their own tastes and then modified it over the years - so they aren't all "era perfect" no matter what the H.A.M.B would have you believe. Your little tasting plate T bucket is a perfect example of this approach. I do remember the adverts for Hubcapper wheels but now that you mention it, I don't remember seeing many of them in my reading and in my travels. The roof really ties the whole car together - that's how I would display it. Cheers Alan
-
Nick, ya killin' me! That thing is stunning! My favourite bit is the colour match between the wheels and the body - so balanced! Can't wait to see this in the flesh! Cheers Alan
-
That 60 Ford roof was such a great choice - it is so in harmony with the A pillar. very cool indeed! Cheers Alan
-
You've certainly done a nice job of a nice kit. Is that the Tamiya metallic Red that you used? Suits the car well. Cheers Alan
-
Wow, what an amazing build. Super delicate, just like the real thing! Cheers Alan
-
ThunderCat: 58 TBird with 92 Cougar roof: a contemporary Custom
Alan Barton replied to Claude Thibodeau's topic in Model Cars
Man there is some work in that! Nice work Claude! Cheers Alan -
You've definitely got my attention on this one phil. I built a very loose interpretation of this car when I was about 14, trimming the fenders off a Son of Ford kit. I totally agree with the choices you have made so far and will be viewing with interest! Cheers Alan
-
Terrible Box Art
Alan Barton replied to Junkman's topic in General Automotive Talk (Trucks and Cars)
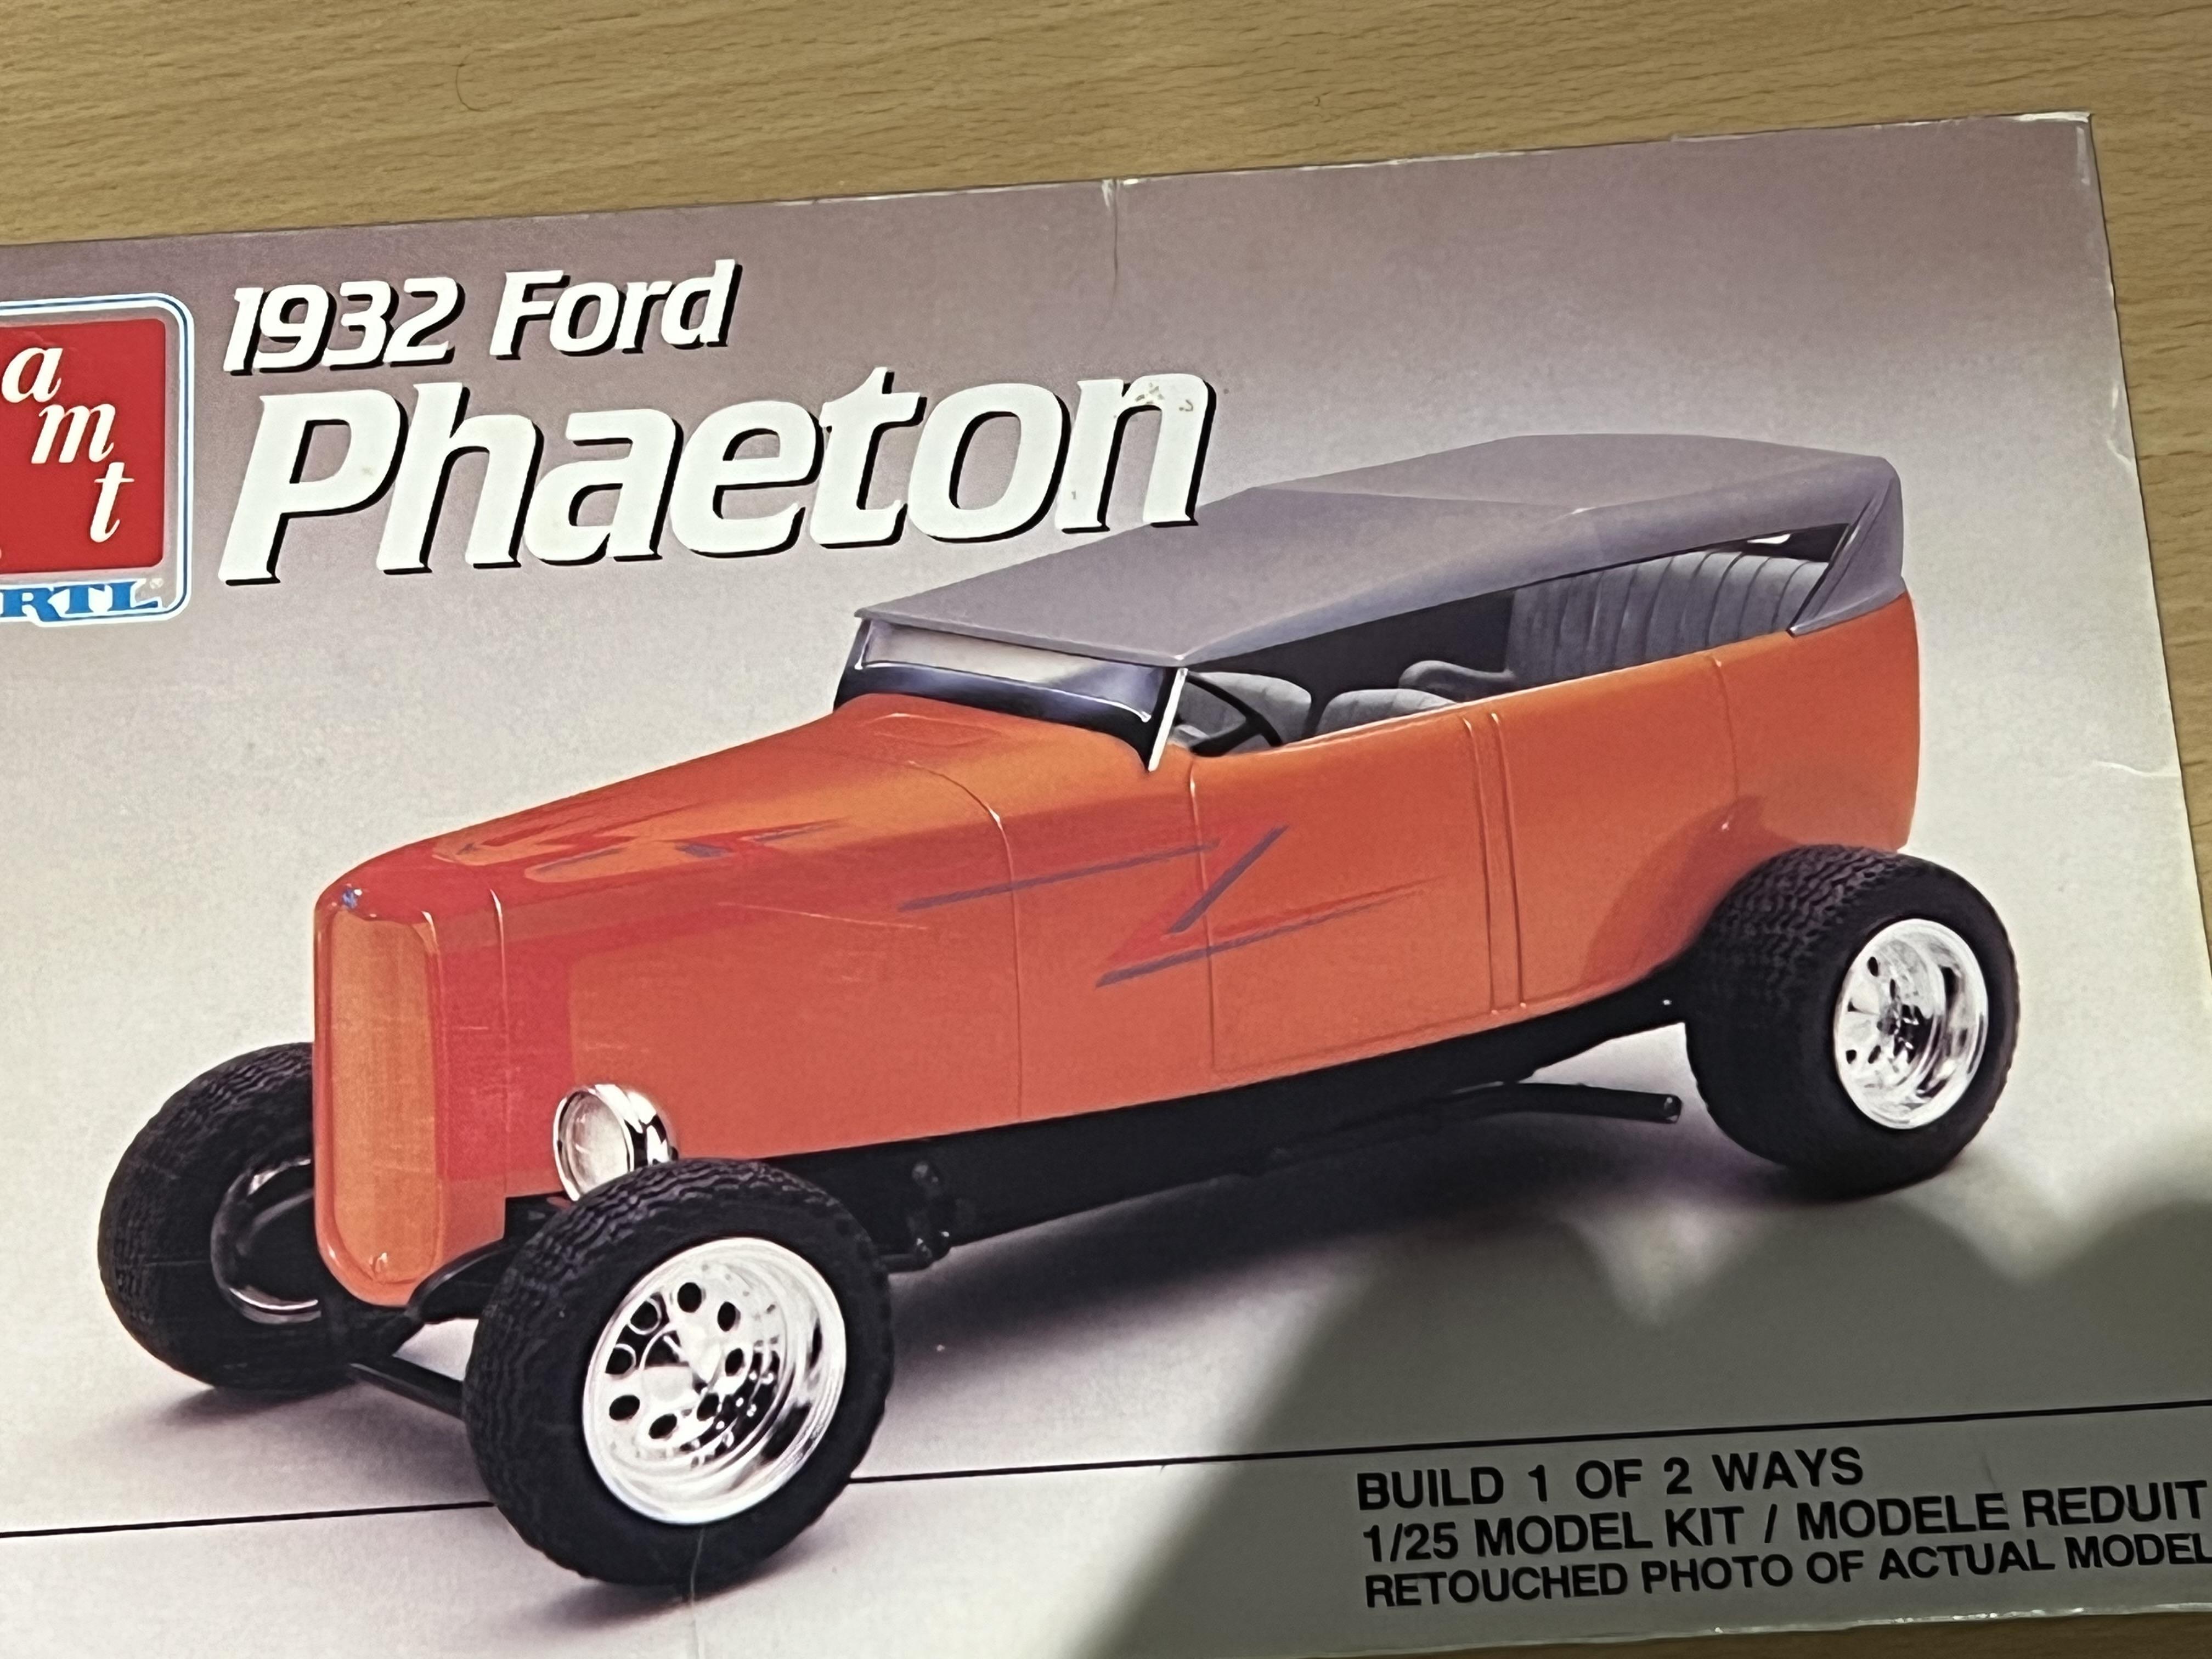
I'll take your kitchen floor series (absolute gold right there) and raise you a factory concrete wall! How can someone look at this layout and go "yeah, baby, that'll have 'em queueing up in the aisles!"? The kitchen floor series of the Deuce coupe was pretty el blando but the concrete wall series took it to a new low in lukewarm dishwater. Not to be outdone, they did the tub. I sincerely hope that the person who built the box art tub is not on this forum and if they are I apologise in advance for what I am about to say but FOR SCREAMING IN A BUCKET! Who on earth takes to a relatively well moulded and detailed 1932 Ford Phaeton with an angle grinder to ensure that every single trace of detail is removed, glues the lights on so far back that you can't even see the other side and then compounds it by forgetting that even though they were emulating the pastel/monochrome/ smoothy era style, they should paint the frame black so that the stance looks even higher than the poorly rendered suspension made it to start with? "Yum yum yum,. this will be the best-selling revision we ever did, Wilbur!" Yep, I bought one but man, I was so scared to think that maybe AMT/Ertl had actually revised the model to look like the box art. Fortunately they didn't. It's OK, I've calmed down. It's just a hobby. They're just plastic toys. I'll be fine in the morning. No, really. Cheers Alan
-
Terrible Box Art
Alan Barton replied to Junkman's topic in General Automotive Talk (Trucks and Cars)
I think I mentioned this a long time ago but I just stumbled on the box art in my stash so checked to make sure I wasn't imagining things. Question is, where is the frame rail?