alan barton
-
Posts
2,105 -
Joined
-
Last visited
Content Type
Profiles
Forums
Events
Gallery
Everything posted by alan barton
-
On a shelf to one side of my bench I have a box marked "Tony Nancy Flathead Roadster" Yep, been collecting parts (mostly the same as yours) for years except that I didn't have the Revell hiboy frame when I first started collecting them! If you have access to early issues of SAE, a Californian guy by the name of Martin Faustneyer (IRRC) had a detailed build of this model in their pages, early nineties I am guessing. It was on display at the Pomona NHRA Museum. I already built the Buick tube framed car around thirty years ago and managed to get a bunch of photos of both cars when they were in the Petersen Museum in January 97. If you are interested, I produced a wooden buck to vacform a scale thickness tonneau cover that fits the AMT body like a glove. You can see it in the "Show us your Model A roadsters" thread that was started a few years ago on this forum. Would be happy to send you one if you need it. That S.C.O.T. blower is a thing of great beauty! I will be watching this one very closely. Anything Tony Nancy built was a show car! Cheers Alan
-
Like it a lot - spot on for the eighties! Wow, you got a neat colour break on those seats. I'm going to use them as well, at least at this stage, and with my extended cab I may not need to stand them up - we'll see. I will be using the T door panels as I have used them before and know they work well with Model As. Plus I have a fret of photo etch instrument panels and tail lights that I have never used until now. Cheers Alan
-
Thanks Dennis, me either! It sure makes a difference and I will be looking out for it in future. Not sure why it took nearly fifty years for those fenders to catch my attention but I can't unsee it now.! Bullybeef came really close by picking the right wheels photo, you nailed it, that is the set I popped under the fenders just before I left for work! I have quite a few sets, not sure why, but only one set of really wide rears - there appears to be three different widths. On some of my spare narrow ones I am going to experiment with some of your techniques for satin finish. I'm really a shiny guy but this is the billet era after all - we will see! Next step will be to get some axles under this puppy! Cheers Alan
-
Tiking, I work as a trainer in the mining industry and frequently enter workshops where work like this is being carried out. The accuracy of what you have achieved is simply incredible! The wear patterns, the grease stains, the appearance of hydraulic lines, it truly is phenomenal detail and scale fidelity right there! I could not find a single detail that interrupted the flow of my eye as I studied your diorama. In Australia we have a very heavy safety regime so some of the bosses would not be happy to see so much equipment spread on the floor but that is not to say it doesn't happen! The only other thing I can think of that would add to the story would be a translucent green portable welding shield to separate the welder from other personnel. The level of your modelling achievements truly puts you in the master class! Cheers Alan
-
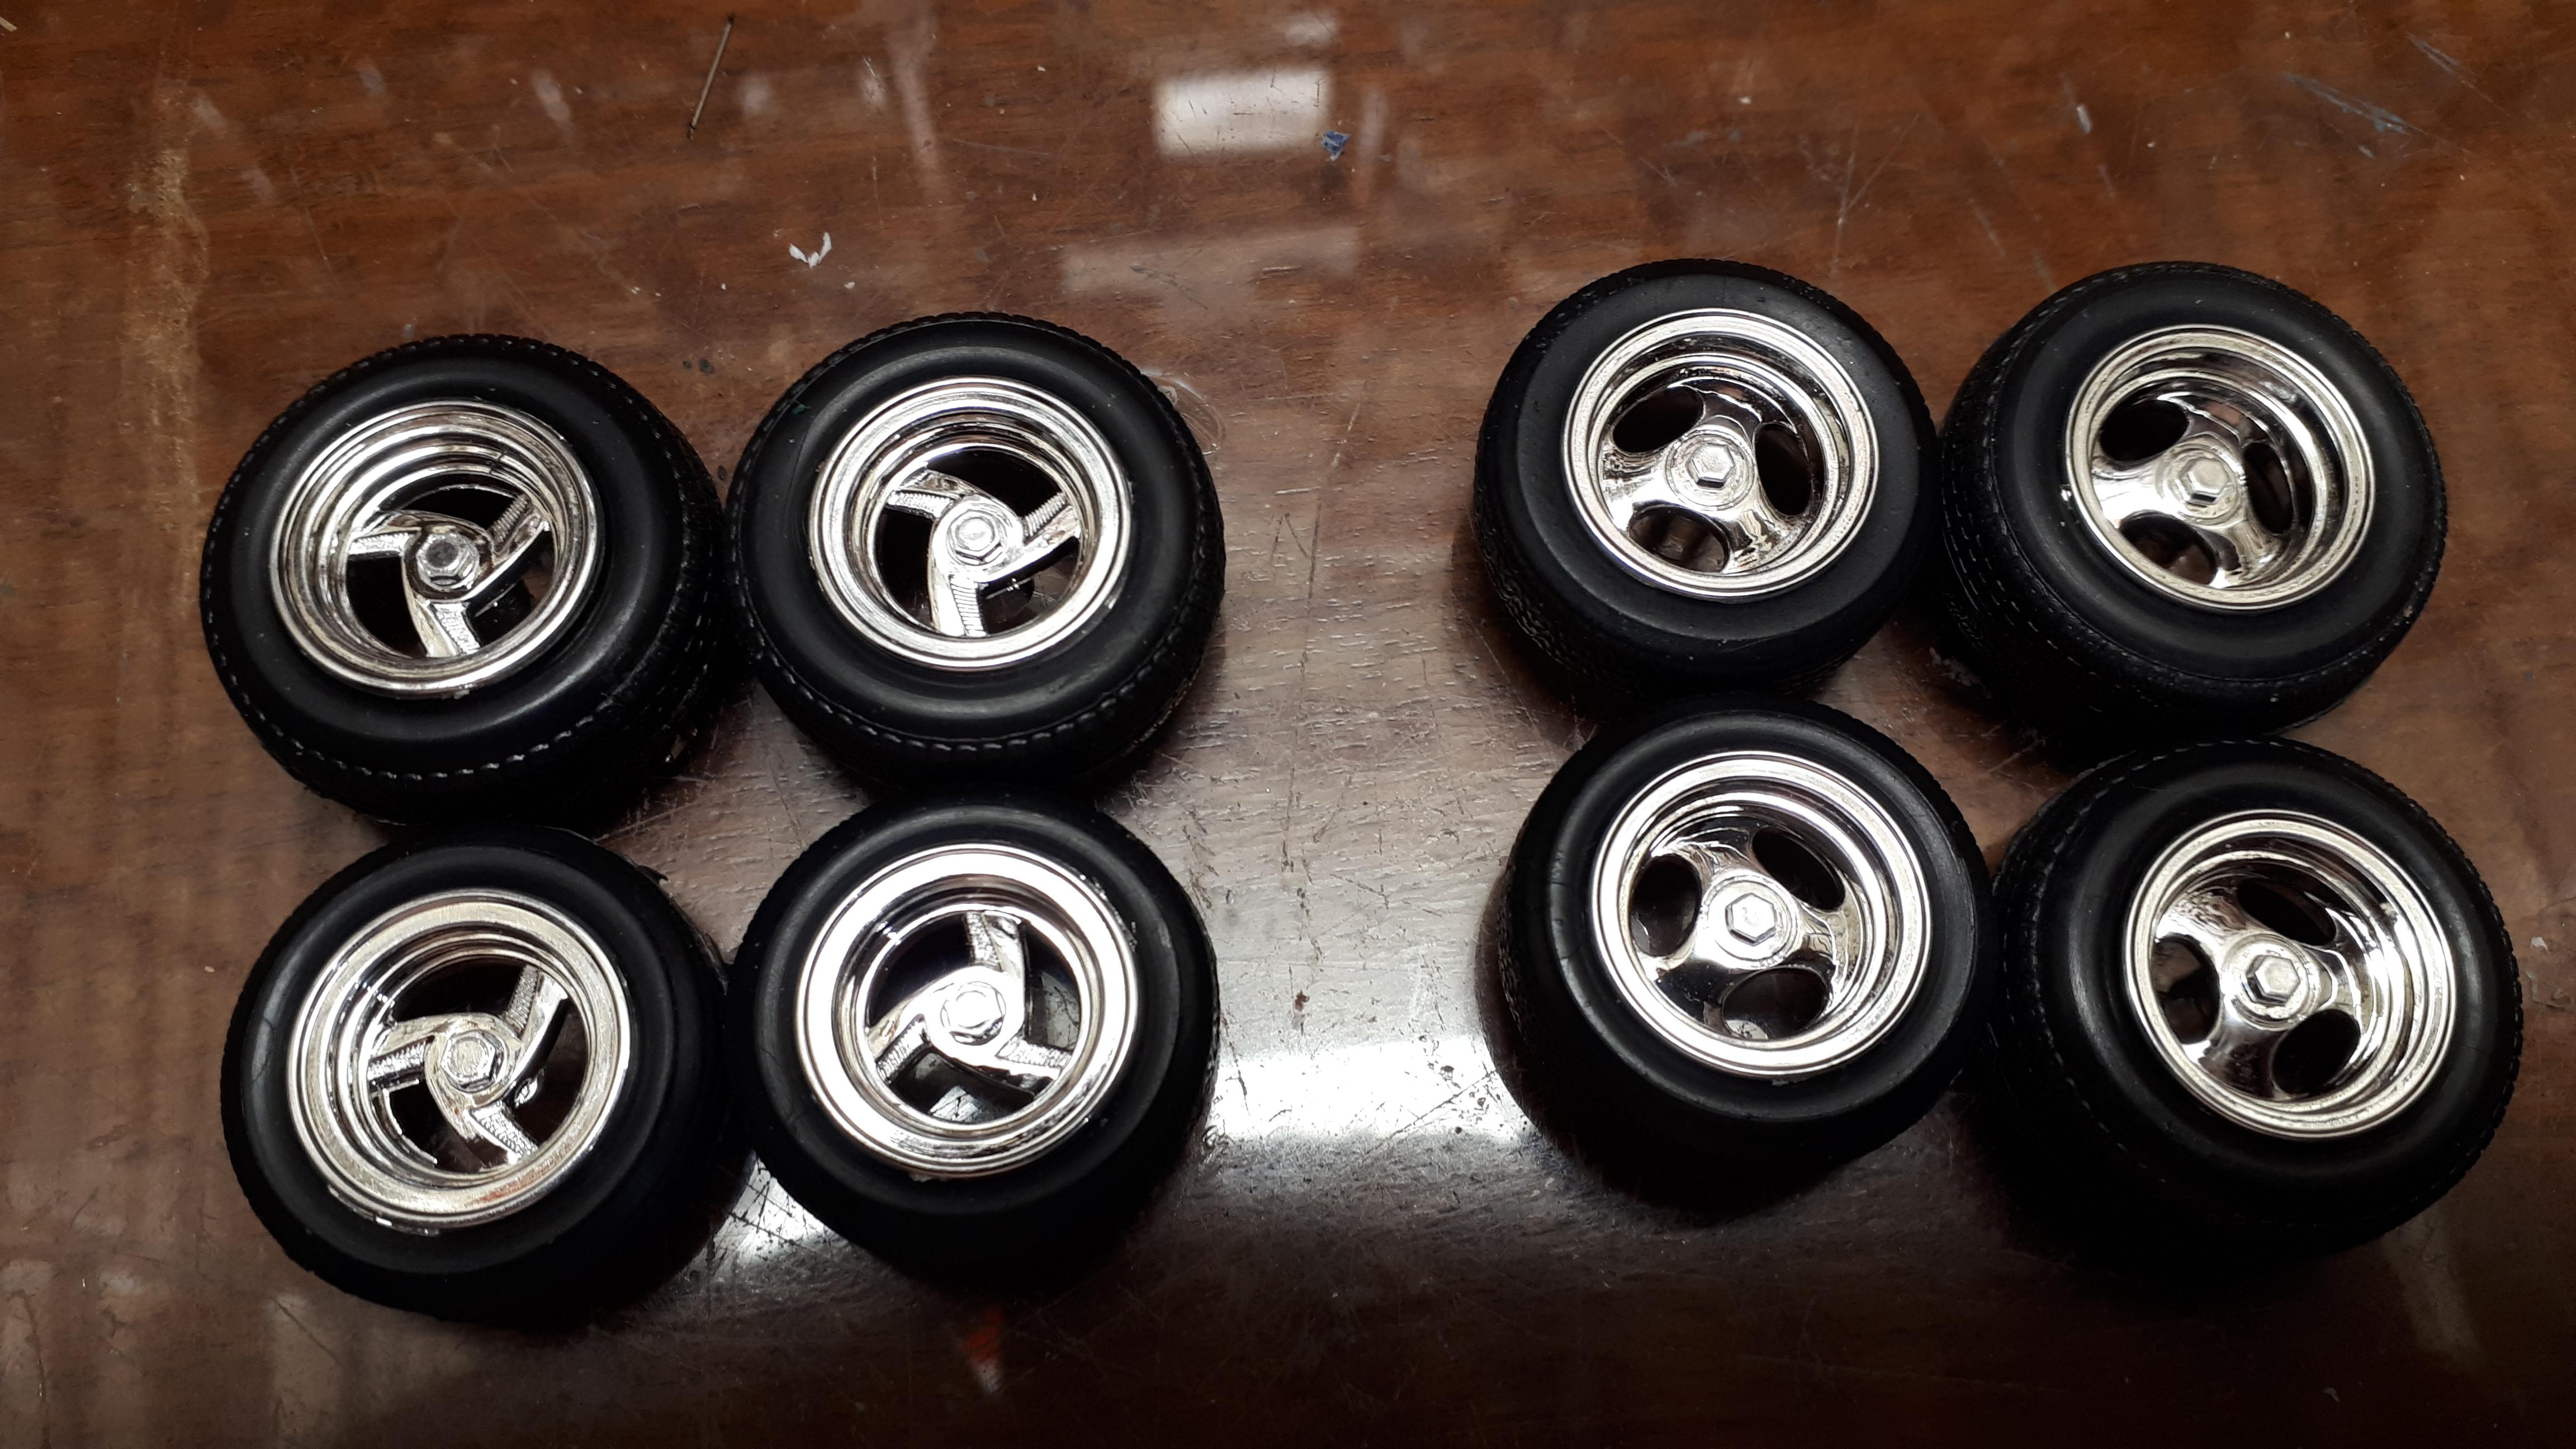
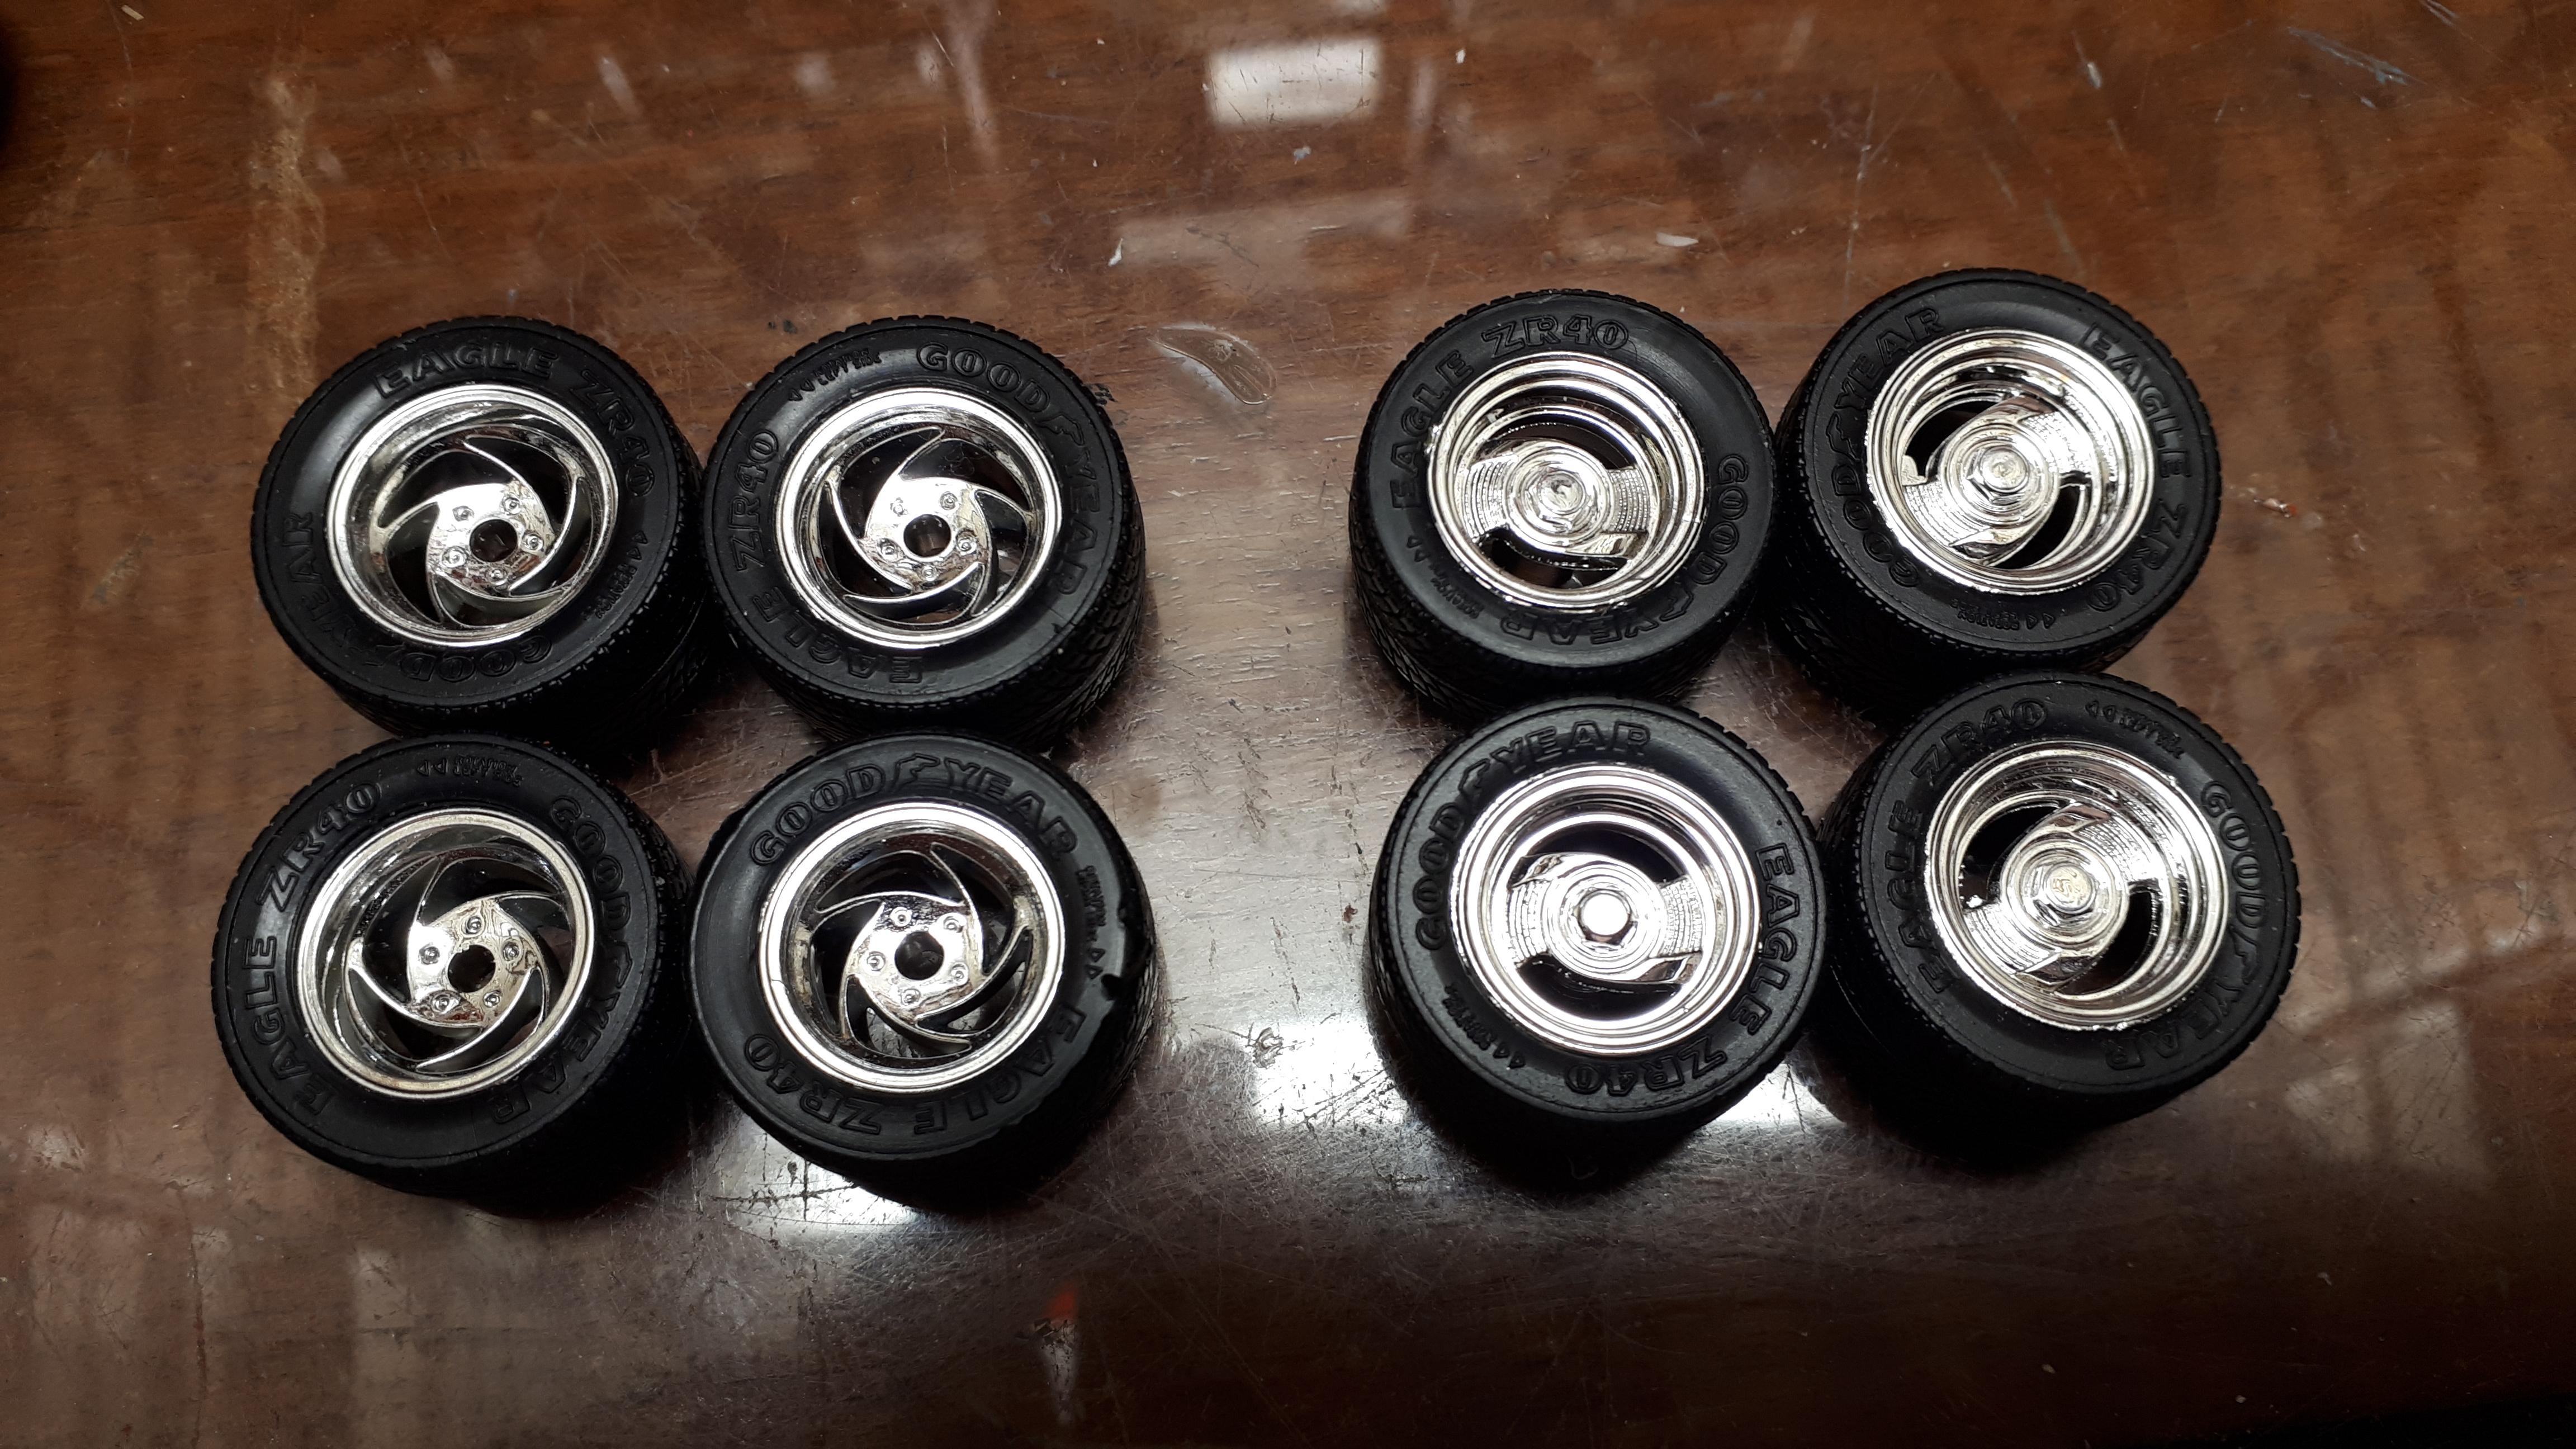
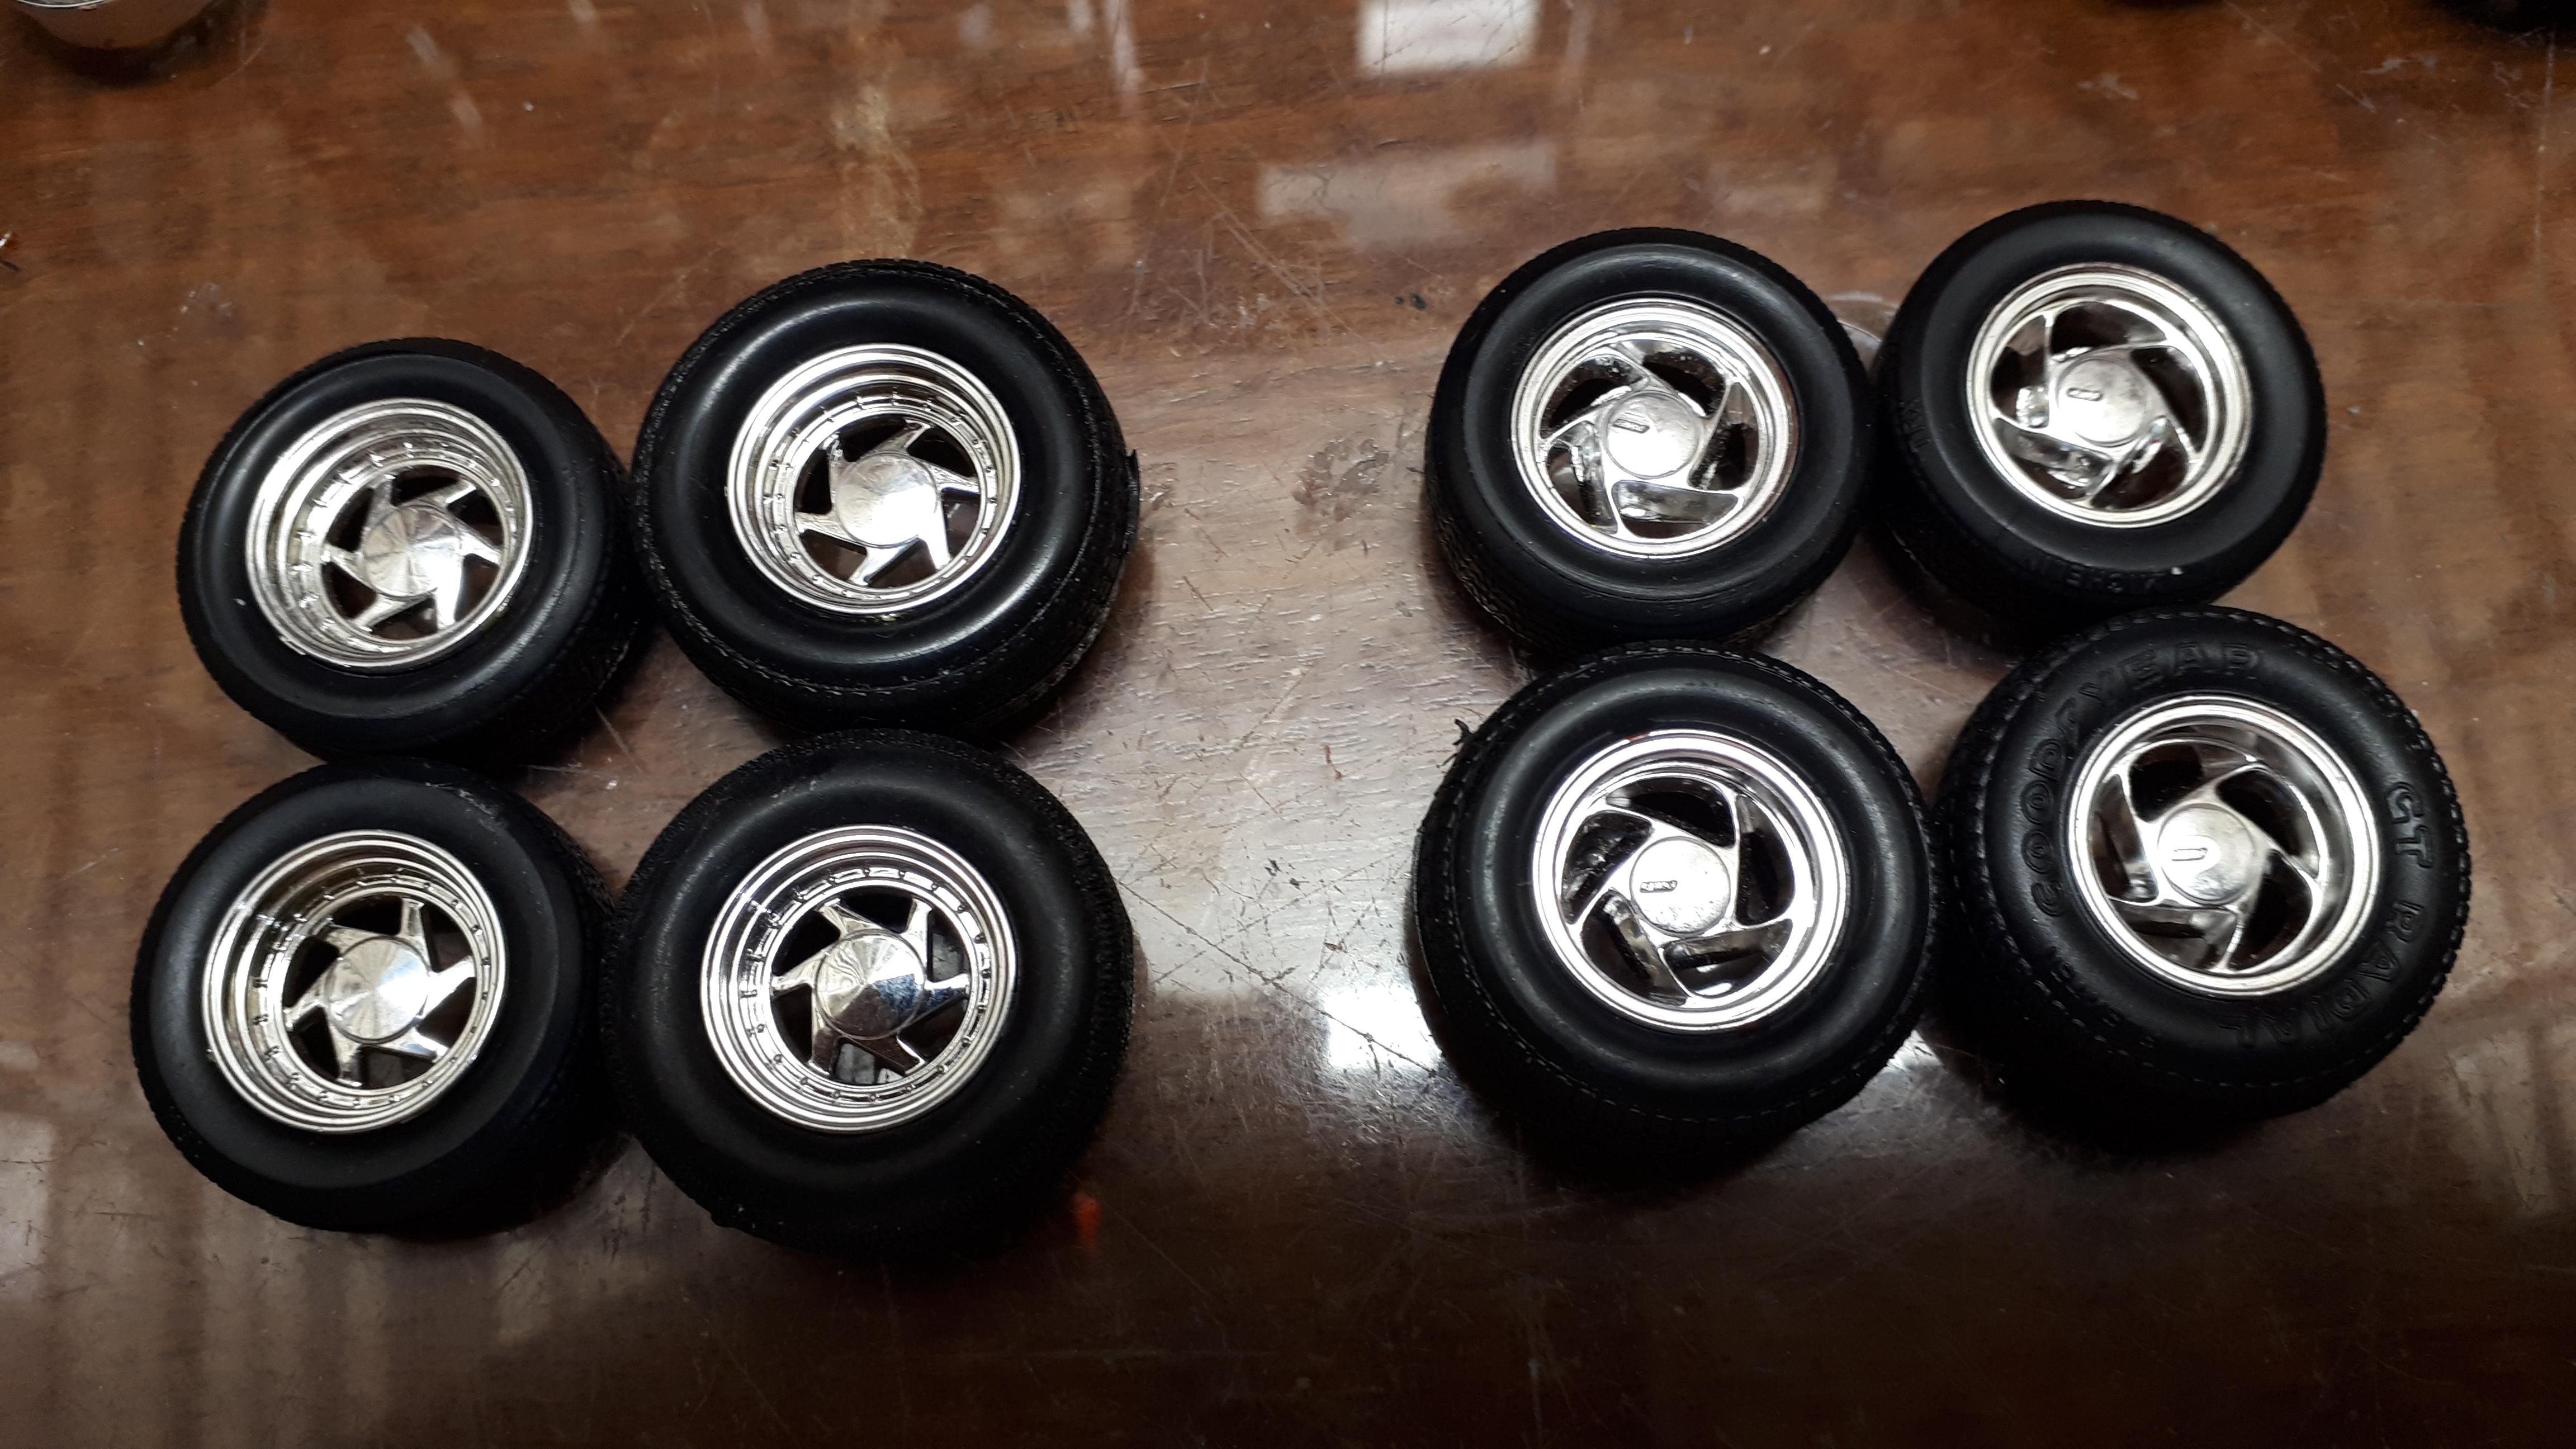
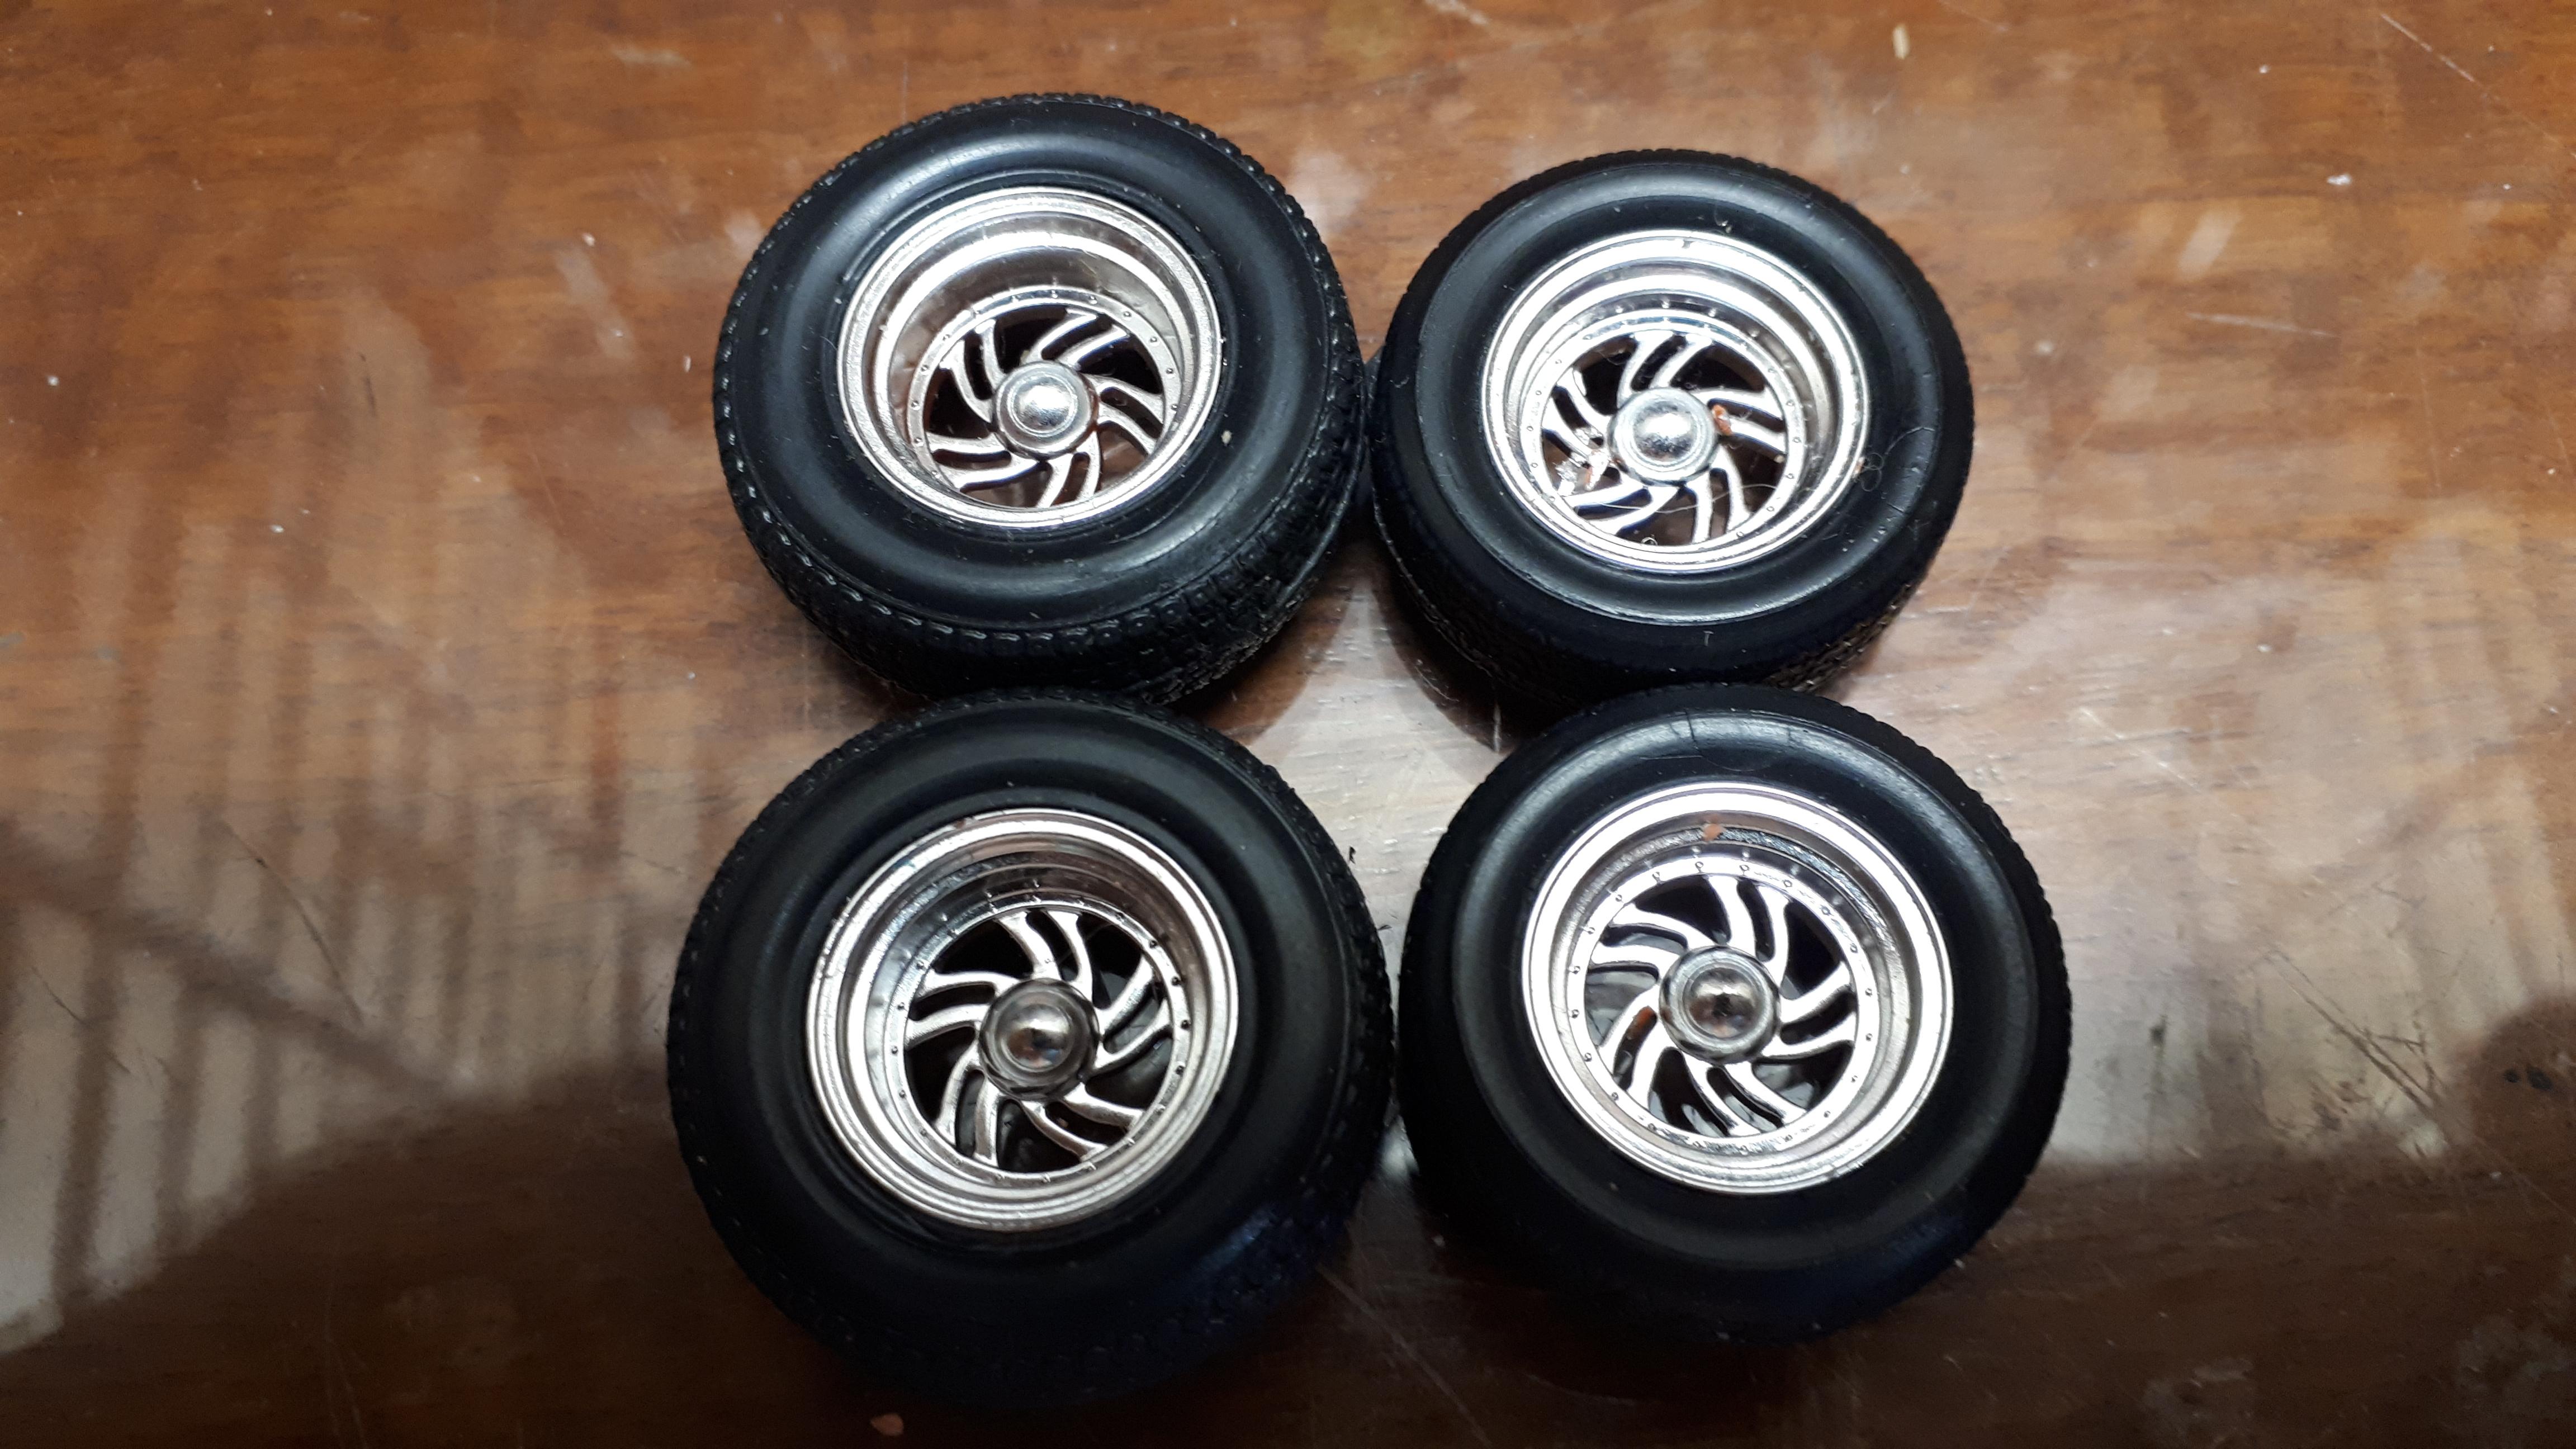
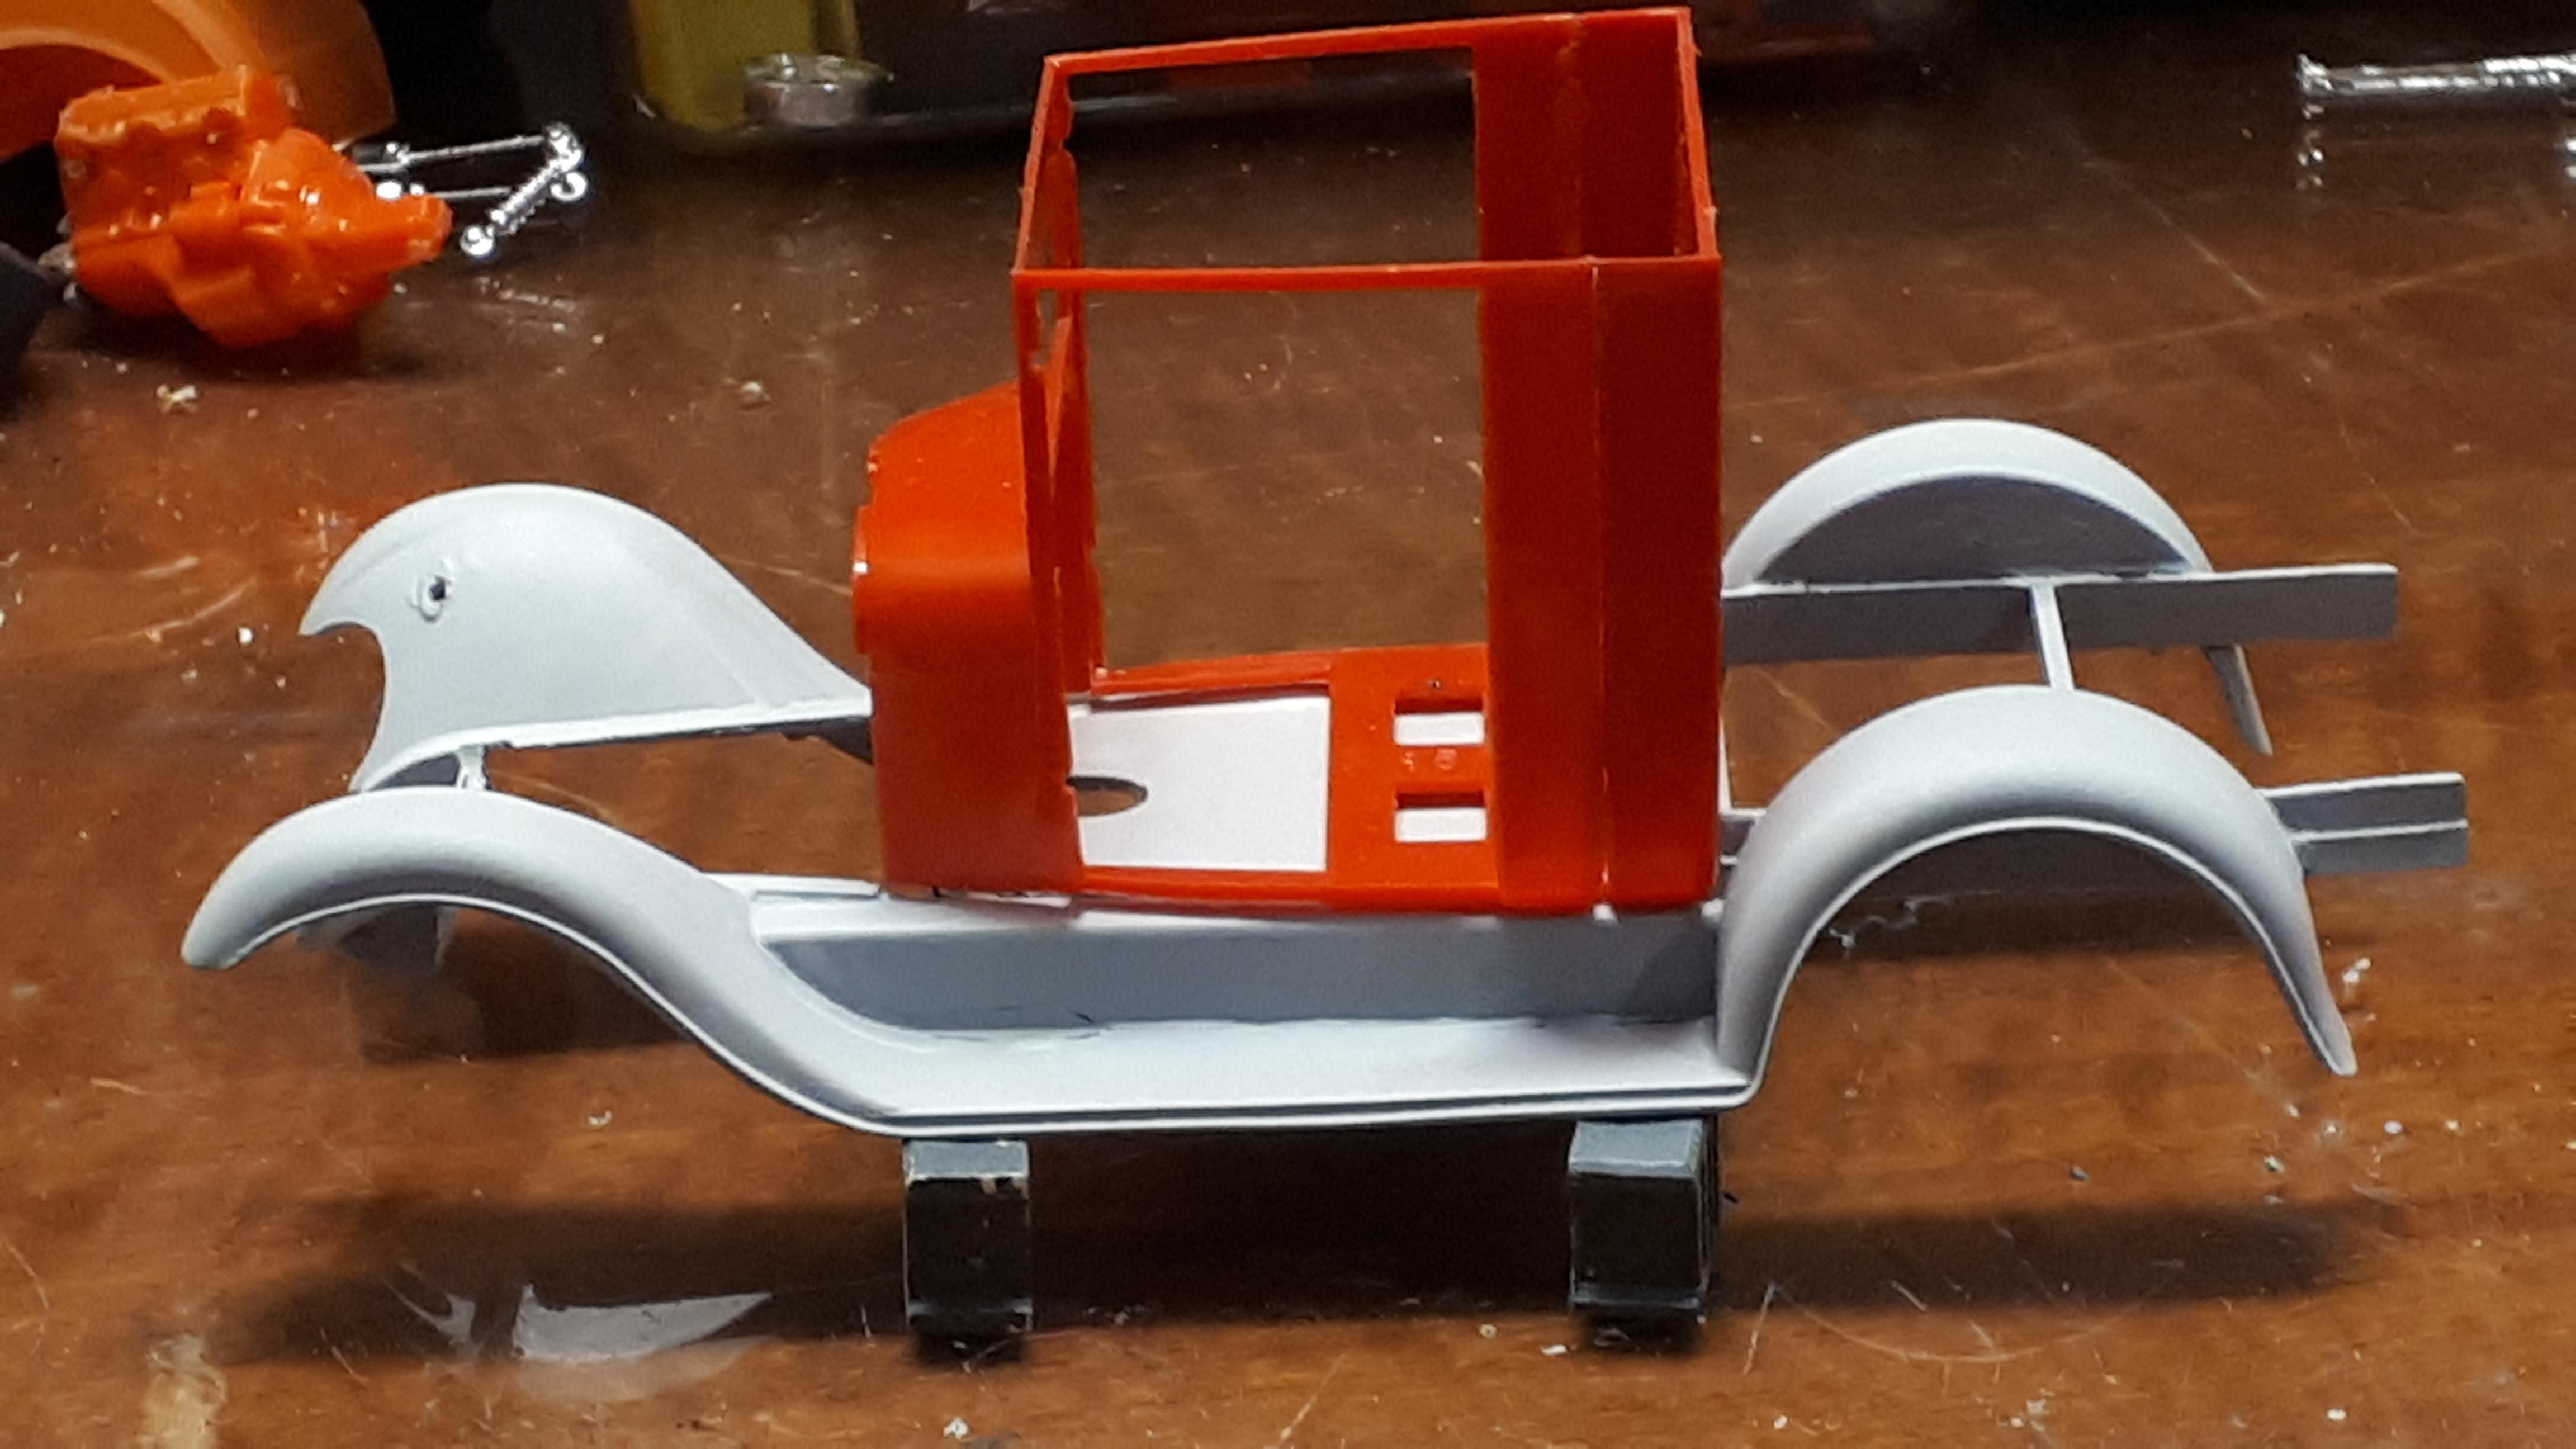
Not a lot of progress today but we do now have front engine mounts - simple triangles of styrene glued to the Model frame. I am going to set the V6 right back in the firewall to improve weight distribution. I also dug out my "Billet Wheels" box for about the first time in 25 years and started looking at wheel and tyre combinations. Some are absolutely perfect for the period but I'm sorry guys, I just can't do it! Two and three spoke - no thanks! I am old school enough to feel you need at least five spokes on a hot rod. (I did find some four spoke fans but they were too ugly to photograph!) I was surprised to see that three of the fan design wheels had the spokes correctly aligned in opposite directions. Tyres look like being Monogram Goodyear radials on the rear , the smaller diameter. It looks like I am all out of the larger diameter, my favourite rear tyre, but for the era I think the slightly smaller ones will do and they will contribute to a flatter rake. Fronts are Michelin TRX, a good choice for a skinny, short radial, again, correct for the era. I think I know which wheel I'm going to use but would be keen to hear your opinions. The last set have already been used by others in this thread but I thought I would chuck them in for comparison sake. Cheers Alan

-
80's Dirt Late Model
alan barton replied to Pat smulsky's topic in Other Racing: Road Racing, Salt Flat Racers
These race in Australia as well and I have also built an 80's style car based on the ASA frame. You did a really nice job on this one Pat, welcome back after a long drought! I really like the wheels you chose, were these from Fred's Resin Workshop? Cheers Alan -
I love the bent running board - they are kinda thin originally and it is very common to see them bent like this when found "in the wild". Cheers Alan
-
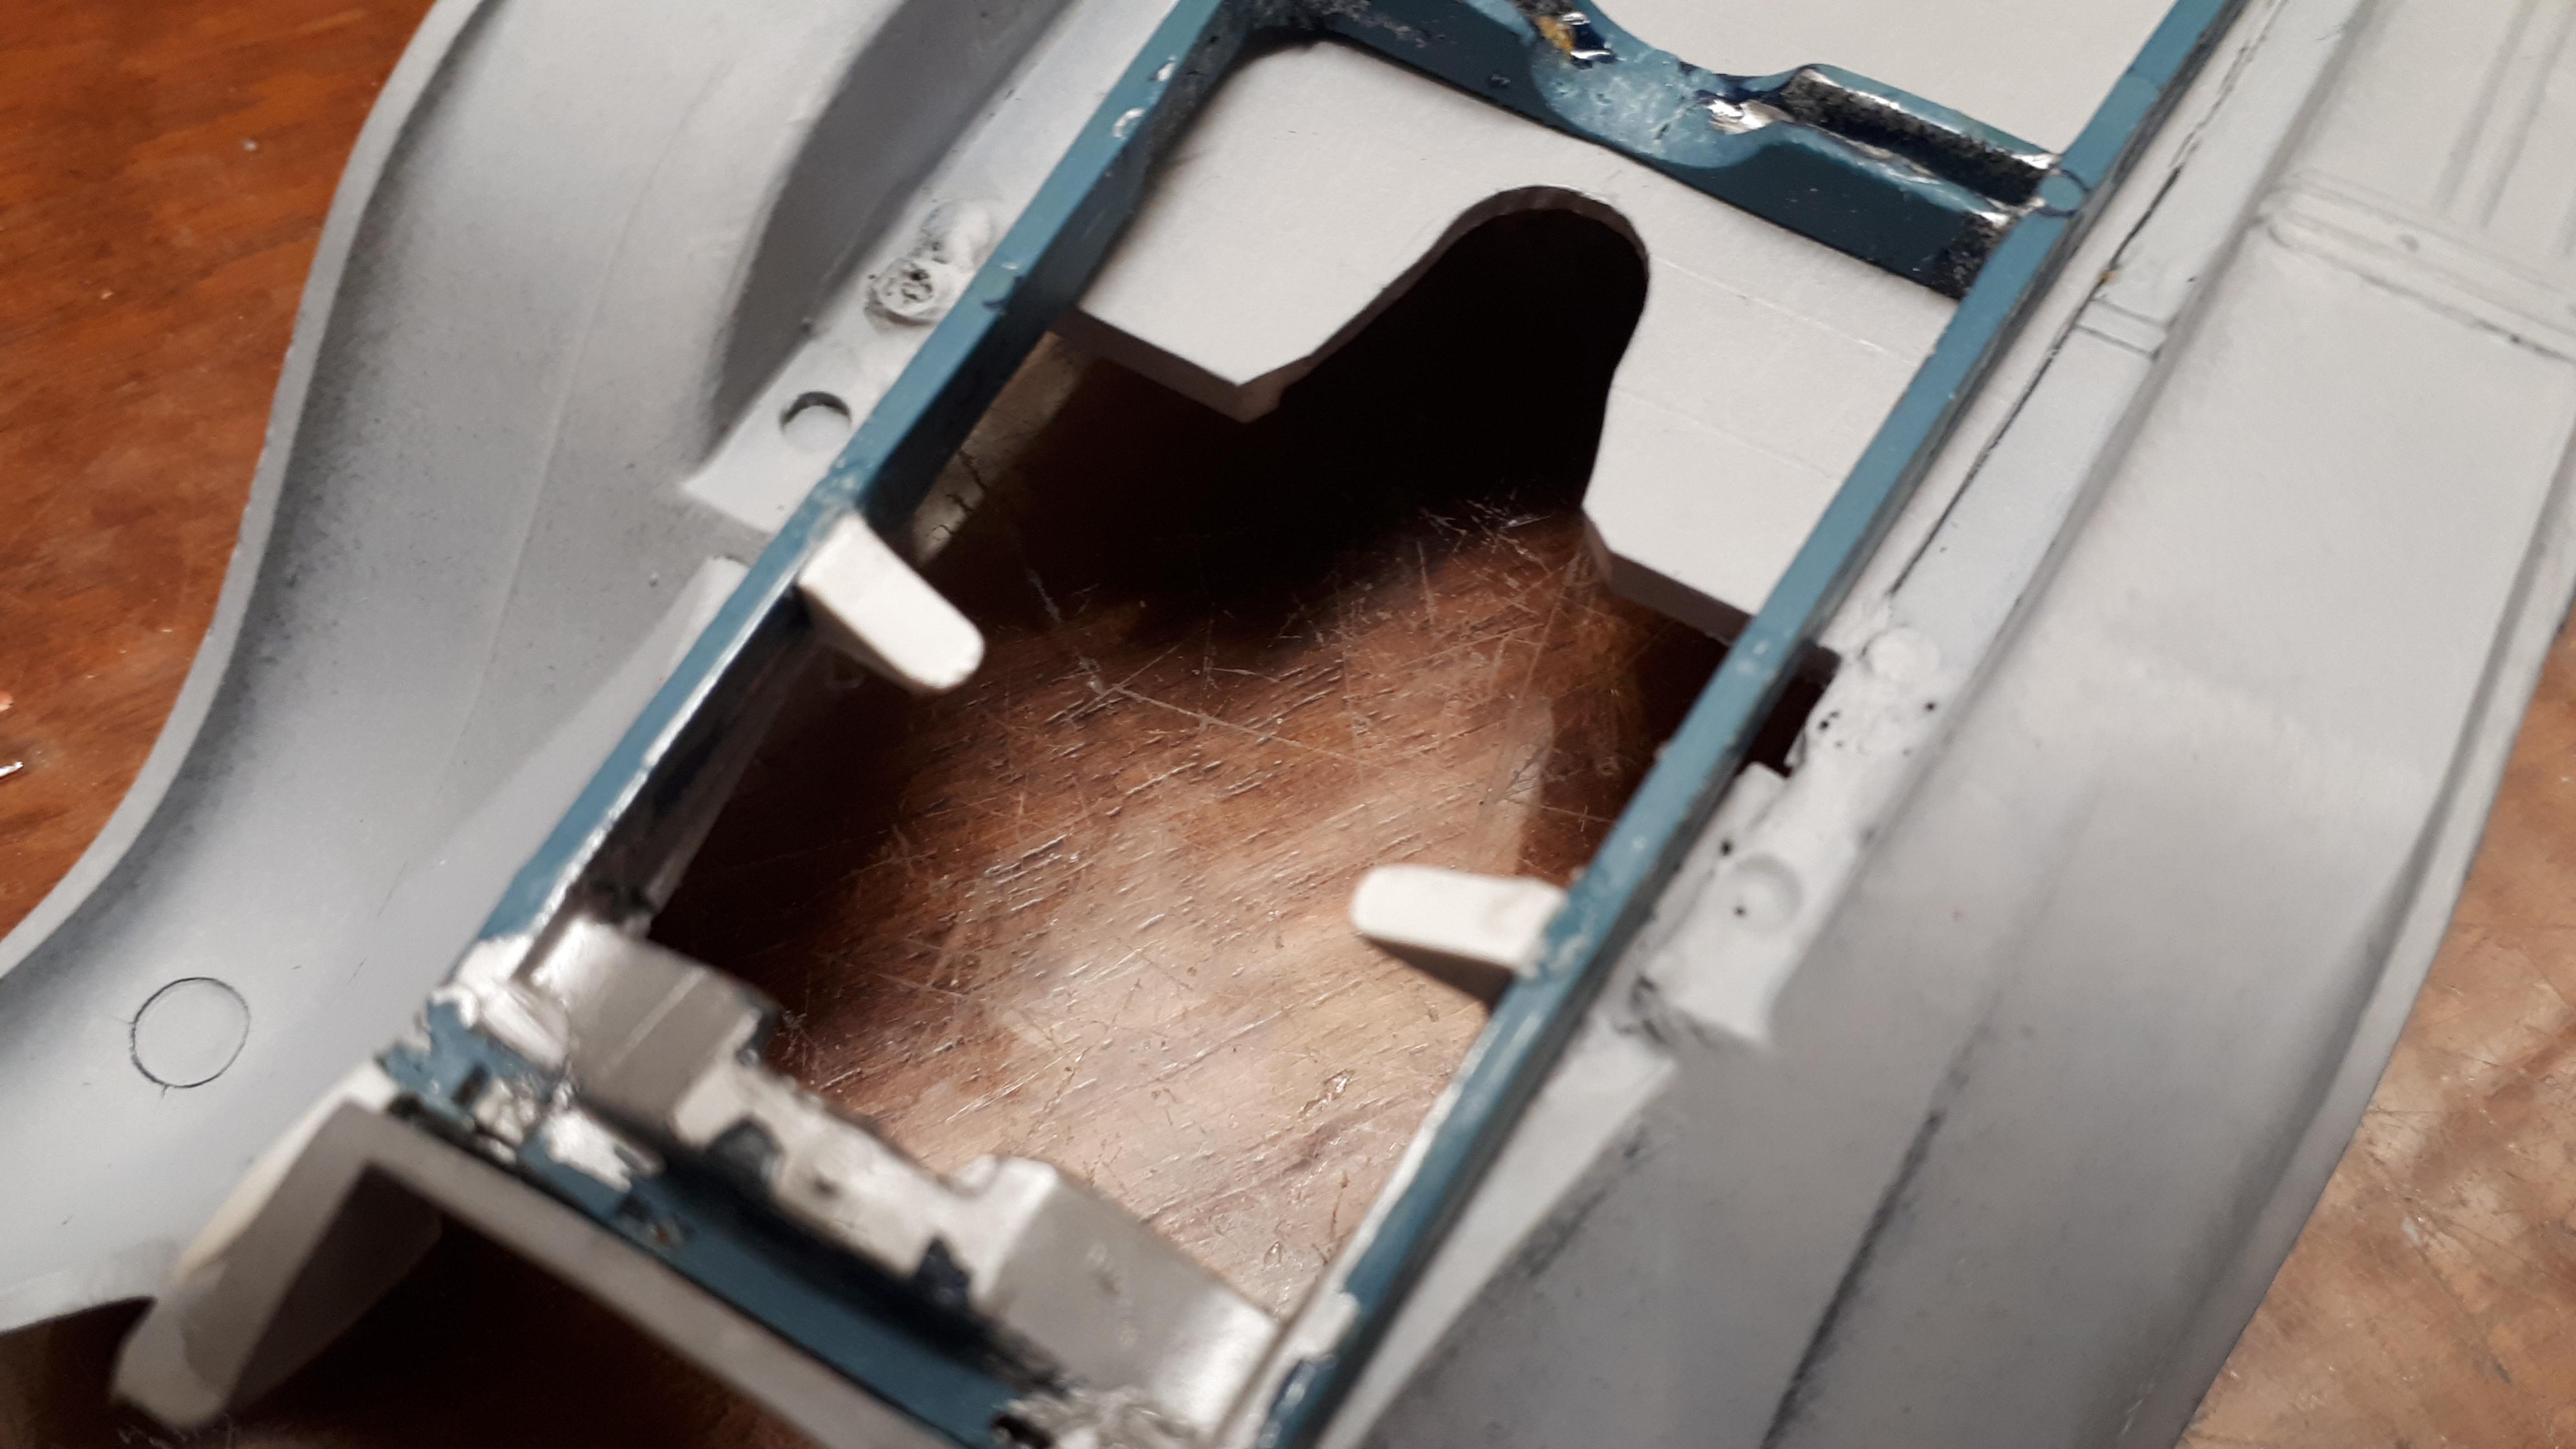
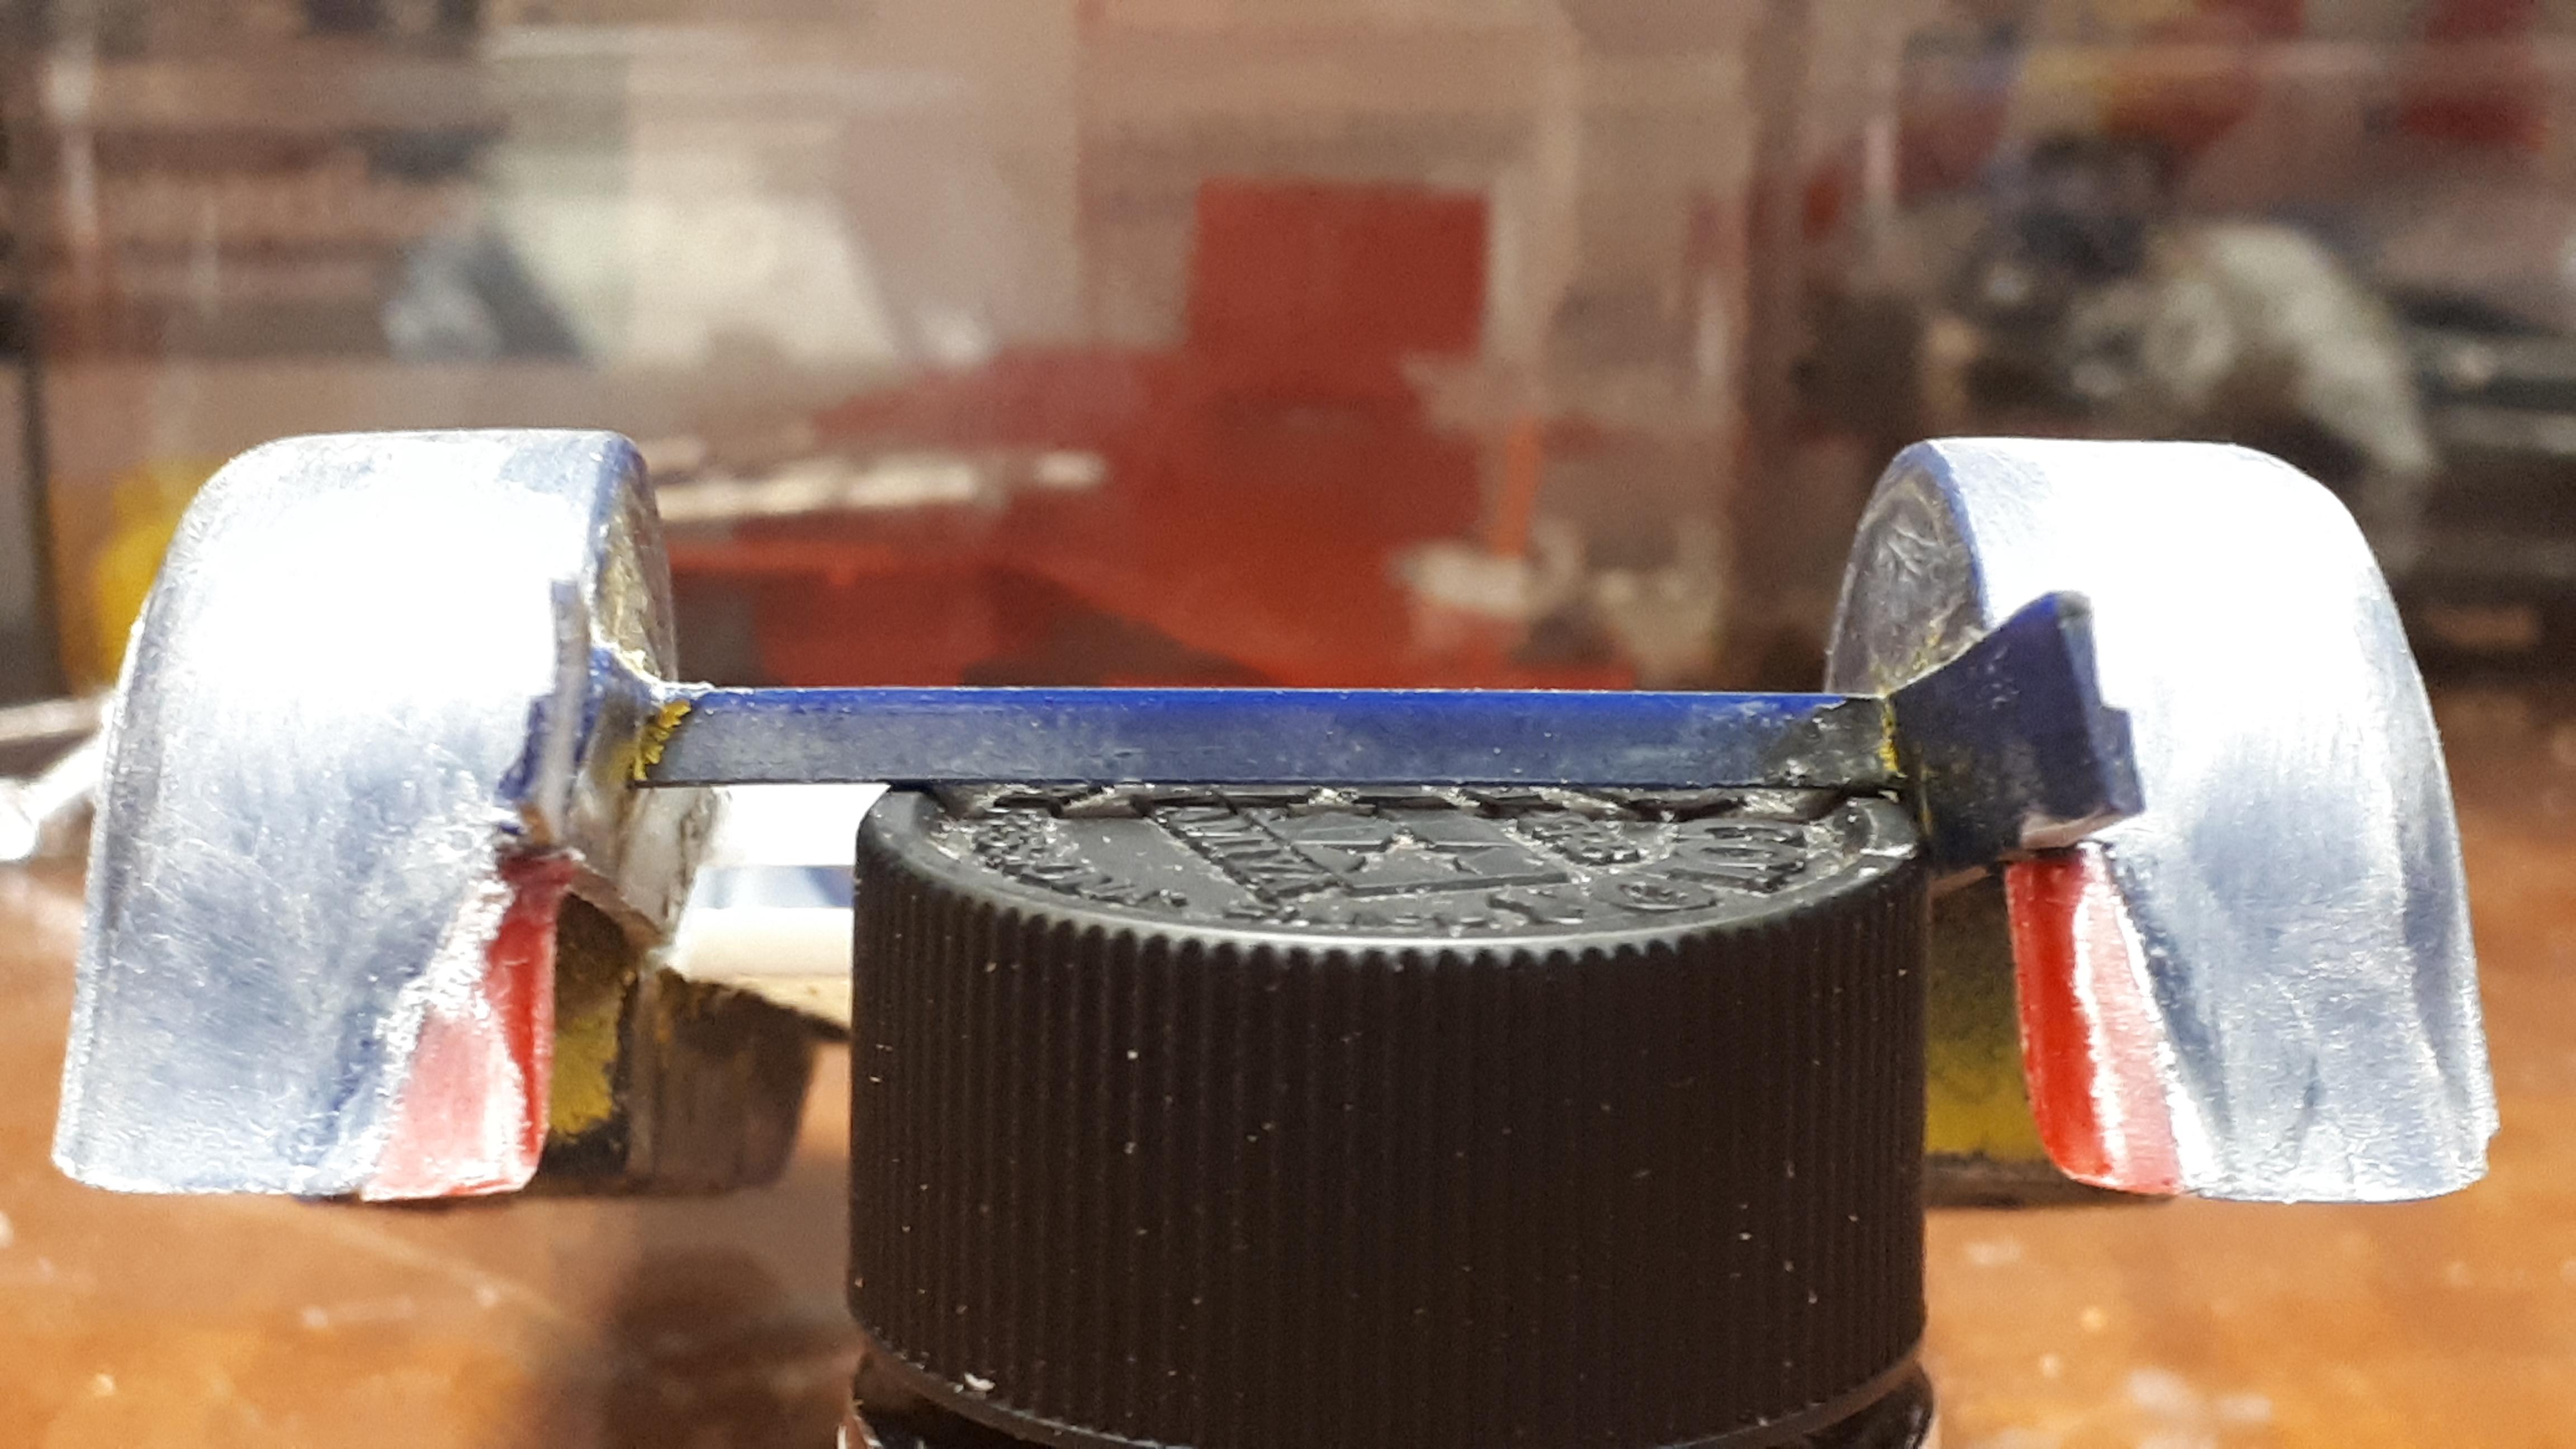
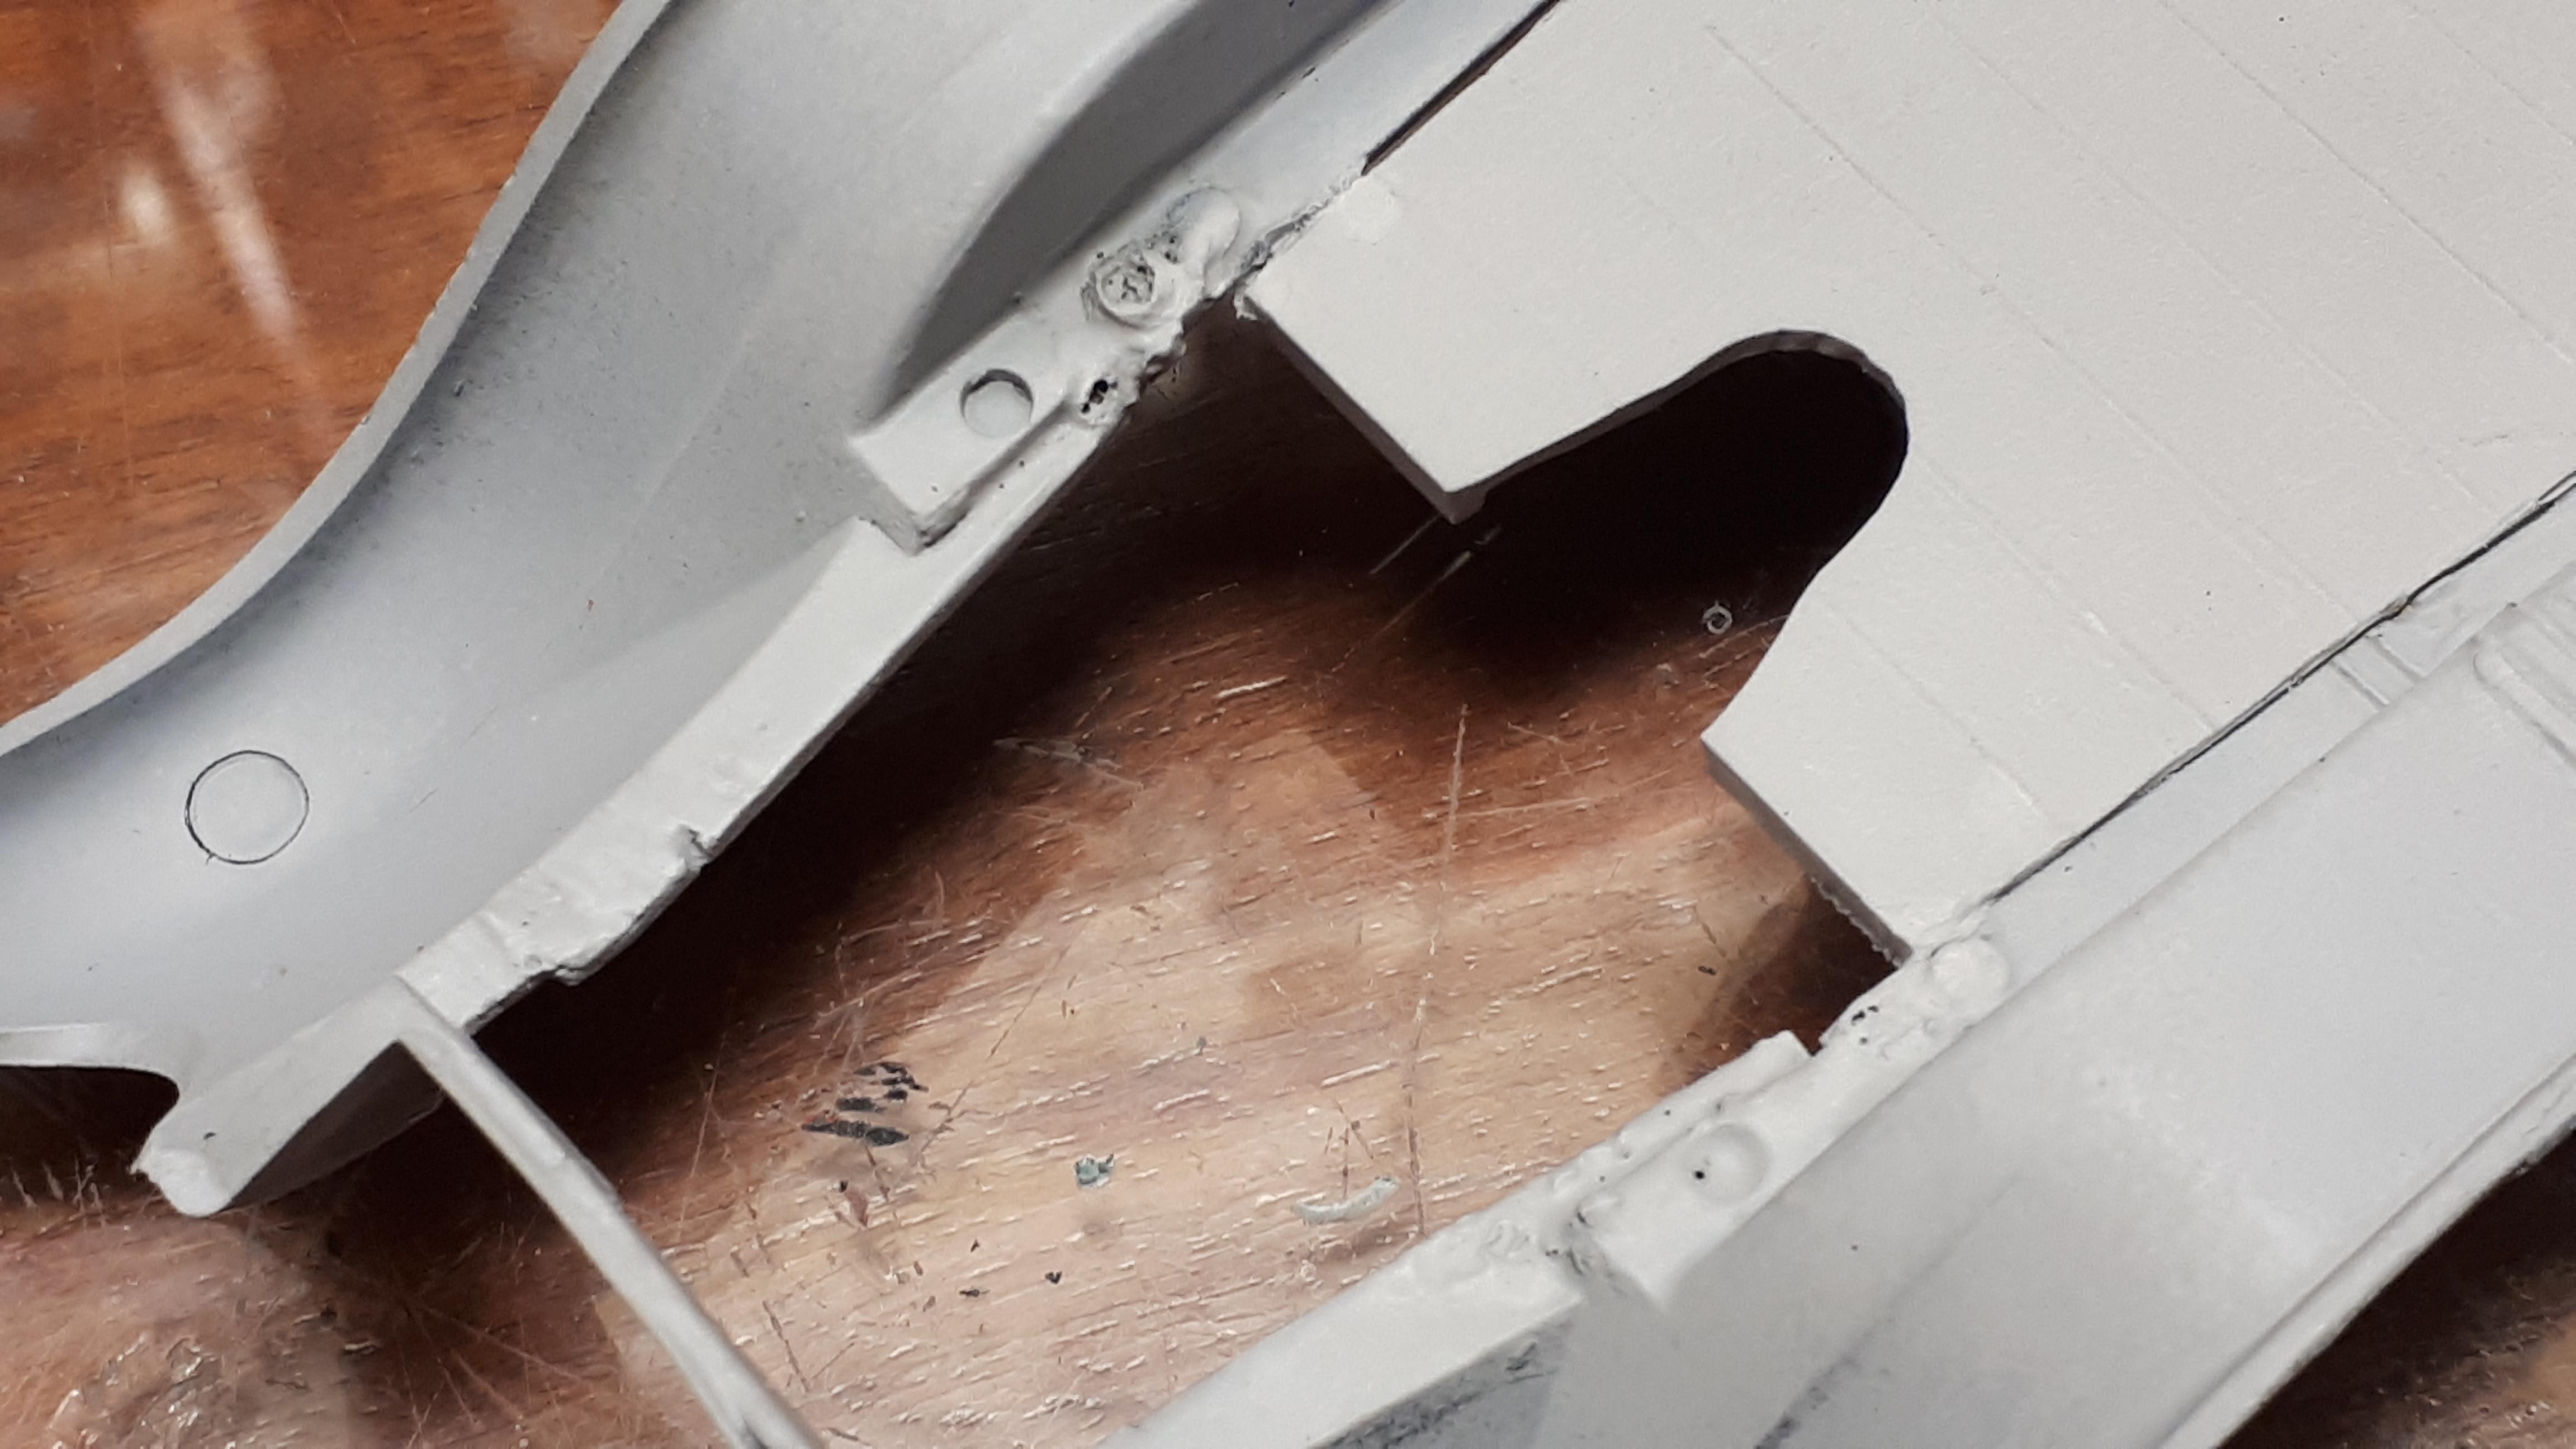
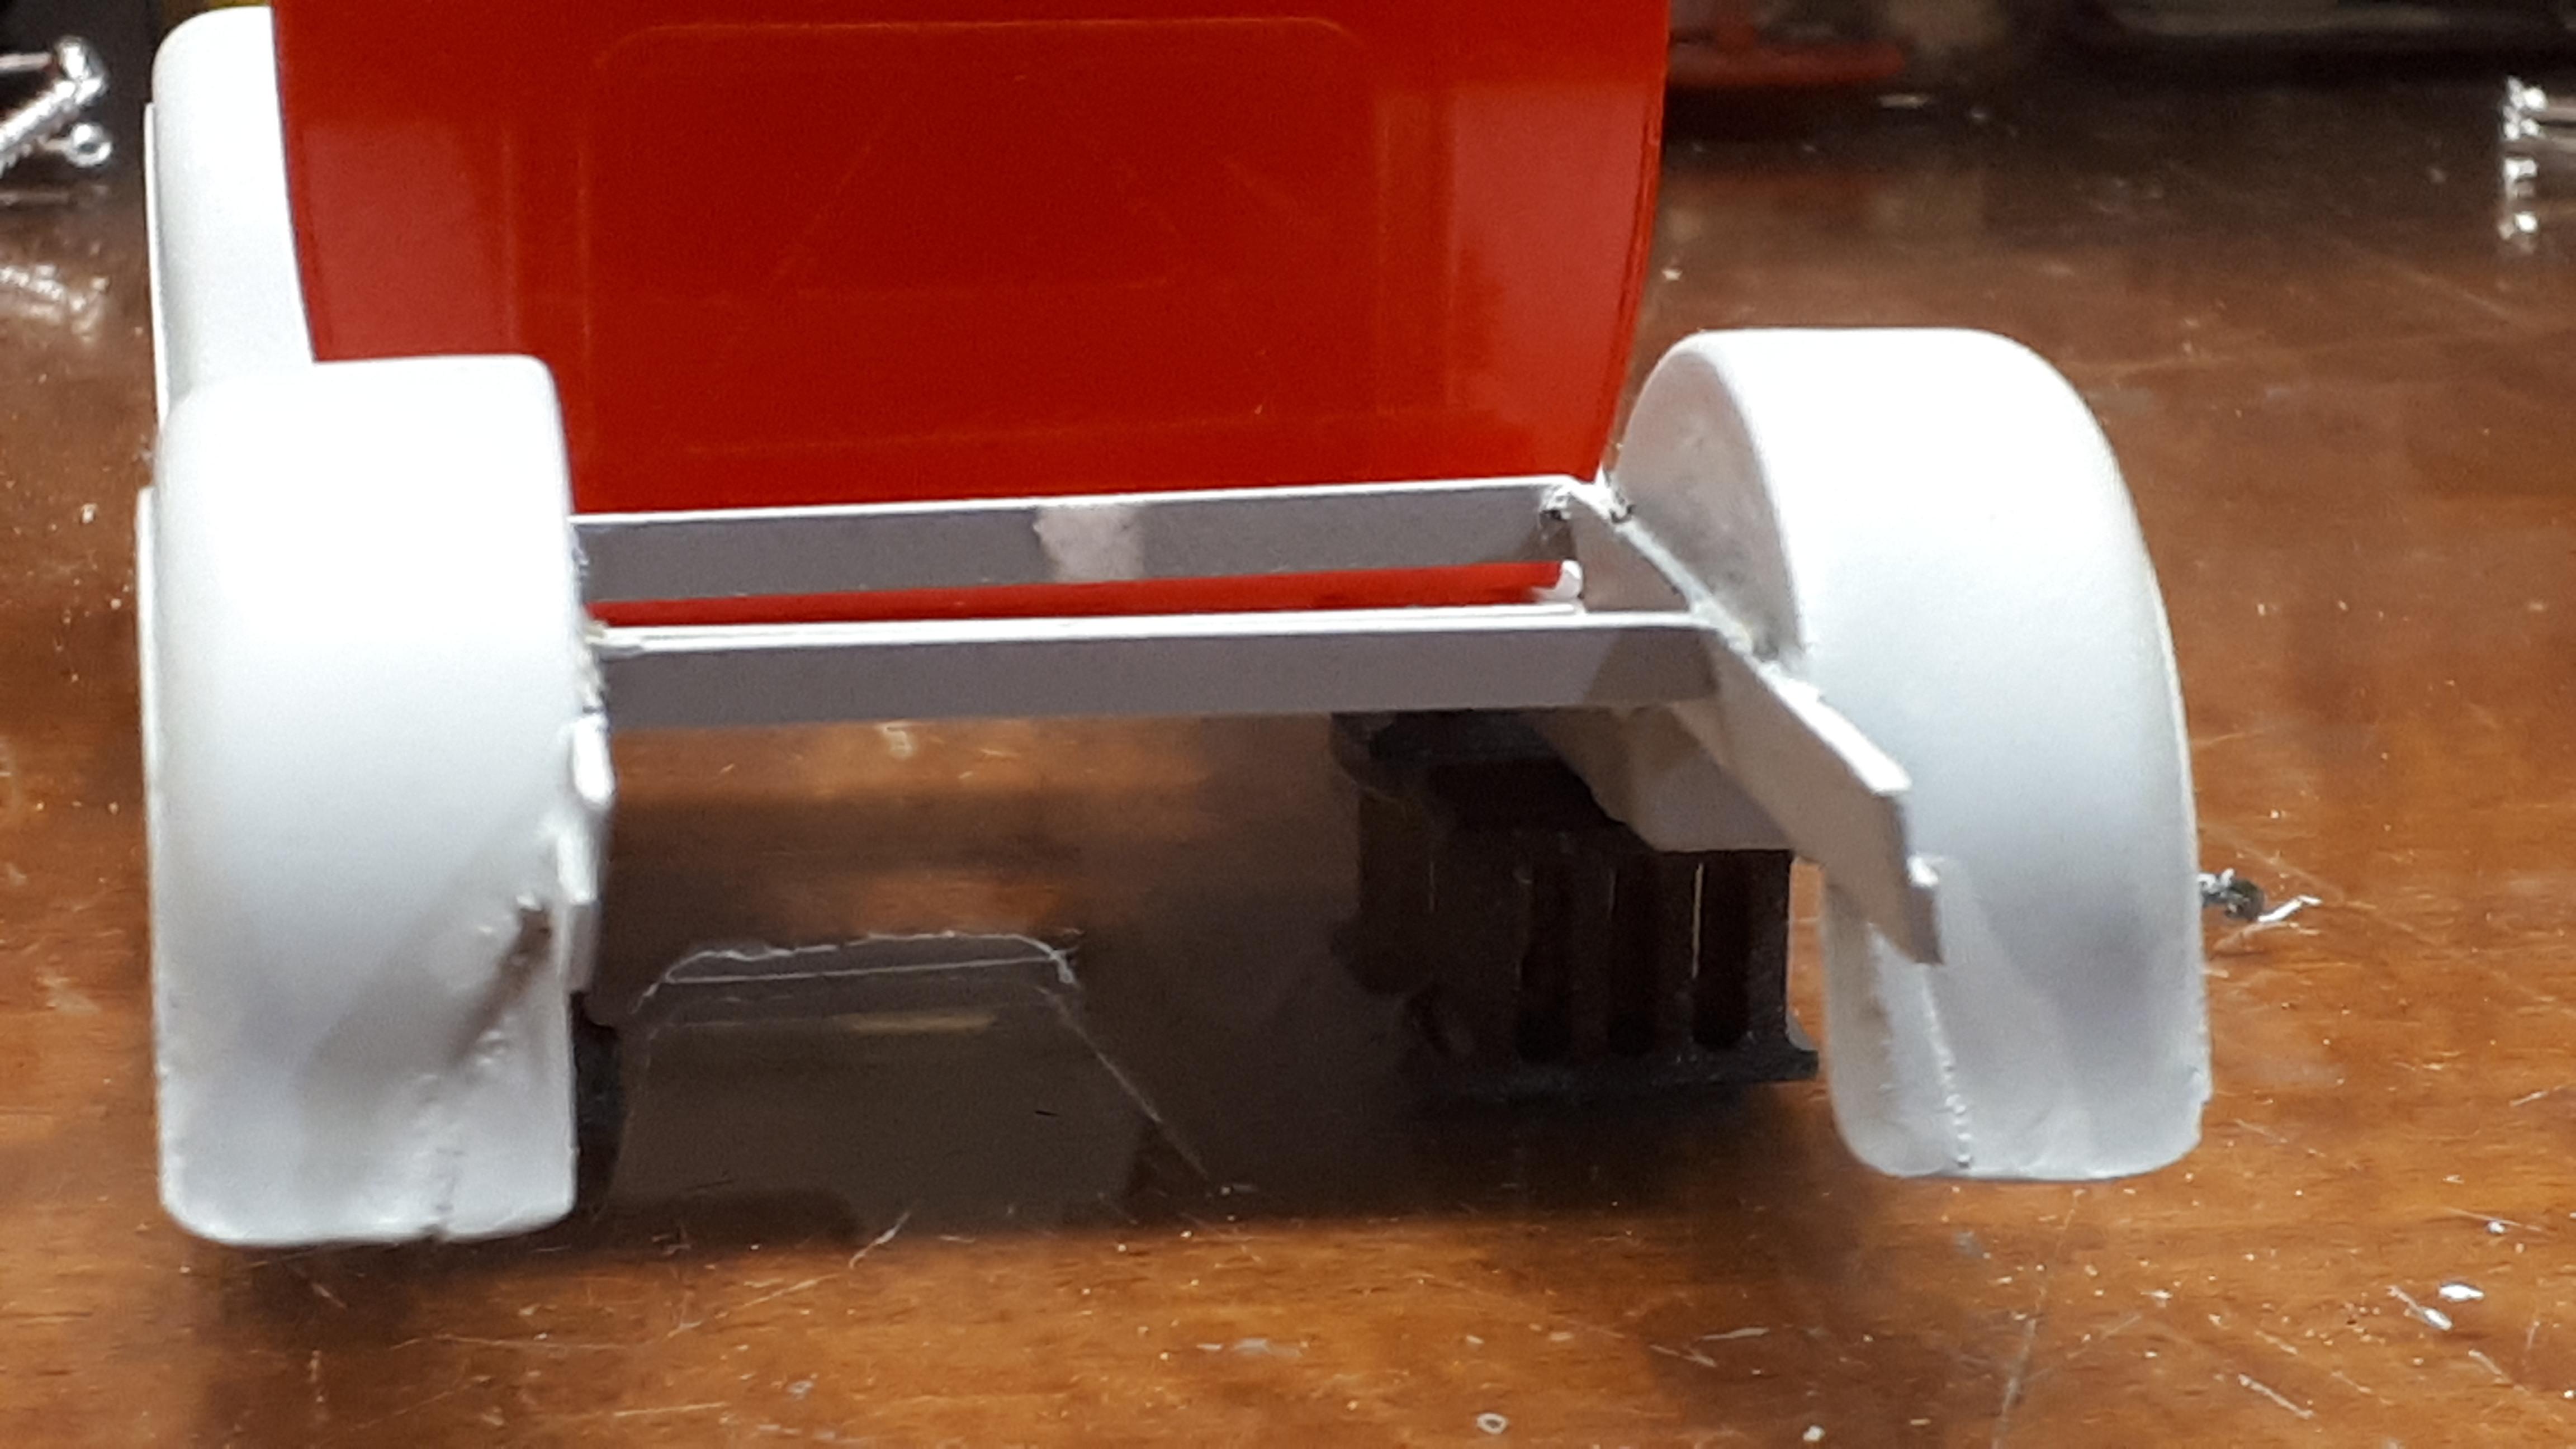
Before I went to throw an initial primer coat on, I realised that the rear fenders had tapered inside edges, perhaps to aid in ejection from the mould? Who knows, it did not have that nice fat, squared off look of a stock Model A so I needed to do something about it. I was going to just glue some bits of styrene scrap on to build up the edges but I have at least six spare AMT Model A fender units so I sacrificed one to cut the corners off to correct the Bandai fenders. Don't worry, I think what is left will make a nice set of bobbed fenders for an early sixties style hiboy in a fender law state. Note that I used the outside edge of a left fender to fix the inner edge of the right hand fender, and vice versa. IT gives a nicely finished edge that will only need a smear of putty to finish. The first primer coat revealed a few issues. There is a lot of glue damage around the lower surfaces of the front end of the side valance panels. The extra crossmember I added to support the front edge of the bed is on the wonk and there is a bit of the fender bead missing off the top edge of the right hand rear fender. On the other hand, my initial attempts to smooth off the inaccurate and damaged running board has come out great and will only need a little more effort to be ready for paint. Obviously some more puttying and sanding to go but, hey, that's hot rodding for you. Best of all, the extended cab now has somewhere nice to sit without actually having to lengthen i the fender unit. And that, my friends, is a good thing..
-
If you have been on Tim Boyd's Hydro Vee thread in the kit review section, you will know that I too really enjoy building model speedboats but wow, you are taking this to the next level! The sharpness of your paint masking and decal cutting is superb - I simply can't get over how flawless it is. And your scratchbuilt parts, they to are beautiful. May I ask, what do you use to cut the instrument rings so cleanly and perfectly parallel? When i attempt that I tend to get a crooked surface that takes a lot of trimming to get right. I am very much looking forward to seeing this one finished. Cheers Alan
-
Anybody collect Mini Lindys?
alan barton replied to Oldcarfan27's topic in General Automotive Talk (Trucks and Cars)
I have just two of the 32 Pickup - the only one of interest to me. Build up, not mint but I am happy with them. -
That says "Resto Mod" from front to rear. Really like your interpretation, Oliver!
-
Busted glue bombs are born to be customs! It's pretty obvious why this beauty took seven years. It is a balanced concept and beautifully executed, I particularly like the straight rear bumper. Cheers Alan
-
Bernard, I have thoroughly enjoyed following your journey on this project. The combination of parts was well considered and as a result, no one part stands out - instead, they all work together to produce a thoroughly believable result. The fade away decals are very clever! Cheers Alan
-
34 Ford Coupe
alan barton replied to raisin27's topic in Stock Cars (NASCAR, Super Stock, Late Model, etc.)
Wow, the colour and signwriting combo is stunning - I'm gonna pinch this one for a future project! One of the nicest, if not the nicest 34 slammer I've seen. Cheers Alan -
I can relate to this - my Yellow Jacket was restored from a glue bomb as well. They may not be up to the standard of detail we expect today but they give many smiles per gallon in terms of nostalgia. Congrats on two cool builds, and I like your diorama as well! Cheers Alan
-
That looks awesome Tom. Was that inspired by one that was in either the Oakland Roadster Show or Detroit Autorama a few years ago? I'm remembering an orange flathead powered four door, just can't recall if it was full fendered or hiboy. I have one currently on a slow COVid affected trip to Australia - really looking forward to it as four door rods are a big part of the Aussie rod scene, seeing as how we got very few two door cars here back in the 30s and 40s. Cheers Alan
-
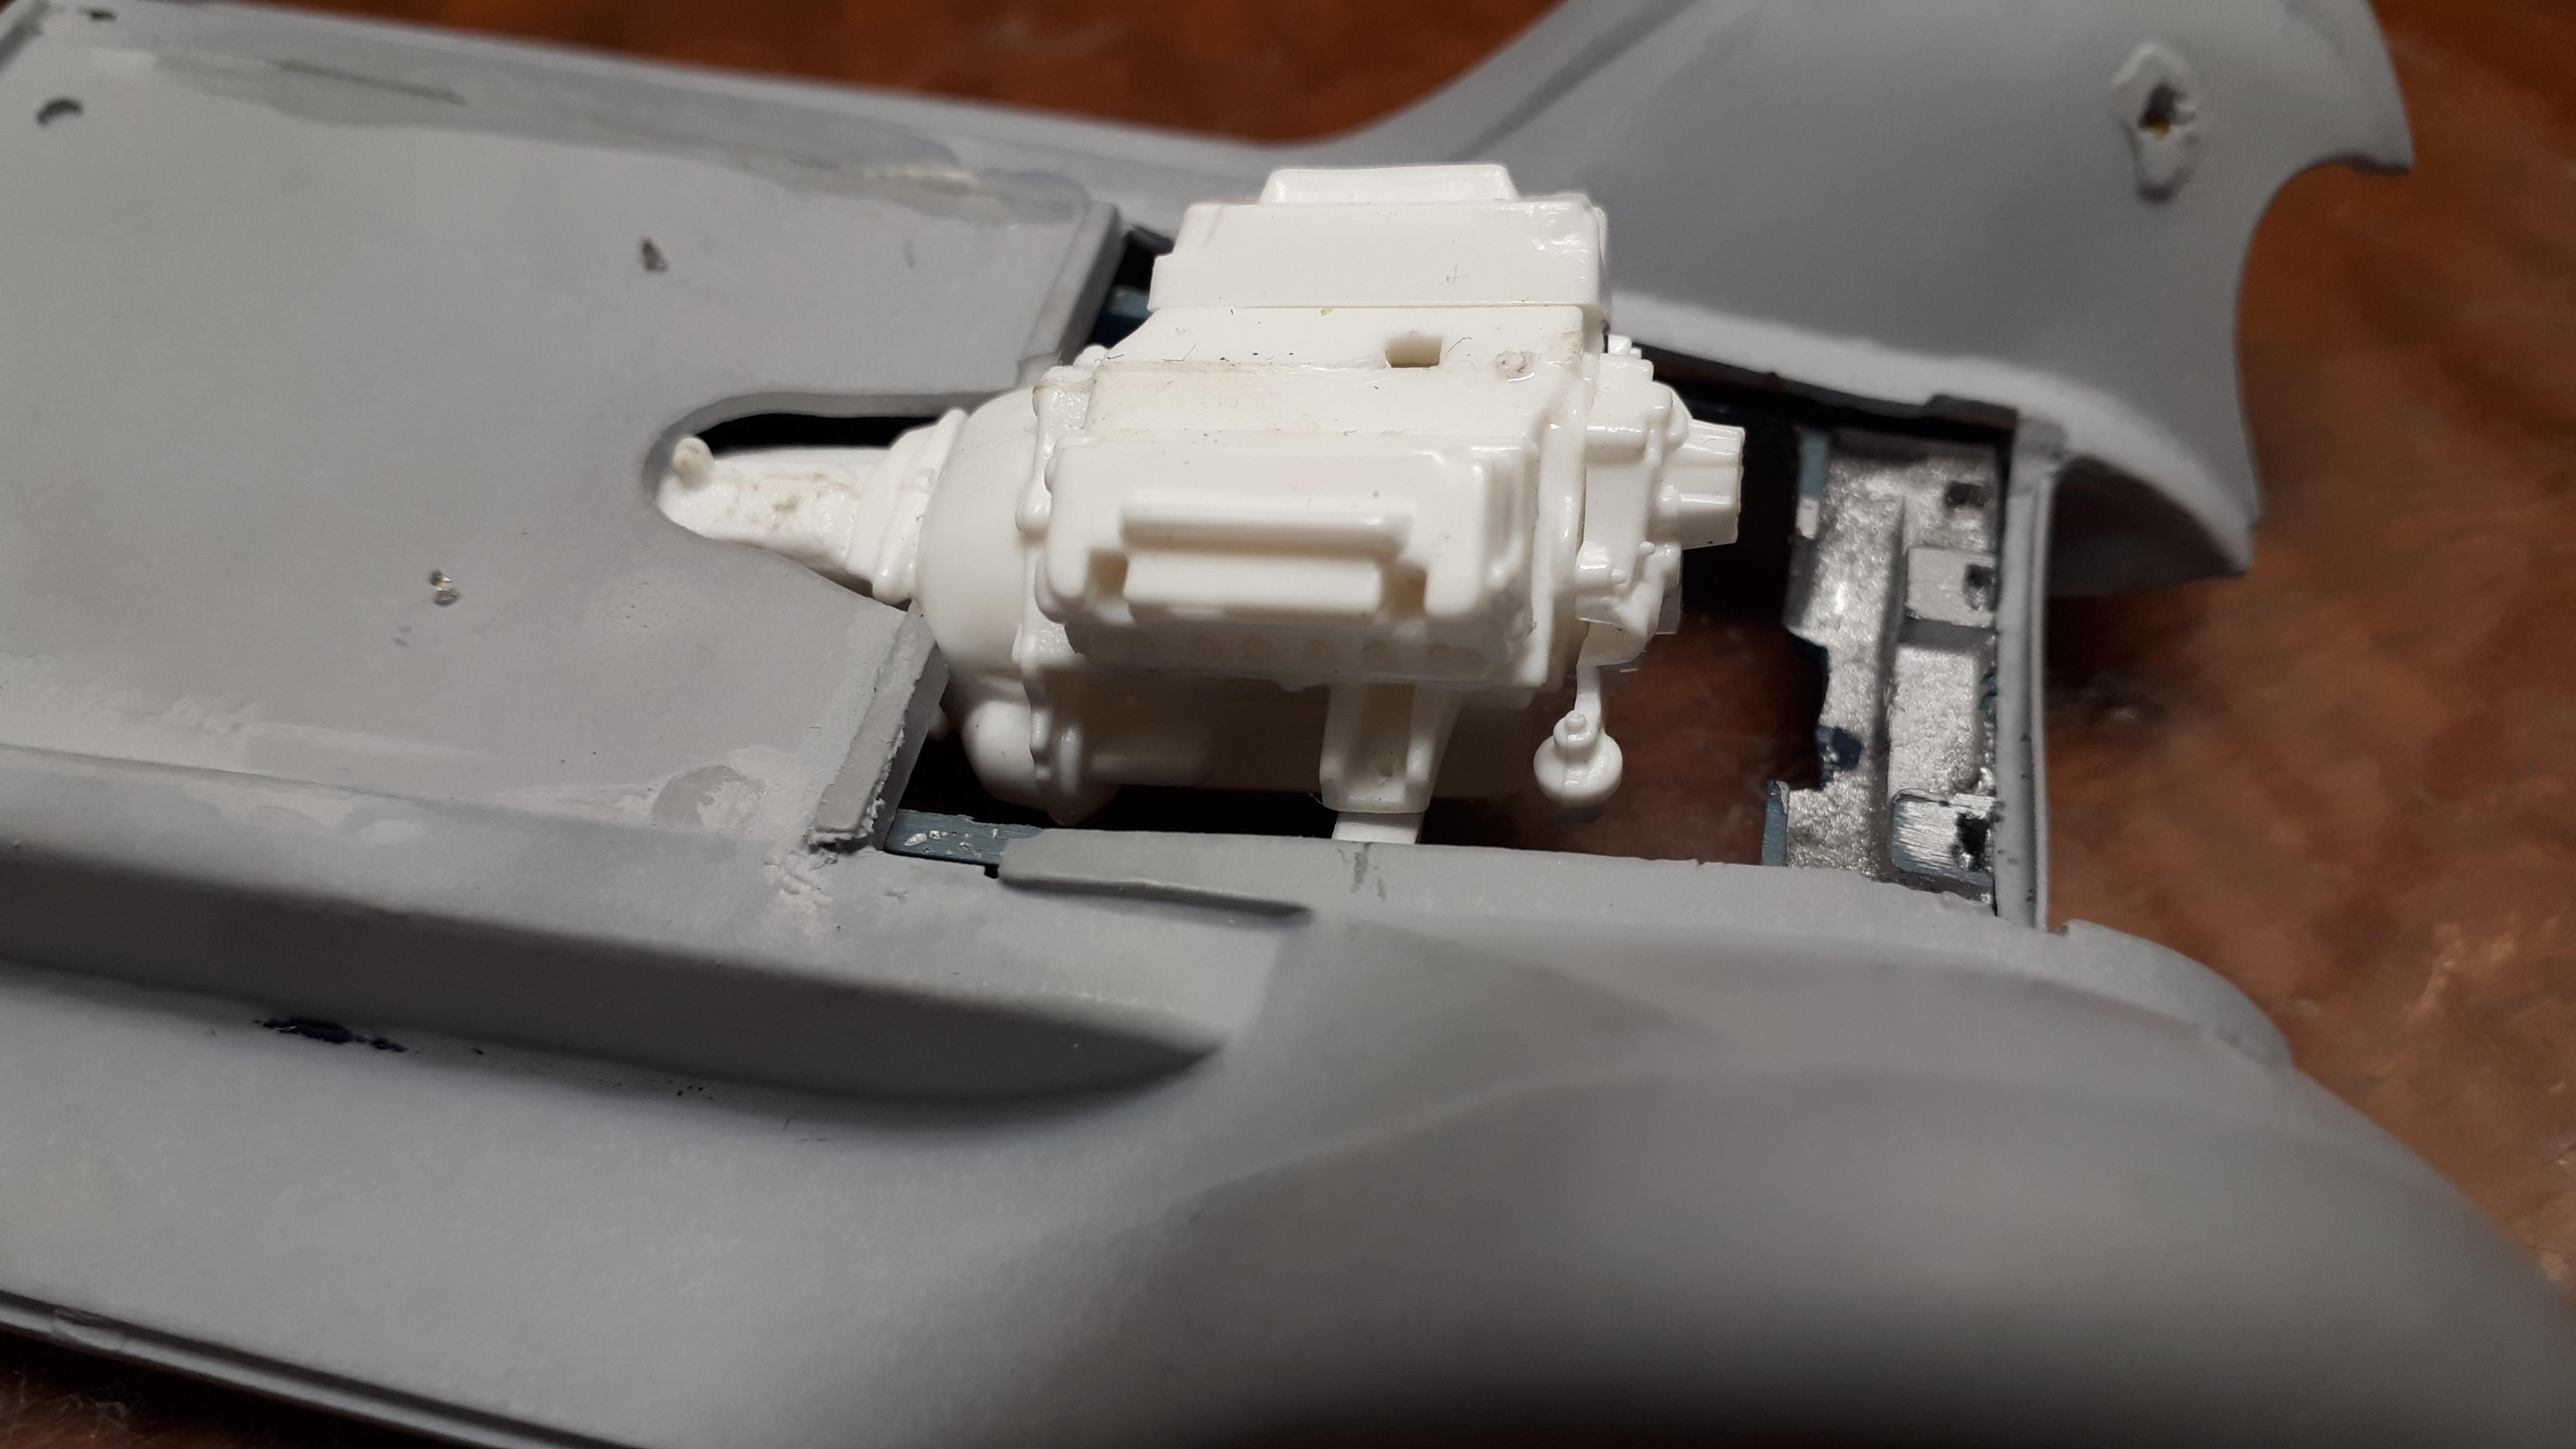
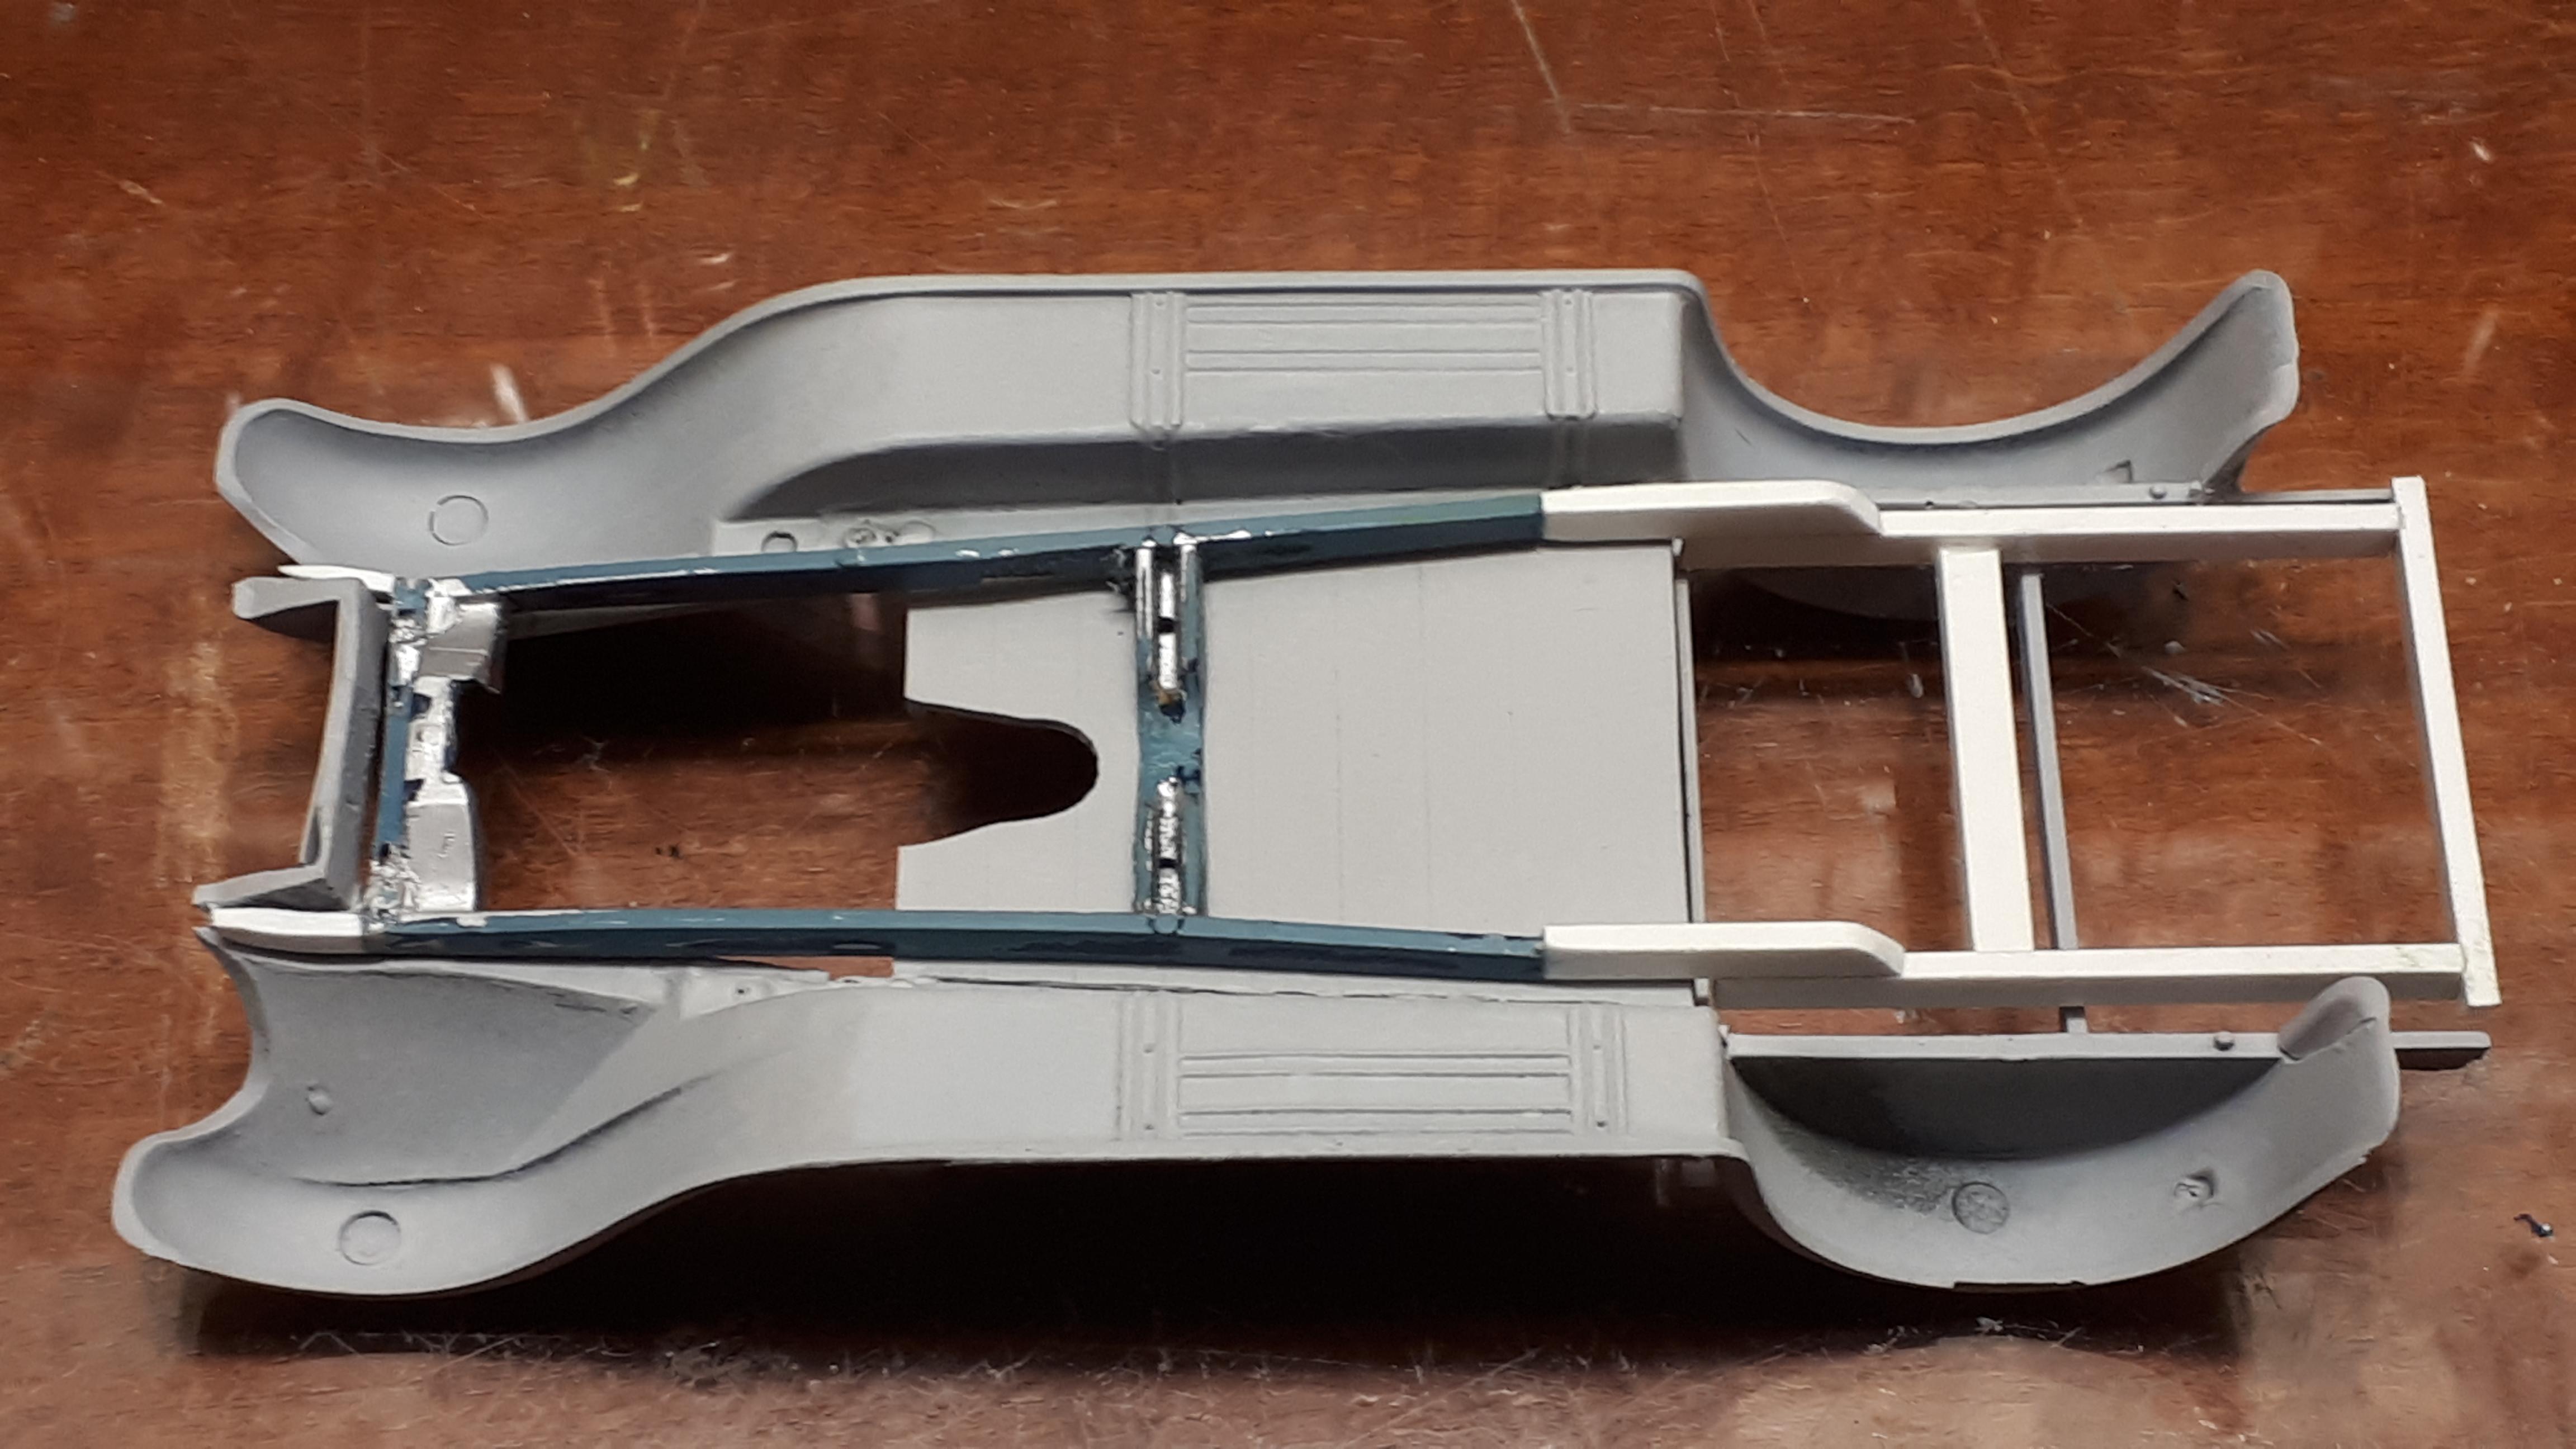
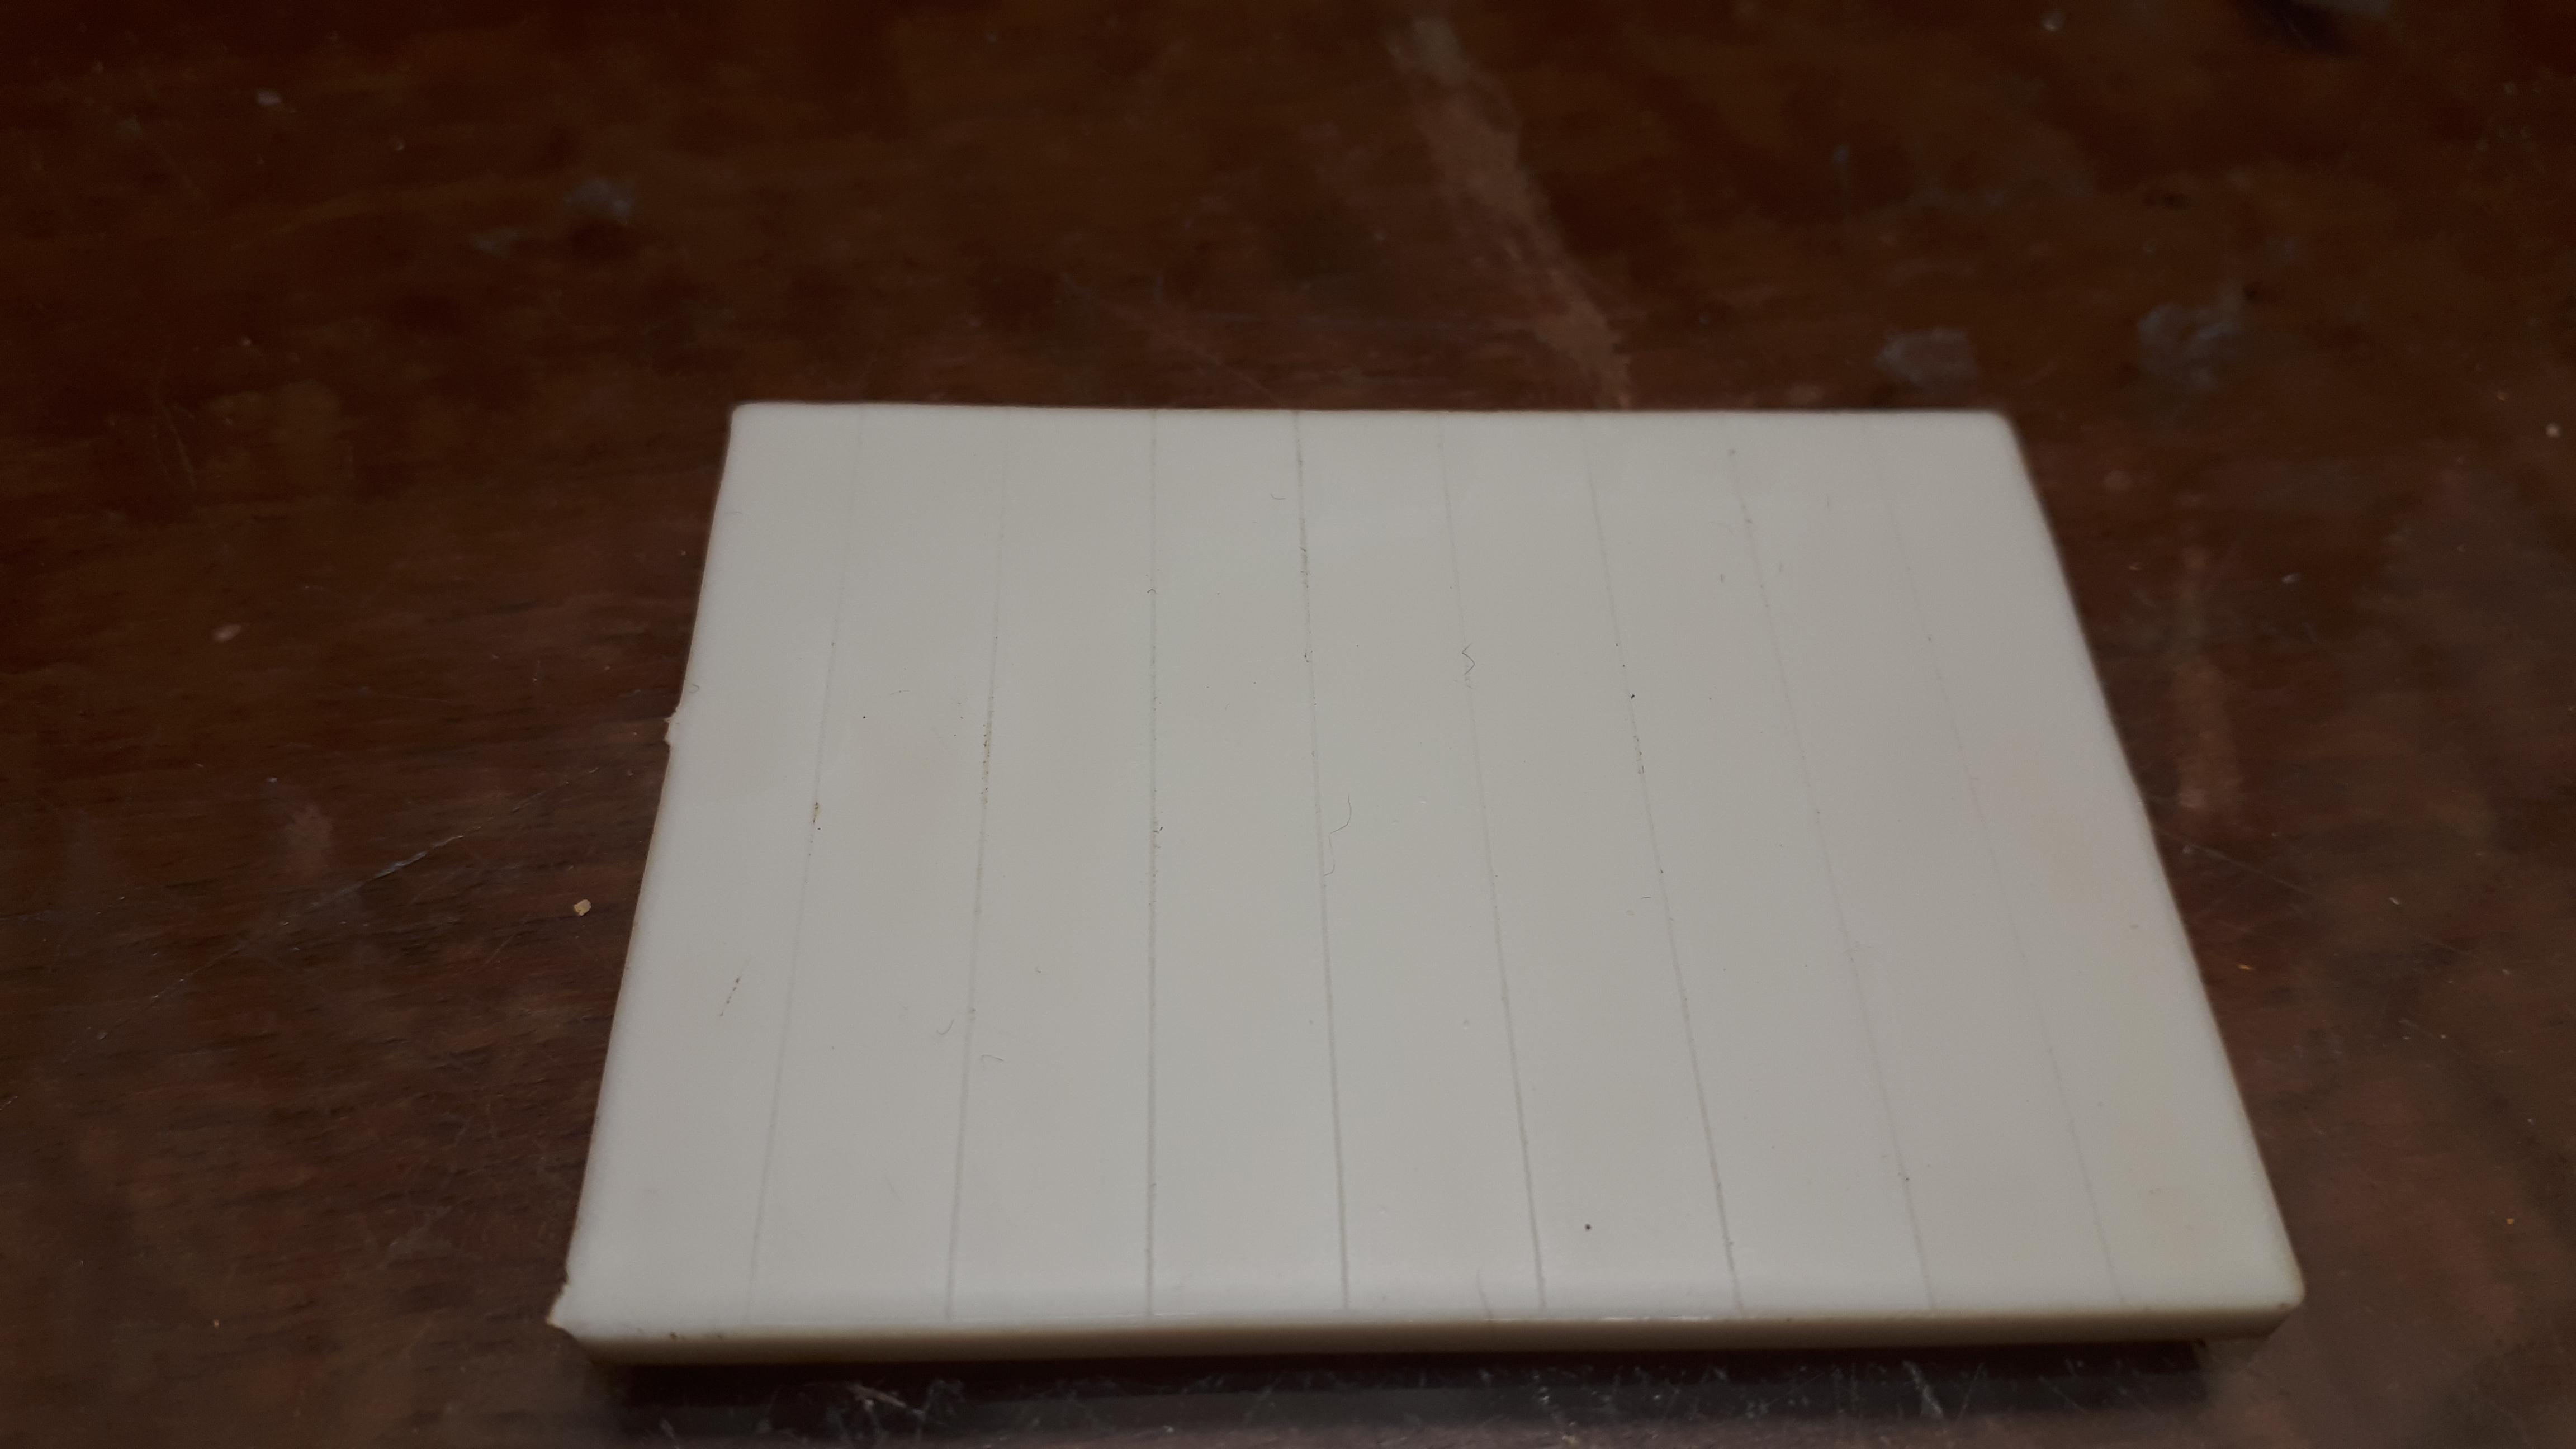
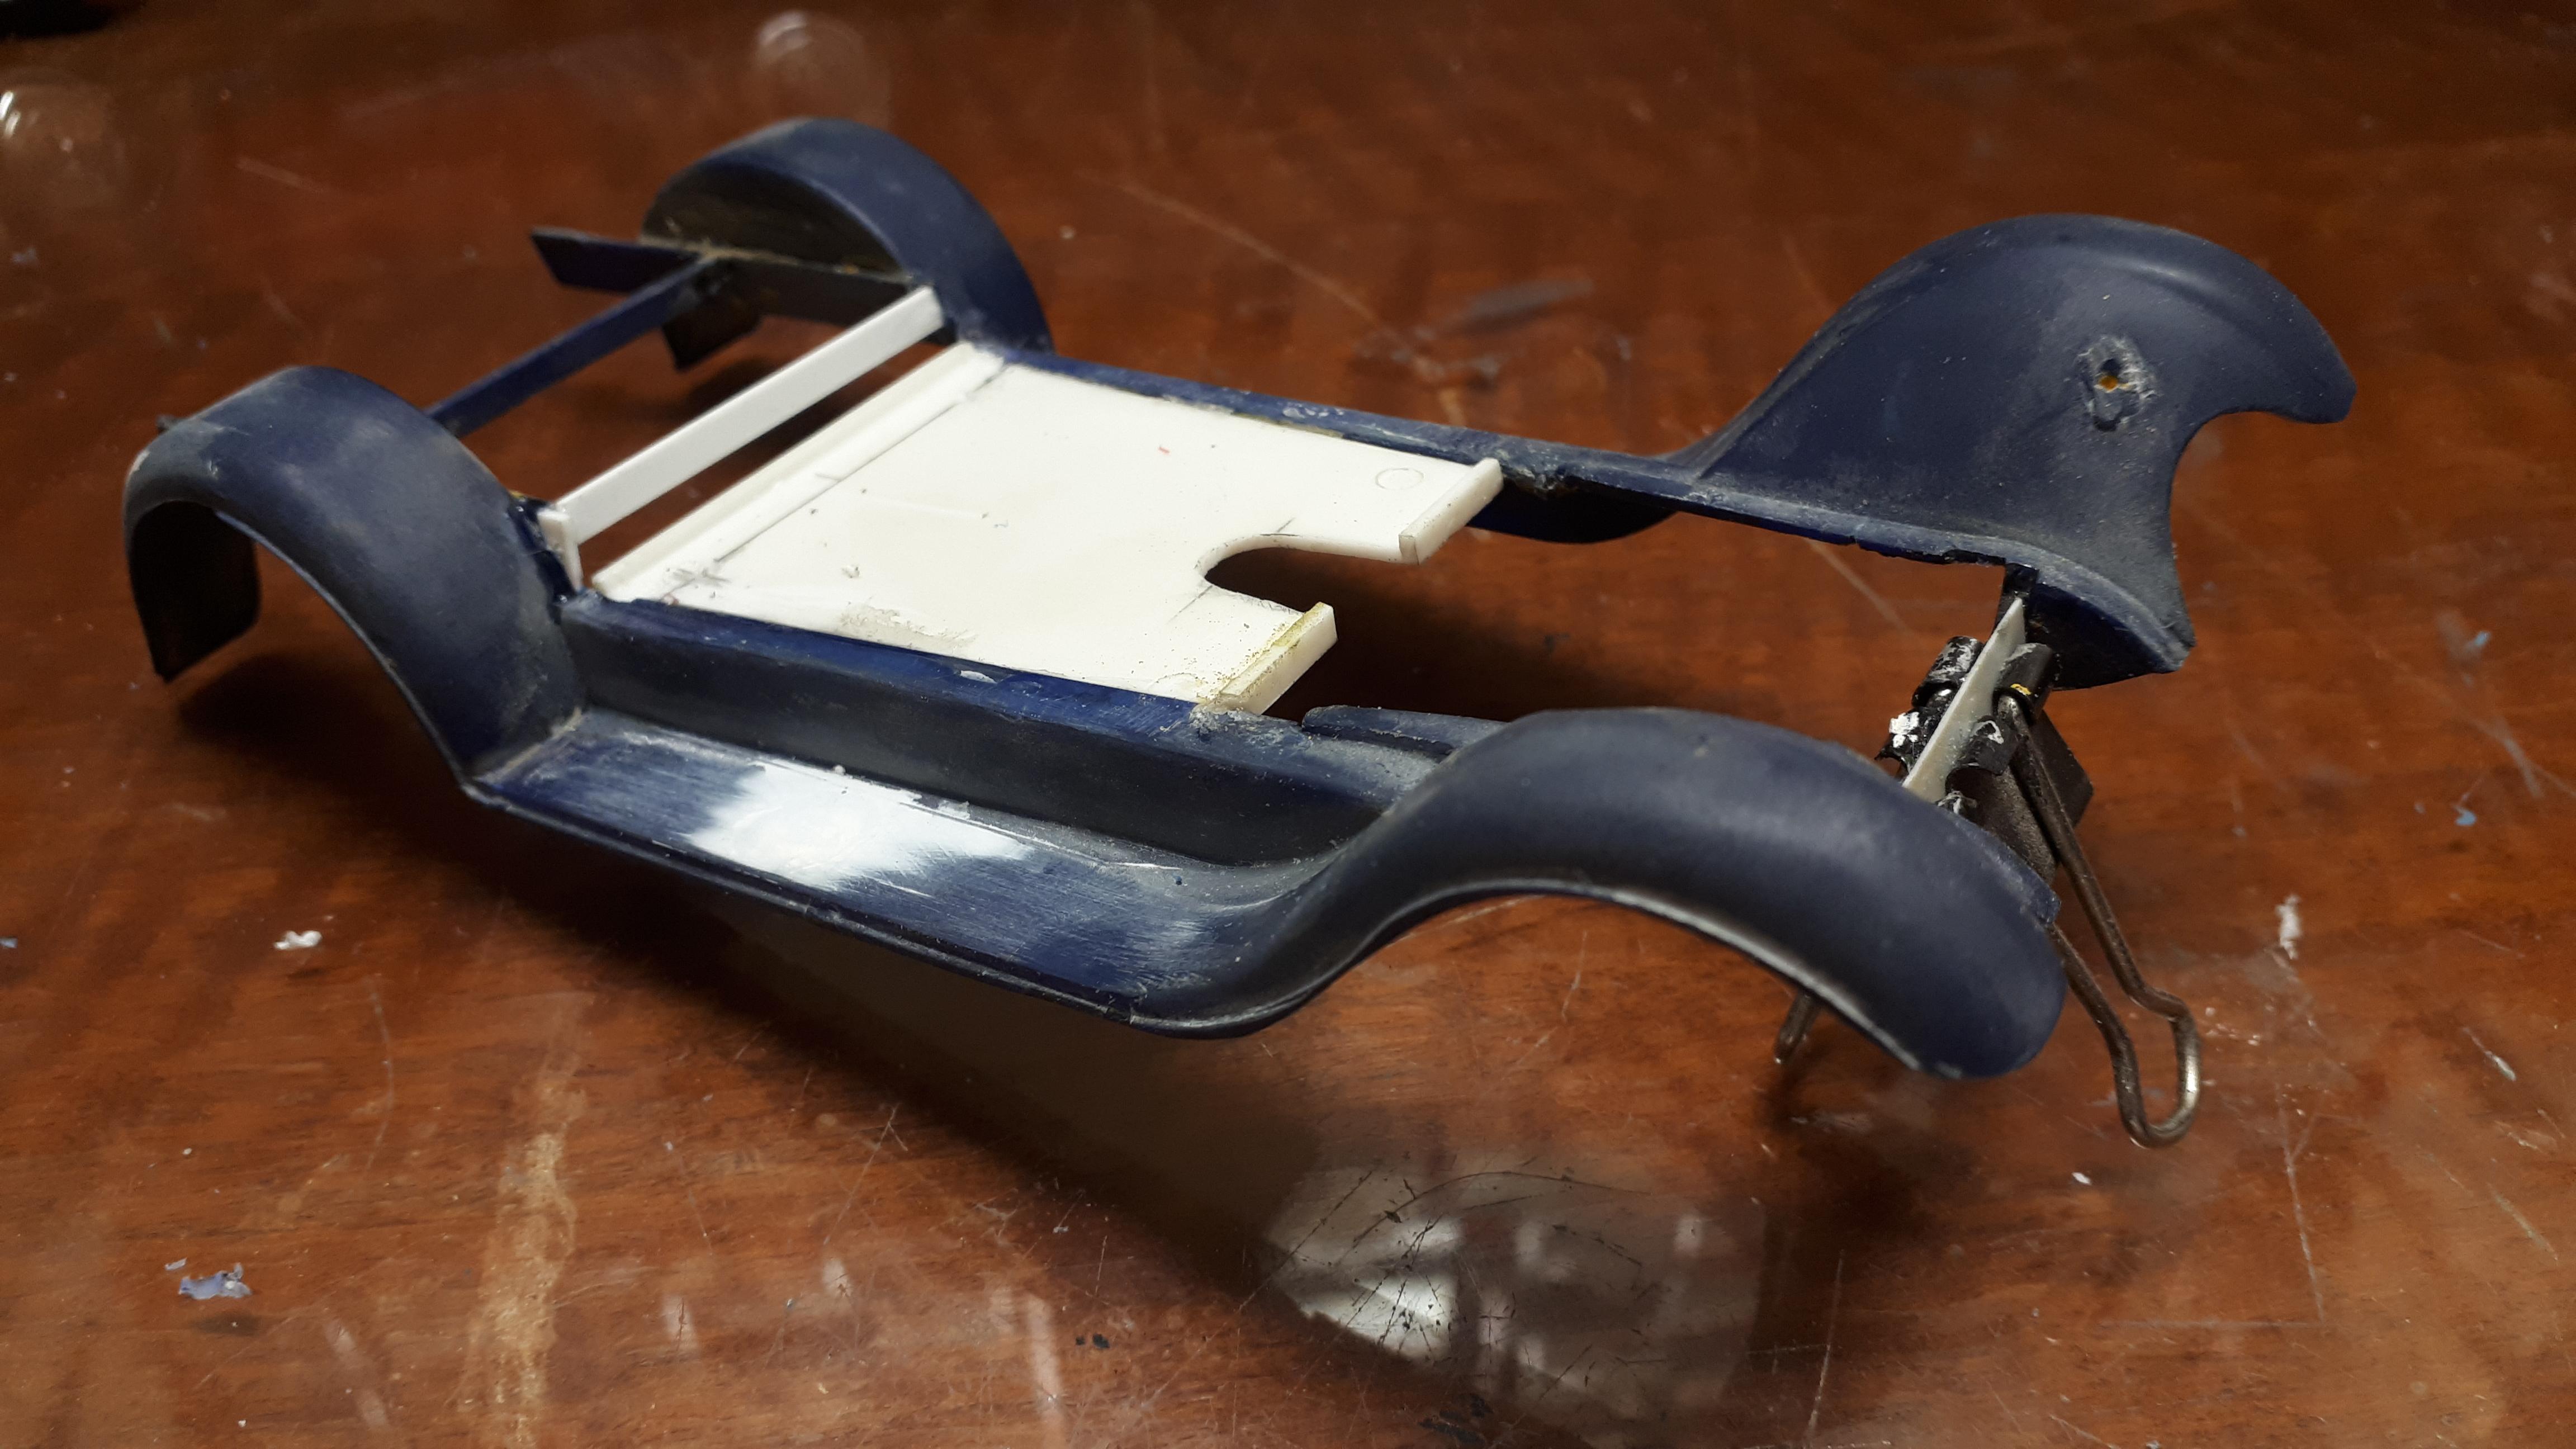
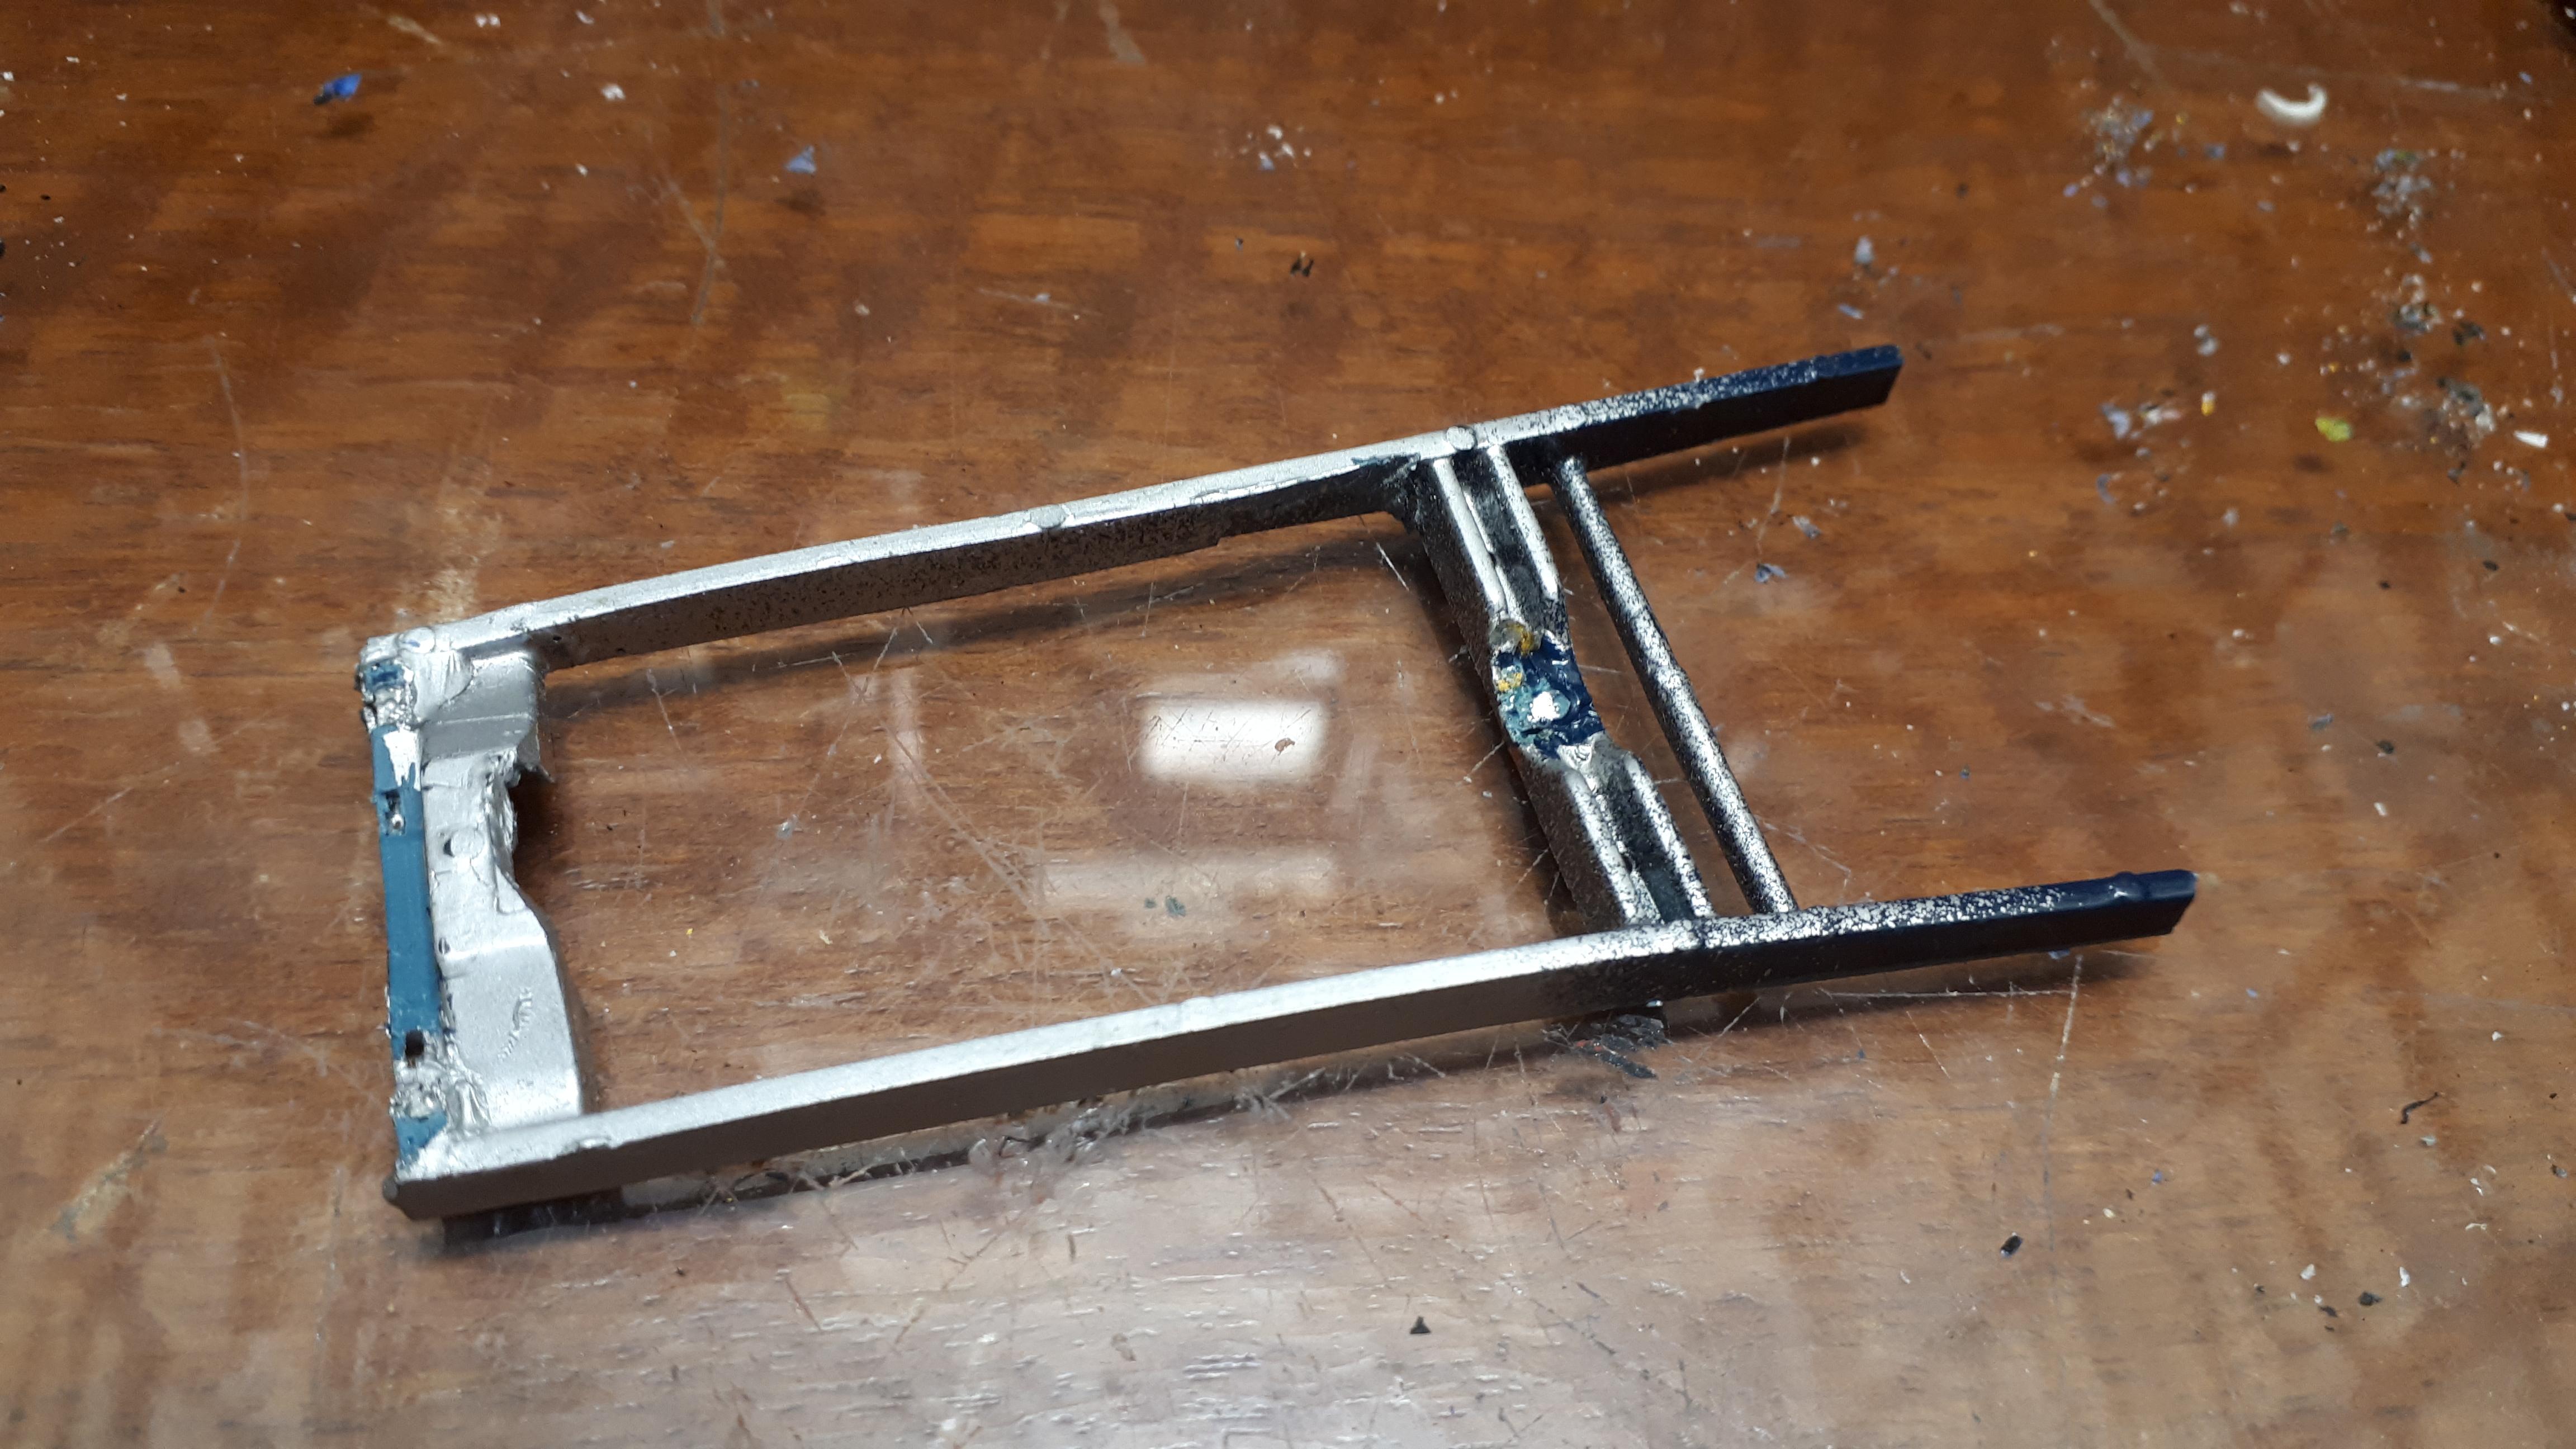
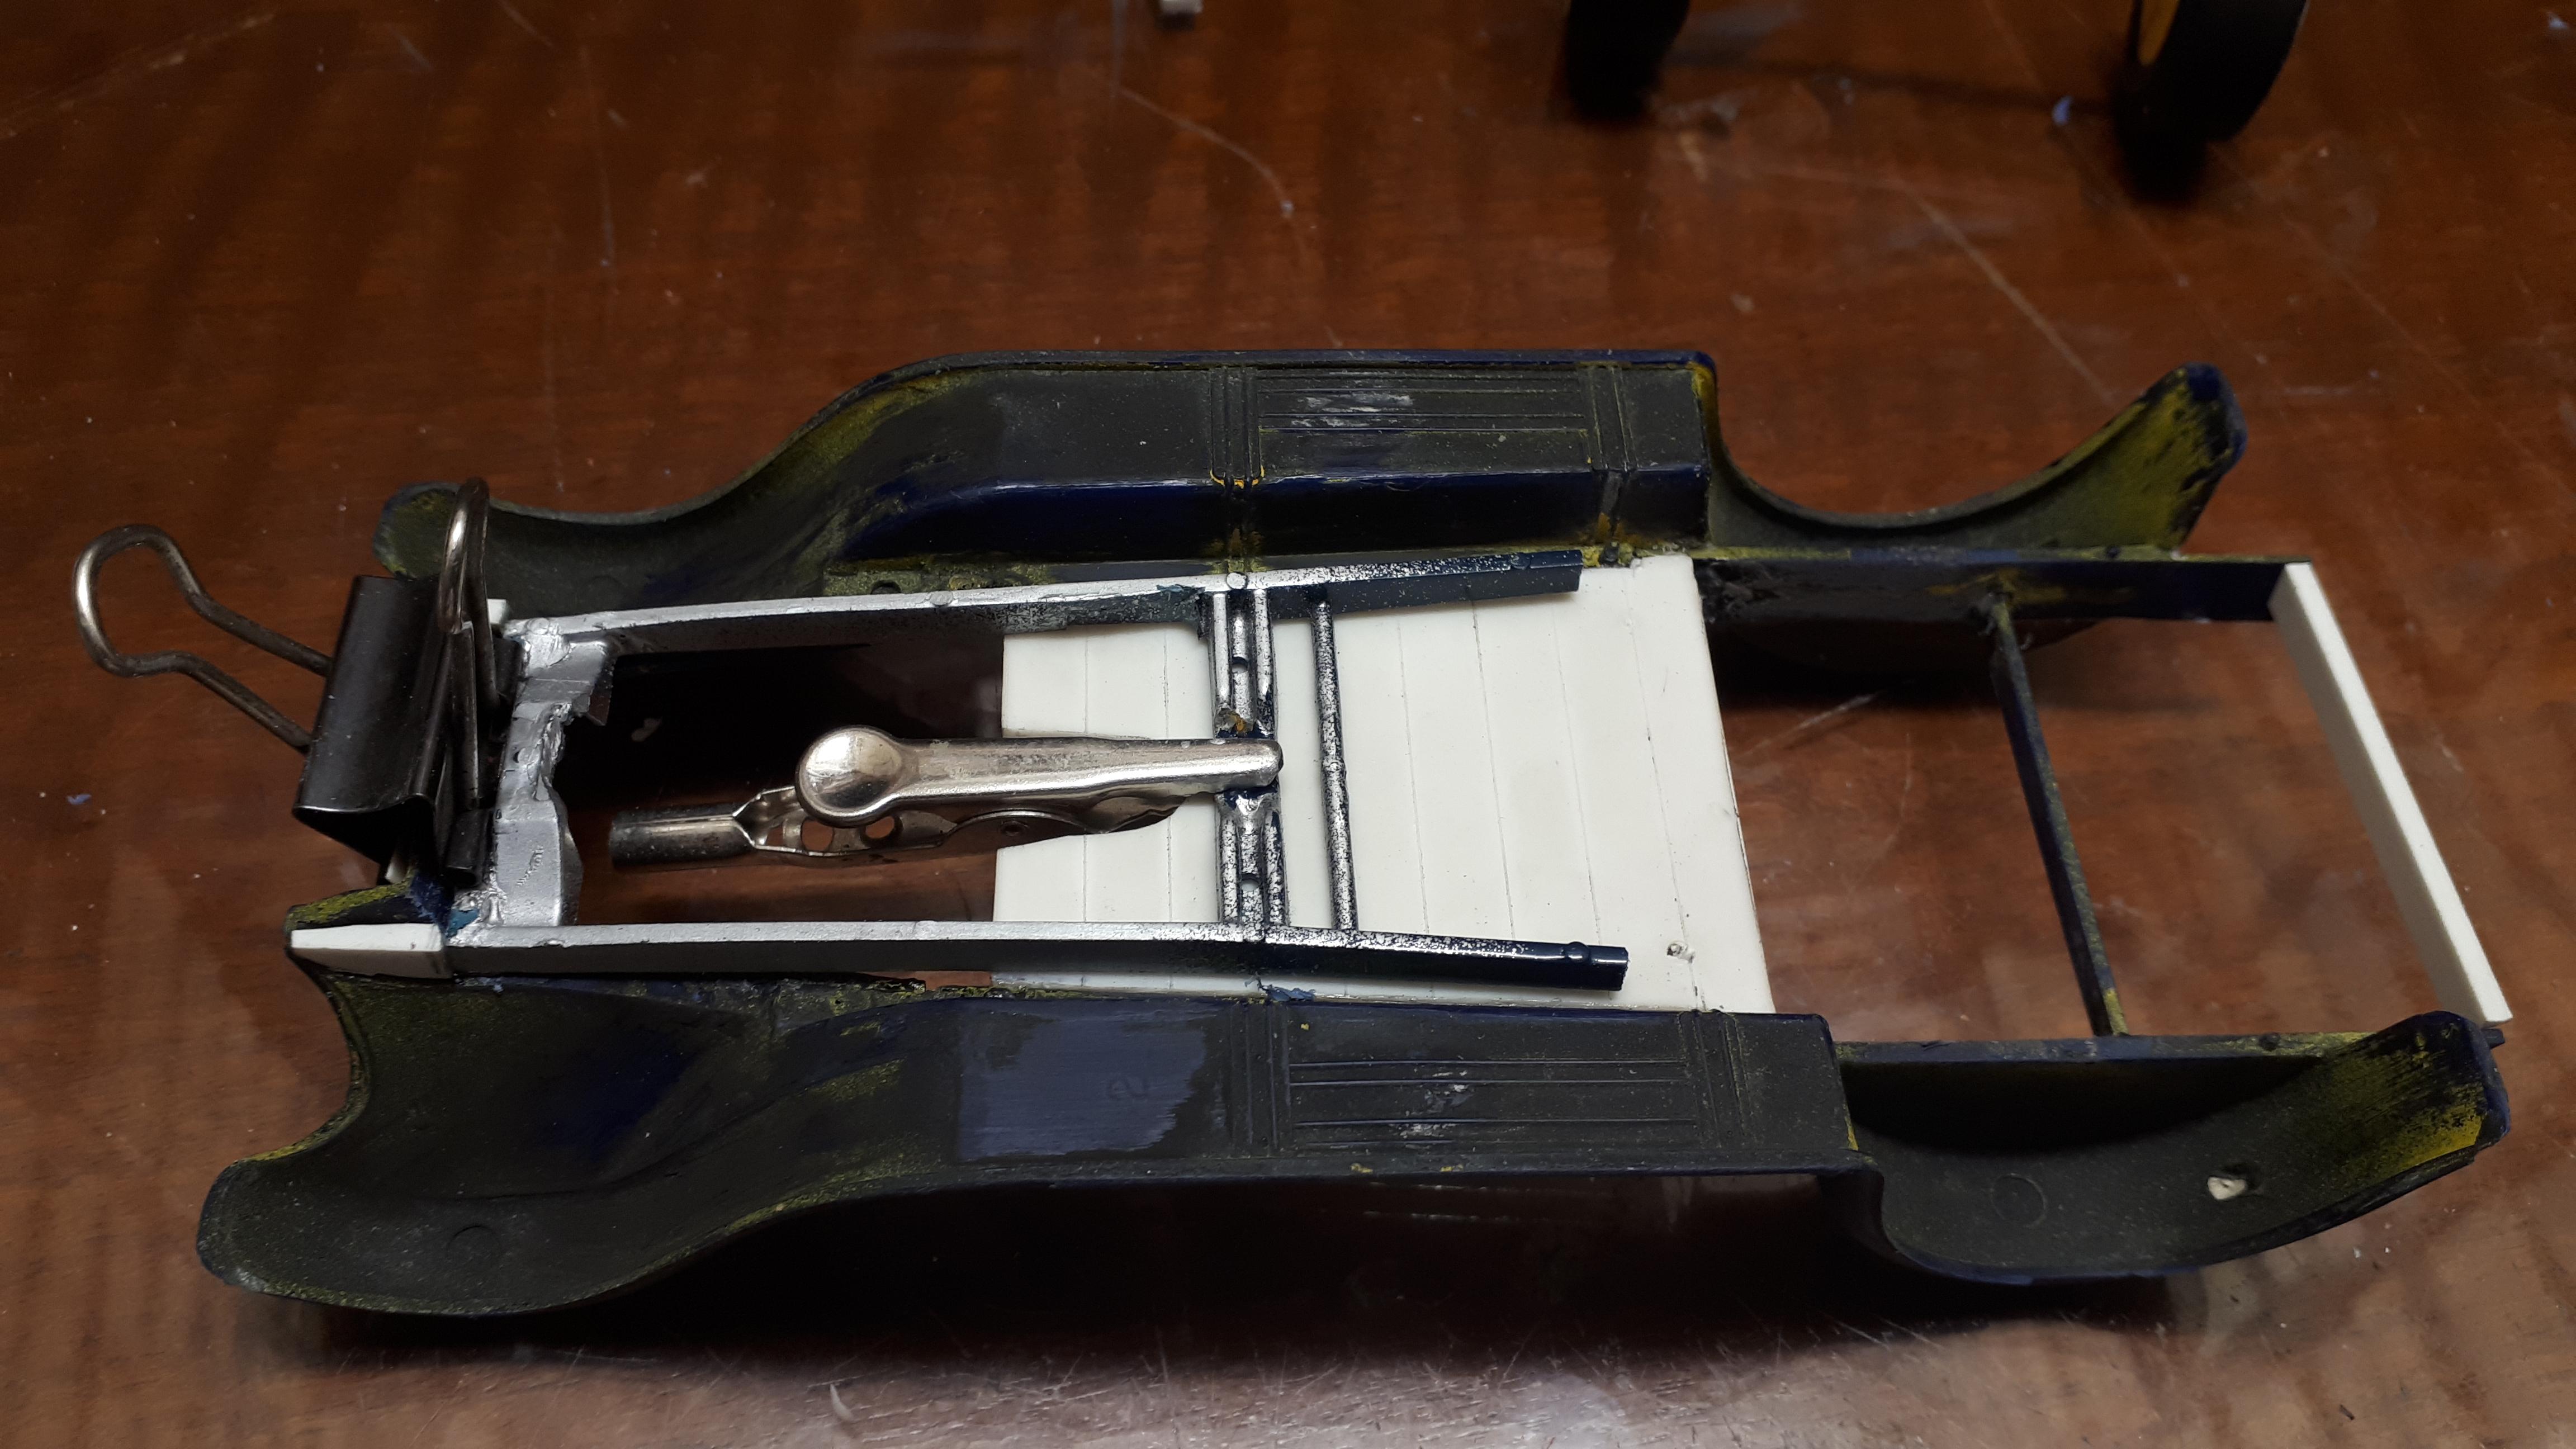
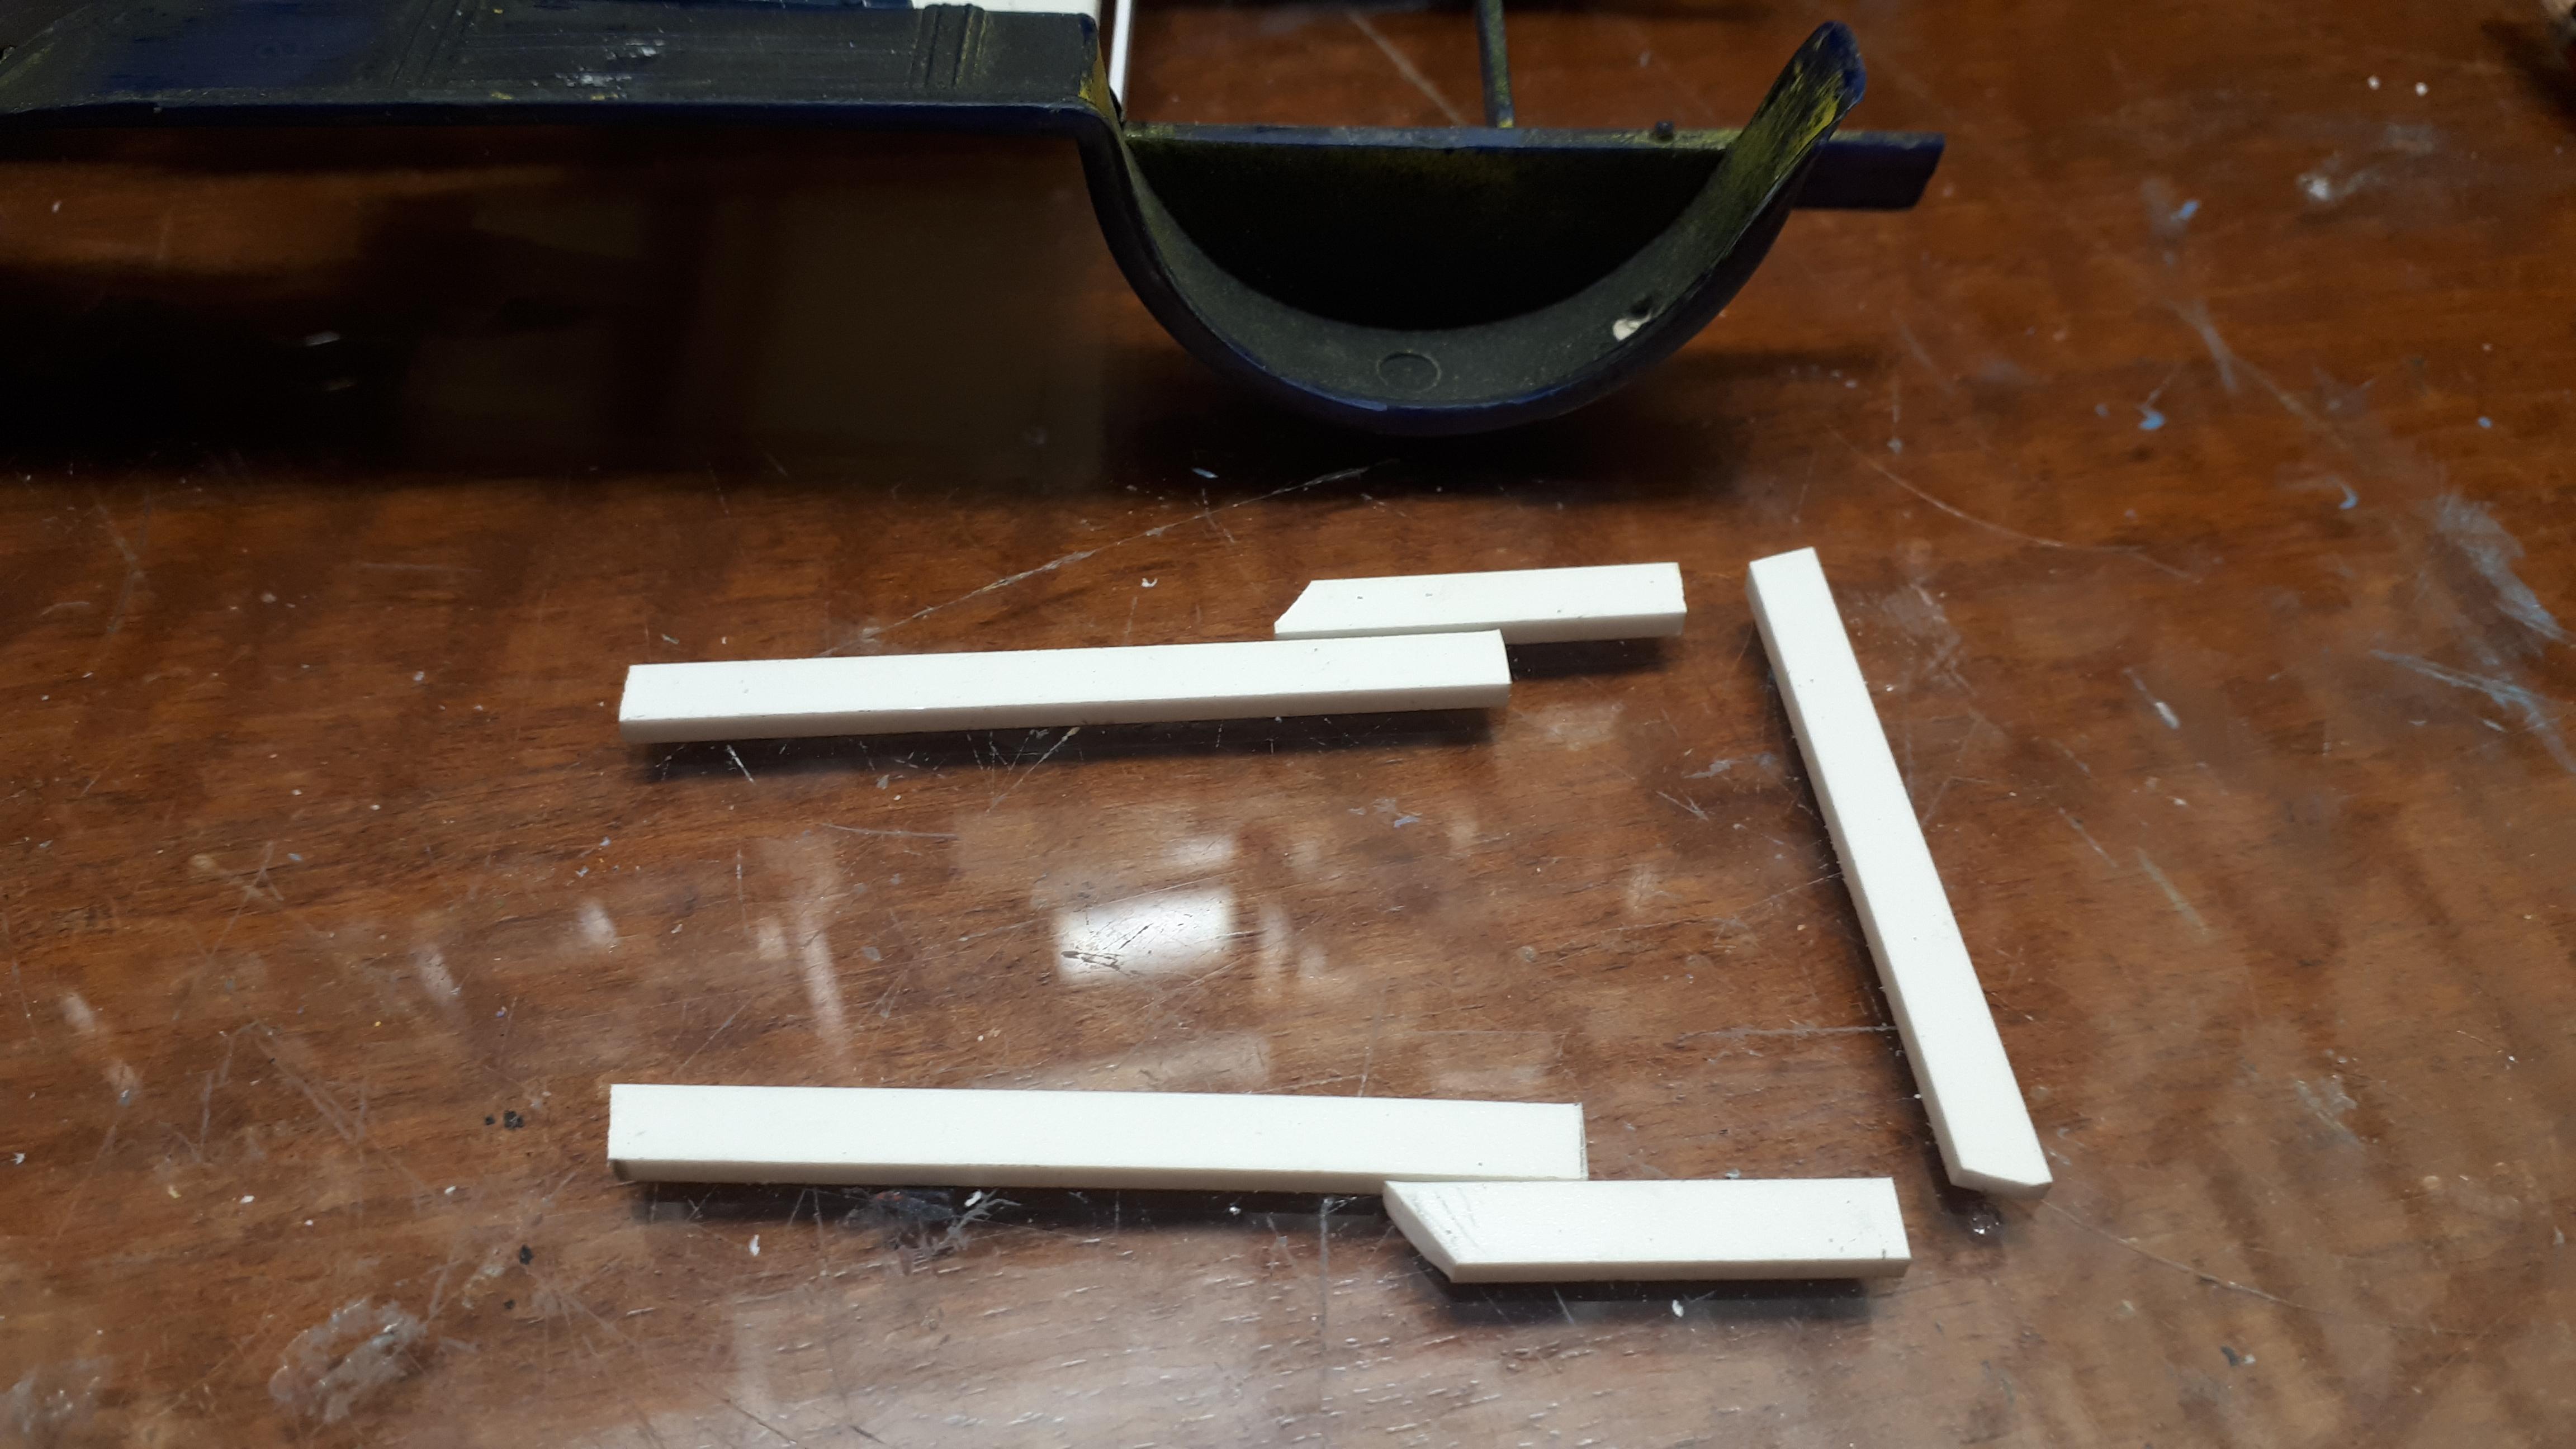
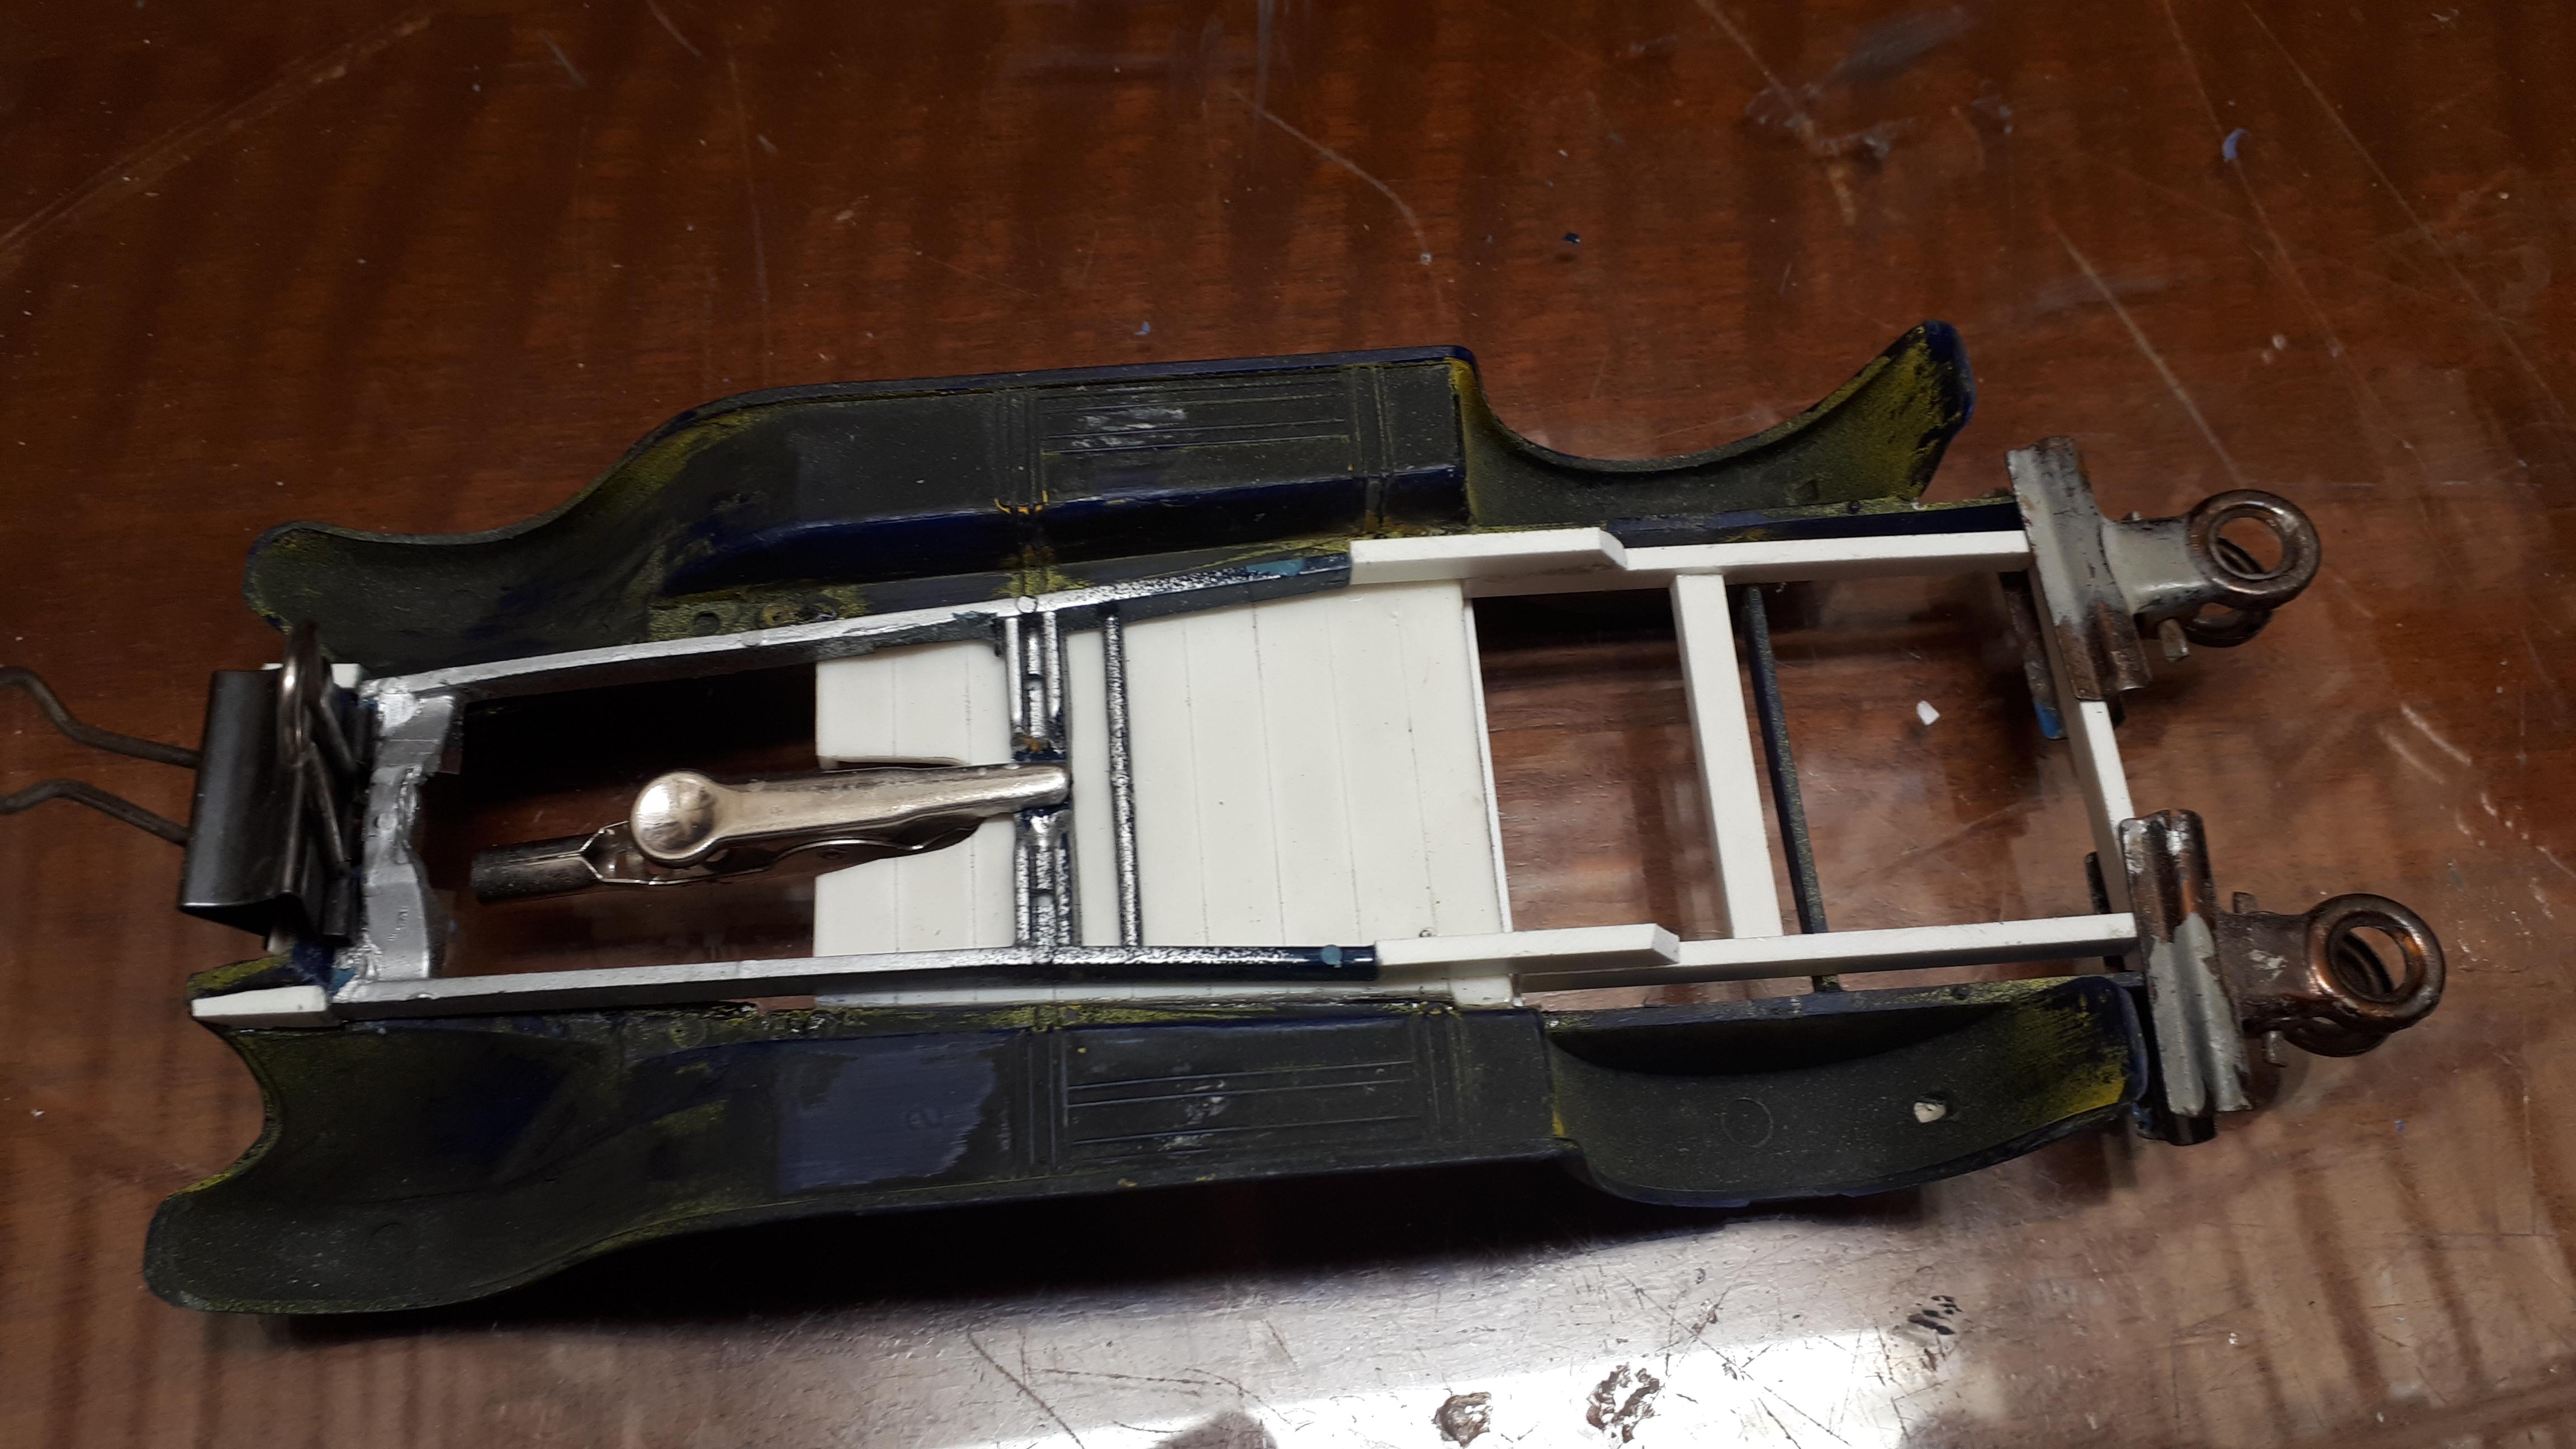
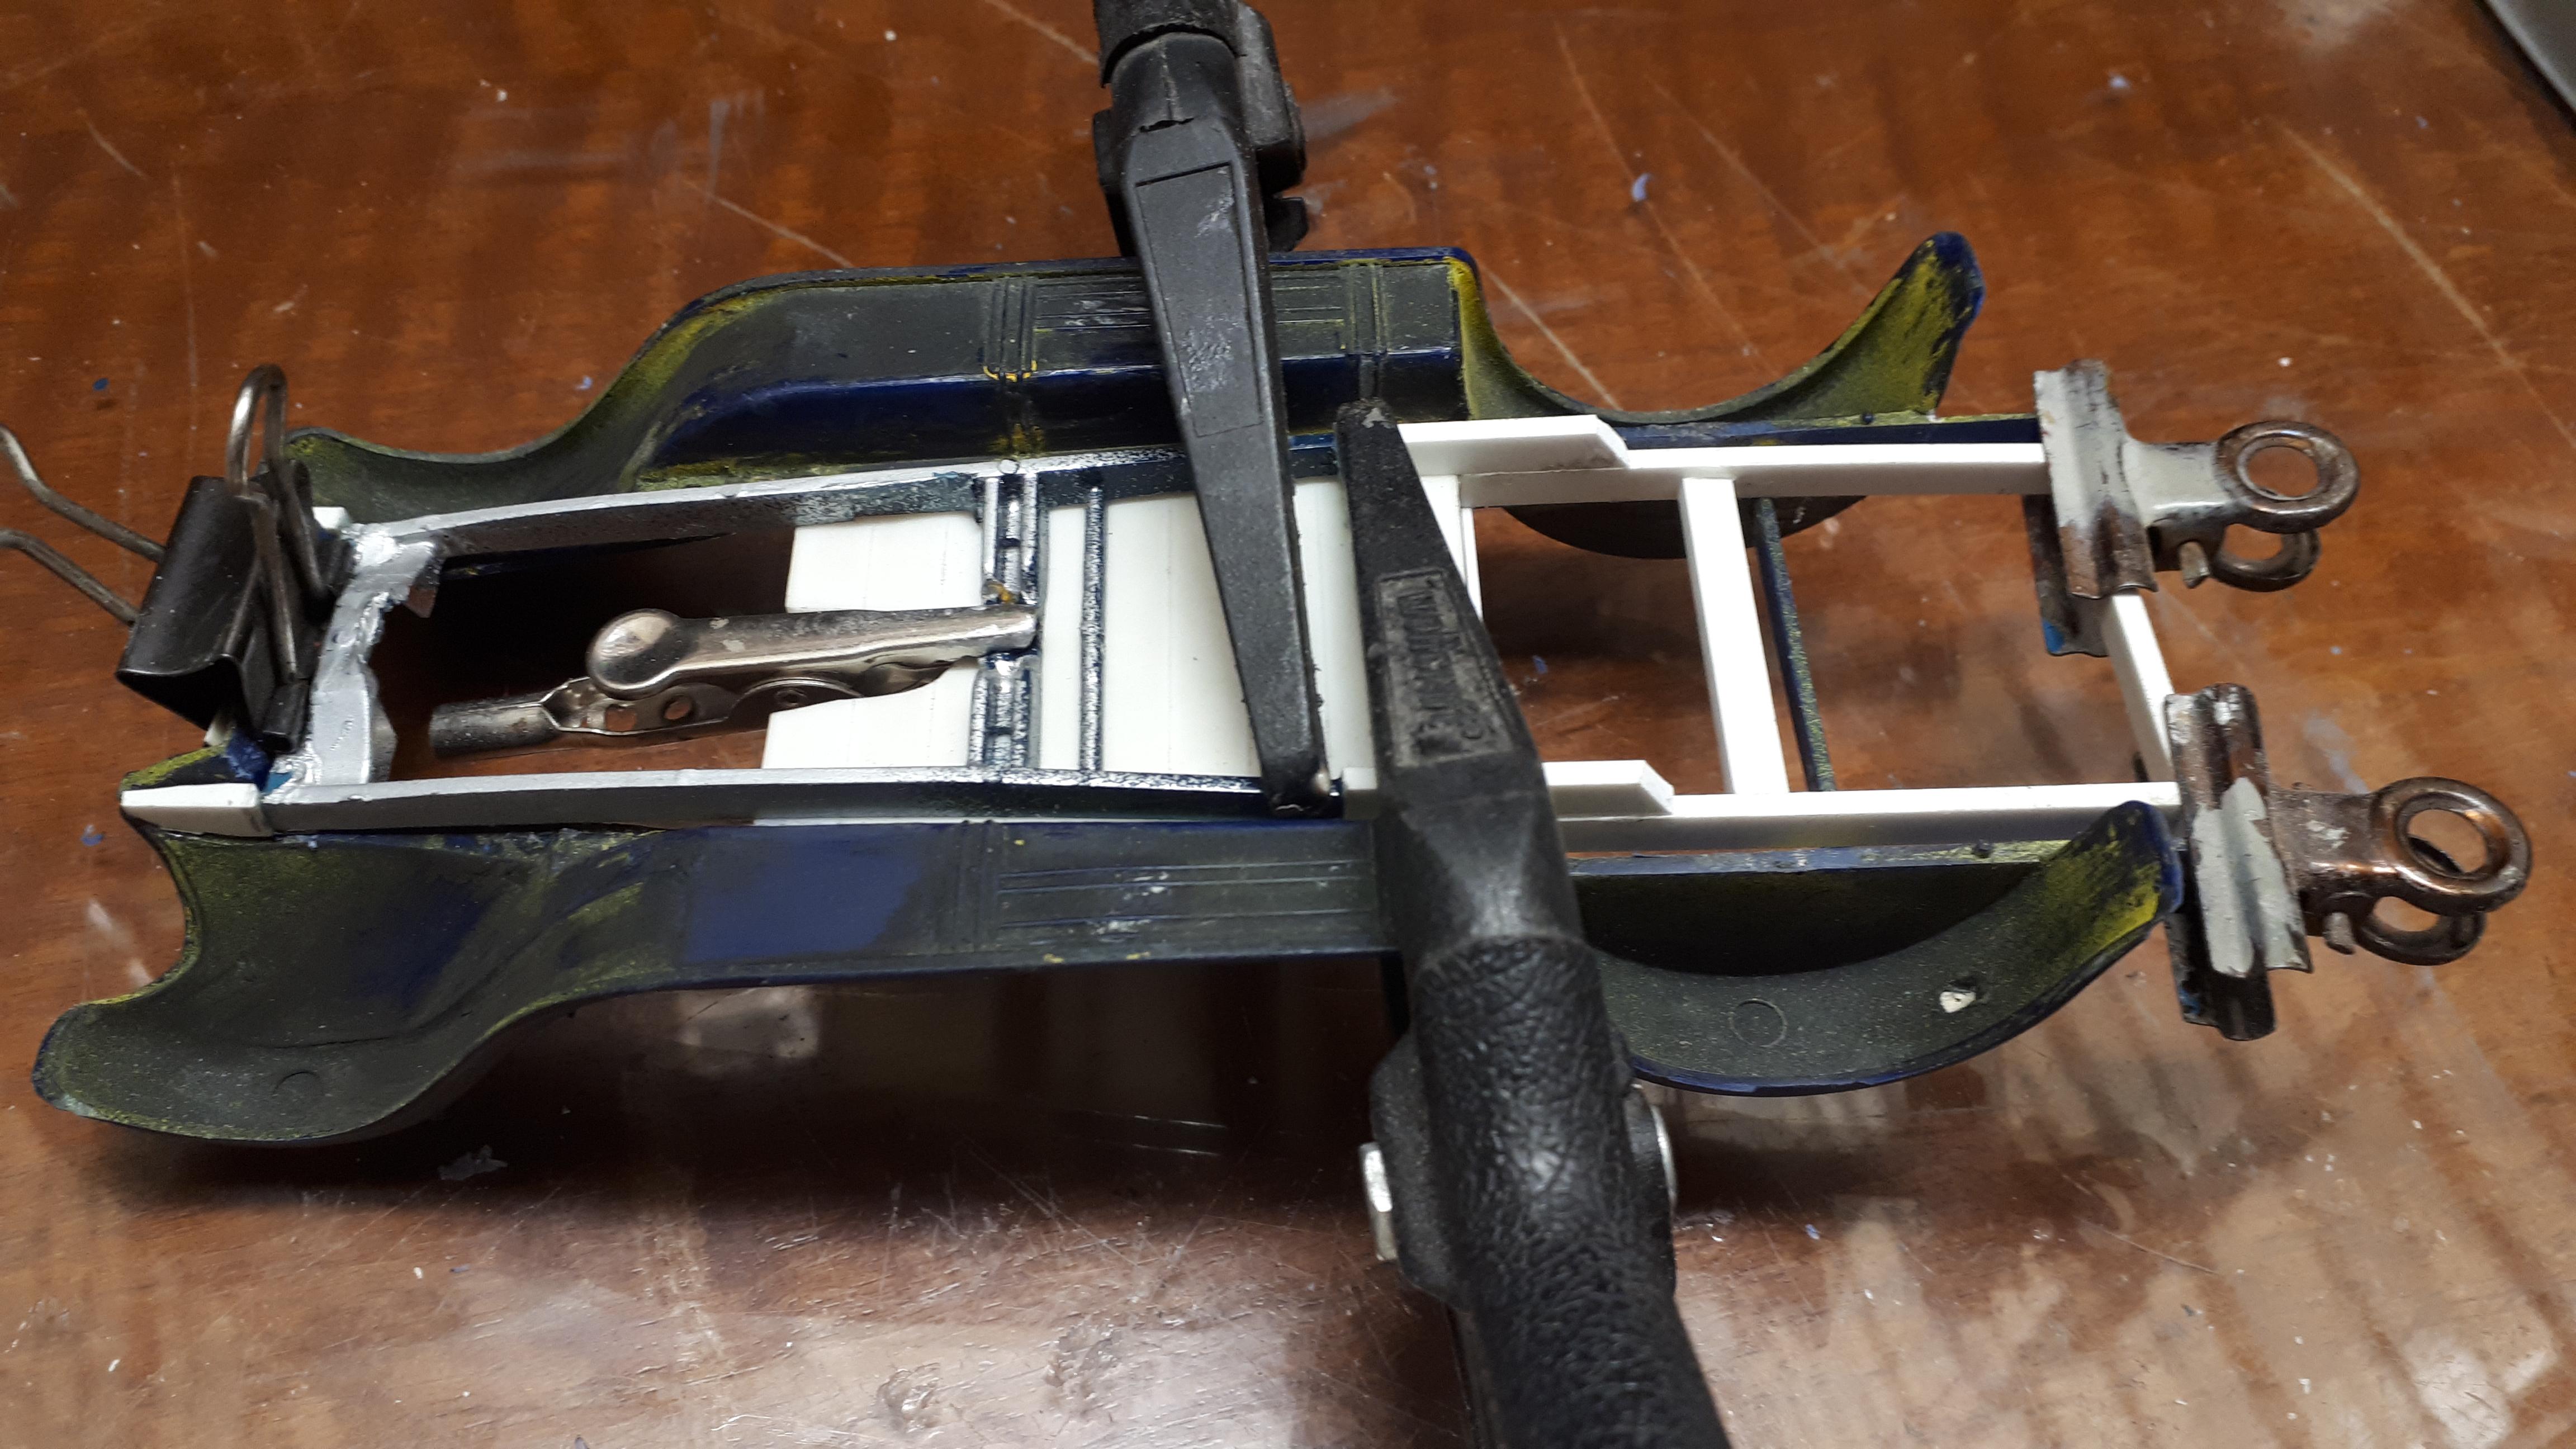
Looks like I'm making things happen! Lots of sawing, filing and sanding going on so I am doing other projects in between while various parts set up. After stripping the paint, I had to laminate a very thin piece of styrene across the front of the splash apron to repair an ancient break through the middle. I then wanted to get a solid floor in place because that ancient Bandai dark blue plastic was pretty floppy, yet brittle at the same time! I found this rectangular panel with raised lines across it. I consider myself fairly good at identifying oddball parts but I have no idea where this one came from. Was it a door, a floor panel, who knows? Anyhow, I taped it to the top surface of the splash aprons and then used a black fine marker to indicate the cut lines. used a razor saw to cut it and with a little bit of filing and sanding I had a fairly good fit. I also cut out the transmission clearance needed at the front - this may need extra trimming later on but we will see. I also put a thin strip of Evergreen across the front of the bed rails to give a definite rearward location for the cab. Now I must be a glutton for punishment but you can see here the very abbreviated remains of a Blue Beetle chassis from my childhood building years. For some strange reason, I seem to be short a few Monogram A bone chassis compared with the number of bodies I have. Can't think why that would be but as I always say, waste not want not! And anyway, the back of the chassis needed a Z and needed to be extended to tidy up the rear aspect so i would only have had to cut off the bit that is missing anyway! Not sure how the repair on the front frame horns is going to go, as it looks pretty sketchy at the moment. I cut six pieces of Evergreen rectangular section to extend the chassis. Two new rails to go under the bed, two "Z" sections to join up to the Blue Beetle parts, a rear crossmember to join up the existing bed rails and another piece on the flat, located on the axle centreline to provide a mounting crossmember for the Jag rear end. Time for bed now - we'll see what I've got in the morning! Cheers Alan
-
That chassis is looking very special, what with the unusual components and the really clean fabrication. Tell me more about the craft paint - did you airbrush that or it straight on to the vinyl? Cheers Alan
-
Thanks Bill, I will try to keep it interesting! I thought I was going to sit this one out but as every additional model was added to this thread, I just couldn't resist any longer. It now makes W.I.P. number 137 on my desk, or was it W.I.P. number 246? I pity the person who has to sort out my estate one day!!!! "Hey, mate - I'll give you $100 for the lot!" "Sold - thank goodness for that!" Cheers Alan
-
Thanks for the words of encouragement, Kit. I got the yellow fenders stripped back to dark blue plastic yesterday but an old crack re-split through the front splash apron so that is getting re-inforced at the moment. Not much photo worthy stuff happening yet. Now there's a bunch of hot rod modelling legends on here who haven't joined up yet. Roger, Bernard, Claude, Phil, Jim, time to join the party. Lets get at least twenty Boyderized closed cabs out of this thread! Cheers Alan
-
One More Jeep..
alan barton replied to Tom Geiger's topic in WIP: Model Trucks: Pickups, Vans, SUVs, Light Commercial
Surprised you didn't run a slant six, just sayin'! But I do like the colour. Cheers Alan -
That's about as far as I got with a mock-up based on a Jimmy FLintstone 48F1 cab! Mine's a few years away from getting back on the bench but I will be very interested to watch progress on your project. Cheers Alan
-
Solo Speedster the 'Salinas Special'
alan barton replied to Rocking Rodney Rat's topic in Model Cars
I'm just smilin', that looks awesome, both shots. Cool to the power of 100! Cheers Alan -
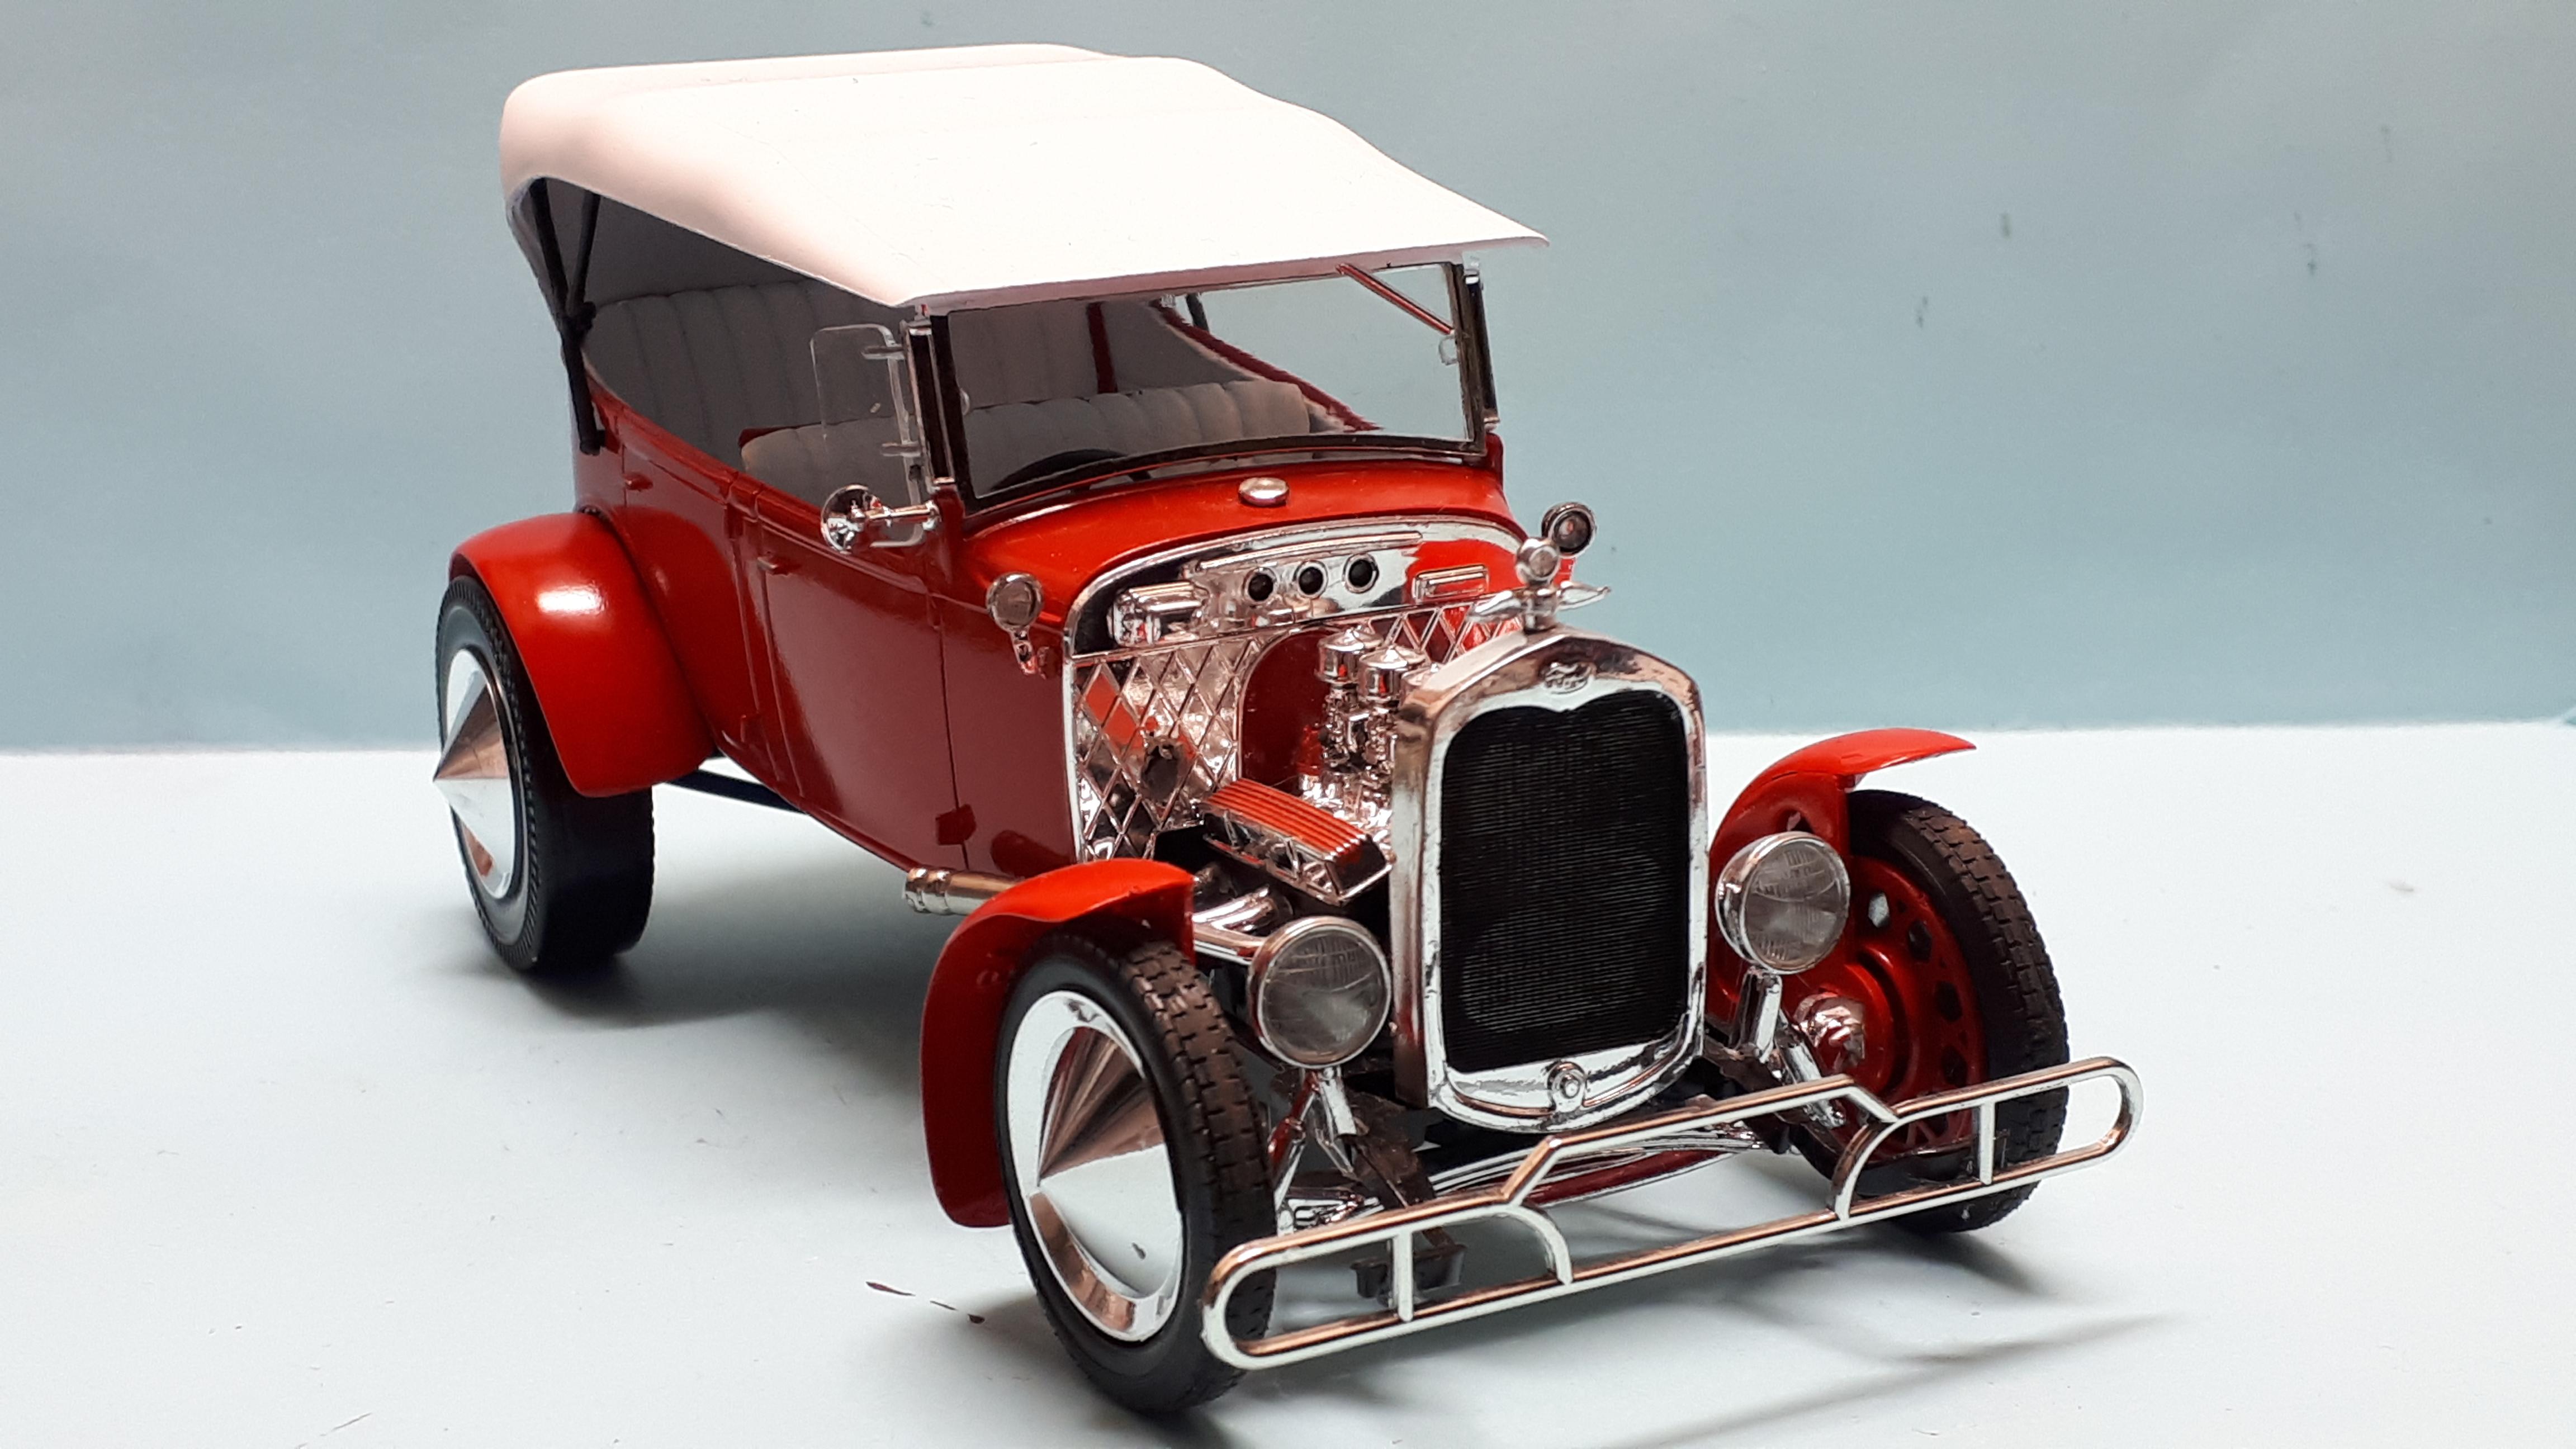
Late 1950's style 1930 Model A Phaeton Hot Rod
alan barton replied to tim boyd's topic in Model Cars
That is so neat. It has a more believable look than the Red Chariot. The Cadlllac from the Blue Bandito looks right at home in there. This may sound funny but my favourite feature is the thin line of red seat snugged up against the black tonneau - it reminds me of the contrasting piping used on by some upholsterers. The realistic sized tyres help the look a bunch as well. And the 32 grile was such a popular swap, then and now, wow, it all just comes together! Now I'm going to go with the old adage " Great minds think alike" and share my Red Chariot. Like yours, I used the re-issued Early Iron series tub to start with. In an unbelievable stroke of luck, I walked into an antique store in Pomona back in 2017 and there was the original six - in- one box for the Model A Tourer customizing kit. It was something like $5 or $8 so I grabbed it, only to hear it rattle. Whipping the lid off, what do I find. All the custom parts, and only the custom parts, still on the sprues! Someone build a showroom stocker and left all the cool bits behind. Nearly snapped my wrist trying to get my wallet out fast enough. The modelling fairies were smiling on me that day!!! Cheers Alan
-
Just a quick bit of useless information but the custom tooth grille in the Sno Skeeter and Gee T was also in the original Tee N T, along with a pair of late fifties, early sixties style fluted clear taillights. I still have them after all these years. The Tee N T, AKA Bullhorn T, is a magnificent kit and a joy to build. Once you have the frame squared away (literally) it is a straight forward build. If you have ever built a Big T you will have a strong sense of deja vu! Cheers Alan