David G.
-
Posts
11,326 -
Joined
-
Last visited
Content Type
Profiles
Forums
Events
Gallery
Everything posted by David G.
-
It's a shame to have to do all that body work over again but it'll be worth the work to have a finished model that you can be happy with. After all, that's what it's all about. The chassis and engine look great BTW. David G.
-
Good call on the floor pan. You're probably correct on that and a lot of people might not have thought of a detail like that. David G.
-
Congratulations Brad! It's an honor that's certainly well deserved. David G.
-
 Excellent weathering, the tow cable looks great! David G.
 -
Moebius Wrecker Truck Announcement
David G. replied to Erik Solie's topic in Truck Kit News & Reviews
I'm looking forward getting at least one of these. David G. -
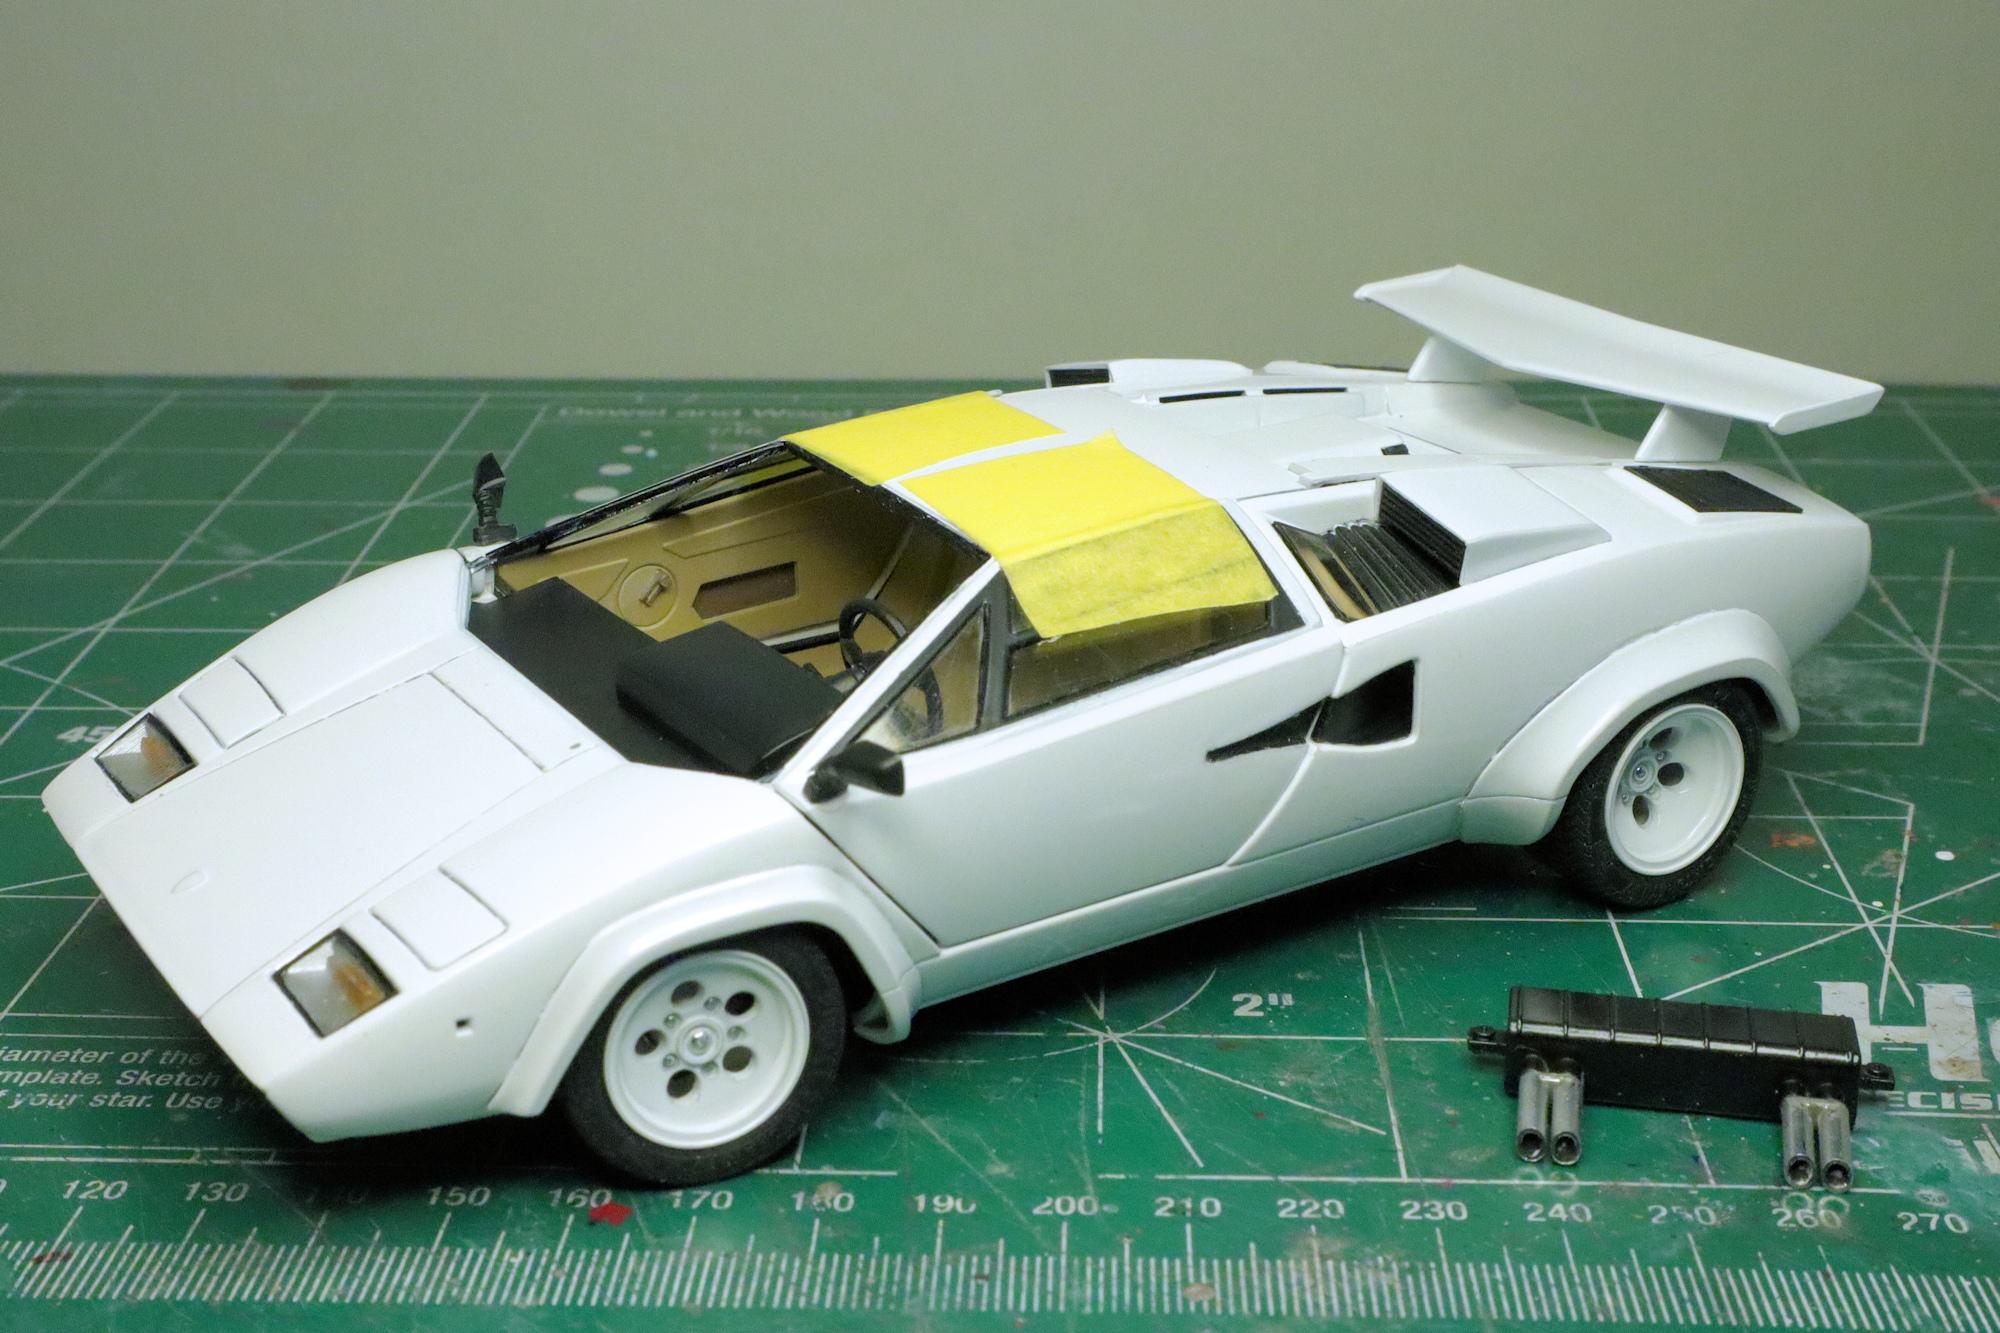
Hello Everybody! I'm back and I thank you all for your patience. Don't you just hate when real life interferes with your hobbies? I finally managed to get some work done on the Lambo, gluing in the last of the interior body parts that need to be installed prior to mounting the body to the chassis. I then screwed up my courage, took a deep breath and dove into coercing the body down over the chassis. For those who are unfamiliar with this kit, getting the body over the chassis may not seem like much of an accomplishment but let me tell you, it's a bit of work. I did a body-on-chassis test fit early in the build and given the difficulty of stretching the body over the partially assembled chassis, I realized that I would only have one more shot at getting them together again. It took most of my build session and a couple of false starts to get the body and chassis together. Given the potential for disaster, I count myself lucky that the muffler was the only casualty. There was no real damage and gluing it back on is an easy fix. Lucky. Now we'll see how long it takes me to wrap up the rest of the little details. As always, thanks for taking the time to look and please feel free to comment. David G.

-
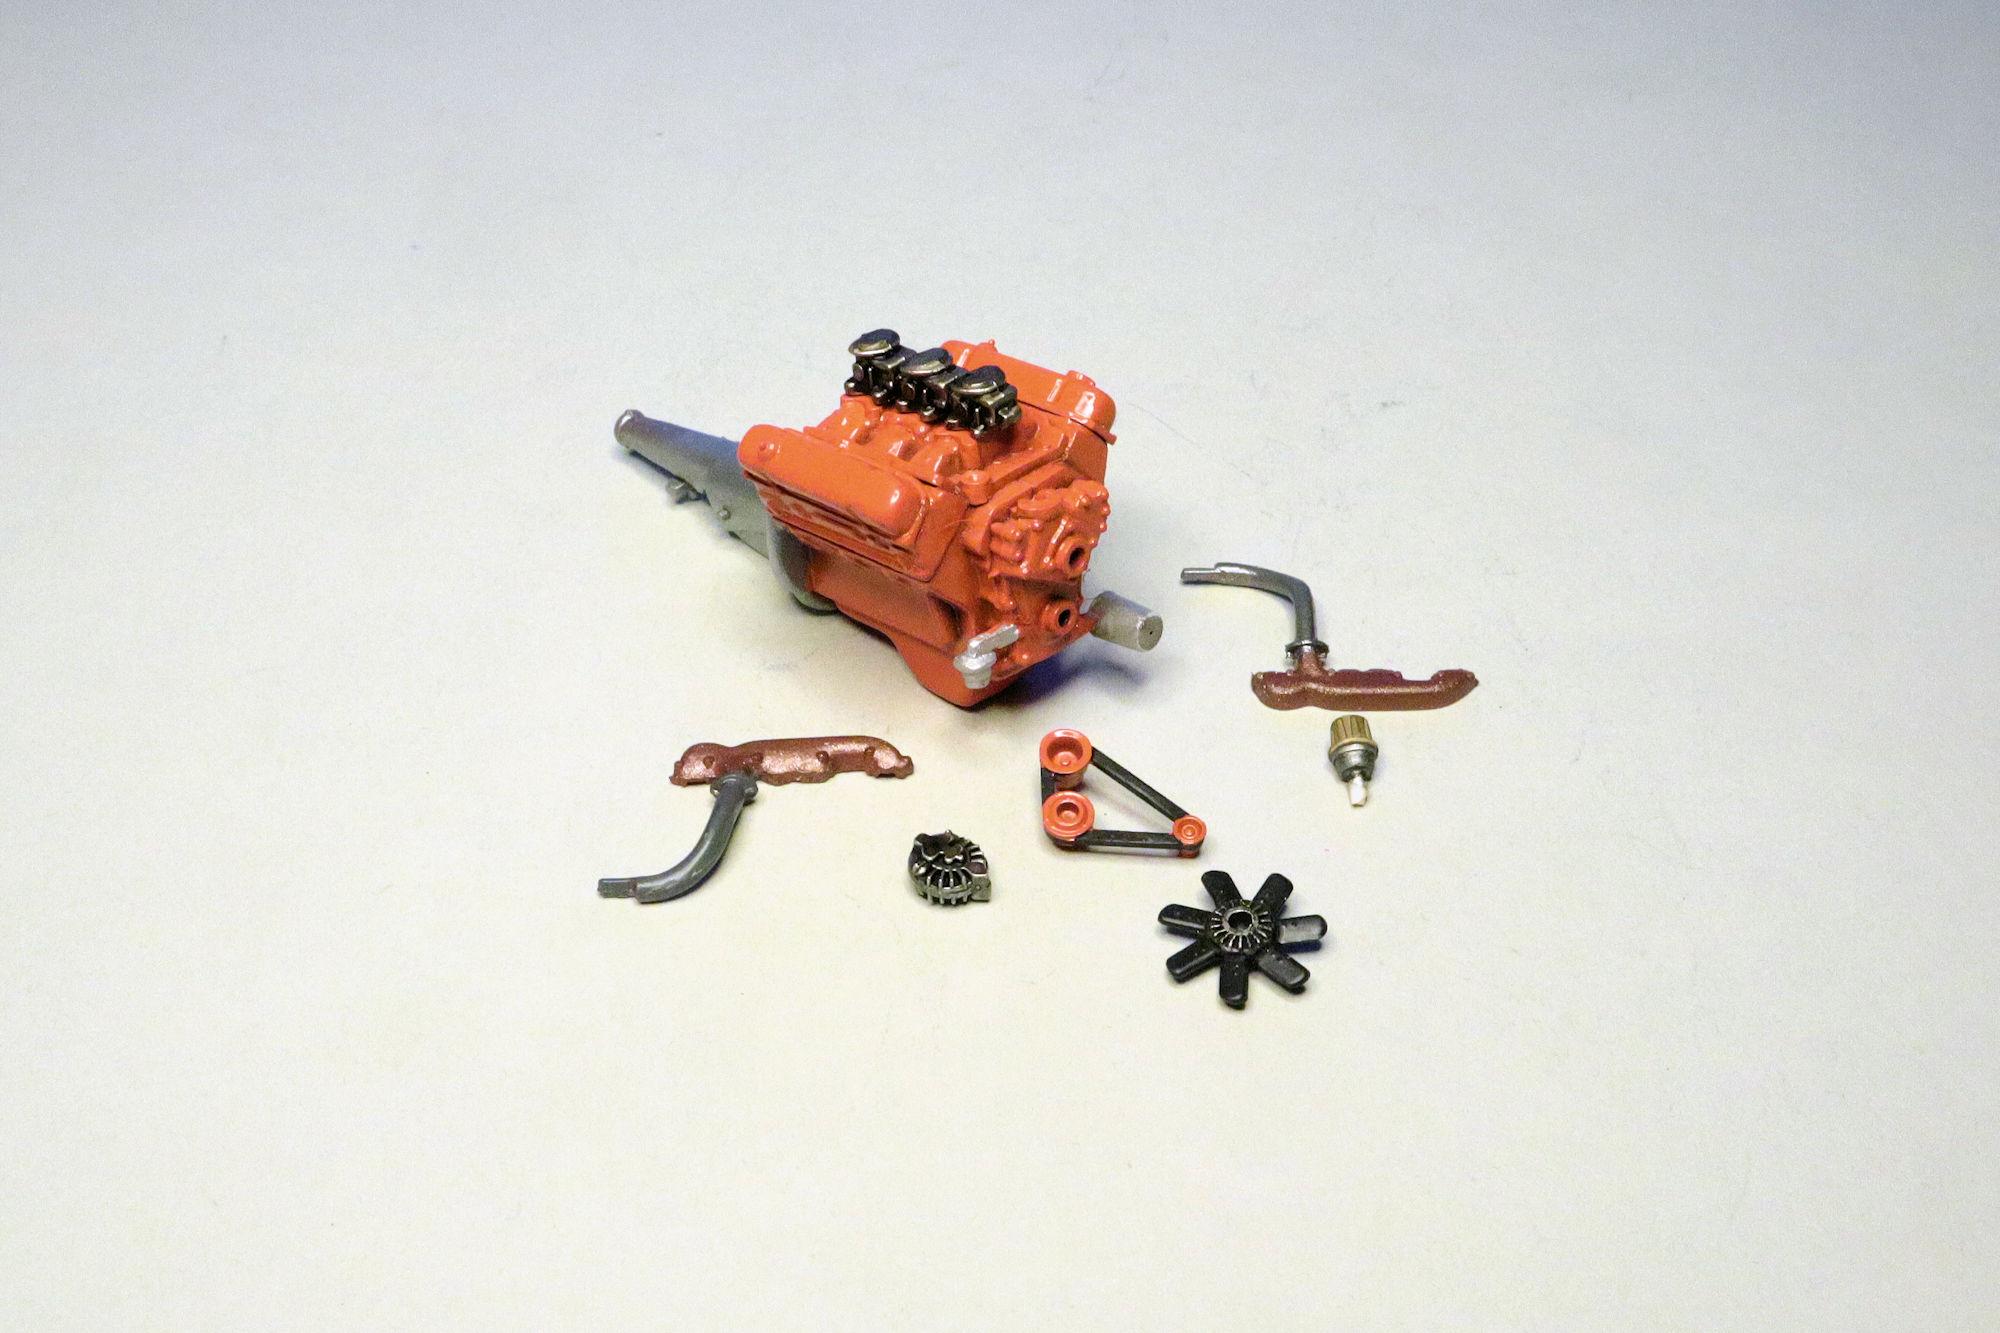
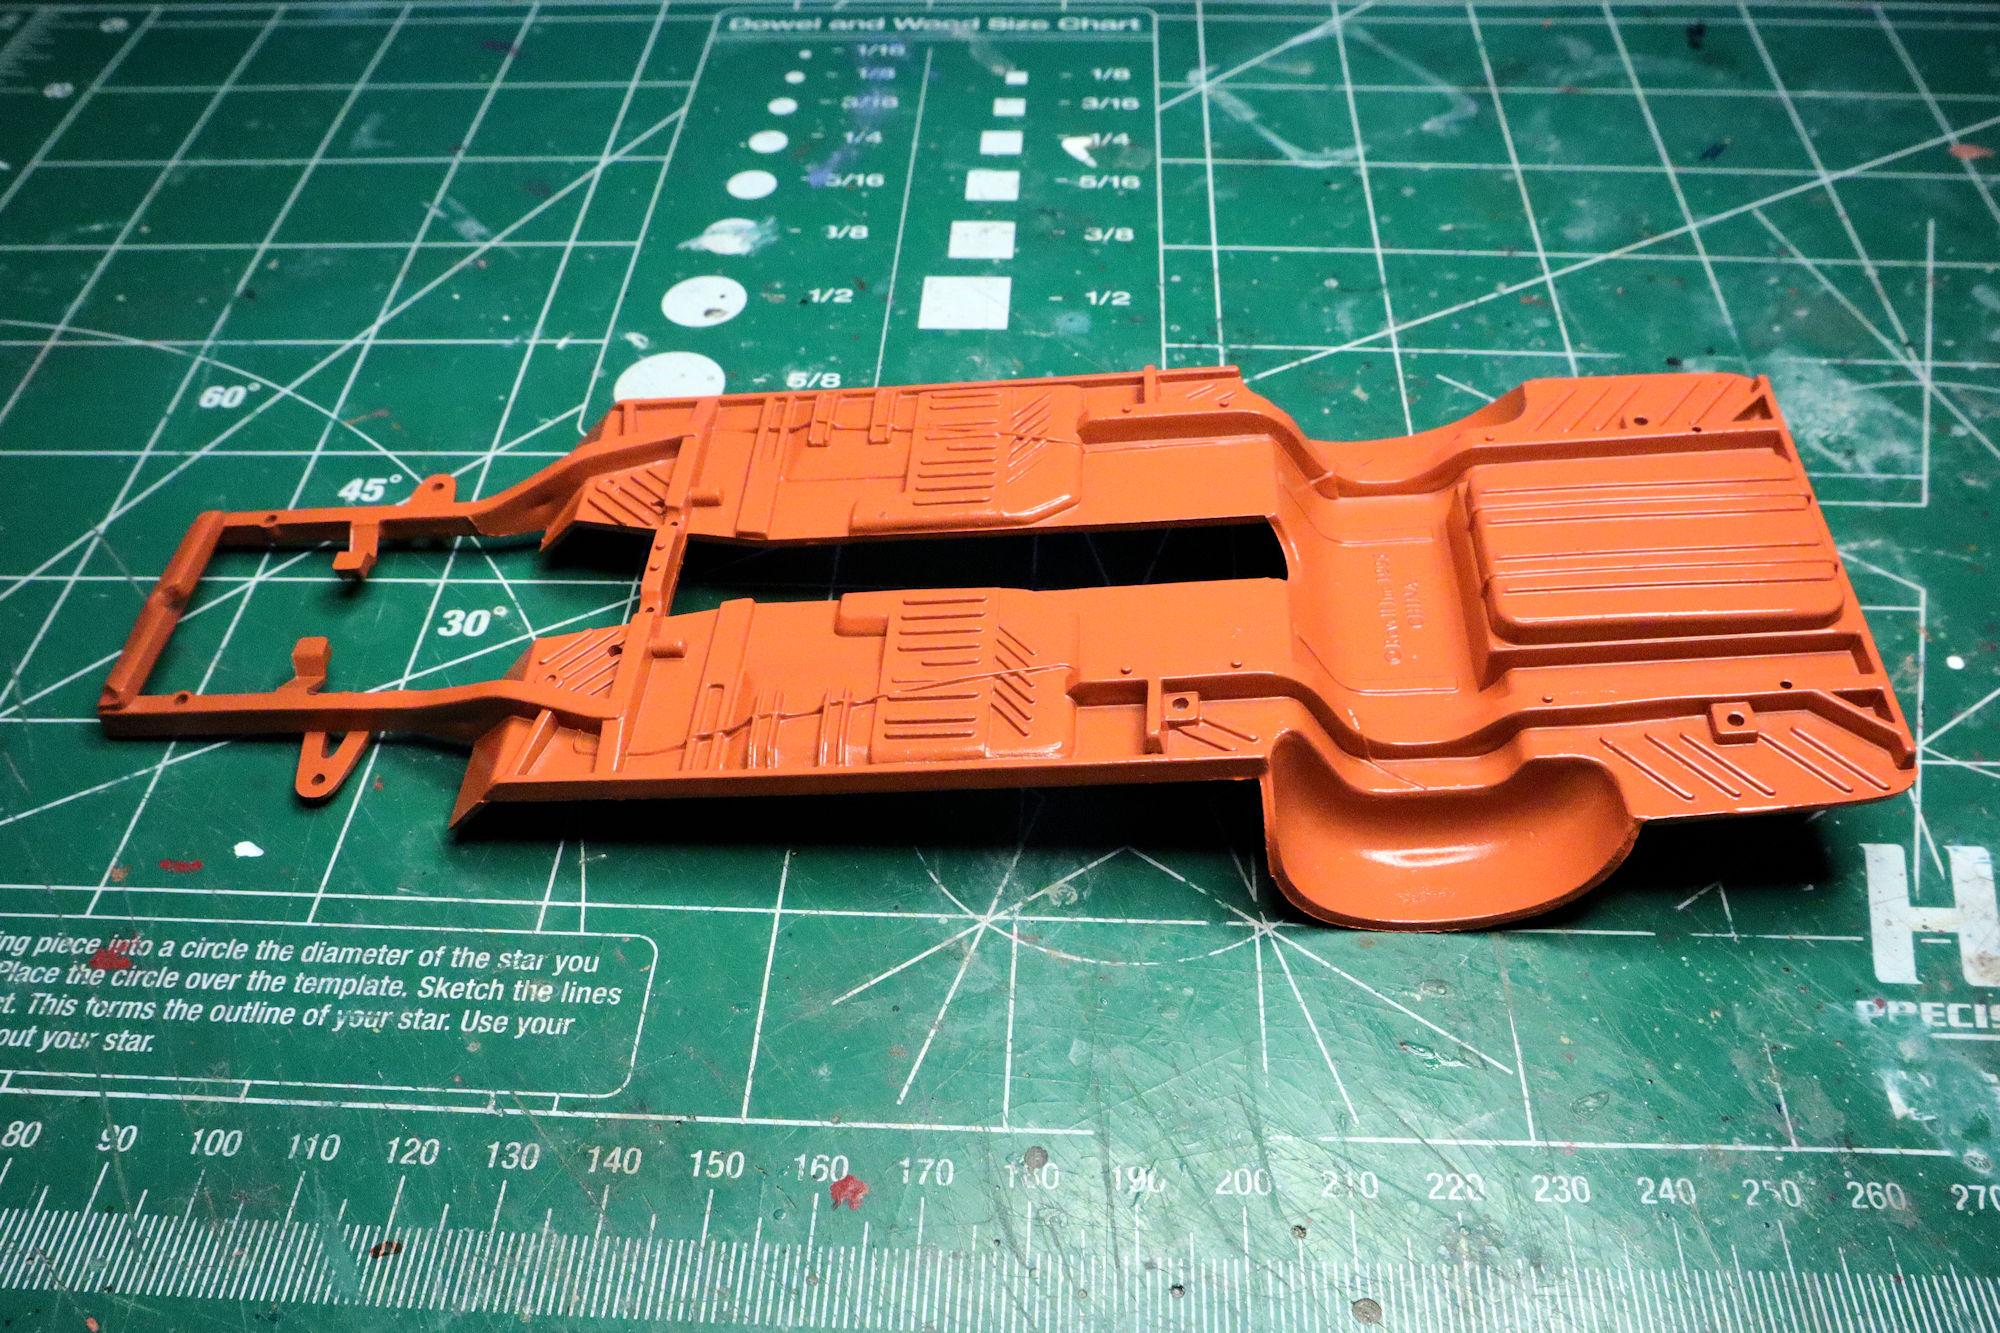
Hello Everybody! I'll be away for a few days so I'll check in when I get back. But until then here's another update. Though I used Tamiya TS-12 for the engine, I wanted to add a little variety by making the engine color just a little different from the body. So I decided to spray some white primer over the oxide to brighten up the color a bit and do a black wash to add a little depth. In researching engine colors for this build, I've seen them painted in what looked like Chevy engine red to Hemi Orange and everything in between. As always, thanks for taking the time to stop and look. And as I value the opinions of the members of this community, please feel free to favor me with a comment. David G.
-
Thanks Carl. It does give a different bump to the orange, doesn't it? Thanks Bob. I did a spoon test on the color over the four primer options I have: 2 greys, white and oxide. Oxide is the one that got me the closest to where I wanted to be. I usually do this test for most of the main body colors I shoot. It's amazing how much a color can change with different primers under it. David G.
-
Thank you for the information Håkan. I put out a request in February (link) and received a couple of responses that pointed me to the Fred Cady black & white decals. Those weren't what I had in mind so I did some more searching on my own and found these. As far as cost and quality, I'm satisfied with them and I think I can live without the two missing decals. I've added Keith Marks to my list of resources and I'll certainly keep them in mind for the future. Thanks again, David G.
-
1981 "Fast 111's" Corvette 1:32 Scale by MPC: Finished
David G. replied to David G.'s topic in Model Cars
Thank you Jeremy. David G. -
Totally nailed it! Absolutely Amazing! ? David G.
-
Hello Everybody! This is Revell's 1970 Plymouth Superbird. I've been wanting to build this kit for a while. My plan is to build it as part of a set using my three favorite of Chrysler's High Impact Paint (HIP) colors of the late Sixties and early Seventies. These colors are each known by one of two different names depending on whether they come from the Dodge or Plymouth catalogue. My plan is to build a Charger in Green Go green, a Plymouth Superbird in Vitamin C orange and a Barracuda in either Plum Crazy or Panther Pink. I already built AMT's 1971 Dodge Charger in Green Go green so next up is the Superbied in Vitamin C. One of the things holding me up was that this version of the kit didn't come with the licensed Roadrunner cartoon decals. I just couldn't bring myself to build this kit, this Plymouth Roadrunner, without the iconic Roadrunner cartoon character decals. Fortunately I found just what I needed at Slot Car Fever by Cheyna on Etsy. Here's a link So, on with the show! ah, this thing is yuge! Granted it's 1:24 scale, but that nose cone adds an extra 2 feet to the overall length of an already large car. Initial inspection and test-fit after primer reveals only a couple of minor concerns. There are some standard parting lines on the tops of the rear quarter panels and the obvious fit adjustment for the hood. Other than that, for a kit that's been around since 1995 it's in pretty good trim. Here's my version of Plymouth's Vitamin C orange, Tamiya's TS-12 Orange over DupliColor oxide primer. It's actually closer than I thought it would be. That's all for now. As always, thanks for taking the time to look and please feel free to post a comment. David G.
-
Aren't those big holes under the tonneau cover for a set of big sub-woofers? David G.
-
1940 Ford larger truck
David G. replied to junkyardjeff's topic in WIP: Model Trucks: Big Rigs and Heavy Equipment
Nice Chassis work! David G. -
Looking good! David G.
-
Nice rescue! It's a bit of good fortune not to have to redo all the body mods. David G.
-
It's coming along quite nicely. The bass kickers are a great idea. David G.
-
2010 Concept Camaro: Customizing Revell's Snap kit.
David G. replied to Toast's topic in WIP: Model Cars
Looks great so far! David G. -
Very cool project, well executed! It's a shame that you couldn't get to the show with it. I'm sure it would have attracted some attention. David G.
-
1981 "Fast 111's" Corvette 1:32 Scale by MPC: Finished
David G. replied to David G.'s topic in Model Cars
Thanks Chaz! Thank you so much Hector! Thanks Jim. David G. -
1981 "Fast 111's" Corvette 1:32 Scale by MPC: Finished
David G. replied to David G.'s topic in Model Cars
Thanks Carl! It's great to have you back. David G. -
Thanks for posting the video Kurt, it does a great job of explaining how you planned and assembled the hinges. Well Done! David G.
-
‘57 Chevy Stepside
David G. replied to NOBLNG's topic in WIP: Model Trucks: Pickups, Vans, SUVs, Light Commercial
An excellent first attempt, I'd say you've nailed it! David G. -
Cool revamp! Clever idea with the fender repair. David G.
-
Looks like a good clean build, well done! David G.