David G.
-
Posts
11,326 -
Joined
-
Last visited
Content Type
Profiles
Forums
Events
Gallery
Everything posted by David G.
-
It makes me think of ZZ Top! David G.
-
 Most impressive Si, most impressive! David G.
 -
truck, boat, and trailer
David G. replied to Paul Payne's topic in WIP: Model Trucks: Pickups, Vans, SUVs, Light Commercial
What a wonderful feeling it must be for you to have this build come to this point. A tremendous accomplishment! David G. -
MFH Ferrari 333SP 1/12
David G. replied to 2whl's topic in WIP: Other Racing: Road Racing, Land Speed Racers
One can only say "Wow!" so many times but... Wow! David G. -
Wow Brad! This diorama just keeps getting better and better! Great work on the guitar! David G.
-
1964 Pontiac Bonneville Convertible.
David G. replied to StevenGuthmiller's topic in WIP: Model Cars
Clever work with the steering linkage! David G. -
Great work on the headers! David G.
-
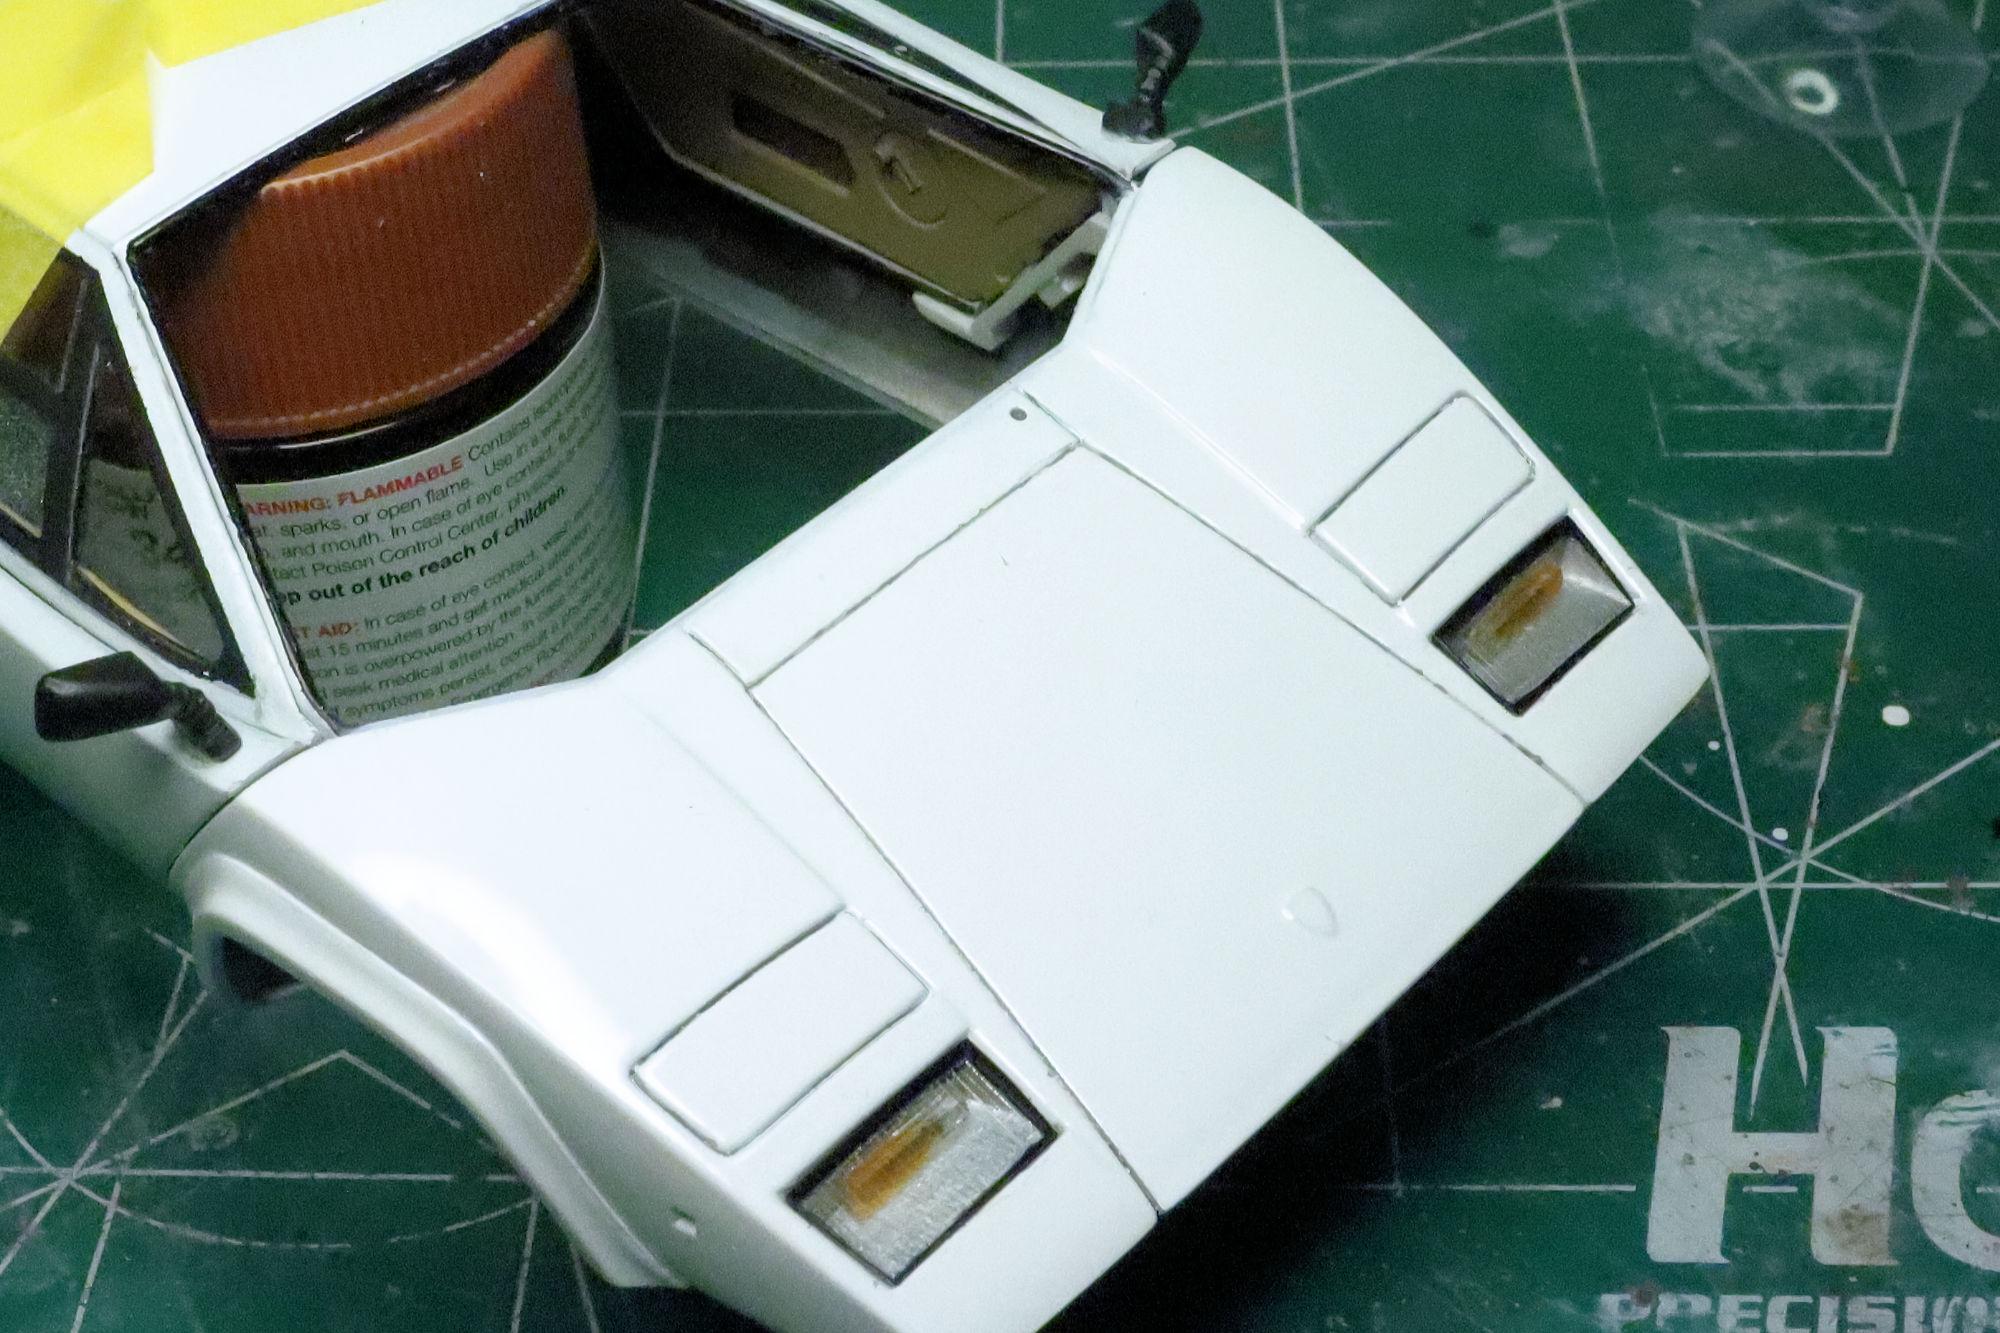
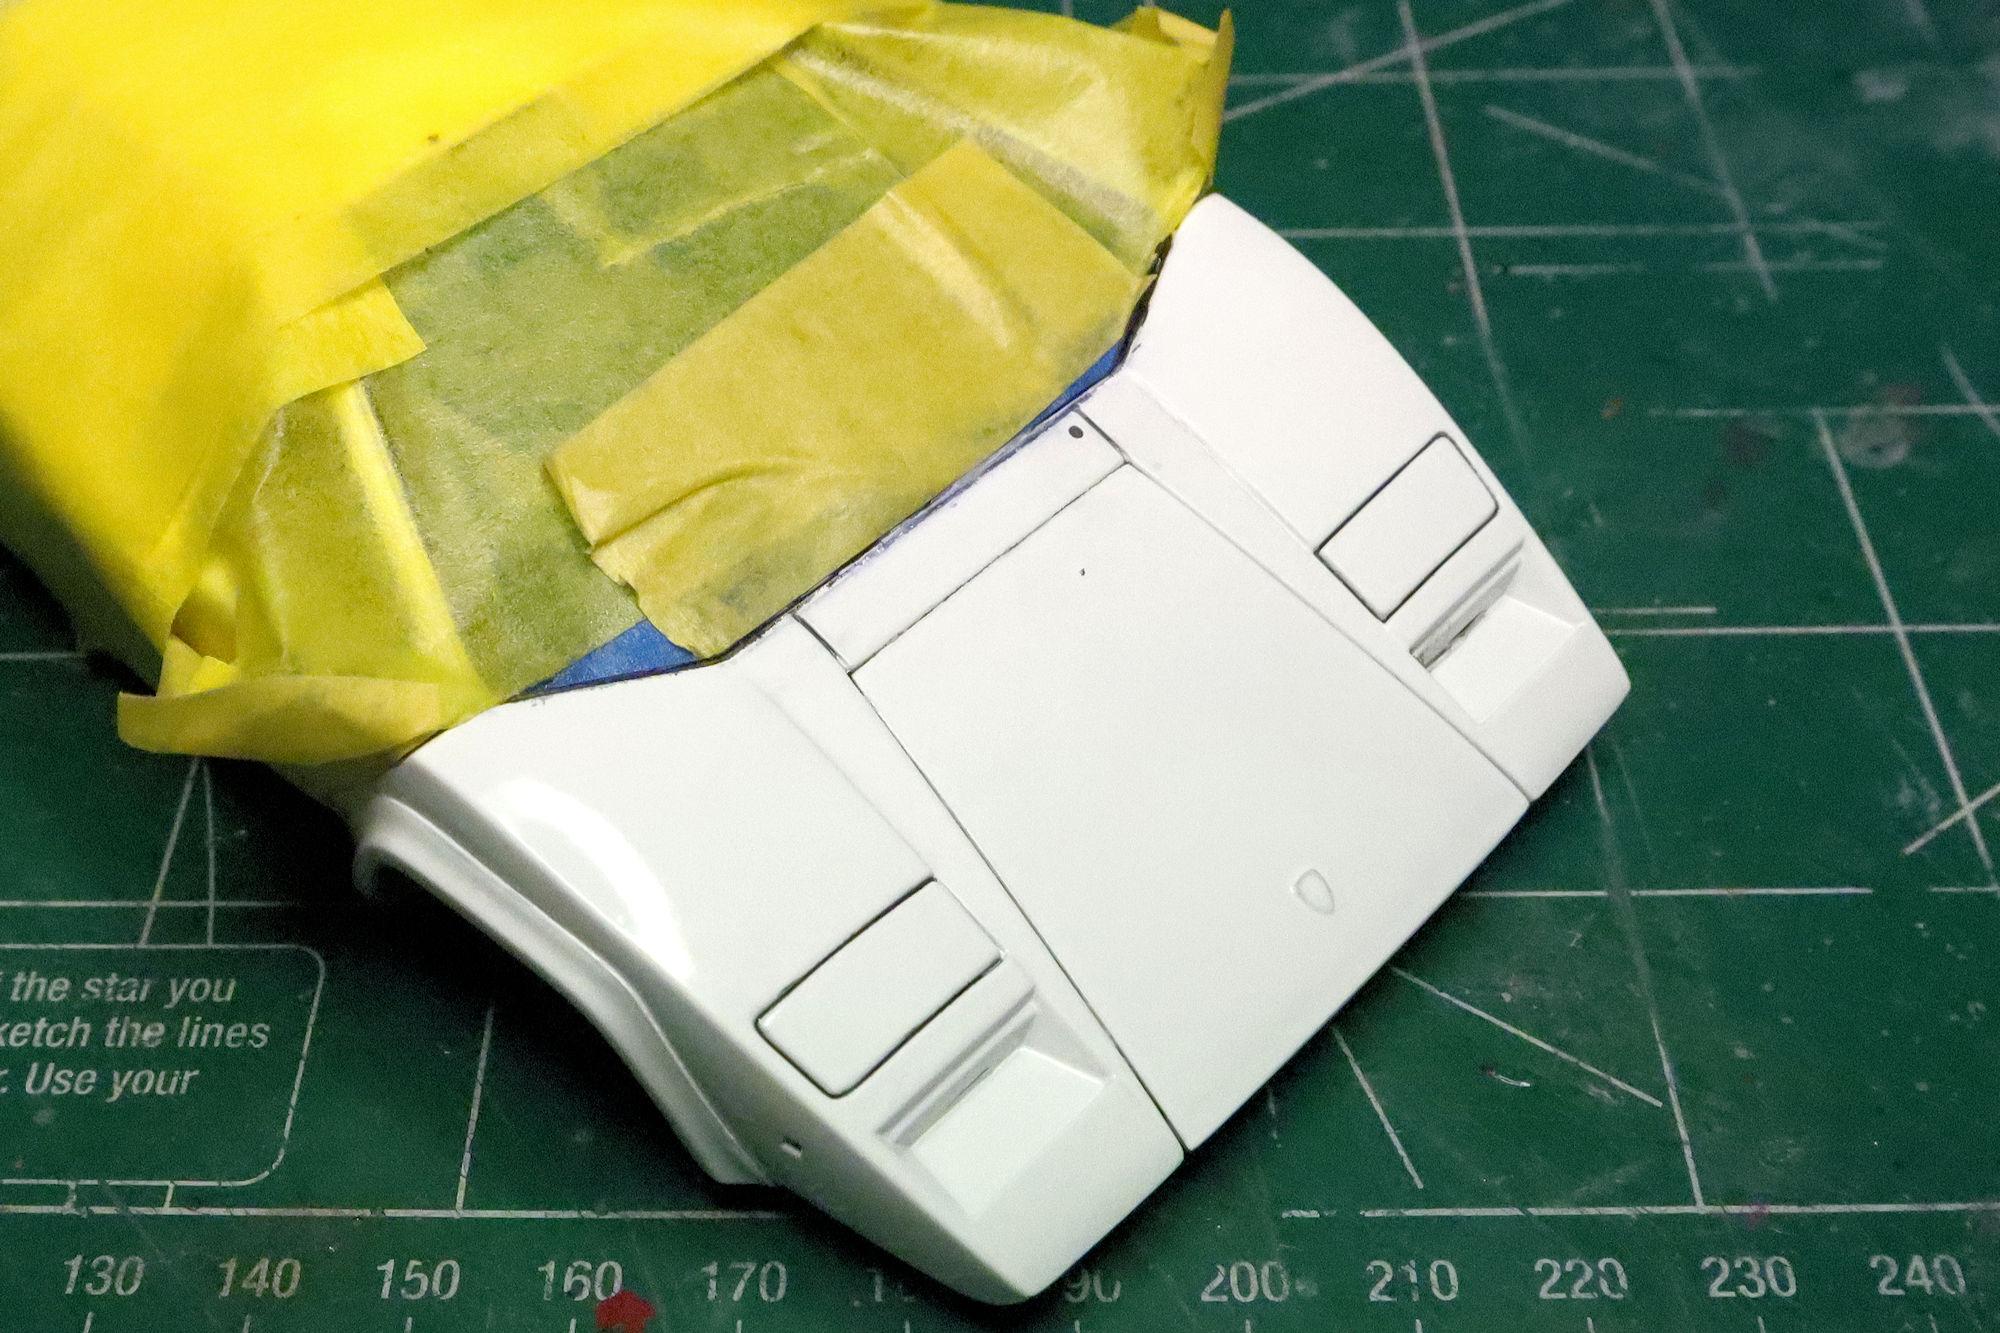
Hello Everybody! I've started planning my next project in earnest, which means that I'm officially well past the point where I want to have been finished with this build. So... Onward! The repaint was mostly a success. I just need to do a bit of cleanup work then I'll be back on track. After a bit of cleanup the paint looked pretty good. I may still darken up the panel lines a bit more but for now I'm done with that. So I decided to begin adding some of the finishing bits and pieces, like the parking light/directionals. The tail lights are also now permanently mounted. You can also see how straight and aligned the pillars on the spoiler are too! That's it for this turn. As always, thanks for looking and please feel free to comment. David G.

-
Nice fit on the hood! Getting that and the radiator, frame and body to all agree with each other can sometimes be a bit of a challenge. David G.
-
Back in the 70's it wasn't about "slammin' em in da weedz". So right now, the ride height looks good for that time period. I like the slight rake too, it helps with the 70's vibe. Of course that's all just one man's opinion, so take it for what it's worth. David G.
-
1964 Pontiac Bonneville Convertible.
David G. replied to StevenGuthmiller's topic in WIP: Model Cars
Jumping in at this level on the chassis after completing so much work on the engine, it must feel like you're starting all over. David G. -
Daaaaang! That's some heavy lifting on the masking work! You should be doing custom paint on lowriders! David G.
-
It's nice to see you back on the boards Niko. Nice job on the ejector pin marks and roof polish. I hope that the body polishes out as nicely for you. David G.
-
1/12 MFH Essex Wire 427 Cobra
David G. replied to 65slotcar's topic in WIP: Other Racing: Road Racing, Land Speed Racers
The dash wiring looks great! No harm in a few f-bombs now and again. David G. -
It's nice to see a stock build, great color combination. David G.
-
Cortina GT 2 door 1964 ATCC Champion
David G. replied to ShawnS's topic in Other Racing: Road Racing, Salt Flat Racers
That's a gorgeous pair of models. Crisp, clean, beautiful builds. David G. -
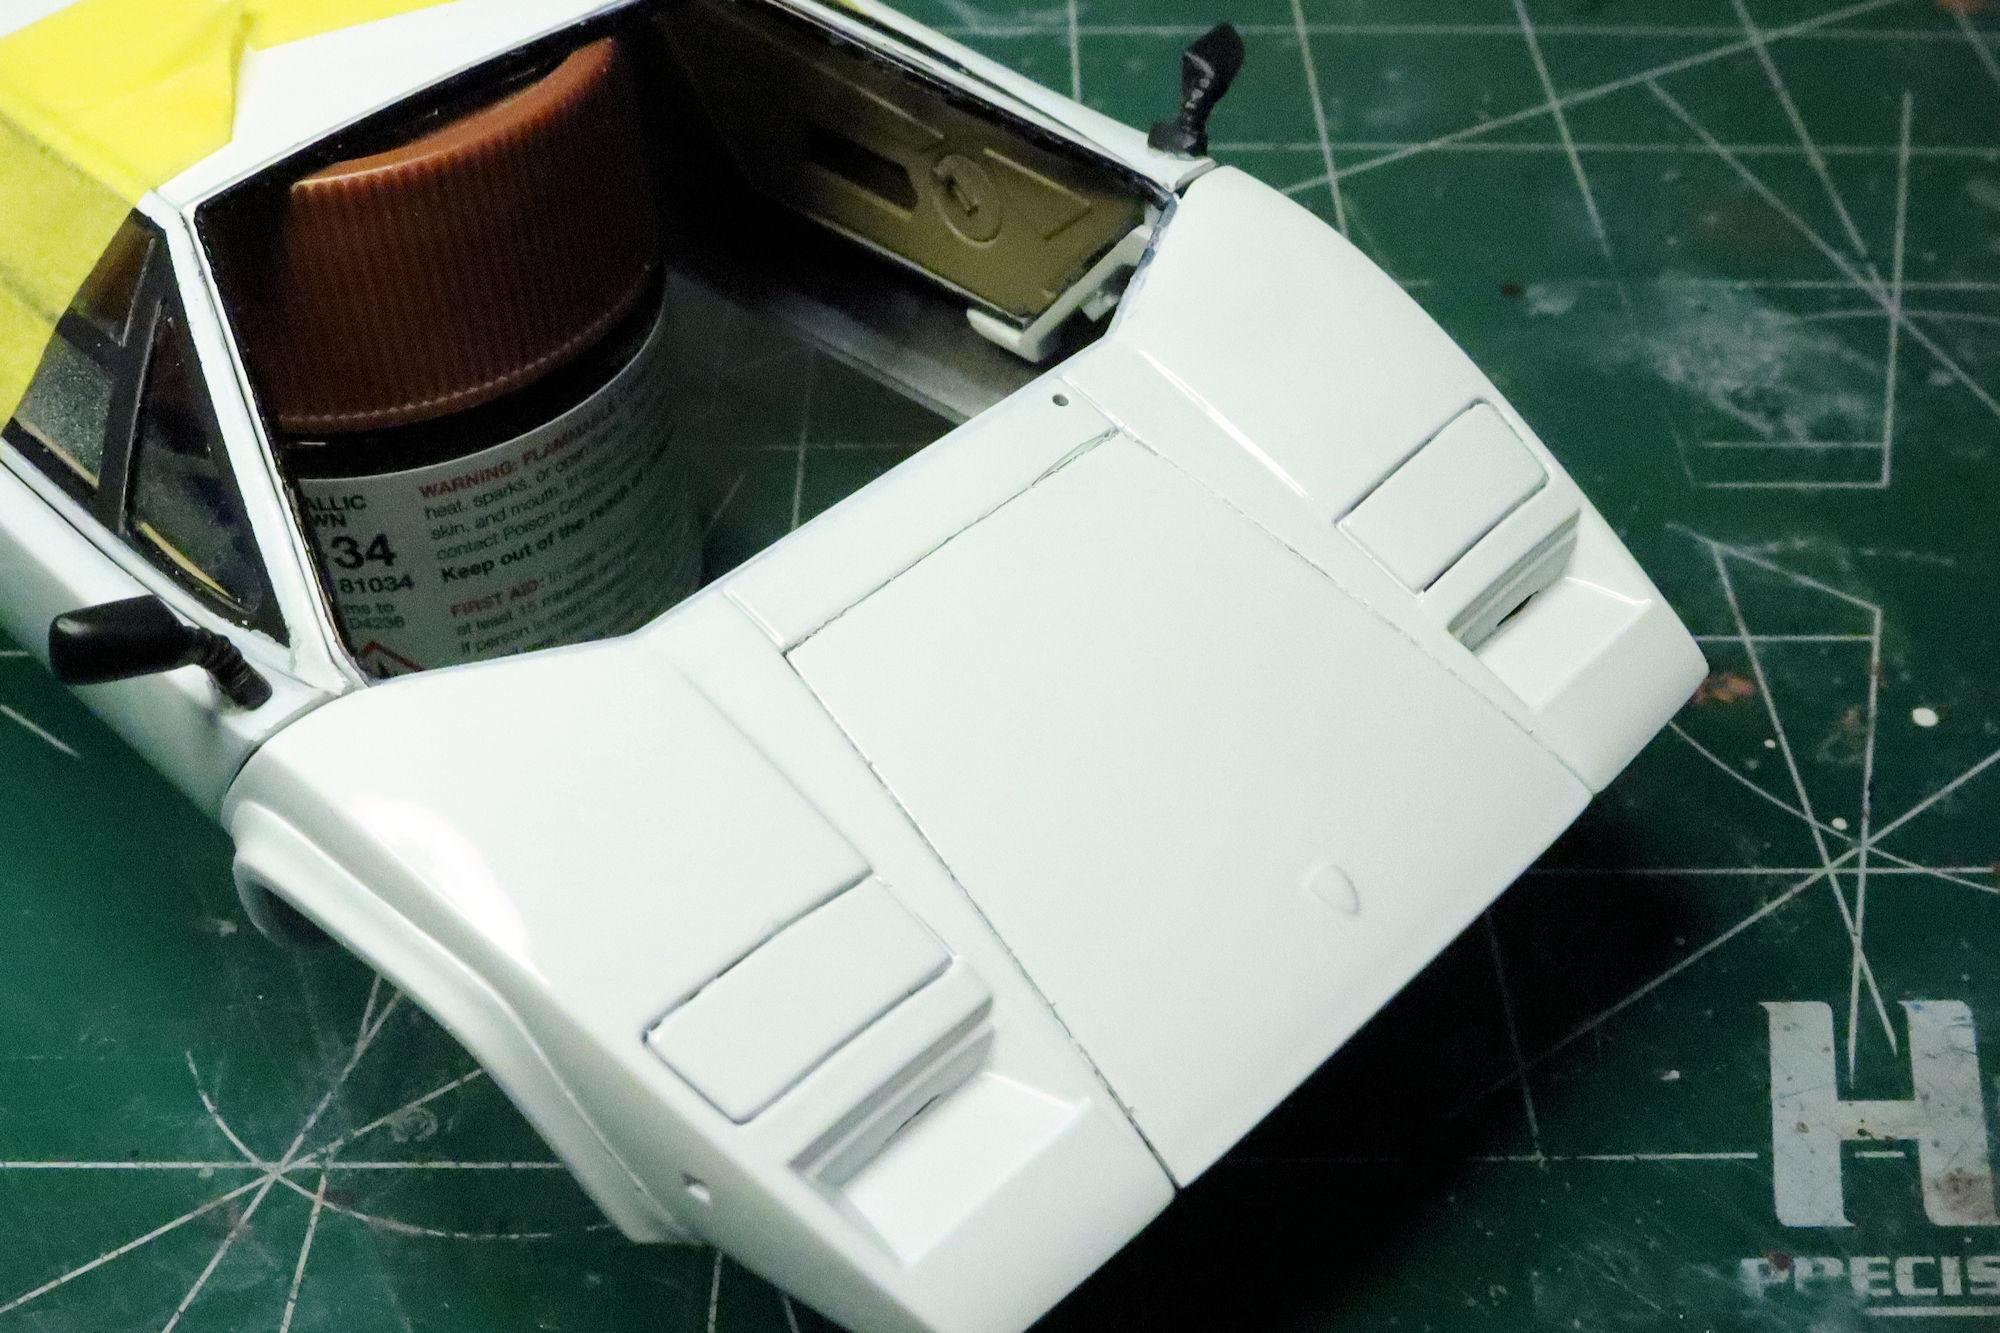
Hello Everybody! Life without setbacks would be boring and less challenging, so the model gods decided to liven thing up a little for me. I used a Sharpie to color the rubber molding around the windshield opening and some ink bled under the masking tape along the front edge. I tried to remove the mess using alcohol and some of the finer grit 3M polishing cloths but with little success. Since it looks like I'm going to repaint, I decided that I should reapply some Tamiya Panel line darkener, hence the dark blobs. So now, back to the paint shop! As always, thanks for taking time from your day to have a look and if you happen to take even a little more time to post a comment, thank you so that much more. David G.
-
Thank you Trevor. I believe that in large part it's quality of the small details that determine the final appearance of the model as a whole. David G.
-
Cool Article, thanks for sharing it with us. David G.
-
Thanks Chaz, after eight months of work, I feel like I'm finally making some solid progress with this one. David G.
-
1981 "Fast 111's" Corvette 1:32 Scale by MPC: WIP
David G. replied to David G.'s topic in WIP: Model Cars
Thanks Ray, I appreciate that. Ultimately, the whole car will be blue like the roof, the silver is just a basecoat. When I sprayed the silver, it revealed some flaws that I wanted to correct before going on. The roof was the only part that didn't require additional attention so I rewarded it with some blue paint. Thank you Ricky, it seems like you have a lot of fun and interesting projects in mind. Thanks Chaz, I'm hoping it will look even better when it's all in blue. But there's some bodywork between now and then. Thanks again for taking the time to comment. David G -
I'm not familiar with the channel but I do know good modelbuilding when I see it. You've done a great job with the distressed paint, weathering and engine details! David G.
-
Halo Tundra Warthog
David G. replied to spencer1984's topic in All The Rest: Motorcycles, Aviation, Military, Sci-Fi, Figures
An excellent variation! The figure works well too, kind of takes it out of the Halo universe. David G. -
I'd say you captured it all quite well! Nicely Done! David G.
-
That turned out great! I think it's very clever how you mocked-in the engine details. From a visual standpoint, it looks like it works very well. David G.