David G.
-
Posts
11,326 -
Joined
-
Last visited
Content Type
Profiles
Forums
Events
Gallery
Everything posted by David G.
-
I have to say, I've never seen a lowrider Camaro. This should be interesting. David G.
-
Thank you Carl. Thanks Tom. The steering wheel did indeed have some mold alignment but they weren't that serious. Thank you David. I've heard that about those mirrors. If I'm not mistaken, the Corvette convertibles of that era also had a dash mounted rearview mirror. Of course, there were no rear seat passengers to block the view though. Thank you Chaz. David G.
-
Wow! ? Beautiful finish on the paint, congrats! David G.
-
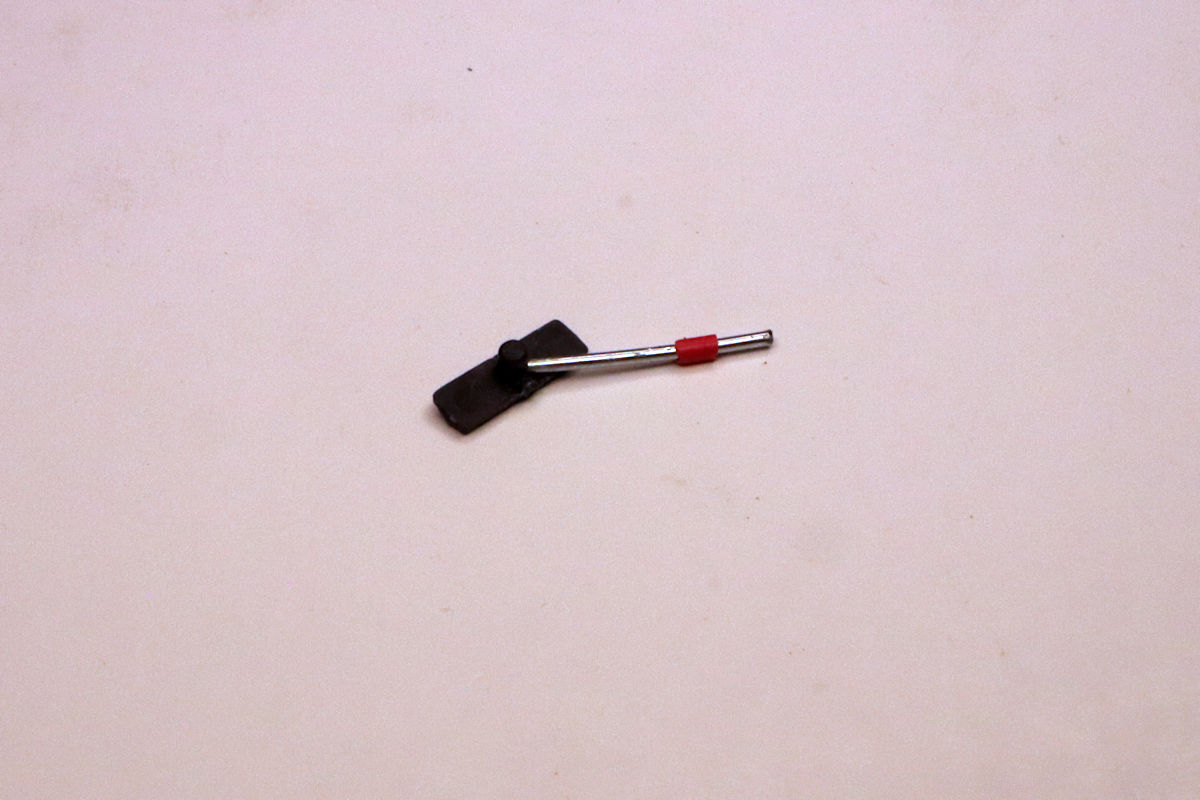
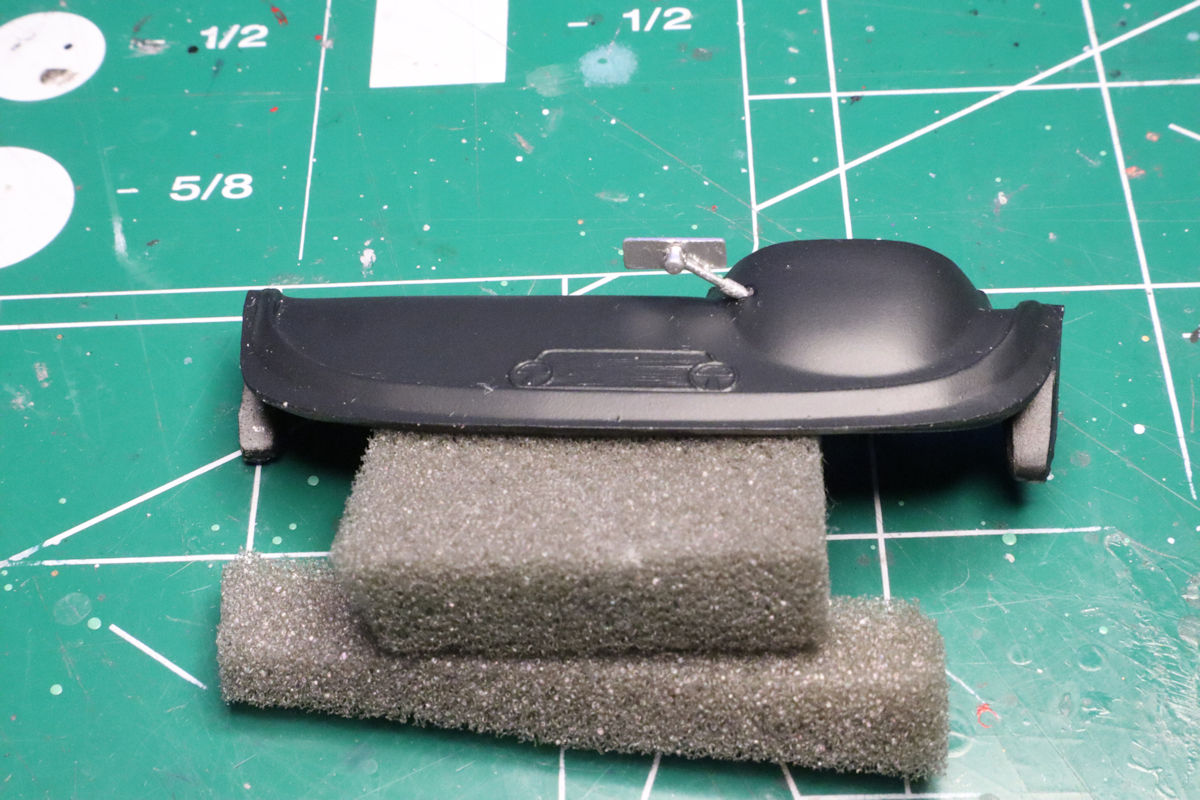
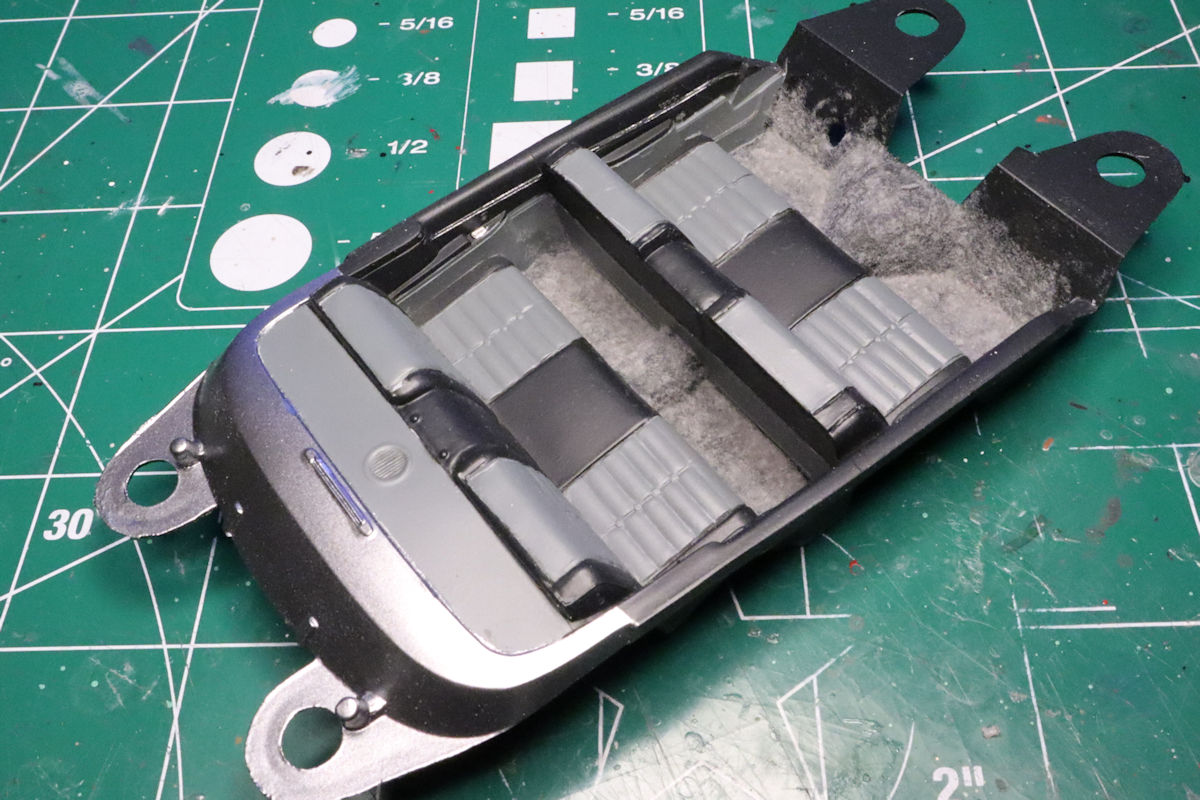
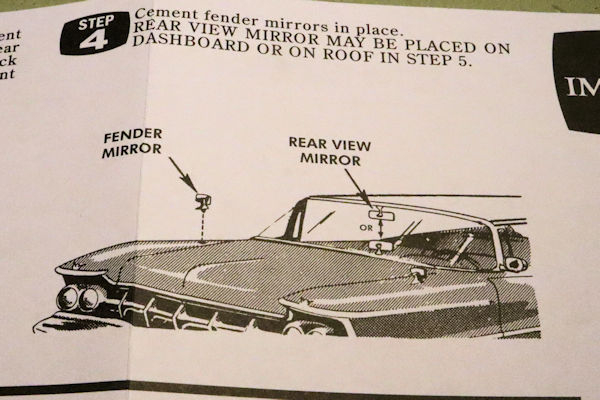
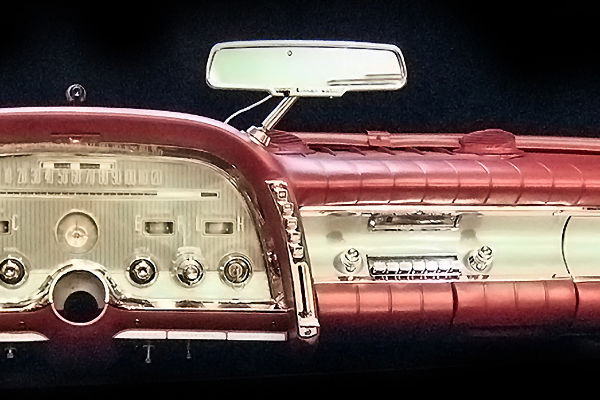
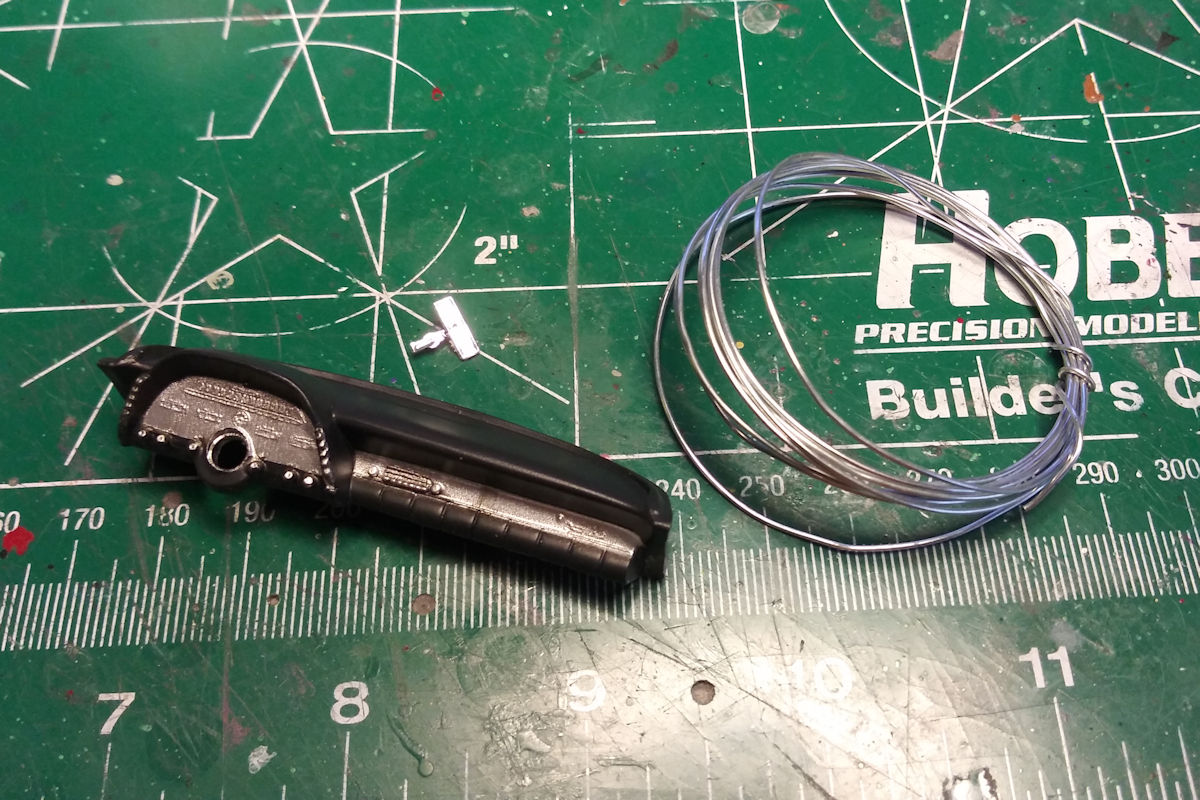
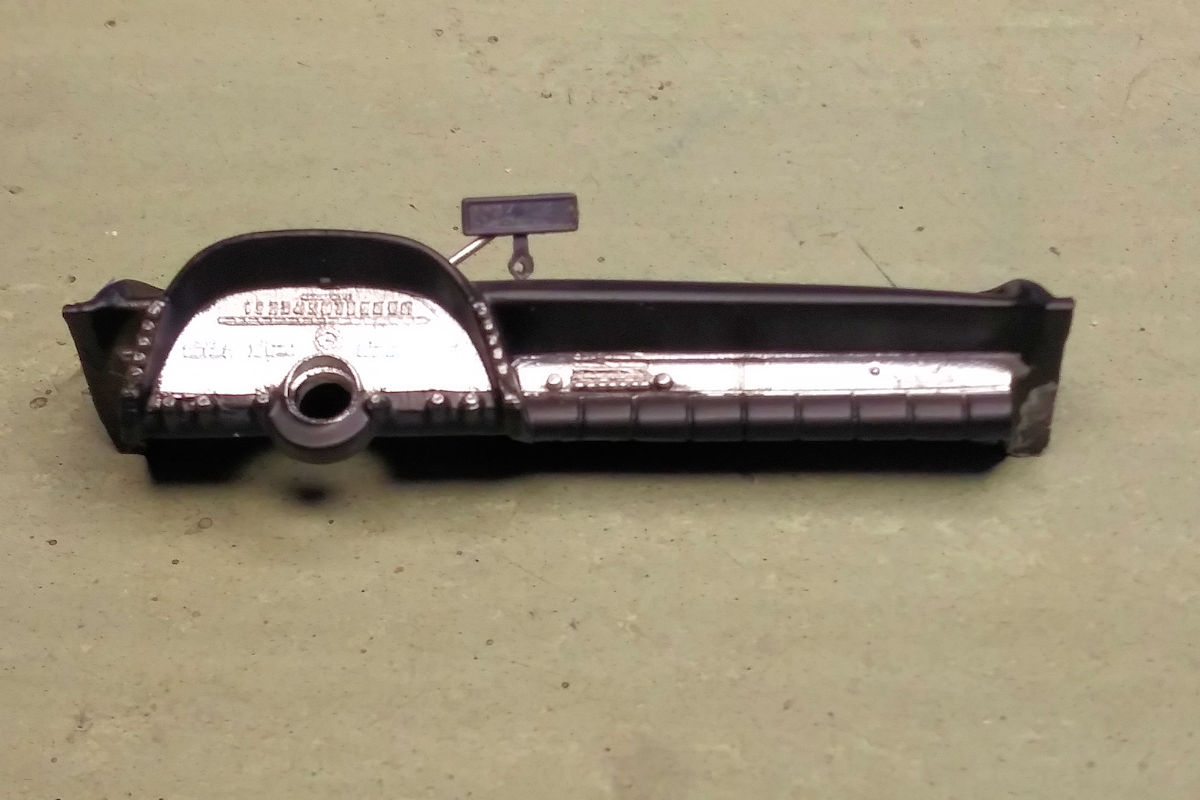
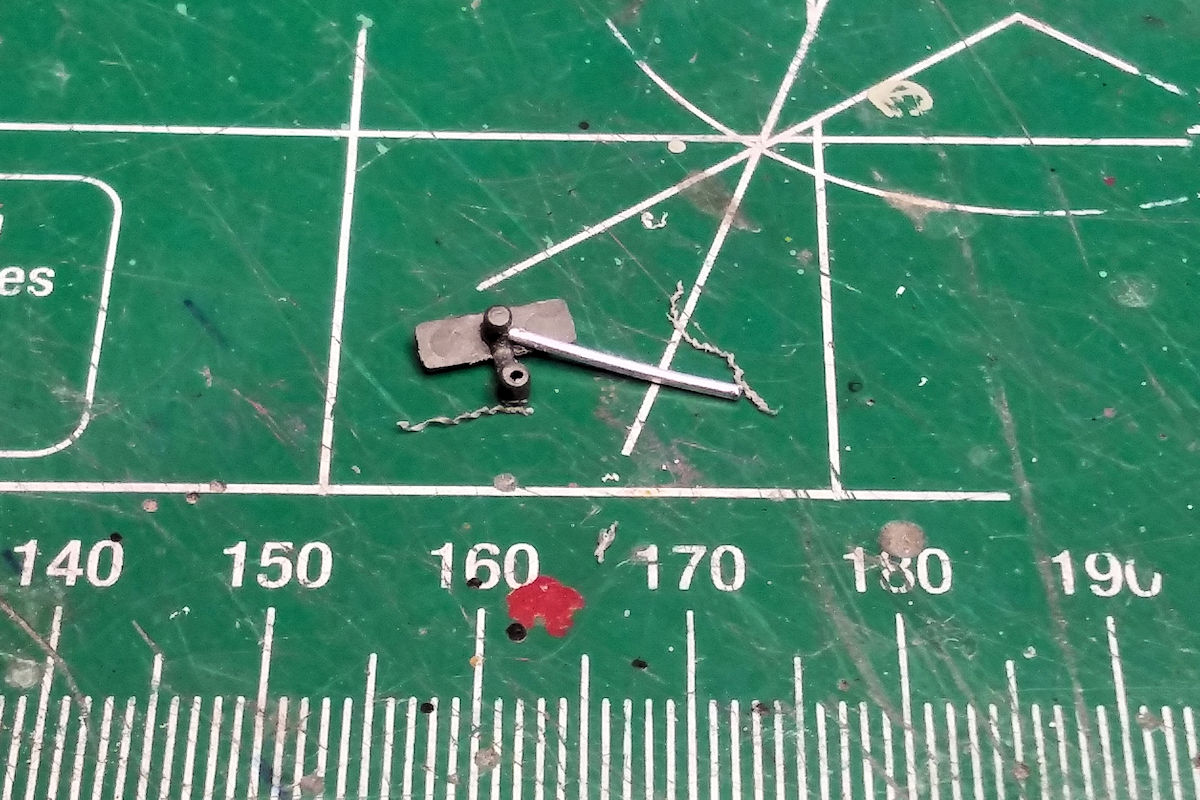
Hello People. I have the interior nearly complete so it's time to post some pics. Here is the painted and flocked interior tub. It's a bit shallow and there's not a tremendous amount of detail but there it is. The rear view mirror offered by AMT is supposed to be mounted on either the ceiling or the dashboard. According to my research, both of those options are incorrect. In all the examples I've been able to find, the mirror is mounted to the dashboard on the side of the instrument pod, not the center of the dash or the ceiling. So it's time for a little corrective surgery. I stripped the chrome from the mirror and drilled a hole to accommodate the bailing wire. I also drilled the barrel shaped casting at the bottom with the intent of using it for the base grommet on the mounting shaft. (sorry for the crummy cell phone pic) Here is a test fit to check the angle. The drilled bit on the mirror base didn't work out as planned so instead, I stripped a piece of wire insulation and trimmed it to fit. Here is the rearview mirror mounted to its correct location on the dash. Just a few more finishing touches and the interior will be complete. As always, thanks for taking the time to look and please feel free to leave a comment. David G.

-
That should work. David G.
-
It's a bummer about the paint Declan but as is said the paint can be stripped. I would recommend SuperClean over Purple Power as the former offers better performance in removing paint and chrome plating from model car parts. Here is a link to an MCM discussion on the topic from a few years ago. Hope this helps. David G.
-
 You ain't kiddin'. David G.
 -
Sweet! David G.
-
I don't know if I've seen one of these built up yet. I'll be watching with keen interest. David G.
-
You have a way of building some of the most terrifying vehicles I've ever seen! ? Beautiful work as always. David G.
-
That turned out great! Nice work on the figure. To me, there's still something just a little creepy about that one. David G.
-
It's nice to see this one back on the bench again, great progress too. Don't feel bad about the oil filter, I made labels for the shocks on my 71 Charger! David G.
-
Wow! That is just spooky cool! David G.
-
In spite of all the difficulties this kit gave you, the end results are well worth the effort. Beautifully Done Simon! The matching paint scheme on the base is very complimentary to the car. I'm just curious, do the lamps on the base light up? David G.
-
Looks good, nice detail painting. David G.
-
It looks like the body is shaping up nicely. I'm also interested to see how your suspension drop works out. David G.
-
I followed your WIP on this one and got to see all the custom work you did on it. The finish work with all the details, paint and decals came out great, excellent work! David G.
-
Looks like you're off to a good start. David G.
-
Beautiful! David G.
-
Looks Great! David G.
-
Thank you for that explanation David. It helps to firm up the concept for me. It seems more closely related to the Dots Per Inch that a printer head produces than display resolution but there are similarities to both. Again, fascinating stuff. David G.
-
*1941 Willys Gasser "Big John Mazmanian"*
David G. replied to Zippi's topic in WIP: Drag Racing Models
Congratulations! Awesome looking truck! It must feel great to be recognized for that. David G. -
It's quite a fascinating process. The main factor in the appearance of the printed product appears to be a matter of "resolution" rather like computer graphics- 1920x1080 is better than 1024x768 and both are lightyears ahead of 640x480. Is that accurate? I find your thread on this subject very informative and enlightening. Thank you for taking the time to share it. David G.
-
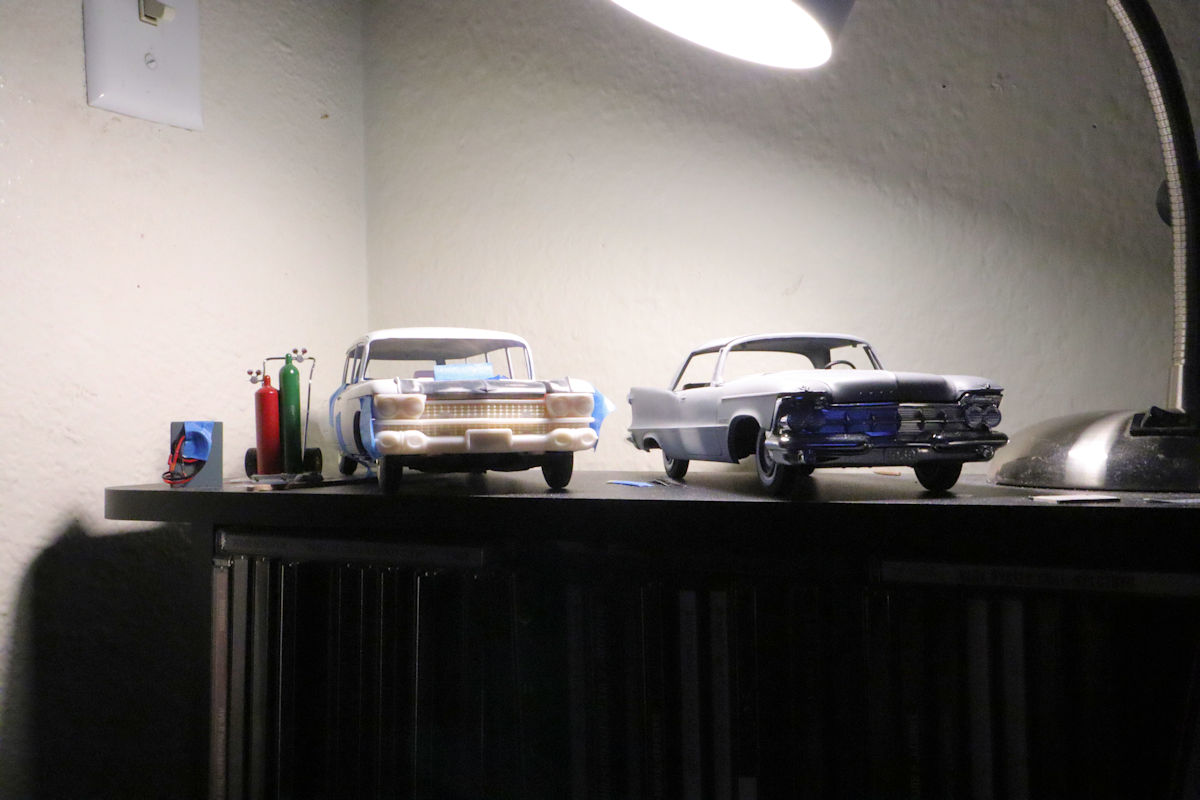
Thank you Declan. Thanks Gareth. Thinking back on the cars of that era that I remember seeing, it seems to me that many of them had quite a bit of space between the fender and the wheel. The more I look at it setting on my build shelf, the less odd it looks to me. Especially next to the 59 Caddy I'm working on. Thank you Chris. During my research I did see a few built-up models in which the builder left the gap unaddressed. I'm glad I decided to "mind the gap" so to speak. Yes, I do see a little bit of a challenge with mating the lead edge of the roof to the windshield header and vents. Adjustments will be necessary, I'm just now working out what and where. Yes I did Carl, thank you. Although a little more of a challenge than it used to be, detail painting is one of my favorite parts of the build process.
-
*1960 Chevy Fleetside Pickup*
David G. replied to Zippi's topic in Model Trucks: Pickups, Vans, SUVs, Light Commercial
That came out really nice. Excellent engine bay and interior detailing, the wheels even work well with it. David G.