David G.
-
Posts
11,325 -
Joined
-
Last visited
Content Type
Profiles
Forums
Events
Gallery
Everything posted by David G.
-
I'm always amazed by these paint jobs but I have yet to try one. Yours turned out great! What tape were you using? David G.
-

Re-engineering Monograms Lotus Esprit...new update!
David G. replied to Dann Tier's topic in WIP: Model Cars
I recently discovered this thread and it took me a few days to get caught up on it. All I can say is: Extraordinary work, as always! The yellow you selected is an excellent choice. David G. -
Still watching, still amazed! David G.
-
Thank you Joe. This one did take a lot of work and patience to complete. David G.
-
Looking Good! David G.
-
Excellent Progress! David G.
-
Nicely Done! David G.
-
For those who may be interested, I've gone back into this topic and updated all the photos. Thanks, David G.
-
Wow! Cool profile. It kind of reminds me of a torpedo. David G.
-
Thanks Dann, I'm glad you like it. Those wheels look great Dann! I've been keeping an eye out for Spax Stix at my LHSs but so far no luck. I like that it comes in a can. It sometimes feels like too much of a pain to fire up my airbrush for two bumpers and a handful of hubcaps. Having the chromie stuff in a can sure would increase the convenience factor. Thanks David G.
-
Impressive work! Well worth the effort to save such a nice classic. David G.
-
Wow! Most impressive. Oddly, the resin almost looks like the correct color for the wood framing in the 1:1 vehicle. Do you plan to make use if it in that way? David G.
-
That's one thing I have yet to do, chop a top. I've been wanting to try it but not just for its own sake. Maybe I should take one of my junk bodies and give it a whack so to speak. Yours is coming along nicely, the A pillars look perfect. David G.
-
It's nearly done. Yes, I've been saying that for almost three weeks but as you know, there's always that "Just one more thing" thing that "shouldn't take too long". Well, all those are finished and I plan to do the assembly sometime this weekend. Thanks for asking. Here's a link. Regards, David G.
-
I'm glad to see that your attention is once again on this project. This is such a tremendous undertaking that when it is finished, it will have outlived the popularity of the movie itself. People will wonder what your inspiration was. The amount of work you put into the detail and accuracy of this model is mind-boggling. It would be wonderful if there was some way of sharing it with the folks who designed and built the 1:1. I'm sure that their minds would be suitably blown. David G.
-
Great looking paint! It must be a little challenging to get a good photo of a color like that. I'm working on one in Testors Rootbeer and I have a hard time getting the color to show properly. David G.
-
34 Ford Salt Flat called “Salt Lick”
David G. replied to DrKerry's topic in WIP: Other Racing: Road Racing, Land Speed Racers
Good progress on this. David G. -
Great looking mods so far. I can't wait to see where the body work goes. David G.
-
Dash detail looks great! David G.
-
Looking good! David G.
-
That's a lot of work you have going on there. All of it very well executed and a great improvement to the original kit. David G.
-
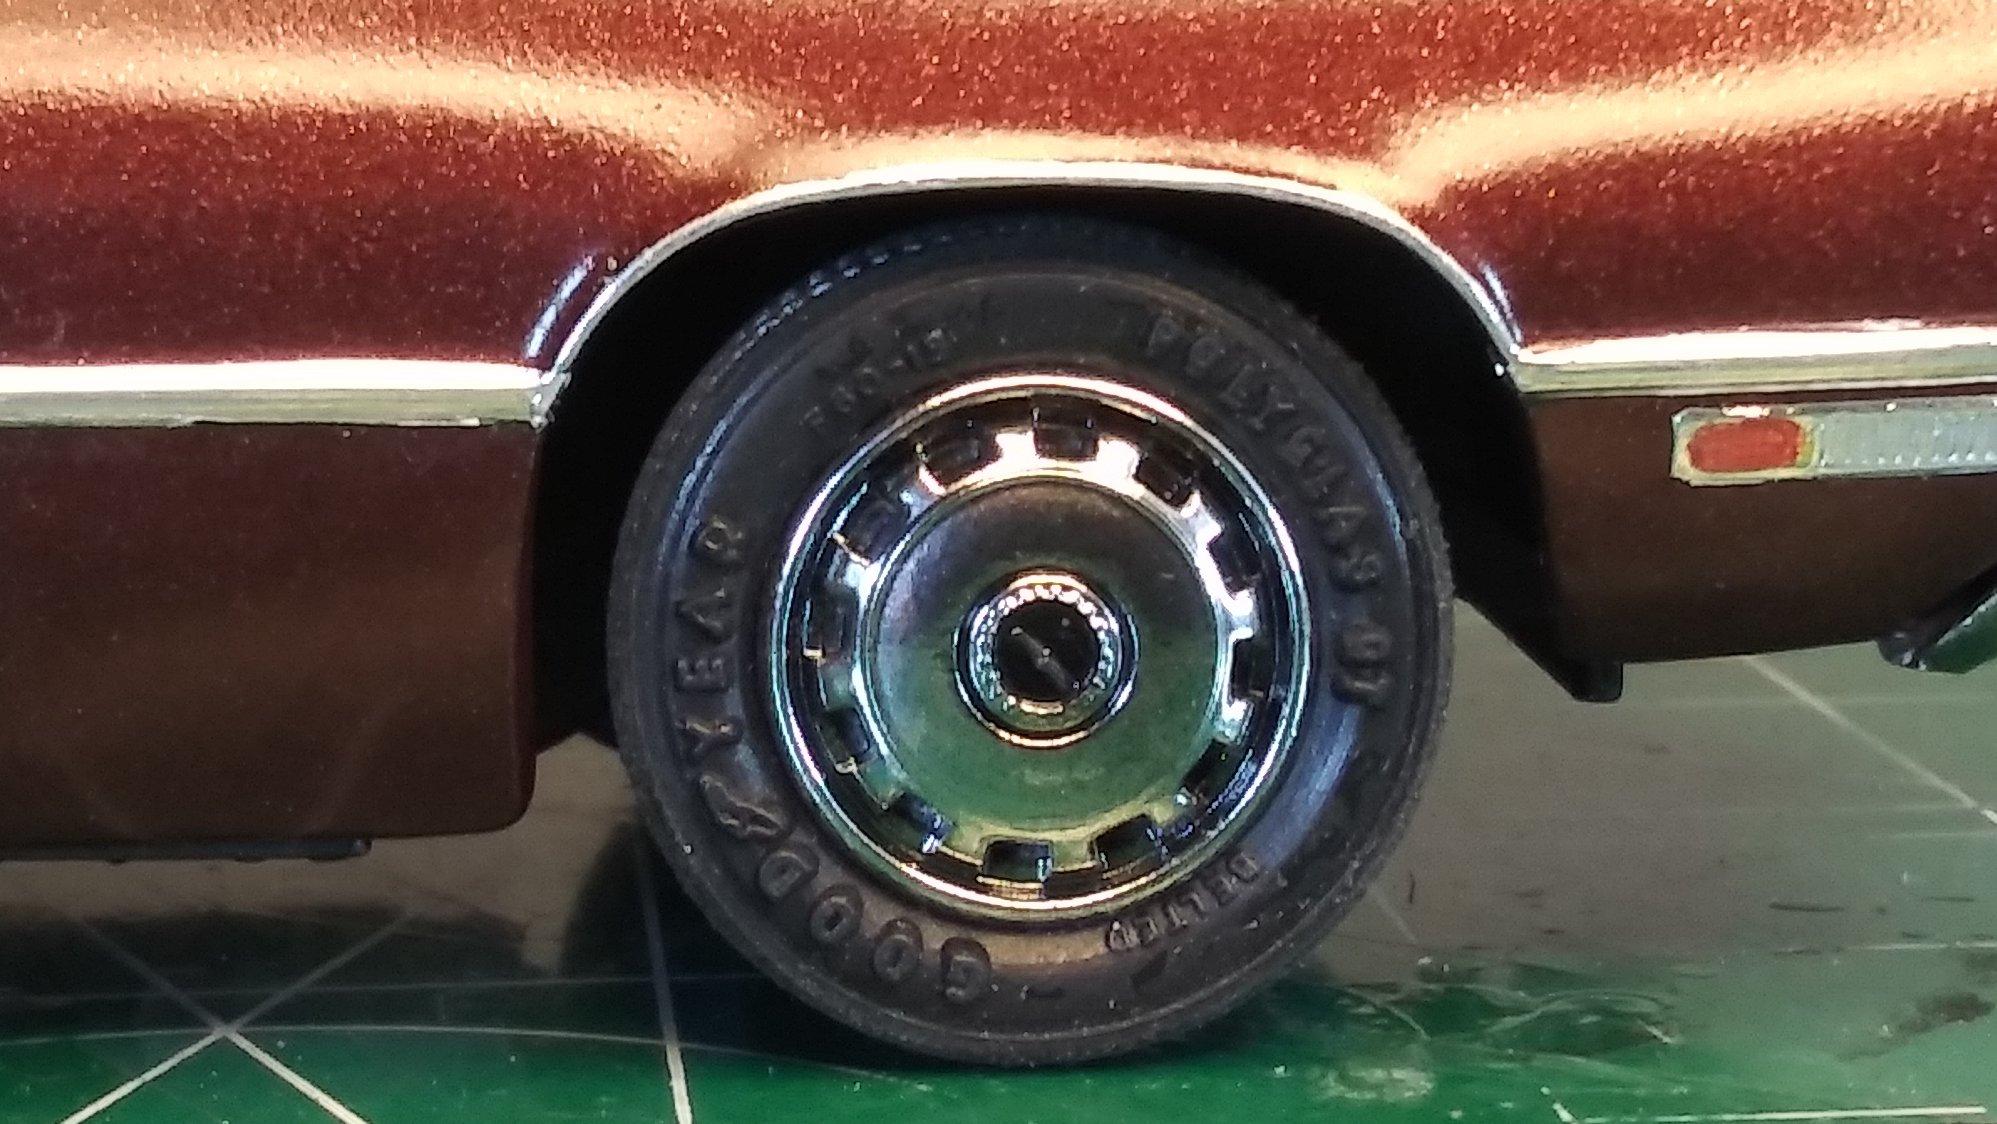
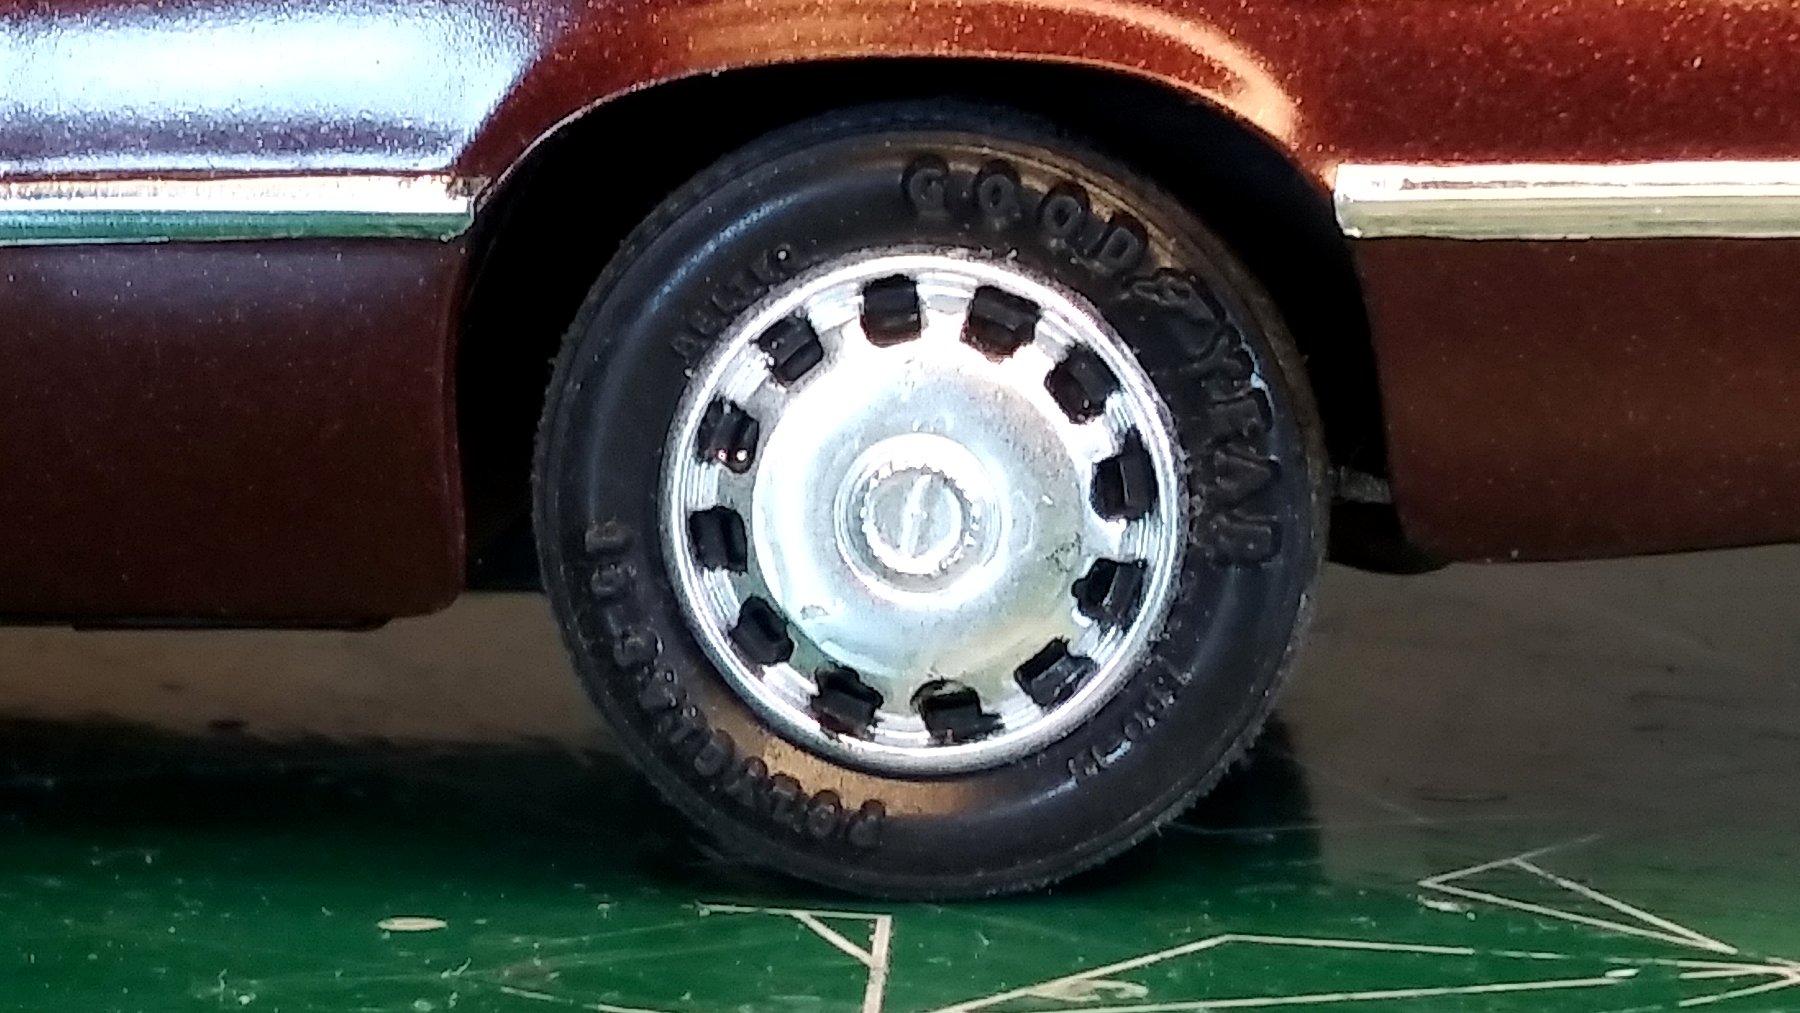
I'm very close to completion on this one. I just did some Molotow marker touch-up to the door handles and I want to give it a day to cure before I do the final assembly. In spite of the extra time it took, I'm really glad I made the effort to repaint the wheels. Before After Well worth the extra time it took. Thanks for taking the time to look. David G.

-
I really like the concept you've come up with and I can't wait to see where you take it. David G.
-
1965 Ford Pickup
David G. replied to mikemopar70's topic in Model Trucks: Pickups, Vans, SUVs, Light Commercial
Nice looking truck. good subtle dirt effects on the fenders. David G. -
Little Red Express rebuild
David G. replied to restoman's topic in WIP: Model Trucks: Pickups, Vans, SUVs, Light Commercial
Looks good. Do you have a "before" shot to compare it with? David G.