Codi
-
Posts
2,675 -
Joined
-
Last visited
Content Type
Profiles
Forums
Events
Gallery
Everything posted by Codi
-
Chris S. (mooneyz) its moving along faster now and the motivation is high. Thanks as always! Chris Smith, I'm slow as you've figured out by now and I've resigned myself that I'll never be a John Teresi. Certainly appreciate your sentiments and if I don't do something stoopid before completing it, I think it will turn out as well as I had hoped at the start. Clay, hey man nice to have you stop by and check it out. Thank you..........been checking from time to time on your Old Master build you started.......any chance you'll pick that one back up? Here's hoping! Last step before installing seat and belts was to plate the front axle, spindles and to re-plate the seat (I just wasn't satisfied). The plating is now complete and I'm going to move on to the next step. 2 pics of the seat and front end now that they're shiny. Cheers all! Tim

-
 I can only echo what Clay said. You are THE maniac. I especially like the close up shots you're sharing John. cheers
 -
Can't wait to see when you pull the mask. cheers
-
Again with the details John. You captured the window scoop perfectly. That's not an easy one, at least not for me, to have done. The fitment of everything looks spot on. Not that I'm surprised of course. cheers
-
Side by side by side Dragster builds...Kemp-Teresi-Sobak
Codi replied to ClayK's topic in WIP: Drag Racing Models
Chris is back. YEAH! Nice to see you having 2 builds going at once. Cheers, tim -
Hi Brad, I used the printer plate you sent me........thanks again, that stuff is fantastic. Thanks Daniel. I'm taking my good ol' time now. I have no pressure to finish it at this point. It will be done in the next couple of months for sure. I just refuse to deviate from the assembly plan now as I'll screw it up for sure otherwise. Thank you Dave & John as always. I'm starting to get superstitious about the month of April. It was 3 years ago to the month that the Henry went to the floor. Yesterday, I dropped this one from my elevated work stand (I have to use it now sometimes because I have arthritis in my neck or so the doctor says) and it went about a foot down onto my steel desk top. Only a tiny tab came off that I was able to repair and a super small bit of paint that has been repaired too. The chassis is super strong. The paint proved itself super durable as well. I think having the mid-plate and drive-train installed added a lot of stiffness to it which is why nothing twisted or bent. I was so fortunate not to have the blower and crower installed at this point. It's back in the jig now and ready to move forward. I've got a few pieces to do final plating on and then the belts and seat go in. After that it should really move along. Thanks for following! Tim
-
Dyno Don Eliminator II - Finished - New Photo Added 4/5/19
Codi replied to TooOld's topic in WIP: Drag Racing Models
What a difference in lighting can make. Your car POPS in that new pic. Nicely done Bob........would like to see more pics of it with the new "studio shots"........cheers -
I'm jealous. Stunning car sir. cheers, tim
-
That's an unreal amount of talent. Thanks for sharing as I quite honestly wasn't familiar with his work. cheers, tim
-
That is NUTS Benito. Beautiful build. Congratulations on a fine build. cheers,tim
-
Thank you Daniel for posting this. I've got to give it a try and your explanation w/photos helps a lot. Cheers
-
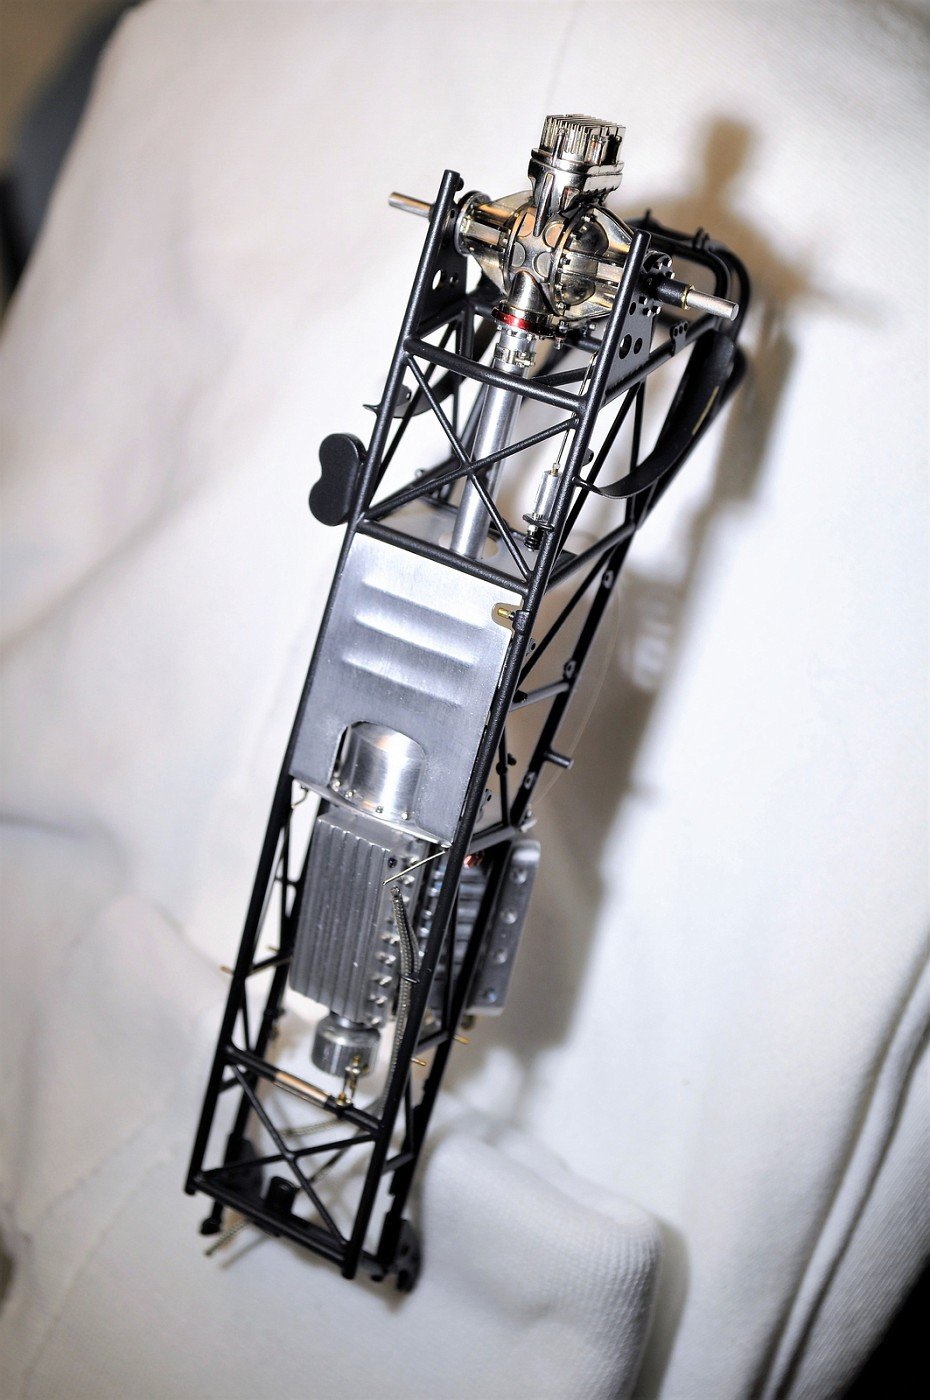
Thanks fellas for all the sentiments you've shared. Art I think captured how I felt about that step....setting the gem in the ring. Good one Art. Well, that got me really going so after letting the glue set I flipped it over and attached the floor and oil pan. There won't be many pics of the bottom end at this point so I thought I'd share these couple of pics. Cheers & Thank you once more! Tim
-
Trick looking front suspension John. You've got a great set of reference material. cheers, tim
-
Hi Joe, it's a 2 hour drive for me but I've taken my kids on 3 different occasions. You'll always miss something. Great warbirds from every period and to see a real Blackbird and Space Shuttle up close is truly something to see. Almost forgot, they even have a Horton they're restoring and you can overlook their restoration shops from the 2nd floor. I know it's a long haul for you from Texas...be fair to yourself and plan on an entire day there. Fly directly into BWI and it's a super short cab ride to the museum. Food is very limited (McDonalds onsite) but you'll never regret it. Cheers sir!
-
You're one heck of a builder Joe. The details are just stunning. I saw this jet at the Smithsonian Air & Space at Dulles Airport. If you haven't been there but you can visit, I highly recommend it. Will be looking for your future updates. Congrats sir on a wonderful start. cheers, tim
-
Nicely detailed Bruce.........after looking at the link to the German builders thread ( I really liked pages 8 & 9 of his thread too) seems you've found your long lost brother and he lives and Germany and builds like you do. Awesome job. cheers, tim
-
Nice build and love your color choice. That's unique in the very best way. cheers
-
Comission build; 1/25 1966 Mustang shifter -TOTAL scratch build.
Codi replied to Dann Tier's topic in WIP: Model Cars
Exquisite scratch building in a teeny scale. My only disappointment are the 2 quick release pins in the 1:1 photo are missing..................belated April's Fool Joke. Don't even THINK about it Dann. Nice building in any size once more. cheers -
Serious 3D printing inquiry...
Codi replied to Dann Tier's topic in General Automotive Talk (Trucks and Cars)
Great topic and query Dann. I personally love the pale blue 908 and the dark blue Countach he made. They're outstanding and I'd love to see multiple close up pics of those (and others too of course). The technology has come so far so fast. I liken to computer capabilities. The next 5 years will be truly amazing to watch as to what it evolves. No doubt we'll look back and be amazed at the "early years" versus what they'll be able to do in the near future. I personally can't wait to see small parts printed in metal that are refined. Might take a while for our hobby but it should trickle down, hope I get to see it come to fruition. Of the cars you shared with him my hands down top pick would be Hennessy Venom. That would a one of a kind freak of a car. Hope he develops THAT one!!! You have great taste in cars sir. cheers -
John, I'm still picking out details. I appreciate how you captured the shape of the pyramid shaped front body/chassis posts. Too cool on the real car and you nailed them. cheers
-
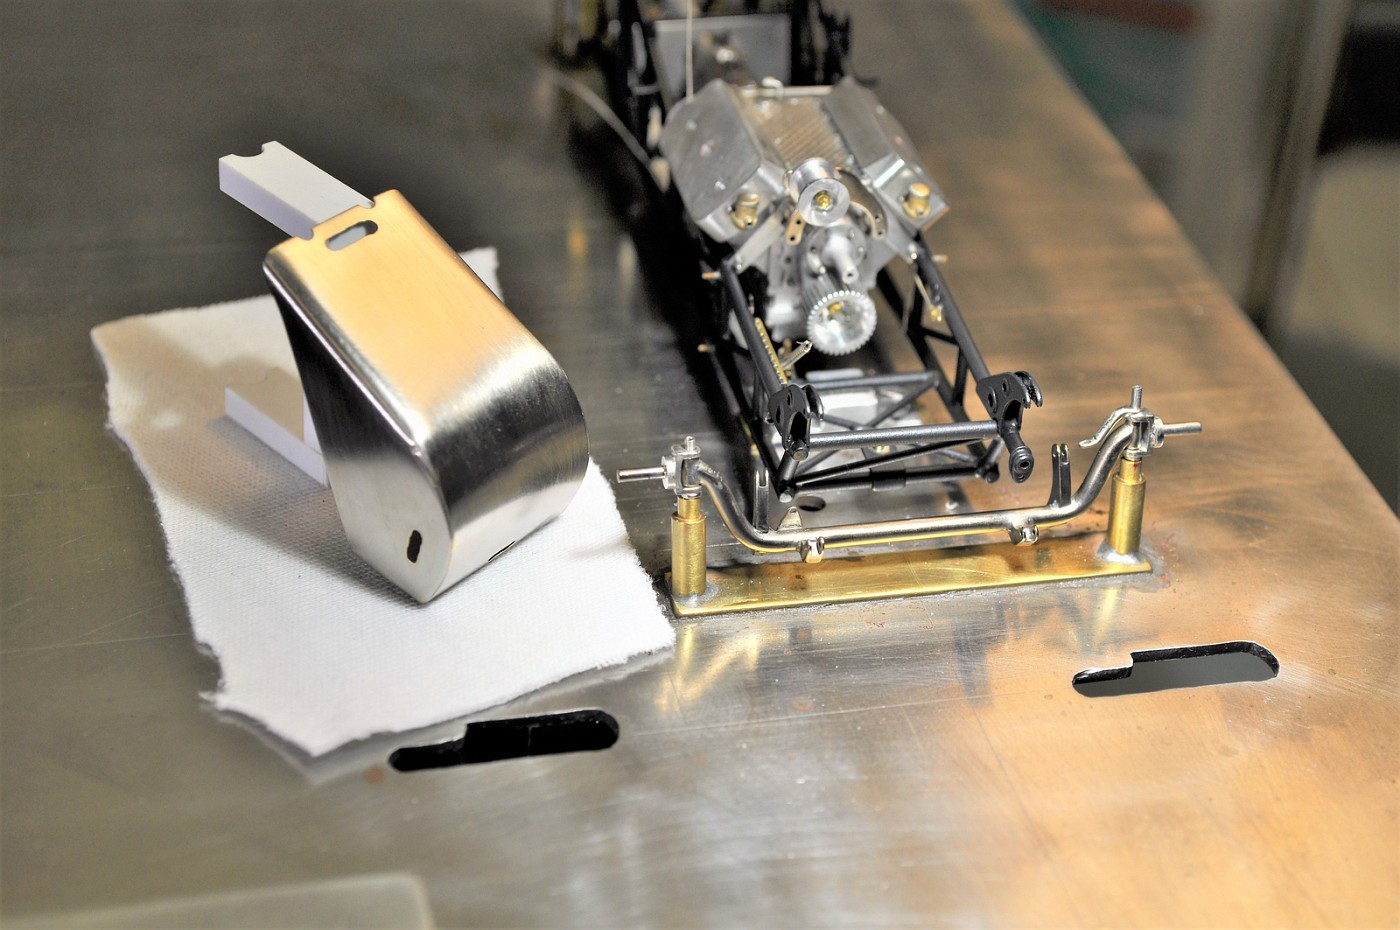
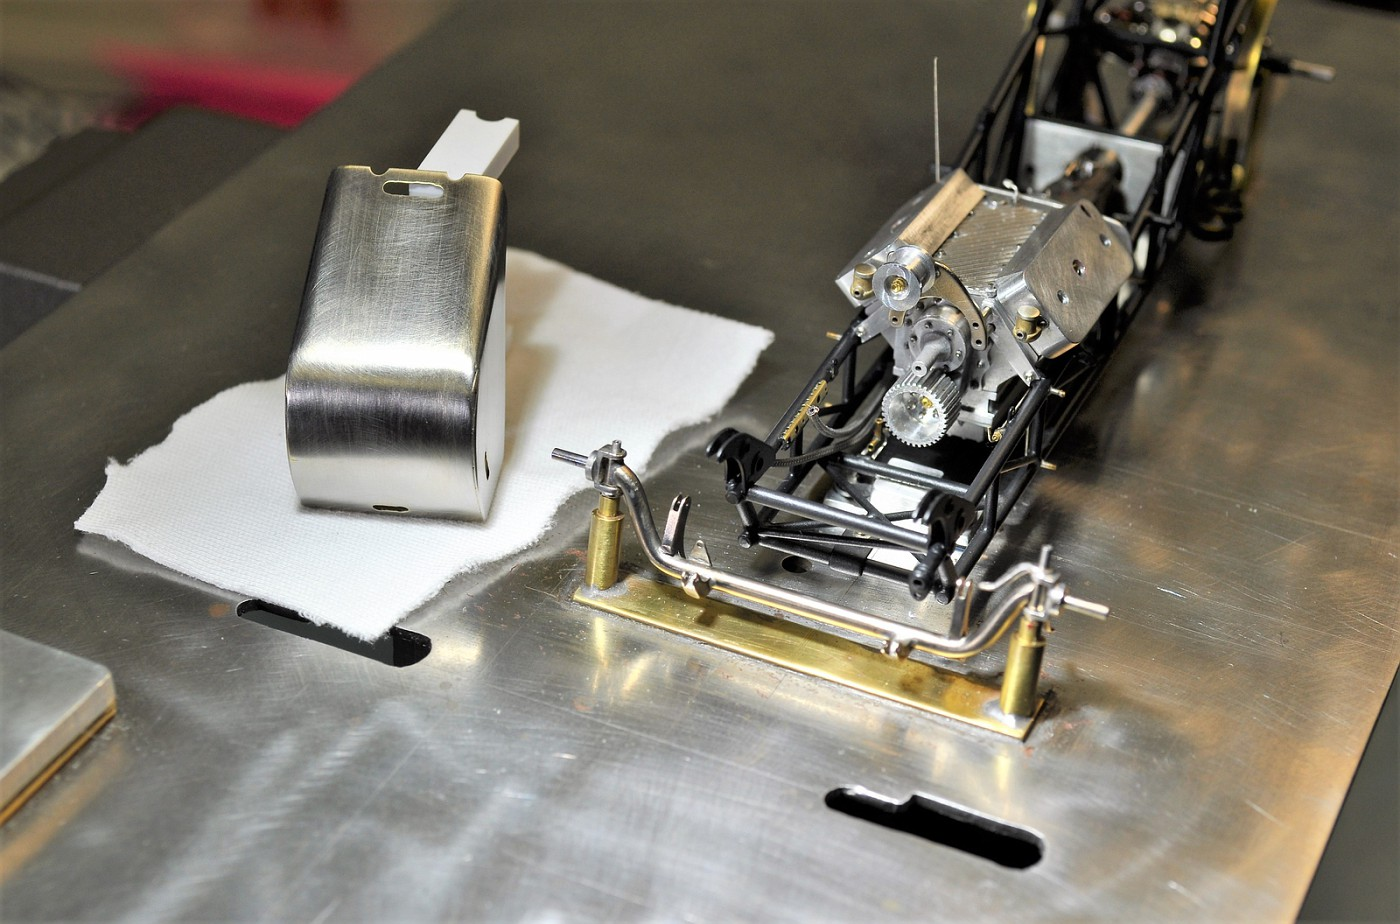
Thank you Bruce.......really like what you're doing on your Big Boyz build as well. I love that car. Hey Zack, well I've been called a lot of things in my life but prodigy wasn't one of them. All kidding aside, I appreciate the compliment. cheers Davewilly & DaveGoatGuy............appreciated I assure you. This pic doesn't appear to be much but it a very important moment. Using Devcon 2 part clear epoxy, which gives you 30 minutes handling time but is SUPER STRONG & Clear when it sets, I finally got the engine & drive-train installed. Took me a while to get various hard & soft lines in place first but now I'm really anxious to start putting the other bits & pieces in & on. Cheers
-
John, the interior tins for the monocoque and body modes are fantastic. How are you cutting them? Laser cutting thingamajig or by hand? They're just too perfect...........if that's possible on your models. I'm amazed. cheers
-
You're just full of nice surprises Chris. A real pleasure to see you back on this build and can only marvel at the CAD skills you possess on top of all the others. The parts look fantastic! cheers, tim
-
Love your build Tom. Every detail looks fantastic and I can't add to all the positive comments about the paint. Wish I could paint like that! cheers, tim
-
WOW Dann. Paint looks fantastic as do your body bits & pieces. cheers