mustang1989
-
Posts
6,672 -
Joined
-
Last visited
Content Type
Profiles
Forums
Events
Gallery
Everything posted by mustang1989
-

64 Dodge D100 Pickup Pro Street
mustang1989 replied to AmericanMuscleFan's topic in WIP: Drag Racing Models
This right here..... speaks VOLUMES to me. All the fabrication, modifications and attention to detail all come together to produce such a high quality product that one just can't help but to be impressed. Francis.....you are, without a doubt, one of the very best modelers I've ever seen. -
Got the washes on and went with a friends advice and applied a light colored wash on this and then gradually worked my way to darker washes on the sides and then a dark wash topside. Bottom side pic: and then I ended up going with my dull coat all over the whole bird. Got some subtle weathering, soot signatures from the guns and some silvering to do around the access panels and the painting / weathering process will be done. Then its off to landing gear, canopy and finishing bits....
-
Bugatti 100P
mustang1989 replied to 89AKurt's topic in WIP: All The Rest: Motorcycles, Aviation, Military, Sci-Fi, Figures
Sleek bird and I'm liking the progress so far. -
We're so bad. ?
-
Thanks Mark!
-
Looks good Faust!
-
Good lookin' build Ken and you're right....it's nice to have a change of pace every now and then.
-
Lotsa little details in that. Good looking build.
-
Sprue Stretching Tutorial
mustang1989 replied to StevenGuthmiller's topic in Tips, Tricks, and Tutorials
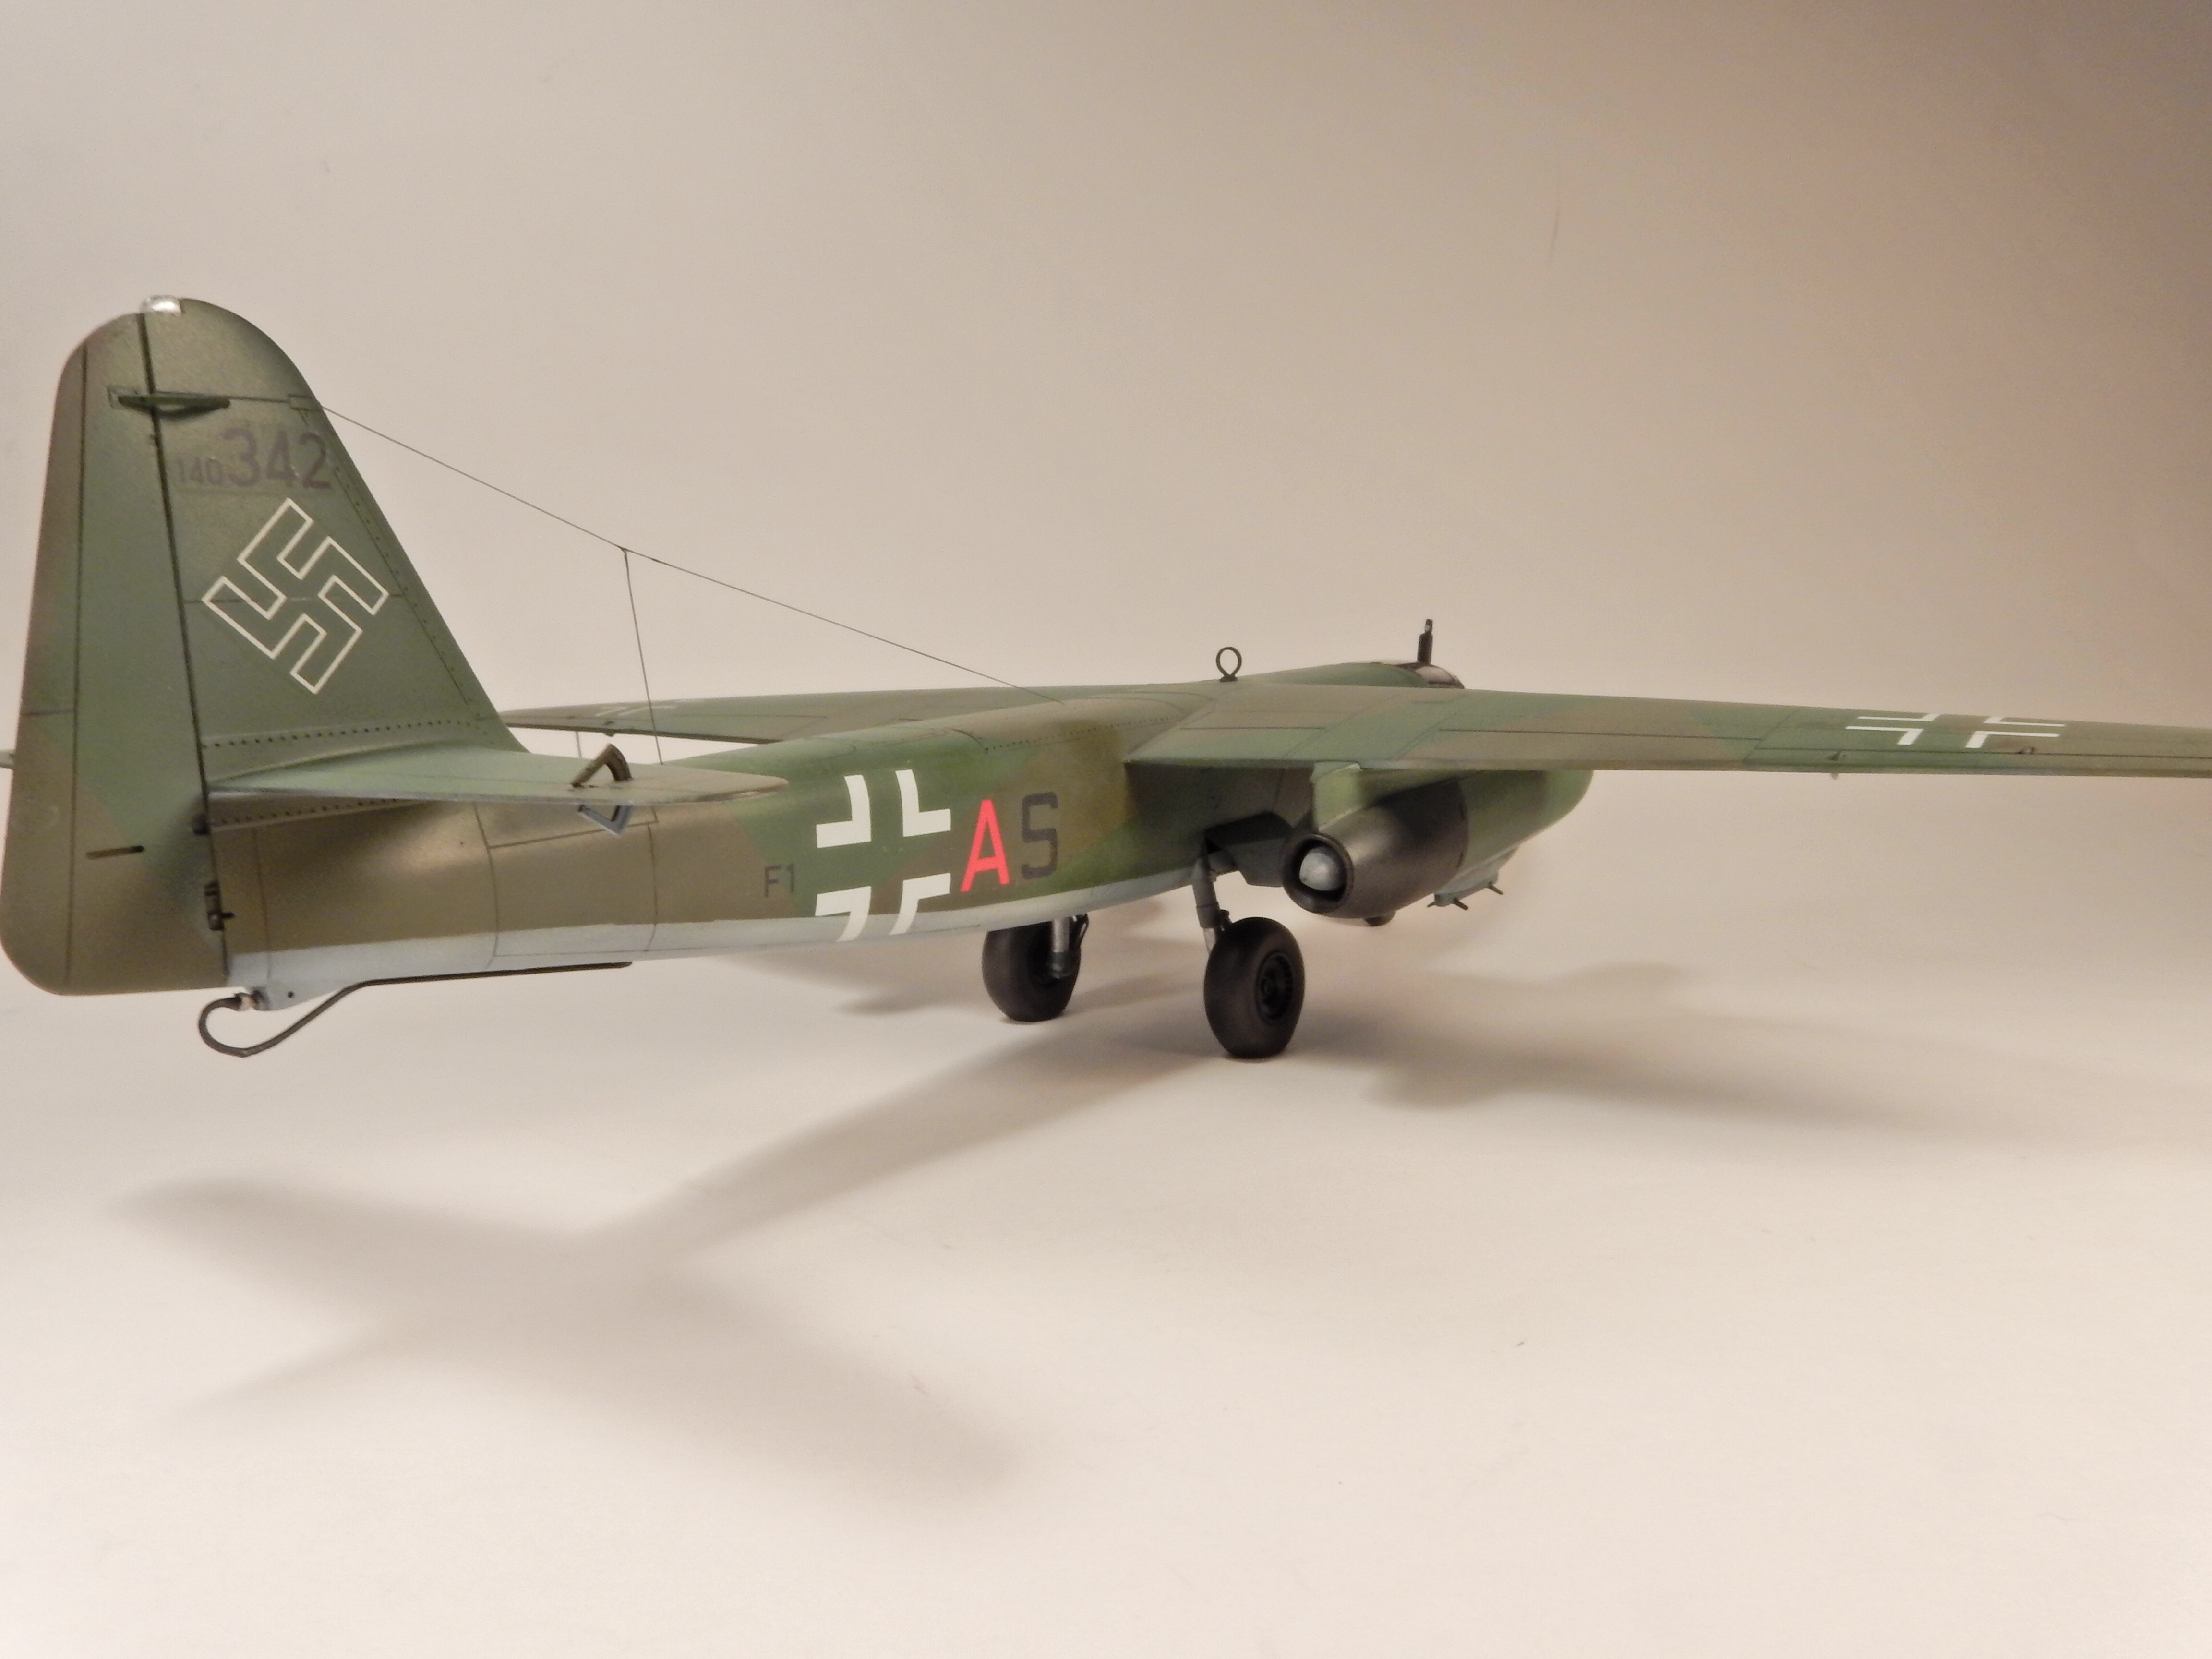
I do this all the time and that was a great tute Steven. On a note about antenna wires/ cables on aircraft. After the ends are attached to the fuselage and rudder, the "antenna" has a tendency to sag. Heat a metal rod using a stove burner or flame from a small torch and after removing from a flame place the metal rod under the lowest point in the sag. It only takes a second or so and the "antenna" will start to sag more. When you see this happening quickly remove the rod and the antenna / stretched sprue pulls taught. Dangdest then you ever saw but it works. I used this method on my Arado 234. The vertical antenna attachment was glued in place after the longer piece was installed. I just attached the second piece at the fuselage and put a jig in place to lower the stretched main antenna down to the vertical one and used super glue to adhere both together. Had a little trouble uploading pictures this morning and when I did, the only way I could get this to post was with this too large of a photo. Sorry 'bout the size of this.
-
Thanks Carl. Gonna have to make it back to auto modeling. I'm getting the jitters. lol
-
Gecko British Army ATMP
mustang1989 replied to PatW's topic in All The Rest: Motorcycles, Aviation, Military, Sci-Fi, Figures
Gotta hand it to ya Pat. That right there is born of creation. Very cool and interesting build. -
This just gets better and better every time you post an update Simon!!
-
Thanks Mike!! I hear ya on the cockpit or even engine details for that matter. lol. Been there and done that too many times. Builds like this or a He-111 or Ju-88 pay off in dividends in regards to cockpit/ interior detailing. The 234 was indeed a highly successful aircraft for the time that it was employed (which wasn't all that long).
-
Cool build!!!
-
I've seen this one built up a few times and it definitely makes for a good conversation piece. Neat build.
-
Such a beautiful build Tom. Man you've gotta be proud of that!!!
-
Man I hate it when that happens. Bob's right though....it's at the easiest place on the car to repair.
-
Thanks Mike! Rusty....you know what to do..... Finished up with all the decaling this morning. Now.....for the not so good news. How in the world I managed to get the stabilizers painted wrong...I just don't know. Painted the bottoms with the topside color and vise versa. Currently stripping the paint from both of them and a re-do will be in progress on those.
-
Thanks Roger! You should give one a try bud. They're fun.
-
That IS cool! ?
-
Now she's starting to get some personality. Been goin' on with the cals for the last few days. Those #3's were giving me a little static but other than that everything else worked out. NOTE....Do NOT EVER buy decals from Peddinghaus. OMG they're bad. I only used the big 3's and the tail numbers out of the whole set. Just terrible in terms of out of scale lettering and walkway red dash sizes. It was like there was little to no research on them. For the rest of the stenciling decals I used the EagleCals set that I started out with on this one before I decided to build White 3.
-
That would've been the XB-38 Rusty and you're right....beautiful bird with those engines. Here's an article on them: https://foxtrotalpha.jalopnik.com/the-prettiest-b-17-flying-fortress-was-the-xb-38-1619966937
-
Thanks James. I've seen that one a couple of times. Theres footage with a black car getting fired upon with a lady in it and is a key part of the story. I'll see if I can find that. Very VERY good book.....but then again....pretty much anything from Adam Makos is an automatic winner.
-
Looking forward to this one!
-
Looks good Benton. I really have an appreciation for these tanks after reading Adam Makos' book , Spearhead. Excellent read and as I found out a very needed tank during WWII.