atomicholiday
-
Posts
2,281 -
Joined
-
Last visited
Content Type
Profiles
Forums
Events
Gallery
Everything posted by atomicholiday
-
That’s really cool. Great color for a car like this.?
-
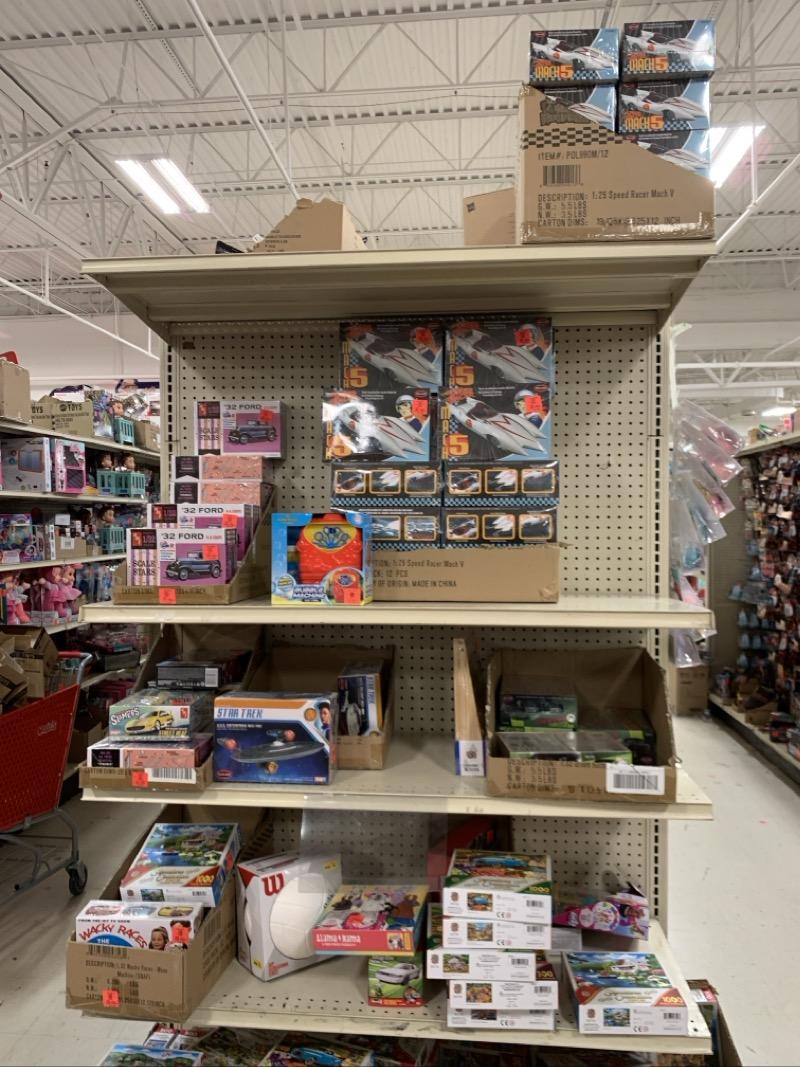
Ollie's strike again
atomicholiday replied to GLMFAA1's topic in General Automotive Talk (Trucks and Cars)
Fort Wayne Ollie’s is a bust again. And the whole store looks post-black Friday.
-
Looks awesome David. Very tidy workmanship.?
-
That's looking cool! I've been kicking some ideas around for this kit too. Probably be one I focus on next year.
-
Thansk! it was getting a little frustrating, but it was worth it. The experience I gained was well worth the annoyance. I still haven't gone back and rubbed out the final finish, but I plan to fairly soon.
-
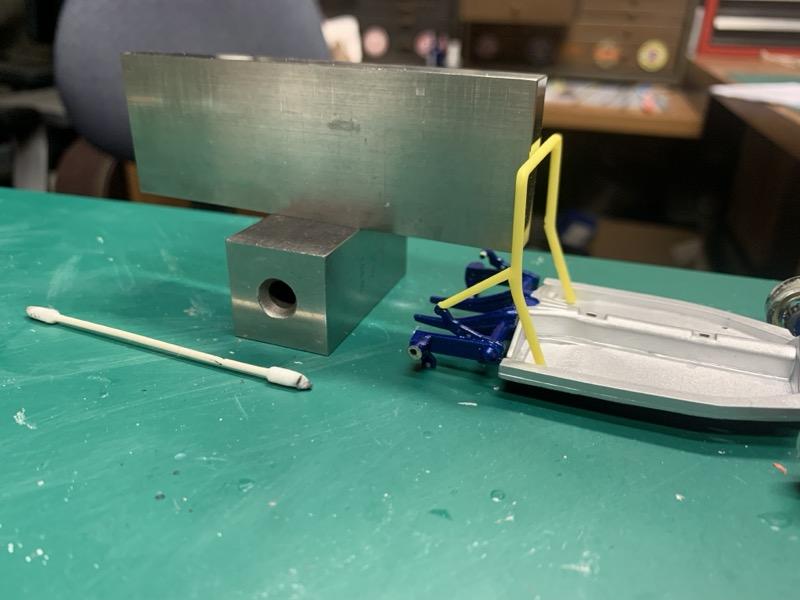
So back to this one after a little break. Working on getting the roll bars together. Both are quite fiddly, but this seems to work. The front bar is already glued together, but won’t get attached to the floor pan until after it’s painted. I’m only gluing one side at a time, allowing the glue to cure between sides. Trying to do both at once would probably be a real pain. More than my shakes would ever allow.?
-
It’s pretty hard to beat the old Monogram kits for building fun. Great start so far. Looking forward to this build.?
-
Replacement for Model Master Metalizer
atomicholiday replied to Straightliner59's topic in Tips, Tricks, and Tutorials
Another option would be Vallejo Metal Color. Great stuff. I use it all the time. -
I don’t see any reason why not. I’ve passed along some good deals when I’ve seen them.
-
Organization while building
atomicholiday replied to atomicholiday's topic in Tips, Tricks, and Tutorials
Sweet! Now I’m gonna have to go find one of those.? -
Organization while building
atomicholiday replied to atomicholiday's topic in Tips, Tricks, and Tutorials
Do I see some Keystones in that bottom pic? ? -
Yeah, I saw that. Just not sure how to get that look though. There’s no lip on the parts to paint. It’s recessed around the cone in the center, but I think if I try to paint that, it’ll look way out of scale. Almost like the ring would be an inch wide on 1:1. I’m considering getting the photo etch set, but I’m not sure I’m ready to make that leap yet. Never tried it yet. Still might though. I’m not happy with the trim rings around the headlights, and that would probably eliminate that problem too. Dunno. I’m still kicking it around. Side note- I actually redid the backup lights yesterday. I didn’t like the look with just aluminum paint. I added some very thinned off-white over the aluminum and it looks better.
-
Looks really mean! Very cool car.
-
That's just plain awesome. It's got such a cool vibe to it. Great job!
-
Man, thank you so much! That’s really helpful. And it confirms some of my suspicions. Again, great job on this one. Hope mine turns out half as nice.?
-
That looks terrific Zack! Great workmanship. I'm really digging the color scheme and decal choices. I'm working on the same kit and I'm having all kinds of issues with the front suspension currently. Could I ask you to take a close up shot of that area on your build? I'd like to see how you handled it. There's no positive locating point anything.
-
Organization while building
atomicholiday replied to atomicholiday's topic in Tips, Tricks, and Tutorials
Man I wish I had read this Before I started work on my Camaro project. Now I can’t tell the left upper control arm from the right!?? This is awesome Rich. Gives me a lot of great ideas for future builds and keeping things straight. I have been doing something similar to your process for a long time now. After I take everything off the sprues, I sort by what base color I’m planning. I’ll also shoot two or three kits at once that get the same color. Some great information from all of you!? -
Let's See Some Glue Bombs!
atomicholiday replied to Snake45's topic in General Automotive Talk (Trucks and Cars)
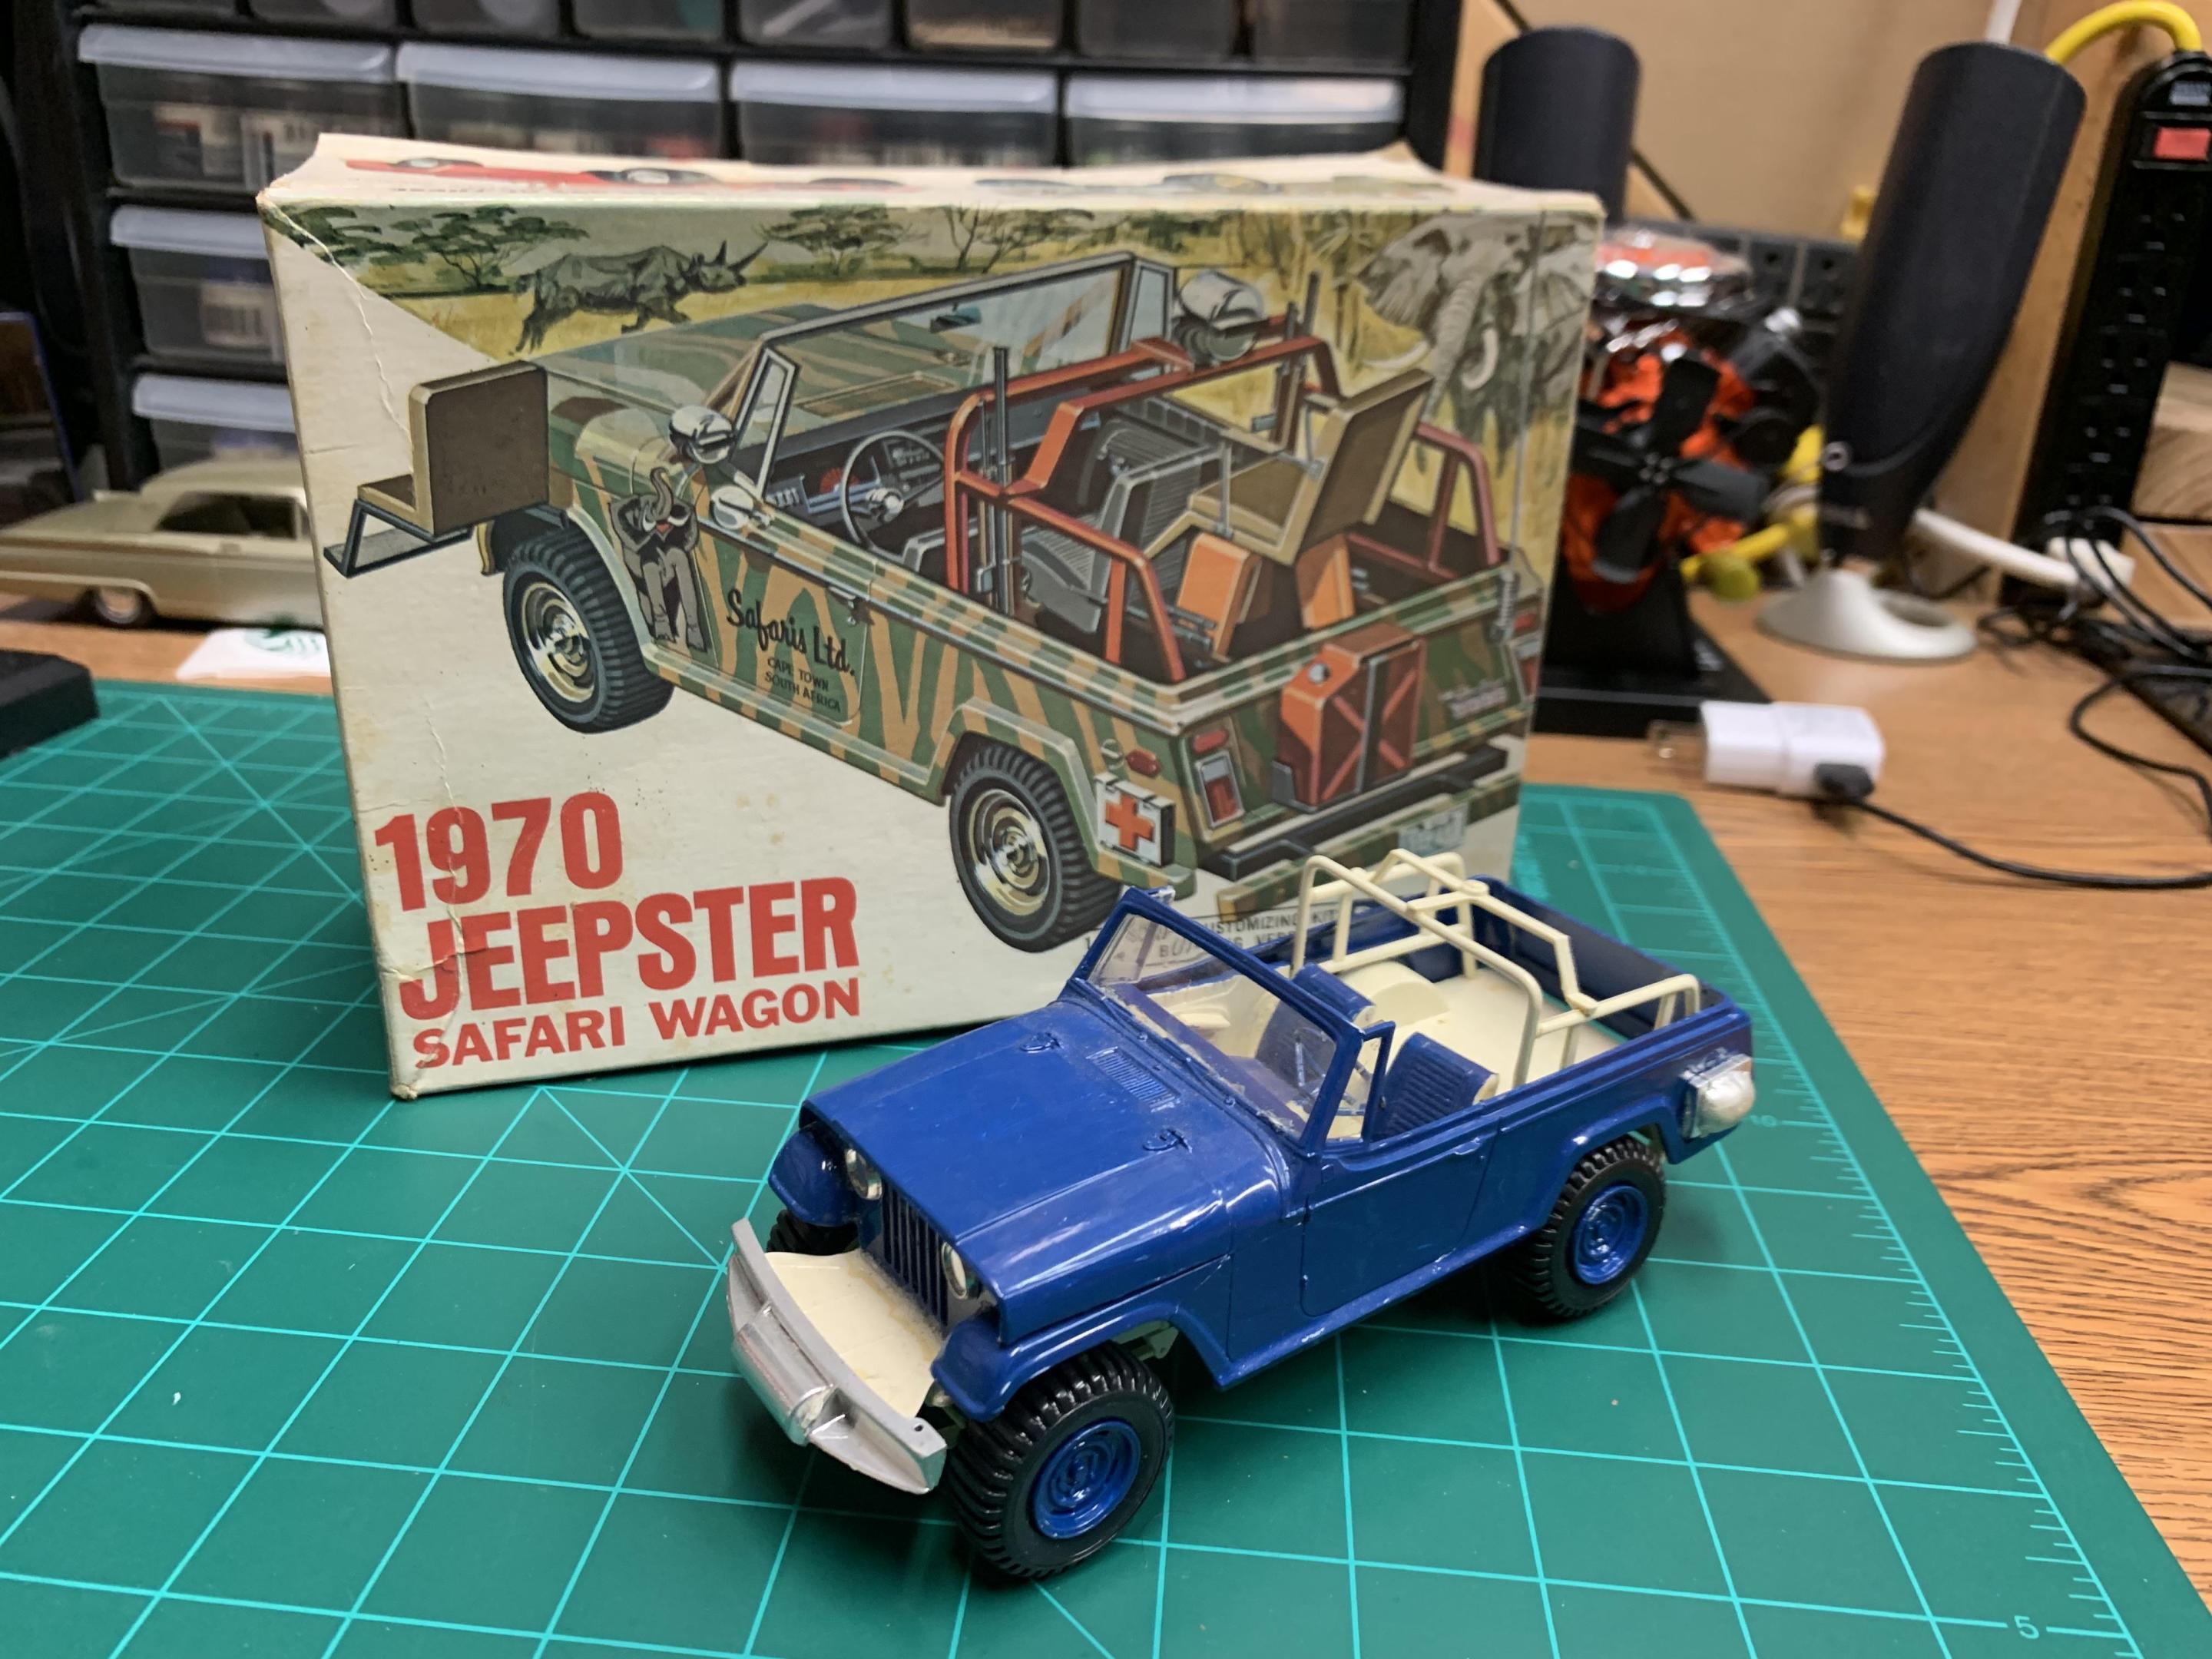
I usually stay clear of glue bombs unless it’s something hard to find. I did, however rescue this one a few weeks back for cheap. I pulled the body off and it’s currently taking a bath. My plan is to pick up one of the mpc mount n’ goat kits to steal parts that can’t be salvaged.
-
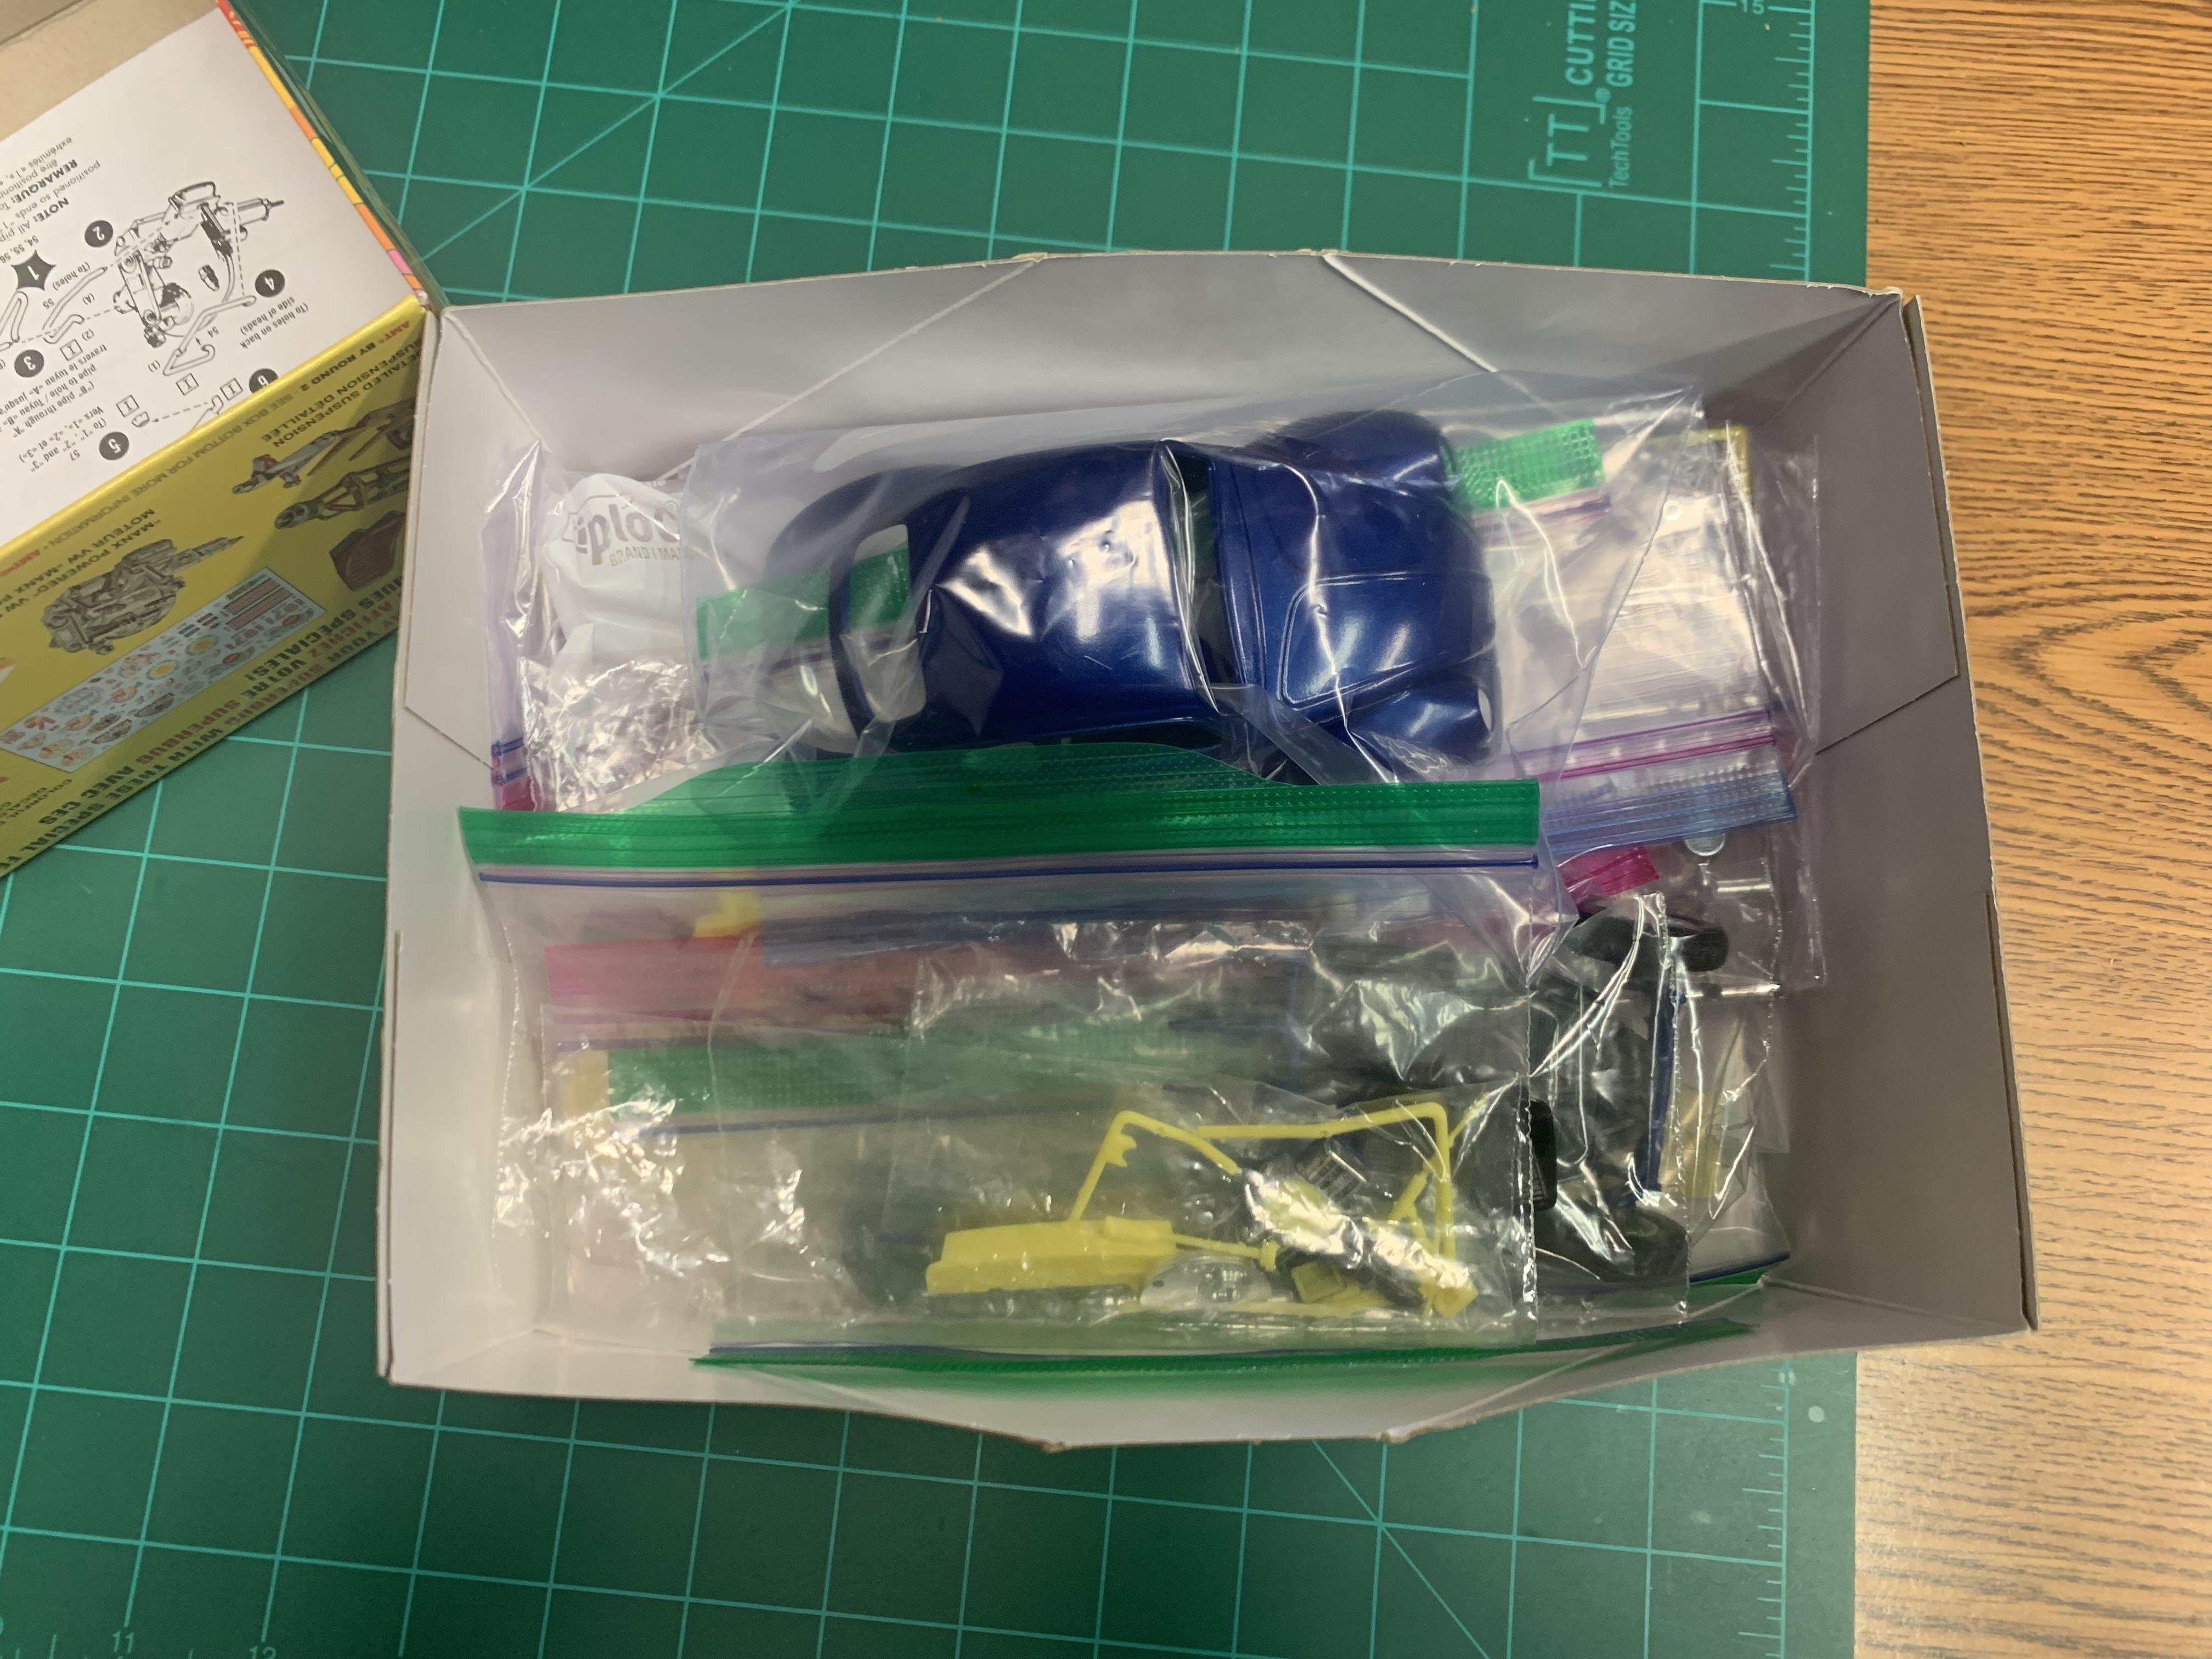
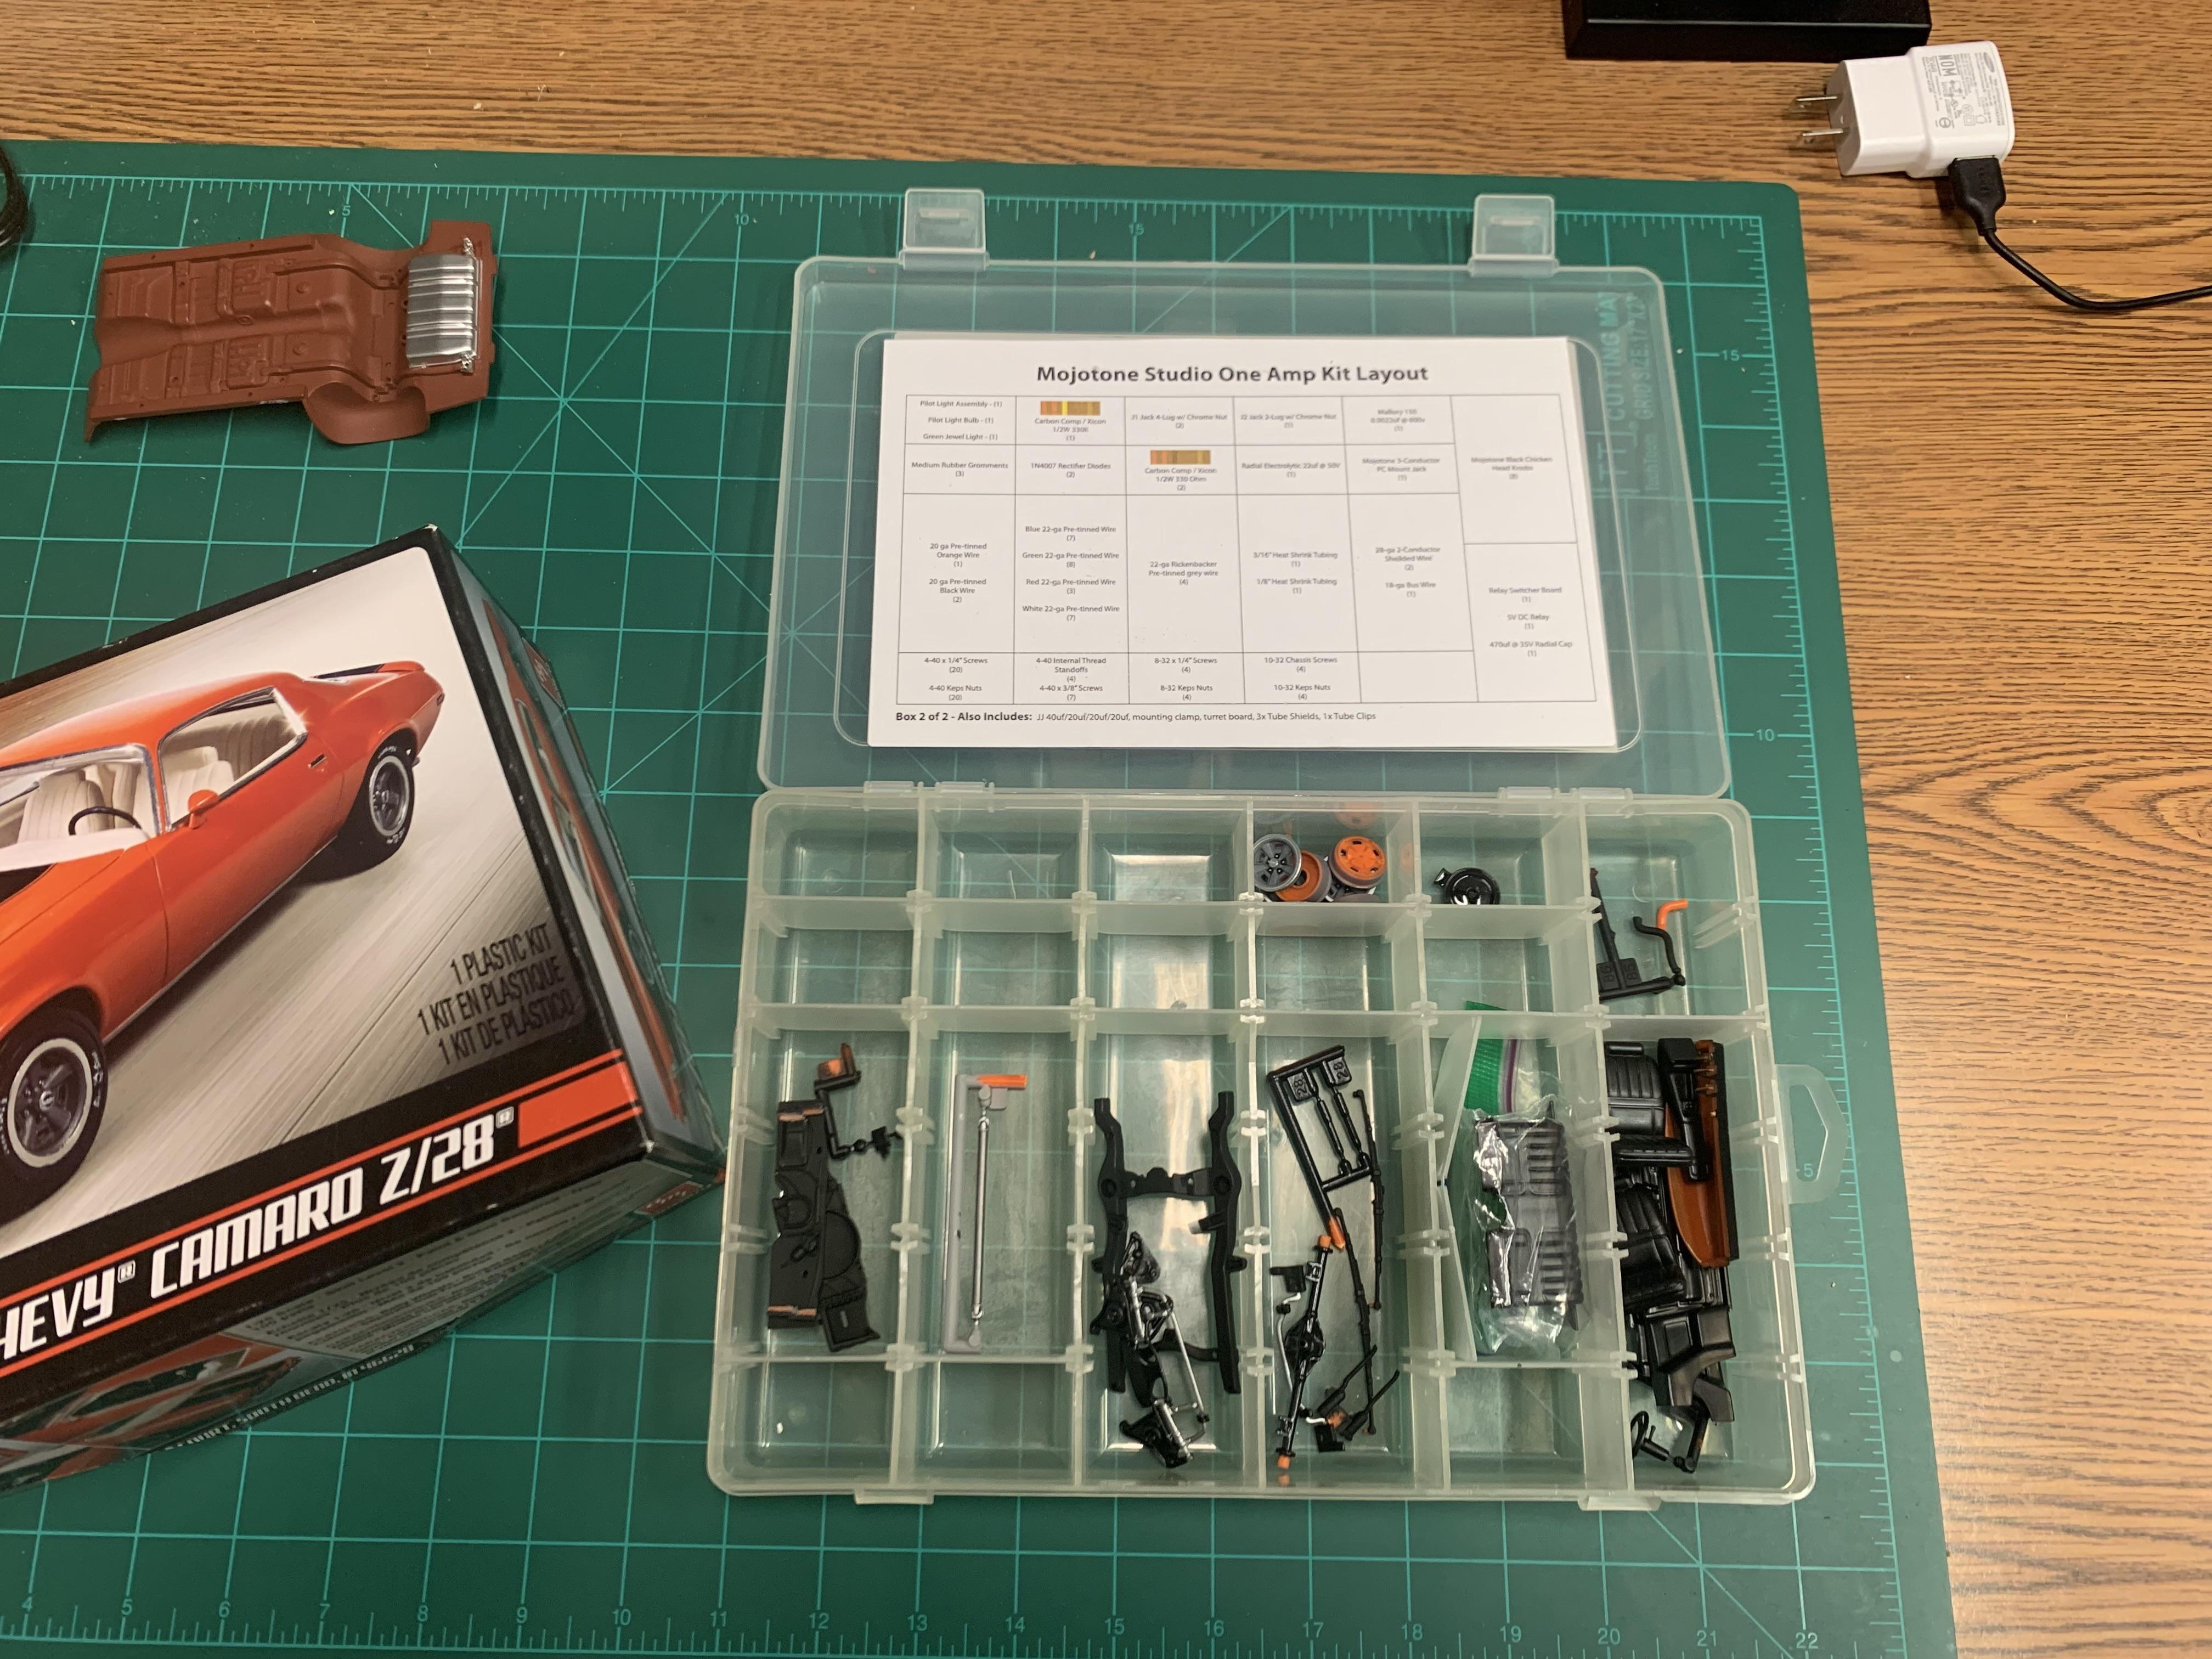
I’m trying something a little different from my normal routine. When I started building again a little over a year ago I went ziplock bag crazy. Still am actually. It protects the parts and I lose less pieces. Going through my old kits, it’s hit or miss finding one that’s not missing something. They’ve been through a couple of moves and that’s taken its toll. But the baggies have really helped keep that problem in check. But for a change of pace I decided to try out these little parts tackle boxes I have for current builds. I got a couple of these when I was into amps. I’m trying to organize by category, so interior pieces are together, rear suspension is together, etc. Time will tell if I end up liking this method, or go back to the bags. But I thought someone might be interested and maybe find this useful. Here’s my normal method. All parts in ziplock bags, all in one box. Lots of baggies. And here’s my “new” method.
-
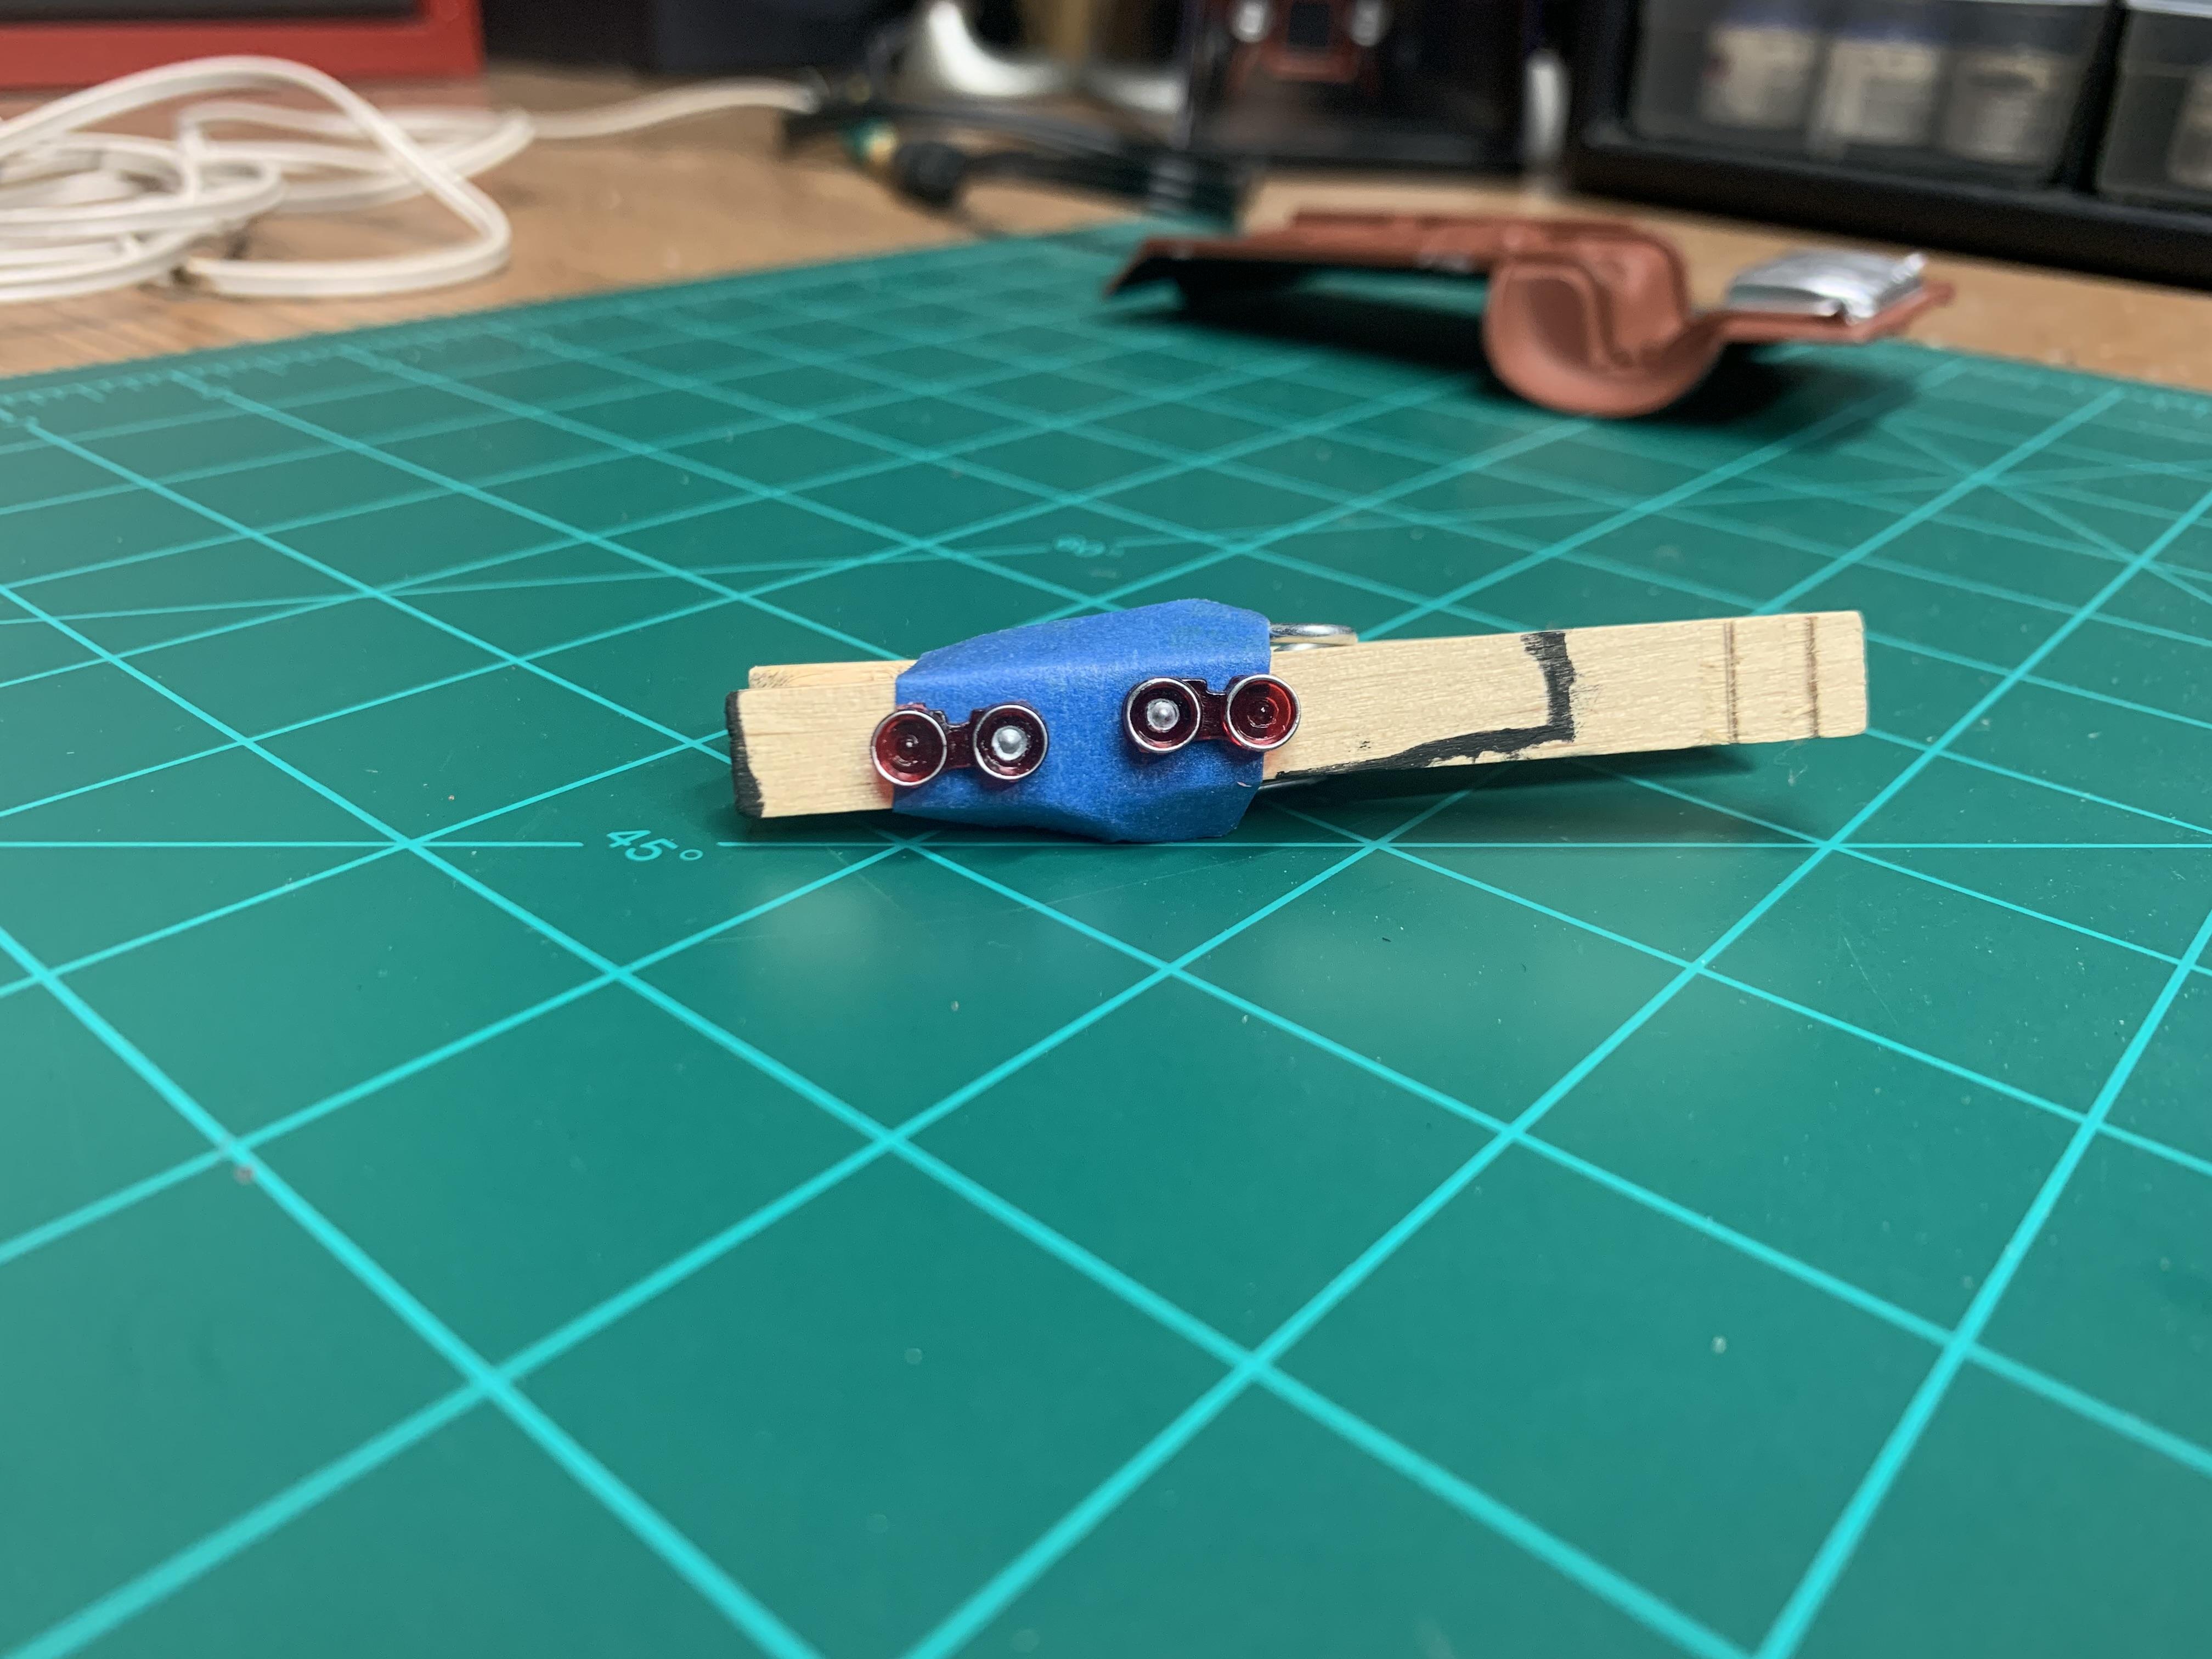
Just finished up detailing the taillights. Not perfect but not too terrible. I can live with ‘em. Edit - man I need to figure out how to make my pics smaller. You can see WAY too much detail with these larger pics.?
-
You’re off to a good start. Looking forward to seeing your progress on this one. This kit is on my list too.?
-
Agreed. I’m thinking the smart/safe way to do this would be to mix up a fairly thin mix a couple shades darker than the base coat, and then tweak to taste. Looks like I need to make a Hobby Lobby run soon.?
-
Hey! Happy birthday Carl! Hope you’re having a good one by.?
-
What non-auto model did you get today?
atomicholiday replied to chunkypeanutbutter's topic in The Off-Topic Lounge
Magic Factory? I’m not familiar with them. Good stuff? -
Exactly! You've said it much better than I did when trying to get my objective across. On most of my builds, that's the goal for me. I do mostly out-of-the-box builds, but I'm after as much realism as I can obtain within that realm. Someday I may (probably will) start adding scratch-built and after-market parts. But I'm not ready for that step yet. I want to see just how good I can make what's in the box look for now. So adding depth. Take the pic I posted of my Z28 engine, specifically the intake manifold. If I had left it alone after painting it aluminum, to my eyes, it would look toy-like and lifeless. Add some shading to the recesses and it would look much better, adding depth. Where I think mine falls on its face it this. Notice the dark areas in the recesses. Firstly, they're too dark. secondly, the edges are very defined, almost like it was filthy, and someone came along and wiped off the surfaces and left crud in the corners (actually, that's exactly what did happen?). I think it looks artificial. By contrast, look at the pics of the excellent model posted by Jason. While this is definitely more weathered than what I'm after, the techniques would be the same I believe. Same with the models posted by Steve. I think I'm going to try a couple of things. If I'm off base, feel free to tell me your thoughts. 1) This is a tip I picked up on another forum. Prime everything that gets painted with Vallejo Metal Color in black. It takes the color much better when primed, looks a bit better and seems to hold up better too. I haven't tried black primer yet, but that by itself might solve a few problems and add some depth on its own as long as I go light on the Metal Color. Win, win. 2) Not sure on this one yet, but I'm leaning towards clear coating the Vallejo prior to adding any weathering agents. 3) I'm definitely going to try out some craft acrylics. I also like the idea of trying out the Vallejo washes. I wasn't aware of those. Thanks everyone for your comments and suggestions. I always find it helpful to post stuff like this on here.