NOBLNG
-
Posts
10,231 -
Joined
-
Last visited
Content Type
Profiles
Forums
Events
Gallery
Everything posted by NOBLNG
-
You could glue down some good outdoor carpet? Probably the cheapest option. The drawback is possible staining from spills, and if your roof doesn’t have much overhang it would get wet when it rains.
-
Those “power strips” are not surge protectors apparently. Most folks likely see the on/off button and assume (as I did) that they provide protection, but they are just basically outlet expanders. You can buy ones that do have surge protection but of course they cost a lot more too.
-

-
Time to fast forward through that one, as I’m more of a rock’nroll fan.
-
I bought a can of that at my LHS on their recommendation. I sprayed it straight from the can onto a ‘68 Dart and didn’t like the result. I think it went on too heavy and looked like it was dipped in honey. Unfortunately I didn’t take any pics. If I attempt to use it again I will decant some and try airbrushing it.😕
-
Music helps me concentrate while building and keeps my head free of gremlins.
-
Engine is looking good Bob. And nice job on the FUP work.😎
-
Terrific idea! I have done something similar for shocks, but never thought to do it for a tapered boot.
-
 Fantastic find Chaz…I’m jealous.🙂
 -
Lindberg's '53 Ford - following the instructions
NOBLNG replied to customline's topic in WIP: Model Cars
I’d be more than happy with that result Jim. Lookin’ fine!😎 -
Wishing you all the best Carl. I’ve always appreciated your comments and support. Do what you can at your own pace. Best of luck to you.
-
Today's virtually impossible question
NOBLNG replied to Monty's topic in Model Building Questions and Answers
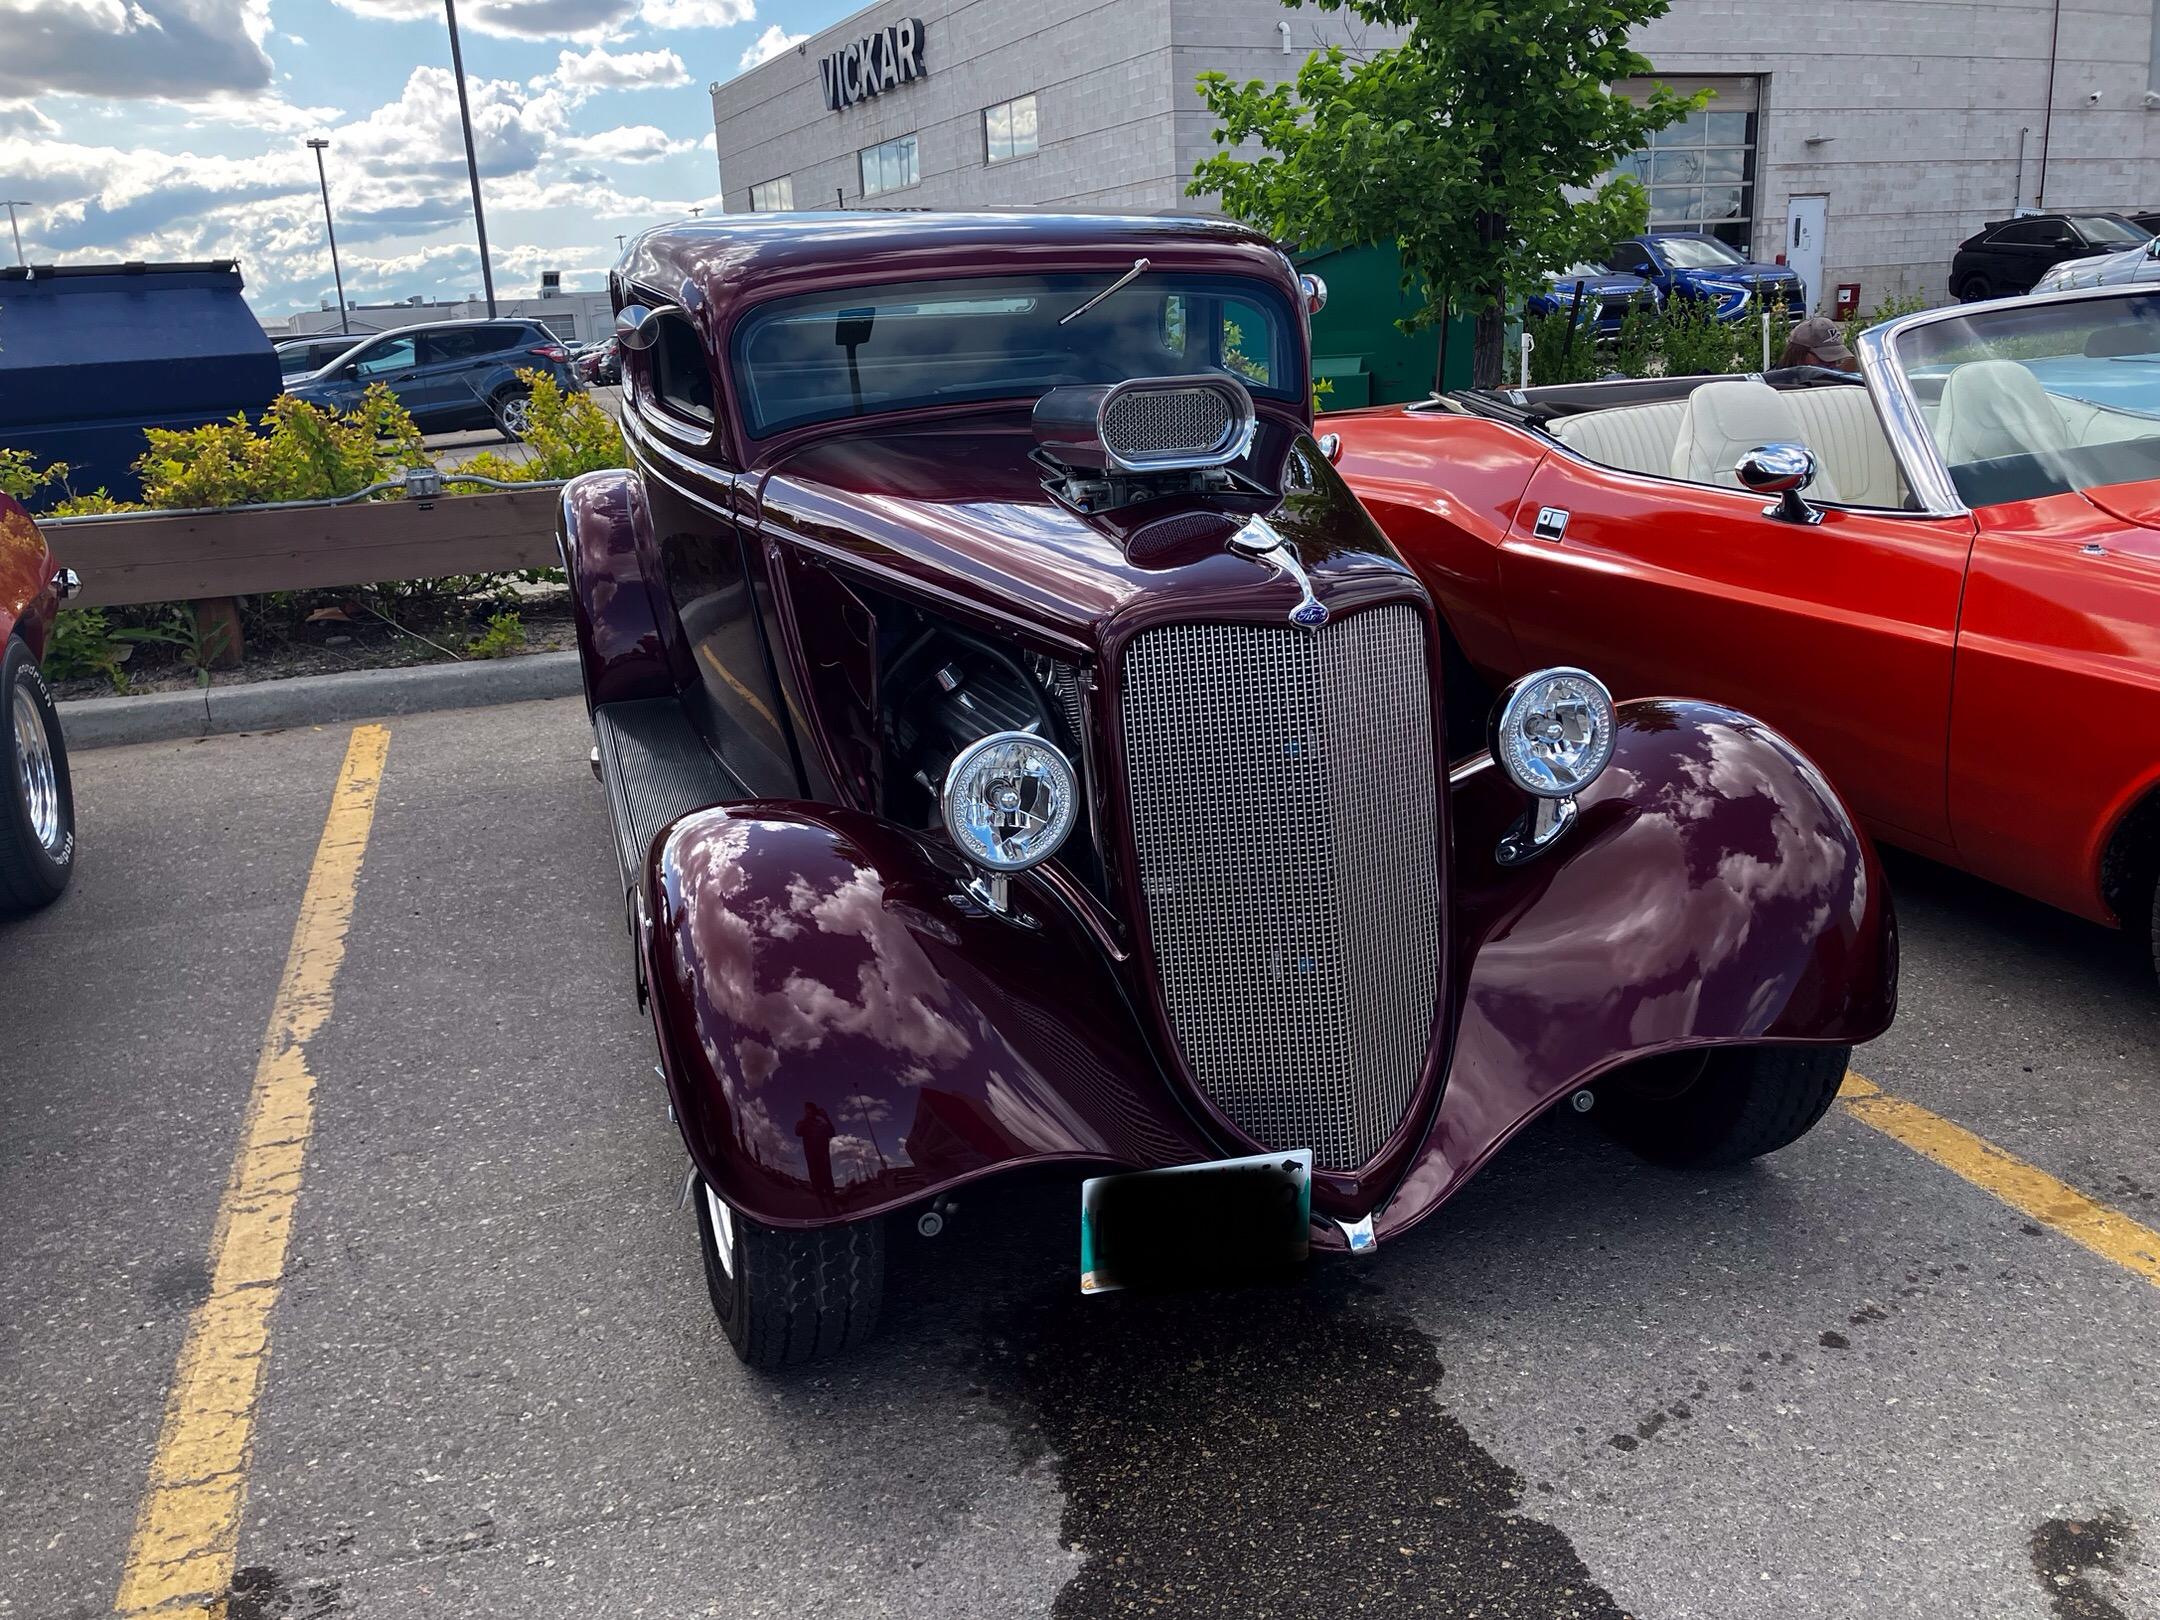
That is a beautiful car and a beautiful colour! More of a burgundy though i think. Maybe Tamiya TS-11 Maroon with a pearl clear or clear red top coat?
-
Milner 32 5 window American Graffiti build
NOBLNG replied to Silvercreeker's topic in WIP: Model Cars
Ooh, that paint does look fabulous Scott!😎 What is that item to the right of the exhaust pipe….some kind of heating apparatus? -
So...you think using an airbrush is tricky?
NOBLNG replied to Ace-Garageguy's topic in The Off-Topic Lounge
Amazing talent!😎 -
I was a Chevy guy up until 2017. My 2006 2500 put an end to that. Glad I switched to Ford.
-
See if you can find a Mazda forum that has a truck section. You could likely get some experienced advice there. Here’s a couple. https://www.mazdaworld.org/forums/b-series-truck.109/ https://www.mazdaforum.com/forum/mazda-bt-50-pickup-trucks-18/b2600-47009/
-
Unusual modification methods are my specialty.
-
ZR 3100
NOBLNG replied to TopherMcGinnis's topic in WIP: Model Trucks: Pickups, Vans, SUVs, Light Commercial
Cool project!😎 -
Looks great Pat! Love your photo backdrop too.😎
-
Nice work on the tuck and roll upholstery.👍
-
When the project dies. Or does it?
NOBLNG replied to Jantrix's topic in Model Building Questions and Answers
I have a bunch of kits started that I am modifying mildly to heavily, mostly glue bombs that I picked up at the flea market. I work on them in spurts and intend to complete them all eventually.Brand new kits usually get completed in fairly short order (a month or two?) The only kit I have given up on so far is the Revell “Skip’s Fiesta” ‘55 Chevy that I wasn’t even modifying really.😕 I just got fed up with parts not fitting and poor instructions.🤯 I have since robbed a few parts I think and have no intention of attempting completion….at this point.🤔 -
One thing I wound up doing on mine was separating the front subframe/engine from the floor and installing it after the floor pan was in place because I had glued the front and rear valences in place before painting.
-
Not all models turn out the way I originally planned.
-
Fantastic idea…especially the adjustable ones. You or somebody should market these.😎
-
Excellent work Alex!👍