NOBLNG
-
Posts
10,231 -
Joined
-
Last visited
Content Type
Profiles
Forums
Events
Gallery
Everything posted by NOBLNG
-

what did you absolutely need, that you didn't?
NOBLNG replied to sidcharles's topic in Model Building Questions and Answers
Evergreen. I have a fairly good stock of sizes and shapes. Yesterday I picked up four more packs just because I don’t have them. I’m sure I’ll find a use for them eventually.😬 -
AMT 1934 Ford Pickup Hot Rod.
NOBLNG replied to Dragonhawk1066's topic in Model Trucks: Pickups, Vans, SUVs, Light Commercial
Beautiful looking truck!😎 But then it must be easy turning out quality work with a shop like that at your disposal.😜 -
Nice build. The paint is super nice!😎
-
Cute looking little car. Well done!😎
-
Nice looking Barracuda.👍😎
-
Nice work on the opening bed floor. Heck, nice work on everything.👍😎
-
Office work is boring but it’s easy on the knuckles.
-
I thought level 3 meant that you need 3x cheaters and level 5 requires 5x cheaters.🤪
-
CA Glue and Accelerator Question
NOBLNG replied to Tom Geiger's topic in Model Building Questions and Answers
Research is always a good idea, but don’t get hung up on trying to make your first build (or every build) perfect. Just enjoy the process and try to improve a bit with each project. -
WIP? I think you could slap a plate on it and call it beautifully done!😎👍
-
On to the next project I go without finishing the five I have started.🥴
-
I too have an Iwata Eclipse and I can’t say anything bad about it. It is a very nice airbrush. I have only used it a few times though because I bought a Paasche H and have since used it exclusively. I like being able to use a cup or a bottle and cleanup is a breeze.
-
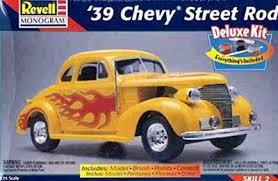
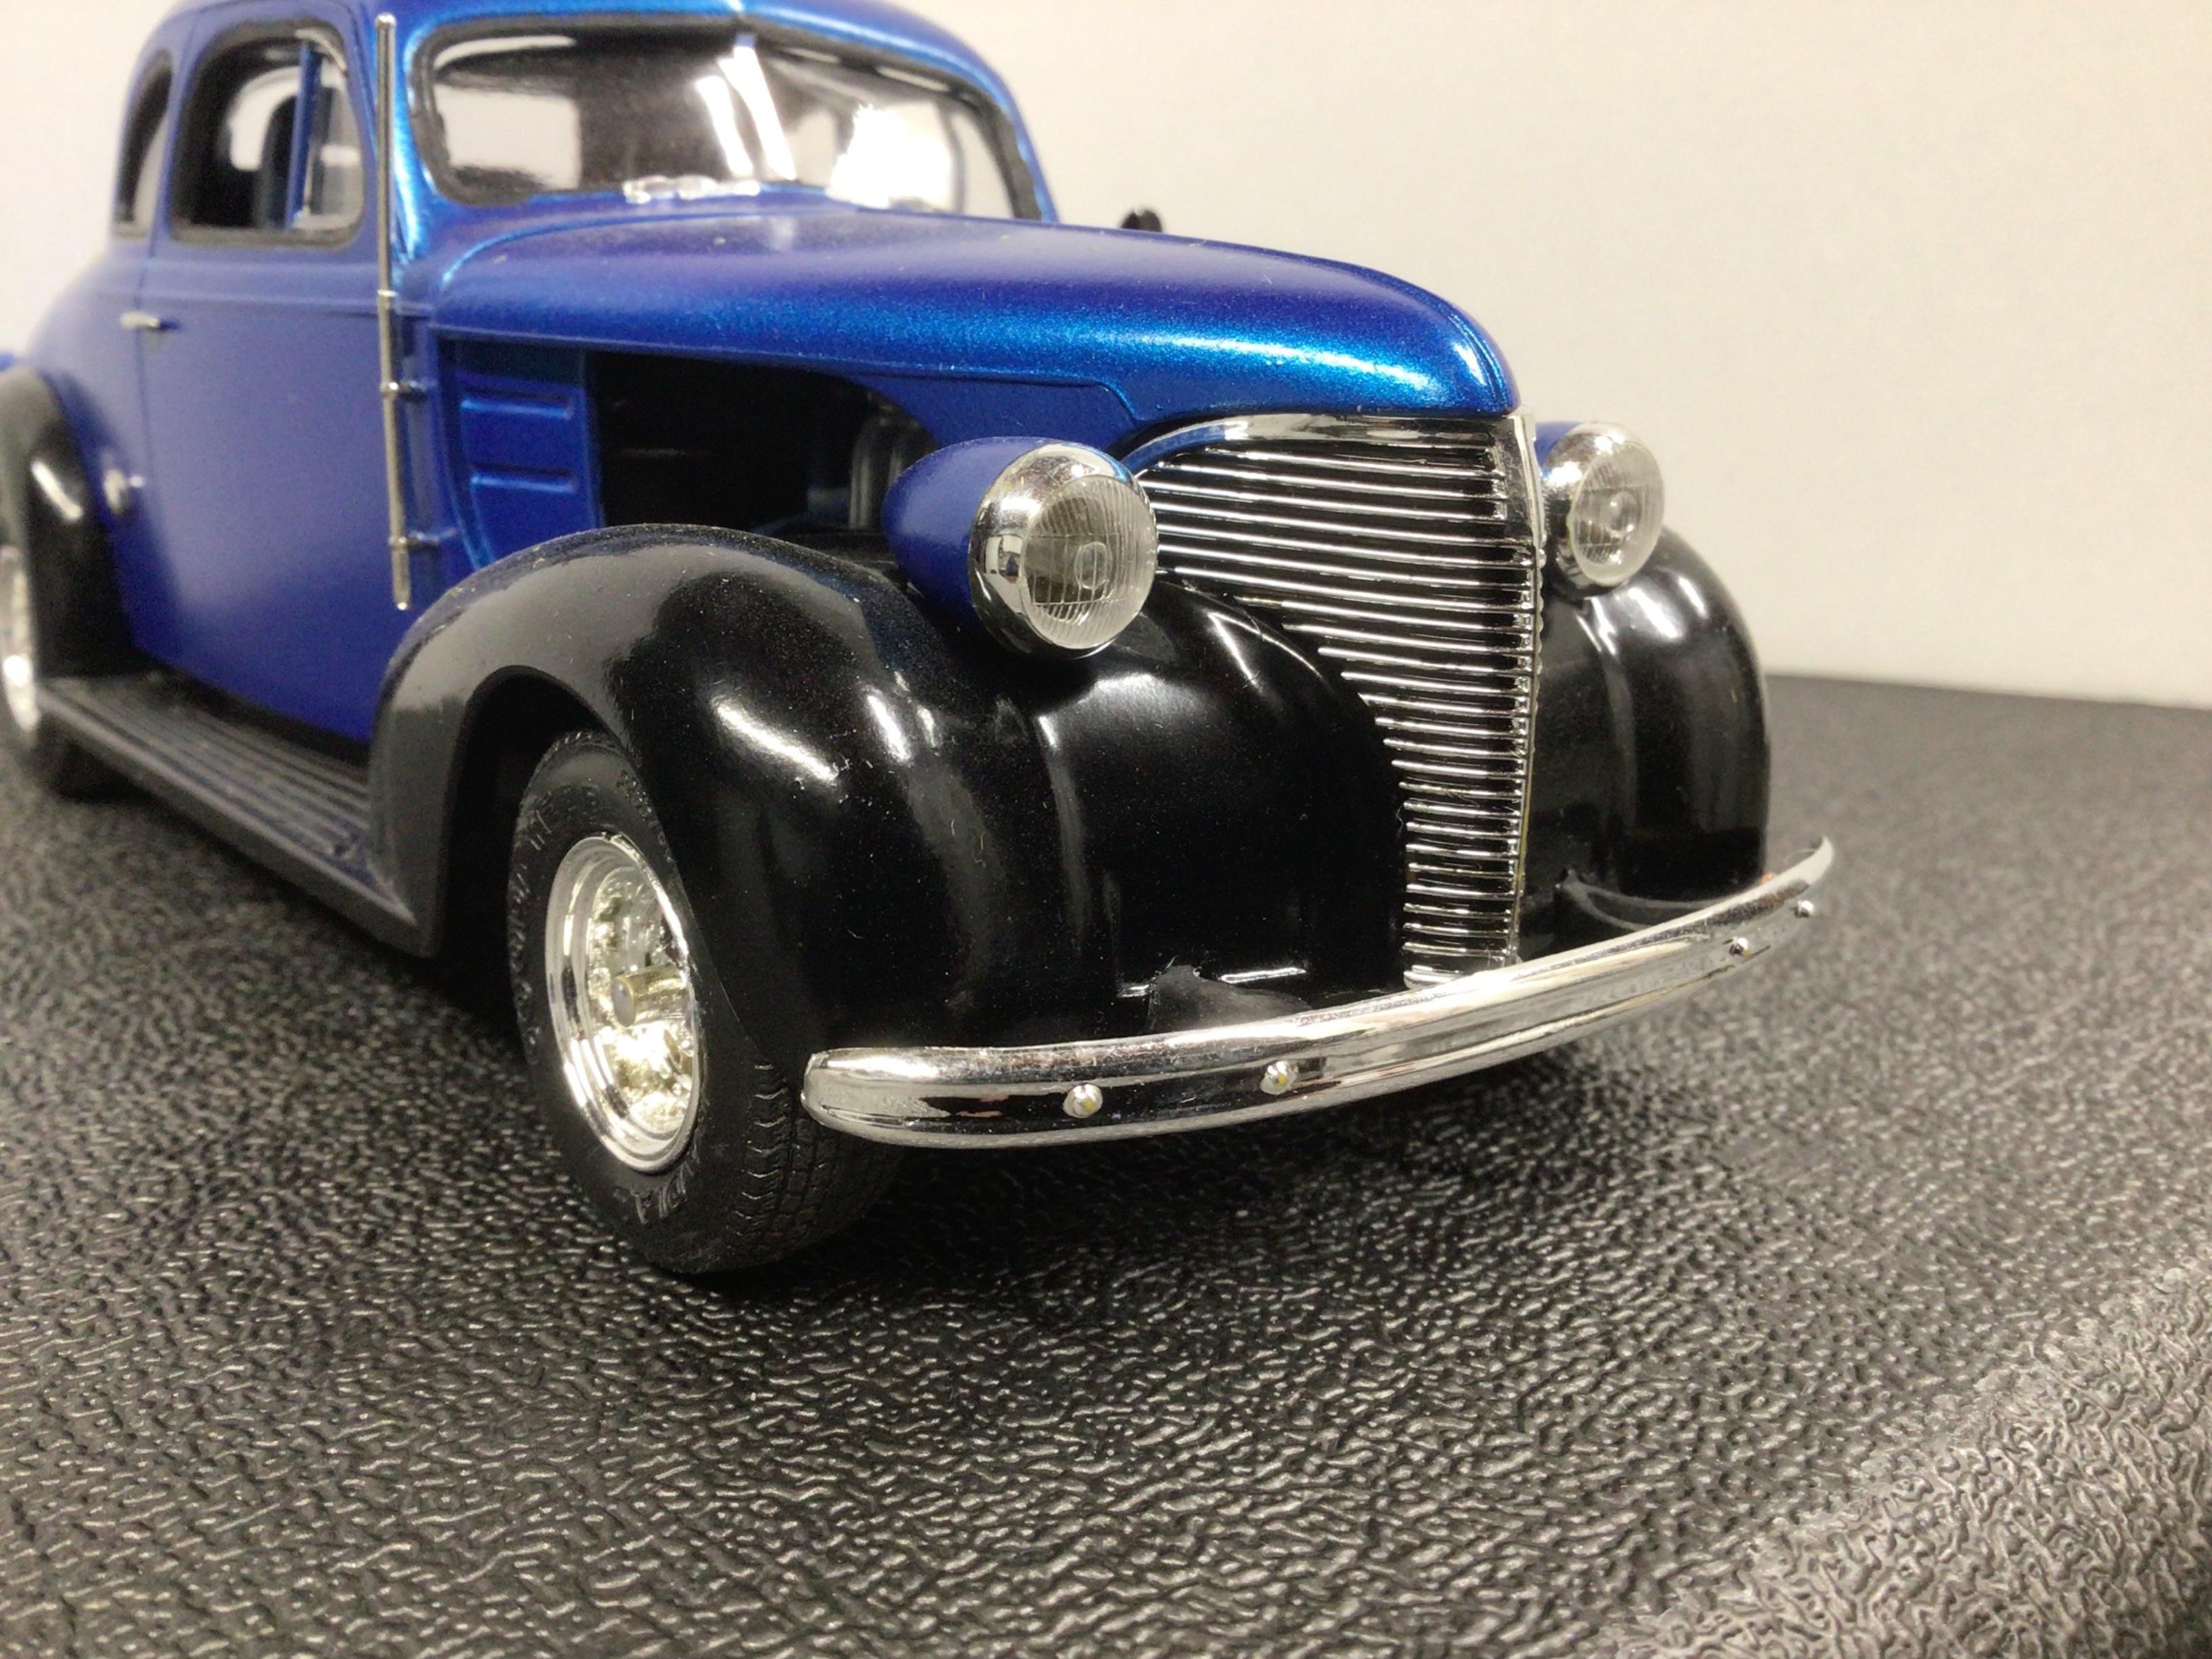
Revell '39 Chevy hood fitment
NOBLNG replied to dragstk's topic in Model Building Questions and Answers

-
‘55 El Camino
NOBLNG replied to NOBLNG's topic in WIP: Model Trucks: Pickups, Vans, SUVs, Light Commercial
I’ve been away for the last week Bob, but now I’m back at it. I’ve been fiddling with the tail lights trying to get them to fit nicely. The front turn signal lights don’t fit great either. I had painted the headliner black but today I sanded most of the black off and brush painted it red like the interior. I hope to get some paint on the body either tomorrow or Sunday. -
Very cool project!👍 Looking forward to seeing this finished.😎
-
It’s looking mighty nice!👍
-
Revell '39 Chevy hood fitment
NOBLNG replied to dragstk's topic in Model Building Questions and Answers
This is not the same kit and the hood is obviously a different molding, but it fit together ok if I recall. There is a small gap between the body and running boards. I agree that your grill is not properly placed, and the front of the hood should likely be lowered till the sides meet the fenders.
-
I’m seeing some pretty cool mockups! I’ll follow along.😎
-
Too much smoke in the air is hampering my enjoyment of the summer.
-
Question for the molotow "pro's"
NOBLNG replied to johnyrotten's topic in Model Building Questions and Answers
You could also cut a disc from cardboard about the size of your rings. Glue a long piece of sprue (or any round rod) to the center with CA, and then use double face tape or a tape loop to attach the rings. Then you can spin it as you spray. A bottle cap might work instead of the cardboard disc? -
1953 Ford F100 Avocado Hauler
NOBLNG replied to Silvercreeker's topic in Model Trucks: Pickups, Vans, SUVs, Light Commercial
Beautiful looking rig! Super clean build, and I love that colour on it.👍😎 -
Nicely done!👍 Just the right amount of chop.
-
Very nice!👍 Lotsa eye candy there.😎
-
Anyone else getting Bad spelling Scam Email's??
NOBLNG replied to ranma's topic in The Off-Topic Lounge
It’s likely gonna get worse. Artificial Intelligence can probably run a better scam than Actual Ignorance. I automatically delete any e-mails or texts that I don’t recognize the sender. Likewise, I don’t answer phone calls if I don’t recognize the number. If it’s legit they can leave a message, but they never do. -
Point me in the right direction because I have no idea where I am going.