NOBLNG
-
Posts
10,236 -
Joined
-
Last visited
Content Type
Profiles
Forums
Events
Gallery
Everything posted by NOBLNG
-
Wow! I’d have more luck building full size manikins to get the picture than creating that level of detail.
-

1977 Ford Motor Home
NOBLNG replied to Oldmopars's topic in WIP: Model Trucks: Pickups, Vans, SUVs, Light Commercial
Nice scratch building project! ? What I have done before is to re-size a photo to the finished dimensions I want and use it as the actual pattern….since you have a perfect profile picture? -
A future Willys project
NOBLNG replied to NOBLNG's topic in WIP: Model Trucks: Pickups, Vans, SUVs, Light Commercial
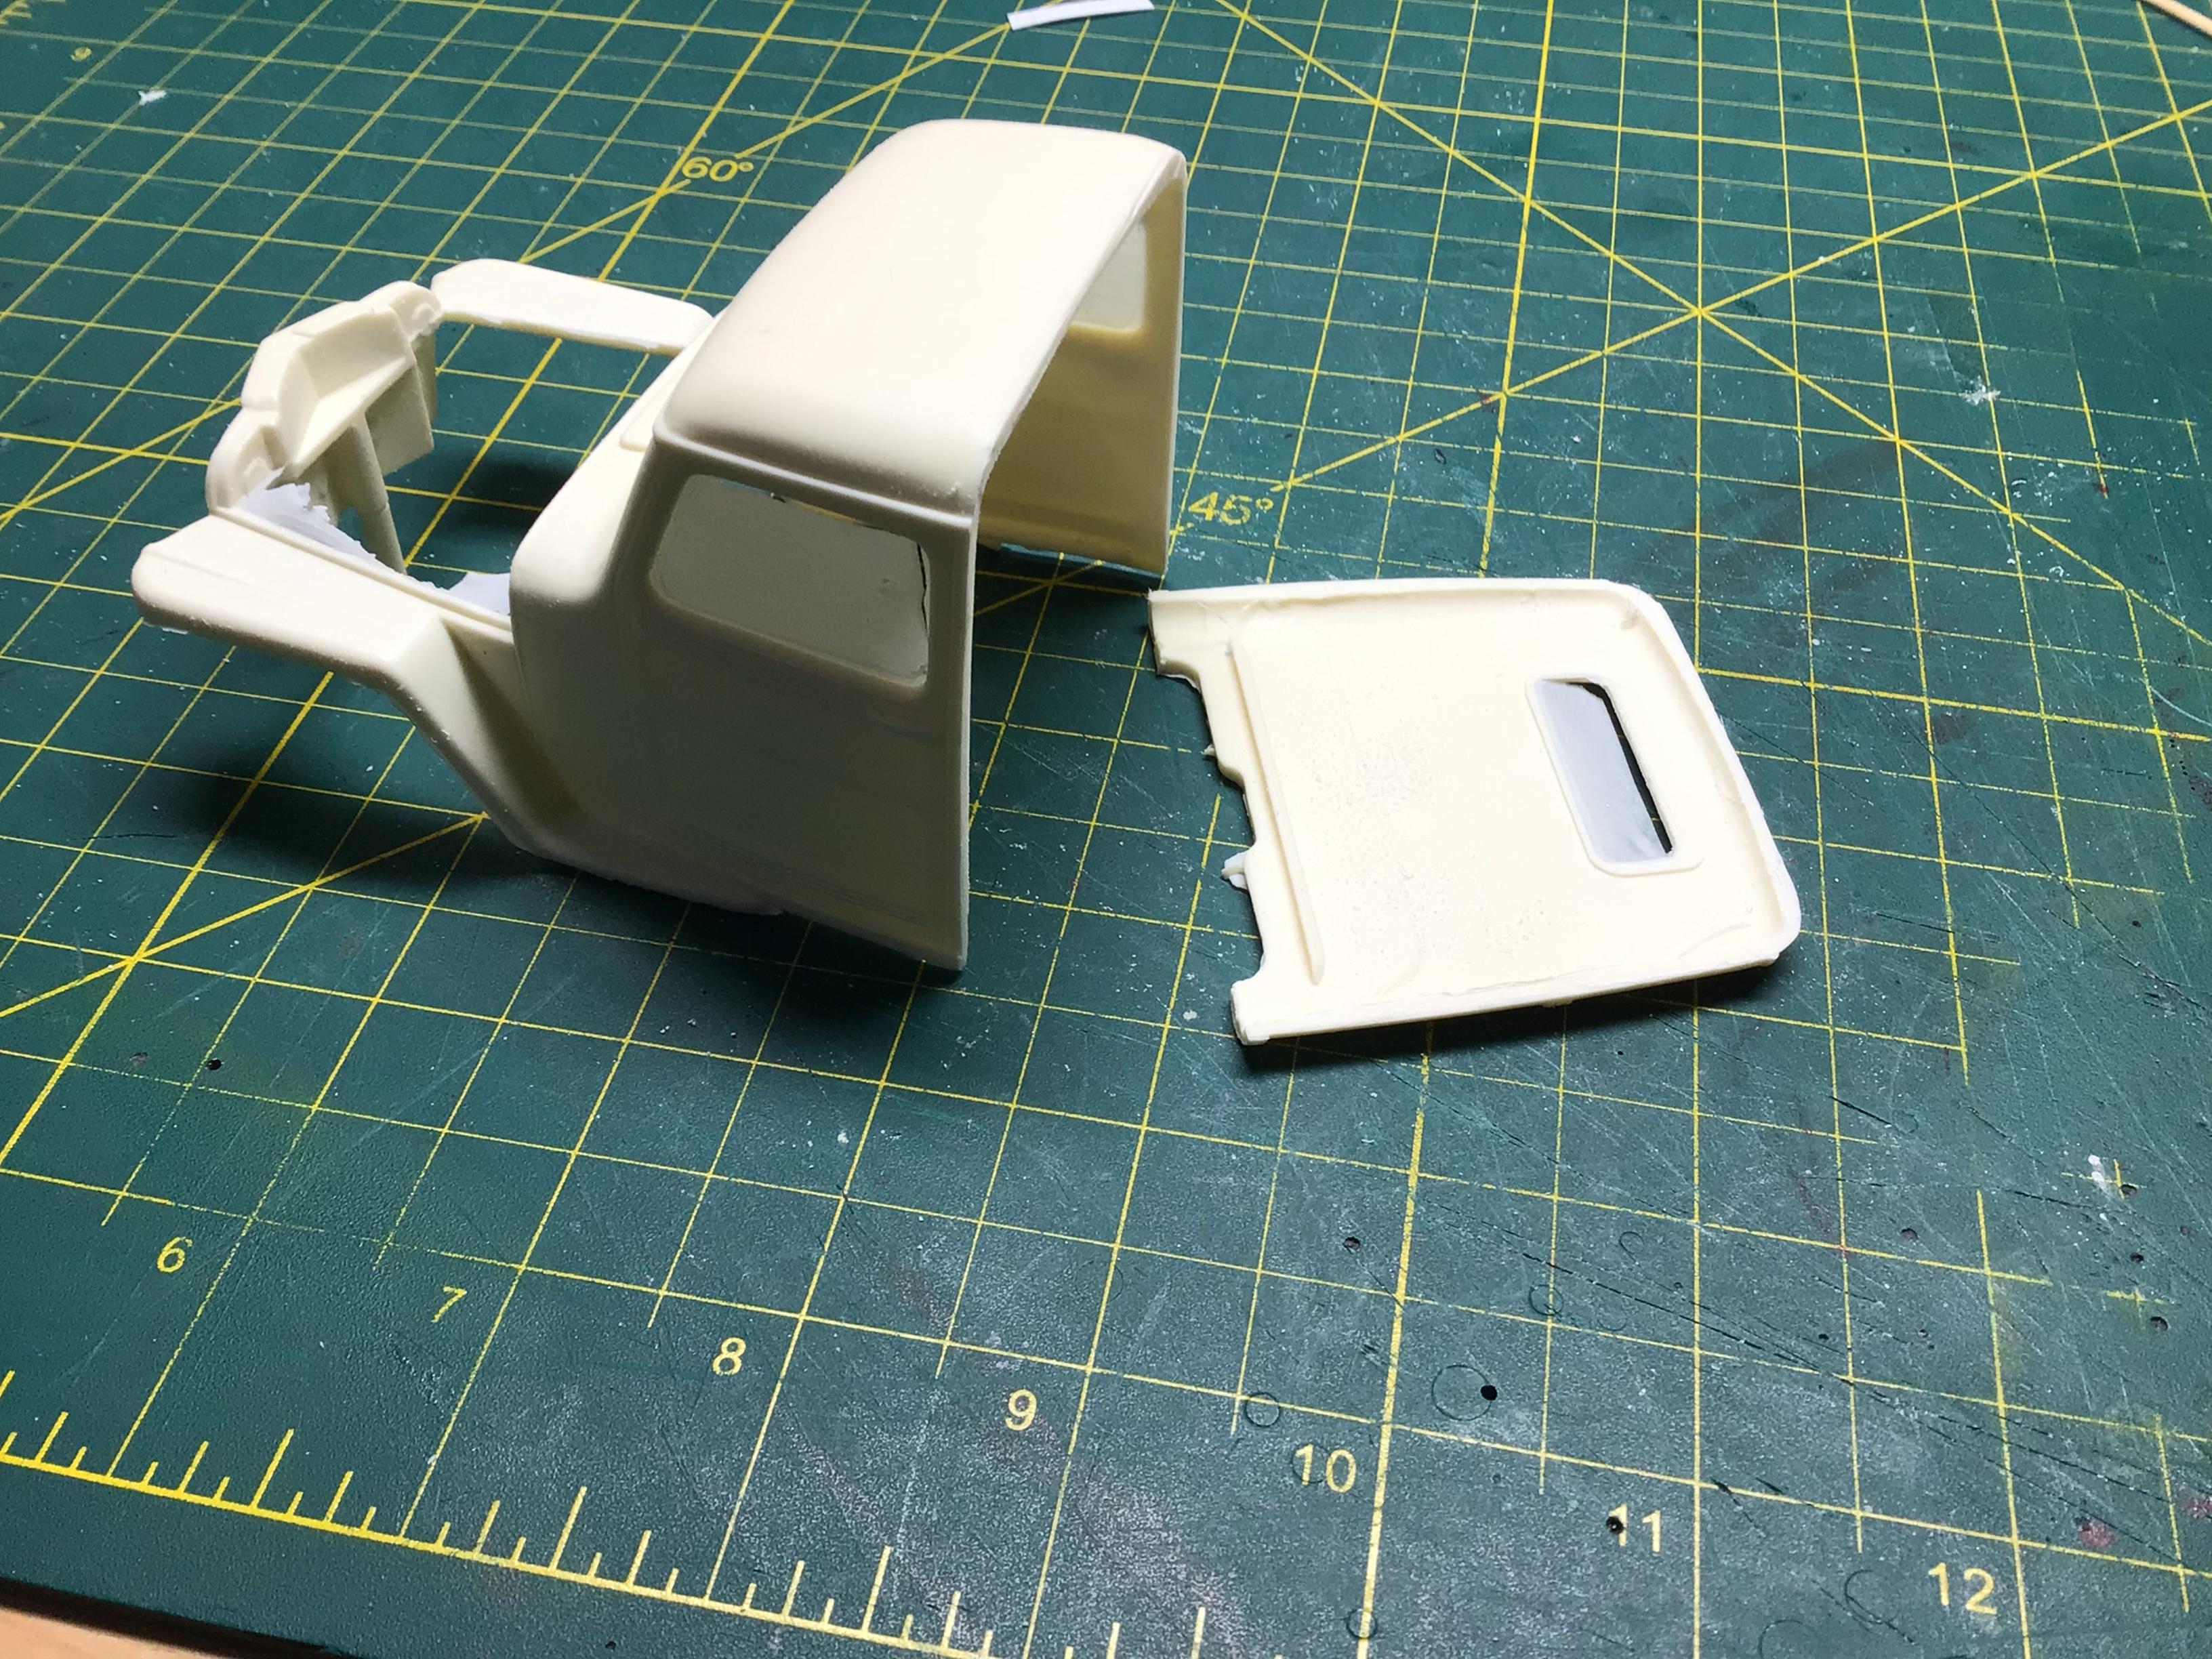
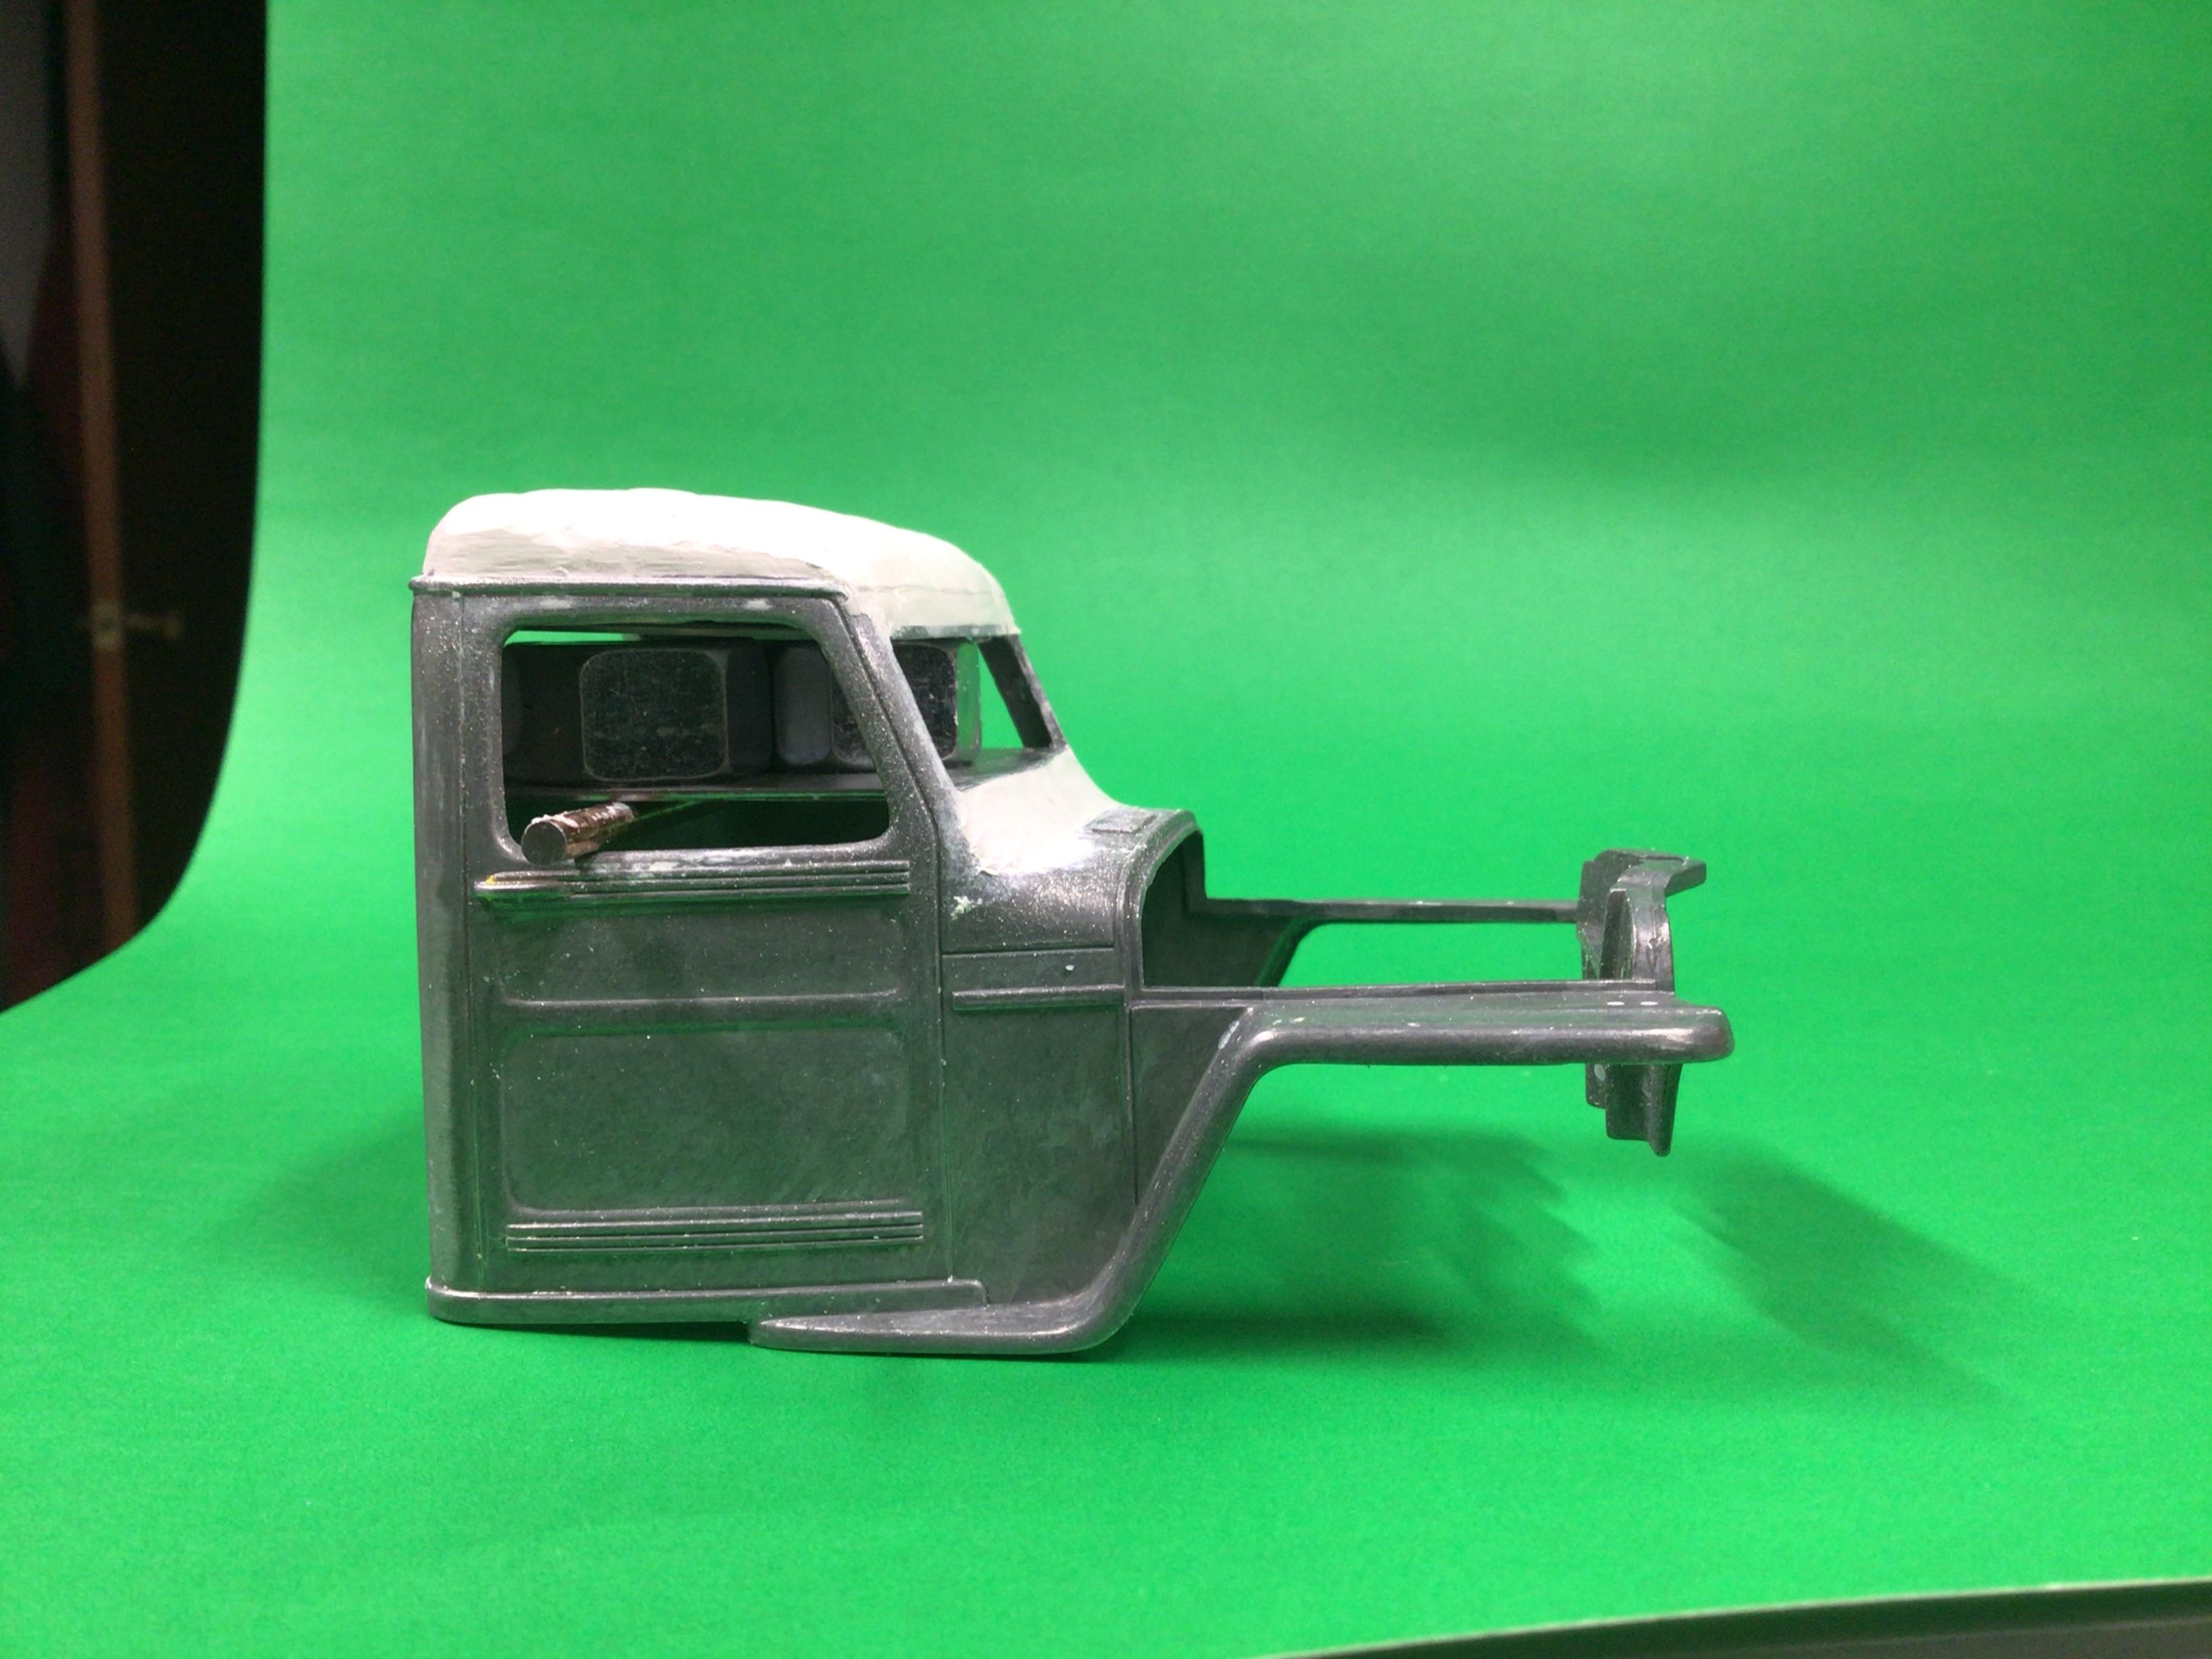
I actually have the cab that is stretched 4” within the door also, so I have lots of work ahead!?
-
A future Willys project
NOBLNG replied to NOBLNG's topic in WIP: Model Trucks: Pickups, Vans, SUVs, Light Commercial
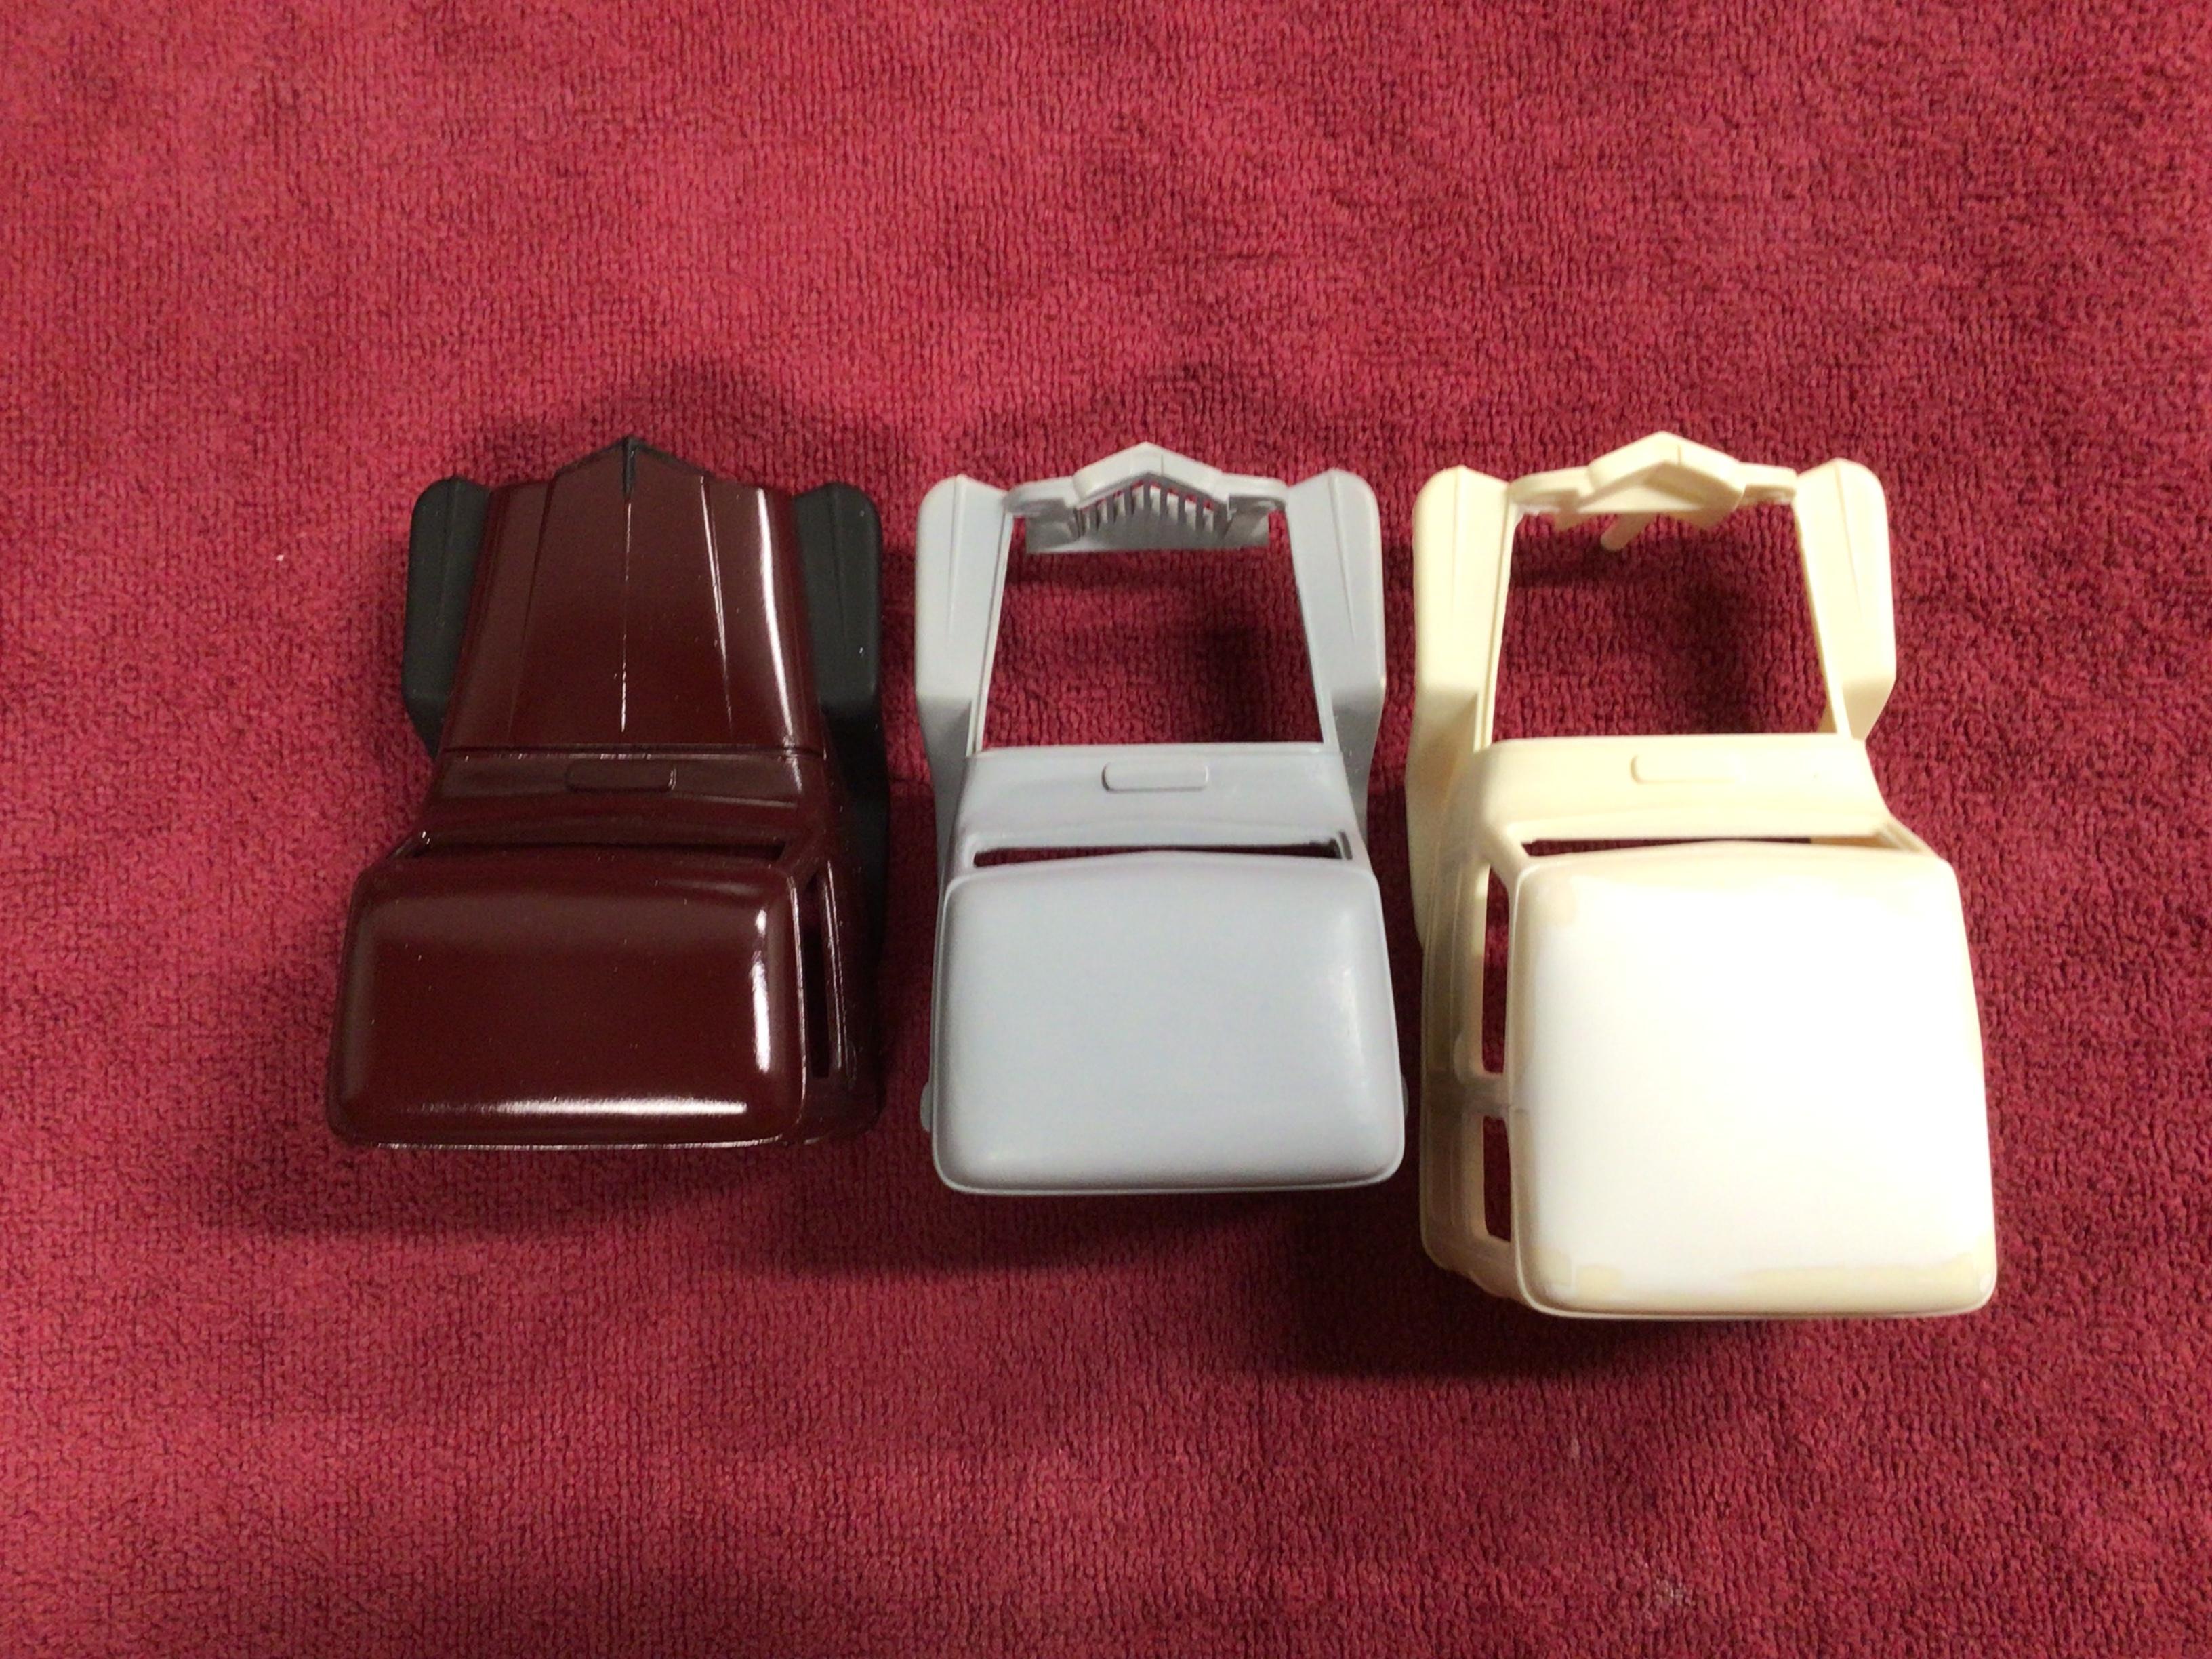
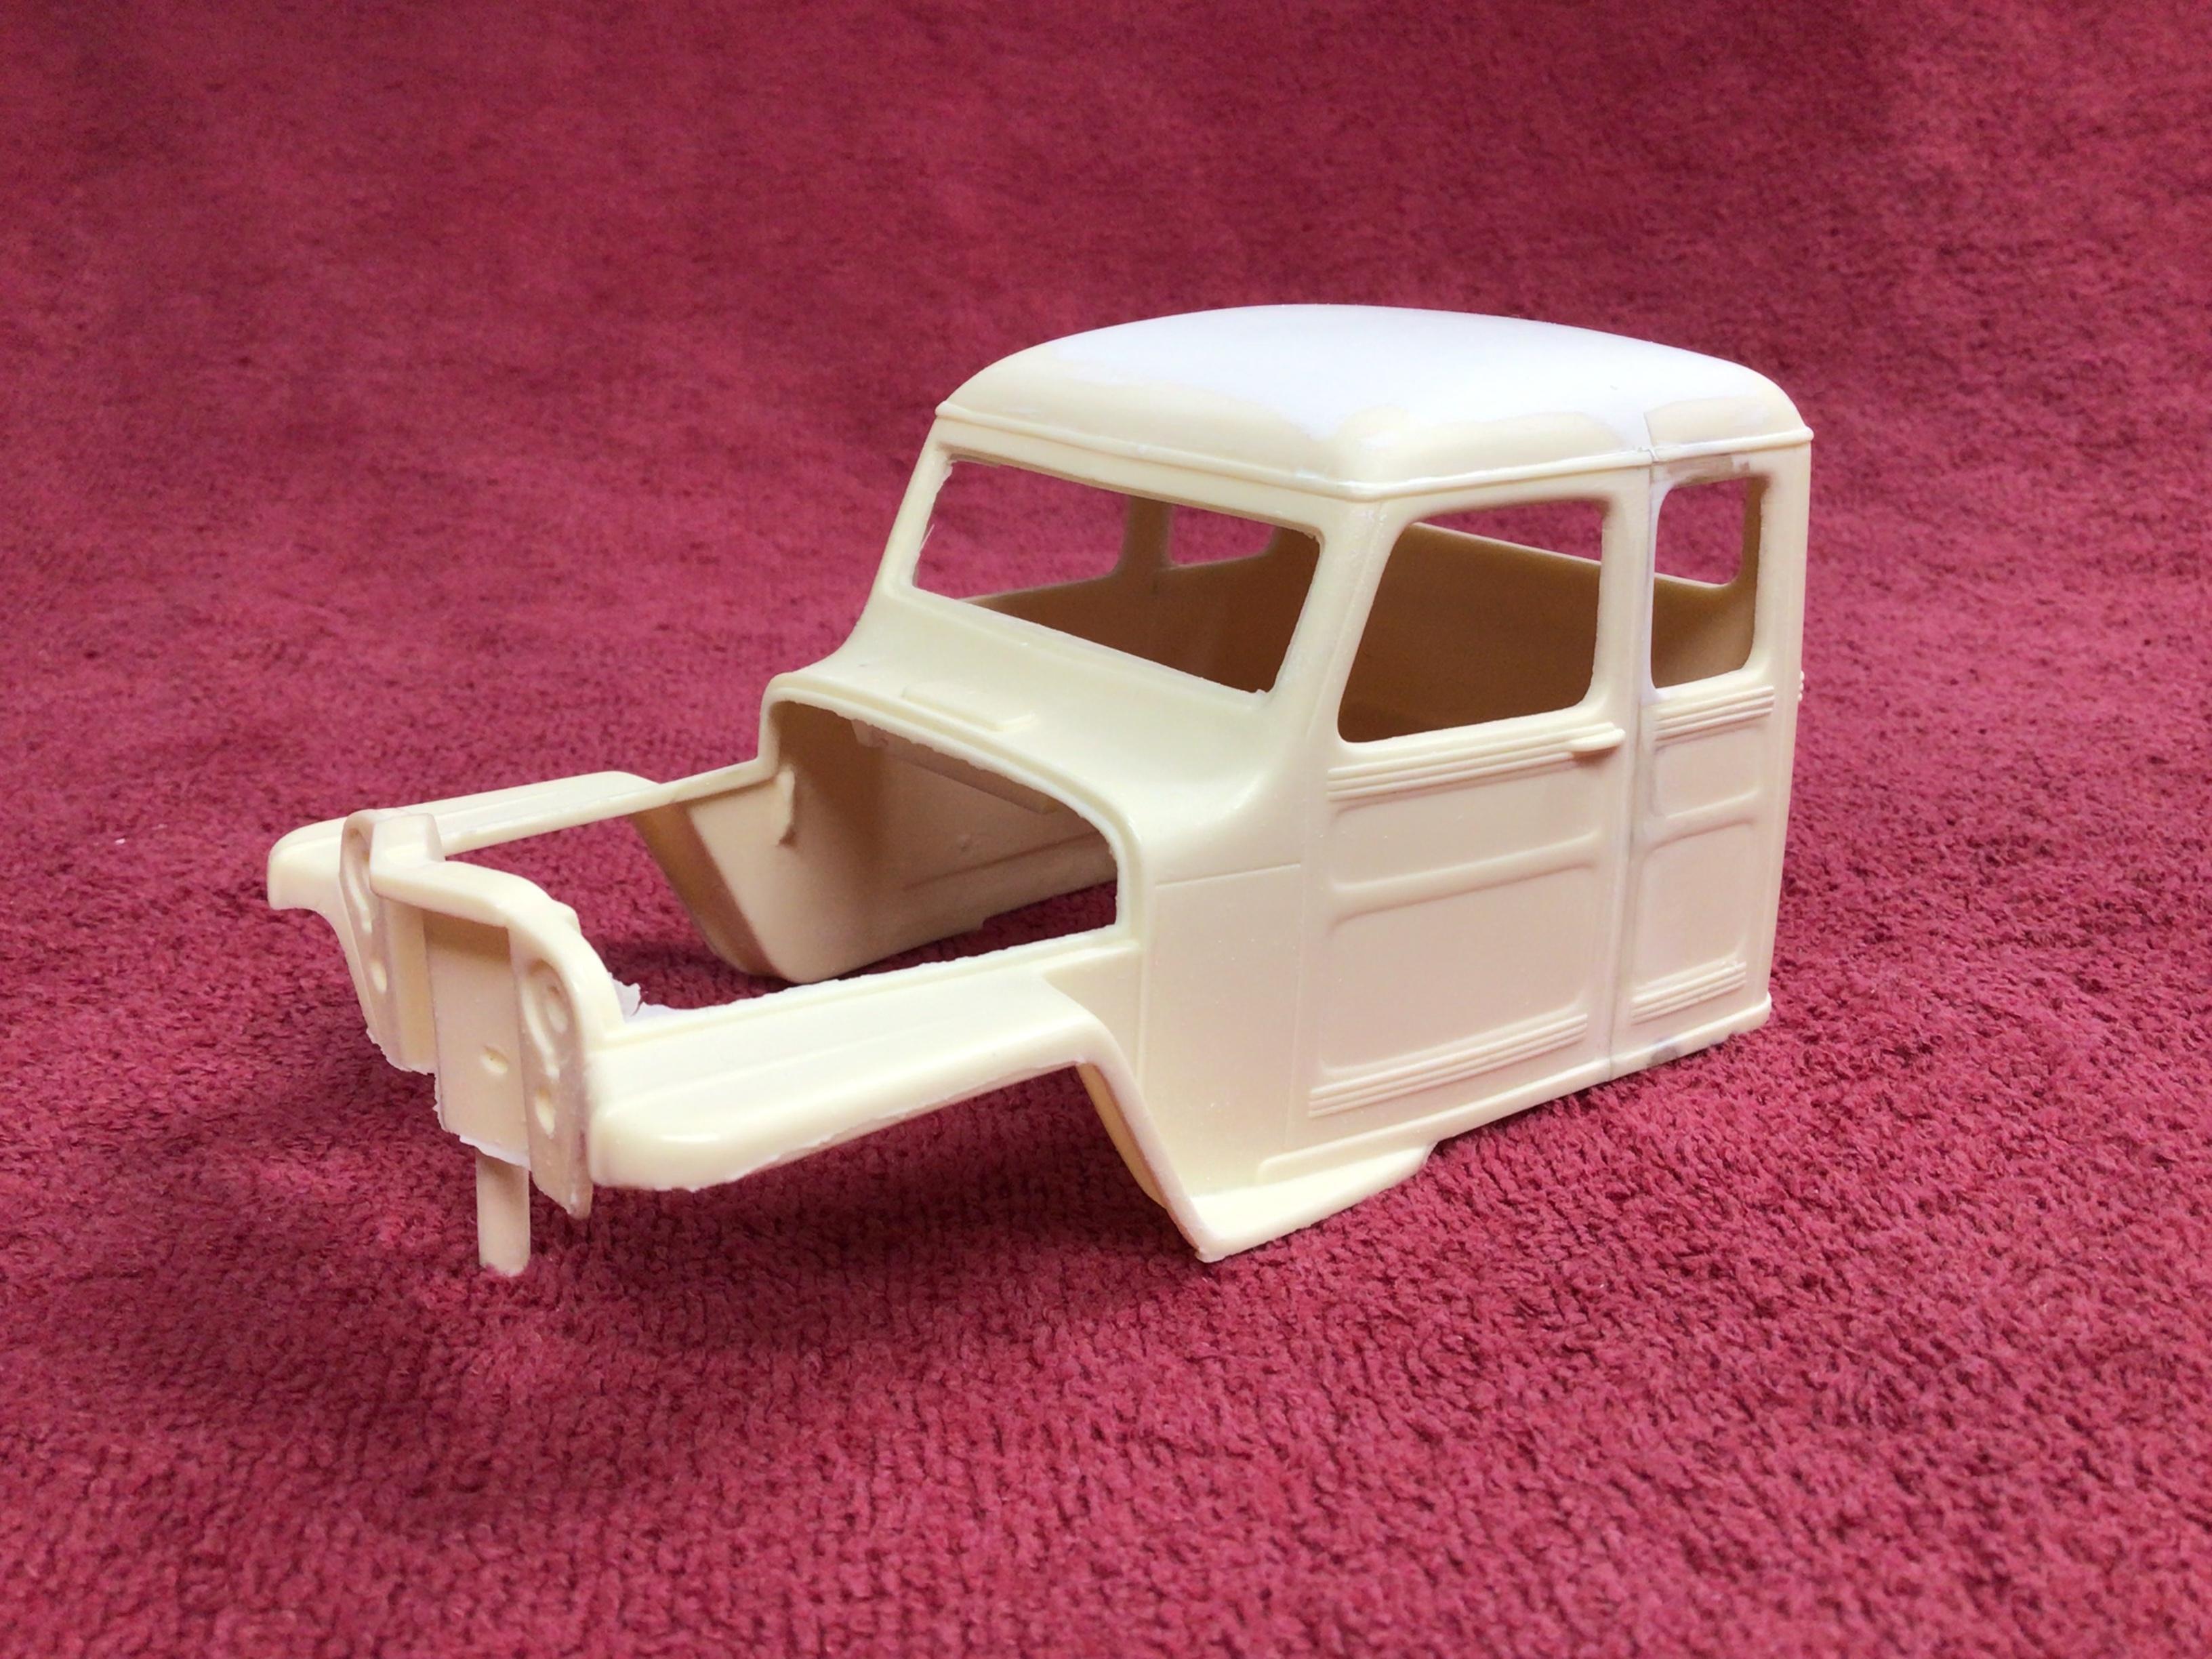
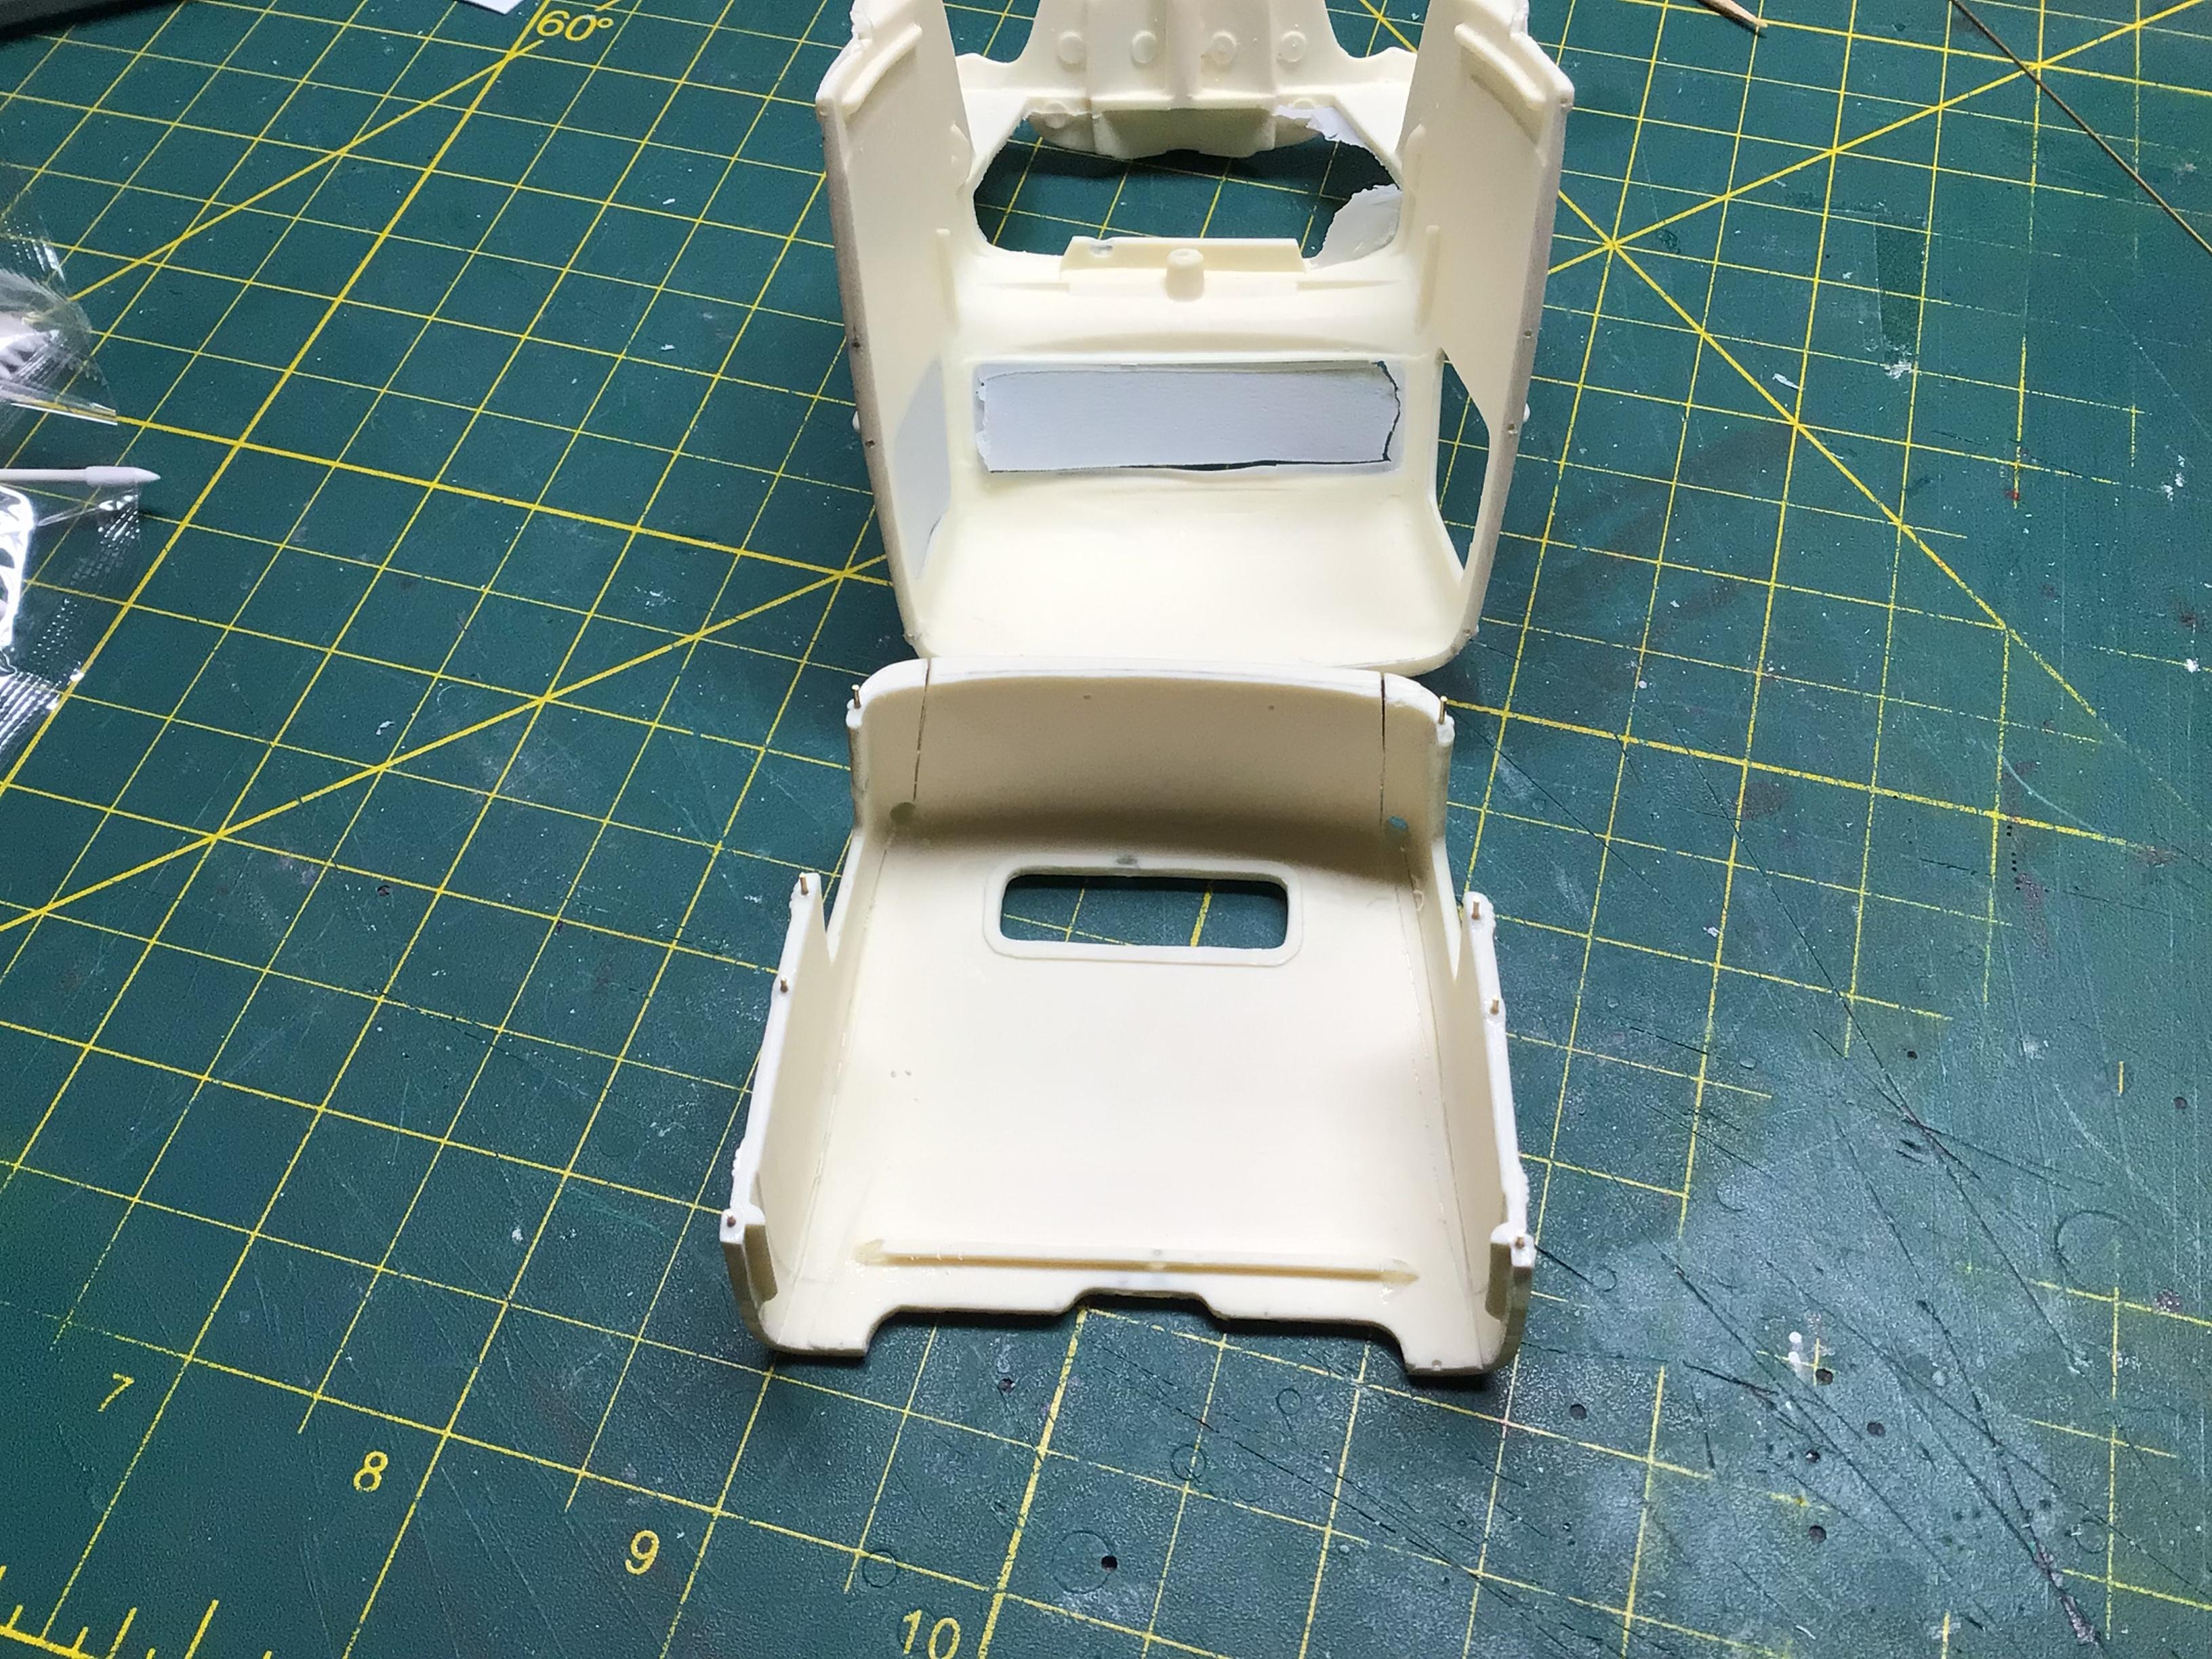
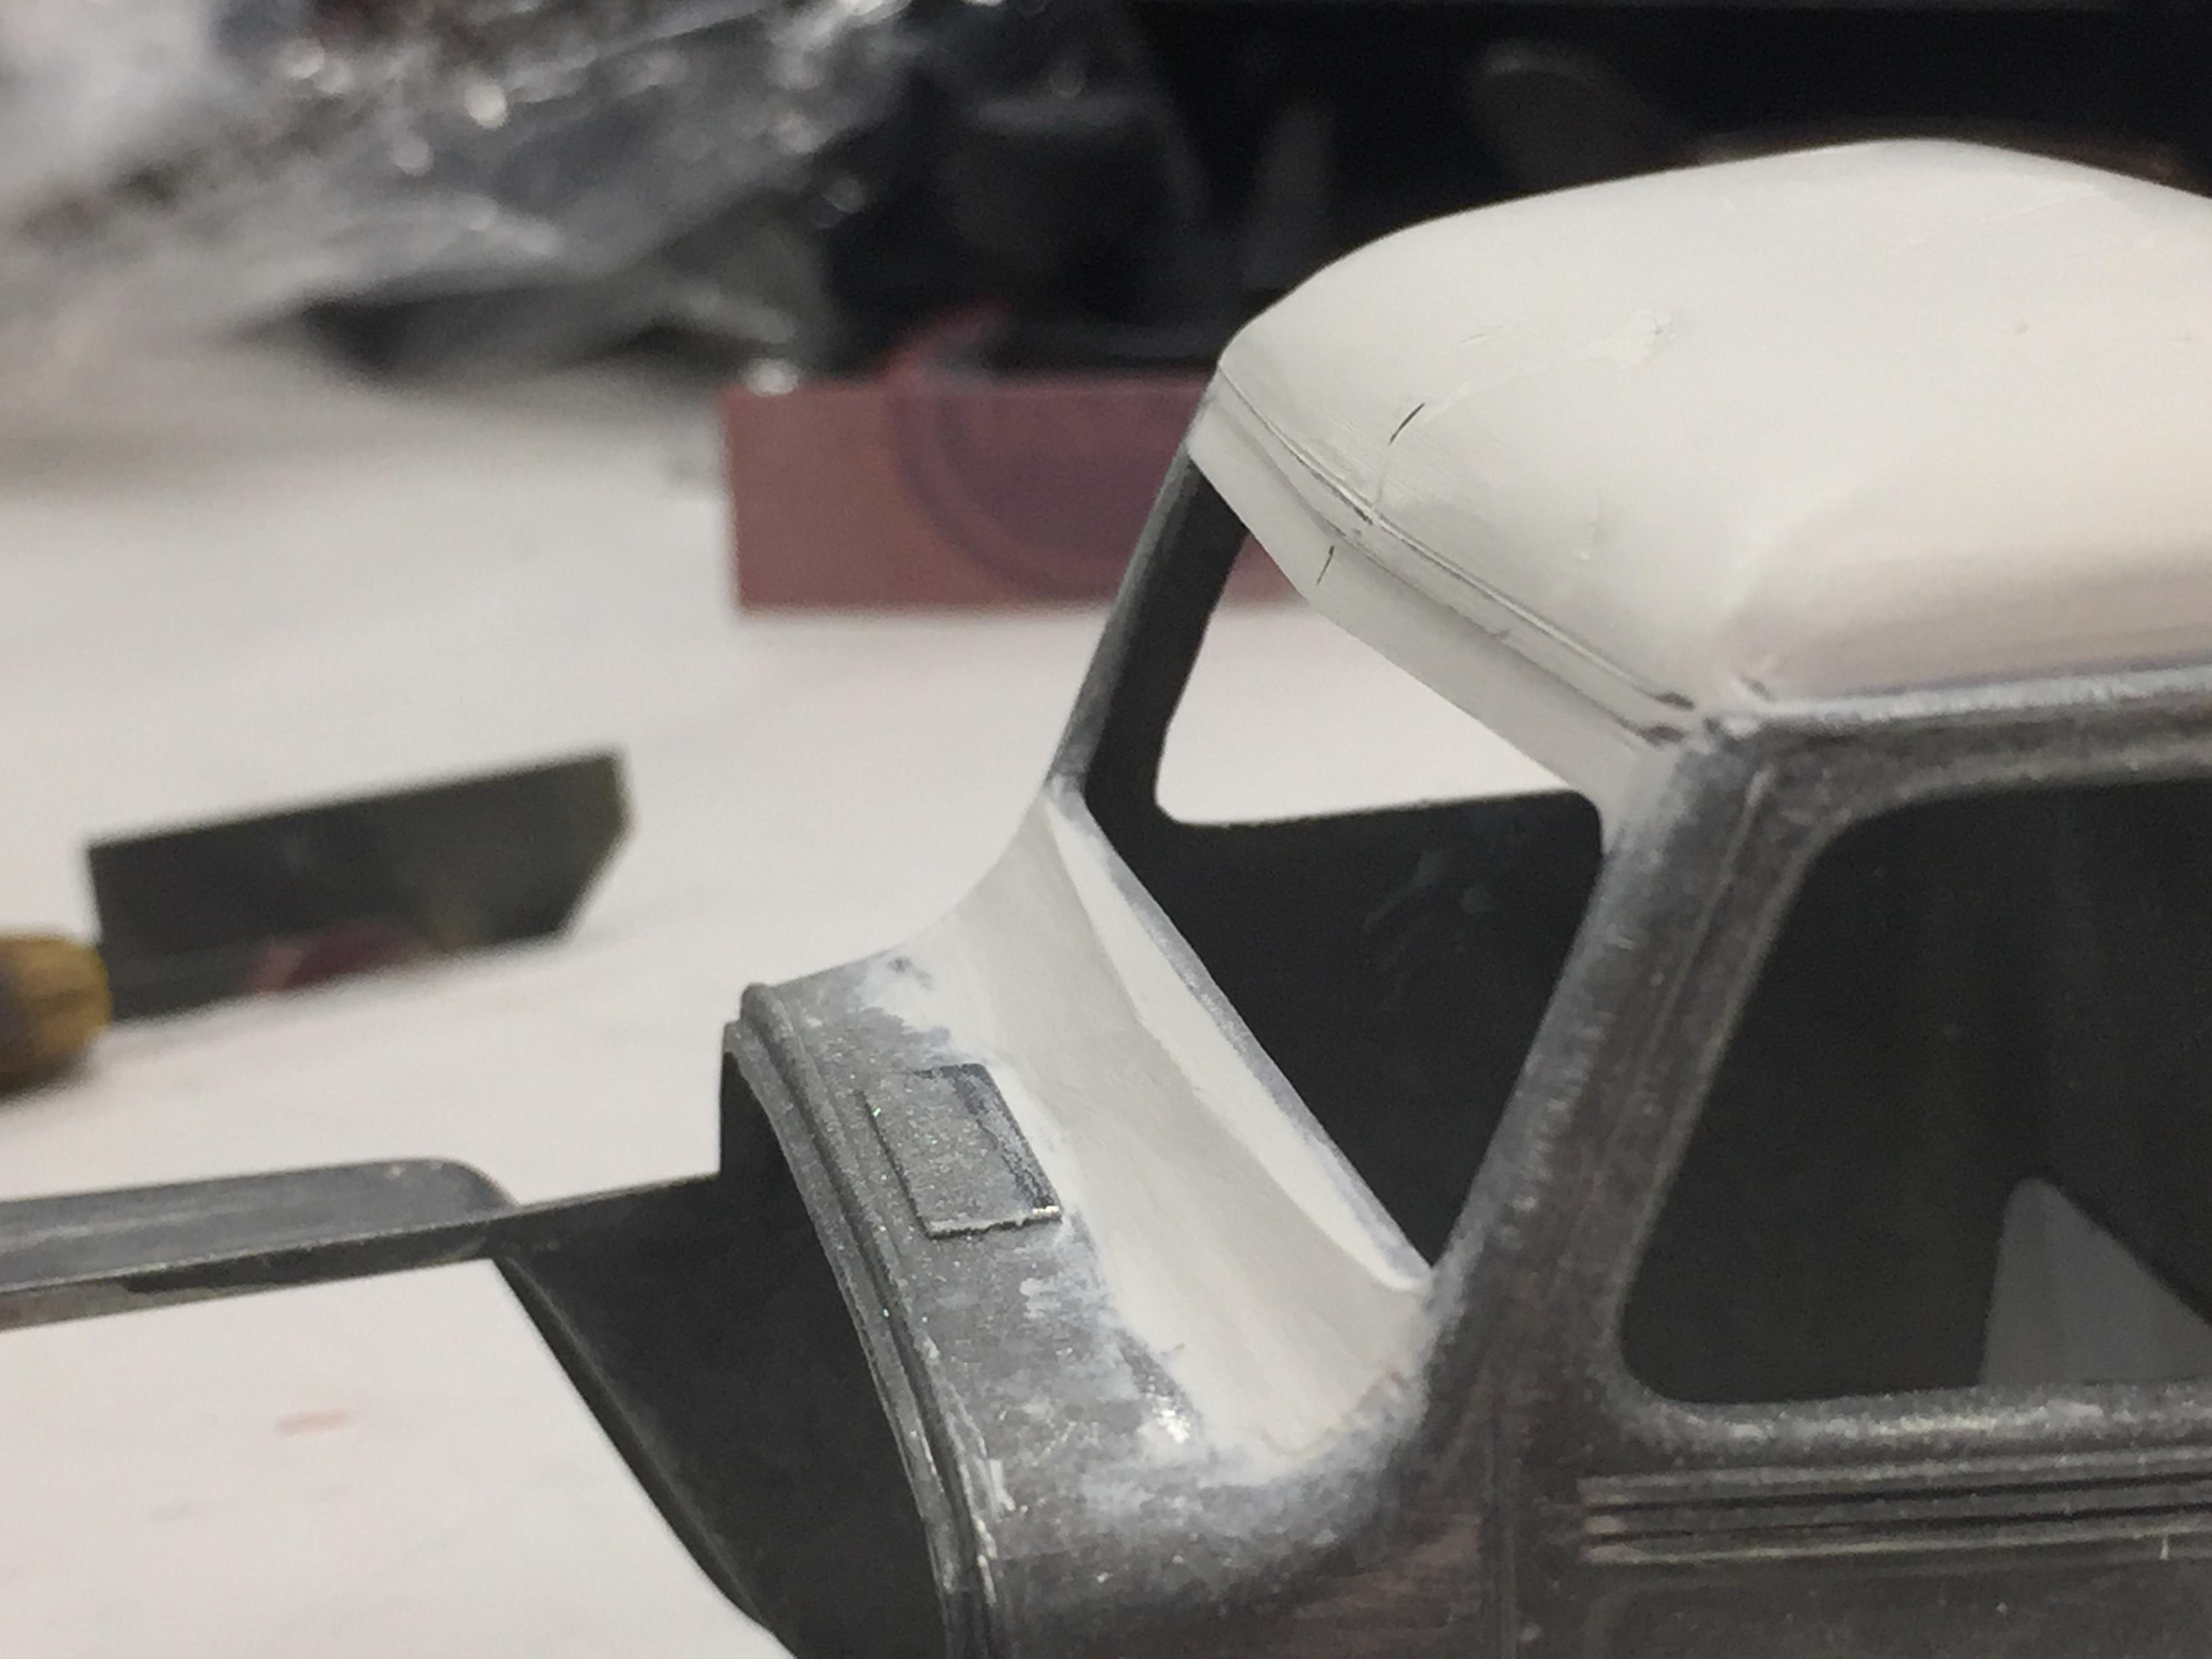
I used chunks from another NFG casting to complete the rear 1/4 windows and I enlarged the rear window to the larger ‘54? and later size. Some Milliput and some sanding and it is starting to shape up. I have no idea yet what I’m doing for the frame, running gear and box yet. I have to finish the one I have started first.
-
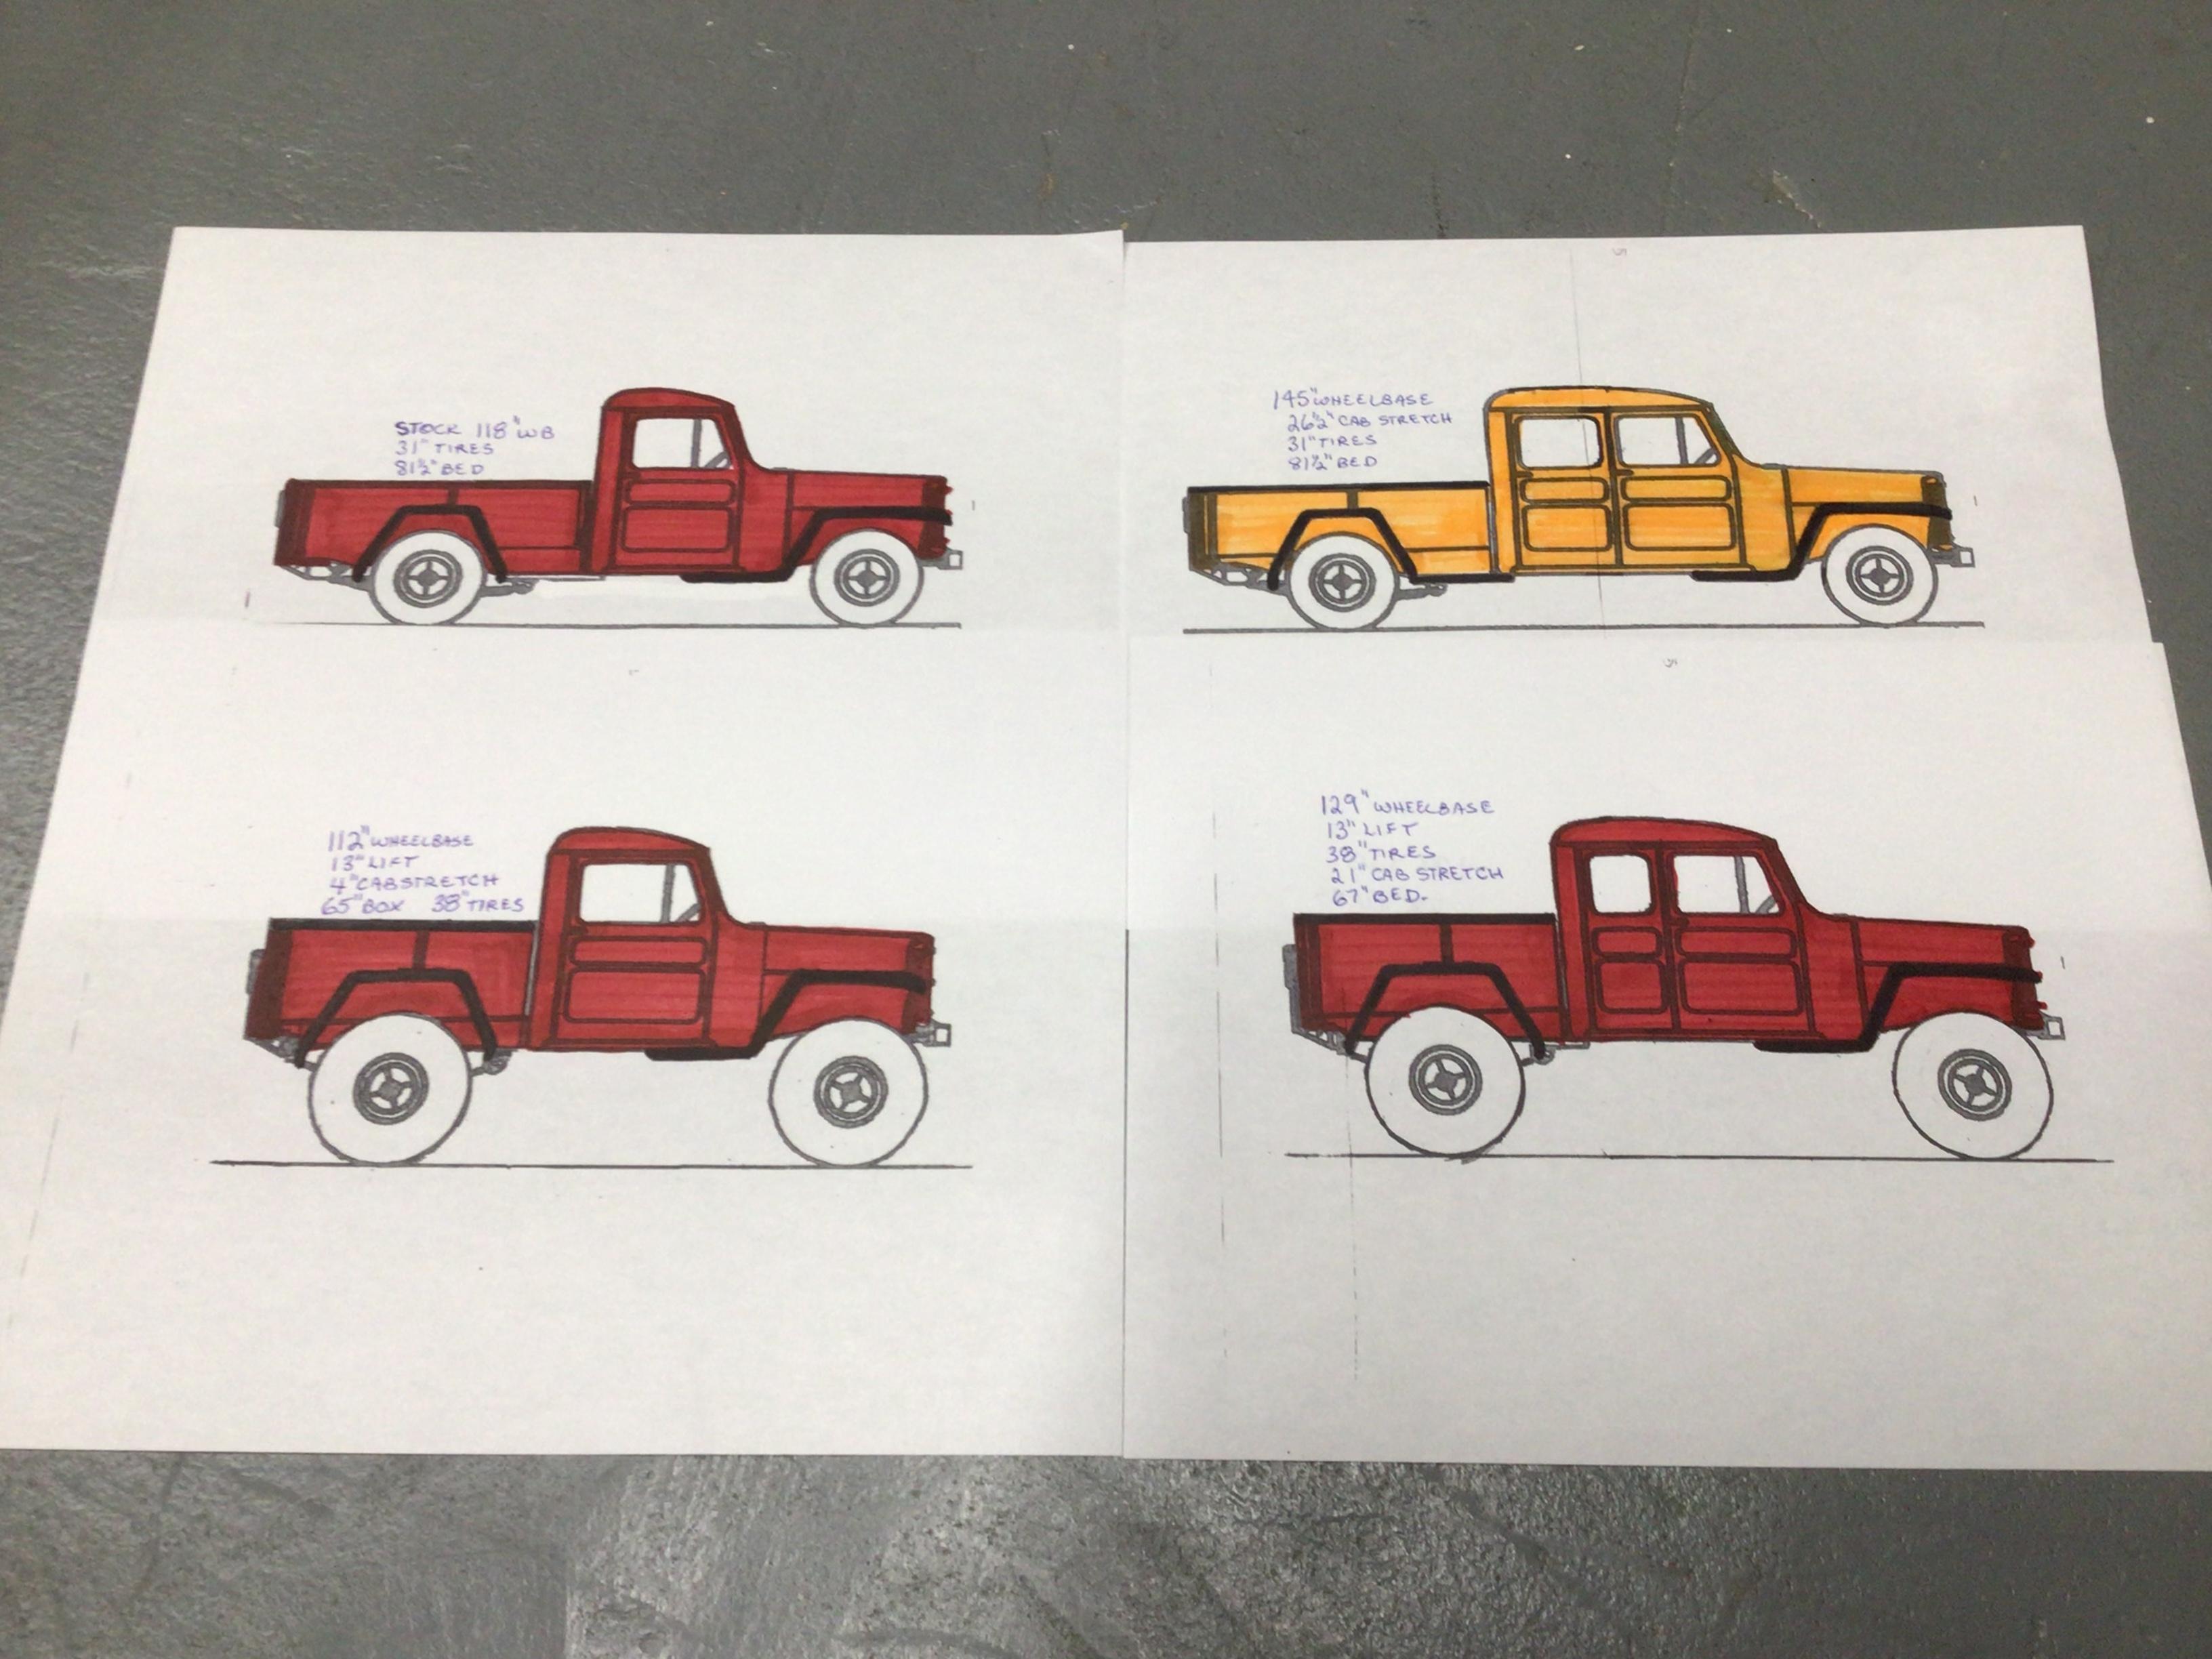
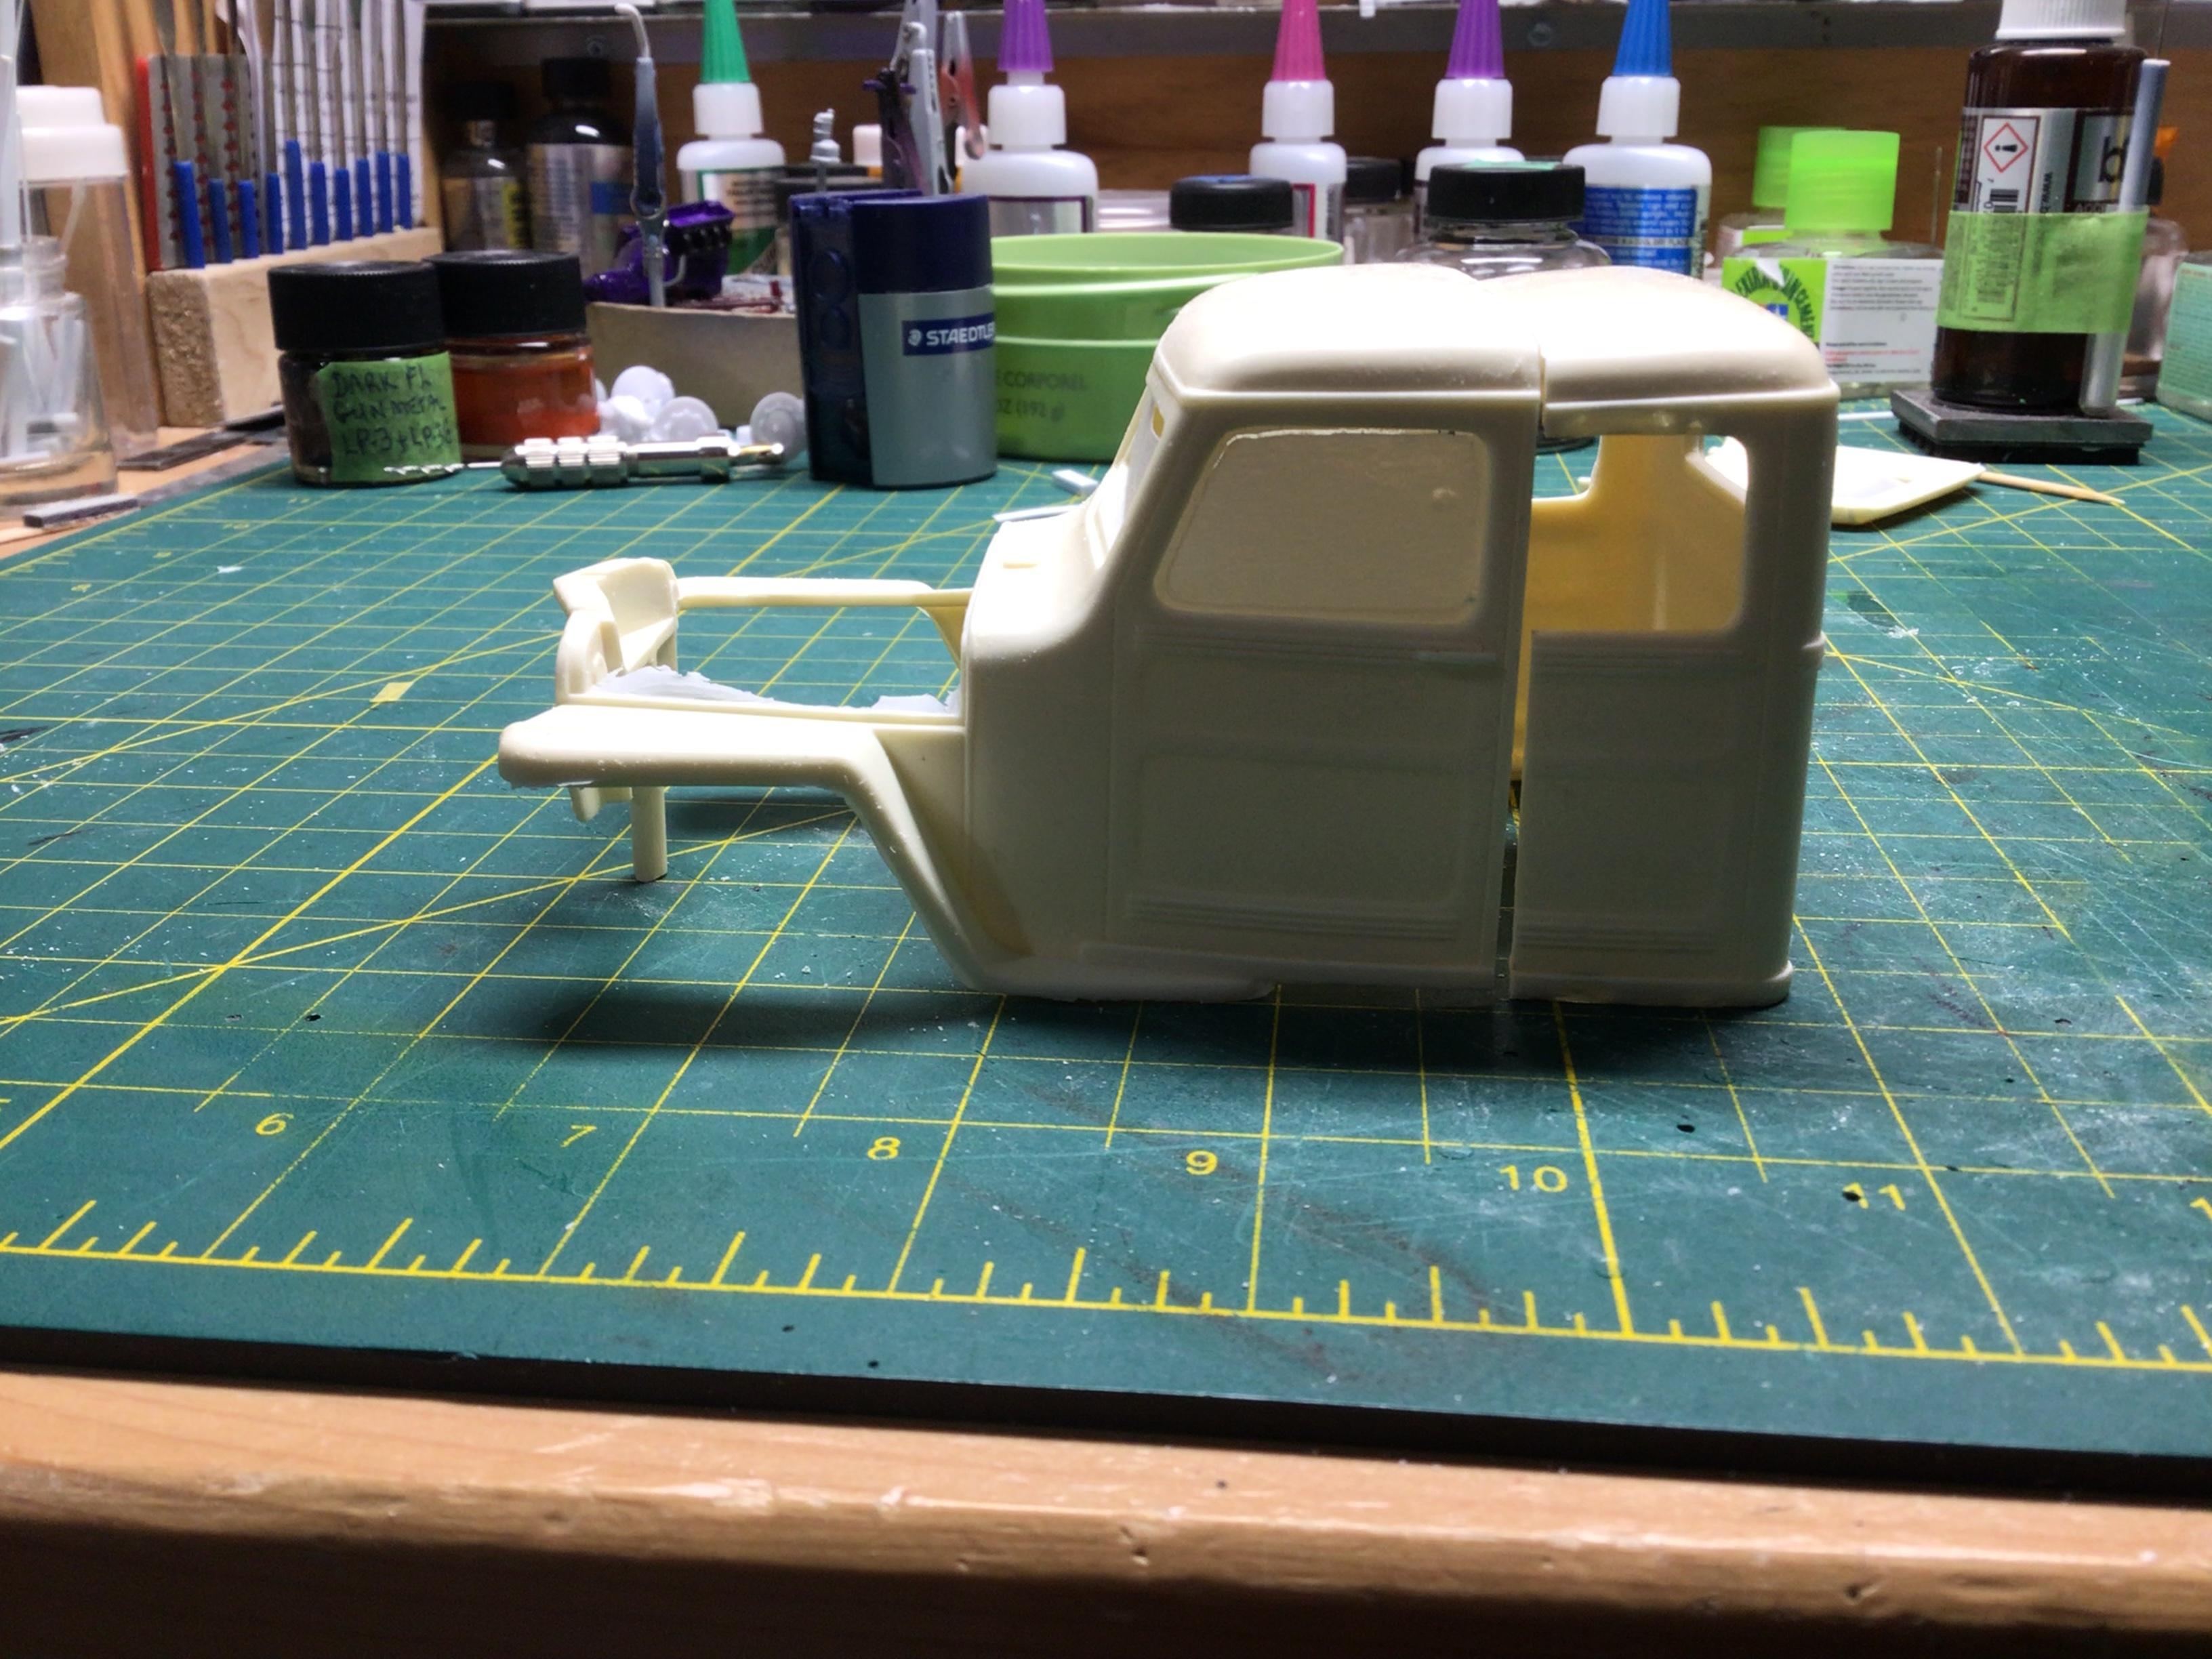
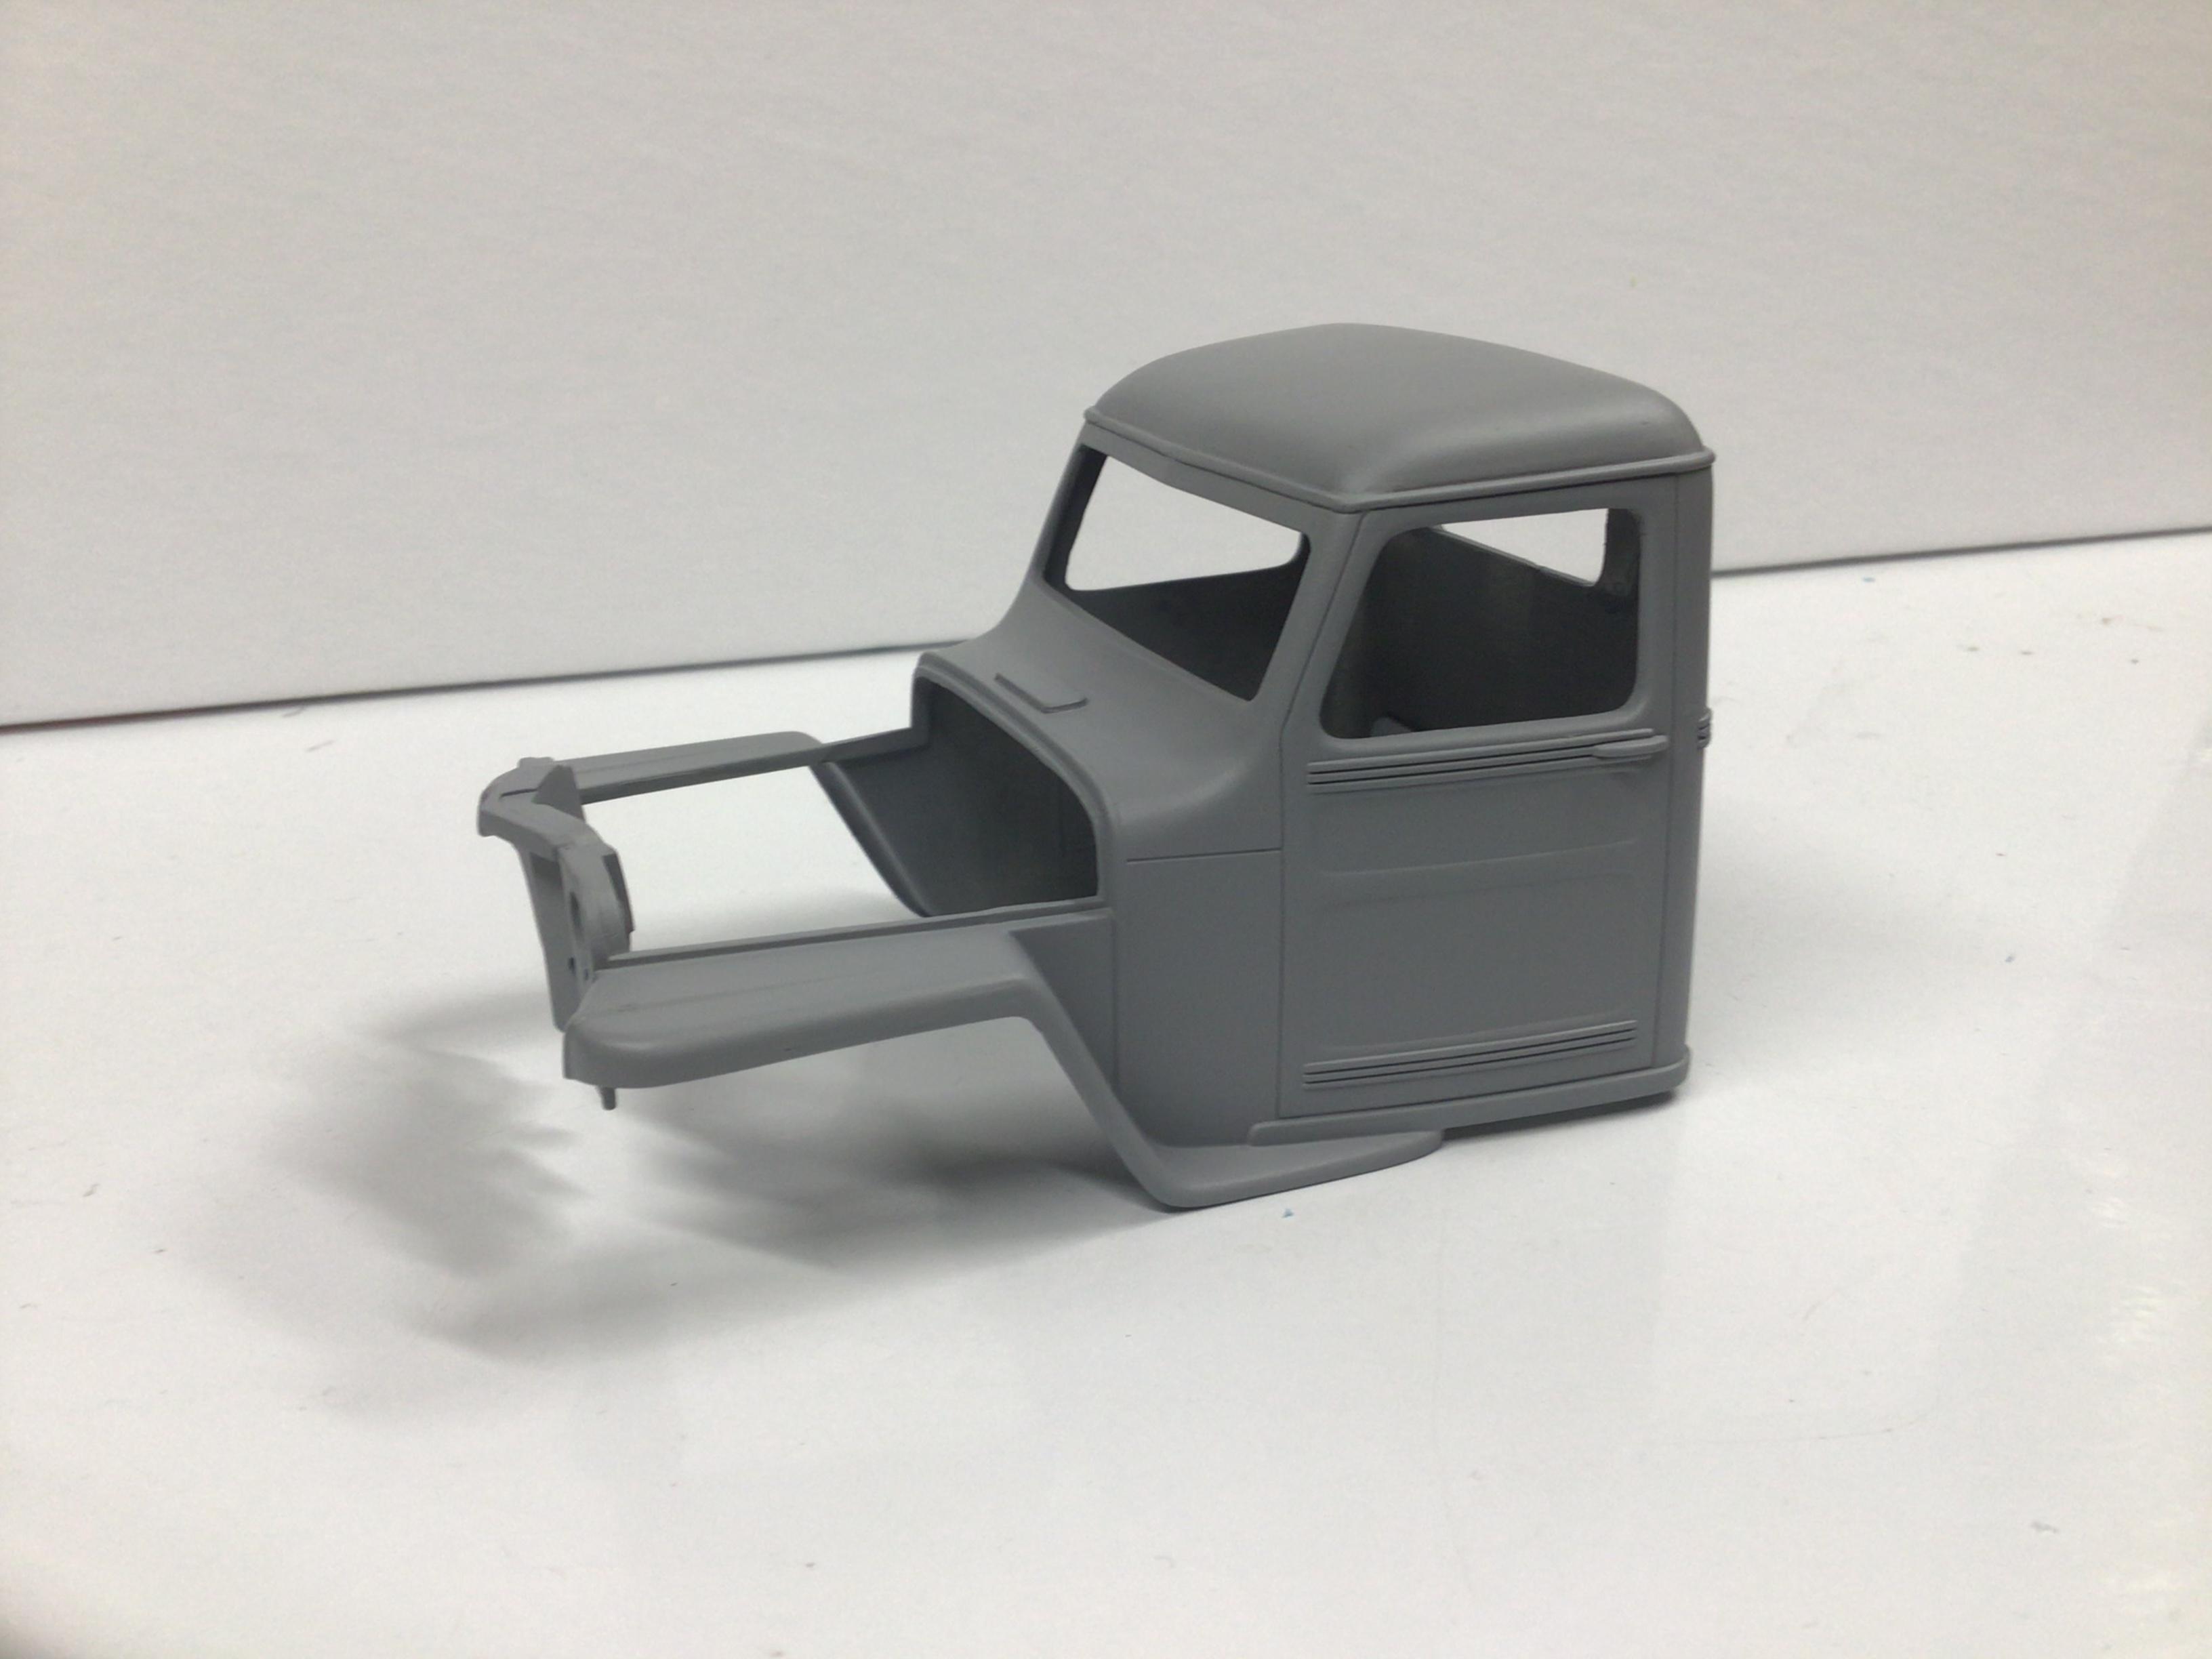
I found a side profile drawing of a Willys pickup online. Then I cut and pasted to achieve a bunch of different looks. The extended cab 4x4 with rear 1/2 doors won out. I made two castings last year that each have flaws. This splice uses the best sections of each. I pinned the two sections and connected them with CA.
-
Just an update for anyone searching this in the future. I went with the Milliput and it worked great.
-
I found them! WOO HOO! They were in a tupperware container with all my rims and tires.?♂️
-
1971 Bronco
NOBLNG replied to Kool Kat's topic in WIP: Model Trucks: Pickups, Vans, SUVs, Light Commercial
Sounds like a good plan to me! I have a couple of these, so I will try be watching with anticipation.? -
Wow.! Looking fabulous there Bil. I wish I had 1/4 of your ambition.?
-
Interesting…I have one of these, so I will be watching.
-
It looks like a nice kit. Have fun with it!?
-
How do I scribe door lines?
NOBLNG replied to V8tiger's topic in Model Building Questions and Answers
Welcome Joe. There are two stickys in the tips, tricks and tutorials section on scribing panel lines (and opening doors). Check ‘em out and if you have any questions, someone will gladly assist you. -
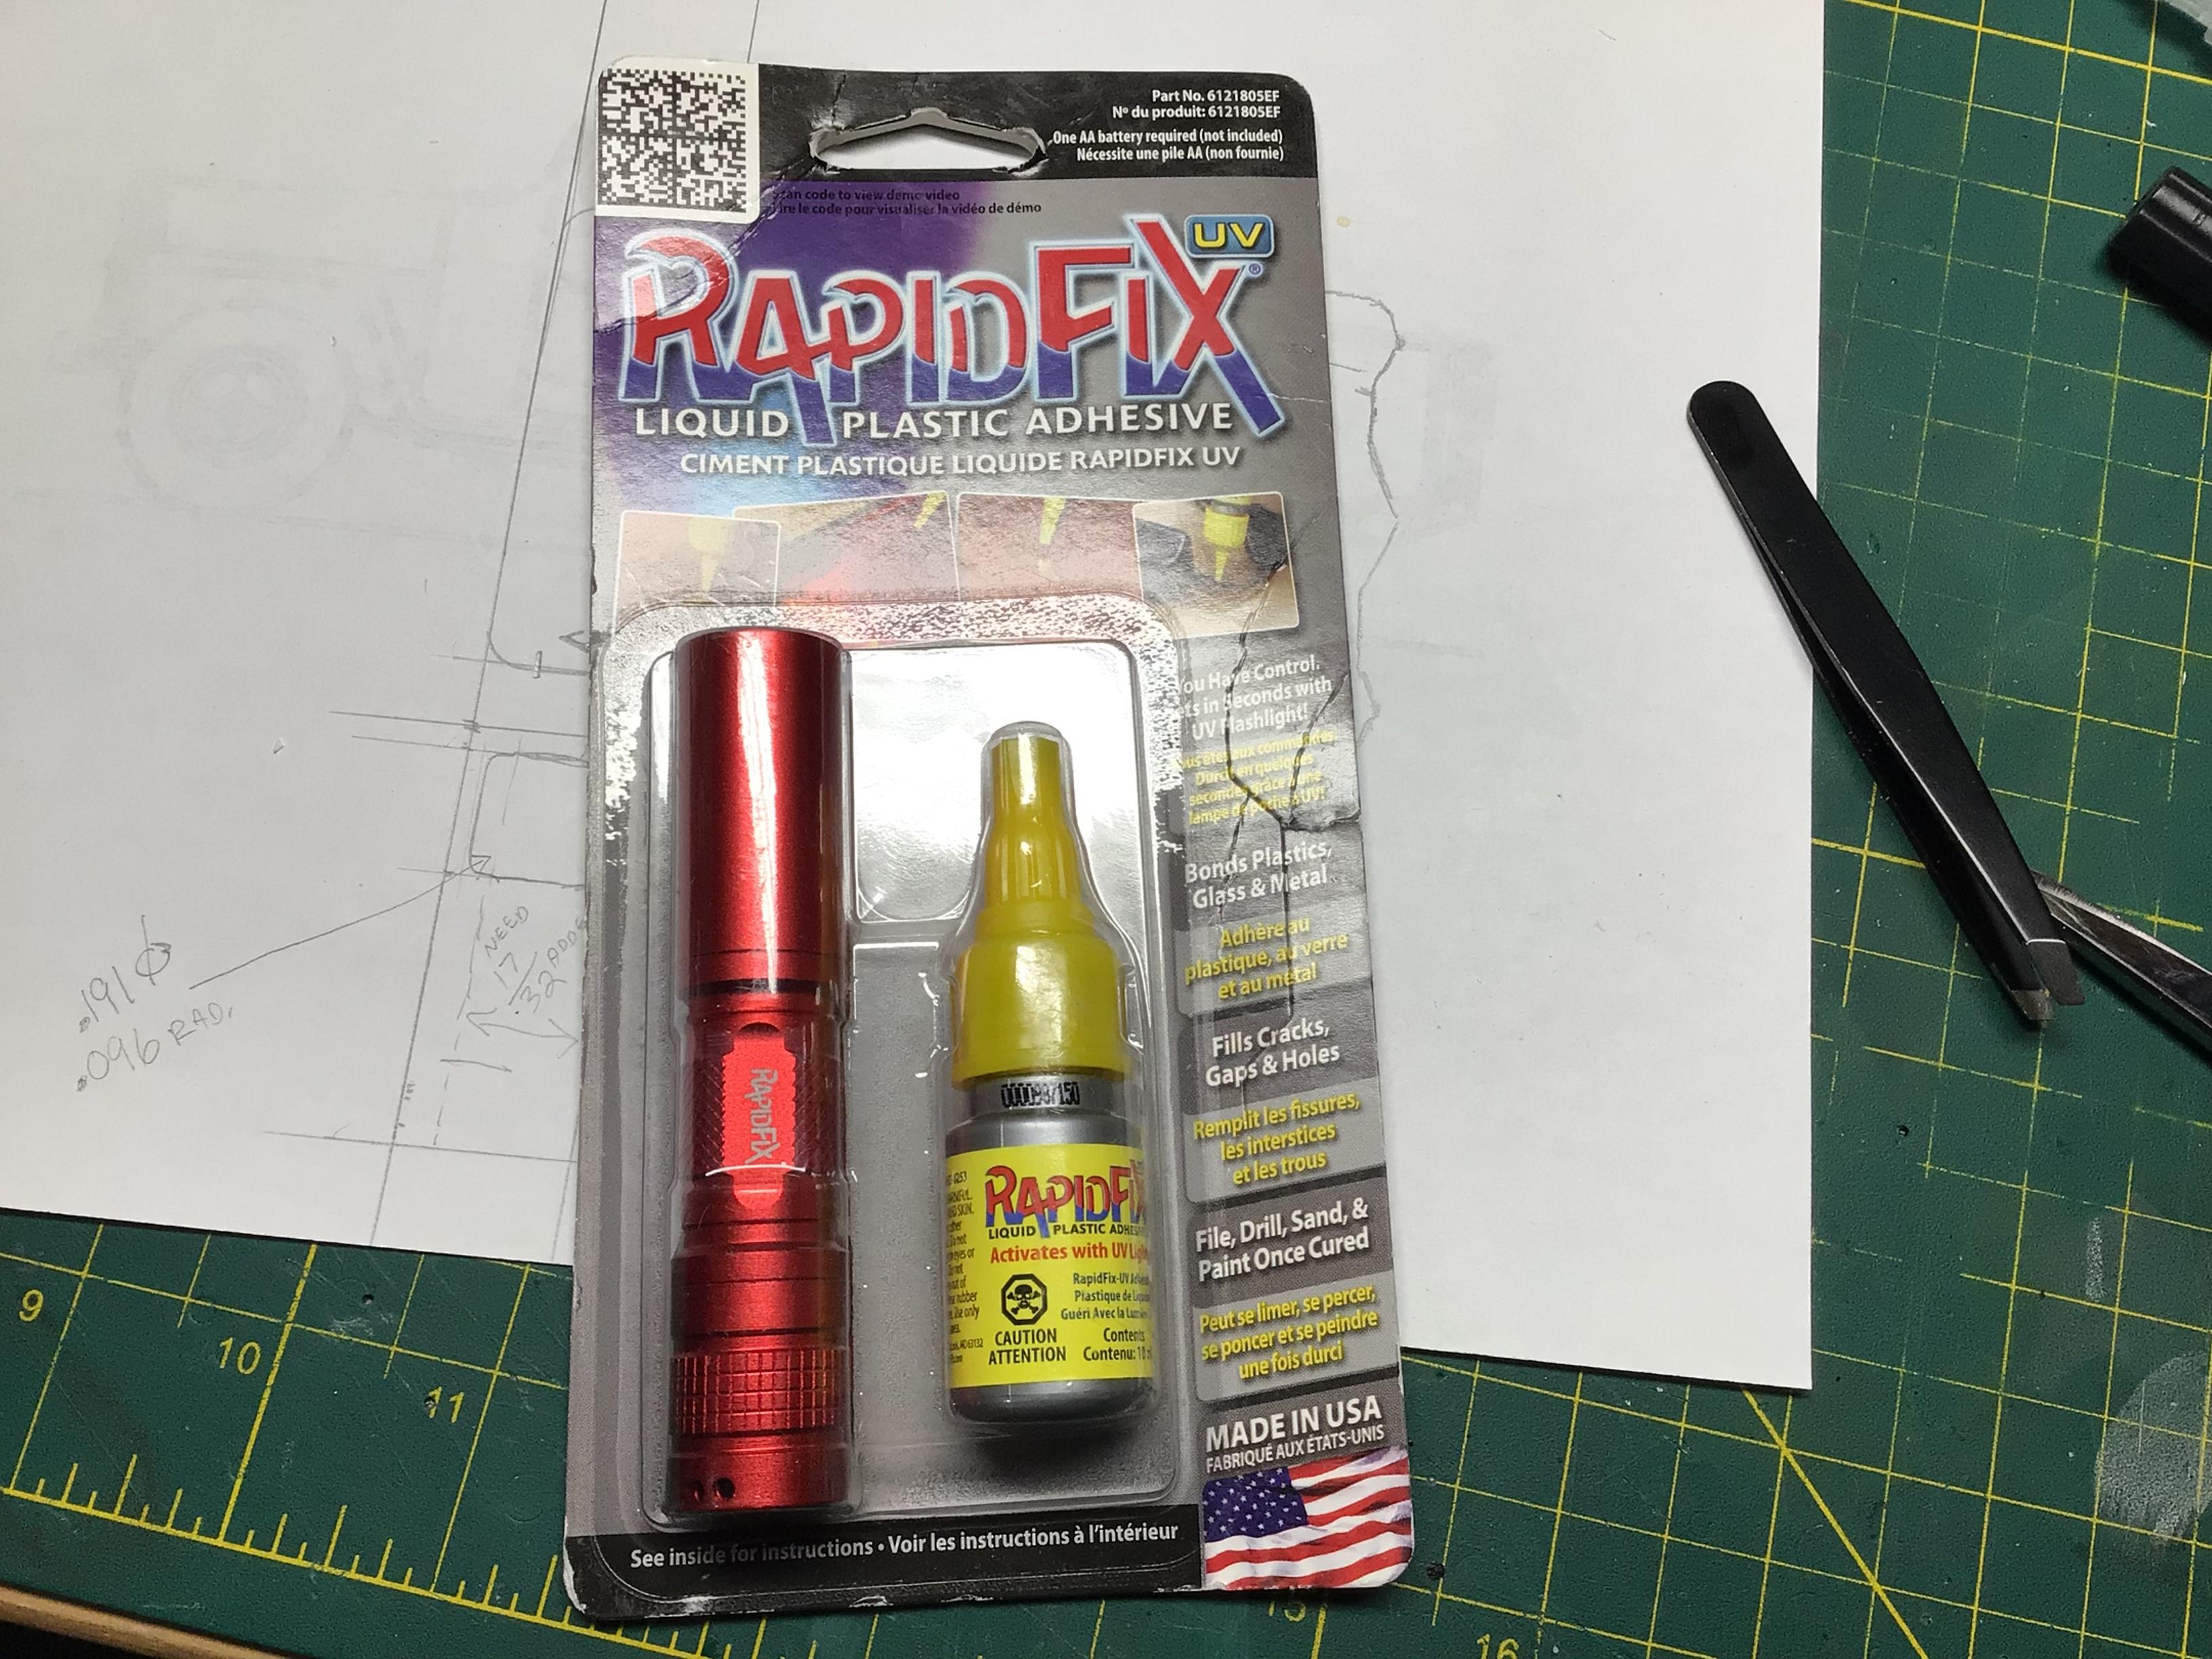
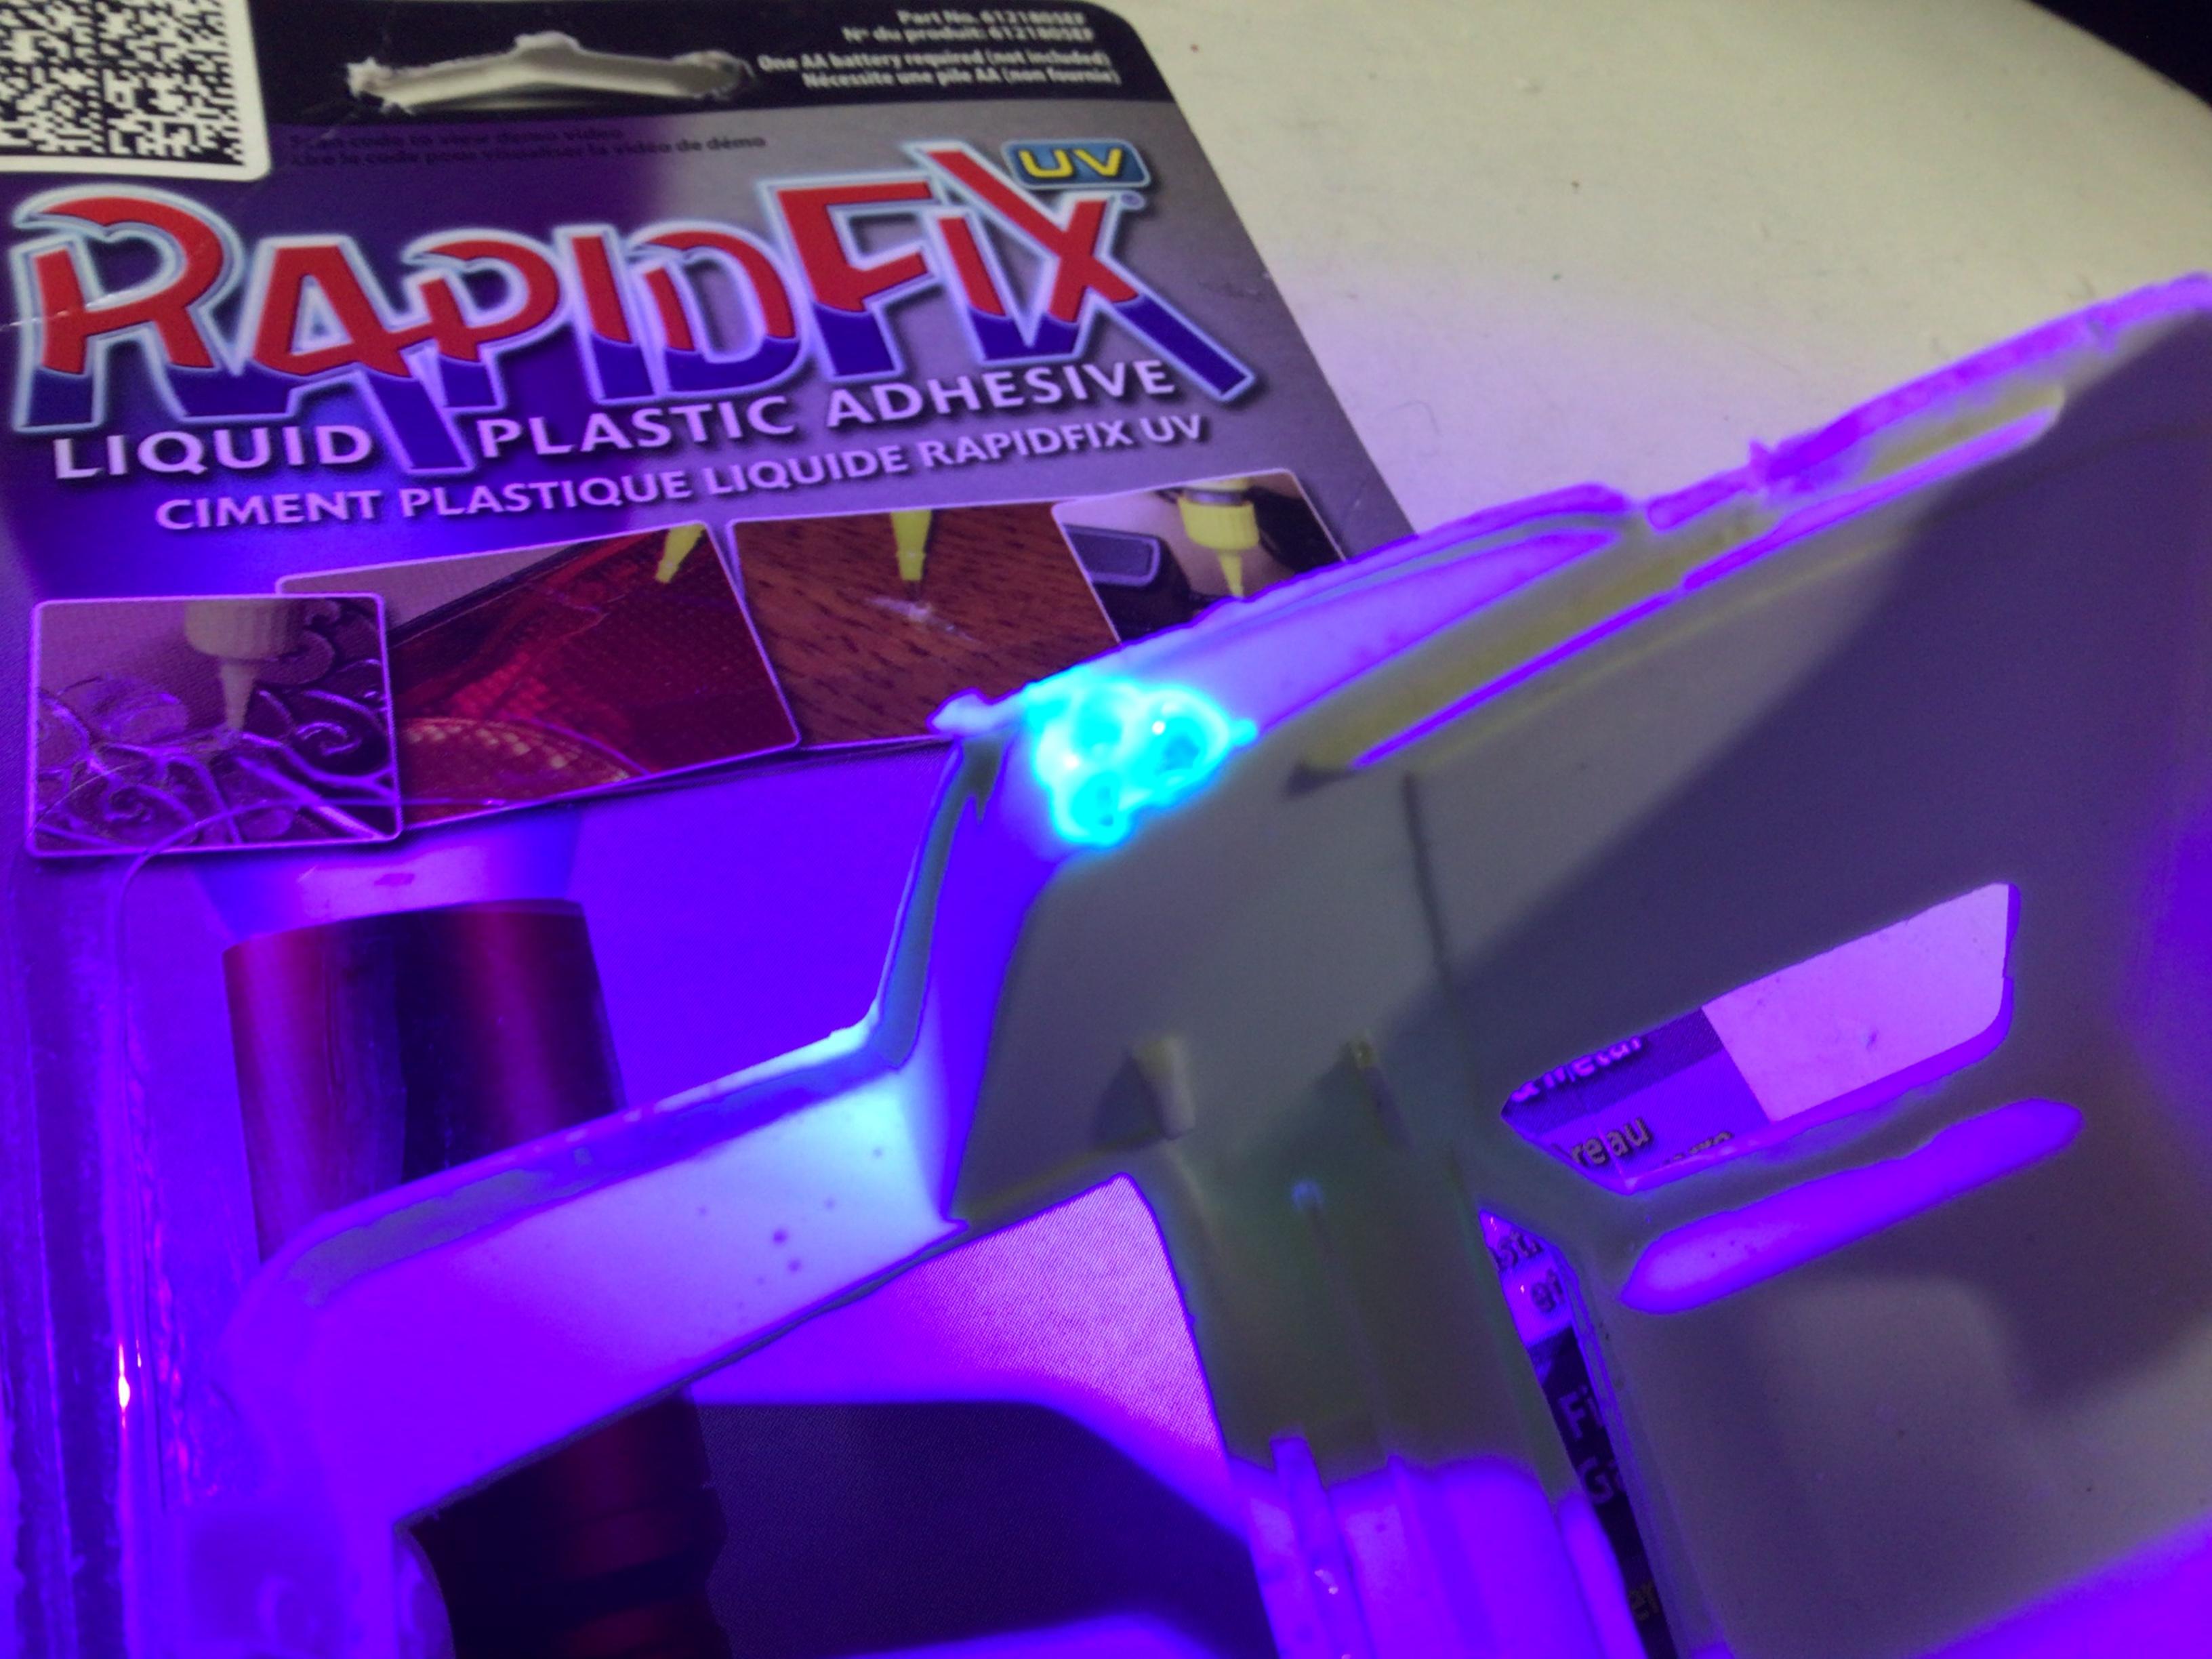
Anybody tried Bondic yet?
NOBLNG replied to crazyjim's topic in Model Building Questions and Answers
I did that test with this Rapid Fix and it is still flexible. I believe the stuff I cured yesterday however has hardened up substantially. I had some excess in a bottle cap and it began to harden under the LED lights over my desk. If the sun ever pokes it’s head out here in the near future, I will try an outdoor test.
-
Looking fine! I like the contrast with the orange wheels.?
-
Foose 56 International?
NOBLNG replied to mchook's topic in WIP: Model Trucks: Pickups, Vans, SUVs, Light Commercial
Looking good! Nice job on the weathering so far.? -
*1934 Ford Pickup*
NOBLNG replied to Zippi's topic in WIP: Model Trucks: Pickups, Vans, SUVs, Light Commercial
I like that colour combo. It’s going to look great!? -
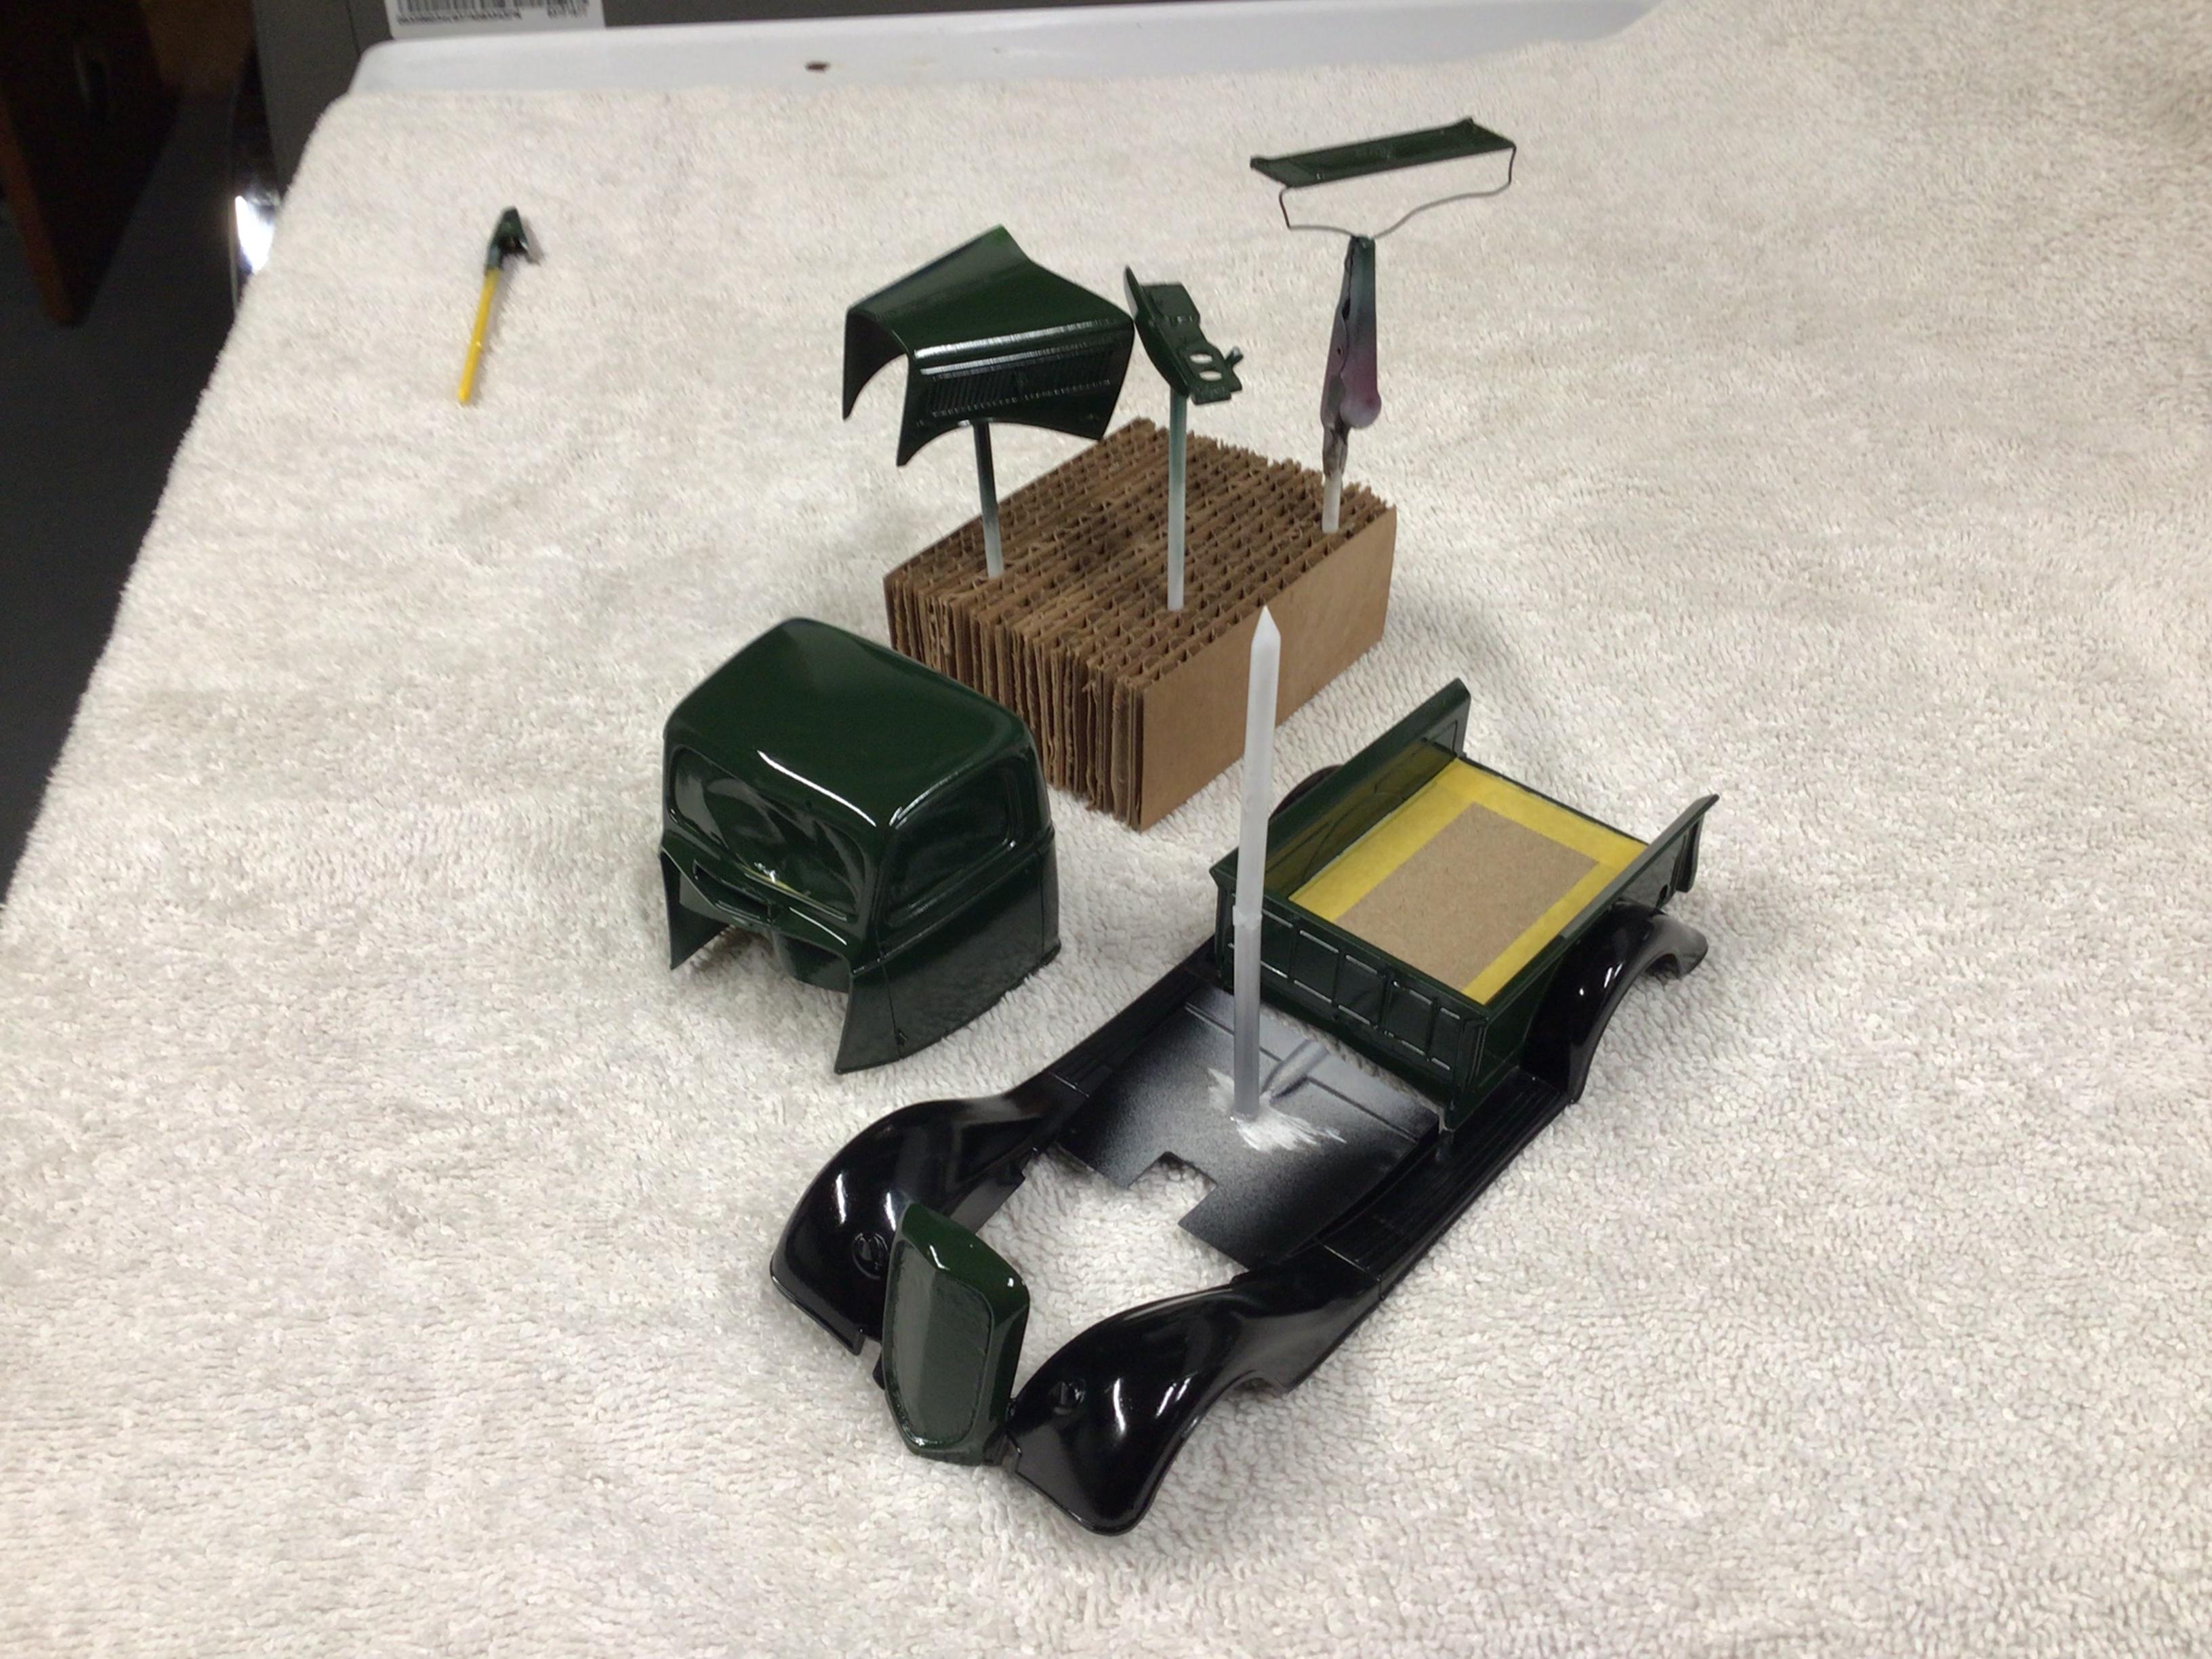
Revell ‘37 Ford Pickup
NOBLNG replied to NOBLNG's topic in WIP: Model Trucks: Pickups, Vans, SUVs, Light Commercial
Thanks, it’s Tamiya British Green and Tamiya Clear. Yes, I am going to mount the tailgate with little pins for hinges and real chains. I’ve got a flaw in the paint though, so I’m working on something else till I figure out how to deal with it. -
Anybody tried Bondic yet?
NOBLNG replied to crazyjim's topic in Model Building Questions and Answers
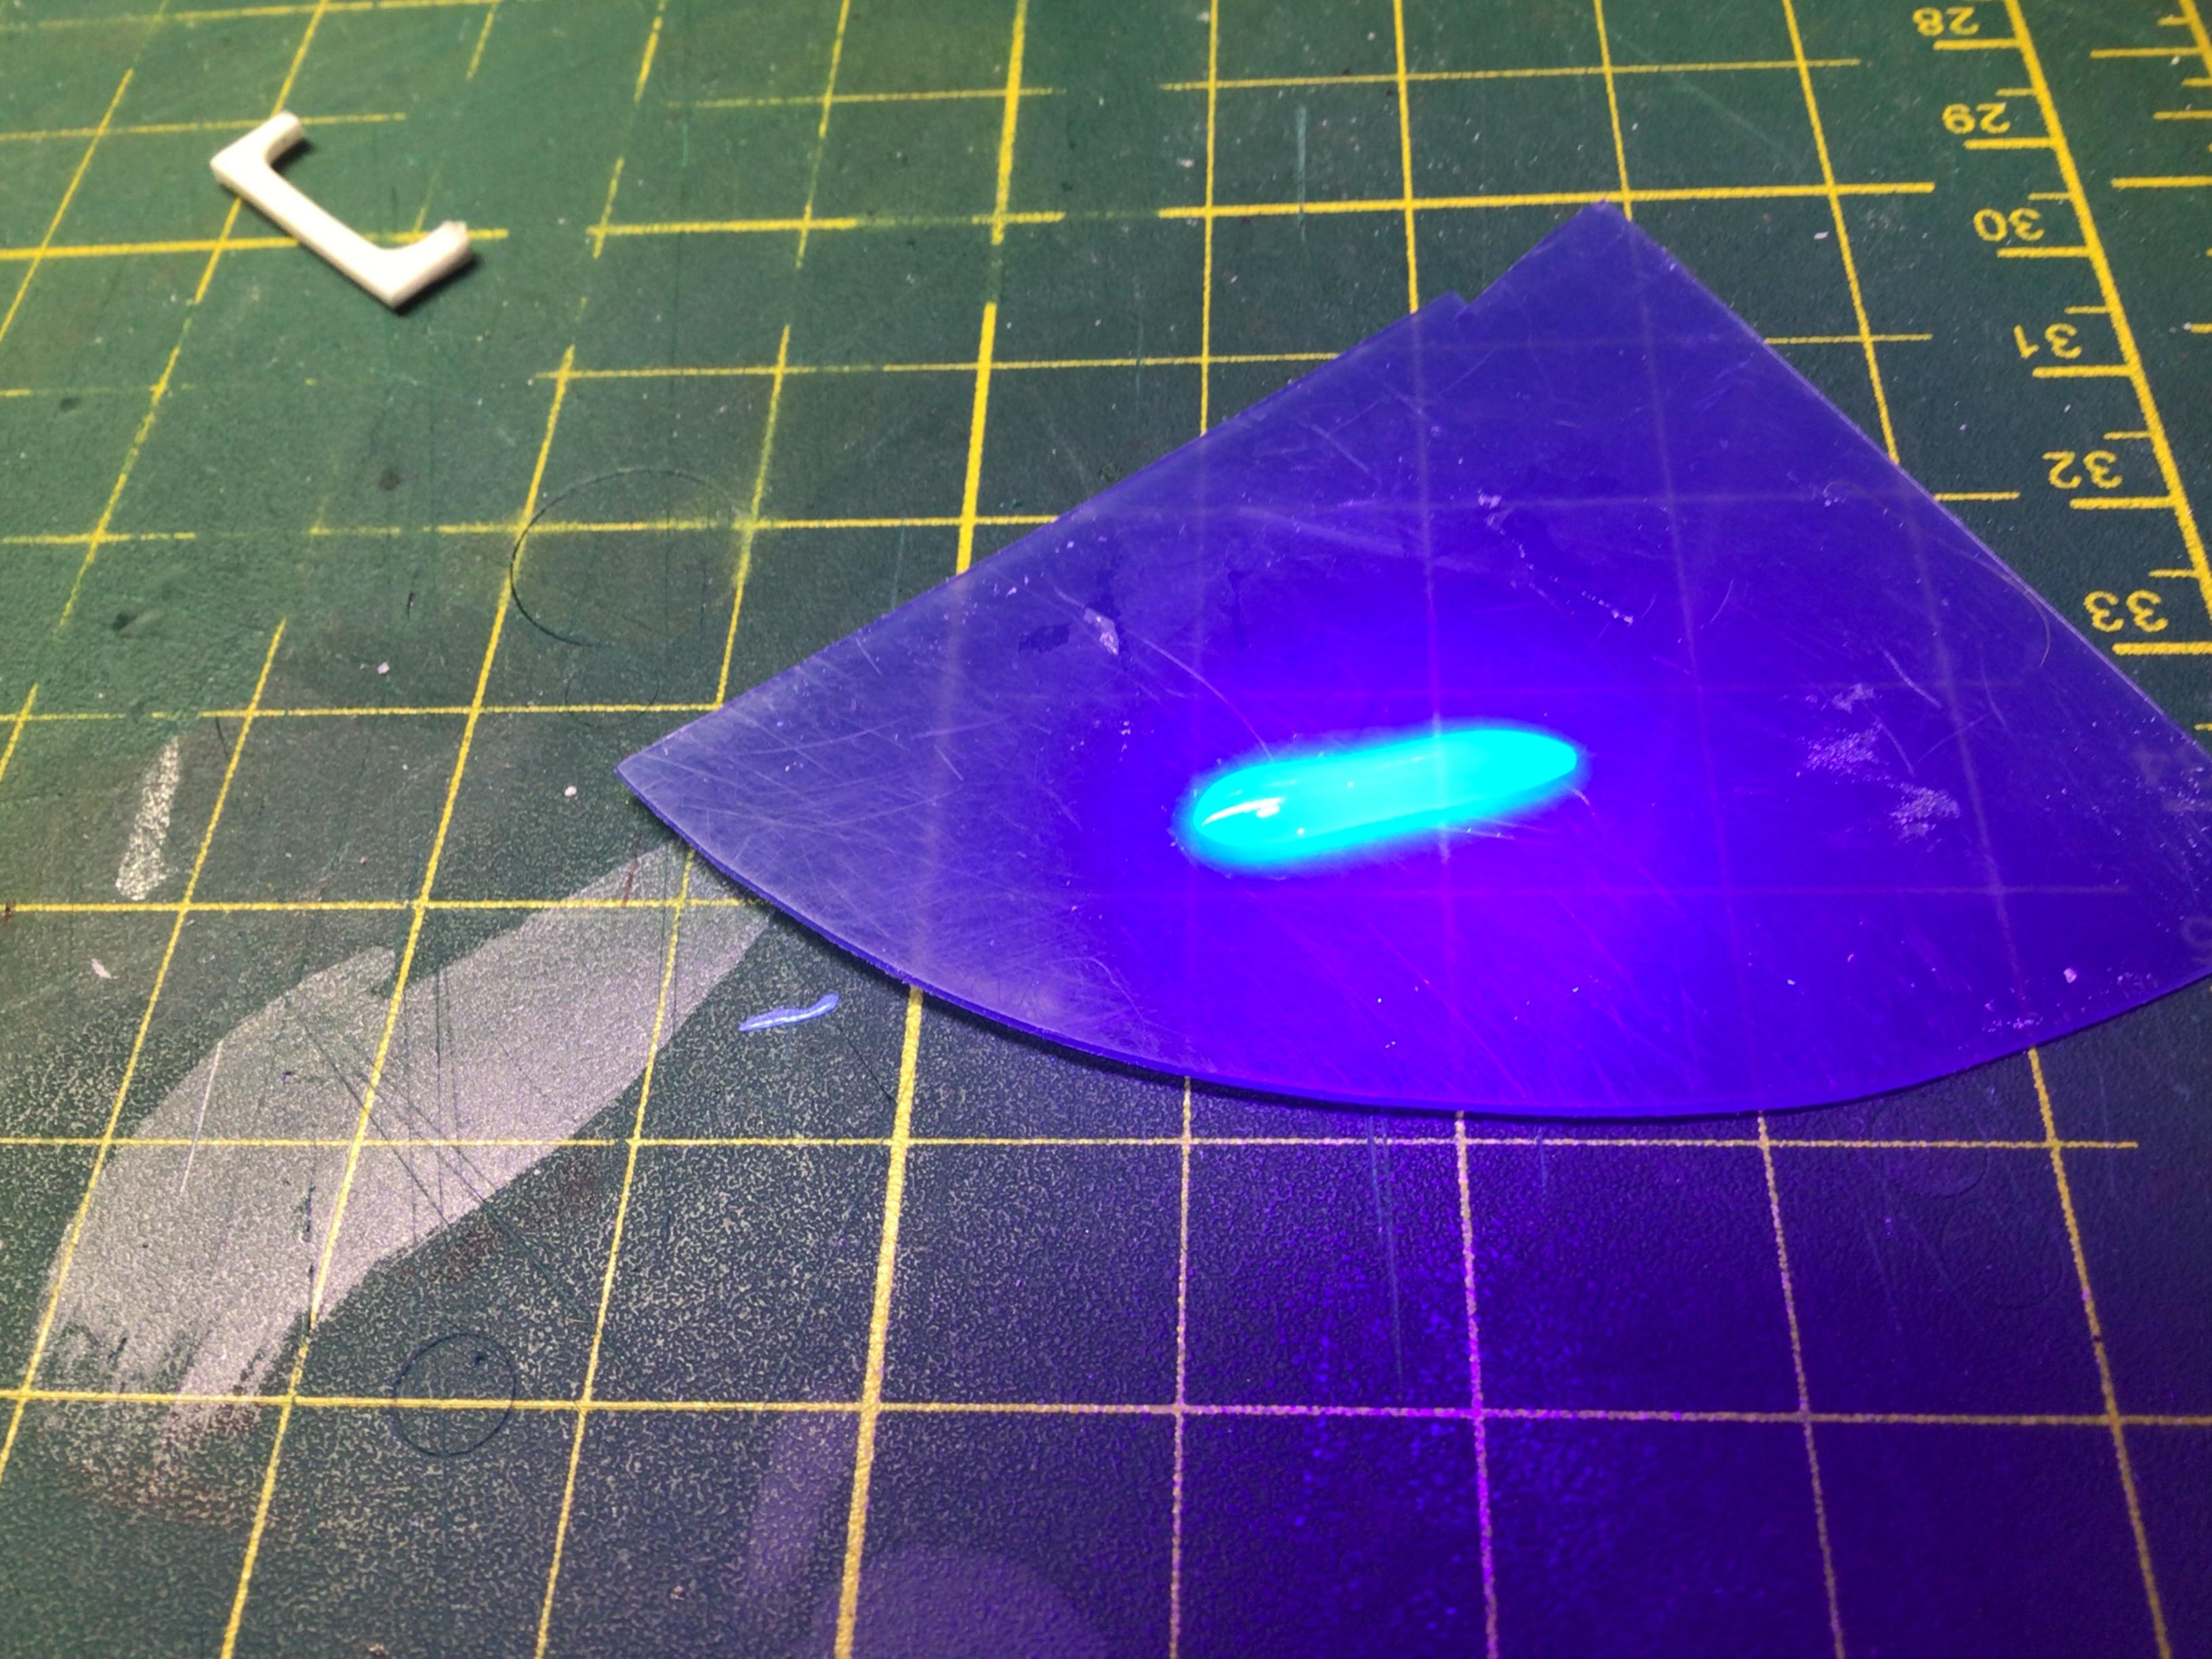
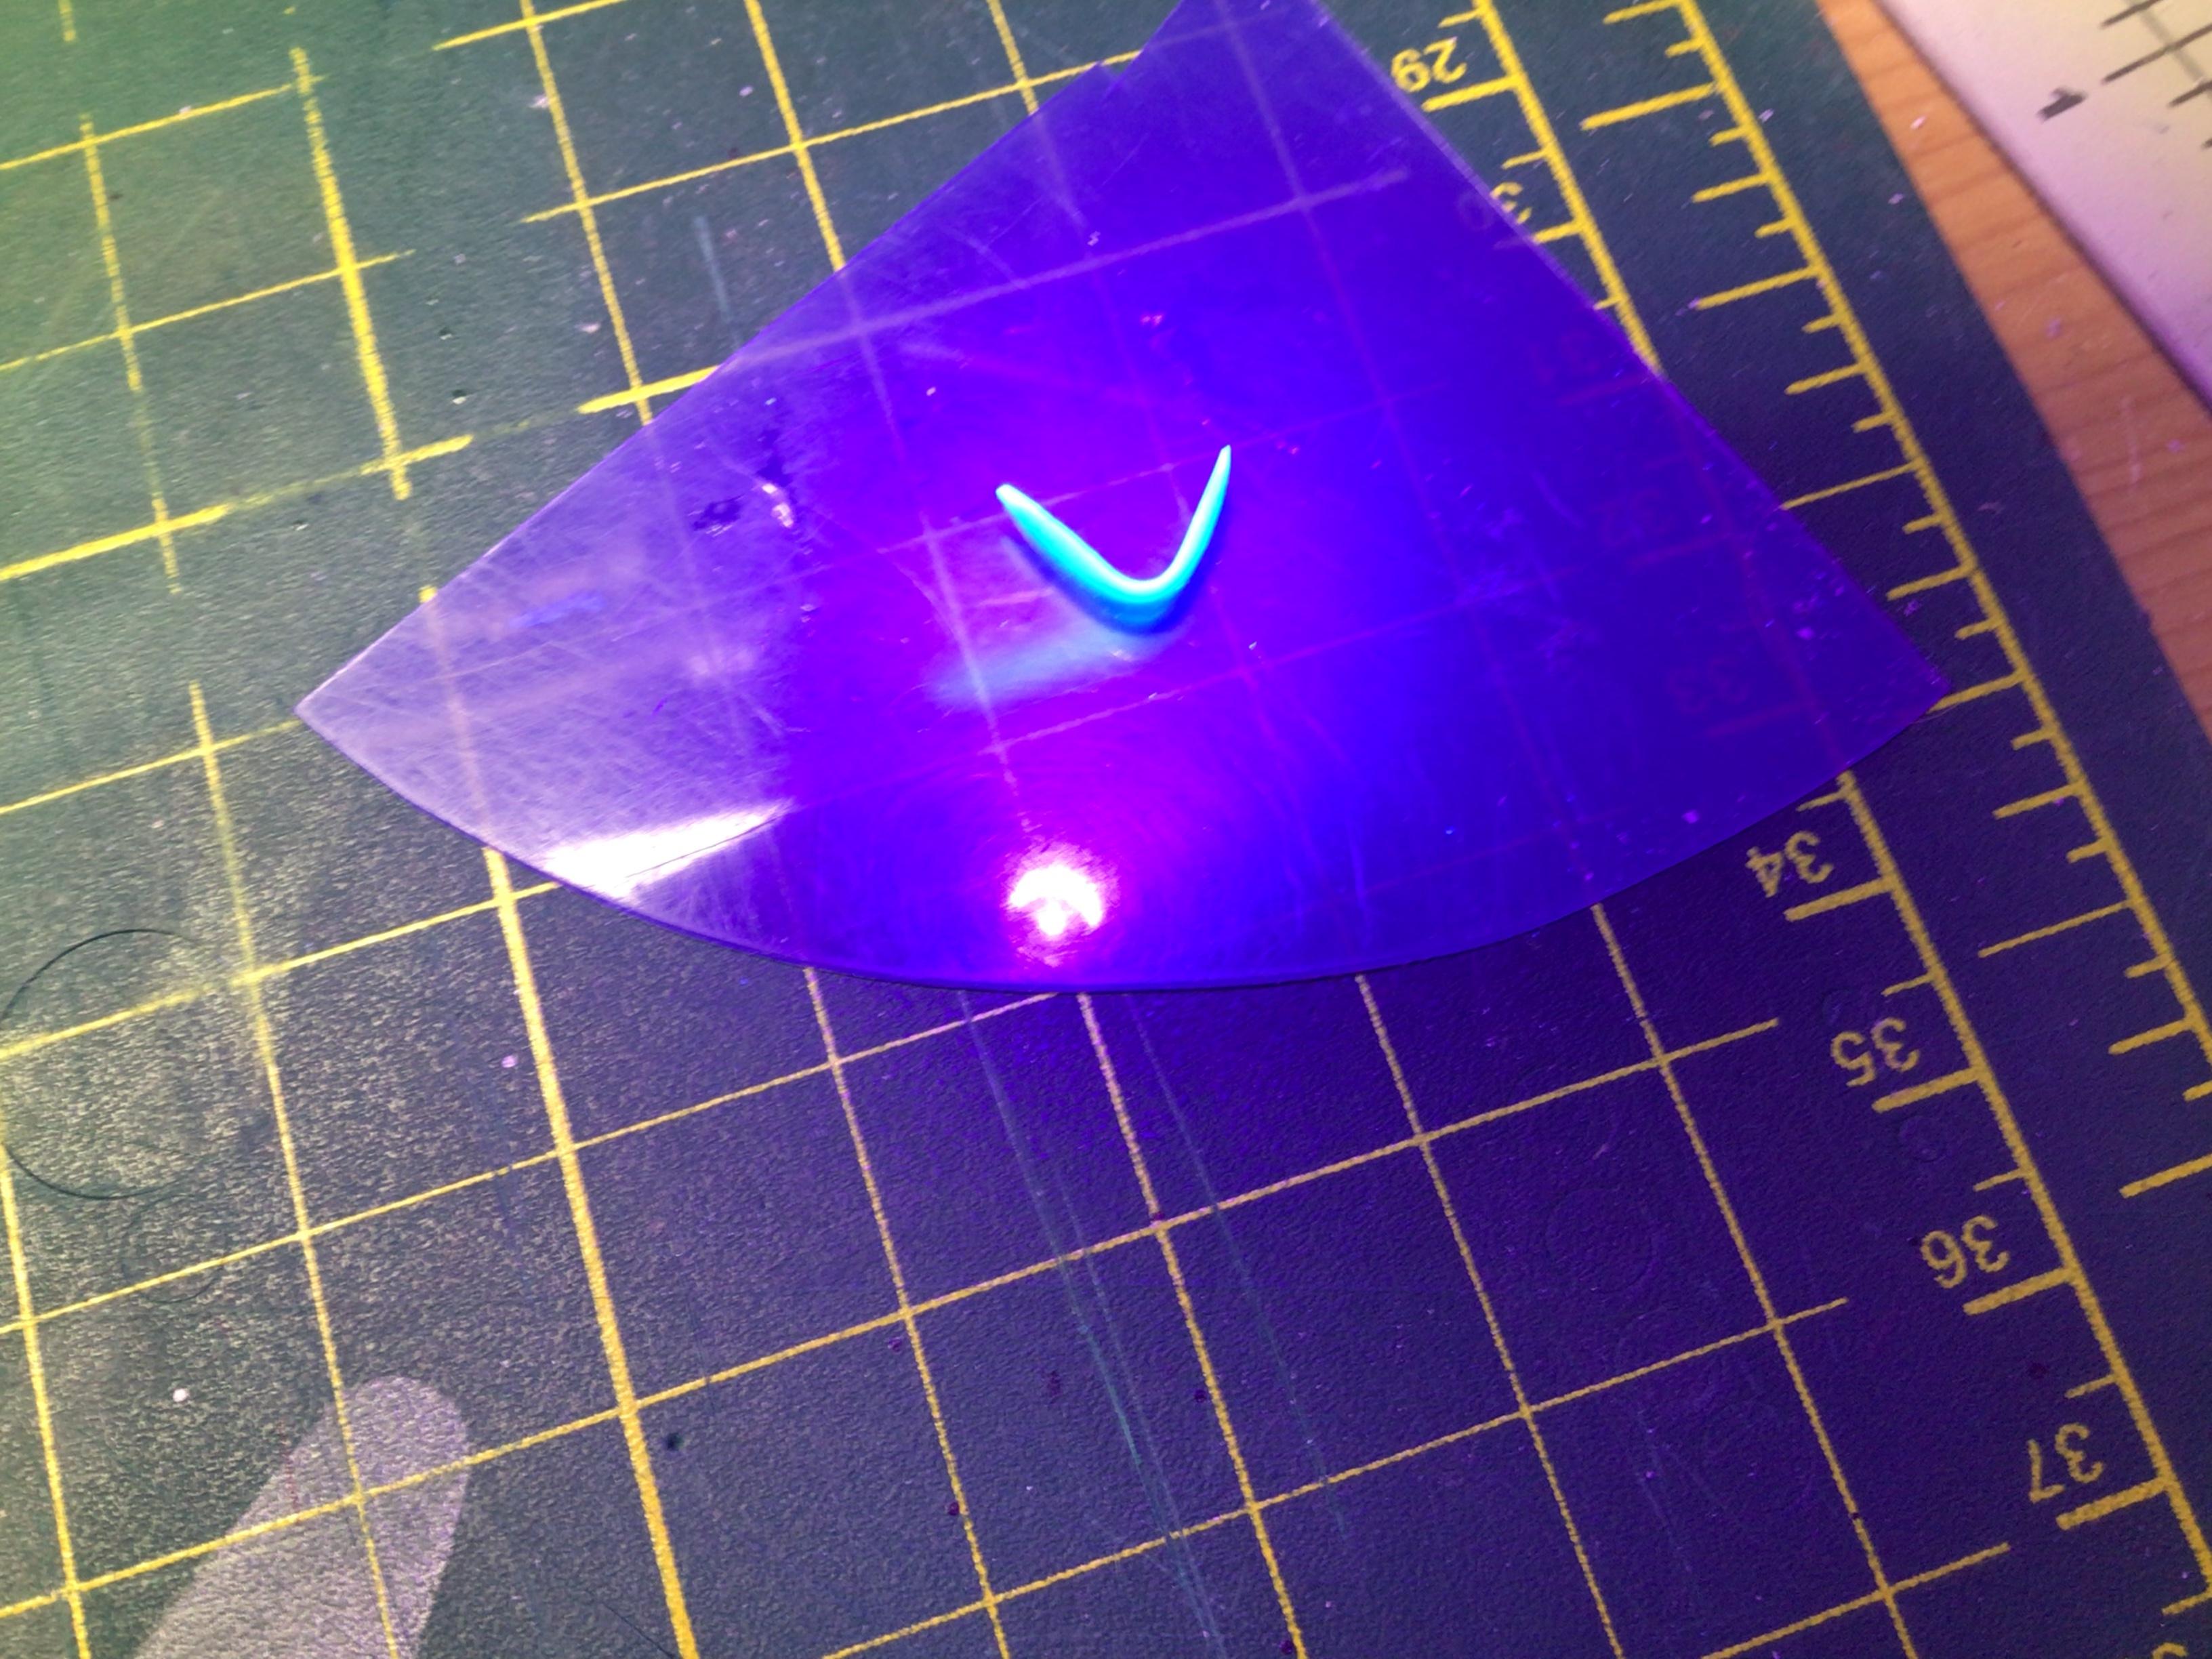
I am patching some air bubbles in a resin casting, and I ran out of bondic. I could have bought a refill tube for it. But I saw this at Canadian Tire in the automotive section. It is very likely close to the same material, but it comes with a much more powerful UV light ( AA battery not included?). This stuff also glows when exposed to the light.
-
I like the slightly stretched look. It’s shaping up nicely!?
-
Beautiful. I just love the brass work! I was wondering if you had one of these in your back yard to copy from.?
-
Revell ‘37 Ford Pickup
NOBLNG replied to NOBLNG's topic in WIP: Model Trucks: Pickups, Vans, SUVs, Light Commercial
I got the paint on. Just waiting now for a second coat of clear to dry. Then I can hand paint the wood in the bed and start assembly.
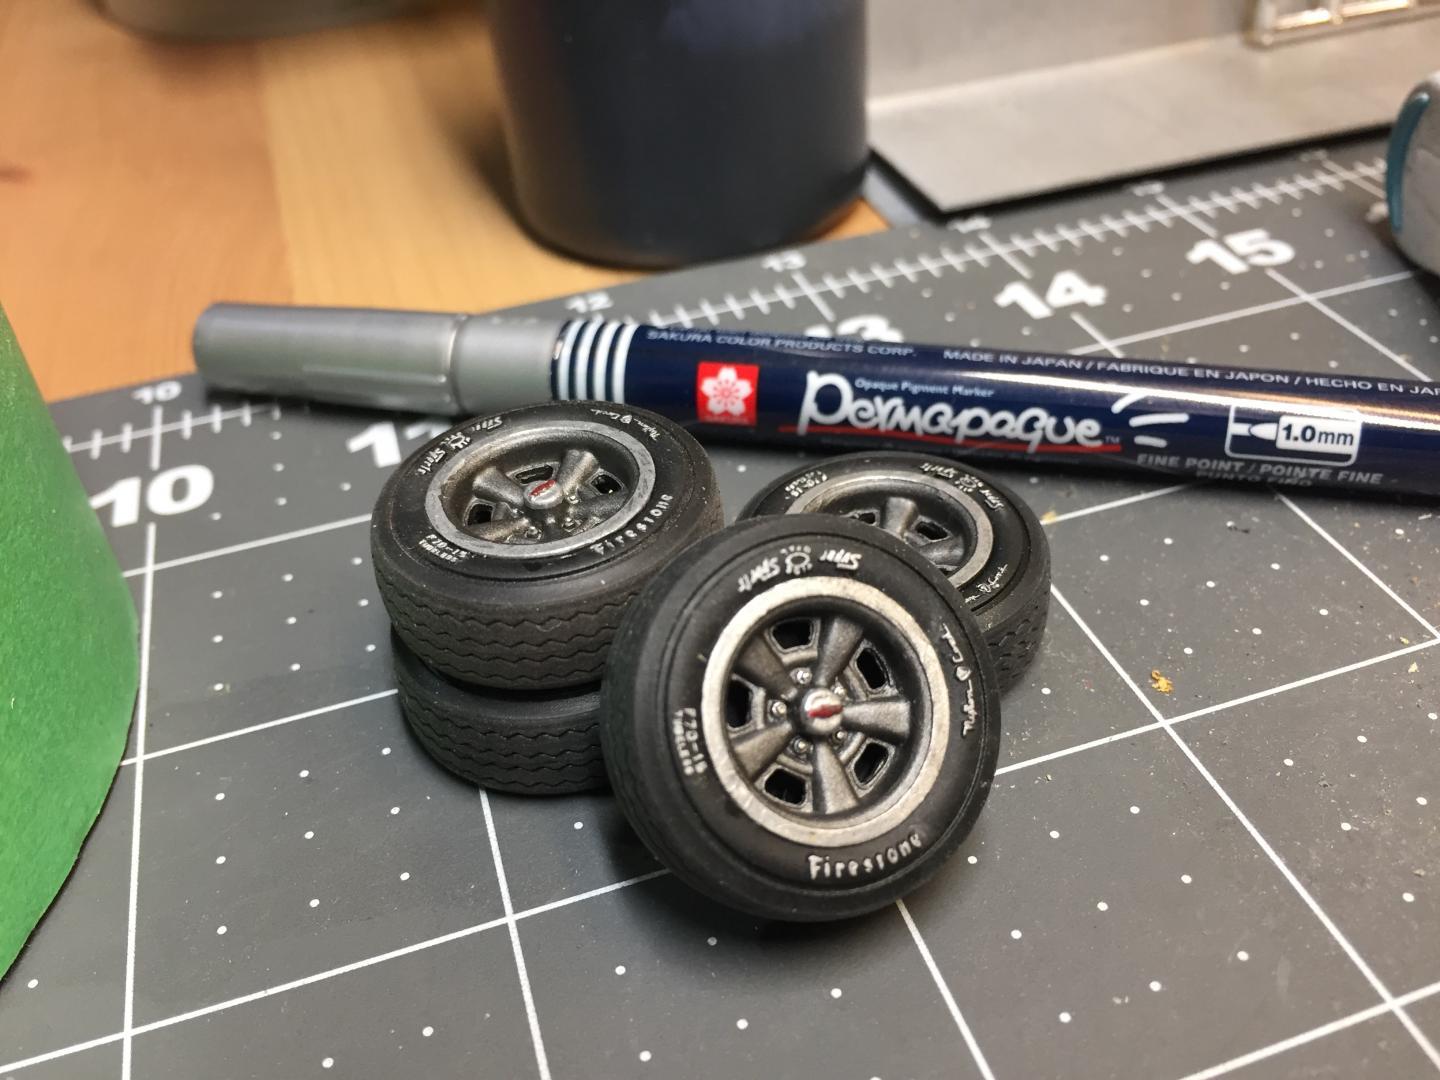
-
I did these by rolling the side of the tip of this pen over the letters. I don’t know if this pen is available in white, but this silver was close enough for me and went on real nice.
-
That is about the most fabulous black paint job I’ve ever seen! And all the detailing is fantastic too.?
-
Very slick! First time I’ve laid eyes on one of these…I like!?
-
Nice! I agree, it looks a lot better with the new stance.?