bill-e-boy
-
Posts
859 -
Joined
-
Last visited
Content Type
Profiles
Forums
Events
Gallery
Everything posted by bill-e-boy
-
I have one (Dispae) and the grits that came with it only go down as far as 400. Way to coarse for colour sanding prior to polish
-
Best kit based Blown 392 (early) Hemi?
bill-e-boy replied to cobrafia's topic in Model Building Questions and Answers
As good as it is it is not blown The Revell parts pack blown 392 hemi is very good There as some 3d prints that look good too -
Am I showing my age here😬
-
There was an original build up in what think it was Car Modeler magazine way back in the late 60's. It was a build article after the original that Jim had built won a major competition. From memory it was across more than one issue
-
This move is very radical. May need some time to let it grow on me. Normally a chop will give the effect of longer doors but both is like I said radical especially with the wedge section. Suicide doors?? blue tinted windows, white interior, loud colour like a bright bright metallic (or pearl) blue and an Ardun with modern injectors - lets start dreaming. I saw somewhere an Ardunised Lincoln V12 - will that fit?
-
Looking good Ron. I feel for you over the paint issues. The red looks better IMO anyway. I have had issues with solid metallic colours with and patchy finishes before too. The AMT 57 300C is a dream kit that does not need a lot to make even better and an excellent base for a true box stock model as per the IPMS rules where you cannot add any after-market details and only what is in the box can be used along with paint and BMF
-
And the squirrels start a hoppin!! Thanks Suprenerd and Zippi.
-
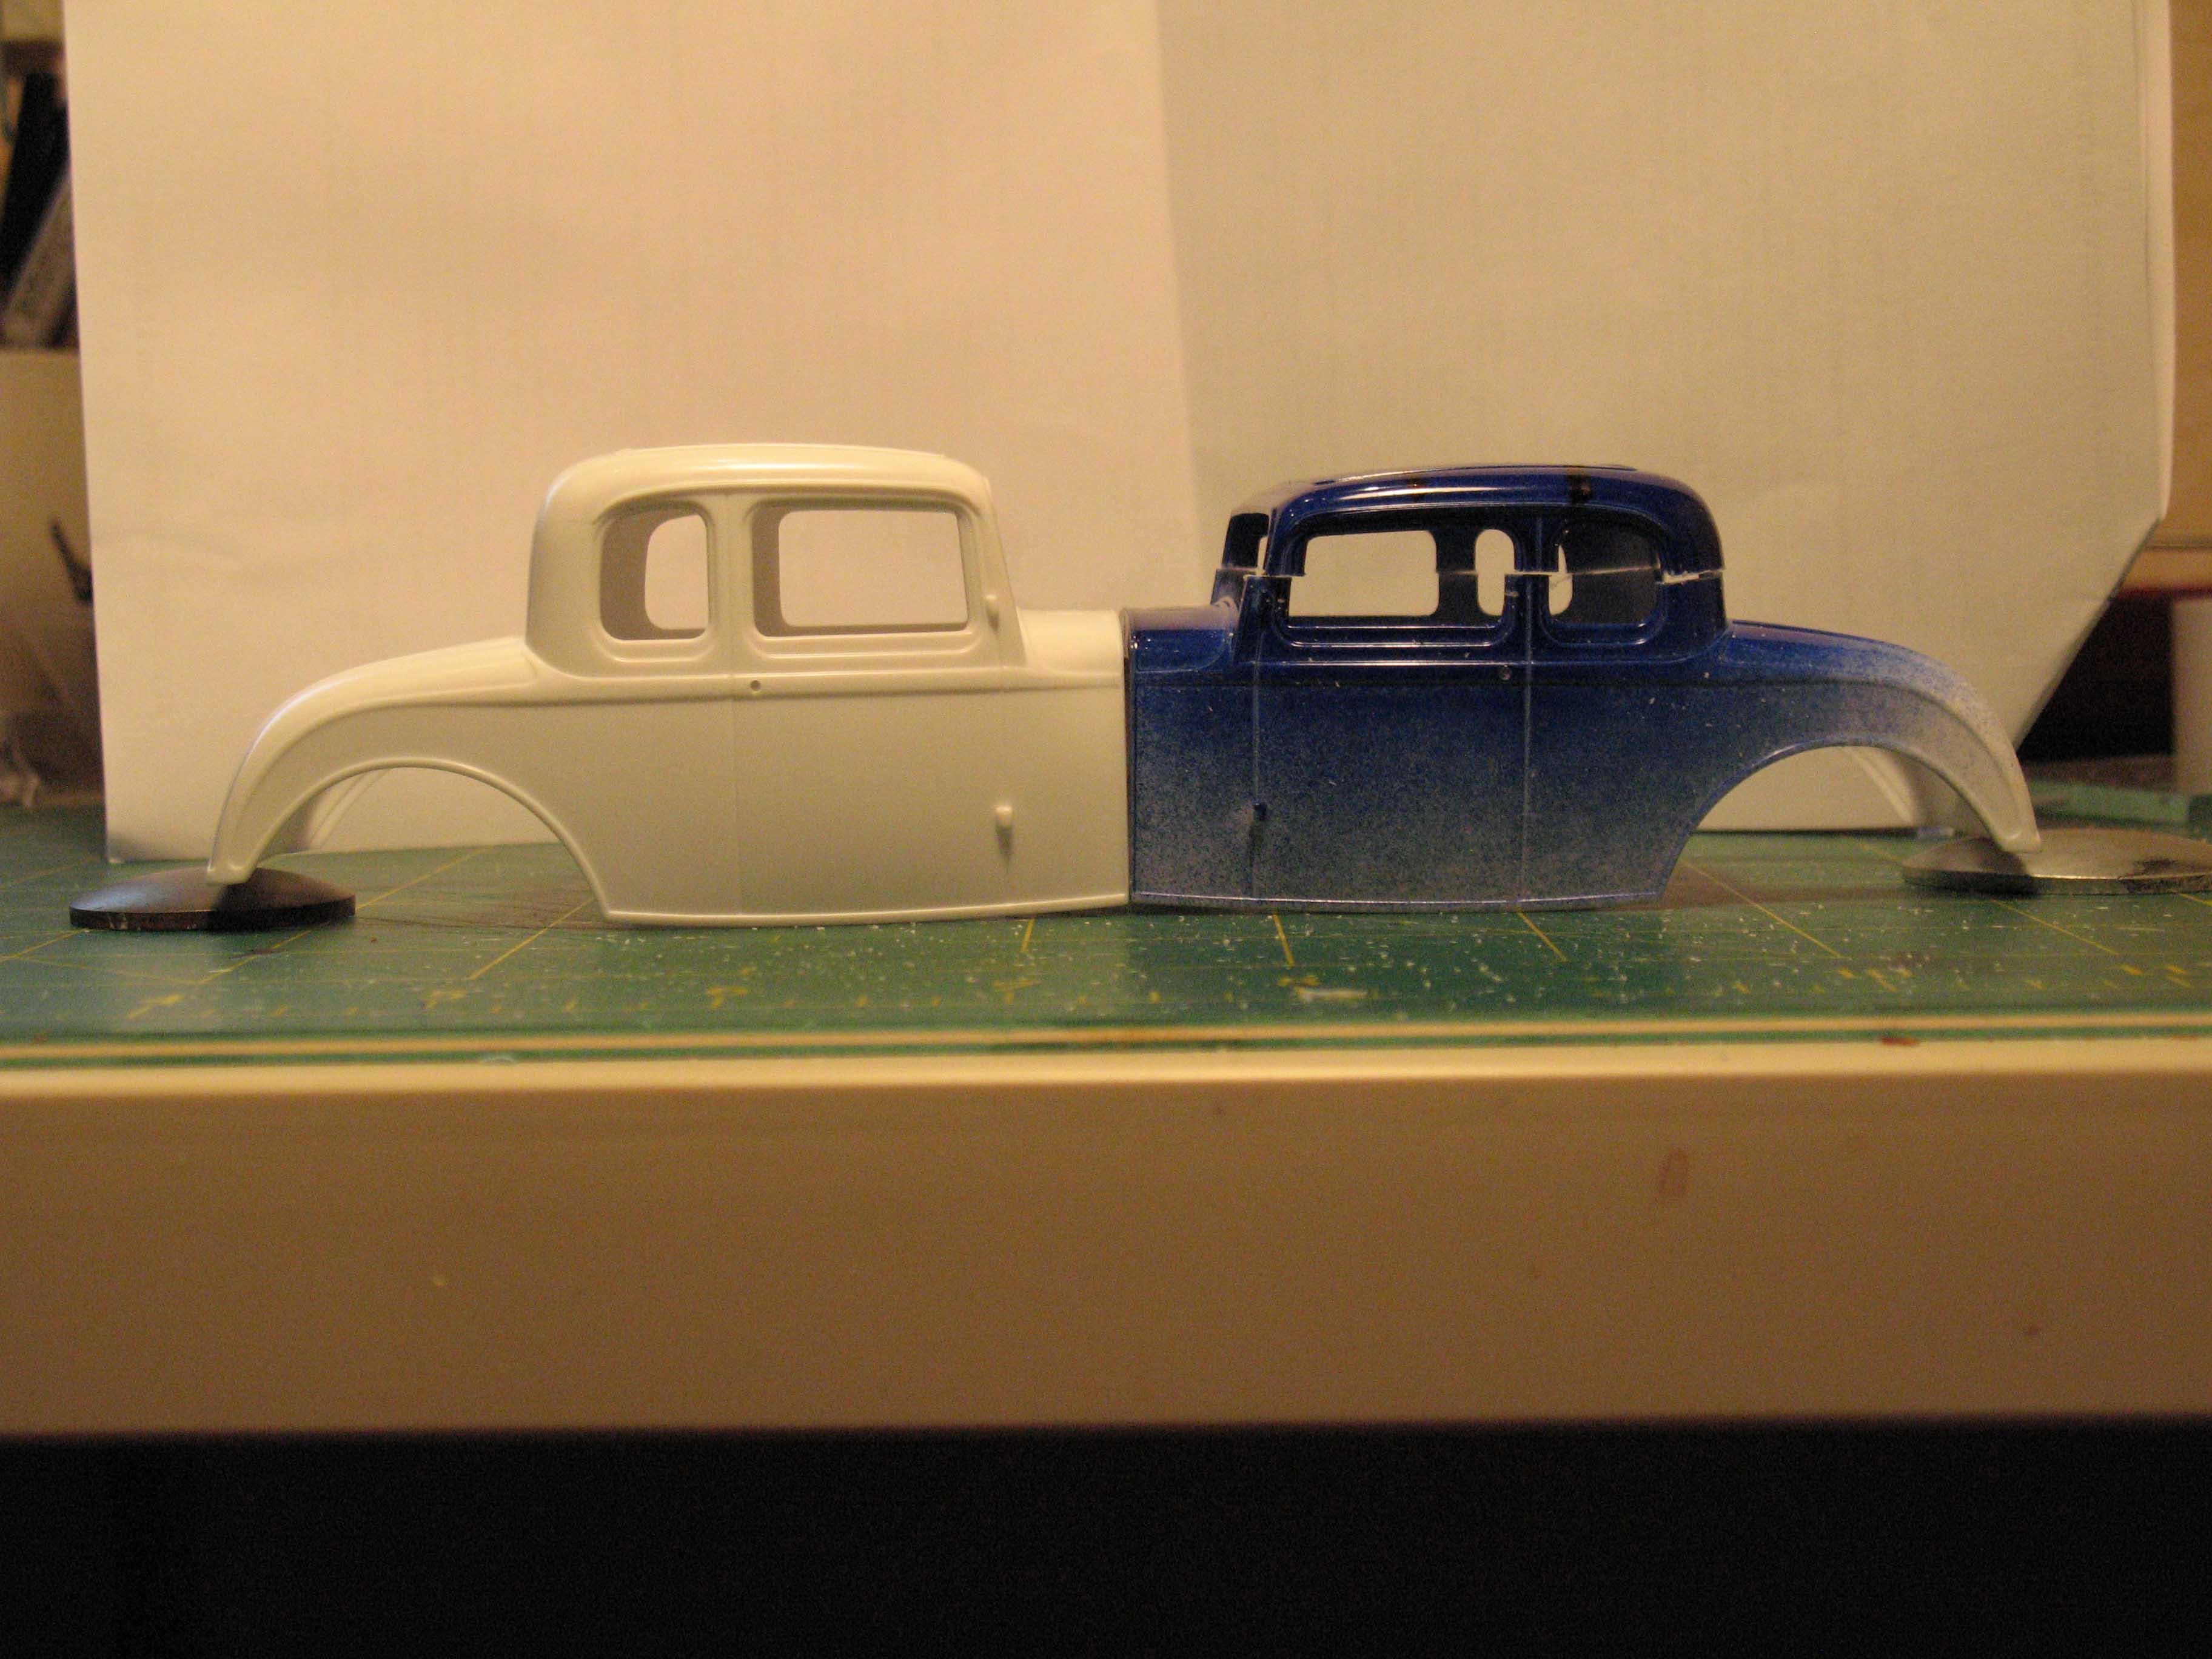
The following pix shows the difference between a modified vs an unmolested front end for a Revell 32. This will drop the front by about 3mm I filled in the missing corners of the flange of the fuel tank. I have cut off the tabs on the chassis so I can get a better fit between the fuel tank and the chassis. Again pix shows modified and un modified The have been cleaned and glued to the chassis Also worked on the chassis K member that is an poor fit with large gaps. I added a thin strip of plasticard to each side and trimmed and filed to fit the chassis and have now been glued in Time for a quick mock up while waiting for glue to set up

-
K&s metals question
bill-e-boy replied to johnyrotten's topic in Model Building Questions and Answers
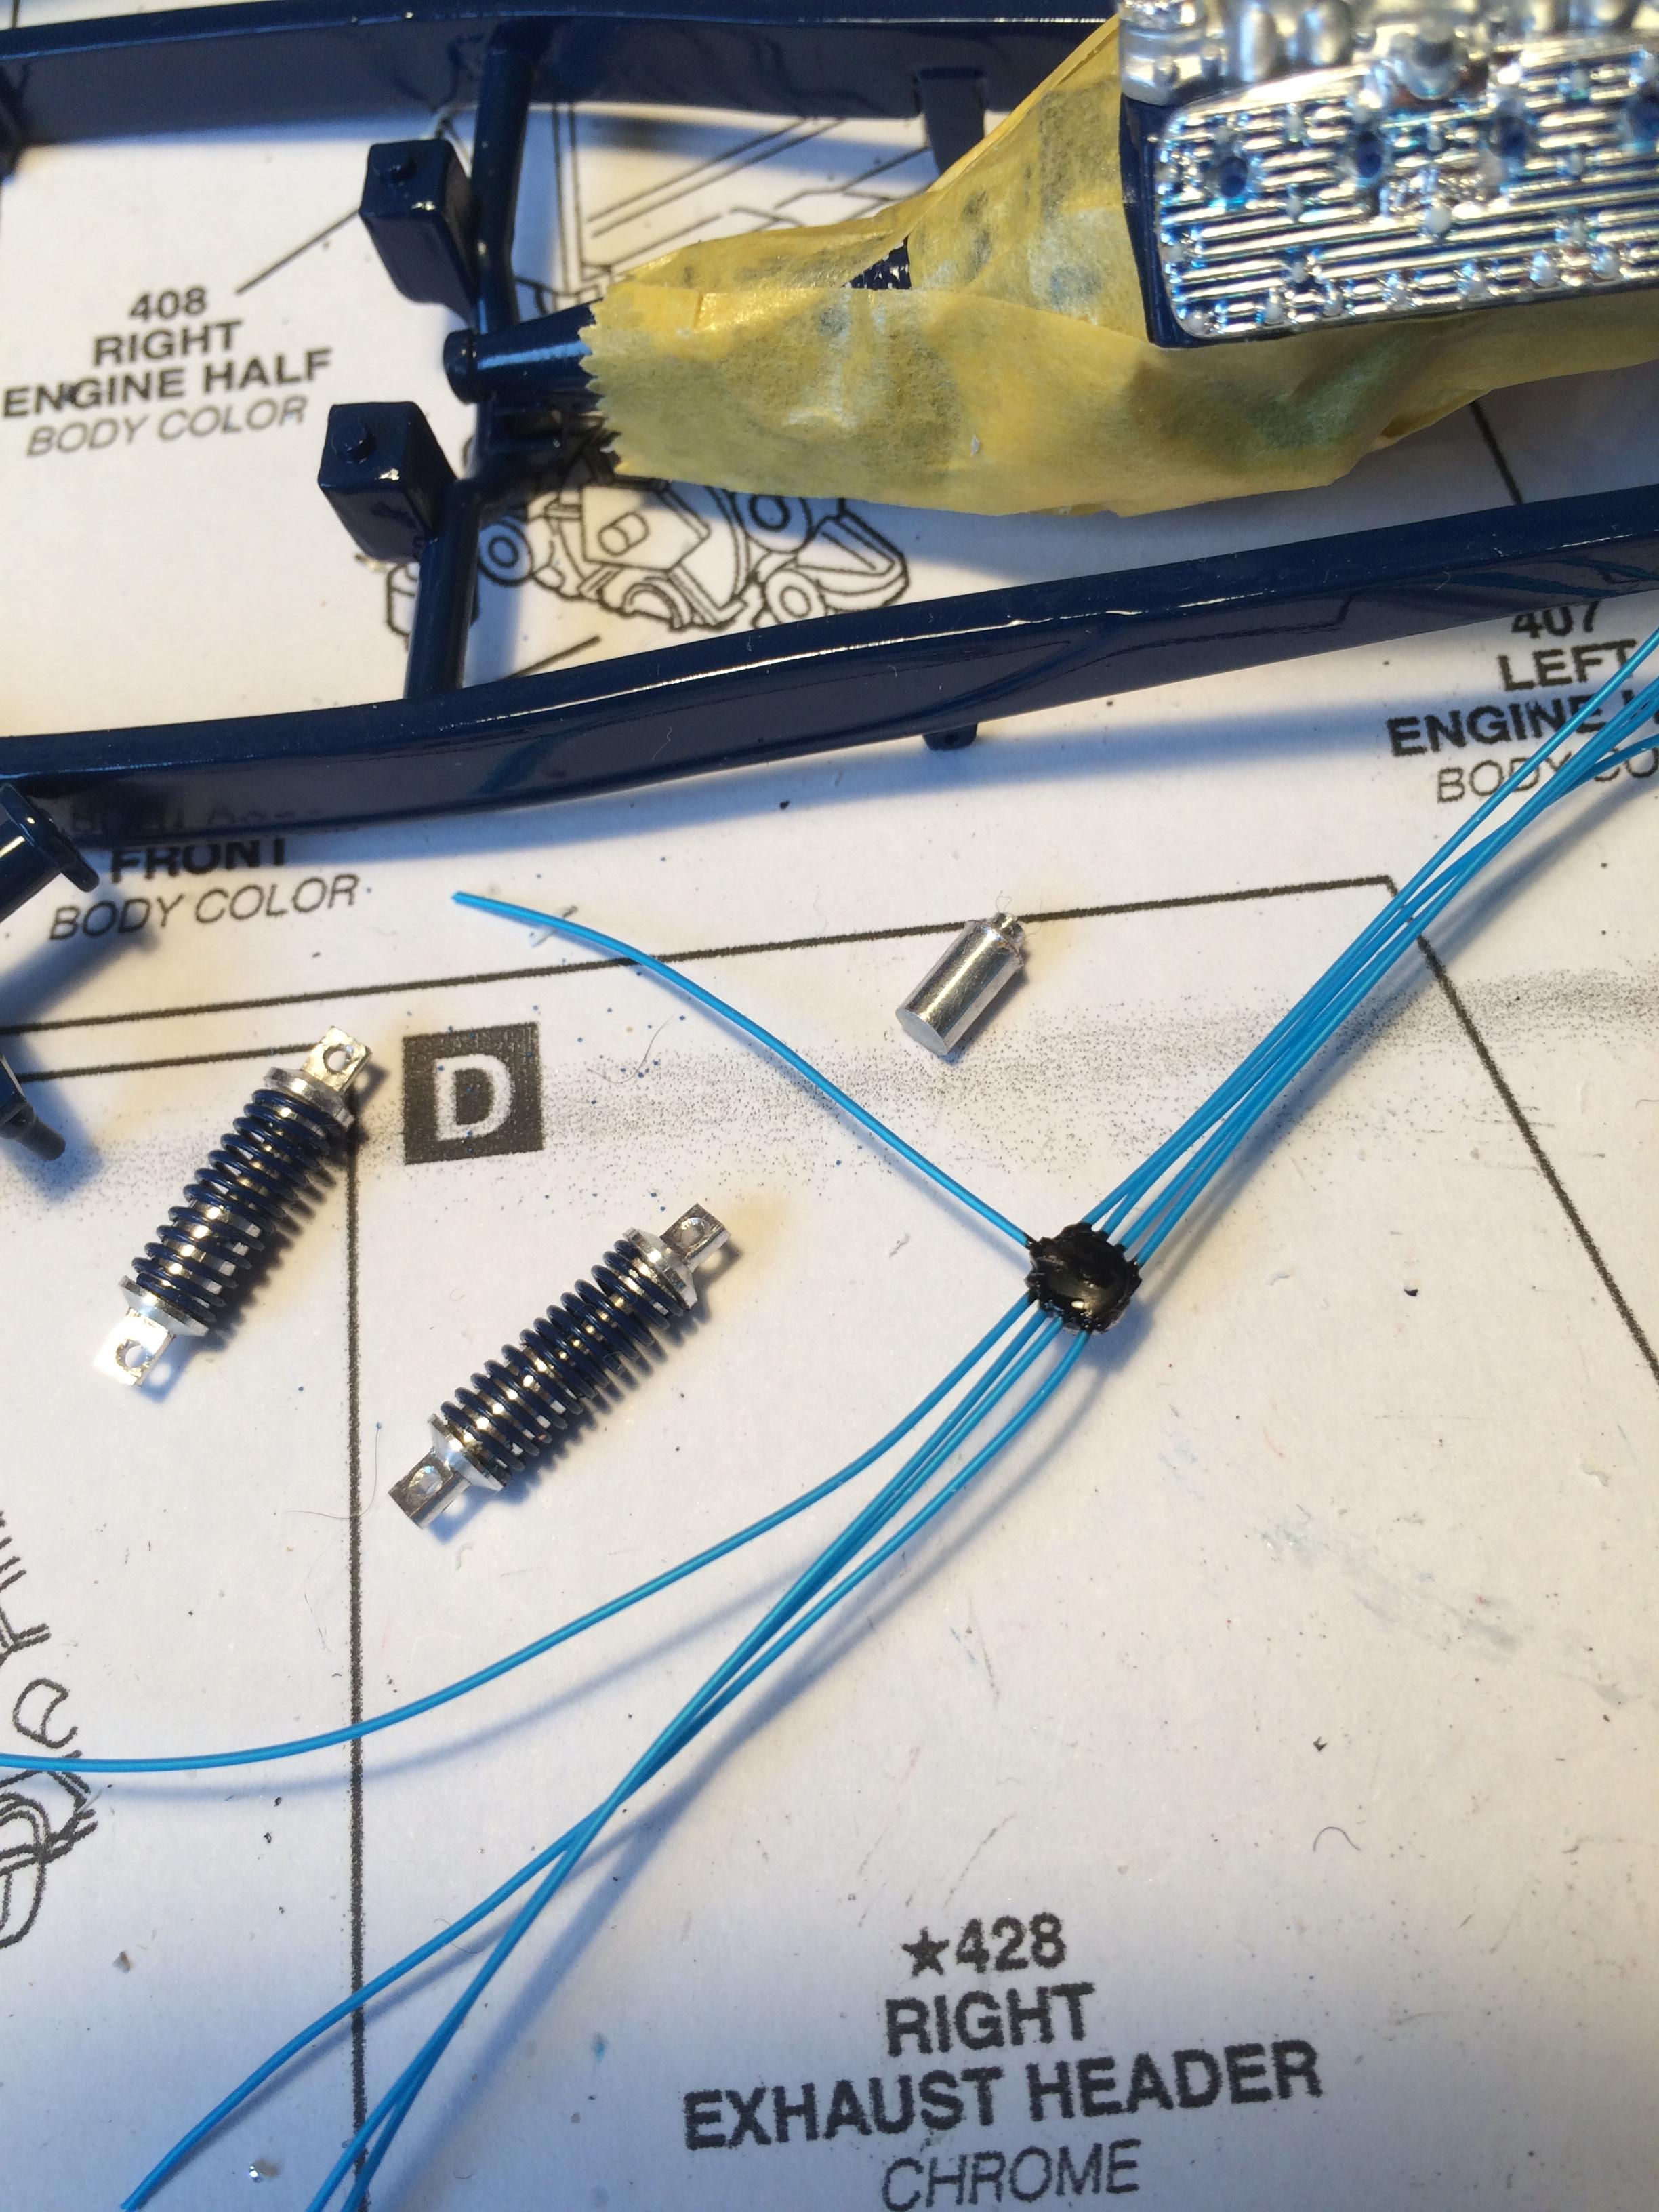
What about ally tube - may be more available Worst comes to worse make it from plastic rod and tube and paint it Only thing polished ally just looks like polished ally that paint just cannot capture. I have found Alclad Polished ally is close but we cant get it anymore down our ways (NZ) Inspiration - the shocks and coil were machined in ally . The coil spring is painted ally craft wire
-
Thanks for the kind comments. Yes the build means a lot to me and others in the local community that my friend Mike was instrumental in setting up. The club/FB Group is Miniature Petrol Heads (MPH) and it is quite active on FB down this way.
-
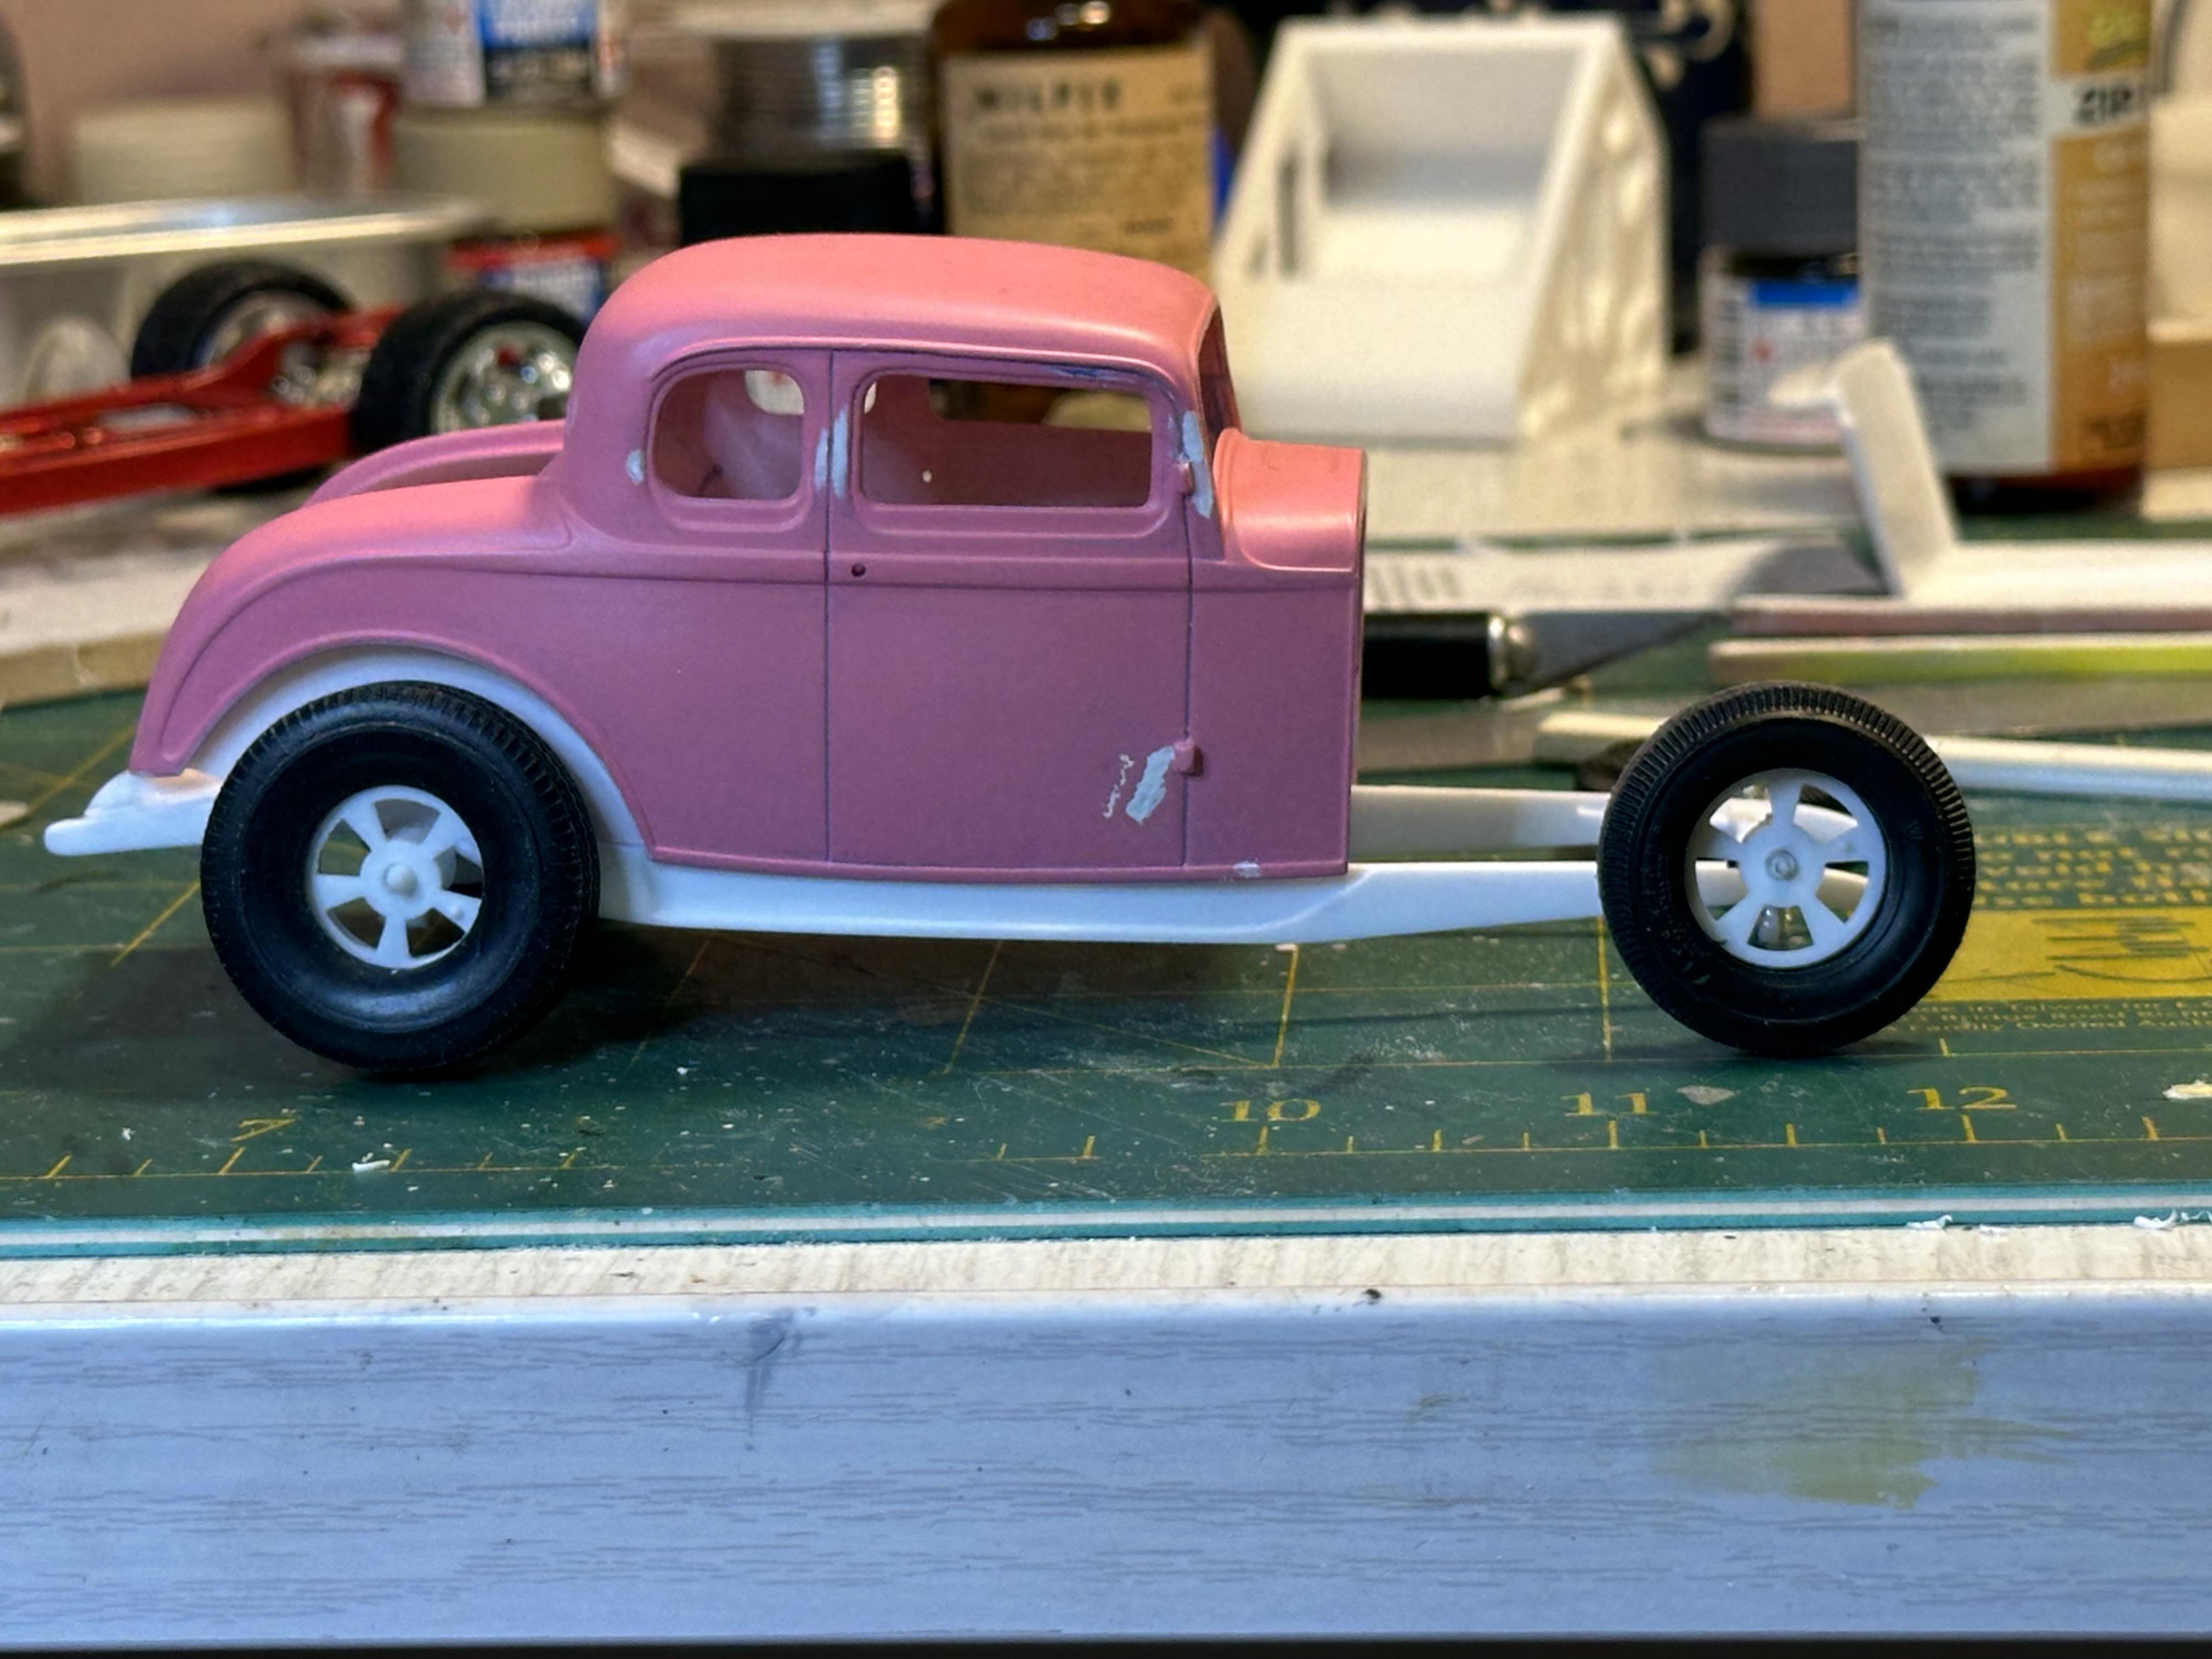
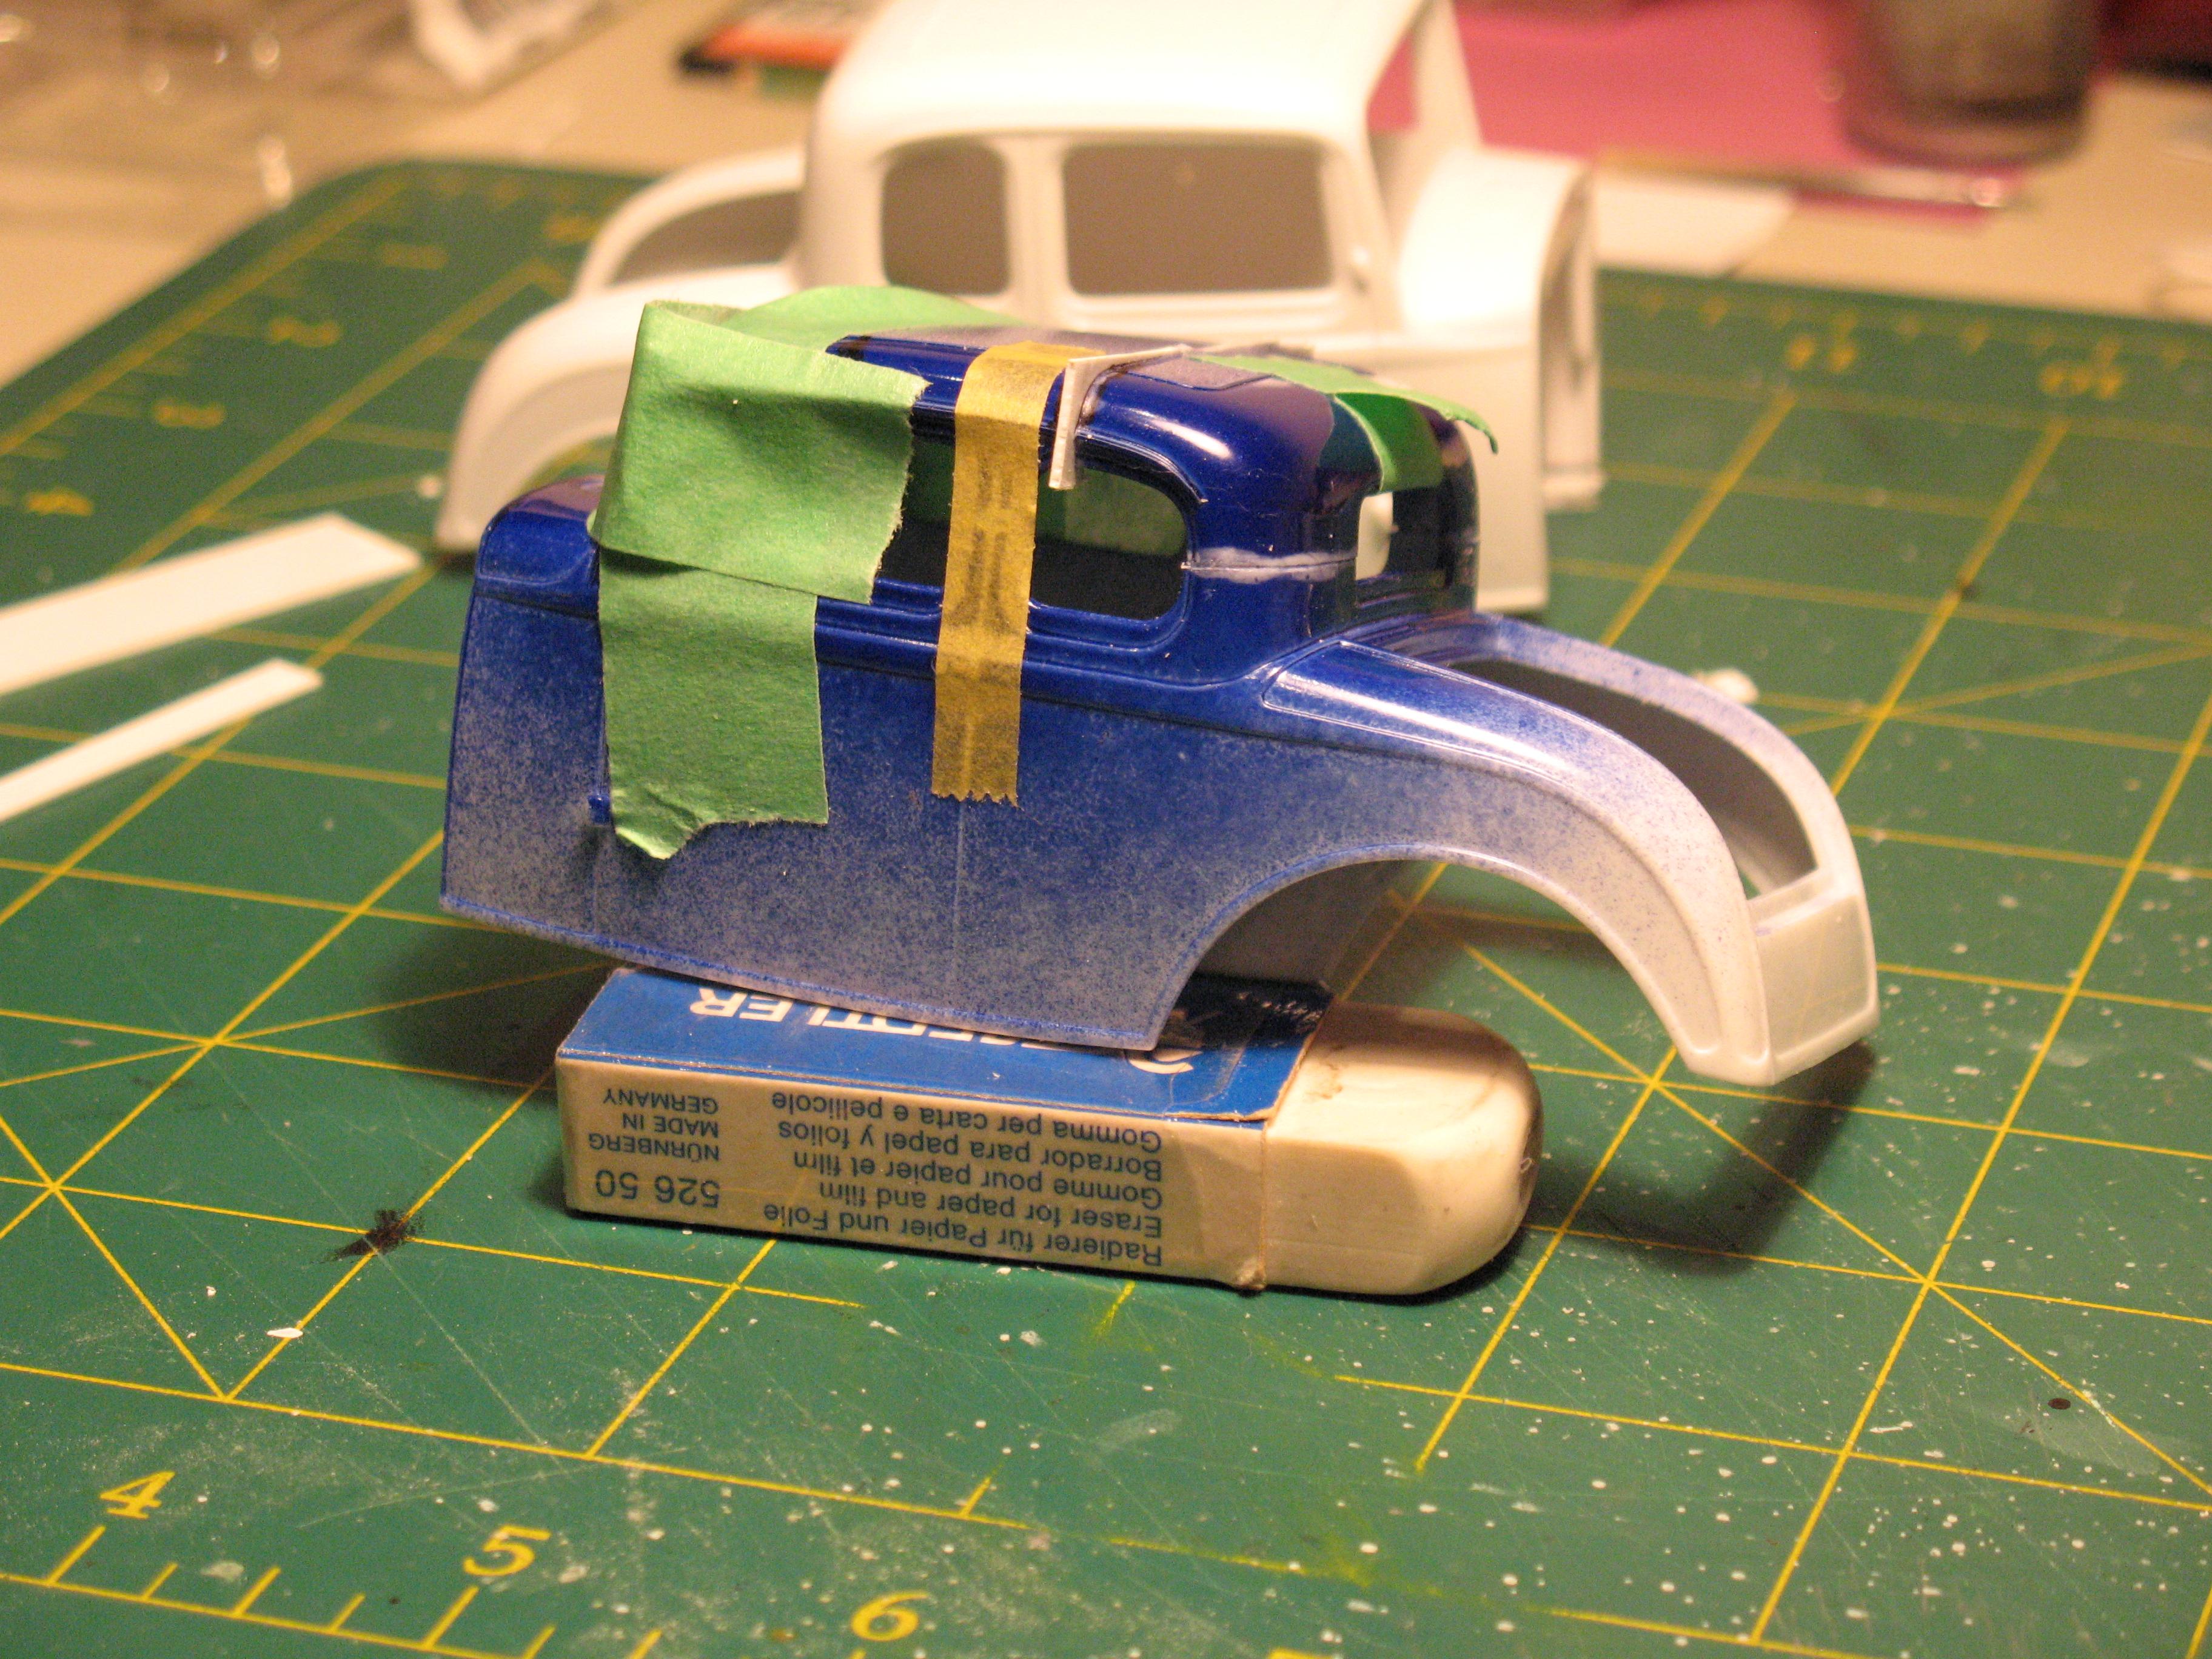
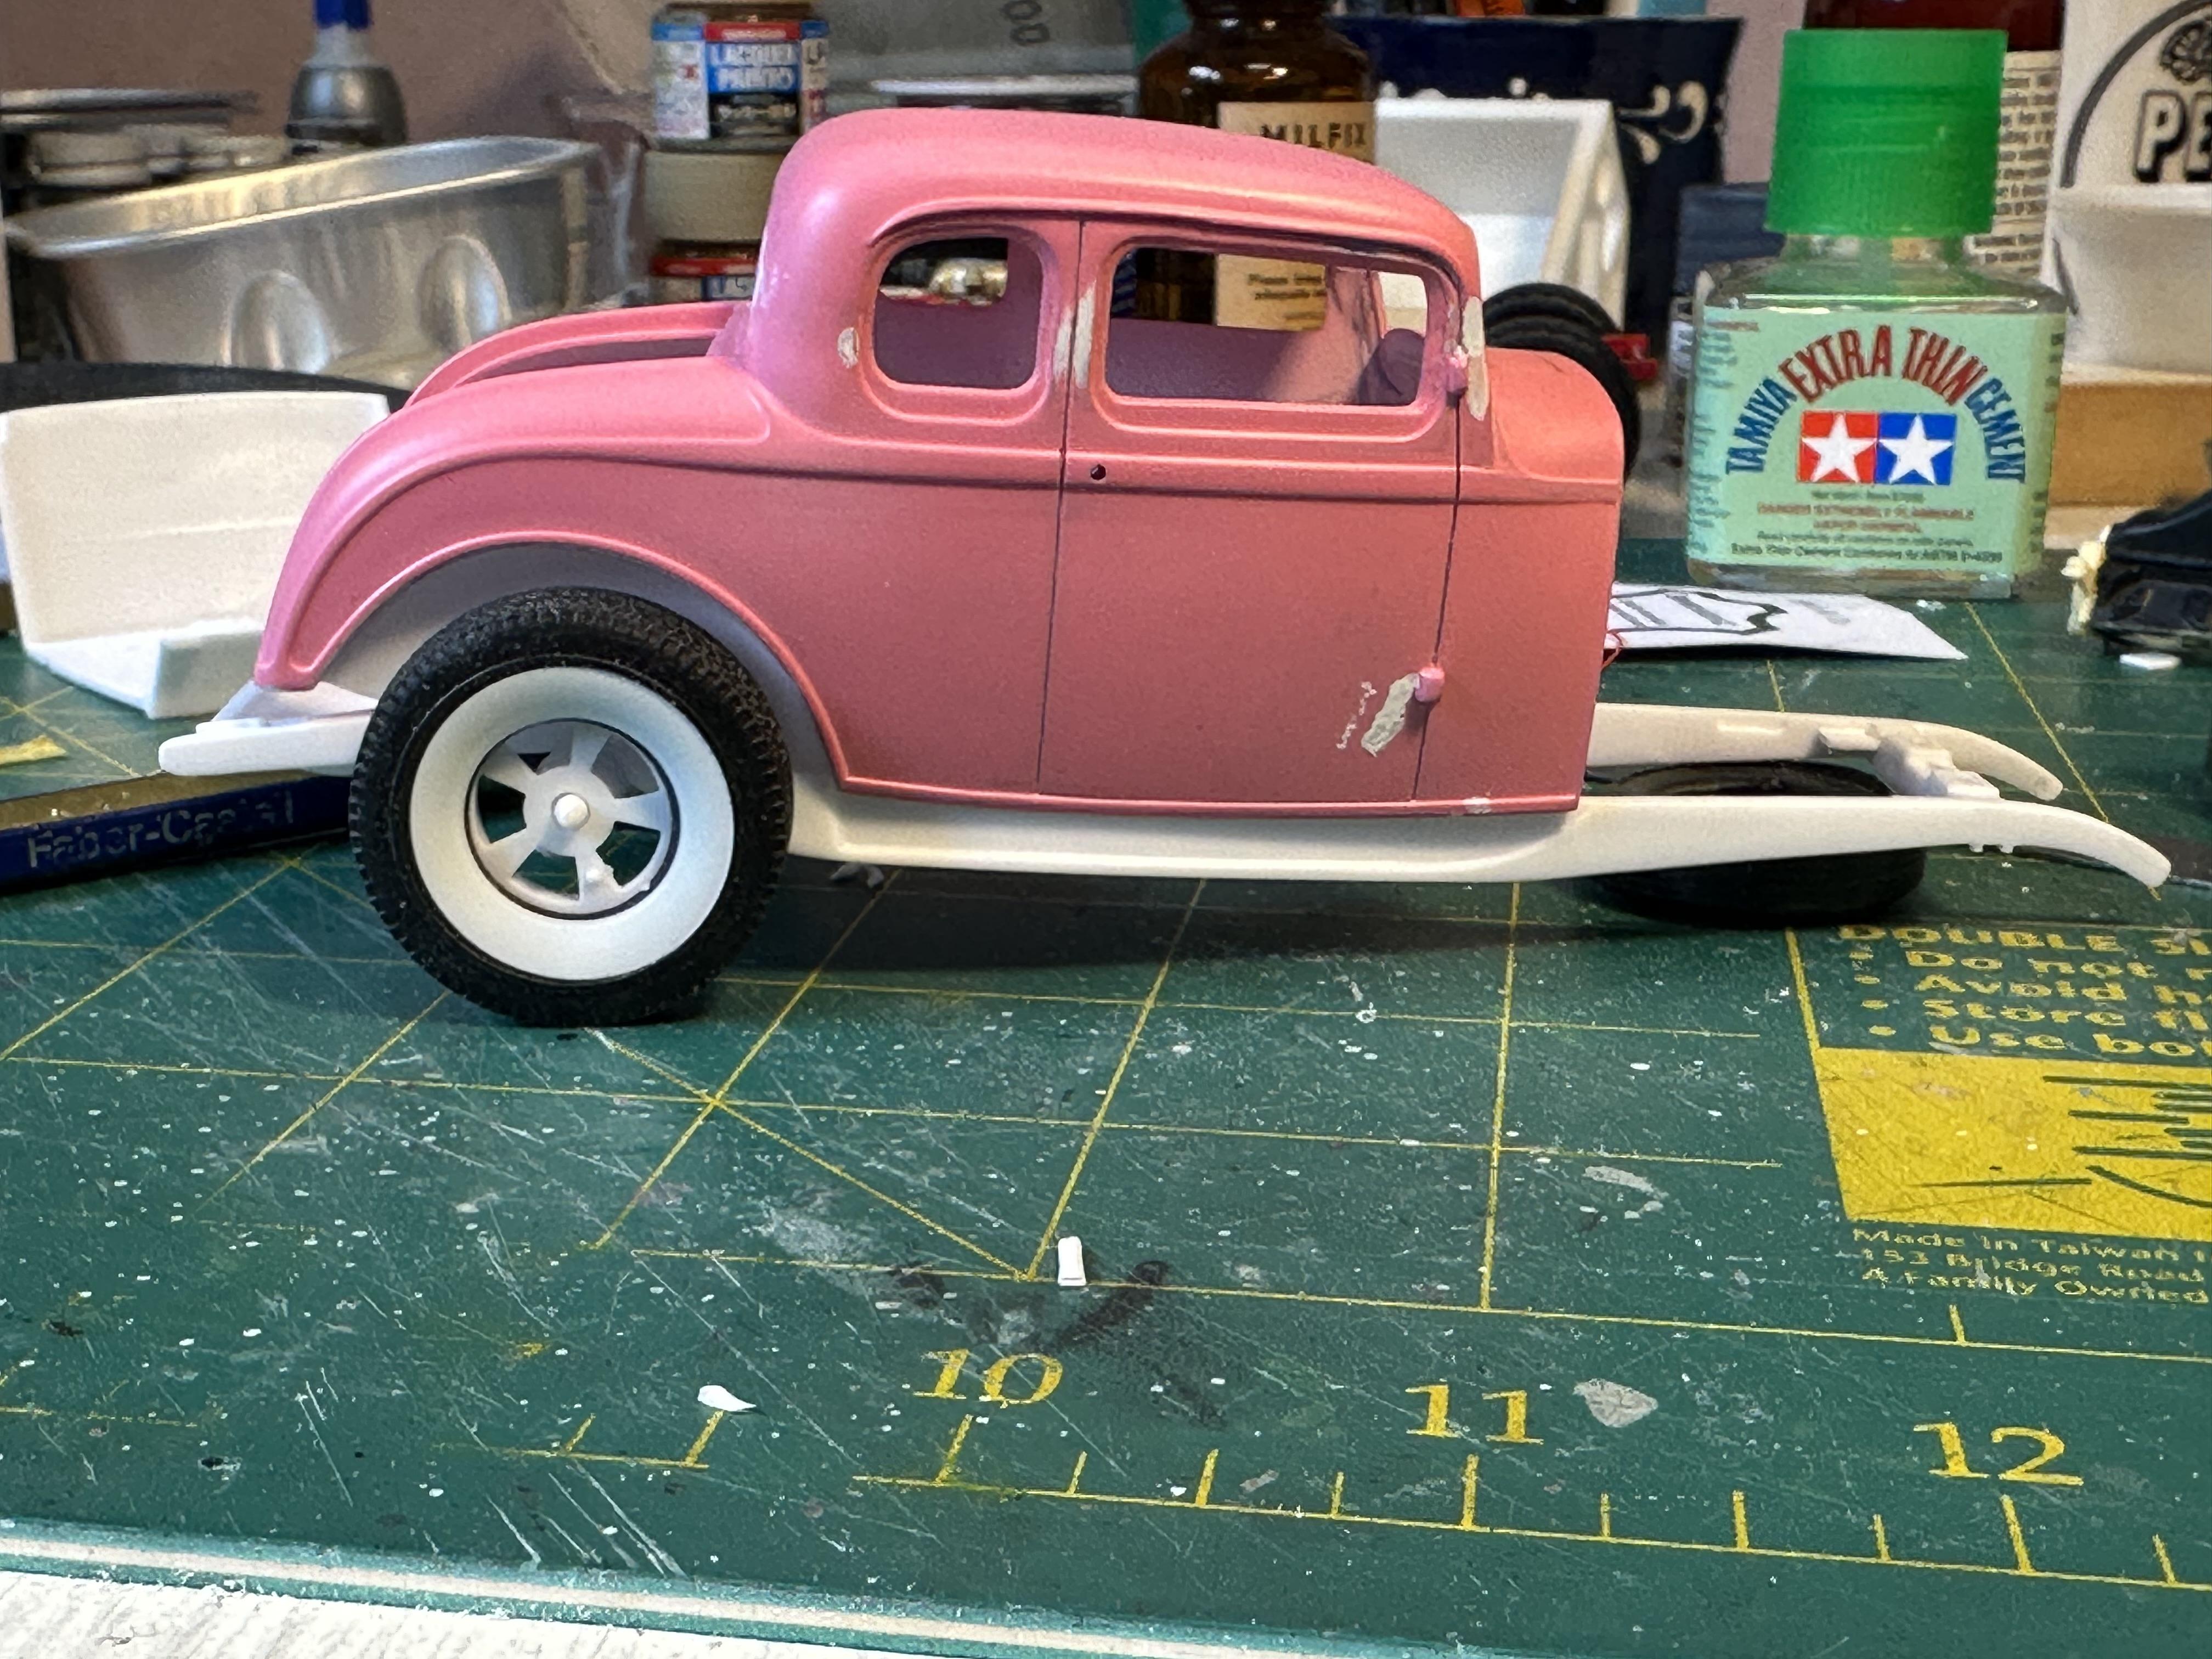
I chopped this about 12+ years ago for a friend who unfortunately is no longer with us. It came back to me from his estate so I thought that I could carry on with the build in his honour. It was just the bare body along with a few other Revell 32 bits and pieces and some resin flat motors and speed parts. Original chop - about 3" The top was cut and stretched between a and b pillars and another stretch between b and c pillars It got a coat of pink when I was painting my 32 Sedan project. A quick mockup - tires are from Moebius 56 Chrysler 500B. Rear end lowered about 2.5mm Been working on the front end and I got it 3mm without too much effort. No pix yet Also worked on the resin flattie - whacked off the trans and mounted up a 5-6 speed unit from a Ford modular motor - not sure where it cam from - its not the one from AMT Vickie unit Lots of other stuff happening so will post when I get pix done Thanks for looking
-
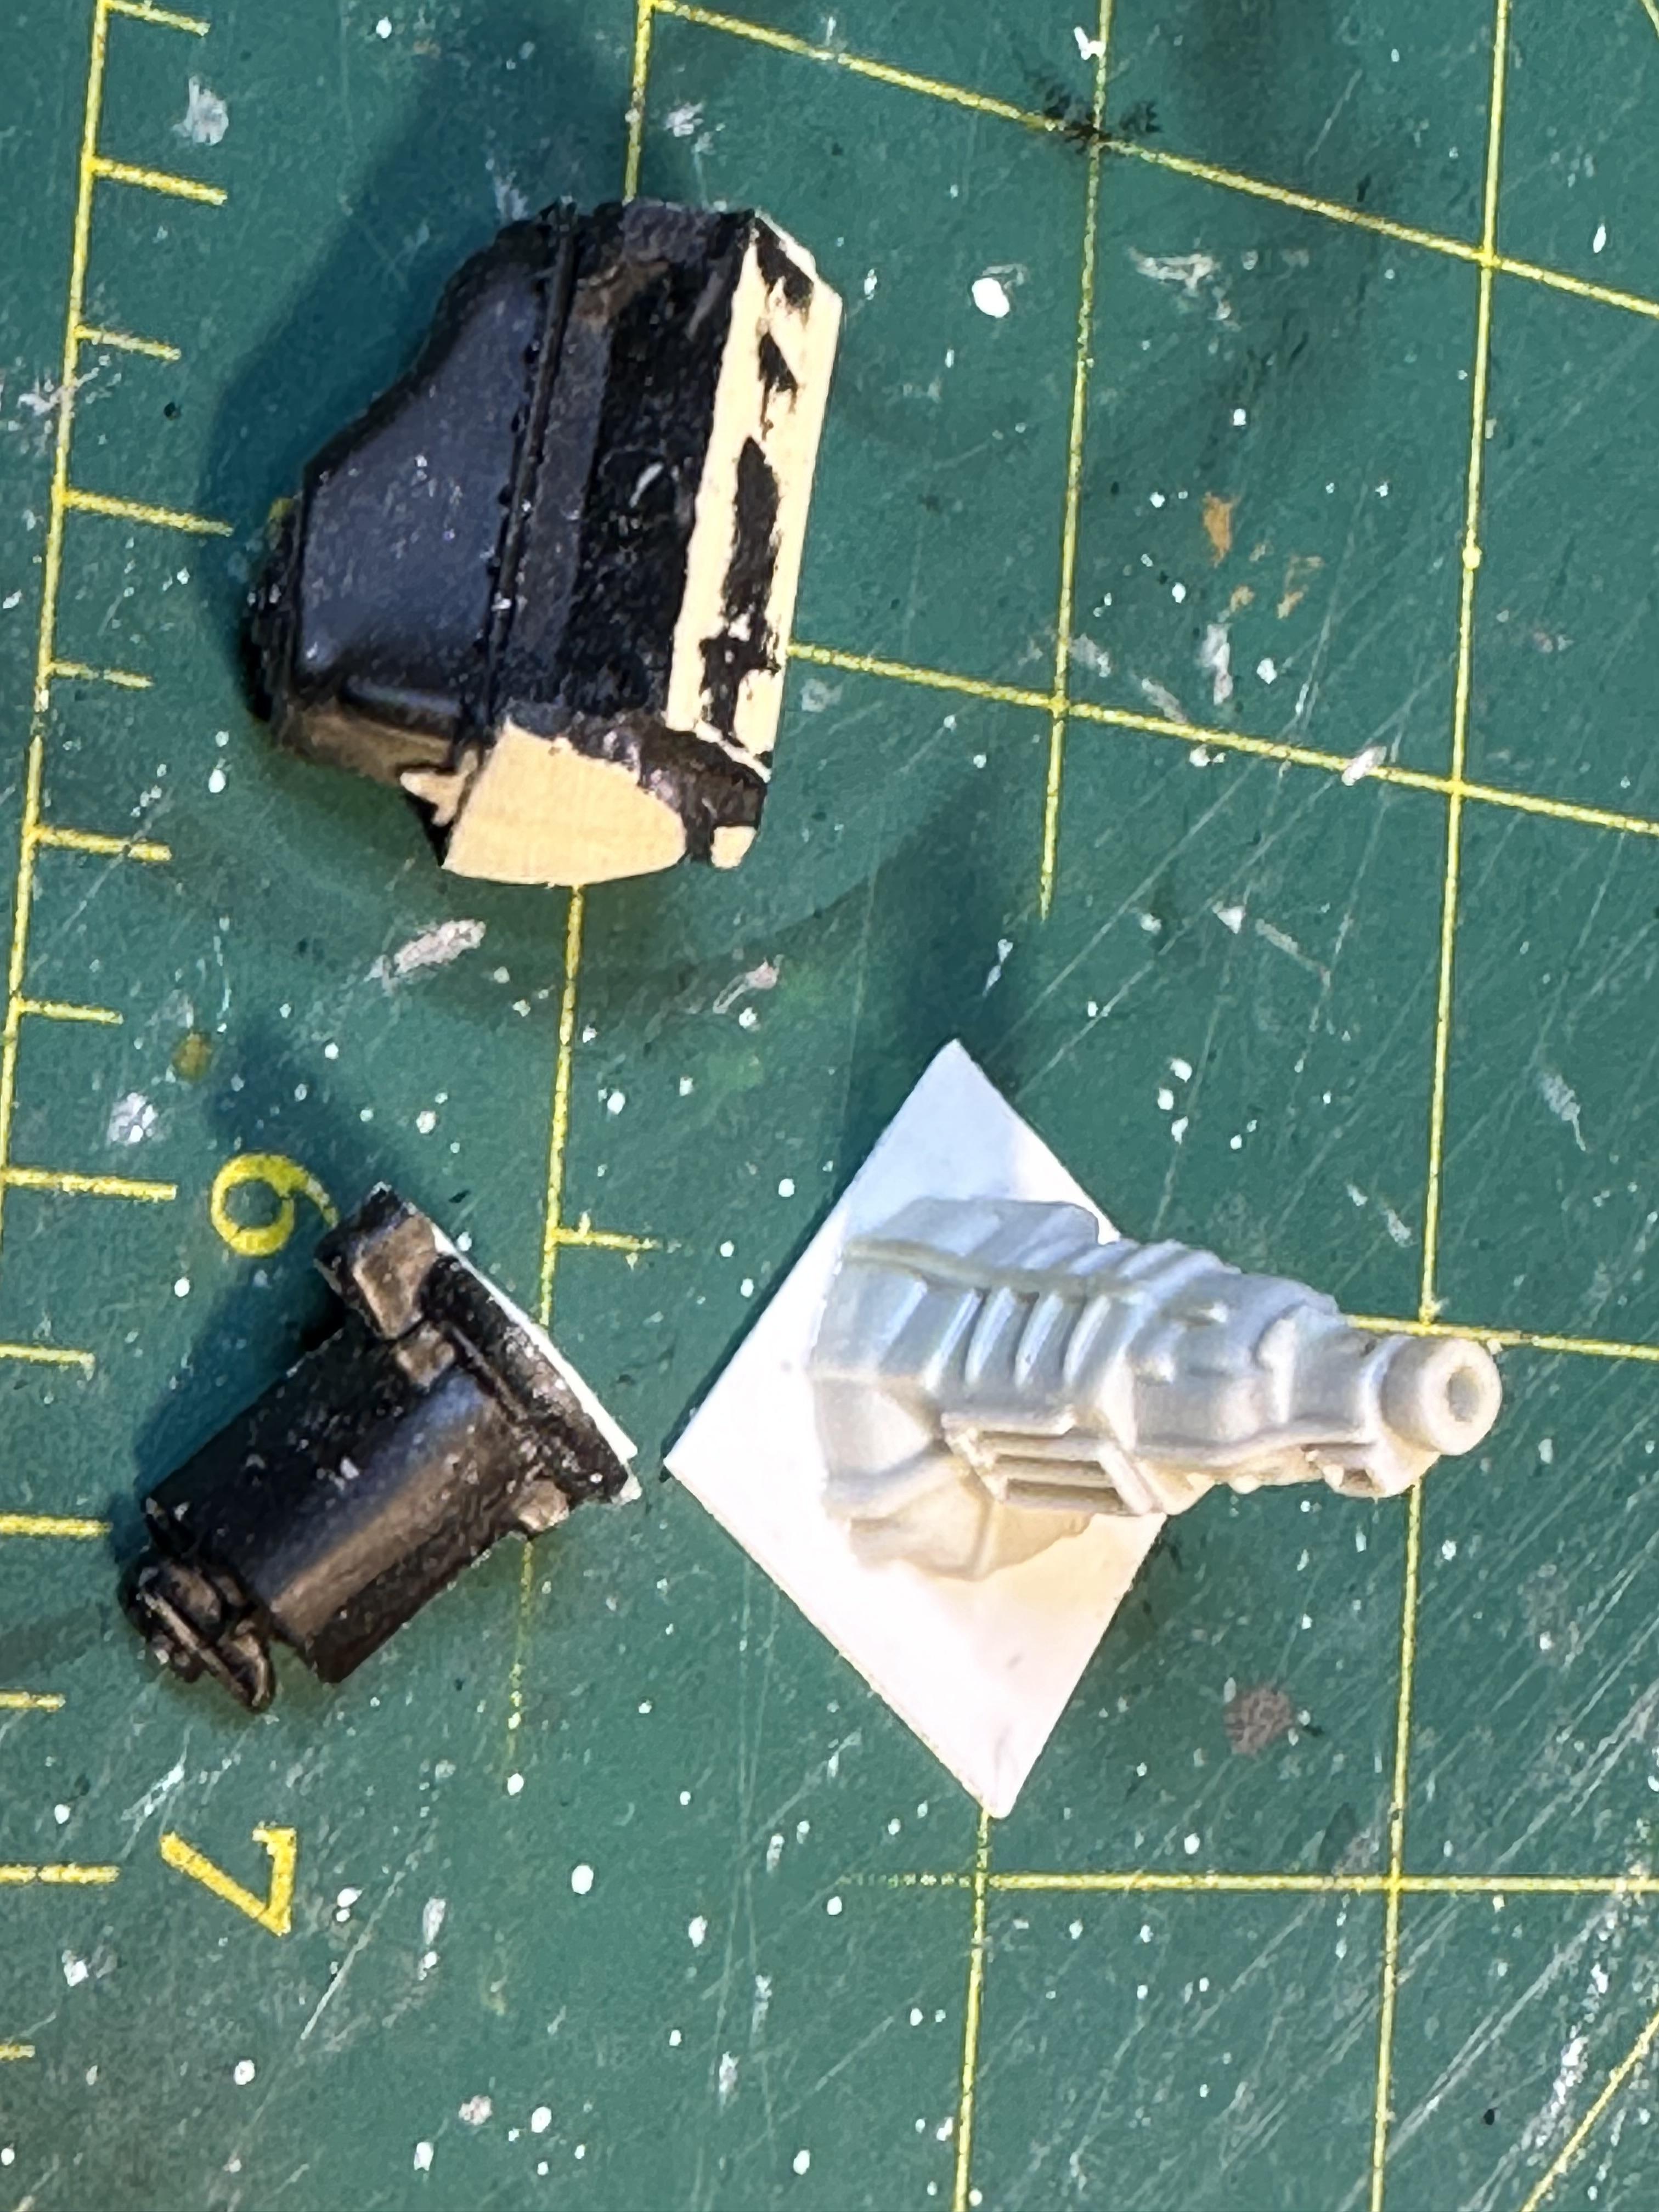
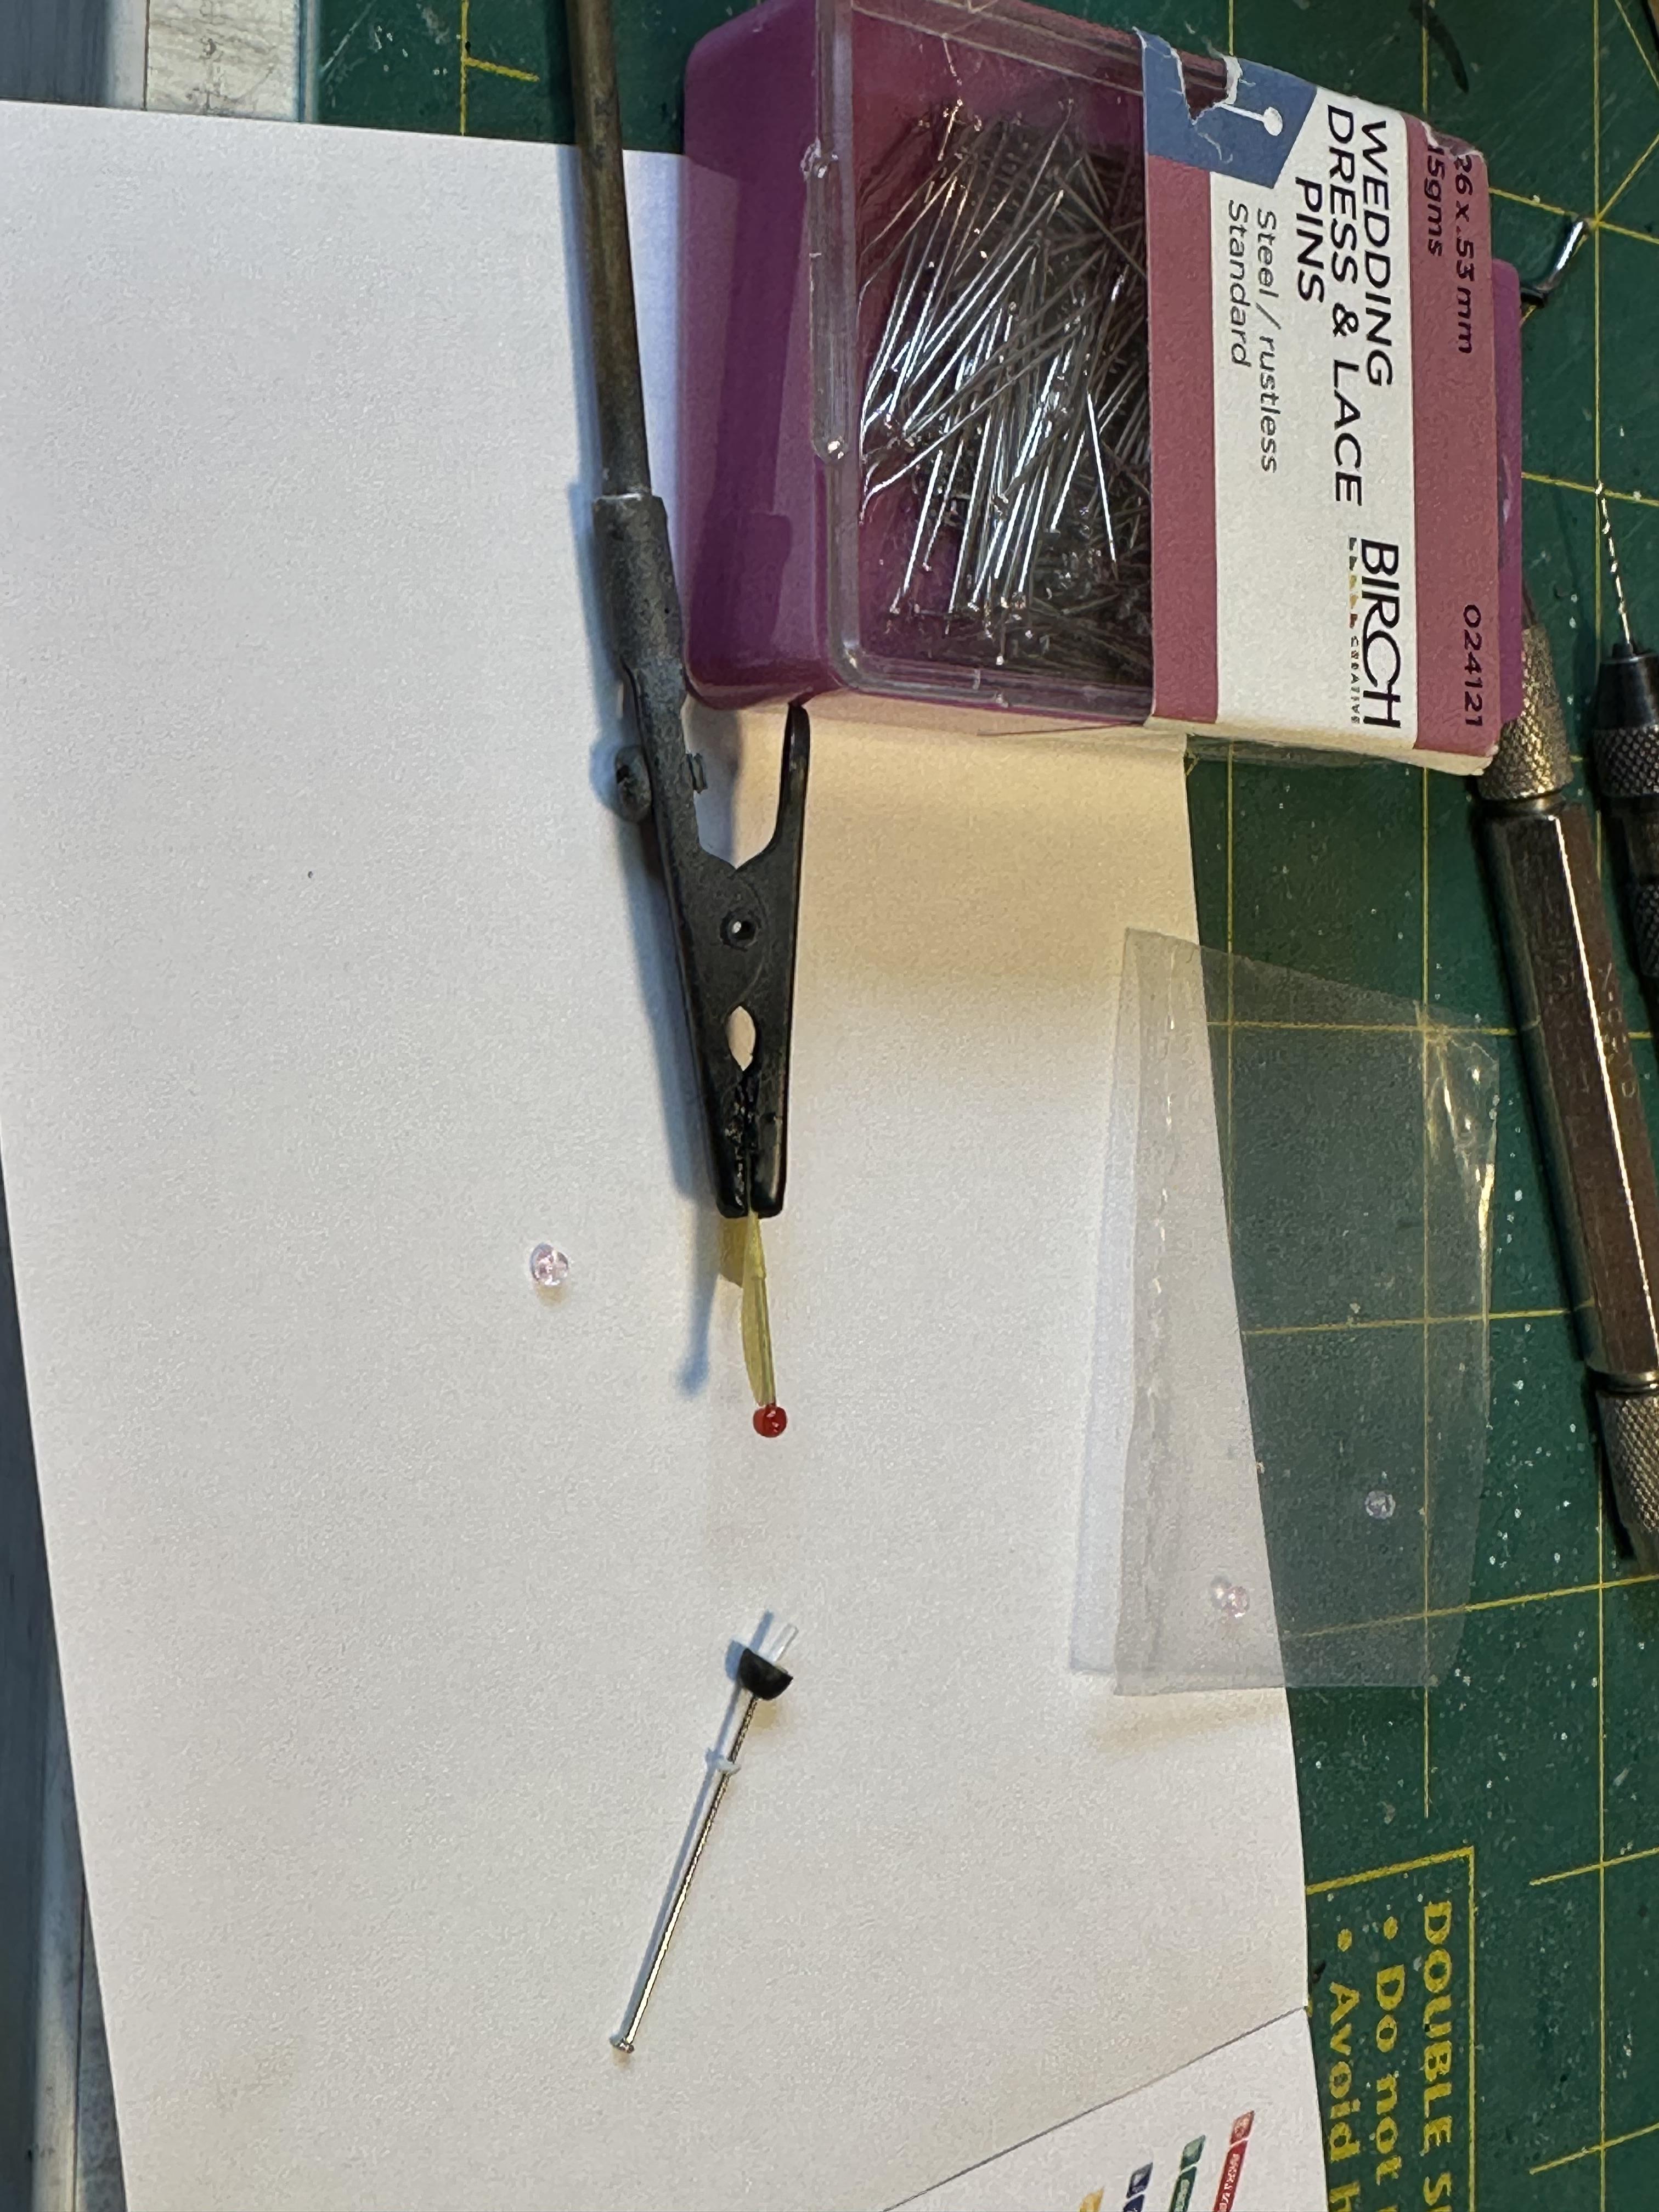
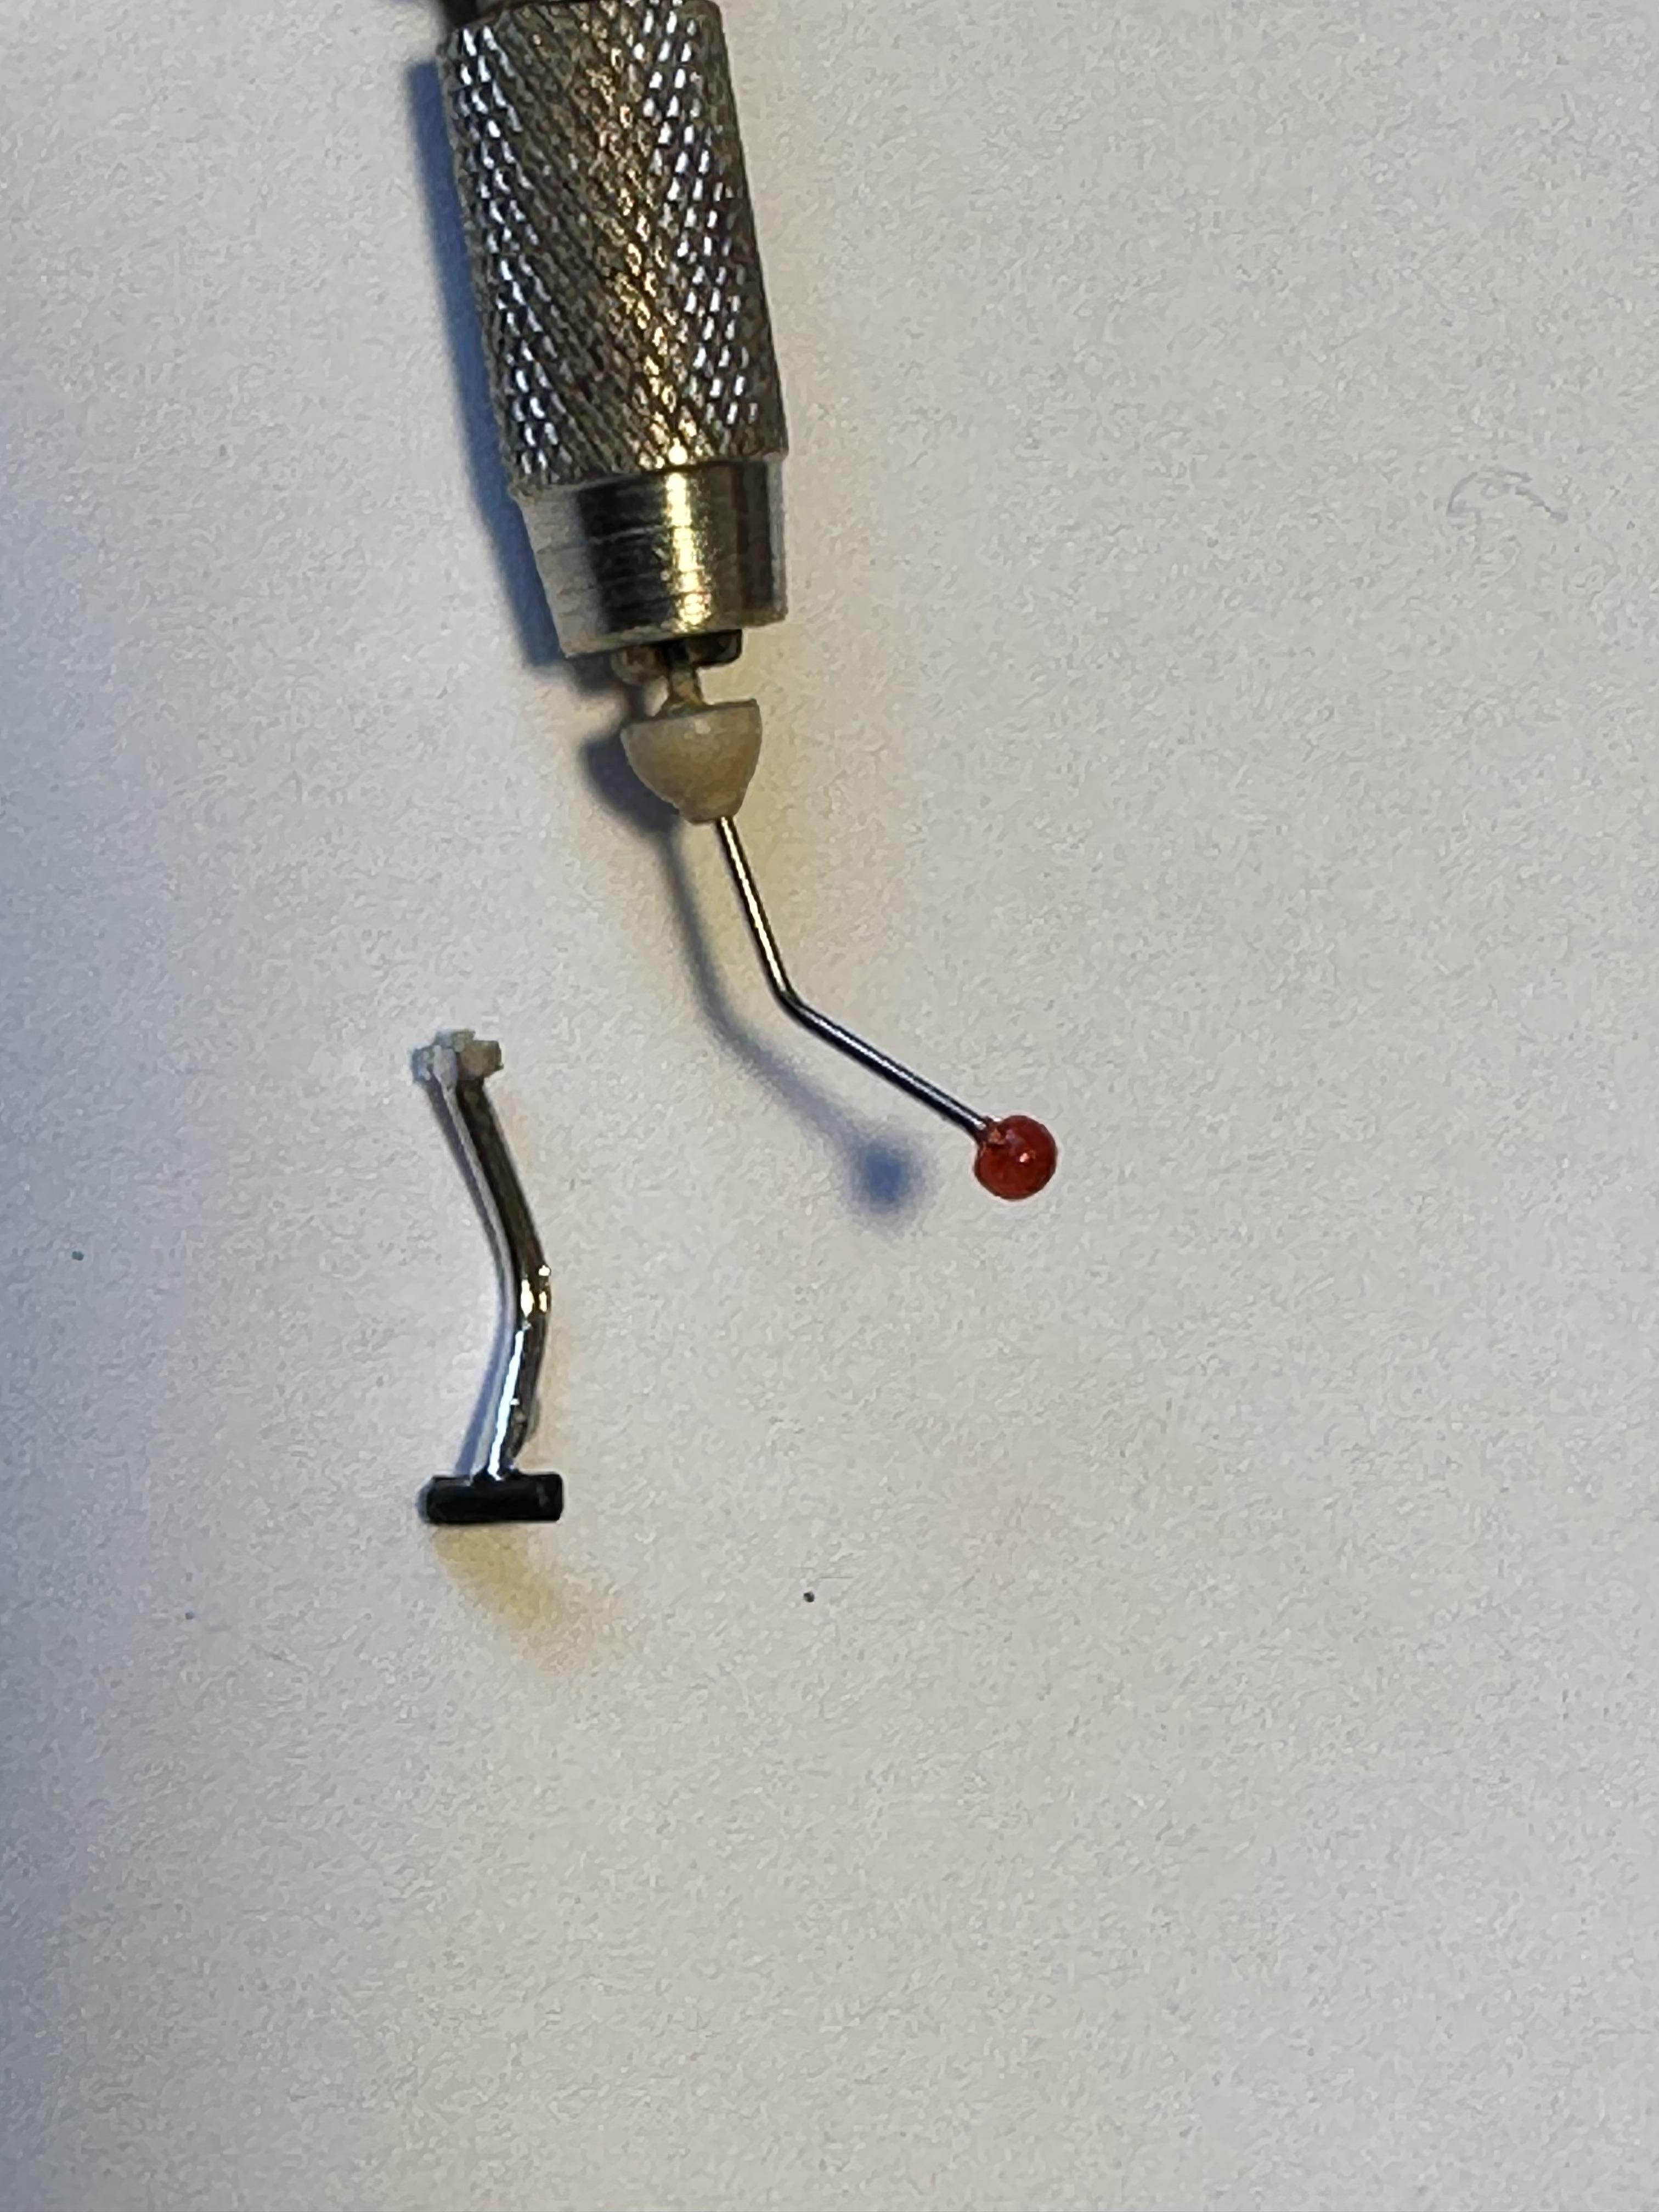
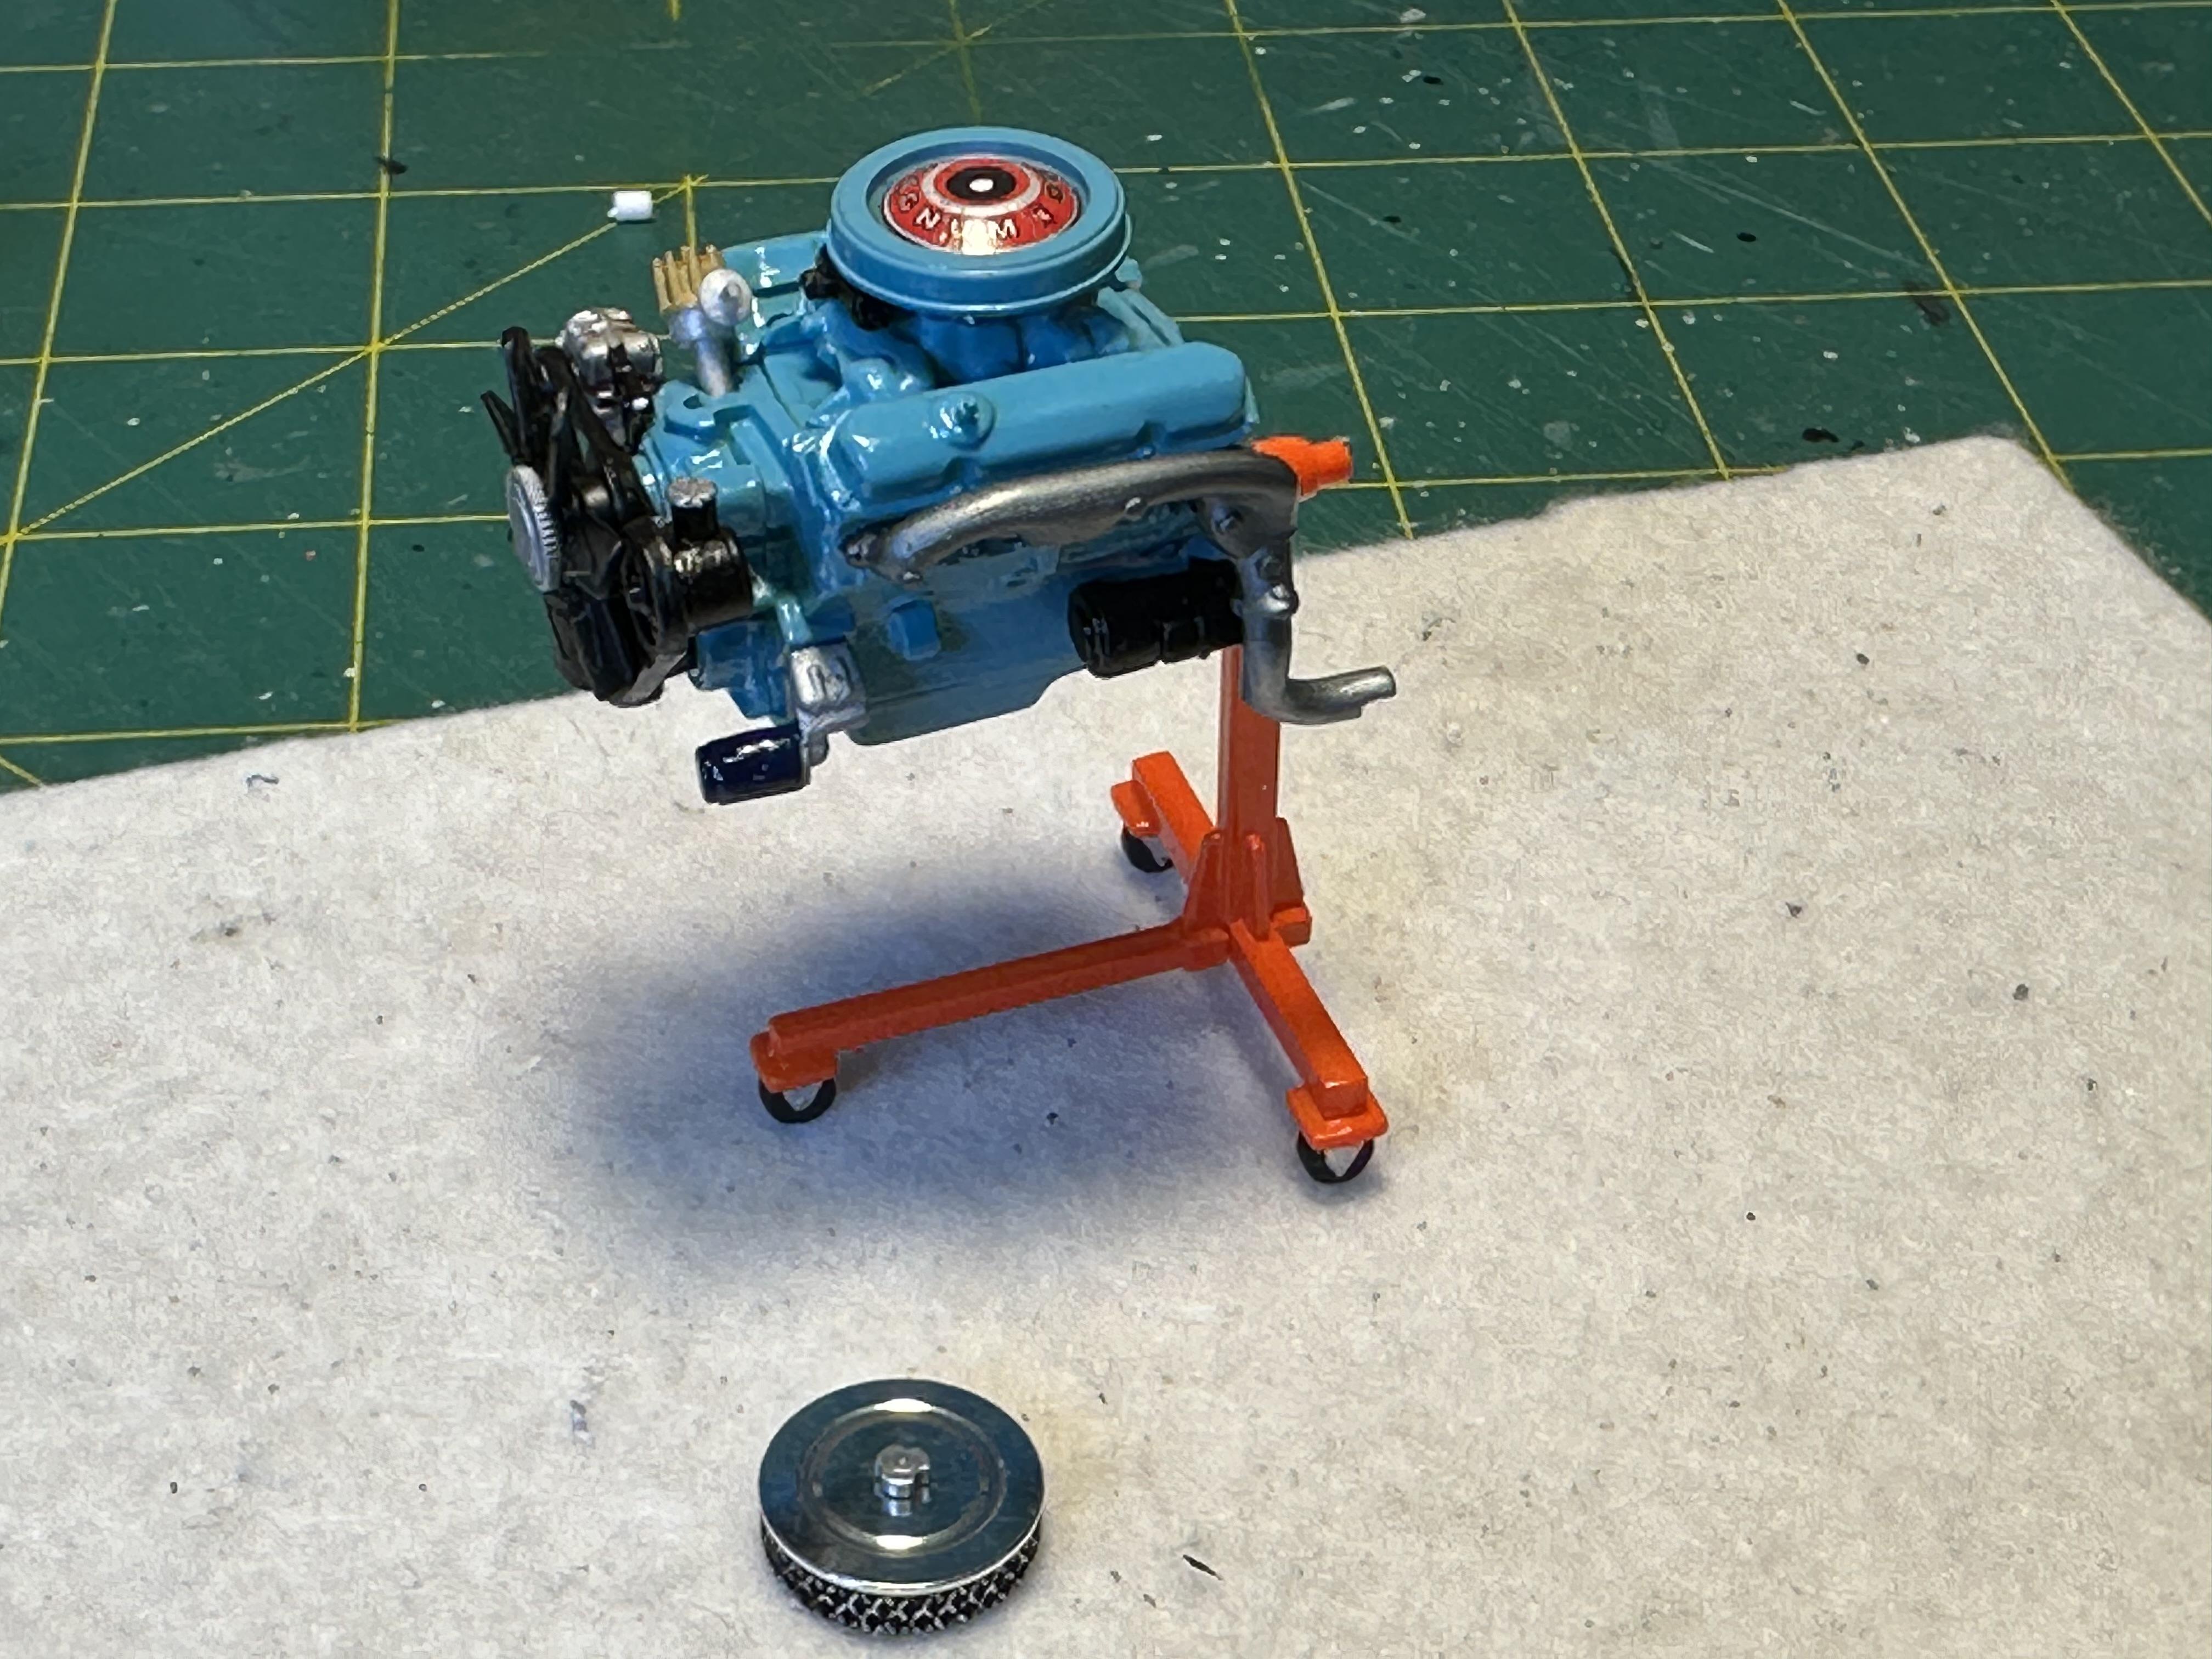
Been a month or so for an update on my 32 Sedan build. I have been working to get my 68 Charger across the line and that's now under glass. I noted that the trans I am using is a manual and I also noted I did not have a shifter - DOH!! At least I got the three pedals right So for the shifter I looked at the one that comes with the AMT Vickie and it is rather blah. I then looked at my collection of pins and the round head ones were a bit big. I checked with the War Dept and she has these nice little beads. I cut the head off a chrome pin, super glued the bead onto the pin shaft and applied a good bead of glue and now I have nice round shifter knob. To finish off I painted the knob with clear red and bent the pin to shape. The boot is a bit of tree shaped with a small dab section of round added and drilled out 0.7mm for the pin. Original thought was to paint the boot SG black but sense prevailed and I painted it the same colour as the interior Pins, boot and knob And completed shifter as compared to the Vickie unit Meanwhile the body and guards etc have gone back to the body shop for colour sanding and polish
-
Thank you everyone for the kind comments. The Revell Chargers are nice kits and respond well to the extra effort with the small details.
-
Some things just seem to go together. I just could not resist it 🤪
-
What a cool subject. And the kit looks good and came off the printer well. I had a look at the Cults link and the cost for the file to us is NZ$43 which is about half of what we pay retail for a comparable AMT/Revell/etc kit so there is good value. Ok you have to factor in resin and the occasional snafu which would bump up the cost but it is looking like 3D printing is going a long way to give us access to subjects we would not normally see. The is a guy in our modelling group who has been smashing out things like Hudson Terraplane coupes, 38 Oldsmobile coupe and Tudor and his latest a 41 Chev Panel Van
-
Will be watching. Carl - you did a good job on that "horrible" kit The AMT 40 series may not be up to what we expect from todays kits but I think they are not quite horrible. They were certainly cutting edge for the early 60"s. There are a lot worse out there. Anybody built the AMT 37 Chev lately, and as mentioned the Palmer/Lindberg 40 is most probably at the bottom of the pit.
-
Thanks for the comments guys. Appreciate them a lot
-
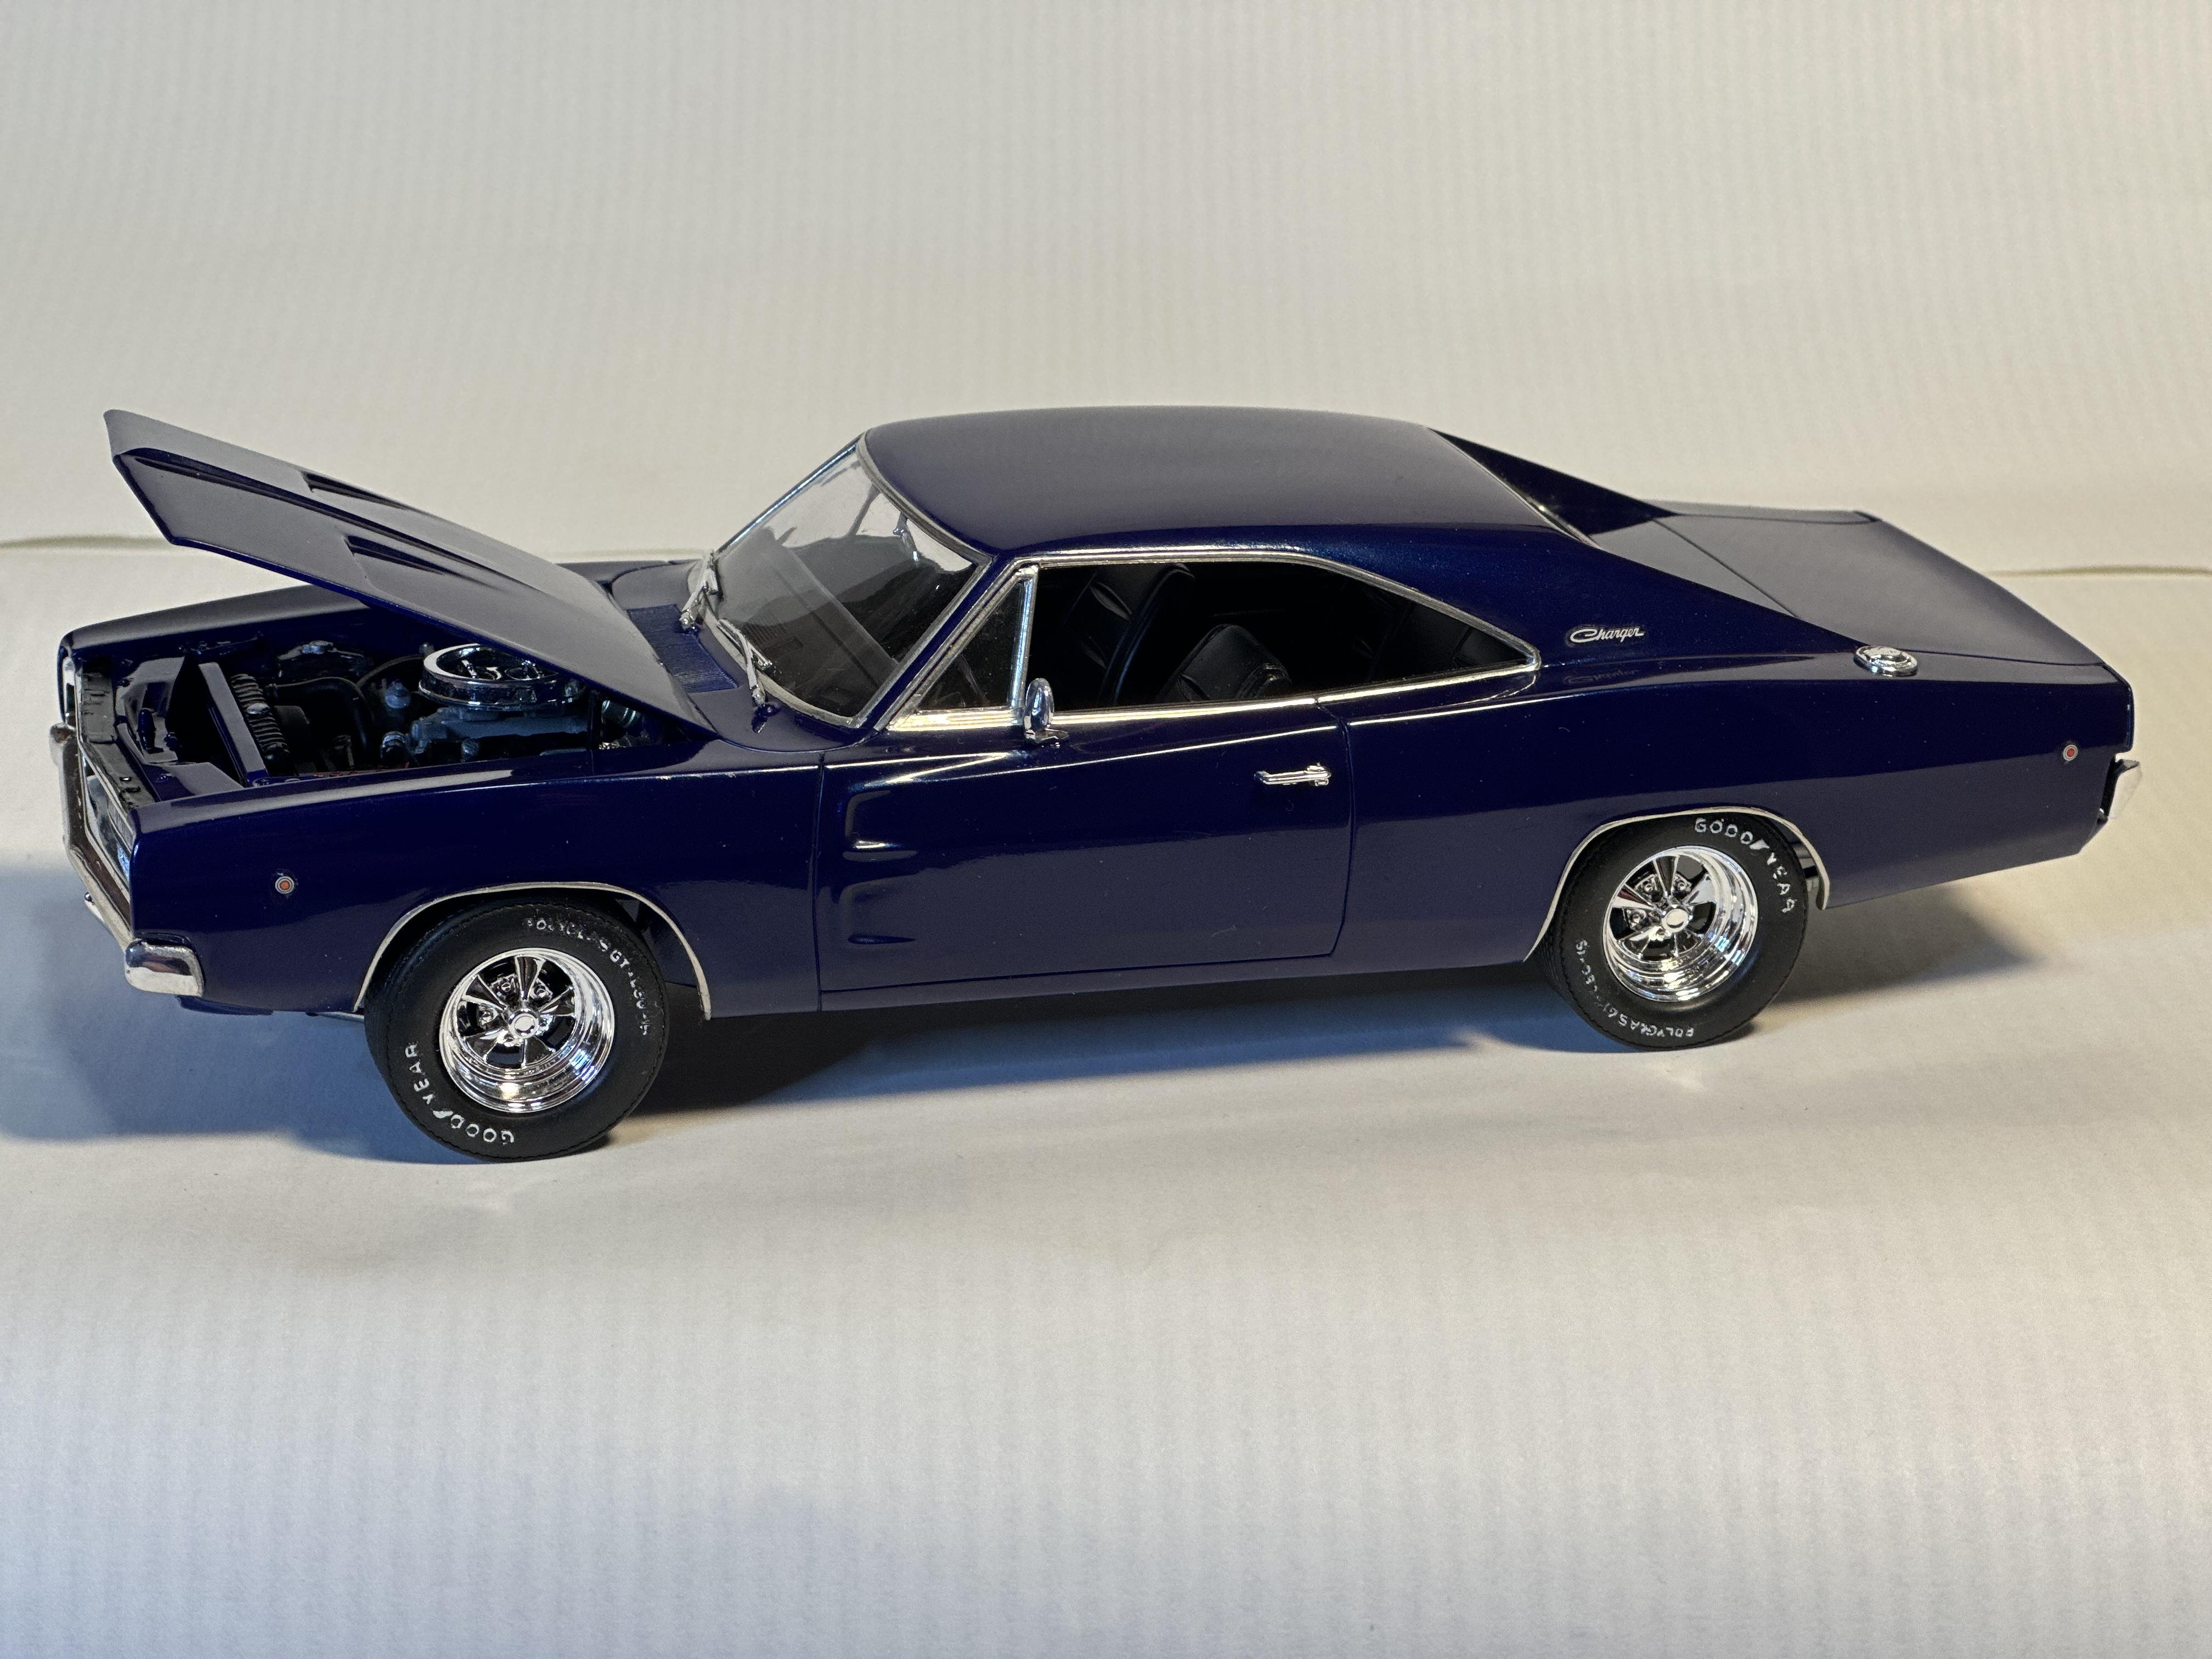
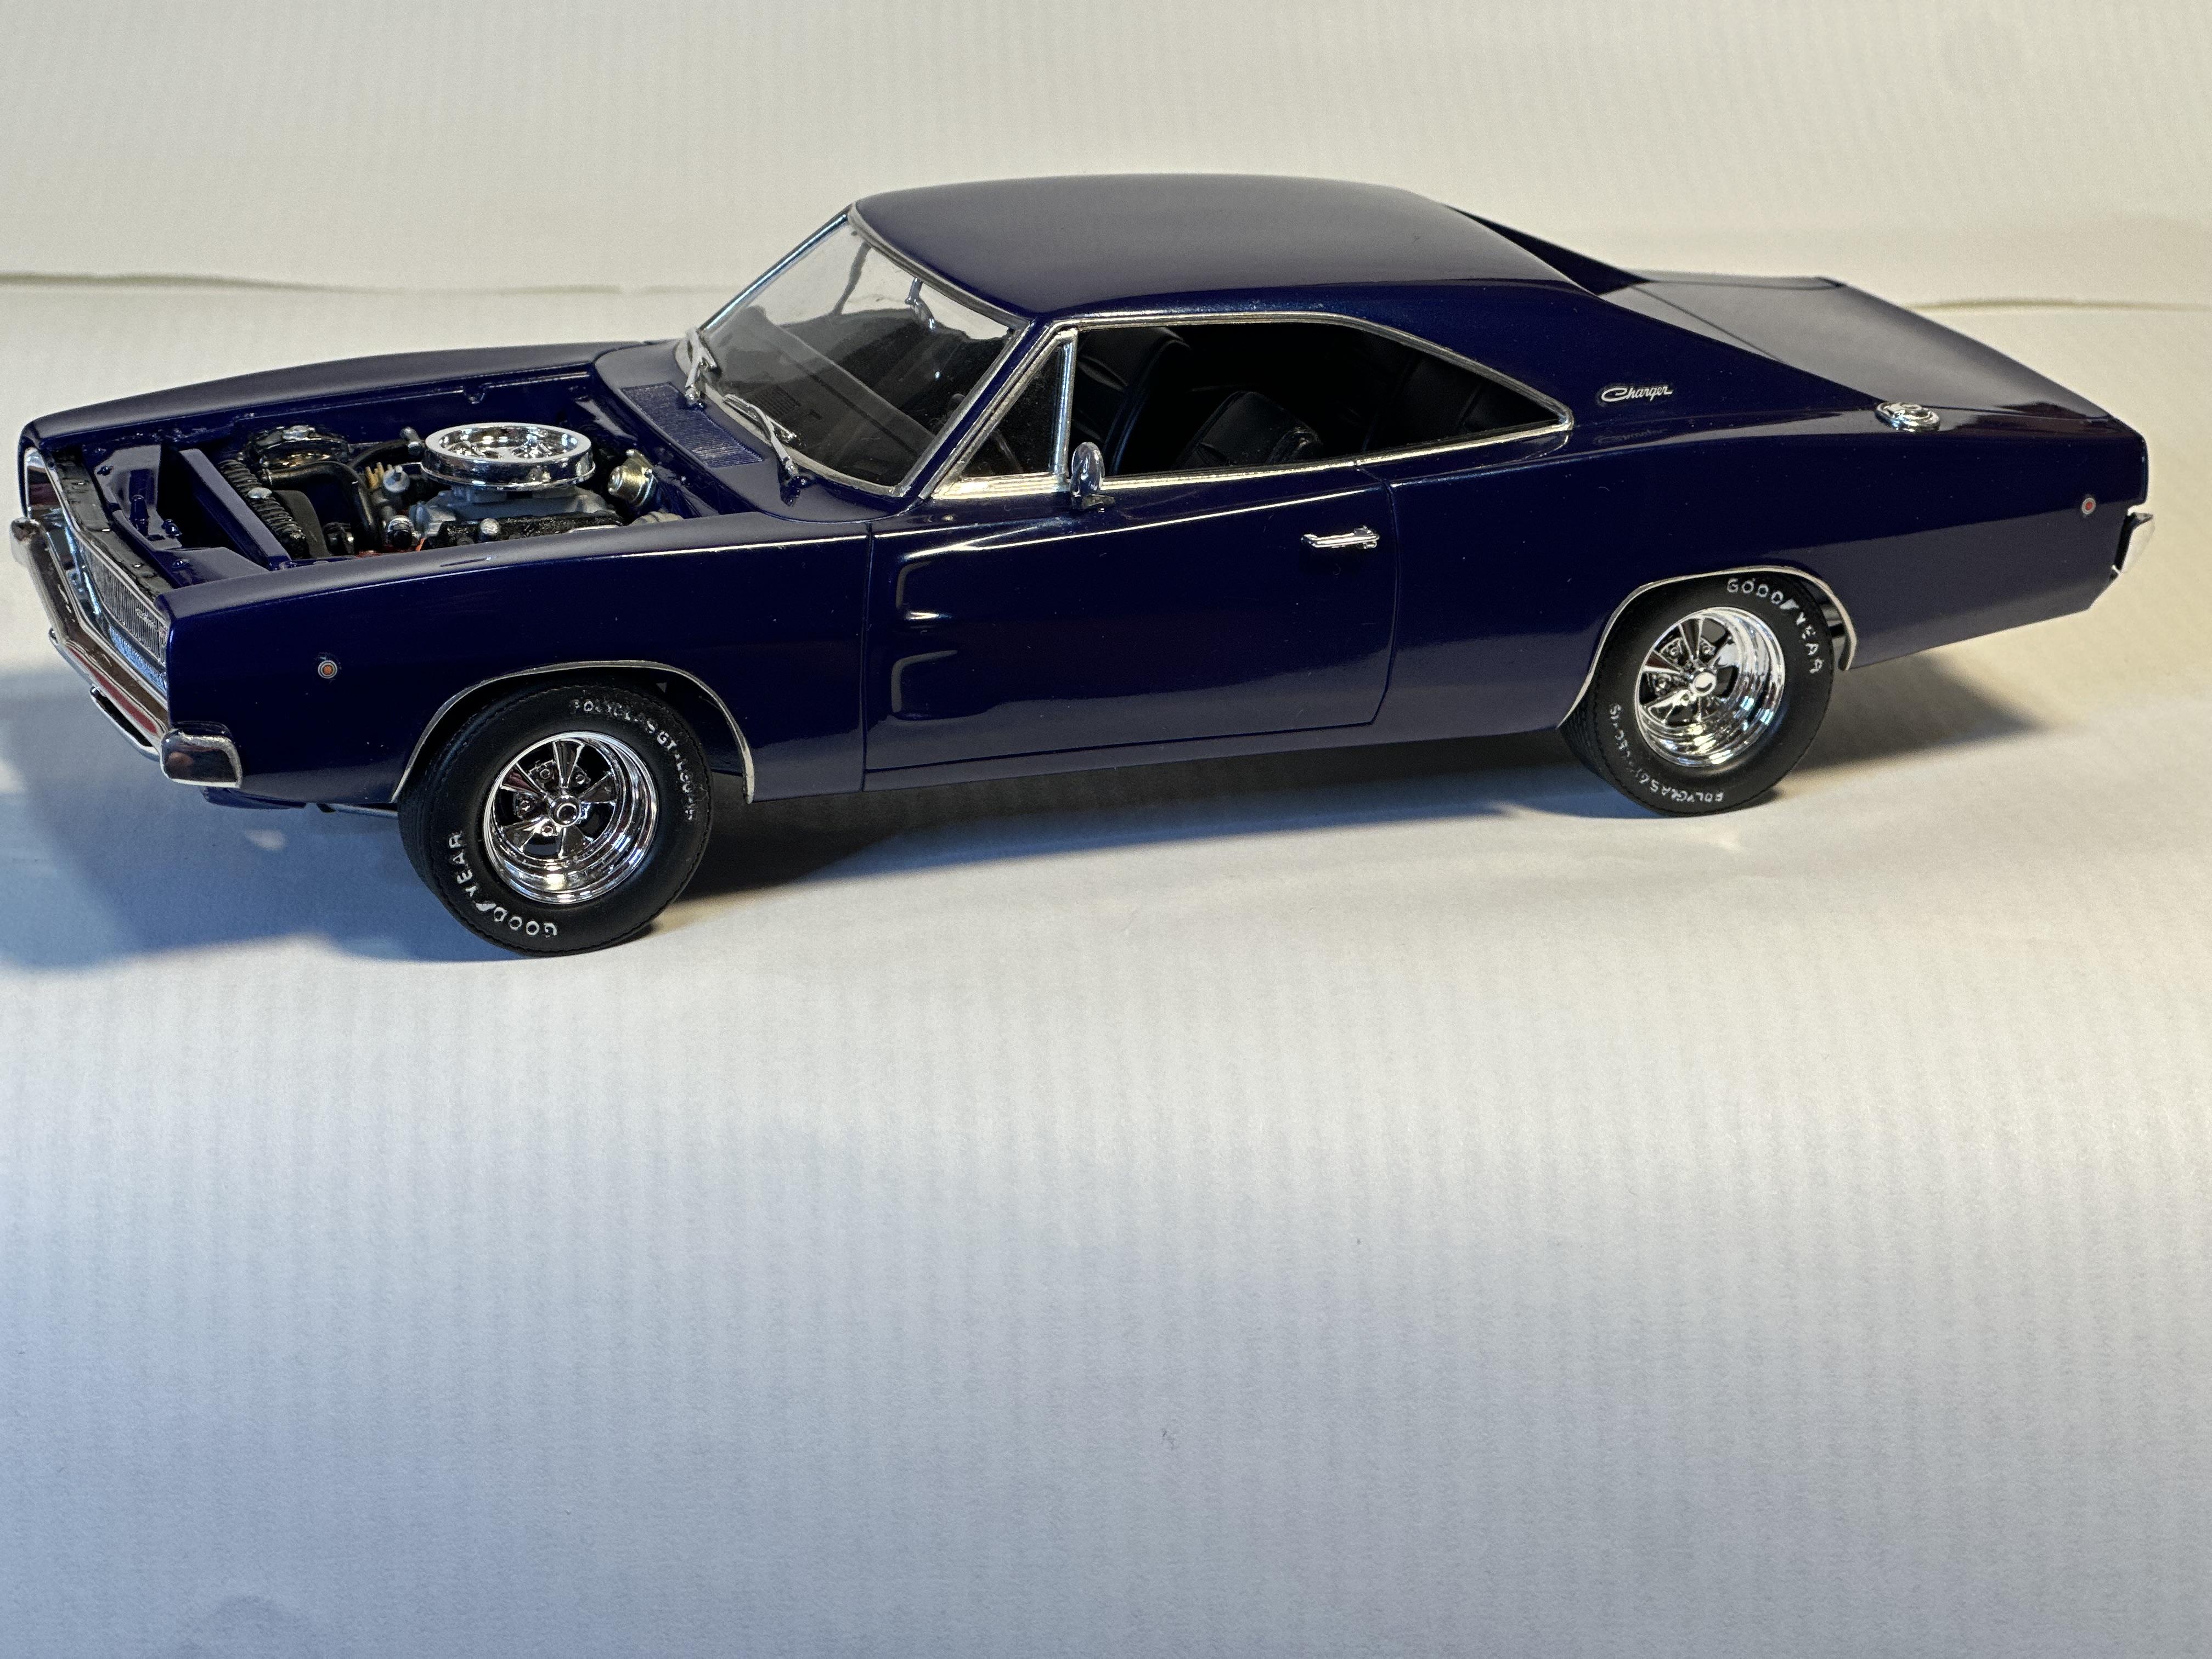
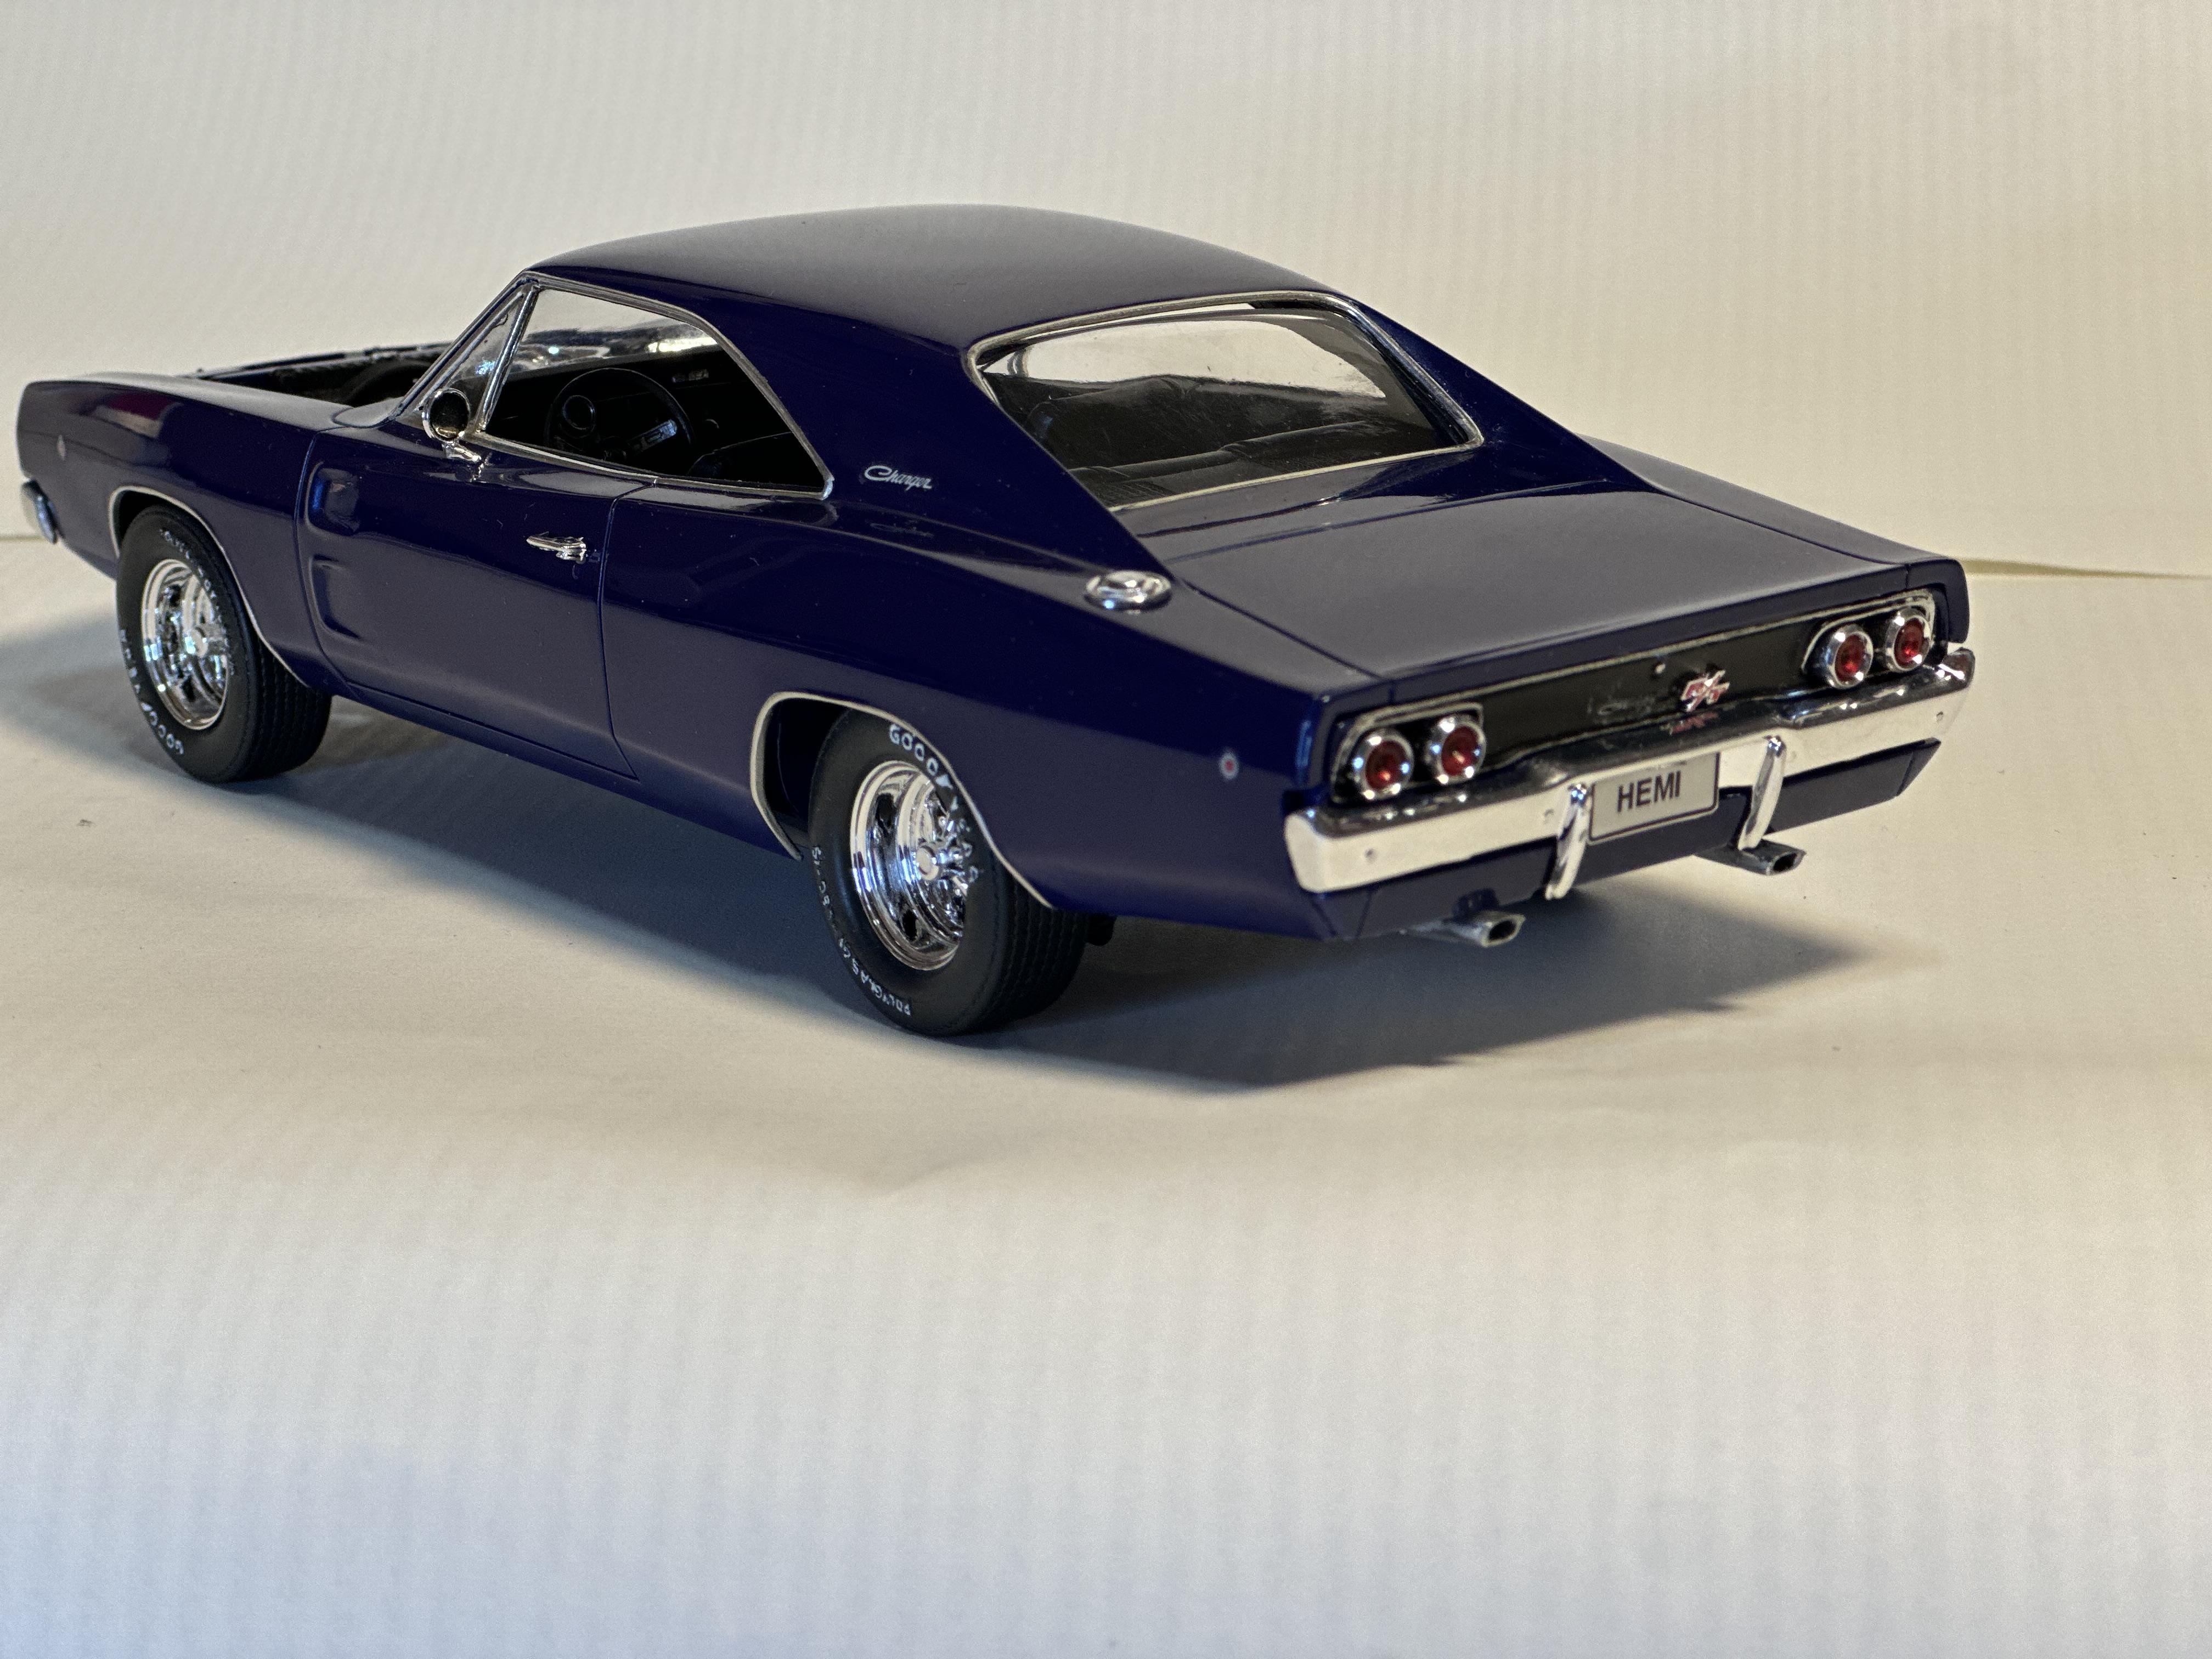
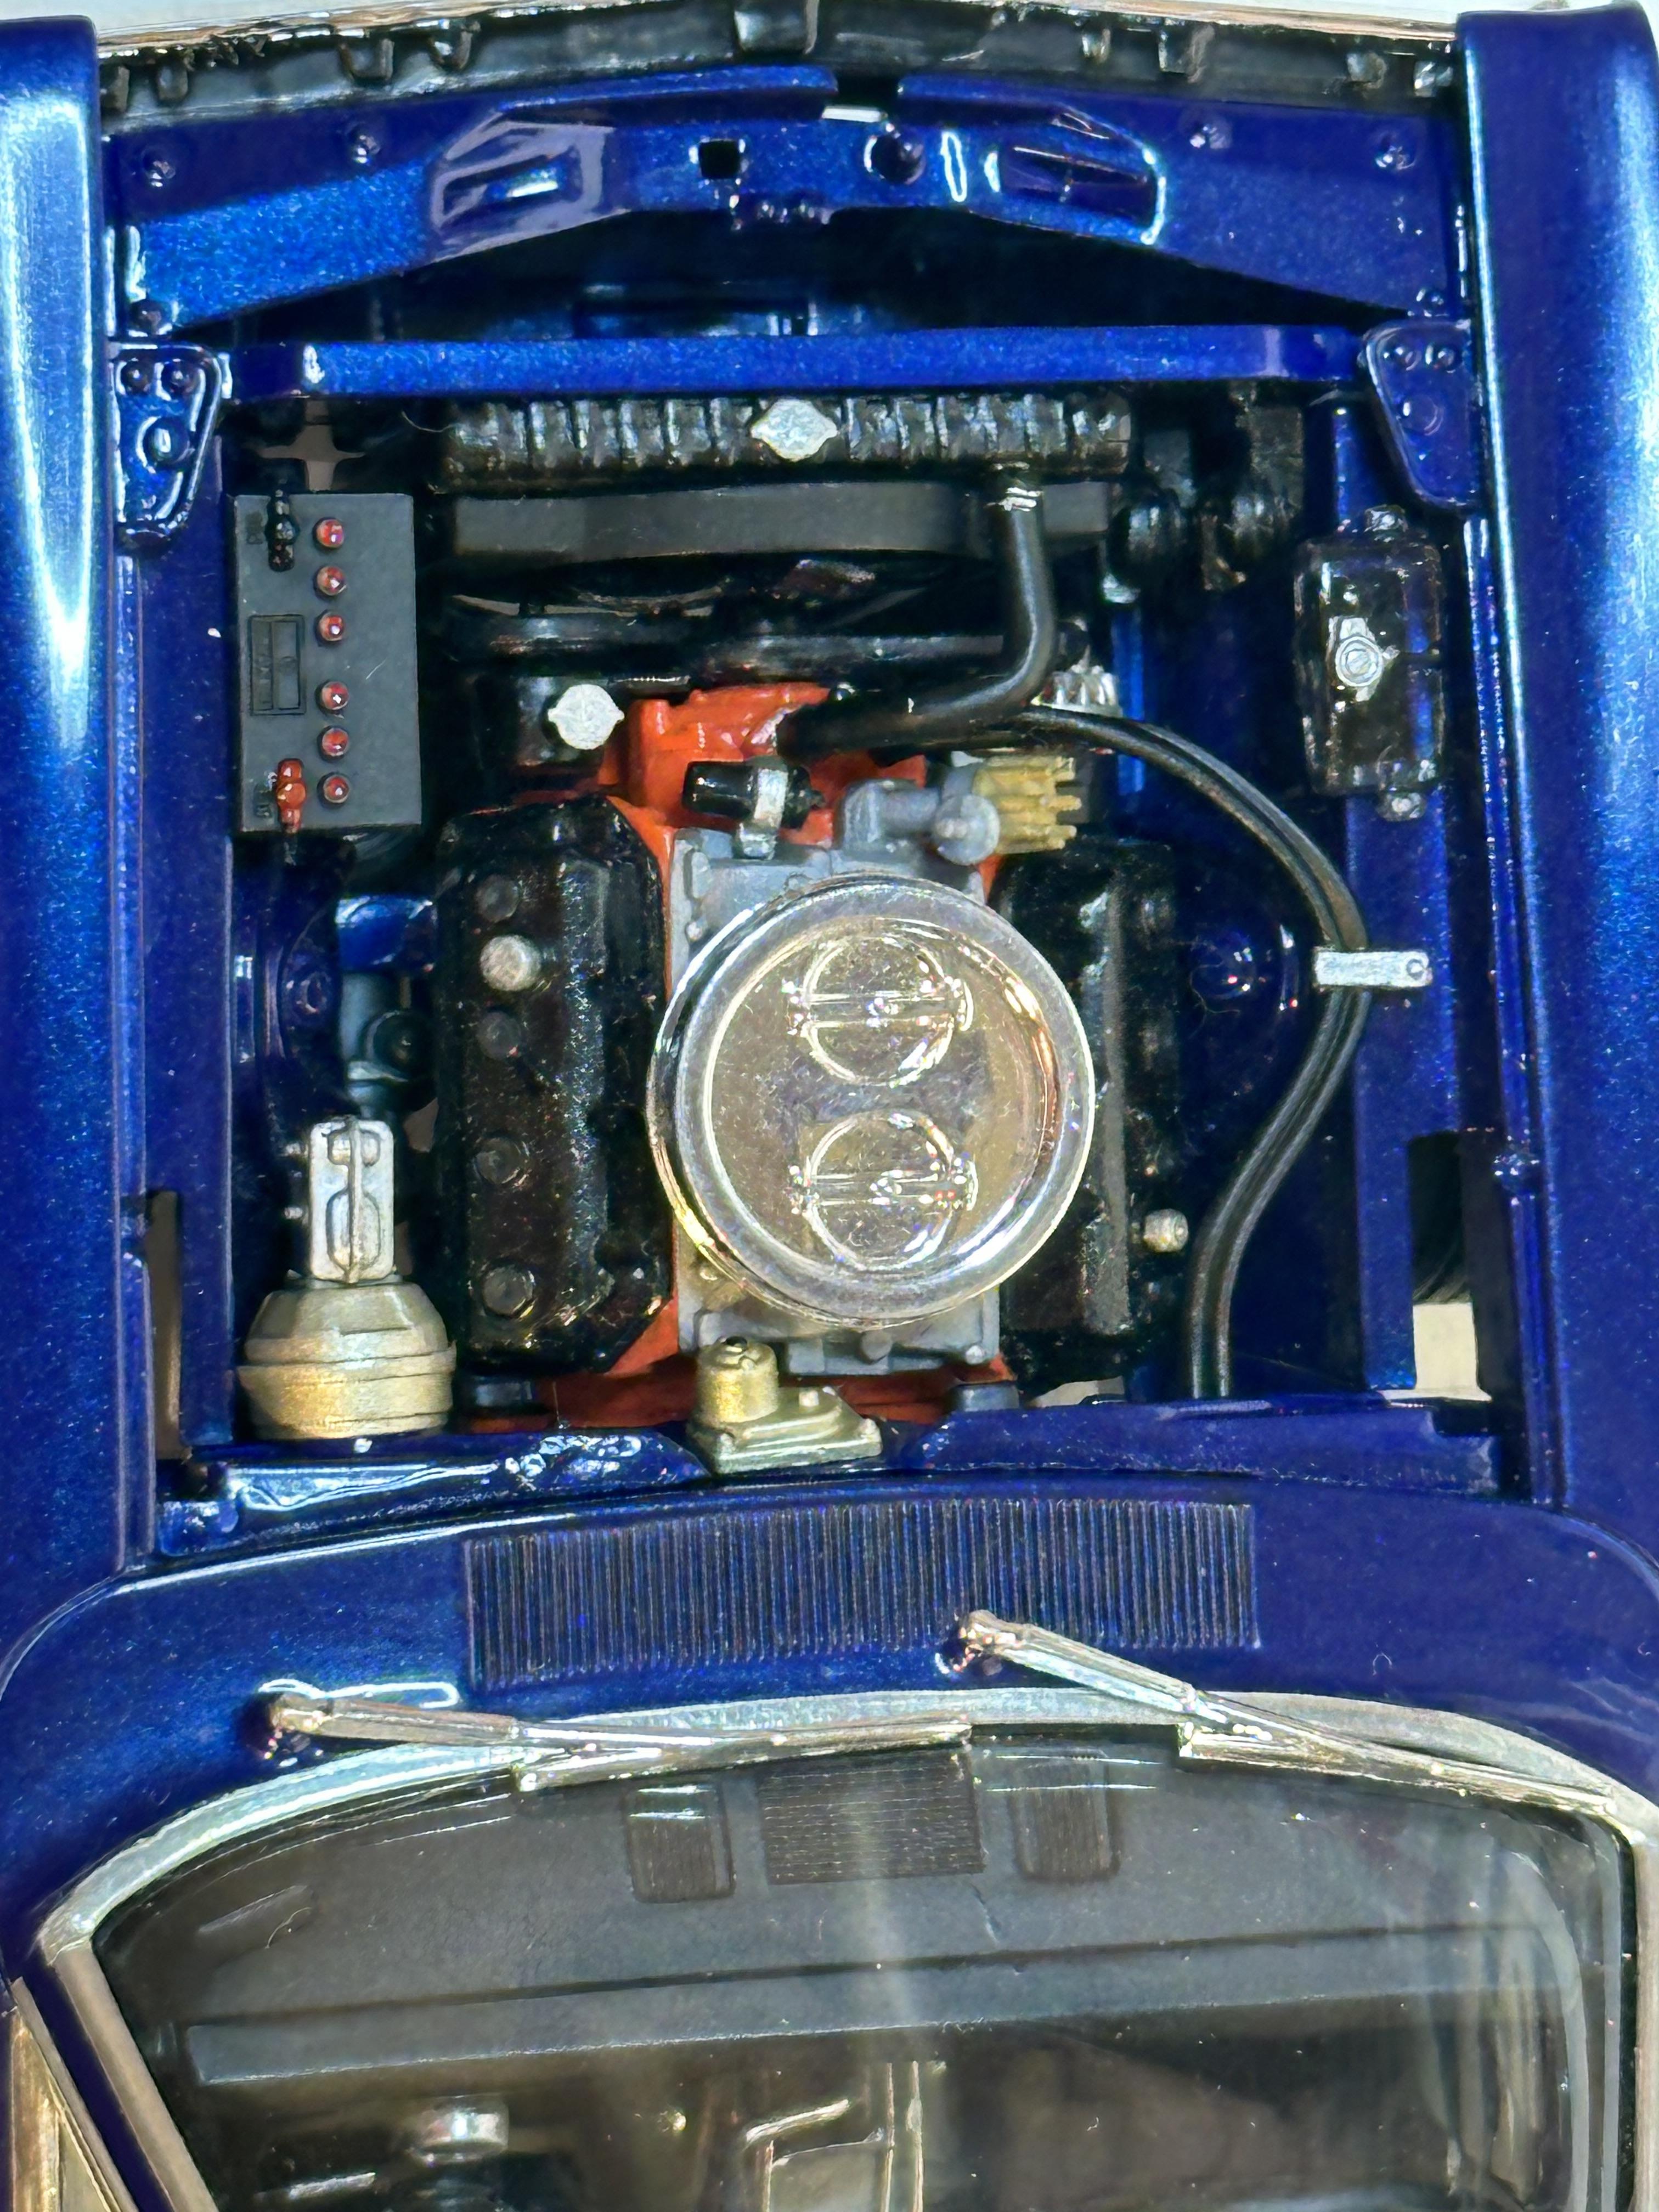
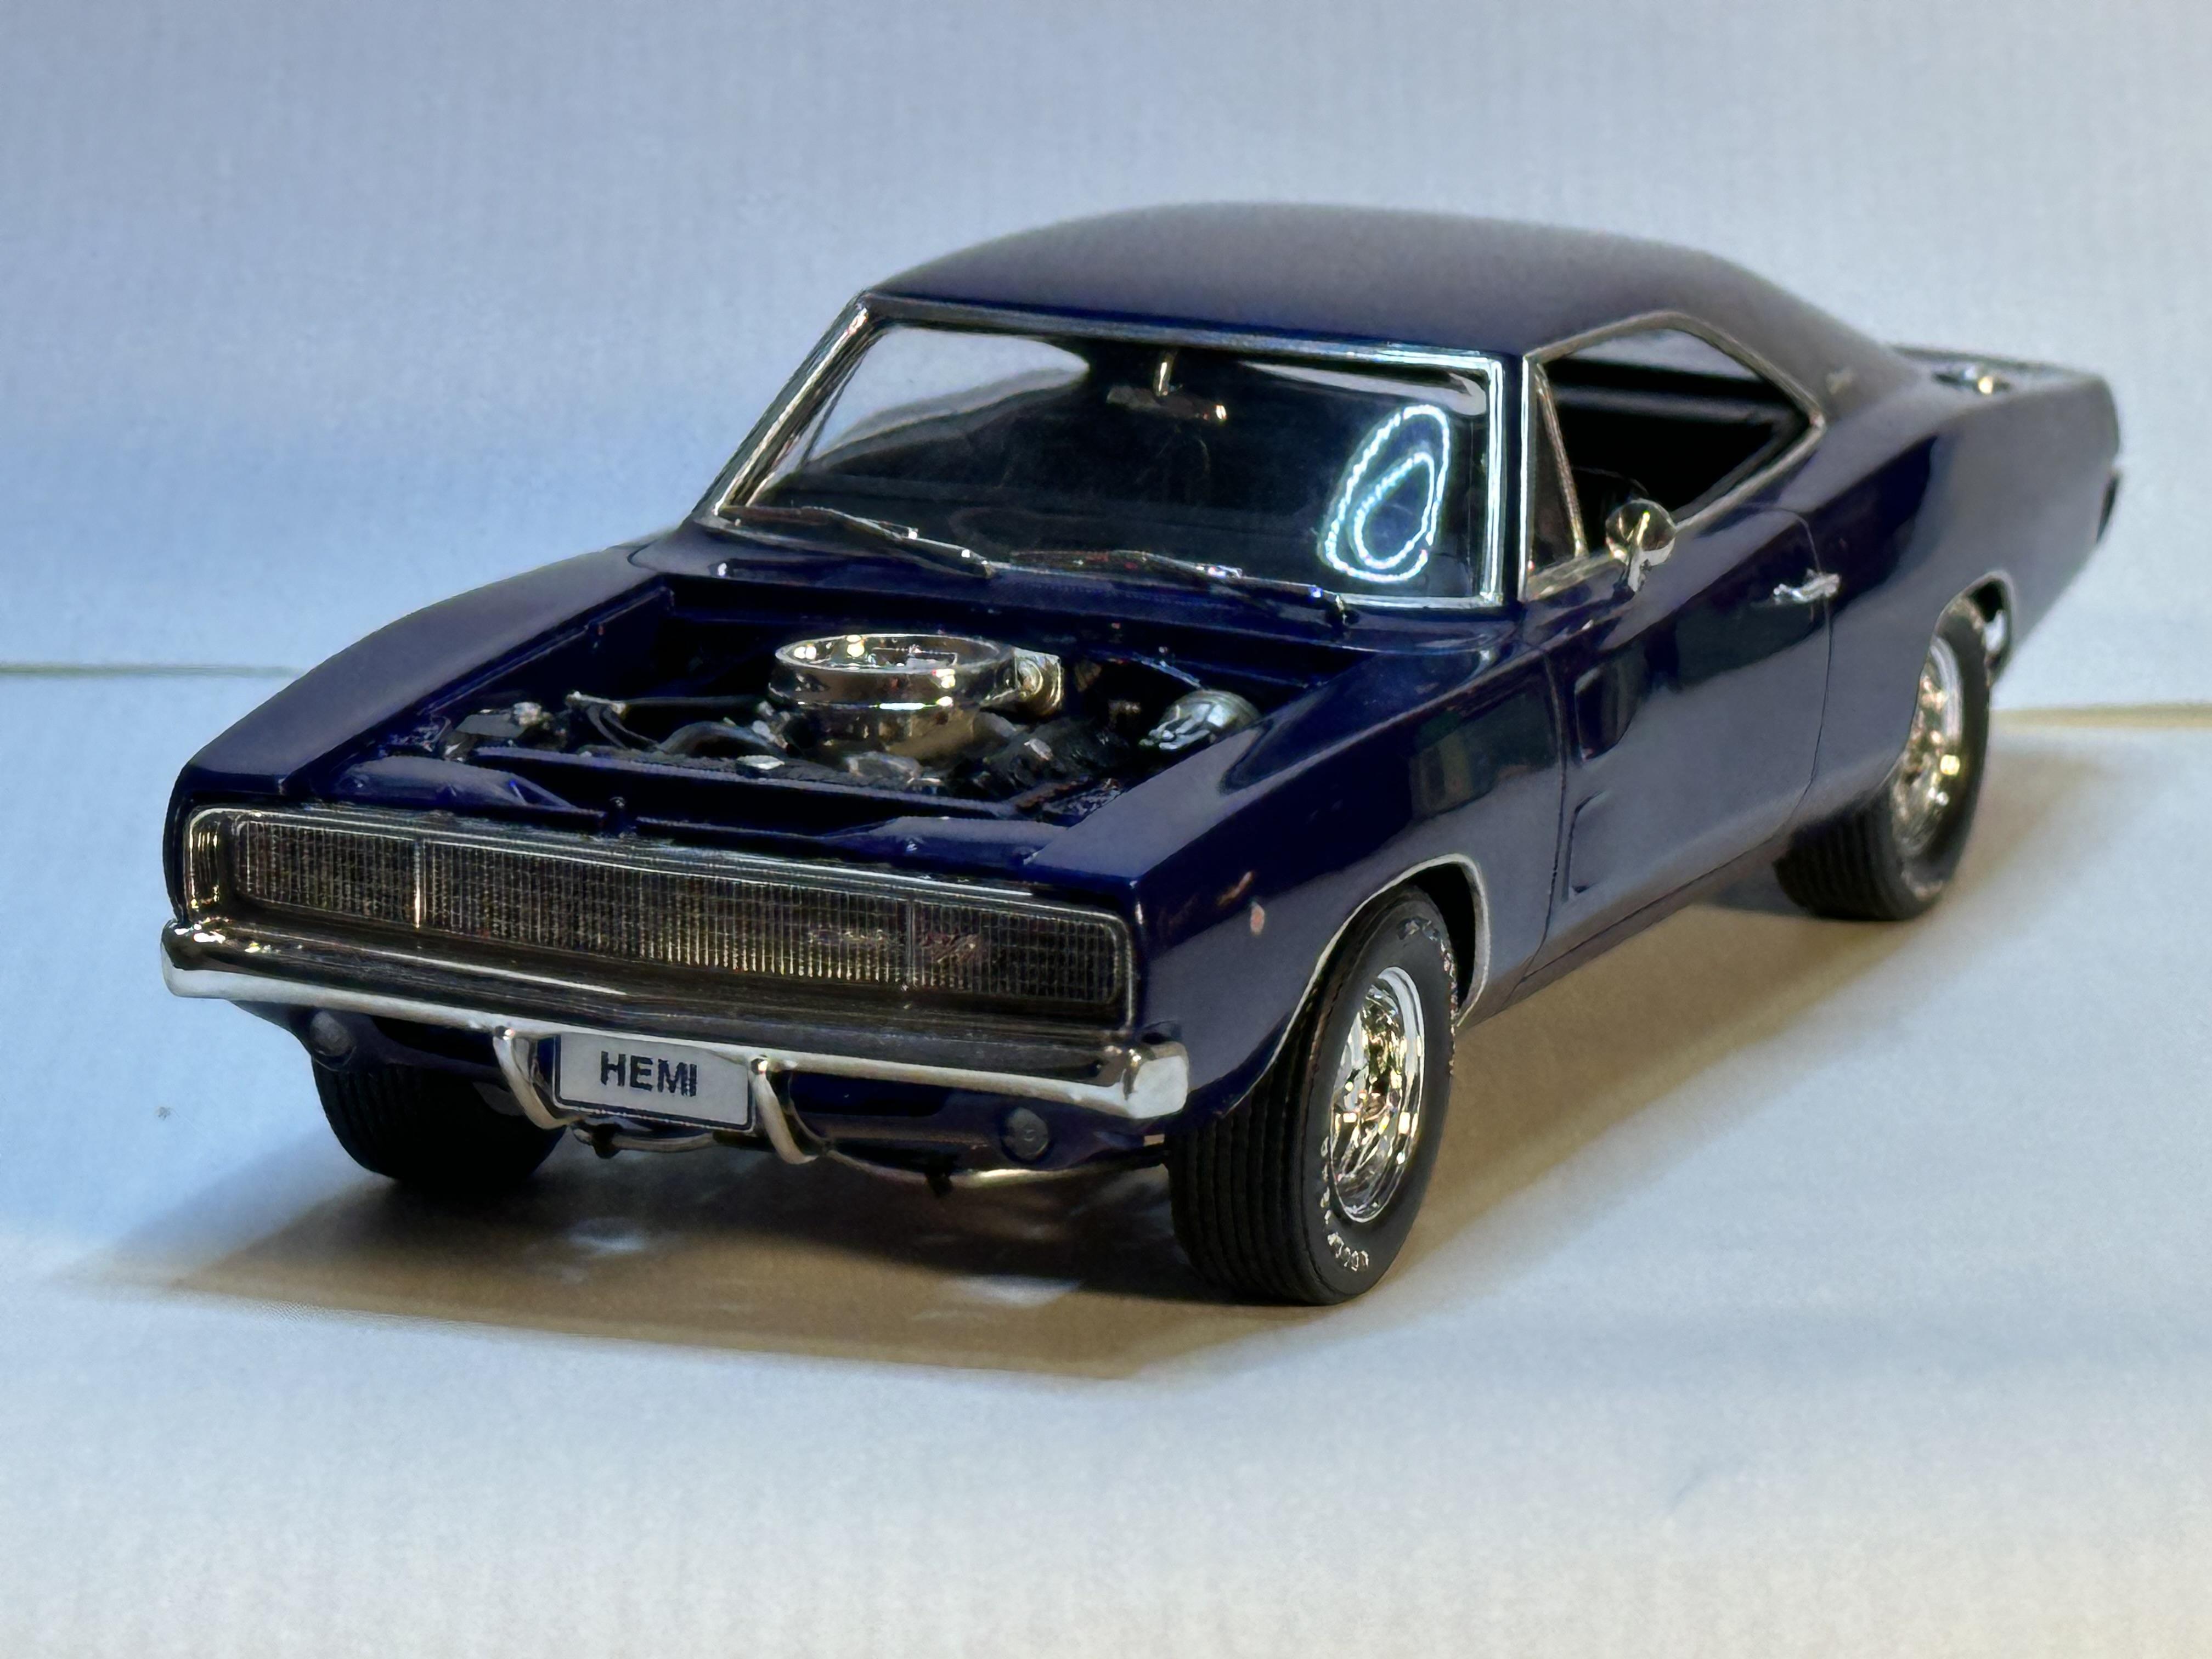
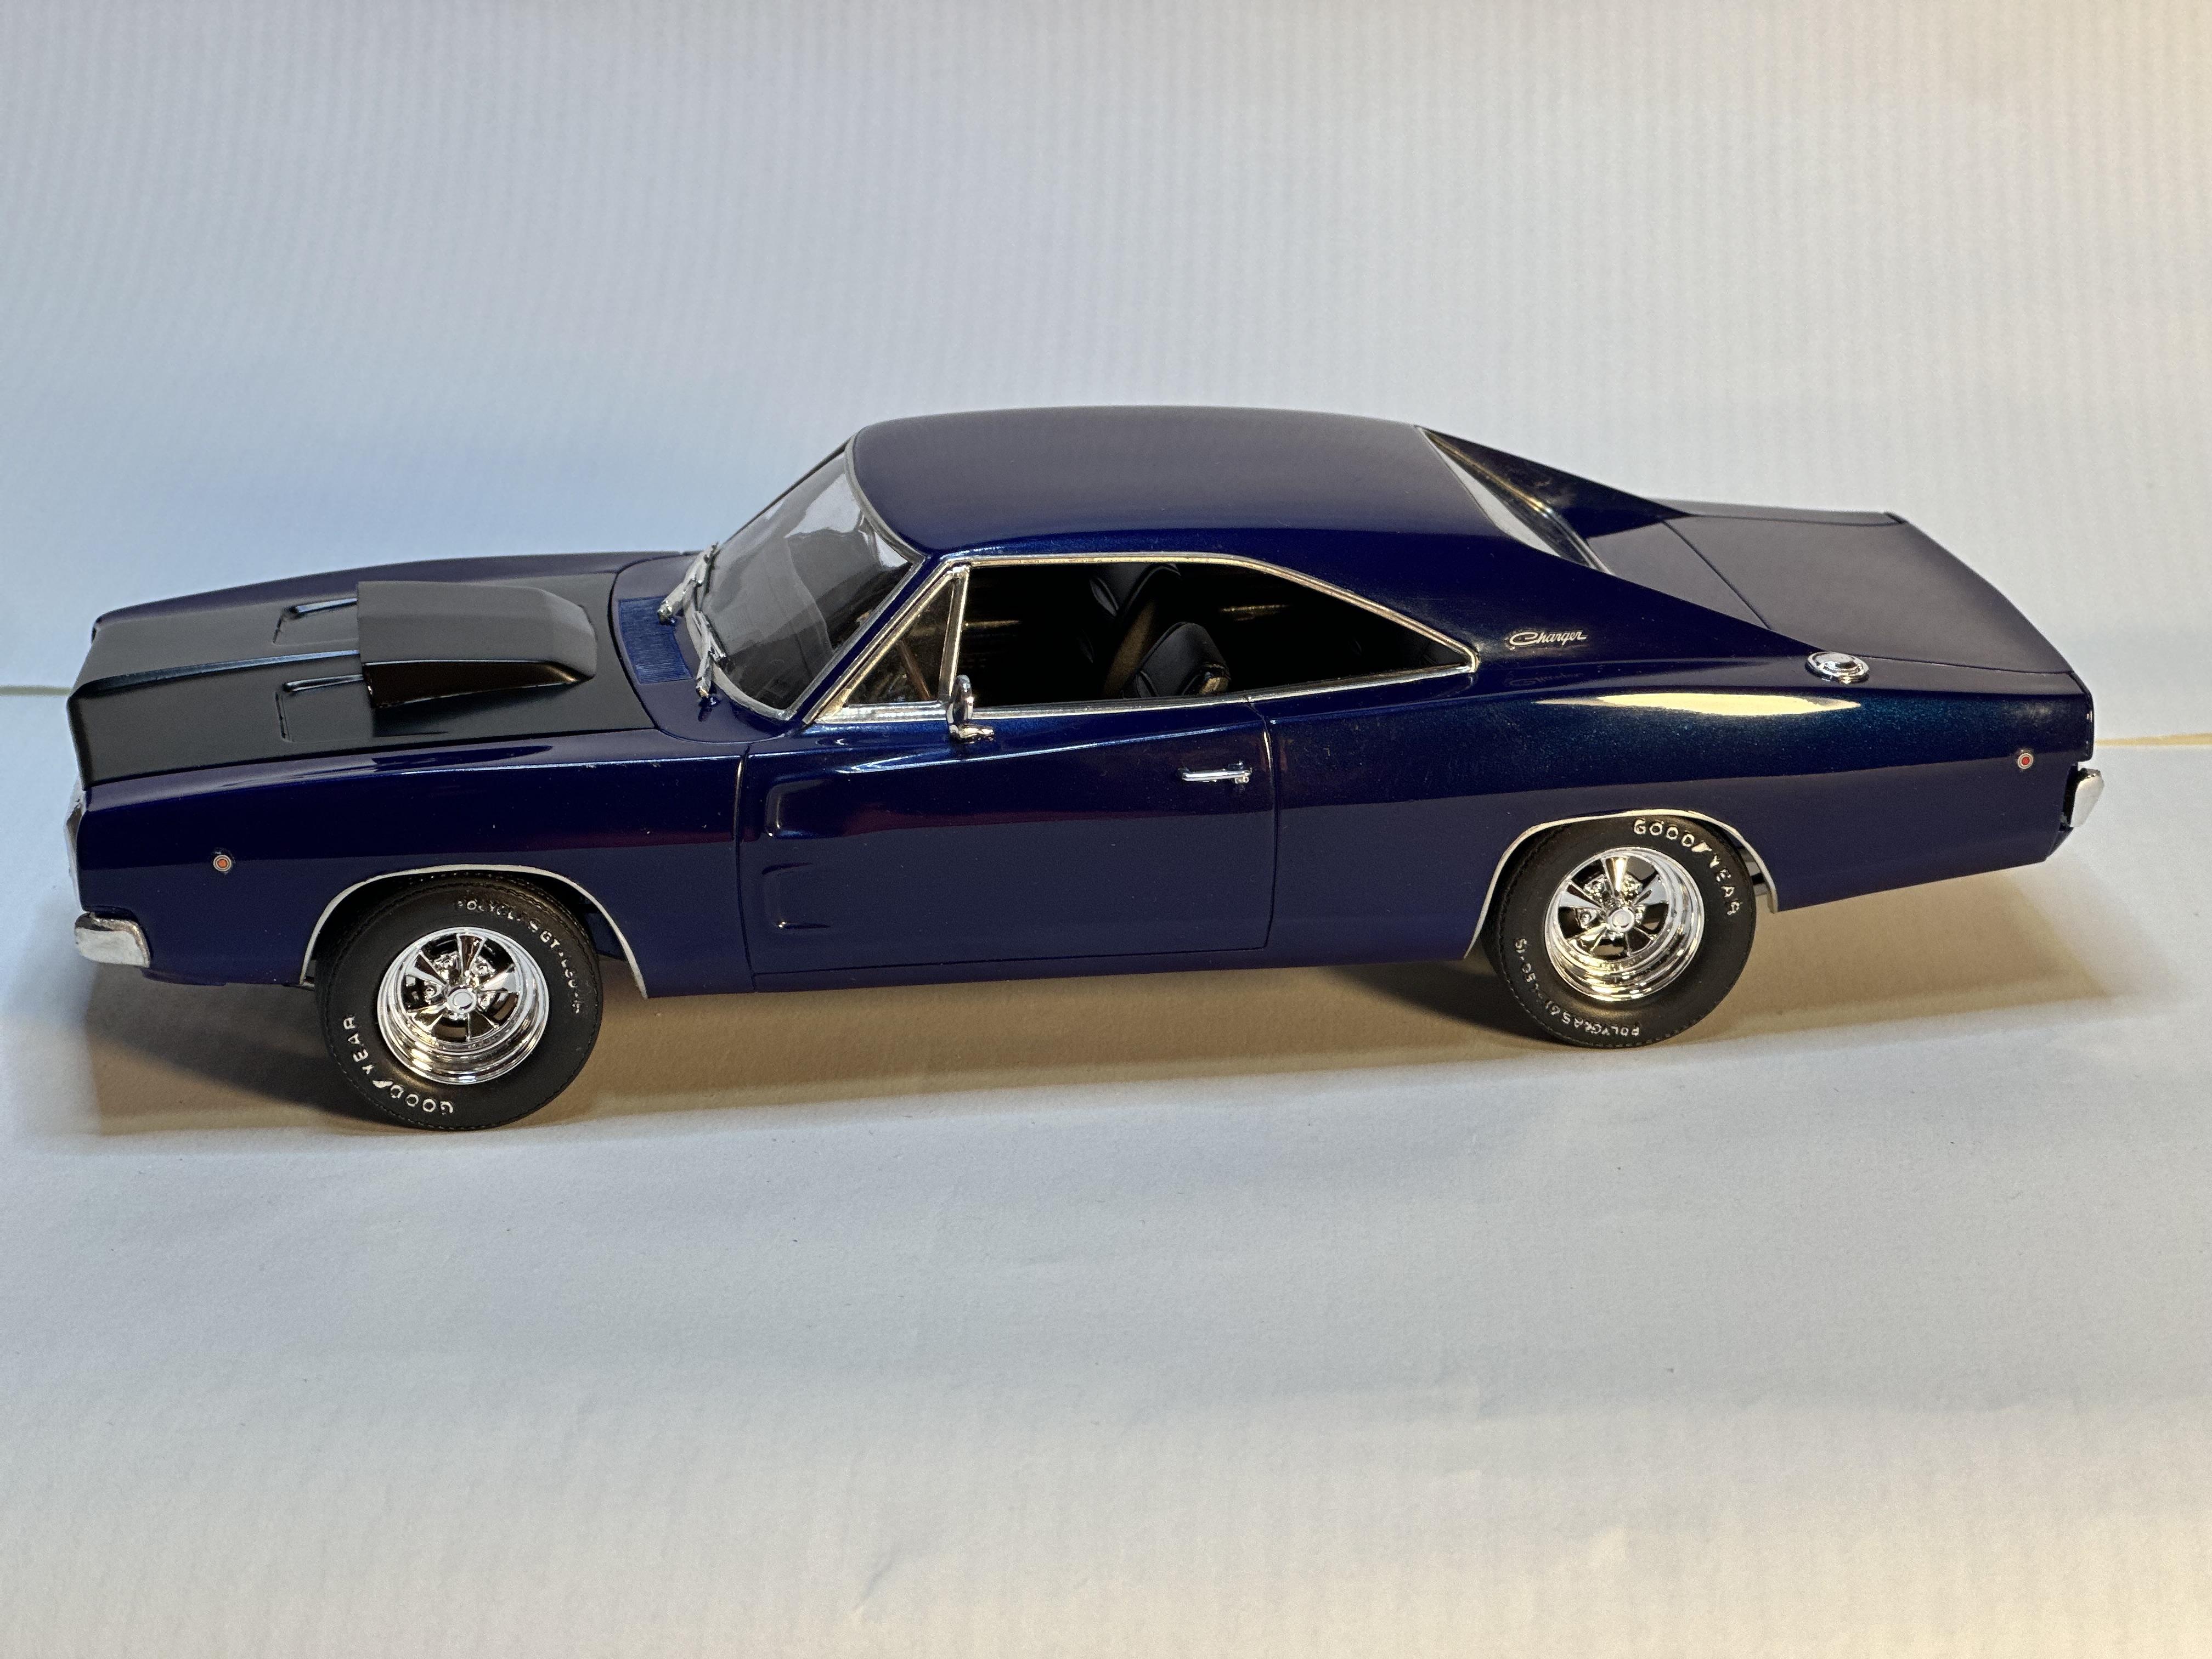
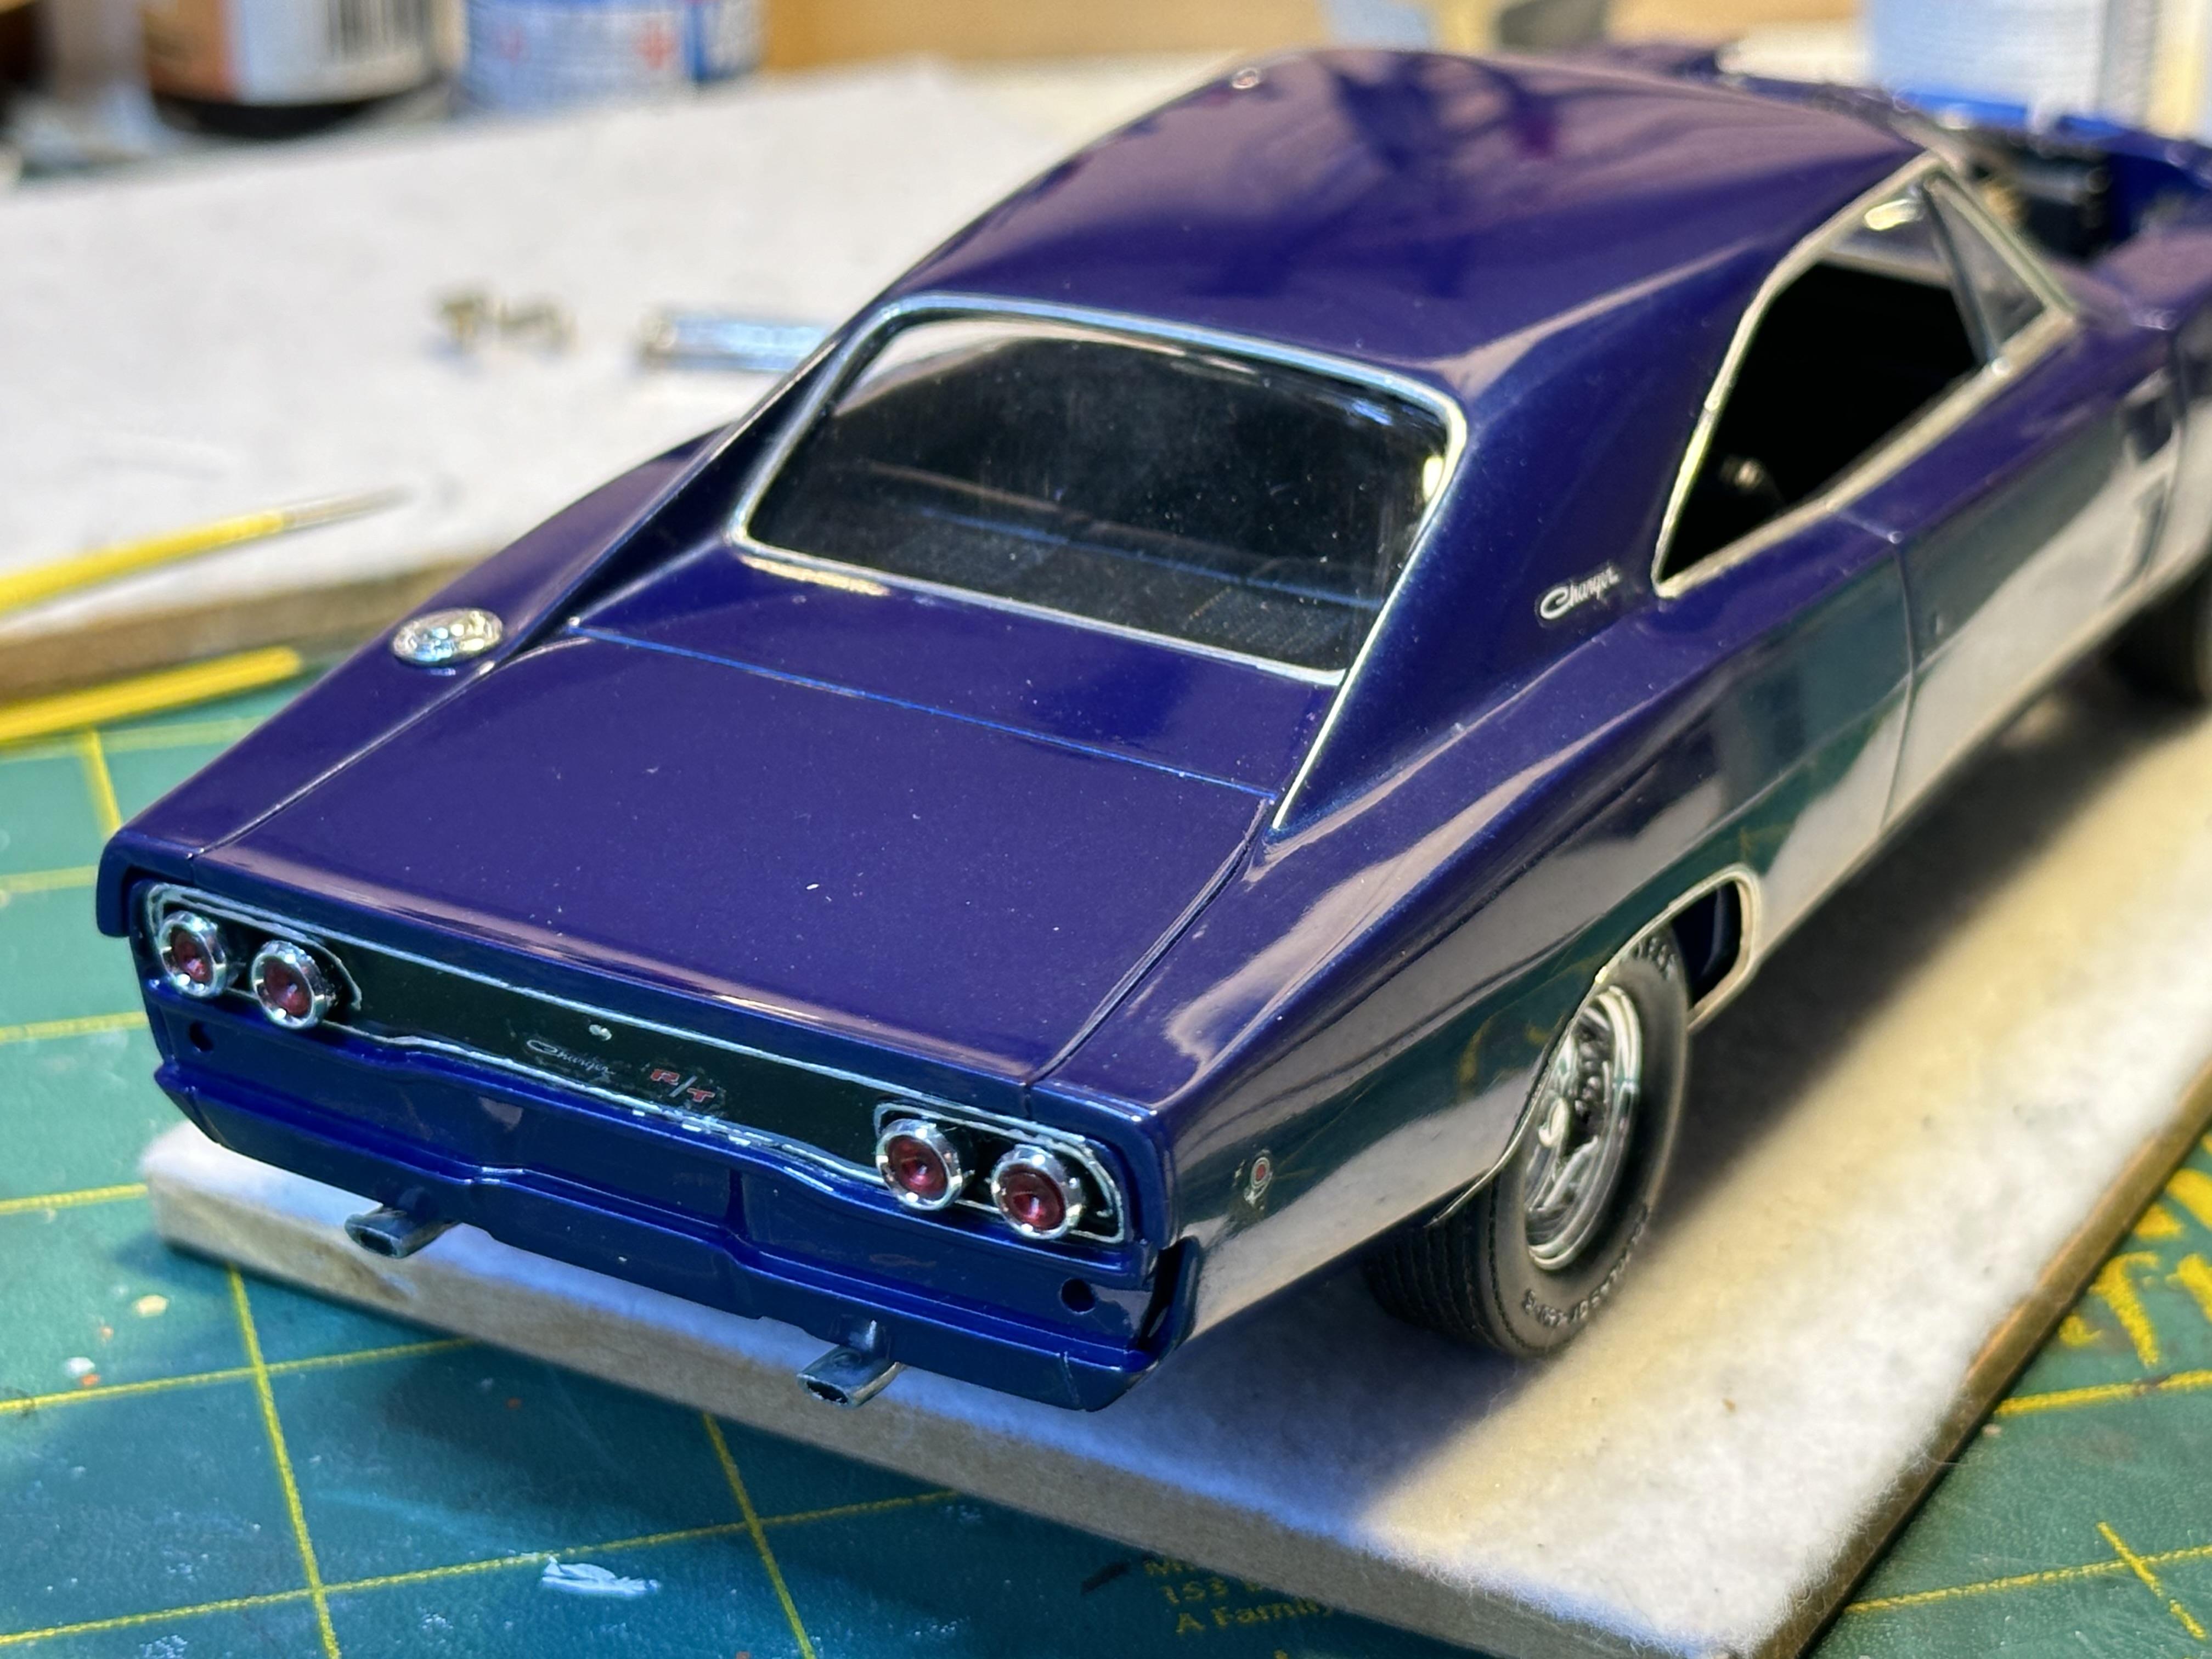
Revell 68 Dodge Charger built box stock with a recent restoration theme. Paint is Tamiya LP47 Pearl Blue lacquer topped off with Tamiya clear lacquer. I spent a lot of time with paint detailing of all the small things. Had some issues with getting the stock hood to fit so set it up to be in the open position with the grabber hood as a fall back Am quite happy with the end result Build thread here Thanks for looking
- 29 replies
-
- 16
-

-
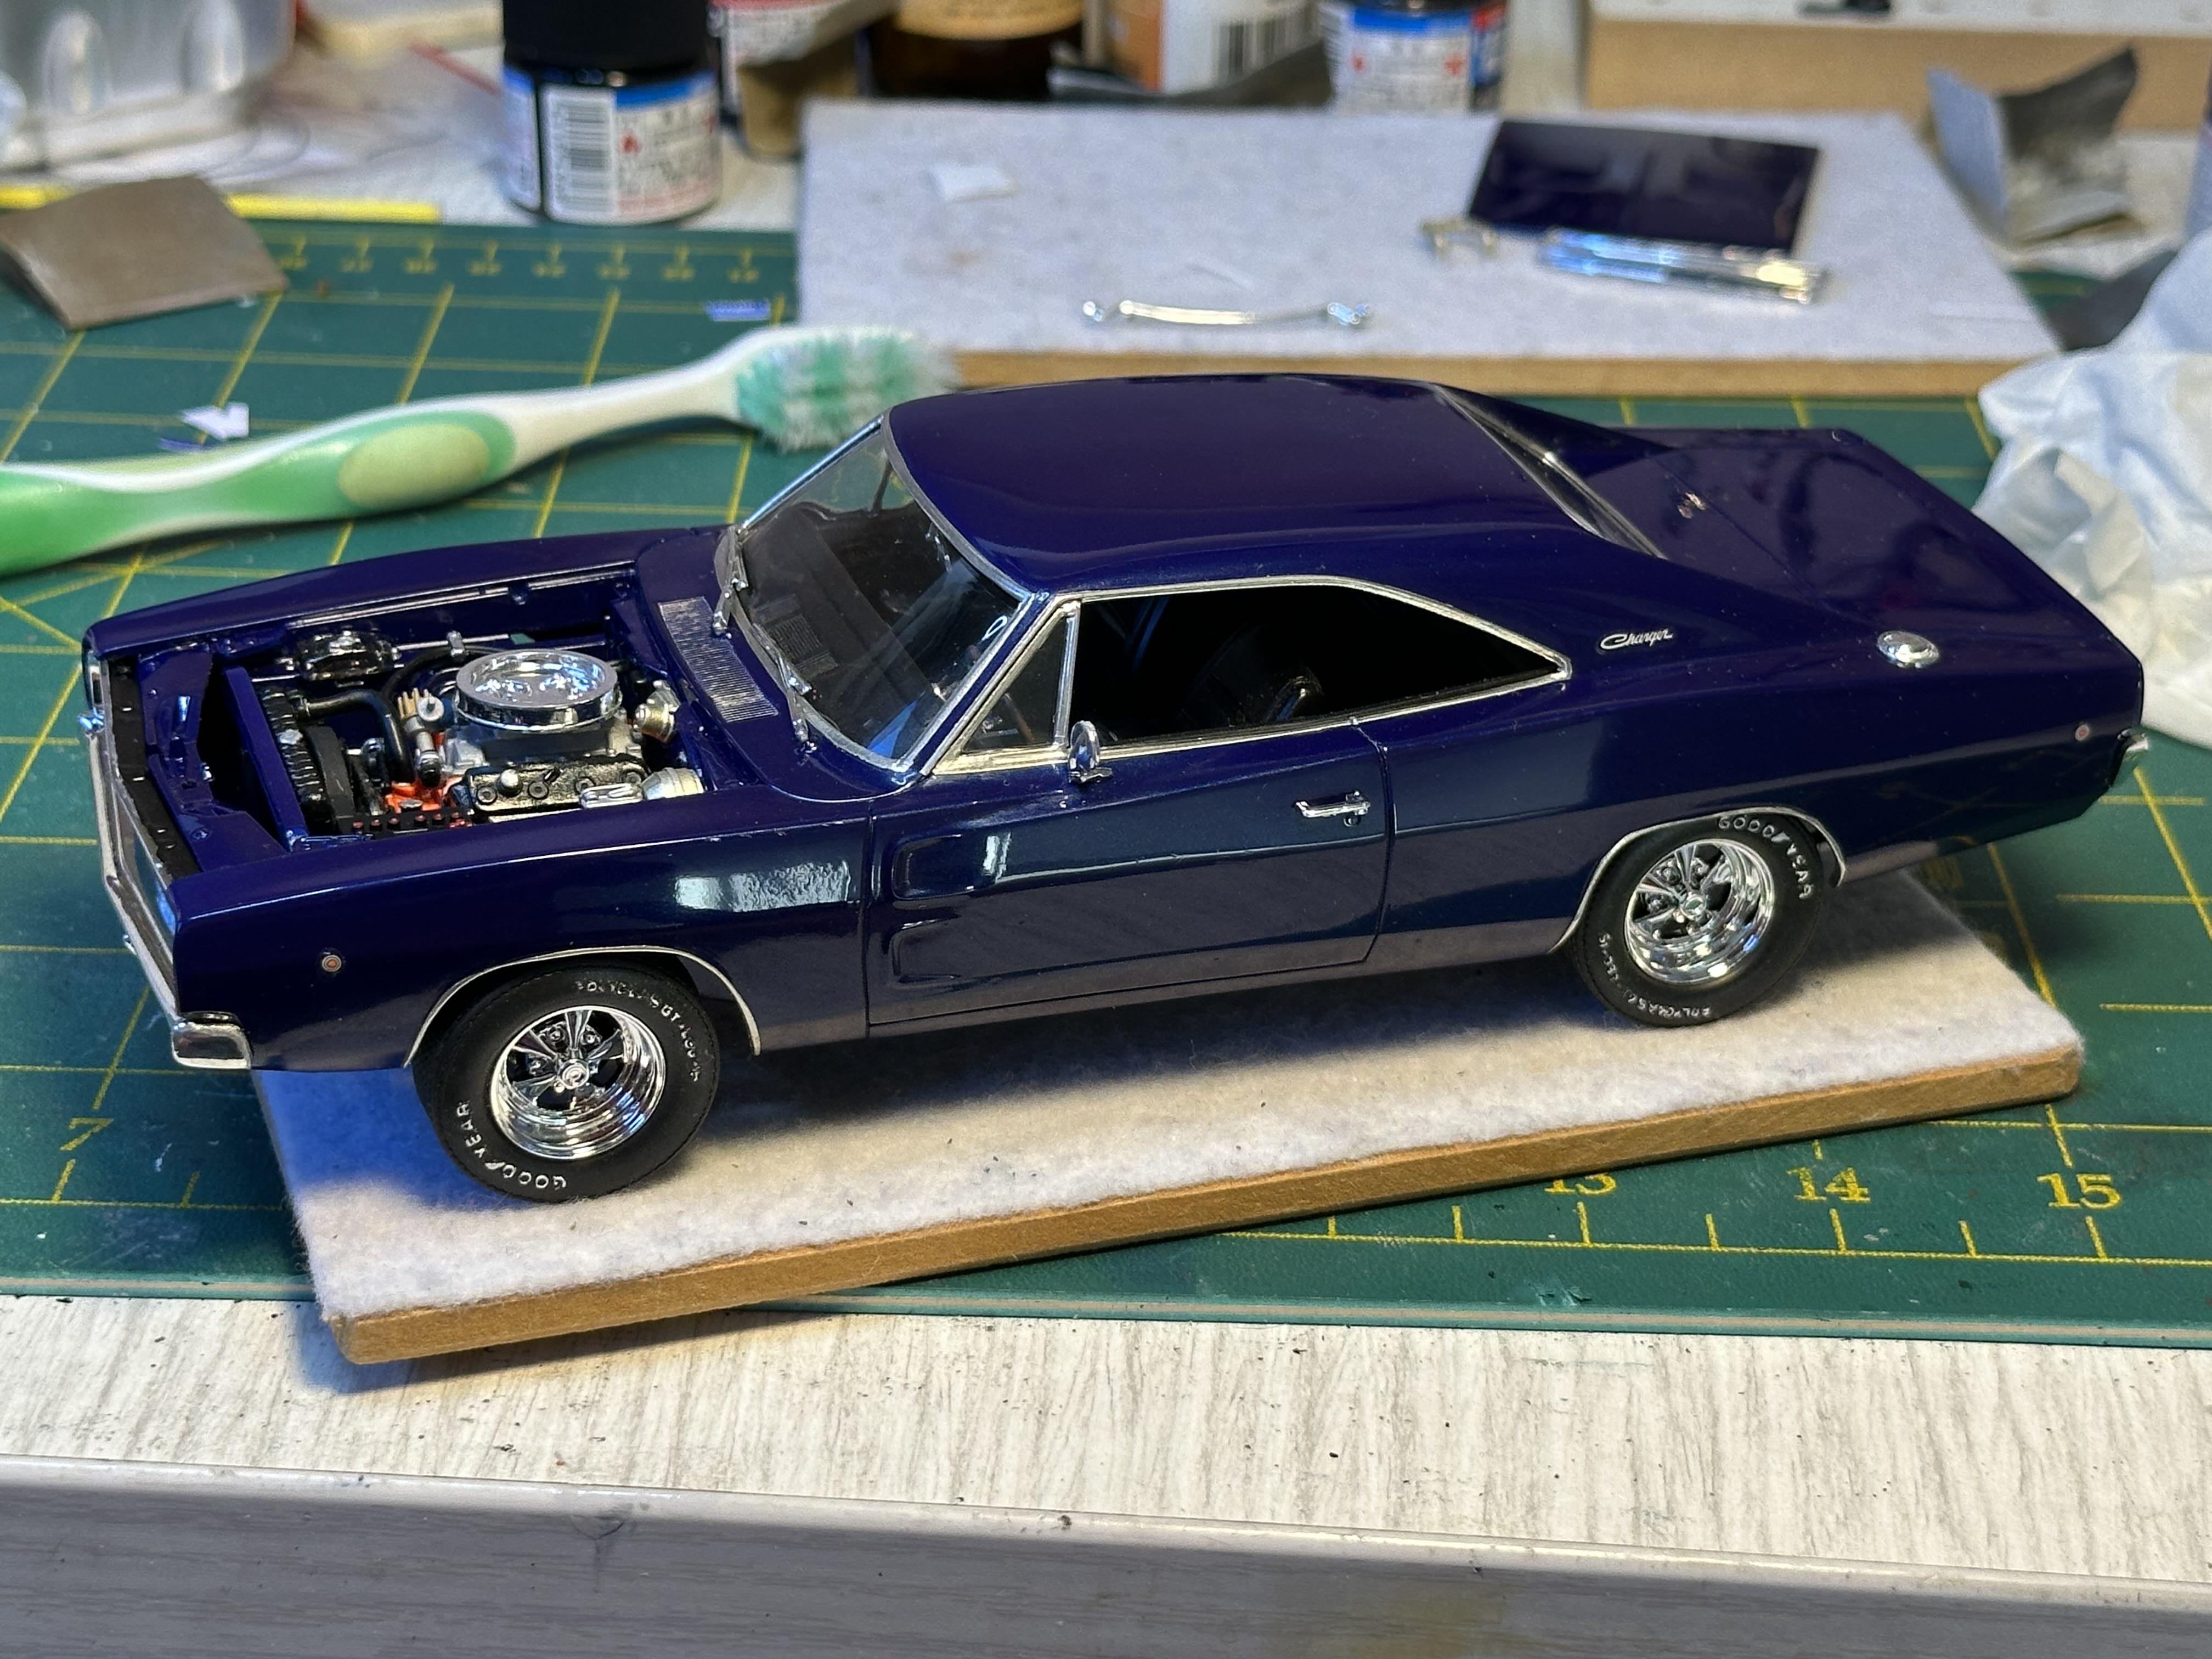
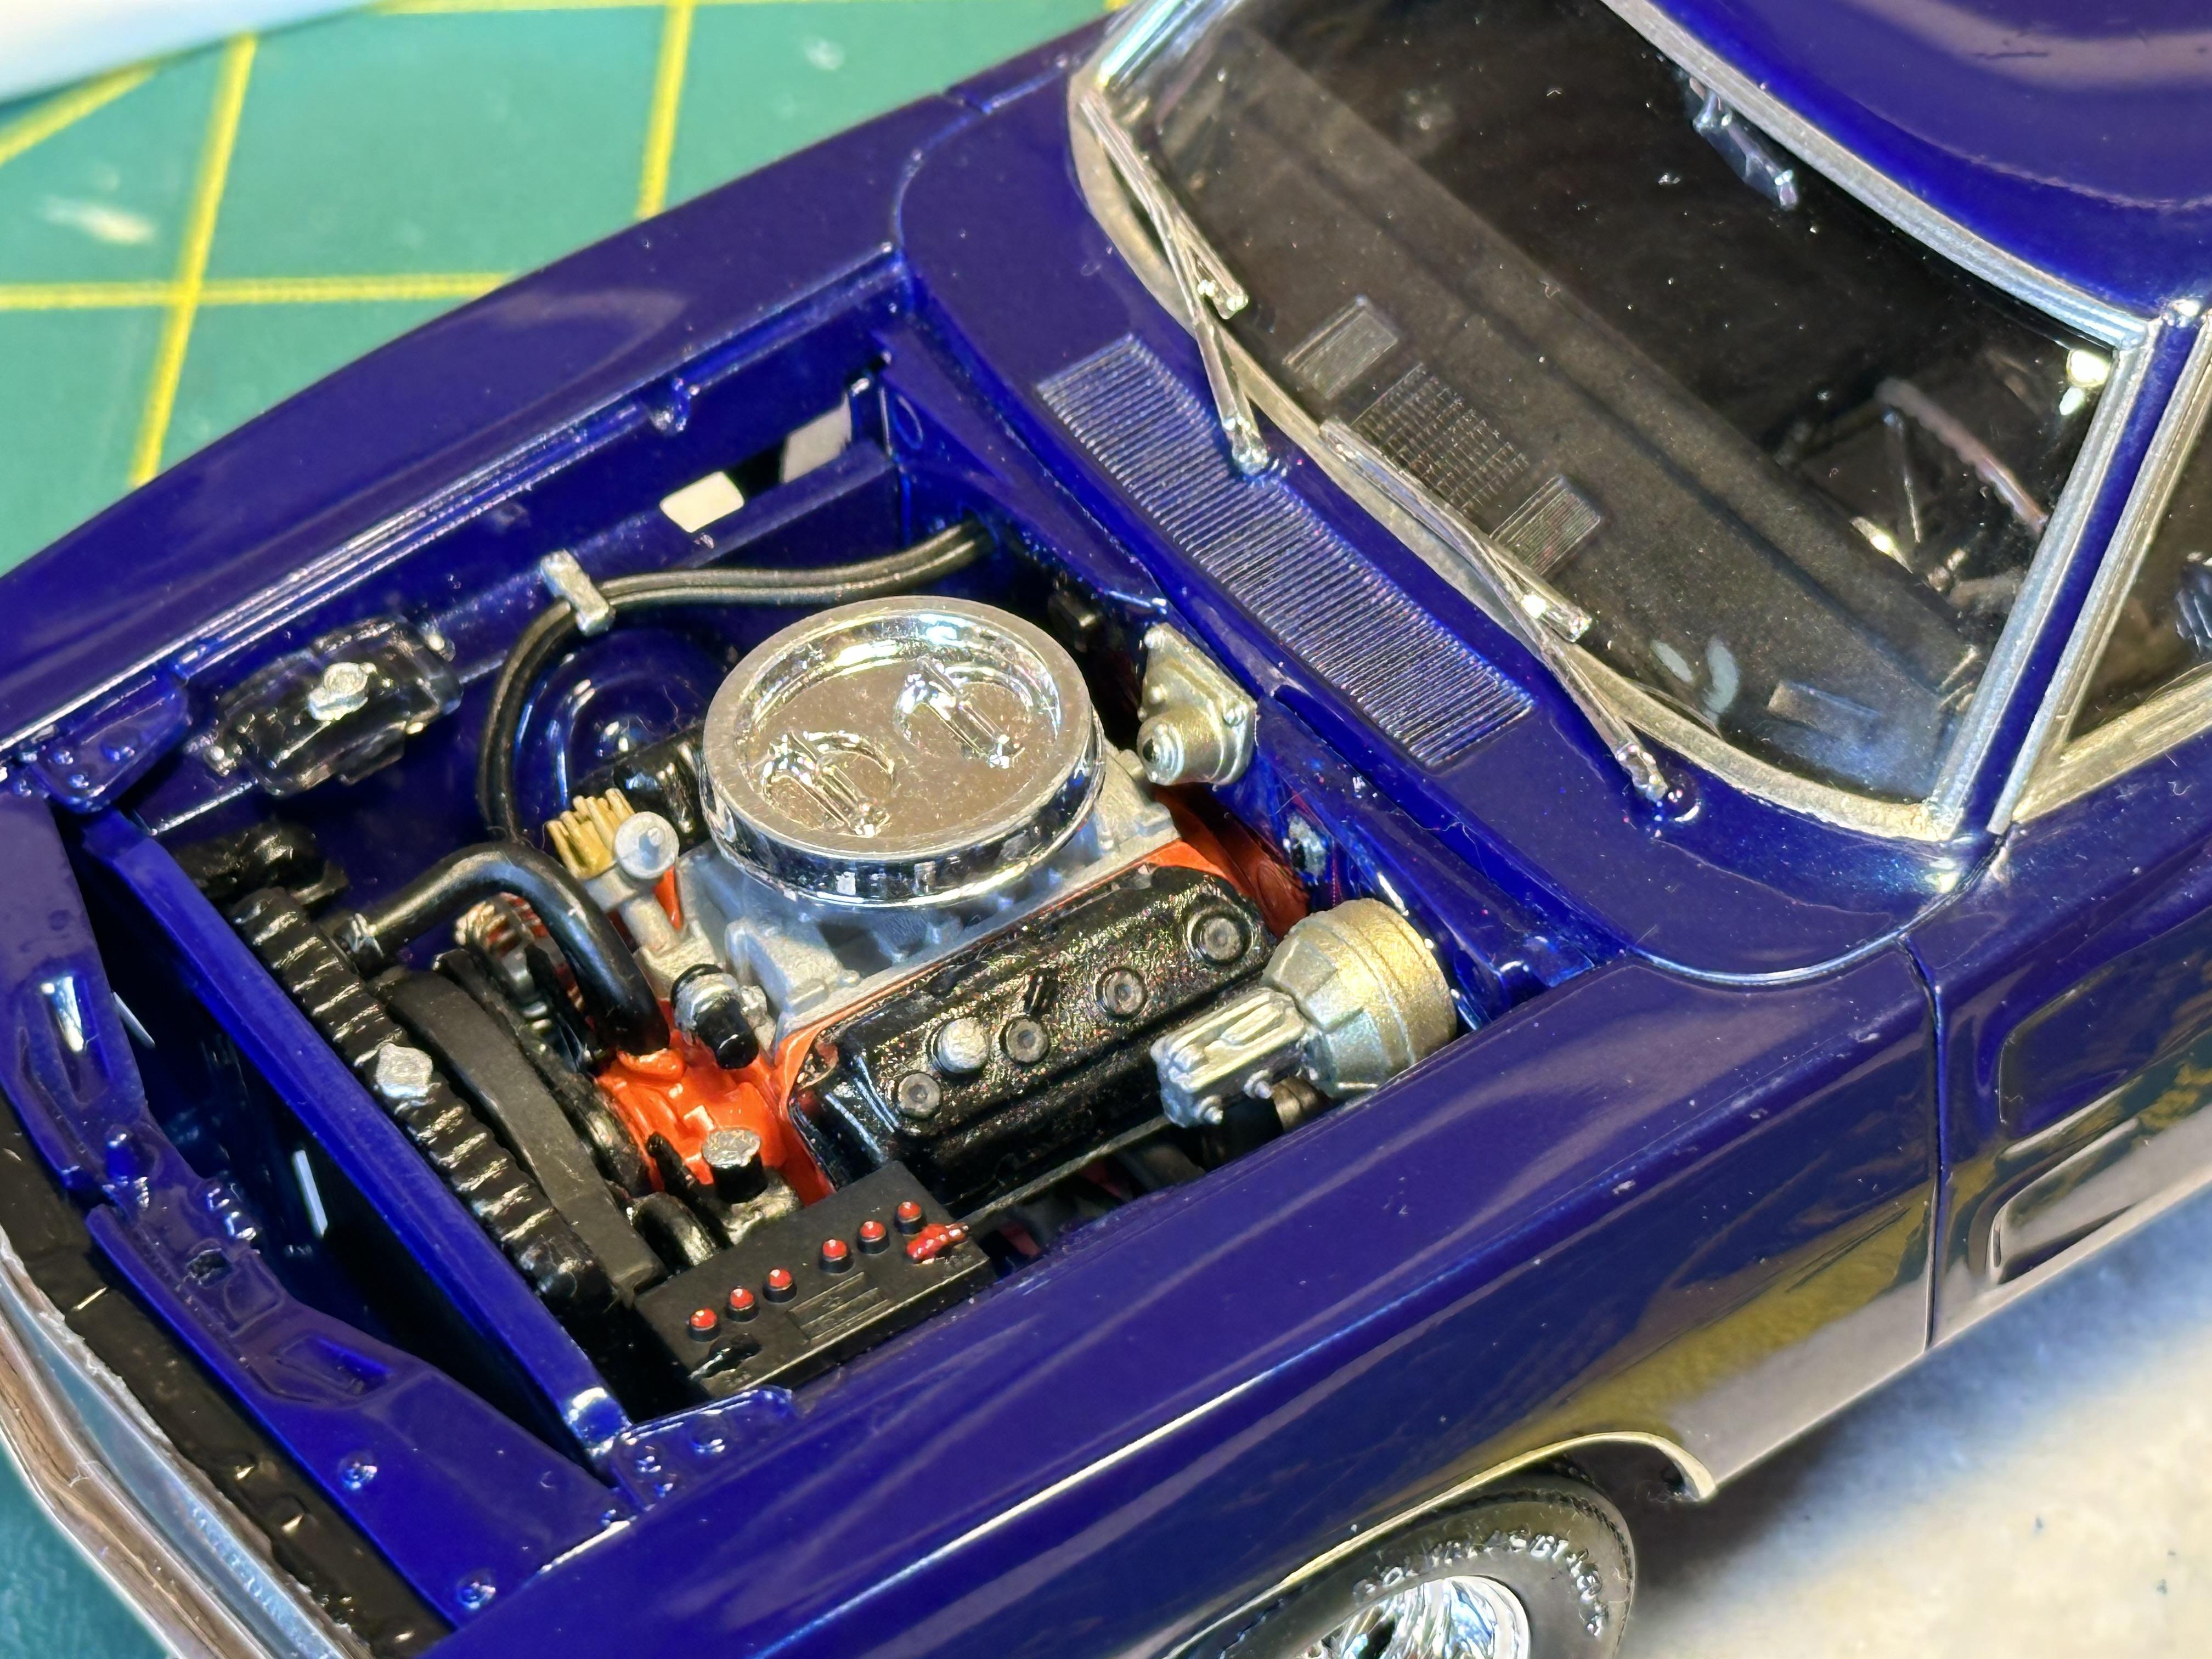
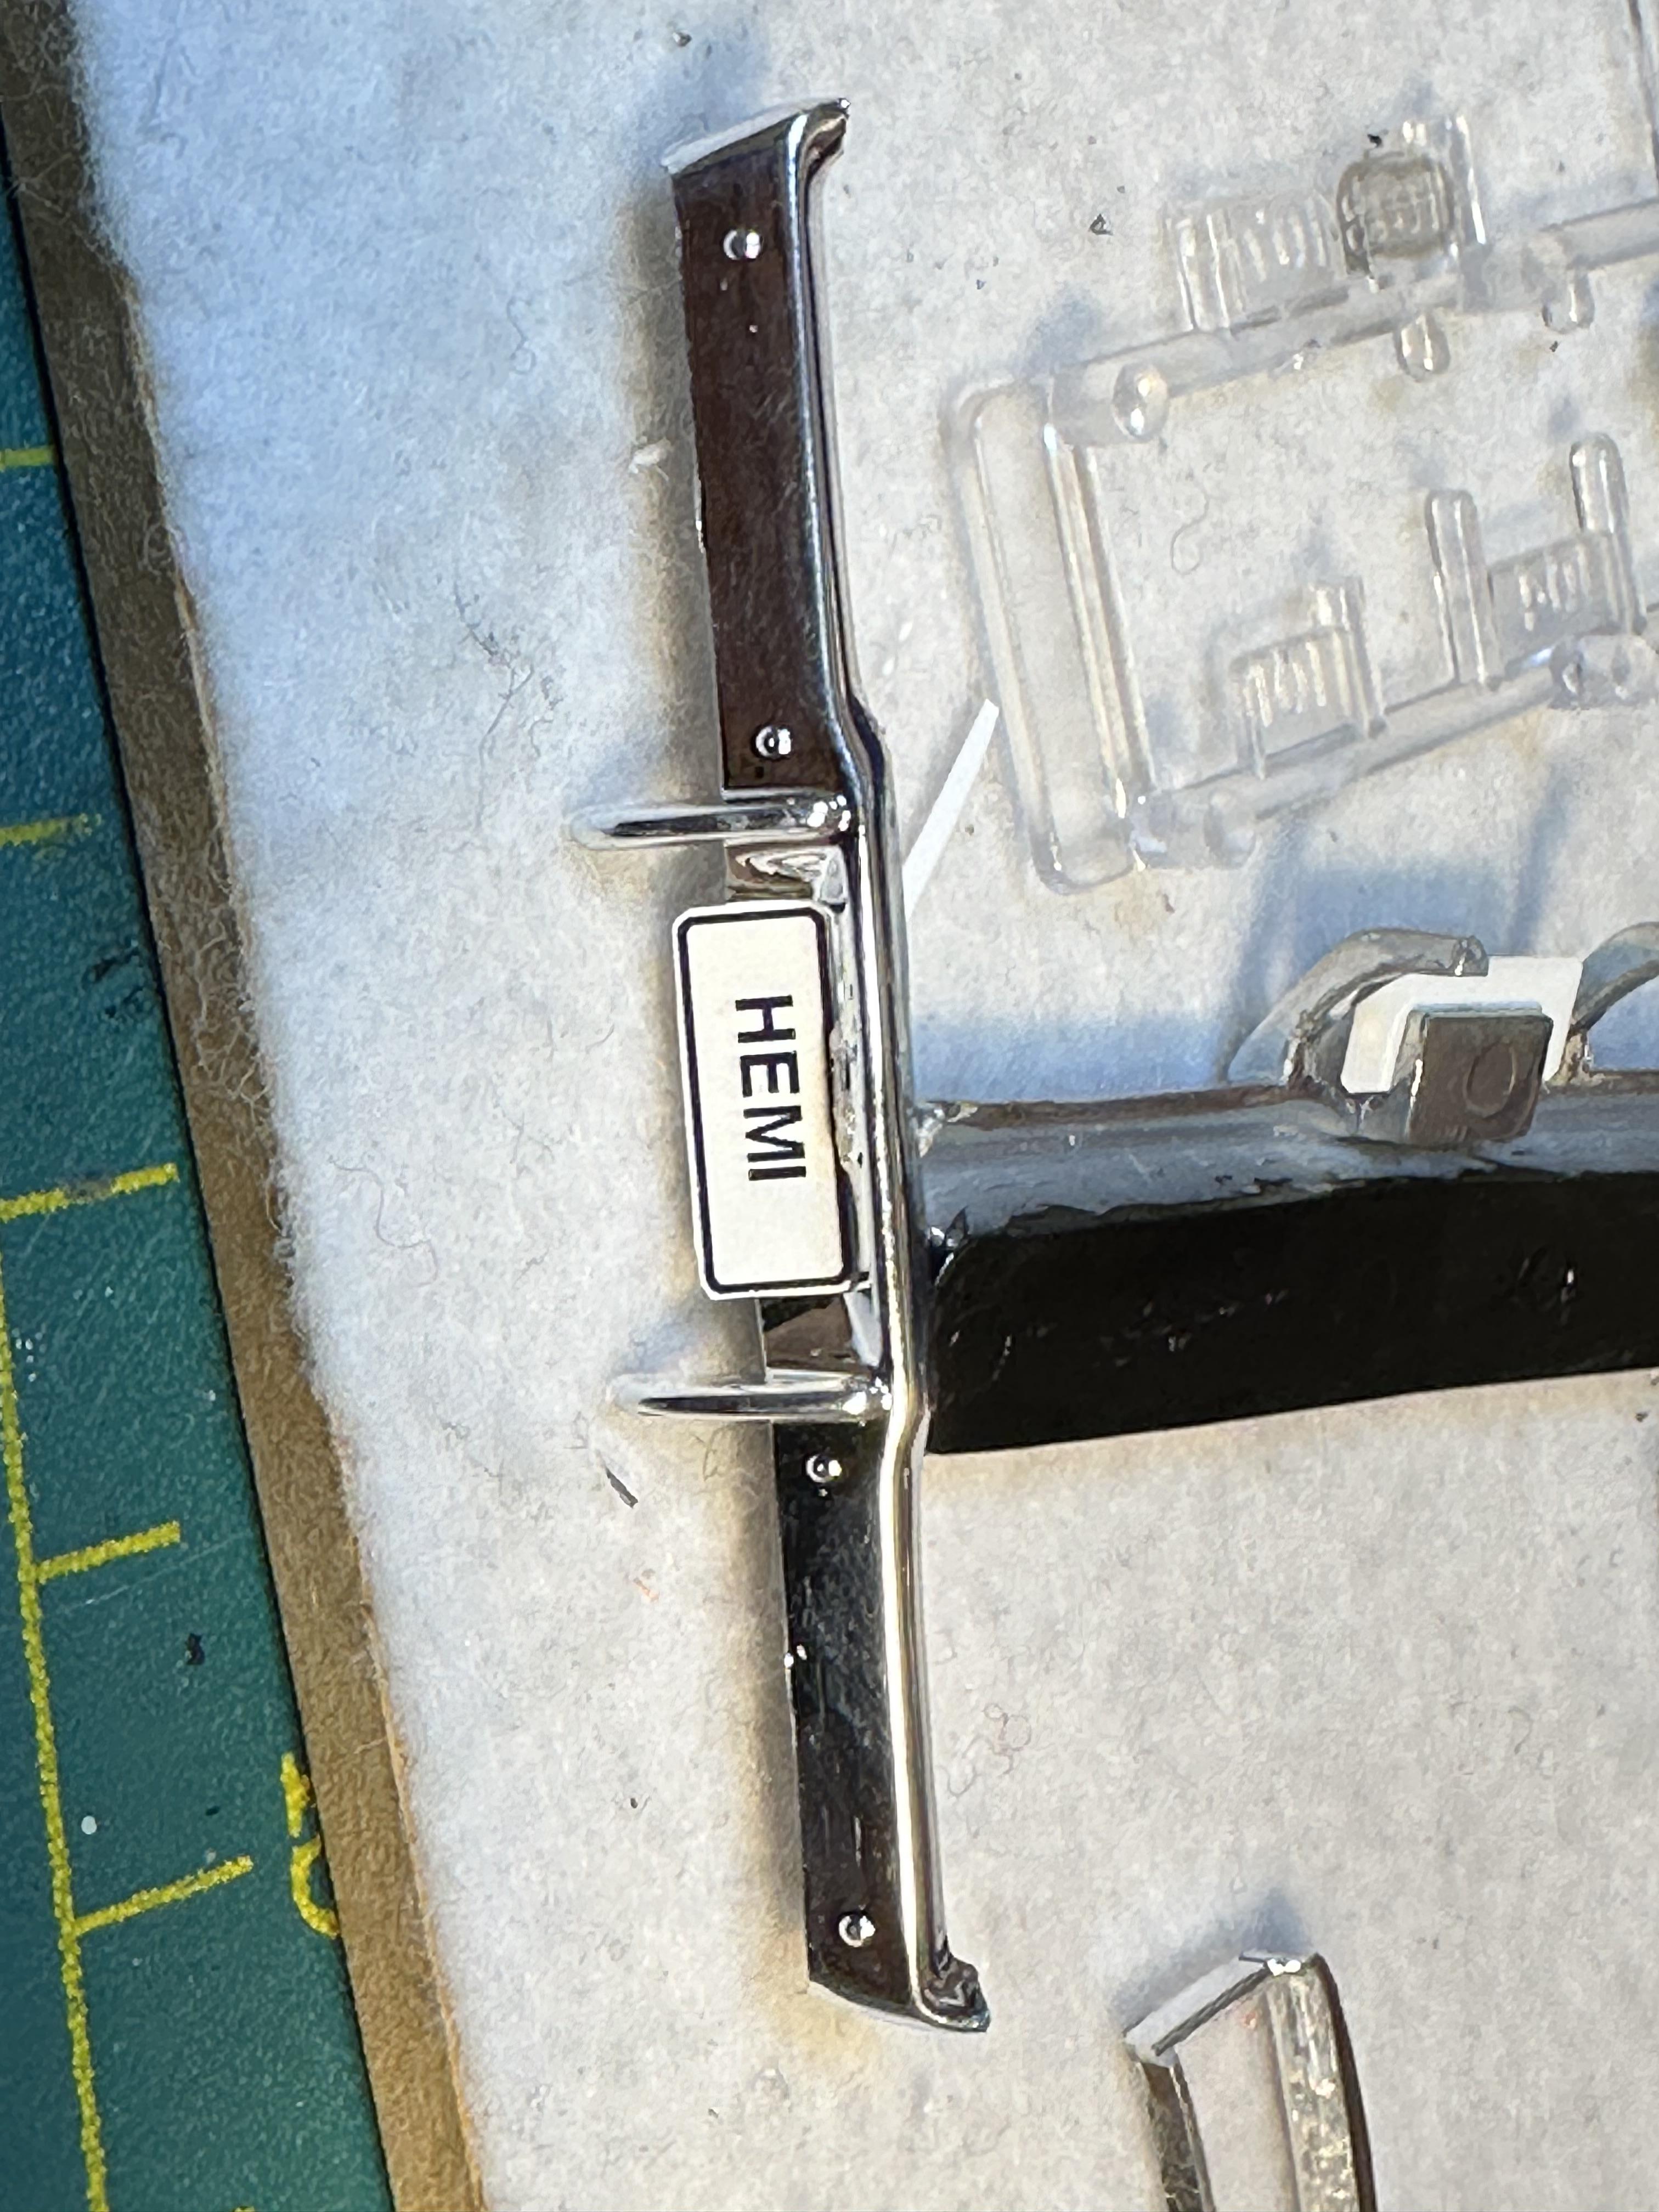
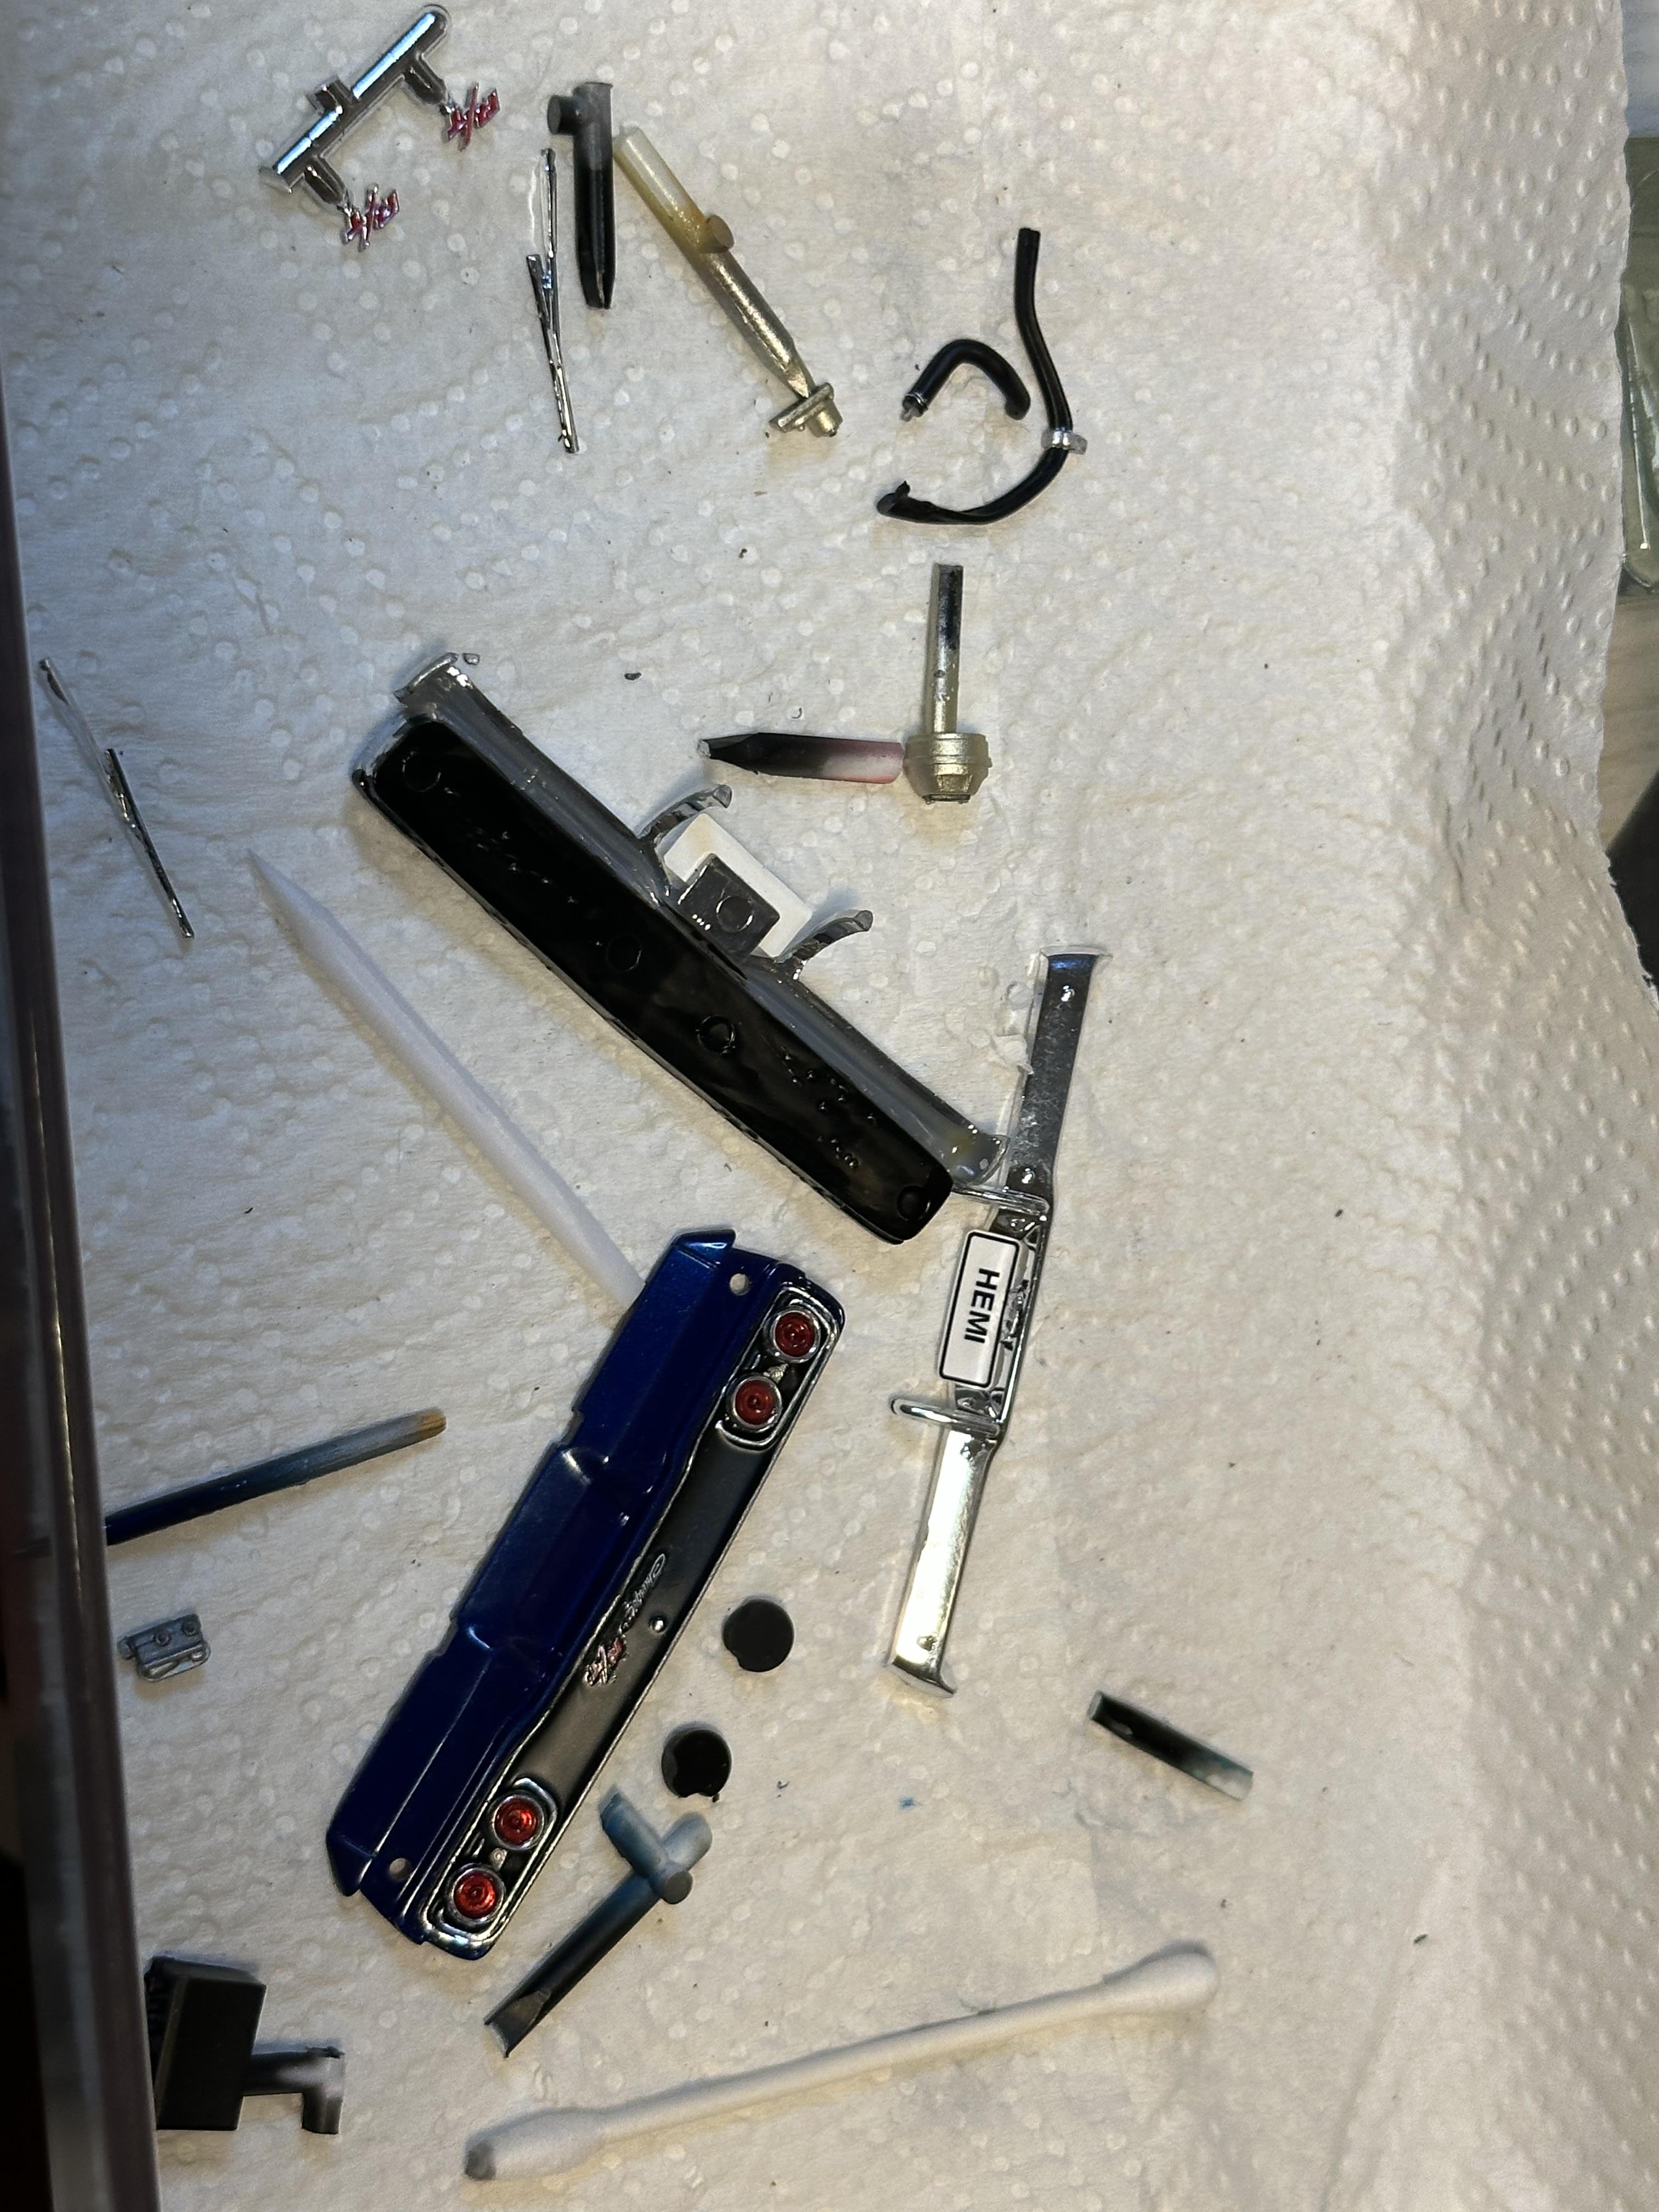
I got all the last of the little bits glued on. Door handles, wipers, outside rear view mirror and the small R/T script on the rear panel. Had some issues with getting the hood to fit as the air cleaner was too high. I sanded down the height of the carbs but I could only go so as I would have lost all of the carbs and that did not look right so stopped. I glued the hinges onto the hood so I can display it with the hood up. I also glued up and cleaned the racing hood option with the grabber scoop and painted that SG black a shot with the grabber hood We are now off to Under Glass Thanks for looking
-
Fantastic - this just keeps on getting better and better
-
Looking good. Some very different body and chassis treatments going on here. I like your change to the cowl lines.And, your cut lines are very accurate - I am jealous
-
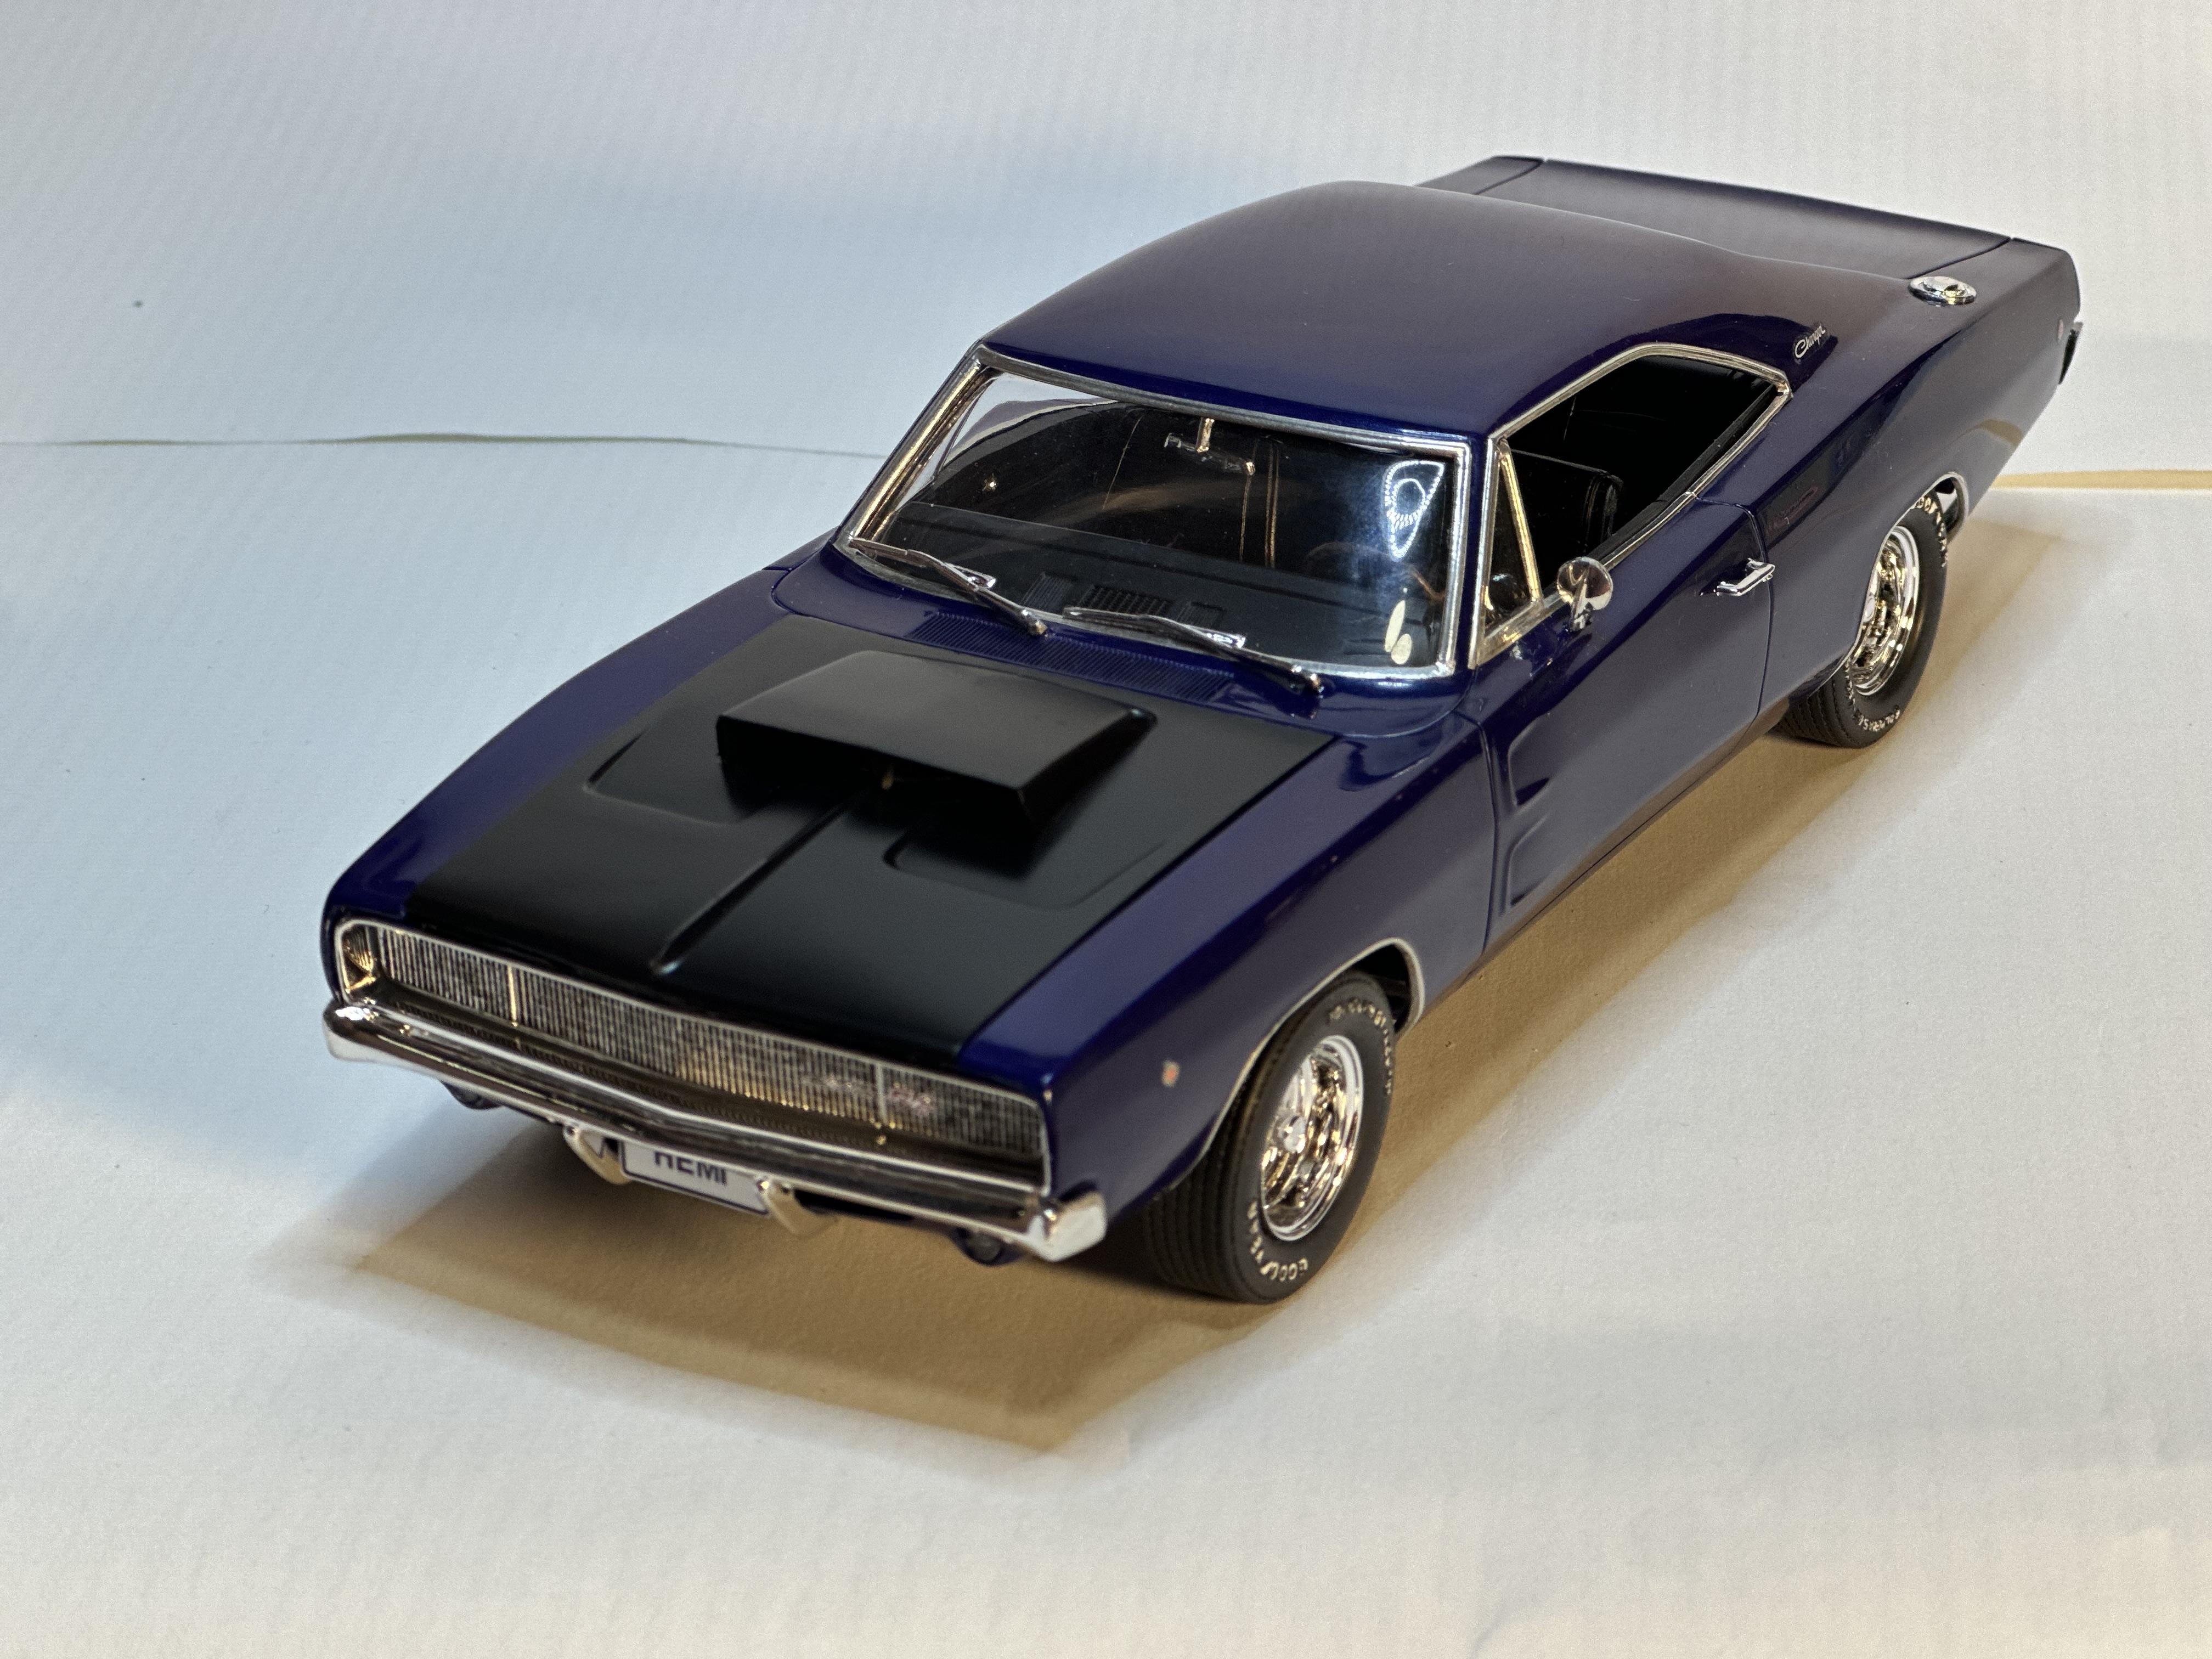
Ditto A cool project Here is a shot of my current 68 charger build. There may be a difference i wheel base between the Charger and the C300 but I can't see where it is on the photo of your chassis when comparing the two. You would need to put them side by side. If the chassis is longer the only mod would be the driveshaft length. The Revell 68 Charger R/T has 2 engine options - Hemi and 440 so that would be my donor car of choice. The Revell 69 Charger only has the 440 - or at least in the ones in my stash The Revell 68 Charger R/T has 2 engine options - Hemi and 440 so that would be my donor car of choice. The Revell 69 Charger only has the 440 - or at least in the ones in my stash
-
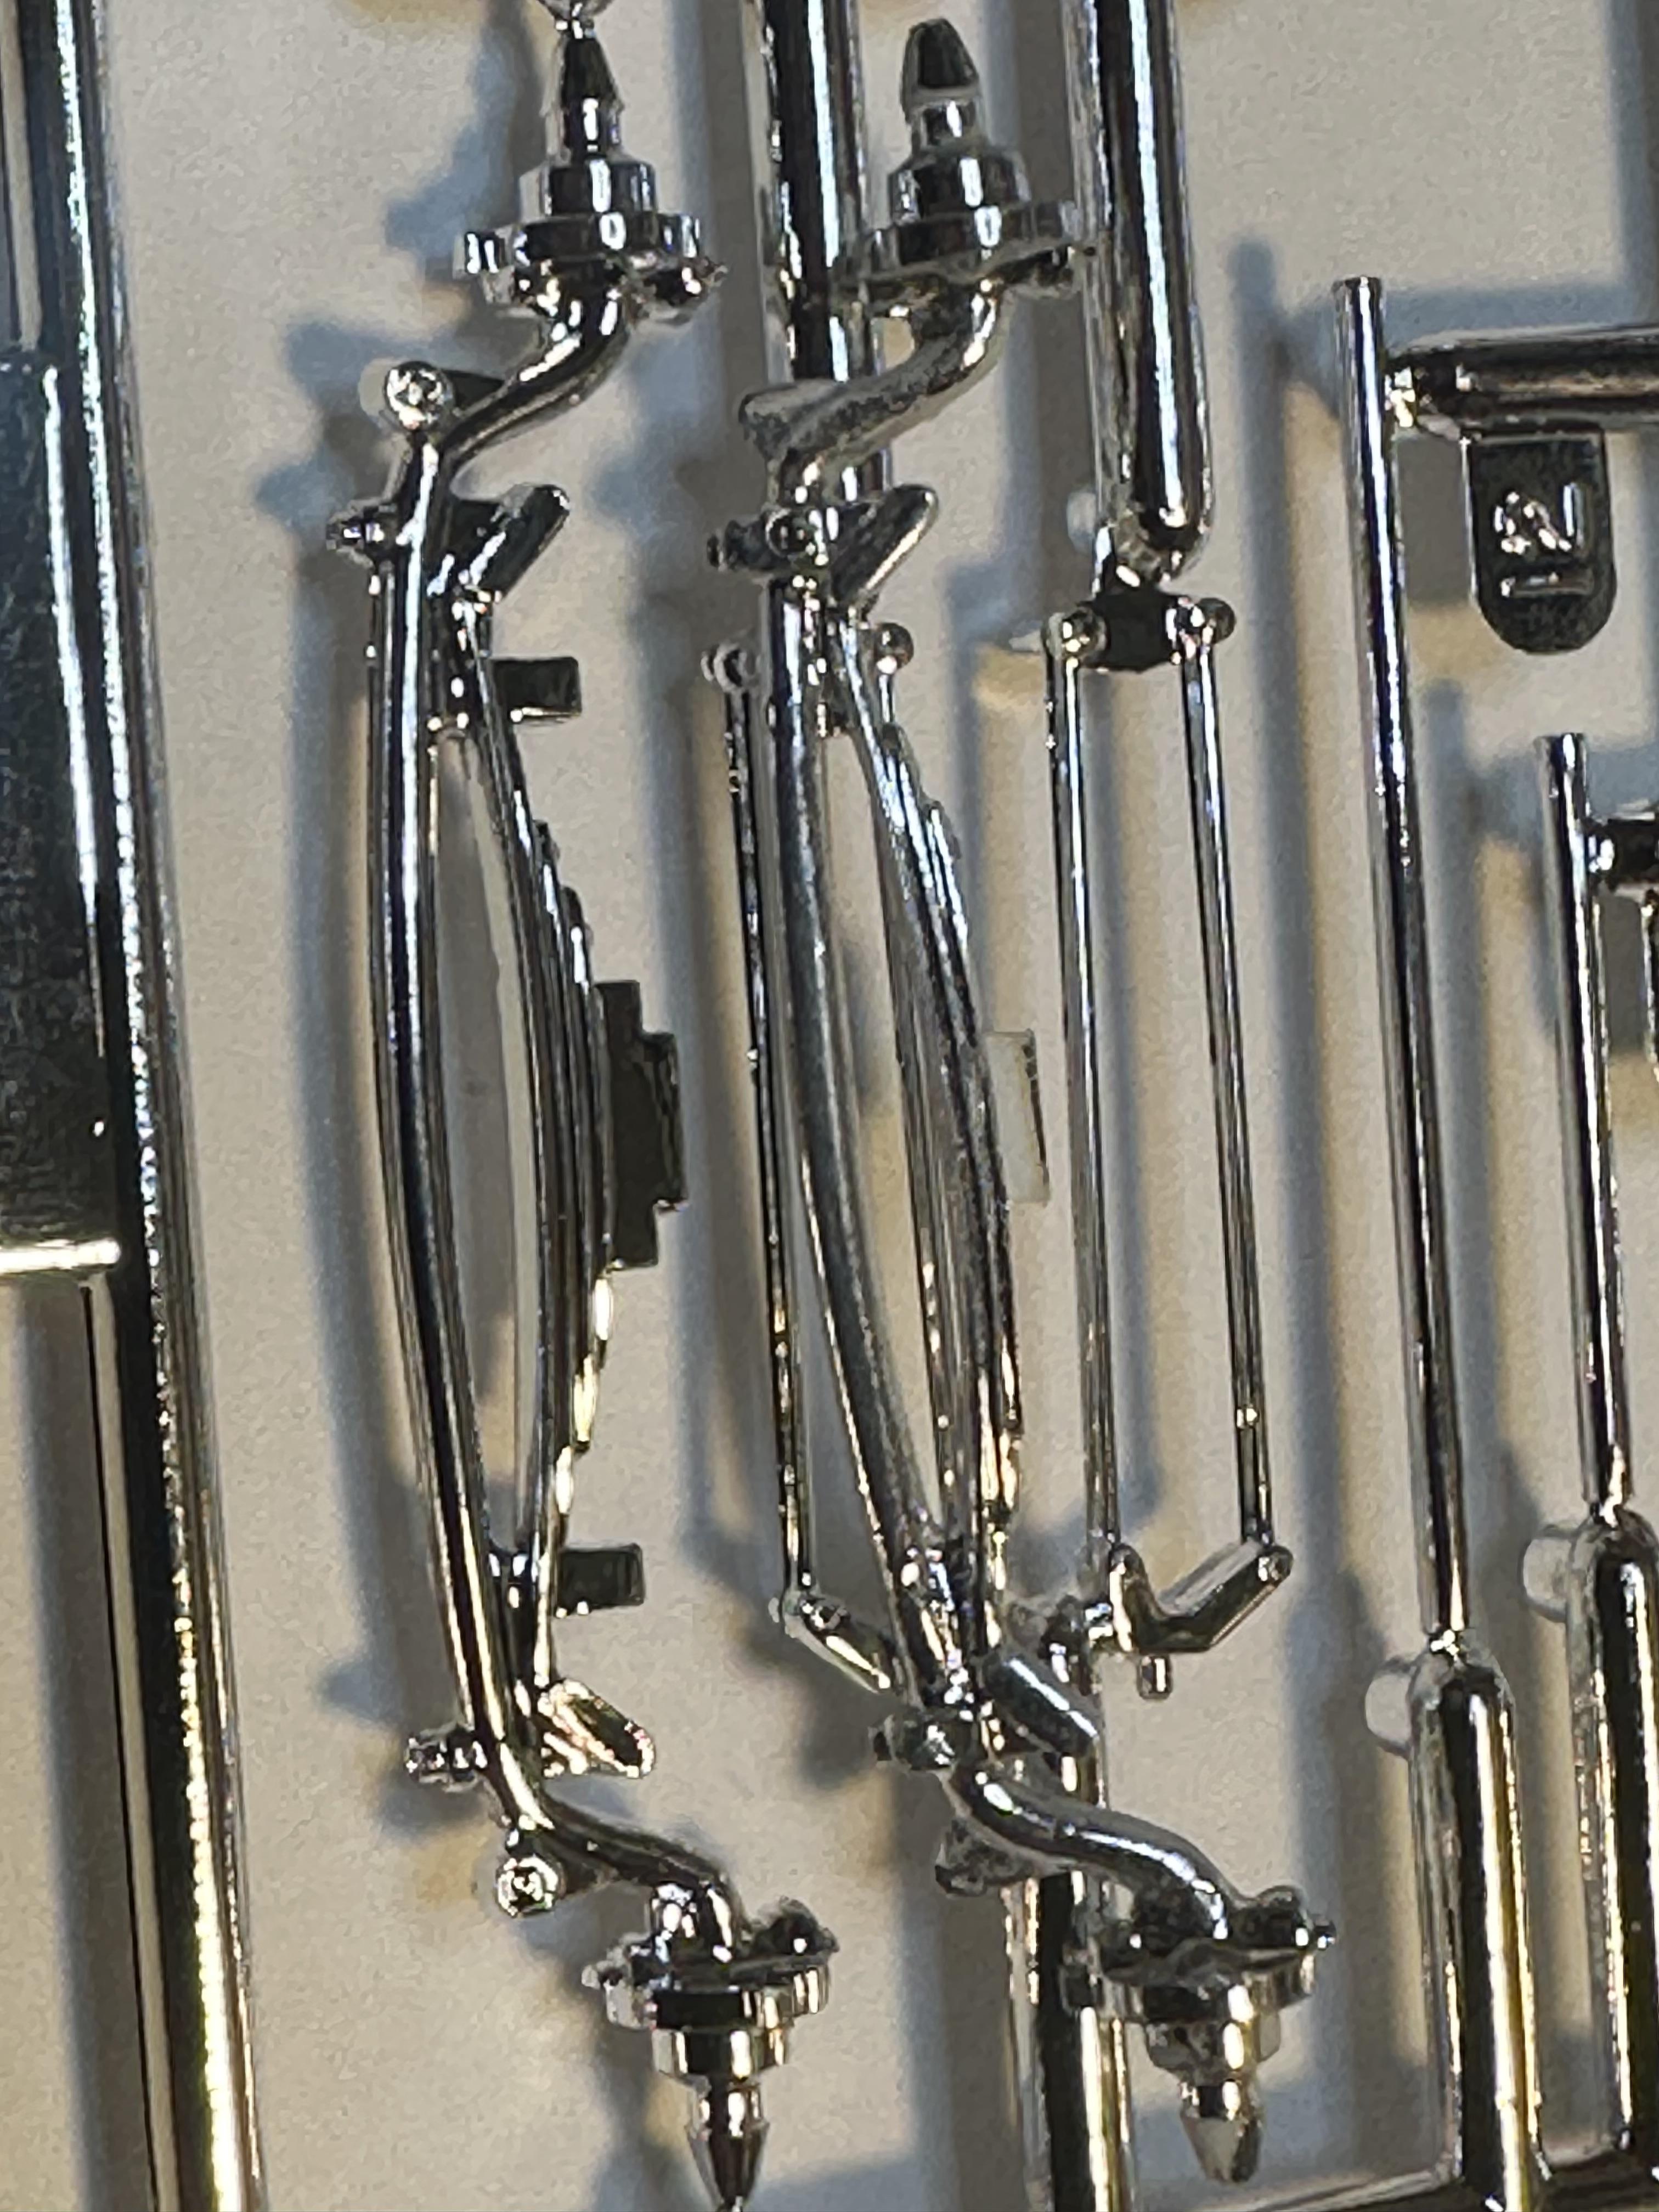
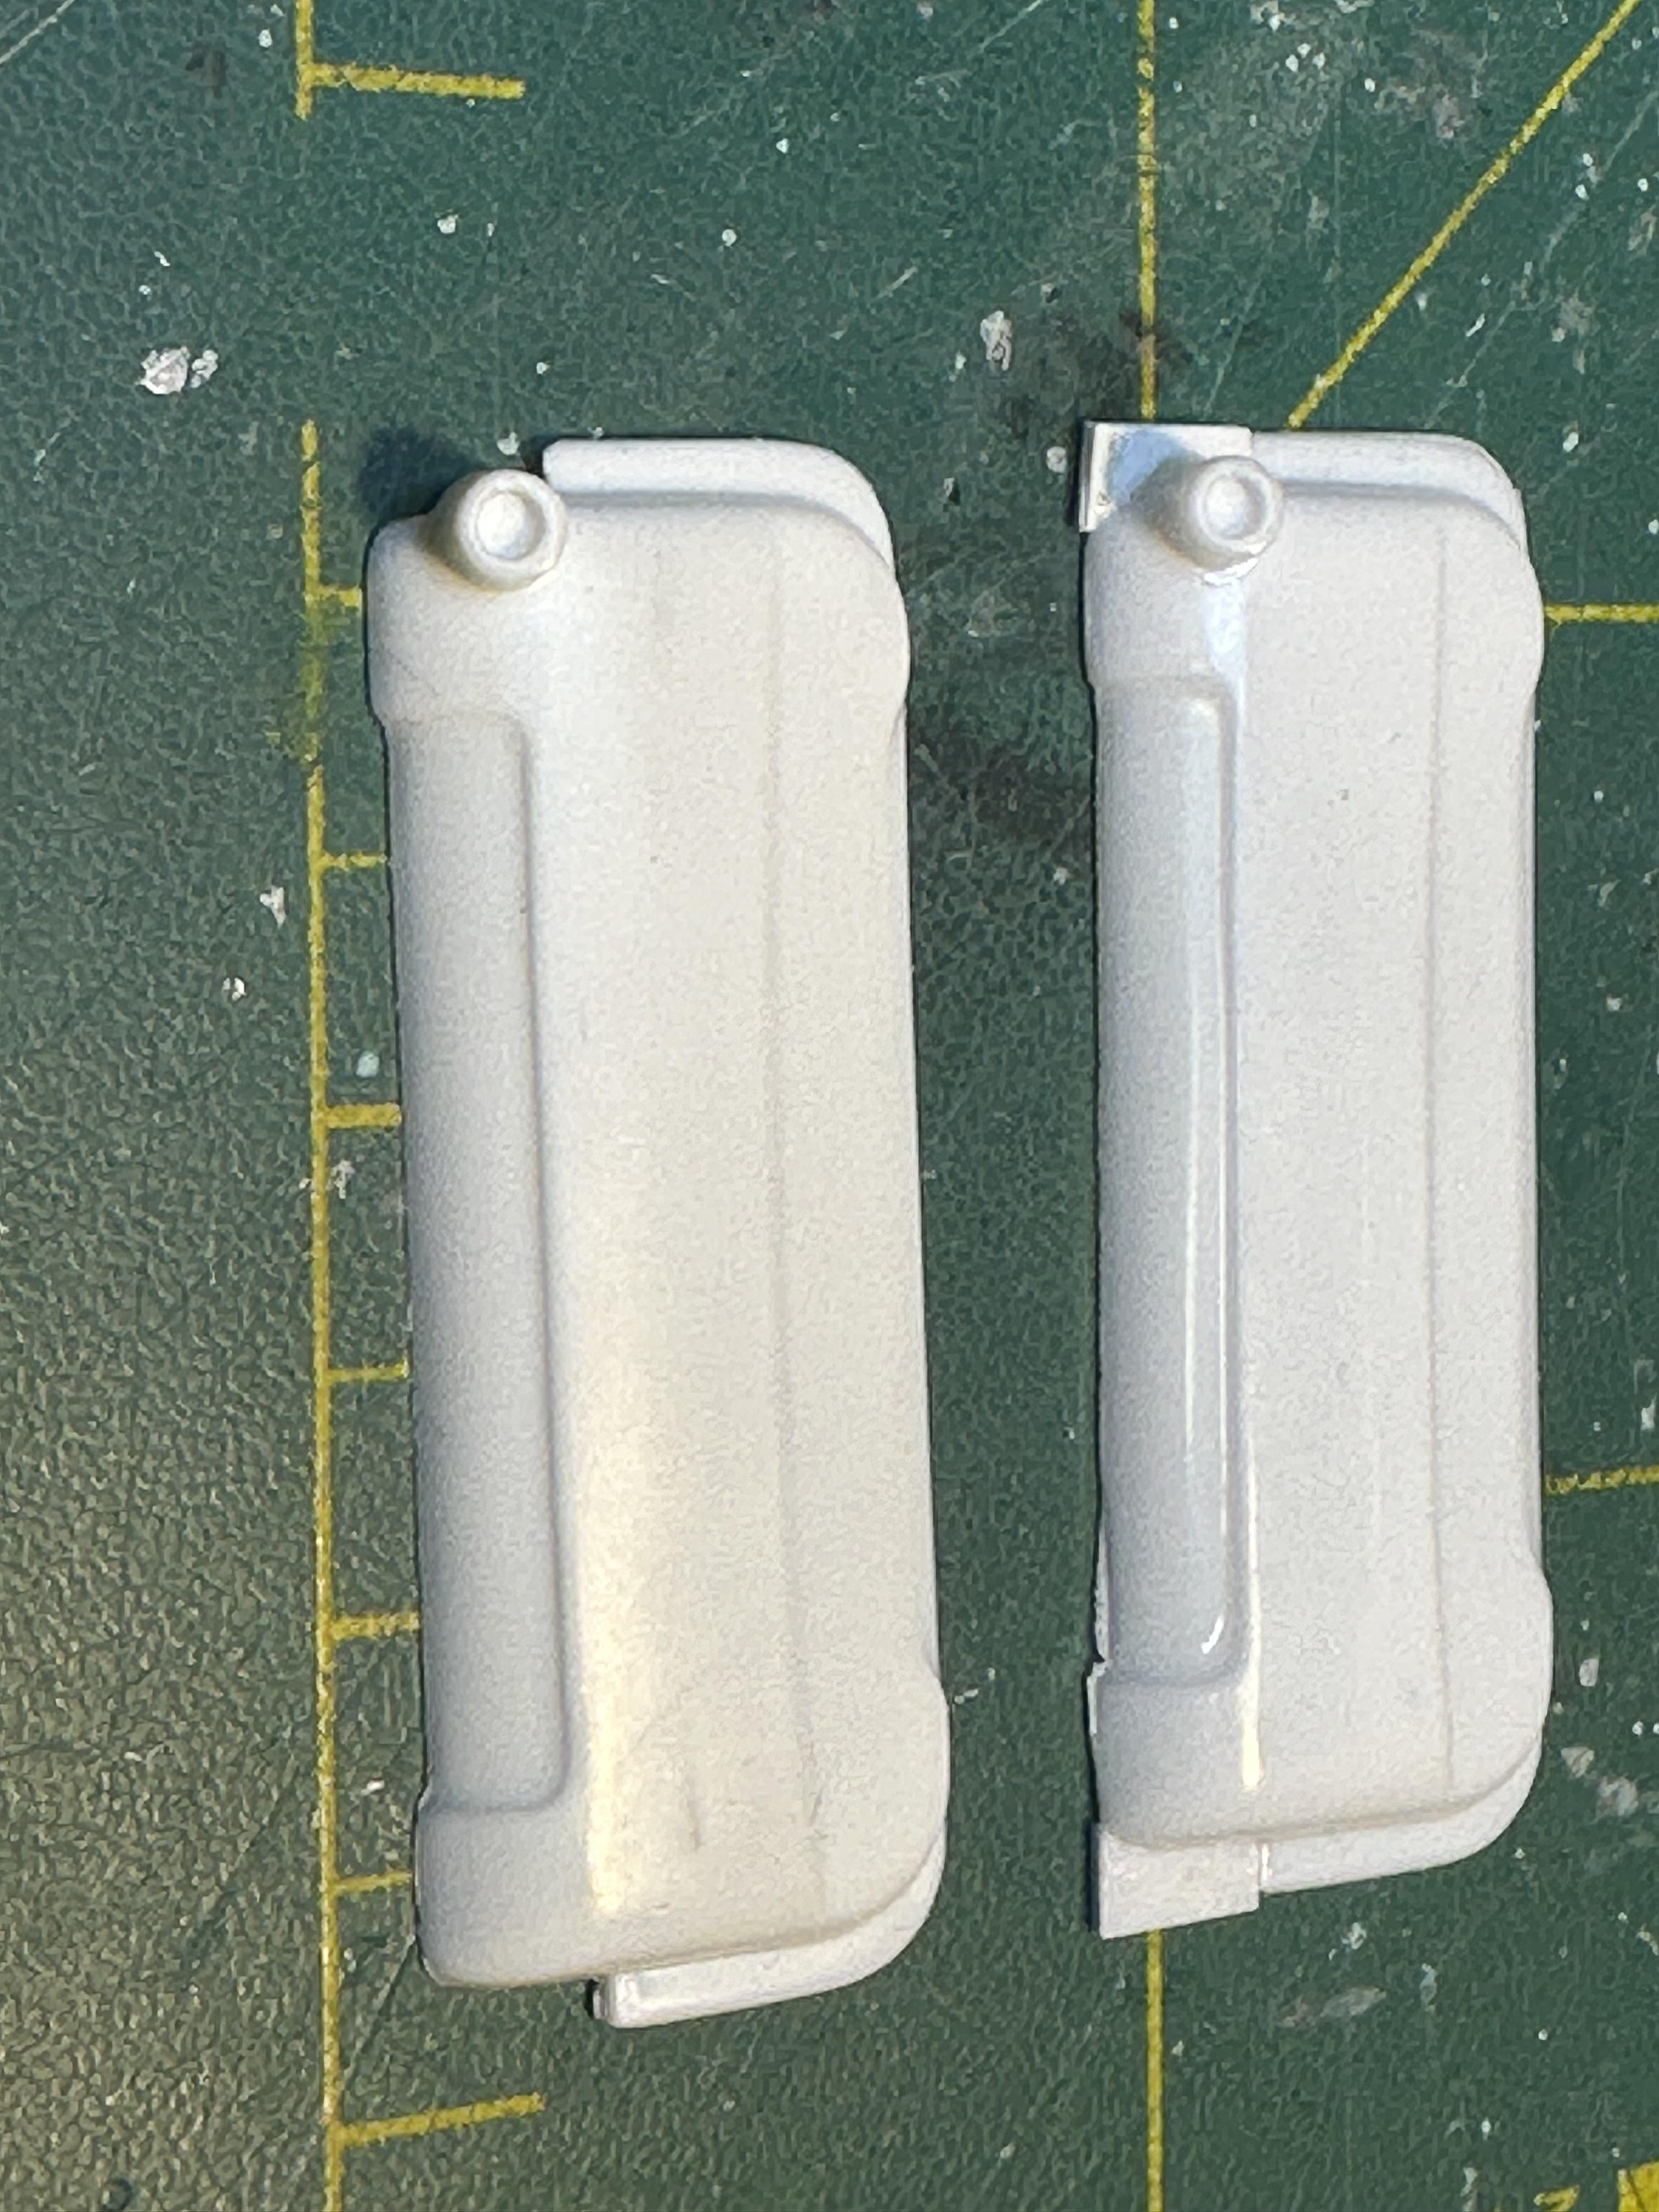
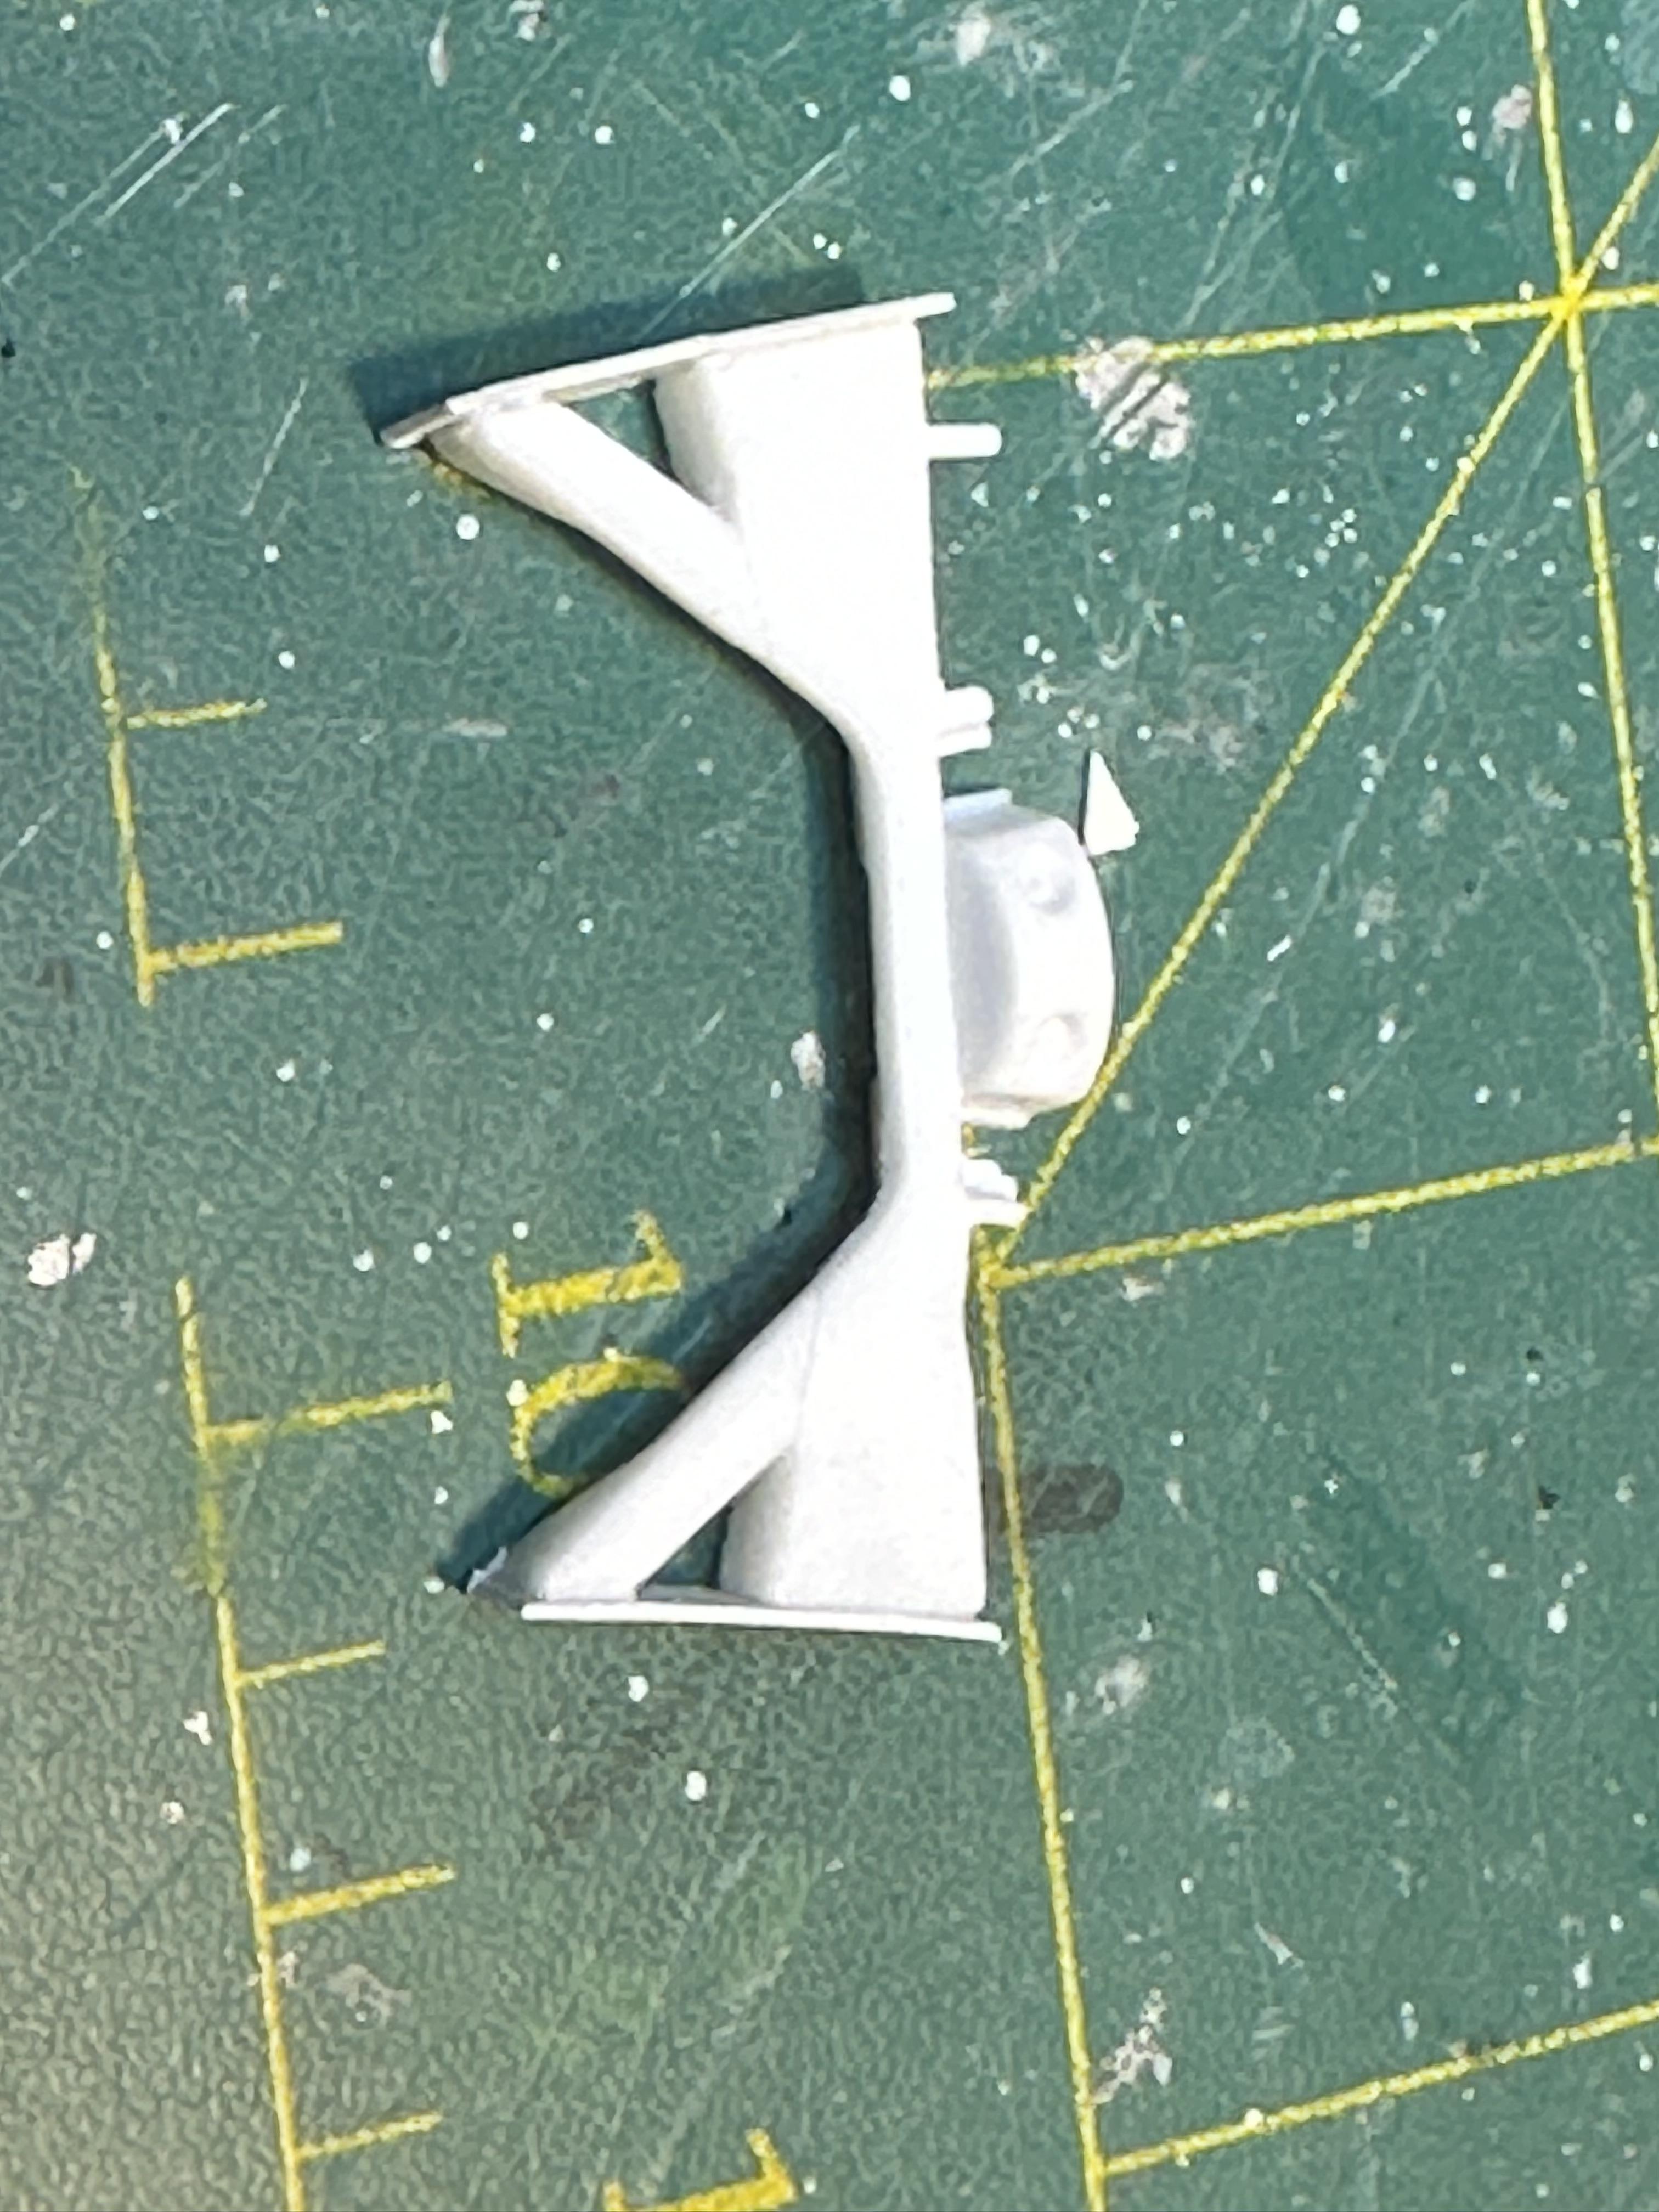
Spent most of my time since last post preparing some of the shiny bit that are last to go on. I have pinned the mirror, door handles and wipers. Also have fitted and glued the front valence in place prepped the rear valance. Neither have clear location pins or other and take a bit of getting right. Front just needed some easing but the was no way to make the install of the rear unit easy. So I glued a lump of plastic to locate the unit. I adjusted the fit while the glue was soft and then gave it another hit of glue. This made locating the rear valance so much easier. I glued that in with clear epoxy. The ticket here is to apply the glue then a a couple of minutes till it gets tacky and the part moves around a whole lot less A number of years ago I made several A4 sheets of New Zealand style personalised number plates and I had just the one for this build And lastly a shot of the depleted parts bin Thanks for looking
-
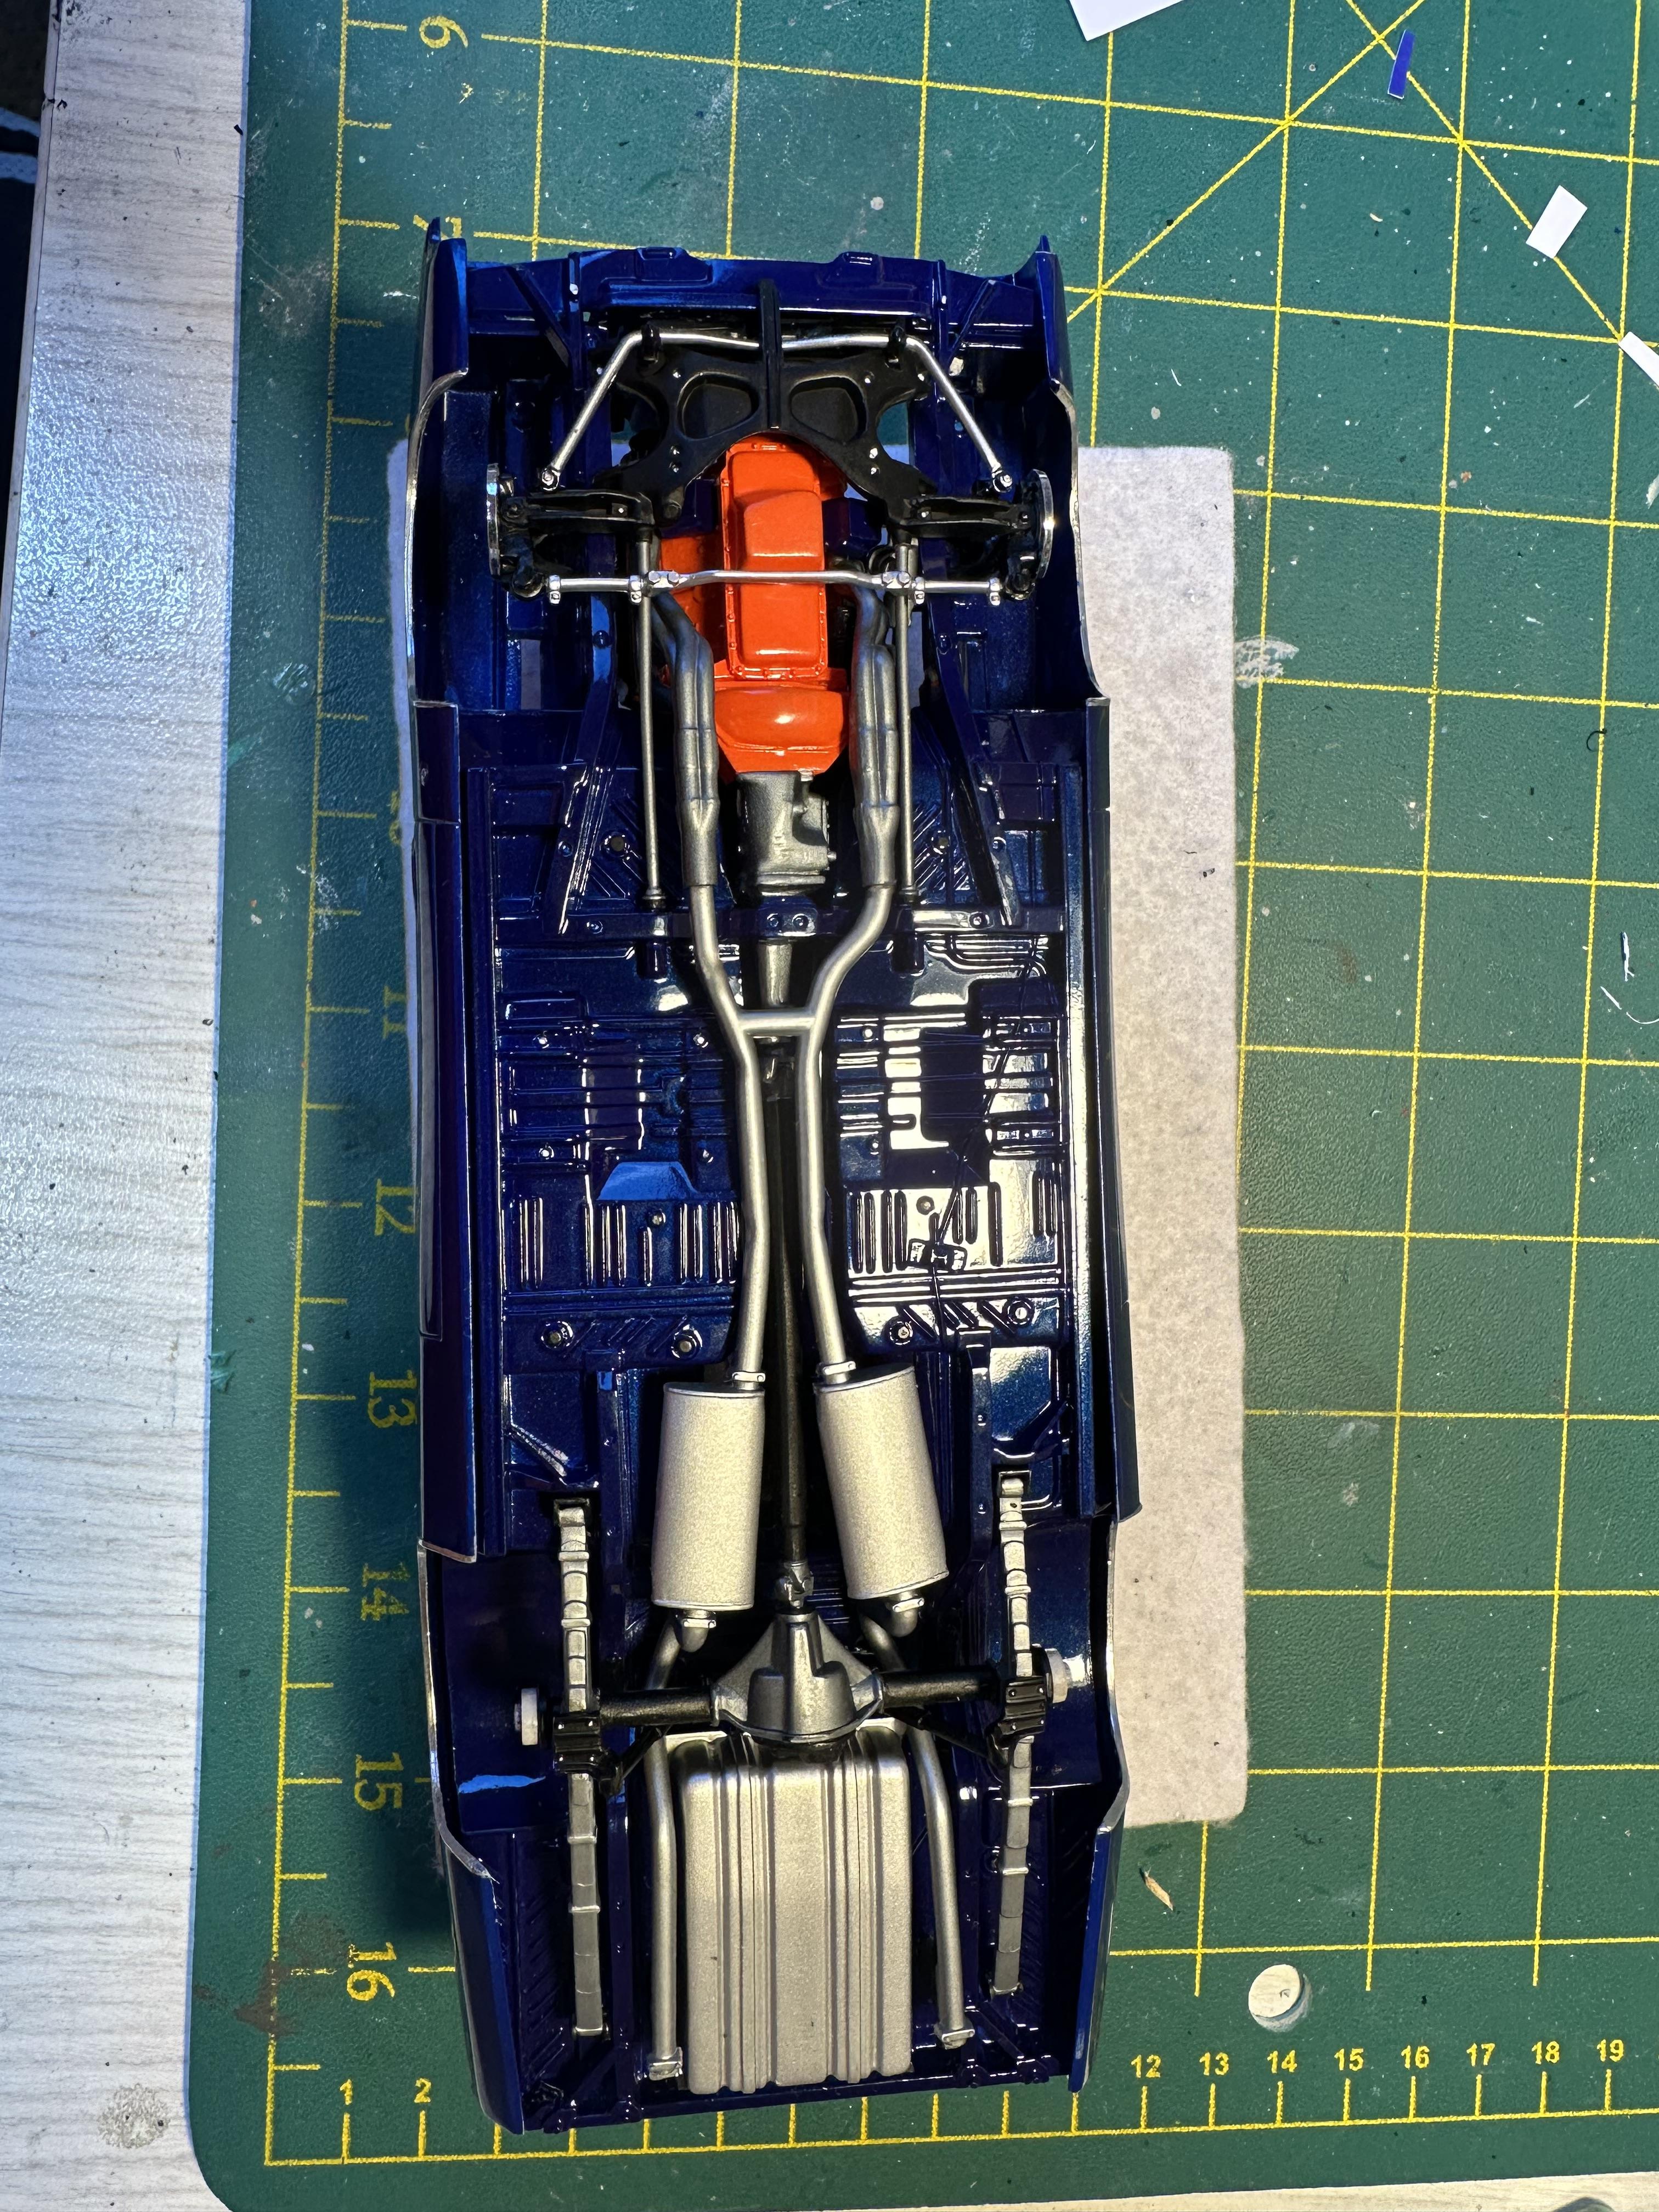
Moving on with the chassis components. Rear end went in without issues The pre-prepared pile in the parts bin is looking a little of a pile now. I have been over all the door gaps, grill and ventilation slots with Tamiya panel line and given it another polish. And now up on all four It looks a little nose high but the body is parallel to the ground which I think is correct Thanks for looking
-
Chrysler undercarriage color
bill-e-boy replied to DoctorLarry's topic in Model Building Questions and Answers
There is some good reference material here. Most of the above concurs with my research for Mopar underbody colours. It gets interesting when you get a full resto job where the whole underbody has been painted as the builders obviously don't like the "cheap" look of unfinished paint work.