Zippi
-
Posts
14,184 -
Joined
-
Last visited
Content Type
Profiles
Forums
Events
Gallery
Everything posted by Zippi
-
Good looking Cyclone. I lime the green.
-
That's a pretty slick looking Corvette Harry. That blue paint looks killer. Some of those pics could pass as 1:1.
-
Mustang looks pretty kewl. That green really pops.
-
Nice looking Impala Roger. Paint job looks great. Engine detail is subperb.
-
Good looking 29. I need to get after mine later this year.
-
Man does that look good so far. I picked this kit up a while back when HL had their 40% off. probably going to be Fall before I will get around to it. Ill be watching this one.
-
Nice looking Hornet. Weathering looks great and the engine bay looks sweet.
-

Next Truck Kit
Zippi replied to bluestringer's topic in WIP: Model Trucks: Pickups, Vans, SUVs, Light Commercial
Yeah buddy ? -
Looking pretty sharpe there Dave. Paint detailing looks great.
-
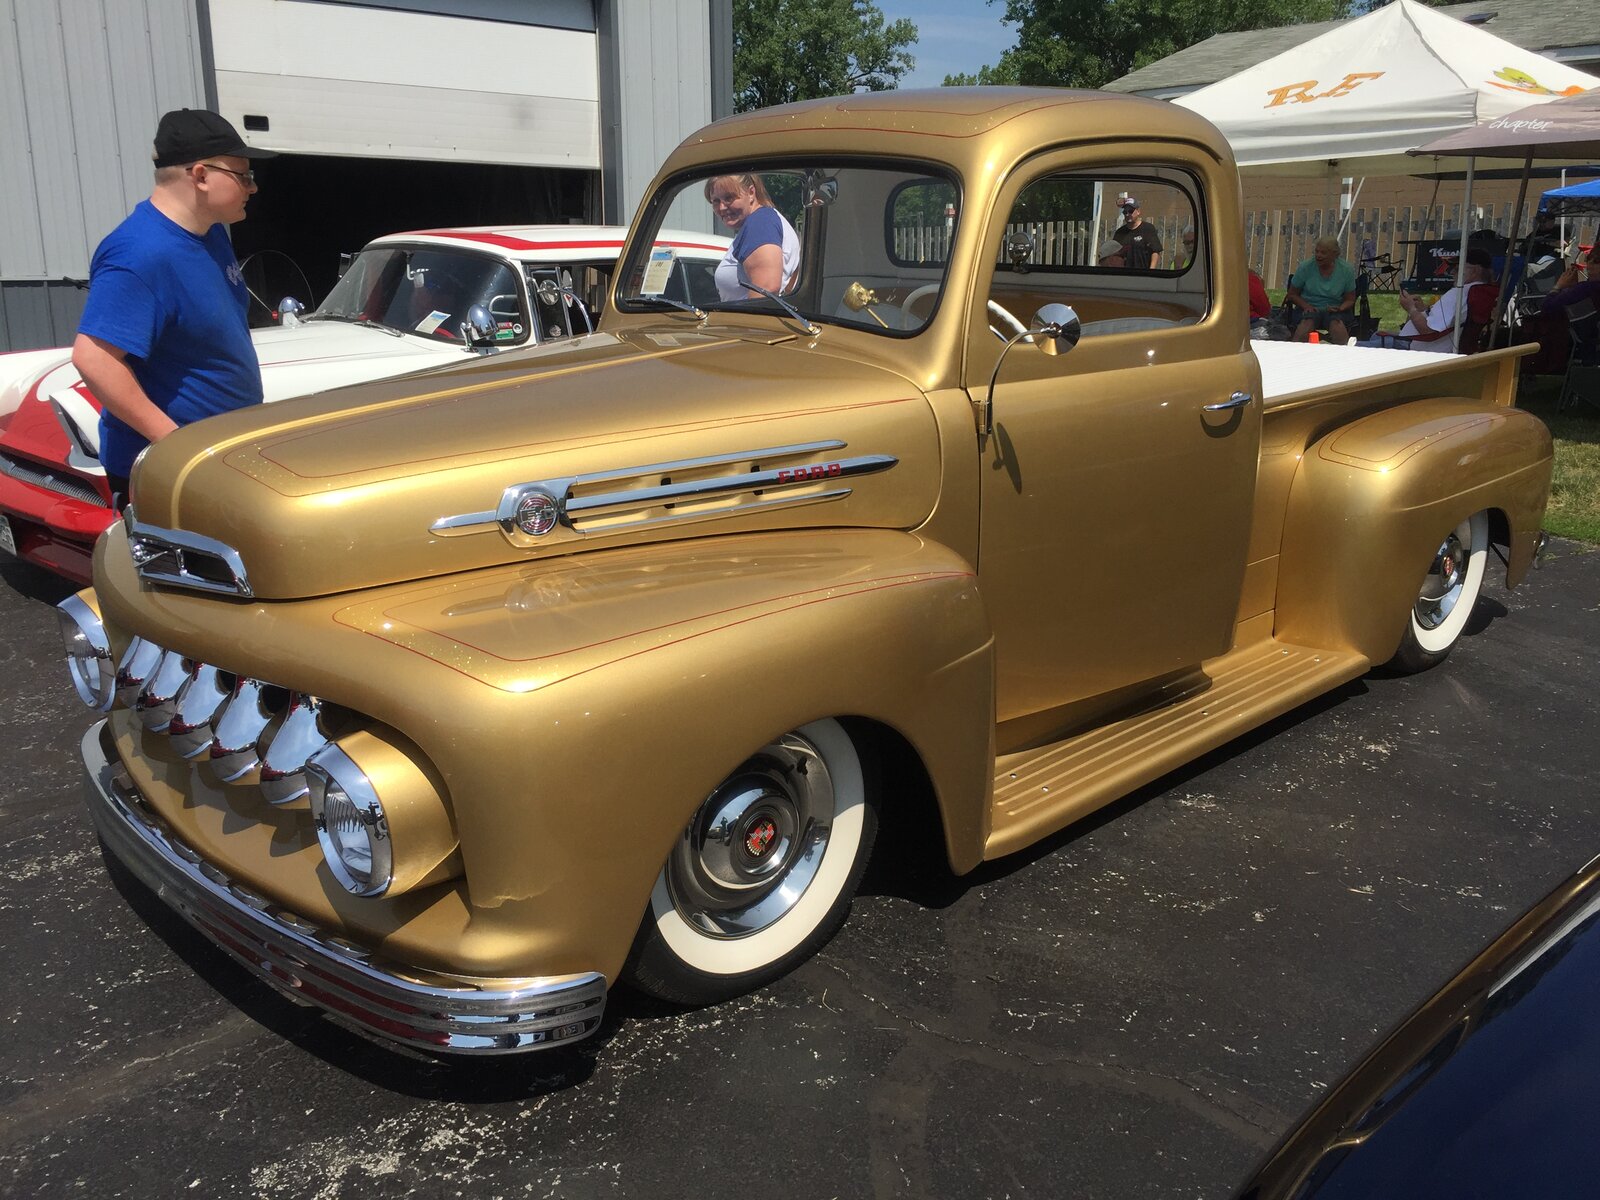
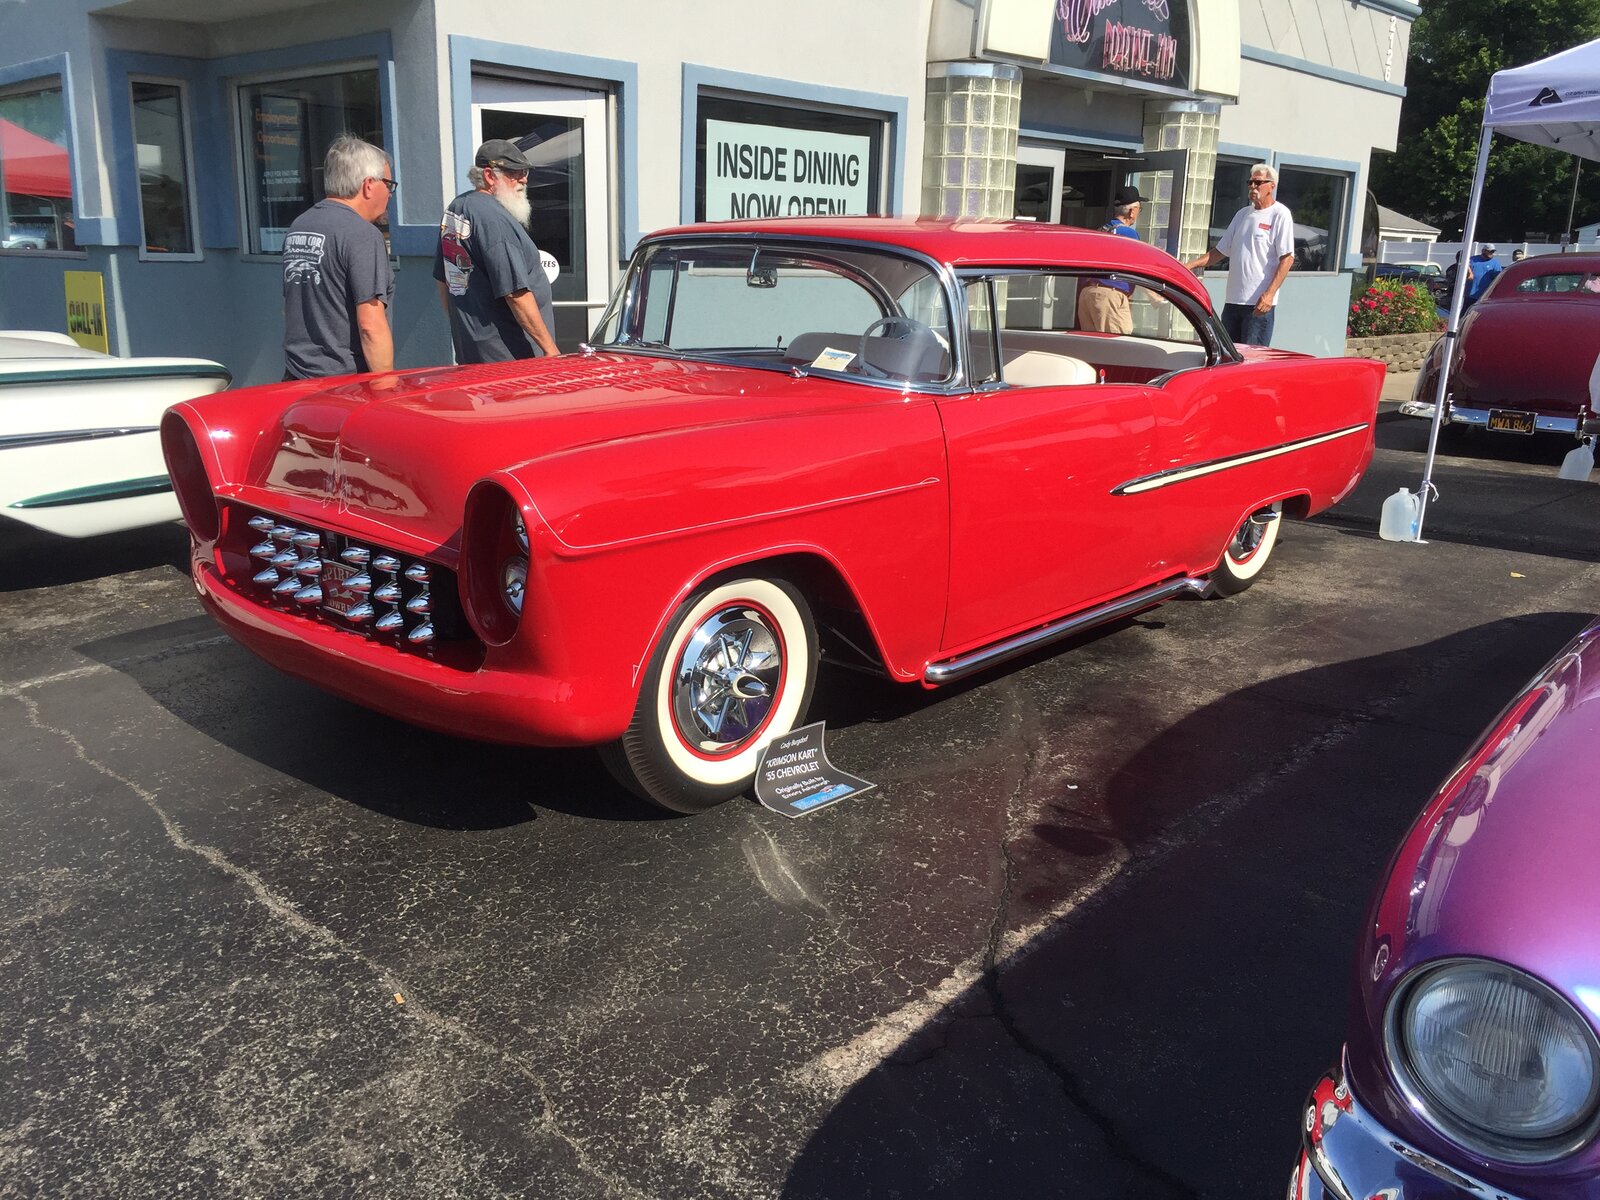
Thanks for the link Les. A whole lot of eye candy for sure. Since I'm a truck guy and have a 49 Chevy 5 window truck, my pick of the show for trucks is the Ford pickup. My pick of the show for cars is the 55 Chevy hardtop.

-
Ford Model T van .
Zippi replied to Silver Foxx's topic in Model Trucks: Pickups, Vans, SUVs, Light Commercial
Not my kind of vehicle to build but that looks pretty dang good. Just job on the build. -
Nice looking Lead Sled's fellows.
-
Good looking GTX. Some of your pics could pass as a 1:1. Nice job.
-
This will be a great thread to follow. Love the ole fat fender cars.
-
So I Finally Signed Up.
Zippi replied to Retired Fleet Manager's topic in Welcome! Introduce Yourself
Welcome Steve. Bunch of nice fellows on this forum to help with any issues. -
Welcome back to the hobby Jay.
-
*1960 Chevy Fleetside Pickup*
Zippi replied to Zippi's topic in WIP: Model Trucks: Pickups, Vans, SUVs, Light Commercial
Been a little busy tearing down old sheds and putting up new. I'll be back at it in the near future. -
MPC Dodge Deora
Zippi replied to Justin Porter's topic in Model Trucks: Pickups, Vans, SUVs, Light Commercial
That looks pretty neat. I like the Lime Ice color. -
Nice looking ride Phillip. That gold looks pretty good.
-
Love those old Glasses. Nice build on the 57 and the driver looks kewl.
-
Looks real nice James. I think I'll have to build another 50 Chevy down the road.
-
Pretty kewl looking Comet John.
-
I love the old fat fender cars/trucks. Yours is looking great.
-
Your Nova is looking pretty good so far Ken.
-
Nice looking Stingray James. Build is looking good.