-
Posts
581 -
Joined
-
Last visited
Content Type
Profiles
Forums
Events
Gallery
Everything posted by Lobo2me
-
Hi Gang; Anybody know where I can find a "proper" set of 1/25 scale Ford V8 wire wheels for hot rods from the 1930s....? Thanks
-
Wow....what a fantastic Bonneville! Congrats on your accomplishments. It is perfect!!! I grew up riding in the back of my parent's Bonneville wagon. Will look for your next award winner in 2026...or before. Happy New Year!
-
Very cool! Thanks for the inspiration. My next build is going to be a Ford Hot Rod! Happy New Year
-
Wow....great work! Really like that Super Snowshoe (errr, Sport) What fun! Happy New Year
-
Wow...what a great year. Supurb builds, each and every one! You even got Ol Shell in there, and I particularly enjoyed the Ford GTs. Keep building in 2025....HAPPY NEW YEAR!
-
Whoa...that Phantasy Pheaton is very cool, and I really like the Stuedy. Each and all are great! Happy New Year
-
Fantastic! Please remove shoes before entering.
-
Well done, each and every one! Have a great 2025!
-
Really enjoyed your fine recreations of the '77 and '78 Coupe deVilles. Great examples of GM behemoths from a bygone era. Excellent paint and superb detail on both. Love the CB radio, "Breaker, breaker, any takers?"
-
I was not nearly as productive as you were, Claude. But enjoyed every build and enjoyed all the great examples on the posts. Keep em coming. Happy Holidays
-
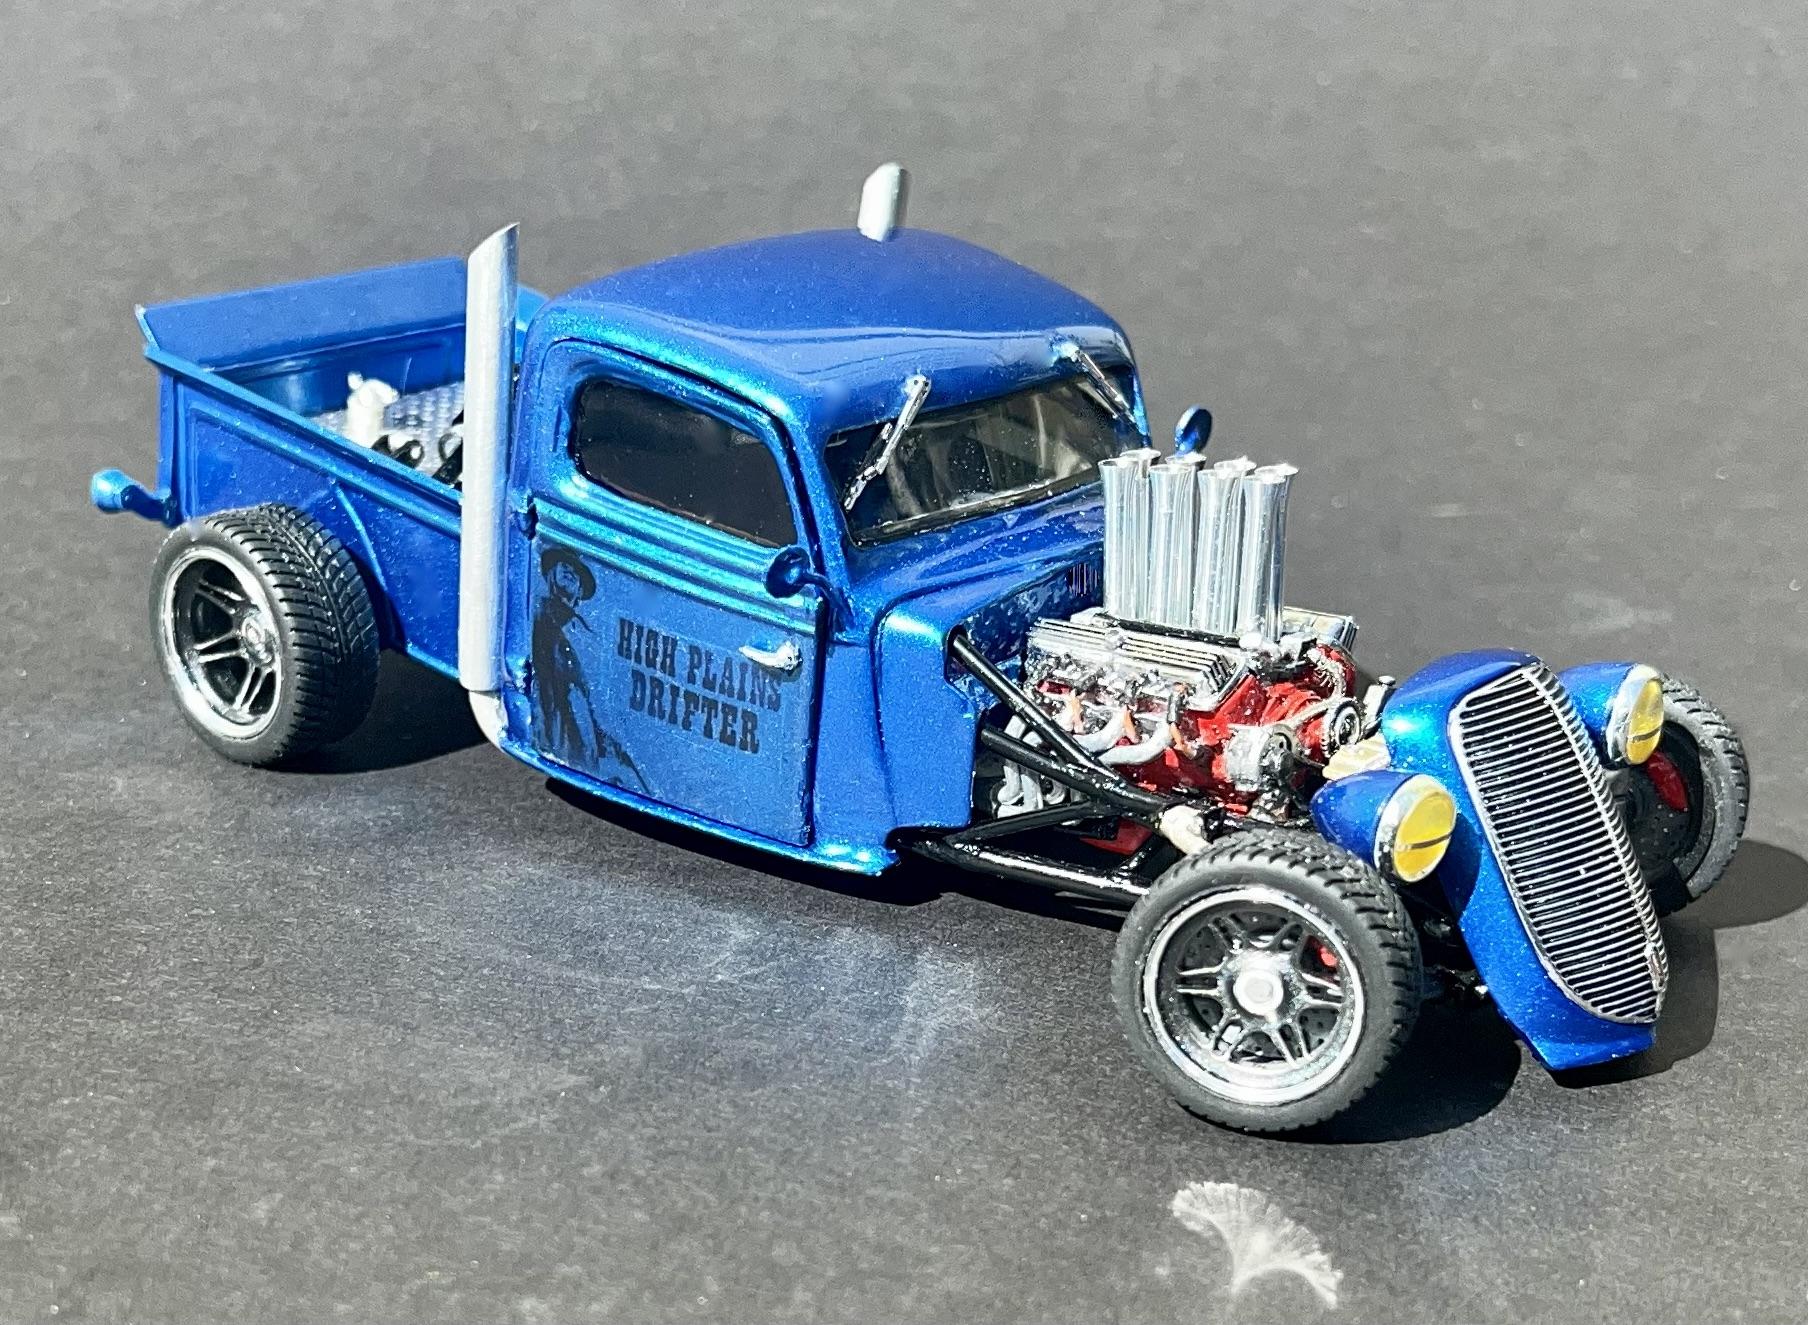
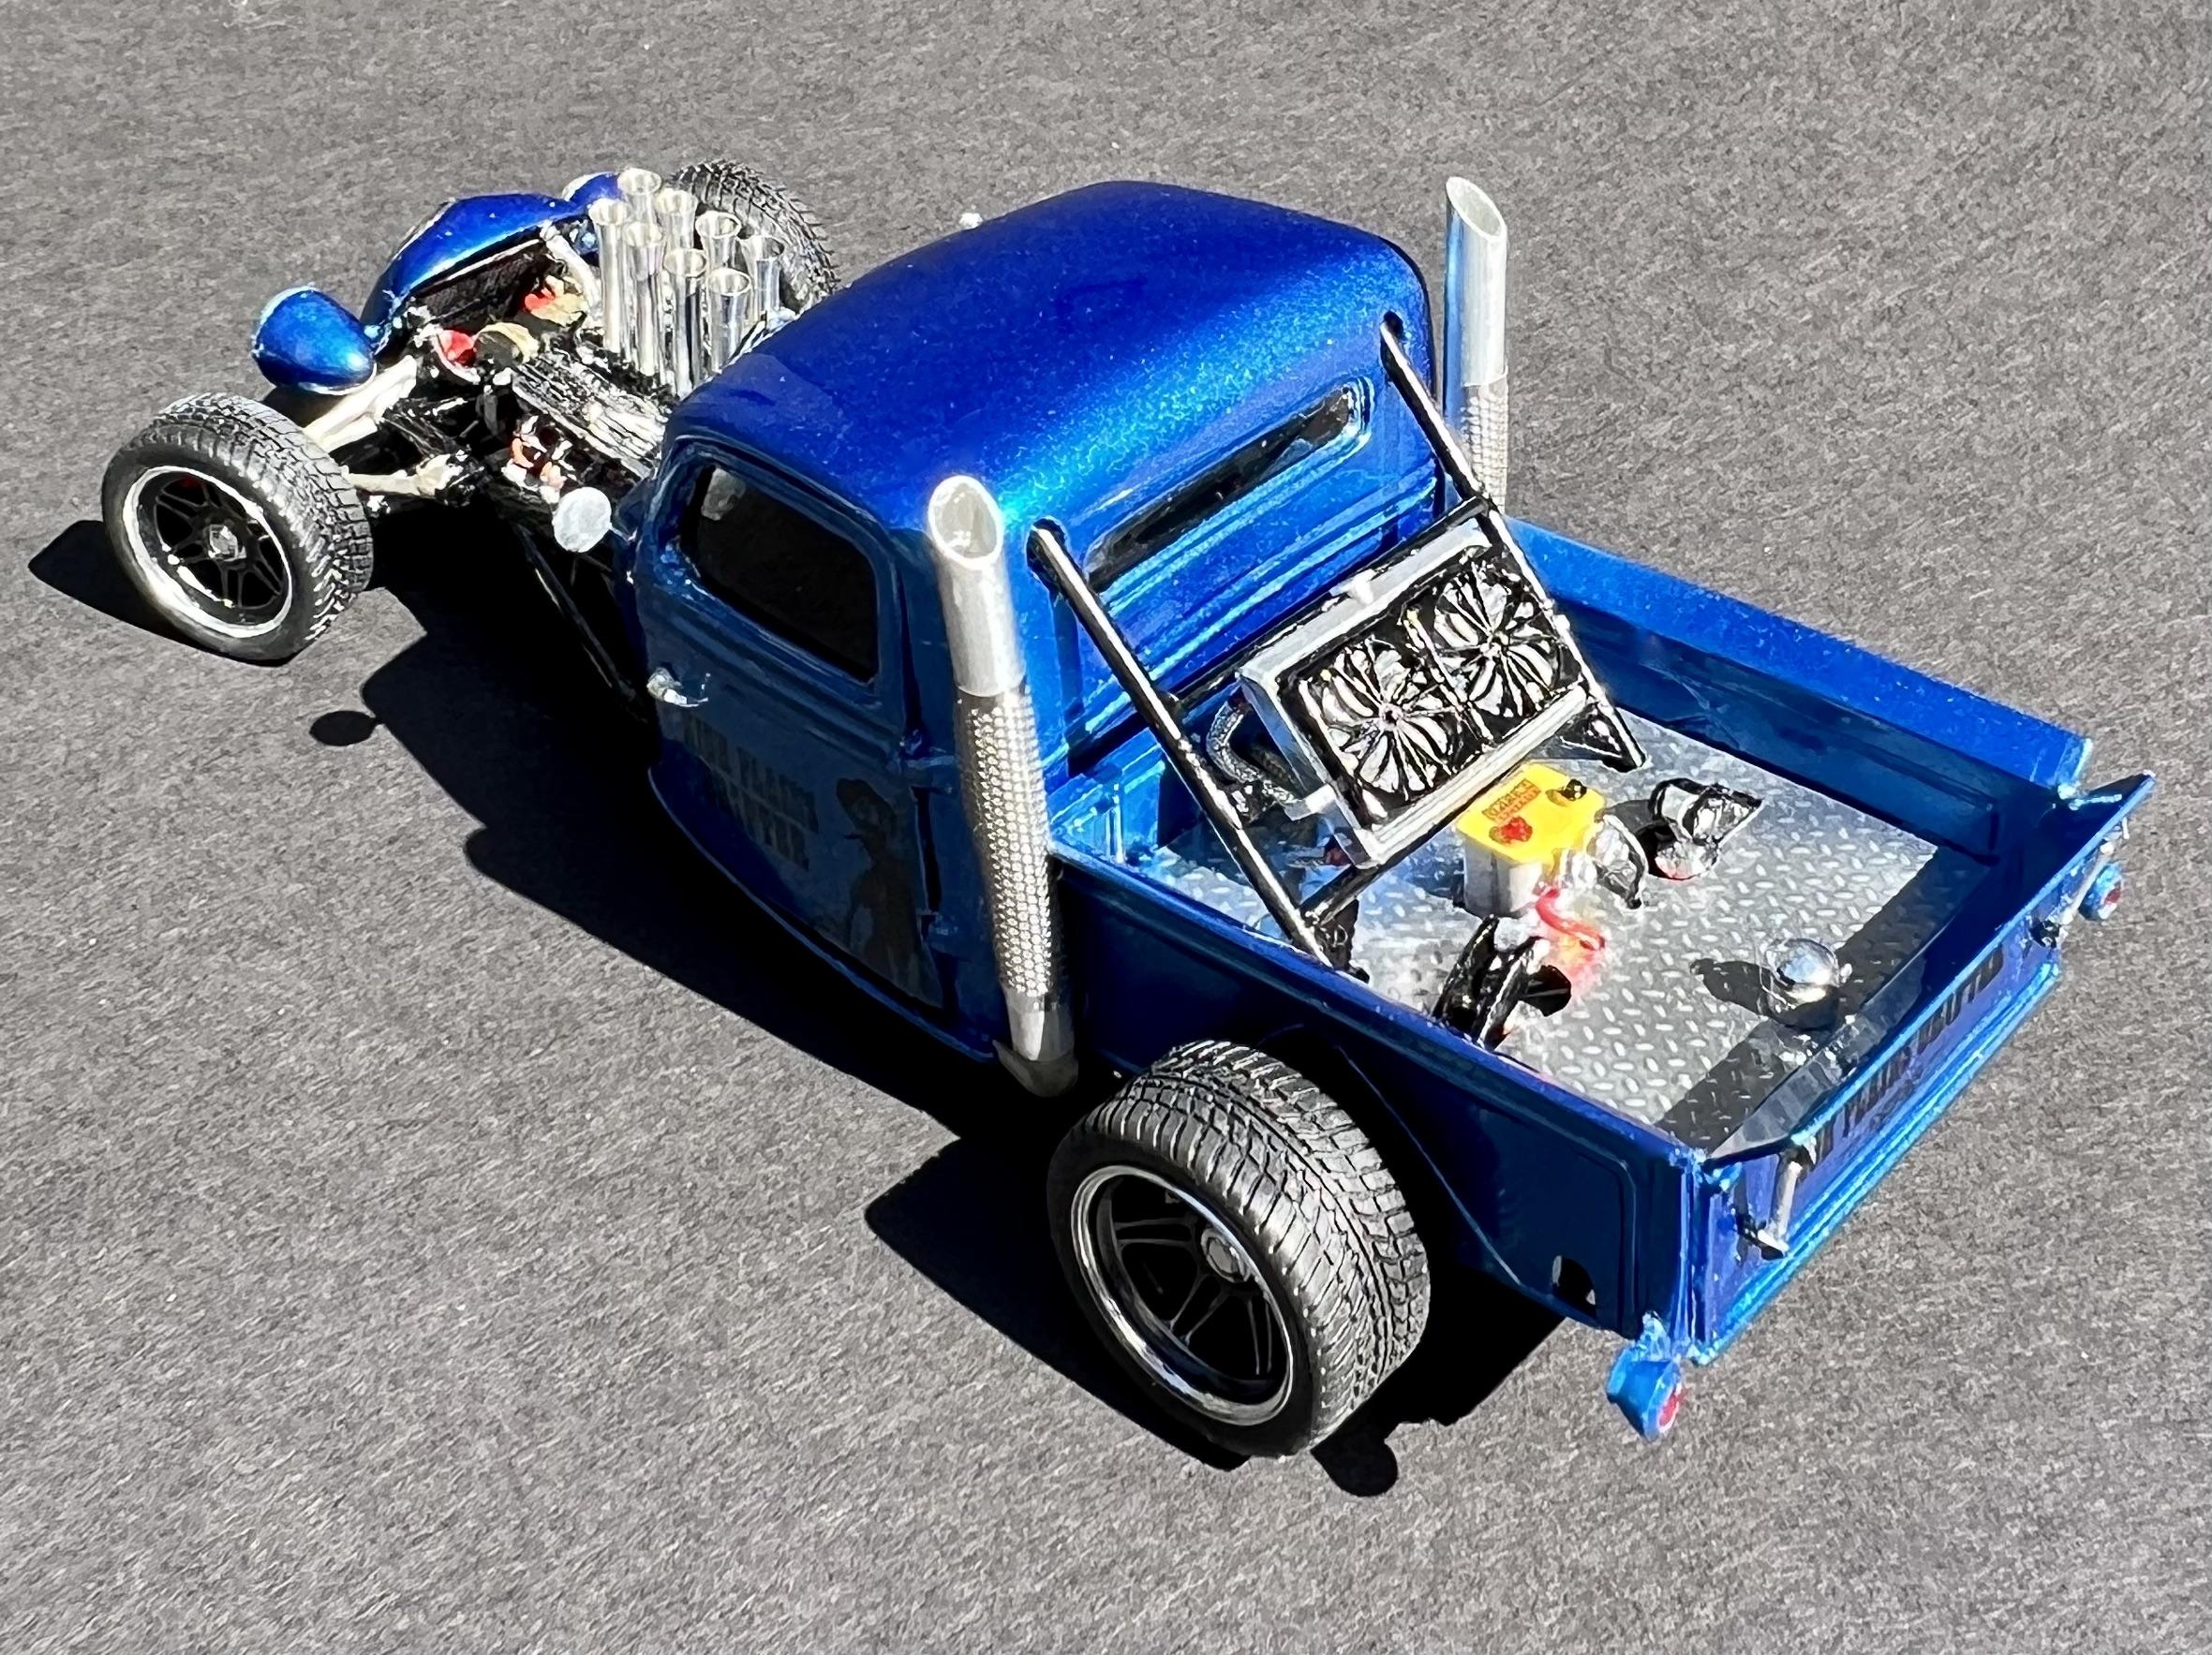
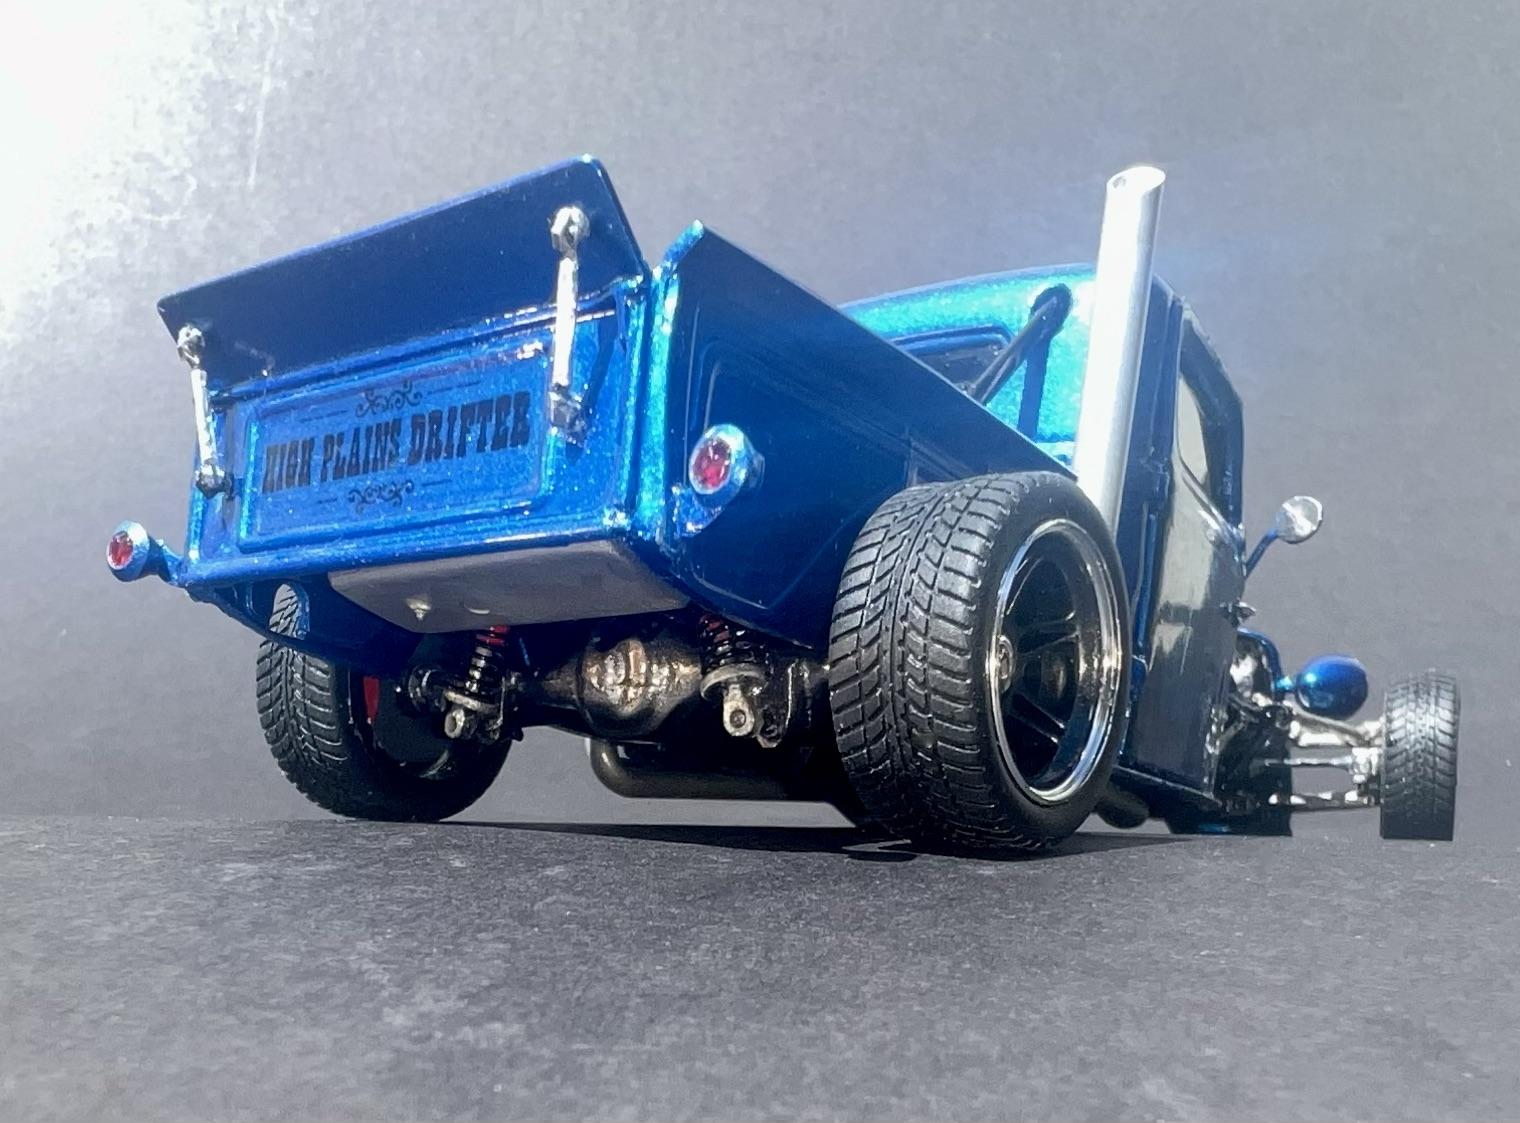
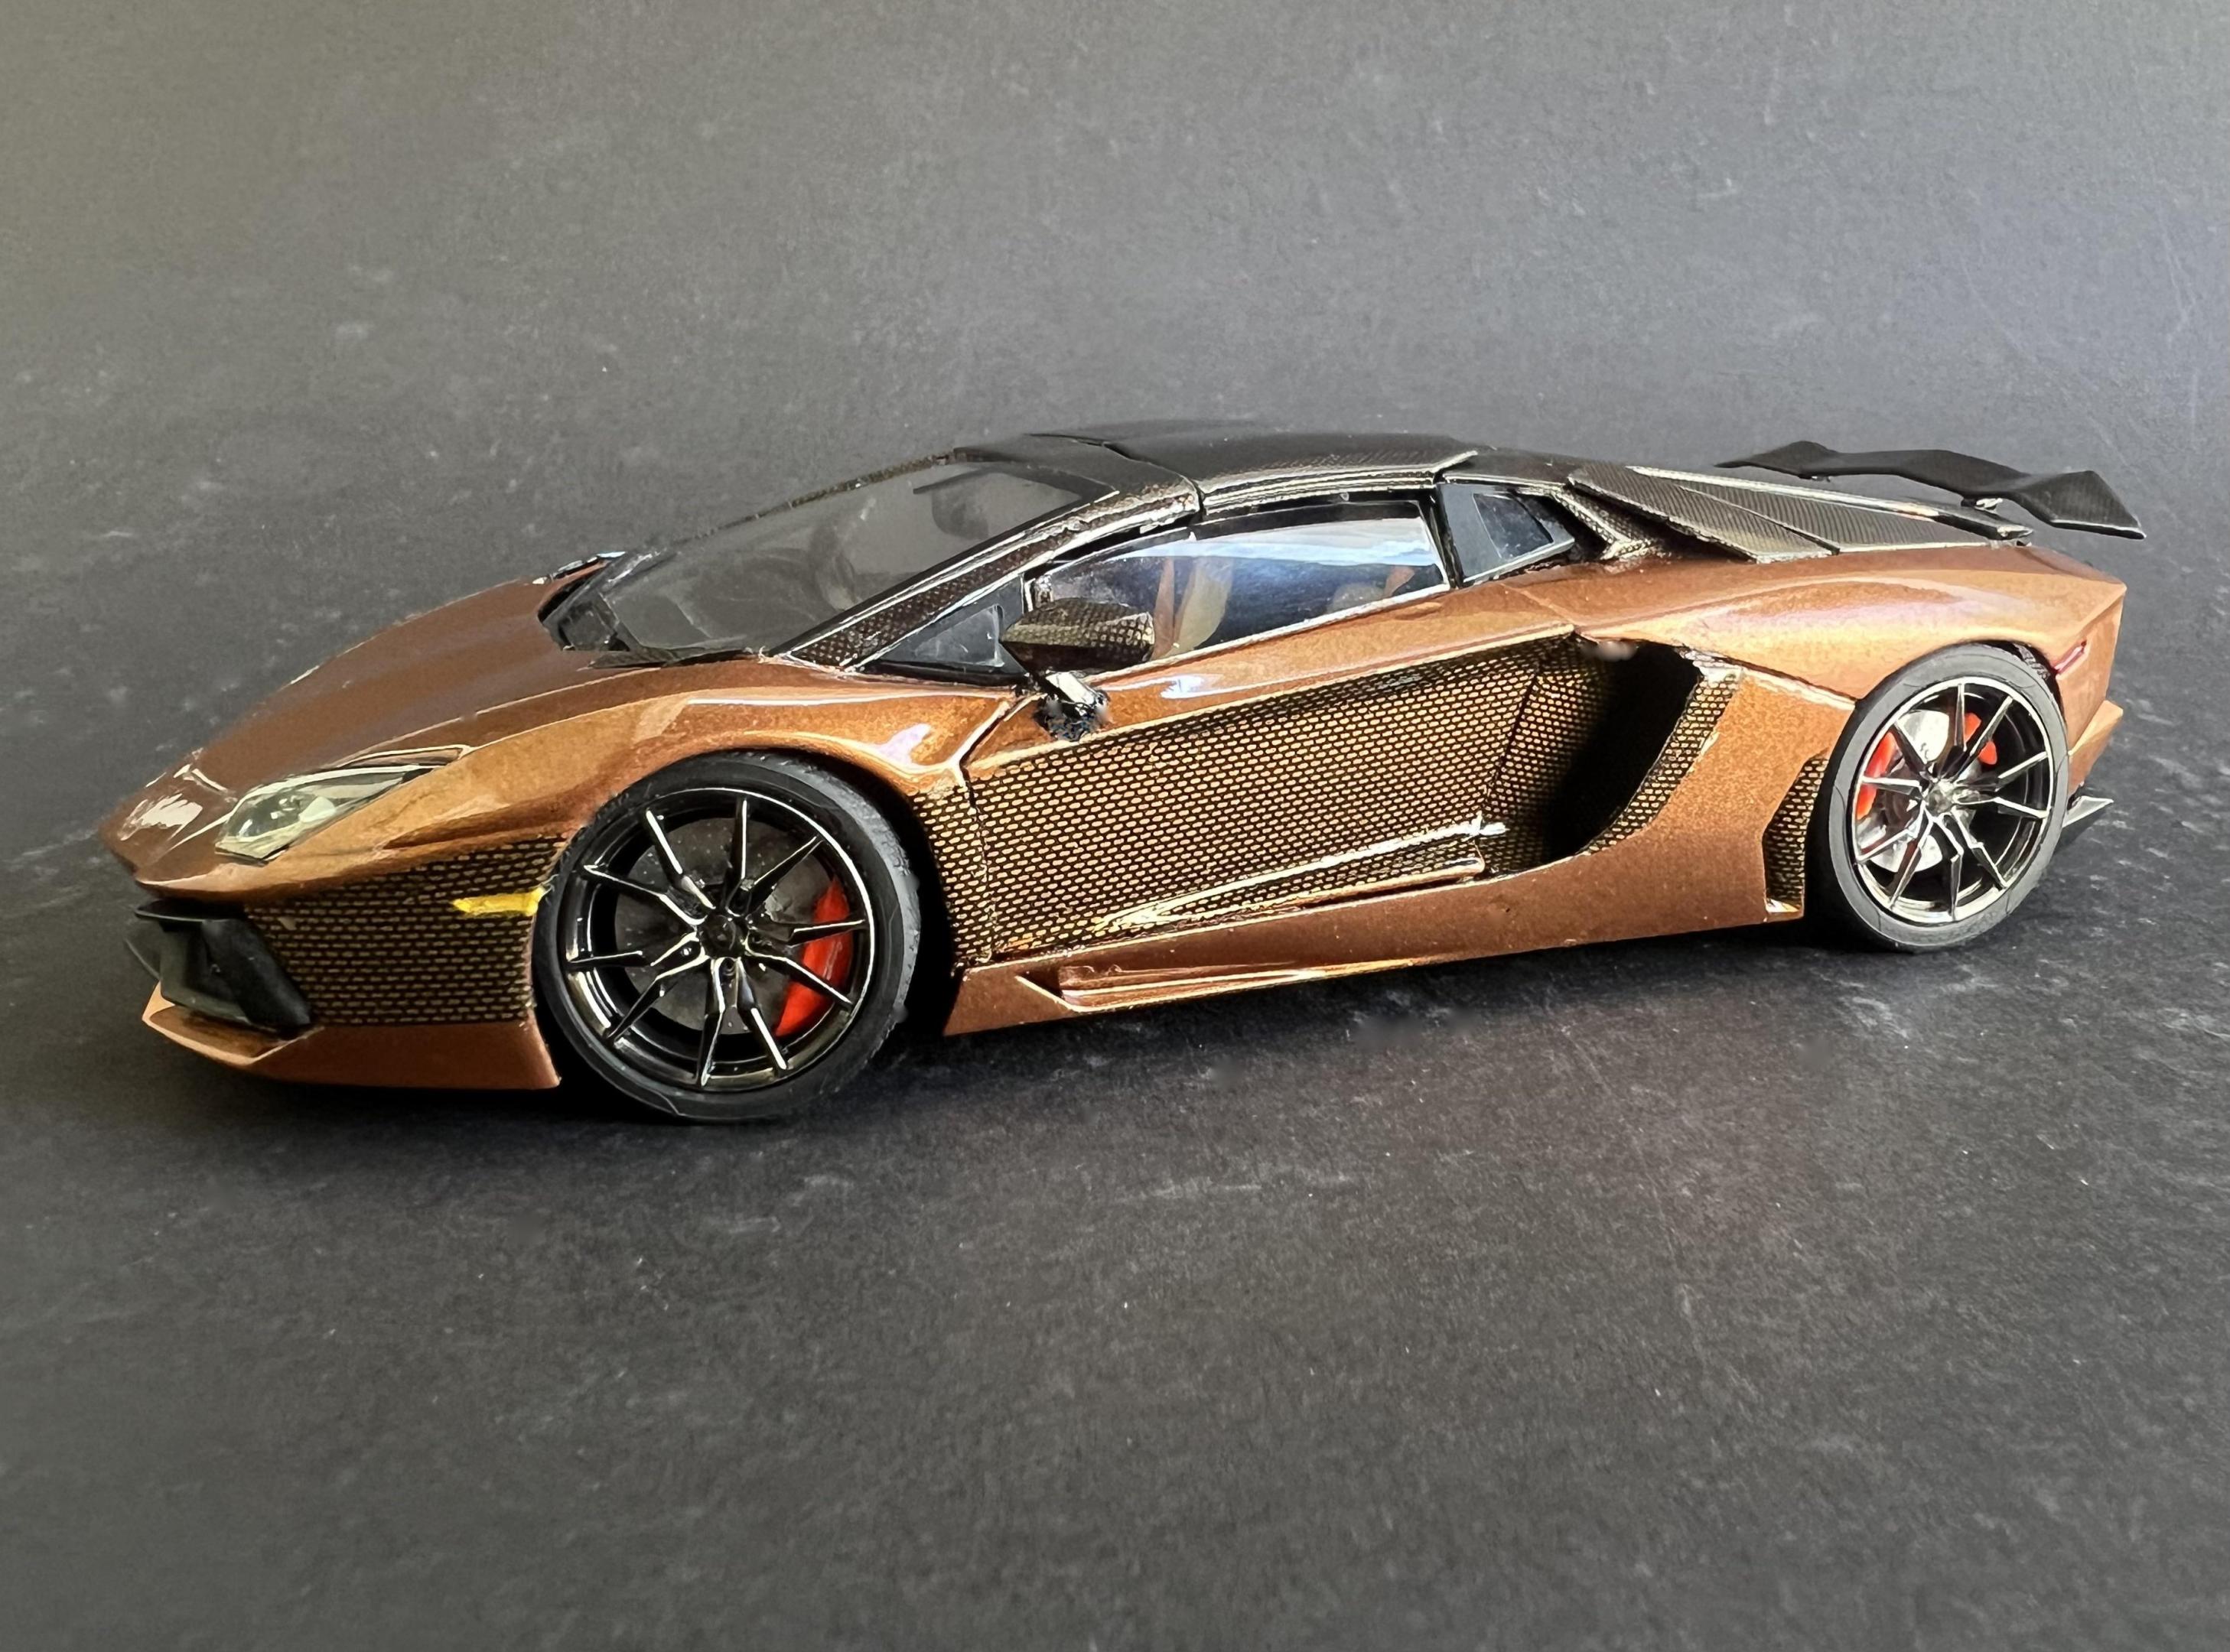
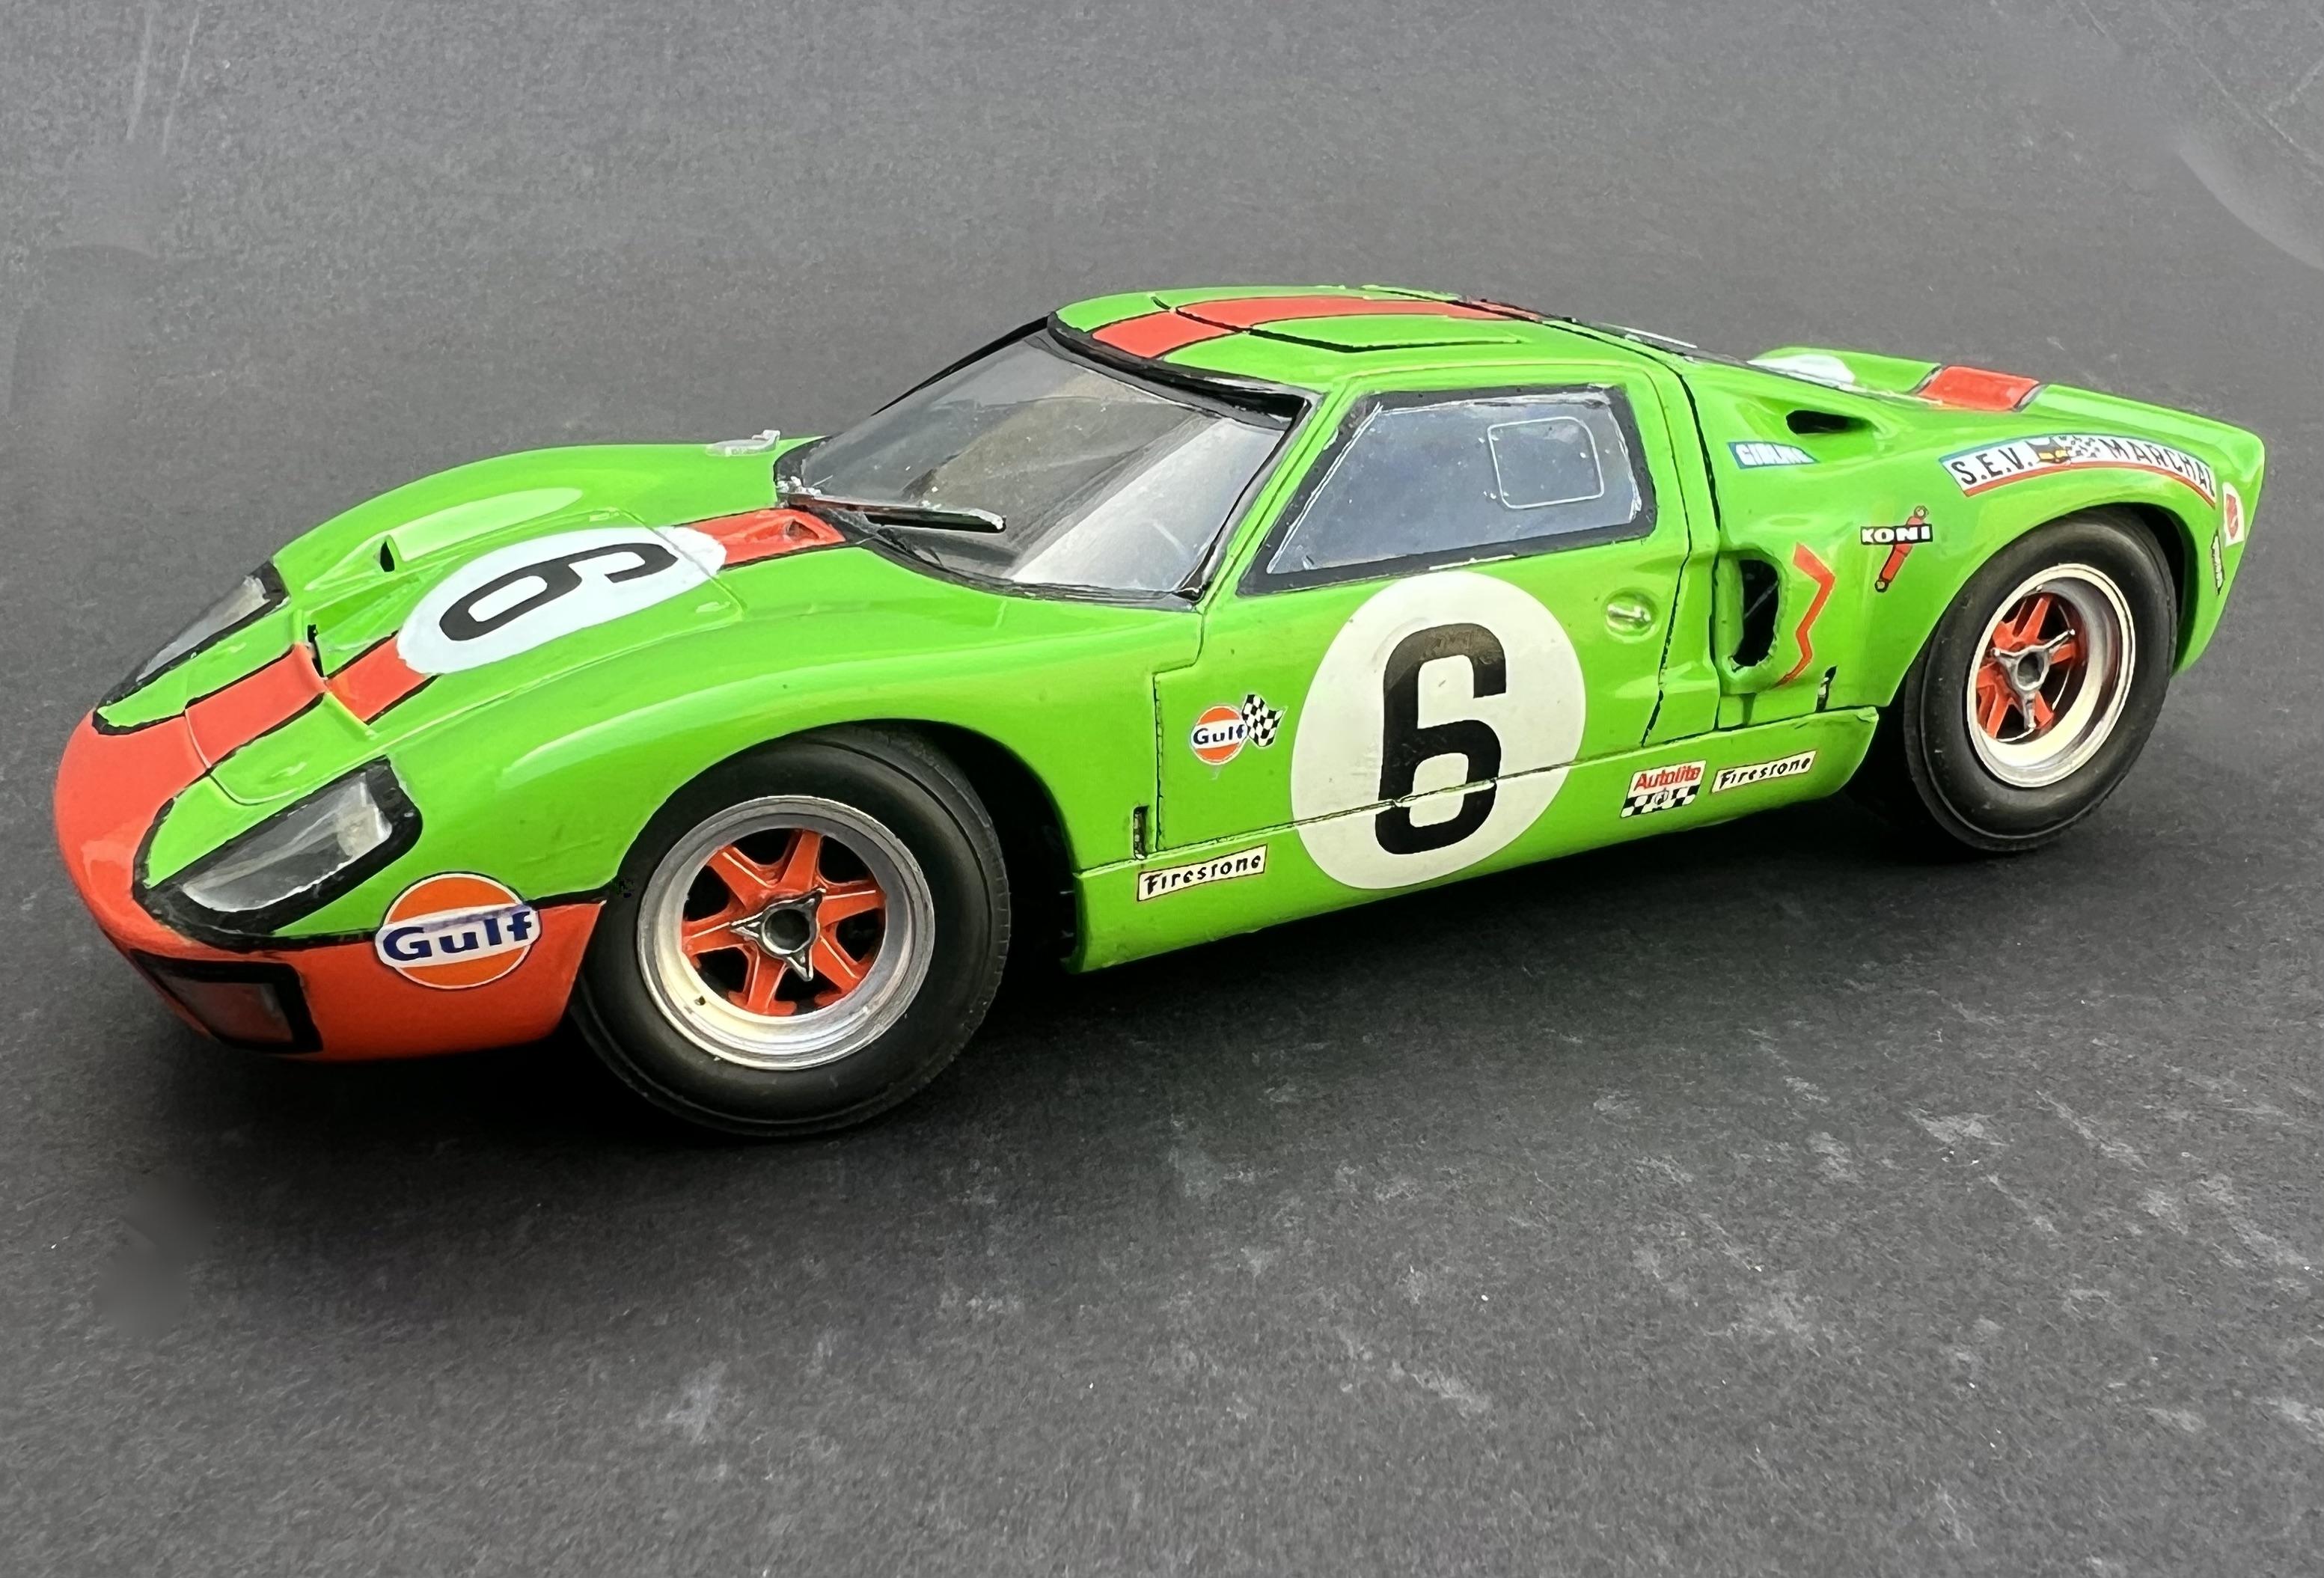
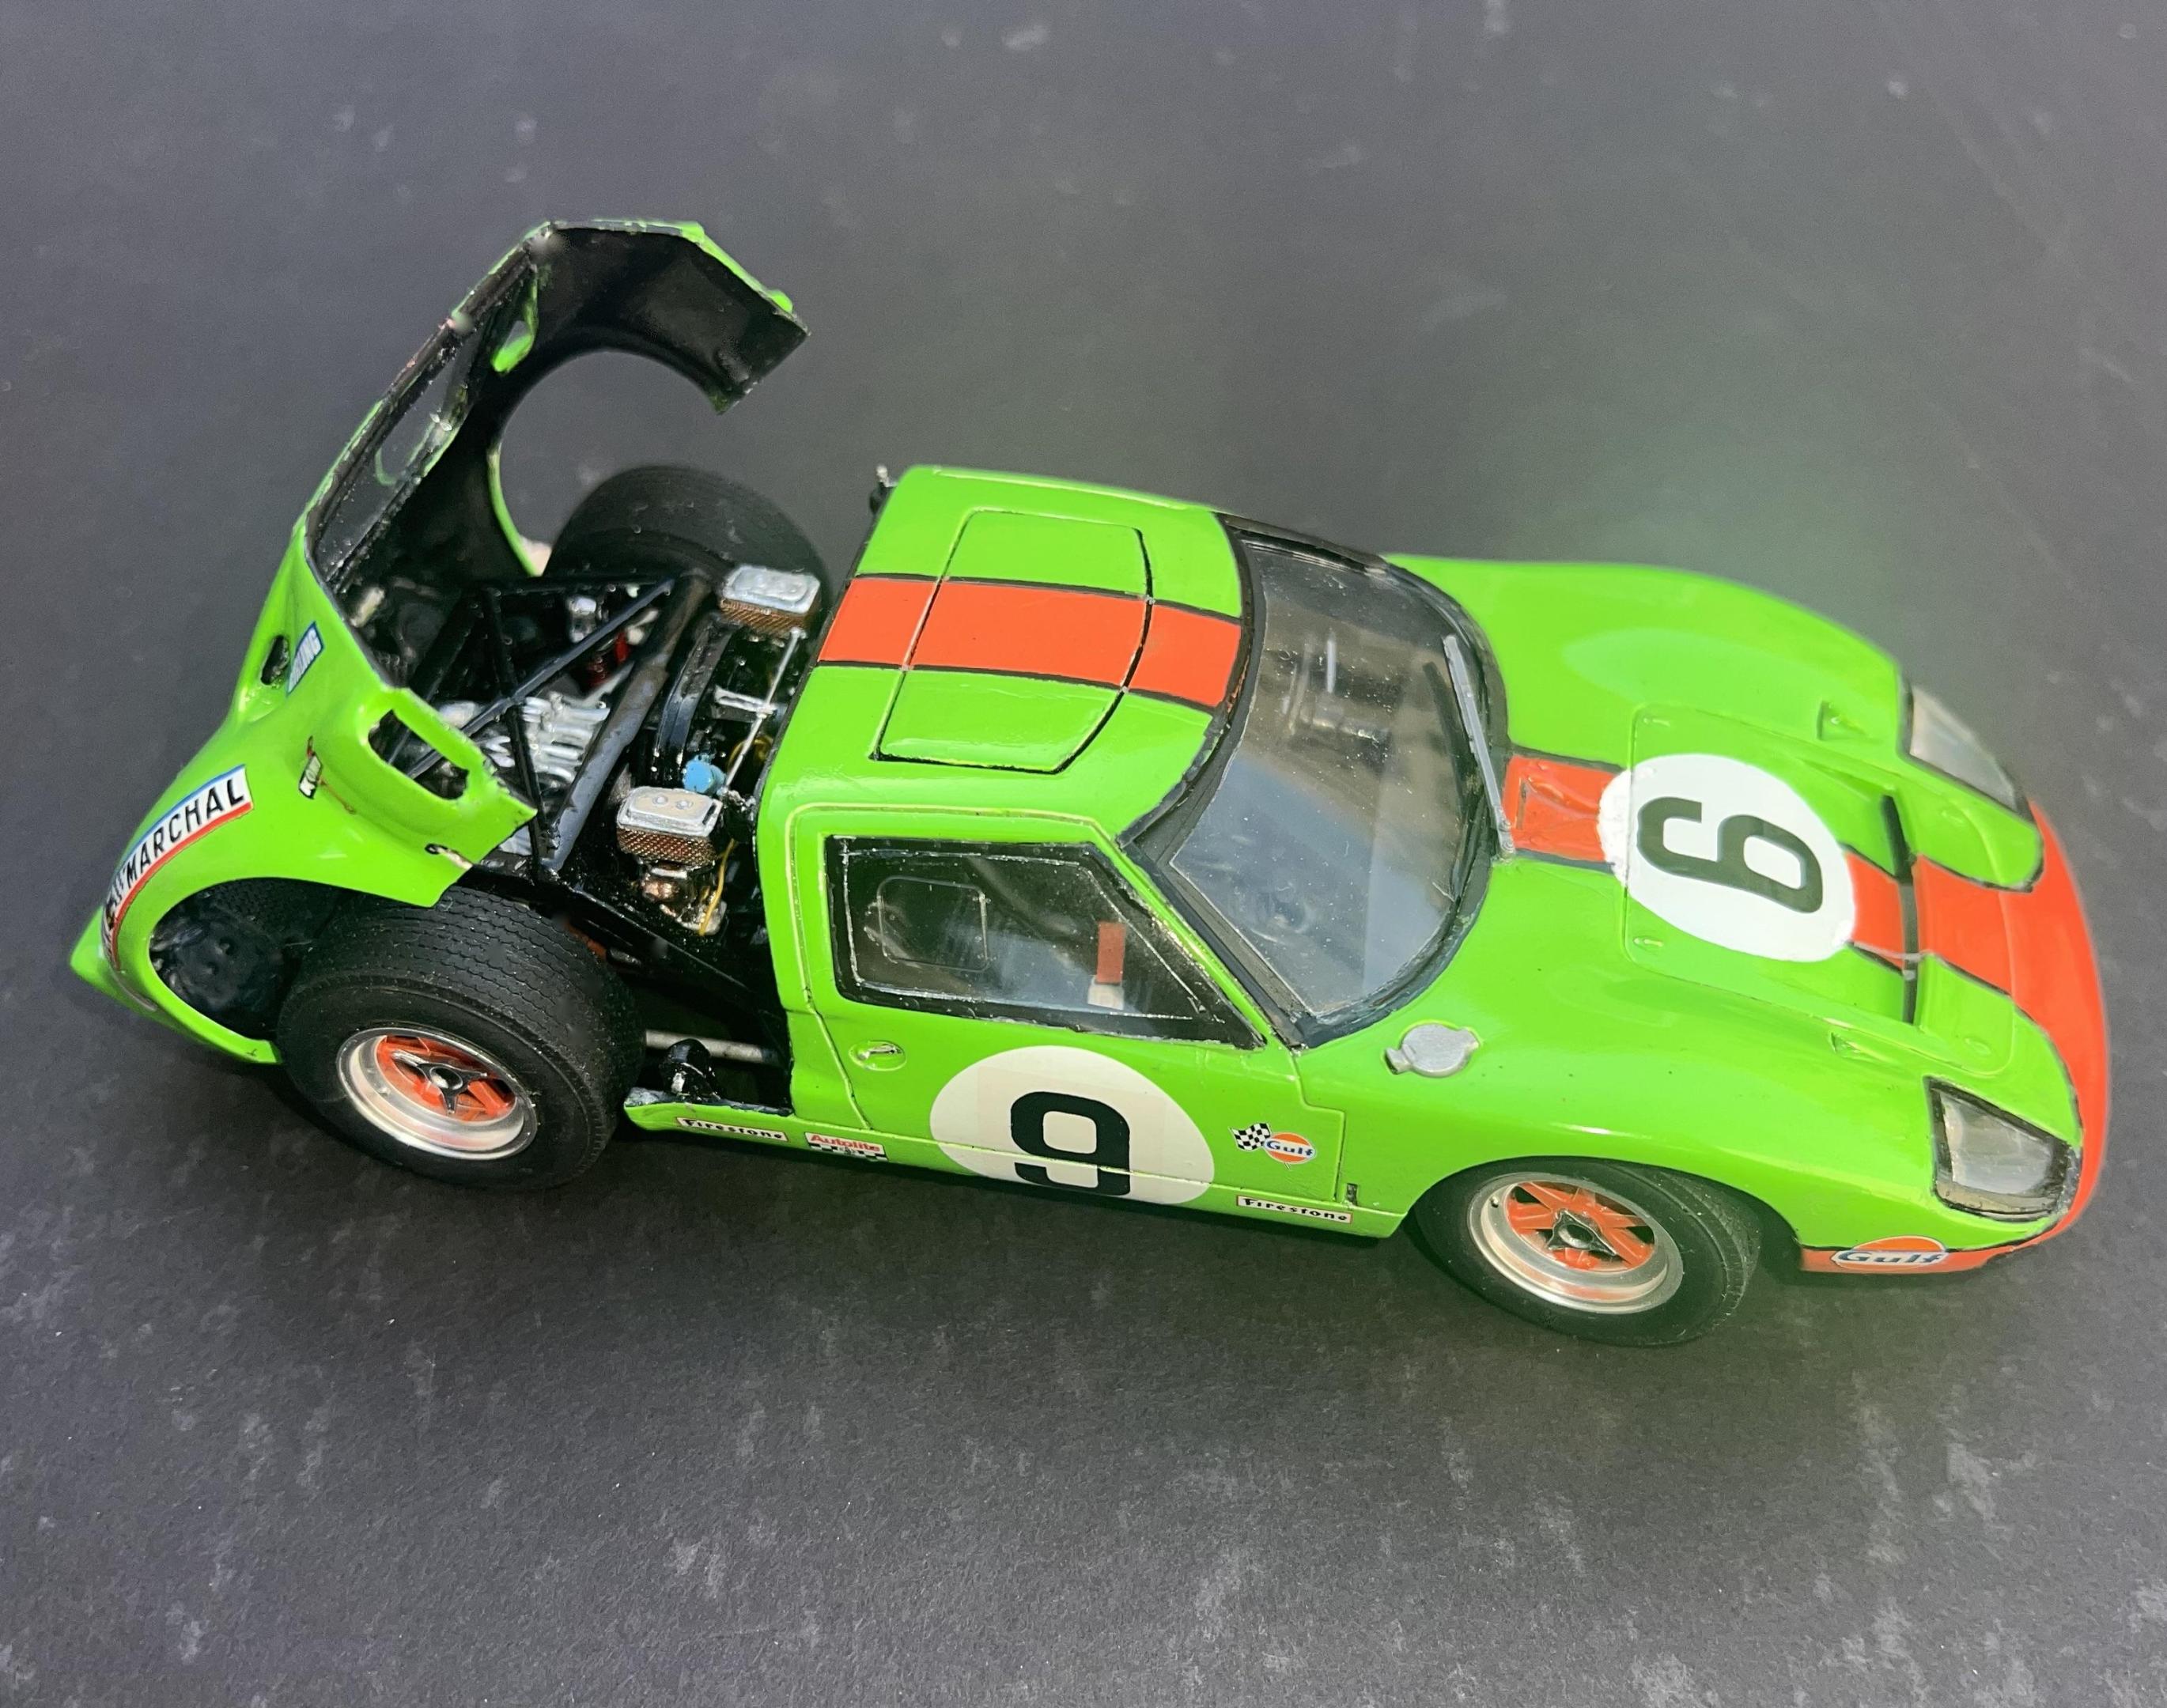
This year was busy with life, travels, and fun. I only managed to push out four builds. But each was a fun and challenging learning experience. Merry Christmas, one and all!
-
None of this year's models seem to have suffered from your concentration on your golf handicap. All are very well done and under par...which is a compliment!
-
That would be a blast! Thanks for looking.
-
Hi David; Thanks for the kind words and great story about how you acquired the Bradley. Keep building! Steve
-
Enjoyed the full write-up. Nice job!
-
Thank you. A Corvair upgrade would have been fun!
-
Thanks....it was a blast! Wish I could find it.
-
Excellent! One of the cleanest machines I've seen in a long time. Your BIL has a keeper!
- 40 replies
-
- 1
-

-
-
Really nice. You nailed the perfect stance.
-
Thanks, Rich. I'm glad you appreciated my story and the model. The great thing about this hobby is that it makes experimenting doable.
-
Well done! You don't see many models of these land yachts. I could never figure out how Ford could use that moniker on such a different beast. With each generation, it became bigger, heavier, fancier, and a lot slower than the first generation.
-
Thank you, Rich. It's been a fun ride!
-
Very cool. Great job. Keep em coming!
-
WOW! Spectacular in every detail. Very creative and superb execution. Well done!

