Lobo2me
-
Posts
586 -
Joined
-
Last visited
Content Type
Profiles
Forums
Events
Gallery
Everything posted by Lobo2me
-
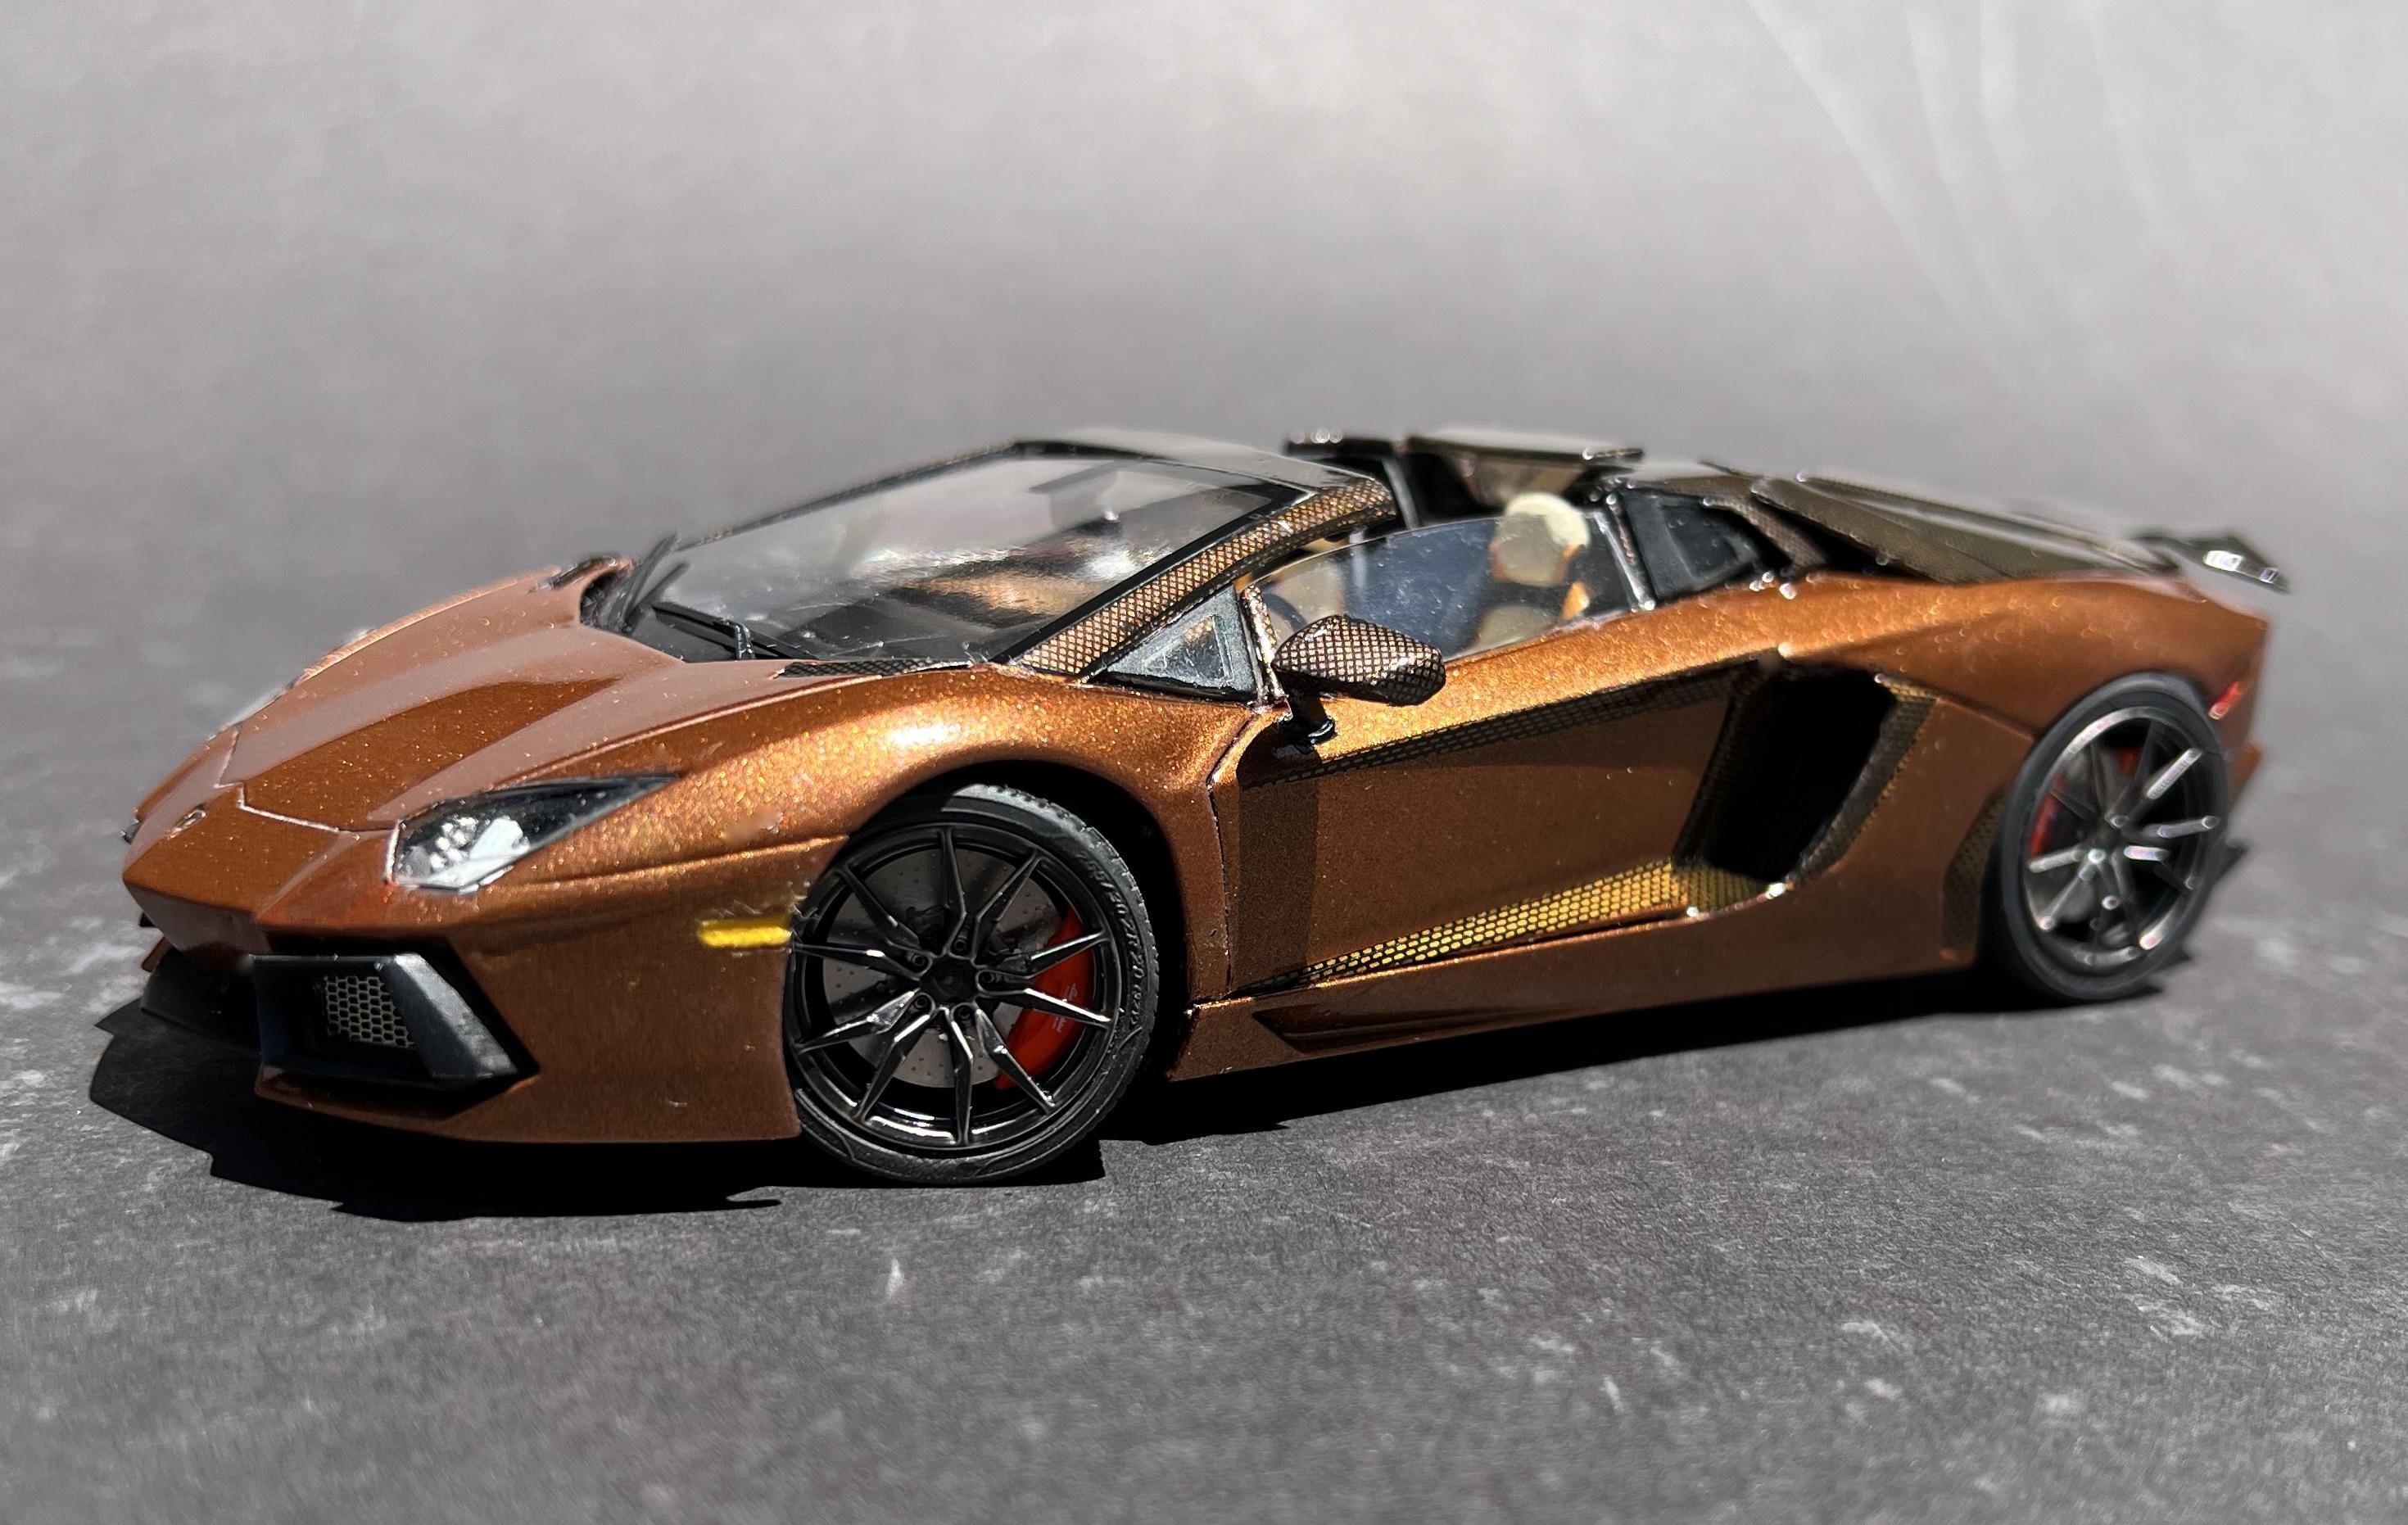
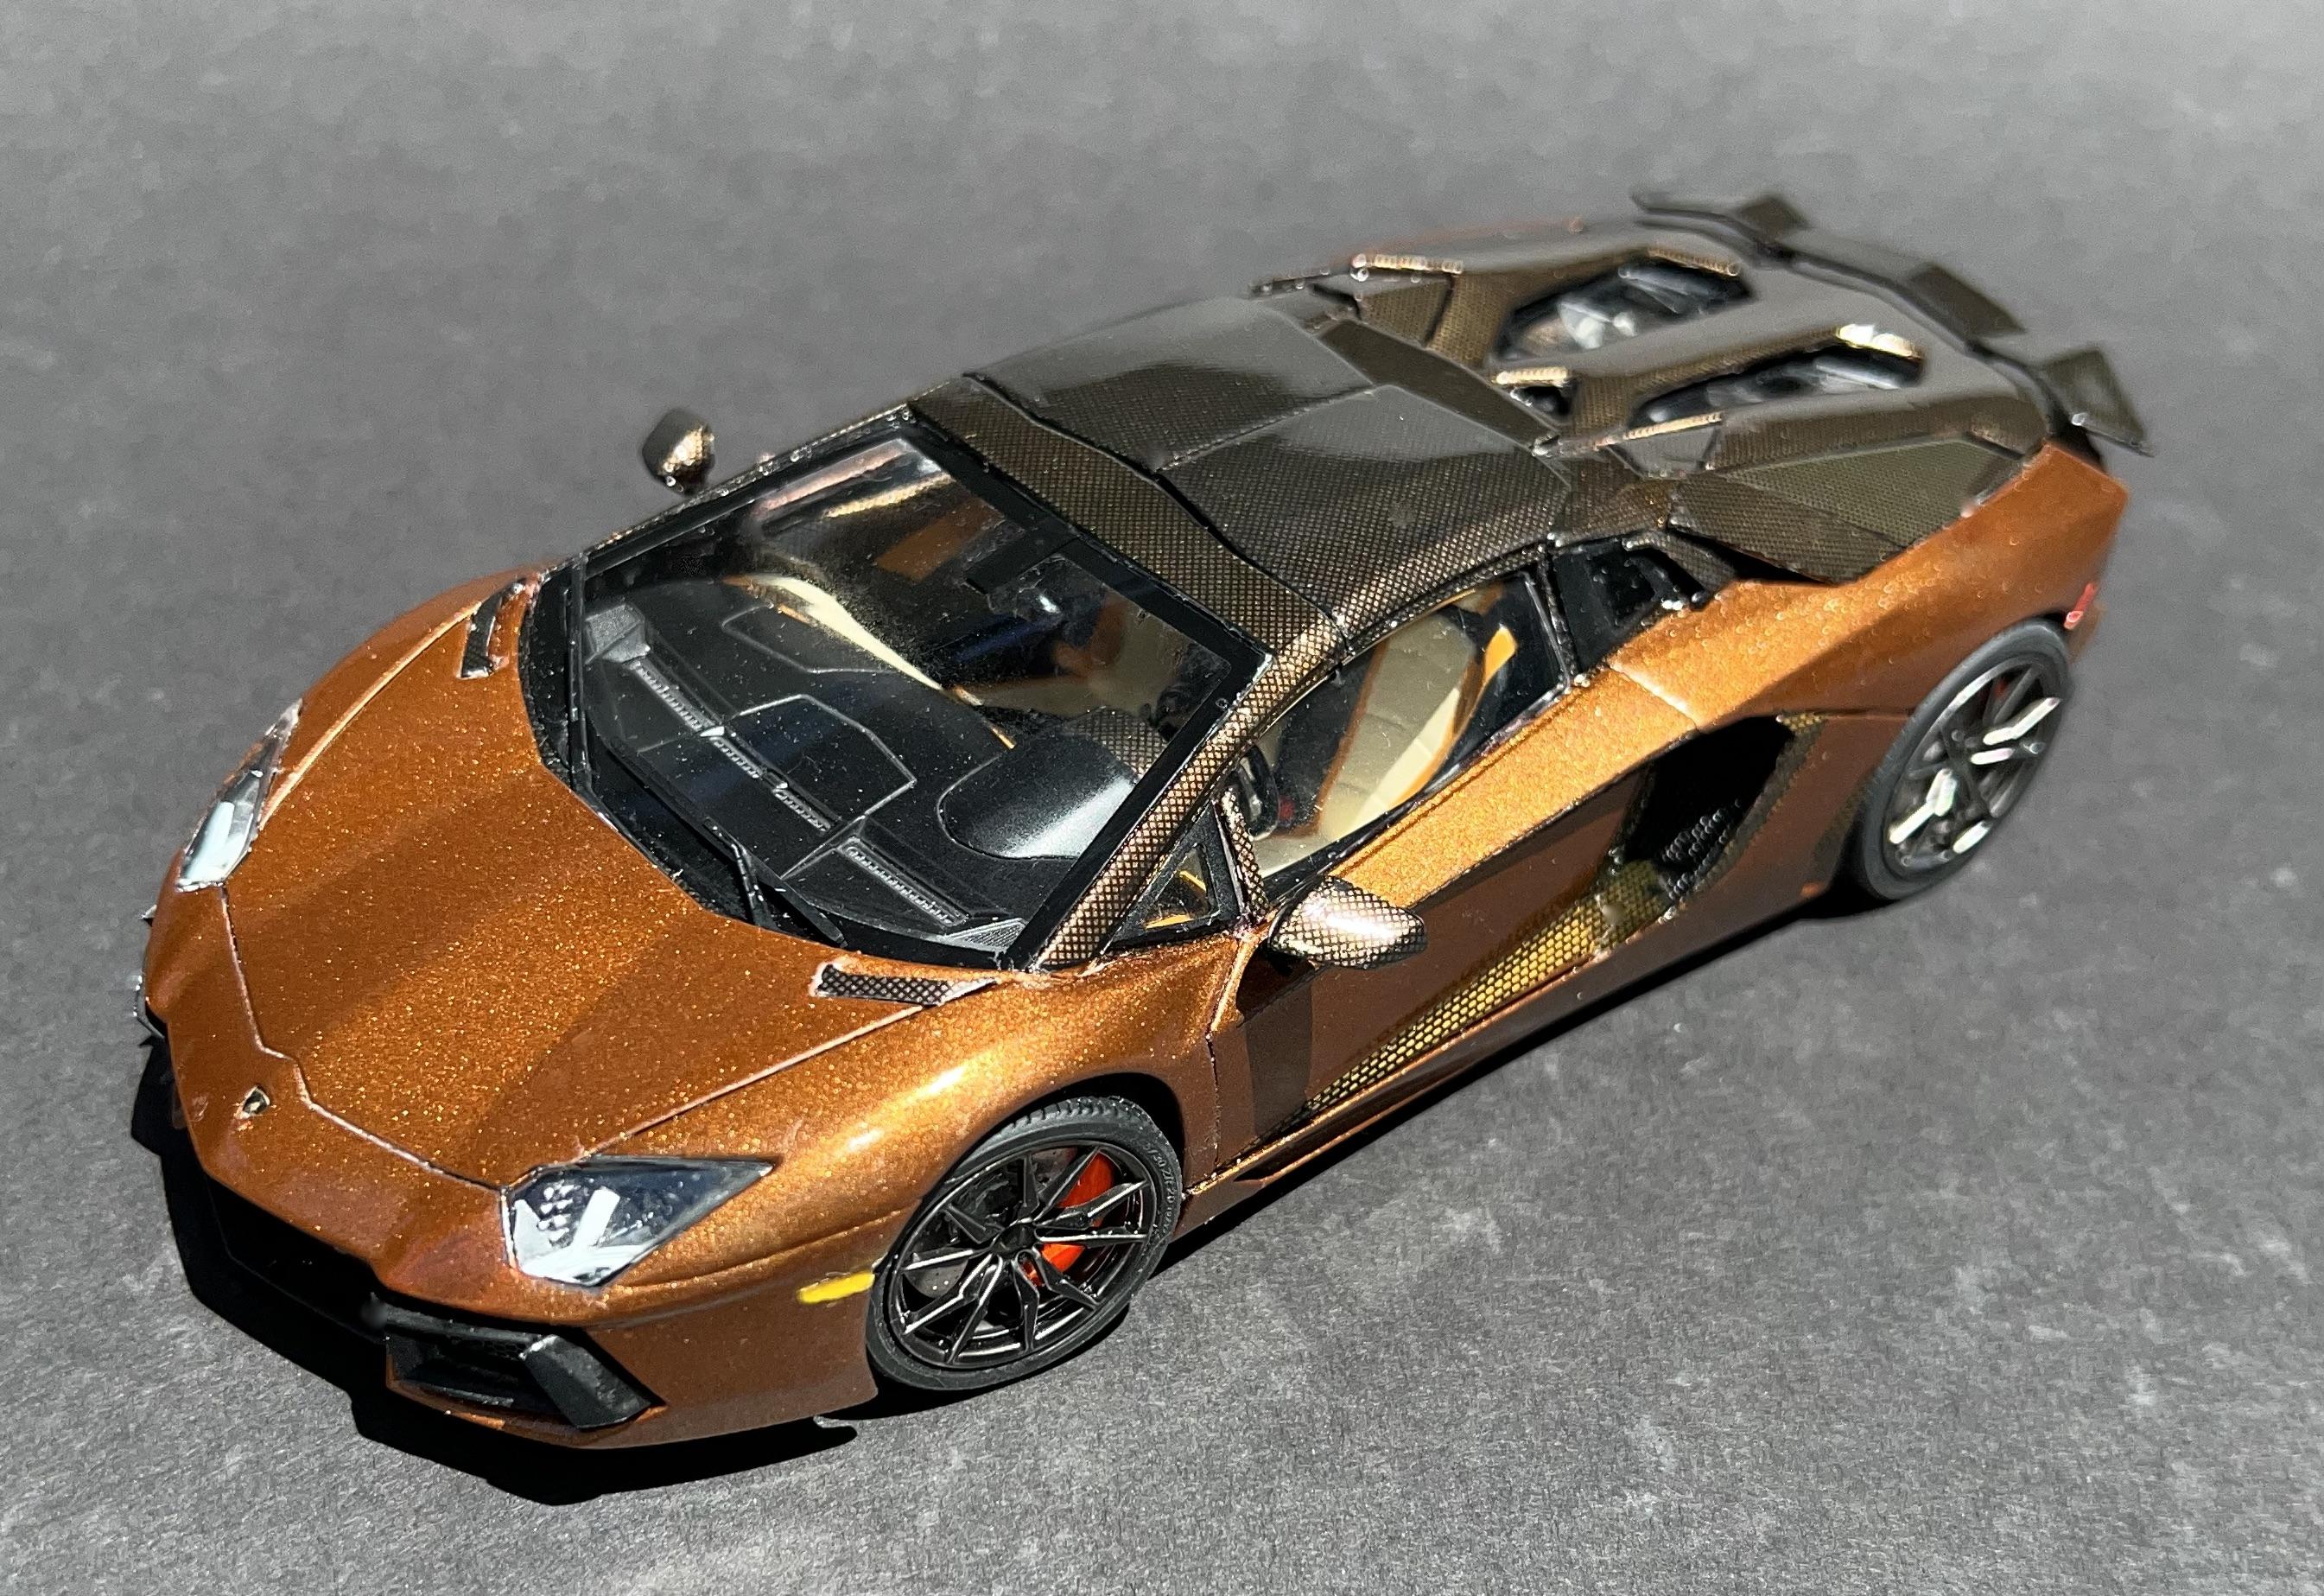
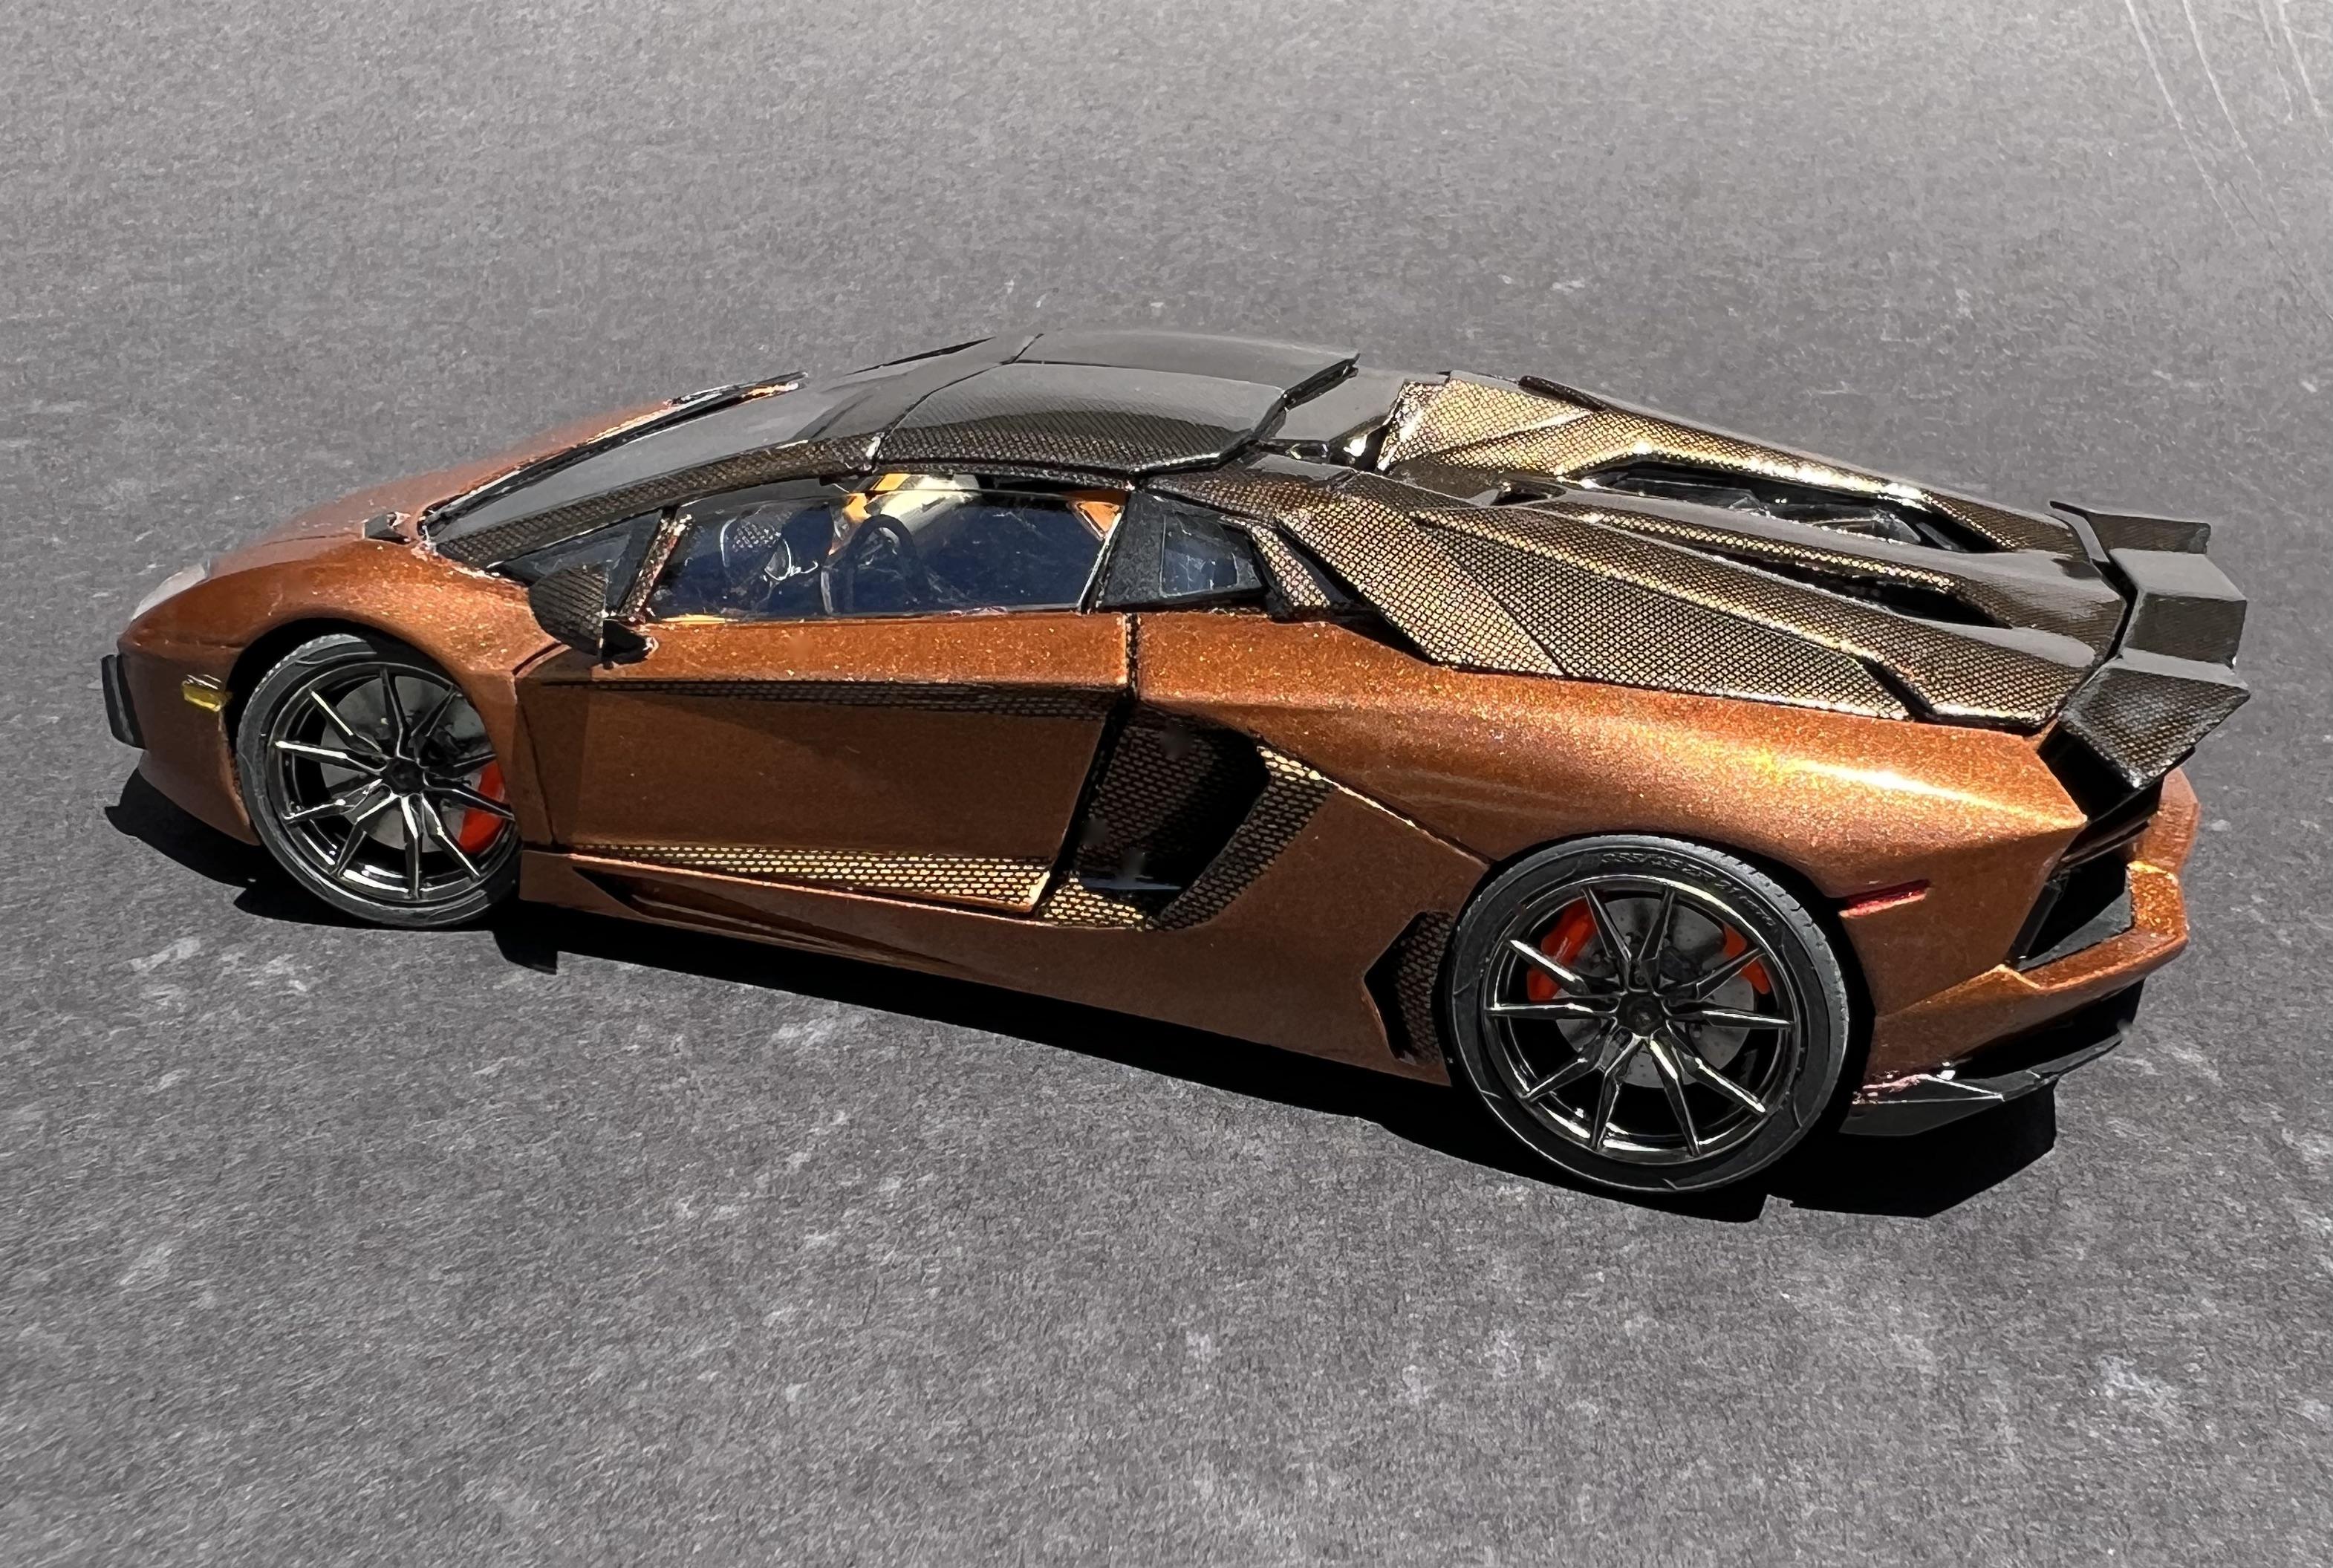
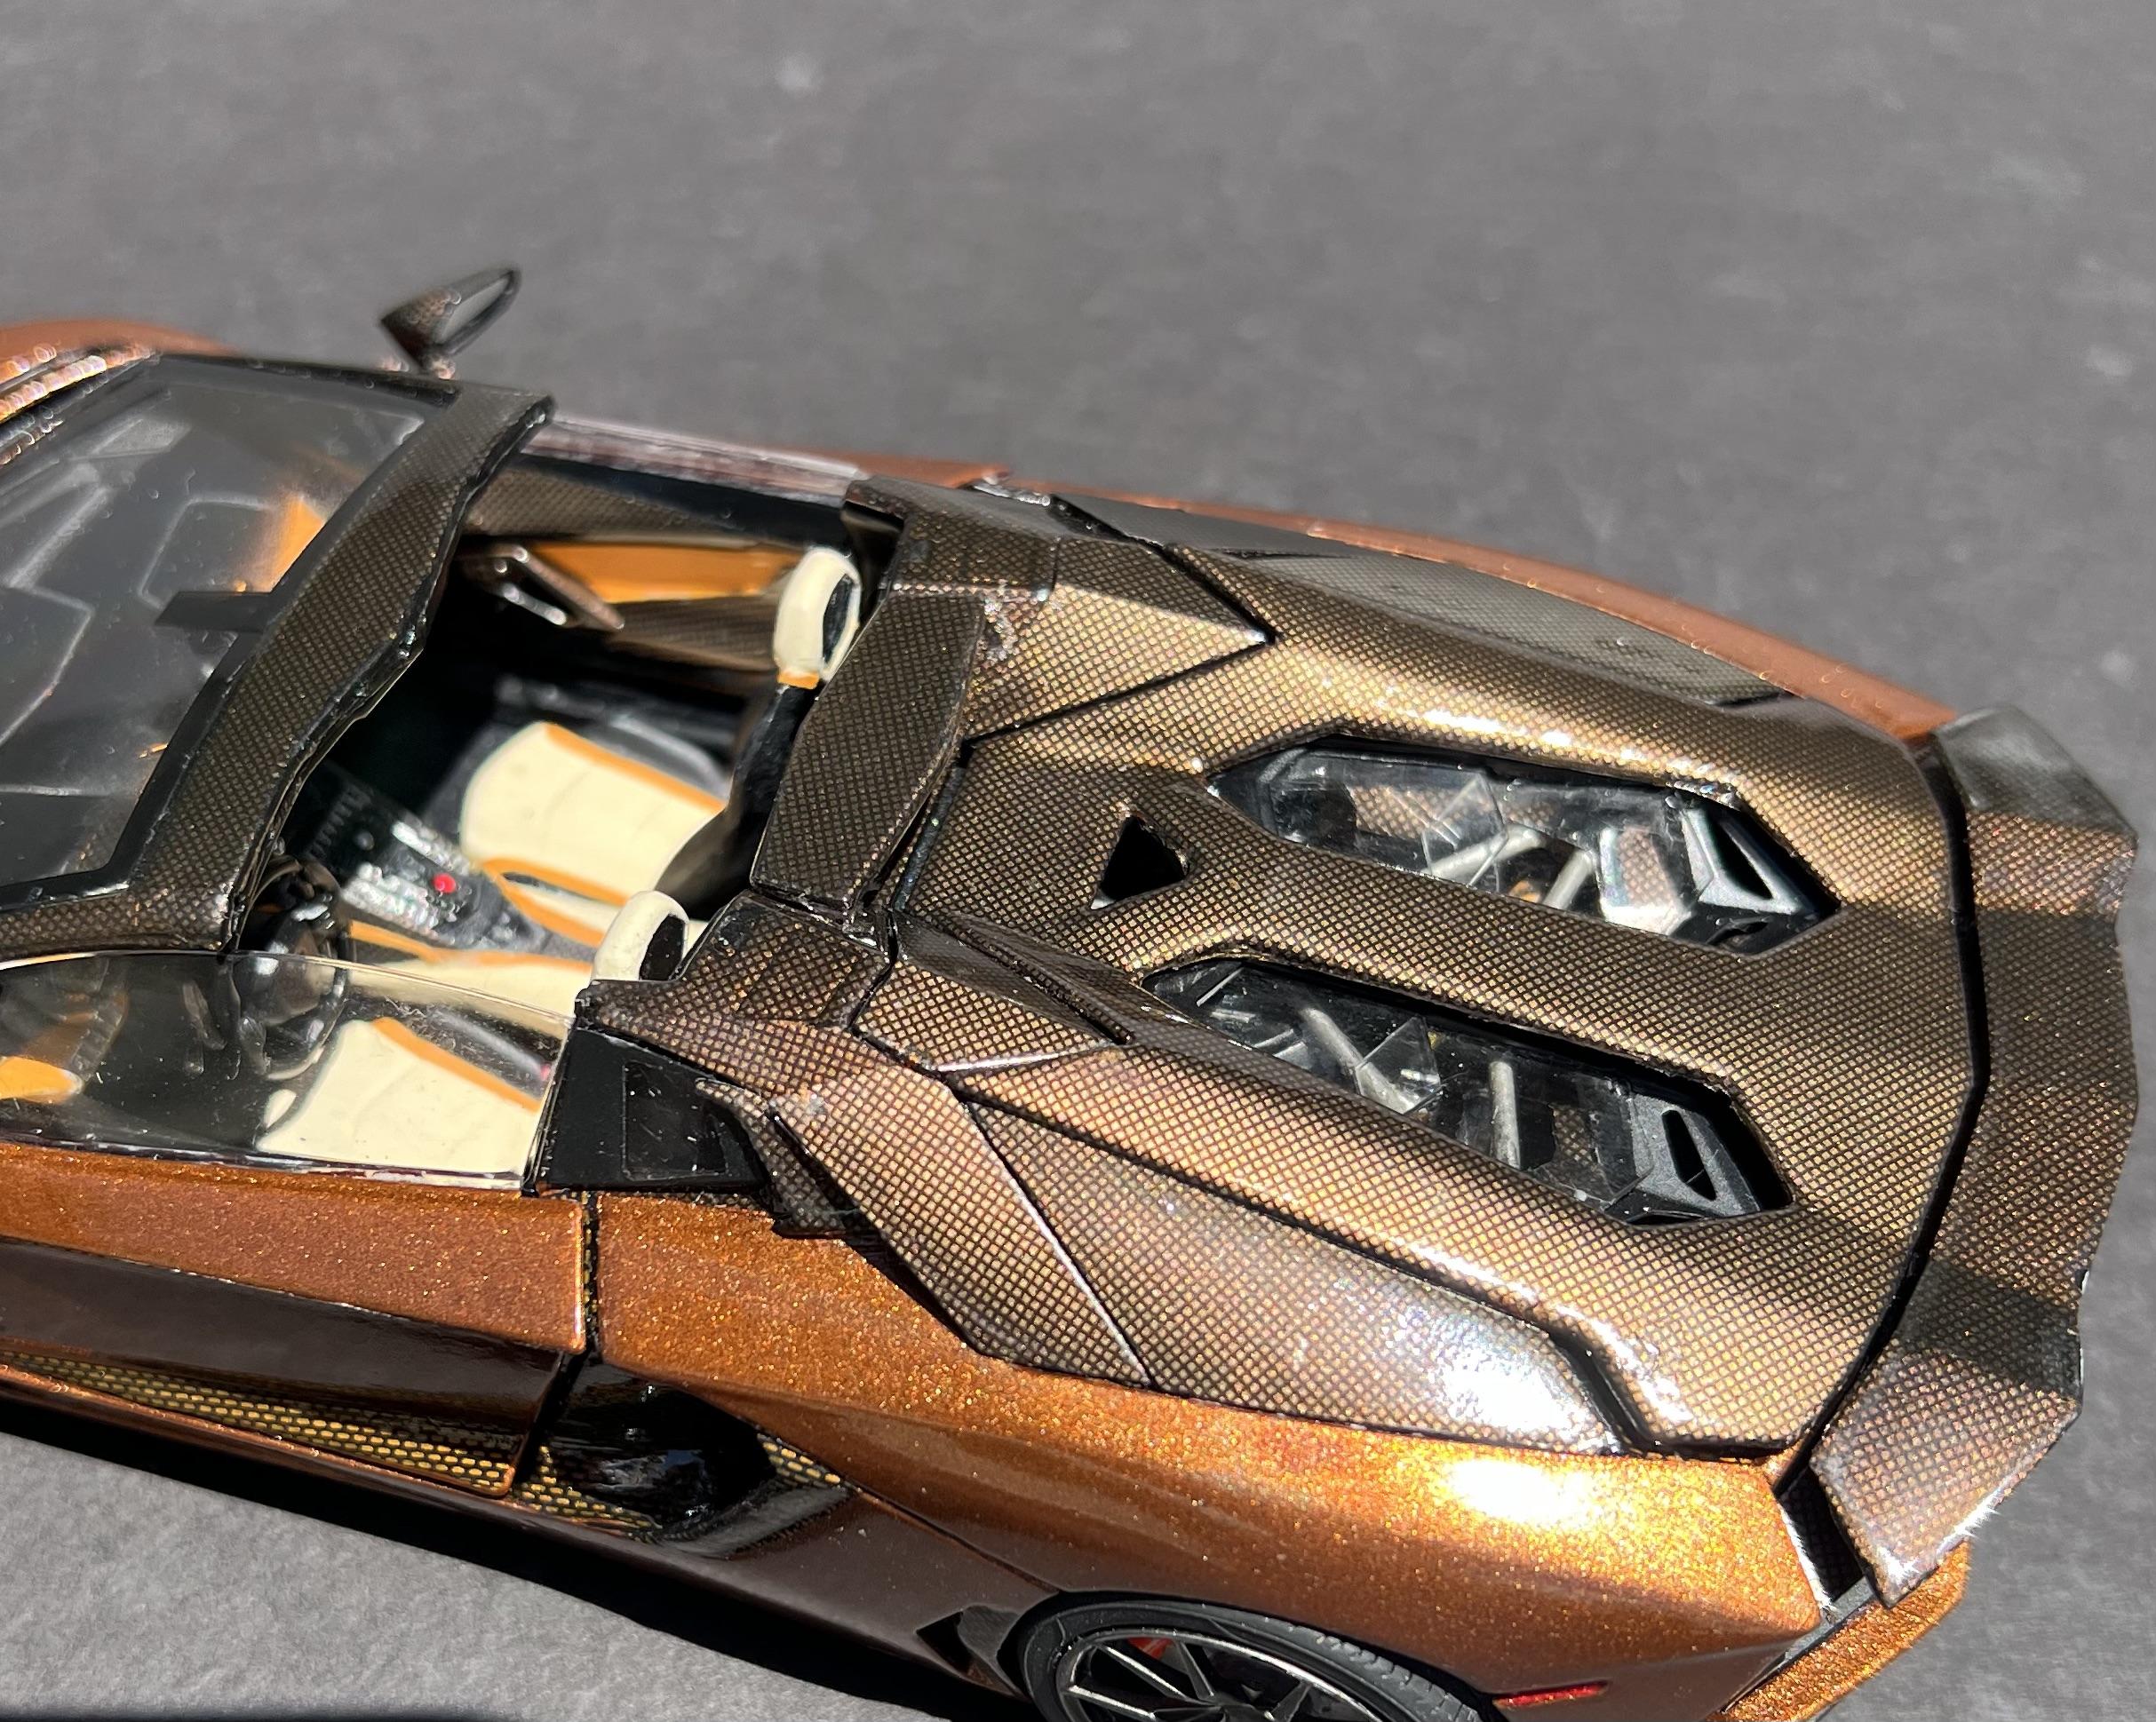
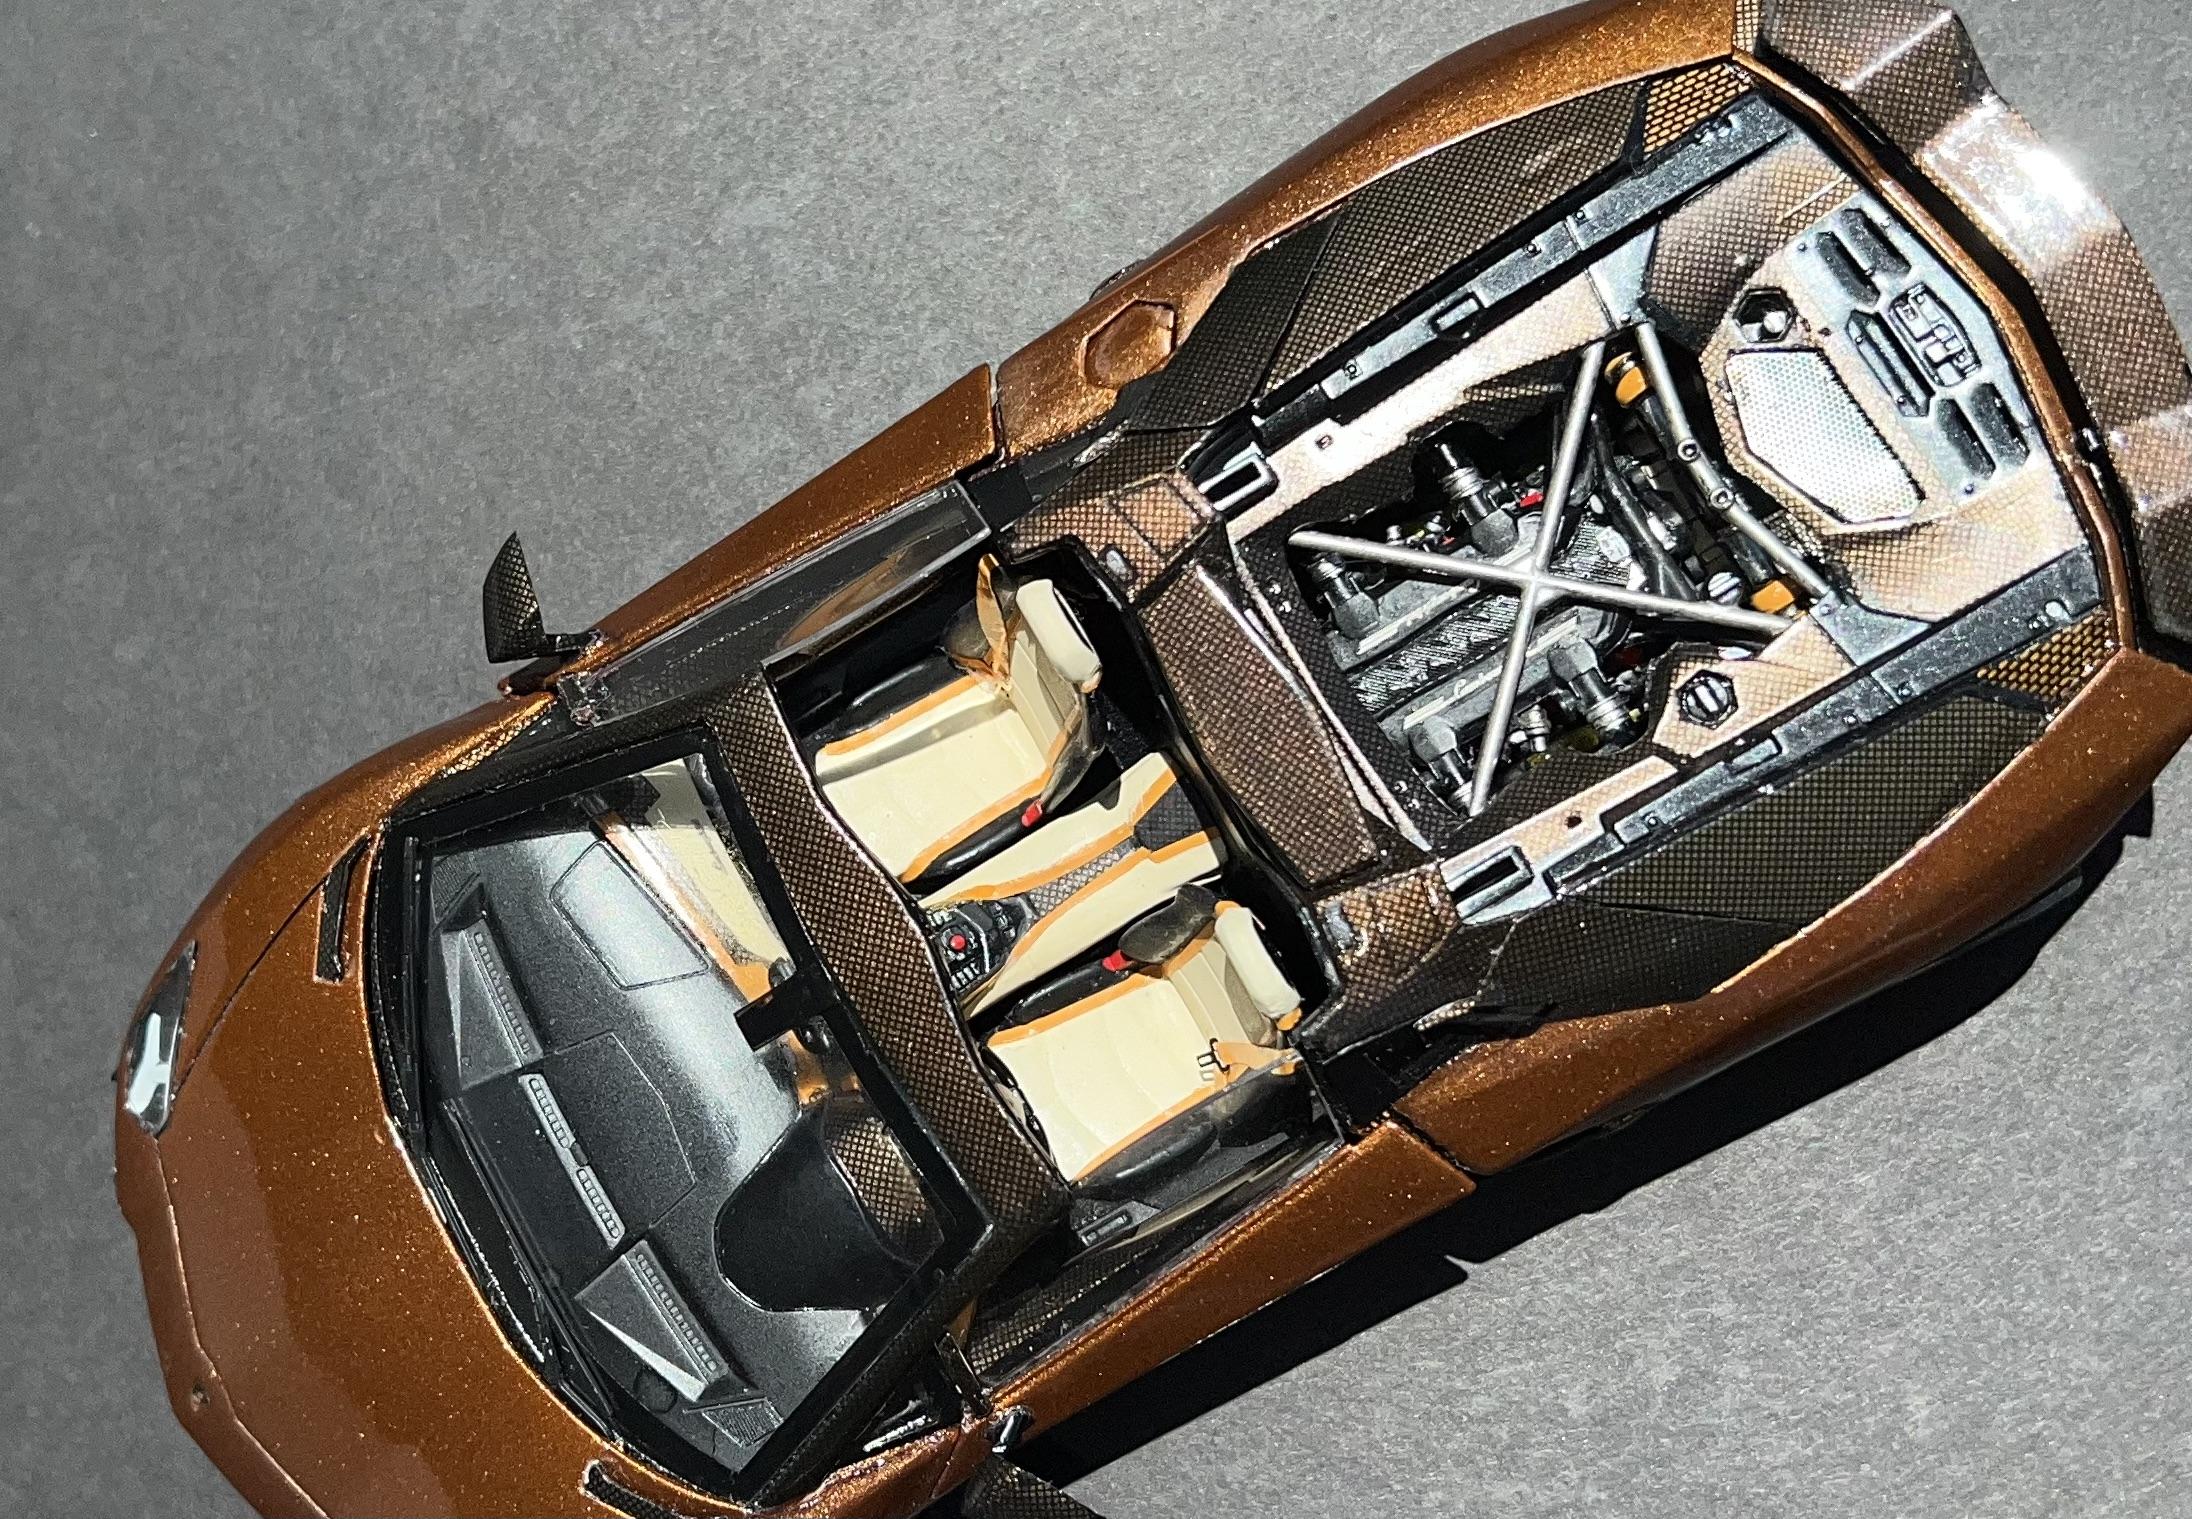
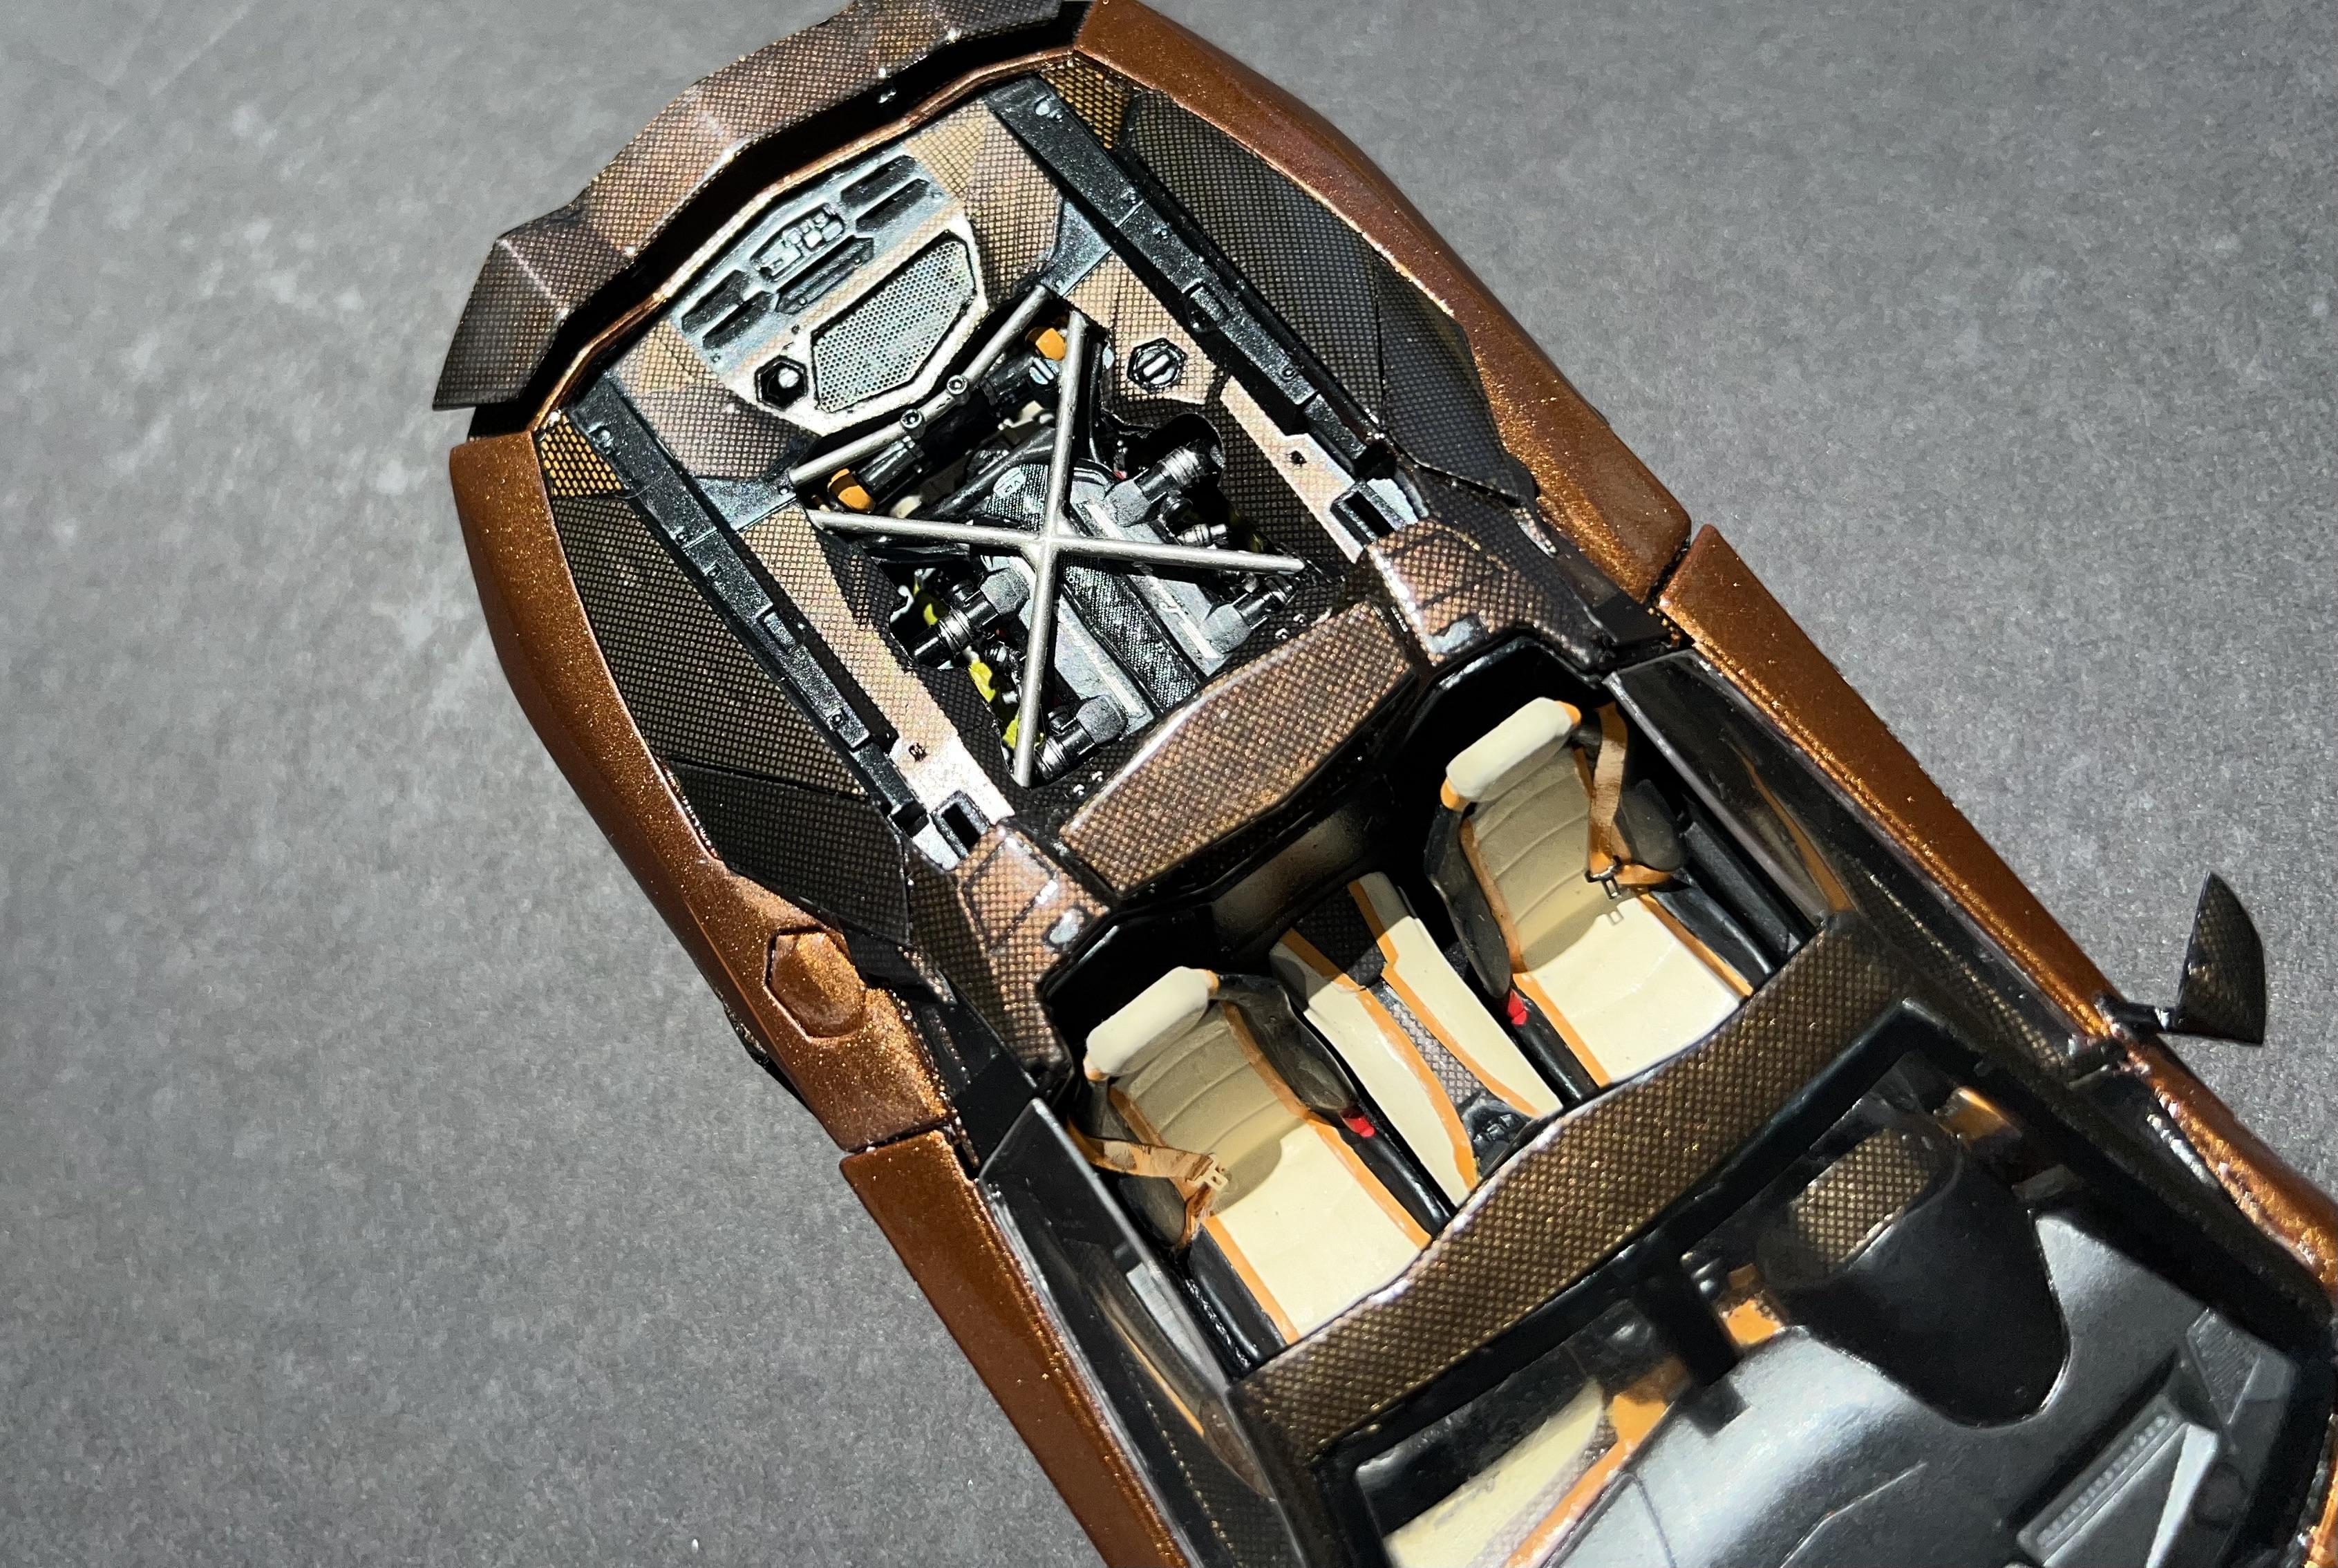
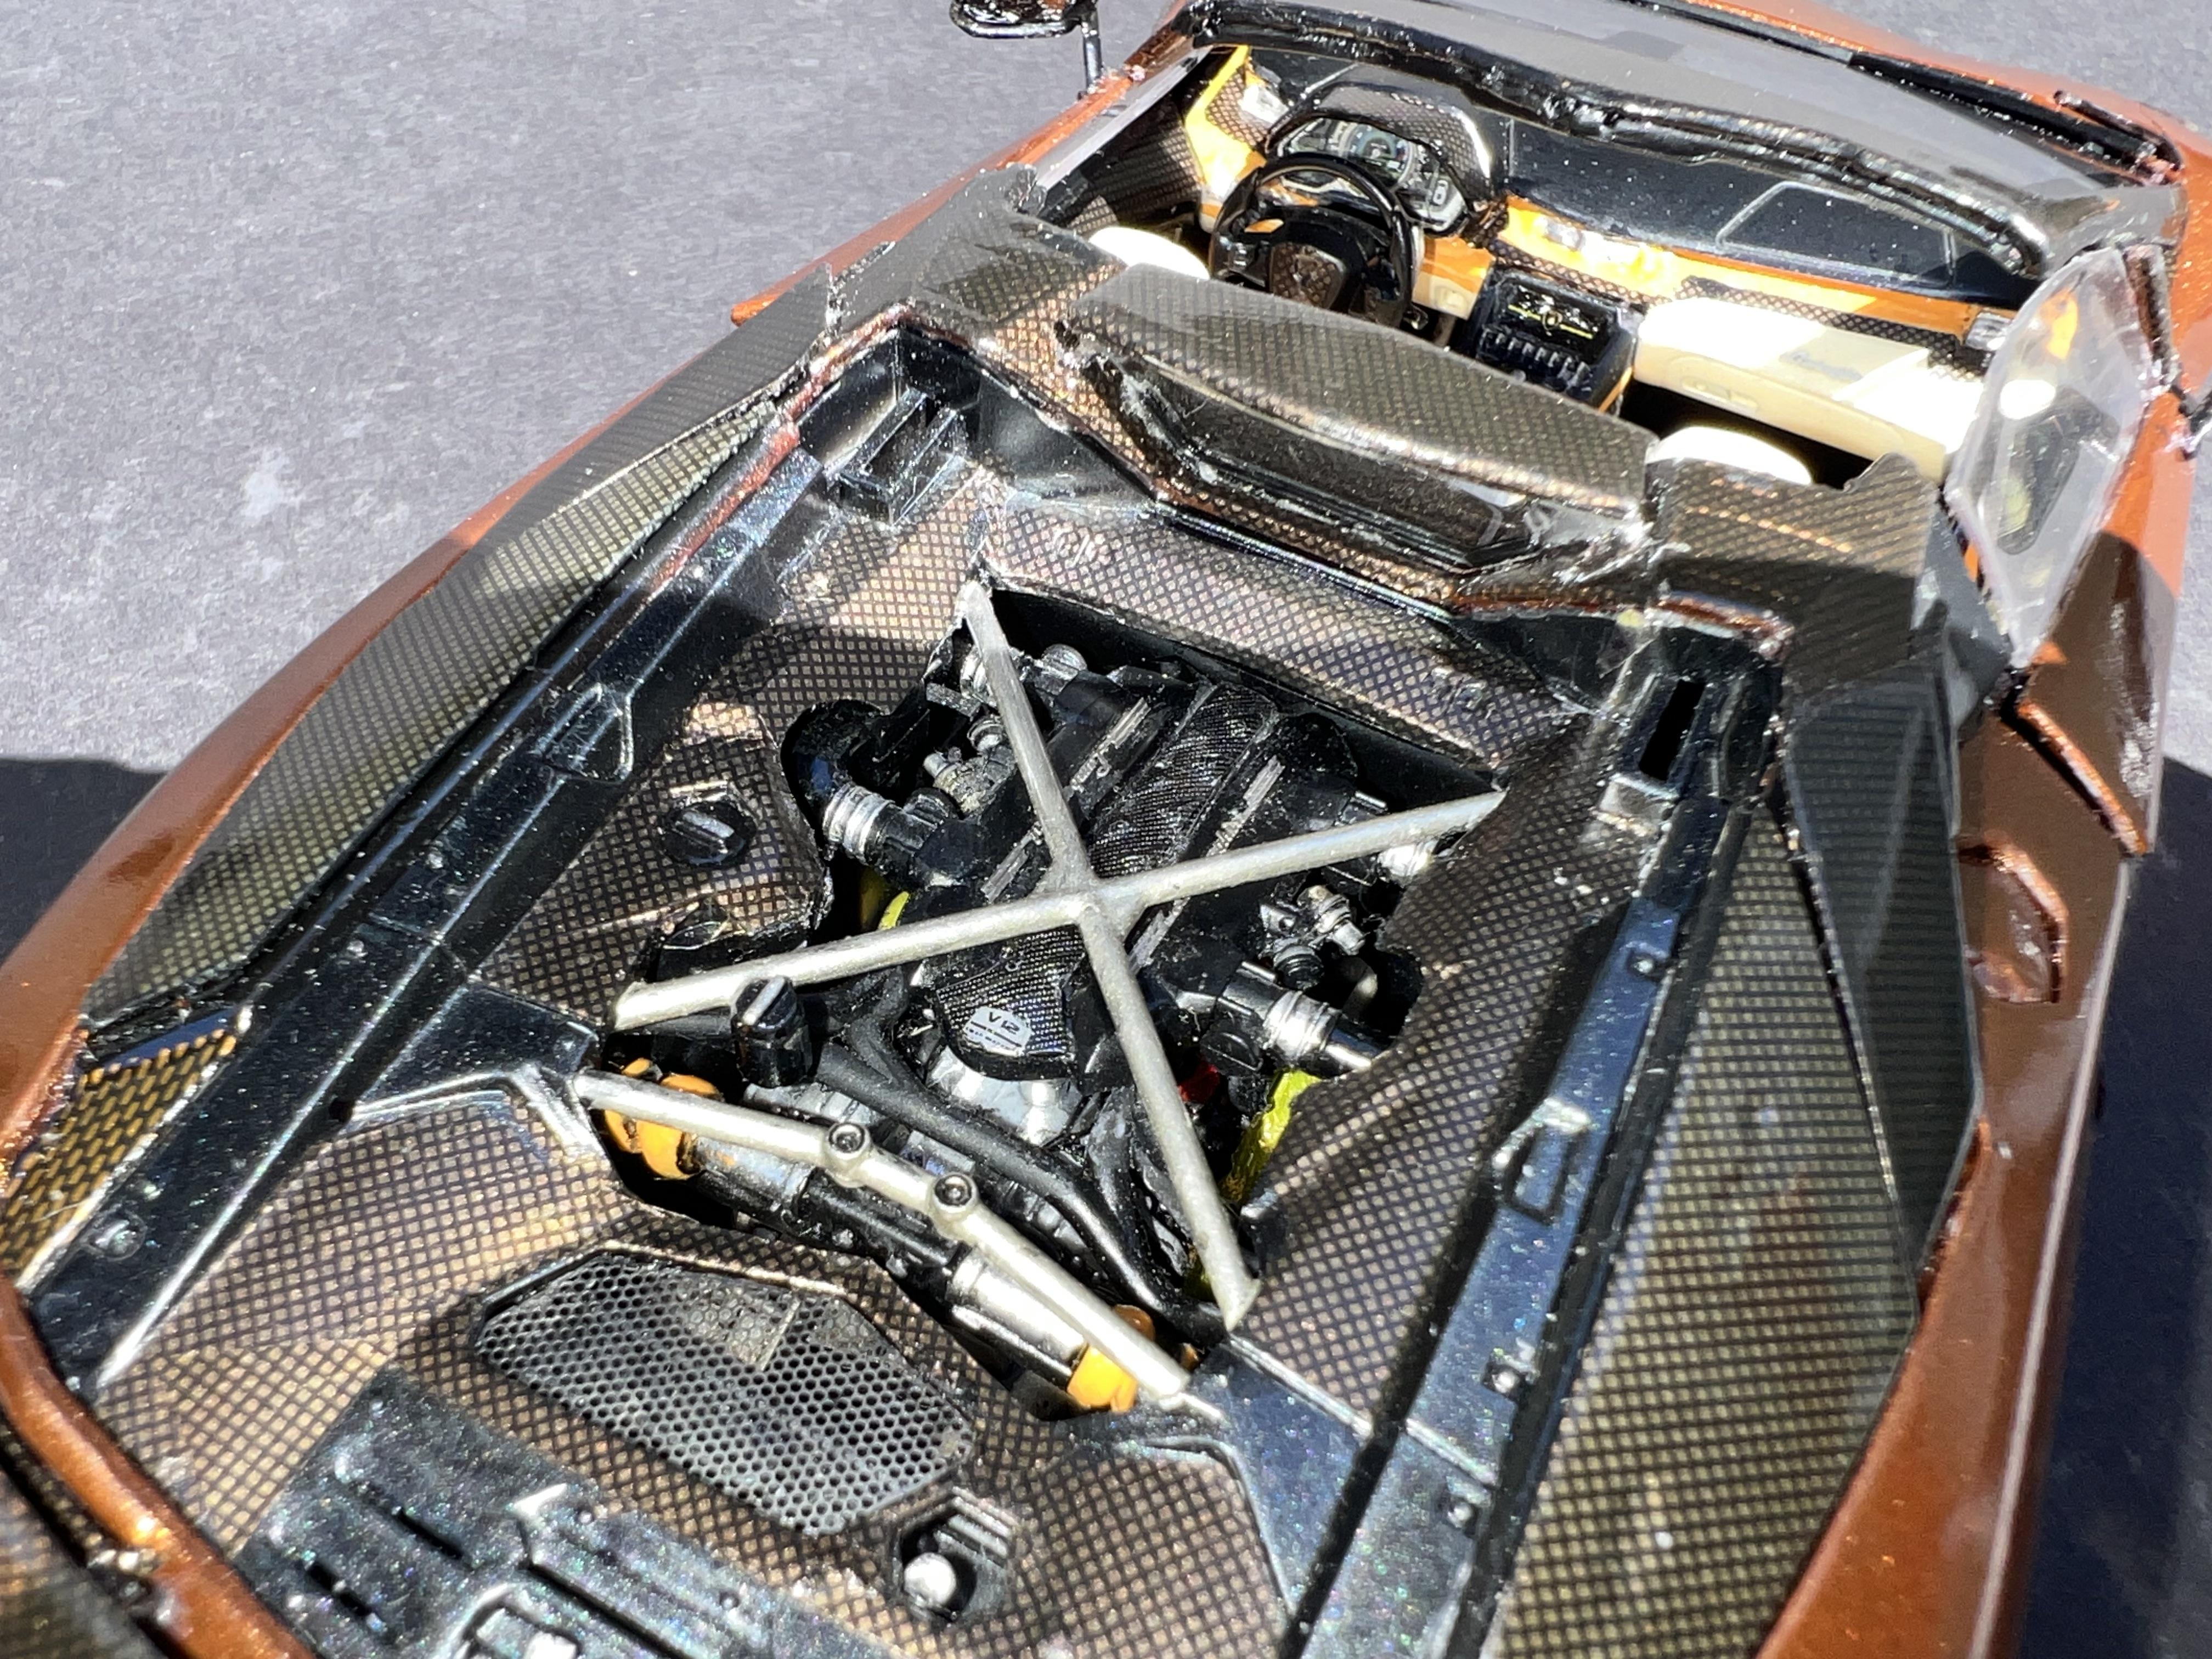
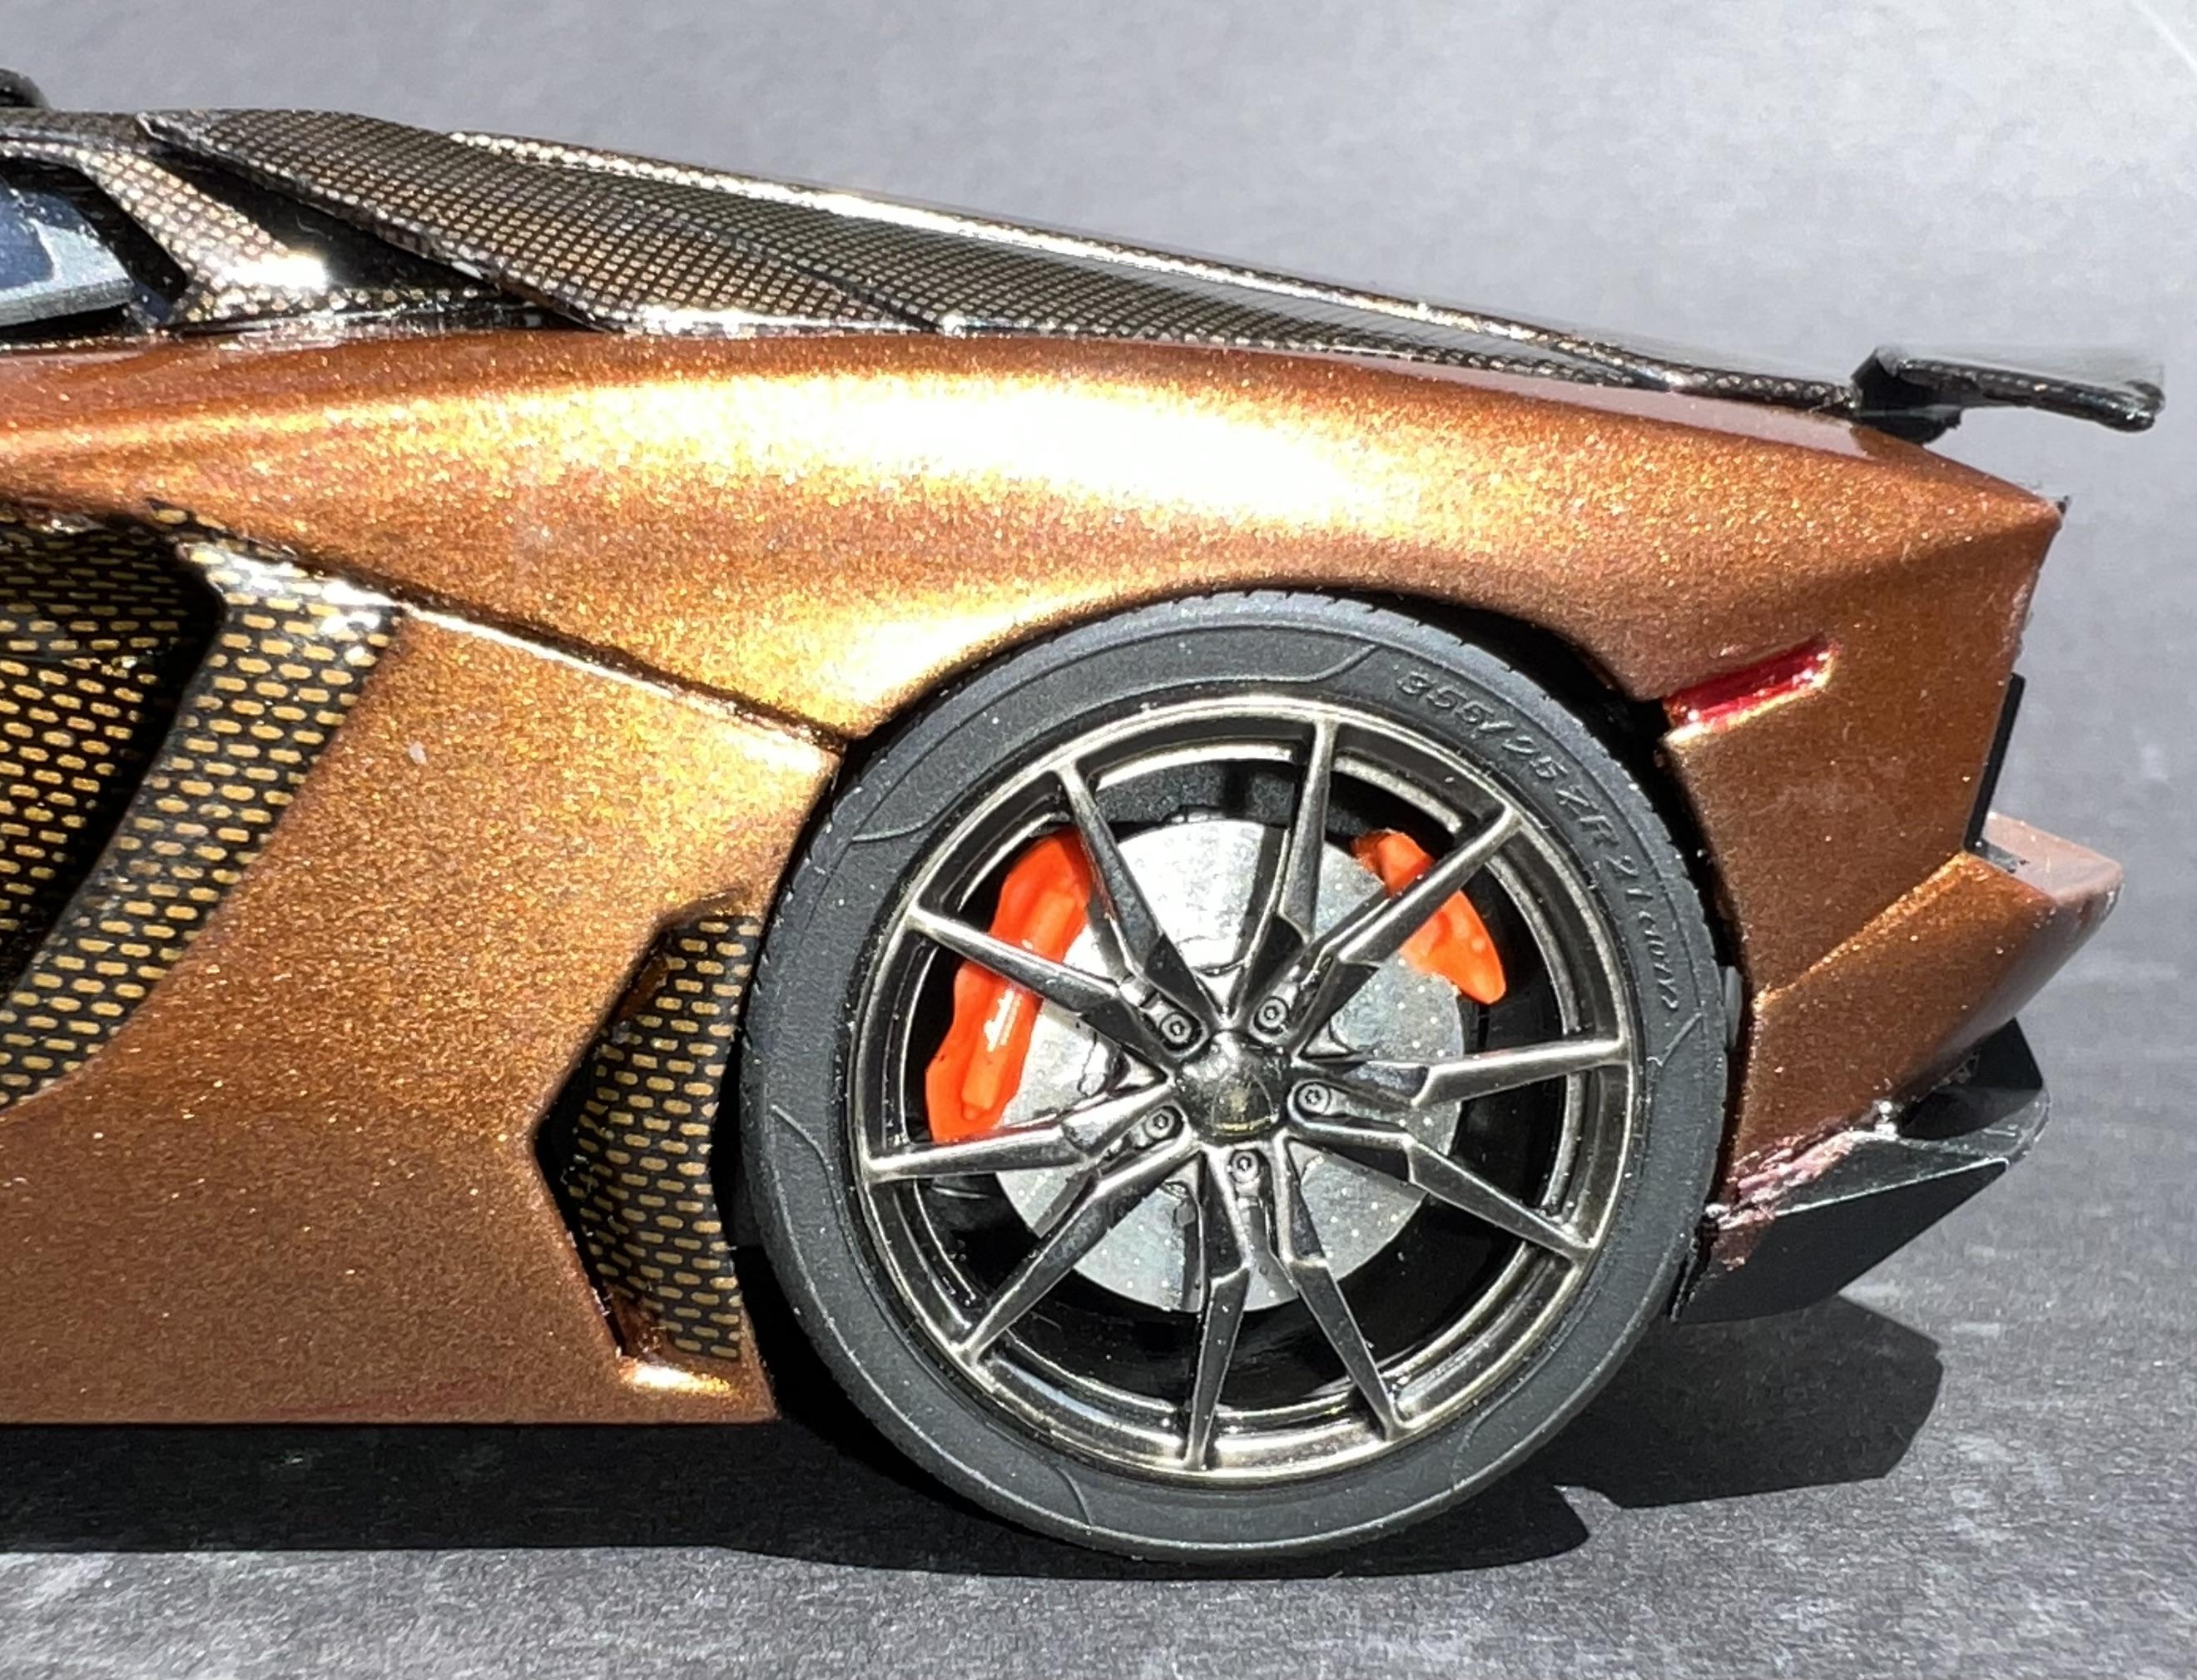
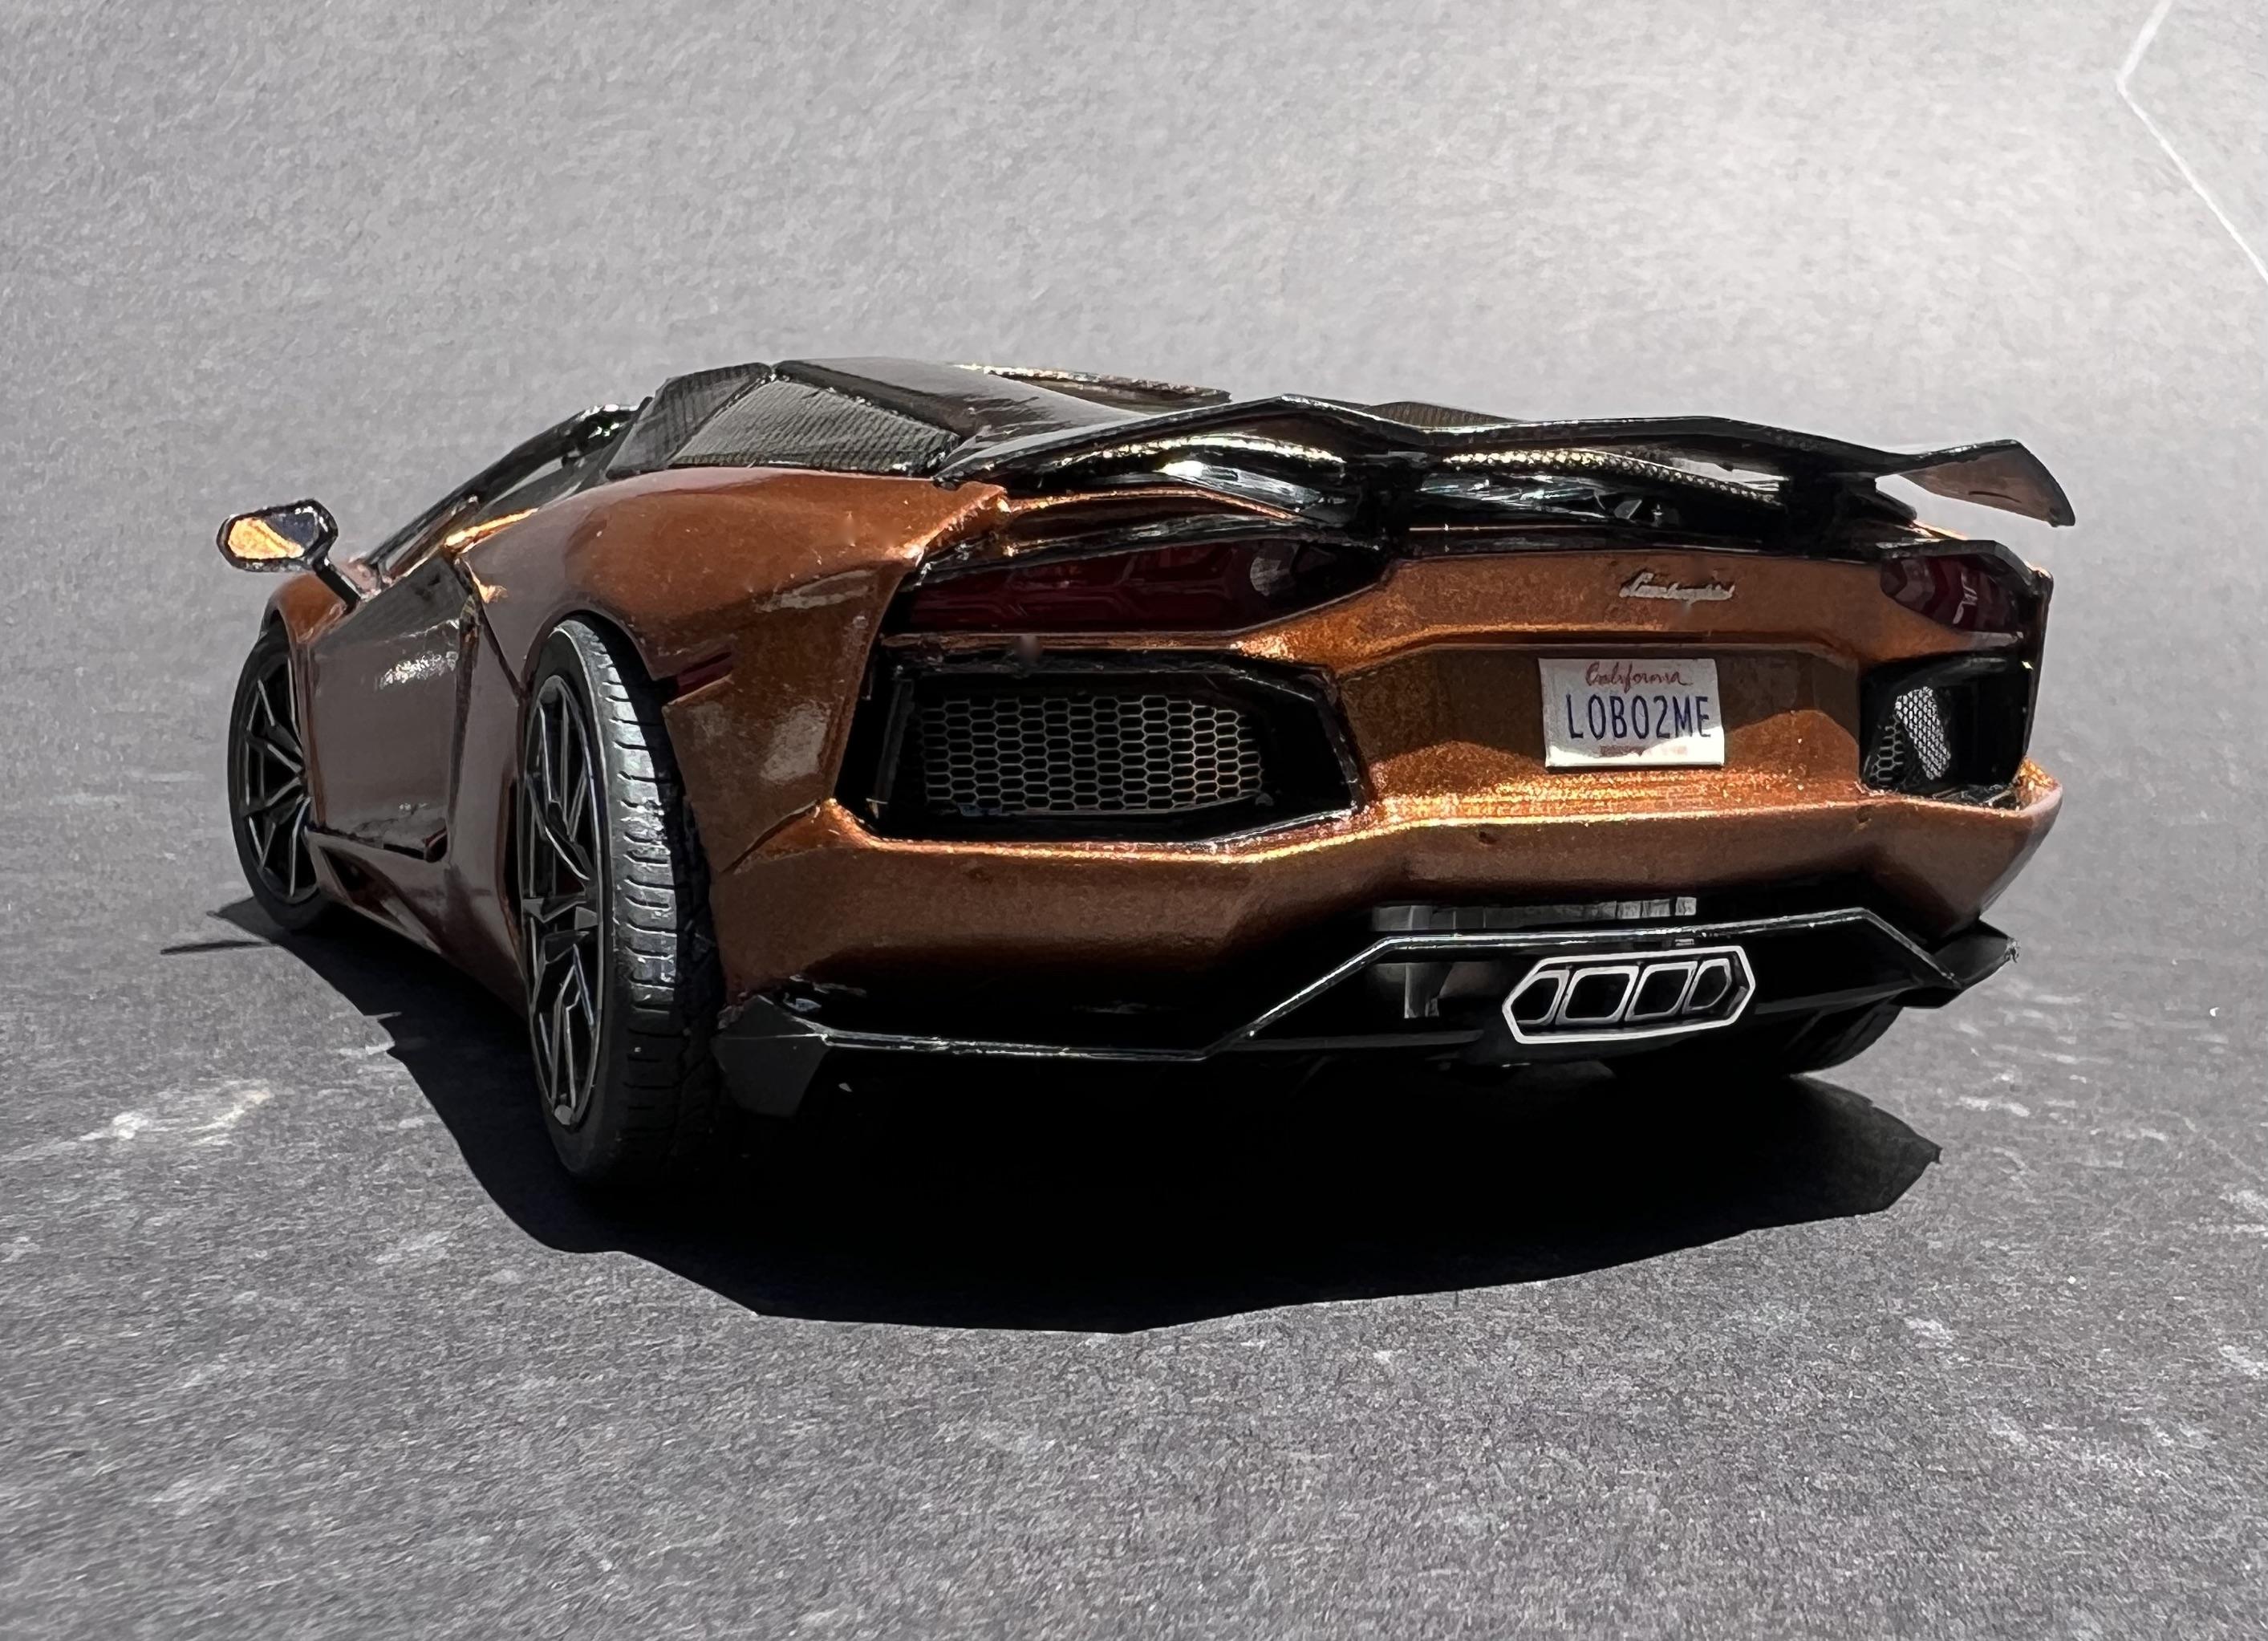
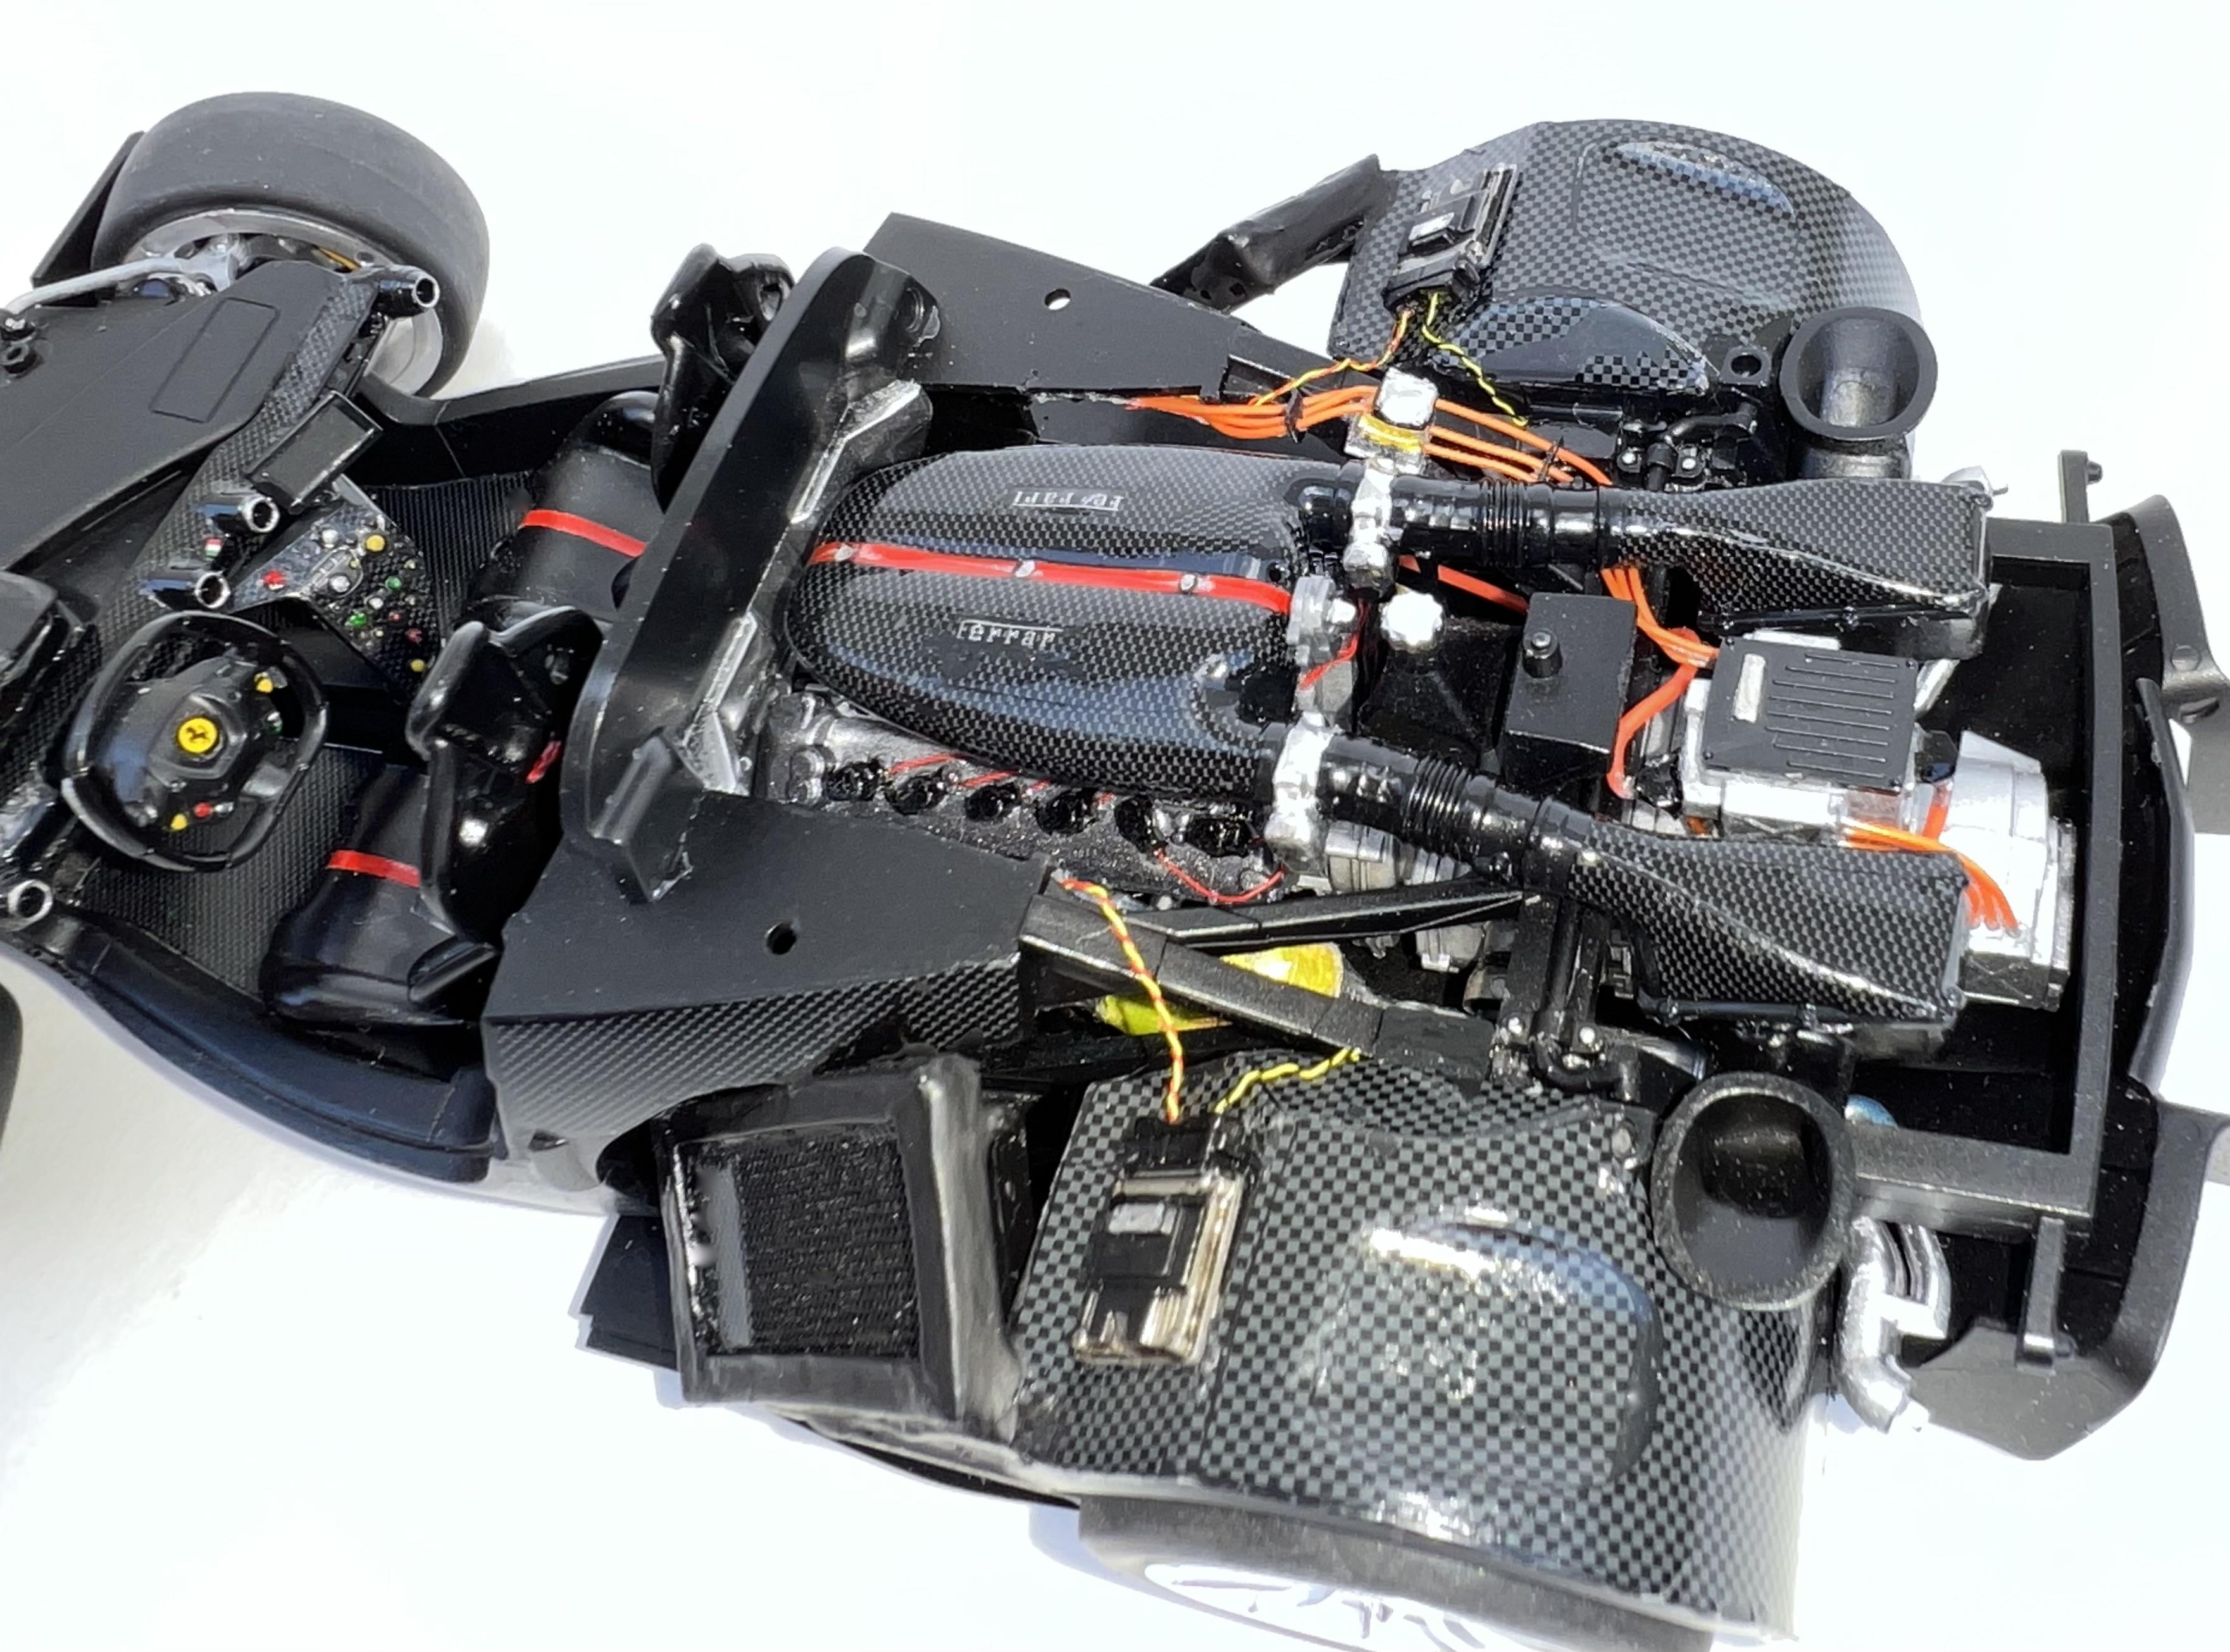
I liked this Aoshima model; it was my first. It was challenging in spots, and I made some bonehead mistakes, but overall, I am happy to park it on the display shelf. I was inspired by a spectacular Liberty Walk Aventador I saw in a forum post a few months ago. The level of detail and craftsmanship was exceptional. I was intrigued, but I wanted to build the Roadster version. I also really liked the paint I saw in the post and wanted something similar that would complement the Kevlar fiber decals I planned to try. But since I was sure the Halford’s brand wasn’t available on this side of the pond, I began experimenting with several different rattle cans. My first attempt failed miserably, but I eventually achieved the desired effect by hitting it with three very light mist coats of Tamiya, Metallic Orange (TS92) over Testors, Root Beer, One Coat Lacquer. Two types of Kevlar fiber decals are applied in strategic areas. I am happy with the results, although the pics below, taken in bright sunlight, look much brighter (close to full/opaque TS92) than how it looks indoors, which is the look I was going for. All comments are appreciated. Thanks for looking.

- 10 replies
-
- 11
-

-
Very cool kit bash. Nice job!
-
You just turned up the heat on me to finish up the Aventador Roadster on my bench. Nice job and thanks for the motivation!
-
Martin; This baby is absolutely incredible. One of the very best and coolest models I've ever seen. Love the cowl strap and all your 3d additions, and your attention to detail and photography is superb! Thanks for sharing!!!!
-
A nice tribute and very well done. Enjoyed the story....thanks!
-
Nicely done! Excellent reshaping of the hind quarters, reengineering of the running gear, flipping the dash and footwells, and outstanding photography. I also really enjoyed the "skinny" and "fatty" comparison!
-
Very cool! Keep modeling!!!!
-
Rut row....another GM "almost." Nice job on this interesting subject matter! Really like the "ejection seats." Well done!!!
-
Really nice job all the way around! Great paint, detail, and foil work....well done!
-
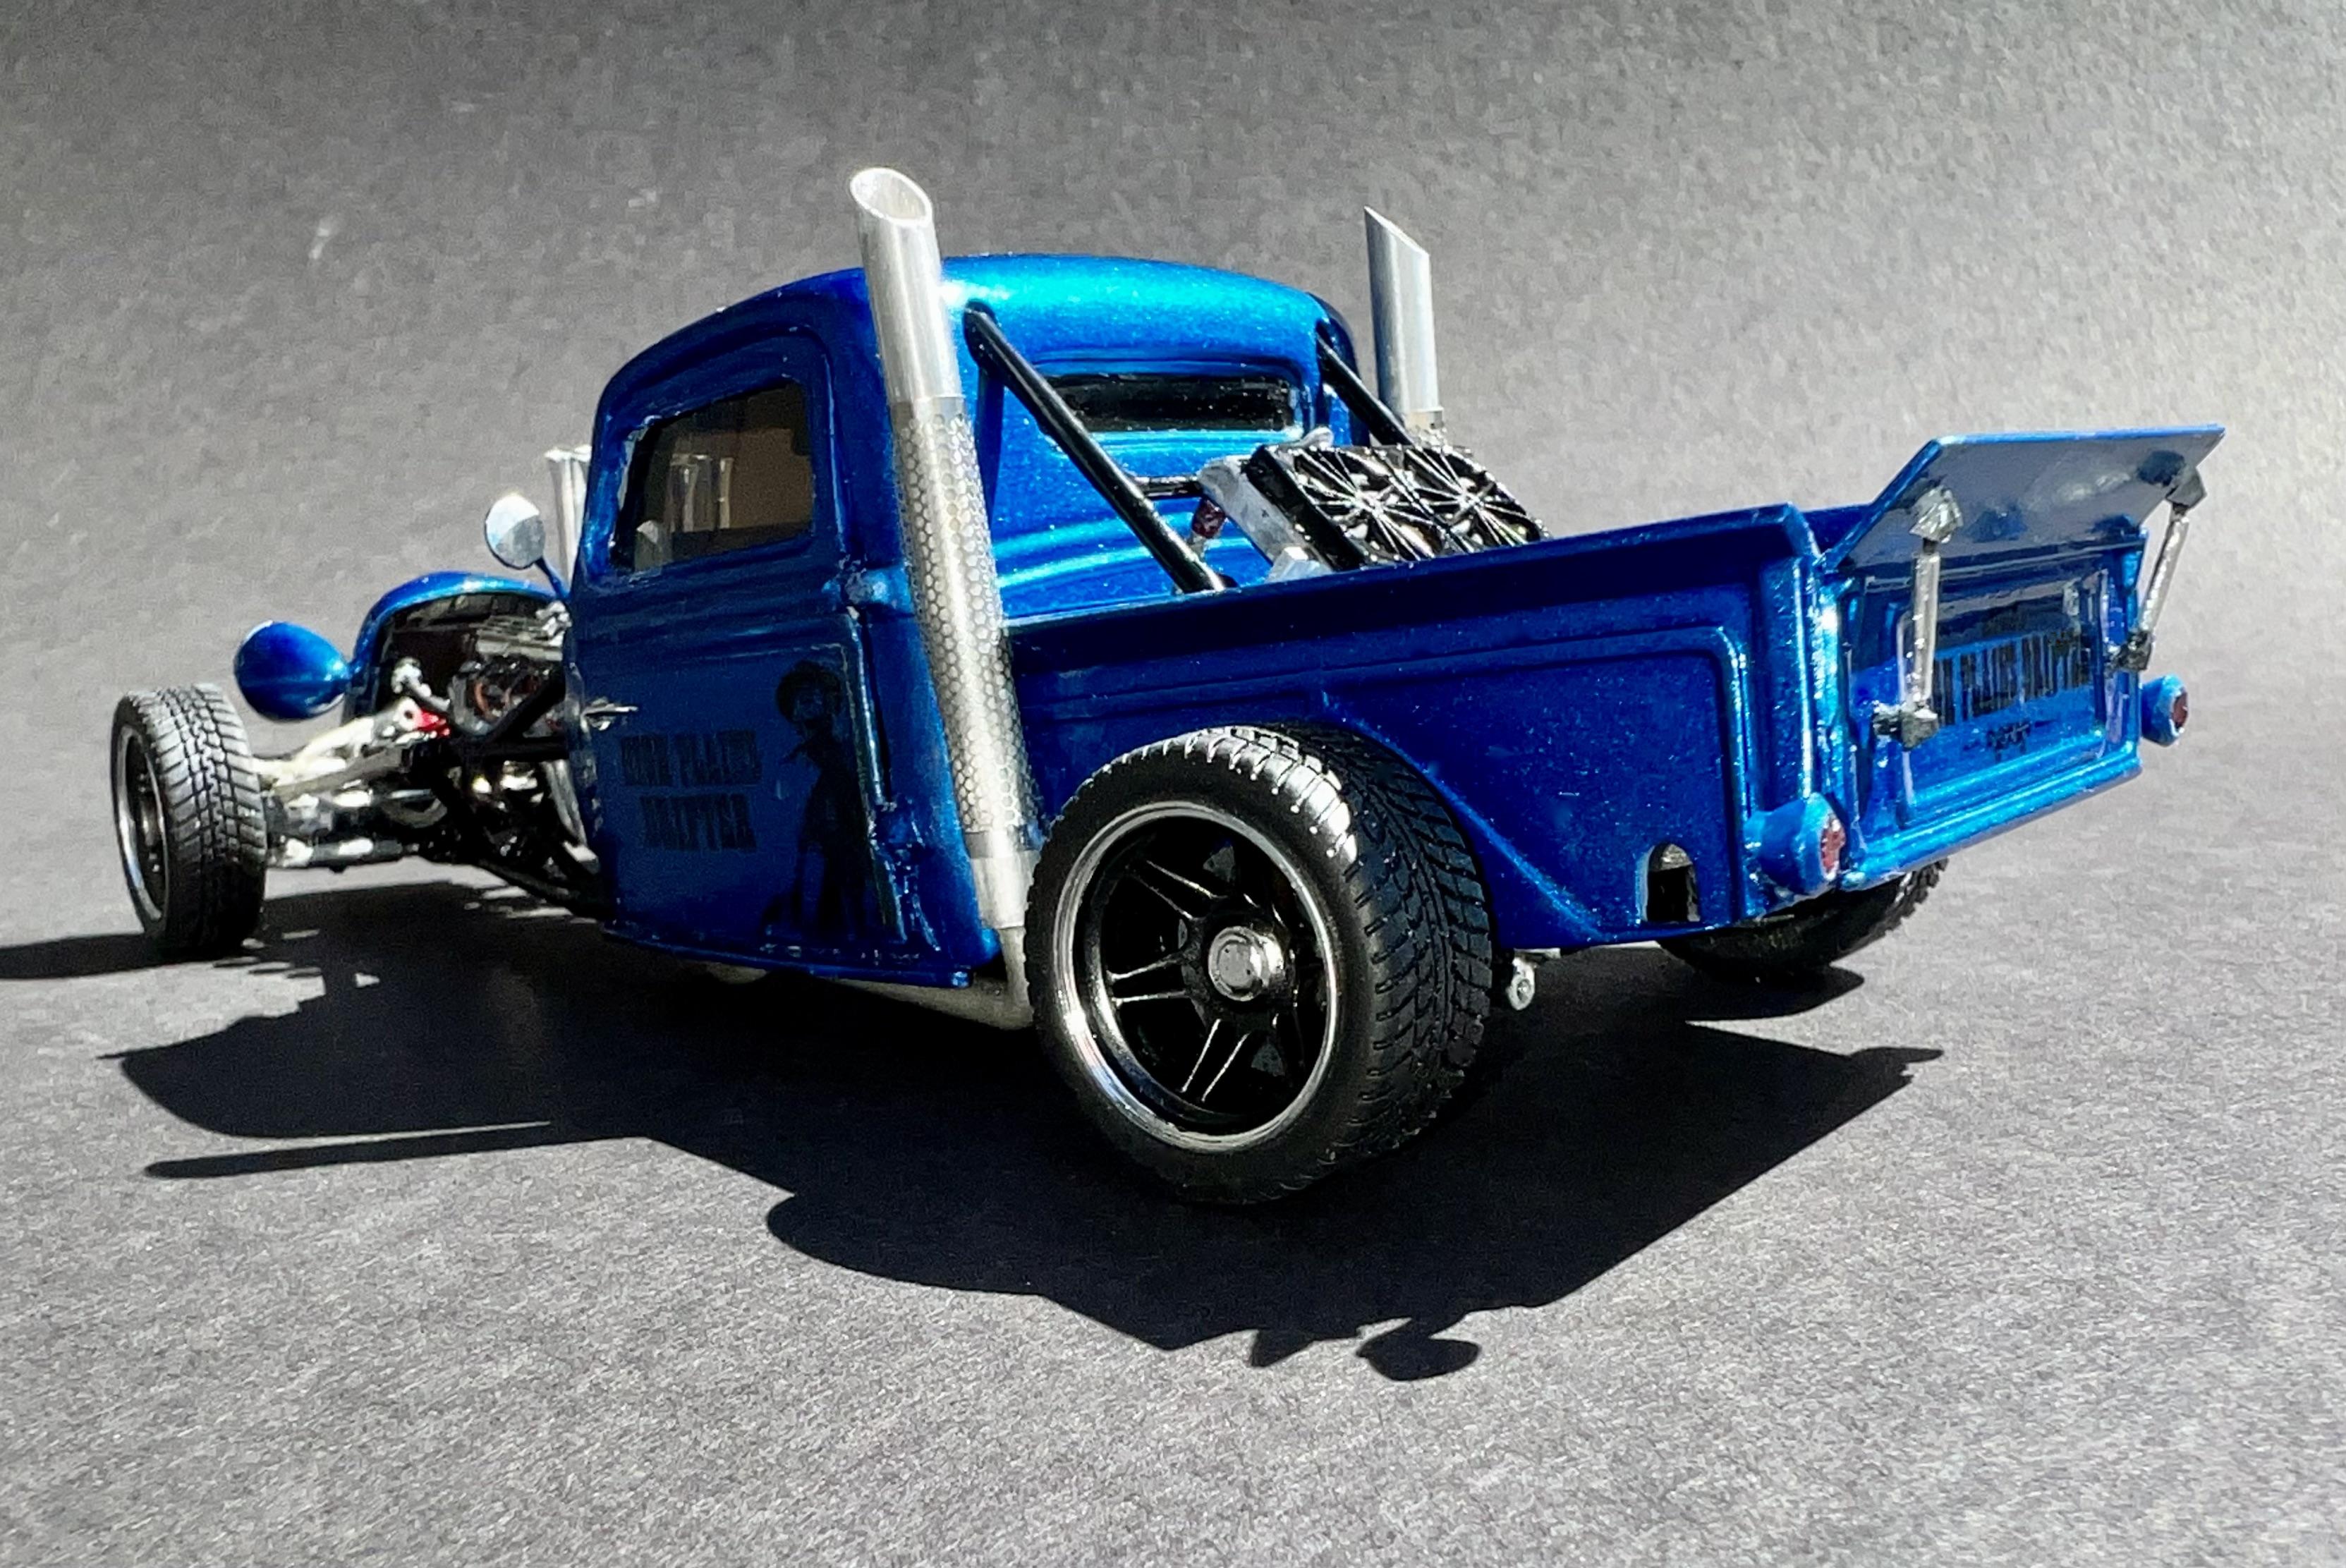
VERY COOL! Fat fender flairs and a monster-blown HEMI. What not to like? Well done and thanks for sharing.
-
I've never done this before. After sharing pics of my latest build with several close pals, one came back complaining that I could have /should have spent more time on the semi-truck-style exhaust stacks. So, I buckled and added heat shields. Take that!
-
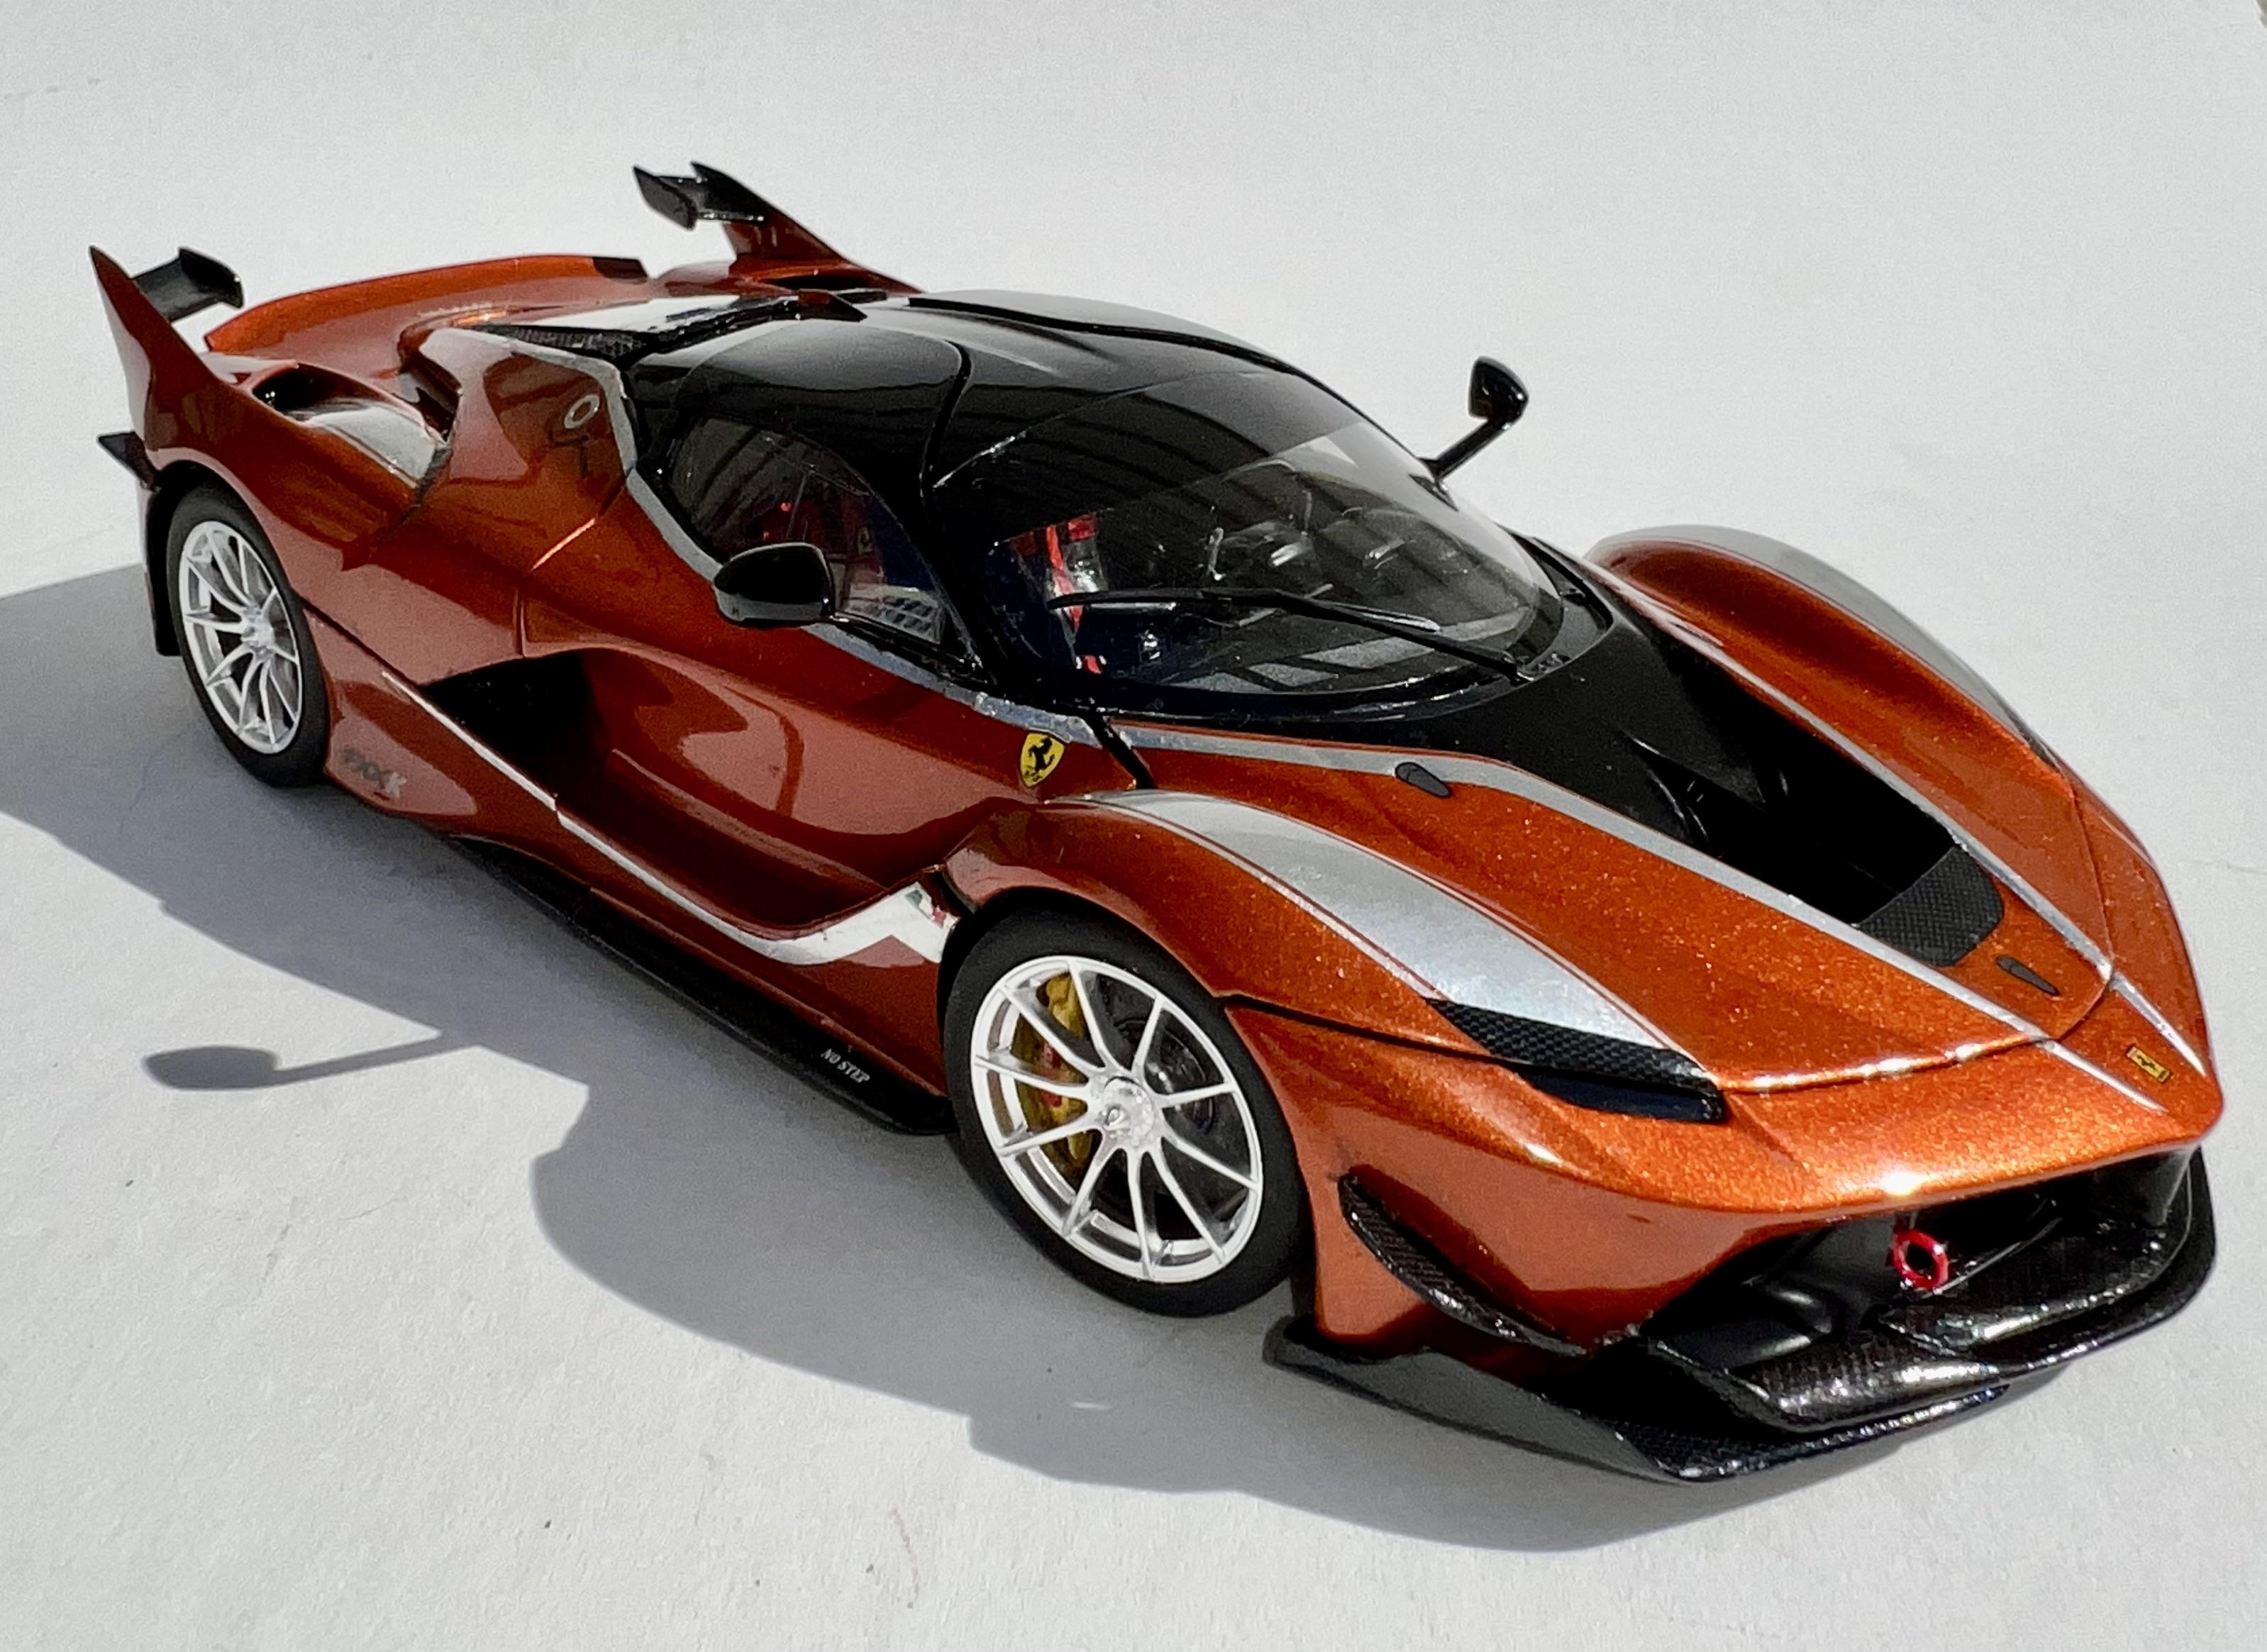
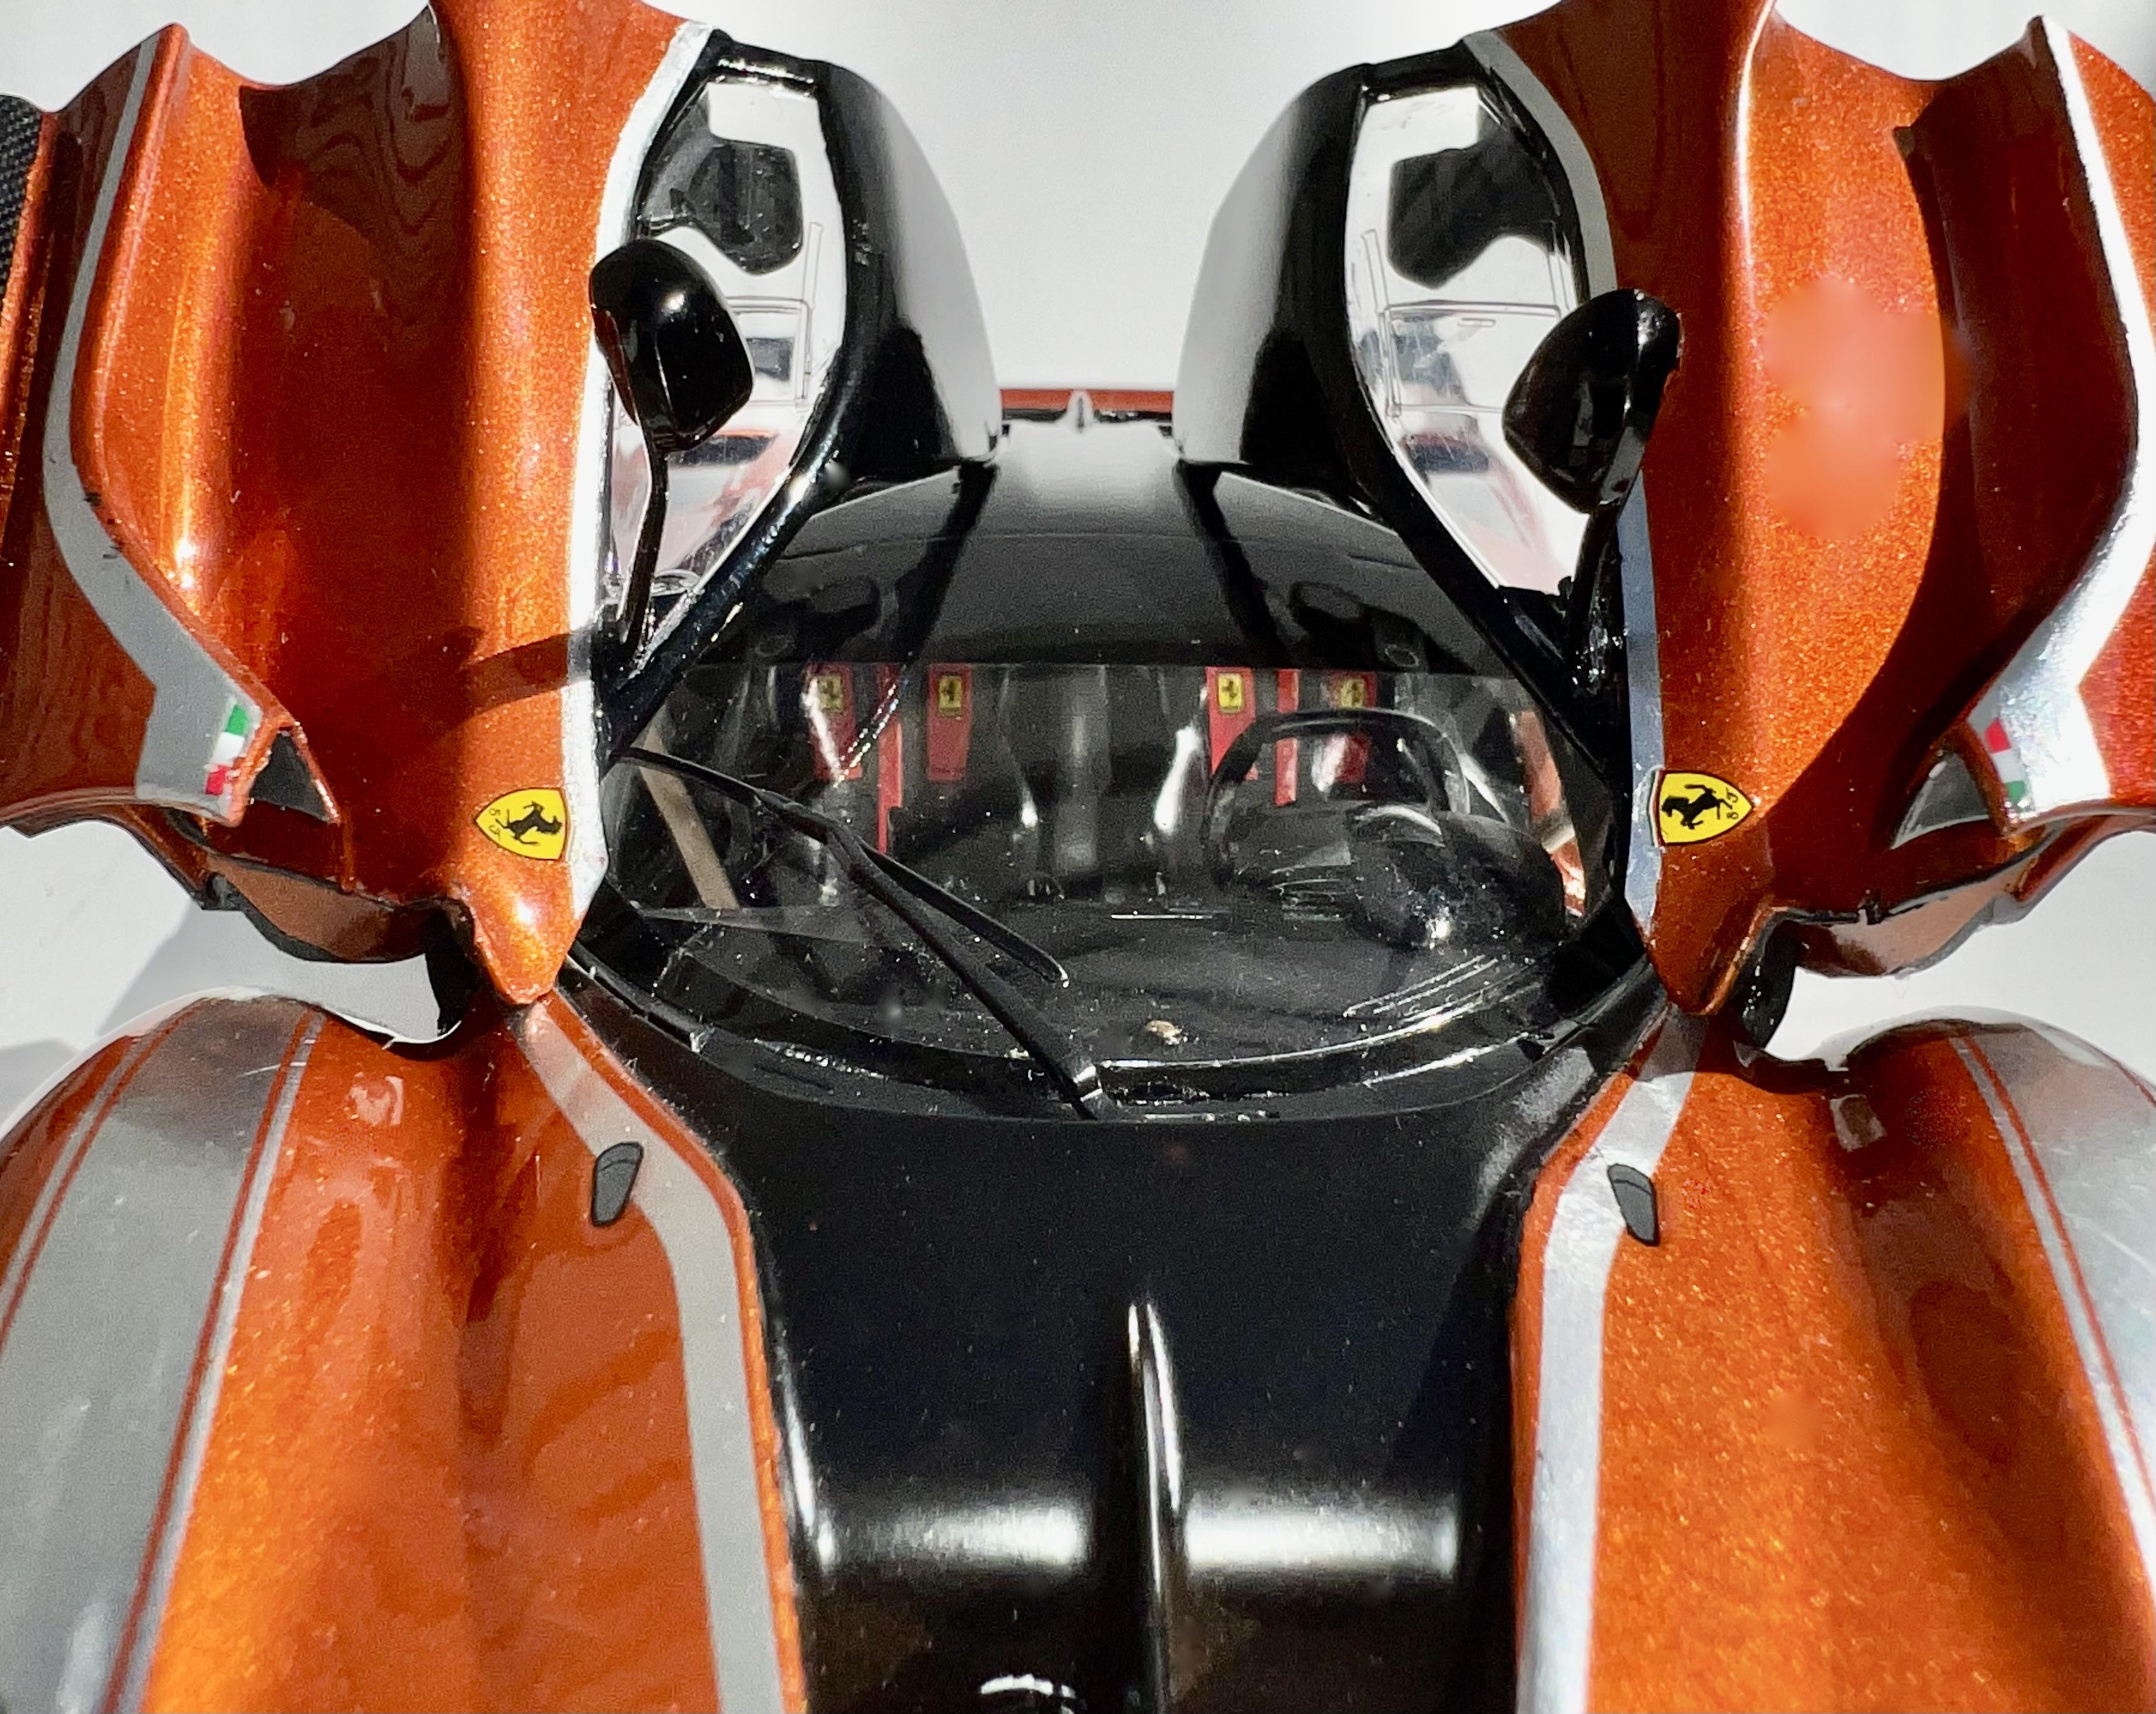
Thanks, Michael. I went with the Roadster version, which looks fun! I really like your color scheme, but being an old "rattle canner," I will have to see what I can come up with. A few years back, I did a street version of Tamiya's Ferrari FXX K in TS92 with street seats. It's a little rough around the edges but I really enjoyed the Tamiya kit. The Aoshima looks like an even bigger challenge! All the best and look for me in a month or two. Steve
-
My Aoshima Aventador kit is on the way. Can't wait!
-
Perfection! Nice interior and paint!!!
-
Have fun!
-
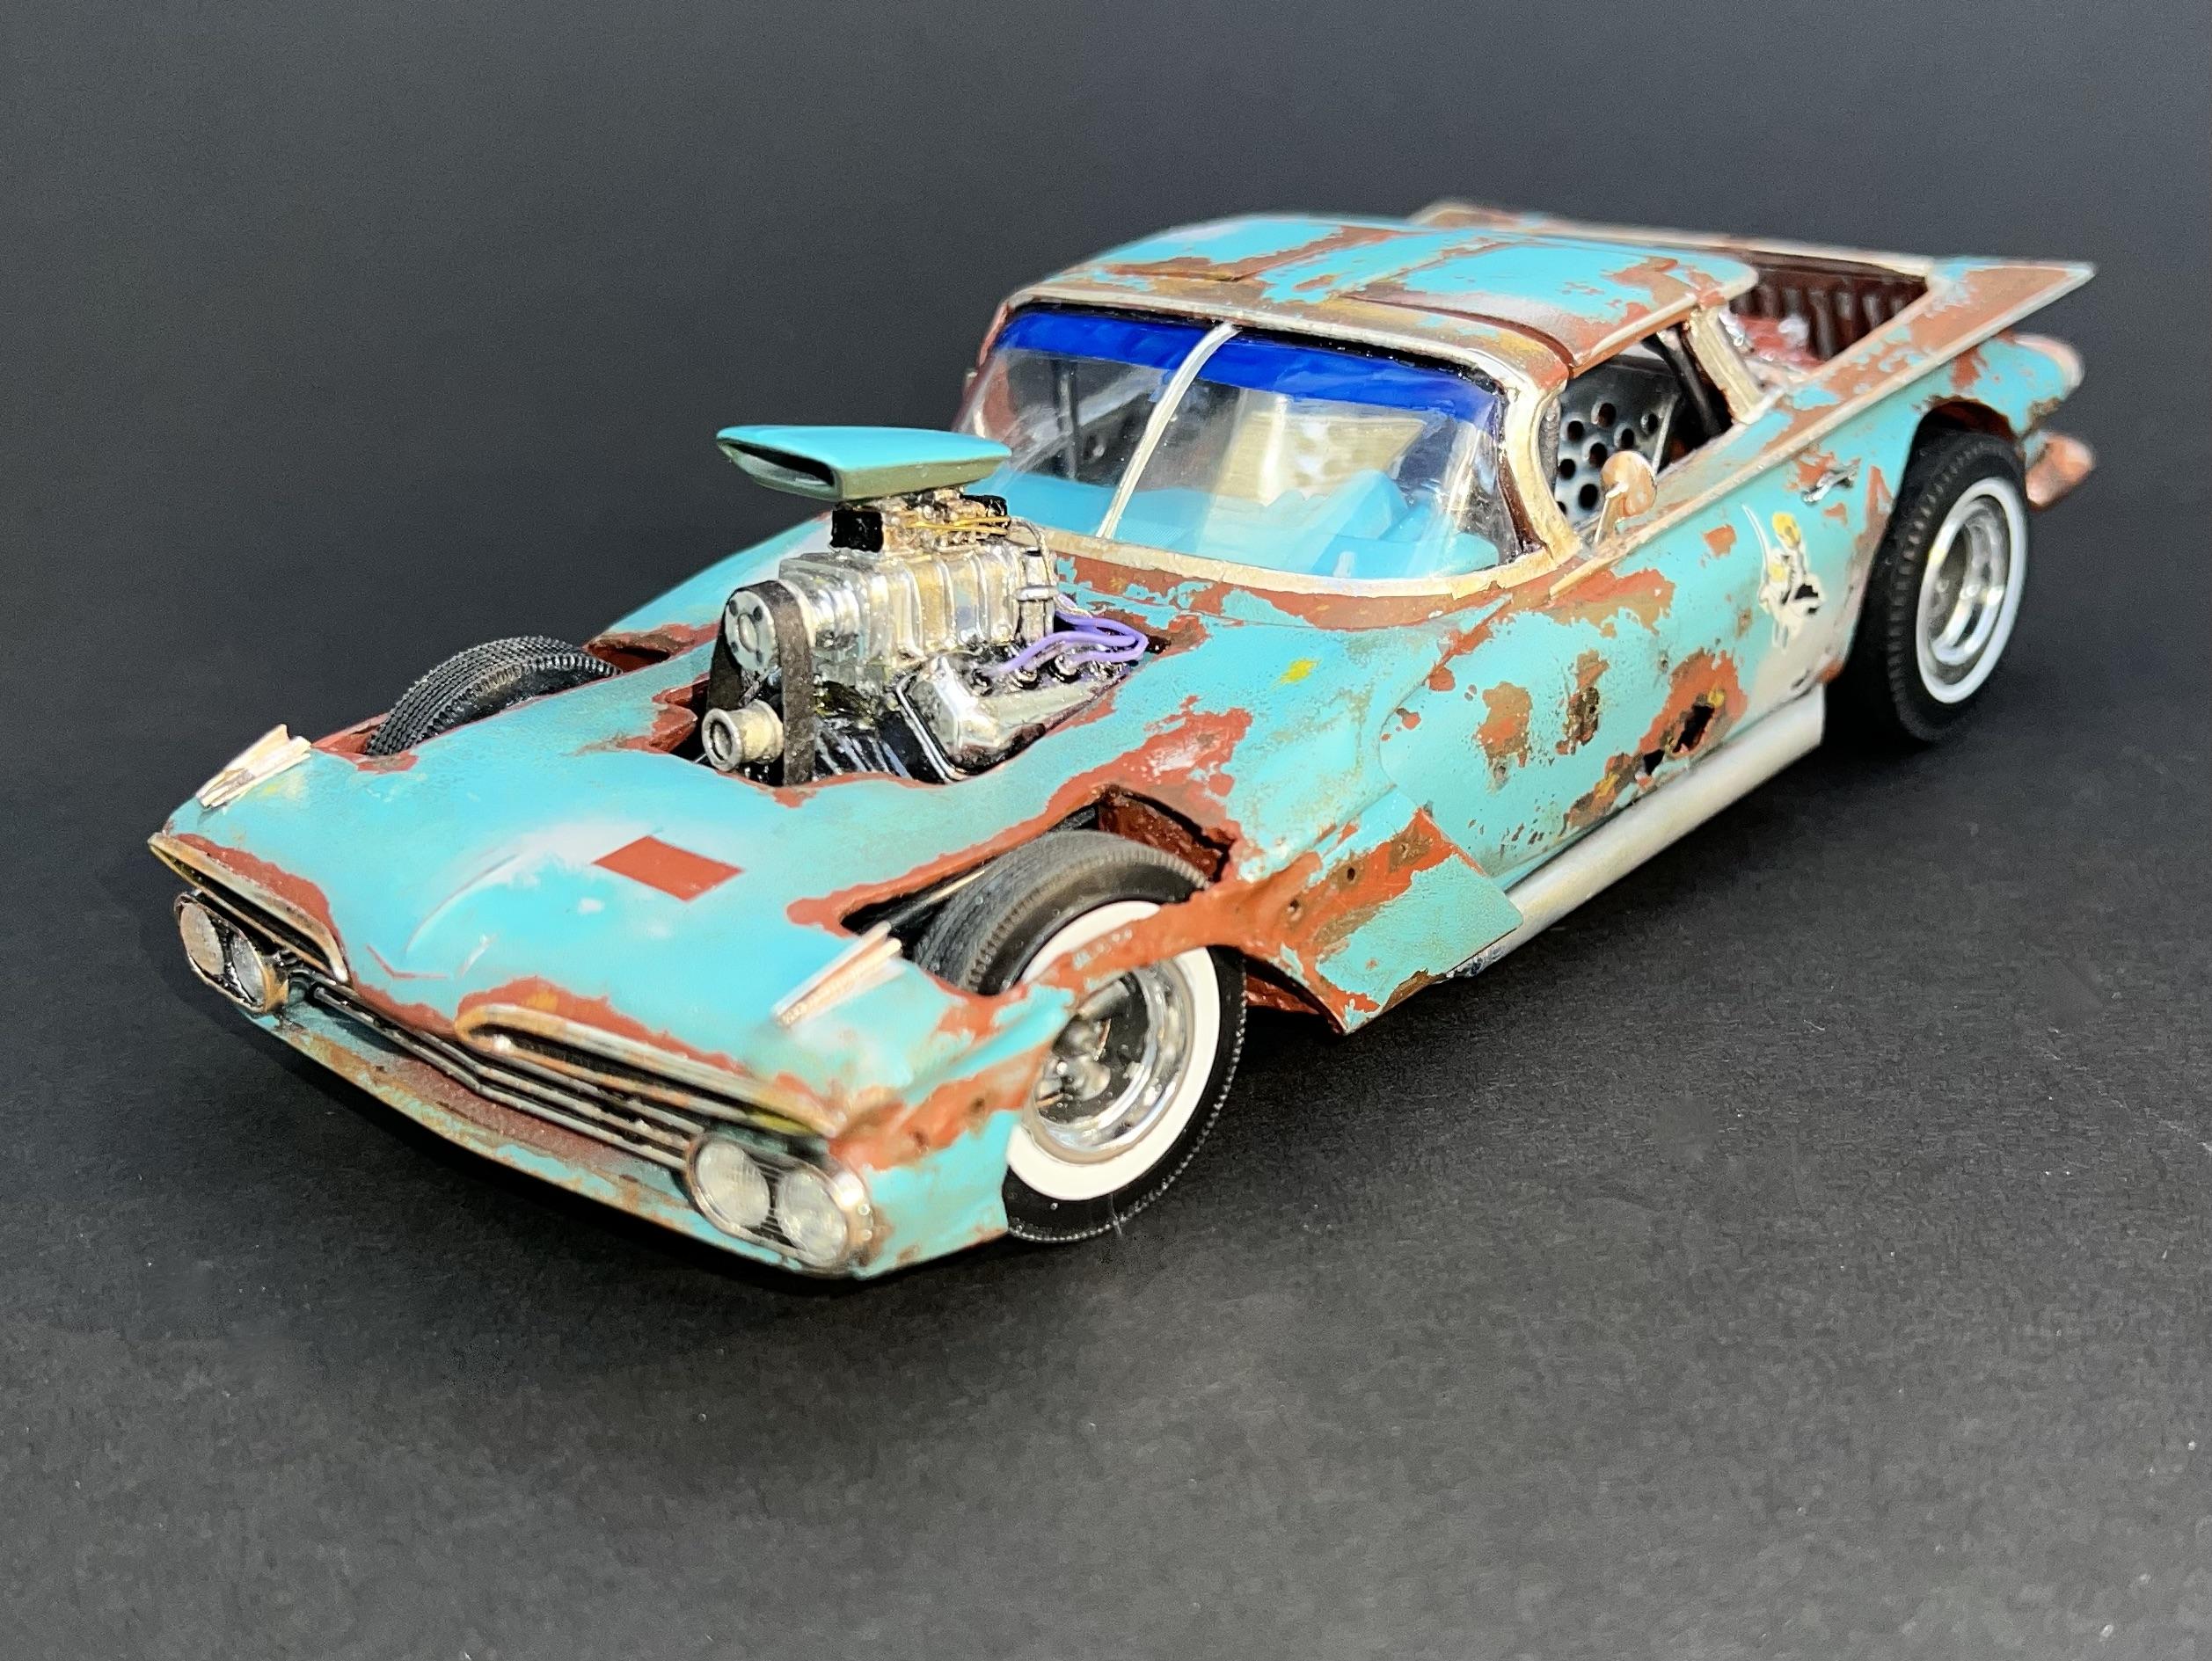
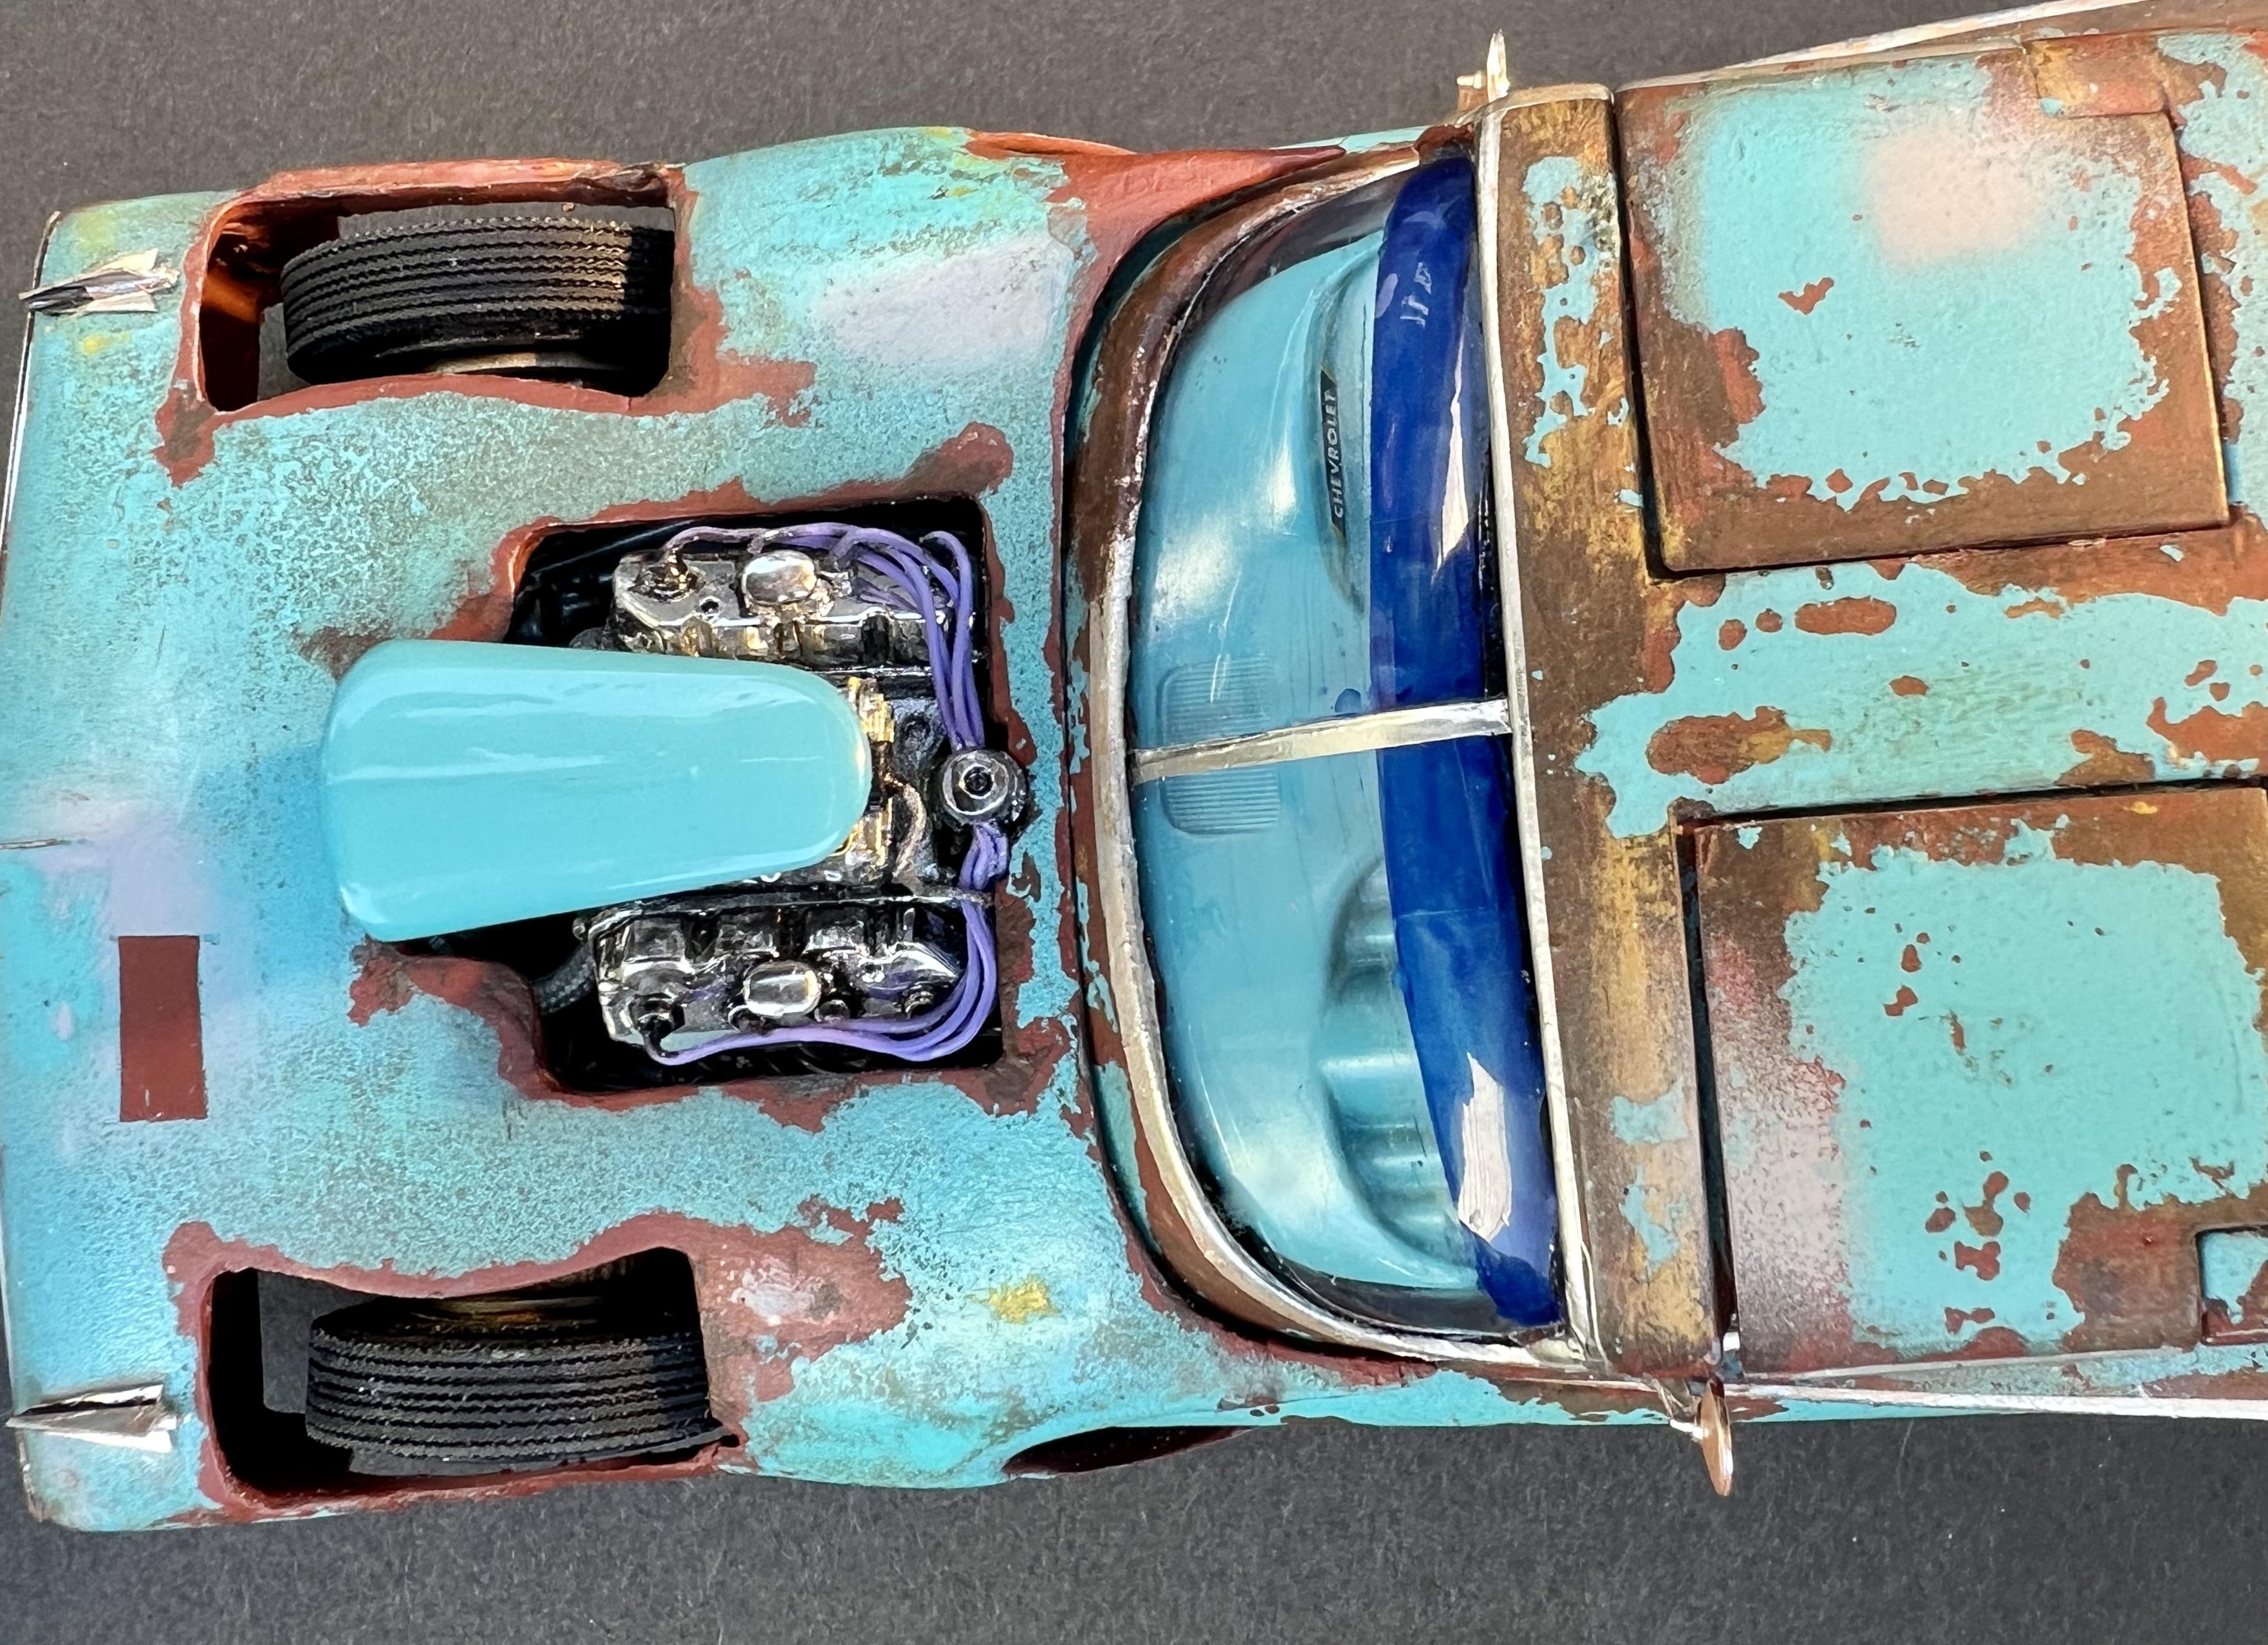
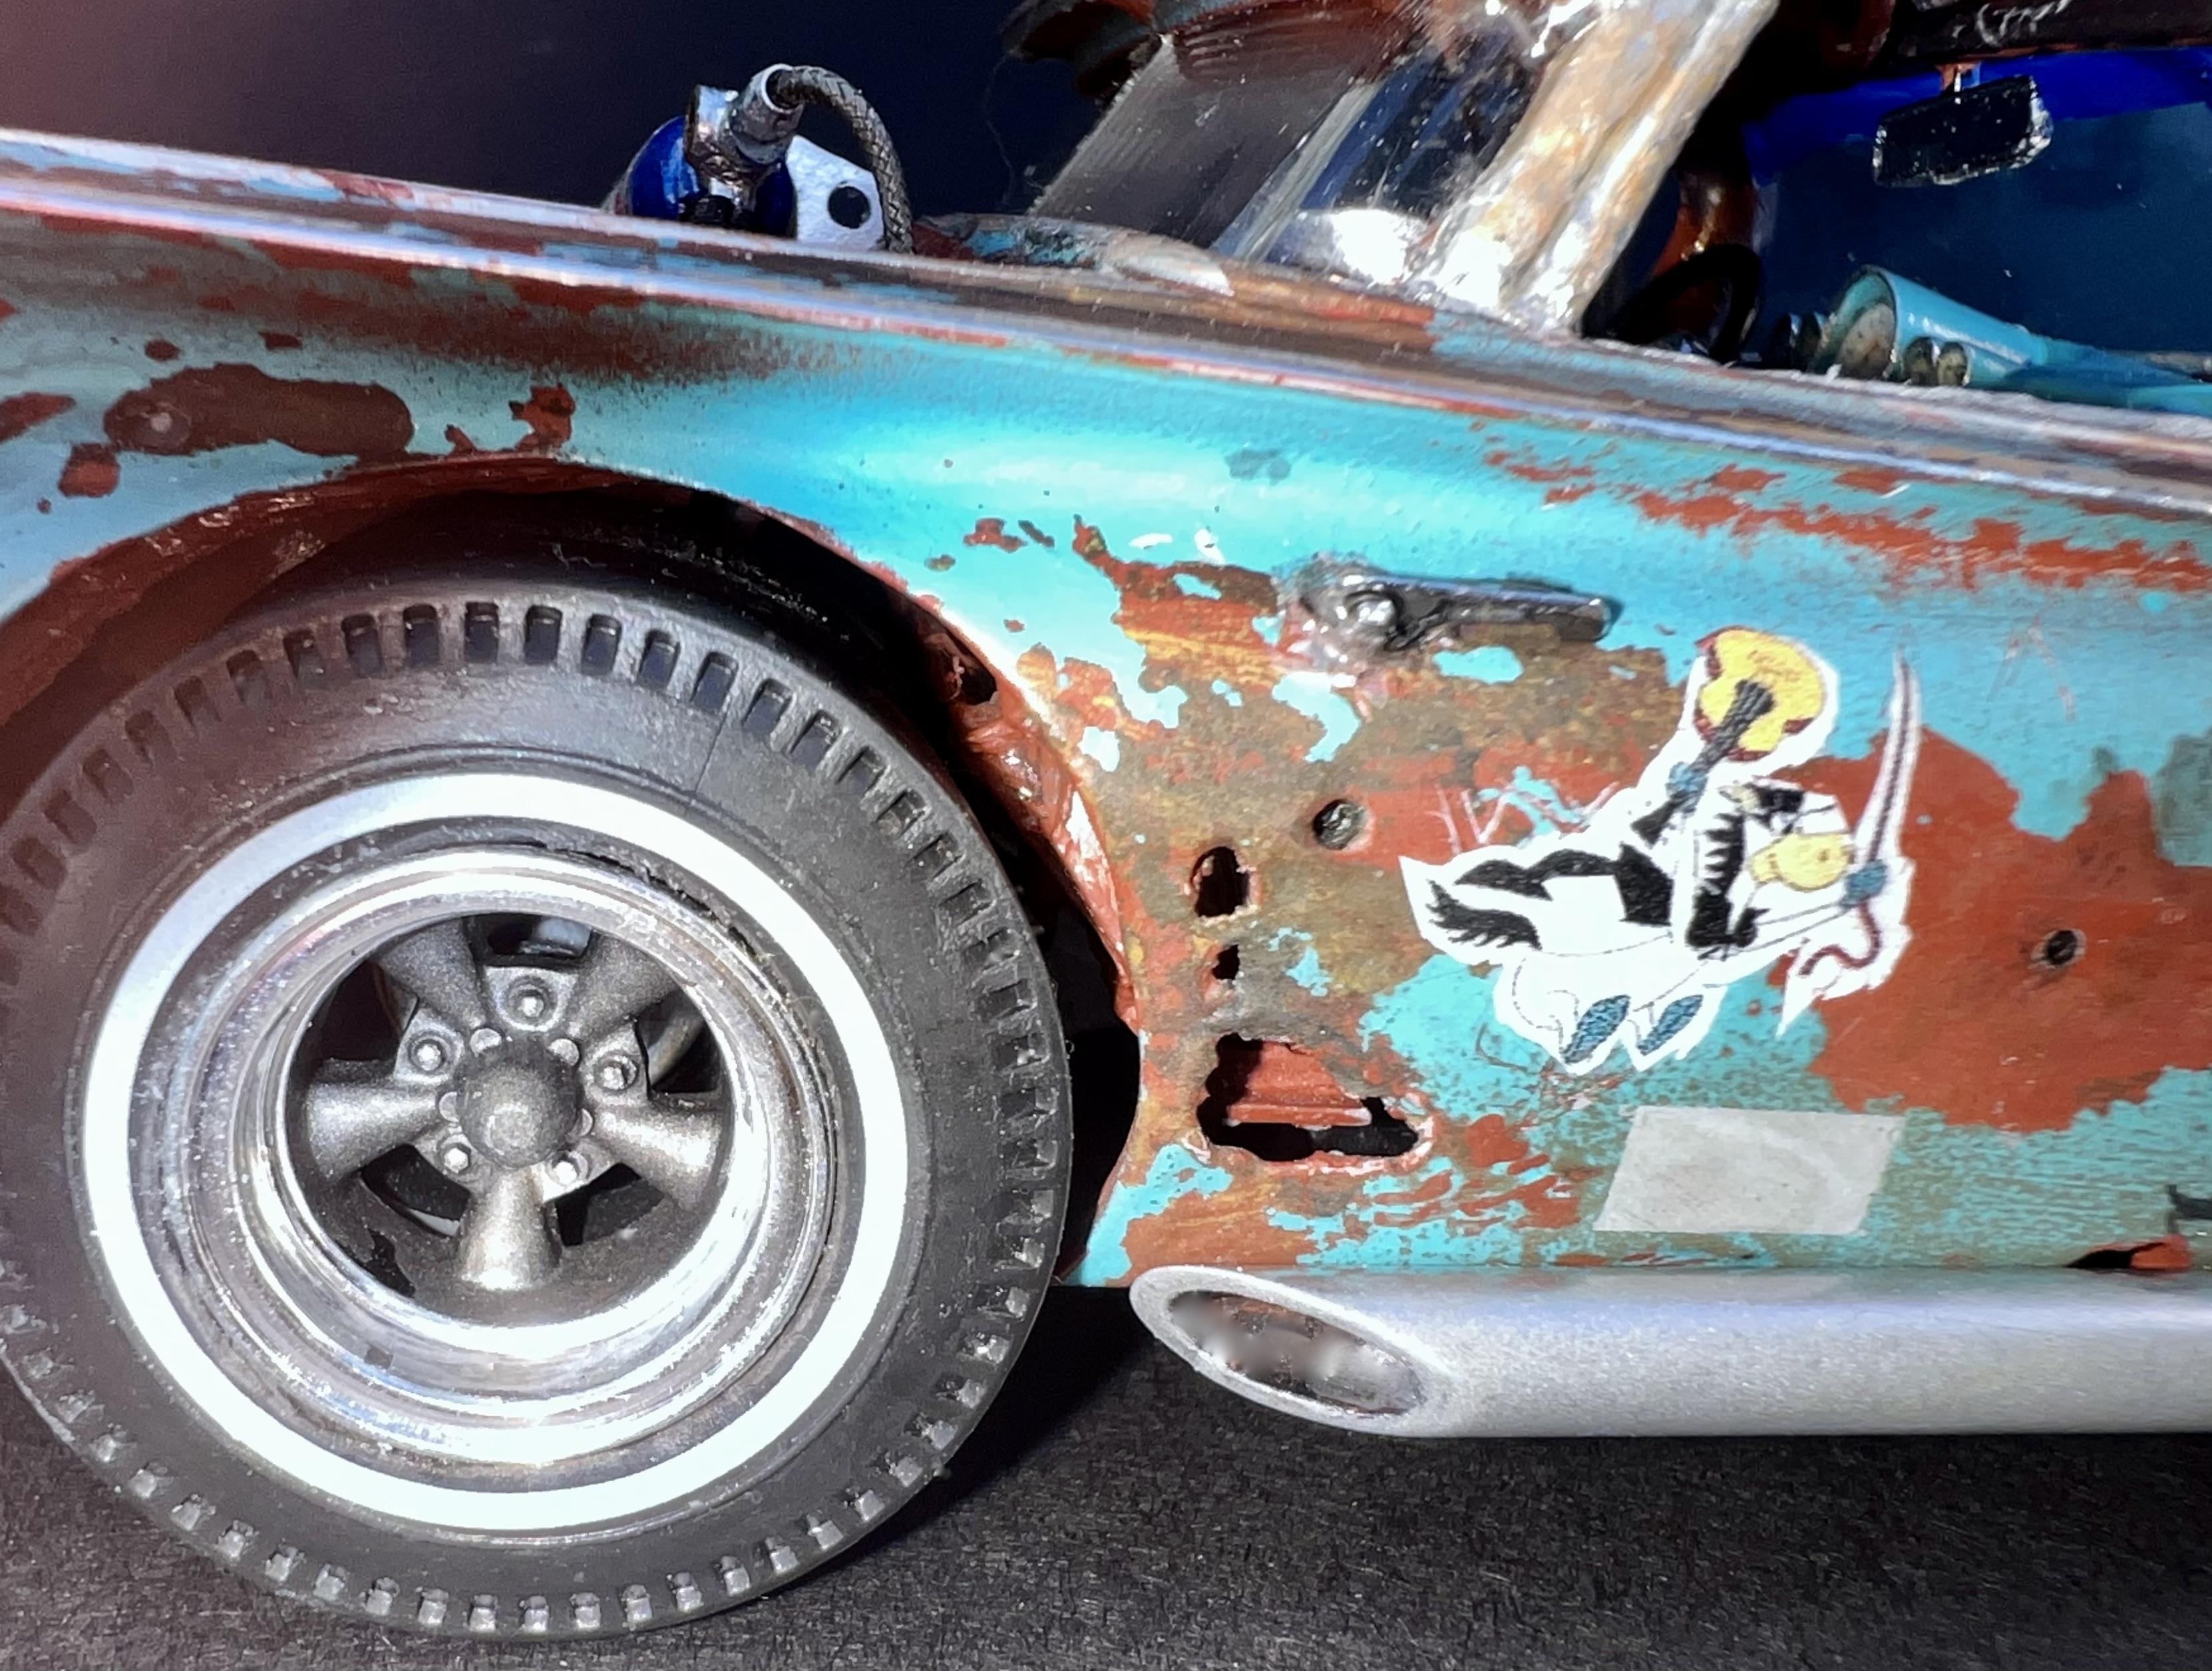
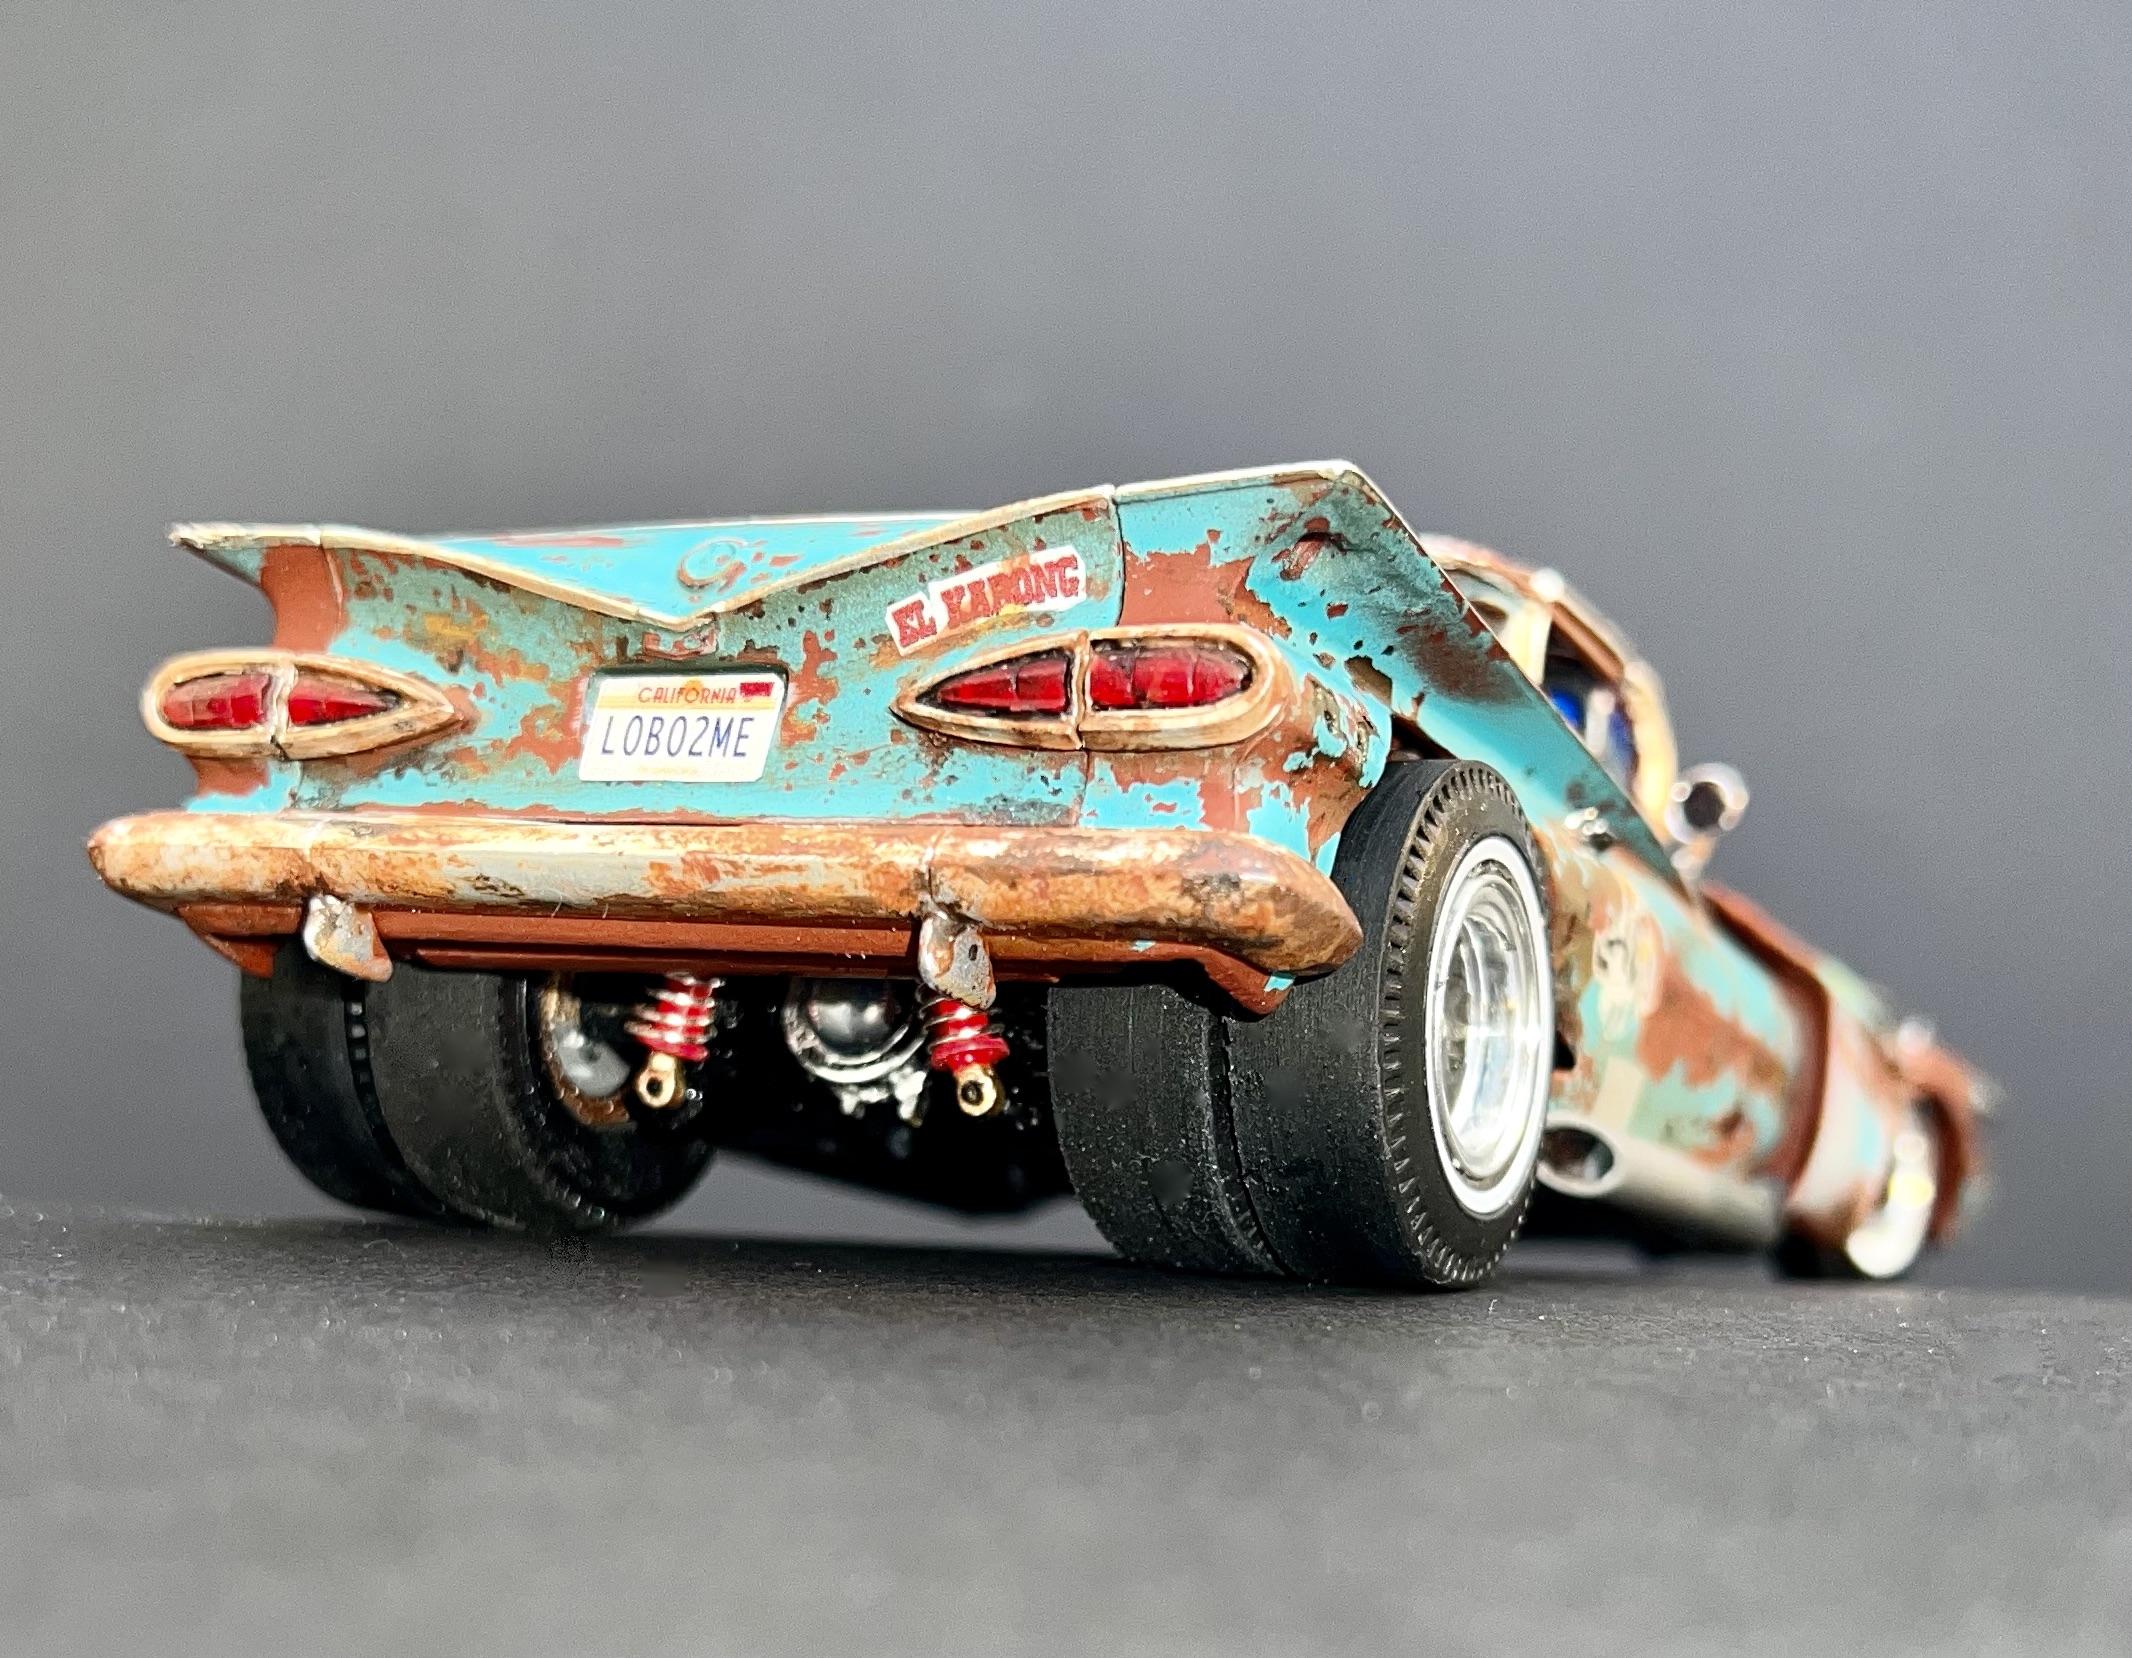
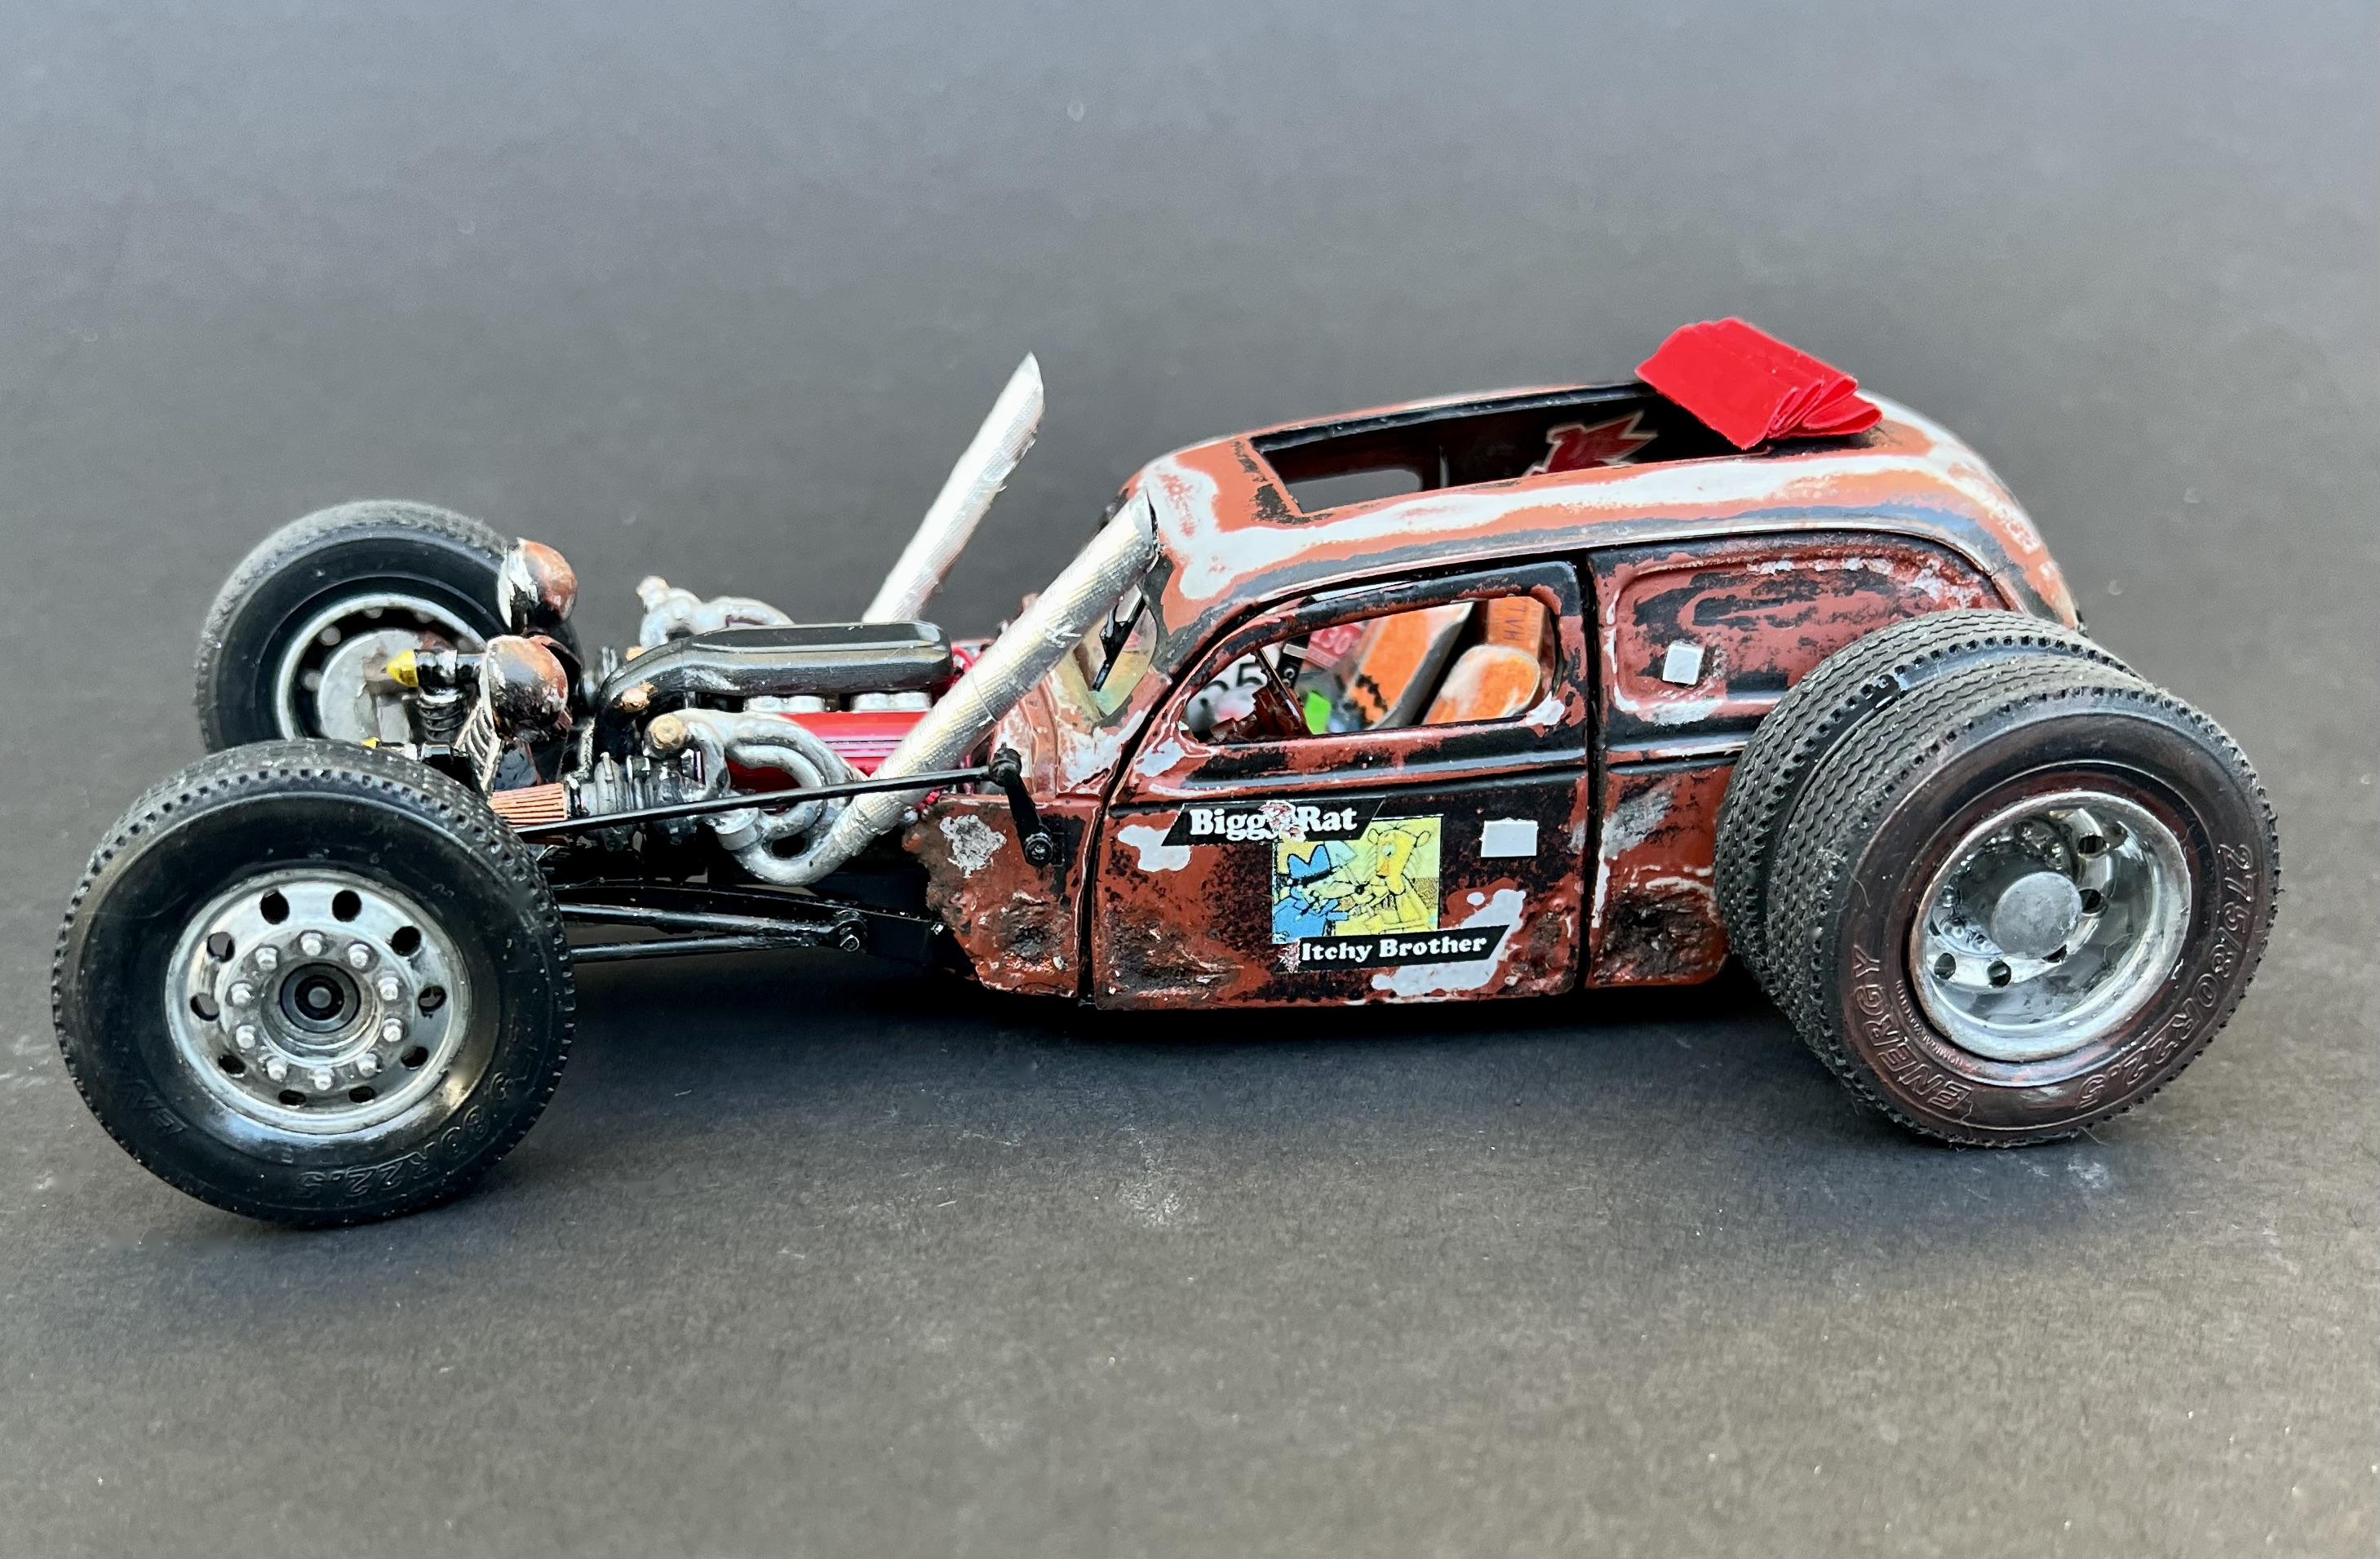
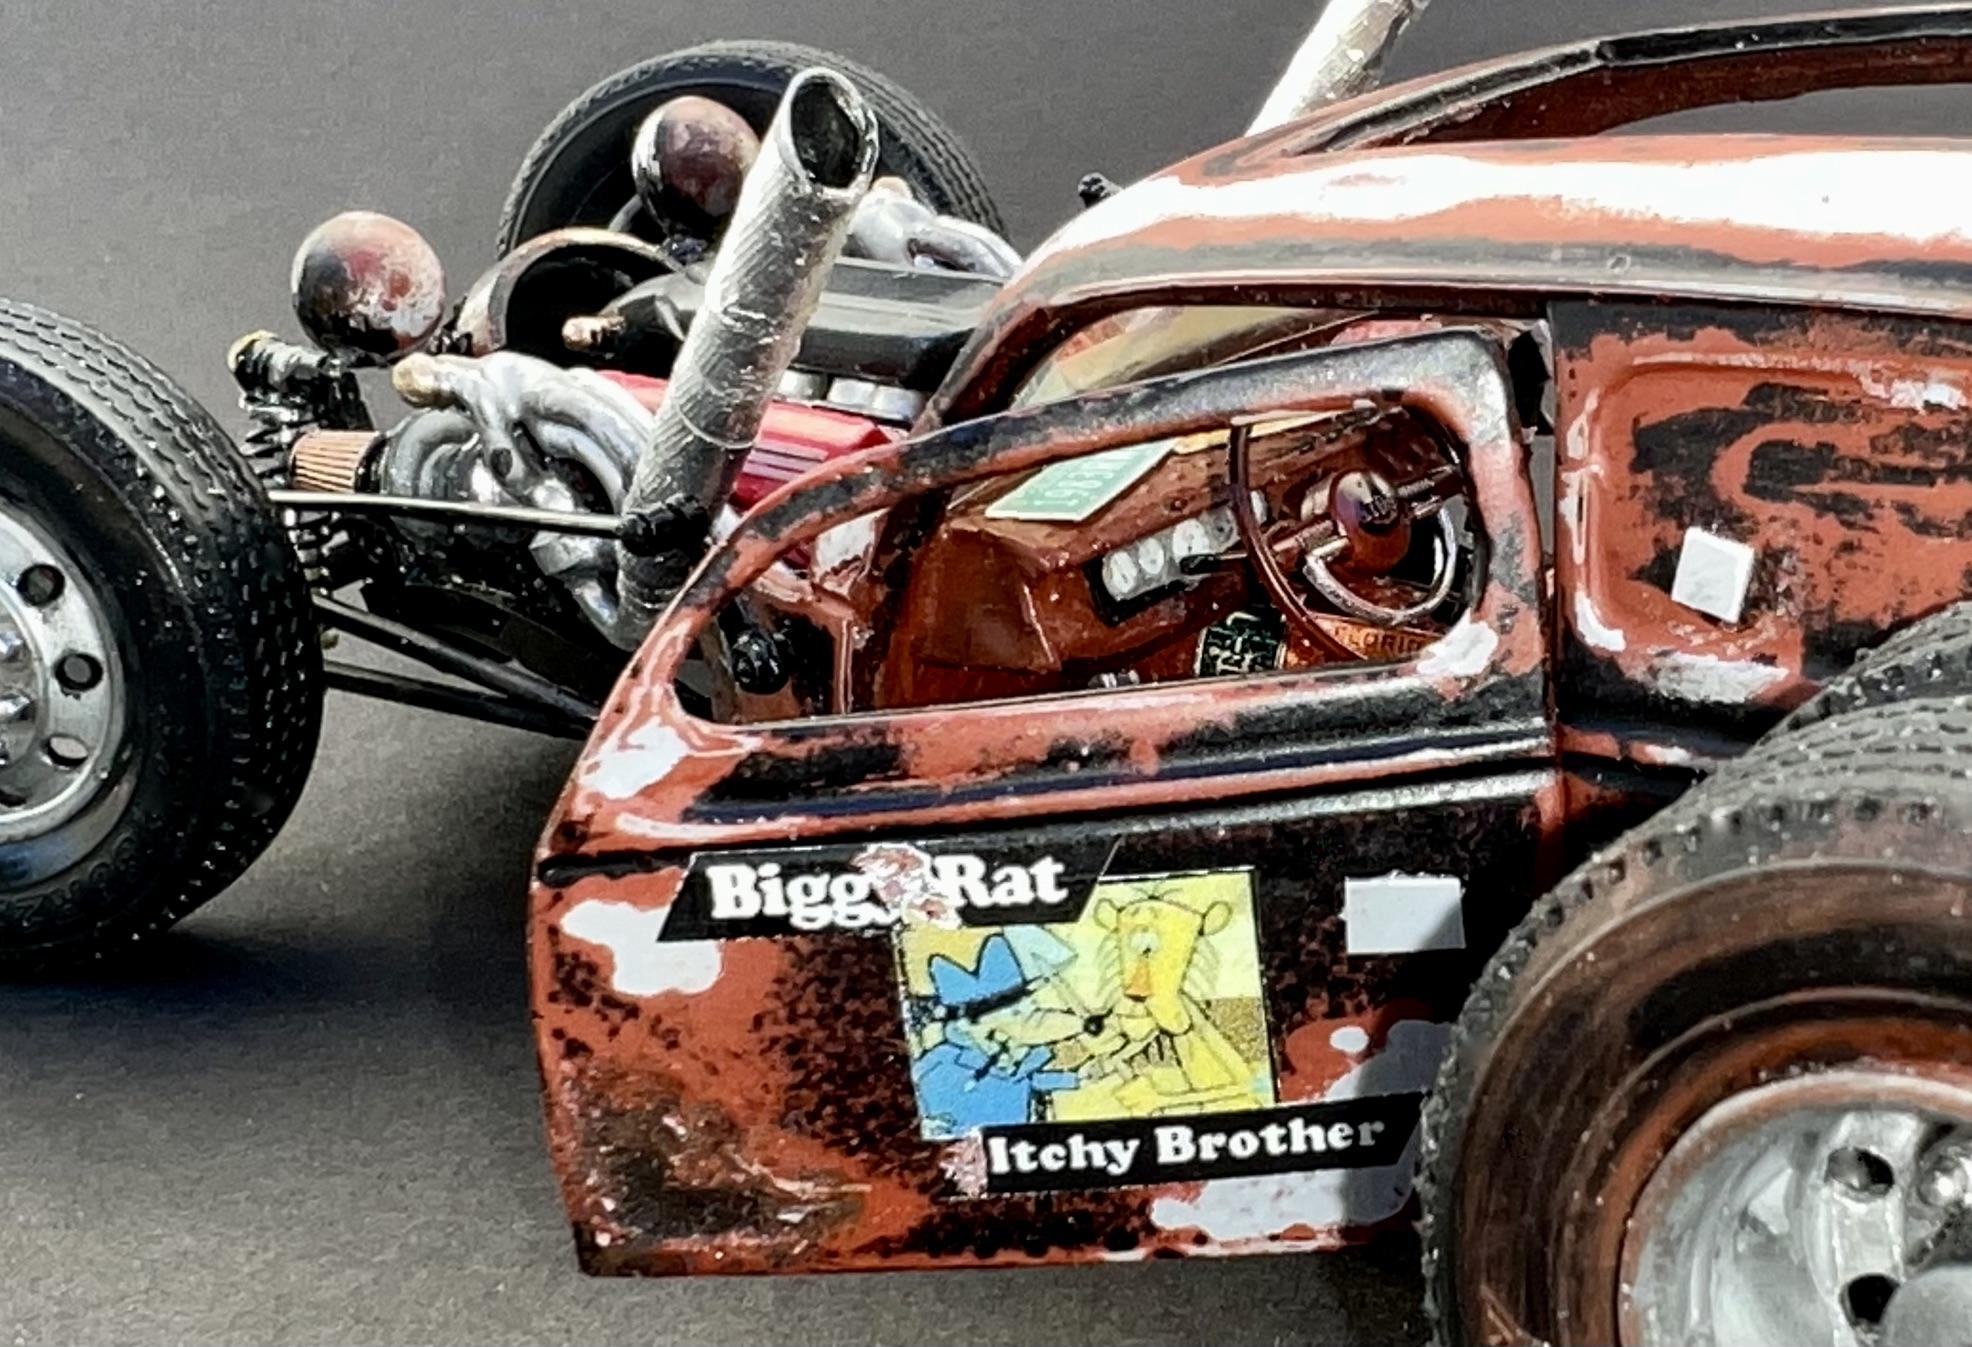
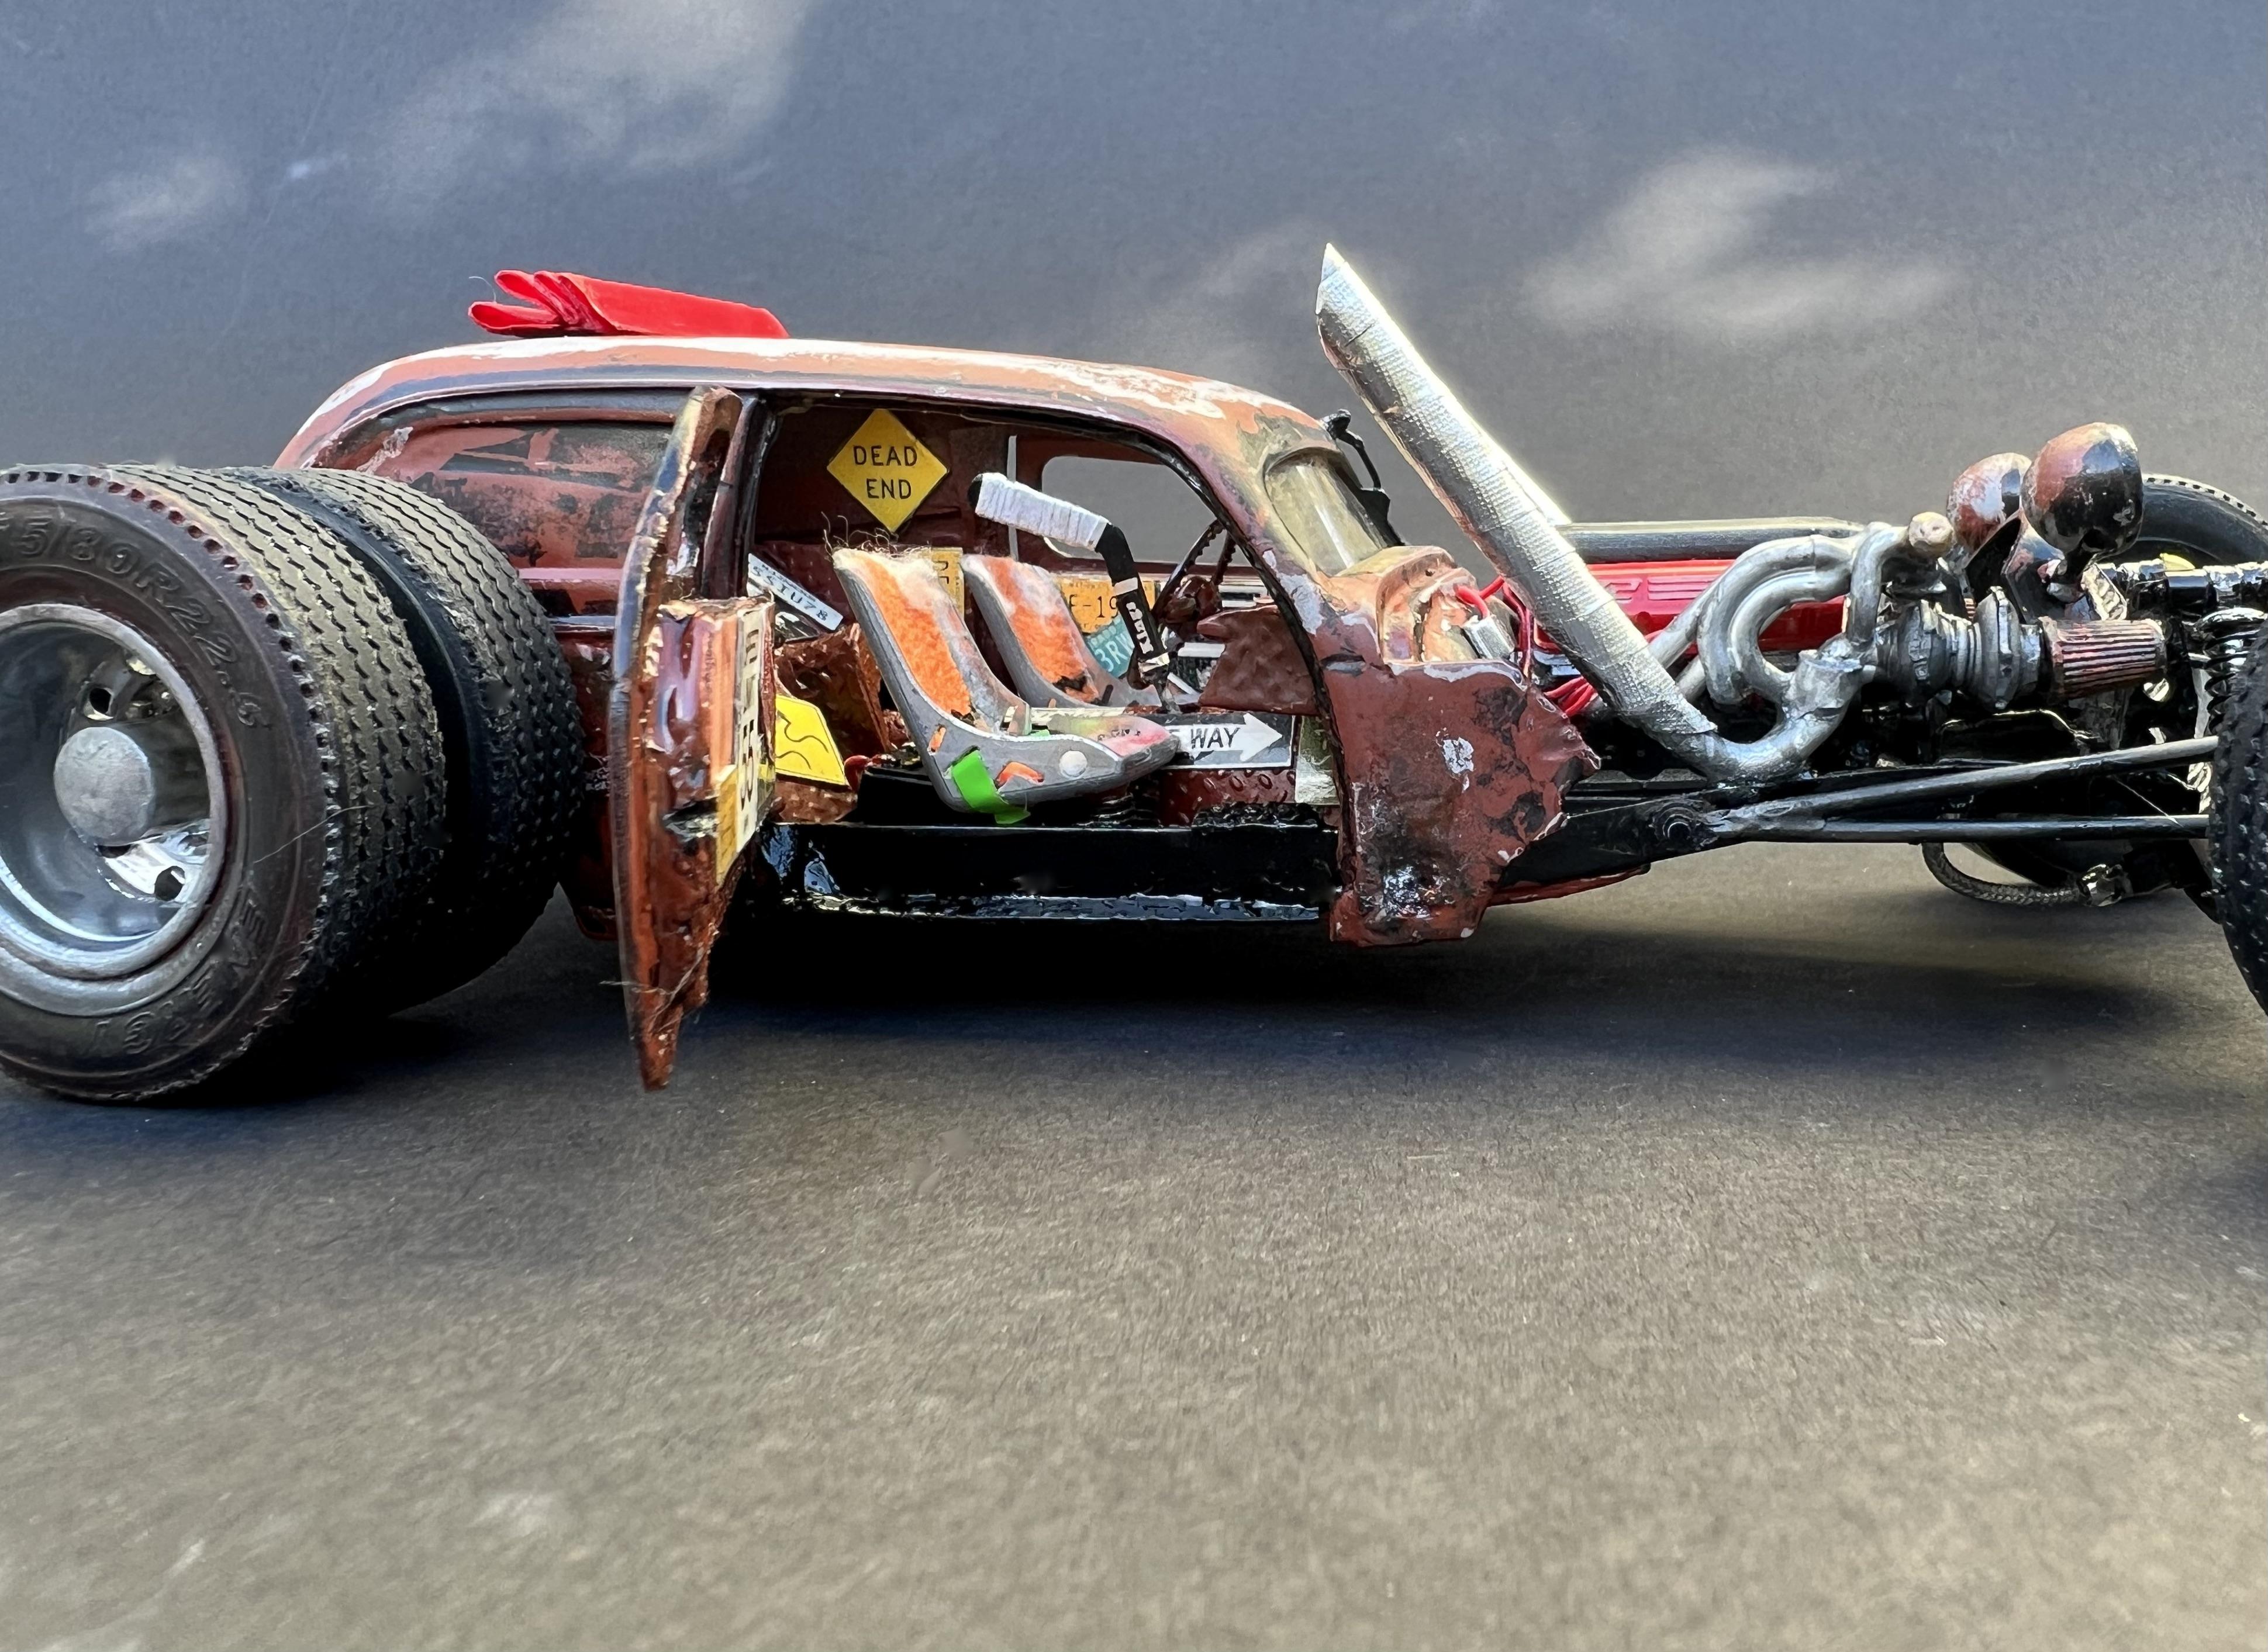
Sure - see pics below of two of my favs, El Kabong ('59 El Camino) and Biggy Rat ('38 Ford Van). I used a “hybrid” rust technique of Elmer’s glue and salt in the following order; 1. Prepped body and applied Mr. Surfacer 1000 primer (gray) 2. Created rust damage and holes with various drill bits and Dremel tools 3. Highlighted holes and rust damage using various shades of dark browns, yellows, and reds and mixed a variety of rust colors then dabbed inside of holes and areas then covered those spots with more Elmers glue and salt to make distinctive layers 4. Sprayed the entire body (inside and out) with Red-Oxide Primer (Ace Hardware) 5. Applied more Elmer’s glue and salt to major body seams and around door panels, holes, spots, and damaged areas. Painted several layers of gray and red oxide in a few spots; some areas even got a sprinkle of fine salt powder 6. Then, I applied what I envisioned was left of the original paint jobs after years of weathering, sun, and DYI fix attempts (see small patches). El Kabong - Sprayed body sections Tamiya Dark Green and Tamiya Coral Blue through vignettes and masks cut in cardboard sections. Biggy Rat – same process but using black instead of green and blue. Also, hit them again with small shots of gray and red-oxide primer in a few spots 7. Removed glue & salt with a toothbrush, used different grits of x-fine sandpaper, and steel wool to highlight areas. Be careful to go through various layers, but not all the way through! 8. Dabbed rust particles made from steel wool & vinegar mix in a few holes 9. Applied custom decals 10. Dullcote over the entire body I hope you found this interesting. I also grew up in the mid-west and saw a lot of road salt damage and rust. All the best, Steve
-
I think it would be a lot of fun. Joey Lagono seems to have enjoyed his time behind the wheel.
-
Very nice! Let's make it unanimous. Great paint and superb photography. I've never built an Aoshima kit before. This is tantalizing! Thanks for sharing.
-
Well done. I think I enjoy building "rust buckets" as much as trying to lay down a perfect fresh paint job. I've come up with a hybrid process using salt and Elmer's glue that works well for me.
-
Really appreciate the kind comments! Thank you
-
Cobra 289 and Daytona, 1/24.....
Lobo2me replied to Allan31's topic in Other Racing: Road Racing, Salt Flat Racers
Fantastic Cobras! What a wonderful tribute and I am very sorry to hear about the loss of your brother. From one prostate cancer survivor to another and to anyone who sees this, early detection is the LIFE SAVER. -
Another great job, Claude. Your passion for this hobby really comes through on this baby, and one can clearly see how much fun you had engineering and fabricating every detail and fitting it all into this amazing Lakester. Well done!
-
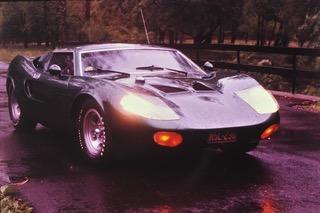
Mercury GT40 MKII-B
Lobo2me replied to Phildaupho's topic in Other Racing: Road Racing, Salt Flat Racers
Very well done, and thanks for the history lesson. The Mercury GT, well, truthfully, the Ford GT40 is my all-time favorite race car. -
Nice! Wholly concept car Batman....BAM, POW, SPLAT!
-
Nicely done, Steve. I get what you are saying about learning curves and honing and sharpening one's modeling skills. Fifty-plus years after I built my last model as a kid (probably around 15 or 16), I decided to recreate a vehicle that played a massive role in my life. It would require more than one relatively expensive vintage model kit. I found a few online and prepared to take on the challenge. But before attempting that, I figured I had better knock the dust off and improve my latent half-century-old modeling skills. So, before the important one, I decided to practice by building the most significant cars in my life, like a famous car introduced the year I was born, the first car I learned to drive, the first car I wrecked, etc. All that reignited my passion for this hobby, which I enjoy more than ever today!