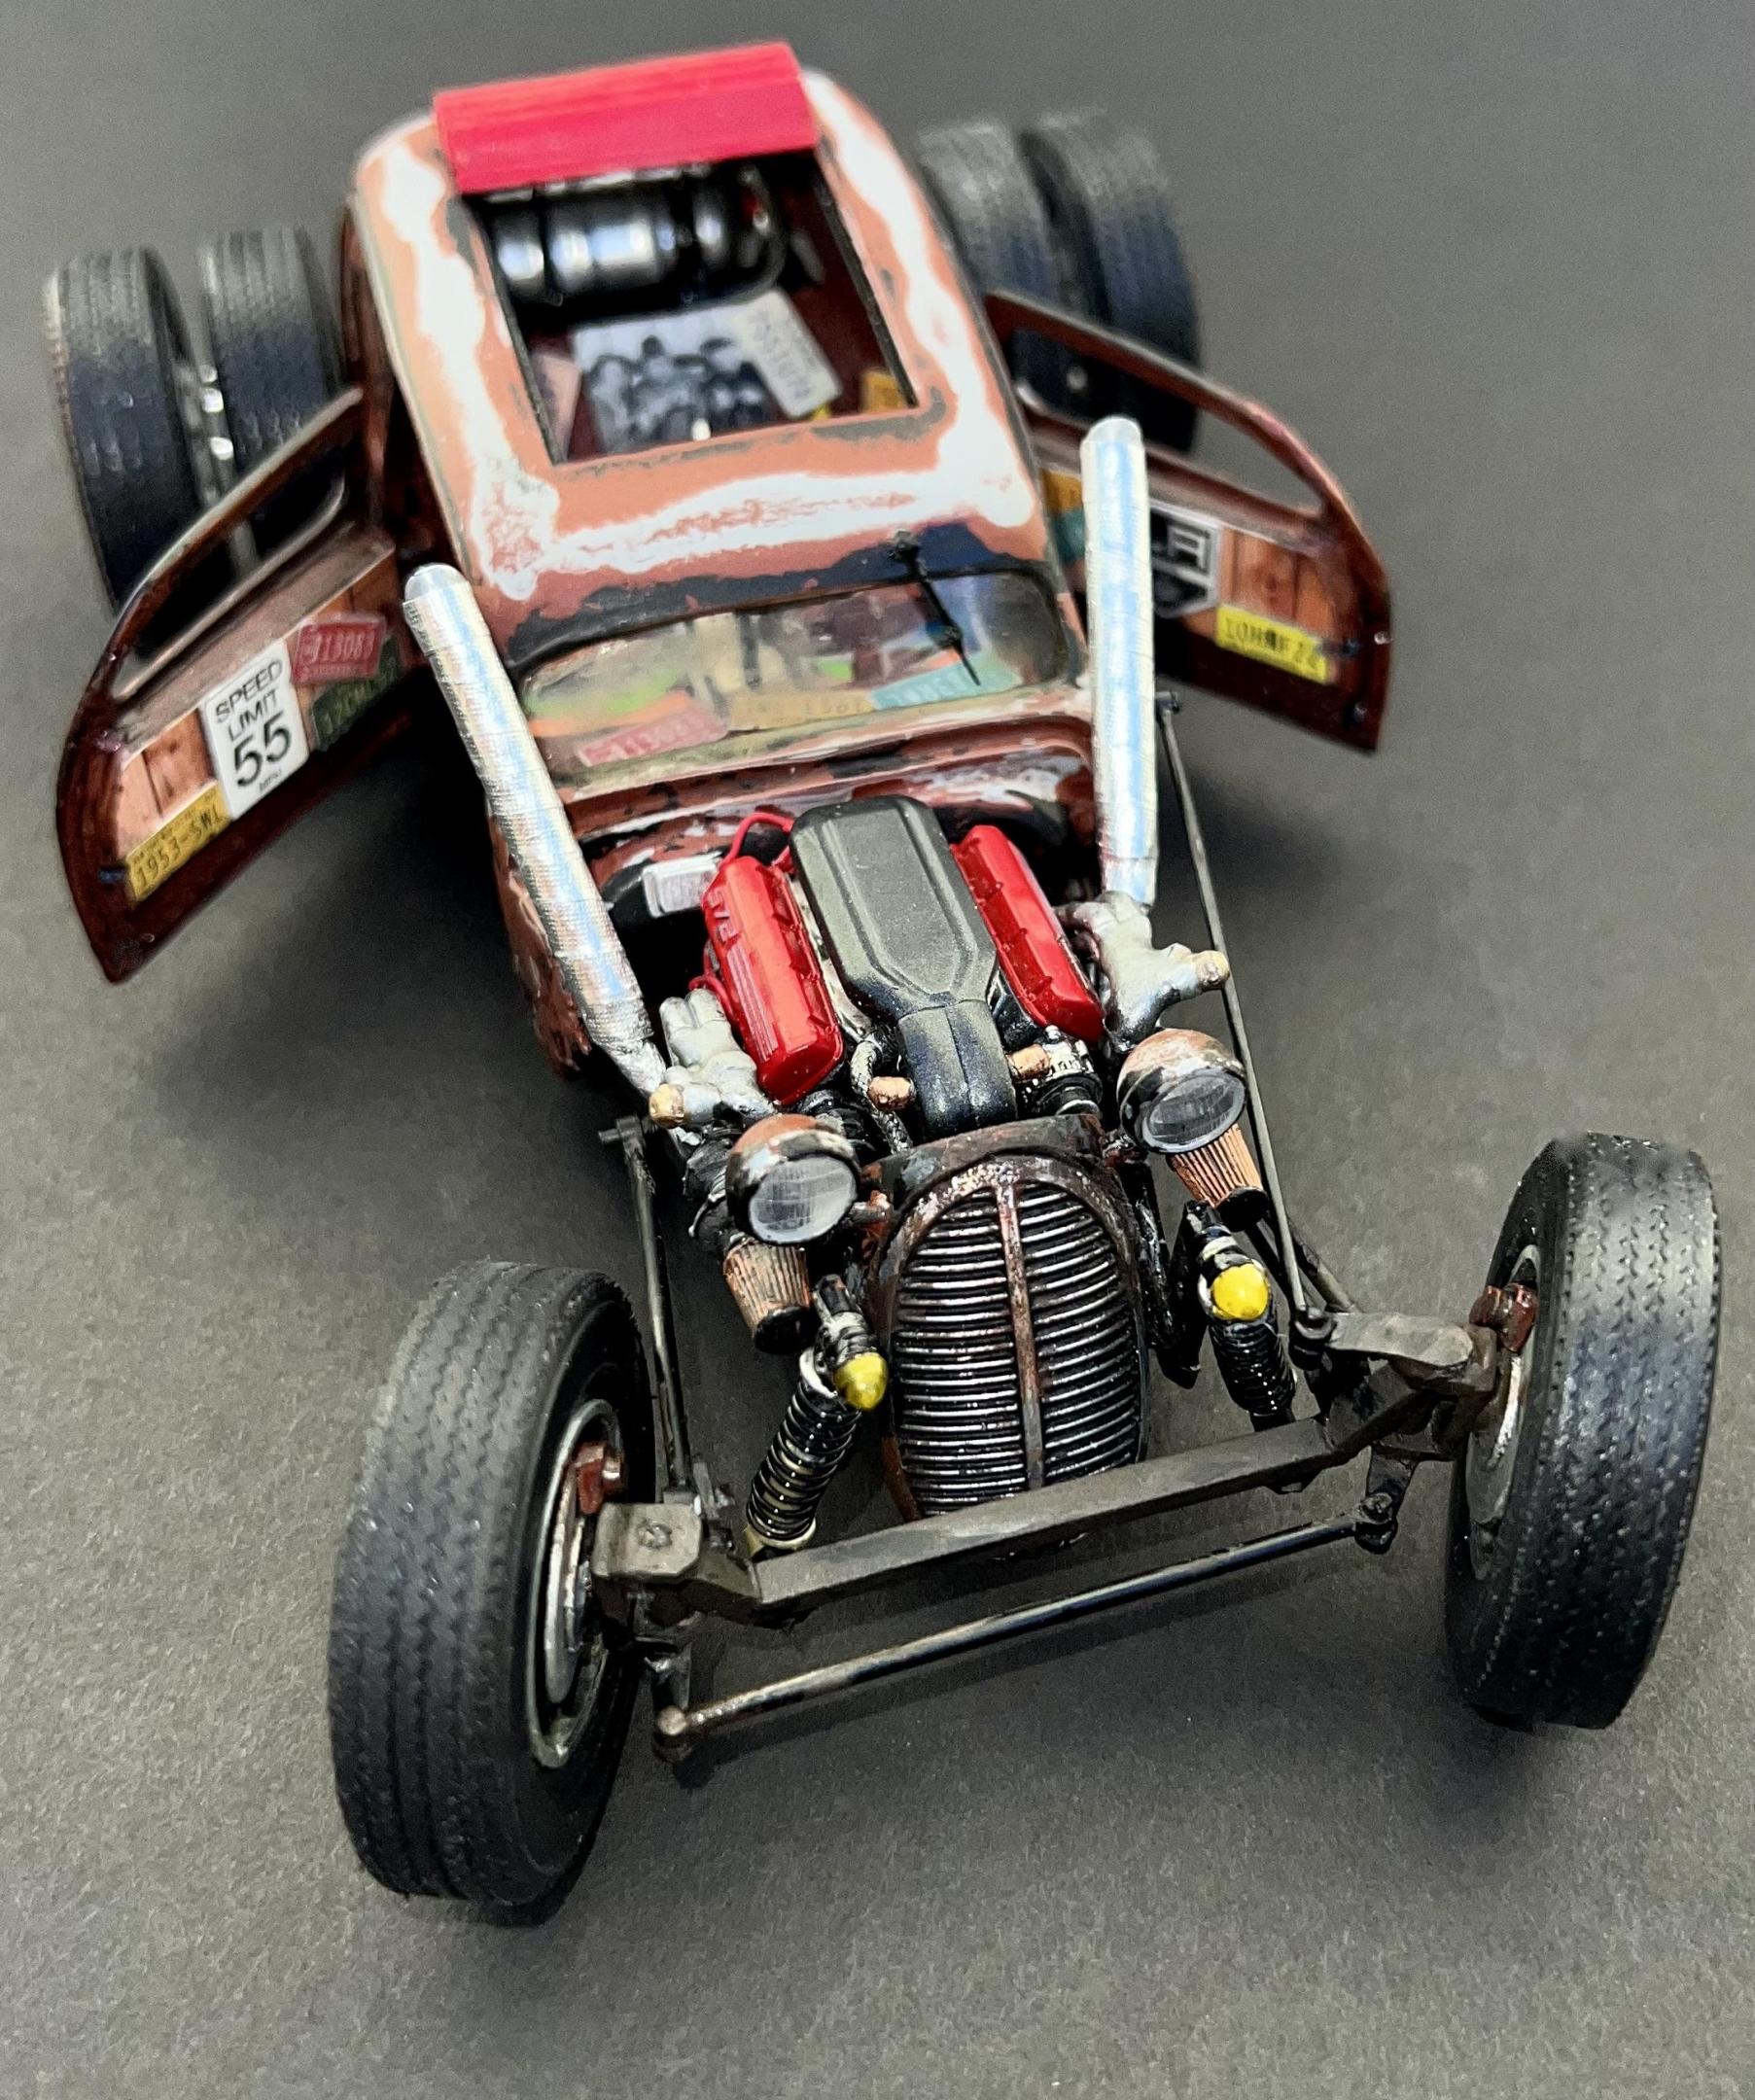
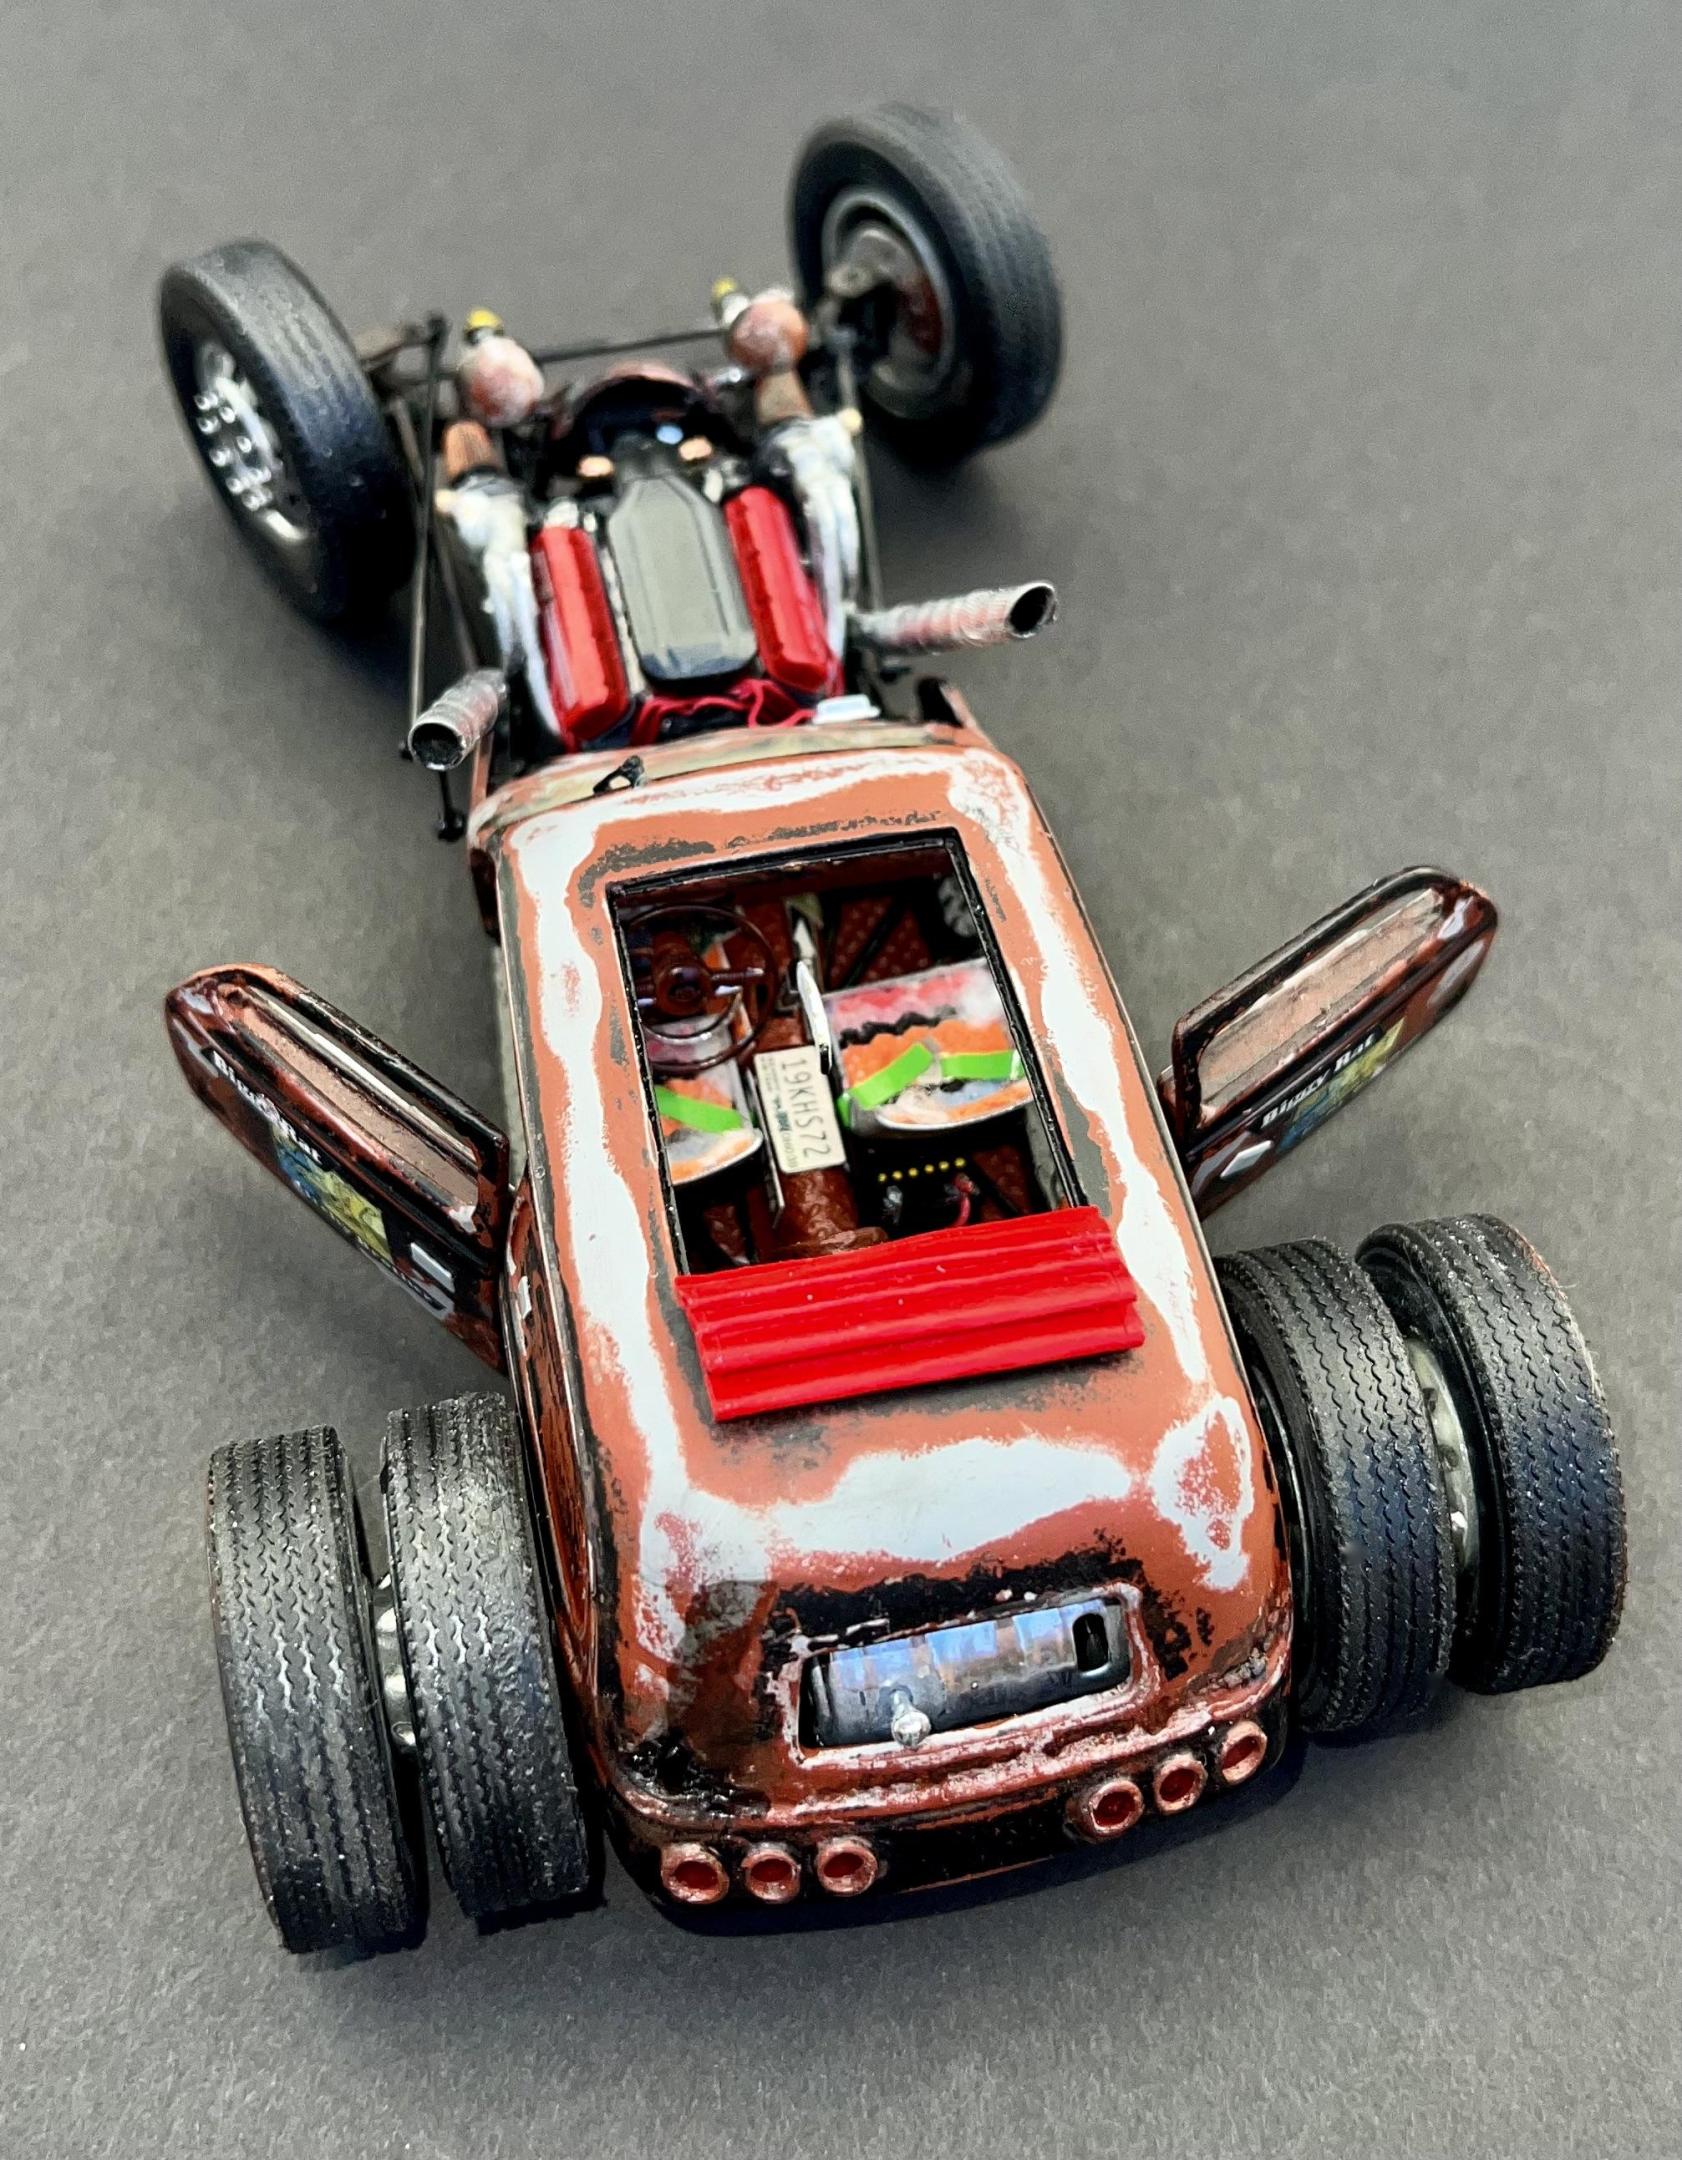
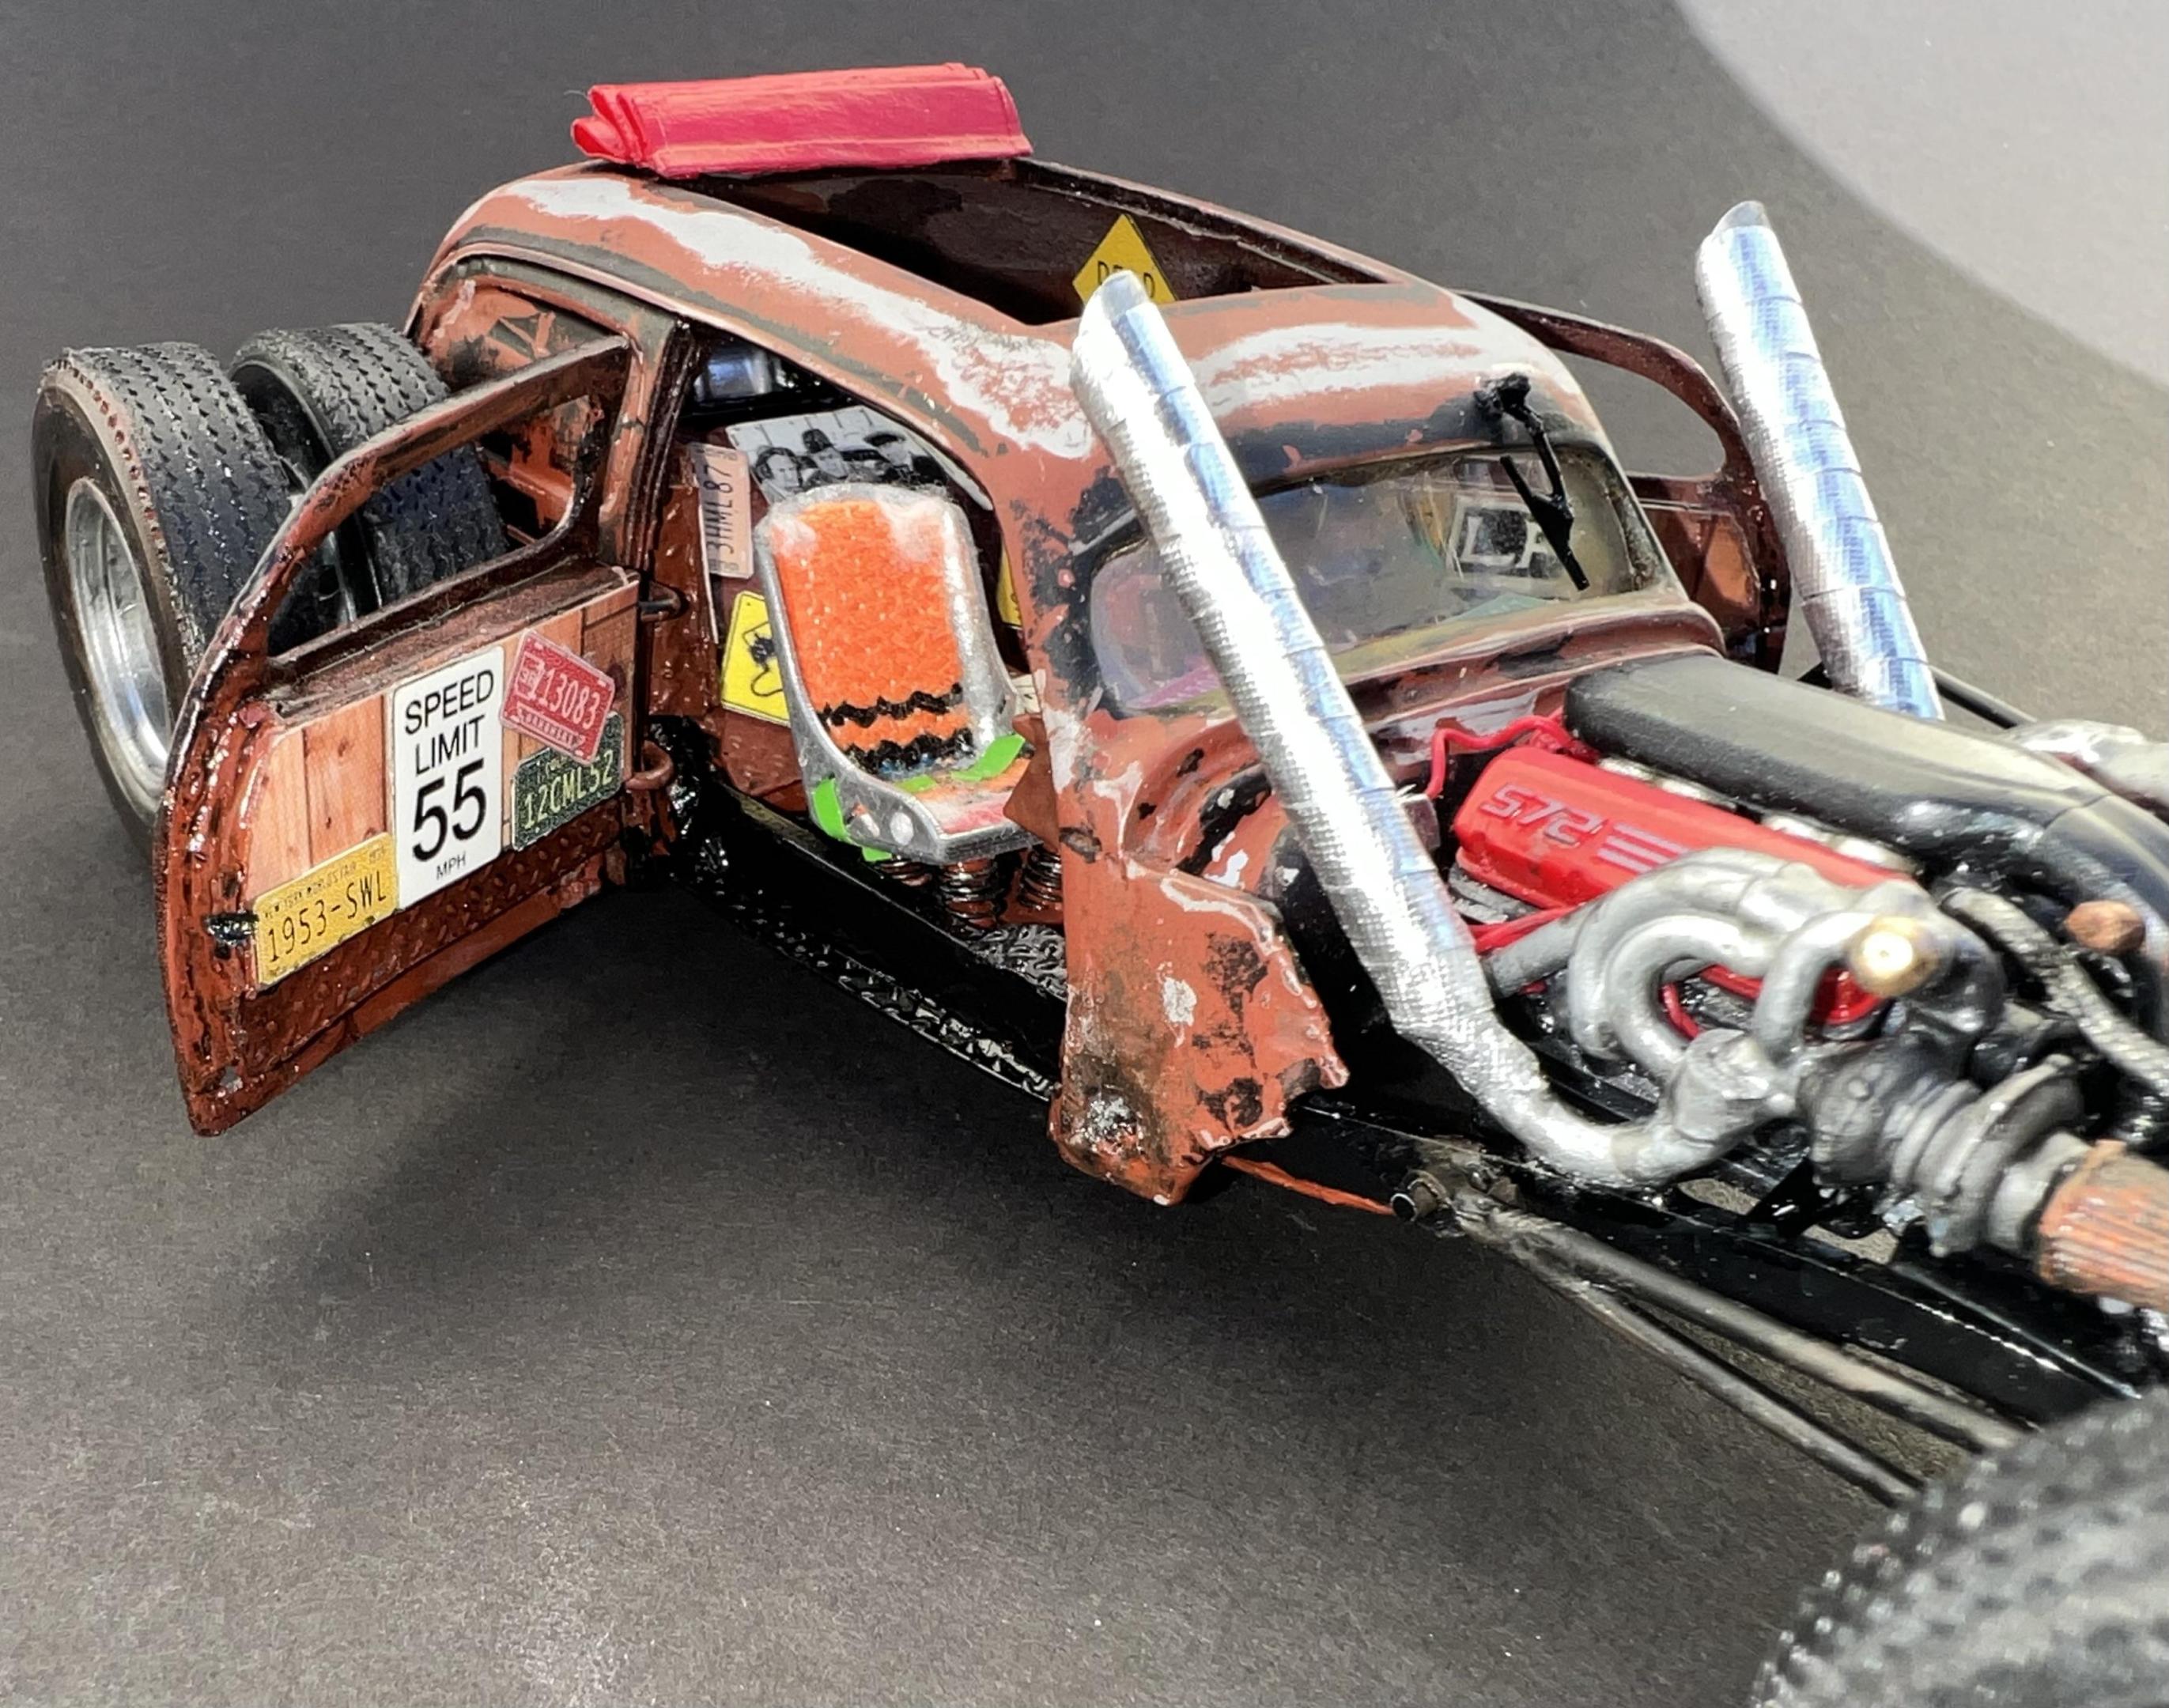
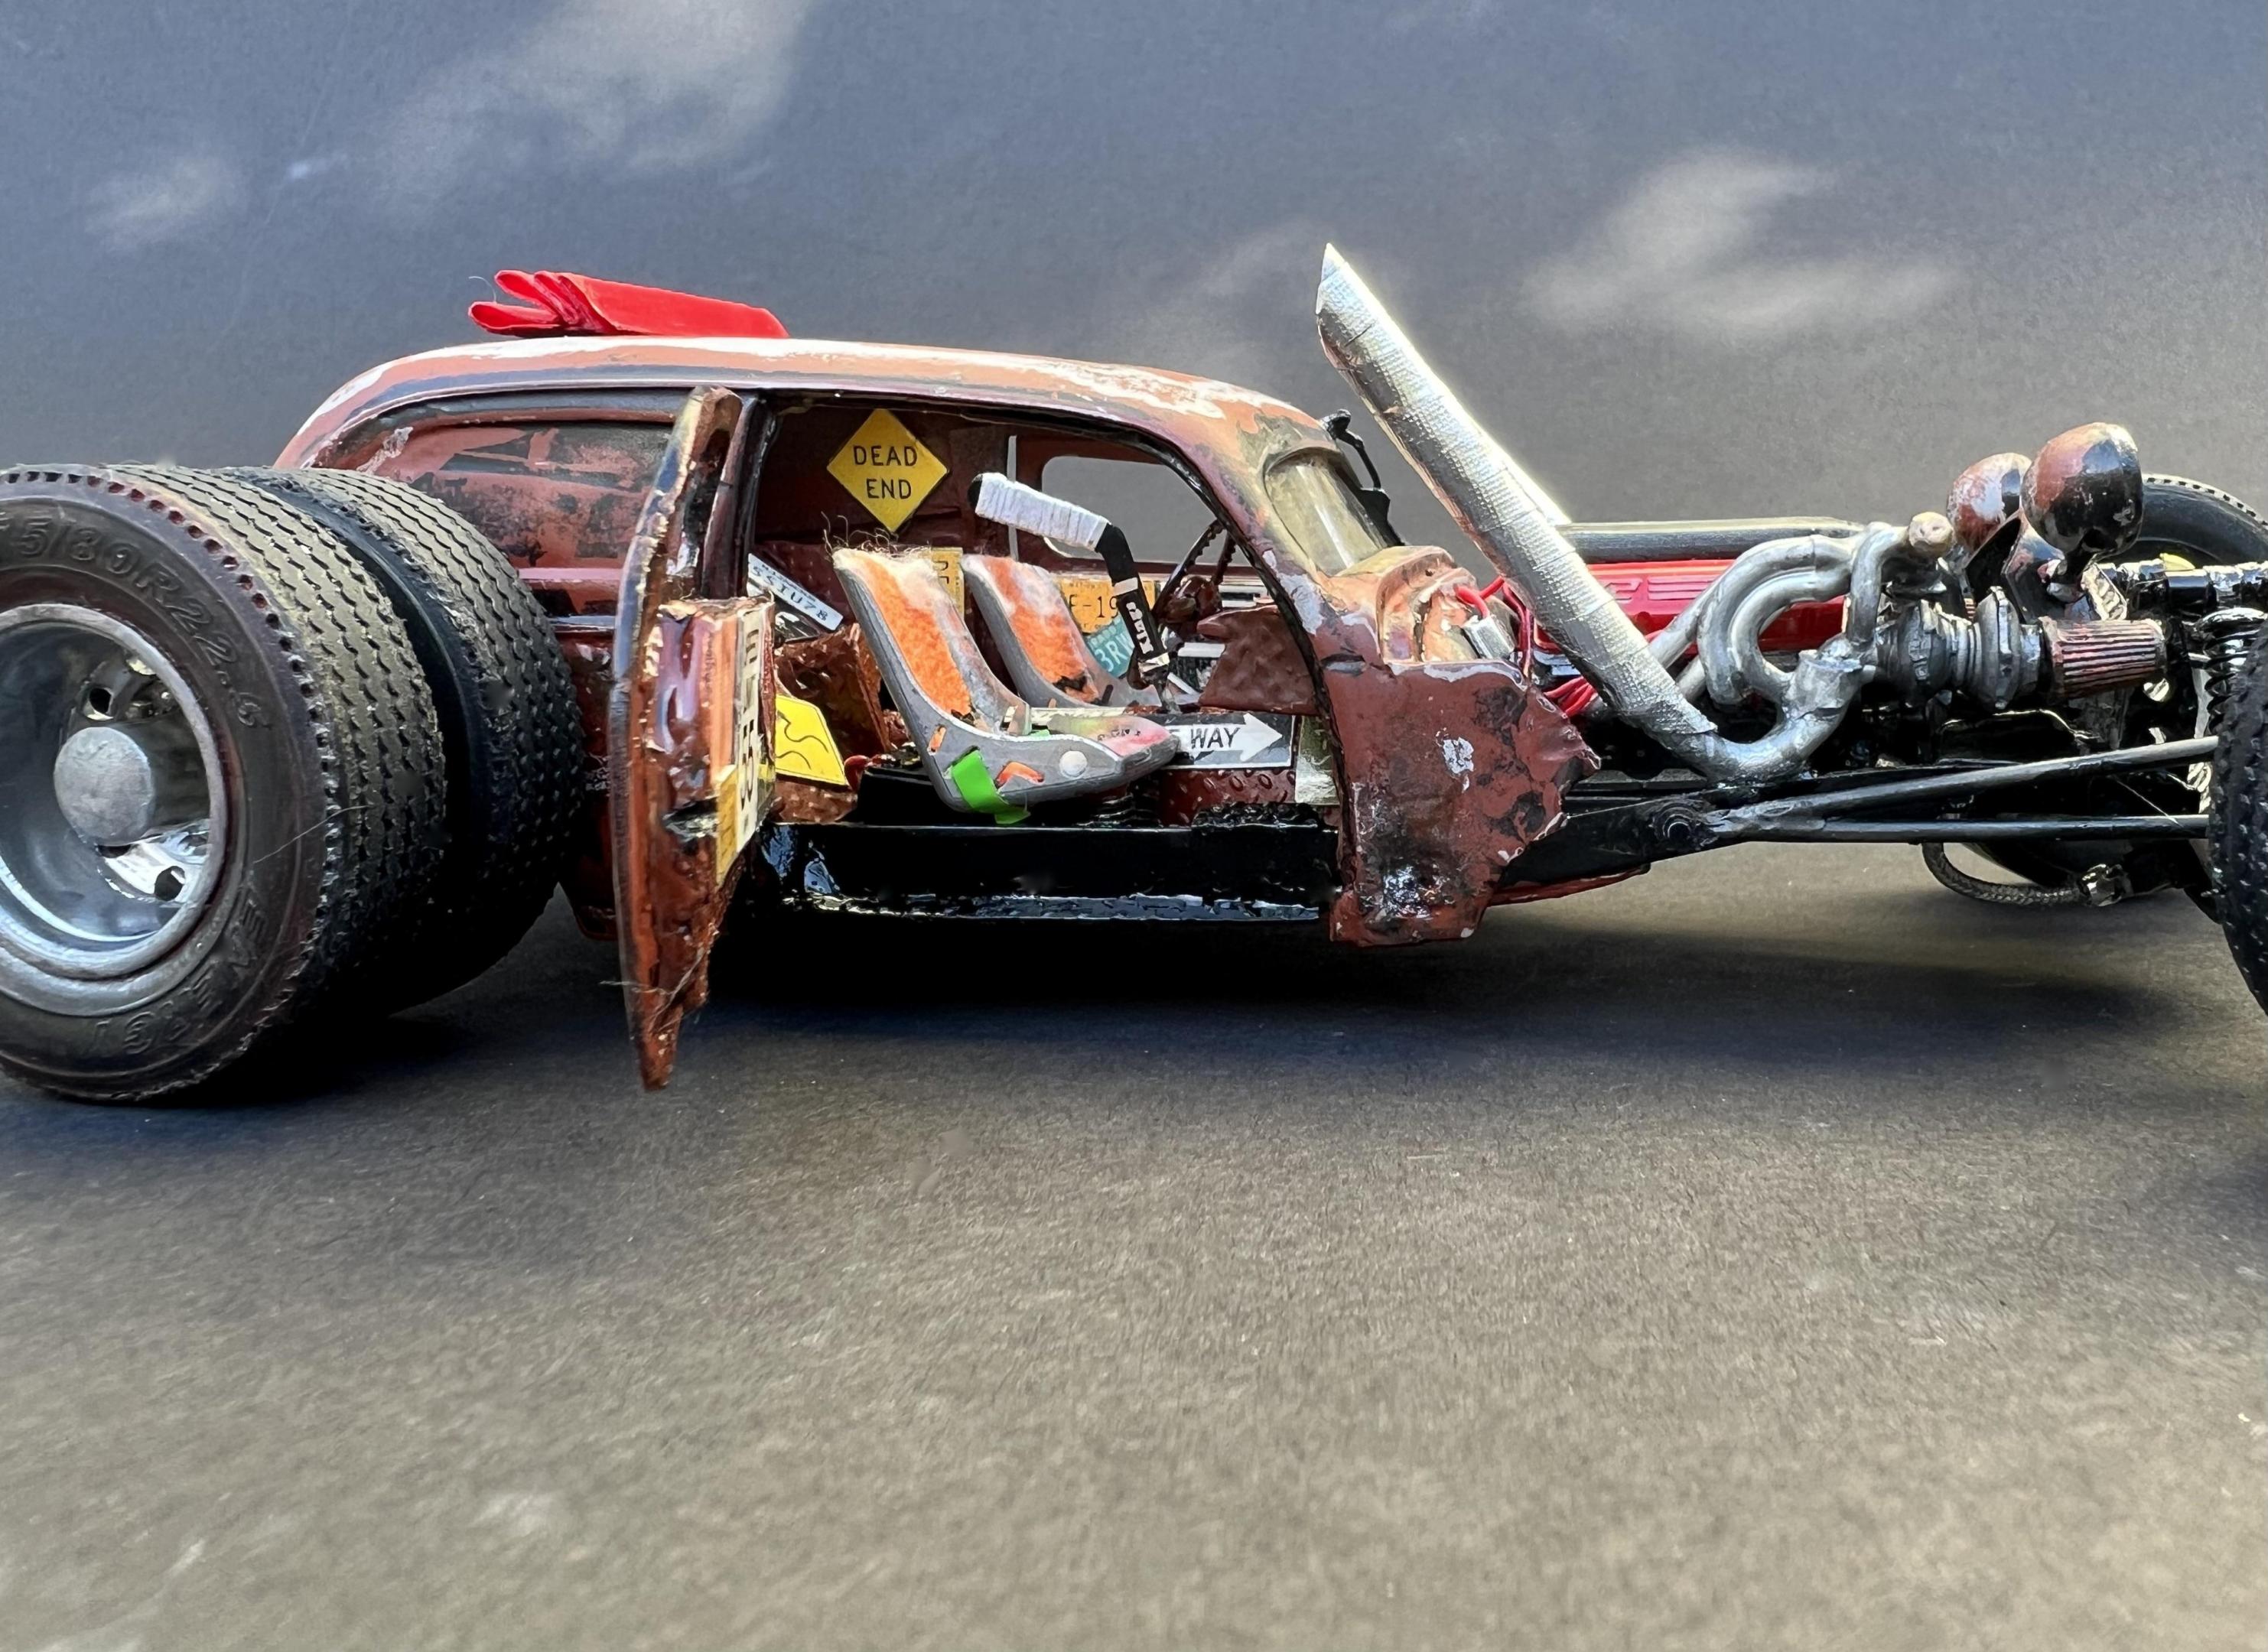
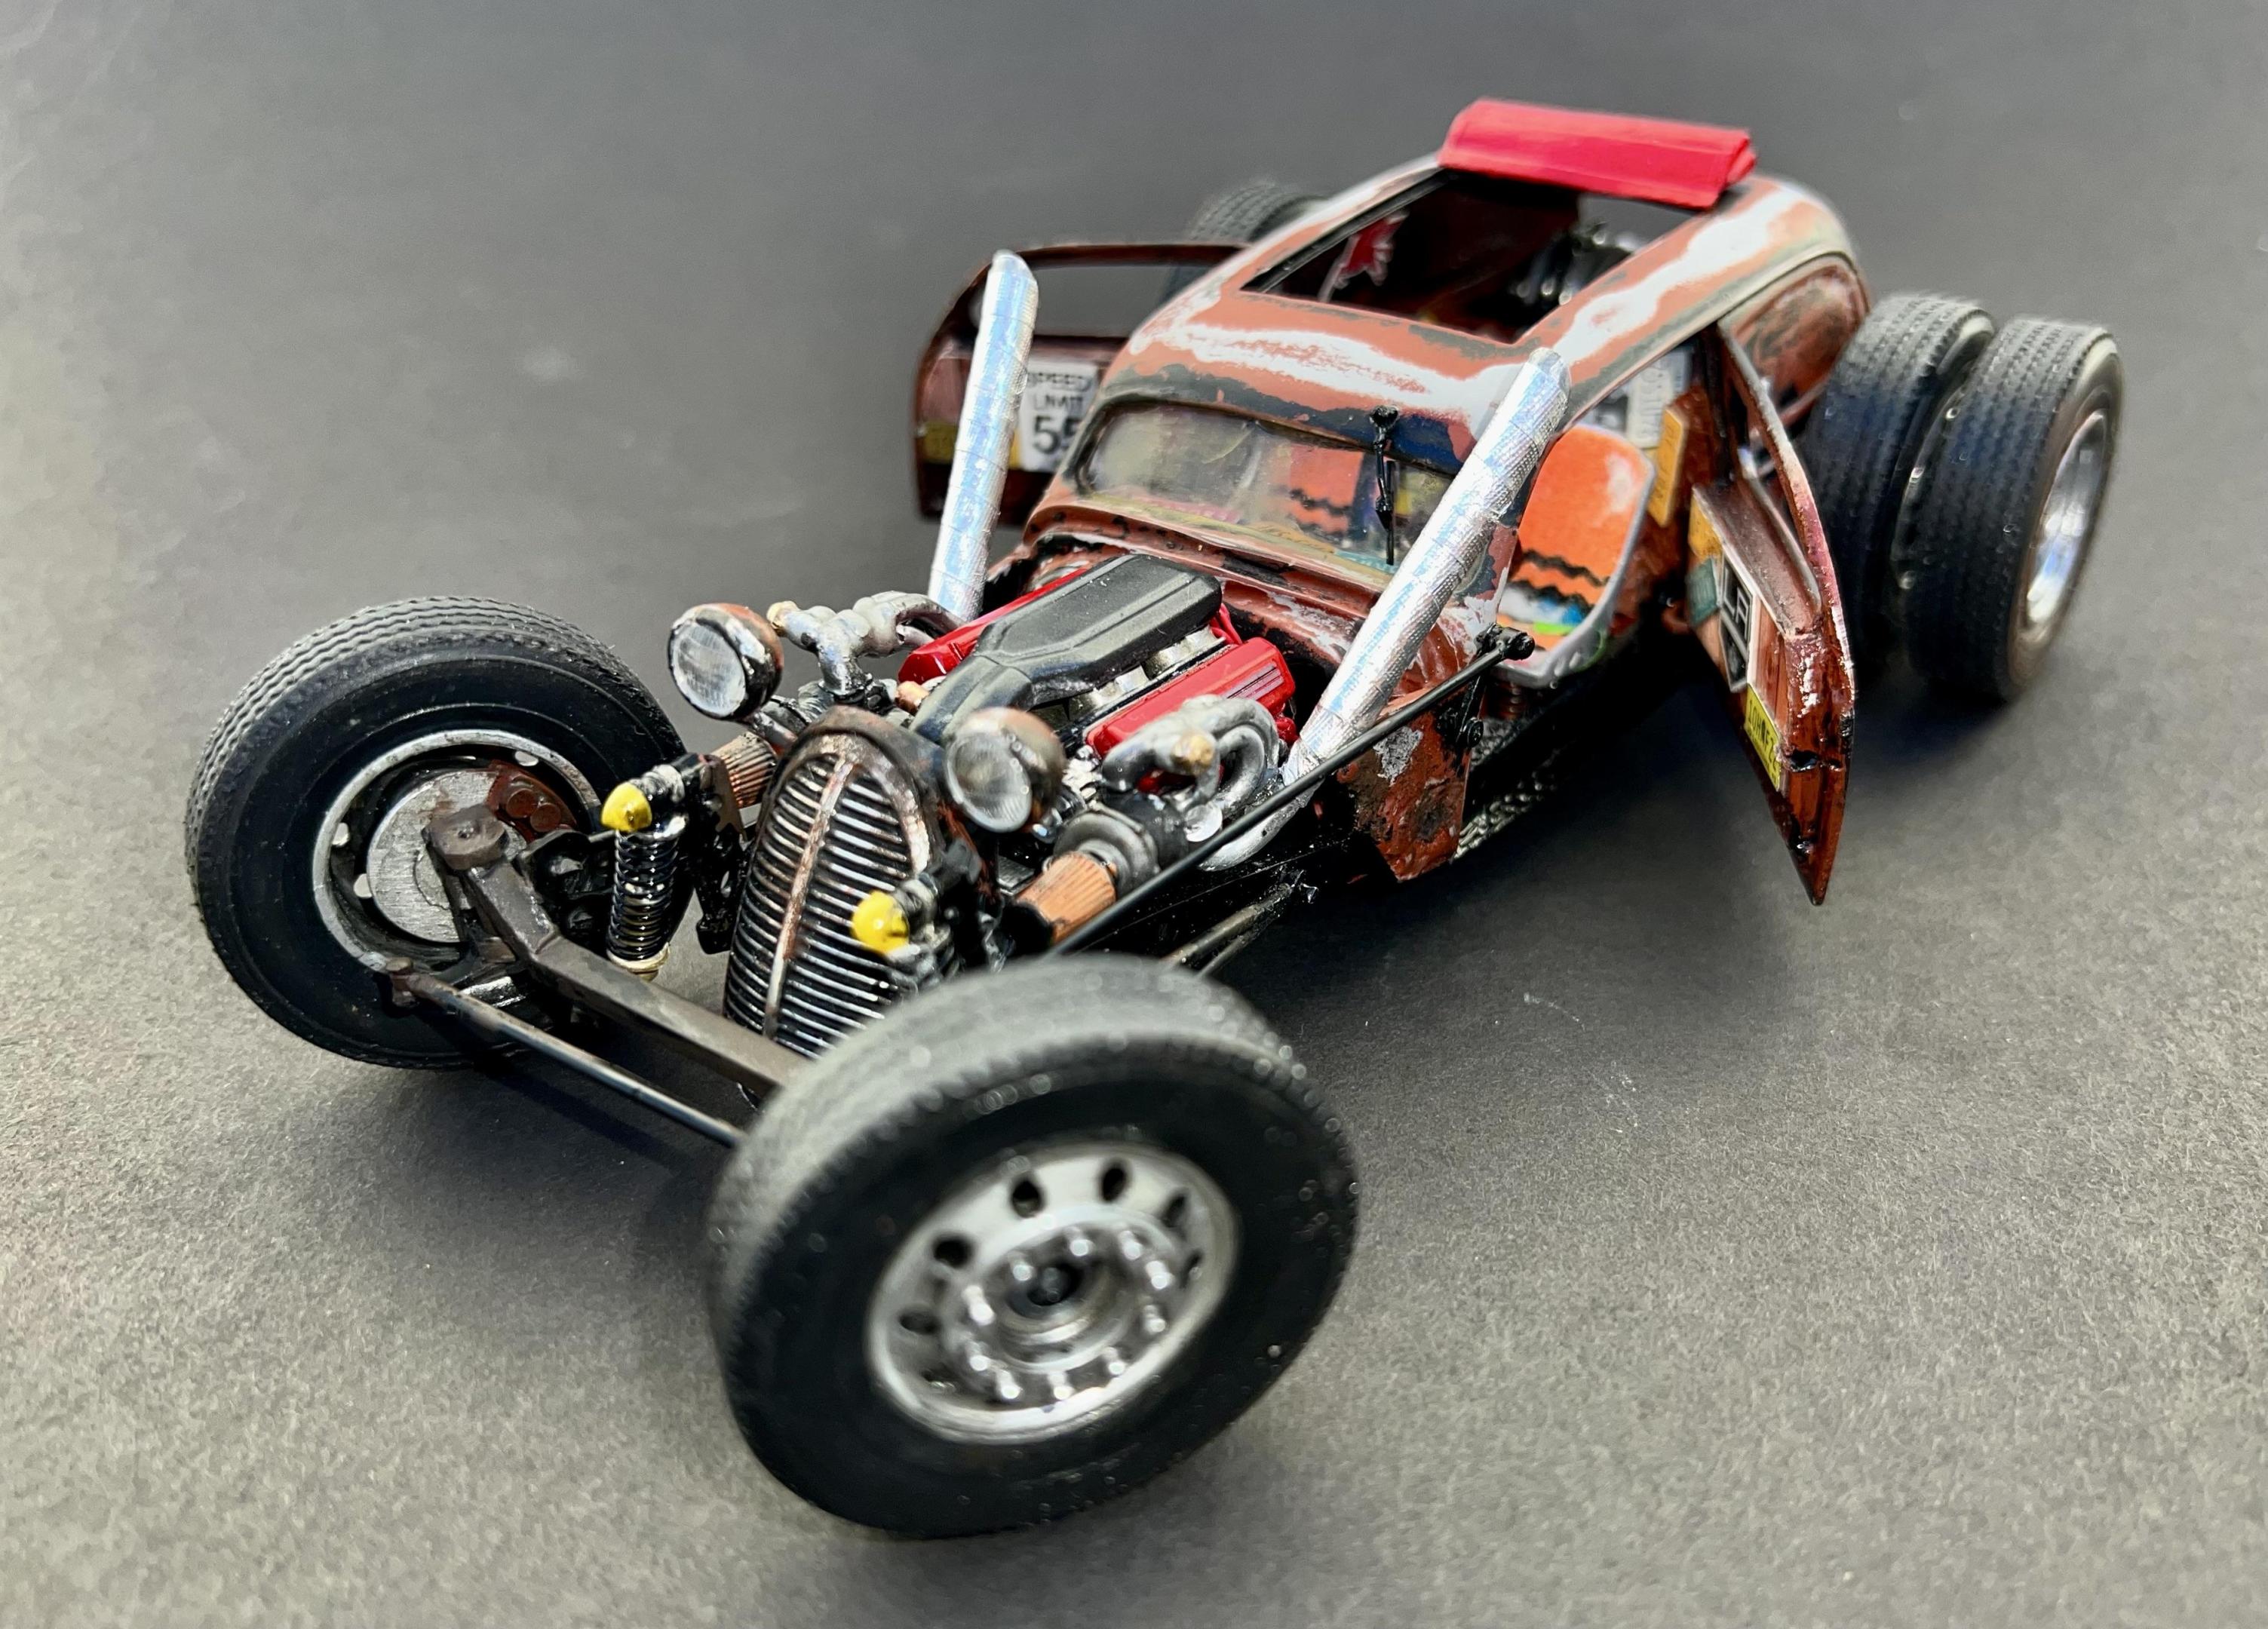
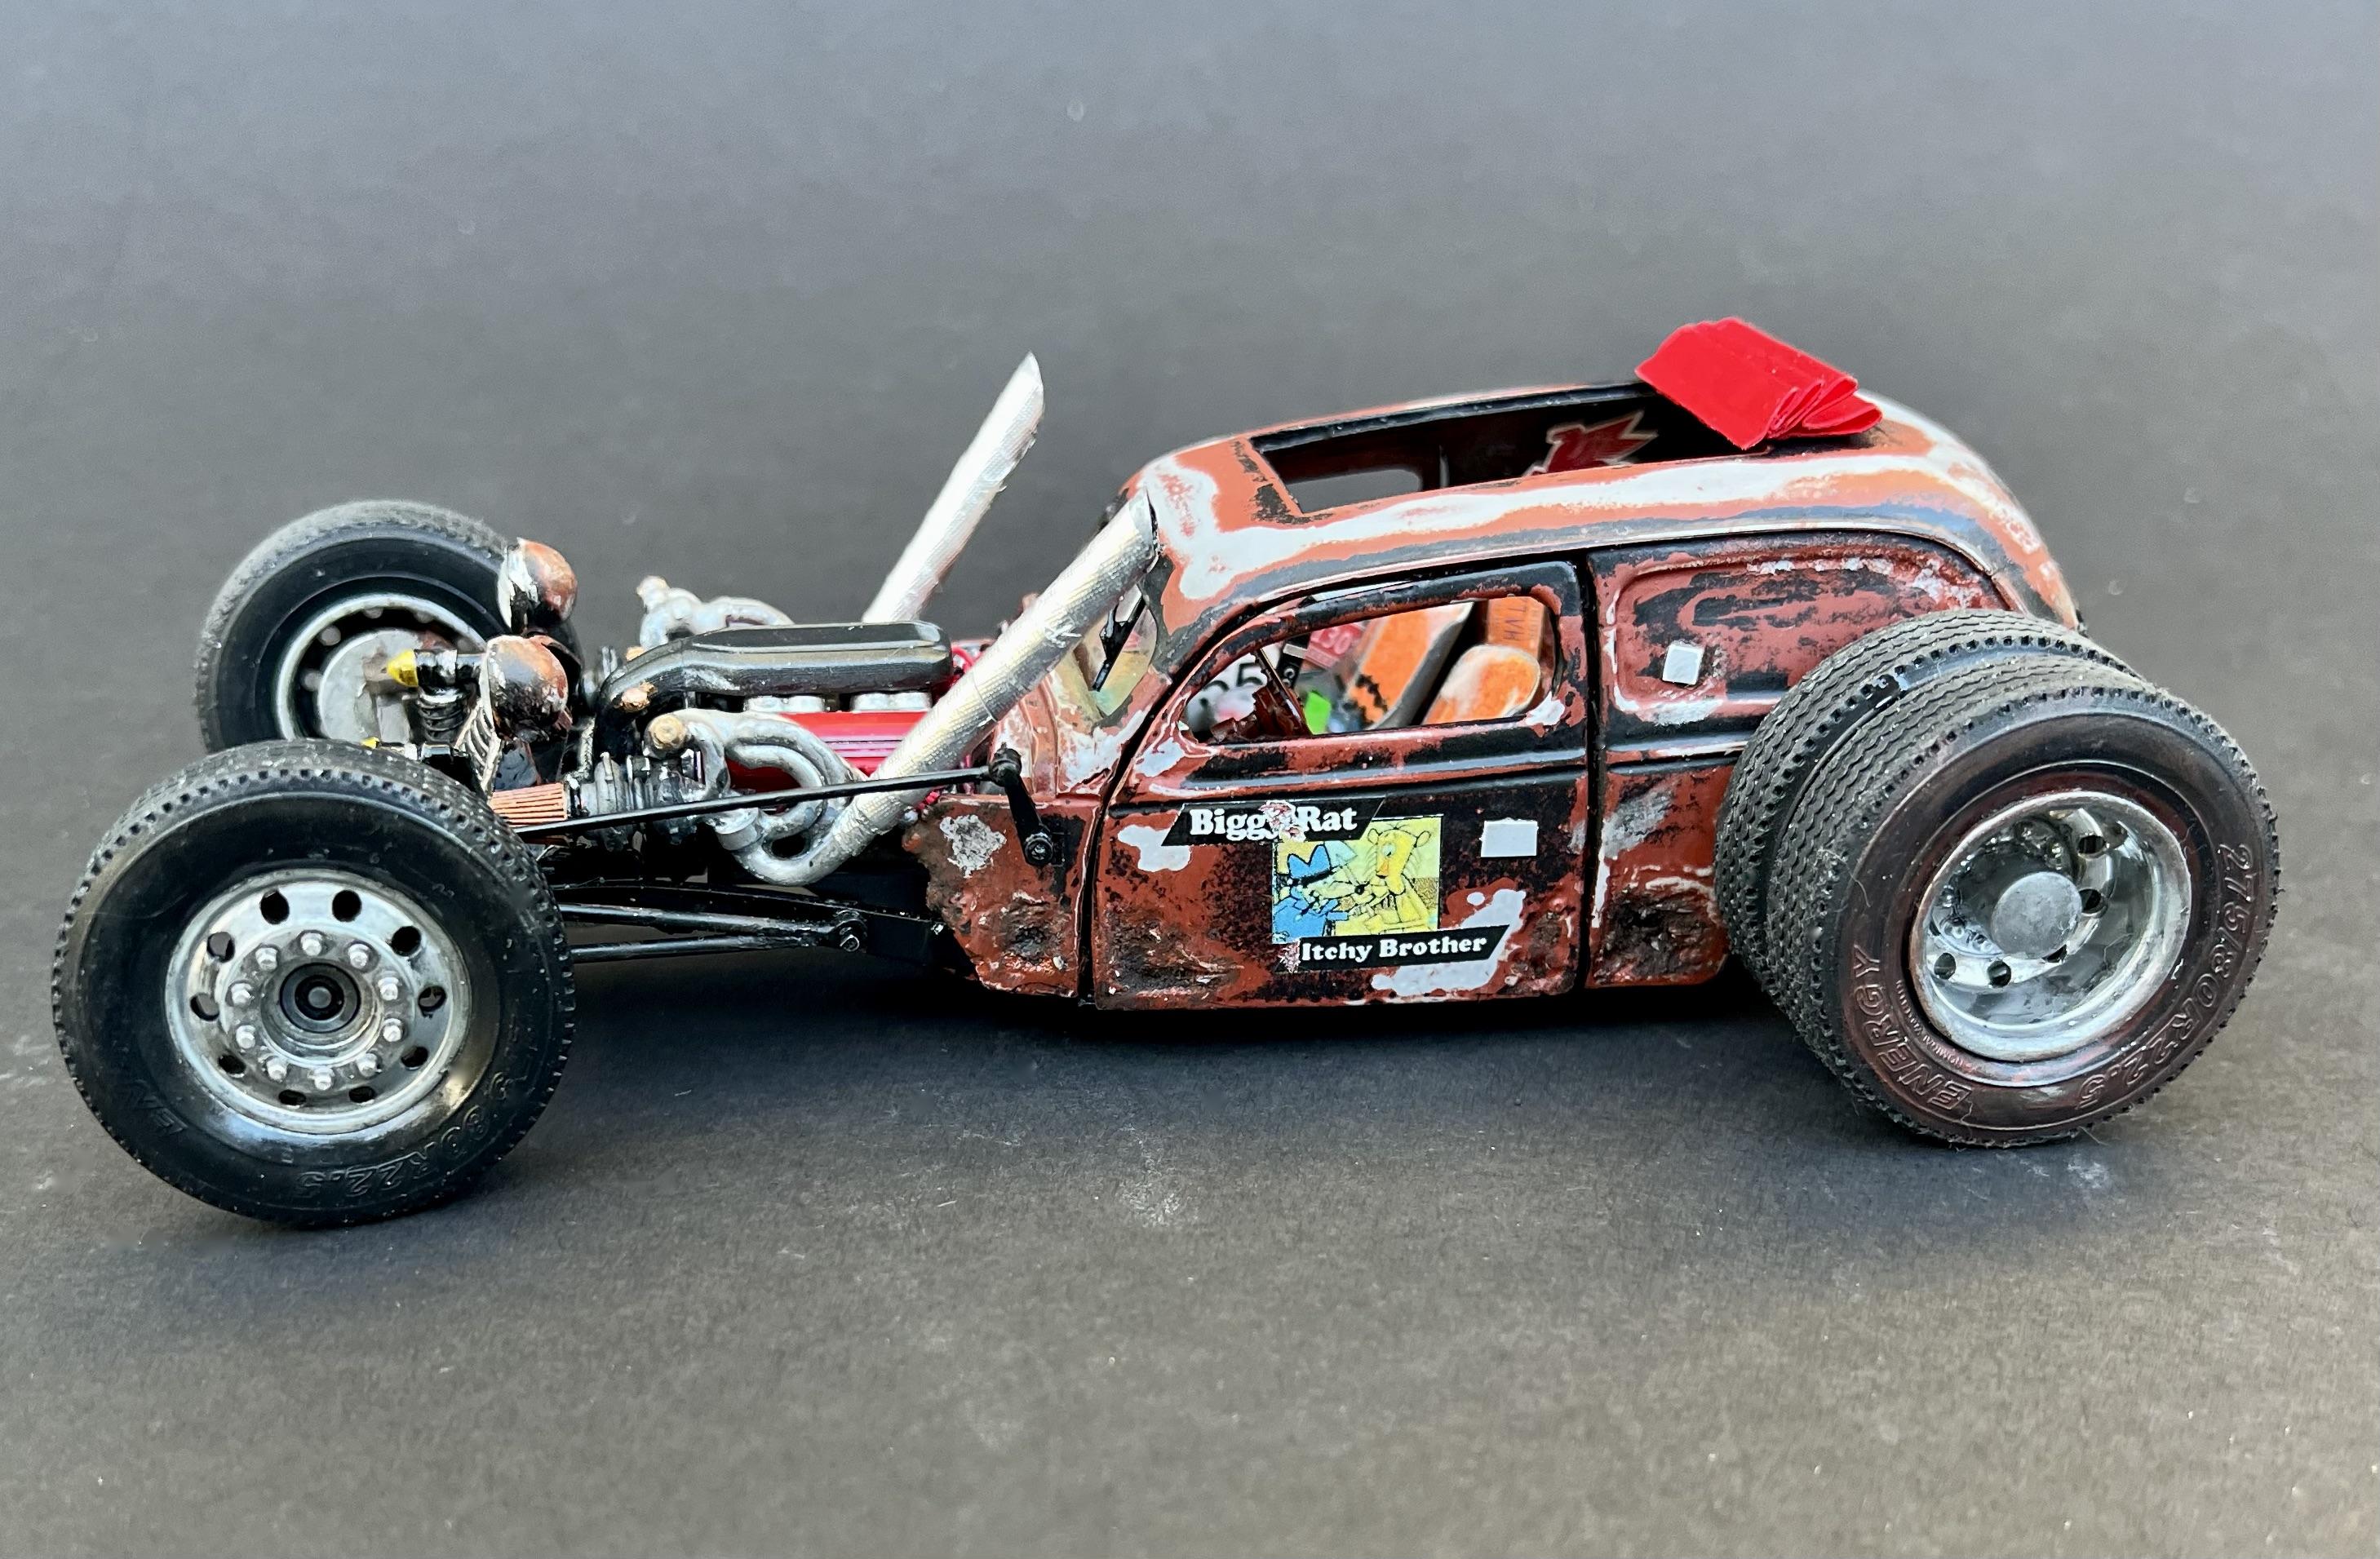
When I need a break from straightforward, well-organized model kits, I prefer to take on something challenging and a little bit nutty. While stewing for a couple of weeks after completing a rather complex Le Mans racer, I decided to take a deep dive into the parts bin to see if I could come up with enough fodder to build a convincing Rat Rod.
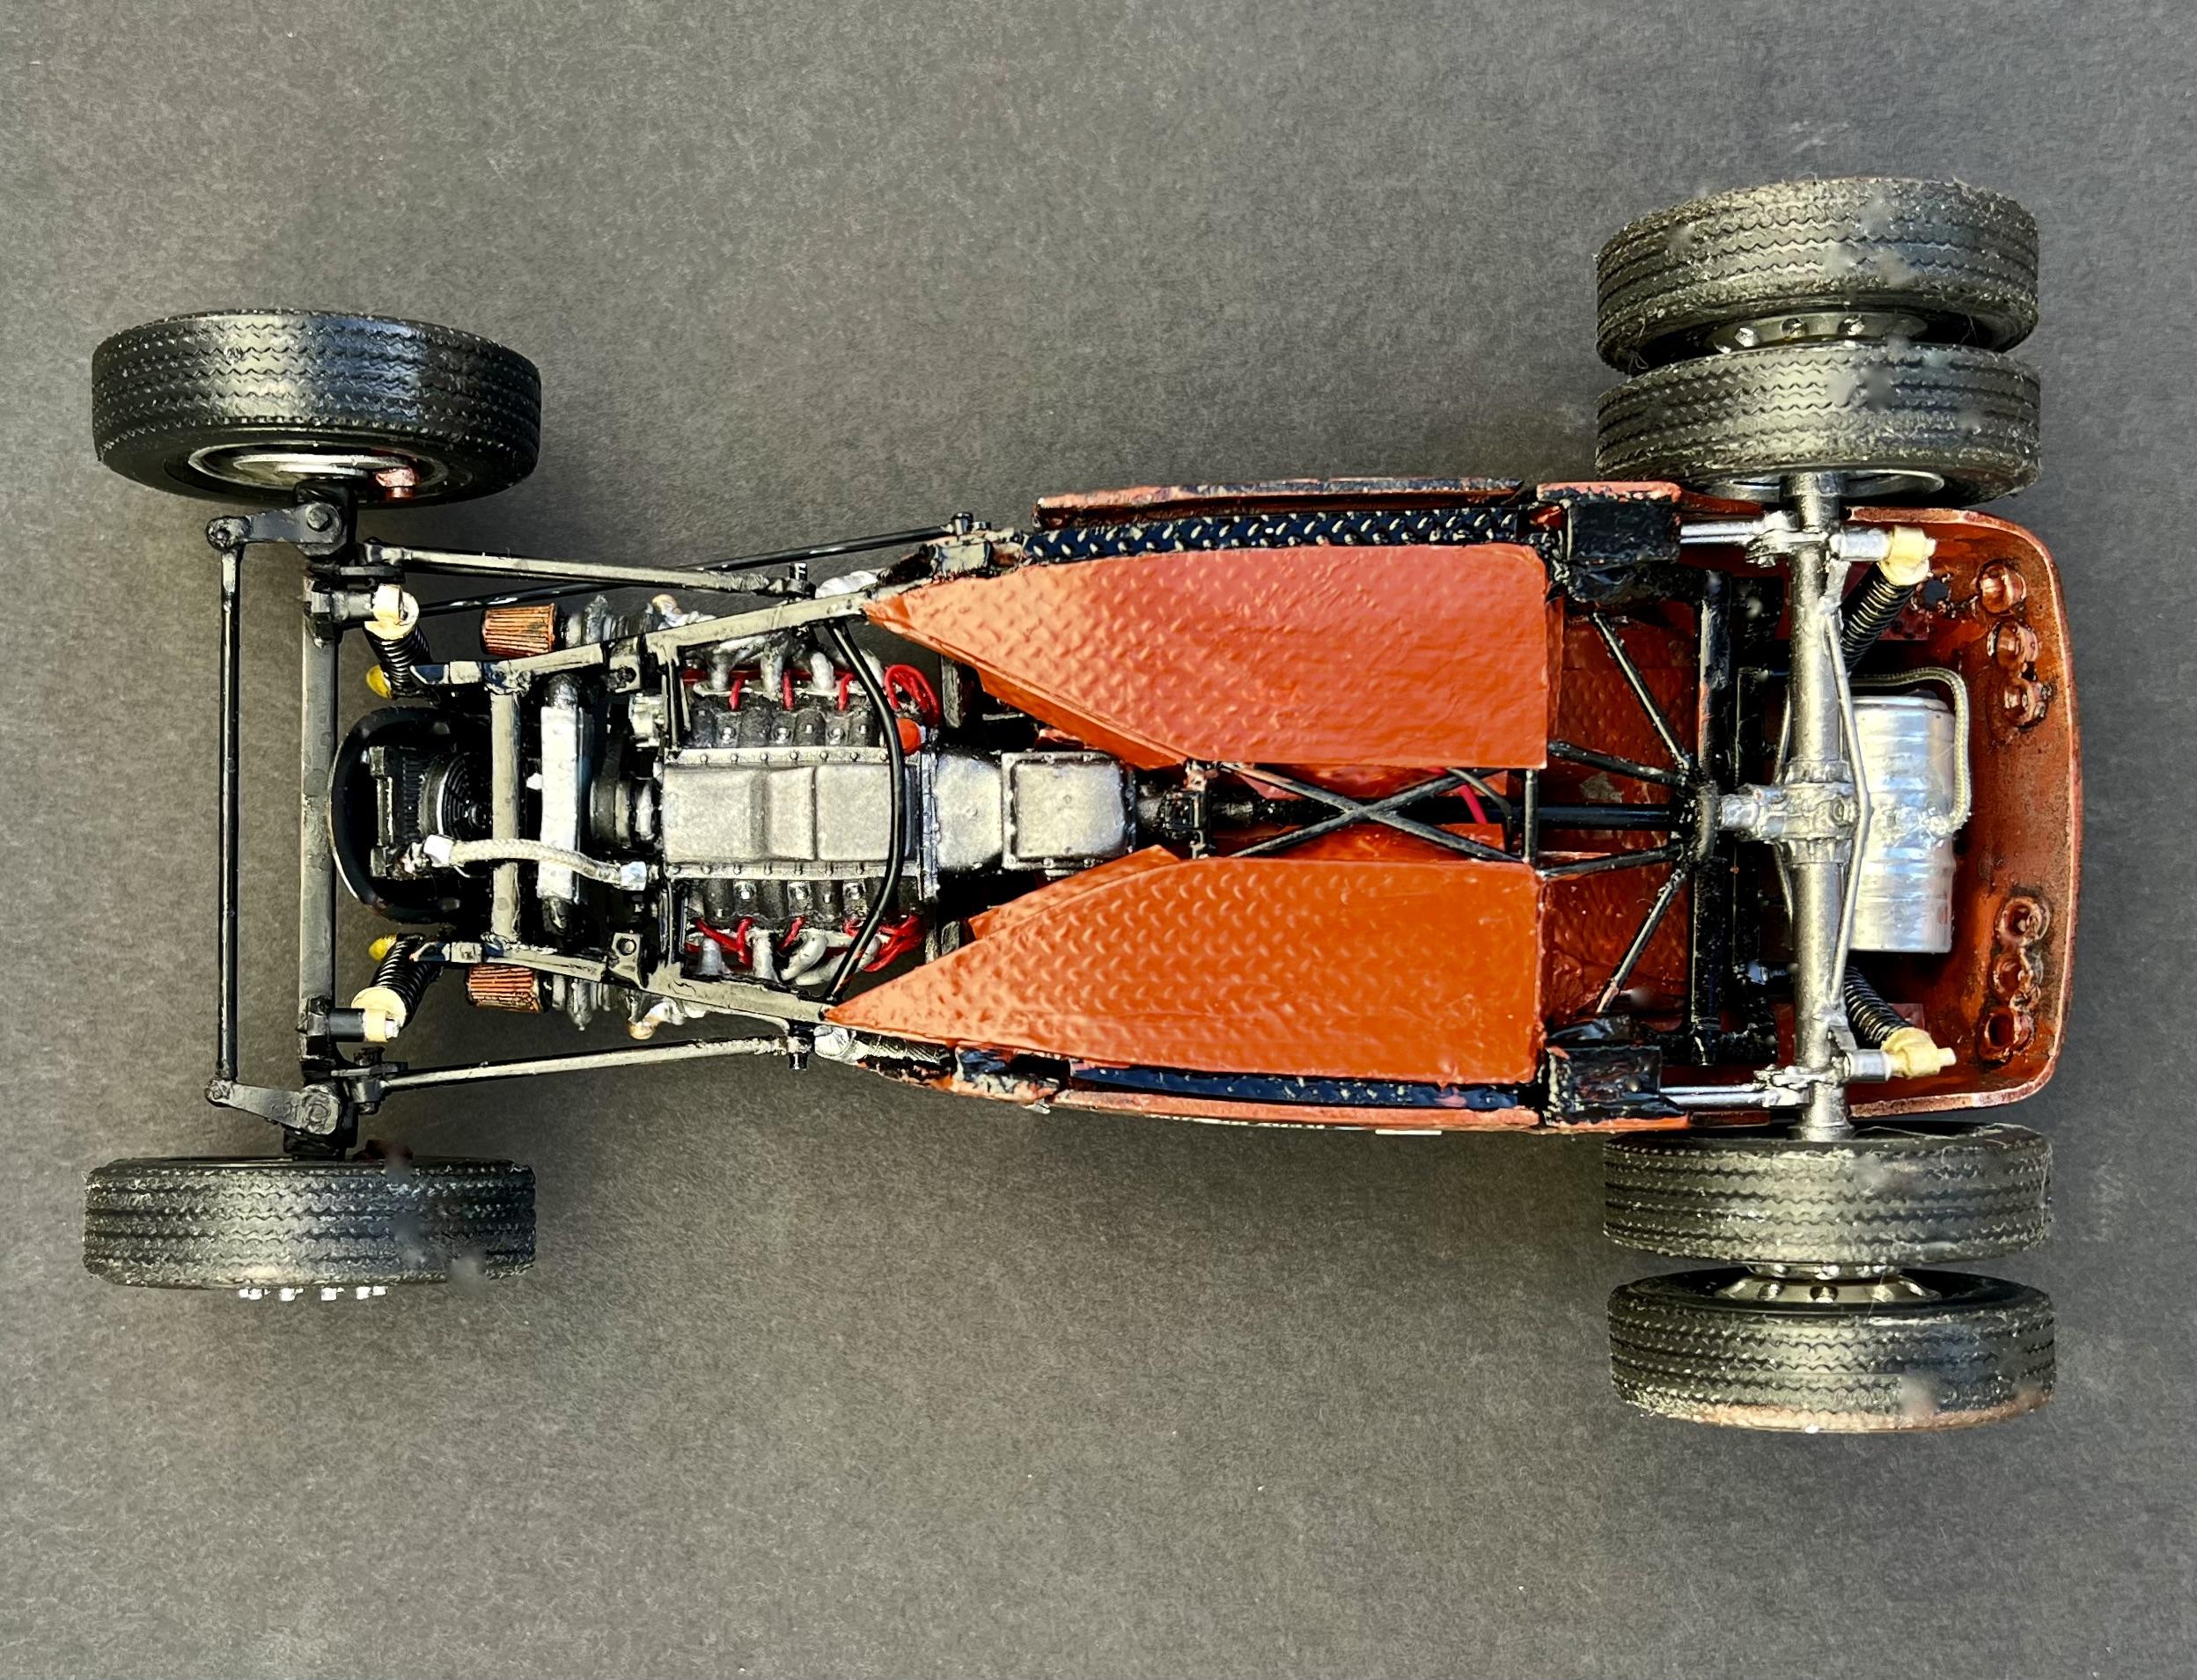
Almost! I salvaged a body and chassis from an old Lindberg, ’38 Ford Custom Van kit, but then decided this one deserved a more fitting motivator and had to have the right seats, so I ordered a resin Chevy 572 Twin-Turbo crate motor and bomber seats. And I ordered a resin beer keg for a gas tank, semi-truck wheels, and tires.
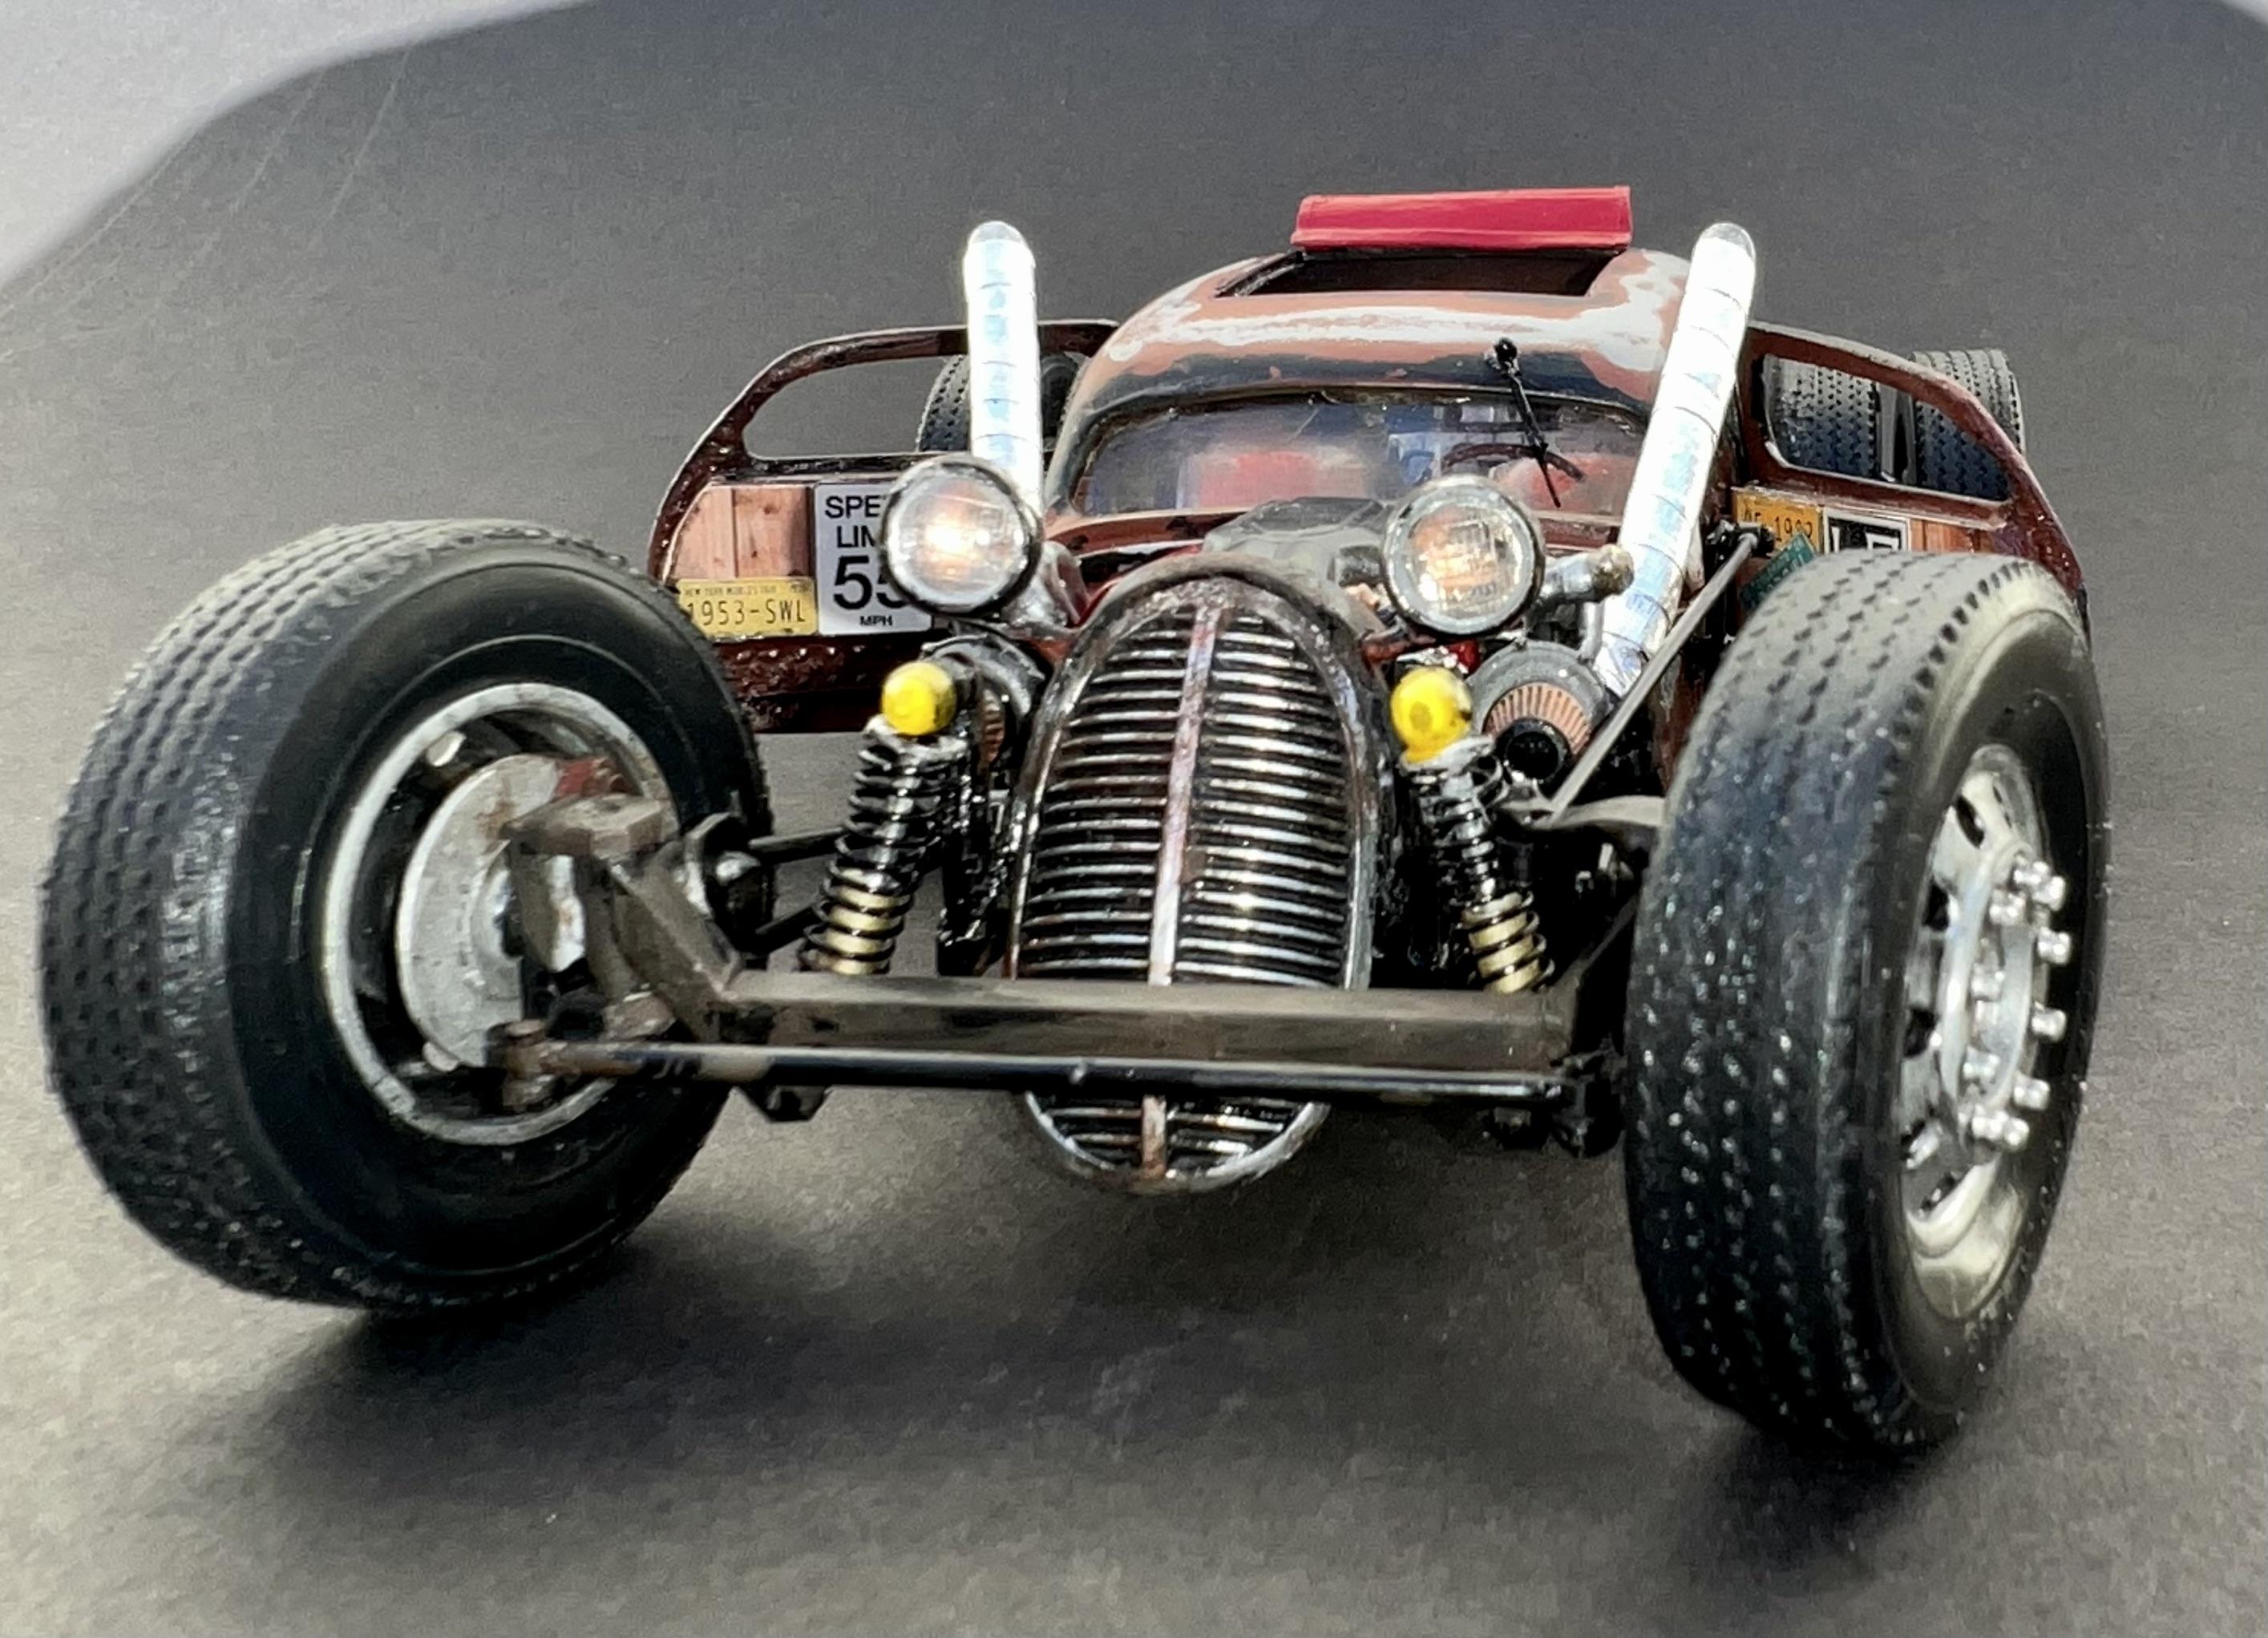
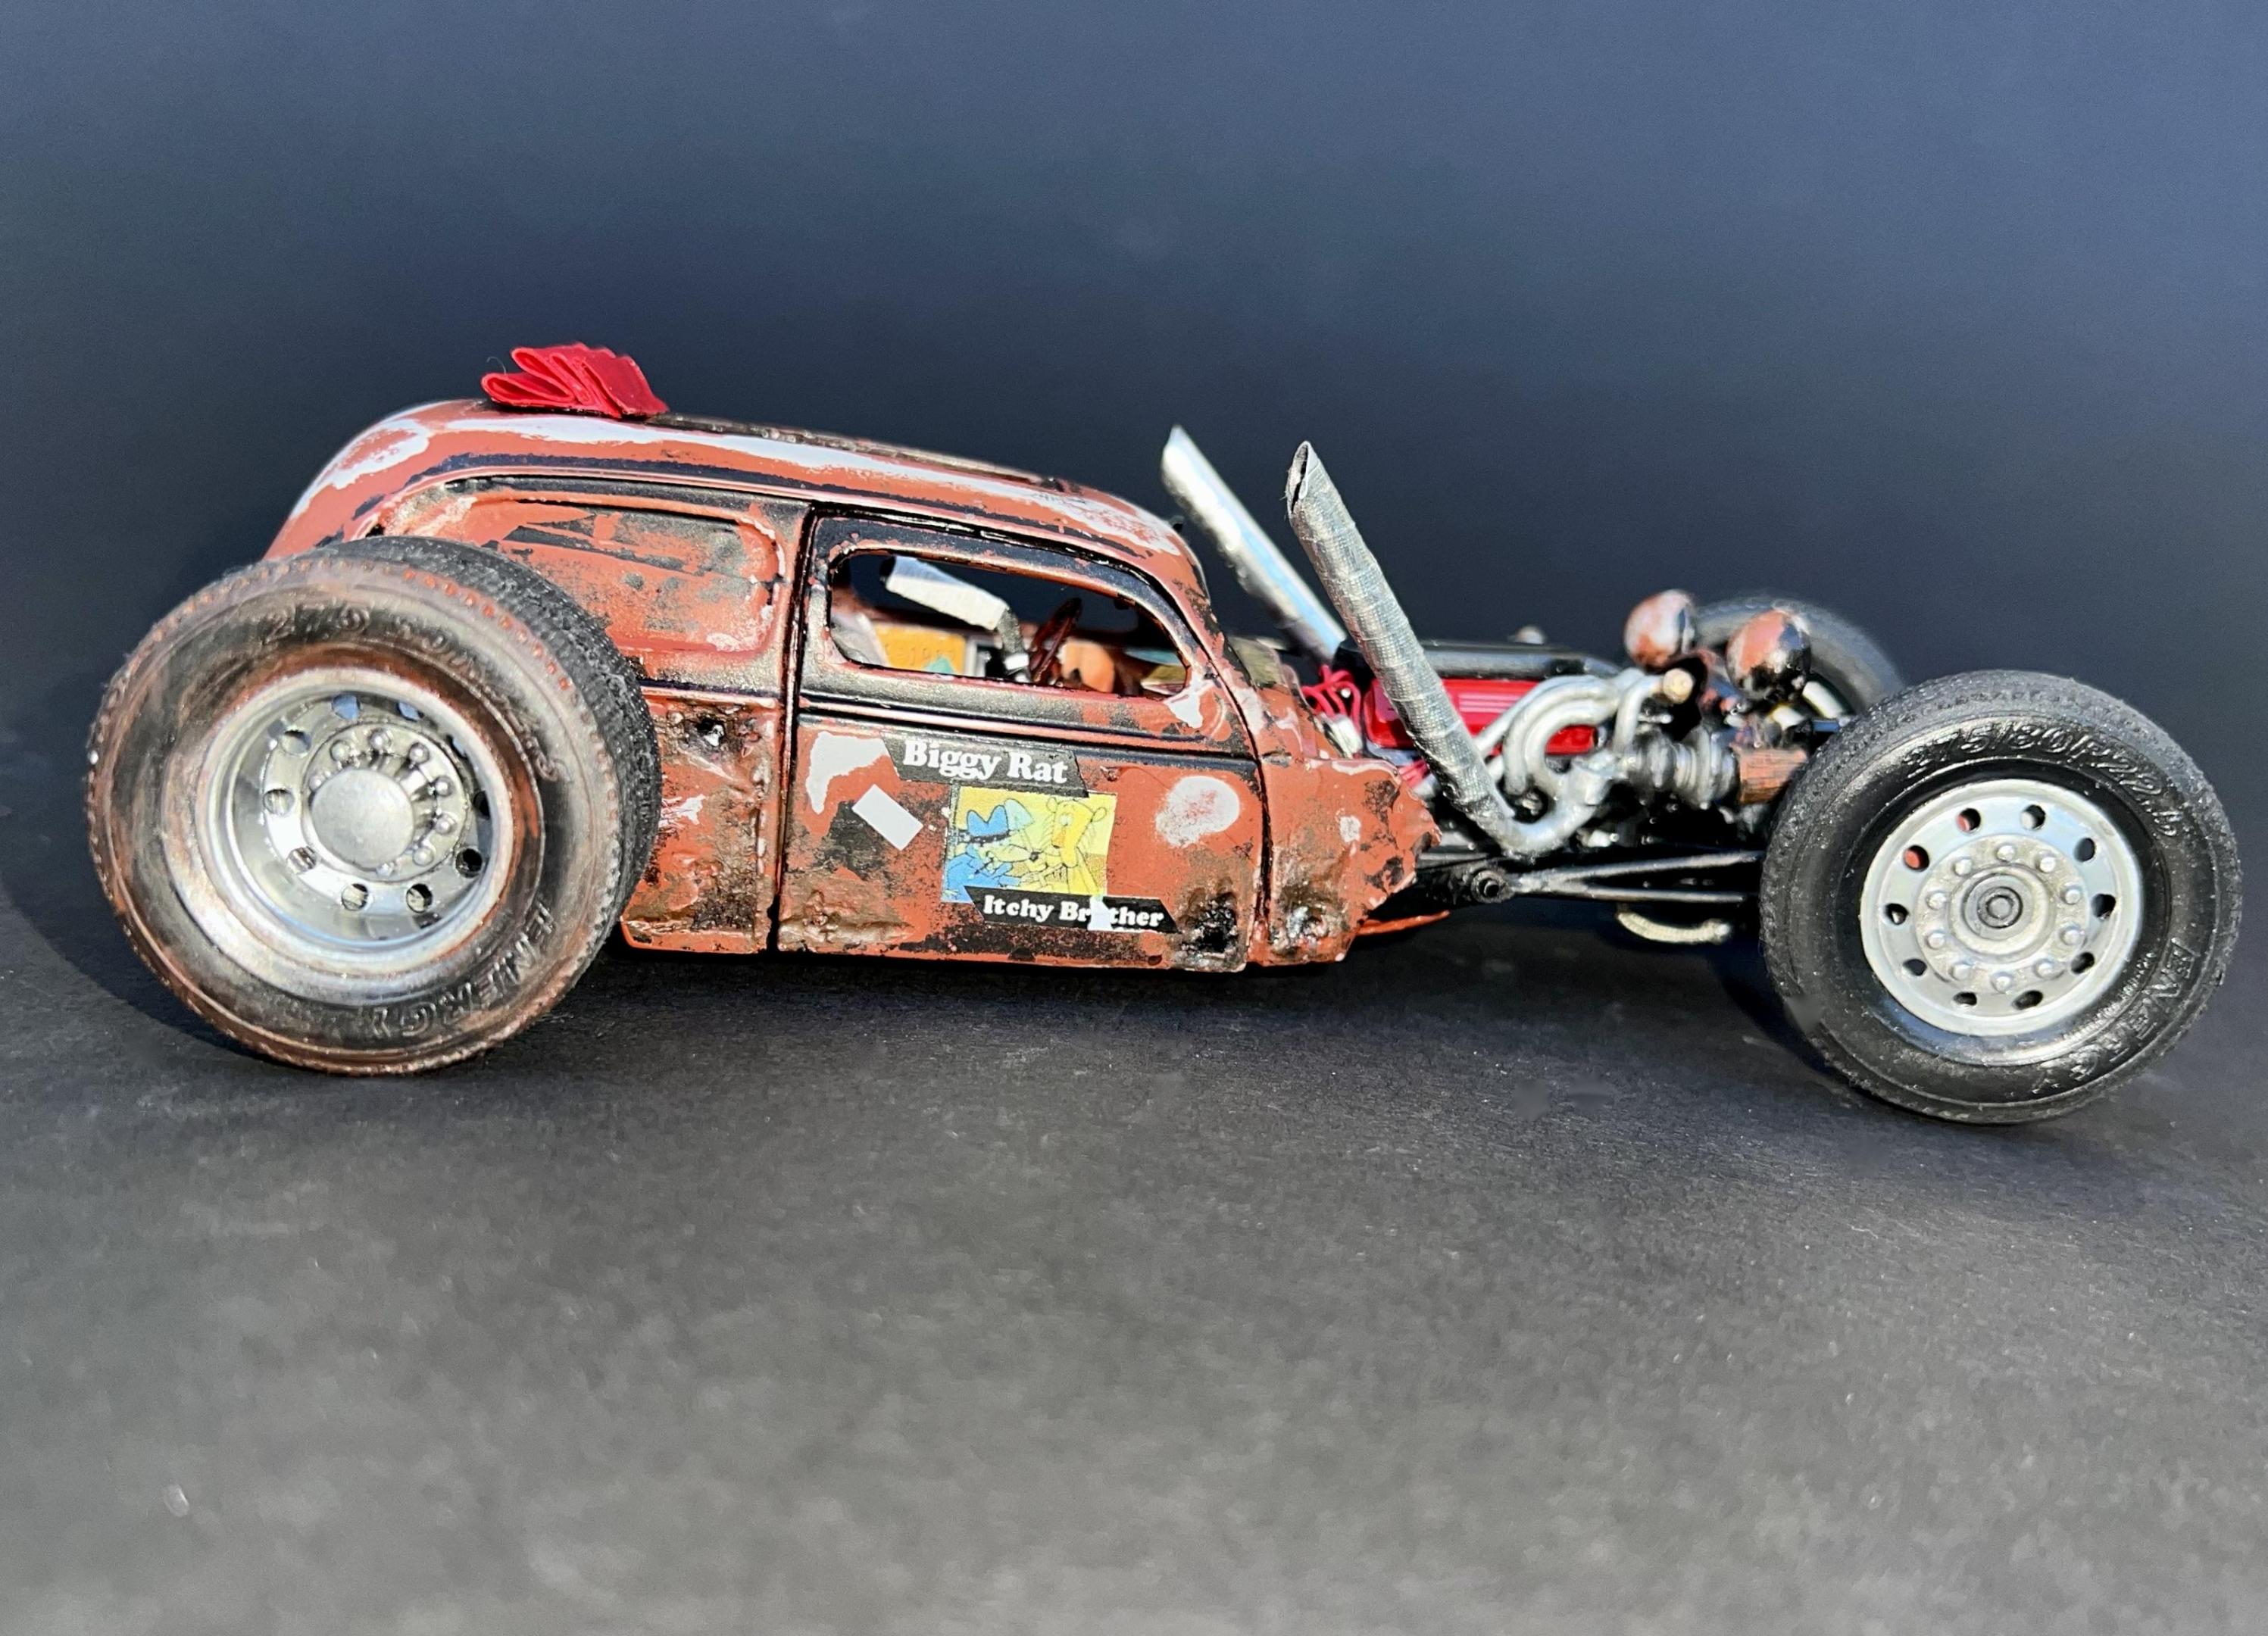
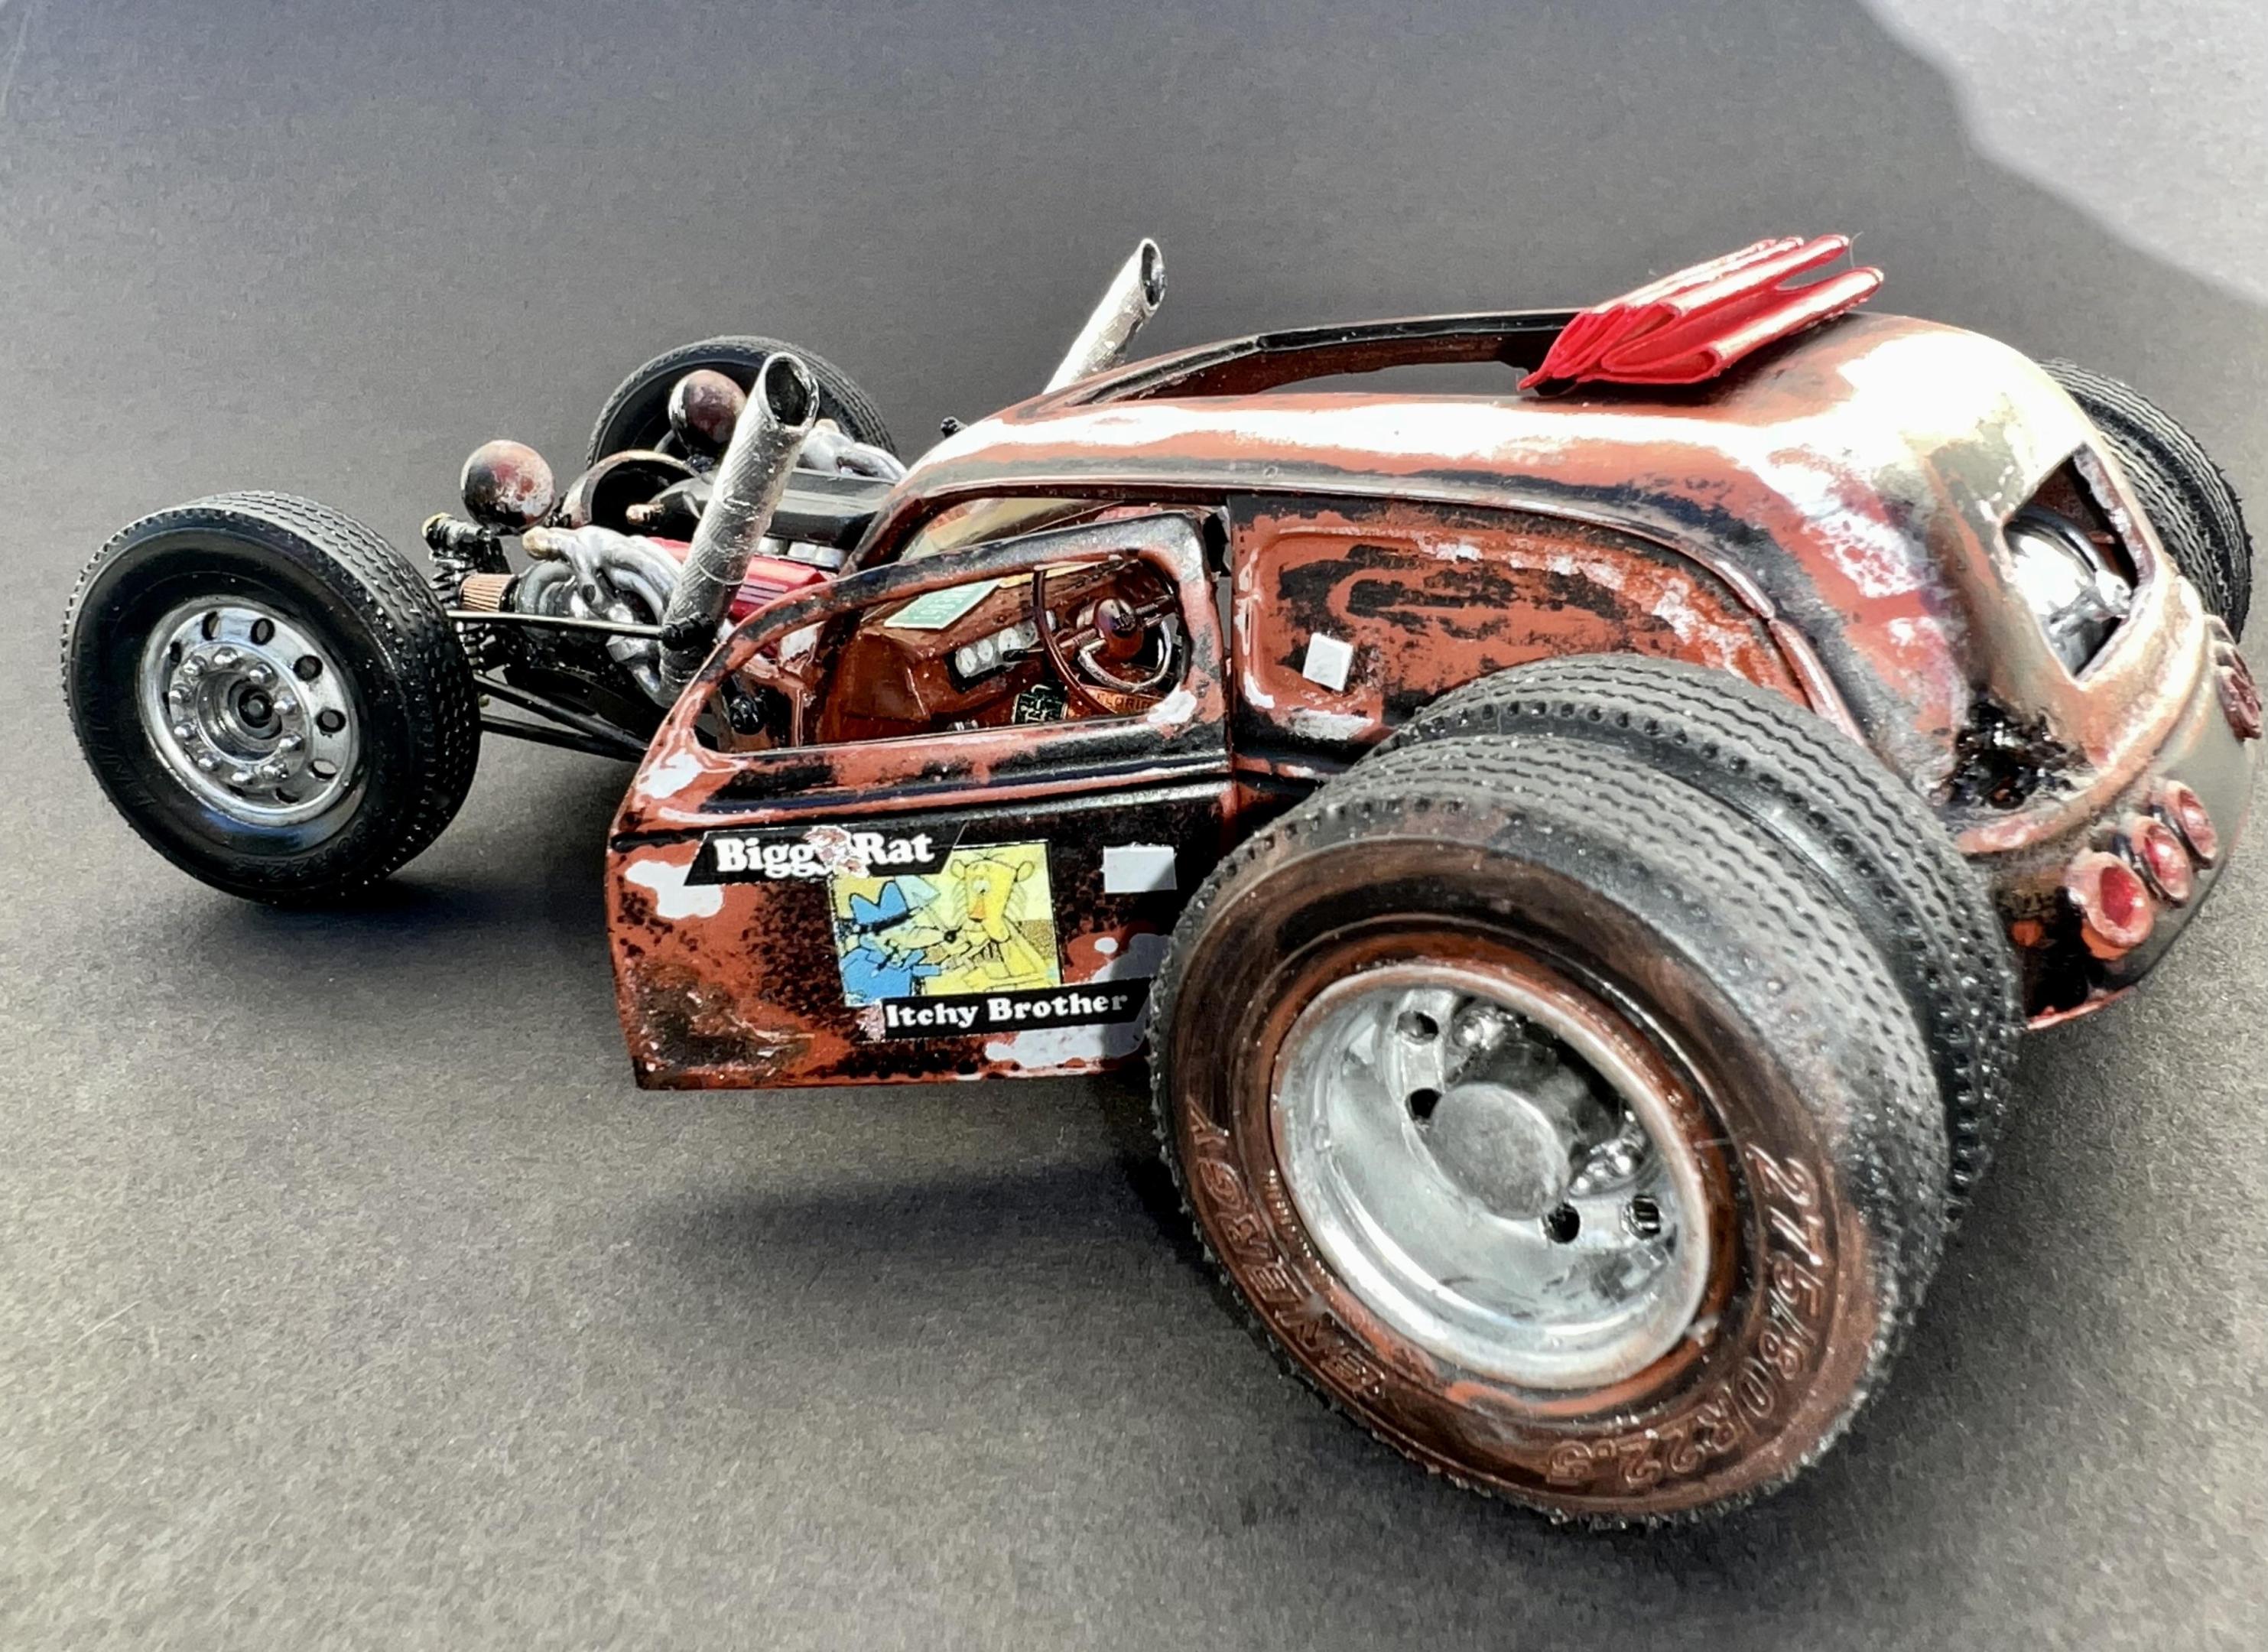
Then, I set about rounding up all the other parts and supplies, such as styrene sheets, rods, and tubes. I used a lot of scale diamond plate, gave it suicide doors, and scratch-built other whimsical goodies like the 12-volt battery and sliding fabric sunroof that is fixed open. The shift lever is a hockey stick, and the straight exhaust pipes are aluminum tubing with heat shielding made from foil butter wrappers.
I printed a dozen or so license plates (with personal initials and dates), road signs, and my favorite hockey team’s logo. This one is named “Biggy Rat & Itchy Brother” after one of my favorite cartoons, and decals of the mascots are on the doors.
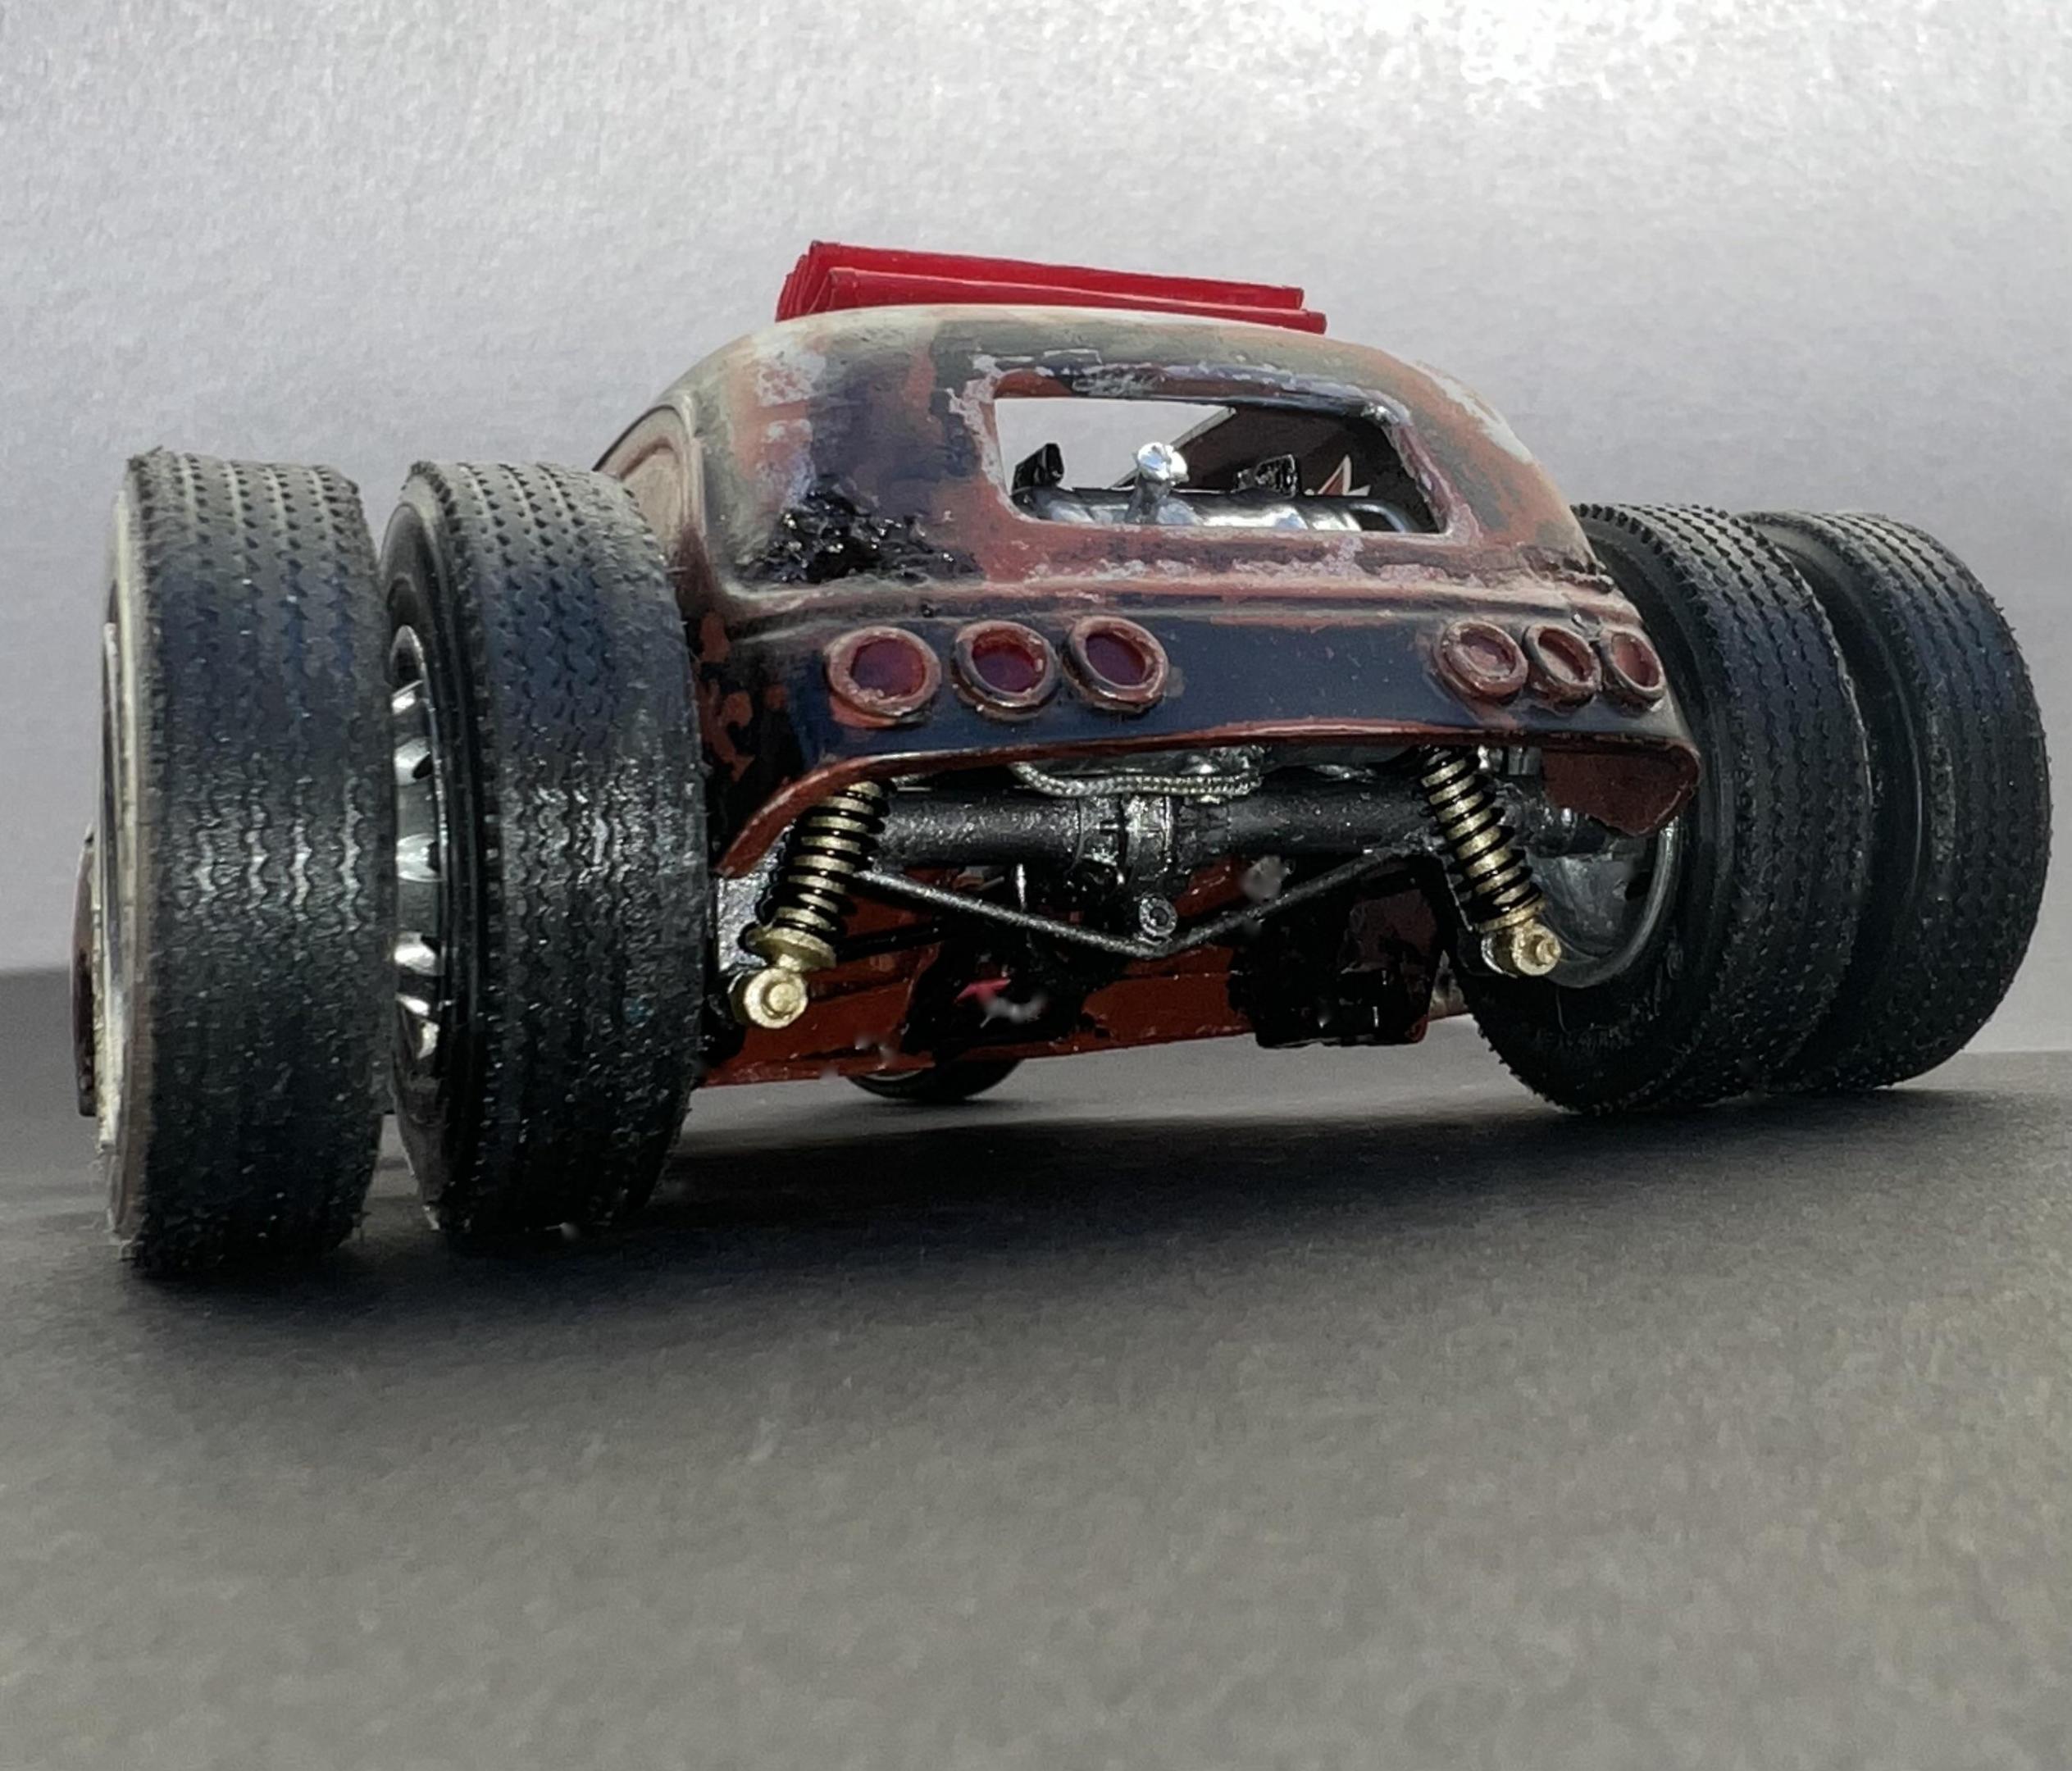
The Lindberg kit already had a 4-inch chop to the roof, but I removed another three and slammed it for a more appropriate stance. I added “sort-of-vintage Corvette-like” taillights with red plex lenses out back and mounted turn signals on the shock towers up front. The headlights and grill are from Revell’s ’37 Ford Pickup 2’N1 kit. The grill is mounted upside-down. I made coil-over suspensions, North and South, and the steering is poseable. The resin bomber seats are mounted on springs, upholstered with Mexican blankets with some stuffing, and painted in Rust-Oleum Metallic Finish.
Using various rattle can paints, I gave it a god-awful rust bucket look and experimented with a weathering technique using Elmer’s glue and salt. First, I ground away small areas and drilled holes to create rust damage, then covered everything with Mr. Surfacer 1000 Gray Primer, then flat black (Ace Hardware, Premium Flat Black Paint & Primer) undercoat, followed by a coat of Red-Oxide Primer (Ace Hardware), then one more coat of gray Mr. Surfacer 1000. Elmer’s glue and salt were used between coats and on top of the final coat of Tamiya, Black, TS14. After curing for four days, I sanded away nearly all the black, exposing most of the red oxide and the Mr. Surfacer Primer in some areas. Here’s what I ended up with…..
Thanks for looking and comments, please.


.jpeg.4e7e5f19faca1f33c596b0077c6ebac0.jpeg)
