Modelbuilder Mark
-
Posts
4,689 -
Joined
-
Last visited
Content Type
Profiles
Forums
Events
Gallery
Everything posted by Modelbuilder Mark
-
good looking model
-

Hobby Lobby
Modelbuilder Mark replied to Mike 1017's topic in General Automotive Talk (Trucks and Cars)
I got lucky at Hobby Lobby yesterday at a couple different locations, and picked up a several cans and bottles including a can of metallizer aluminum plate. Got out again today to drive around and check out a few more locations (we have 11 Hobby Lobby's in the valley) but after hitting a couple more it was pretty clear my fellow modelers in the valley had also heard the news and grabbed most of the stock up. I do not begrudge the. At 75% off, $1.57 for the spray cans and .99 cents for the bottle, smoking deal. -
Round2 -- AMT & MPC Kits for 2021
Modelbuilder Mark replied to Casey's topic in Car Kit News & Reviews
Shucks, I would be happy to land a re-builder if you ever need to move one. I keep an eye out for a good condition one, but have yet to land one. The ones I see online I get outbid on. -
Thanks Juergen, my apologies for the late response but between work, vacation, and family responsibilities I have no been online here in a while. I used the hairspray method. In this case, I did not want a rusty underneath as I envisioned the door as aluminum. The door is grooved plastic sheet that I shot with a coat of Model Master aluminum paint that I buffed lightly, but I would imagine Alclad or other options would work just fine. I then sealed that with a flat clear, then hairspray, then water-based acrylic paint over that. after 20 minutes or saw, I wet that and then just started dragging the flat brush downward in the areas where I thought it looked "right". Along the edges, where the door would rub along the inside sop, I just used a straight edge, and drive my thumbnail down a few times. Once dry, I used some light dust pigments and drew them downward to create weather streaking. Thanks for the kind words. I do not recall if that is Plastruct, or Evergreen or what someone else, but it has been in my drawer for many years. I have a few more sheets, but I am not sure how to tell the maker is as I no longer have the packaging.
-
Down memory lane for fun
Modelbuilder Mark replied to John1955's topic in General Automotive Talk (Trucks and Cars)
Indeed, sounds like fun. Maybe 20 years ago, I tried to get some adult model builders to consider building some for fun....They apparently had no inclination to get down on their hands and knees to crash model cars. LOL -
Throttle linkage
Modelbuilder Mark replied to Shaun32's topic in Model Building Questions and Answers
Hmm, never considered that, and I have plenty of that around. -
Down memory lane for fun
Modelbuilder Mark replied to John1955's topic in General Automotive Talk (Trucks and Cars)
I was not a firecracker user, but my neighborhood model builders build real Smash-up Derby cars. While there were restrictions, you essentially glued everything in place using only model glue and sprue as solid as you could, but you could not put bars over the wheels for example. Then once completed, we would take turns going to different kids houses and on a smooth surface, sit about 10 feet apart and 5-6 kids at a time would on the count of three slide the cars into the center of the floor to collide. This would be repeated until cars were "knocked out" which happened when either both front wheels, back wheels, or both wheels on one side fell off (If you had a right front wheel and a left drive wheel, our childhood logic said it would still "go"), or the engine fell out, or the steering wheel came out. This was great fun. -
Very cool. Looks like a fun project with great results. I need to do more of those if I have any hopes of getting through more of my stash. ?
-
I almost picked up the London Cab kit, but I absolutely would get a Checkered cab.
-
First effort at this type of Patina? looks good, like it was in a very humid area like Louisiana or something.
-
This one is a great tool tip, that I have planned to use MANY times, and inevitably forget until I see it again. LOL
-
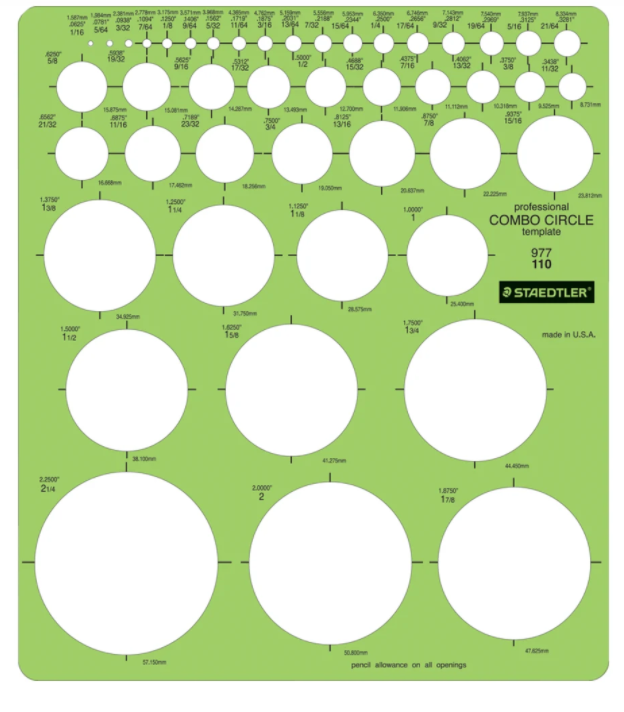
If you or your spouse have a vinyl cutter, like Cricut or Silhouette, you can also cut them on thin white vinyl. The other thing I have done with good success, is to use a circle template, and using the right size hold firmly against the tire and spray white acrylic. The rear whitewalls on this "Spearmin-T" I painted using the circle template.

-
Sooo glad to hear this. I have regretted not picking up that kit every since I held it in my hand and told myself I would wait until the next time I was back in the store, thinking "hey, it is a new kit and it will be around a bit".......
-
Nicely done!
-
Good looking model!
-
Cool visualization.
-
78 Dodge junkyard truck
Modelbuilder Mark replied to mchook's topic in Model Trucks: Pickups, Vans, SUVs, Light Commercial
Nice re-do! -
Looking really good.
-
Welcome! Sounds like you have been pretty busy
-
MCM #208 is HERE!
Modelbuilder Mark replied to larrygre's topic in Model Cars Magazine News and Discussions
Mine arrived last weekend, very pleased! Way to go guys! -
Cheers Gareth! It was nice to see the Forum Finds in #208, overall great issue.
-
I am not sure how I missed this the first time, but this may be the best motor of this scale I have seen. Amazing,
-
Detail - What is enough?
Modelbuilder Mark replied to prostreeter69's topic in Model Building Questions and Answers
This is not always something that I decide in advance. Typically, I know I will do plug wires, fuel lines and other electrical wiring in the engine compartment. Beyond that, brakes lines, chassis fuel lines, dipstick, and other extra items, are more dependent on "how noticeable will it be if they are not there"? I then decide what I can carry on with as the build progresses. -
Hello all again! It's been a while (2 years)
Modelbuilder Mark replied to Dirt Modeler's topic in Welcome! Introduce Yourself
Welcome back! Glad to hear that you are fighting onward. -
Ala Kart – 2nd Gen with 1st Gen Engine
Modelbuilder Mark replied to Phildaupho's topic in WIP: Model Cars
Very nice updates, that grill would be a challenge to get perfect, but worth it if you can