Perspect Scale Modelworks
-
Posts
1,529 -
Joined
-
Last visited
Content Type
Profiles
Forums
Events
Gallery
Everything posted by Perspect Scale Modelworks
-
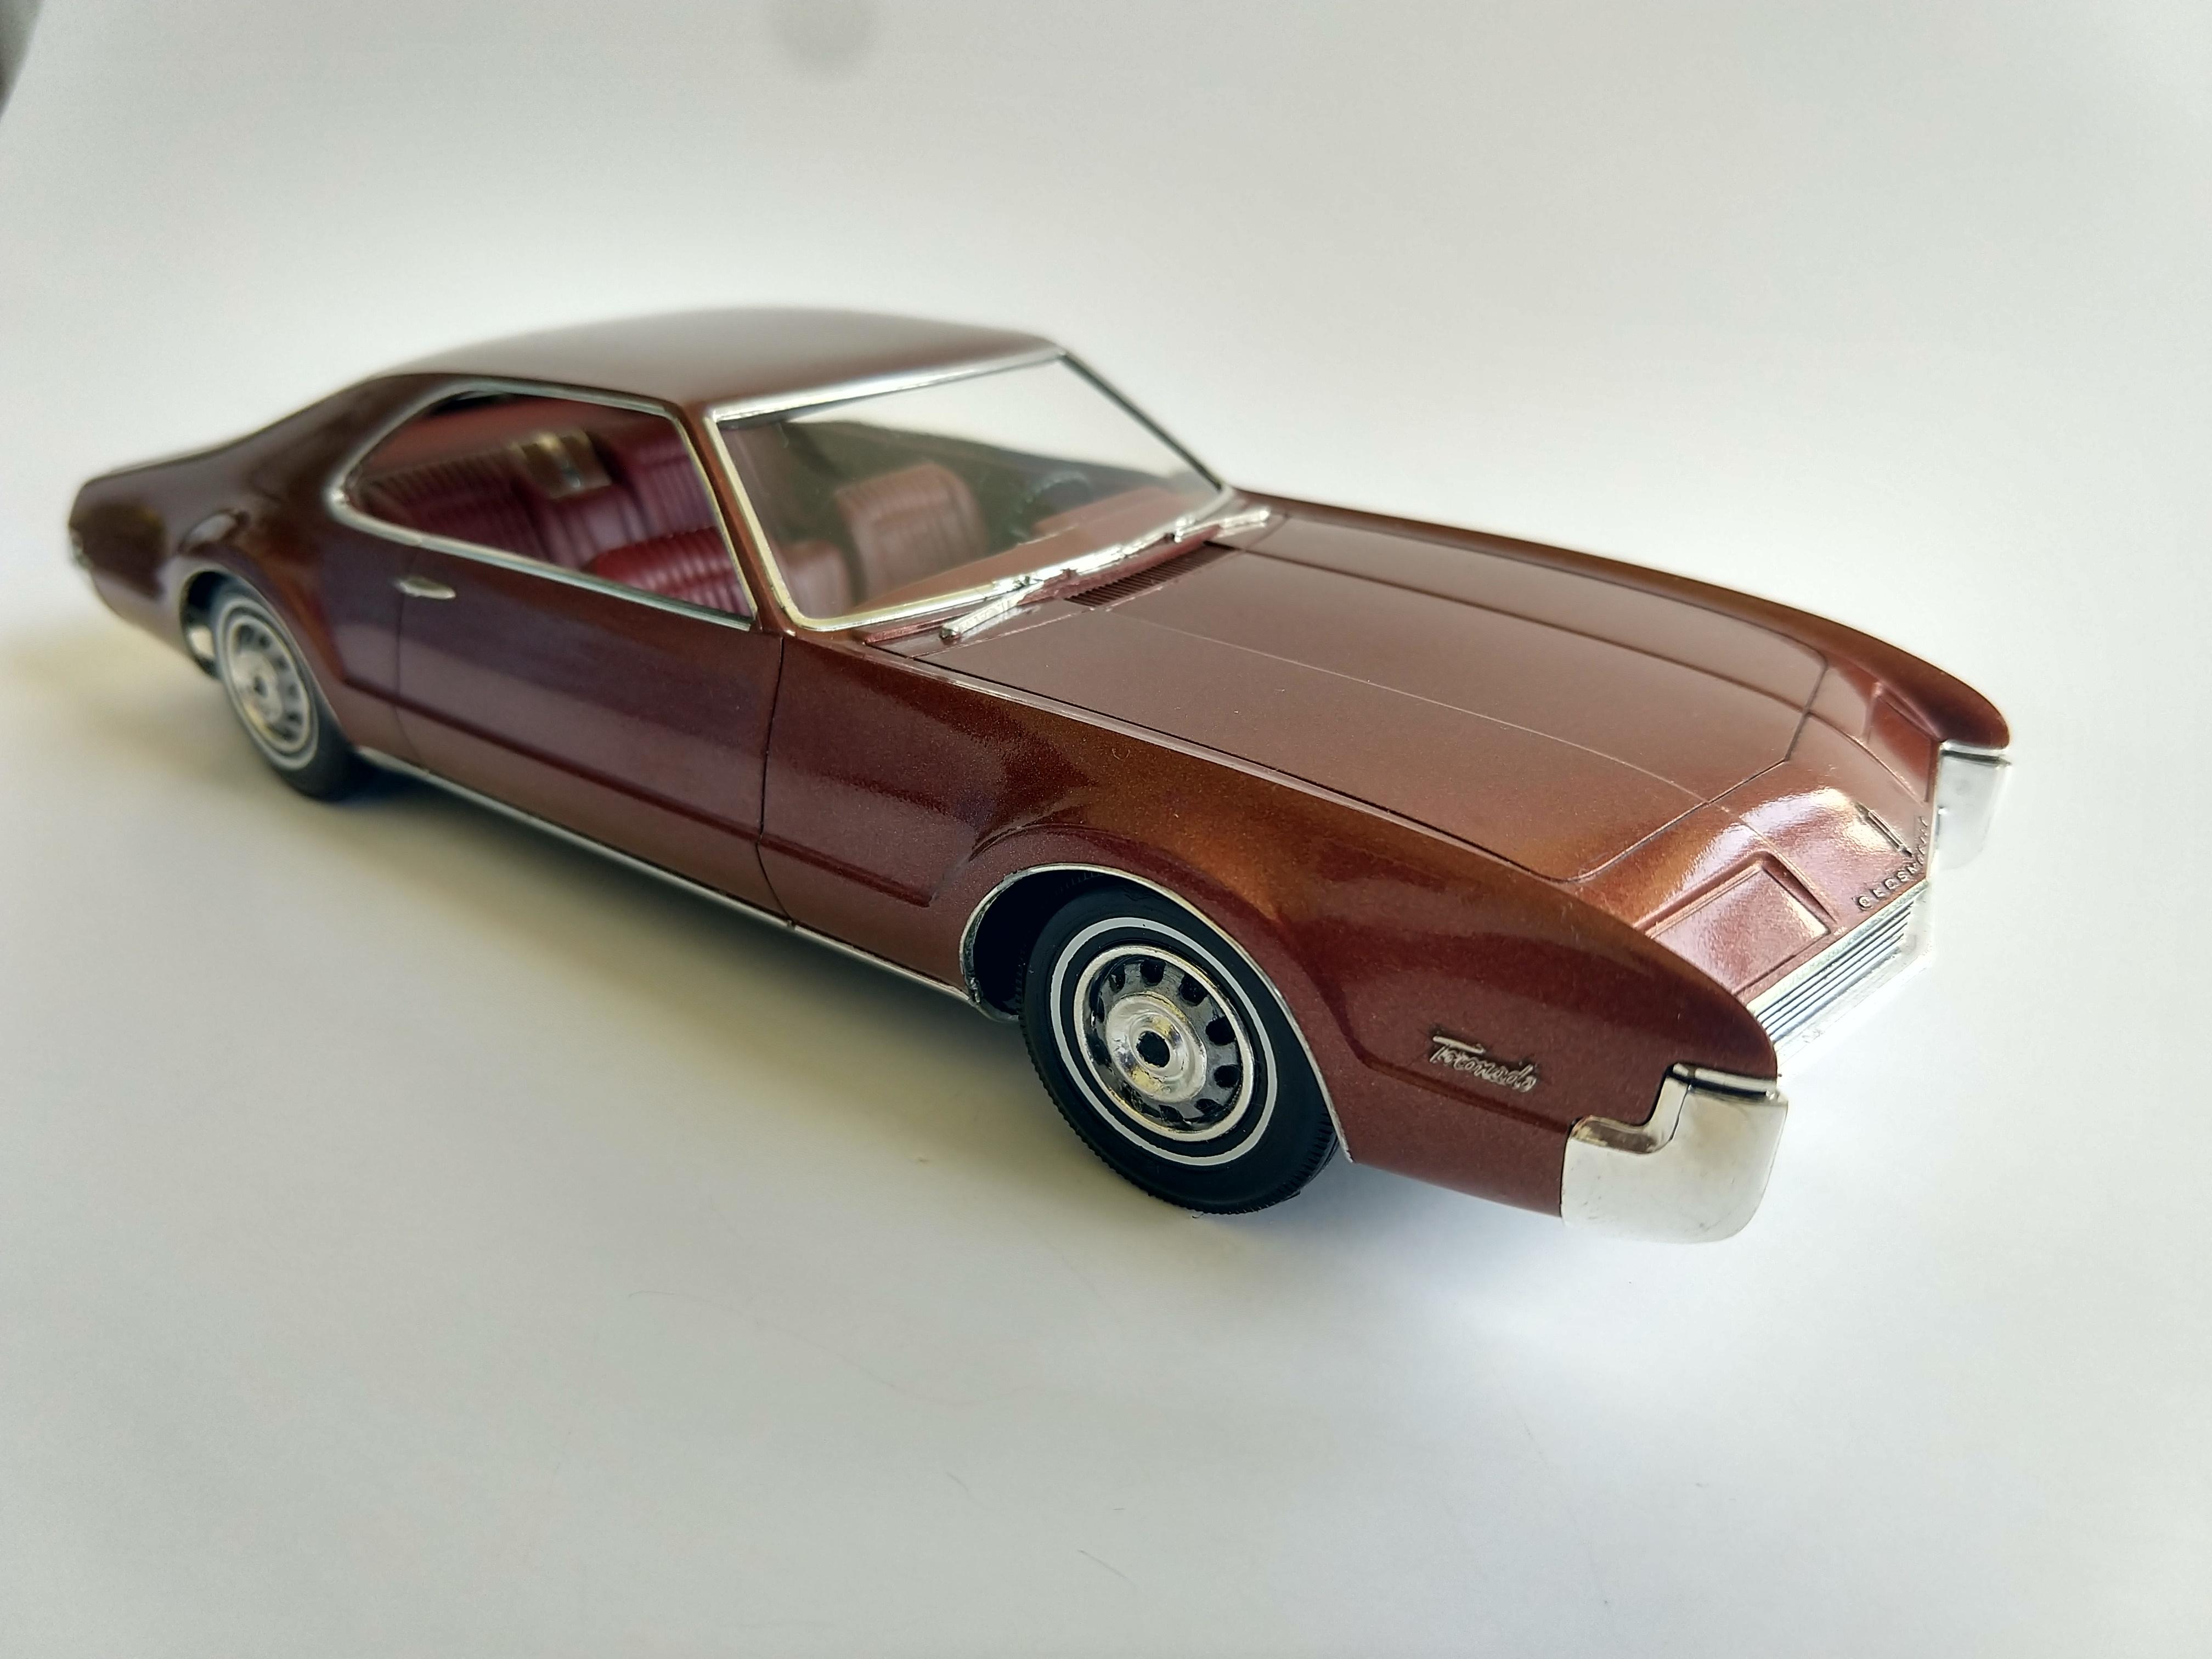
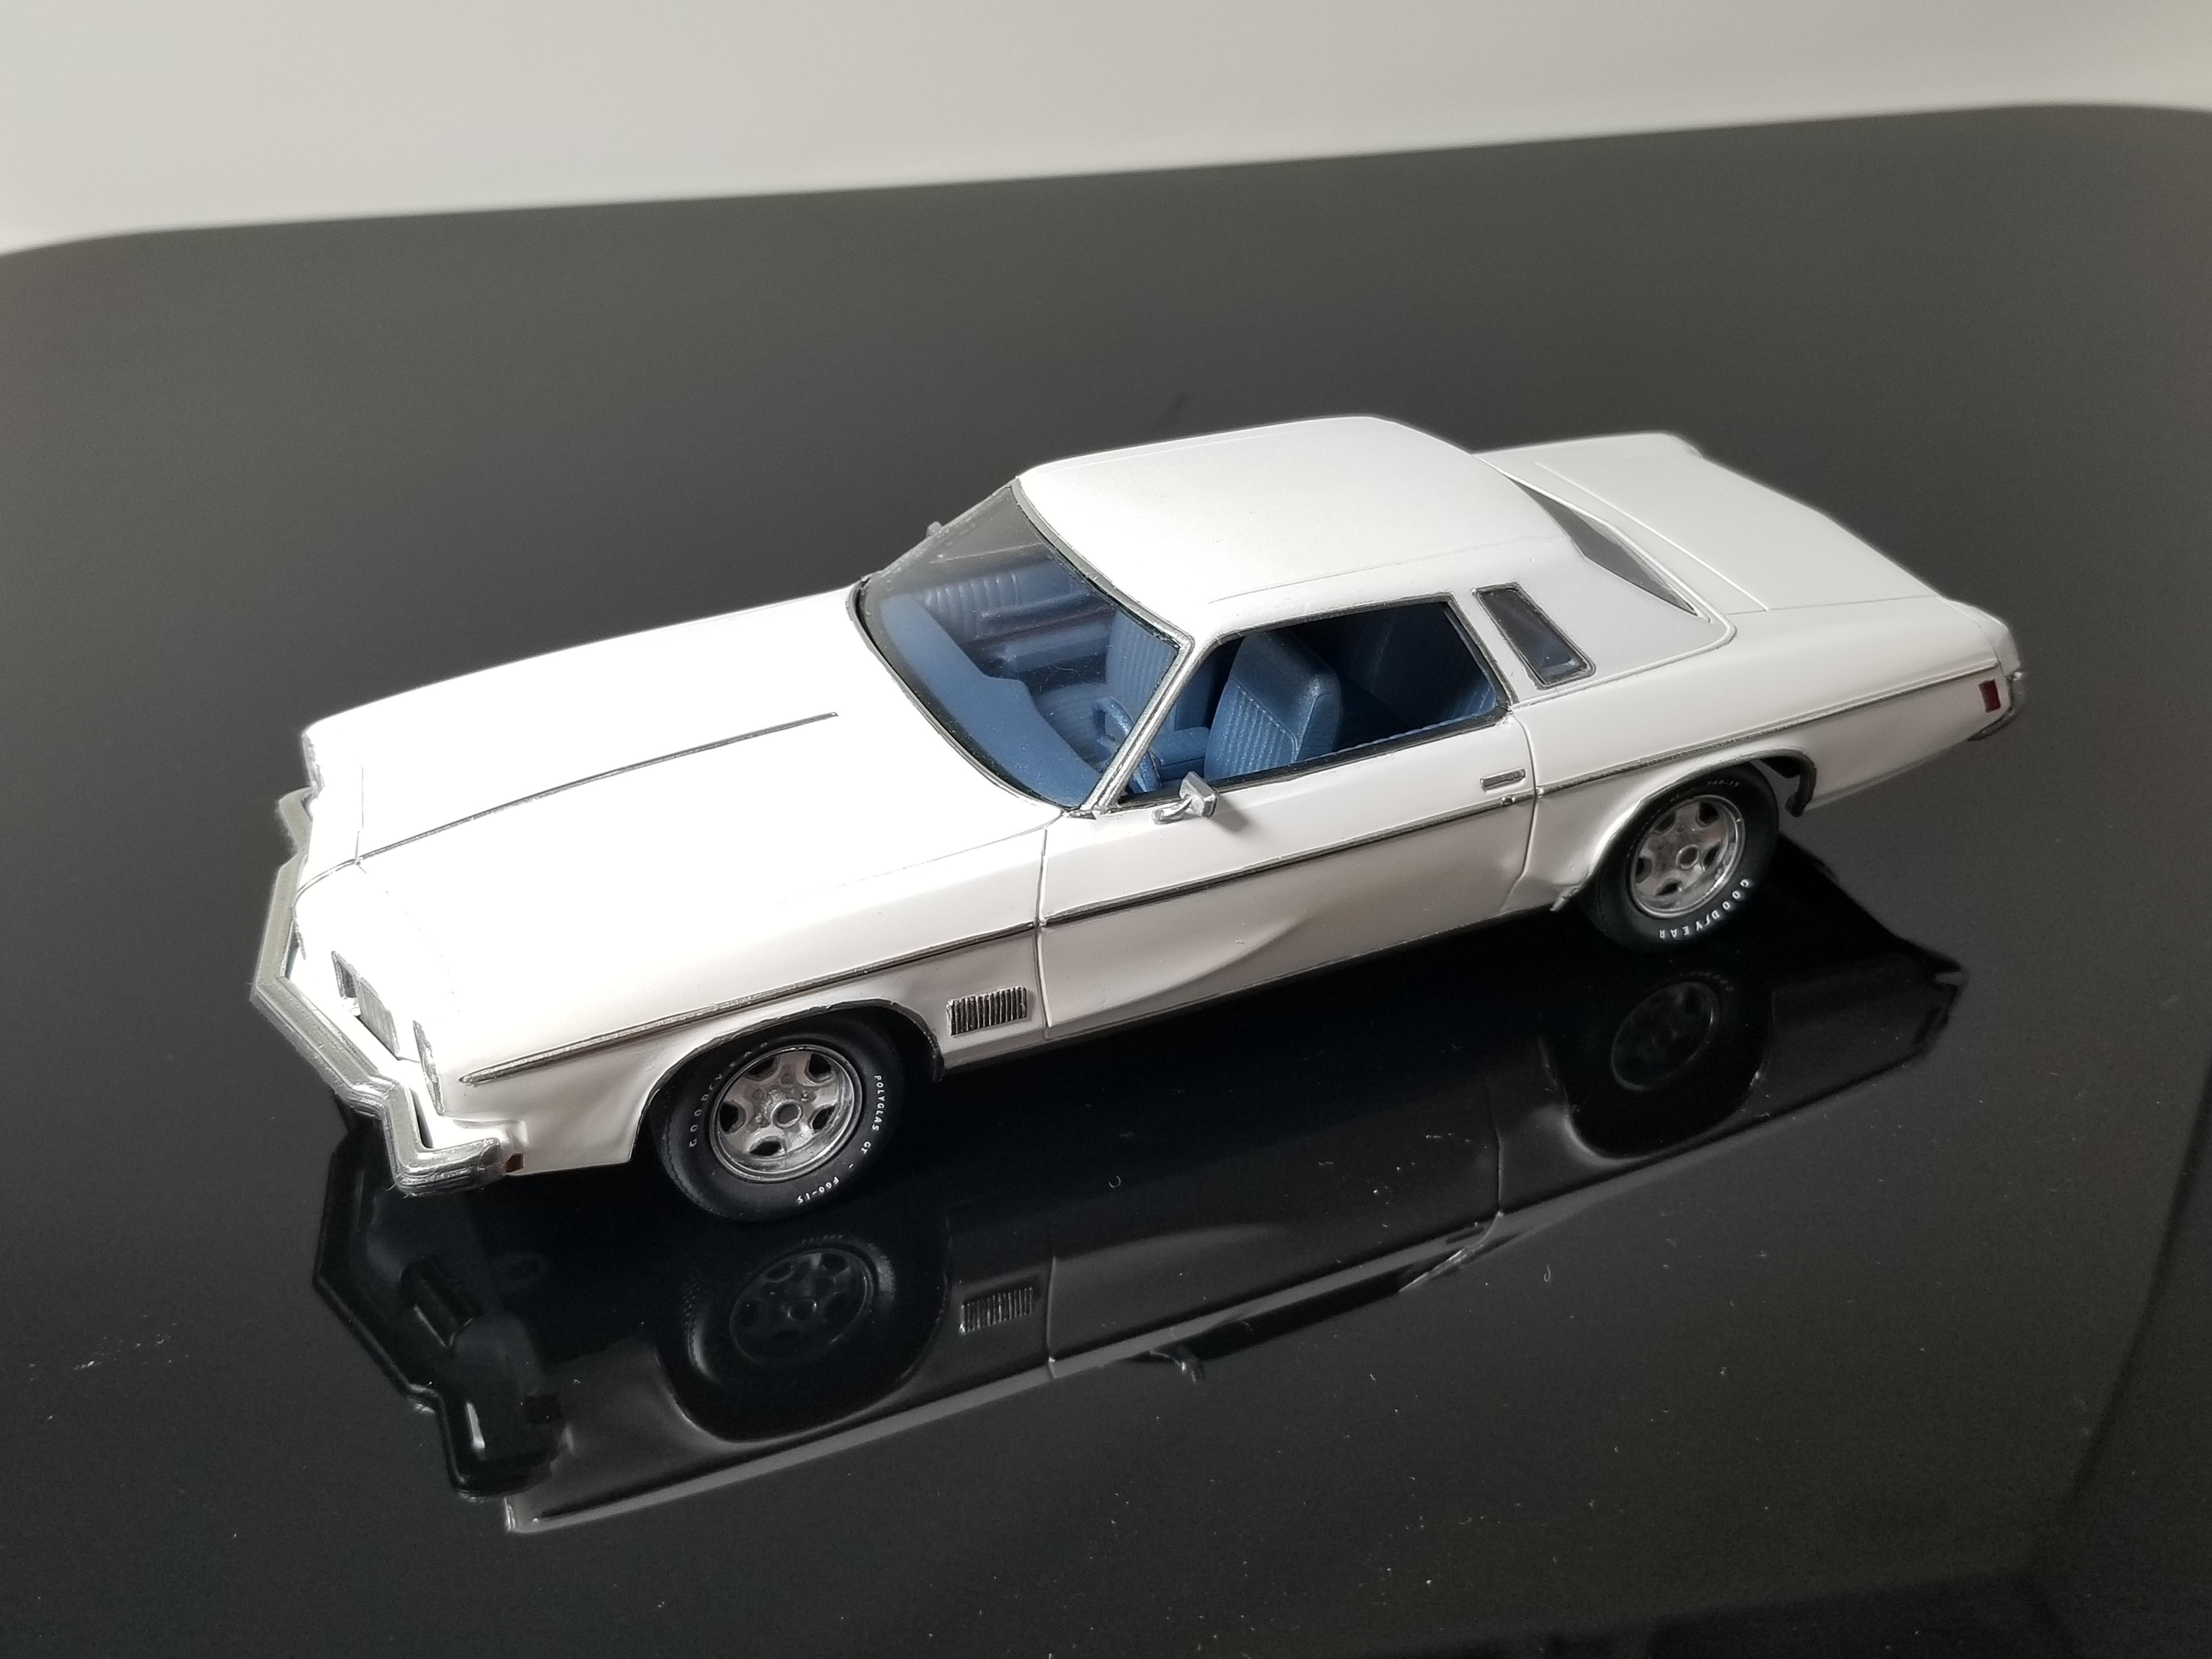
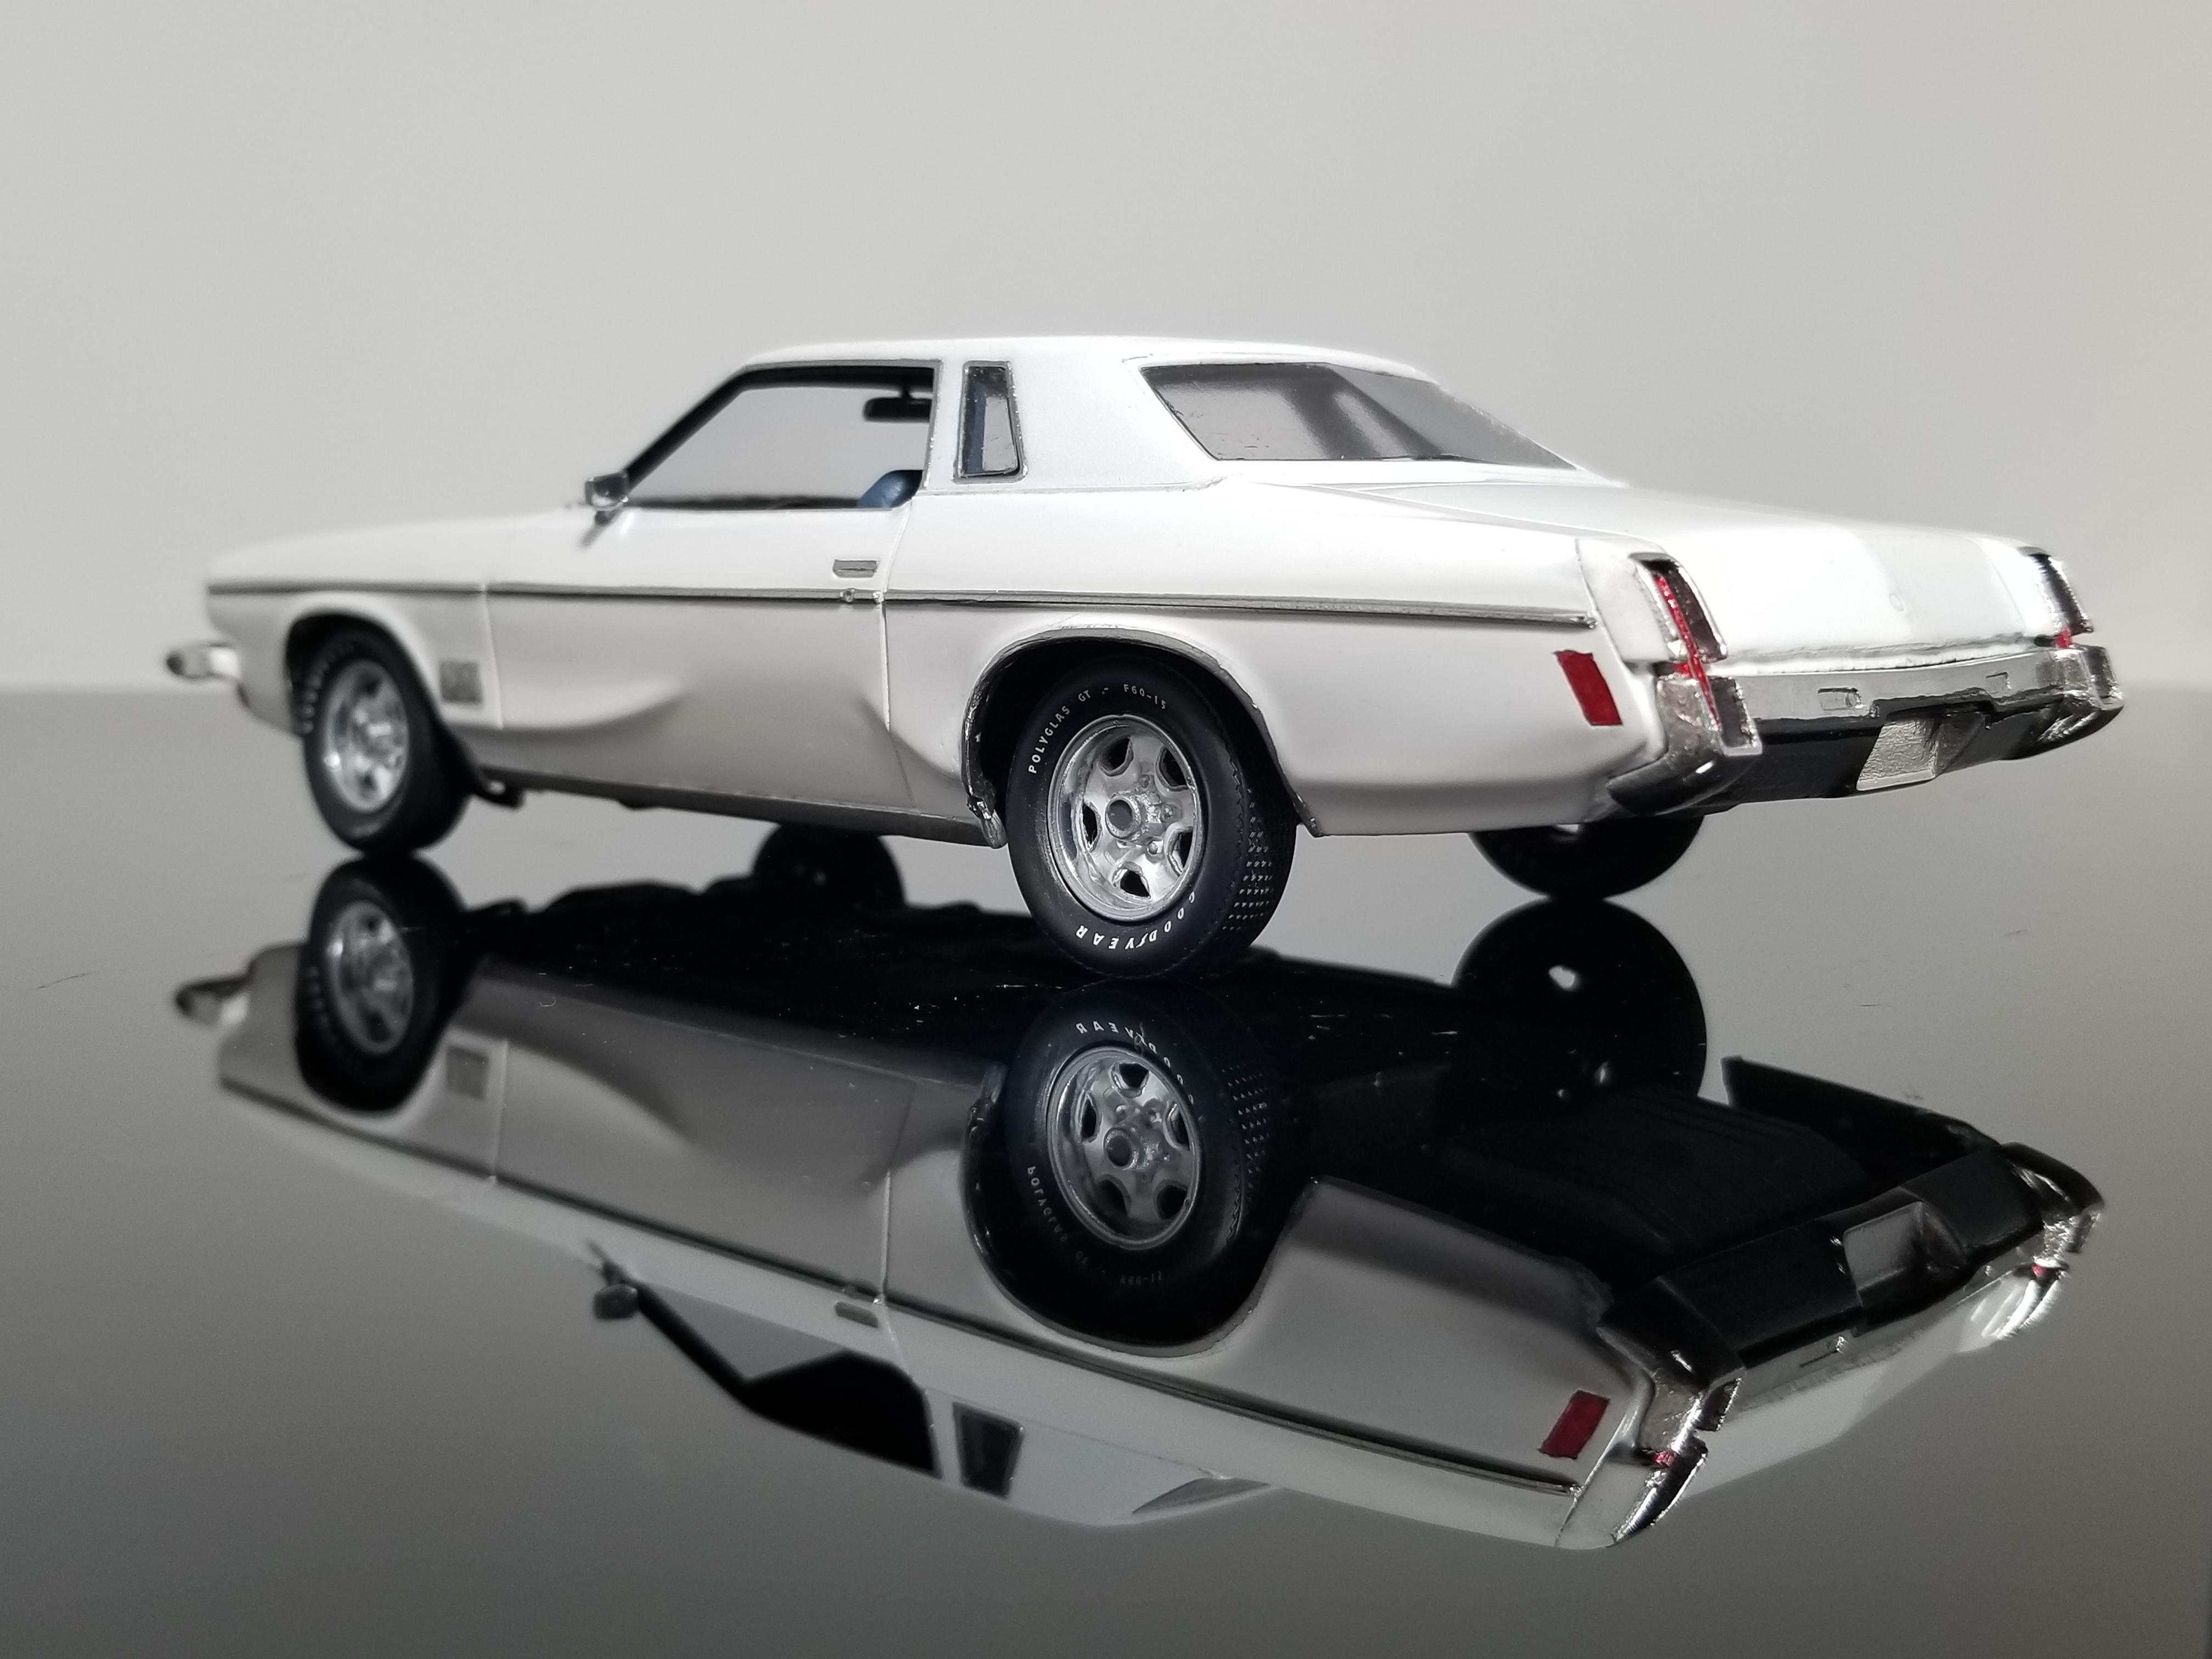
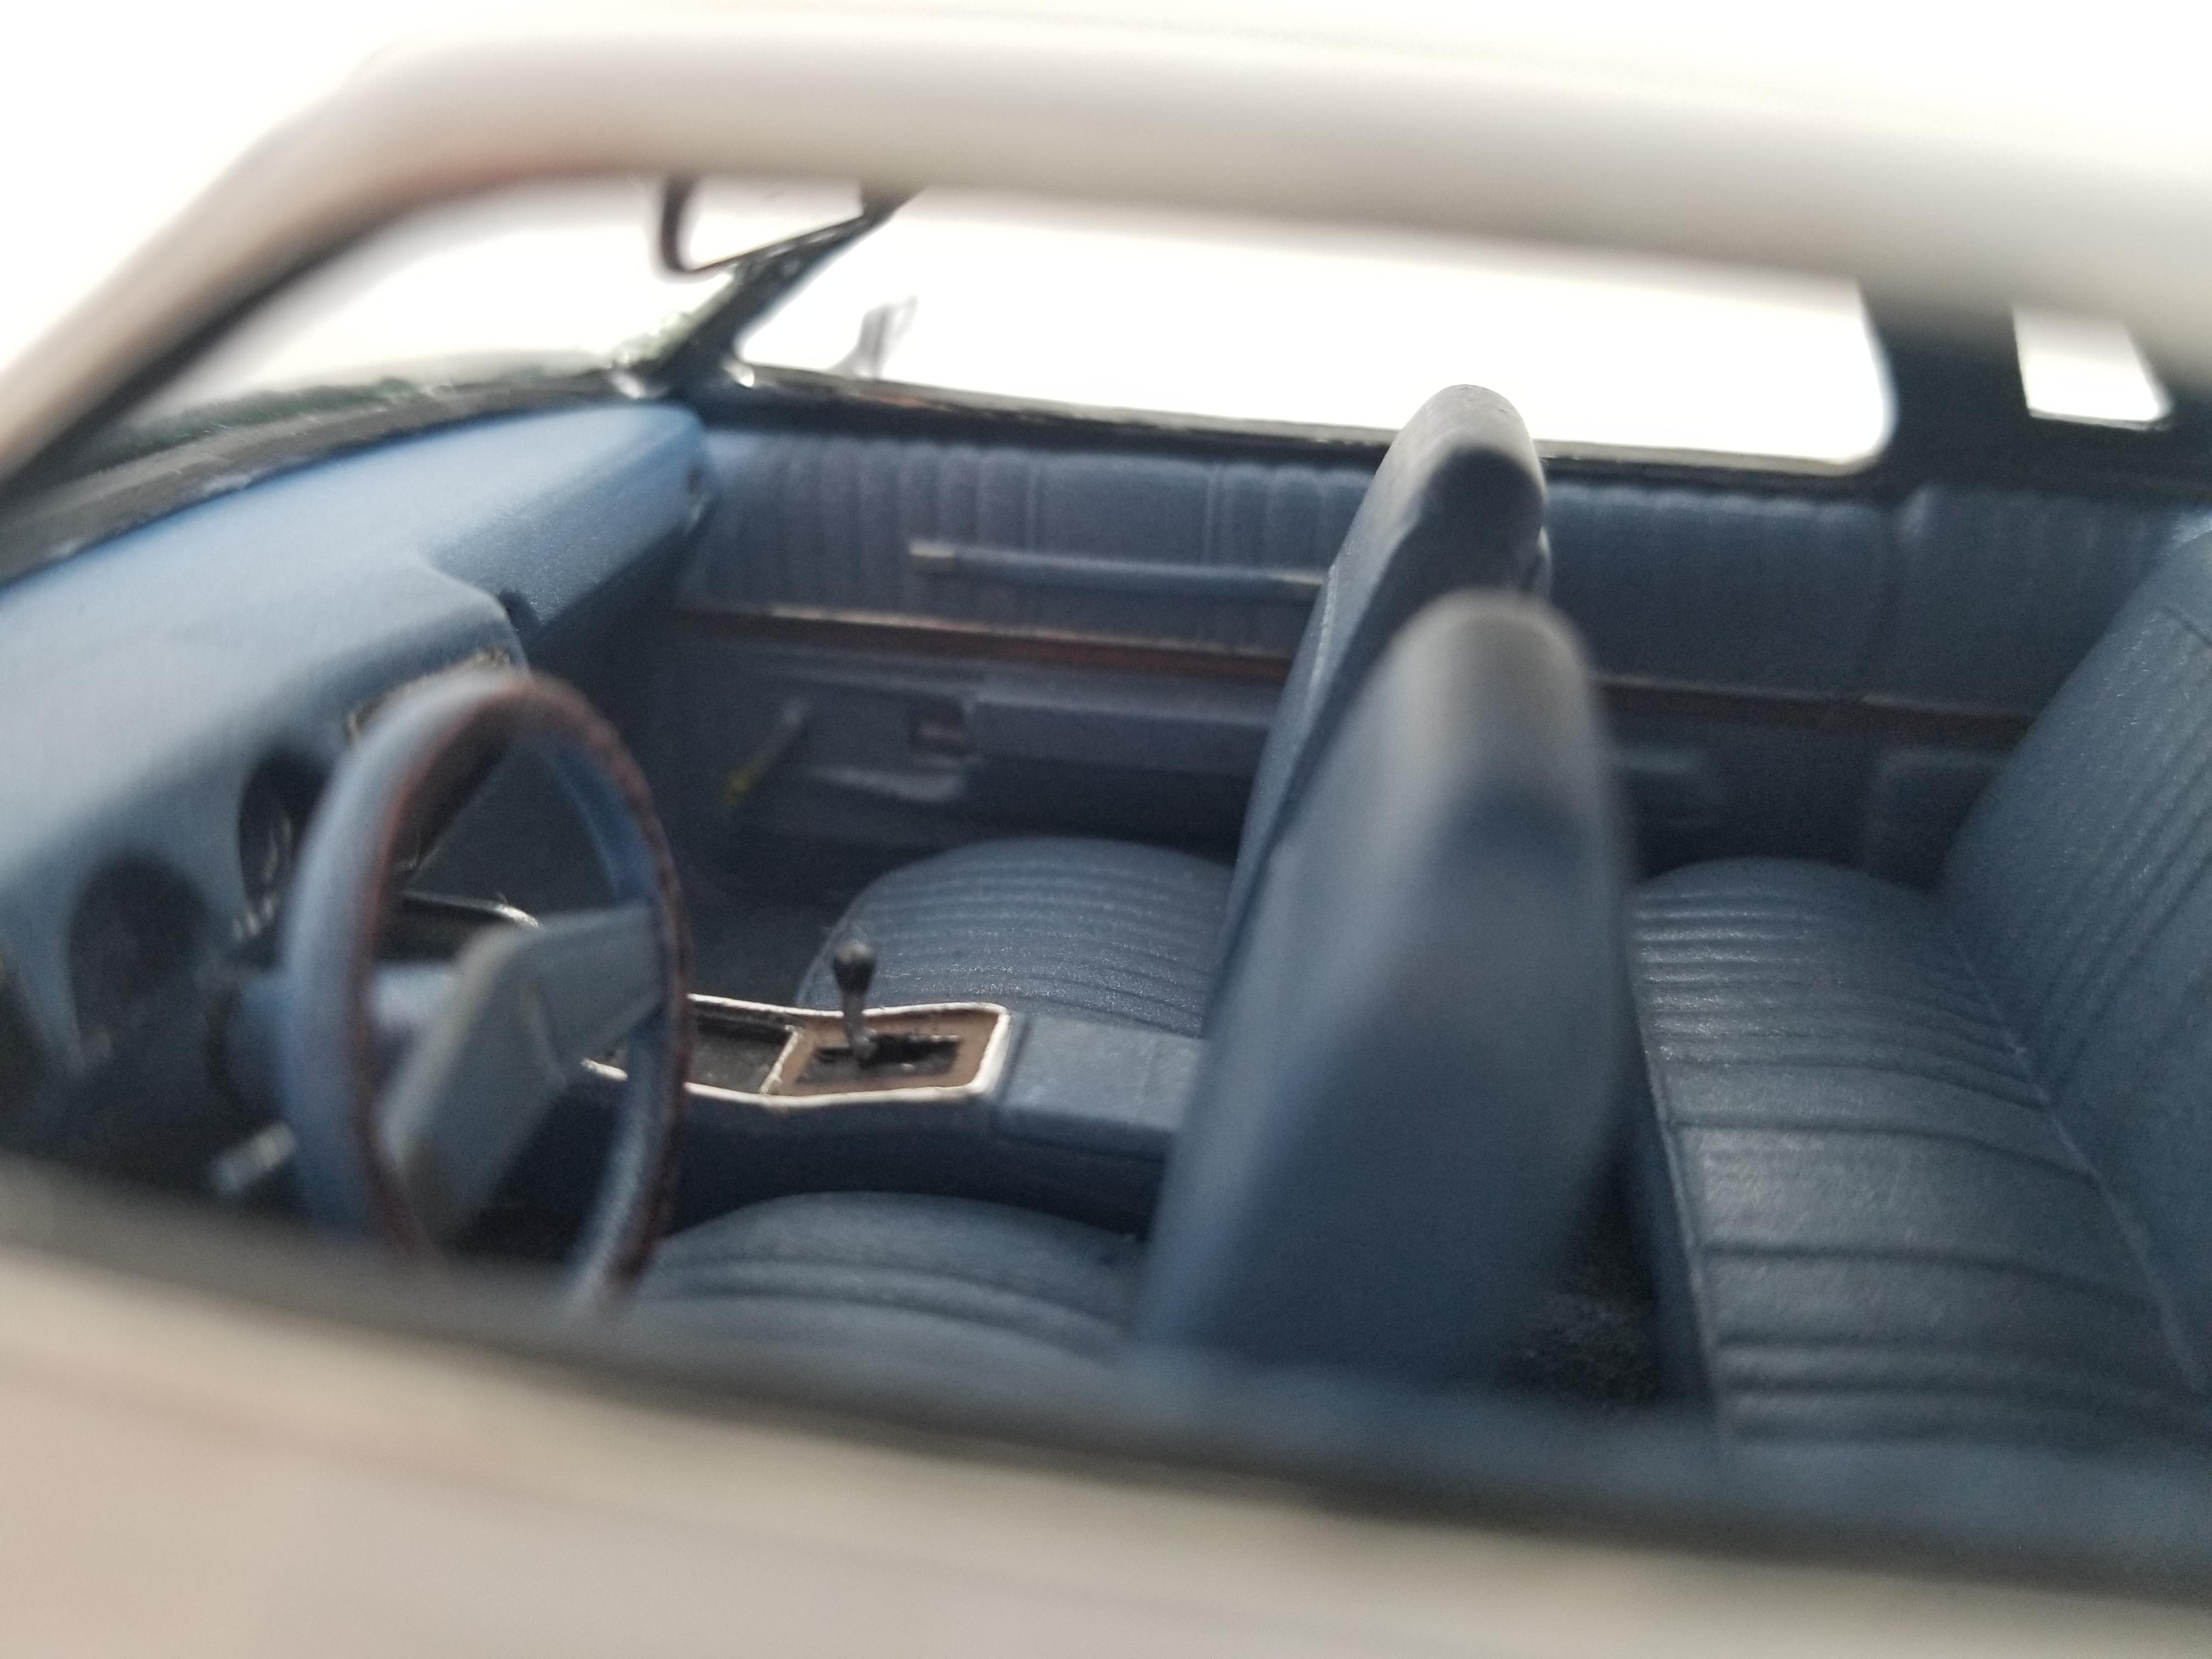
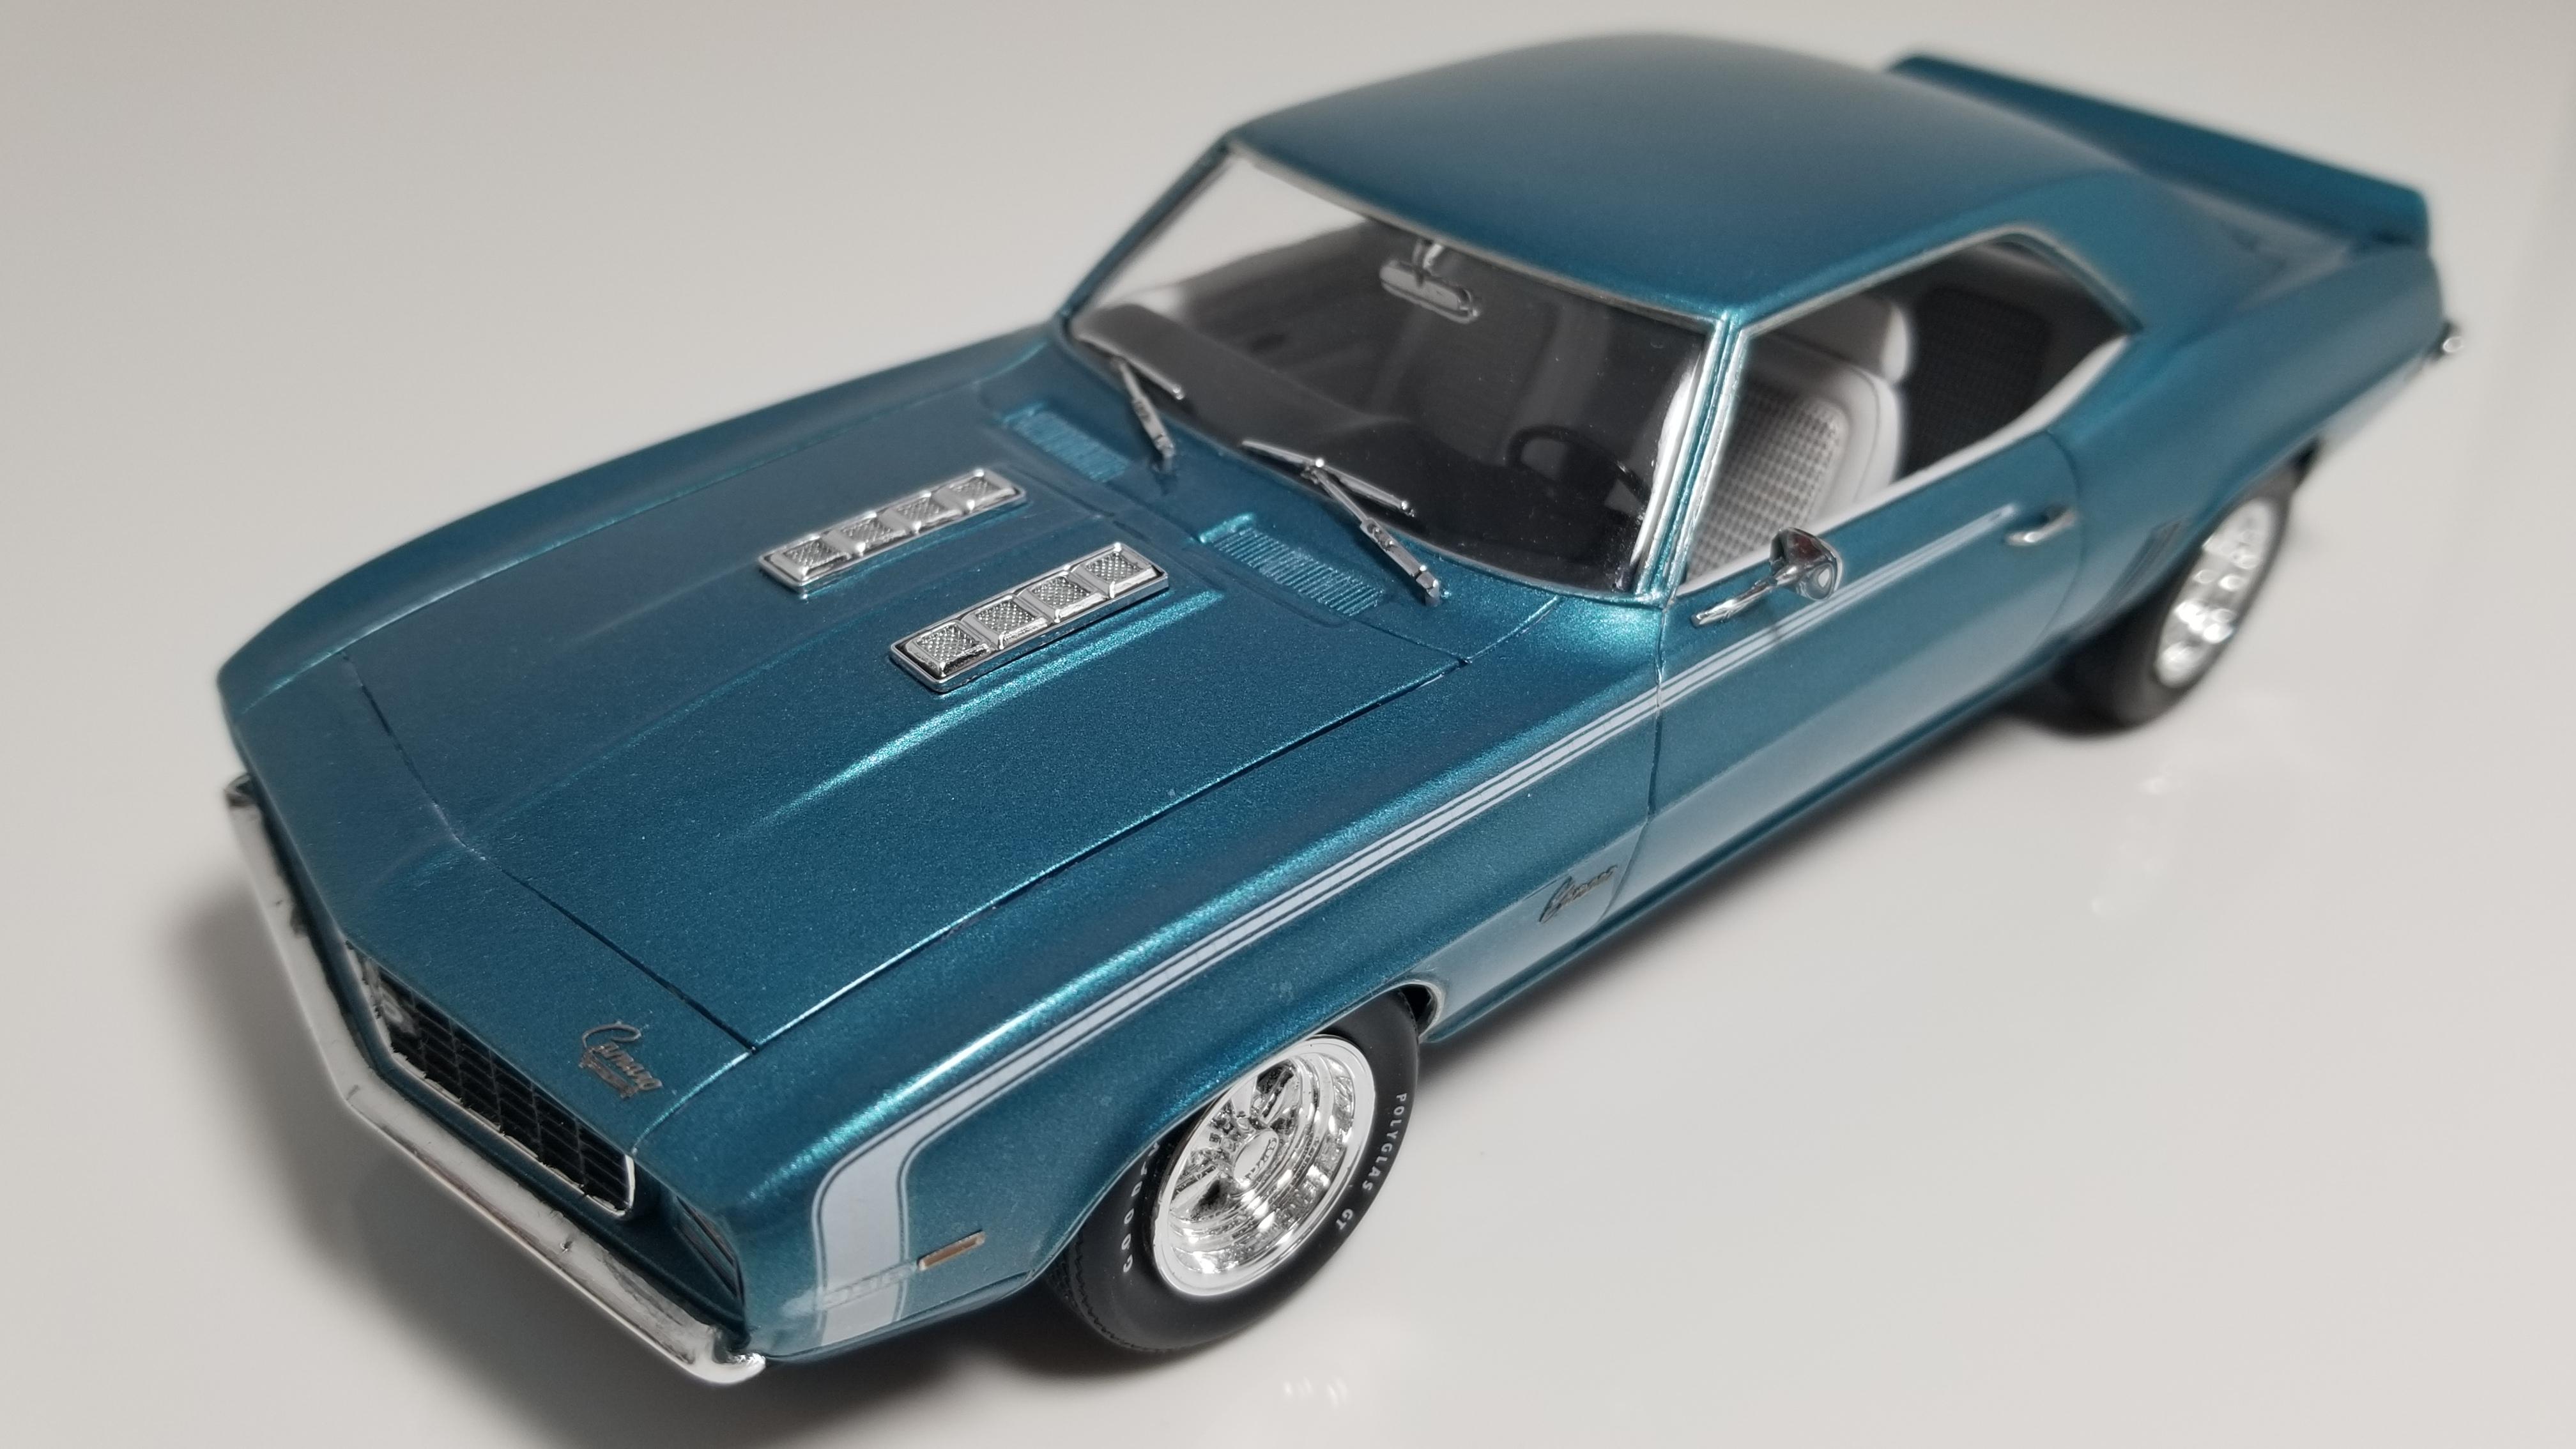
This represents a few firsts for me. First completed build of the year. First time using spray paint rather than tape for the vinyl roof. First full 3D build. I printed this from the Andre Bezrodny file. I highly recommend Andre's files. They have good detail and he offers a wide variety of subjects. The only parts not 3D printed are the tires, glass, and fender louvers. Thanks for looking and let me know what you think. Thanks

- 34 replies
-
- 16
-

-
 Stunning work of art.
 -
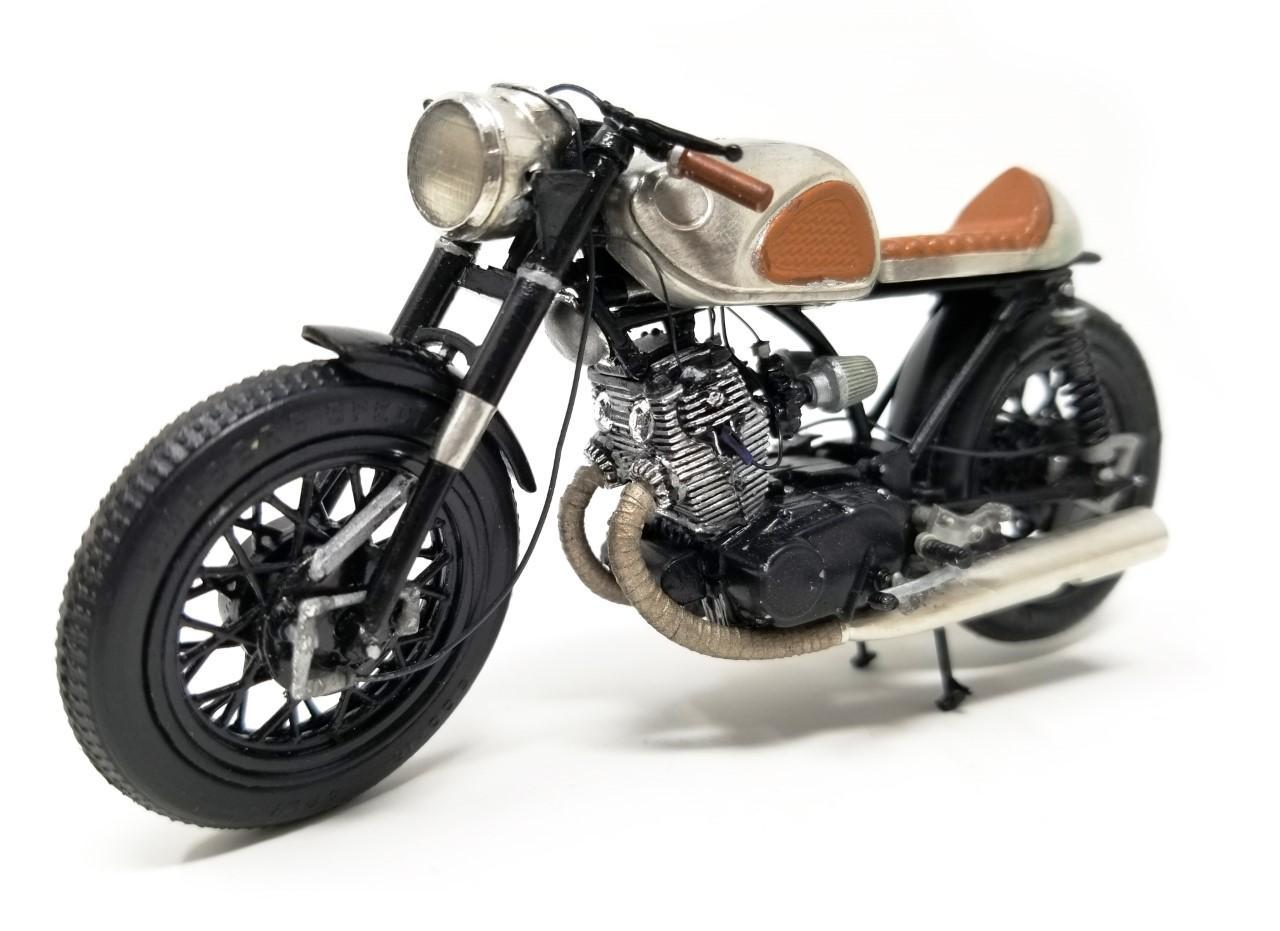
wrapped exhaust
Perspect Scale Modelworks replied to Old Nasty's topic in Model Building Questions and Answers
This was done with cheap white masking tape. The bike is 1/16 scale.
-
I think one of the issues is that most people look at cars as an appliance, a tool to get from point A to point B. Look around your house and see what colors most of your appliances are.
-
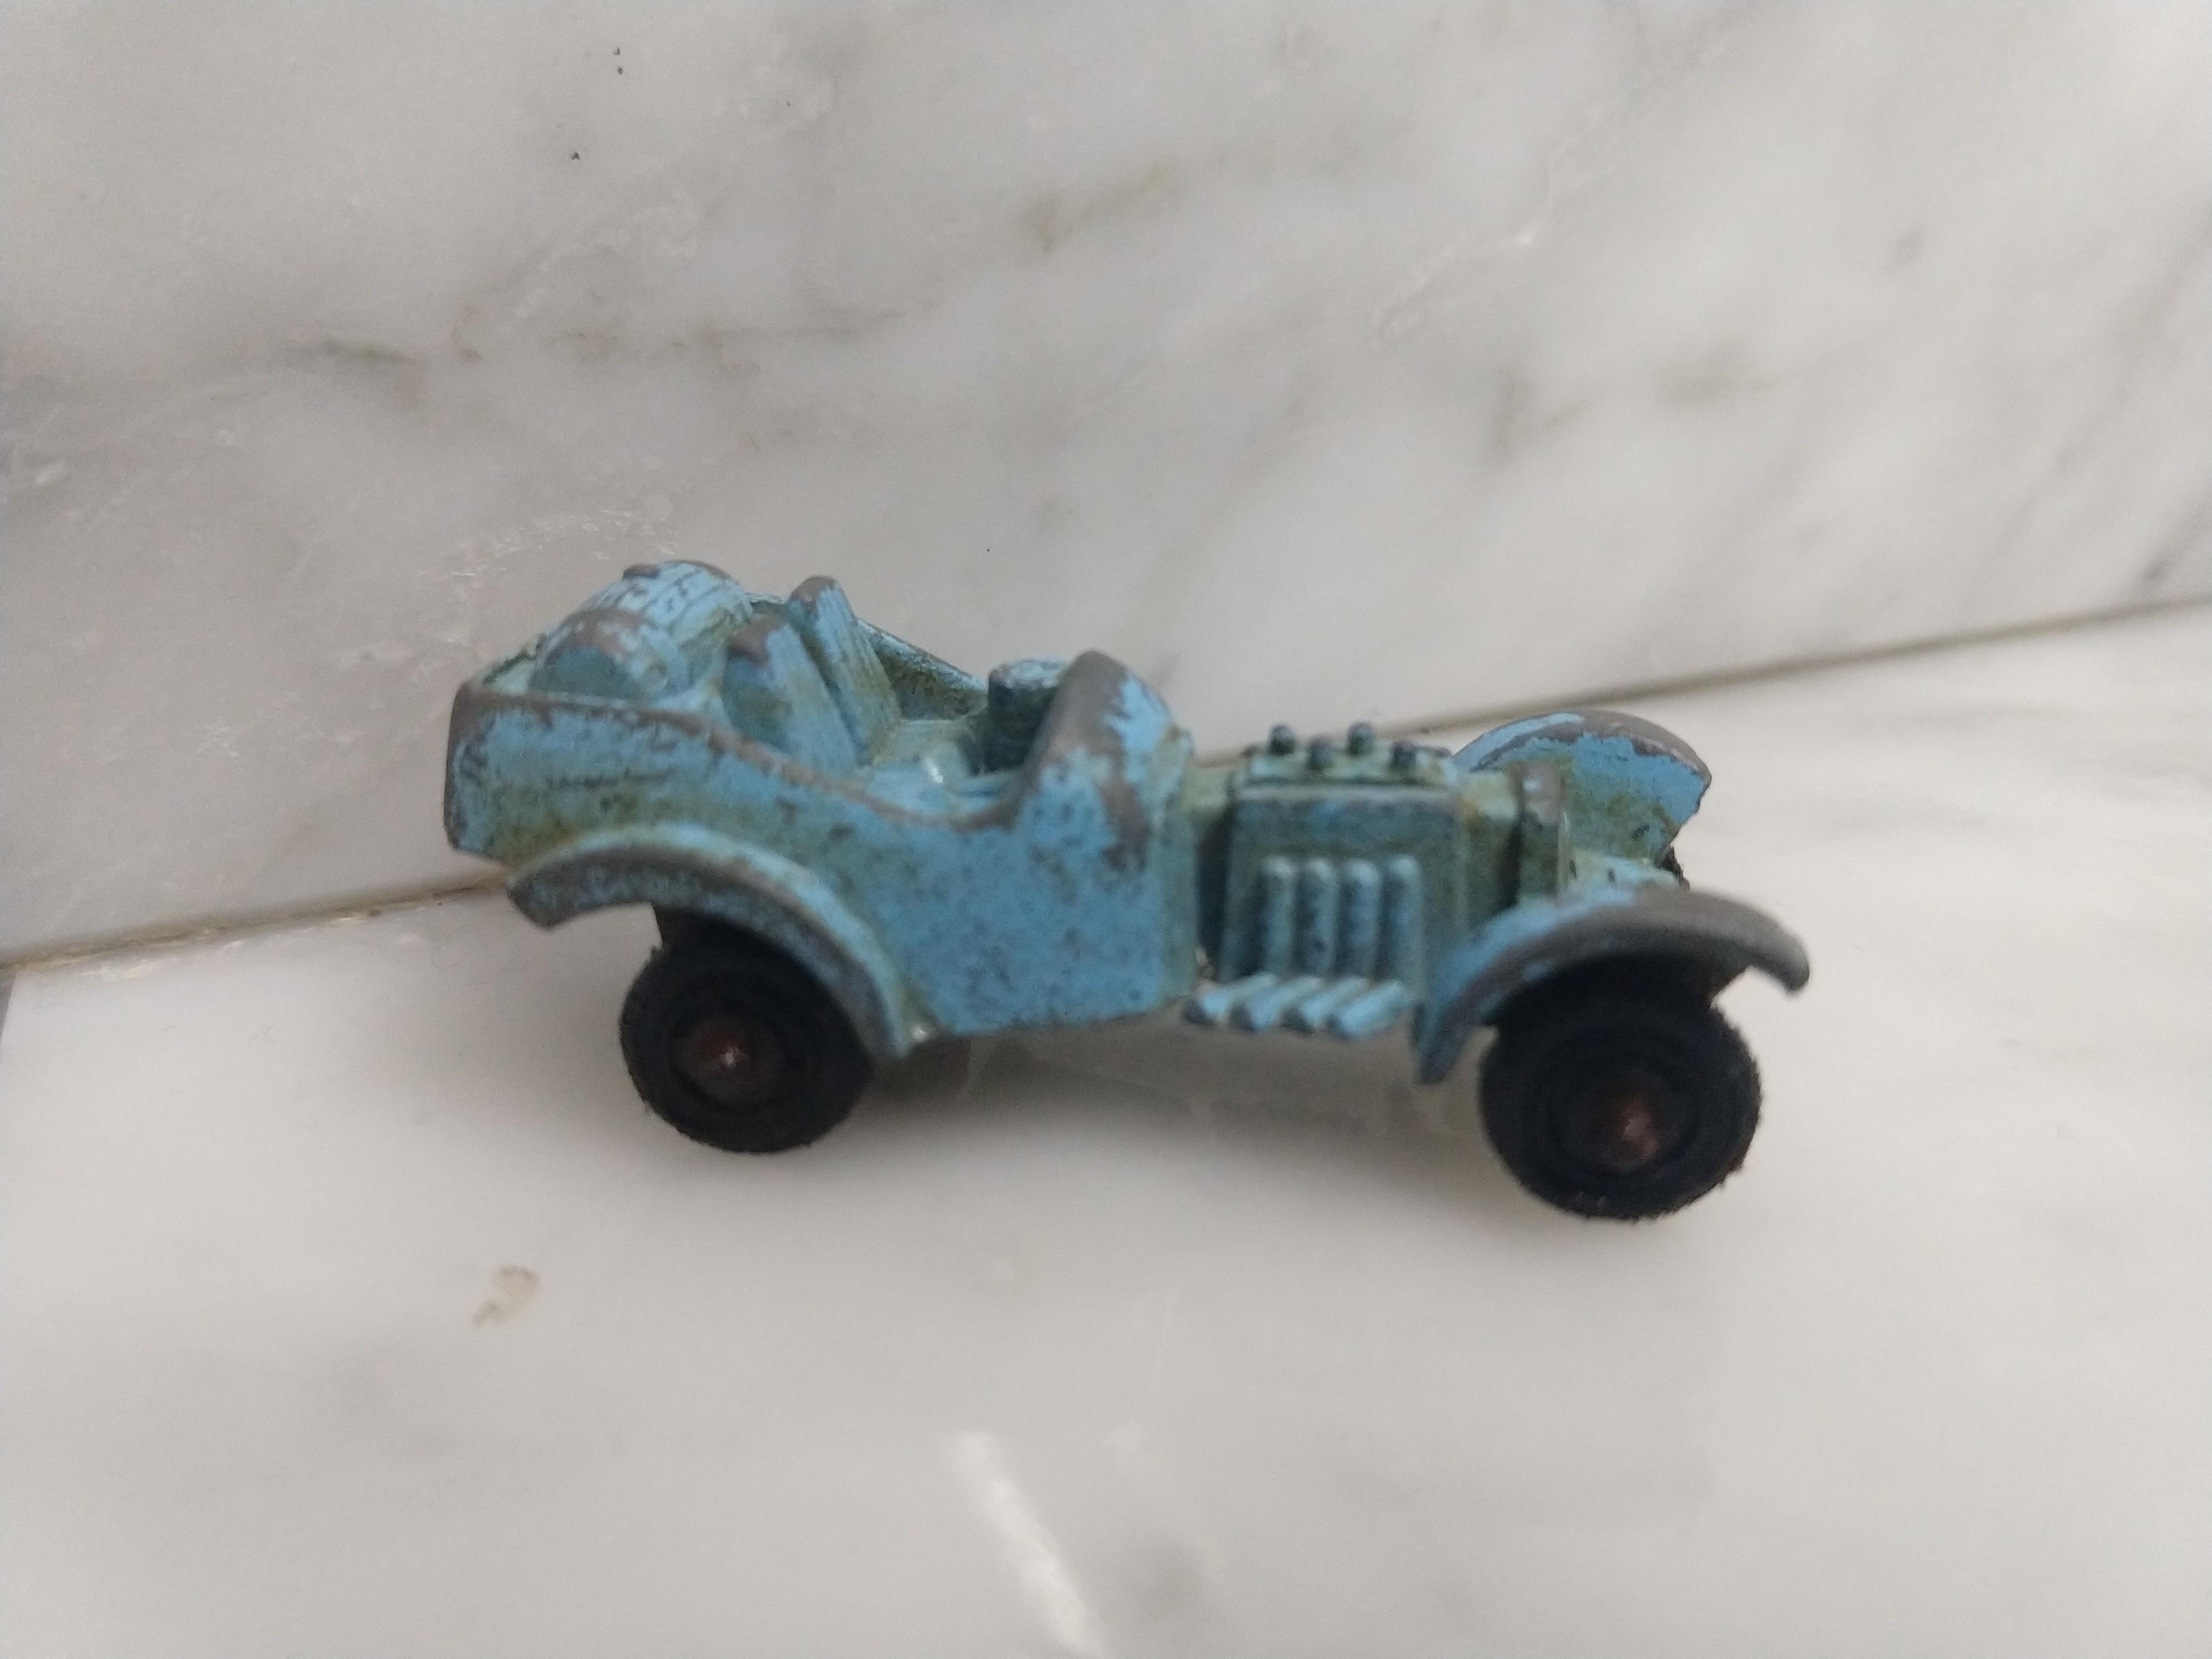
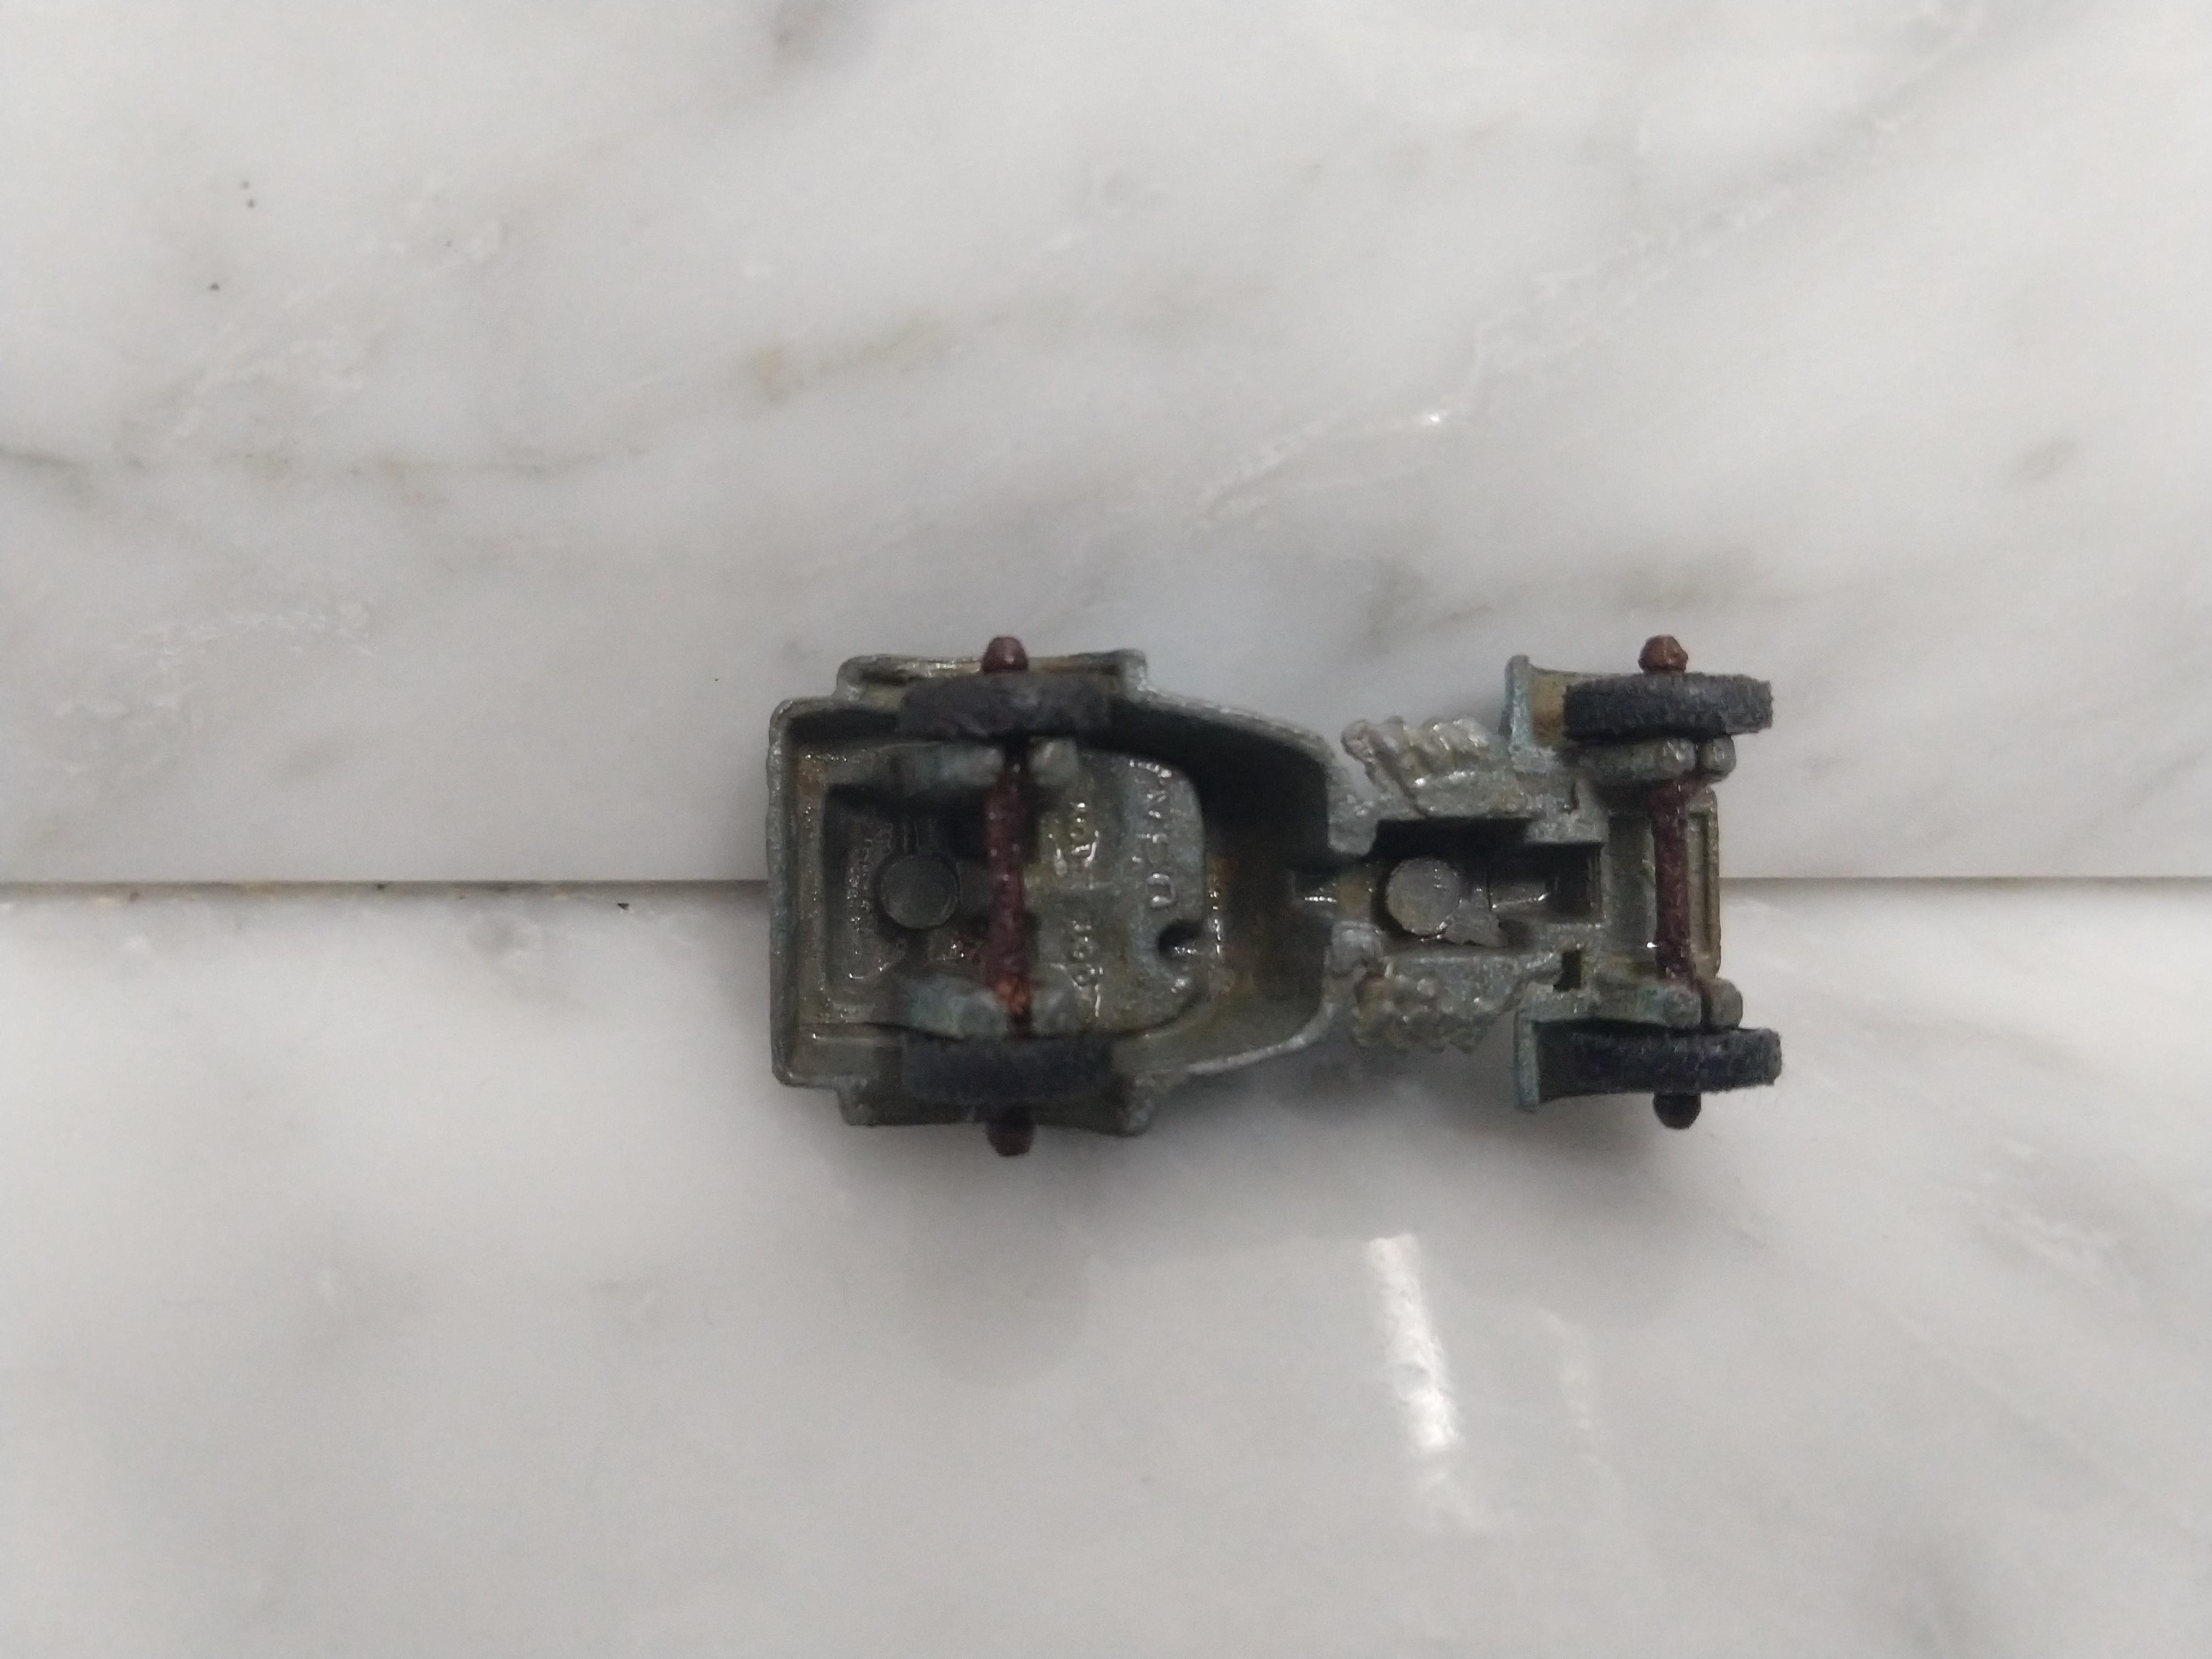
Yup. Tootsietoy. Looks like it's worth less than $10. Maybe I'll paint it, give it some details and new wheels and throw it on the shelf. Thanks for the info guys.
-
Anyone know what this is? I found it buried in the yard years ago.
-
1947 Cadillac Club Coupe Sedanette
Perspect Scale Modelworks replied to Jeffcad's topic in Model Cars
Gorgeous! -
Is it possible to change my user name without starting a new account? Thanks
-
Wow. I knocked over my bottle twice and thought I was just getting clumsy. Thanks for the tip.
-
"I don't drink anything stronger than pop. The problem is pop will drink anything" Groucho Marx Nice job
-
Eight Done in 2023
Perspect Scale Modelworks replied to Perspect Scale Modelworks's topic in Model Cars
Thanks Mike. Yes, the '81 Z28 kit is not great, it's pretty much a snap kit. If you build it out of the box you'll be greatly disappointed but with some effort, it can be a pretty sweet ride. On this one I used the interior from an older 1/24 Camaro, sliced and diced to fit. I believe the wheels are from a Monte Carlo and the tires are from the AMT Custom & Competition pack. Thanks again -
Eight Done in 2023
Perspect Scale Modelworks replied to Perspect Scale Modelworks's topic in Model Cars
Thanks Steve. I have to admit, the '77 Coupe DeVille is my favorite build of the year. -
I love the lighting. Great job.
-
8 builds in a year is a record for me in the modern era. The last time I put up numbers like that I had to be 8 or 9 years old, which was decades ago.
-
Very nice builds. I dig your background too,
-
Quality and quantity. Very nice. Where can I find one of those minions?
-
Lot's of fun stuff!
-
Round Instrument Panel Gauges To Print
Perspect Scale Modelworks replied to Yeah Nah's topic in Tips, Tricks, and Tutorials
Heck yeah. Thanks -
Revell spray chrome test.
Perspect Scale Modelworks replied to Can-Con's topic in Car Kit News & Reviews
Interesting -
Brian's first 7 words are pretty funny. No judgement, just made me chuckle ?
-
Bare Metal Foil
Perspect Scale Modelworks replied to Erock's topic in Model Building Questions and Answers
I've used BMF to cover bumpers that were faded. Tedious but doable. I've now jumped on the Revell chrome spray bandwagon to eliminate that chore. Front and rear bumpers on this Caddy are BMF'd
-
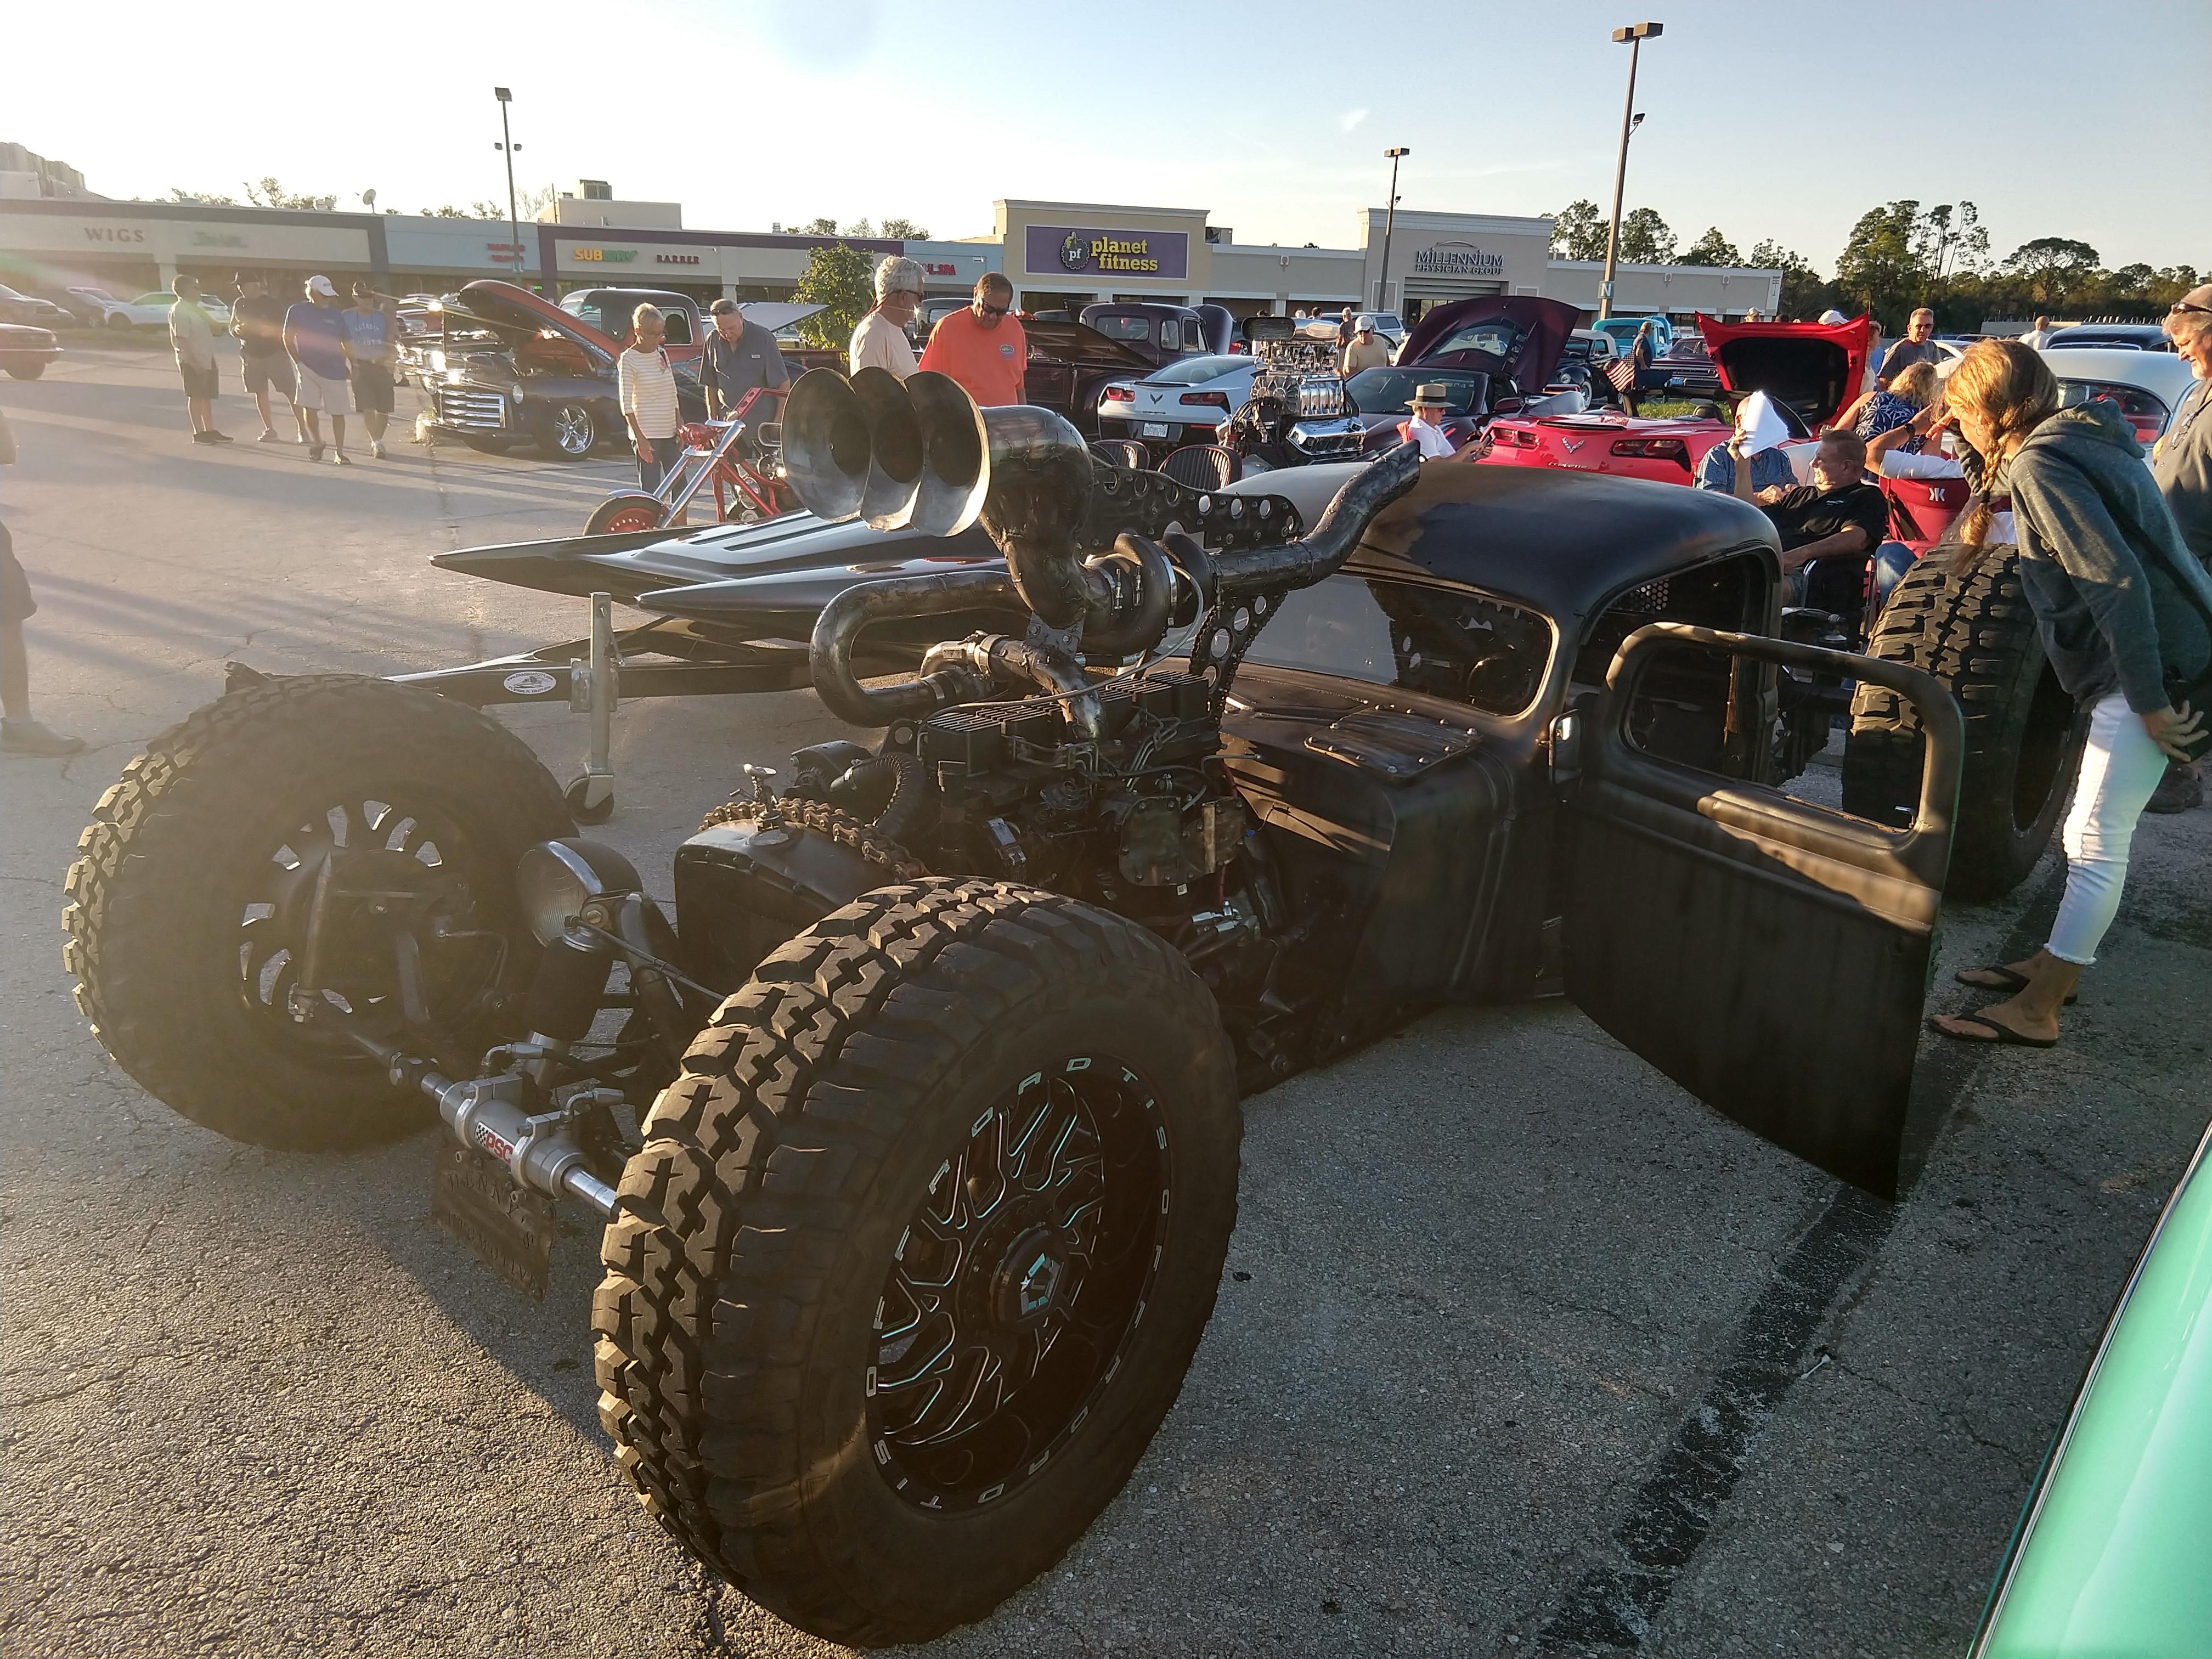
This was at a local car show. Check out the exhaust.
-
Nice clean stocker.
-
Box Art Favorites
Perspect Scale Modelworks replied to Zippi's topic in General Automotive Talk (Trucks and Cars)
-
Nice looking bike. Colors really pops.


.jpg.9478aabab6df4fab324403cf14dea18d.jpg)