peteski
-
Posts
9,226 -
Joined
-
Last visited
Content Type
Profiles
Forums
Events
Gallery
Everything posted by peteski
-
Clever idea, but it is shown on bare plastic. If the model has faint scripts, paint will bury them, making the technique pretty much impossible. In those cases foiling the script before painting is probably a better option.
-

Radio antennas another dollar store money saver.
peteski replied to Mike C.'s topic in Tips, Tricks, and Tutorials
If there us a cat in your household, you will likely find whiskers it sheds. Those can make good antennas as they have a taper similar to the taper of some of the antennas (sewing needles don't look quite right to me). Trim the thinnest end of the whisker, paint it silver and install it in the fender. Job done! And a whisker is also flexible like a real antenna). -
Paint Strippers - What to Use?
peteski replied to pbj59's topic in Model Building Questions and Answers
Mike, there are multiple types of paints and multiple types of paint steppers. Certain combinations of paint and strippers work well, others do not. As I said earlier, even the temperature of the stripper can affect its potency. There is no list of which stripper works the best with which paints. At least no list I know of. I don't even have my own list compiled. I have and use about half a dozen of various stripping liquids. it is not an exact science, but more like an experiment. You mentioned "enamel", but no specifics. What brand of paint is it? Maybe someone can offer some specific advice once we know more about the paint. As for the paint age, sure it can be harder to strip decades old paint, but usually there are ways to strip even old paint. However there seem to be some paints or primers out there which are very difficult to strip. -
None of the online forums I participate in allow for deleting posts. You can edit a post, but not delete it. One way of dealing with it is to delete the contents of the post and replace it with the word "deleted". I've seen that done here. But by posting to an old thread you brought it back to the the top of the topics list for everybody to see. That can't be undone.
-
Contac "paper" is a vinyl film which shrinks slightly after few years. Don't ask how I know.
-
Tamiya Ford Mustang Cobra R tires and wheels
peteski replied to Greg Wann's topic in Car Aftermarket / Resin / 3D Printed
The taper is probably just a draft angle so the wheel can be easily ejected from the steel mold. -
Some people (like me) likely stay logged in onto the forum on their computers (or phones) continuously (even as I sleep). Would that show them as "online"? If not, how is the online status determined?
-
Off the top of my head, several reasons (at least for me). The biggest one is drying time. I'm a CA glue junkie (instant setting). Also, silicone is soft and rubbery. That flexibility of all the model's part joints is not something I want in my model. Another thing is that it is messy. Even in small amounts, it will likely ooze from the joint, requiring a cleanup. I don't want to double my build time doing glue cleanup. The next one is related: this stuff is too thick. Some parts need to be assemble in a way that parts touch each other. Also the bond between bare plastic and silicone is not very strong (especially if there is only very thin layer of silicone). When I build my models, they are not designed to be taken apart.
-
The Official EBay Discussion Thread
peteski replied to iamsuperdan's topic in General Automotive Talk (Trucks and Cars)
Unless you placed several bids in one dollar increments to arrive at that $12 then you misunderstood what Ace mentioned. Those "nickel and dimers" as I call them, bid in one dollar increments trying to outbid a higher bid placed earlier by someone, and ebay is doing the automatic proxy bidding for that earlier bidder, outbidding the "nickel and dimer". You have to understand how eBay's automatic proxy bidding works for this to make sense to you. Maybe people do not understand thst eBay does the bidding automatically for the earlier bidder who placed a large bid earlier, but the high bid amount that shows is only the minimum of the bid increment above the lower bid. It is actually simpler than my poor explanation. Then there are bidders who bid some high amount early on, then "cement" that bid towards the end of the auction by placing even larger bid. If that bidder wins the auction you will see two bids for the same amount placed by the same bidder, but showing different day/time of the bid. There is a whole science to understanding various bidding tricks. My method is simple: I snipe. Doesn't guarantee that I win, but it minimizes the bid creep. What you did I considered a "lucky break". You were the lone bidder and got the item for the starting price. I see lots of bidders who bid the starting price bid, but most of the time they are outbid. You got lucky that nobody else wanted the item. -
Molotow Chrome Marker breakdown
peteski replied to conchan's topic in Model Building Questions and Answers
Here is my speculation: Those "chrome like" paints have thin flat shiny metallic particles (flakes) suspended in the liquid, which consists of the solvent which evaporates, and binder which is the clear resin which remains after the paint is dry, and which also encapsulates the metallic particles. When in liquid form those flat metallic particles are free to rotate in all direction scattering light, appearing like swirling shimmering silver paint. Once sprayed onto the surface, when the solvent has not yet evaporated, those silver particles settled down in the liquid, aligning themselves flat on the painted surface. They stay that way until the solvent evaporates and the binder (clear resin) hardens protecting the silver particles), so they stay aligned That creates the "chrome like" appearance. I suspect that the airflow from a fan nearby keeps swirling the liquid (and the metallic particles) preventing them from settling down flat as the solvent evaporates. Since they metallic particles can't align as the paint dries, they will just look like silver paint (since they scatter, not reflect the light like a mirror). -
The actual metal conductor in 30AWG wire has a diameter of 0.010". Insulation in a wire-wrapping type wire has outer diameter of around 0.016". You can figure out the actual 1:1 diameters by multiplying those dimensions by either 24 or 25 (depending on the scale of your model).
-
If you could remove the center core wire then it would be much more flexible. Not sure if that is possible though.
-
Sauber Mercedes C9 MFH 1/12
peteski replied to primabaleron's topic in Other Racing: Road Racing, Salt Flat Racers
Looks like we both missed it! Thanks for the info Tomasz. -
Sauber Mercedes C9 MFH 1/12
peteski replied to primabaleron's topic in Other Racing: Road Racing, Salt Flat Racers
That's exactly what I was going to say and ask. Bombowy model!! It must have taken very long time to build. The amount of very fine detail seems to imply that it is a large scale model, but if it is 1:24 I'll be totally speechless. I have a feeling that if you were to photograph this model against natural background it would be impossible to tell it from the 1:1 scale car. -
'Animated GIF' to compare two models
peteski replied to robdebie's topic in Tips, Tricks, and Tutorials
That's pretty clever Rob. But I'm curious how long did it take you to physically align the models perfectly. How many tries? Or did you do the aligning in your image editing program? I also assume you used a tripod mounted camera. -
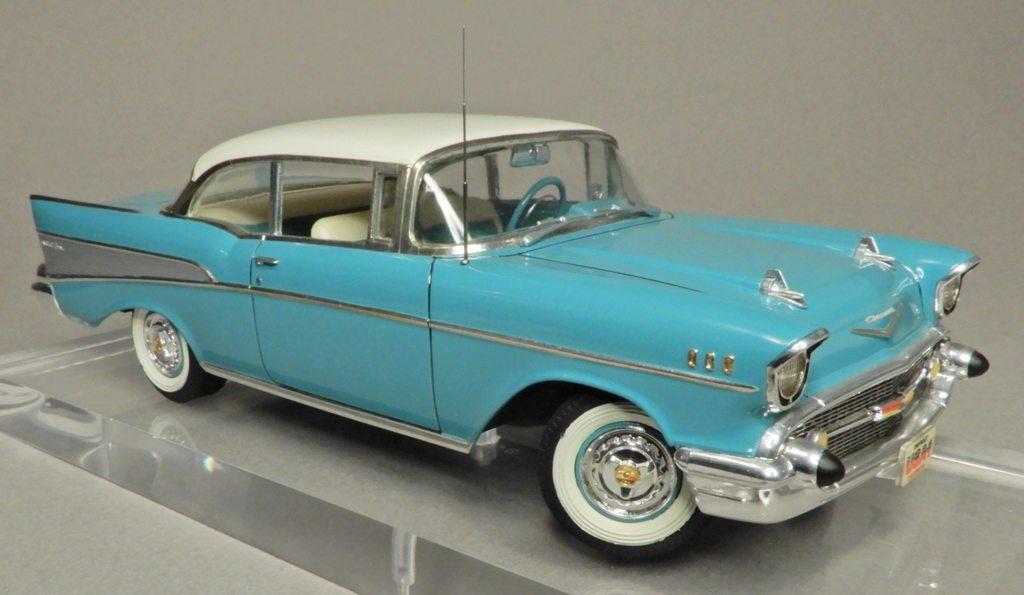
If the ID (Inside Diameter) of the tubing is 0.0215" then any wire smaller than 0.0215" in diameter should slide into the tubing. Greg proposed 0.020" wire - that'll work. But that size seems a touch thick for a 1:25 model car (assuming that is what you have). The 0.028" tubing in 1:25 scale comes out to 0.028 X 25 = 0.7" in 1:1 scale 0.7" would be but thick for an antenna. I have used this technique for making antennas, but I used thinner hypodermic tubing, and thinner stainless steel wire for the top segment. Here is a 3-piece antenna made this way. This is on 1:32 scale car. I don't recall what size tubing I used. I would have to dig that car out of storage and measure it. I'm pretty sure though that the top segment wire is 0.005". I used to buy my tubing from Small Parts Inc., but amazon assimilated them some years ago, and finding anything on amazon website stinks. I did find another company which sells similar range of tubing, and has an easy to deal with website. https://componentsupplycompany.com/

-
I've been lucky not having to deal with any of the new "bad" BMF chrome foil. Would any of you in this thread be willing to cut a piece of your bad BMF and mail it to me? Just fold a piece of letter size paper, but the piece of BMF in it, and put it in #11 envelope. If you are willing to do this, PM me and I'll give you my address. I can reimburse you for the postage and if you want., for the foil.
-
Paint Strippers - What to Use?
peteski replied to pbj59's topic in Model Building Questions and Answers
Make sure not to use the stripper in cold environment. Cold reduces potency of all the strippers. Use them at warm room temperature (80-90 deg. F). -
Thanks for the compliments David. I did not know that you were familiar with my N scale FedEx van. It is nice that you inherited your Dad's N scale layout. It probably also brings back some nice memories. I don't have a train layout, but I have been adding details to couple of friend's layouts, and I belong the local NTRAK modular club. I have some photos of another illuminated model, in a larger scale.: http://classicplastic.org/pete-w-pb.html . Using moving magnets under the roadway to animate vehicles is a workable idea. It is done commercially in H0 scale. As far as LEDs and precision soldering goes, I do have an advantage over average modeler due to the fact that I have been involved in electronics since early teens, both as a hobby and later in a professional capacity. I have been also using LEDs in my projects almost as long. But LEDs are not rocket science, and more and more modelers are using them for model illumination. There is plenty of info about LEDs on the Internet, and if you don't want to go at it yourself, there are also LED lighting kits for model being sold by online vendors. Advantage of using LEDs is that wiring (using thin enameled magnet wire) can be easily hidden, the are bright, and the light can easily be directed (even just by painting some opaque paint over the LED). As far as soldering goes, it is an acquired skill, but it is not very difficult. Again there are plenty of video tutorials on YouTube. Good quality pencil-type soldering iron with a fine pointy tip is also helpful. I have a professional temperature-controlled rework station, but for years I got by with a a basic pencil soldering iron. Nowadays, you can get a decent quality temperature-controlled station for less than $100 US. For ful disclosure, I do use an Optivisor magnifier for delicate soldering operations. I hope that you will be able to embrace the LED technology to expand the range of lighting techniques available for your excellent diorama and other models.
-
The Push for Permanent "Daylight Saving" Time
peteski replied to Ace-Garageguy's topic in The Off-Topic Lounge
Personally I would like to have more daylight hours at the end of the day. Especially in the Winter. I hate when it gets dark outside around 3pm. But I'm sure nothing will come of this. -
Yes, looks like someone spilled some cream on the model. Looks nothing like snow. For the price I would expect something looking more like snow, and applied in a way snow would settle on a car.
-
There is no need to do that. While you could use Sharpie on the lens of a white LED to change its color there is no need to do that. Just use red LEDs. The diode die inside a red LED will emit red light. Same goes for other color LEDs. Early LEDs only produced red light. Later on green and yellow LEDs were manufactured. They were all rather dim. As technology advanced, LEDs got brighter. Then blue LEDs revolutionized the lighting industry. The white LEDs are actually blie LED die which is coated with a phosphor which emits other colro lights to make the light appear white. Here is a basic explanation of what LEDs are (from https://www.ledsmagazine.com/leds-ssl-design/materials/article/16701292/what-is-an-led ). In the simplest terms, a light-emitting diode (LED) is a semiconductor device that emits light when an electric current is passed through it. Light is produced when the particles that carry the current (known as electrons and holes) combine together within the semiconductor material. Since light is generated within the solid semiconductor material, LEDs are described as solid-state devices. The term solid-state lighting, which also encompasses organic LEDs (OLEDs), distinguishes this lighting technology from other sources that use heated filaments (incandescent and tungsten halogen lamps) or gas discharge (fluorescent lamps). Different colors Inside the semiconductor material of the LED, the electrons and holes are contained within energy bands. The separation of the bands (i.e. the bandgap) determines the energy of the photons (light particles) that are emitted by the LED. The photon energy determines the wavelength of the emitted light, and hence its color. Different semiconductor materials with different bandgaps produce different colors of light. The precise wavelength (color) can be tuned by altering the composition of the light-emitting, or active, region. LEDs are comprised of compound semiconductor materials, which are made up of elements from group III and group V of the periodic table (these are known as III-V materials). Examples of III-V materials commonly used to make LEDs are gallium arsenide (GaAs) and gallium phosphide (GaP). Until the mid-90s LEDs had a limited range of colors, and in particular commercial blue and white LEDs did not exist. The development of LEDs based on the gallium nitride (GaN) material system completed the palette of colors and opened up many new applications. So you can purchase LEDs of different colors to be used in your projects. Then to power the LEDs you will need to limit the current (which controls the LED brightness). You will need resistors. None of this is "rocket science", Anybody can do this. See https://www.instructables.com/LEDs-for-Beginners/ There are many LED resistor calculators on the Internet, so you don't even have to do the math. Here is a link to one of my models with LED lghts: https://www.therailwire.net/forum/index.php?topic=44000.0
-
You are correct, a wax has no thickness to it. Waxes cannot be used as a clear coat. Future (or whatever it is now called) is an acrylic clear gloss floor coating (which modelers found useful as a clear coat on models). It has never been called "floor wax". Look at the label. But for some reasons many modelers seem to assume that because it is for floors, it must be wax.
-
That is a production car?!
-
That is a handy model RR scale chard, but G-gauge track is used for multiple scales. 1:22.5 is one of those oddball scales - that is why I asked the OP. See https://en.wikipedia.org/wiki/List_of_scale_model_sizes